
Arduino
This post is a reflection on what I have learnt in programming during the lesson on week 4.
Programming can be summarised into three terms:
Input –> Controller –> Output
Using Arduino, a software development kit (SDK), we can programme electronic components such as the LilyPad in three steps:
Programme –> Compile –> Upload
To start off, we download the software here and install it for use.
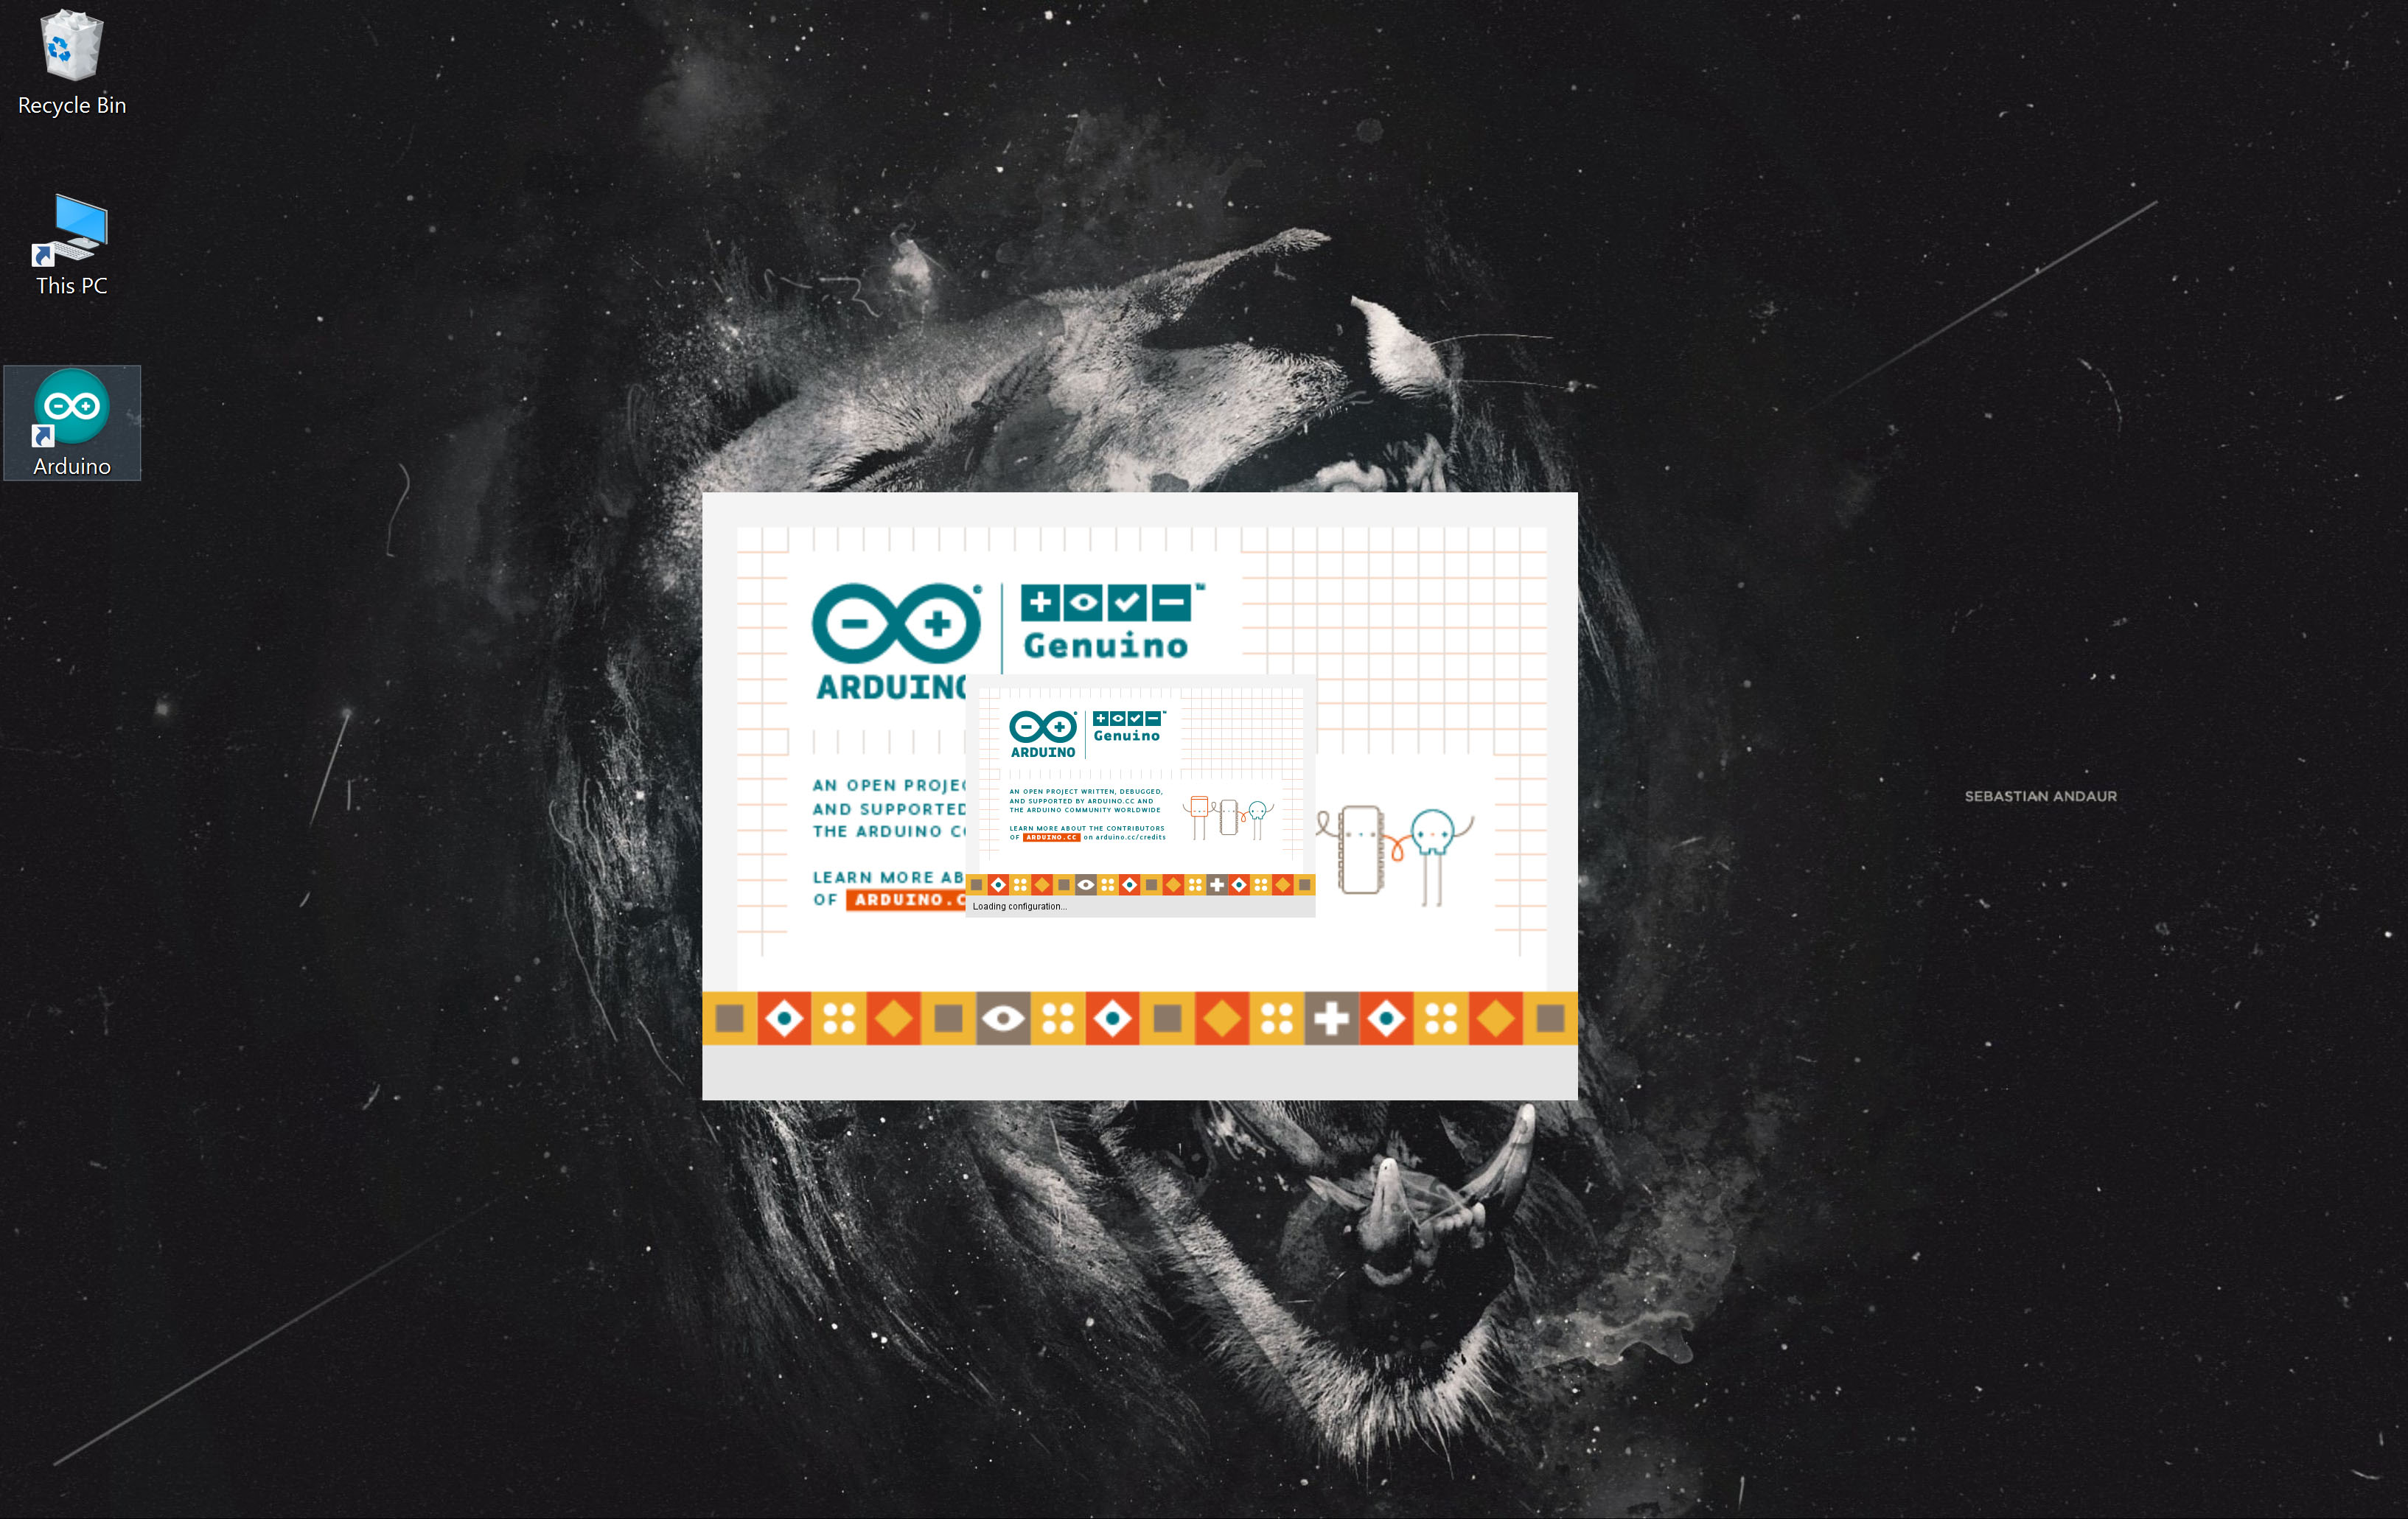
Once the software installation is complete, we can open by double-clicking the icon and we should get what is shown in Fig. 1.1.
Arduino is a software development kit (SDK) which can be used to programme Uno, Mega and LilyPad
LED Light and Infrared Sensor
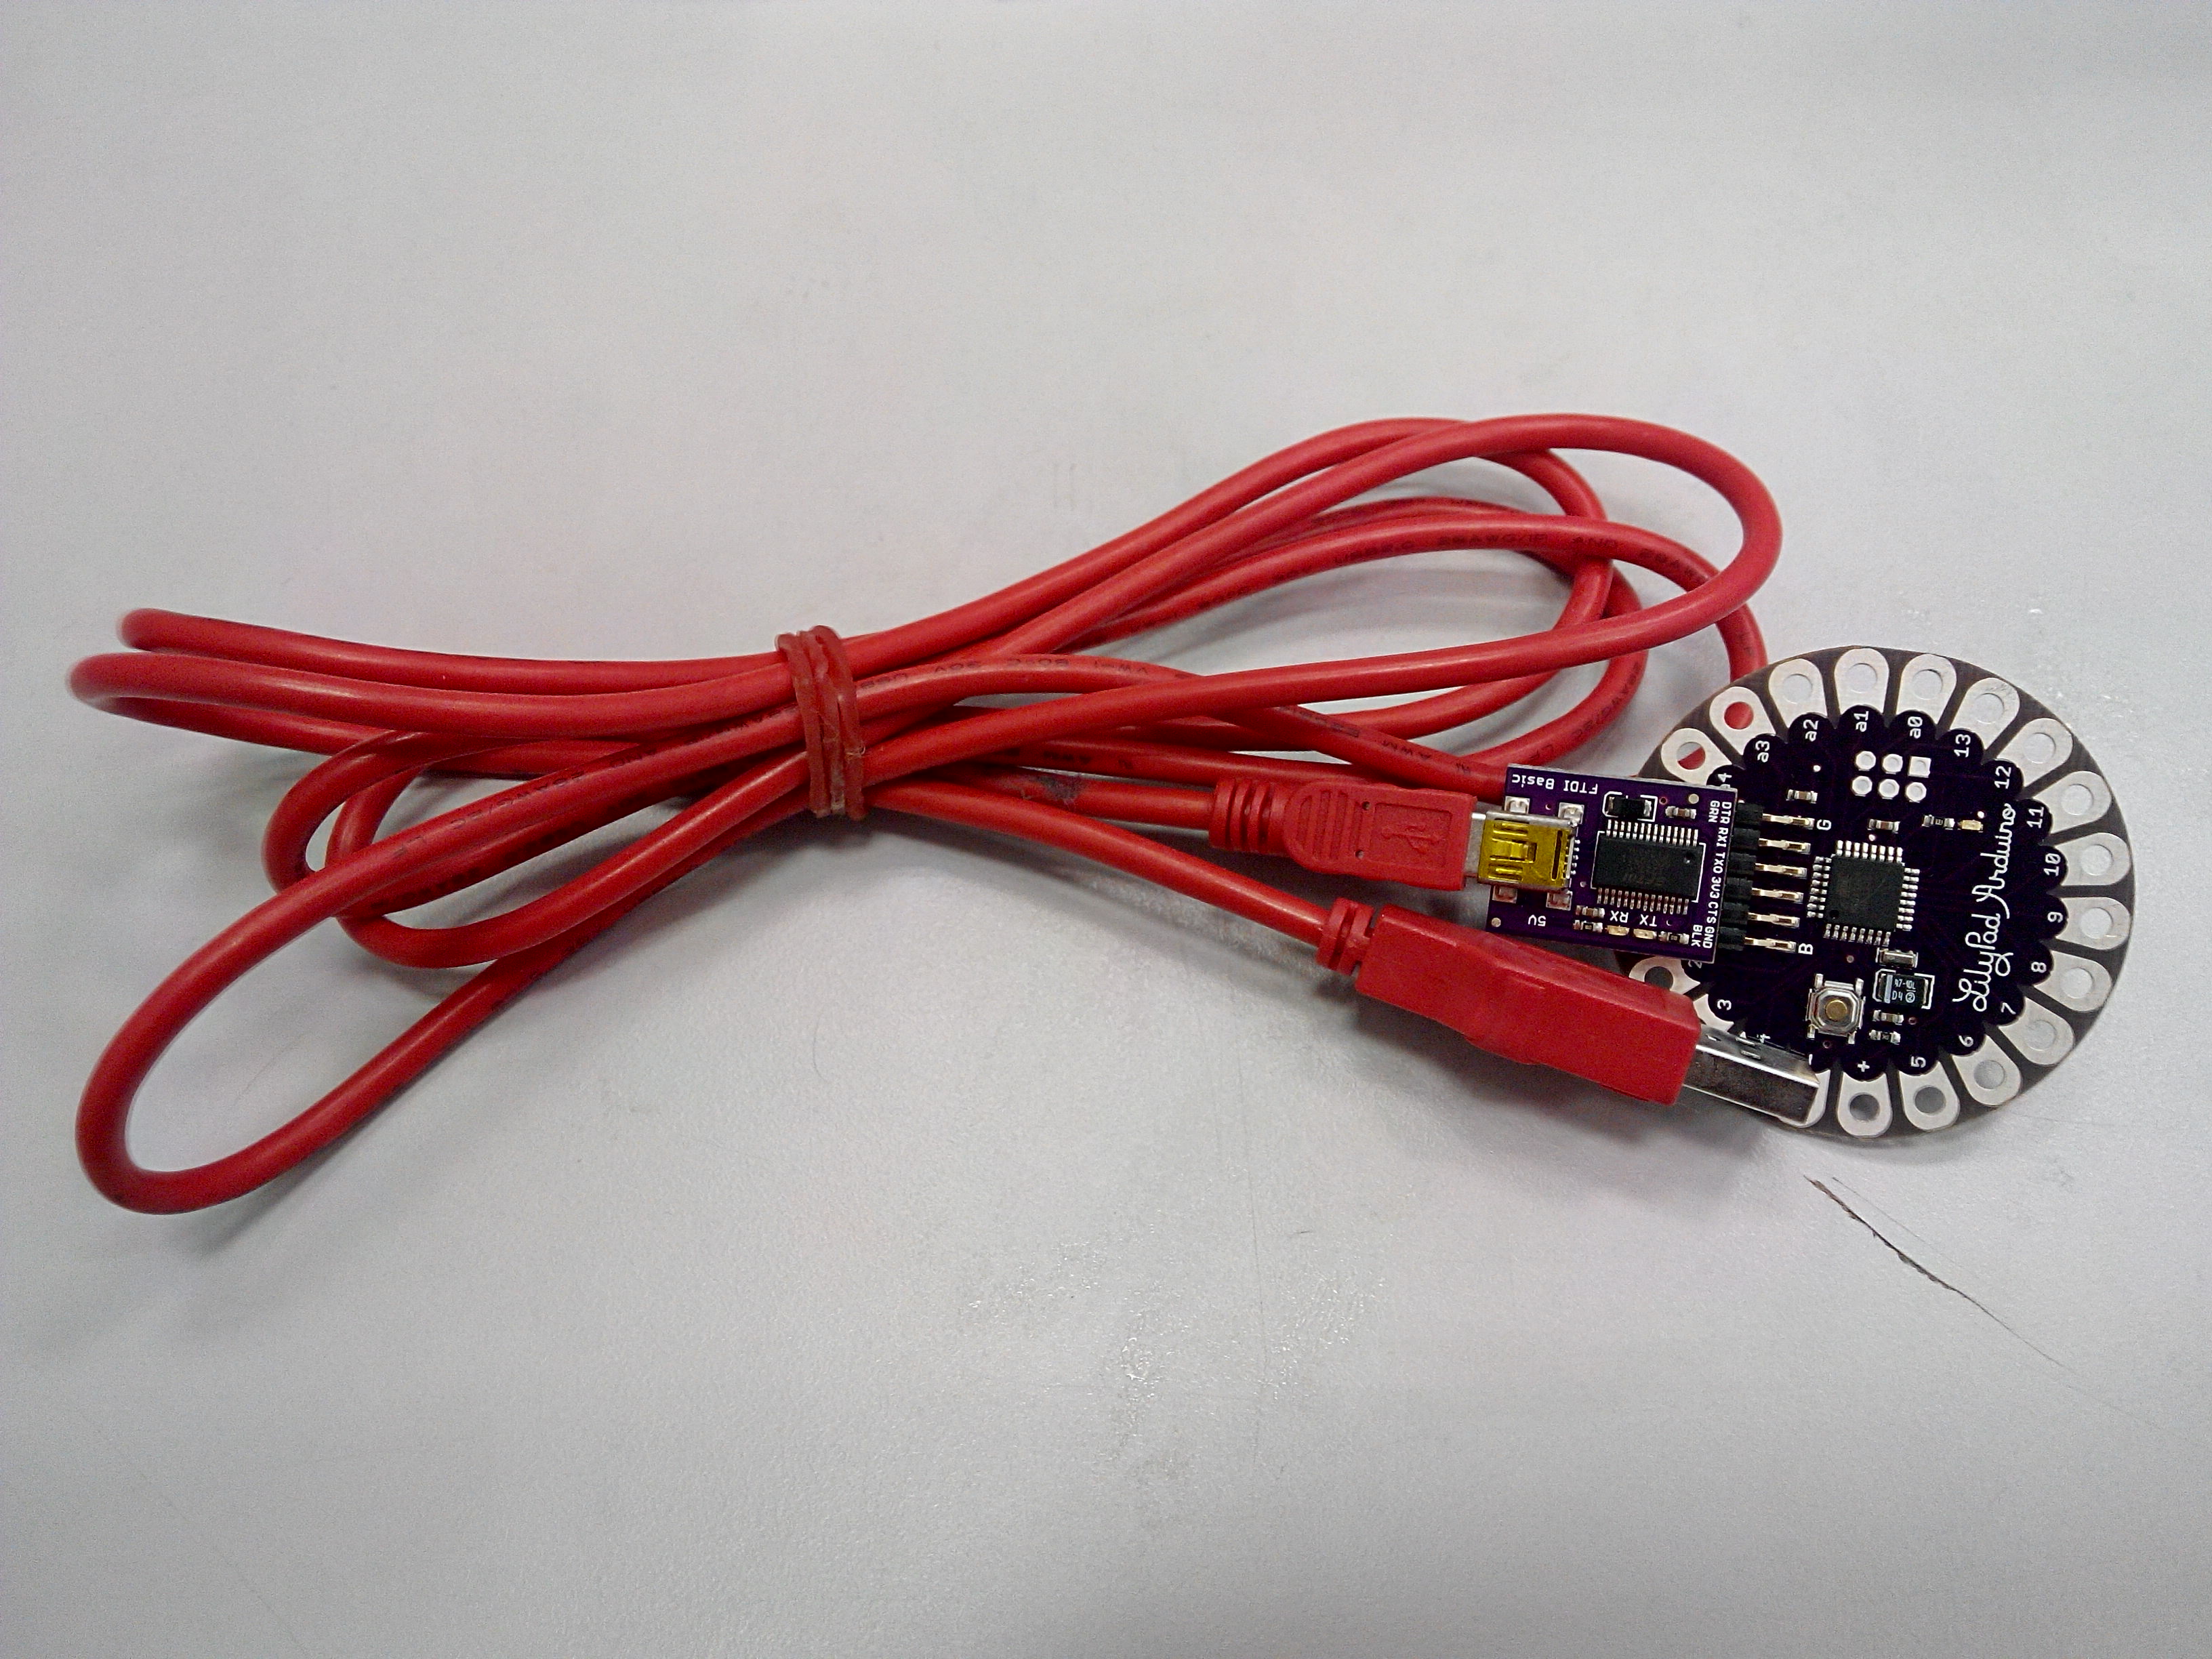
To begin, we connect the LilyPad in place using a USB adapter to our computers/ laptops.
Next we proceed to a number of steps to test for the LED light:
- “Tools” –> “Board…” –> “LilyPad Arduino”
- “Tools –> “Port”
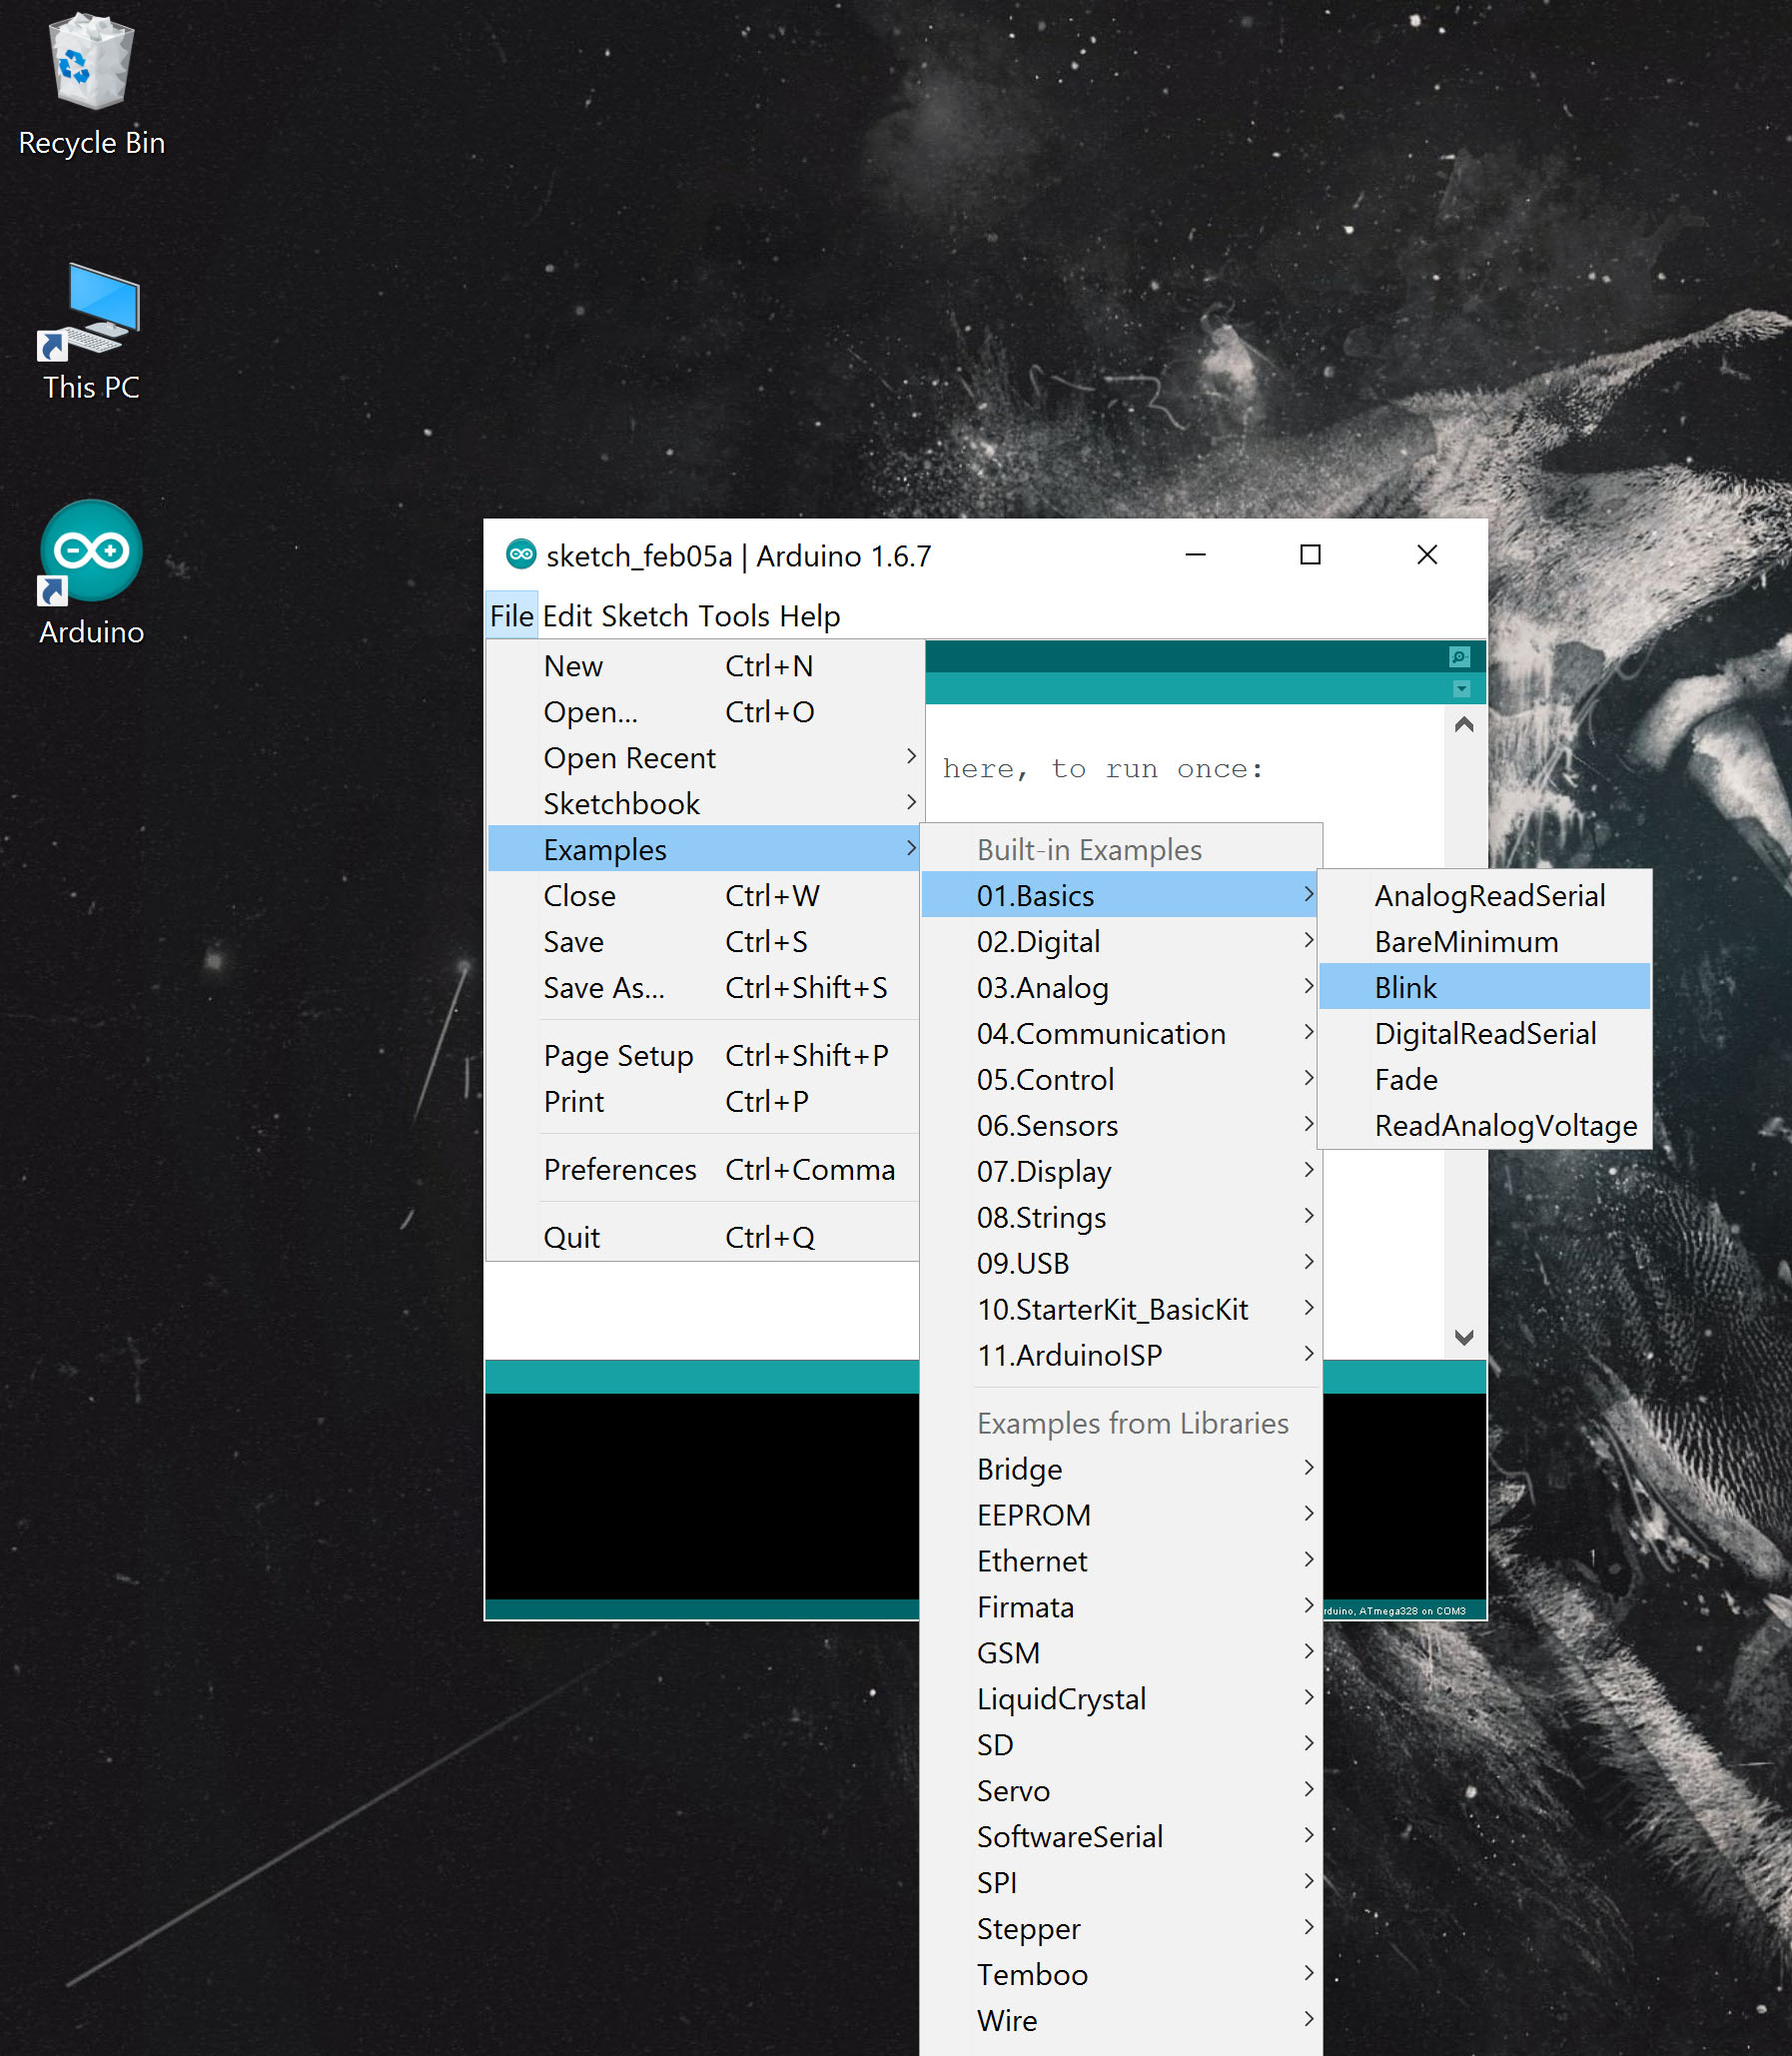
- “File” –> “Examples” –> “01. Basics” –> “Blink” (Fig. 1.2)
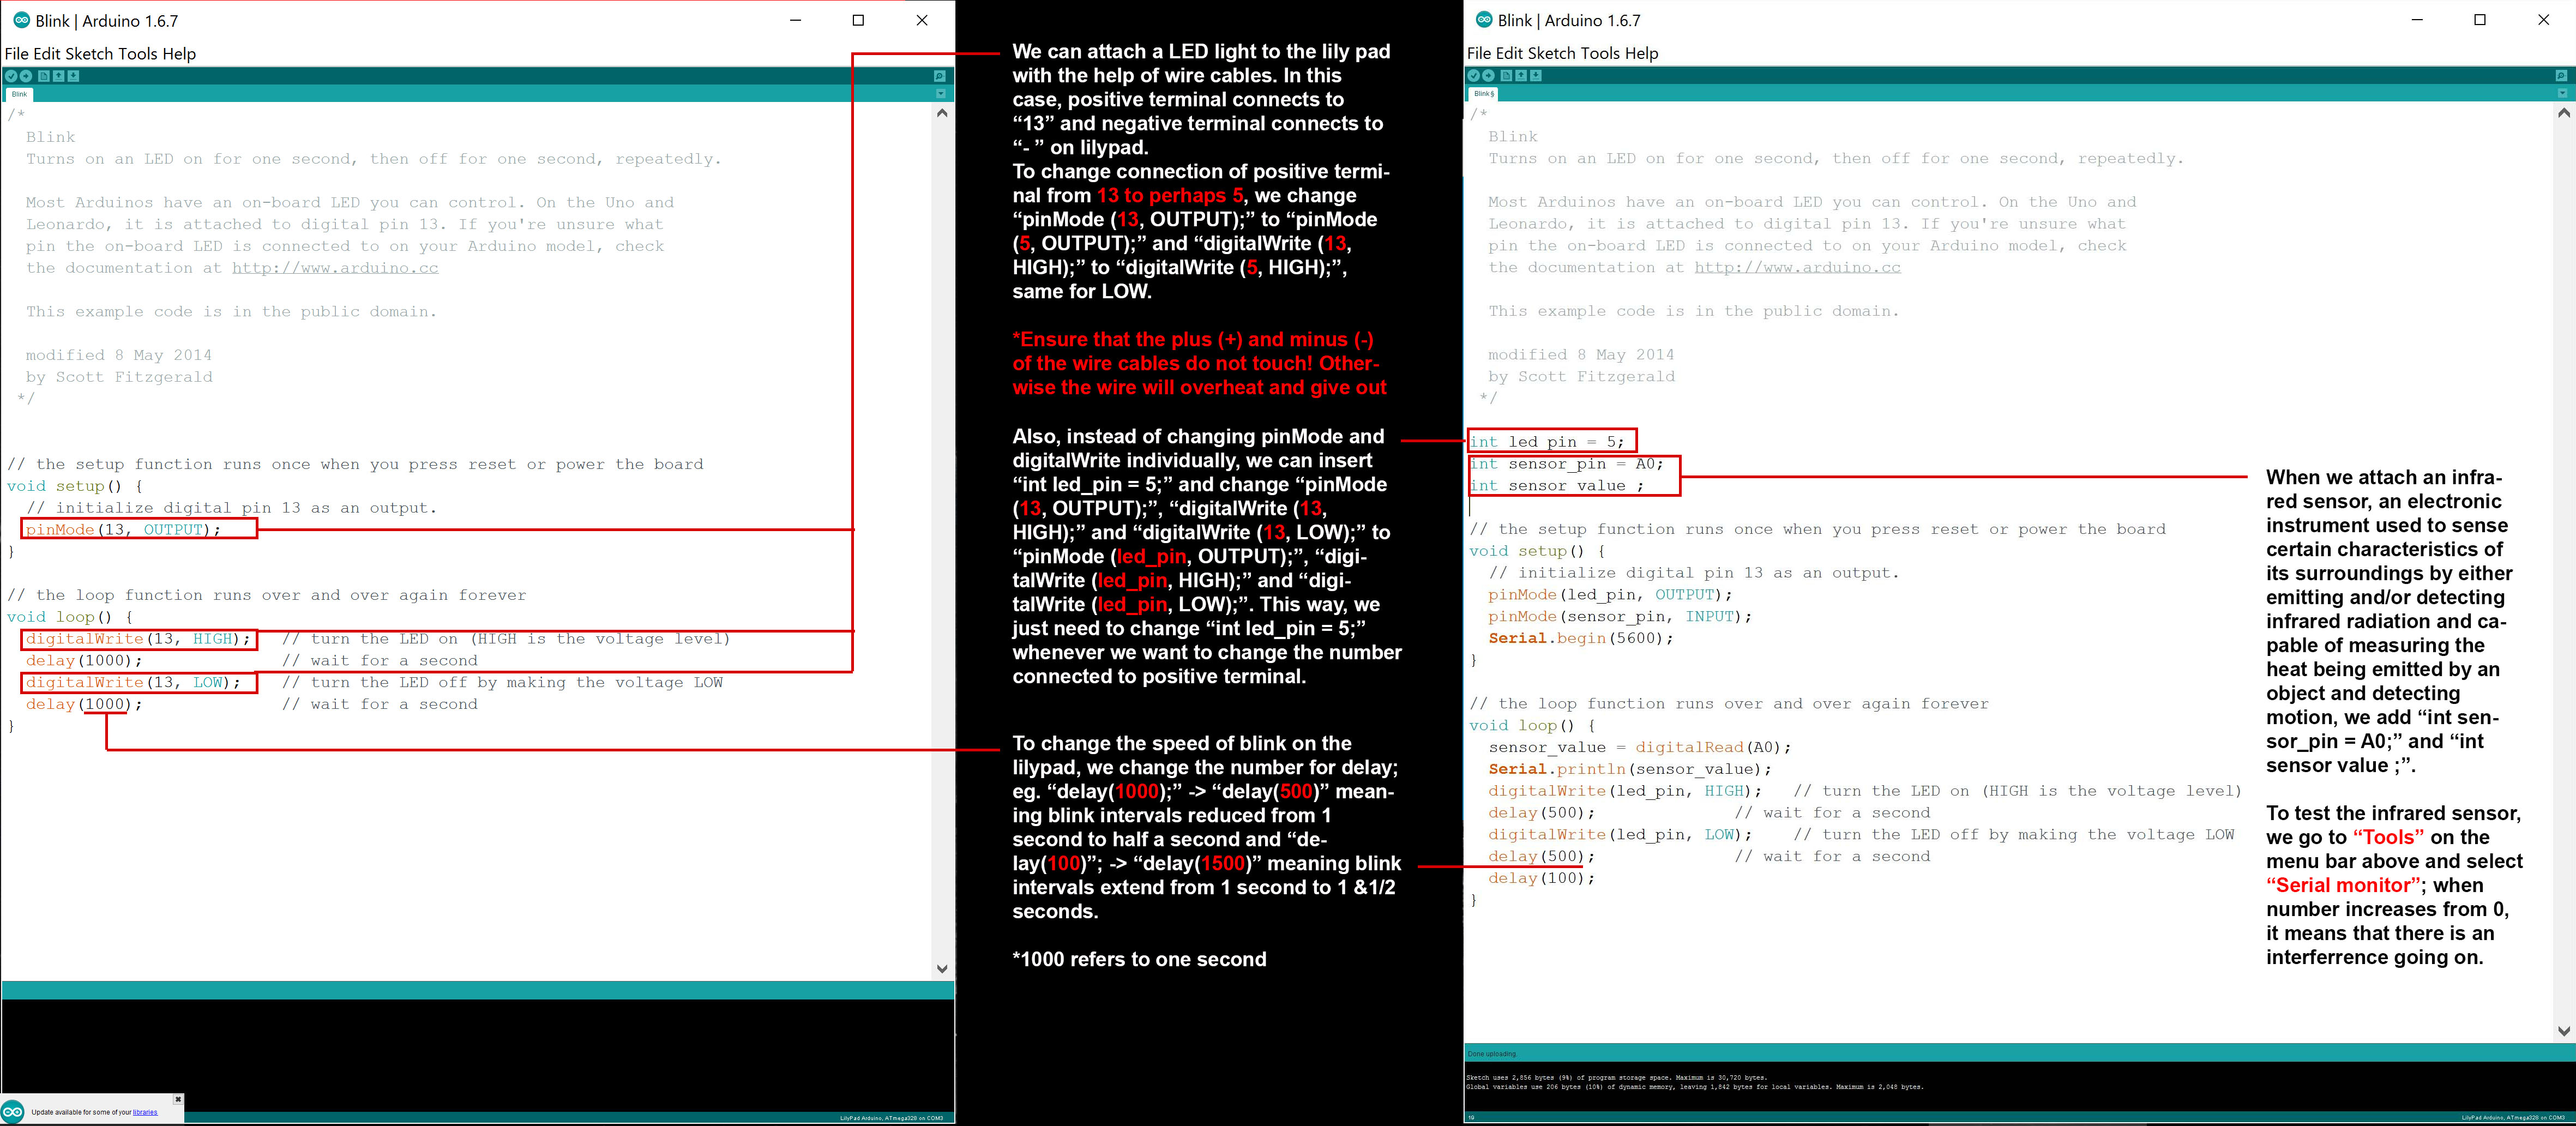
We attach an LED light to the LilyPad using wire cables, where the positive terminal (Anode) of the LED is the longer end as compared to the negative terminal (Cathode).

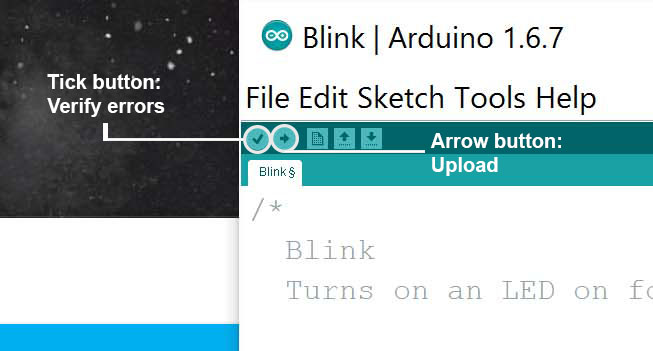
To verify for errors during programming, we can click on the tick button (Fig. 1.3) and refer to a black bar below (Fig. 1.4).
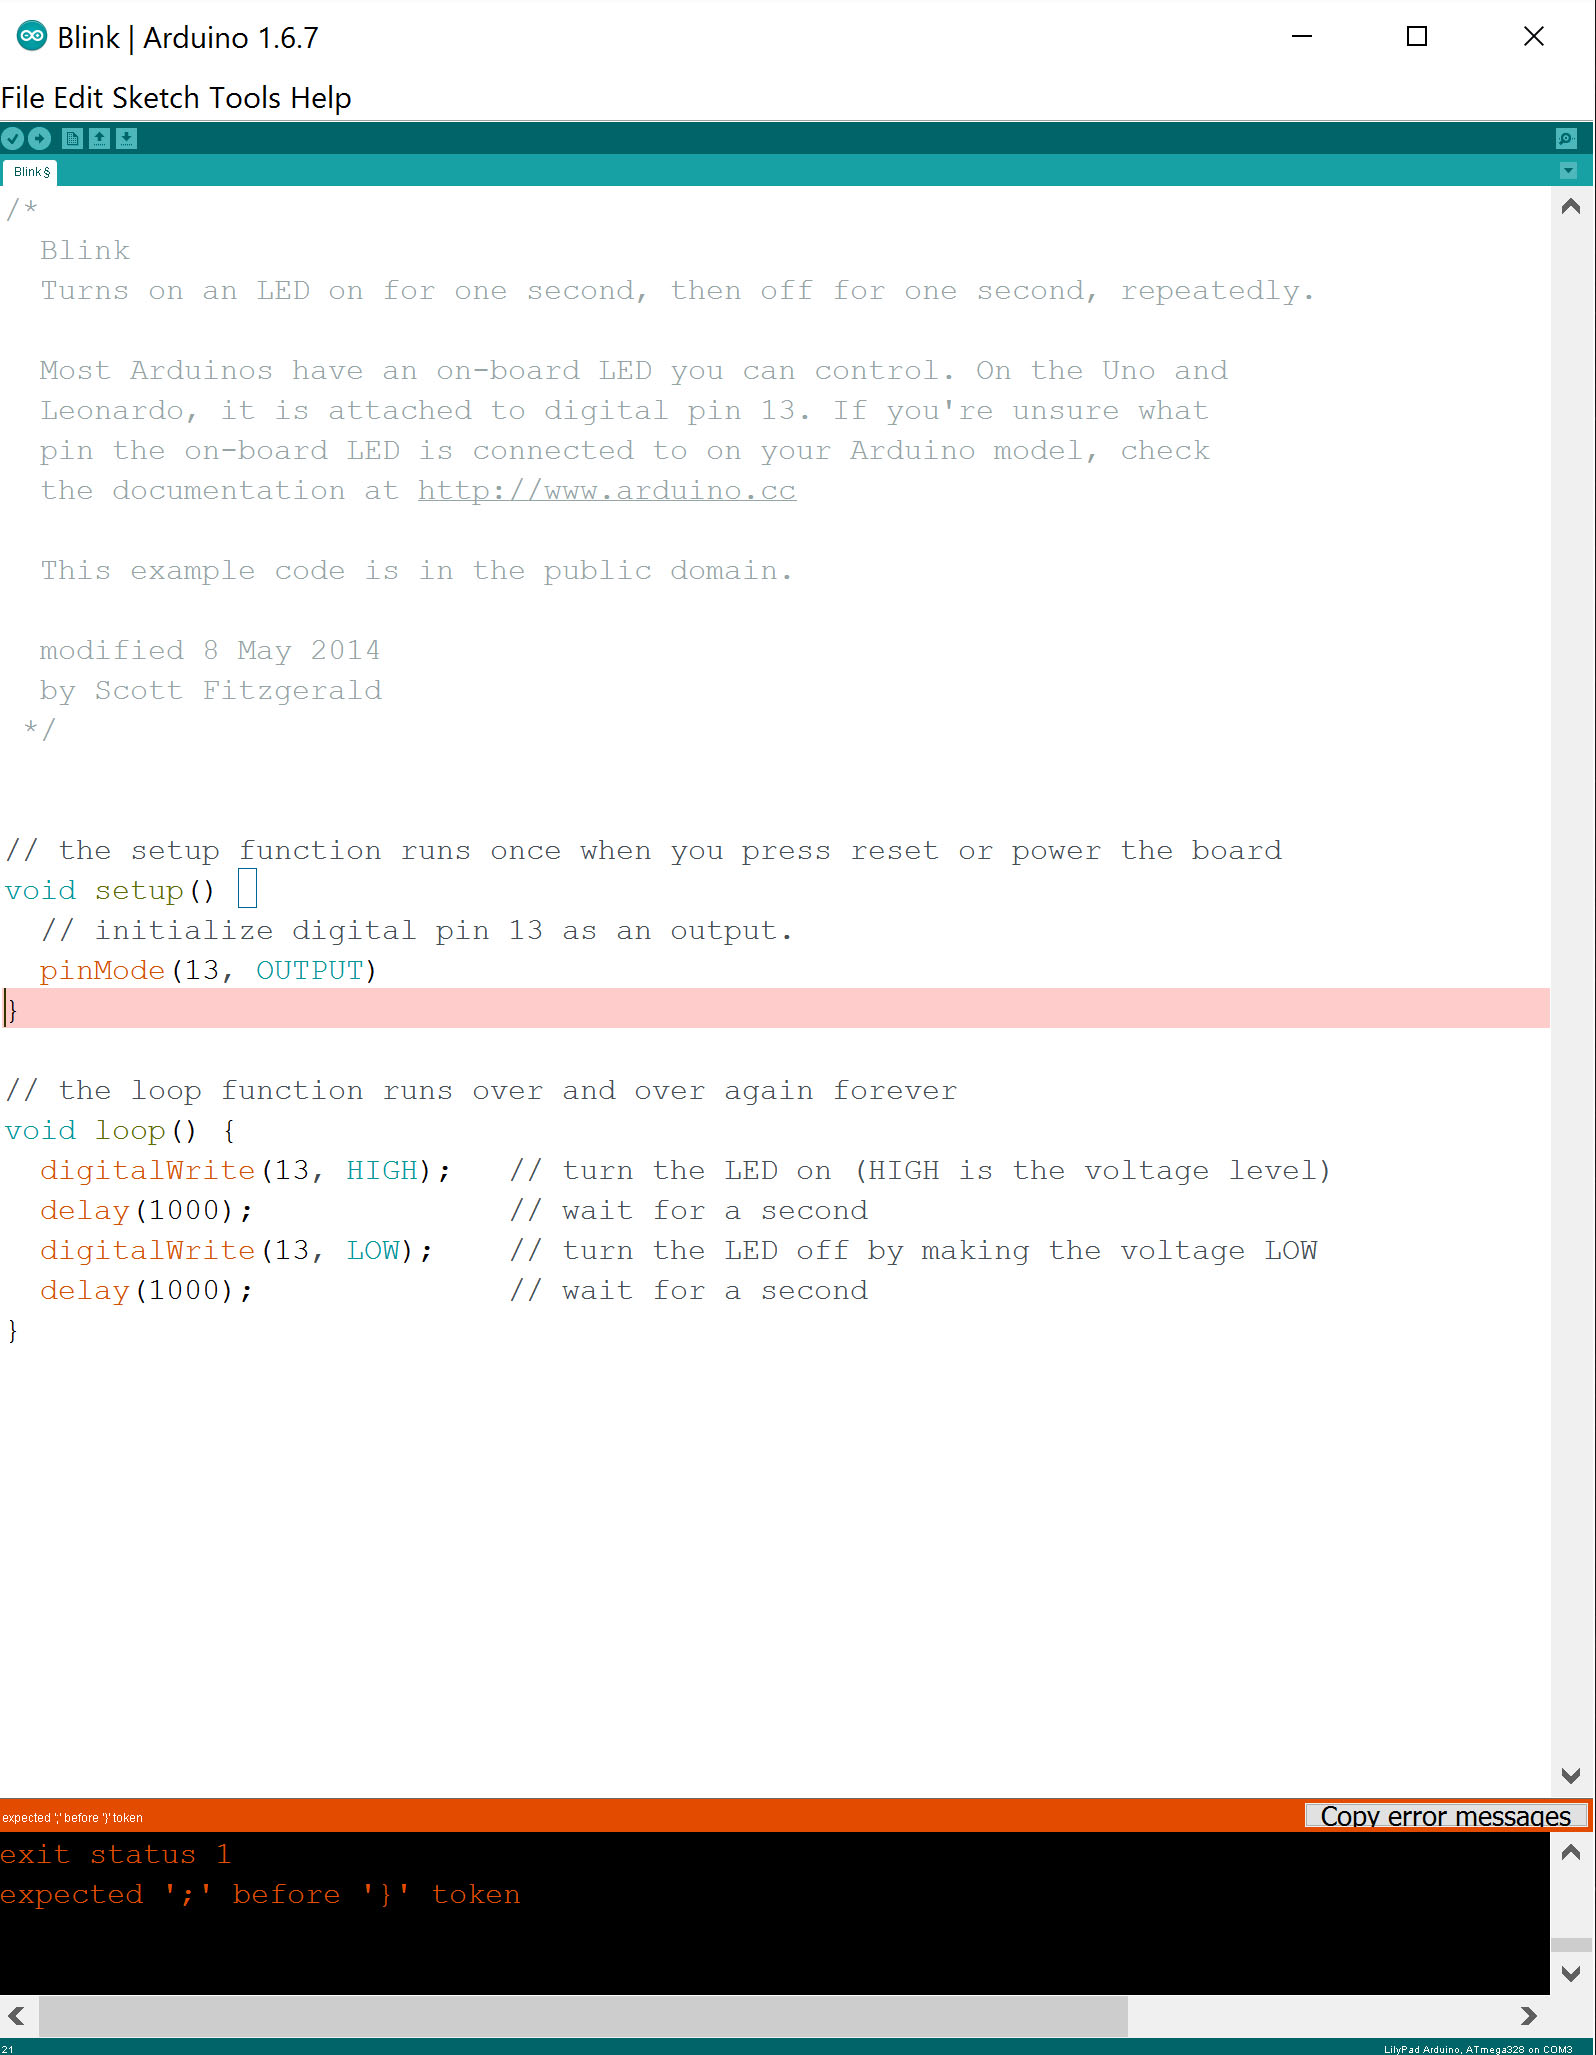
Black bar and red highlights for errors
Refer to Fig. 1.5 for more.
To conclude, the lesson on programming was something new to me. I learnt the physical appearances and to differentiate between components such as the old LilyPad versions from the new ones (New version has an additional SD card holder unlike the old version that only has a charging port). I believe that there is still a long way before we can materialise our learnings through hands-on practice. I hope that my post would be beneficial in guiding me and my peers to do well in programming.