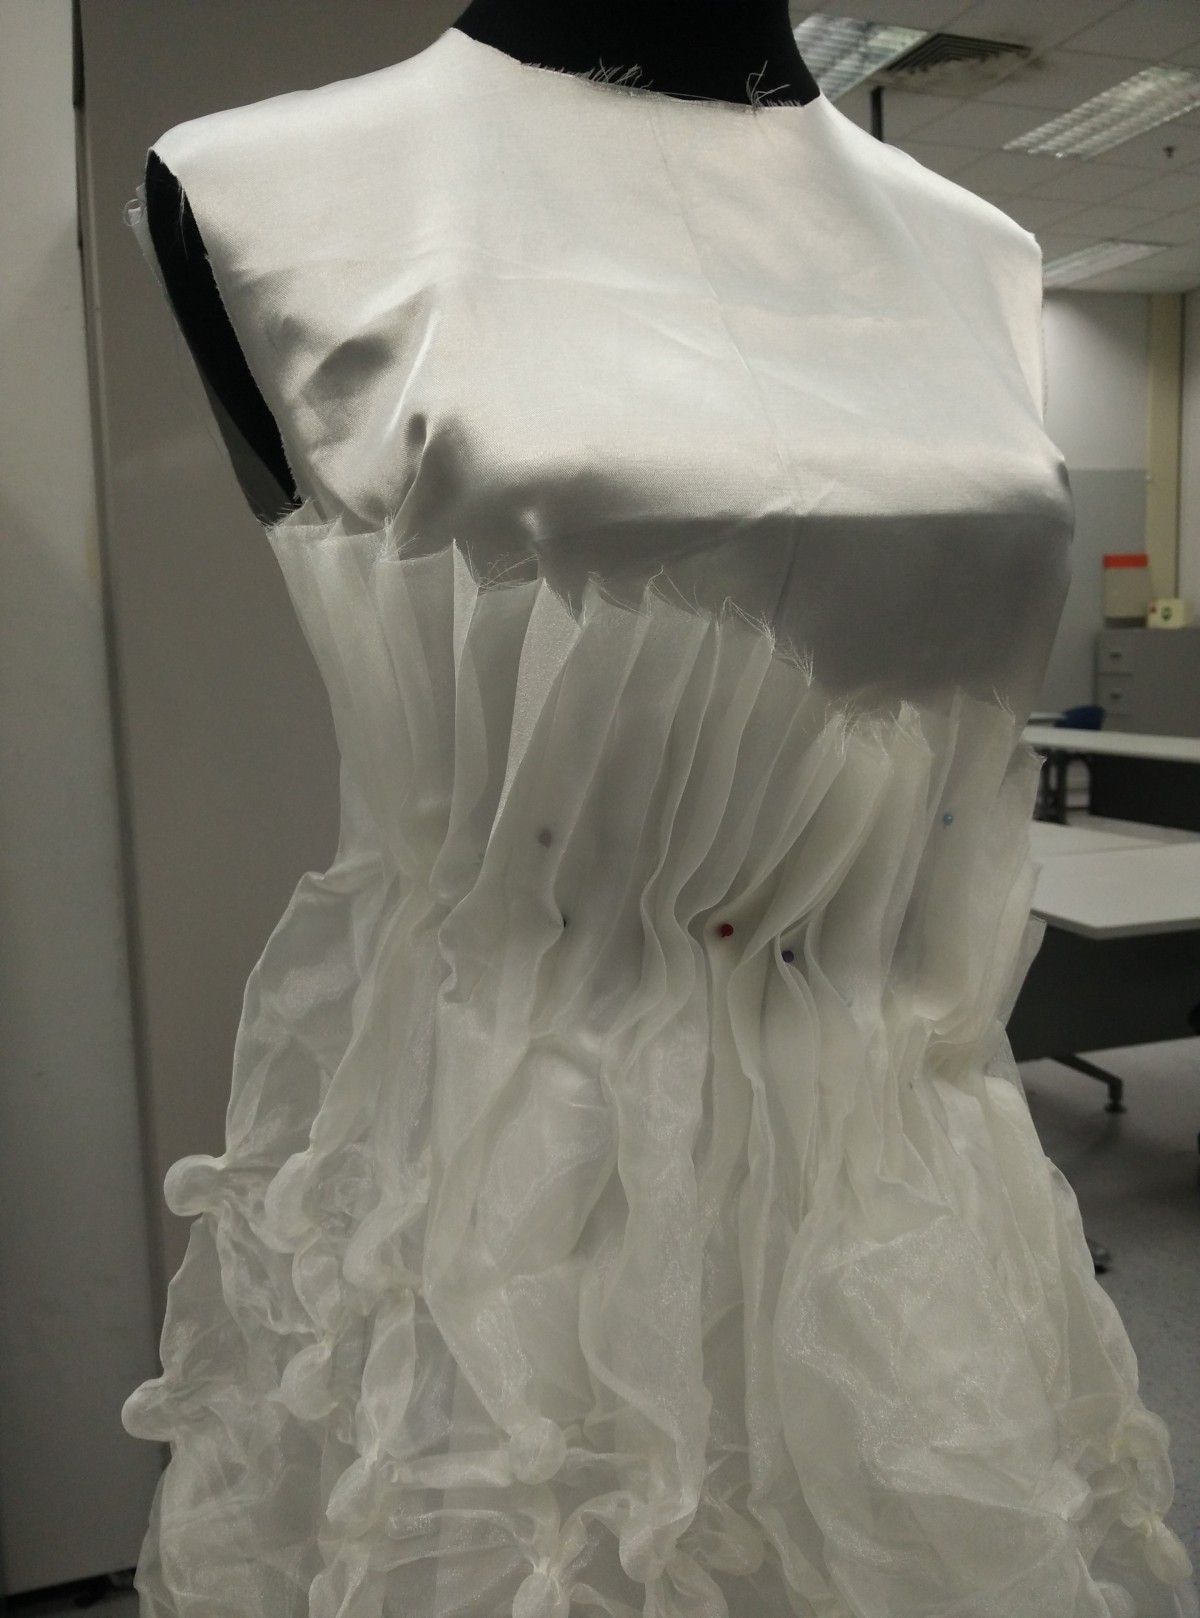
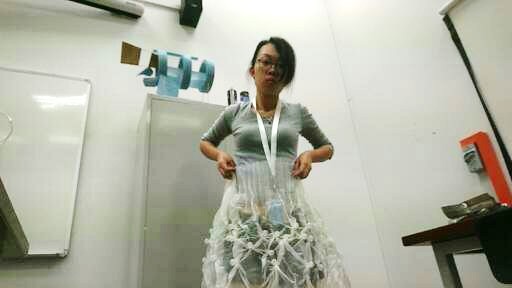
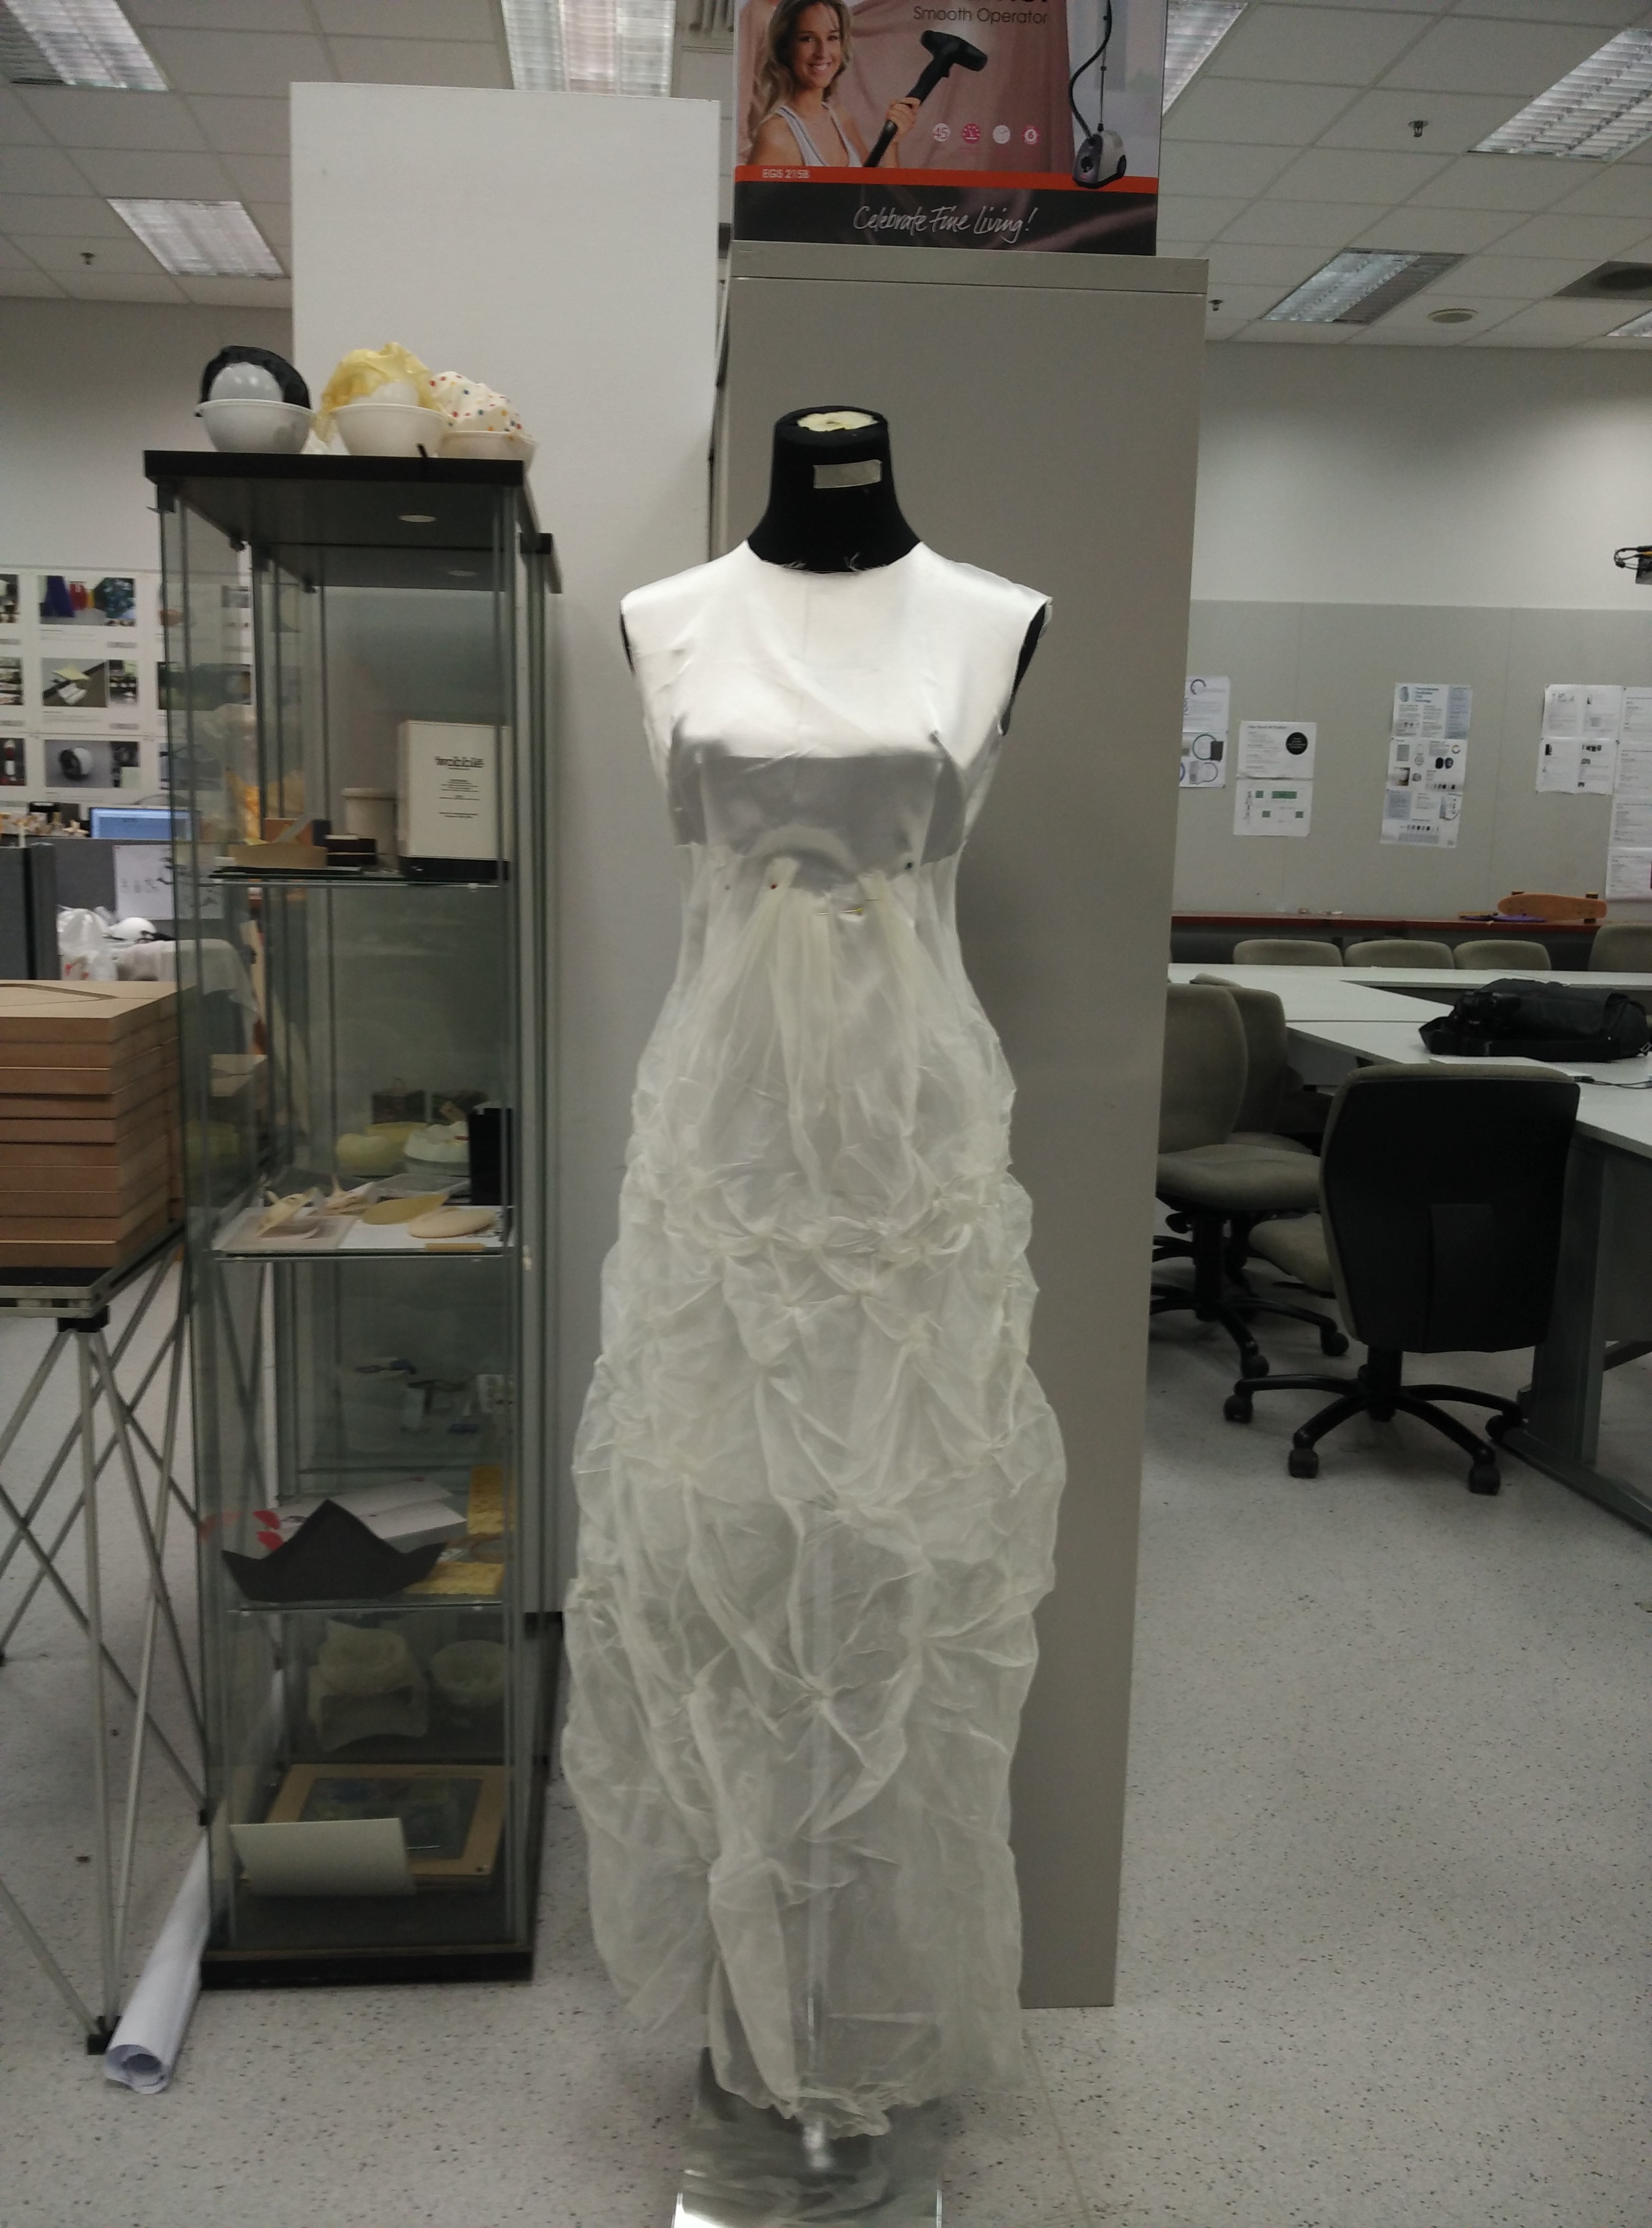
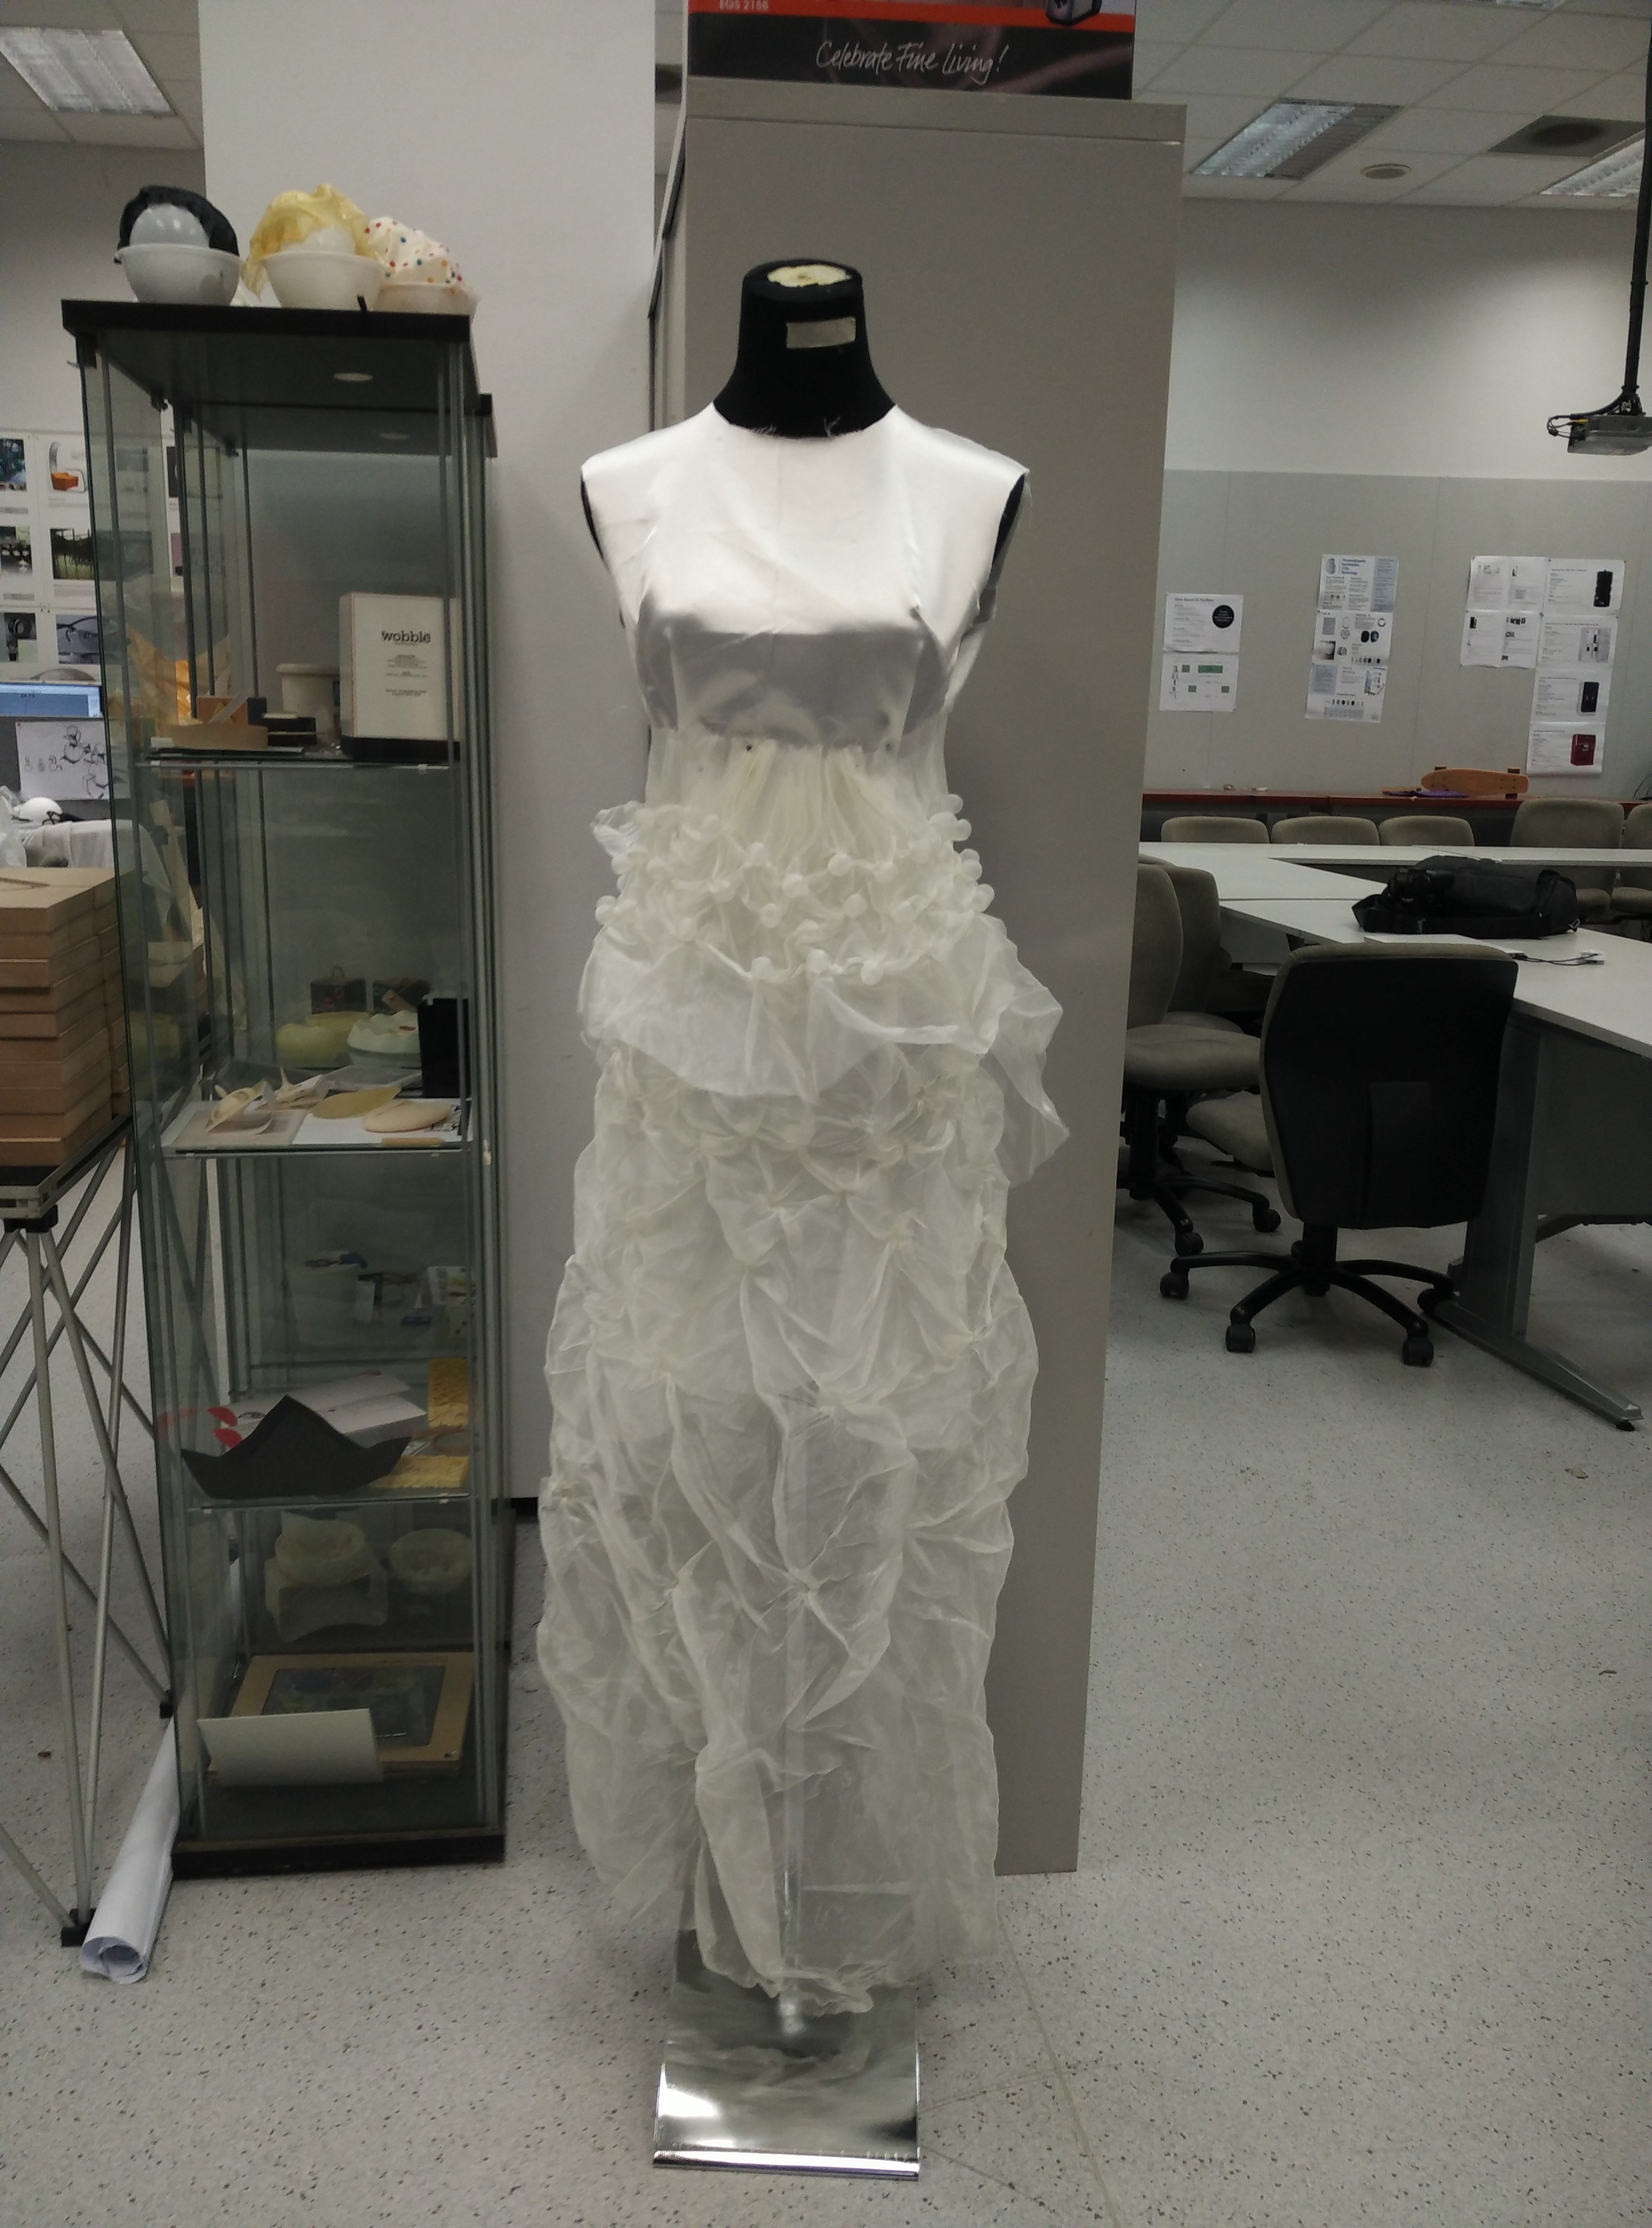
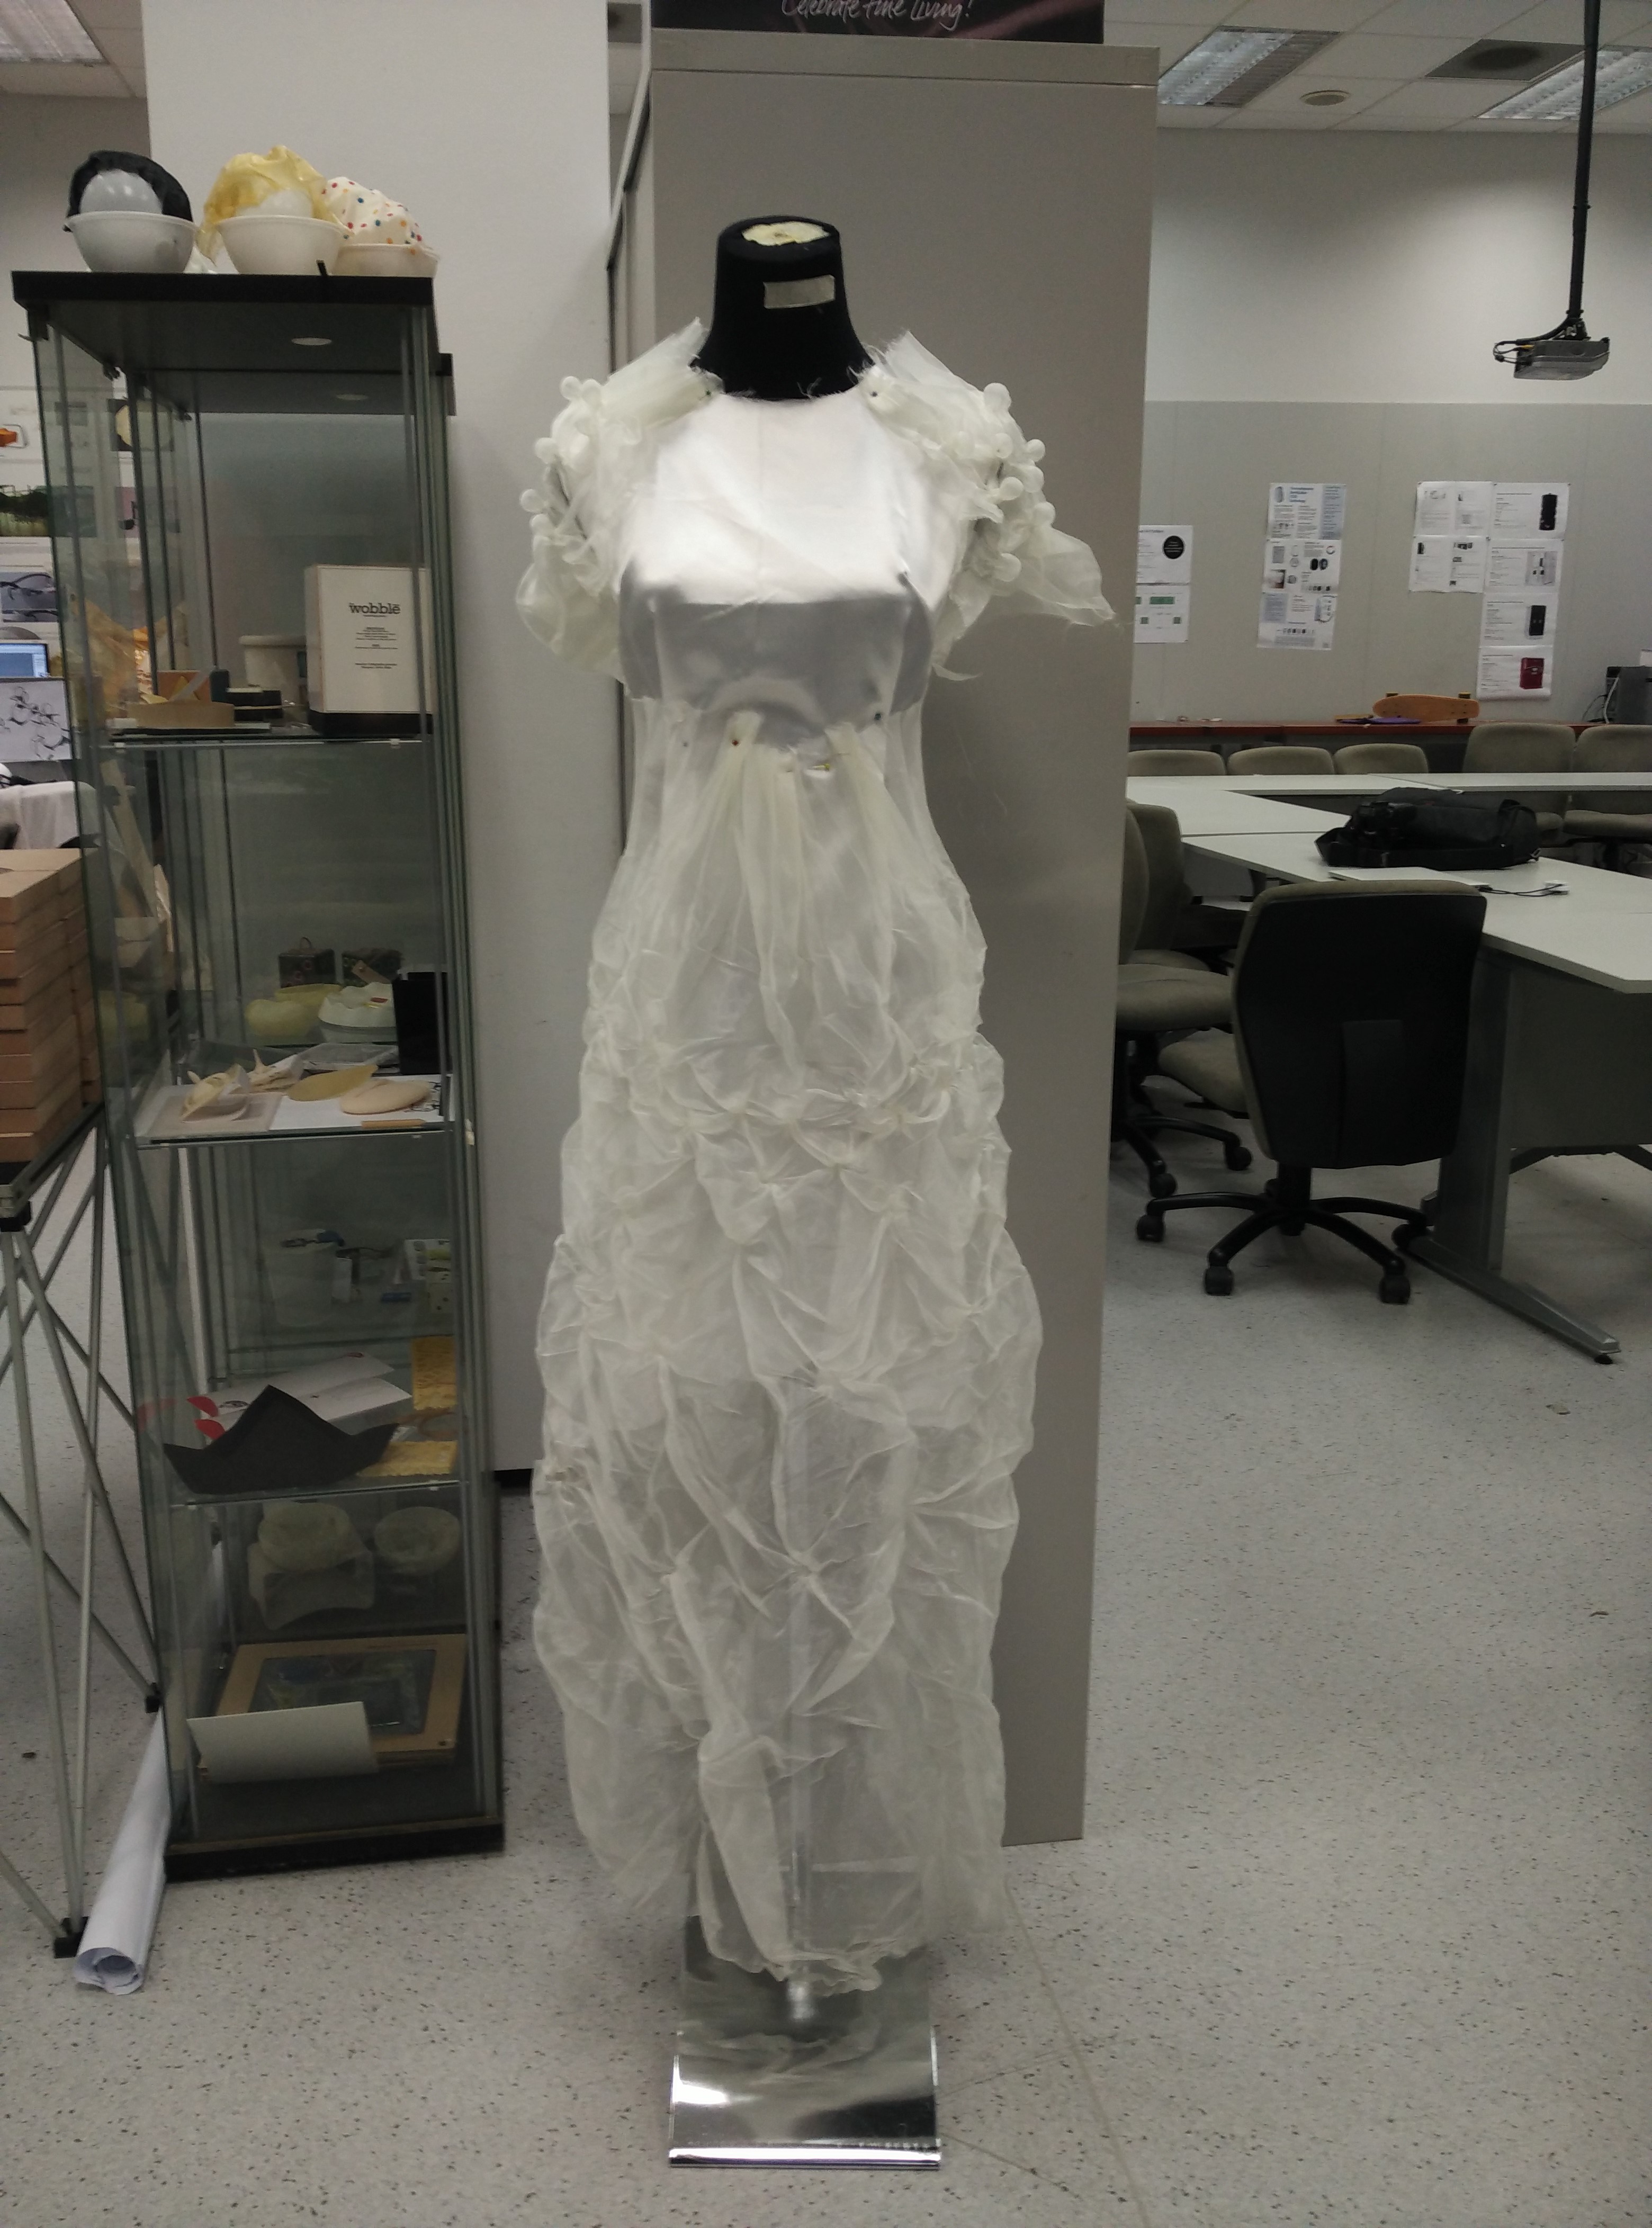
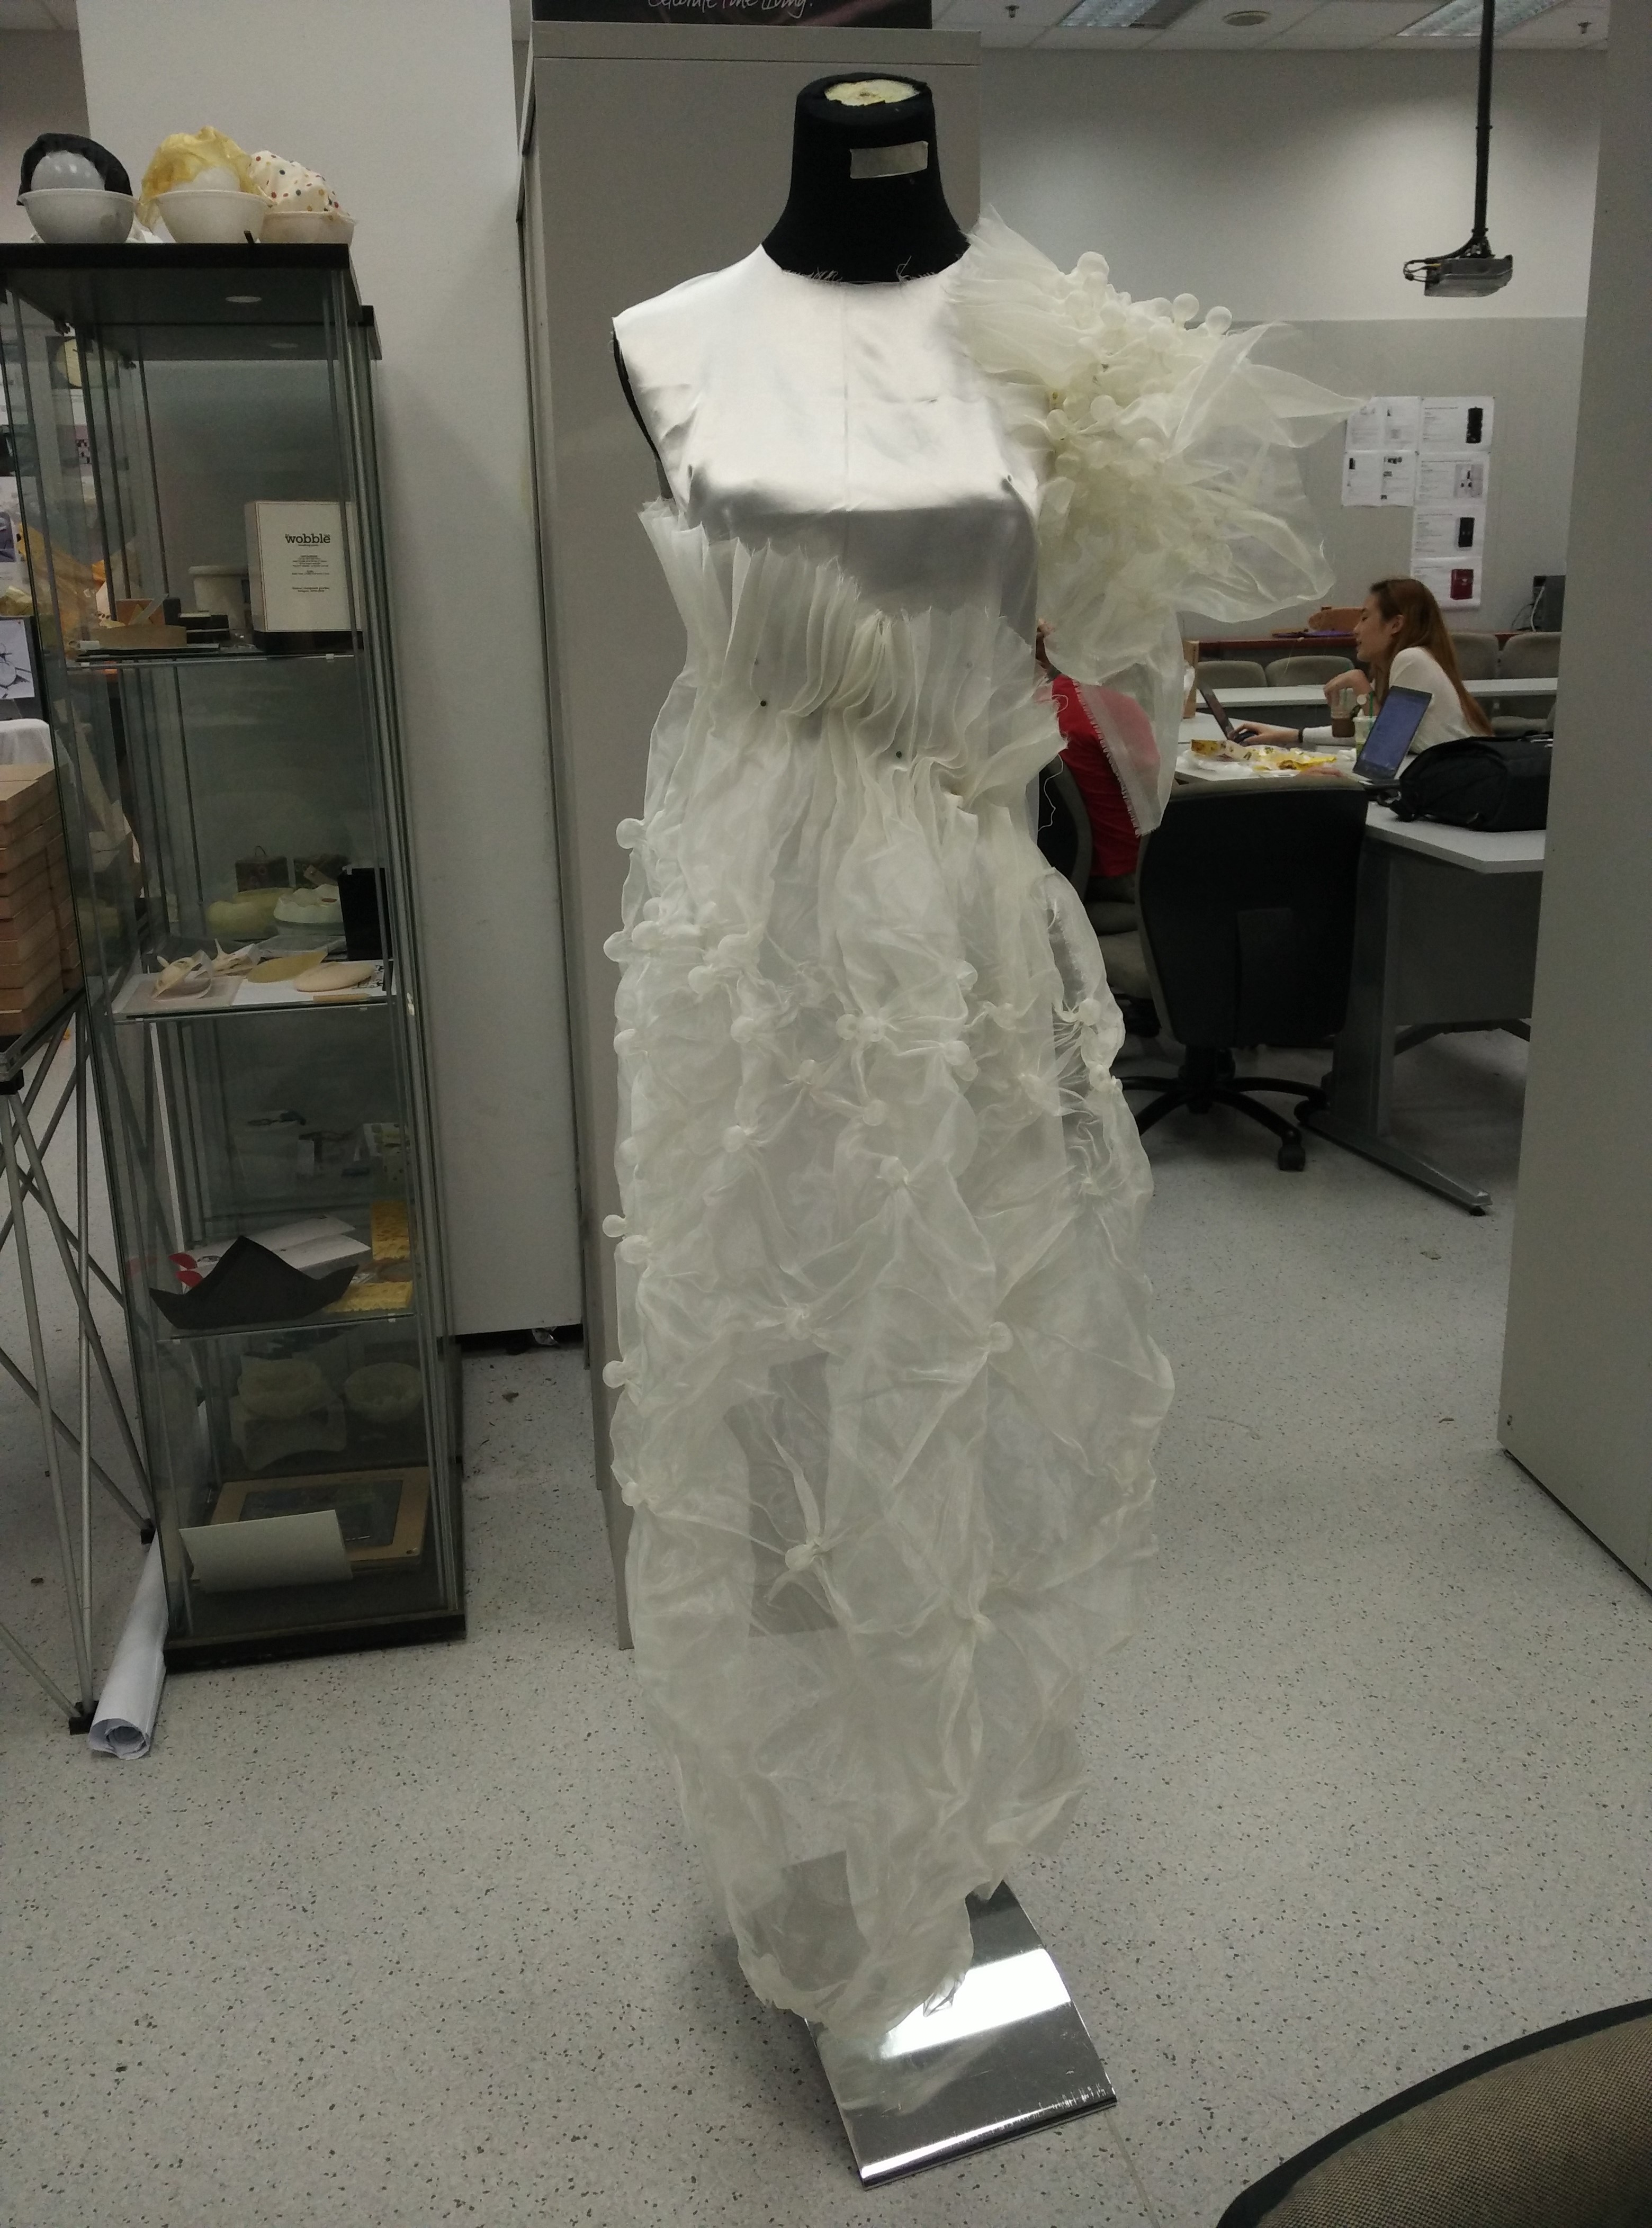
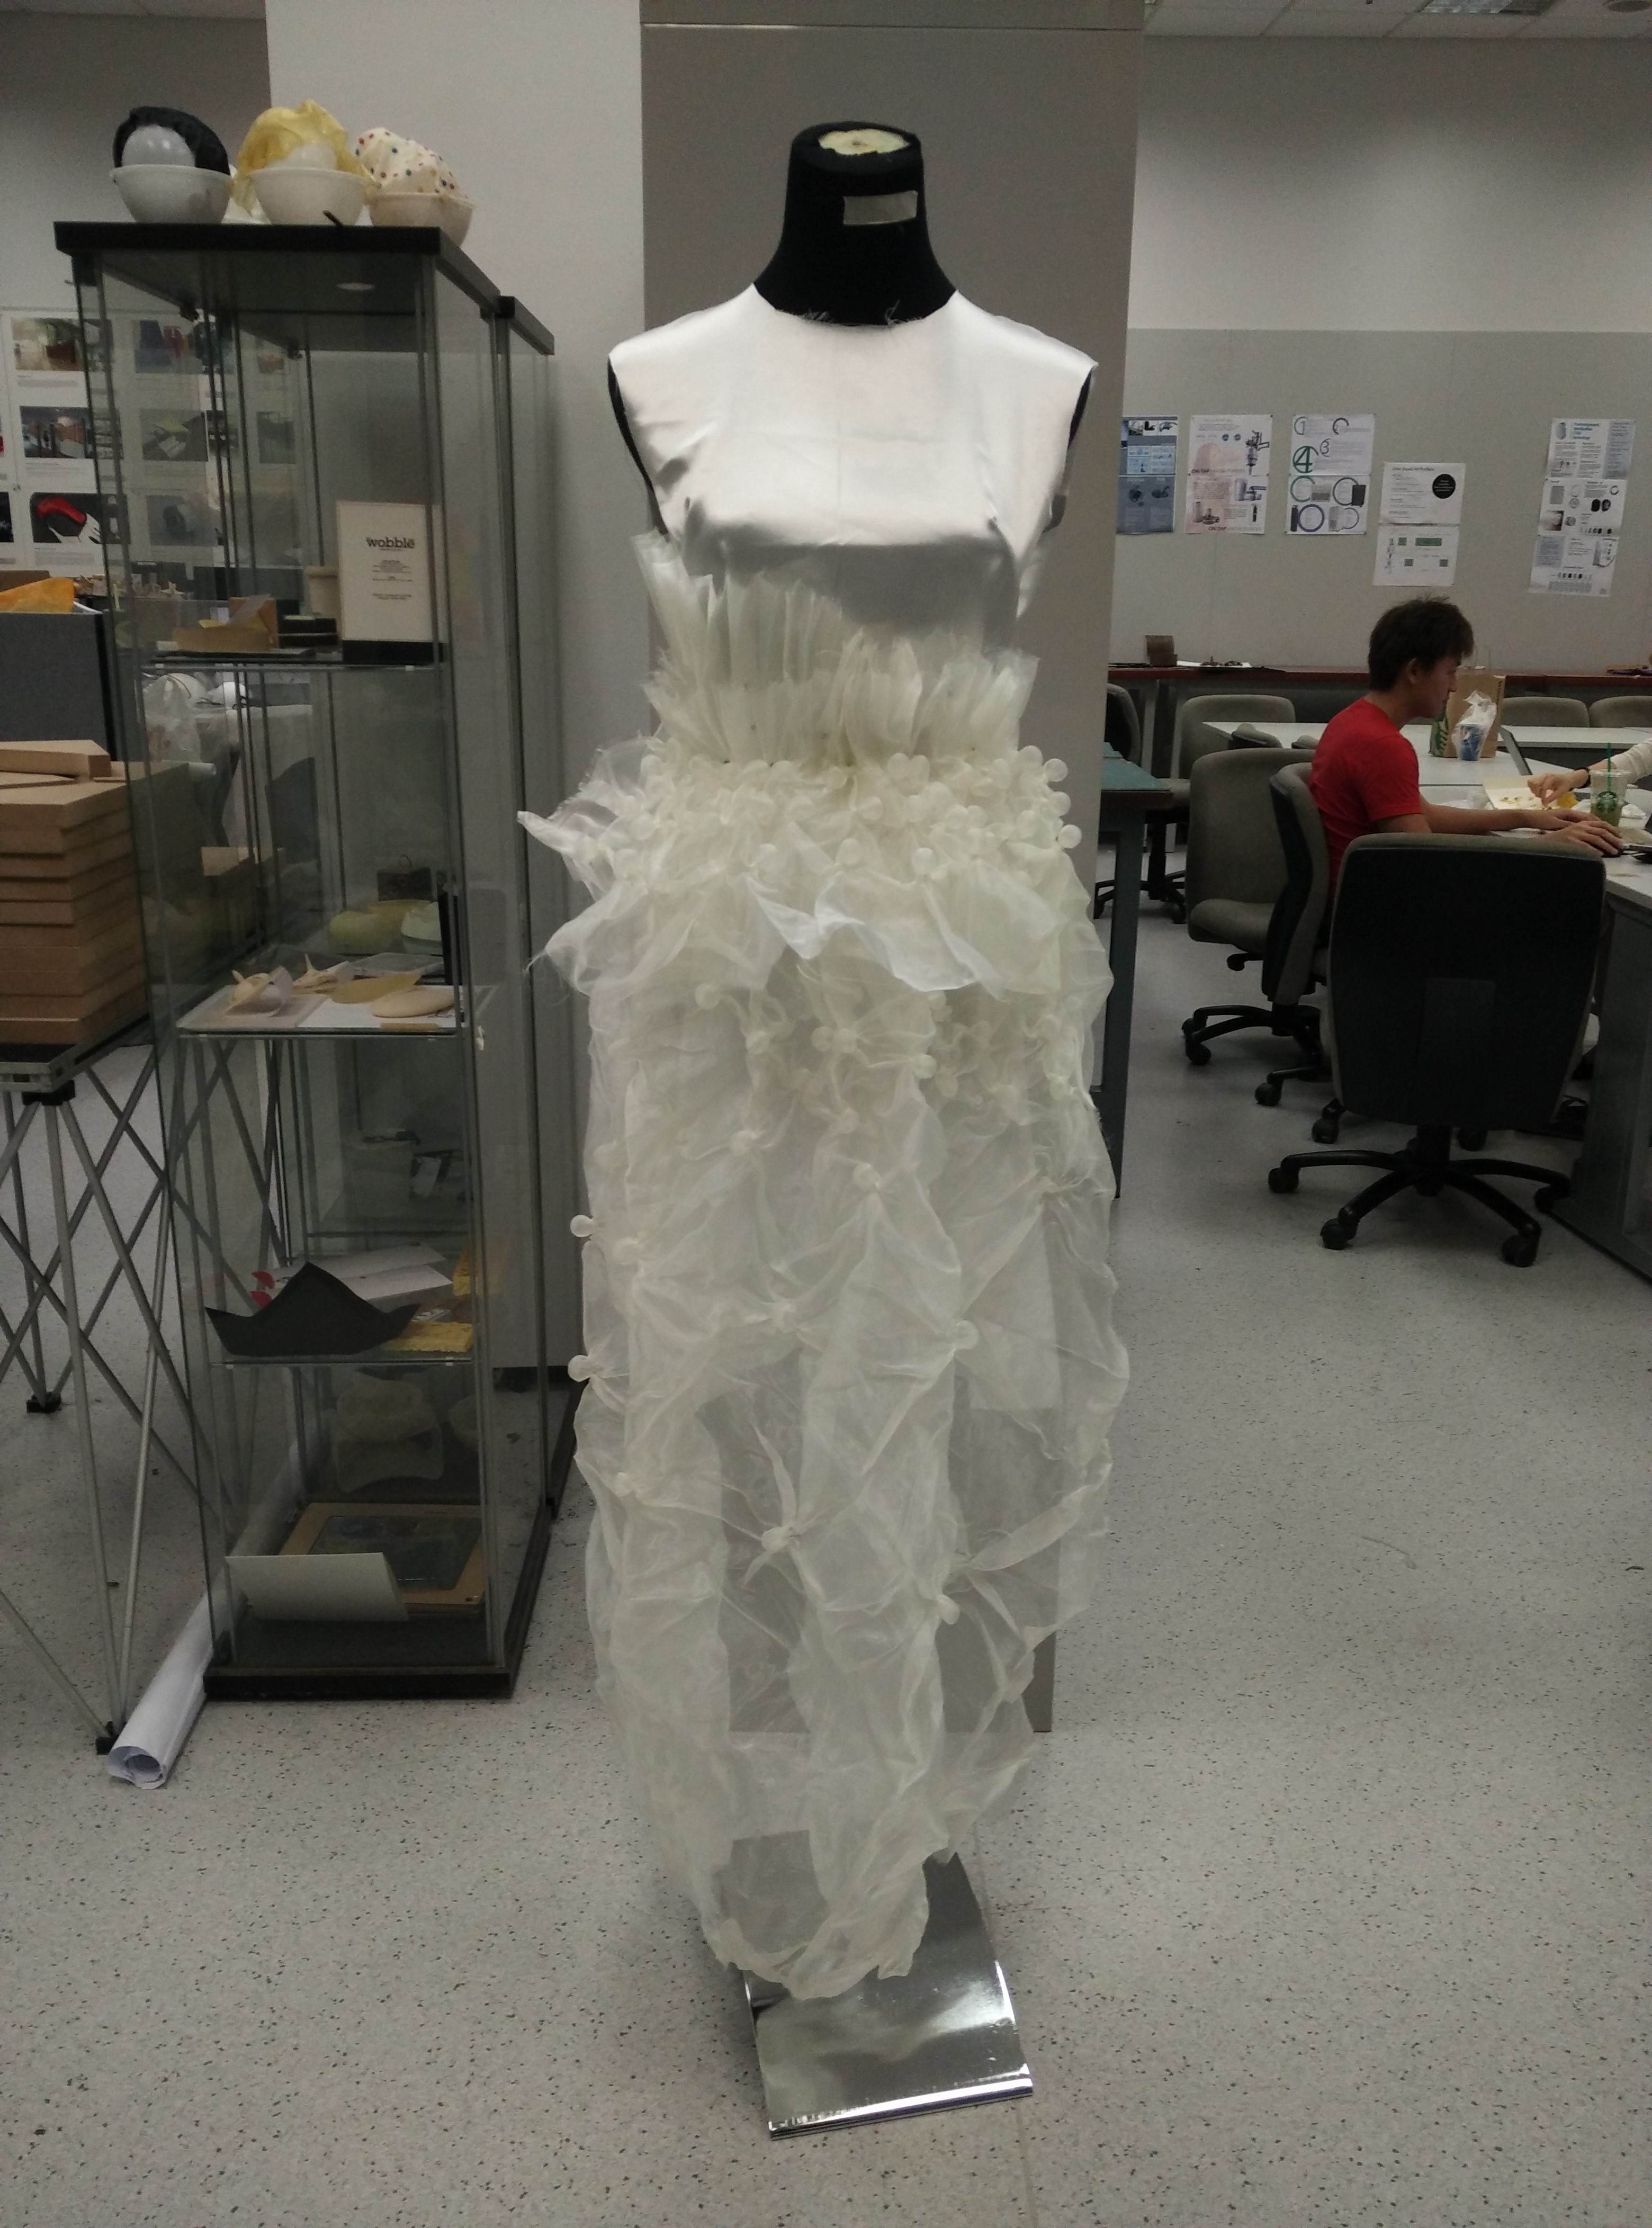
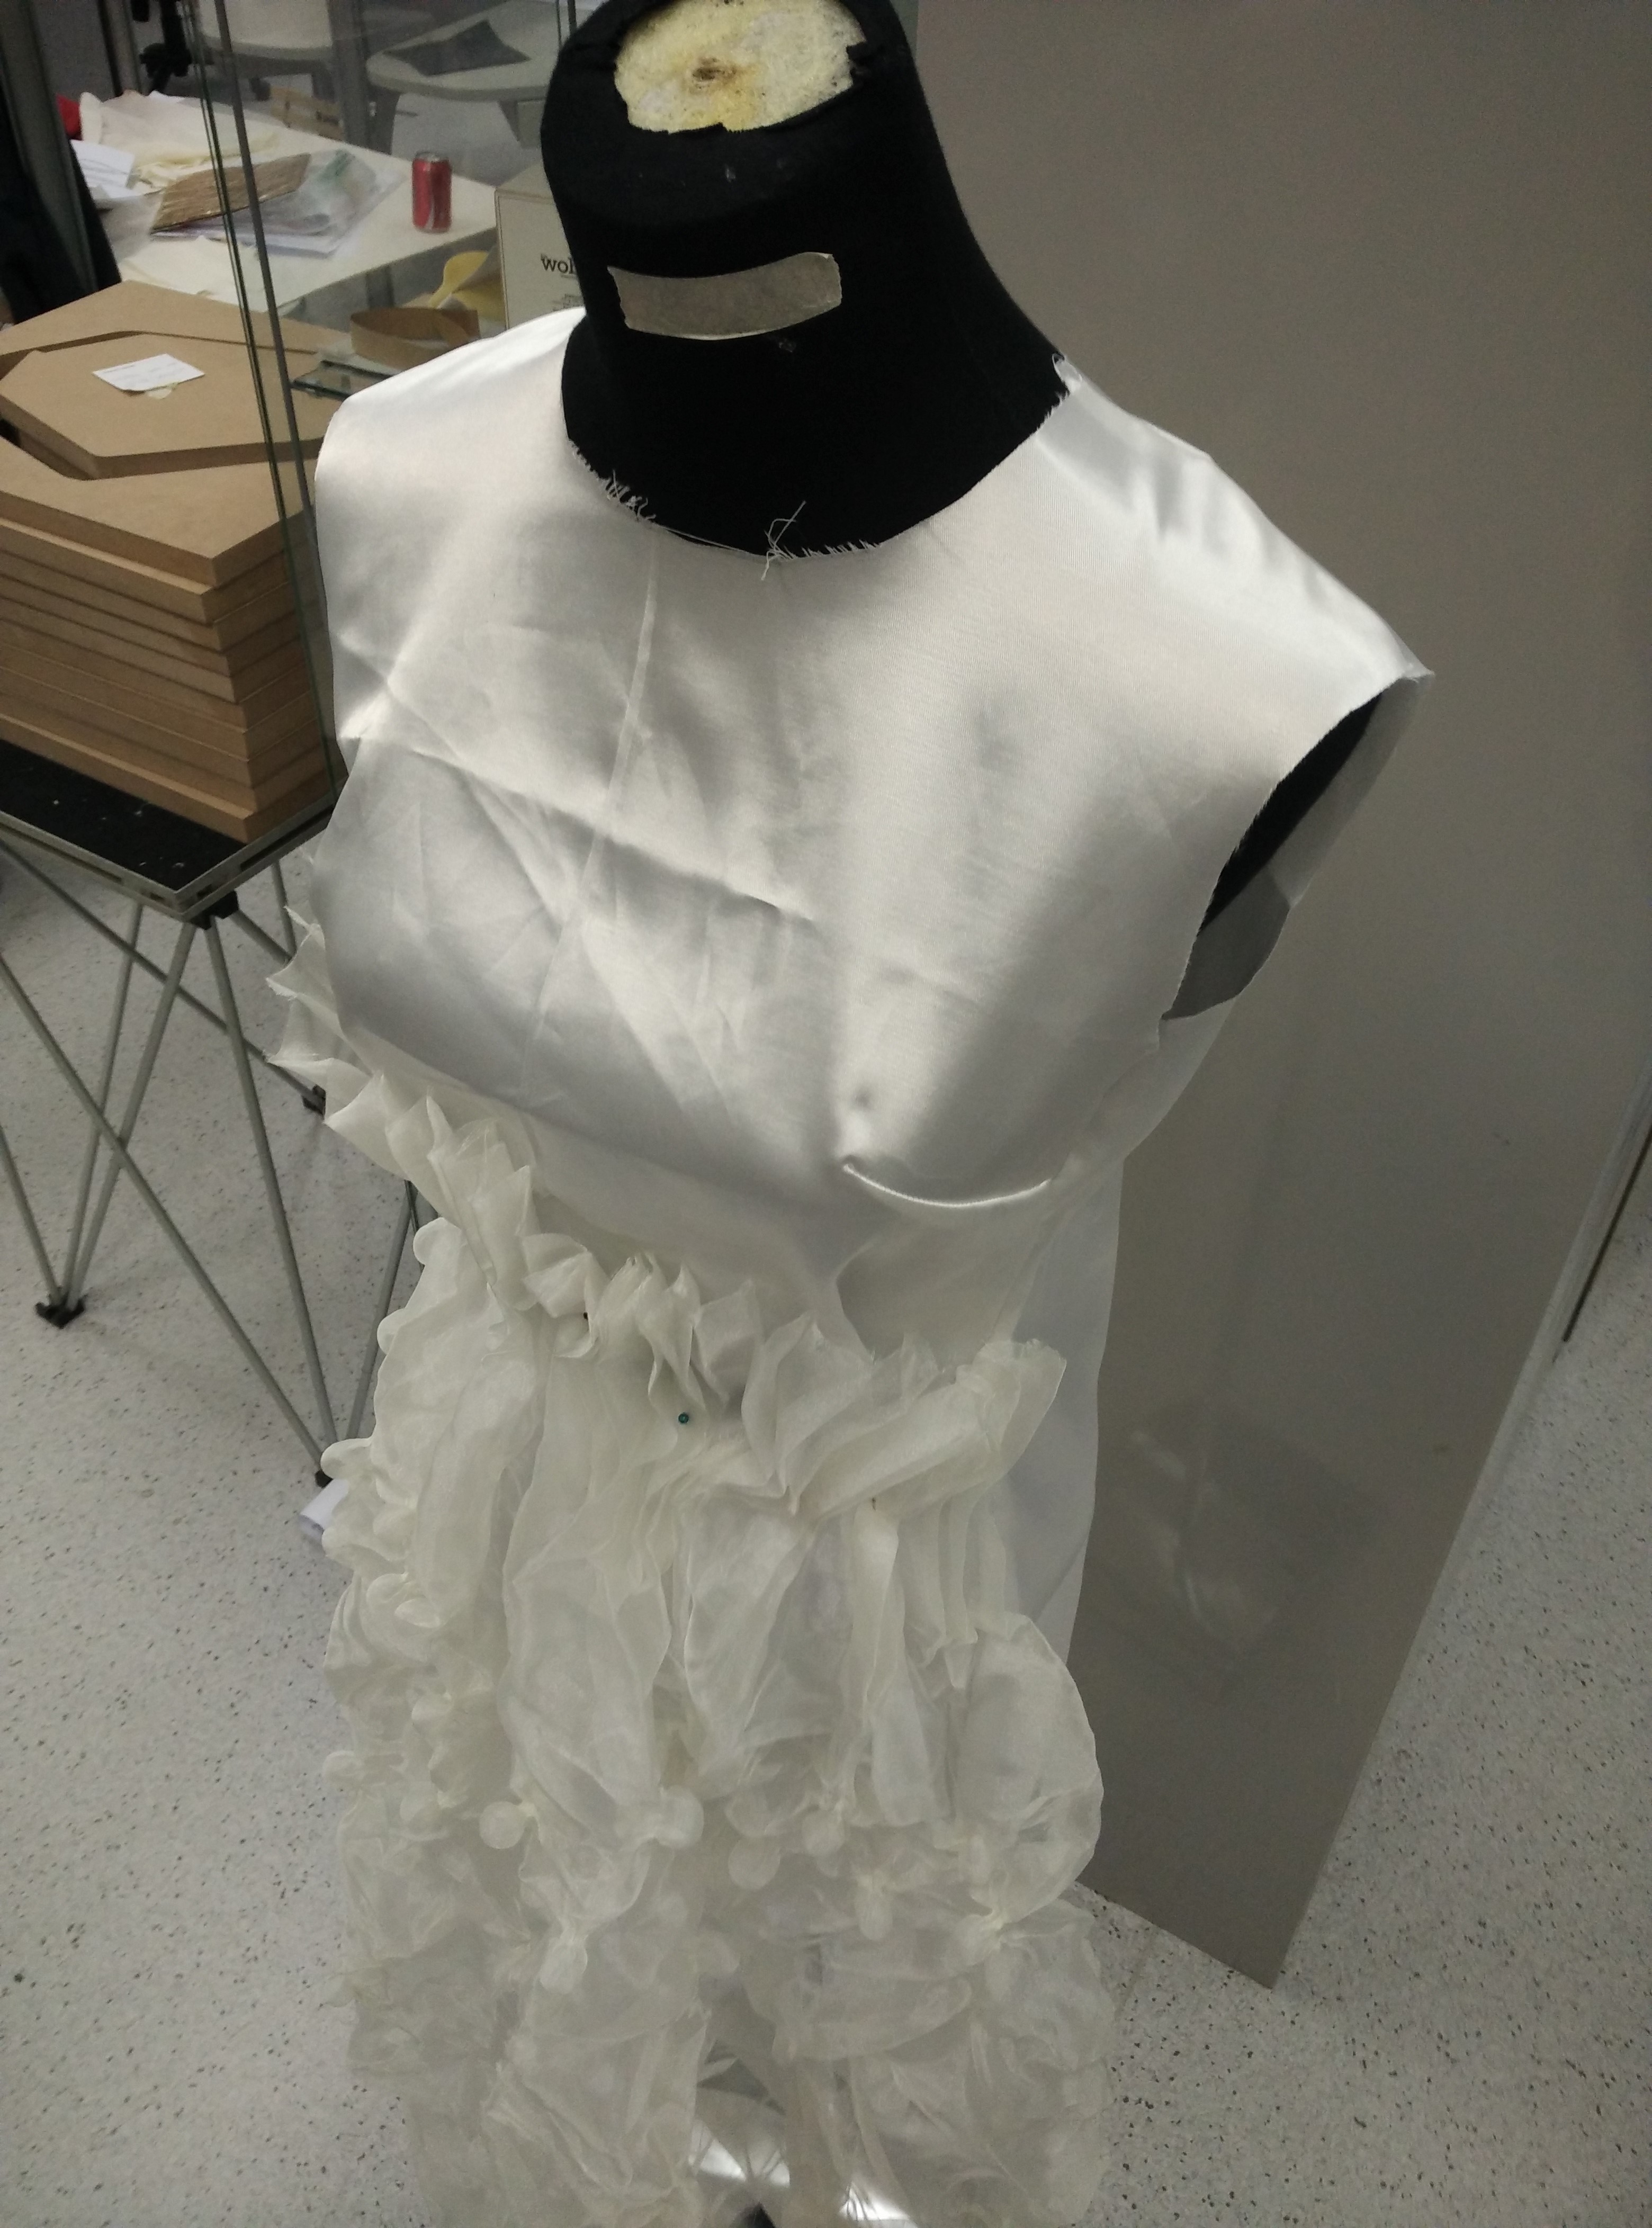
After sewing on the polyester fabric onto the top layer of the dress, I include pockets of cloth sewn onto the under layer of the dress to include the electronics in.
A run test after including the electronics
Performance – “Look at ME”
My performance starts off from a quiet chanting of “Look at me” as I make four different hand actions.
The four actions are:
moving my hands in a rotational way before me along the level of my torso (While saying “Look at me!”). when I want to project my idea to someone, my hands move outwards to convey what I mean .
raising my hands in the air and pointing at the ceiling to check if there is a roof above me or not (While saying “Look at me!”).
patting my face frantically (While saying “Look at me!”).
patting my chest frantically (While saying “Look at me!”).
Repeats actions above.
As I progress through the actions, my voice increases in volume. I become more agitated and dramatic in my actions, such that my actions no longer follow an order and I start pulling at my hair.
Crazy impression made by flipping and messing up my hair. Reference photograph by Charlene, Illustration by Ong Xin Hong
At my craziest moment, I suddenly become quiet and stand at the middle of the room/ space while I comb through my hair. The action of combing my hair represents distraction, frustration and anxiousness – “Oh no, I lost so much hair!
To embark on our project on wearable technology, I went to buy cloths and electronics.
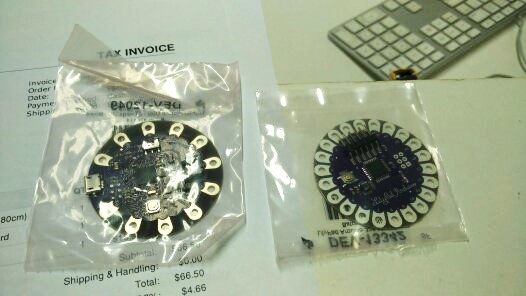
Choosing the necessary electronics
I had to choose between two types of lilypad main boards, one with USB port for charging and programming and another without the ports but with more holes. I decided to get the one with the ports so I don’t need to buy additional components, such as the ports.
Other electronics I bought include an infrared sensor, RGB LED and conductive thread.
Choosing between two Lilypads
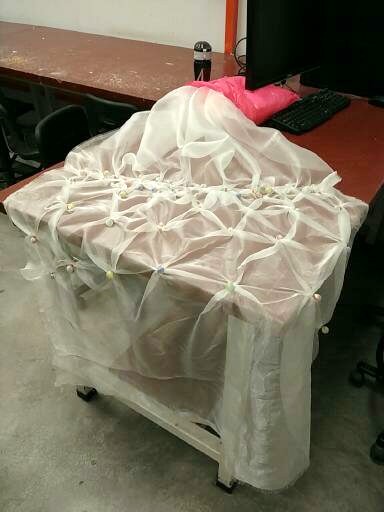
Creating textures on the surface of polyester fabric
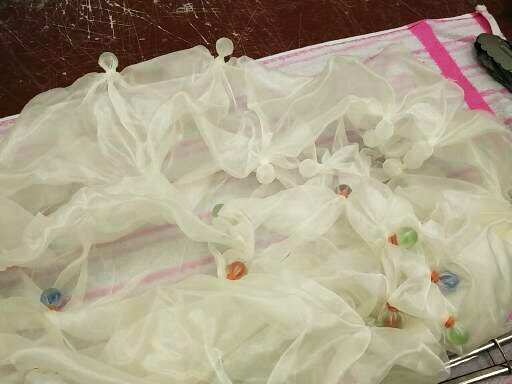
First, I tie marbles with the polyester fabric.
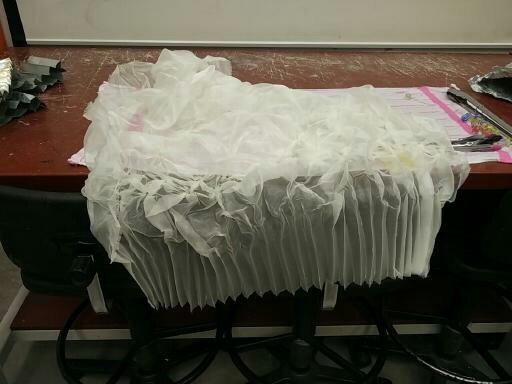
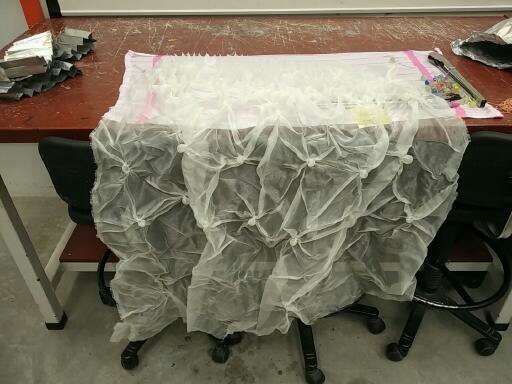
End product with three dimensional objects (marbles and pleating made with aluminium foils) attach onto the polyester fabric.
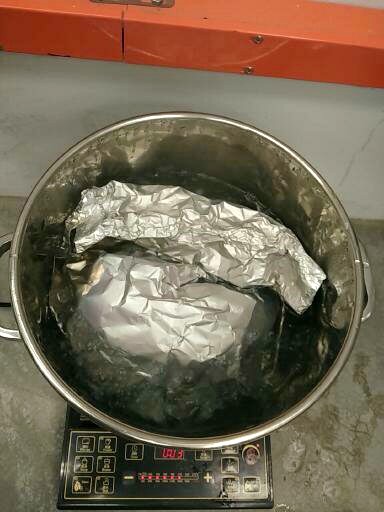
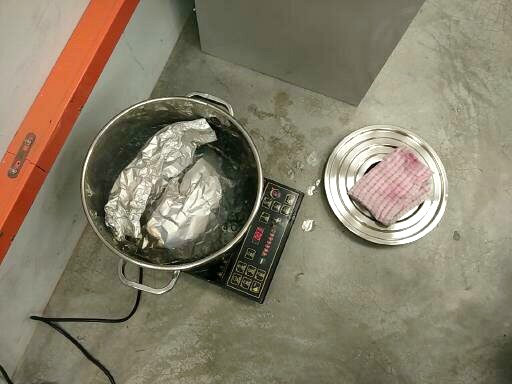
Next, I wrap the fabric with the marbles in aluminium foil (like the roast chicken in NTUC) and place it in a pot to boil for about 45 minutes.
After 45 minutes, I flip open the lid of the pot to check if the fabric have change its form under heat. Apparently, it was loose. So I place it back to boil for a second time (about another 30 minutes).
After the second boiling, I take out the fabric using tongs and place it on top of a towel to cool.When the fabric has cooled, I remove all the marbles and aluminium foils.
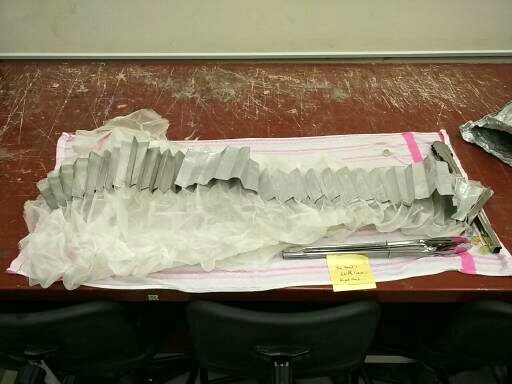
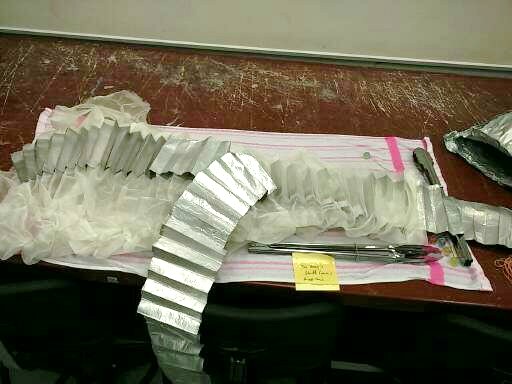
Removing the aluminum foil to reveal the pleated fabricPleated fabric
Pleated fabric
I let the fabric dry under room temperature.
A second piece I made which is smaller than the first one.
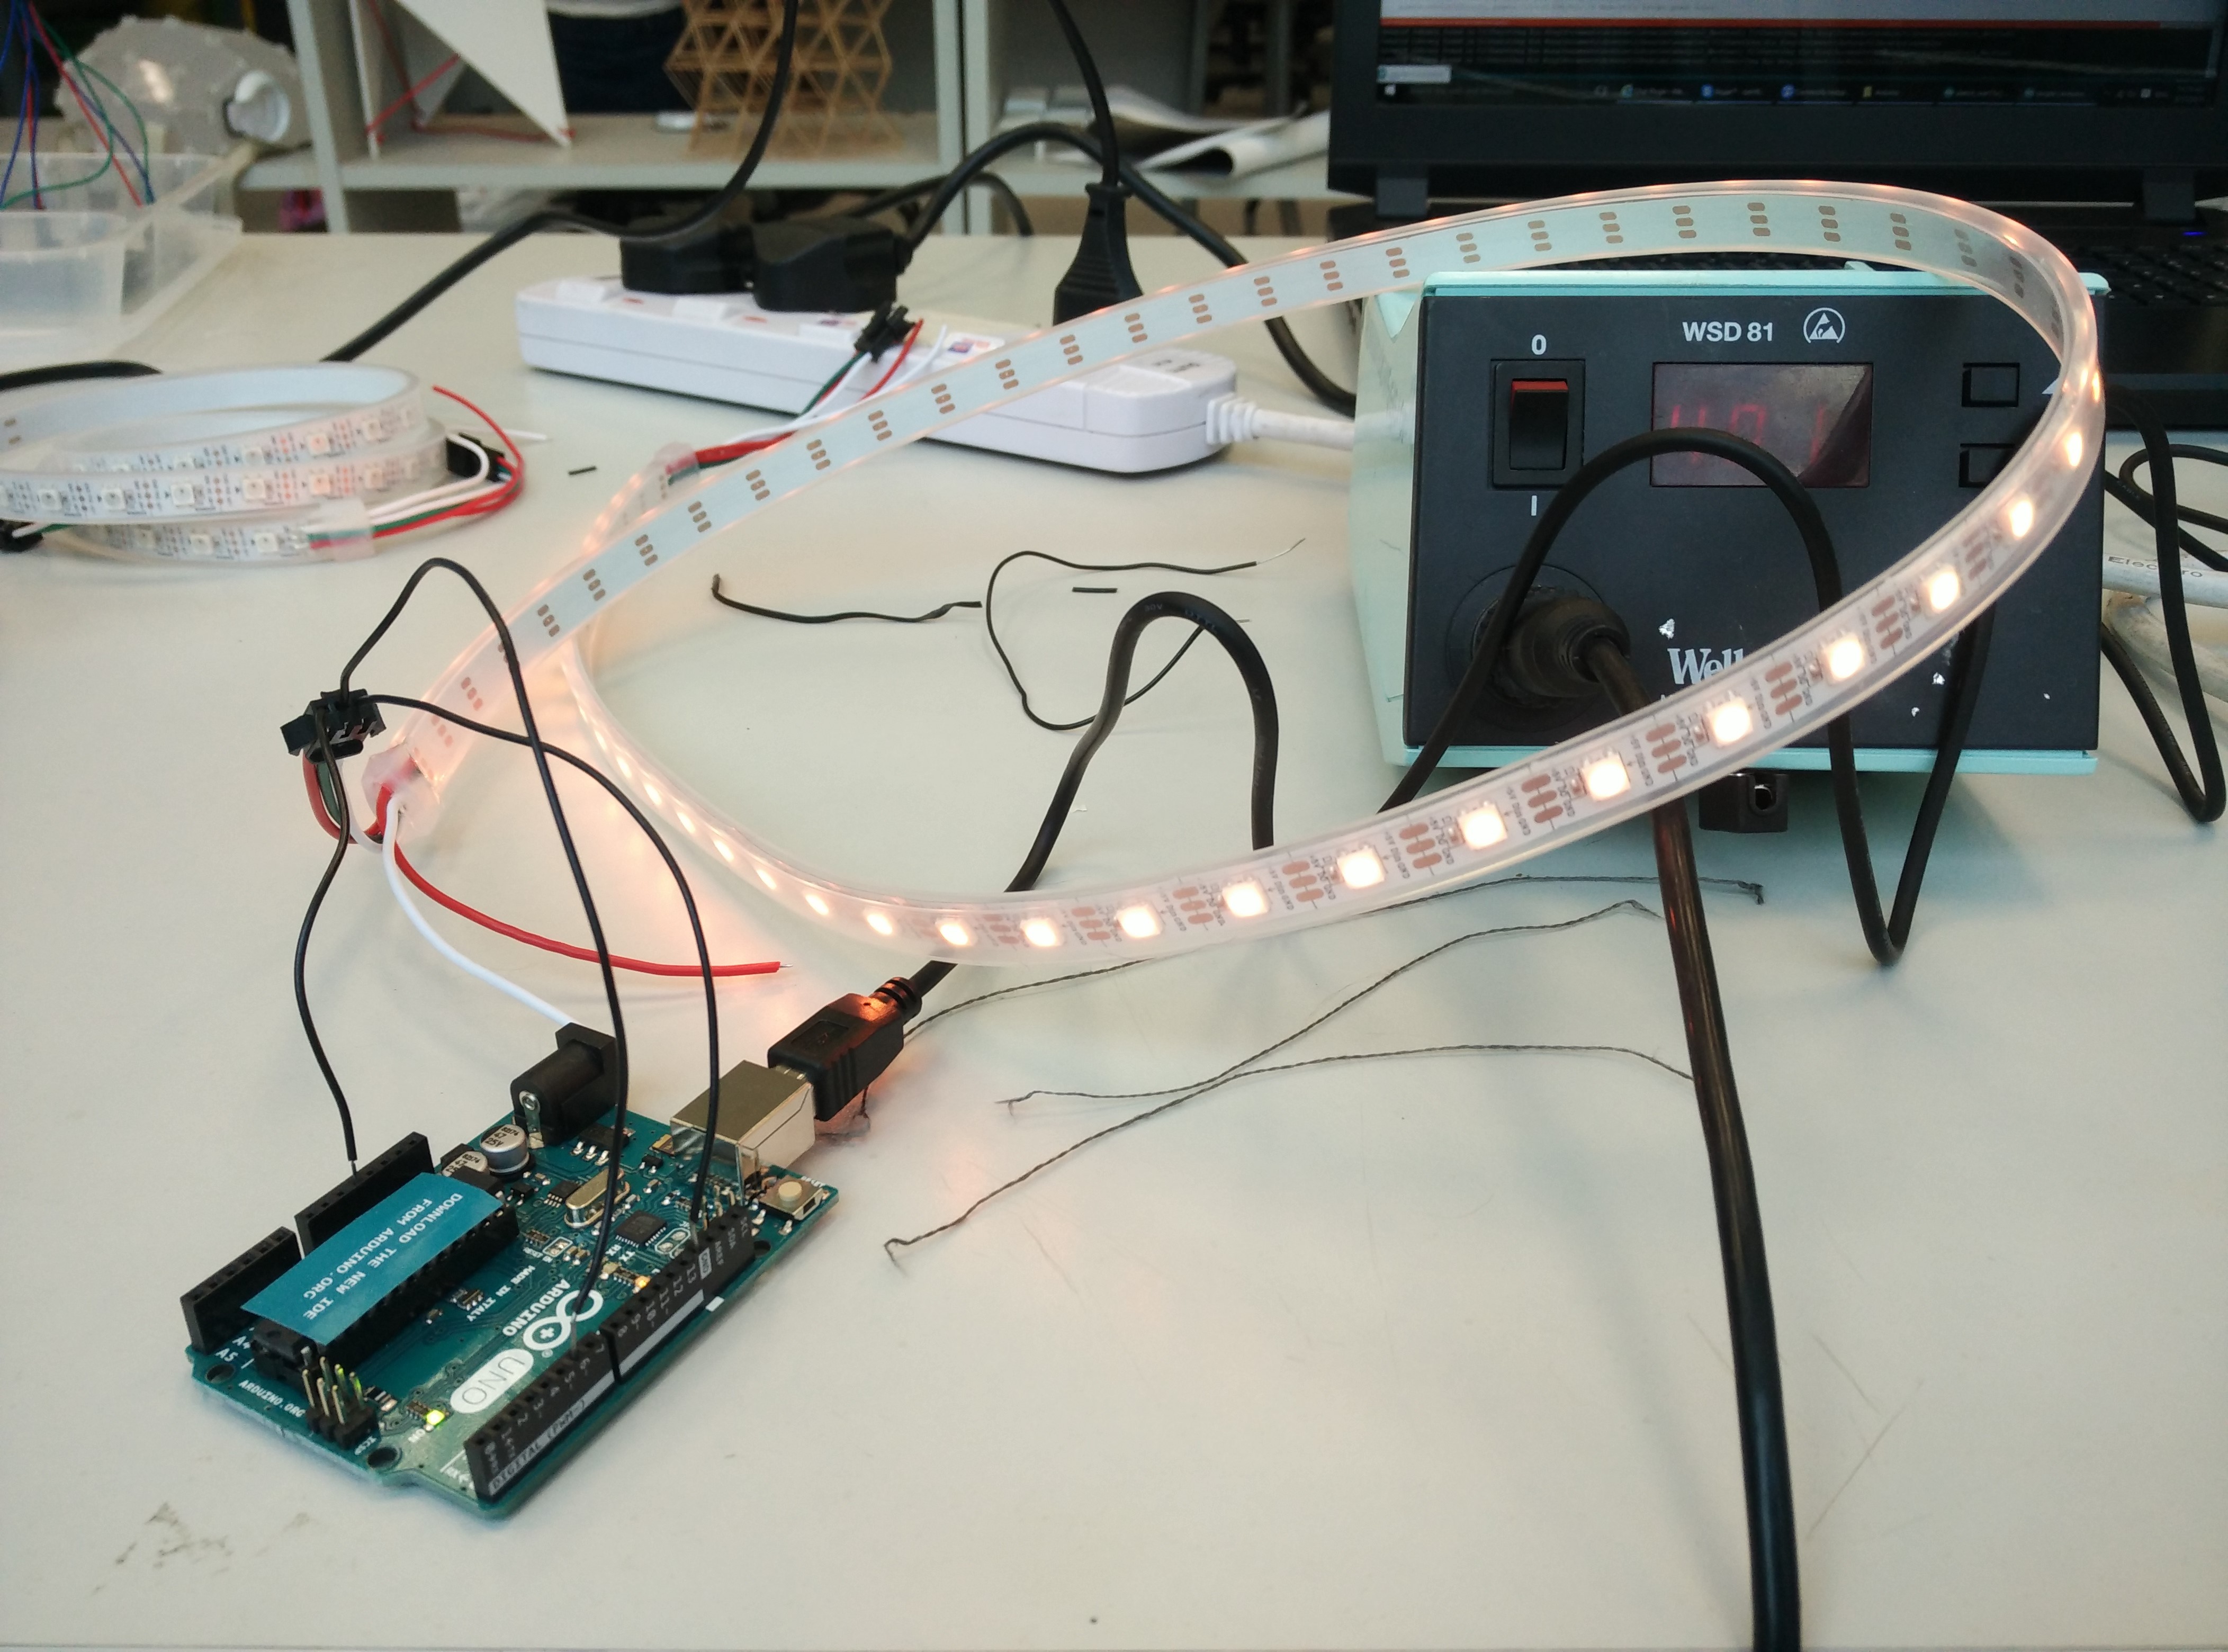
Testing the RGB LED with Arduino Uno using conductive threads: Apparently, the light did not light up when I used the conductive thread in replacement of wires…more testing with soldering needs to be done.
Changing the colour of the lights by working between the numbers 0 to 255 on the RGB colour codes using Arduino programming kit (refer to RGB colour codes chart). To do so, you have to download and install Adafruit_neopixel.
Credits to Nagar, Kamaru, and Randall for guidance.