MODULAR CONSTRUCTION: FINAL ASSIGNMENT

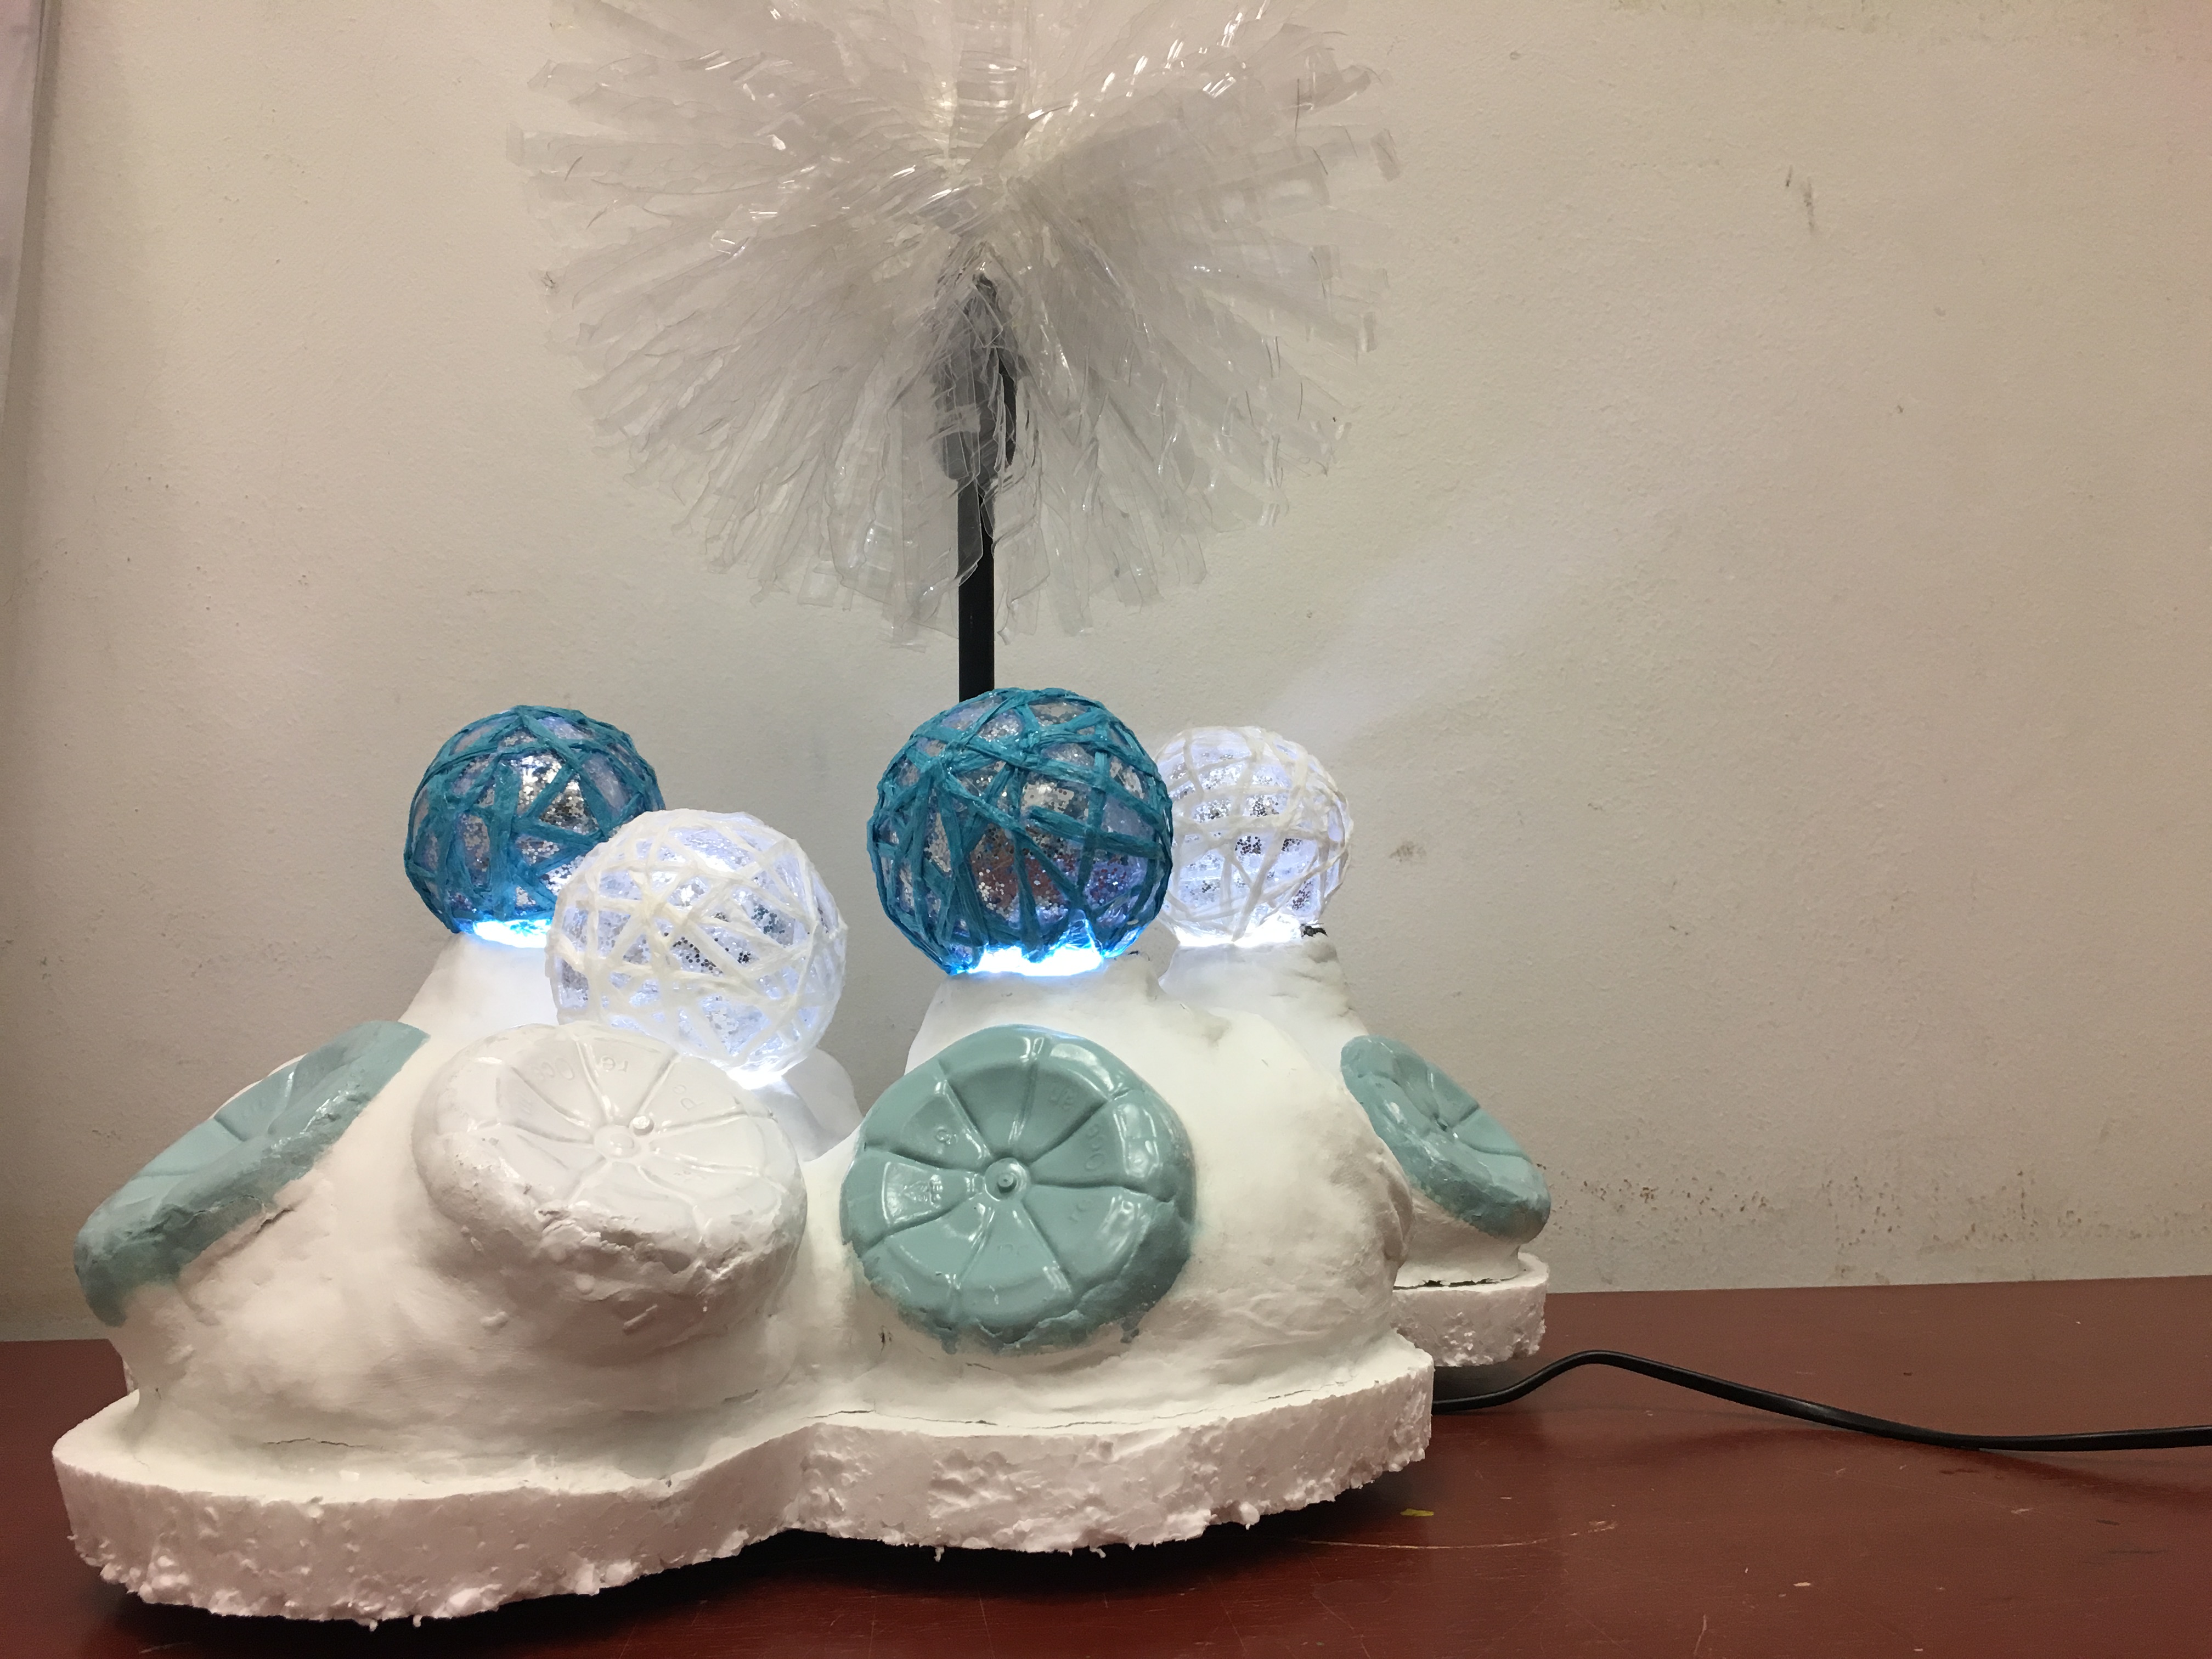
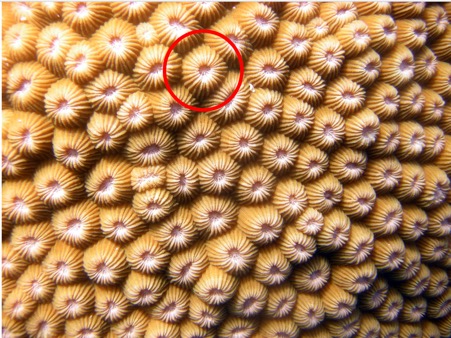
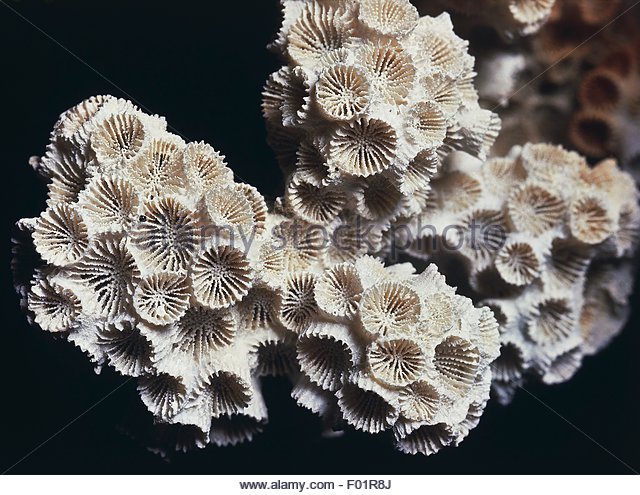
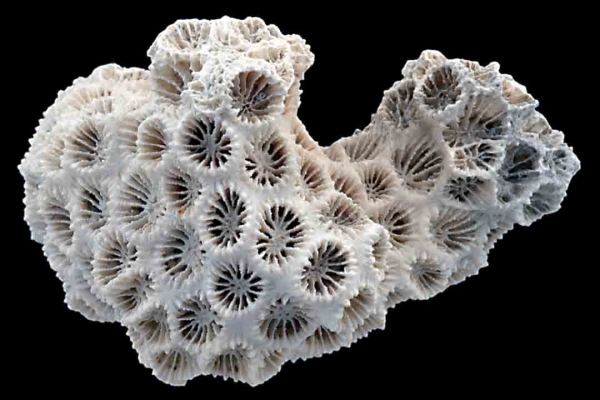
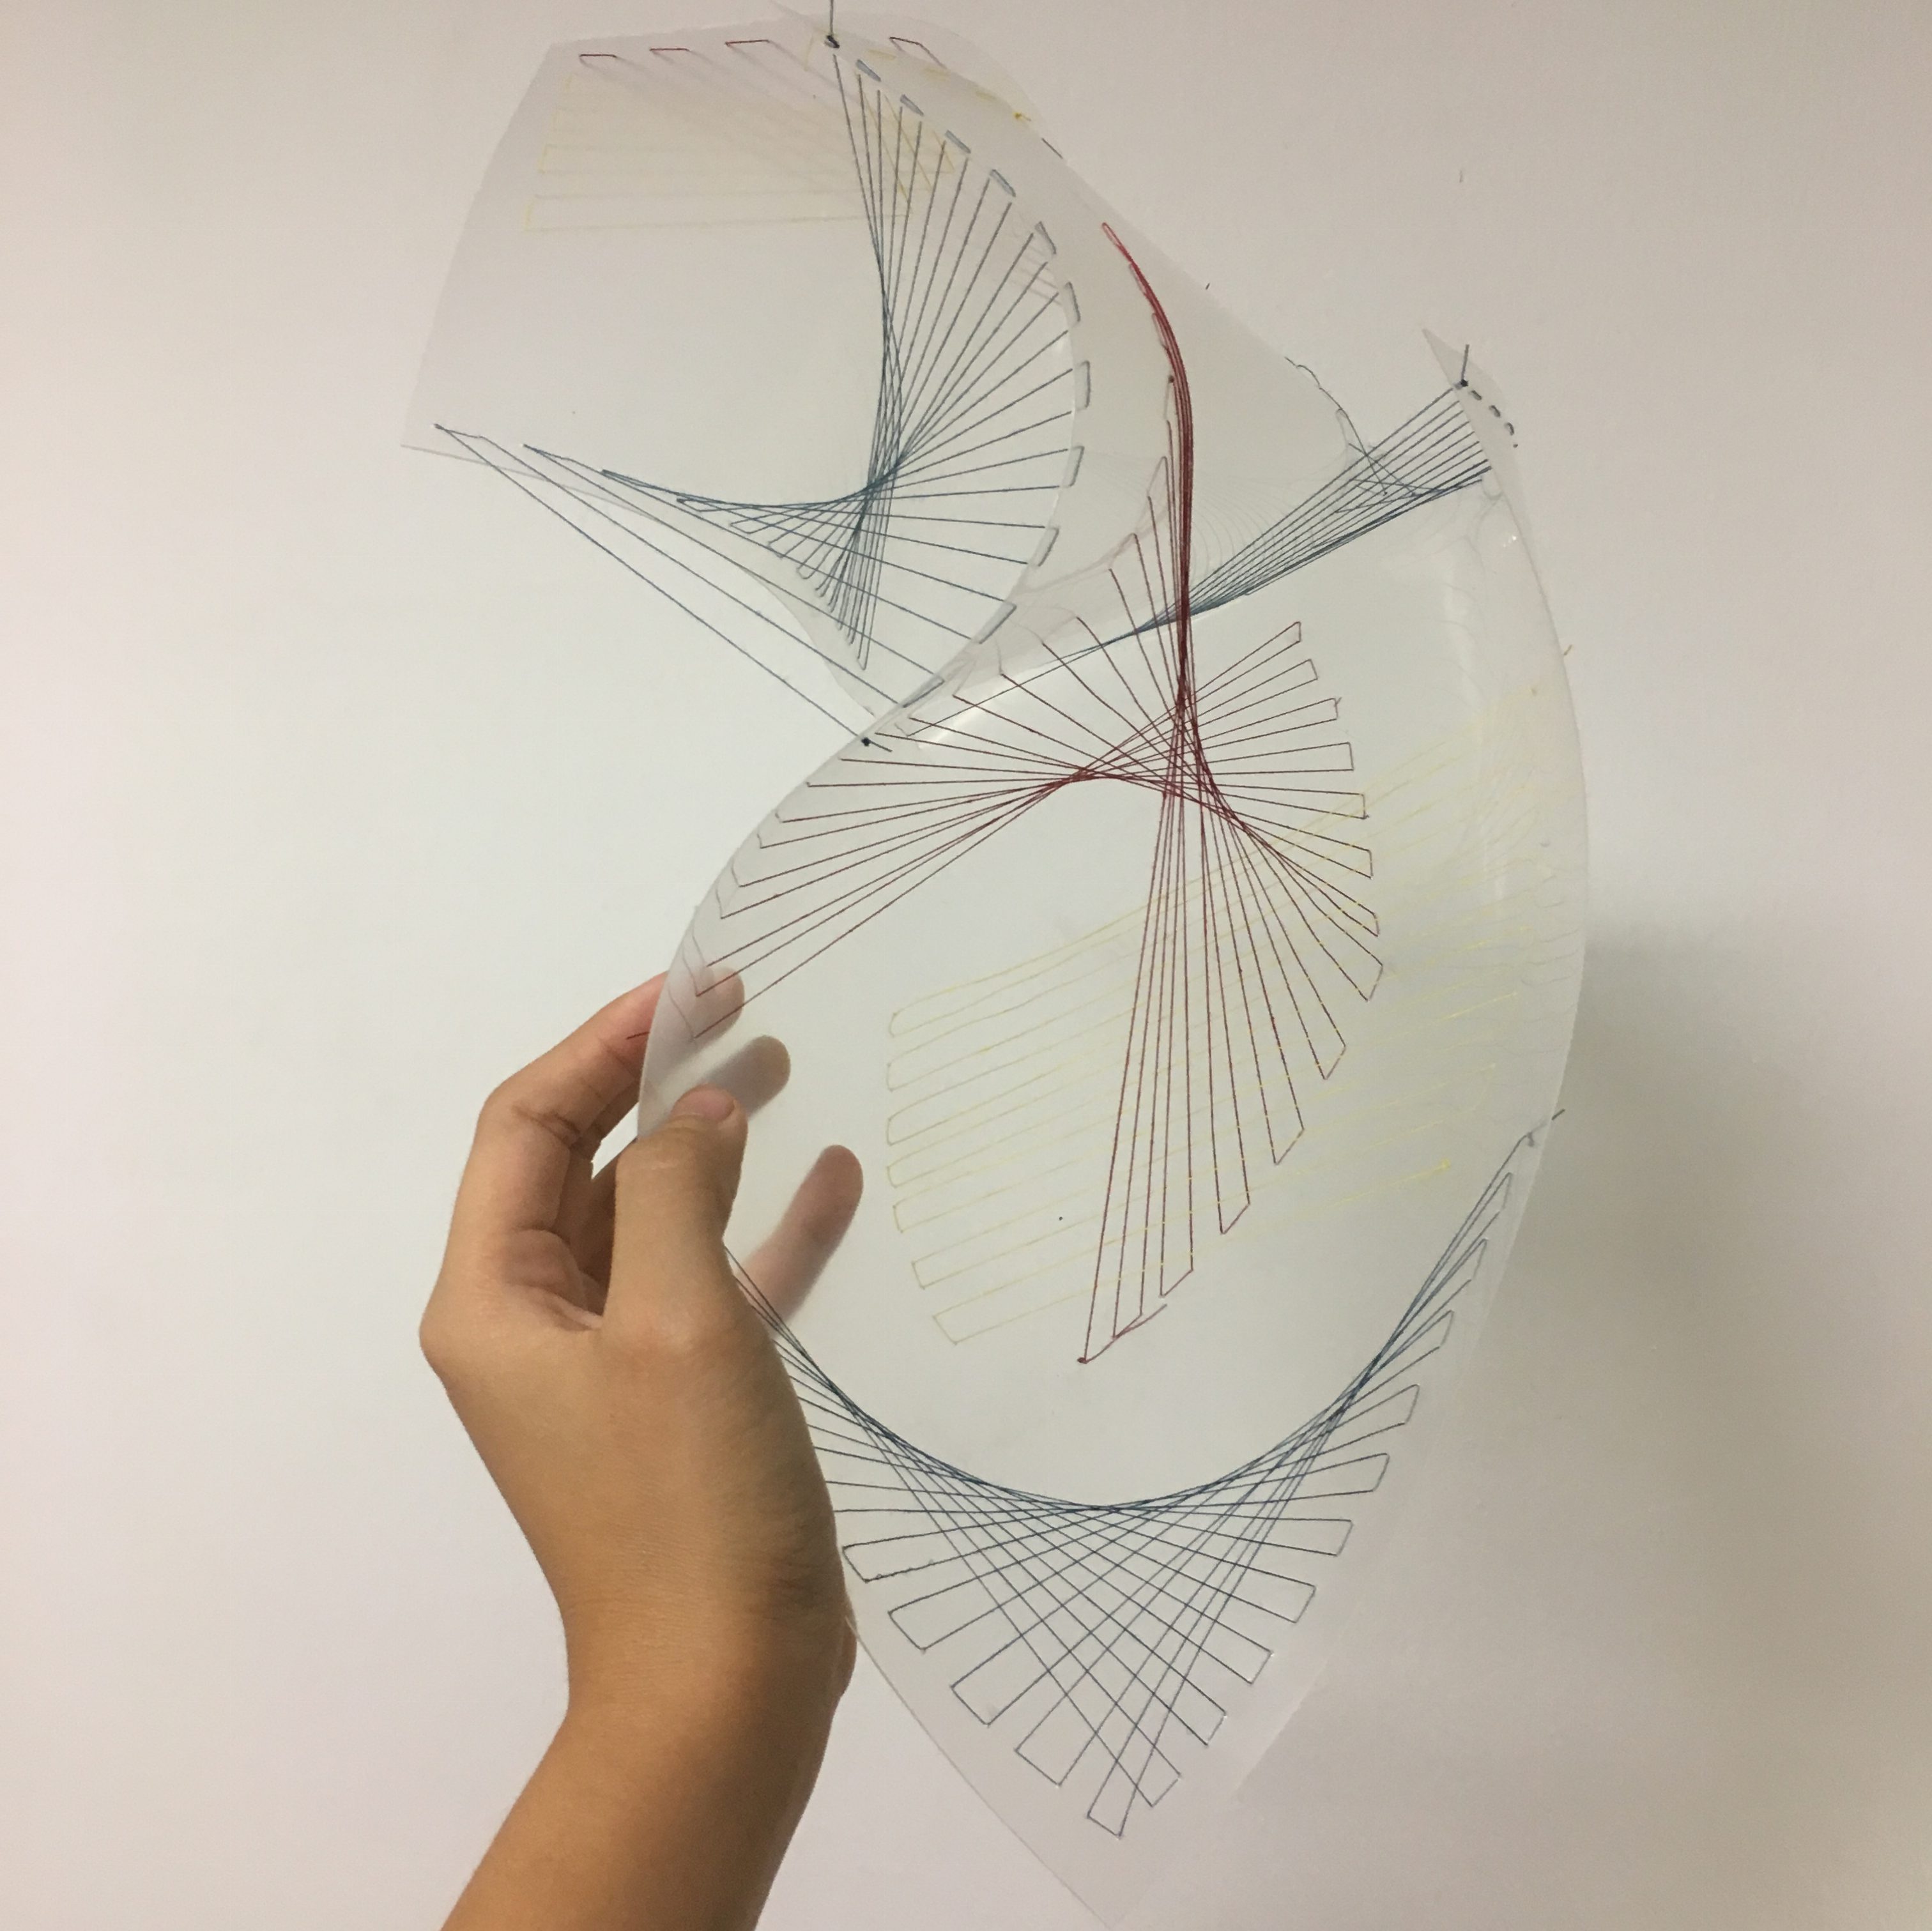
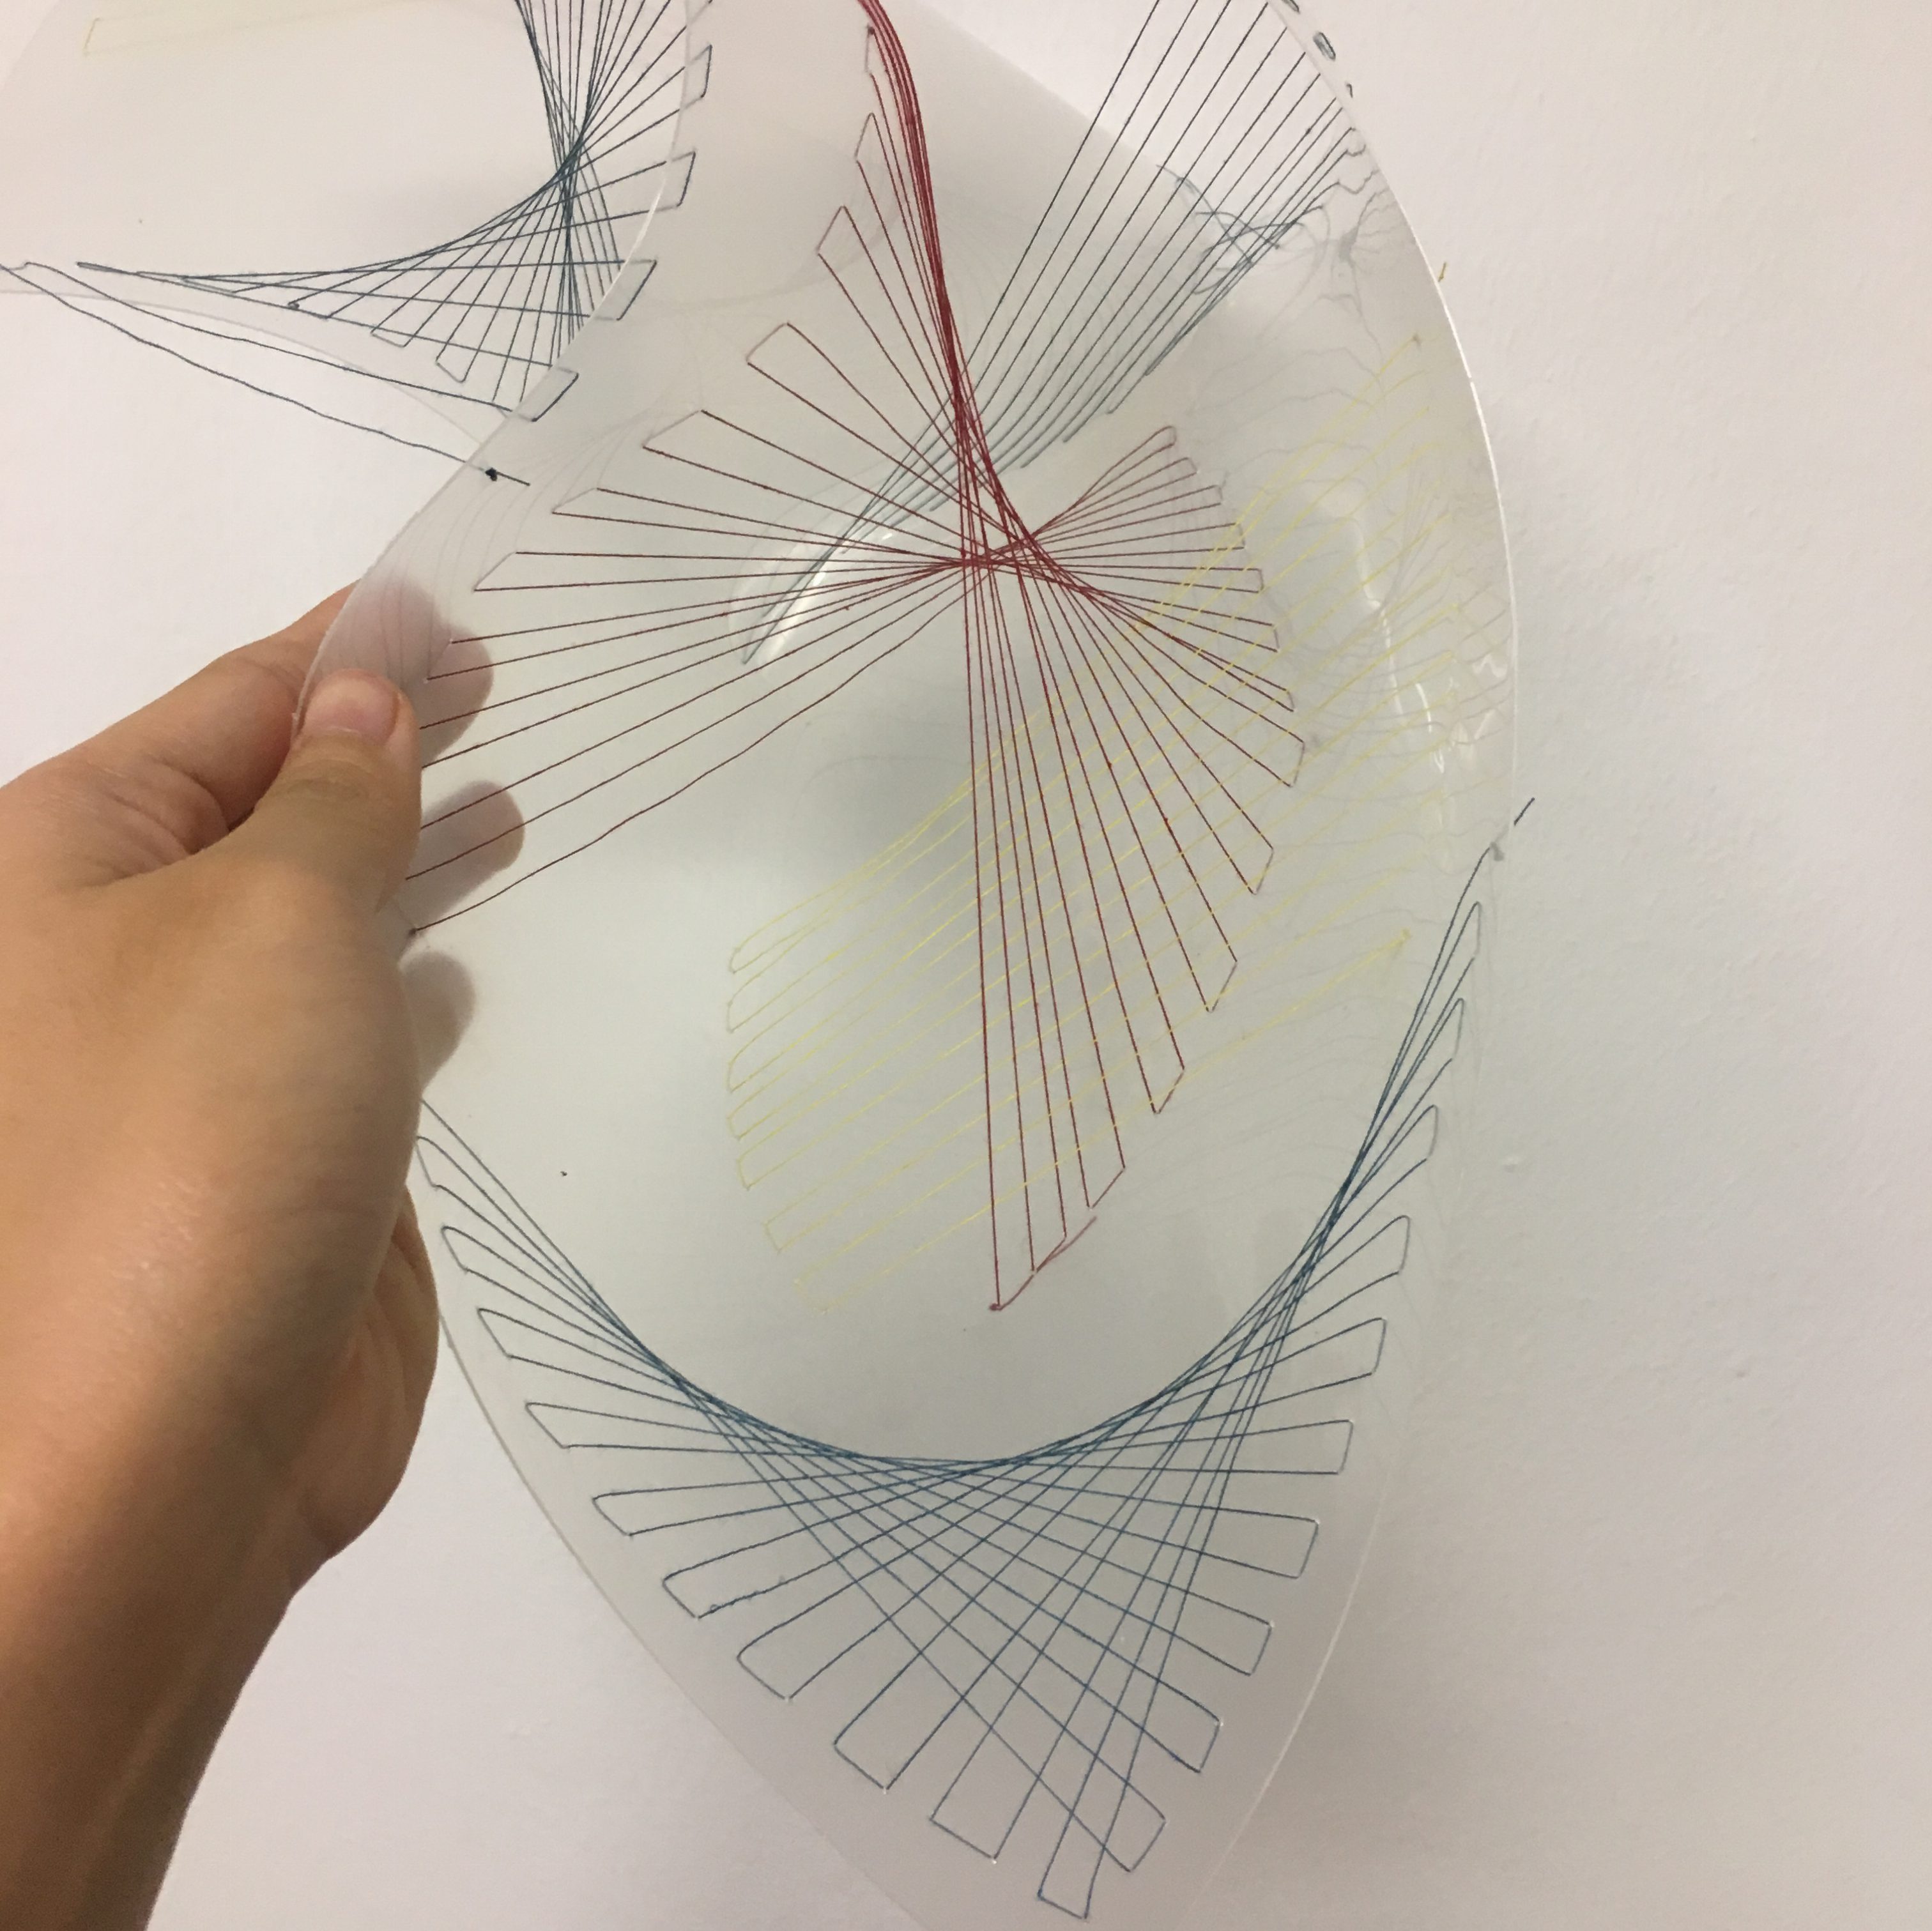
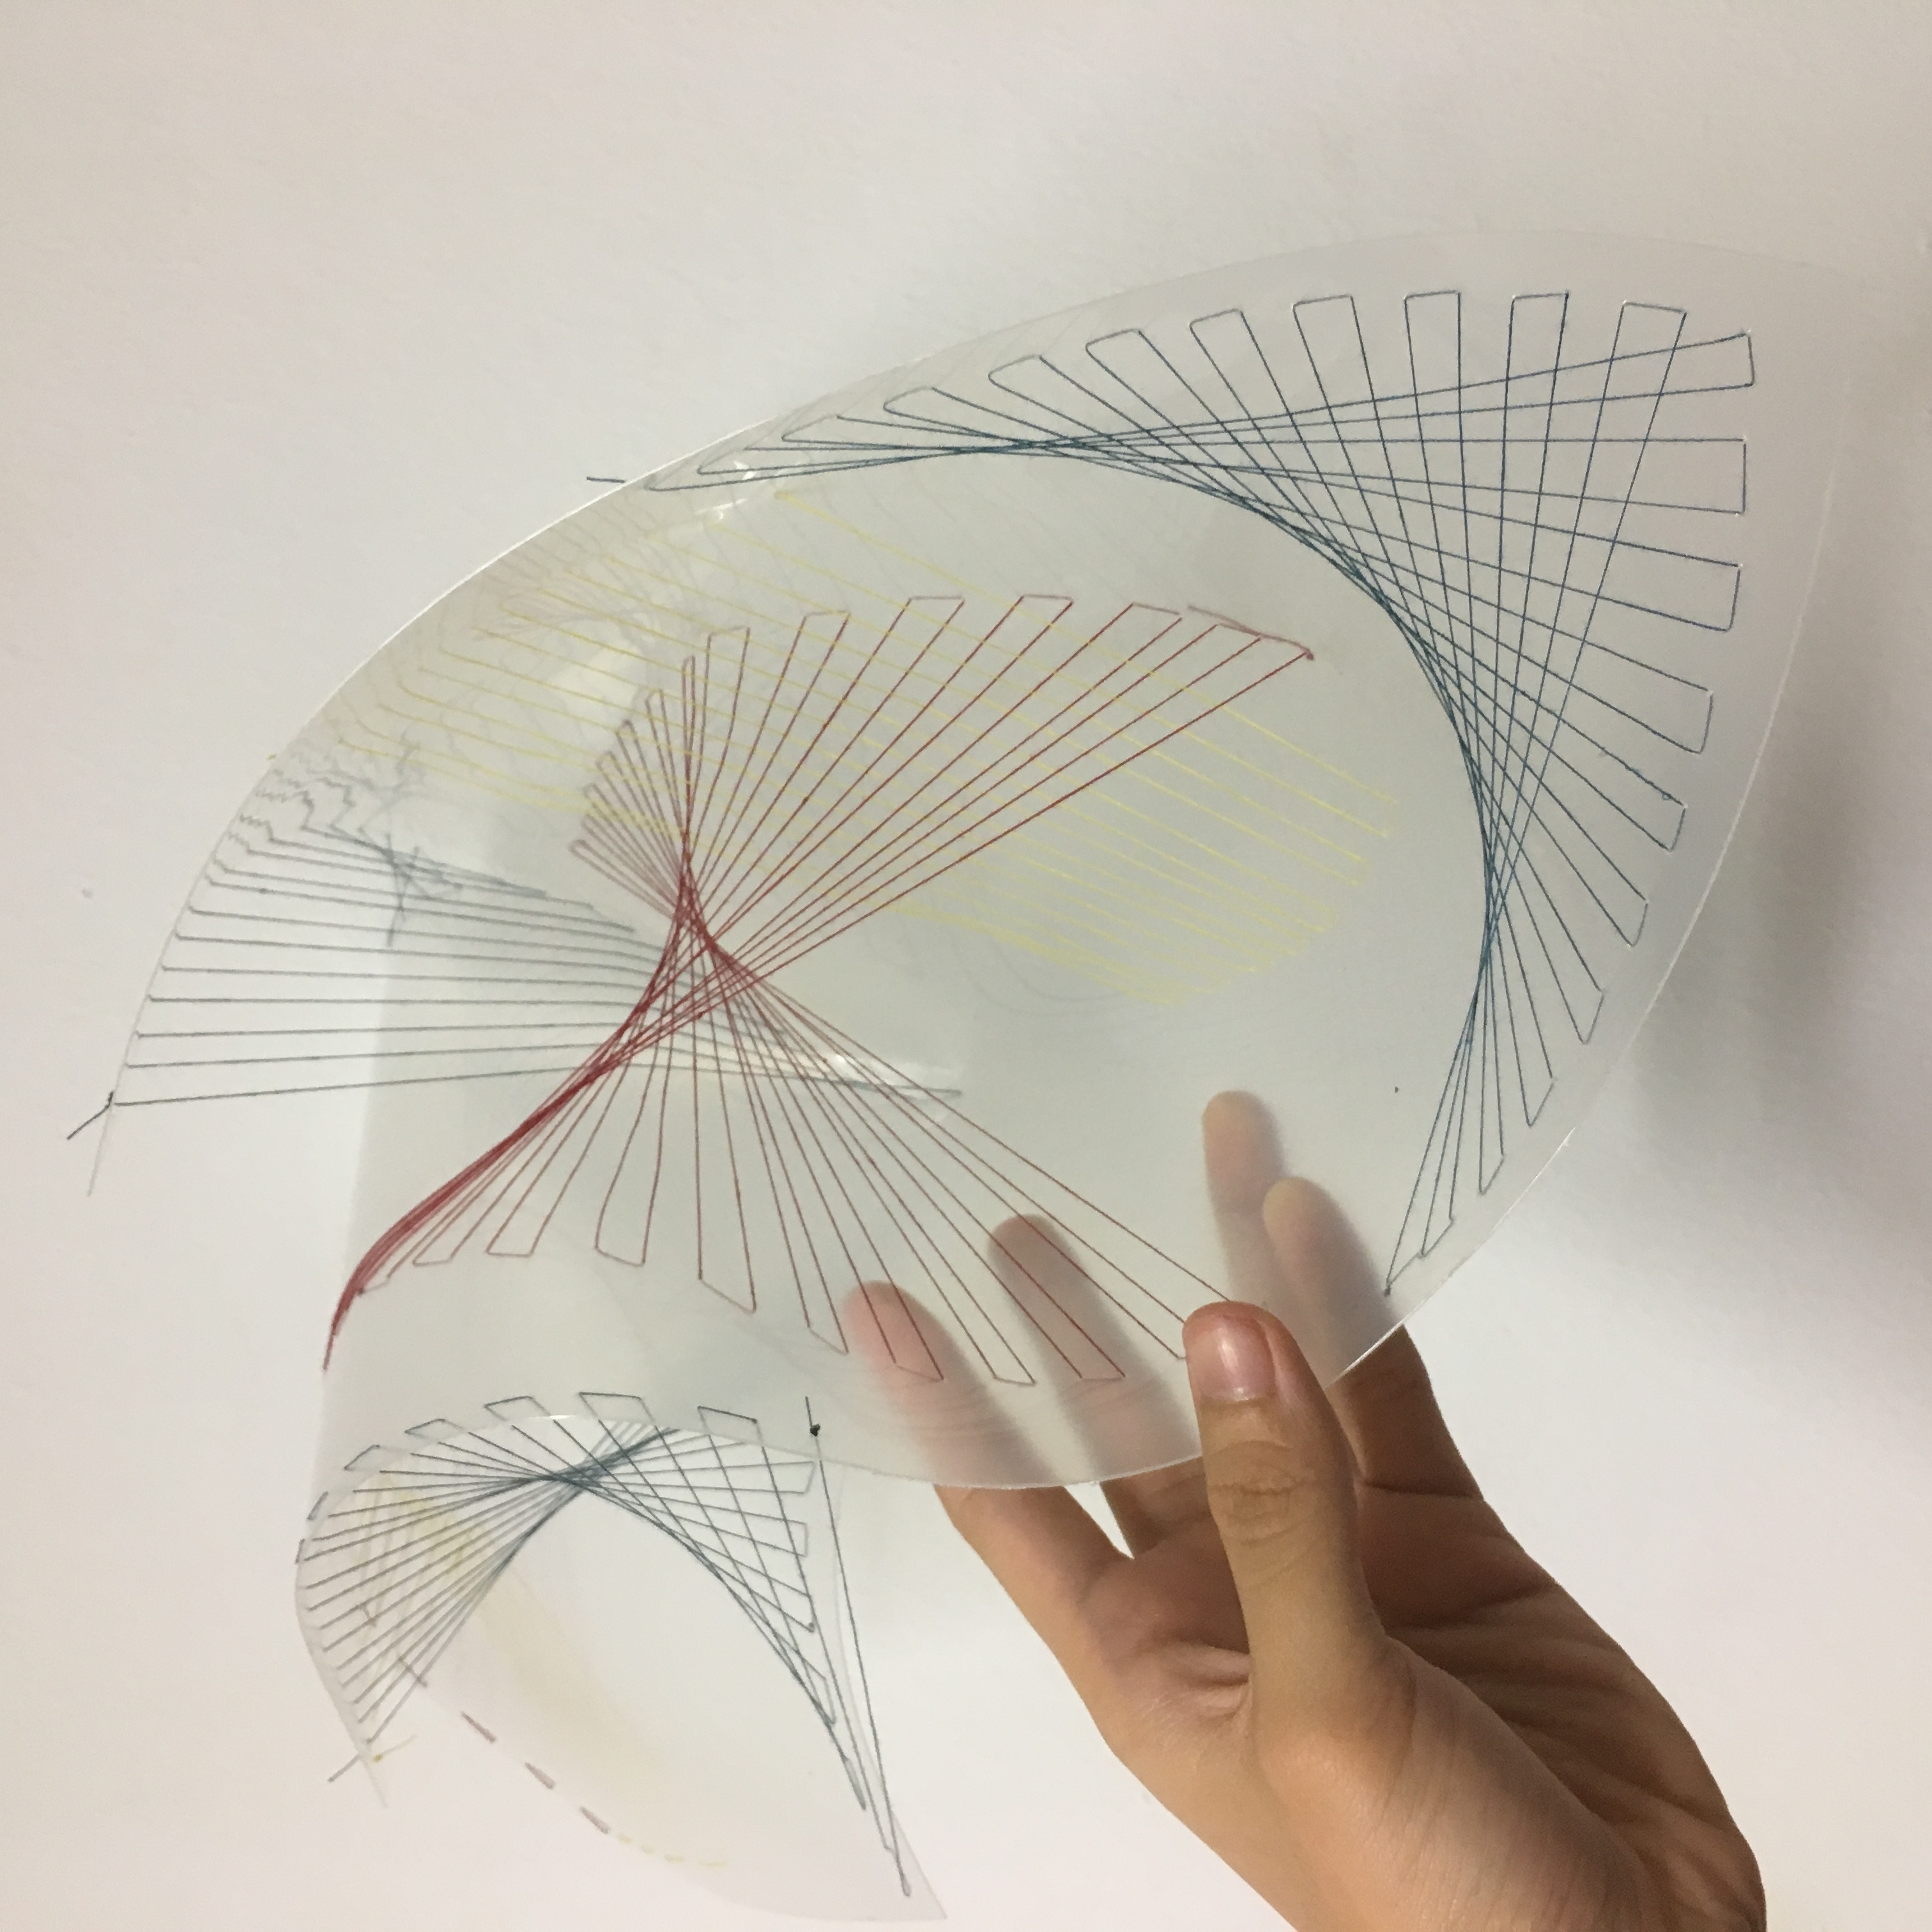
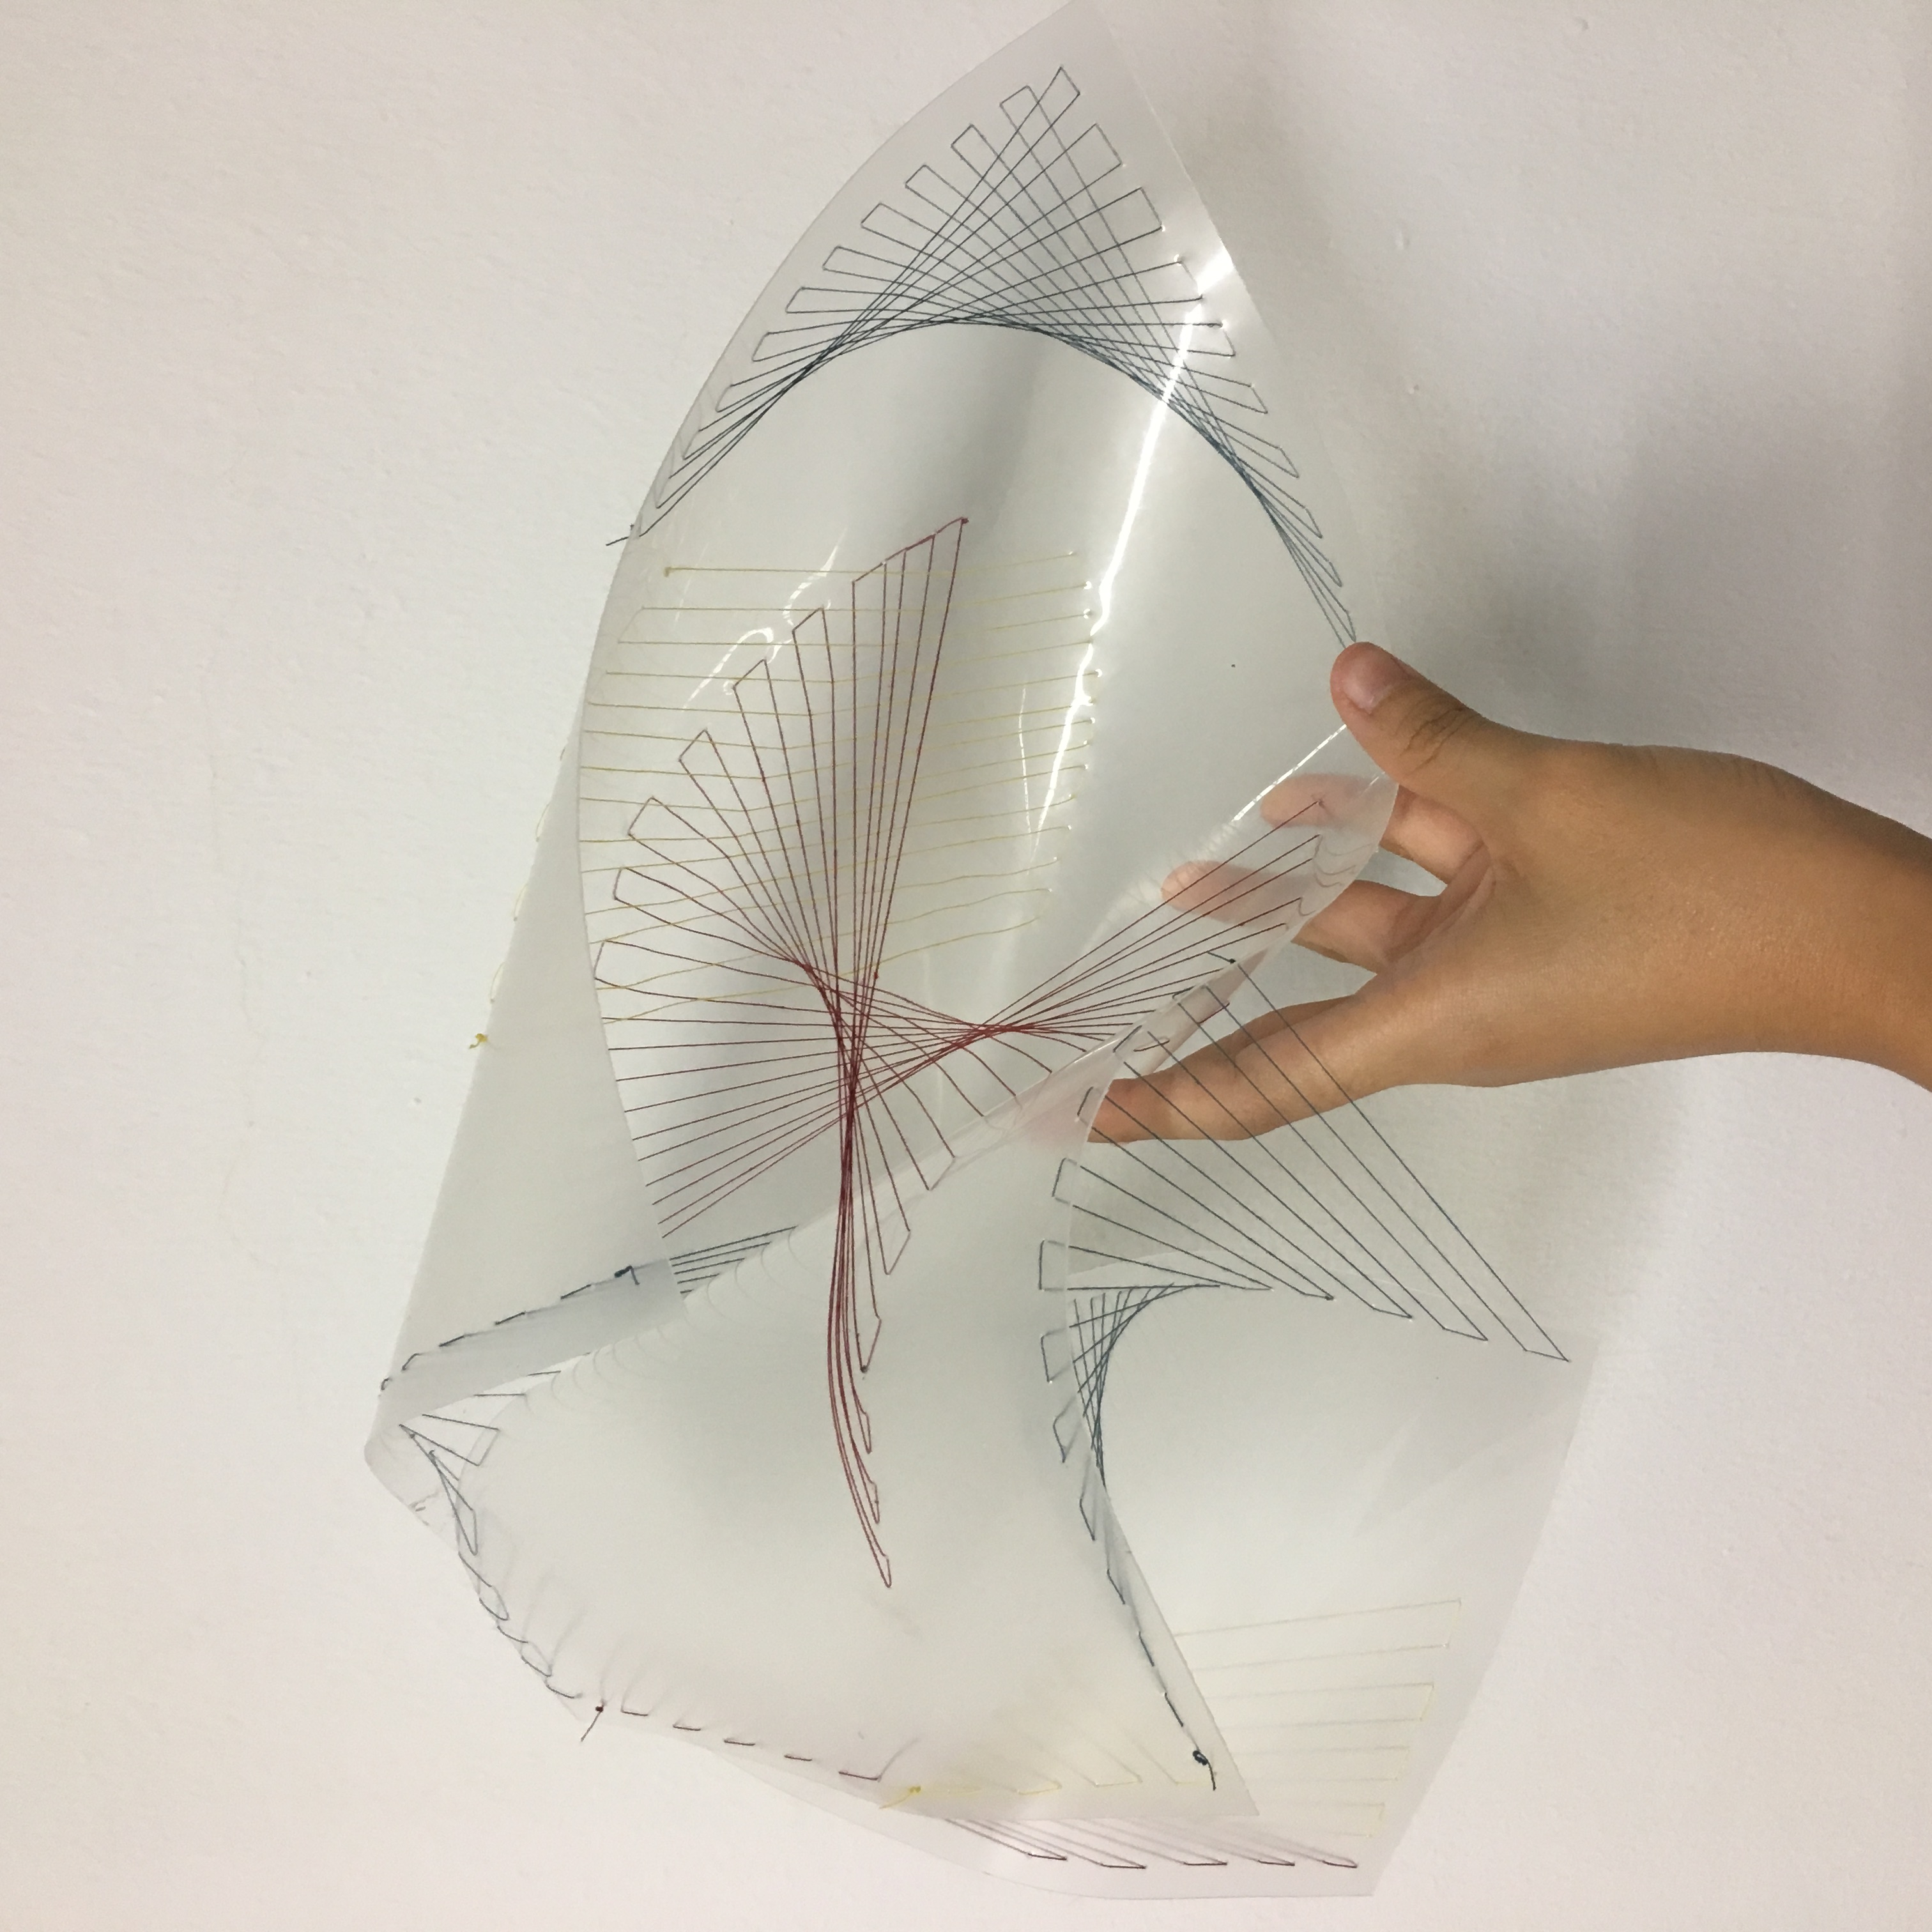
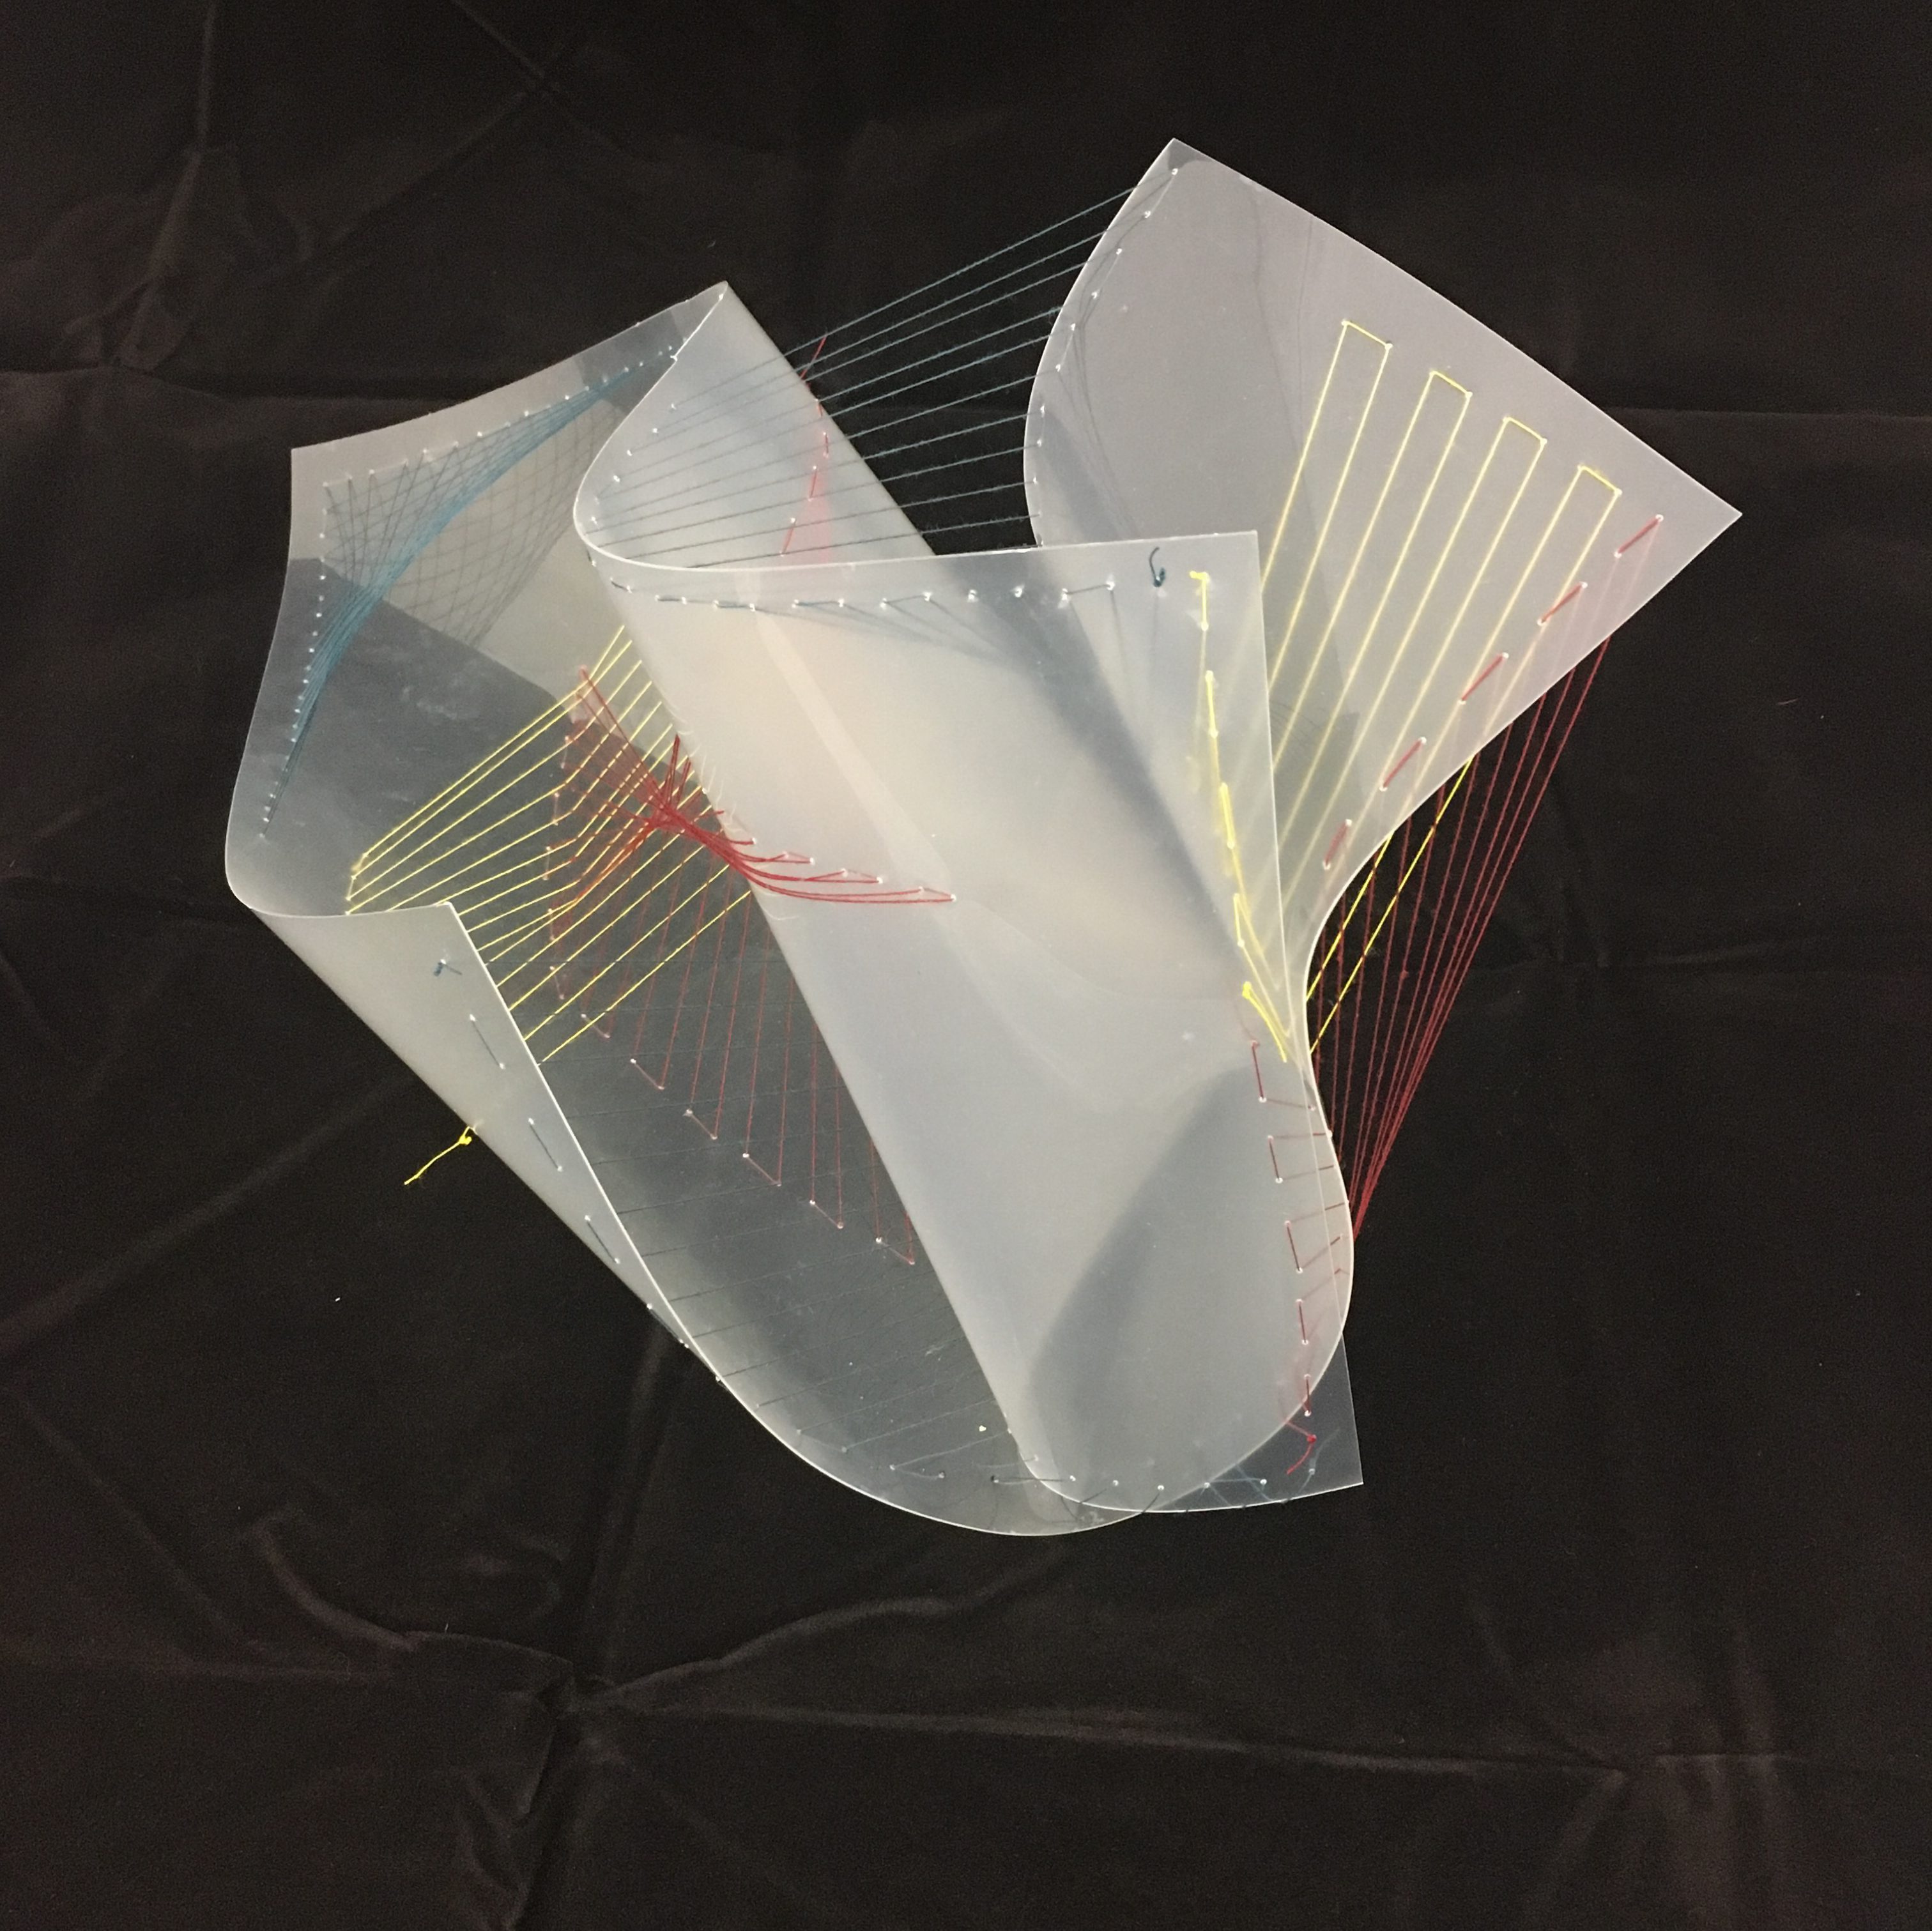
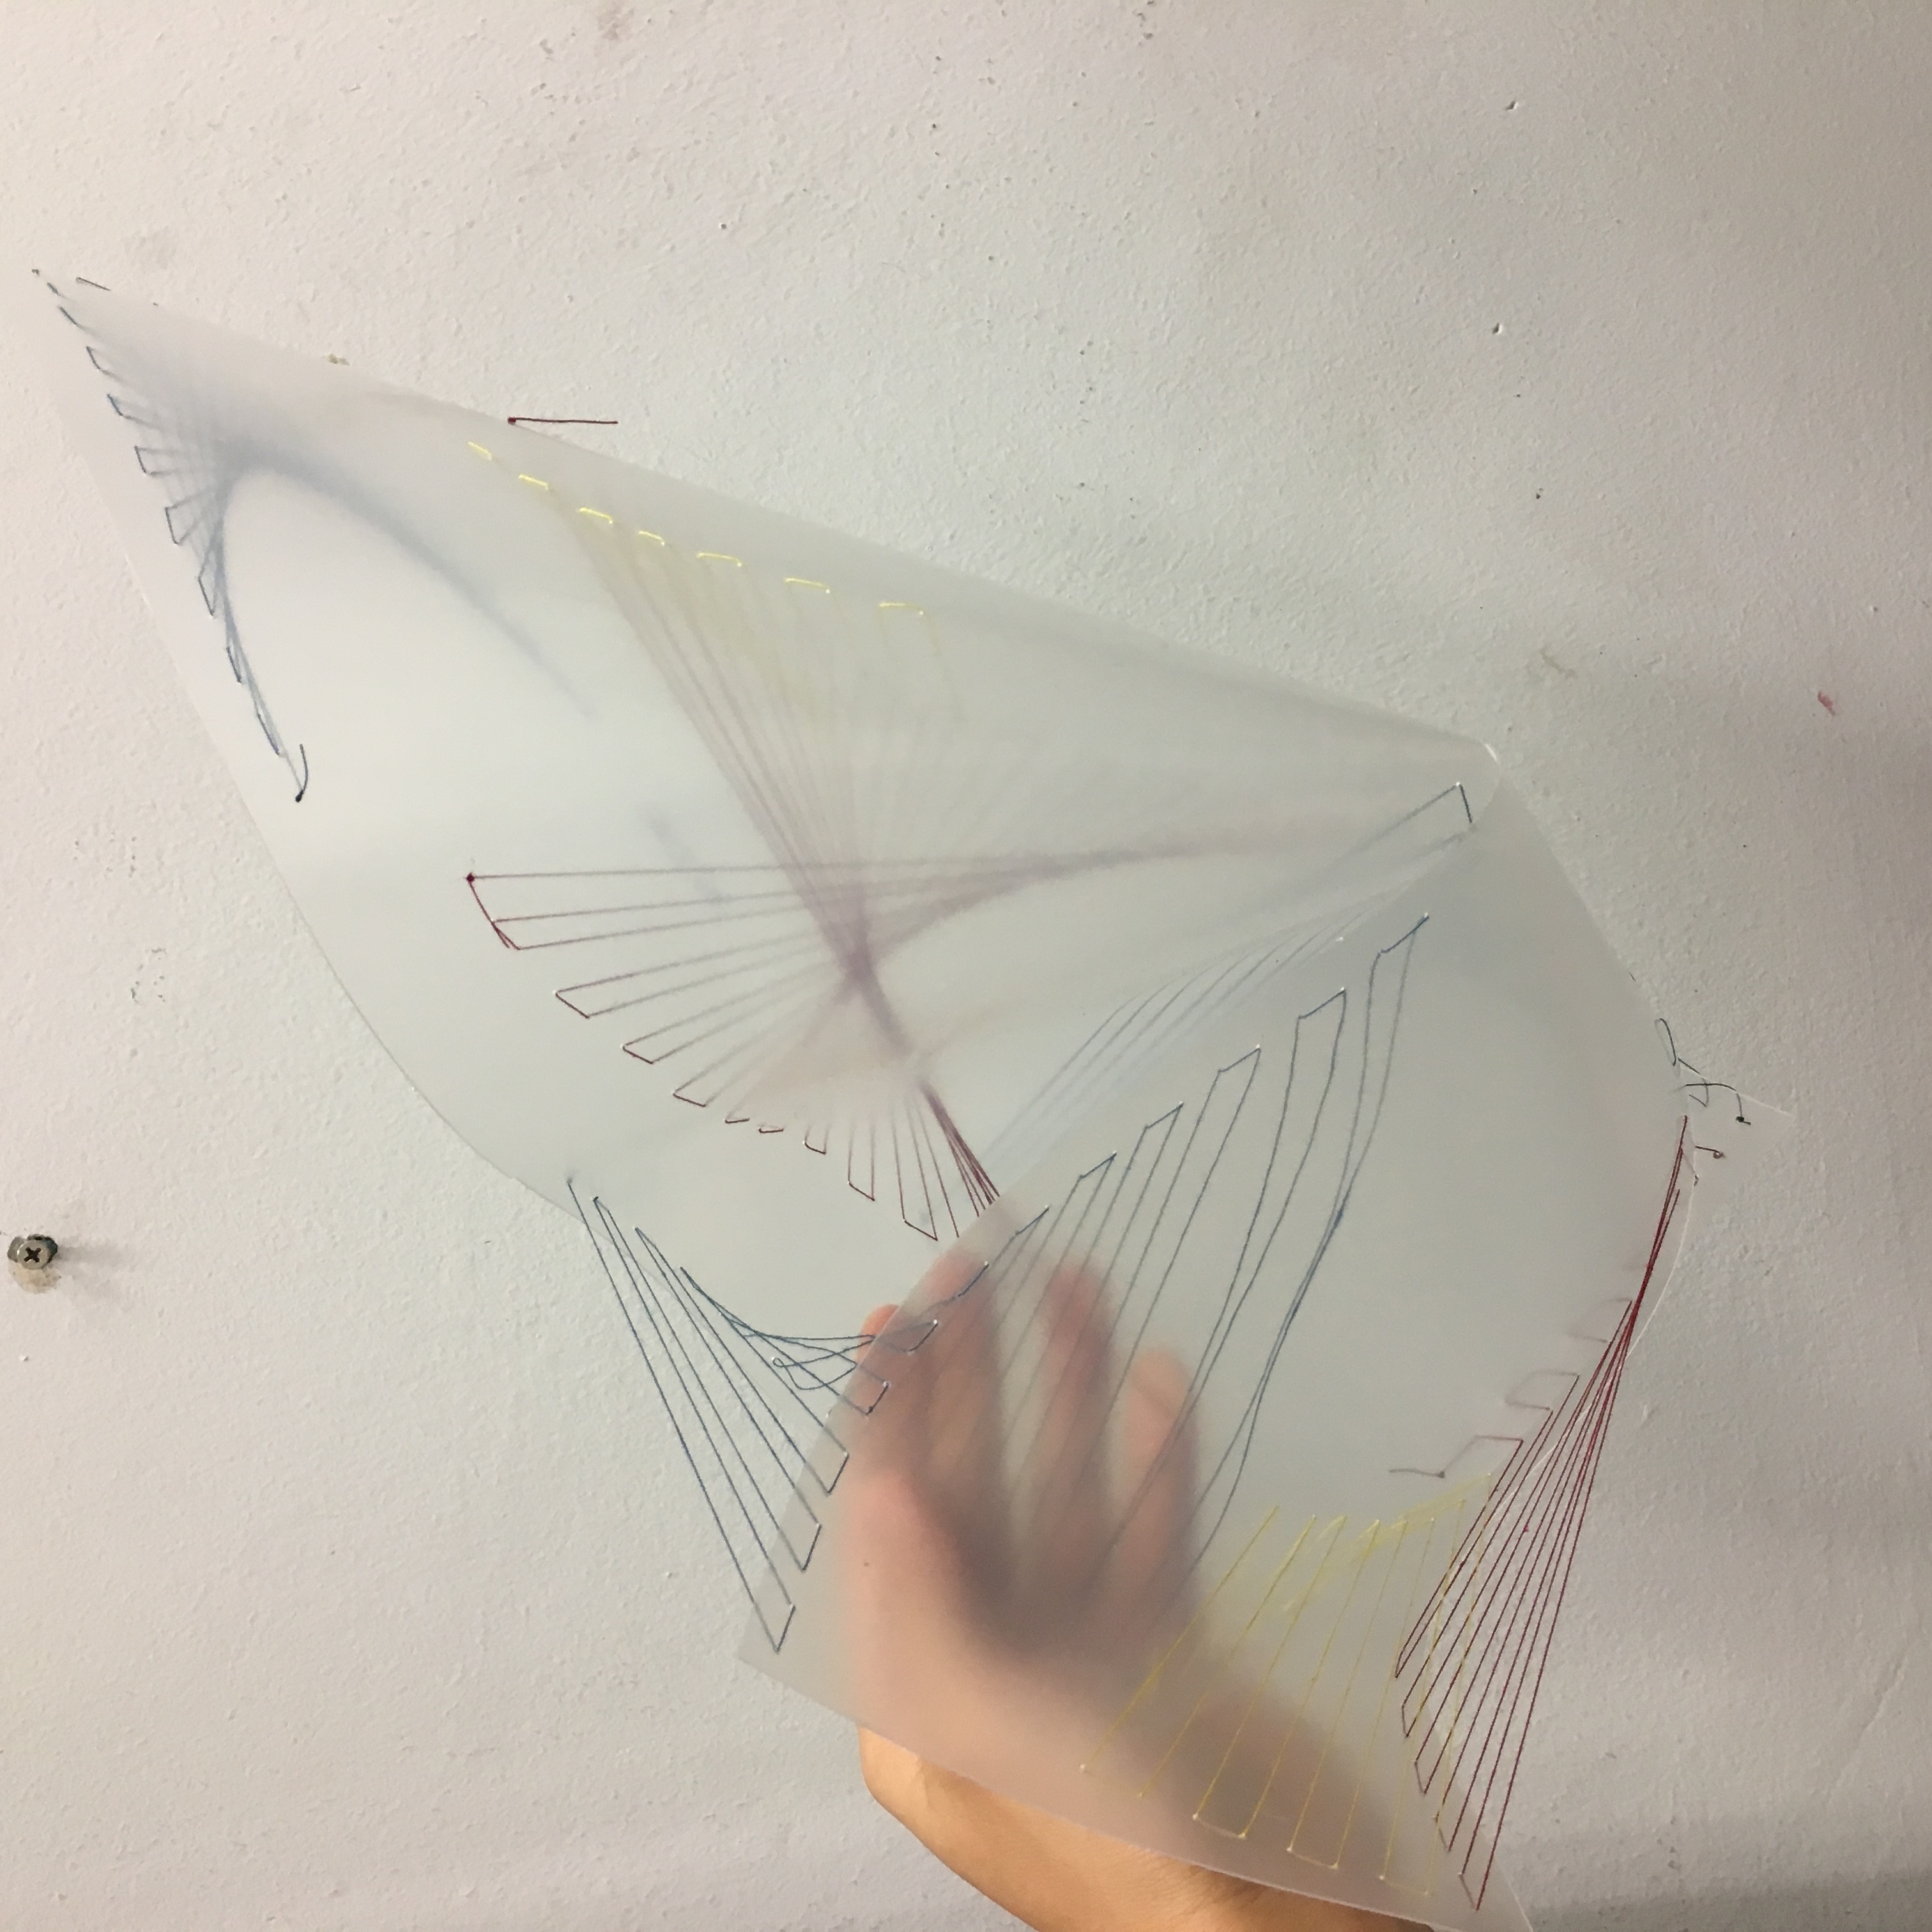
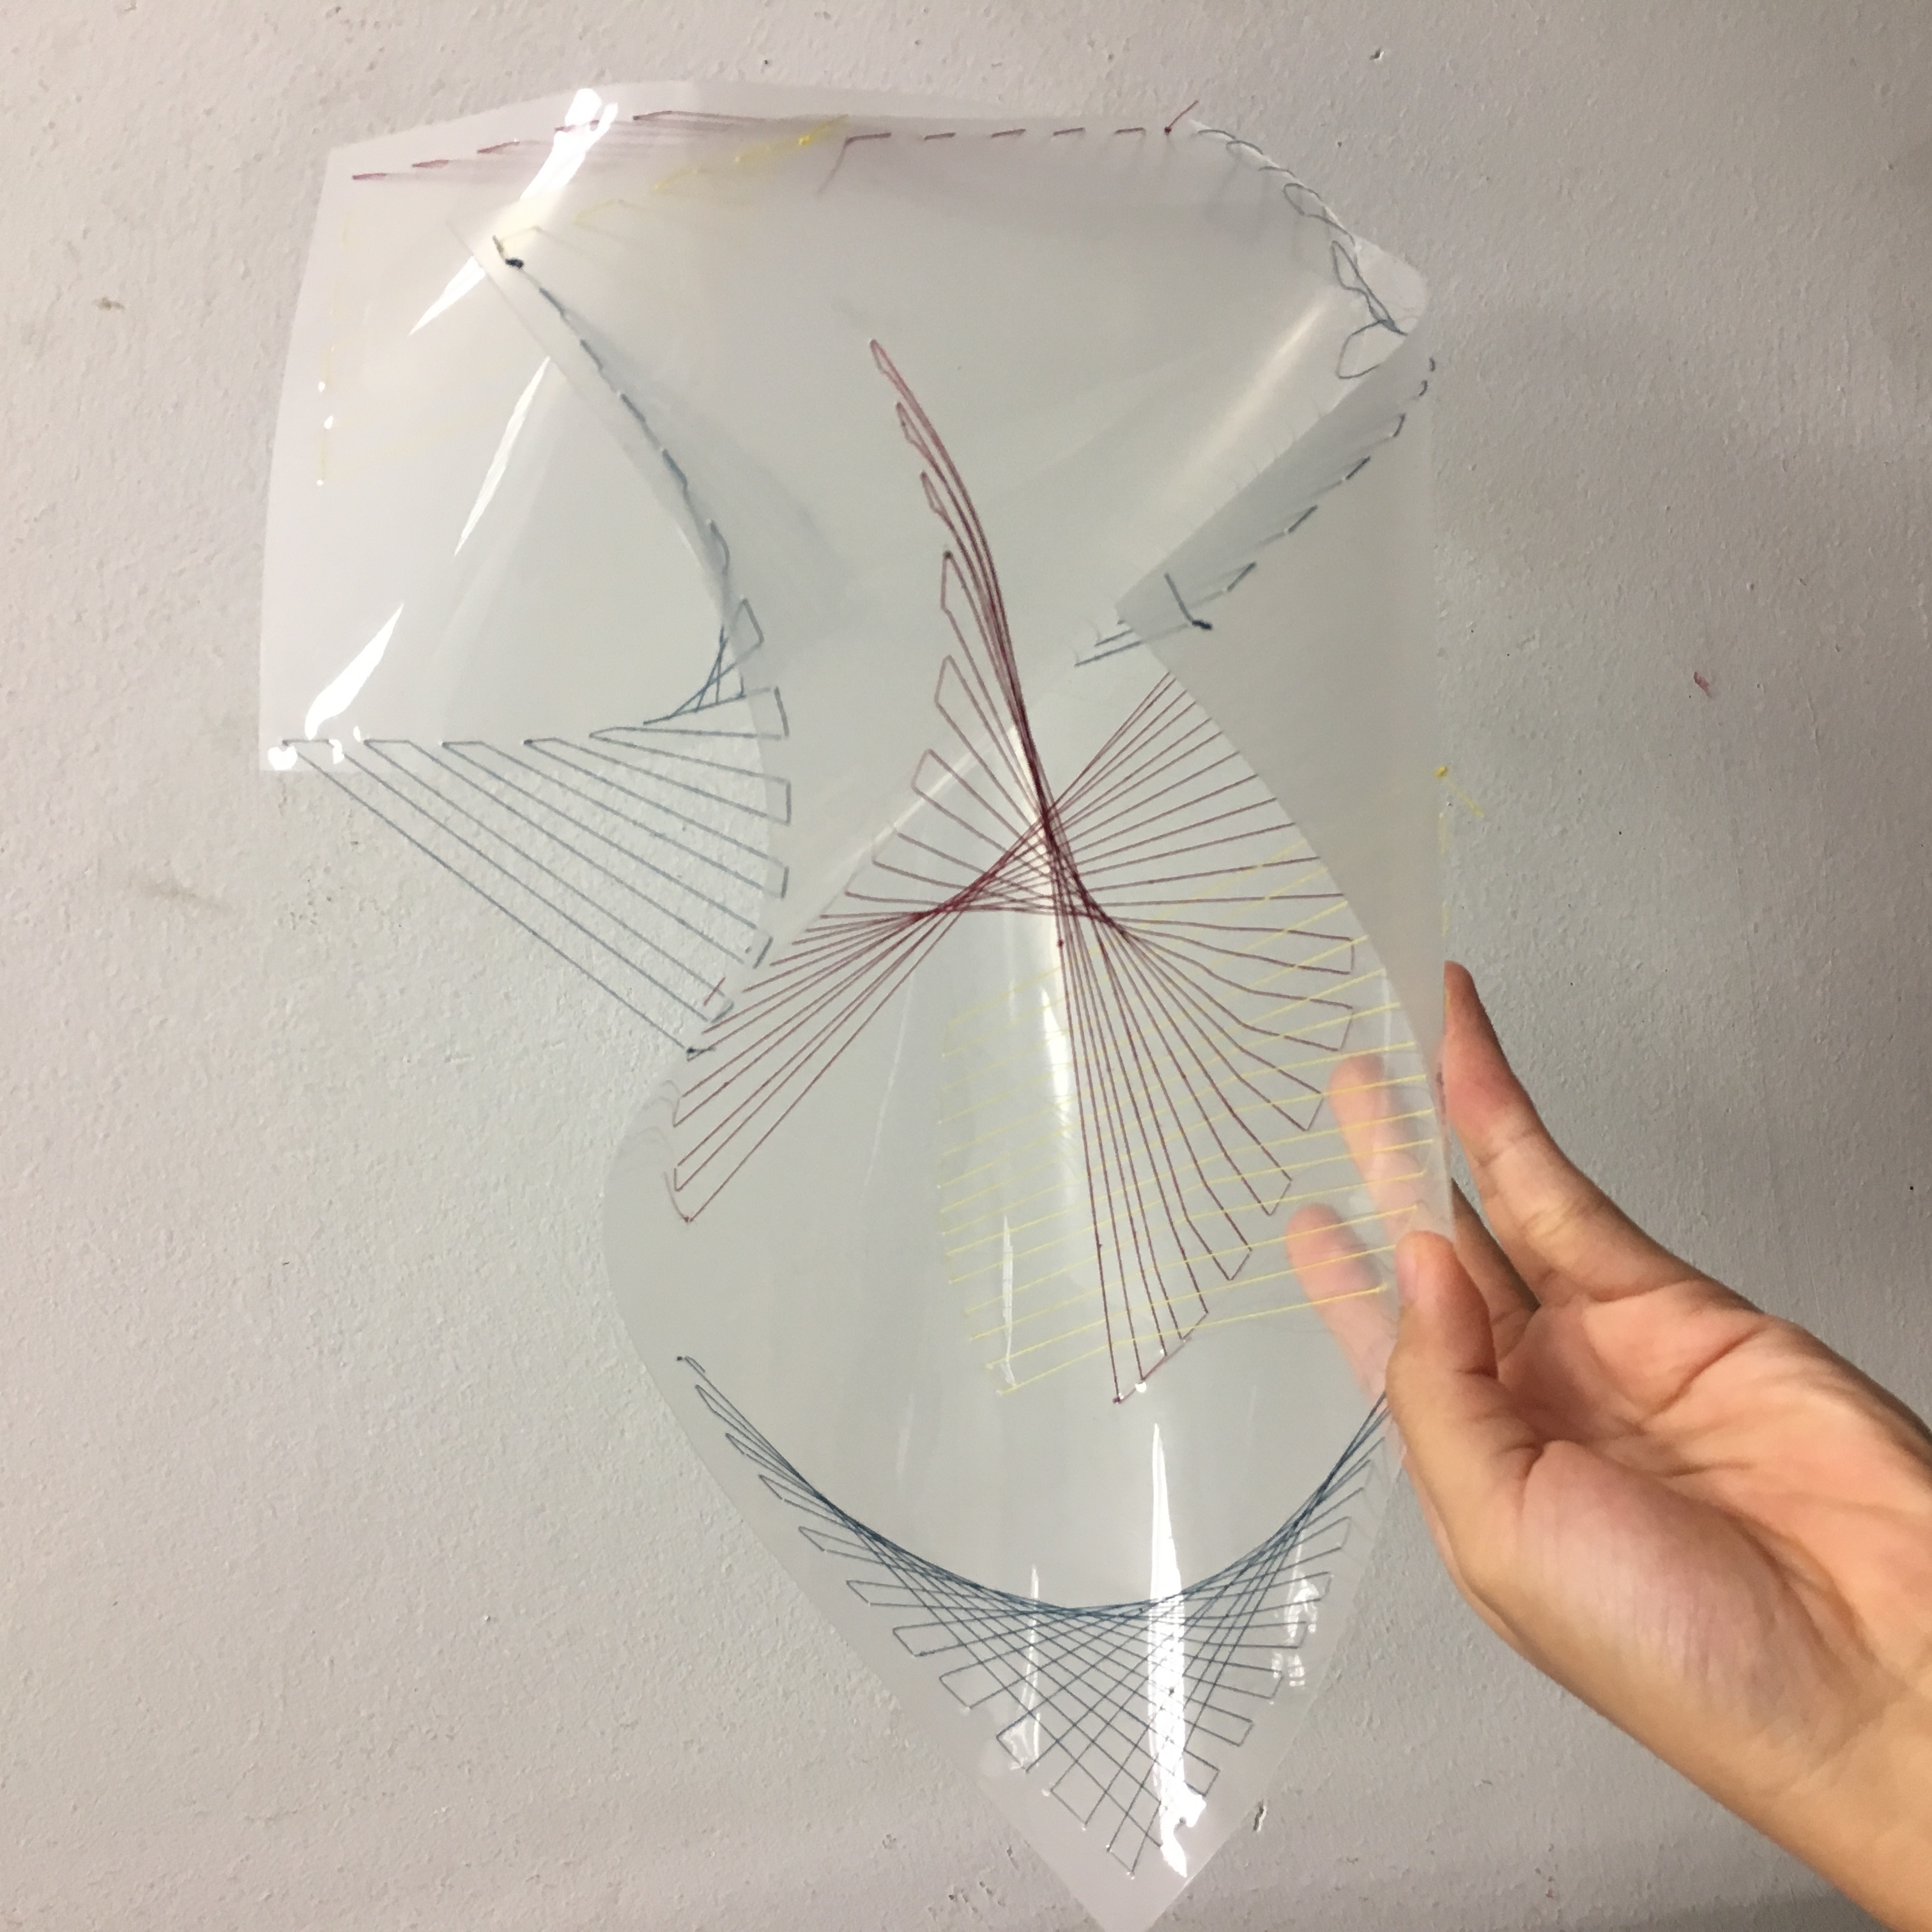
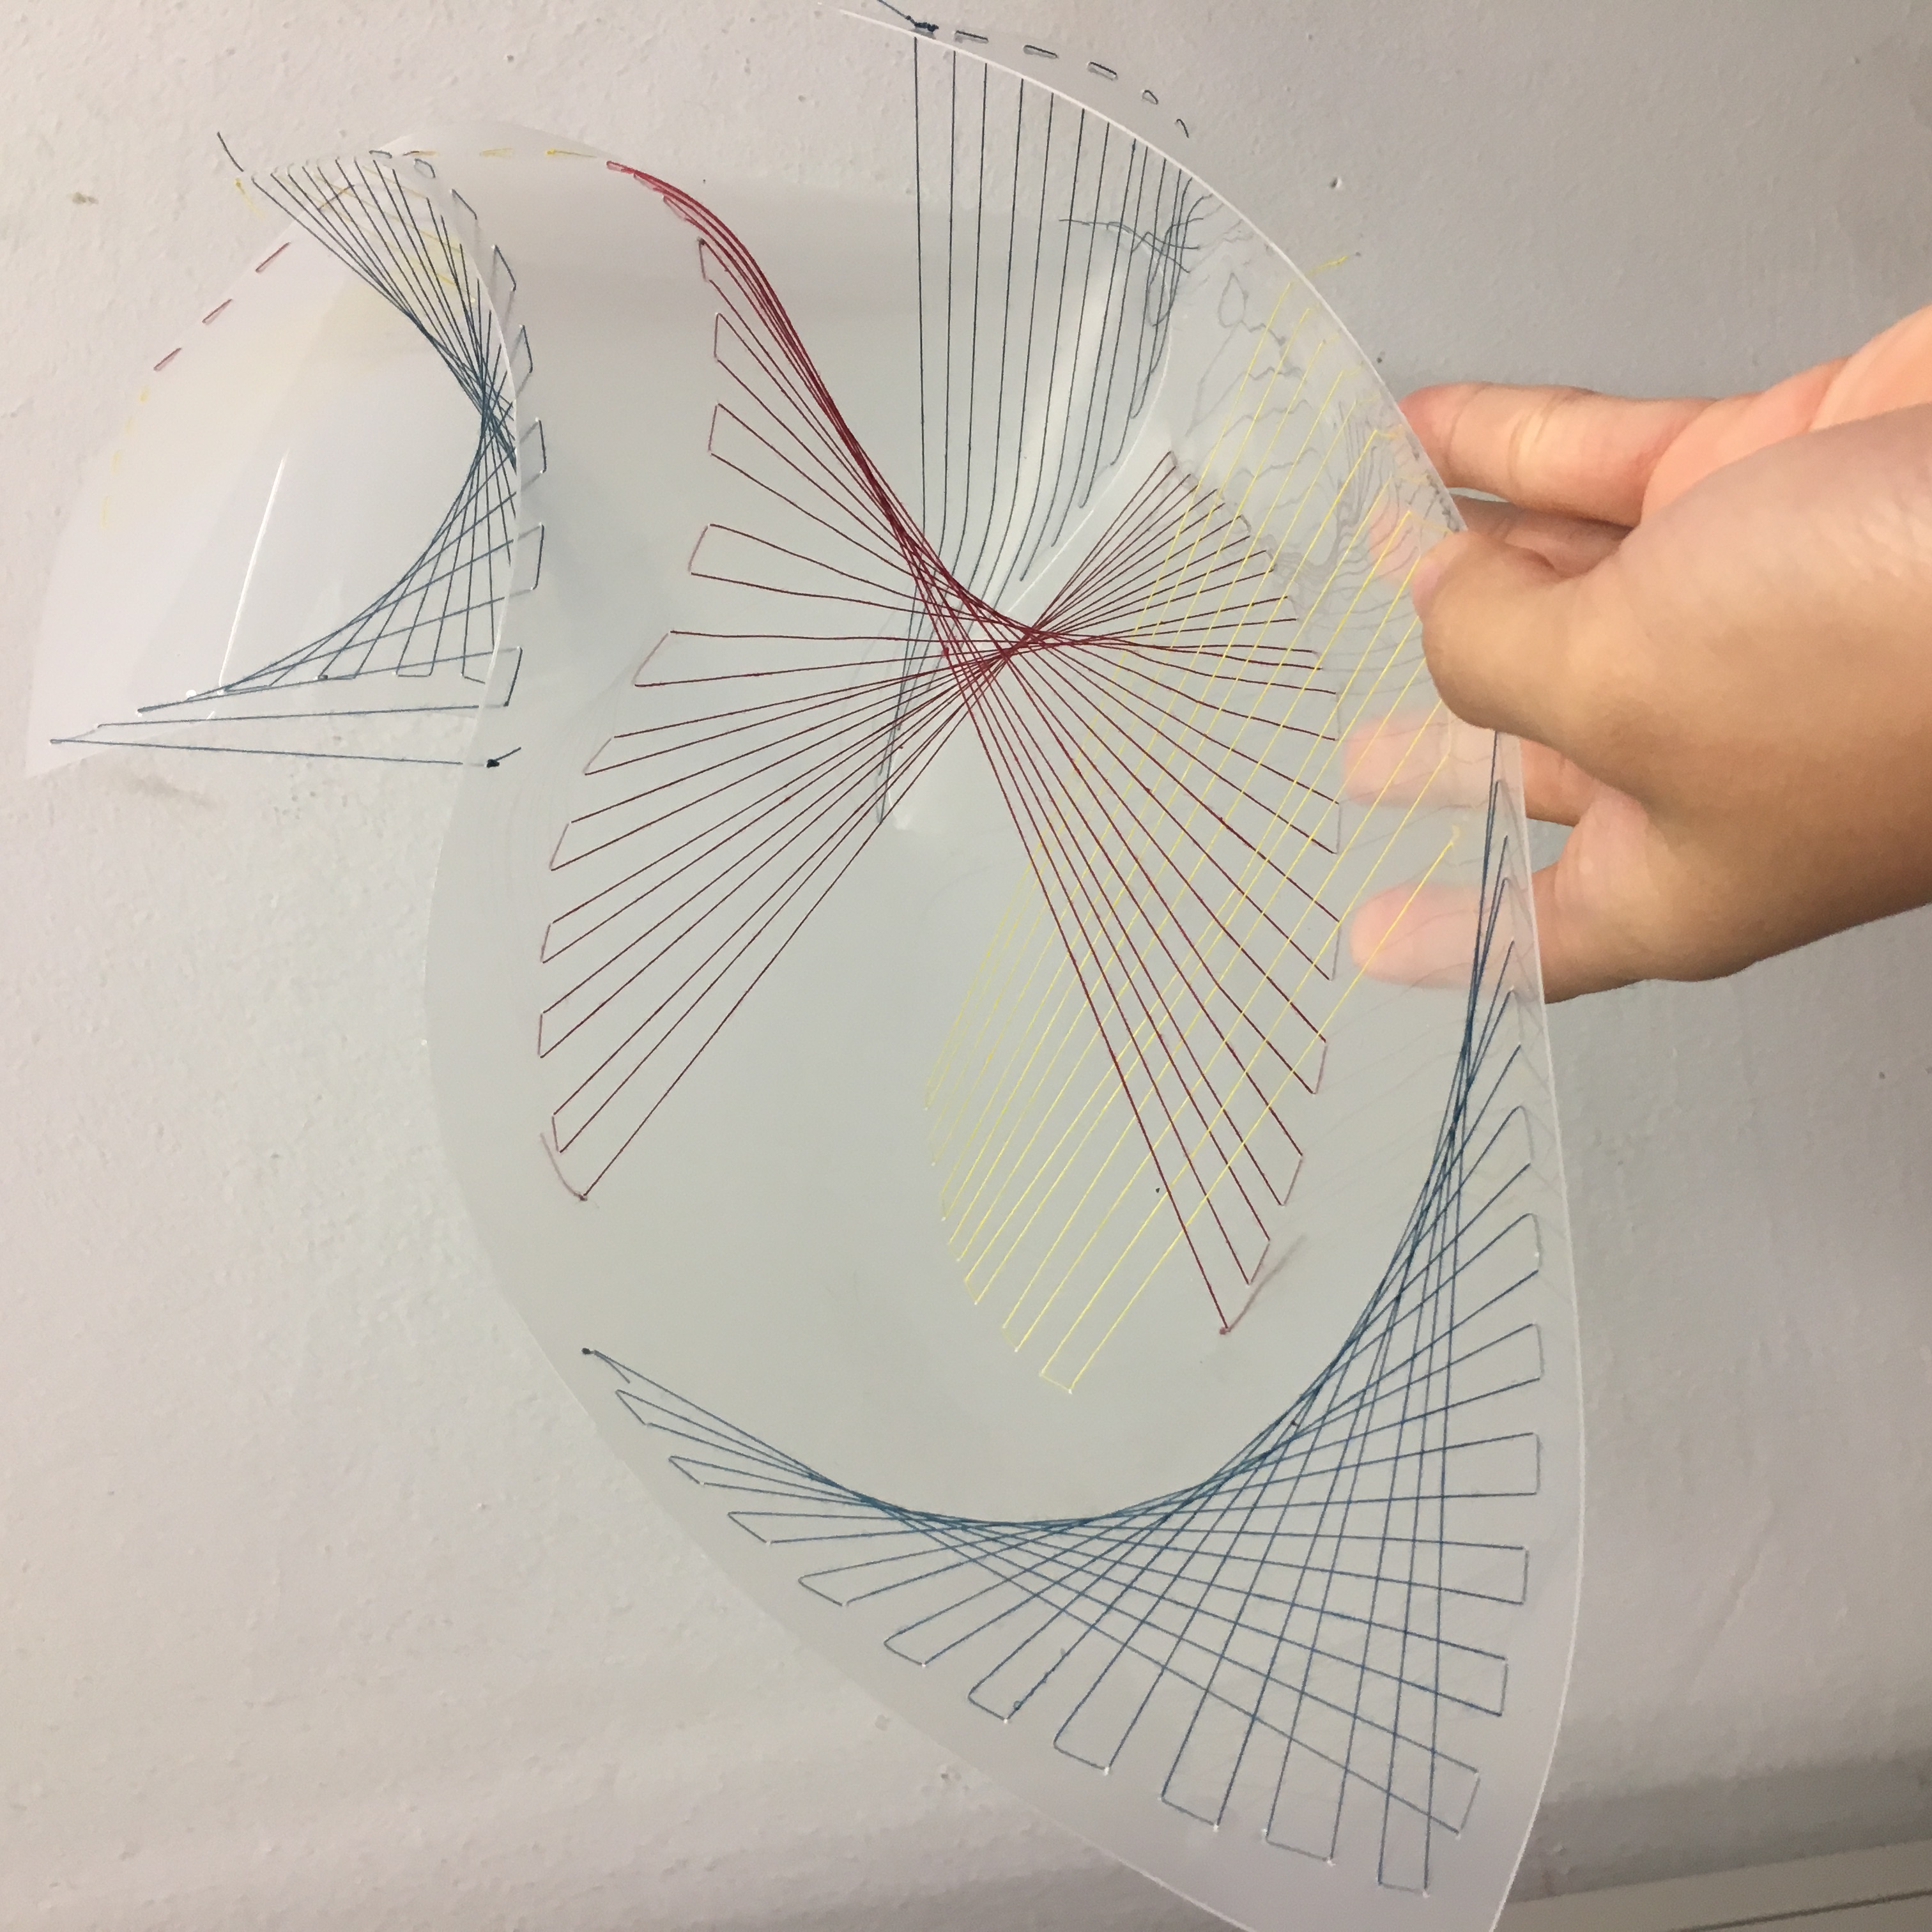
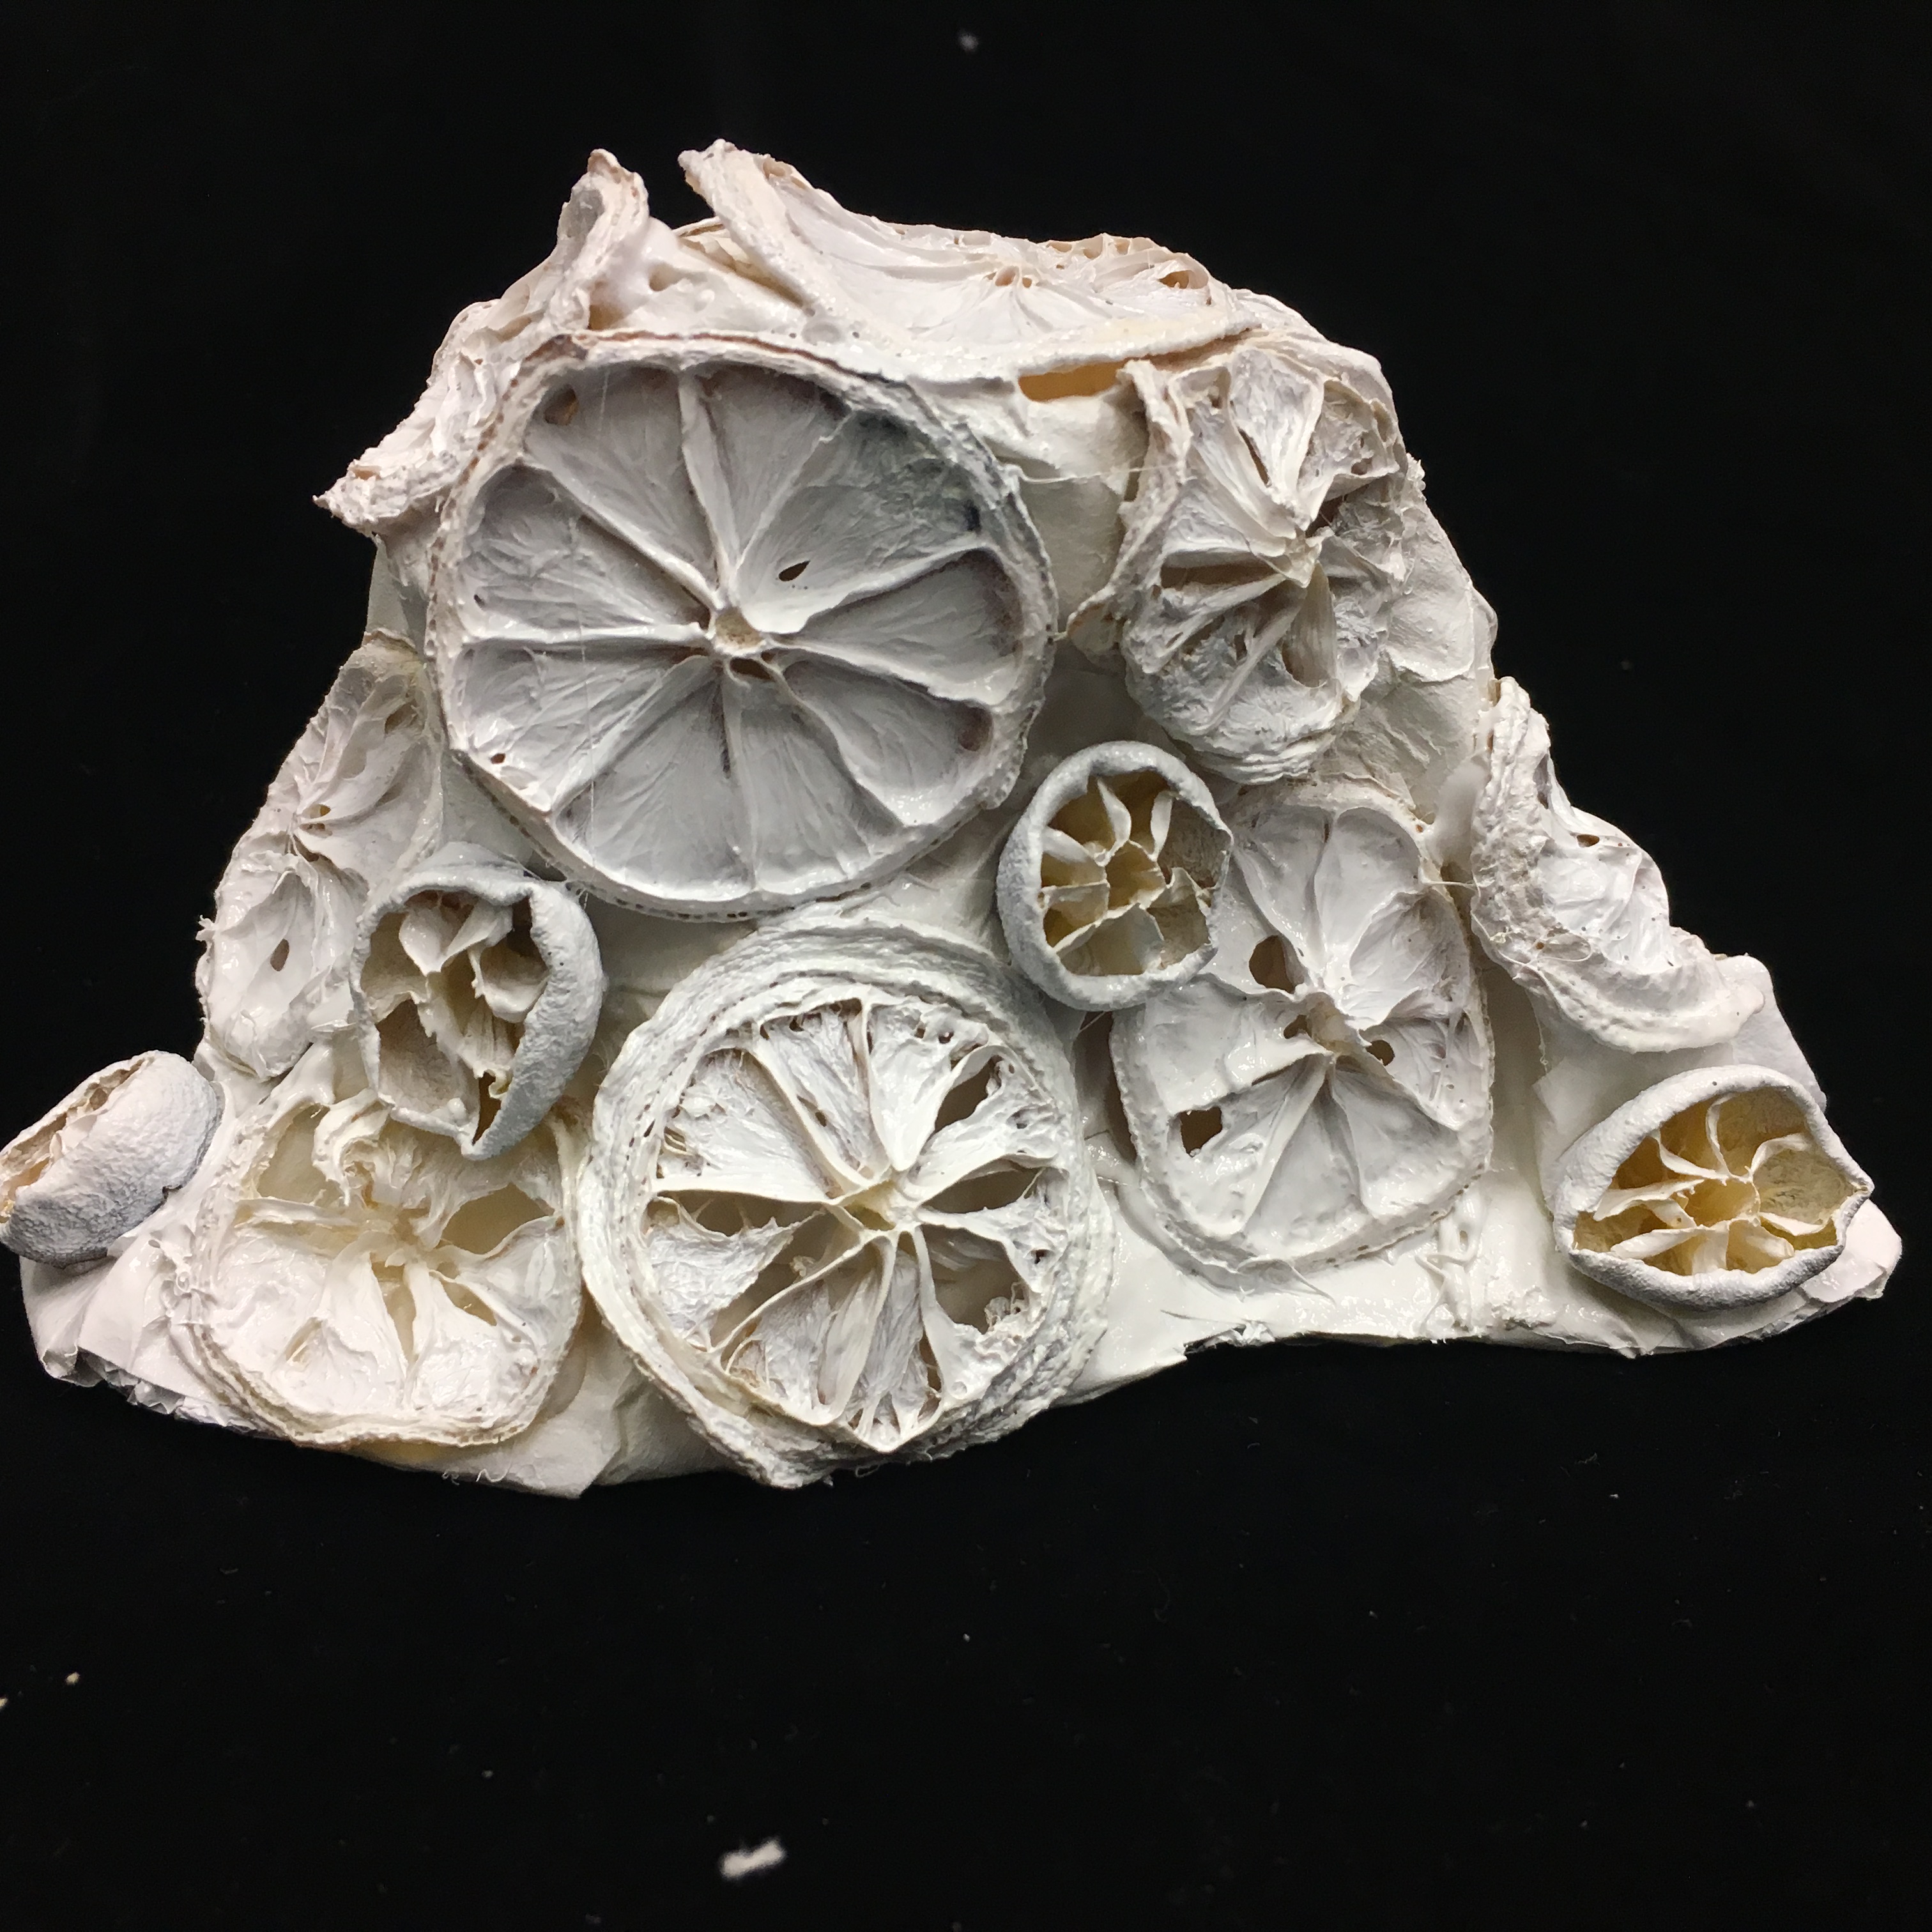
Our final assignment of creating a lamp cover is finally done!!! I have worked with Cai Jing and Debbie for this project and we were the only group consisting of three people that is honestly quite challenging as we had to make use of a combination of three of our SEM models which were coral (mine), mould (debbie’s) and cotton (Caijing’s)

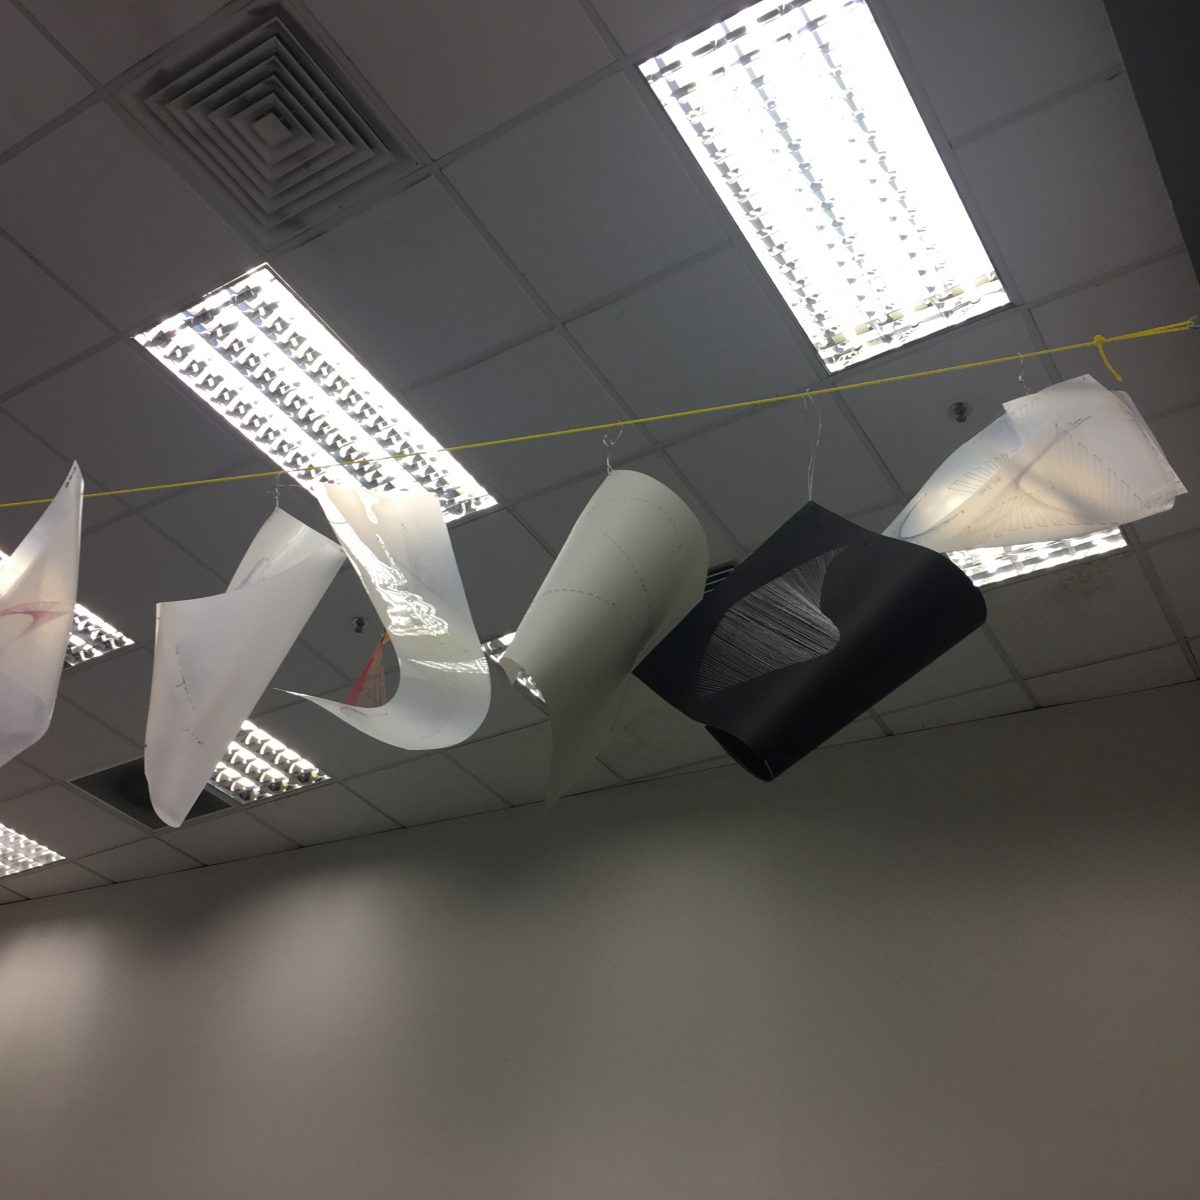
Here are some pictures that we took as we were making it. Initially, we wanted to do a paper mache of the landscape but it was too rigid in a way that if we wanted to change the shape of it in the last minute we would have to tear the whole thing apart. Thus, we decided to go with clay despite it being slightly more heavy. It was honestly a good decision we’ve made as we kind of made the lights interactive such that we made our own switches such that as a weight is applied on it, it will light up. We got the materials we needed and I made the lighting from scratch which was such an achievement for all of us!!

img_0049

“Claying” and moulding the landscape.

img_0008

img_0048

img_0050

The light balls that are the weights that switches on the light when it is placed on the landscape making use of caijing’s cotton sem.

img_0099

Before the presentation when we tried the standing light on the huge plastic ball 🙂

img_0111

img_0114

img_0103

In the dark.
img_0116

When the light is switched on.img_0117

img_0124

img_0136


img_0139 img_0141 img_0142 img_0143

img_0146

img_0148

Pretty satisfied seeing how the ripple effect shadow turned out well! We wanted to show the water effect since corals are all in water and the landscape we made is like a depiction of corals.

img_0149

It was so great working with Debbie and Caijing, this wouldn’t be a success without them!!!

Assignment 3: Morphogenetic Construction

For assignment 3, i decided to work on Corals. During my research and powerpoint presentation, I included pictures of dried corals,close up pictures of different kind of corals and identified the basic unit. Also, i looked into the Scanning Electron Microscope (SEM) pictures of corals.coral

picture1

2

3

4

5

After much consideration on which kind of coral i would want to do on, i decided to work on these similar geometric structure. I decided to do a paper mache sculpture for the shape of the coral, to show the units, i decided to use dried lemons and lime as i feel that it is able to give the texture of these corals and the shape of each unit is pretty similar as well.

astrangia-lineata-fossil-hexacorallia-miocene-epoch-virginia-united-f01r8j corals

dsc_2612

Here are the pictures of the process and final outcome of the units of coral i recreated:

img_9081

img_9201

Looking a little burnt and gross after putting it in the oven. However, i really liked the crispy texture!!!

img_9202

Trying to put them in order before pasting it on the sculpture which is made out of aluminium coated with toliet roll and white glue to harden it further. Also, i dented the aluminium so as to create depth so that the lime would be able to fit in since it cannot be cut into thin slices like lemons.

FINAL STRUCTURE:

img_9192

img_9193

img_9183

img_9195

img_9180

img_9179
img_9166

Spray painted it white so as to bring out the colour of how dried corals look like and also to see each unit clearer. Although it is not exactly aesthetically pleasing, I really liked this structure as the texture really gives off almost the same feeling when you touch a coral and the structure is not regular as corals vary in shape and sizes as well.

This assignment is really interesting as it allows me to play with different type of materials which was unusual for sculpture making. Overall, i think this is a pretty good experience working with lemon and lime. 🙂


Assignment 2: Point Line Plane

When we first received the brief of this assignment, i wasn’t really sure what i was going to do and i couldn’t picture how my final piece will look like. Knowing almost nothing about sewing, i actually struggle to see how the type of lines such that it changes the shape of the card. Thus, my study models are all simple lines sewn on them as i am trying to picture how the overlapping lines occur.

img_7974My very first study model hahahah it was honestly shitty.. As i said i knew nothing much about sewing thus this was me using the normal sewing technique of using two layers of thread 🙂 
img_7973The whole idea of this was me trying to “create” a cylinder looking object with lines overlapping inside of the cylinder.. BUT my paper was way to flimsy and thus it was just a disaster, it failed terribly. It was the first lesson when we actually get to try out and i was a bit disappointed with my failure cause everyone in class seem to do it so well? hahahah


img_8467

So before the next lesson, i decided to get thicker card and tried to sew more basic lines and it turned out better than my first model, obviously. Also i tried a circular crisscross looking one as well as seen on above picture.

img_8469Just basic lines across each other.

img_8470

Then, for the third model which i did in class, i wanted to do a swirl such that there is an intersection in the middle as the lines overlap. I drew a curve and a straight line and started from the extremes of each lines.
img_8319
Im just glad it didn’t turn out bad hahahah.

So… For my final 3D structure, having experiencing different types of lines that i could think of, i wanted to use different techniques to make a more dynamic shape/structure. Thus, i made a cut in the middle of the plastic card and sew it in a way it would distort the shape of the of the card.

img_8465

Which turned out like this!! 🙂 Honestly, pretty satisfied with it as it has a very 3-Dimensional shape to it and different types of planes can be seen in different angles as you turn the structure.

img_8463I only decided to use 3 colours (Red,Yellow,Blue) which are the main primary colours as i didn’t want it to look to complex in terms of the number of colours involved.


More pictures of the final piece:

img_8459 img_8461 img_8496I really like the dynamic shape it has! 🙂

img_8503

img_8504

img_8505

So, in order to get my threads to stay tightened, i actually tied a temporary knots after finishing a part and left a good amount of thread such that i can continue to knot it after the whole thing is completed. It helps a lot actually but eventually it still started to get loose on some parts.

All in all, I’m quite glad that i made improvement from my first model and although it was a tedious process of sewing, it was quite enjoyable! 🙂