Hi guys! Here is the process of my handmade emo lines!
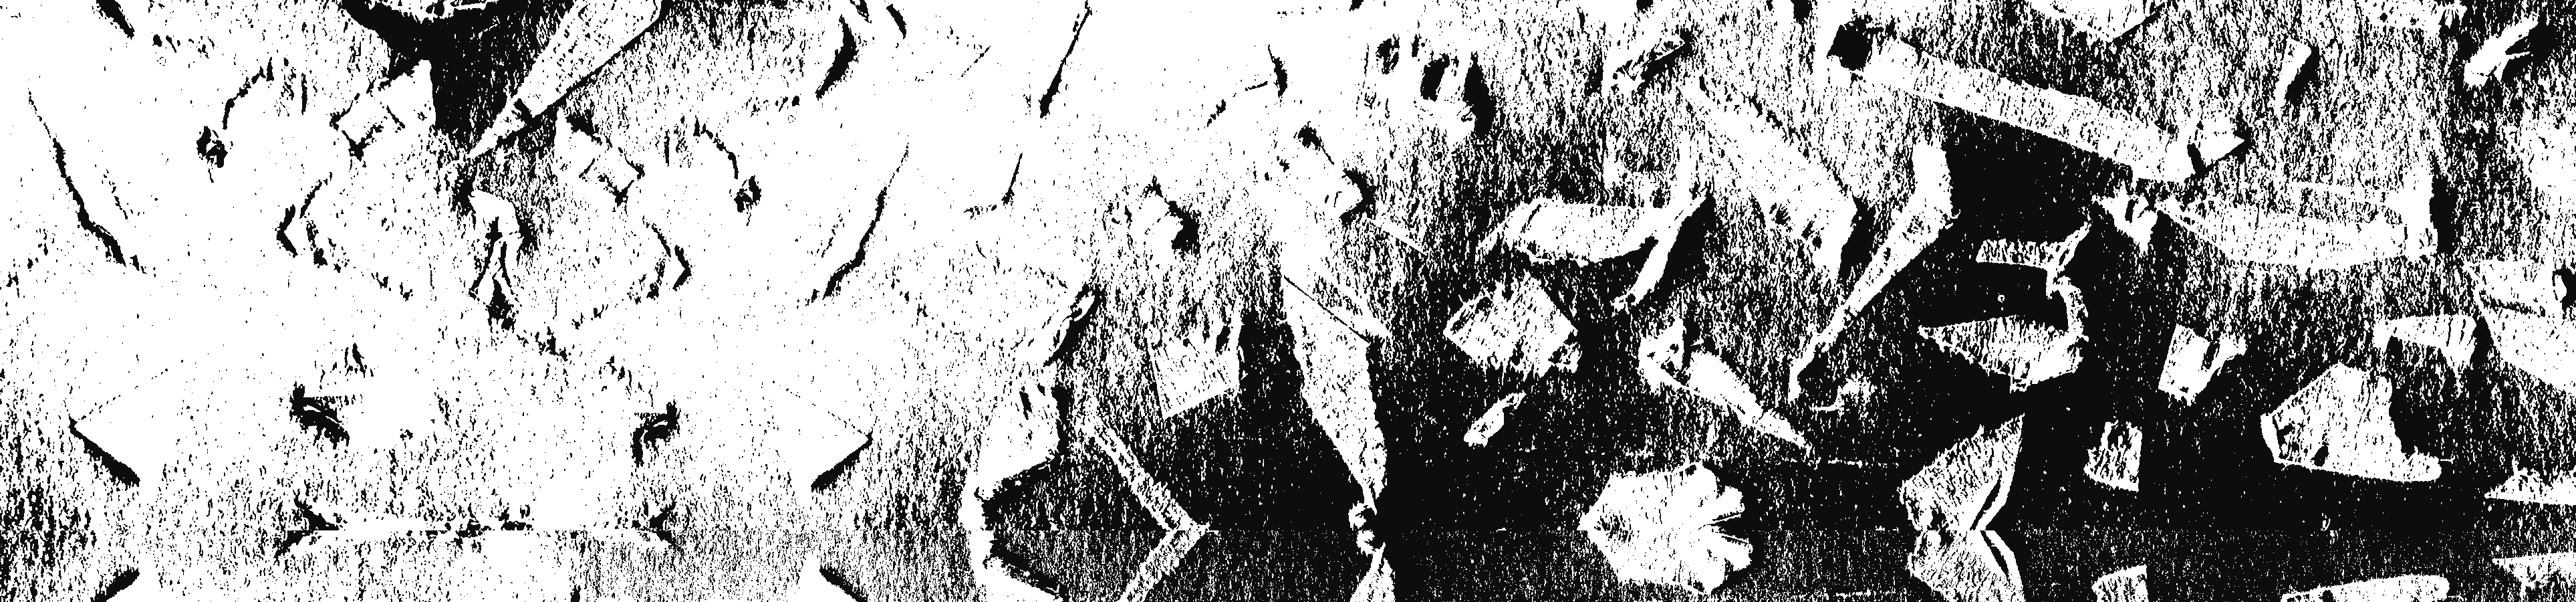
1. LOVE – Obsession
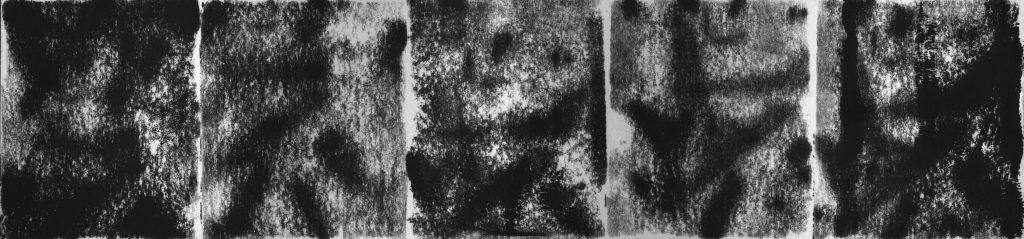
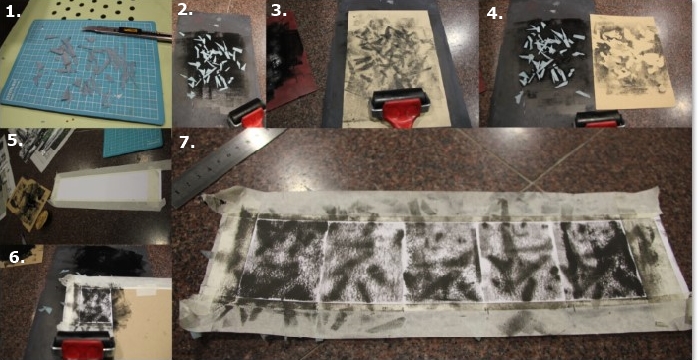
- I used pieces of cut foam, put it under the paper and use the roller with thin ink to create the pattern. (image 1-4)
- I divided the paper into five parts and roll it with various rolling movement and ink content, e.g. roll the roller vertically/ horizontally/ diagonally with thin ink/ thick ink to get various effect. (image 5-7)
- I enhanced the level and brightness as well as contrast of the scanned image.
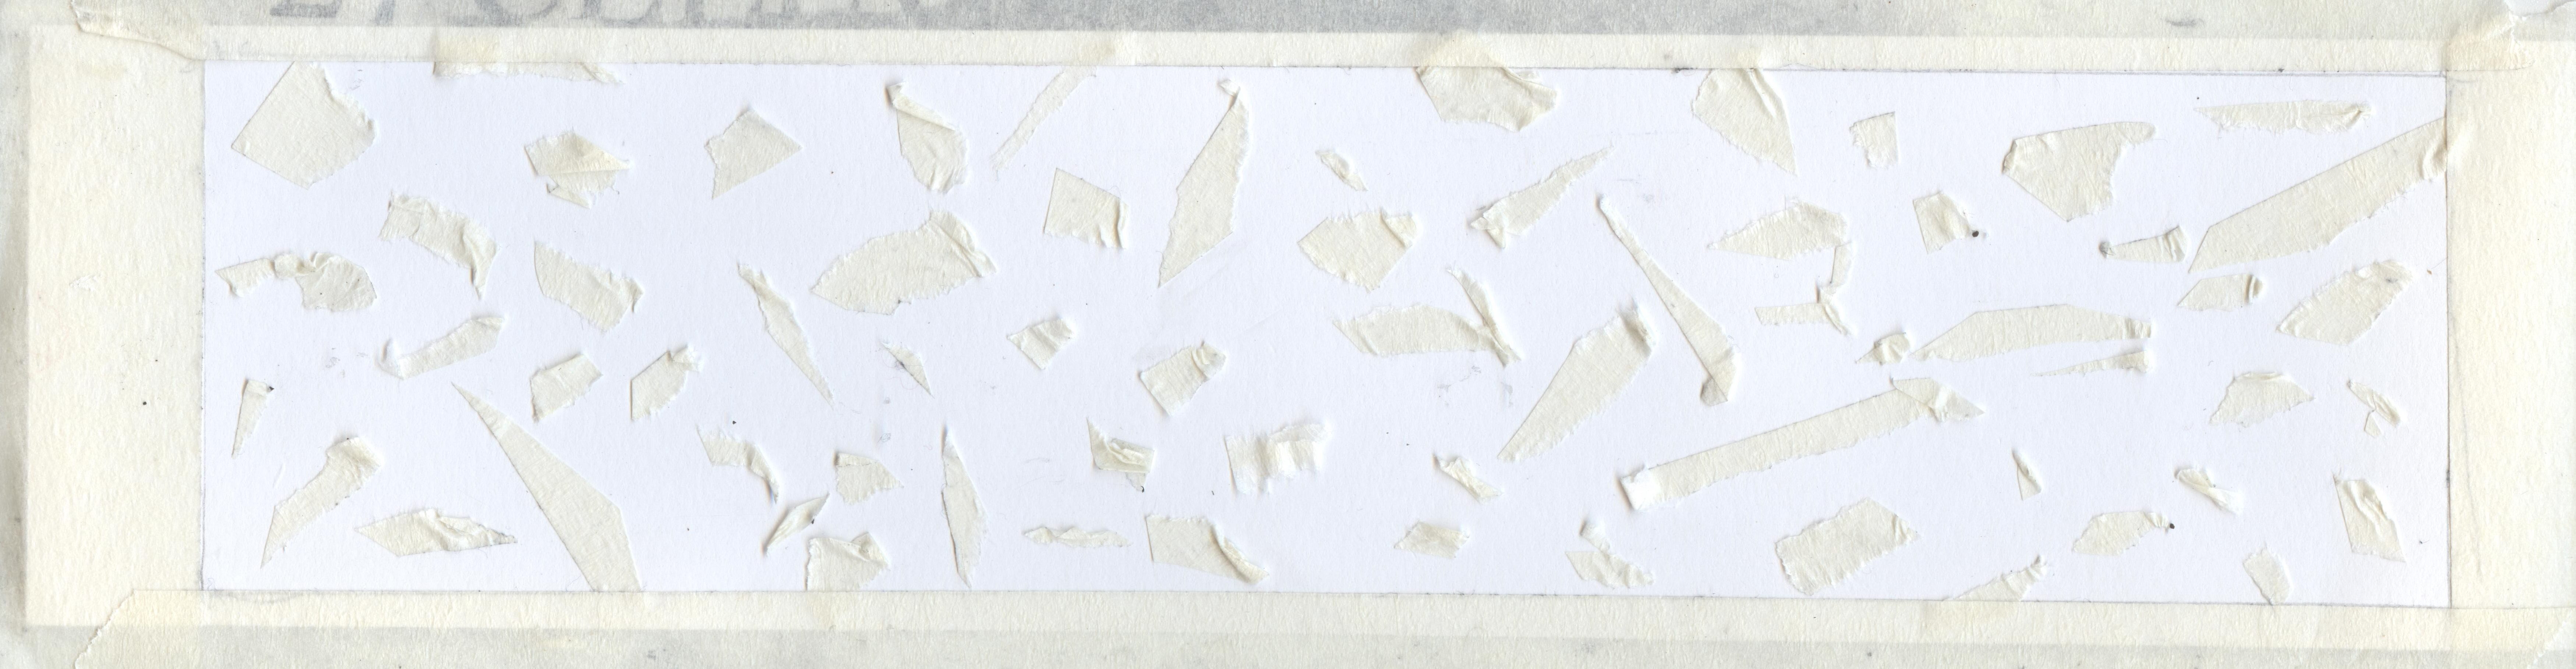
2. LOVE – Faithful
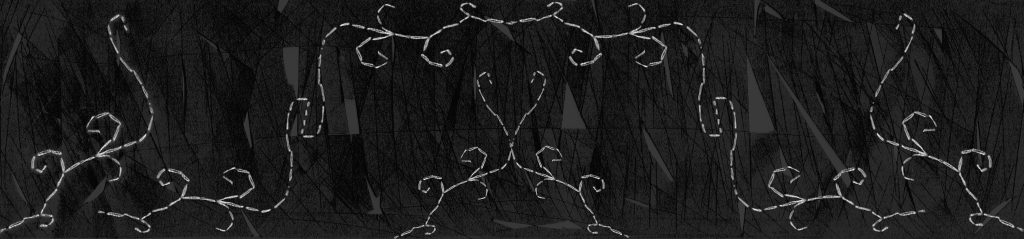
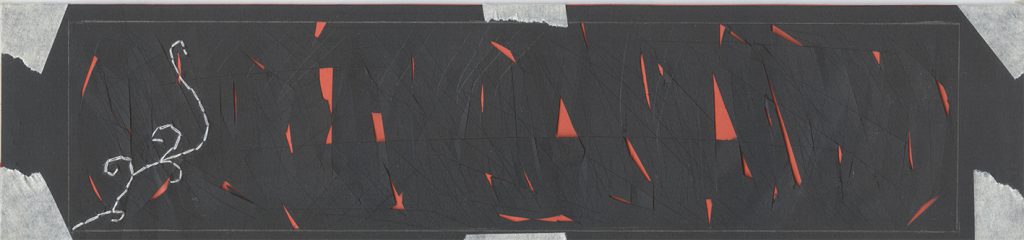
- I scratched the black paper to different direction to create the desperate and problematic effect and pasted a red paper behind it to enhance the effect.
- I sewed a calm pattern using white thread on the paper.
- Made the scanned image black and white, then multiply the sewed pattern to intensify the calmness and faithfulness.
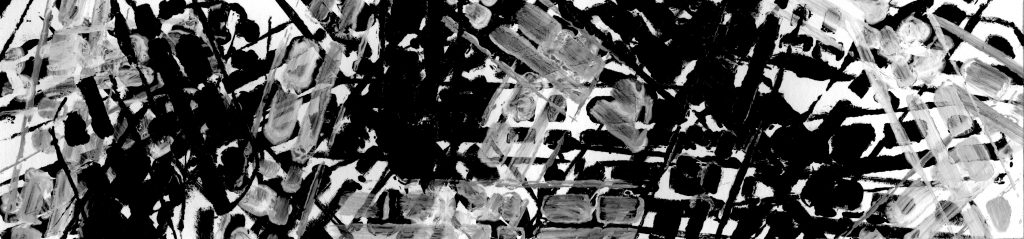
3. LOVE – Jealousy
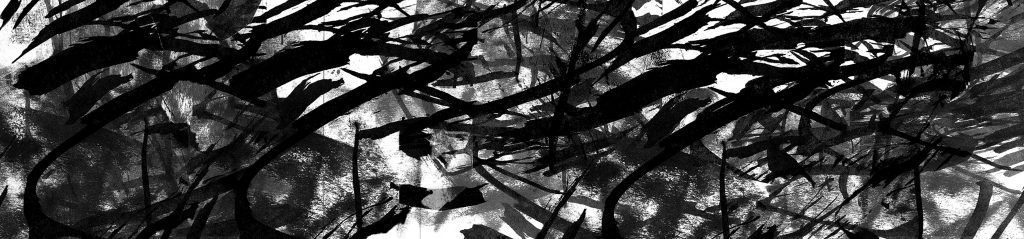

- I used a paper with mono-print pattern as the background then brush chinese ink with different pressure and various stroke direction to get the intended effect.
- Edit the scanned image to black and white, multiplied it to intensify the jealousy effect.
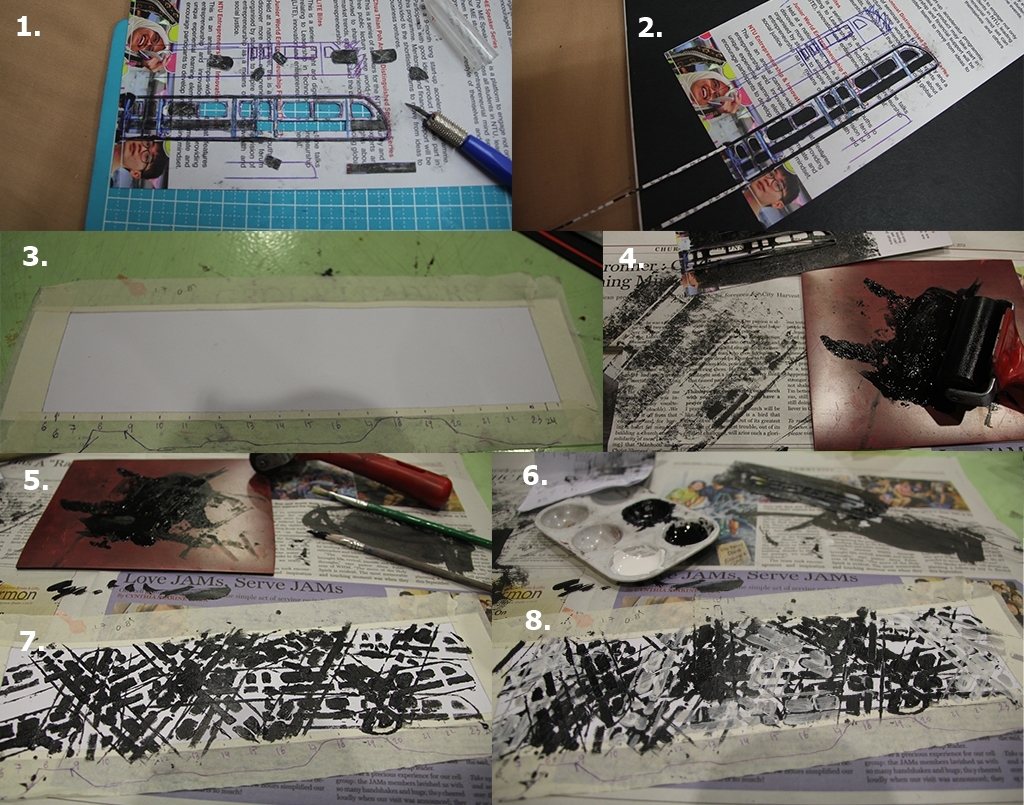
4. JOY – Complete
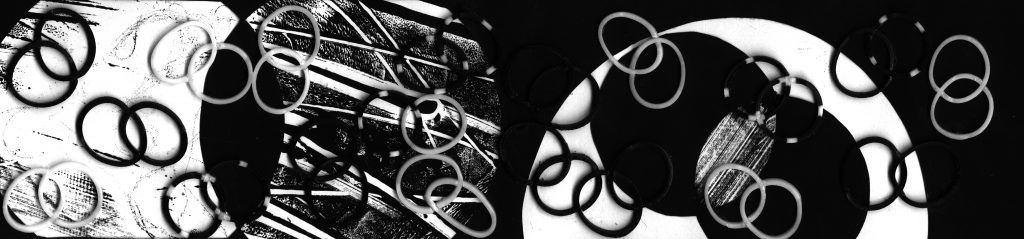
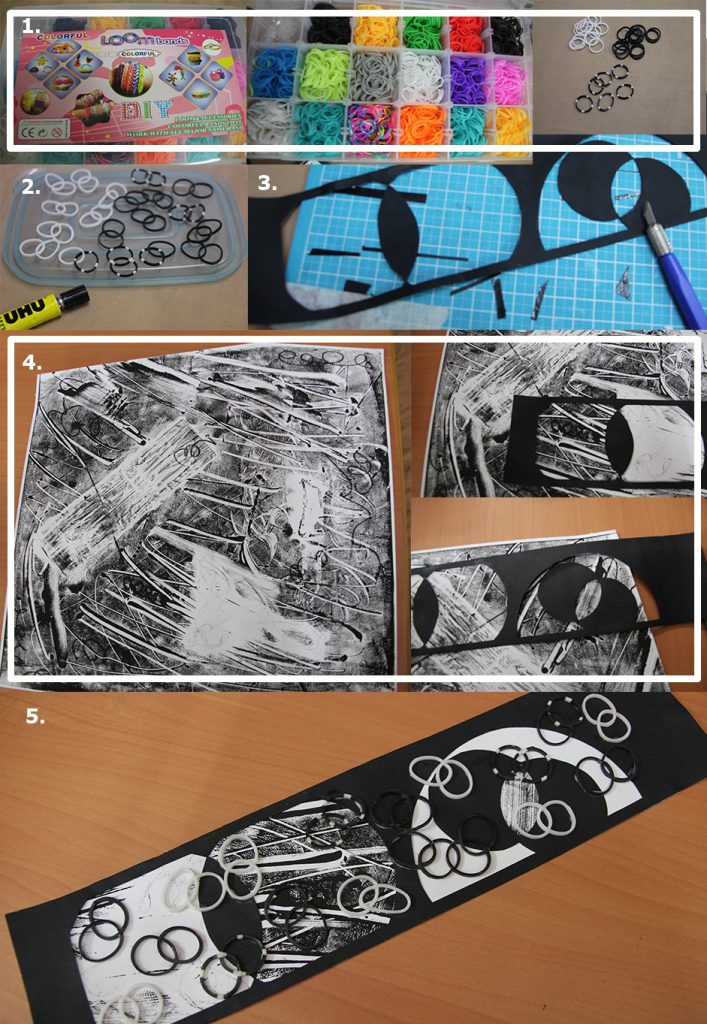
- I took black and white loom bands and paired each 2 of them. (image 1-2)
- I pen-knifed a black paper to create the vesica piscis pattern. (image 3)
- I match the black paper to find suitable monoprint patterns to be included. (image 4)
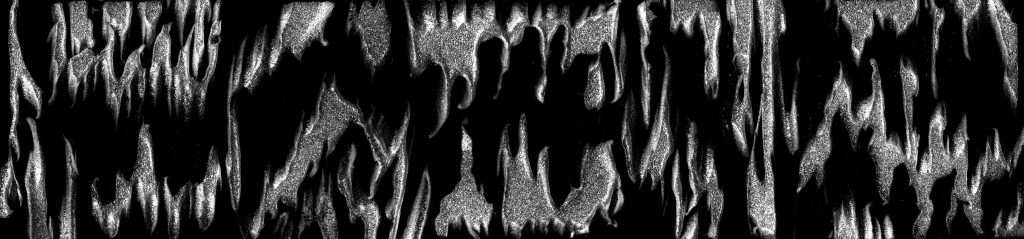
- I pasted the paired bands and created the final line. (image 5)
5. JOY – Pleasure
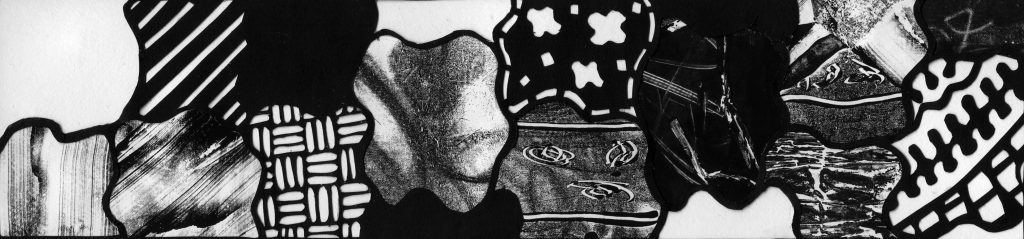
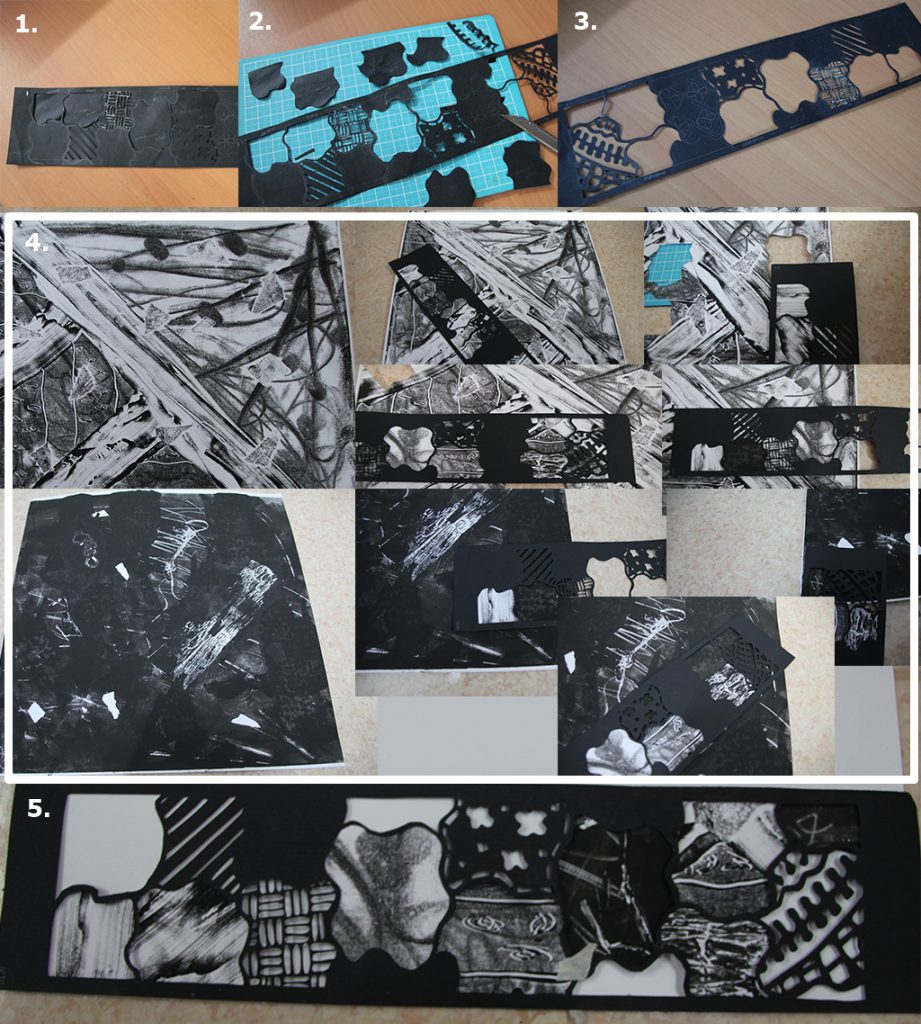
- I drew the outline pattern of Batik Sekar Jagad and cut it with pen knife. (image 1-3)
- I matched it with various monoprint to give individual effect on each part and created the final line. (image 4-5)
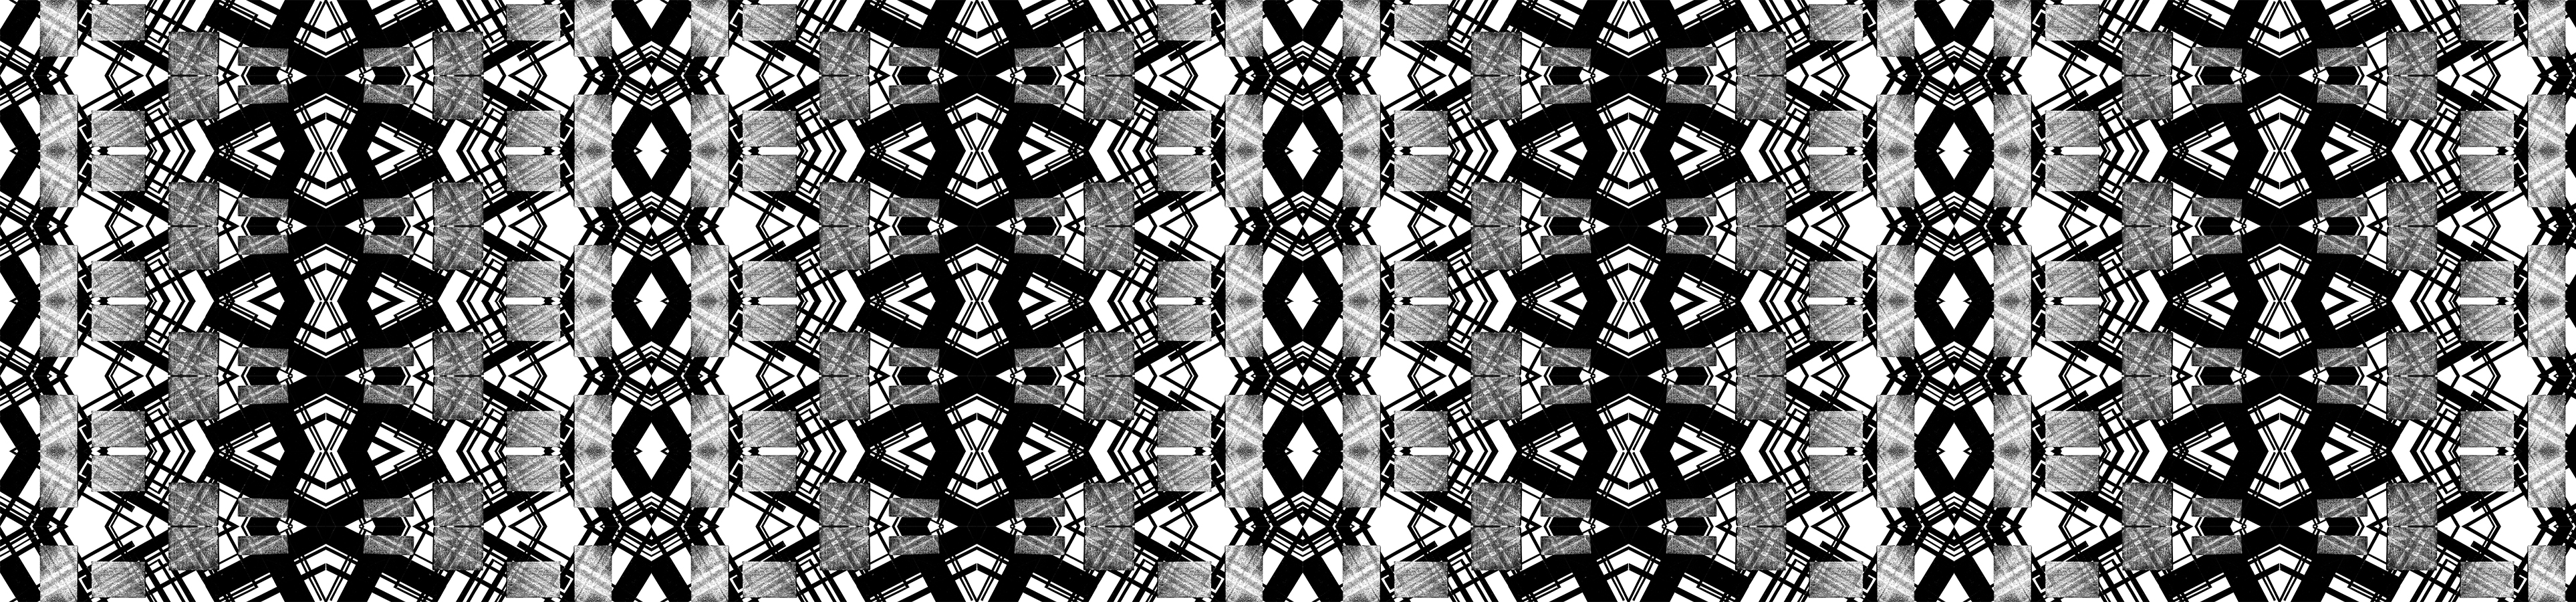
6. JOY – Optimism
- SURPRISE – Eye-Opener
- It was made from the image of SUPRISE – Eye-Opener (above), the process will be explained at number 7.
- The line was scaled down, multiplied and mirrored to create the pattern and final line of SURPRISE – Optimism.
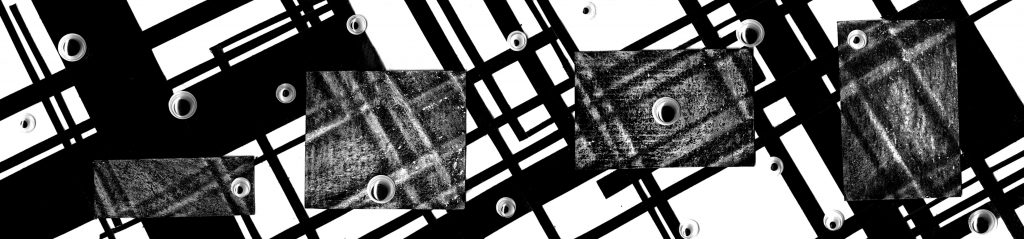
7. SURPRISE – Eye-Opener
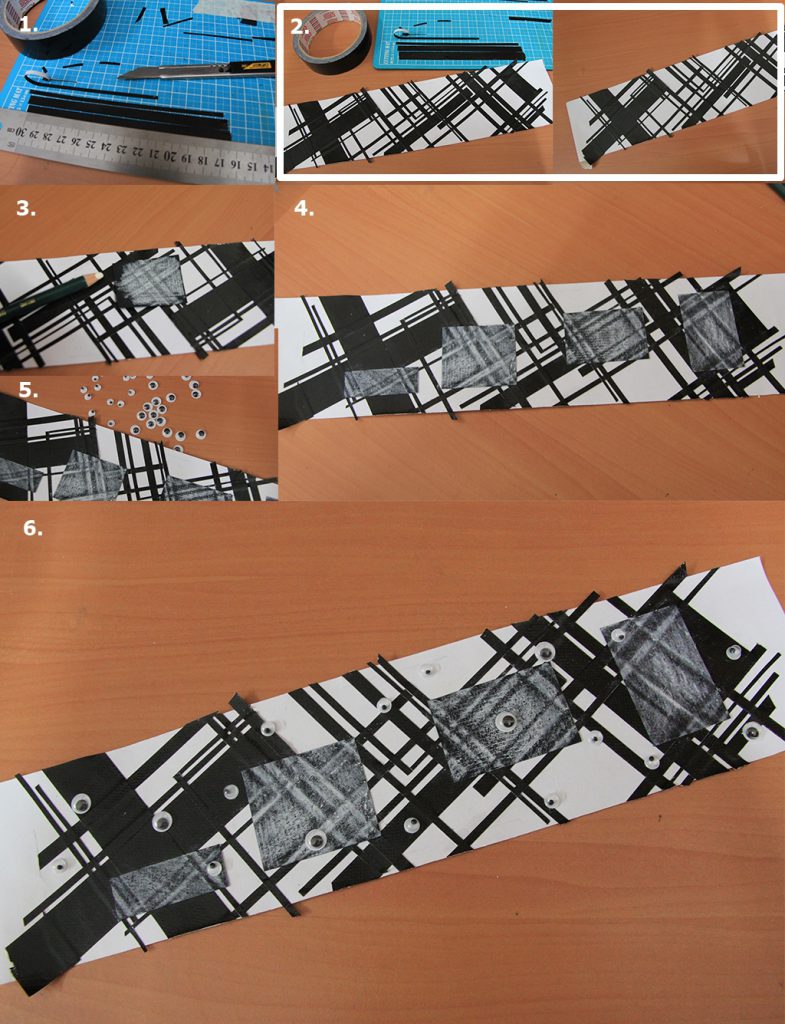
- I cut line with different thickness from black tape and paste them randomly but diagonally. (image 1-2)
- I paste black rectangular black paper on top and trace it with white color pencil to create the reverse color effect due to the tape’s thickness. (image 3-4)
- I pasted different sizes of plastic eyes on top to finish the final line. (image 5-6)
8. SURPRISE – Revelation
- I used the same scanned image as for FEAR – Hopelessness (above), the process of making will be explained at number 17.
- Then I adjusted the level and brightness to create the intended revelation effect.
9. SURPRISE – Awestruck
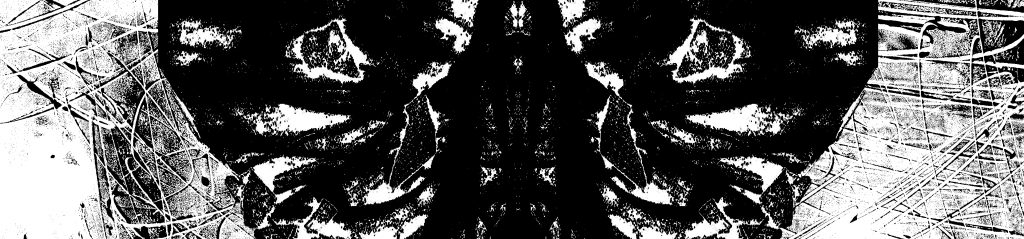
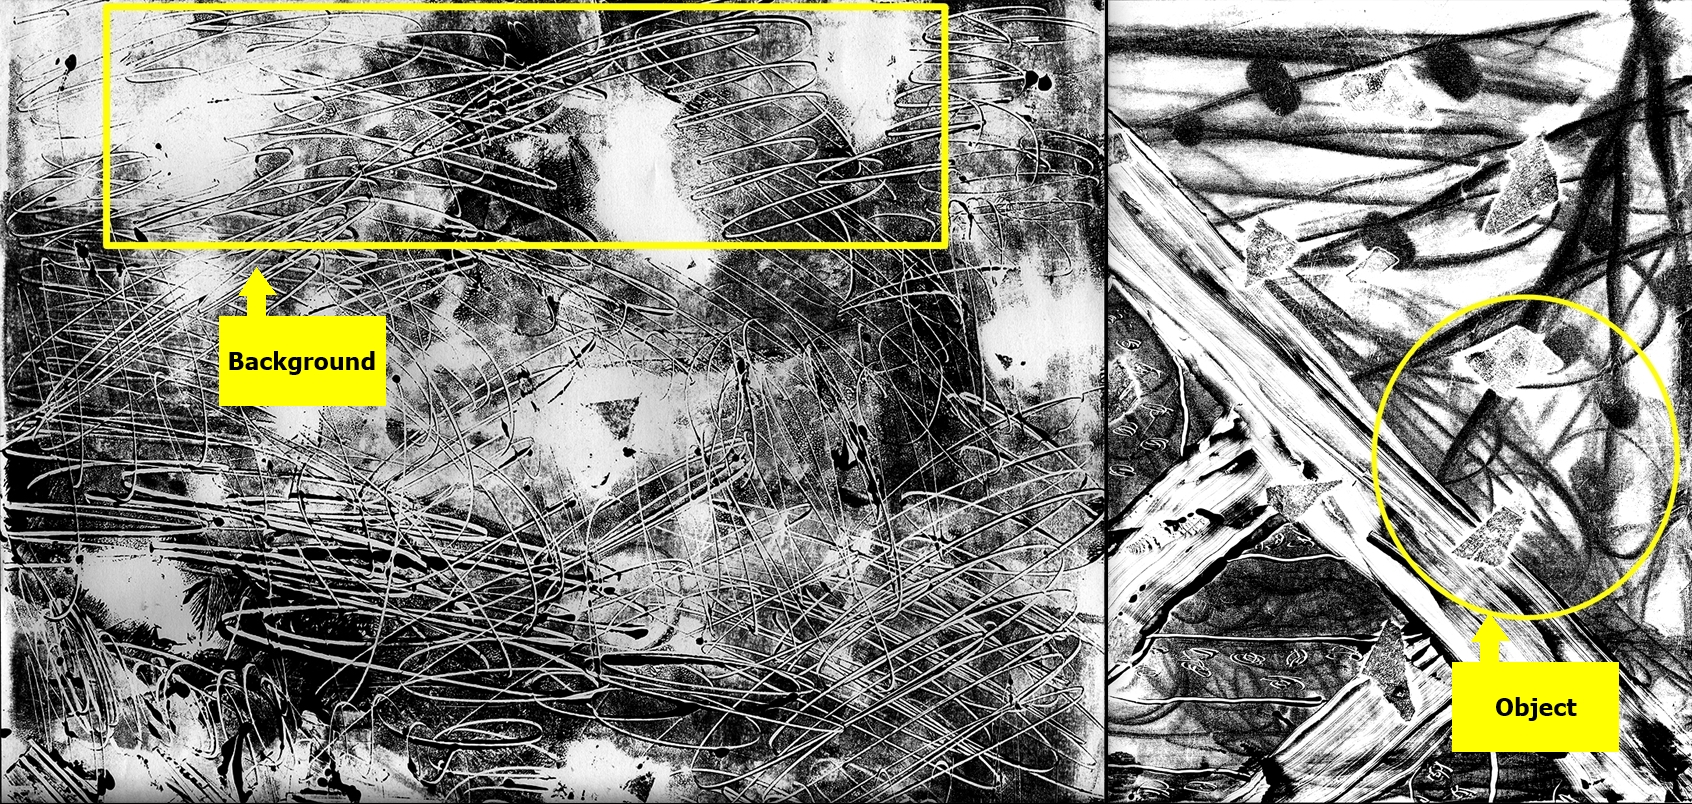
- I scan the monoprint and create 2 layers of it.
- I used one for background and one for the main object in the middle.
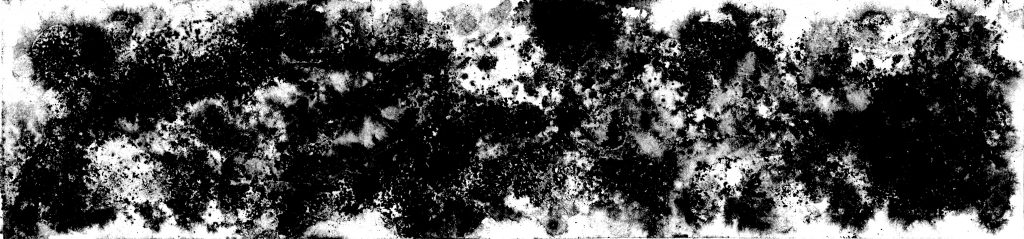
10. ANGER – Bitterness
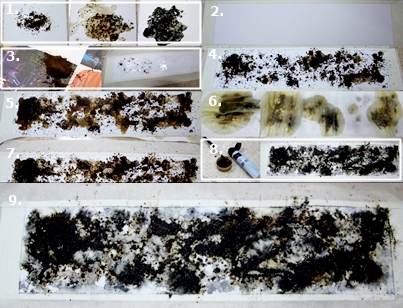
- I did some experiment on coffee powder on paper. From left to right, coffee powder on paper, coffee powder on paper with addition of water, coffee powder on paper with addition of black water color paint. Then I tried to put the in microwave with intention to get a black effect, but nothing happened. (image 1)
- I prepared the paper and white glue, spread the coffee powder on it. (image 2-4)
- I gave some water and dried it with tissue paper as it was too wet.(image 5-7)
- Then I added black watercolor paint. (image 8-9)
- The scanned image is edited to black and white and adjusted to give more bitterness.
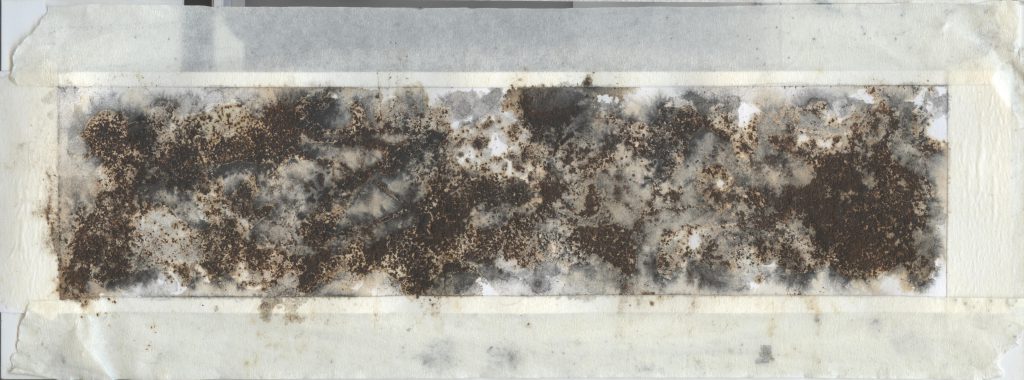
ANGER – Bitterness Scan
11. ANGER – Frustration

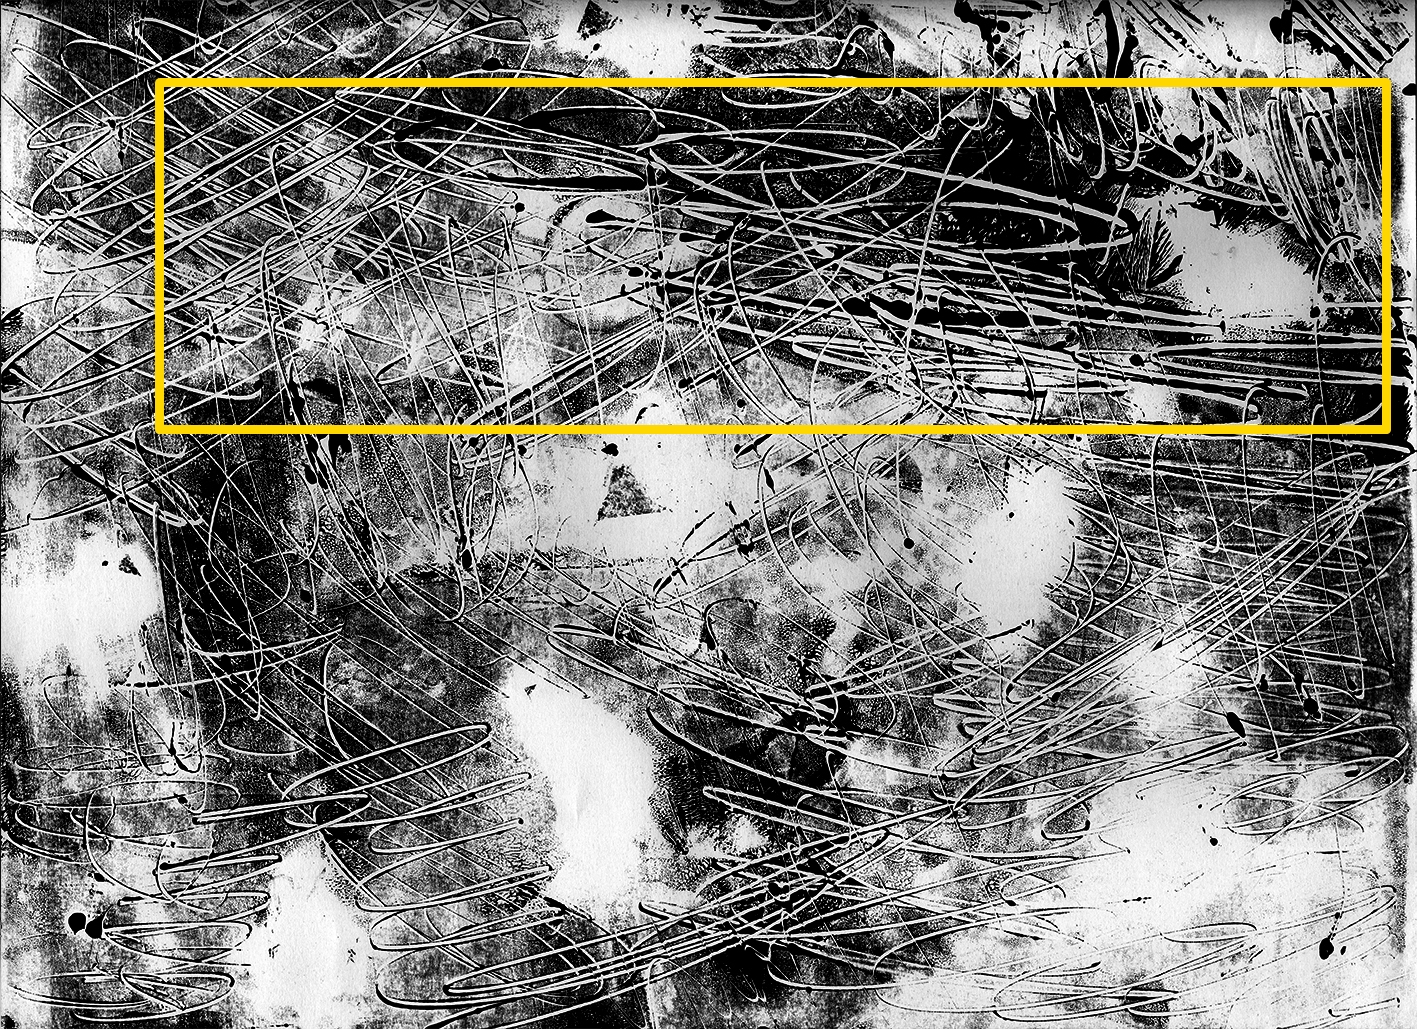
- I did monoprint and use pencil at the back of the paper tho create doodles and random lines.
- I scanned the part I want and edit the level to adjust the effect.
12. ANGER – Aggravation
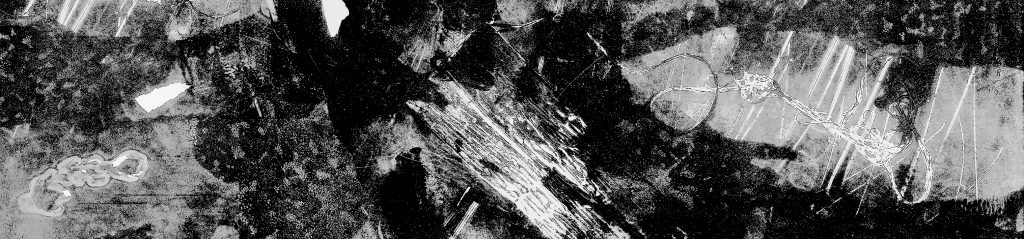
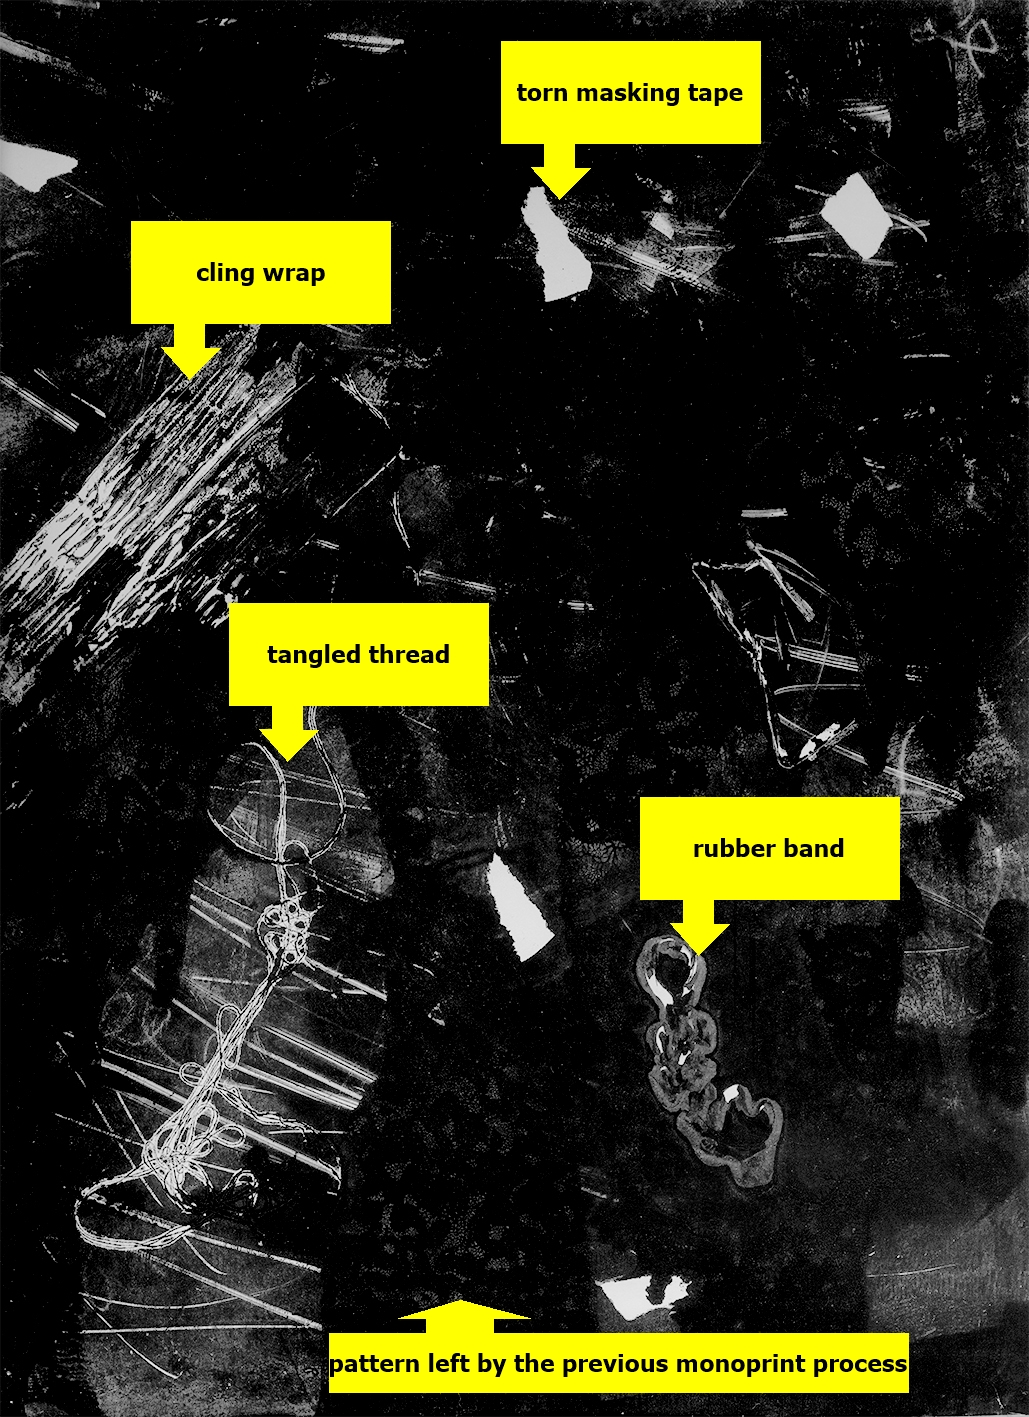
- I created the monoprint using masking tape, cling wrap, rubber band, and thread.
- I scanned and cut out the desired part to create aggravation.
13. SADNESS – Alienation
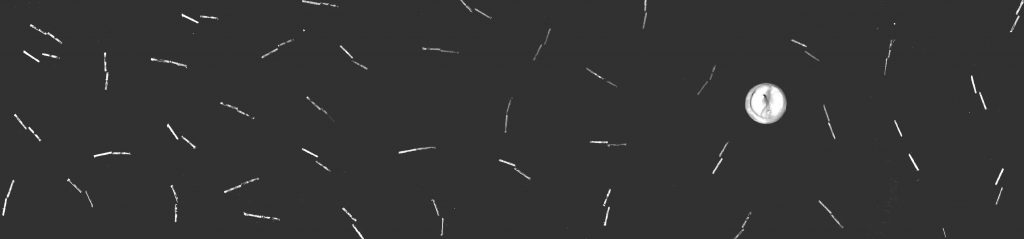
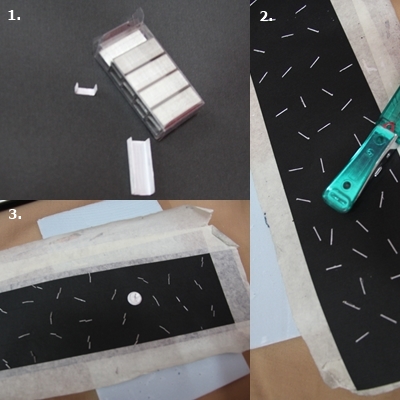
- I painted staples (stapler bullet) and thumbtack with white acrylic paint. (image 1)
- After put a foam below a black paper, I stapled the staples randomly on the paper and closed the open ends of the staples. (image 2)
- I pasted one white thumbtack to give the alienation effect. (image 3)
14. SADNESS – Monotonous
- I created a stencil with the shape of a MRT. (image 1-2)
- The paper was prepared, I marked the line from 0600 to 2400 with a graph to indicate the peak hour time of MRT. (image 3)
- I tried using roller but the result was not as expected due as the stencil line was too thin. (image 4-6)
- I decided to use acrylic paint to create the MRT. Black paint indicate the presence of MRT (the darker, the more peak hour) while white paint indicate the absence of MRT ( the lighter, the more non-peak hour). (image 6-8)
15. SADNESS – Despair
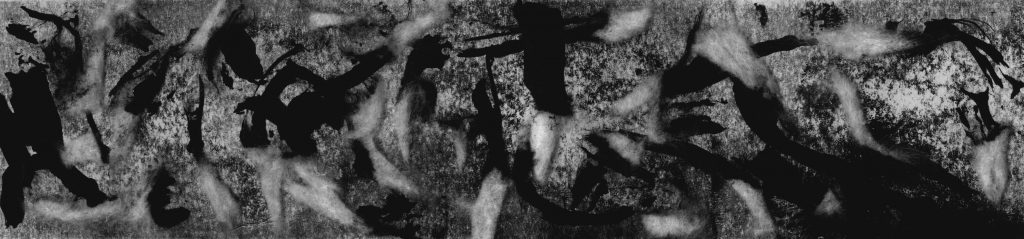
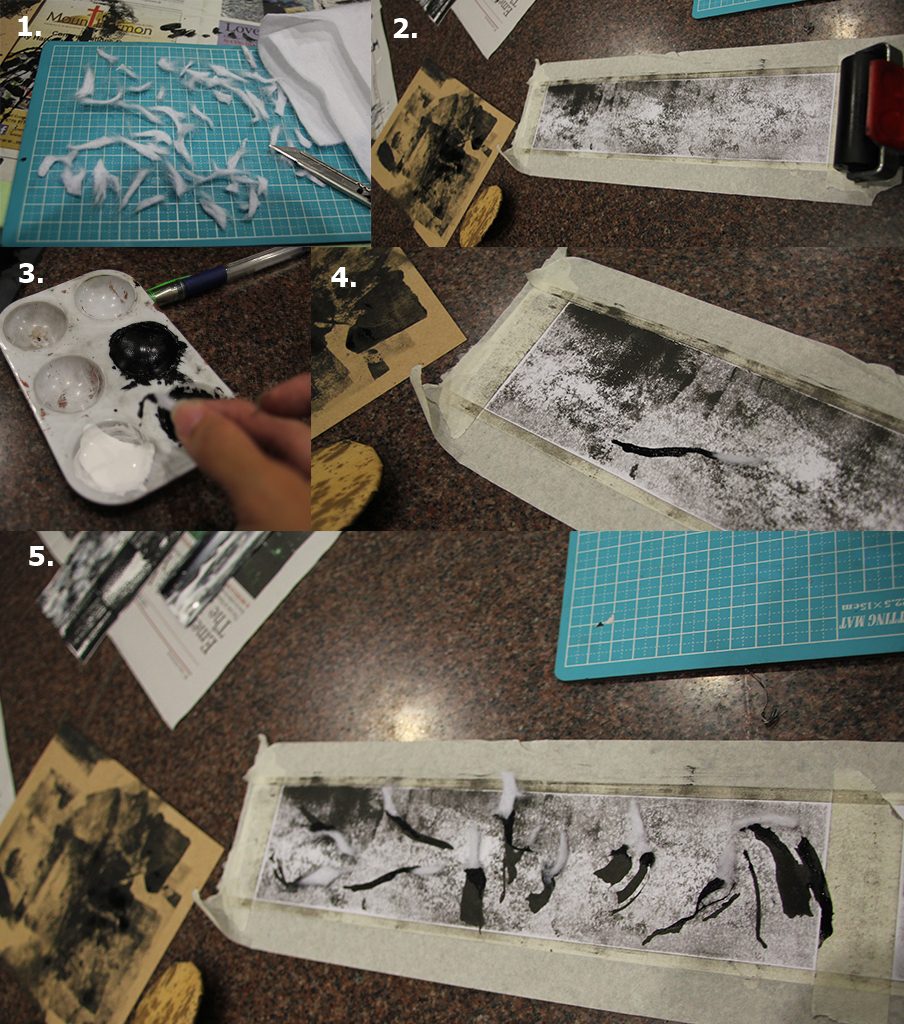
- I simultaneously tore and cut white felt fabric to create a pieces with many wool coming out of it. (image 1)
- I prepared the paper by rolling roller with thin ink to give some light background. (image 2)
- Dipping a felt piece to black acrylic and brush it on the paper, I repeated the process until the desired outcome, scanned it and enhance the despair effect. (image 3-5)
16. FEAR – Horror
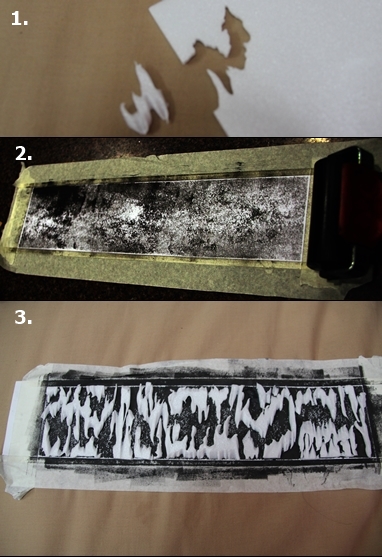
- I used hot wire foam cutter on white styrofoam at an non-perpendicular angle to create the melting and horror shape. (image 1)
- Using roller and thick ink, I colored the white paper to create the mystery and and uneasy effect. (image 2)
- I glued the styrofoam purposely with super glue as the glue will ‘eat’ some part of it, giving uneven thickness of styrofoam, enhancing the effect. (image 3)
- After scanned, the level was edited and the final line was created.
17. FEAR – Hopelessness
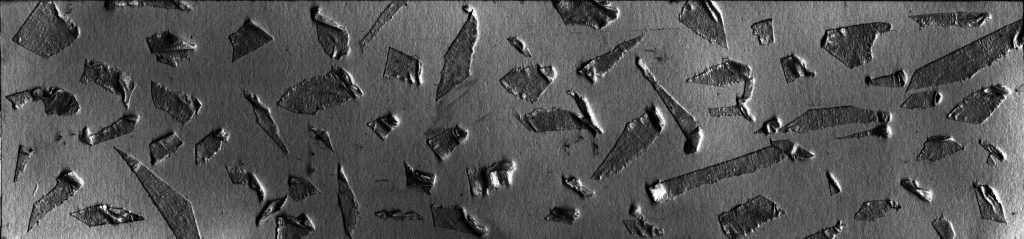

- After preparing a white paper, I tore of masking tape to pieces then paste it on a cutting mat. (image 1-2)
- Then, I scratch it randomly with penknife. (image 3)
- I pasted it randomly on the paper, scanned it and edit the level. (image 4)
18. FEAR – Nightmarish
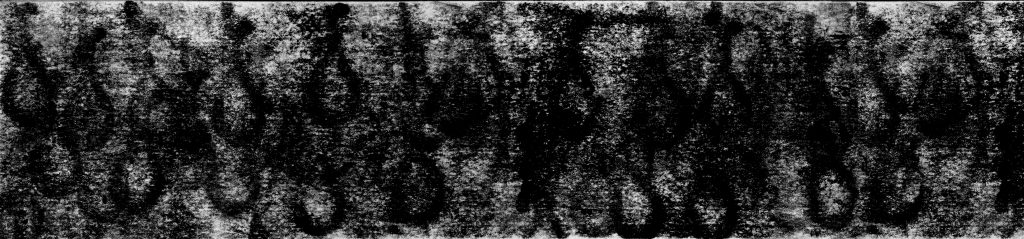
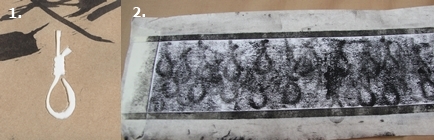
- I created a piece of hanging rope and cut it out. (image 1)
- I put the piece of cut rope under a white paper before rolling it with thin ink roller to capture the texture. I repeated the process until the desire effect. (image 2)
- I enhanced the effect by scanning it and adjusted the level.
Thanks for reading! I am making a hard copy for this in order to keep the handmades, will be updating this post soon. Hope you enjoy it 🙂