#Model 1:
Stage 1 :

At first glance, this model seemed perfectly fine with the D and SD being quite obvious, but after rotations, i realised the SD and SO were far too similar in terms of both height and width.

I then went on to use the 2D sketch model to make and plan further adjustments to the model as above.
Stage 2:


after consulting Prof Cheryl, i then changed the SD to D to further ease how easily the D and SD can be differentiated as well as the previously problematic SD and SO.
This was one of the model i considered as a final model
This then went onto be my final model
#Model 2:
Stage 1:

Model was done initially without any cradling/piercing or wedging. The most obvious problem was the SD and SO being far too similar.

The conflict laid between trying to increase the SD without it looking like it came from the same family as the D and still letting it be bigger than the SO.
Stage 2:


Even so with the adjustments, i agreed that it did not really look interesting hence, i did not consider this model for my final model.
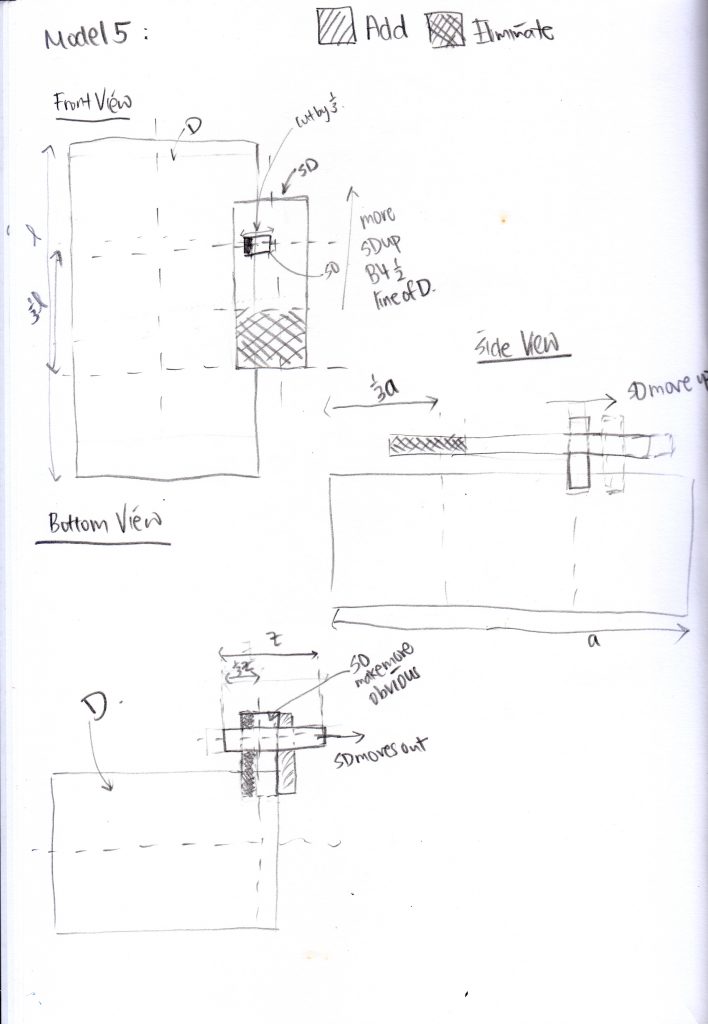
#Model 3:
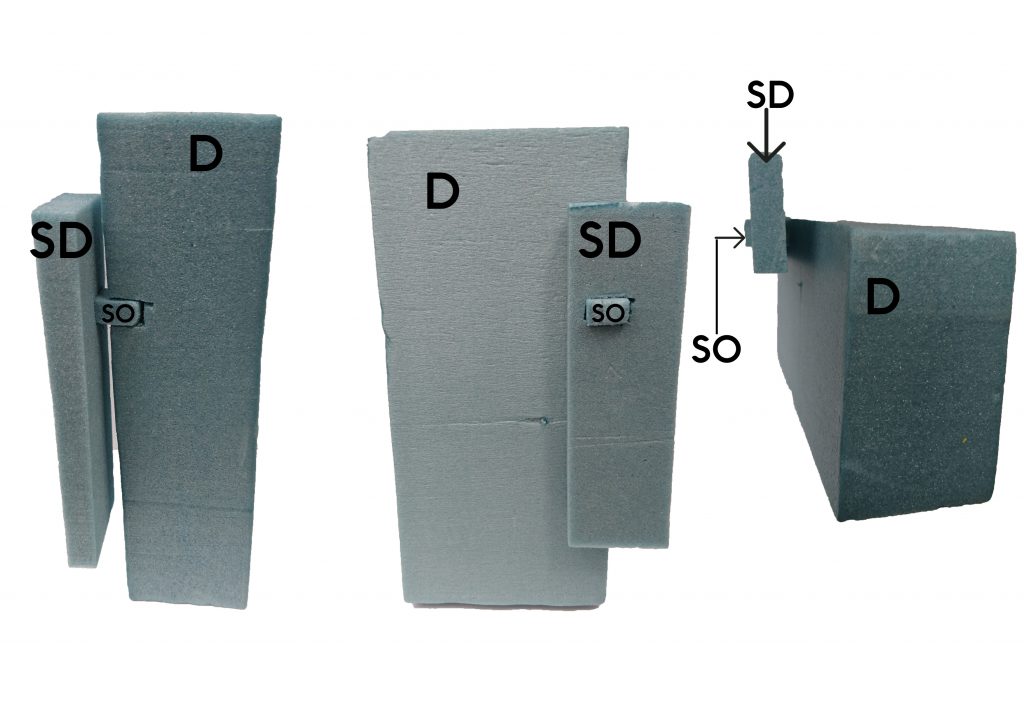
As this model was made up on the spot, it had some major flaws to correct but it was nonetheless interesting. The challenge was for the SD to be moved up such that it was before the half line of the D and also maintain the SO such that it was smaller and less prominent than the SD.
This was also hence one of the models i considered to be my final model.
Thanks for reading! 🙂