I was totally ready for the presentation on Thu 23/11/2017! I really was! All I needed to do was to check in with Mr Bharat, who hadn’t replied me since Thu 9/11/2017, during which I discovered that the location was not available…
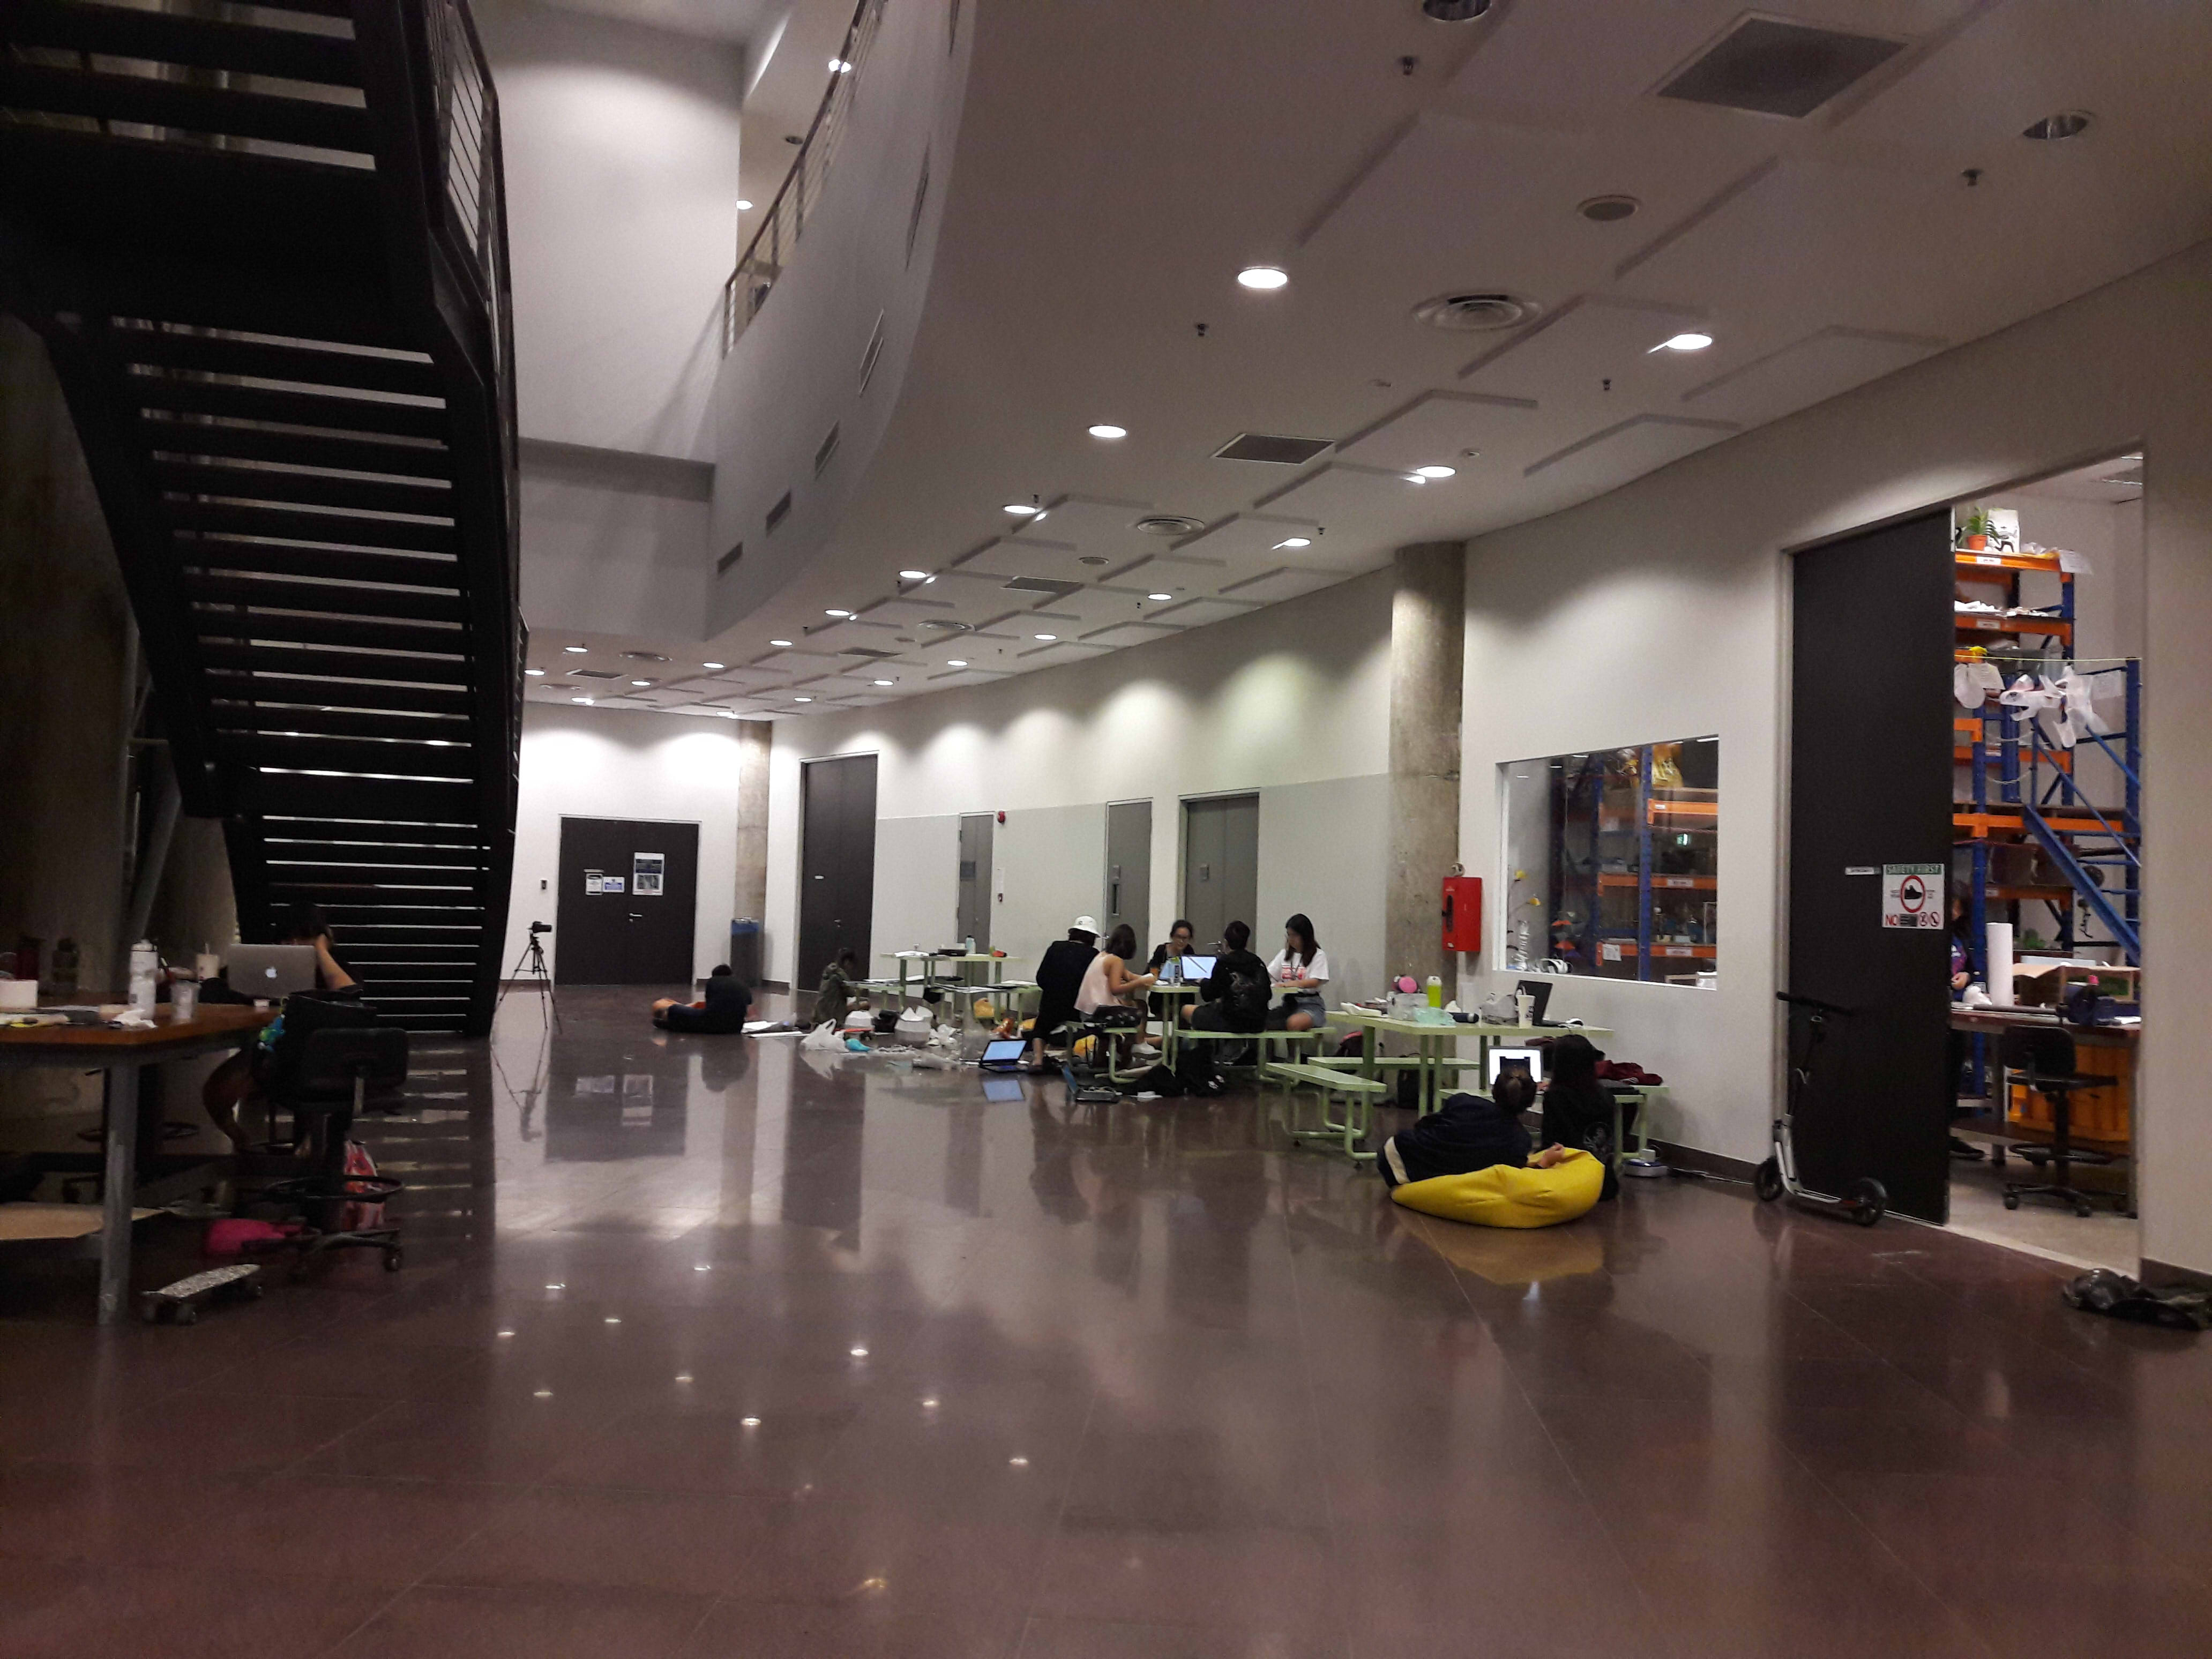
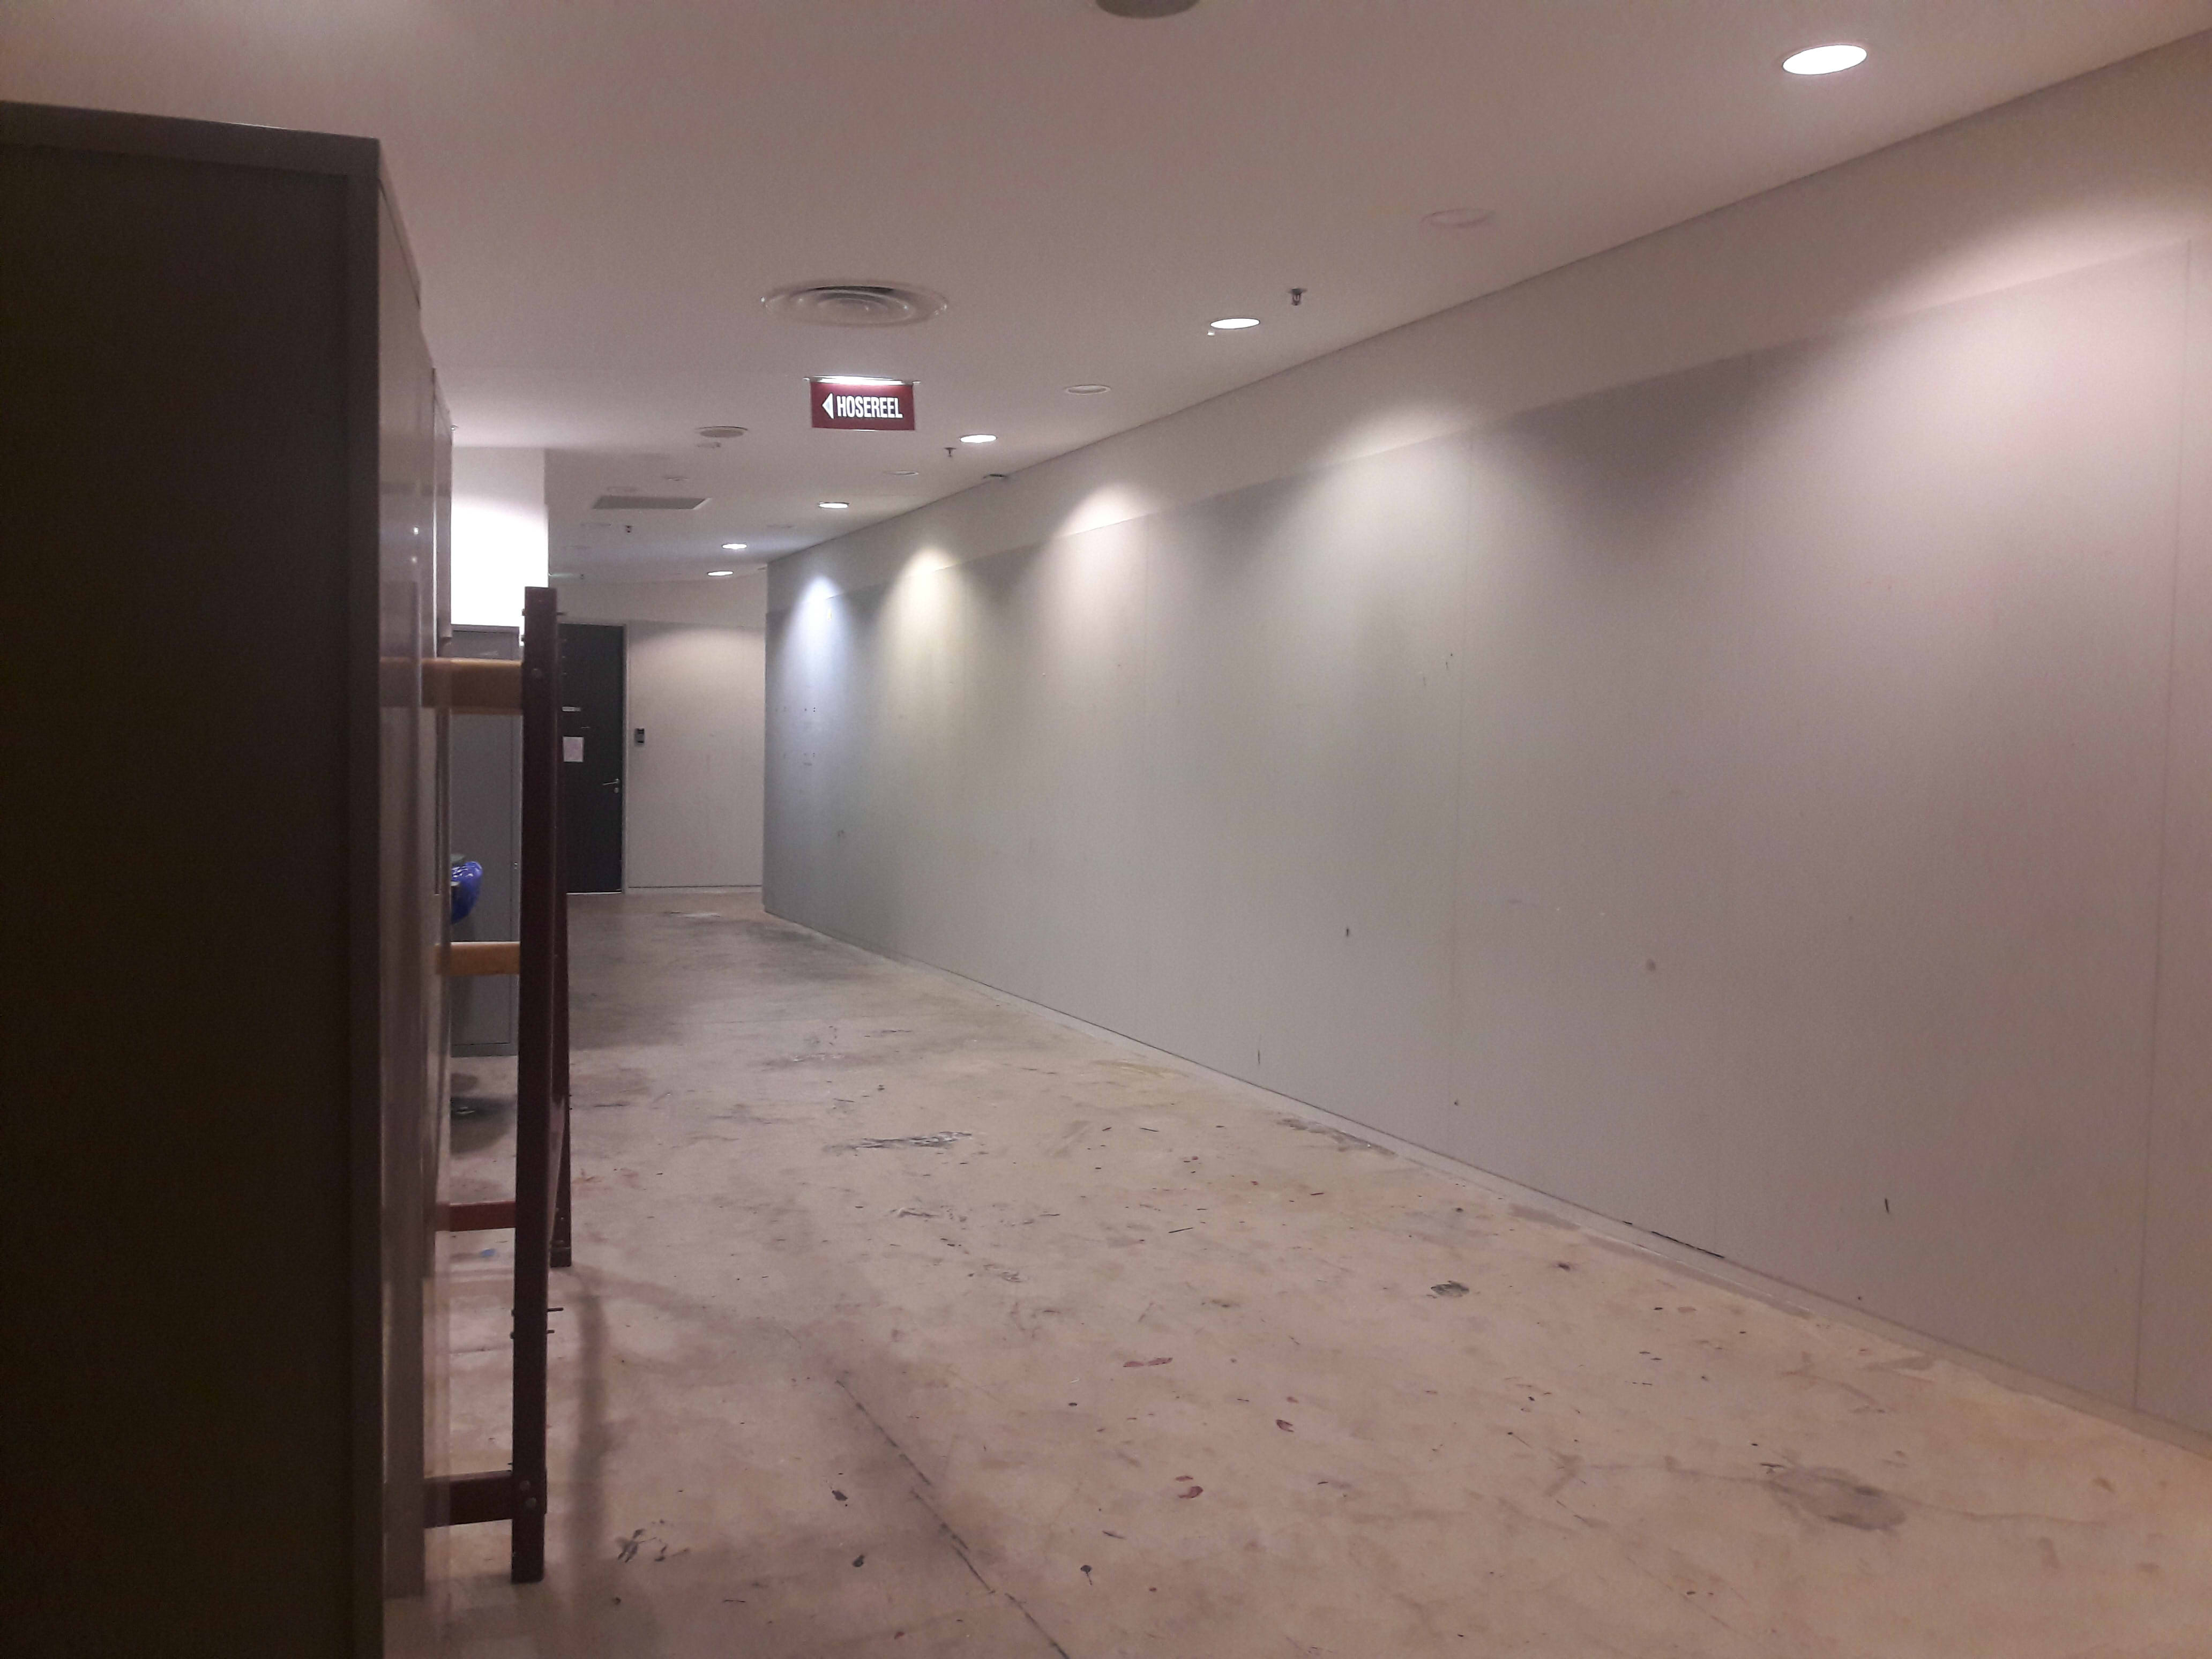
… Hence, I instantly asked Lei to suggest another location, and she suggested the space outside the Foundation 2D Room, somewhere I obviously had better luck with. (Note that from here on out, it becomes more process-based, since a lot of the documentation is on the improvised setup.)
She also mentioned that I would probably need to change my object due to the smaller width of the corridor, and so again I had to go back to the basic requirements and re-evaluate my setup based on the things which I needed which were site-specific.
Now that I couldn’t use the site-specific benches, I needed to re-evaluate my subject, a material object which is
identical in spatial form,
unmovable,
in close proximity to each other, and
able to be interacted with
and now, additionally, also fairly thin and small, since the throw distance was very short and I still needed space for people to interact with the objects.
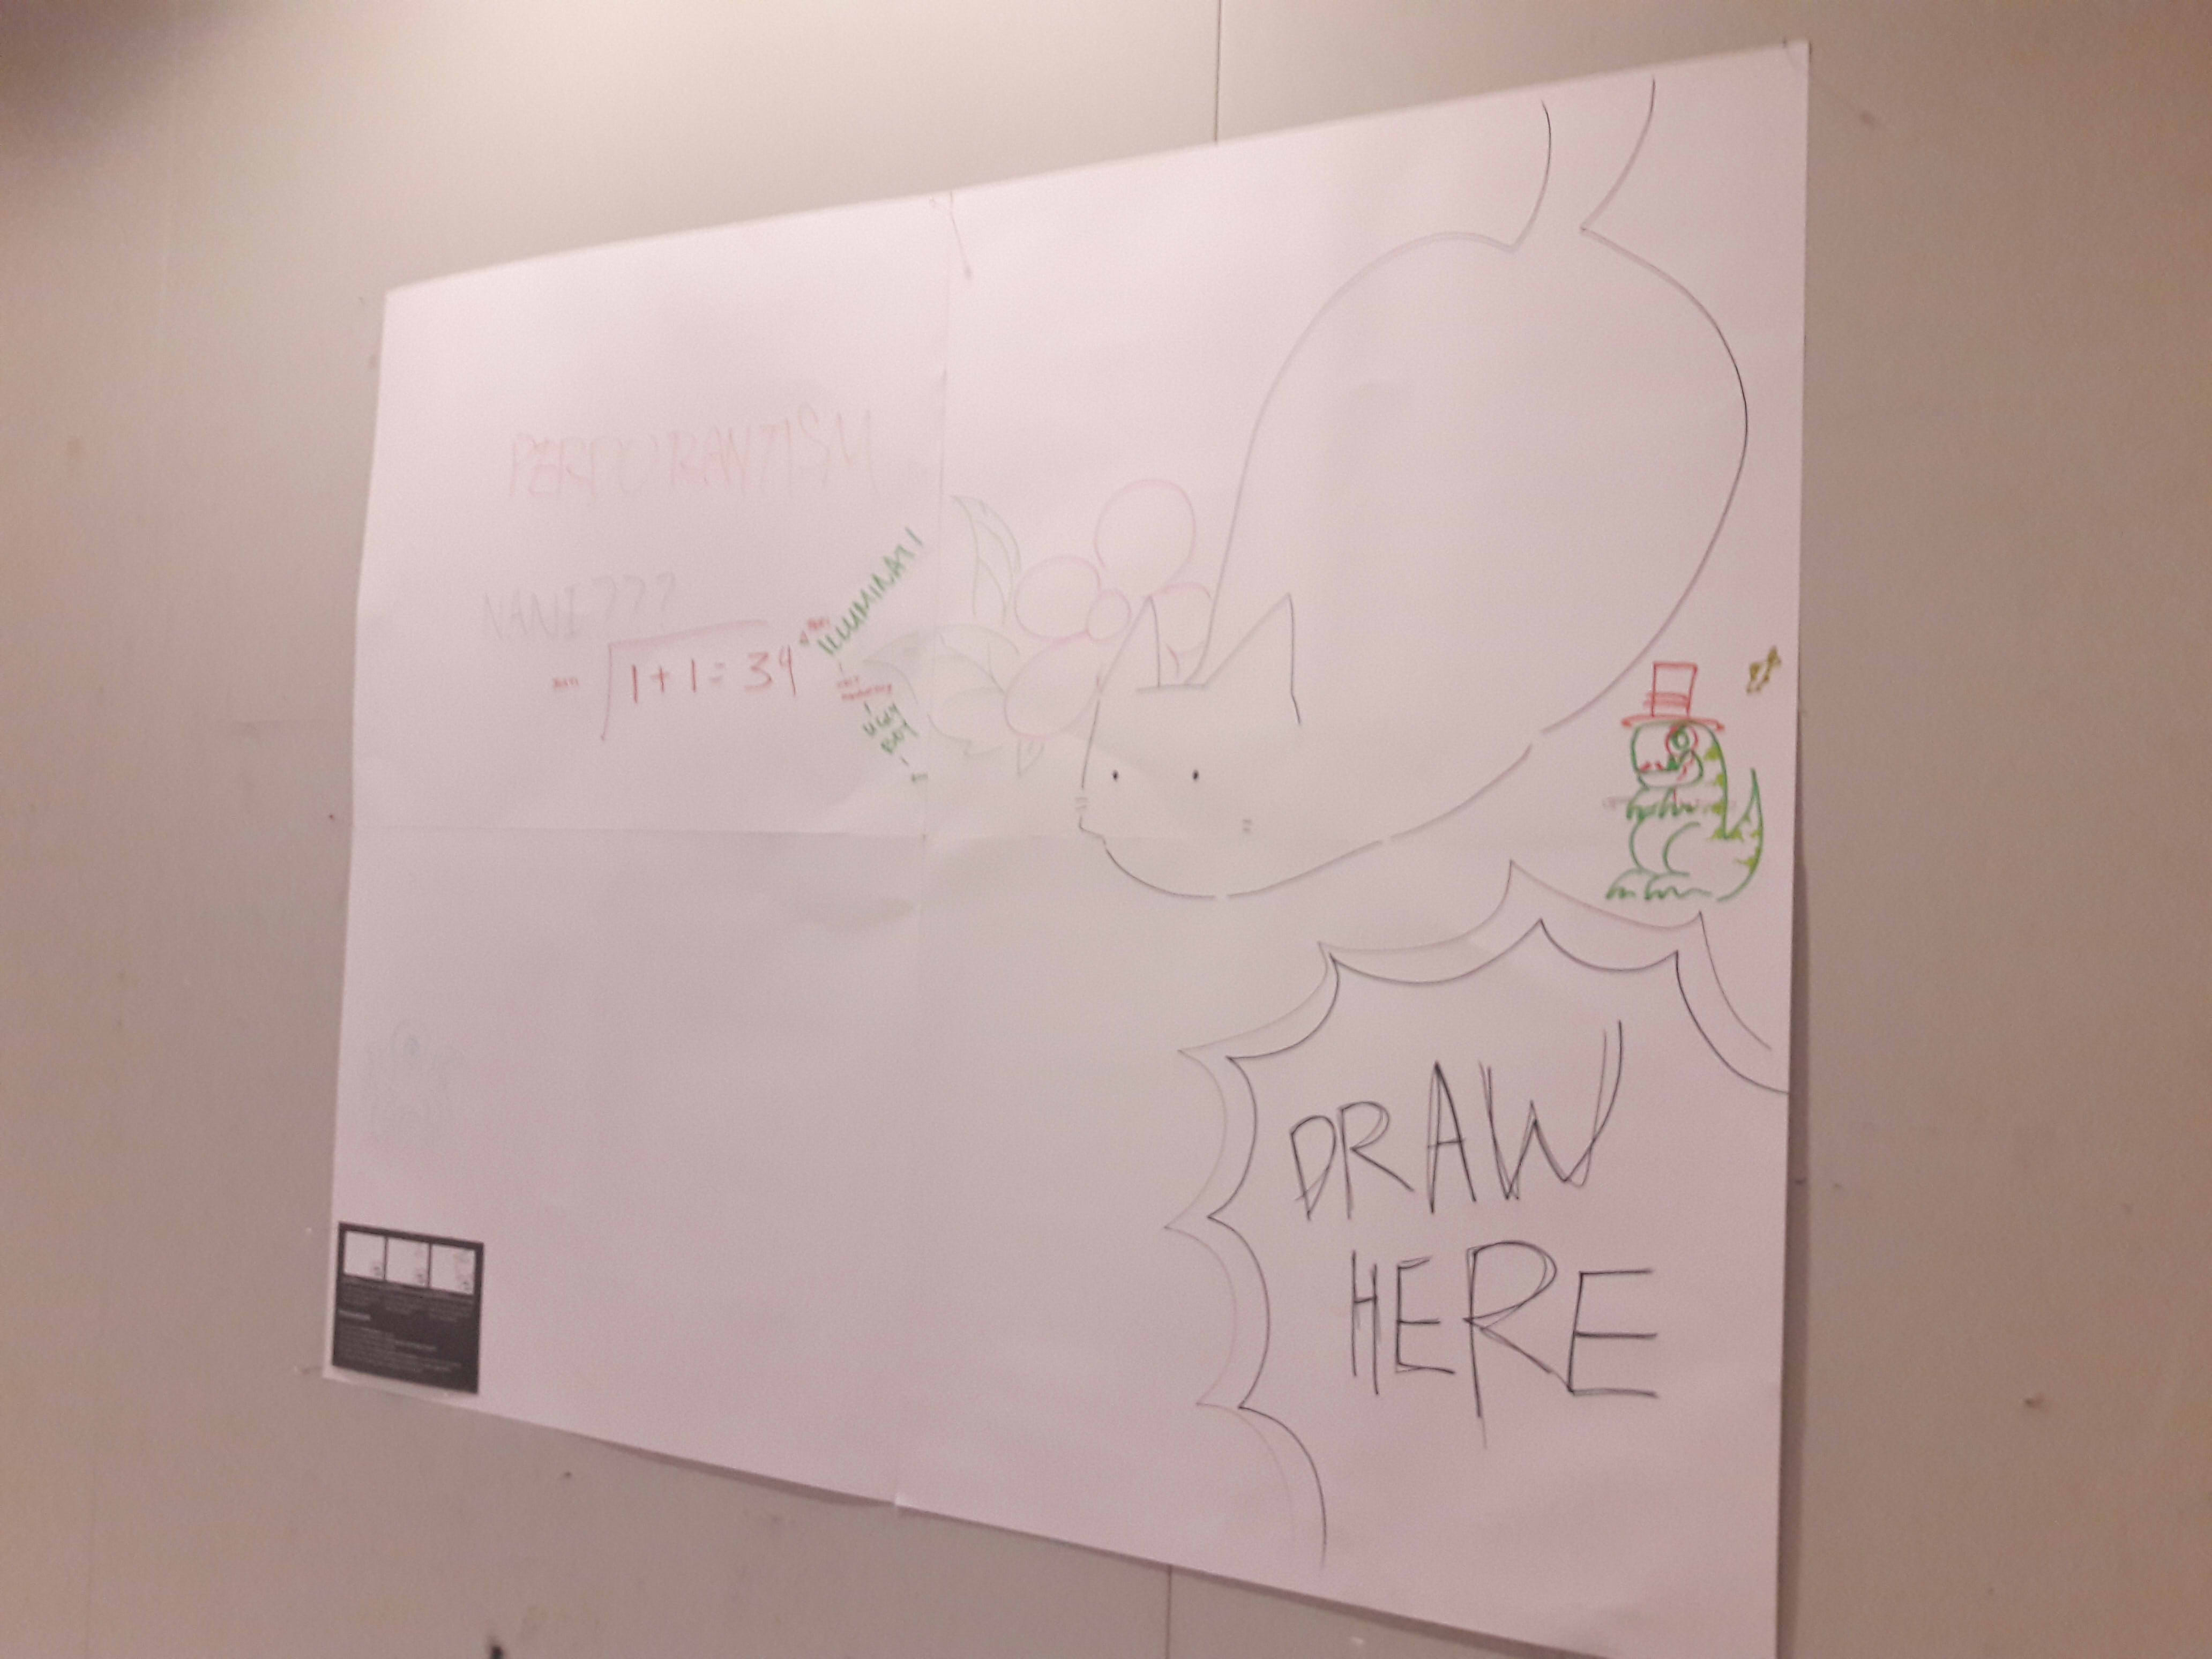
There weren’t any site-specific objects I could use, so I decided that I would need to make the object on my own. The layout practically begged for something to pinned to the wall, and when you talk interactive, why not paper to be drawn on? It’s not exactly unmoving, but I could at least have the 10 minute video show how the paper got there, showing its temporal part of not always having been there, as opposed to the current present which shows that it IS there. Also, it’s thin enough to fit the narrow corridor. The downsides are that it doesn’t have the same effect as the basement foyer’s benches, in that it’s not something which is permanently there, and already has some form of established identity, but at least it was suited to the area.
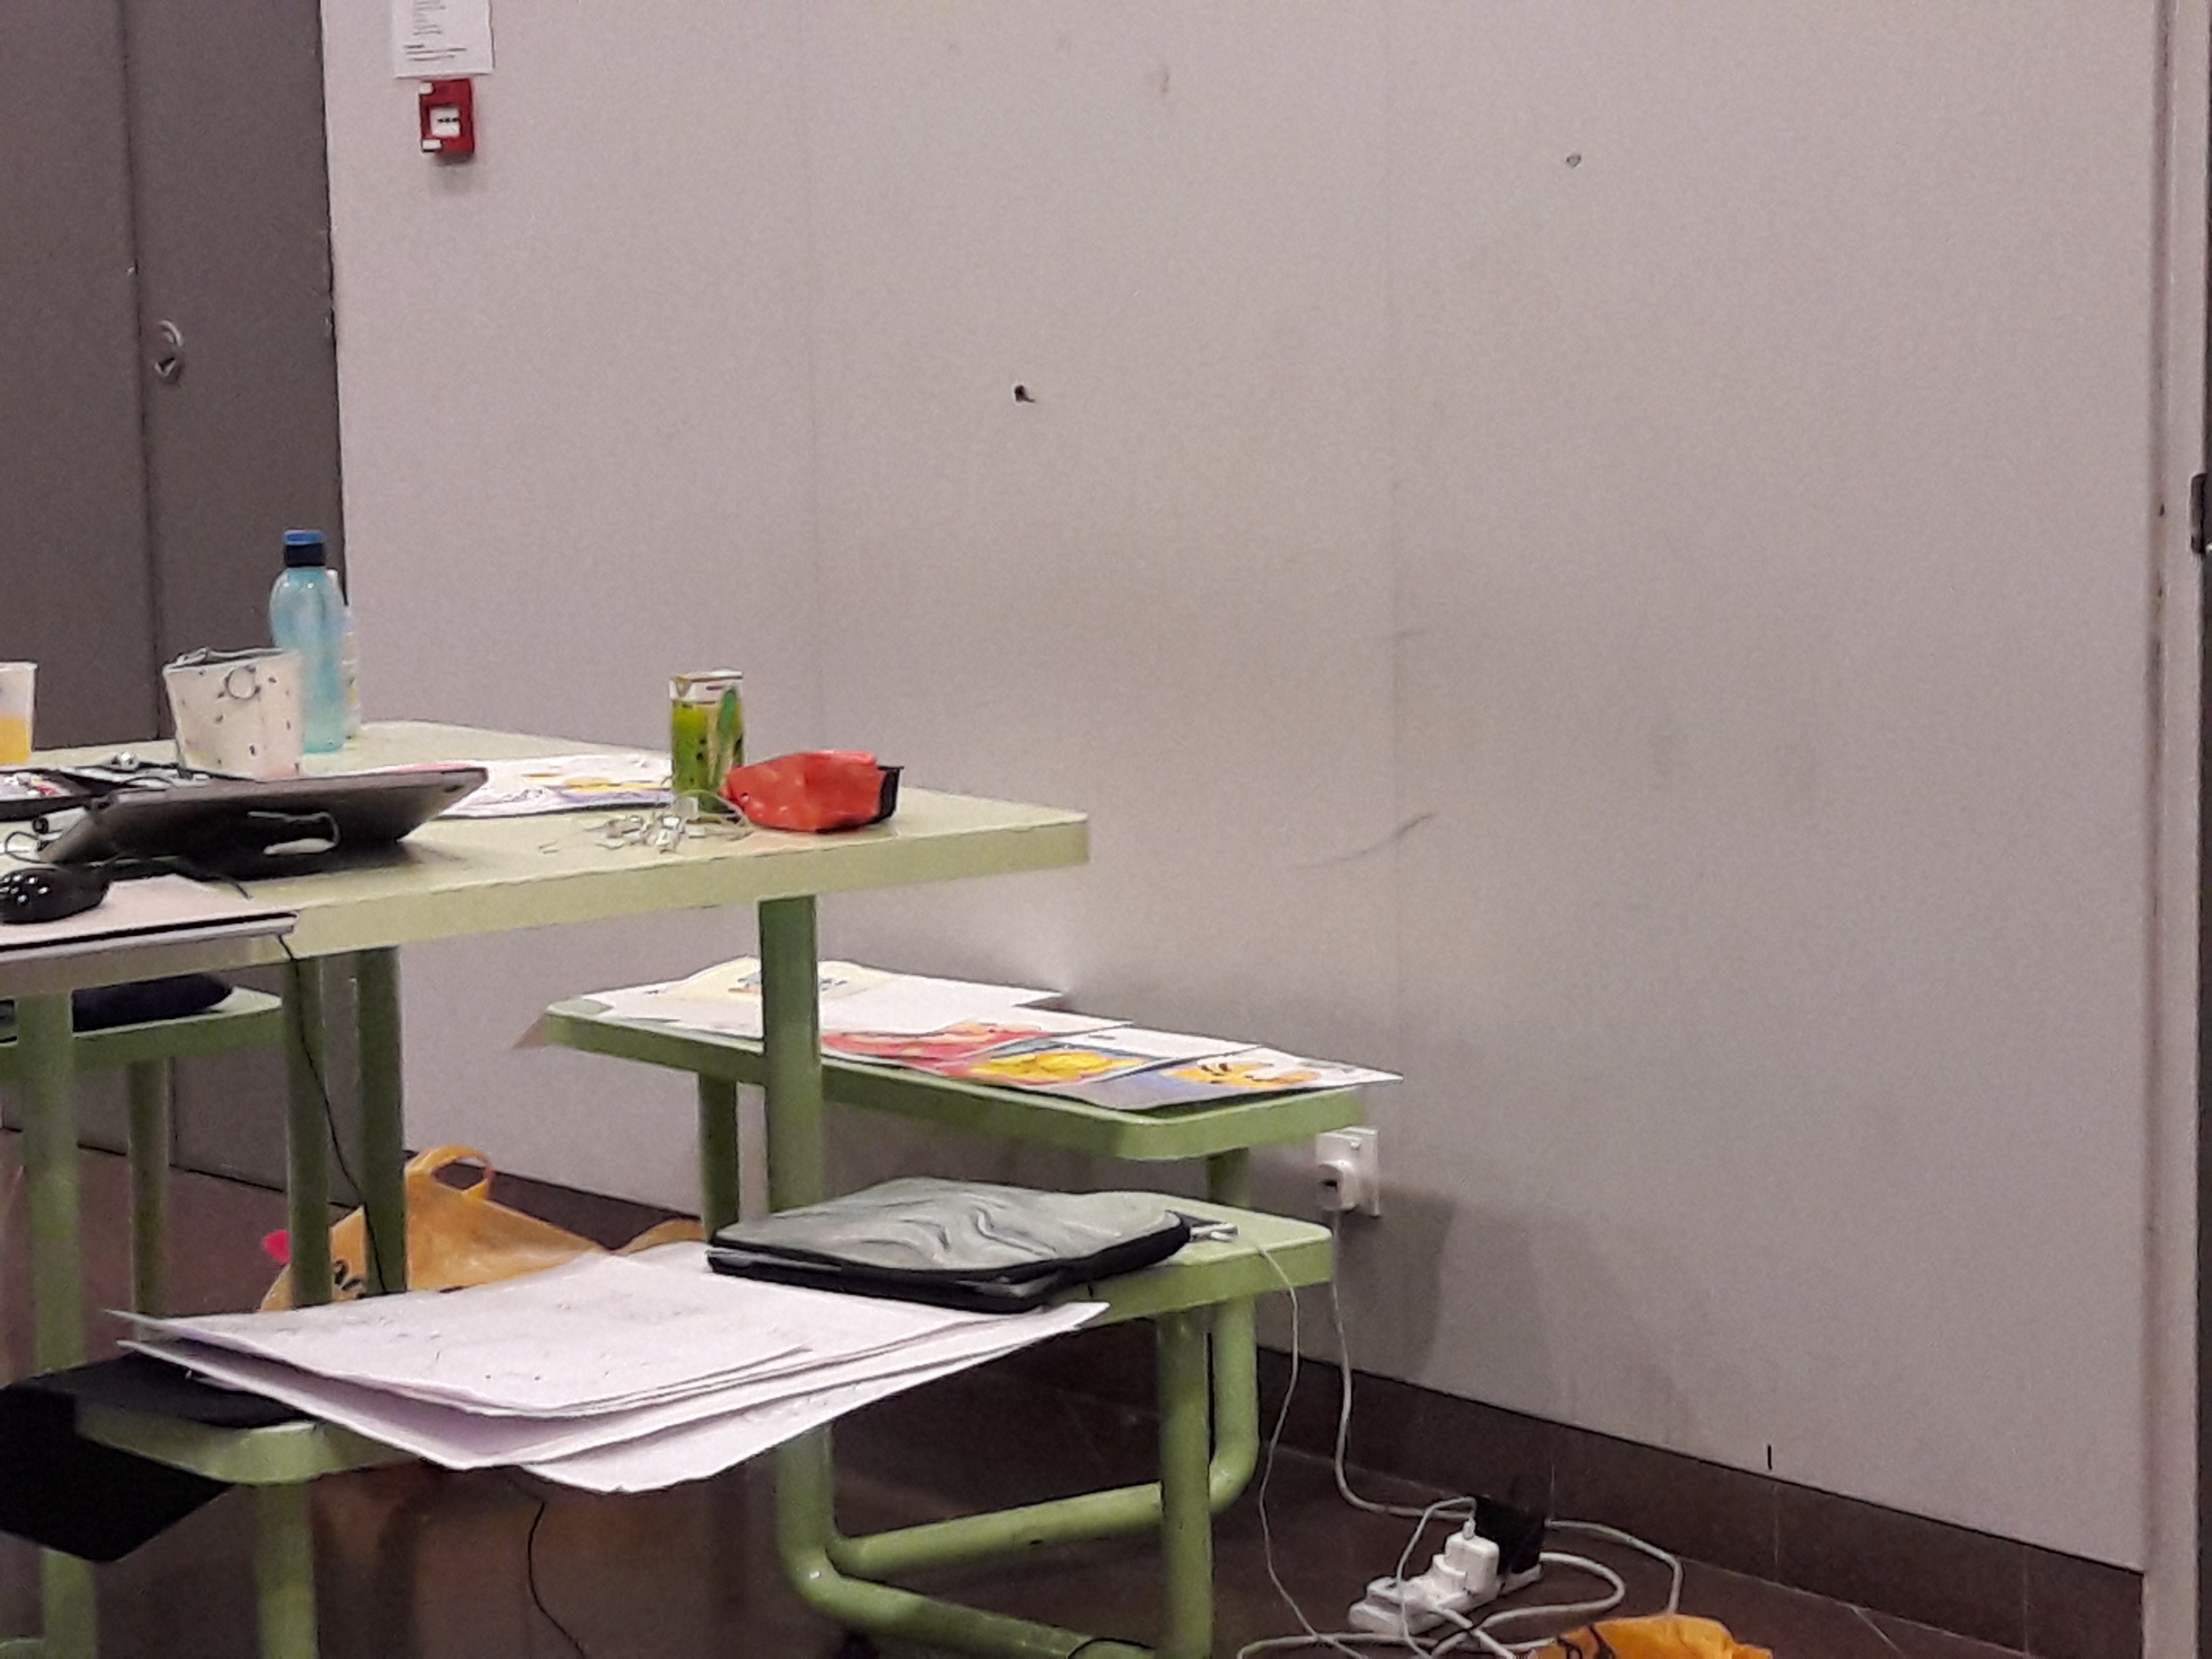
Material objects: I wasn’t sure how small the projection size would be, so I waited till I could test it out before deciding that, yes, it was safe to join 4 pieces of paper together to make a large piece. Hence, I joined 4 20″ by 25″ papers together. This was especially because I was afraid that there wouldn’t be enough space to cater to around 20 people simultaneously interacting with the papers. Also, in light of previous feedback that I might not always make sense, I added a little placard with information for people who might actually care to know more.
I brought along my Chameleon marker set so that people could experience the disjunct of the projection versus the material form through modifying the paper themselves. Also, it served as a good way of explaining with props.
Also, I used straight dressmaking pins and double-sided tape to hold up the papers.
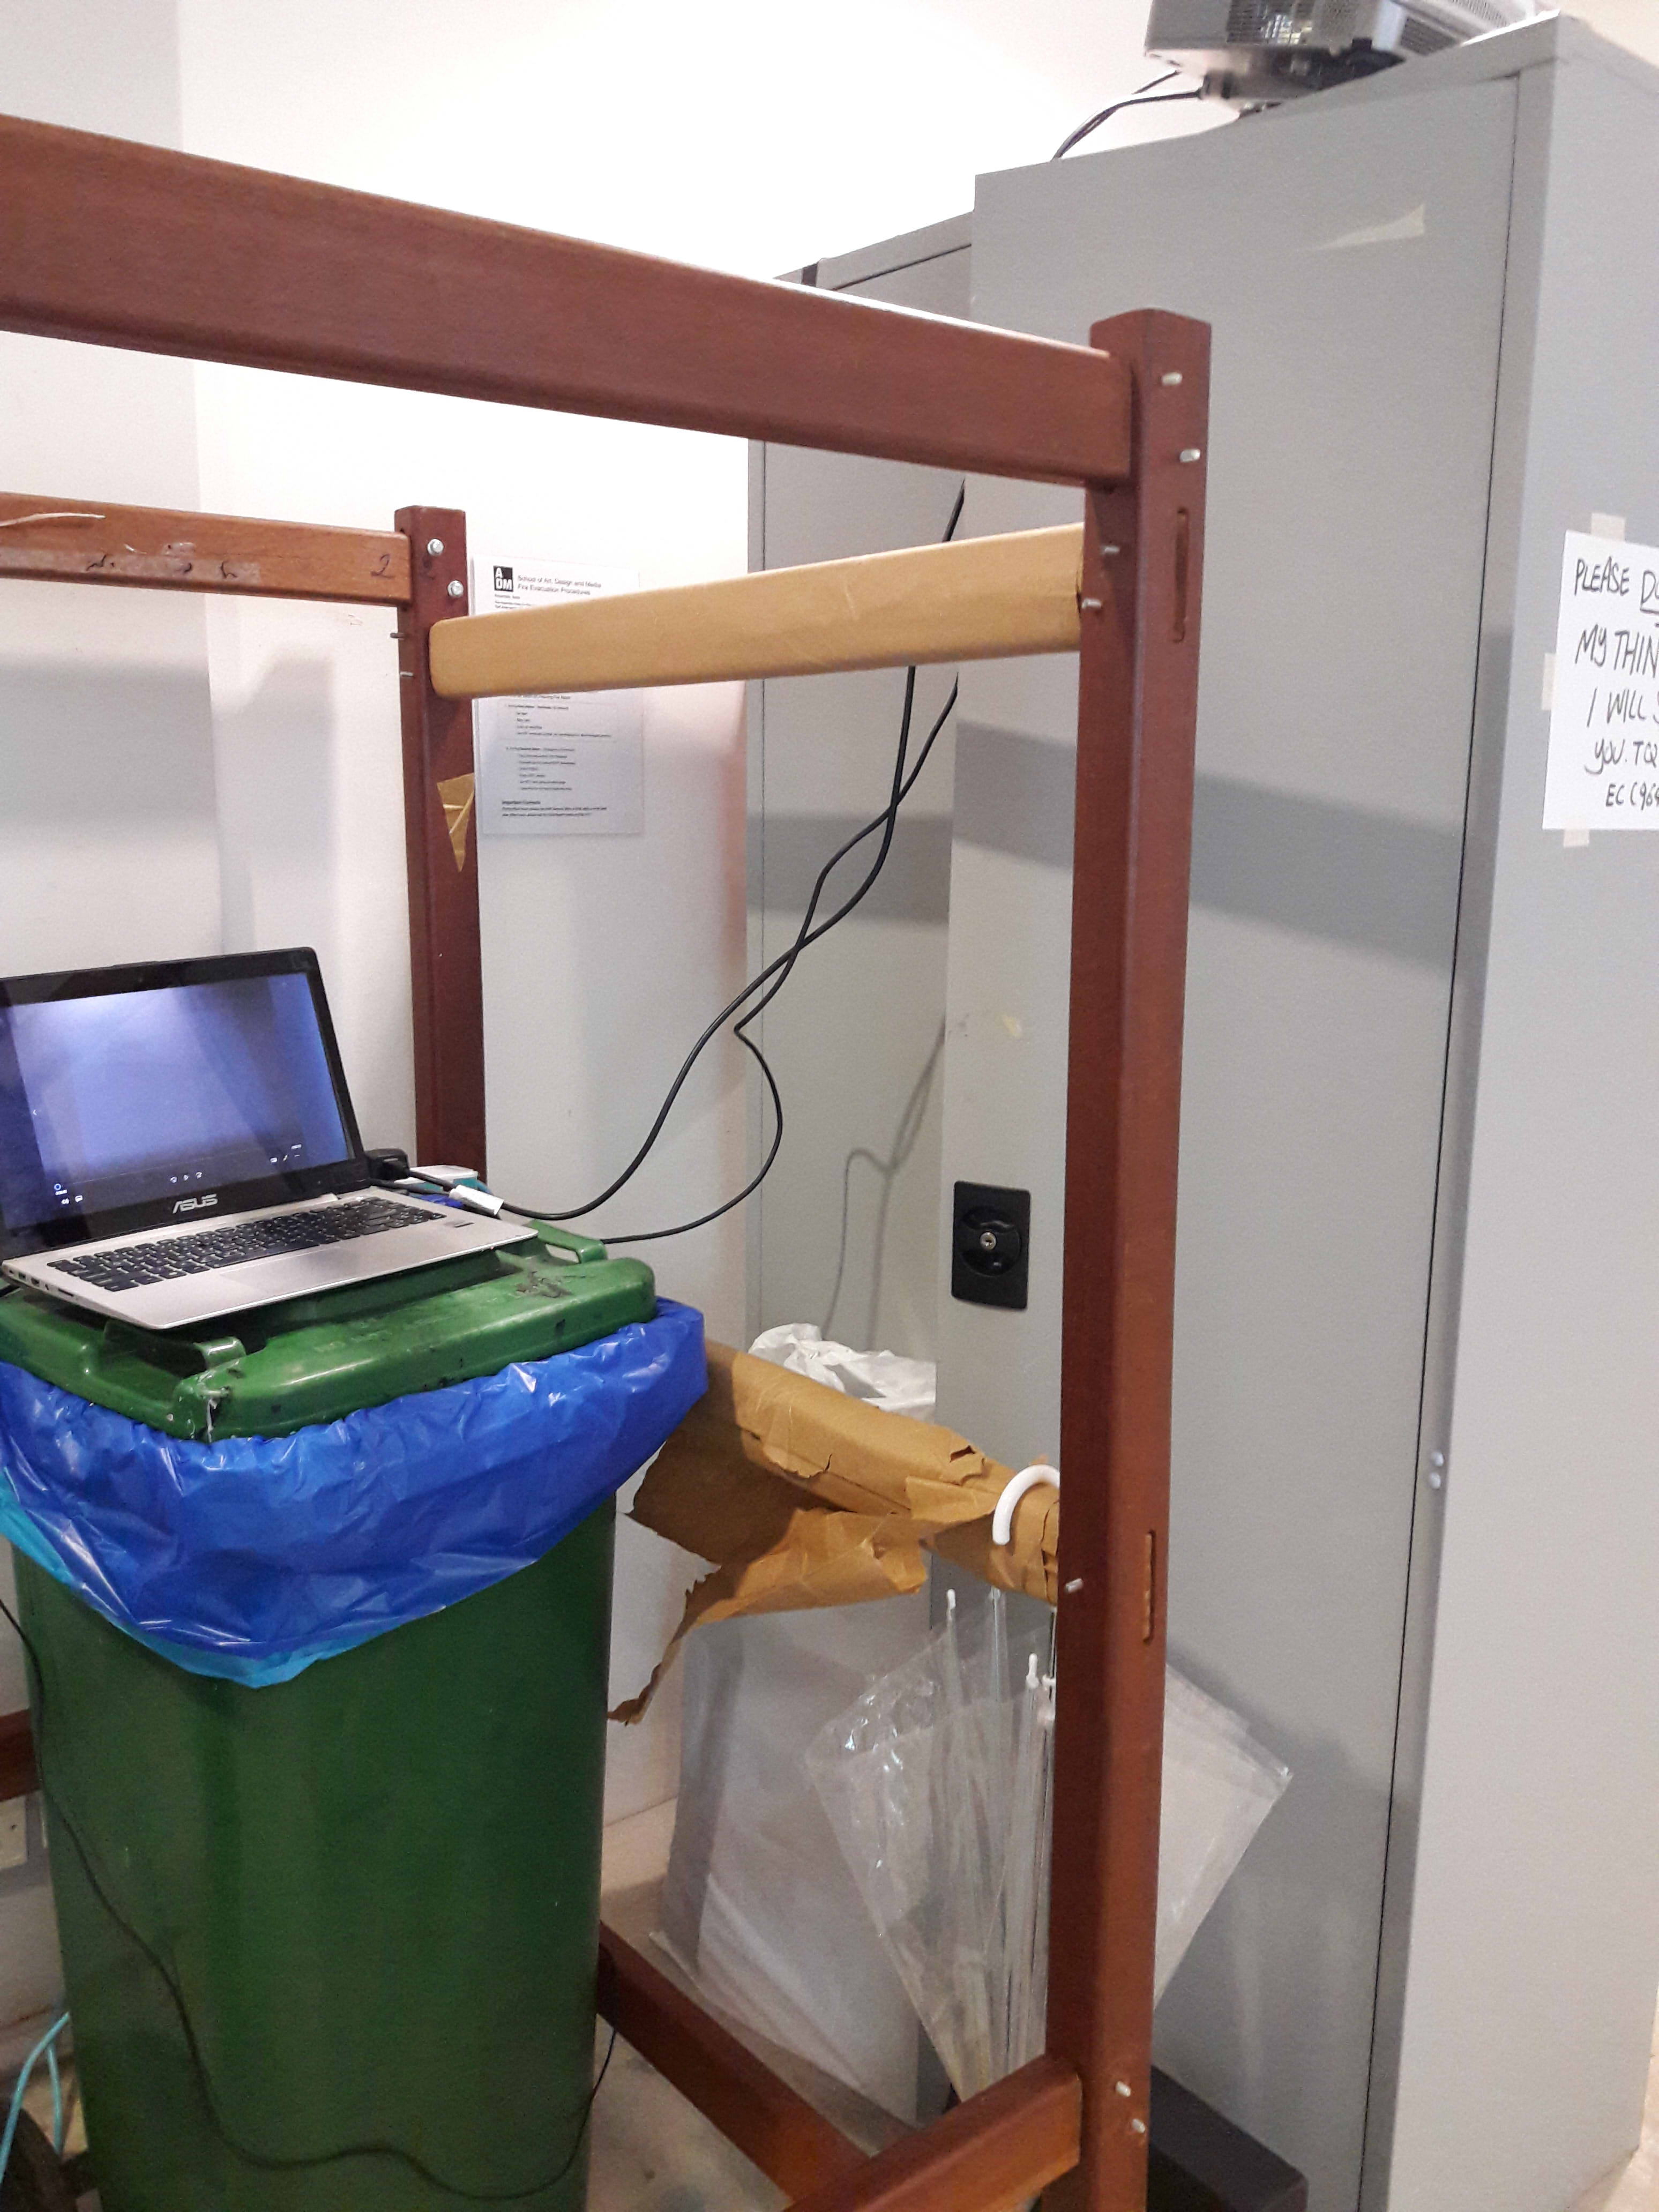
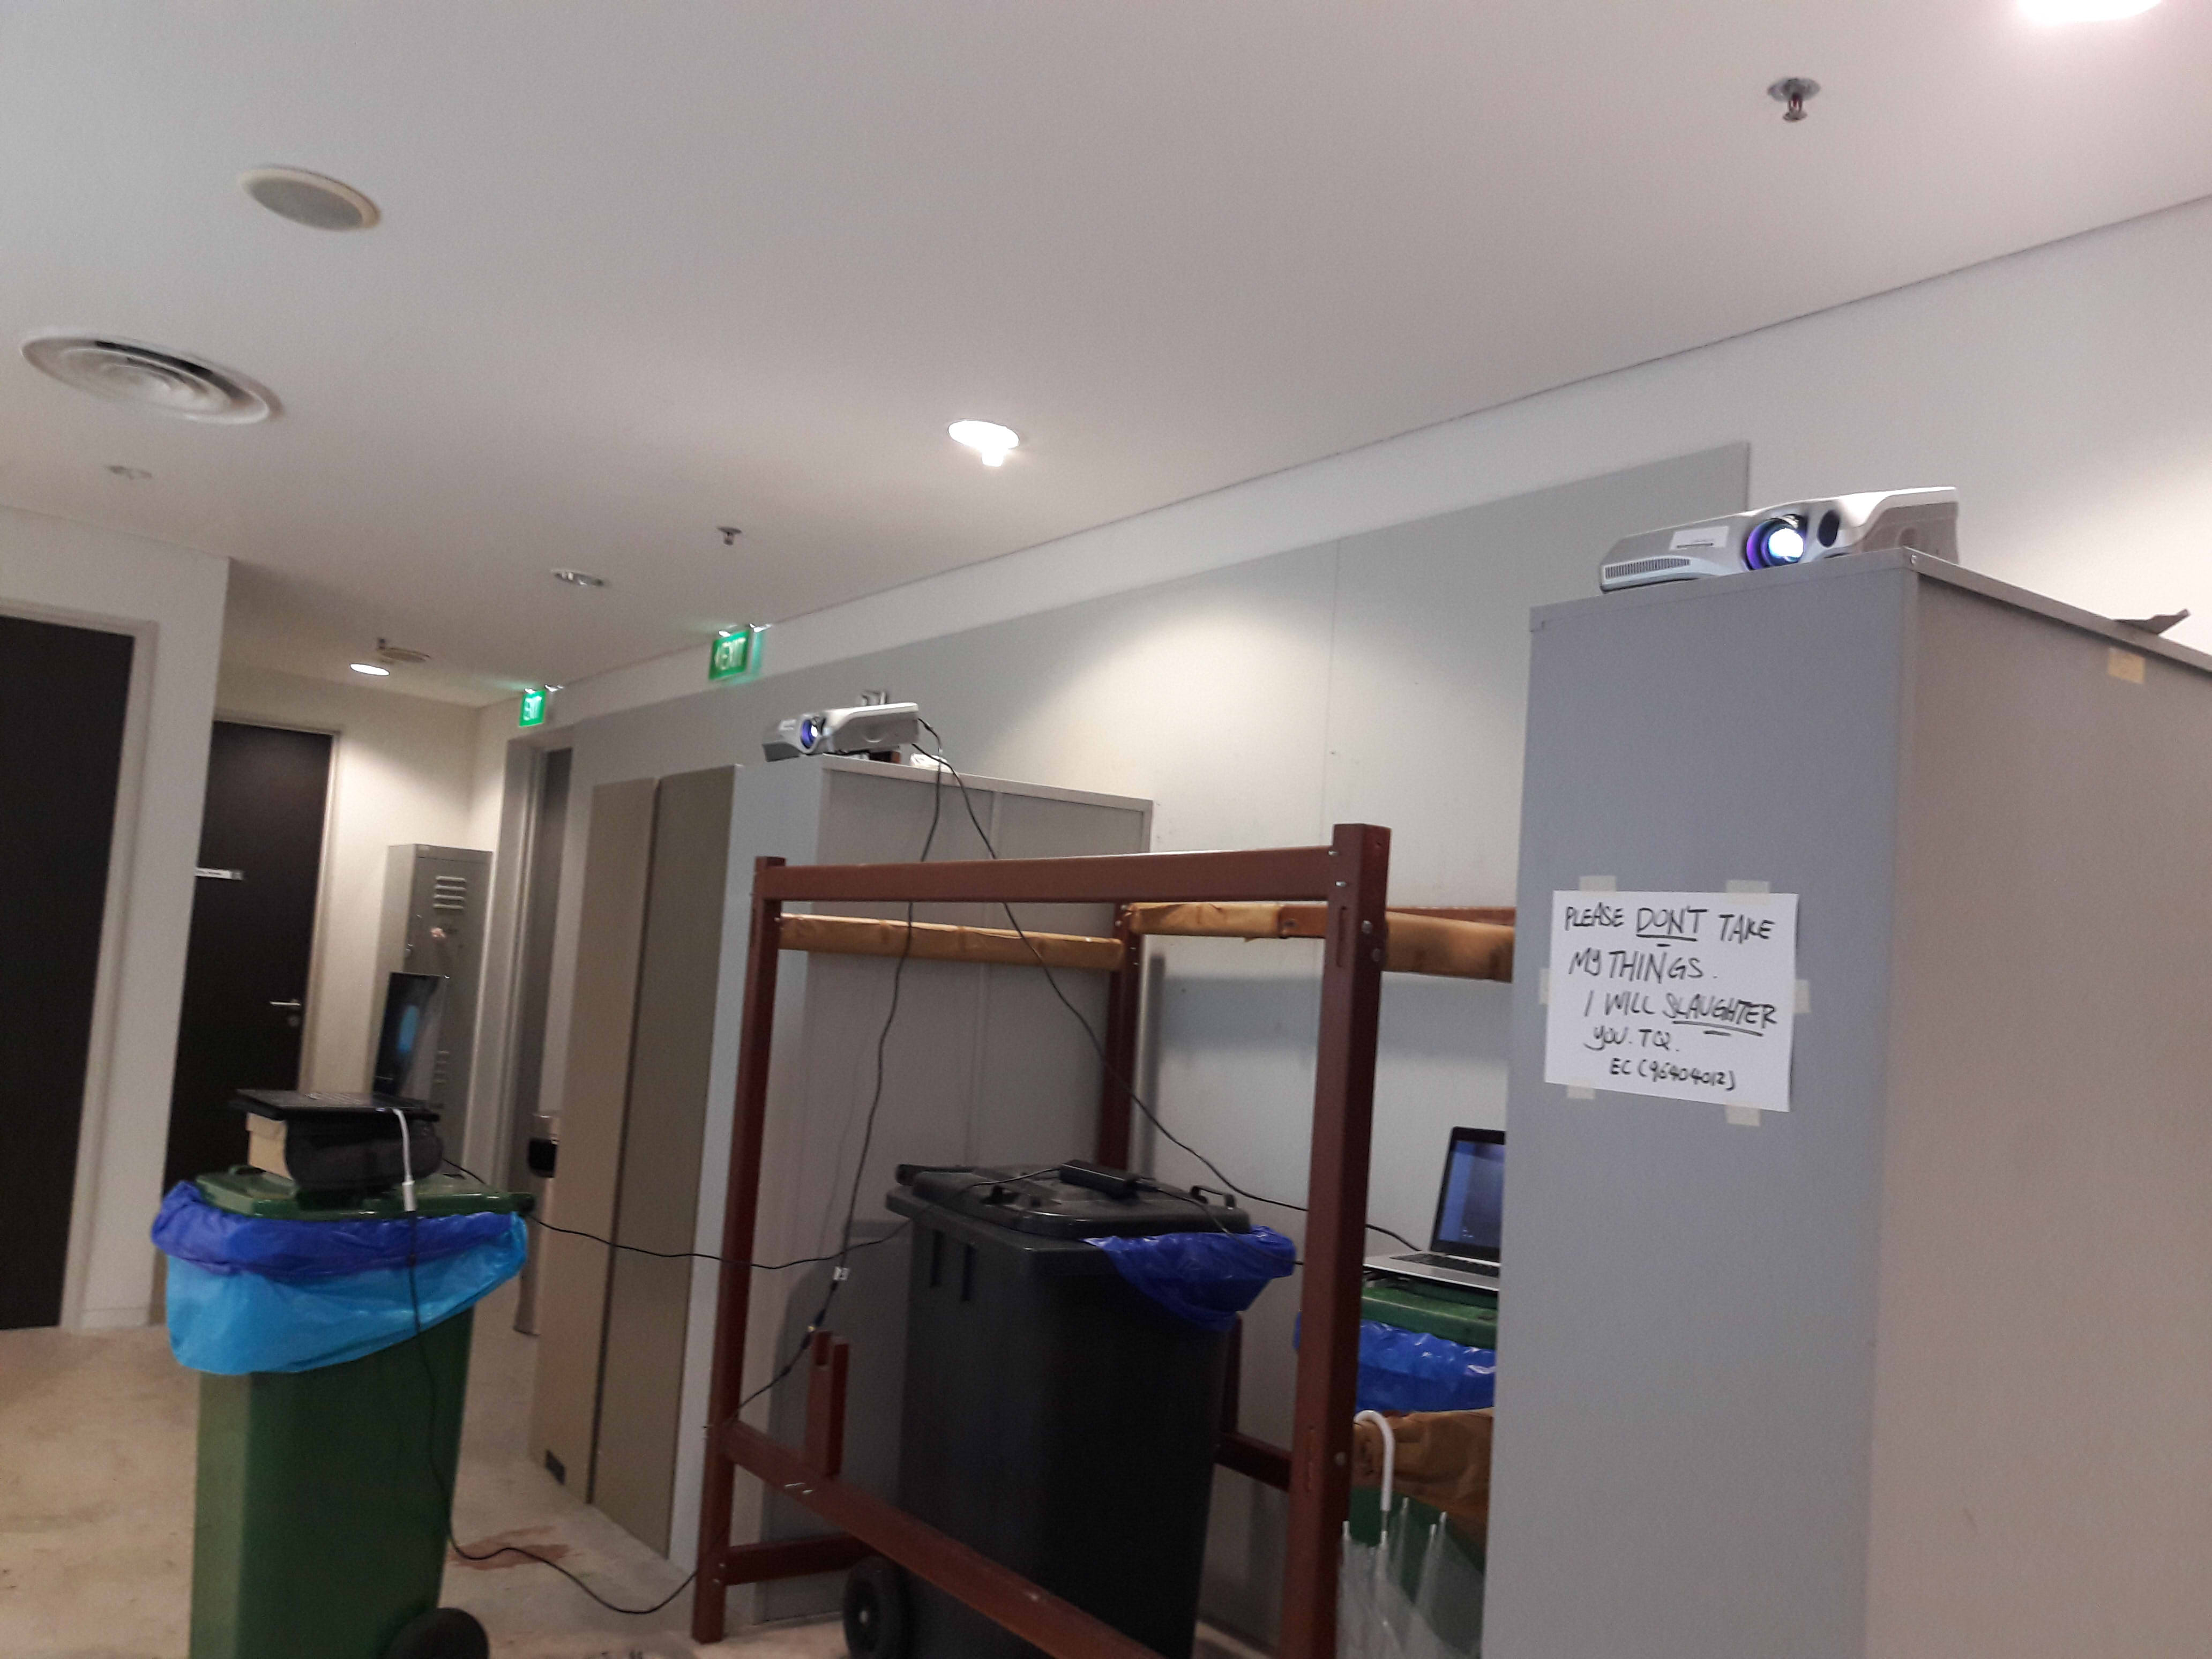
A tall place to place the projectors: Lei suggested on top of the metal cupboards, and it did look rather apt, hence I went with it. I DID have to manually hoist and adjust the cupboards, though.
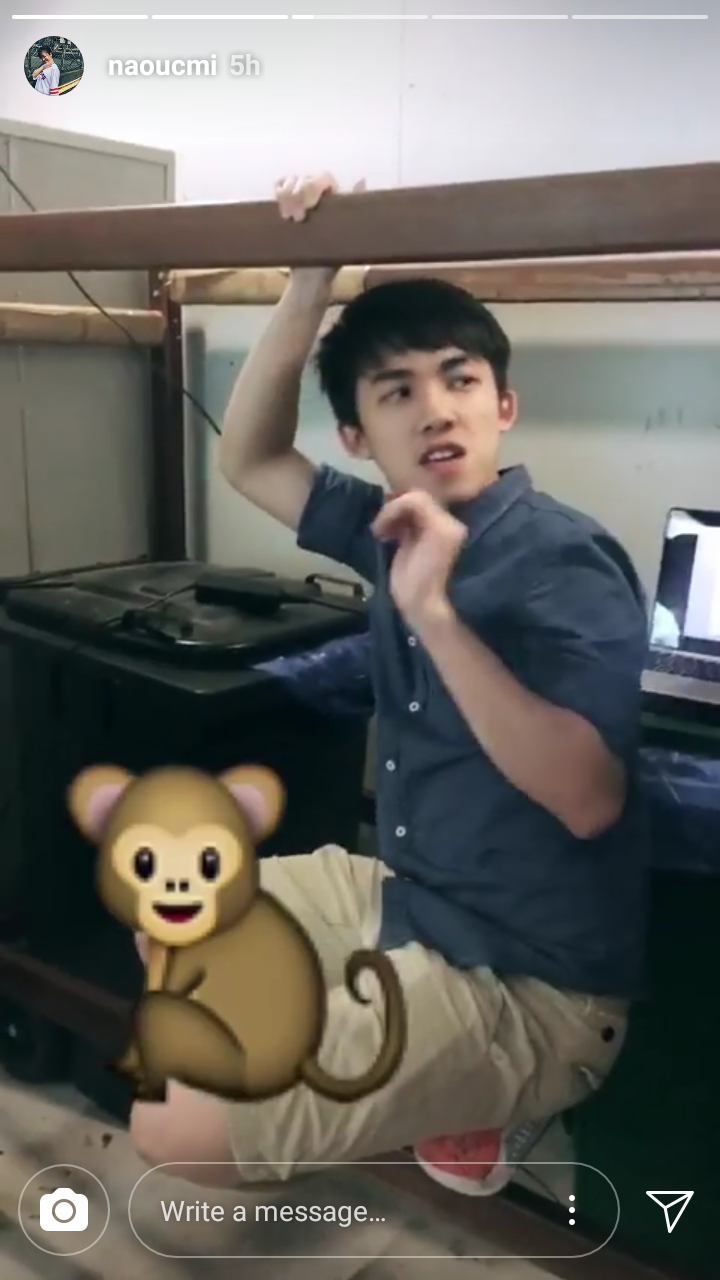
Something to elevate the laptops: I had been planning to covertly borrow chairs from the Foundation 2D/4D room, but quickly realised there was no need to since there were 3 conveniently placed trash bins which worked perfectly well as elevation. The bed frame also conveniently served as a sort of monkey bar so that I could actually reach the top of the metal cupboards to place the projectors, which is typically impossible for my height..
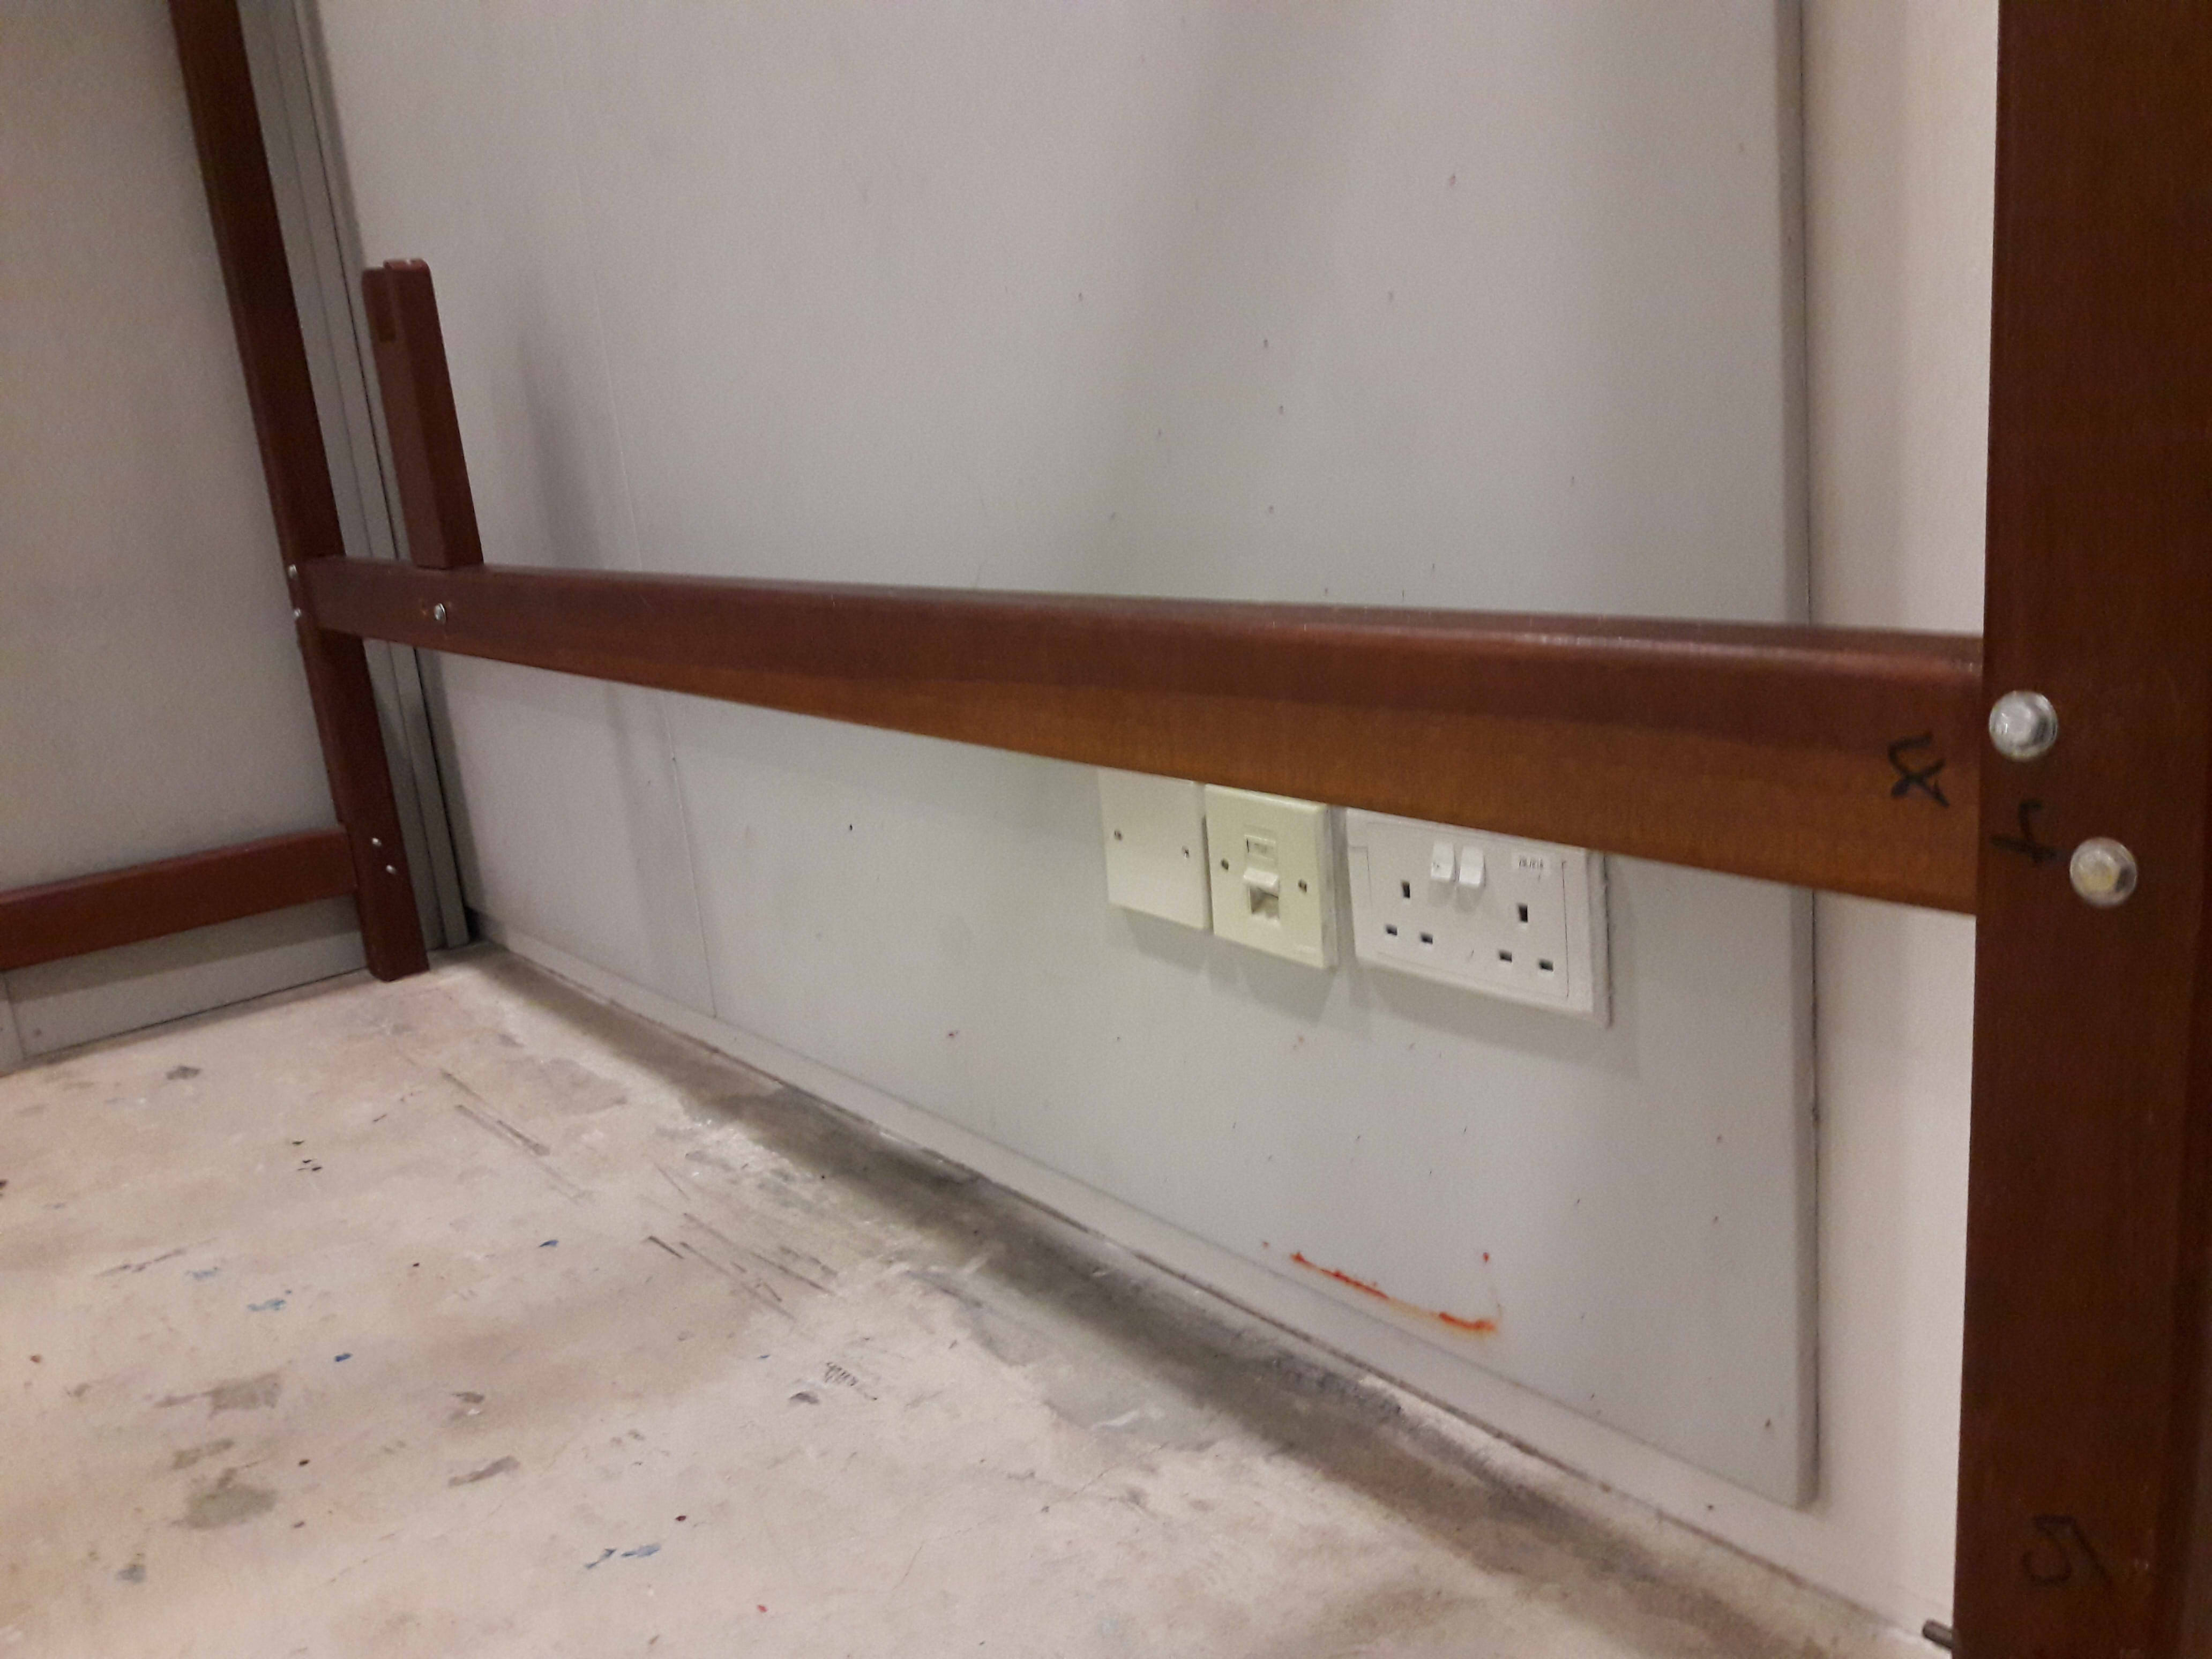
Sockets: Luckily, there were 2 well-placed sockets. Just to be on the safe side, though, I brought my extension cord, a good choice where it turned out the projector power cords were too short without it.
The final setup turned out surprisingly well, likely because of the small scale of the space such that it was much easier to deal with.
If I had better resources, I would have liked the video to span from the putting up of the paper, all the way to the present, rather than cutting off abruptly once my camera couldn’t record anymore (i.e. a live transmission running about 2 hours behind real time, not that I would know how to set that up).
In the end, it was surprisingly not as hard as I thought it would be to change location, which I think was mostly because I had already stated the main criteria I needed rather than specific objects, such that I could figure out what I could replace it with easily. (Also, Lei’s advice was incredibly helpful where I was at a loss on where to even start looking.)
In the interest of time, I also ditched any plans to actually teach properly, and went with the fastest crash course I could, so I mostly feel like everyone didn’t really understand the metaphysical concepts I was trying to portray. But I suppose it’s alright because I do feel like I did what I could with the available time and resources, and it looks like everyone had fun:
(Also, a lot of shadow puppeteering happened)
Also thanks Ryan and Lei for helping me carry all my equipment T_T Especially Ryan for helping me reach the projectors, push the metal cupboard back, and carry my 2 projectors and DSLR camera set back to Hall 2 Block 6 Level 2, i.e. a route with many, many, many stairs.
I decided to switch up and get out of my comfort zone by working with live, 3-dimensional, interactive things than what I’m comfortable with (read: drawing, animation, painting, etc), and it’s been a real eye opener. Mostly because my soul is broken.
Since I had been steadily and extensively working on my original plan until it had to be drastically changed 1 day before the presentation, I’ll attach both the original plan (here, in Part 1) and last-minute improvised plan (in Part 2). As this project was more trial and error process-based in terms of setup, there’ll be less summarised points as opposed to talk on the setup process.
General
For me, I have a difficult time working with anything that’s 3-dimensional in nature simply because I have difficulty noticing or controlling problems (i.e. anything technical, physical, etc). For the sake of learning, though, I decided to at least have a go, so rather than an emphasis on laborious handiwork like animation, I’d have a simpler subject, but with a more complex setup process (see more in my post on the Blue Sail, which was sort of what I was trying to emulate).
The difficulty is elevated by that the available spaces in ADM tend not to be exhibition areas specially catered for presentations, and as such I’d have to improvise greatly, and the setup would vary rather wildly depending on where I choose.
Concept
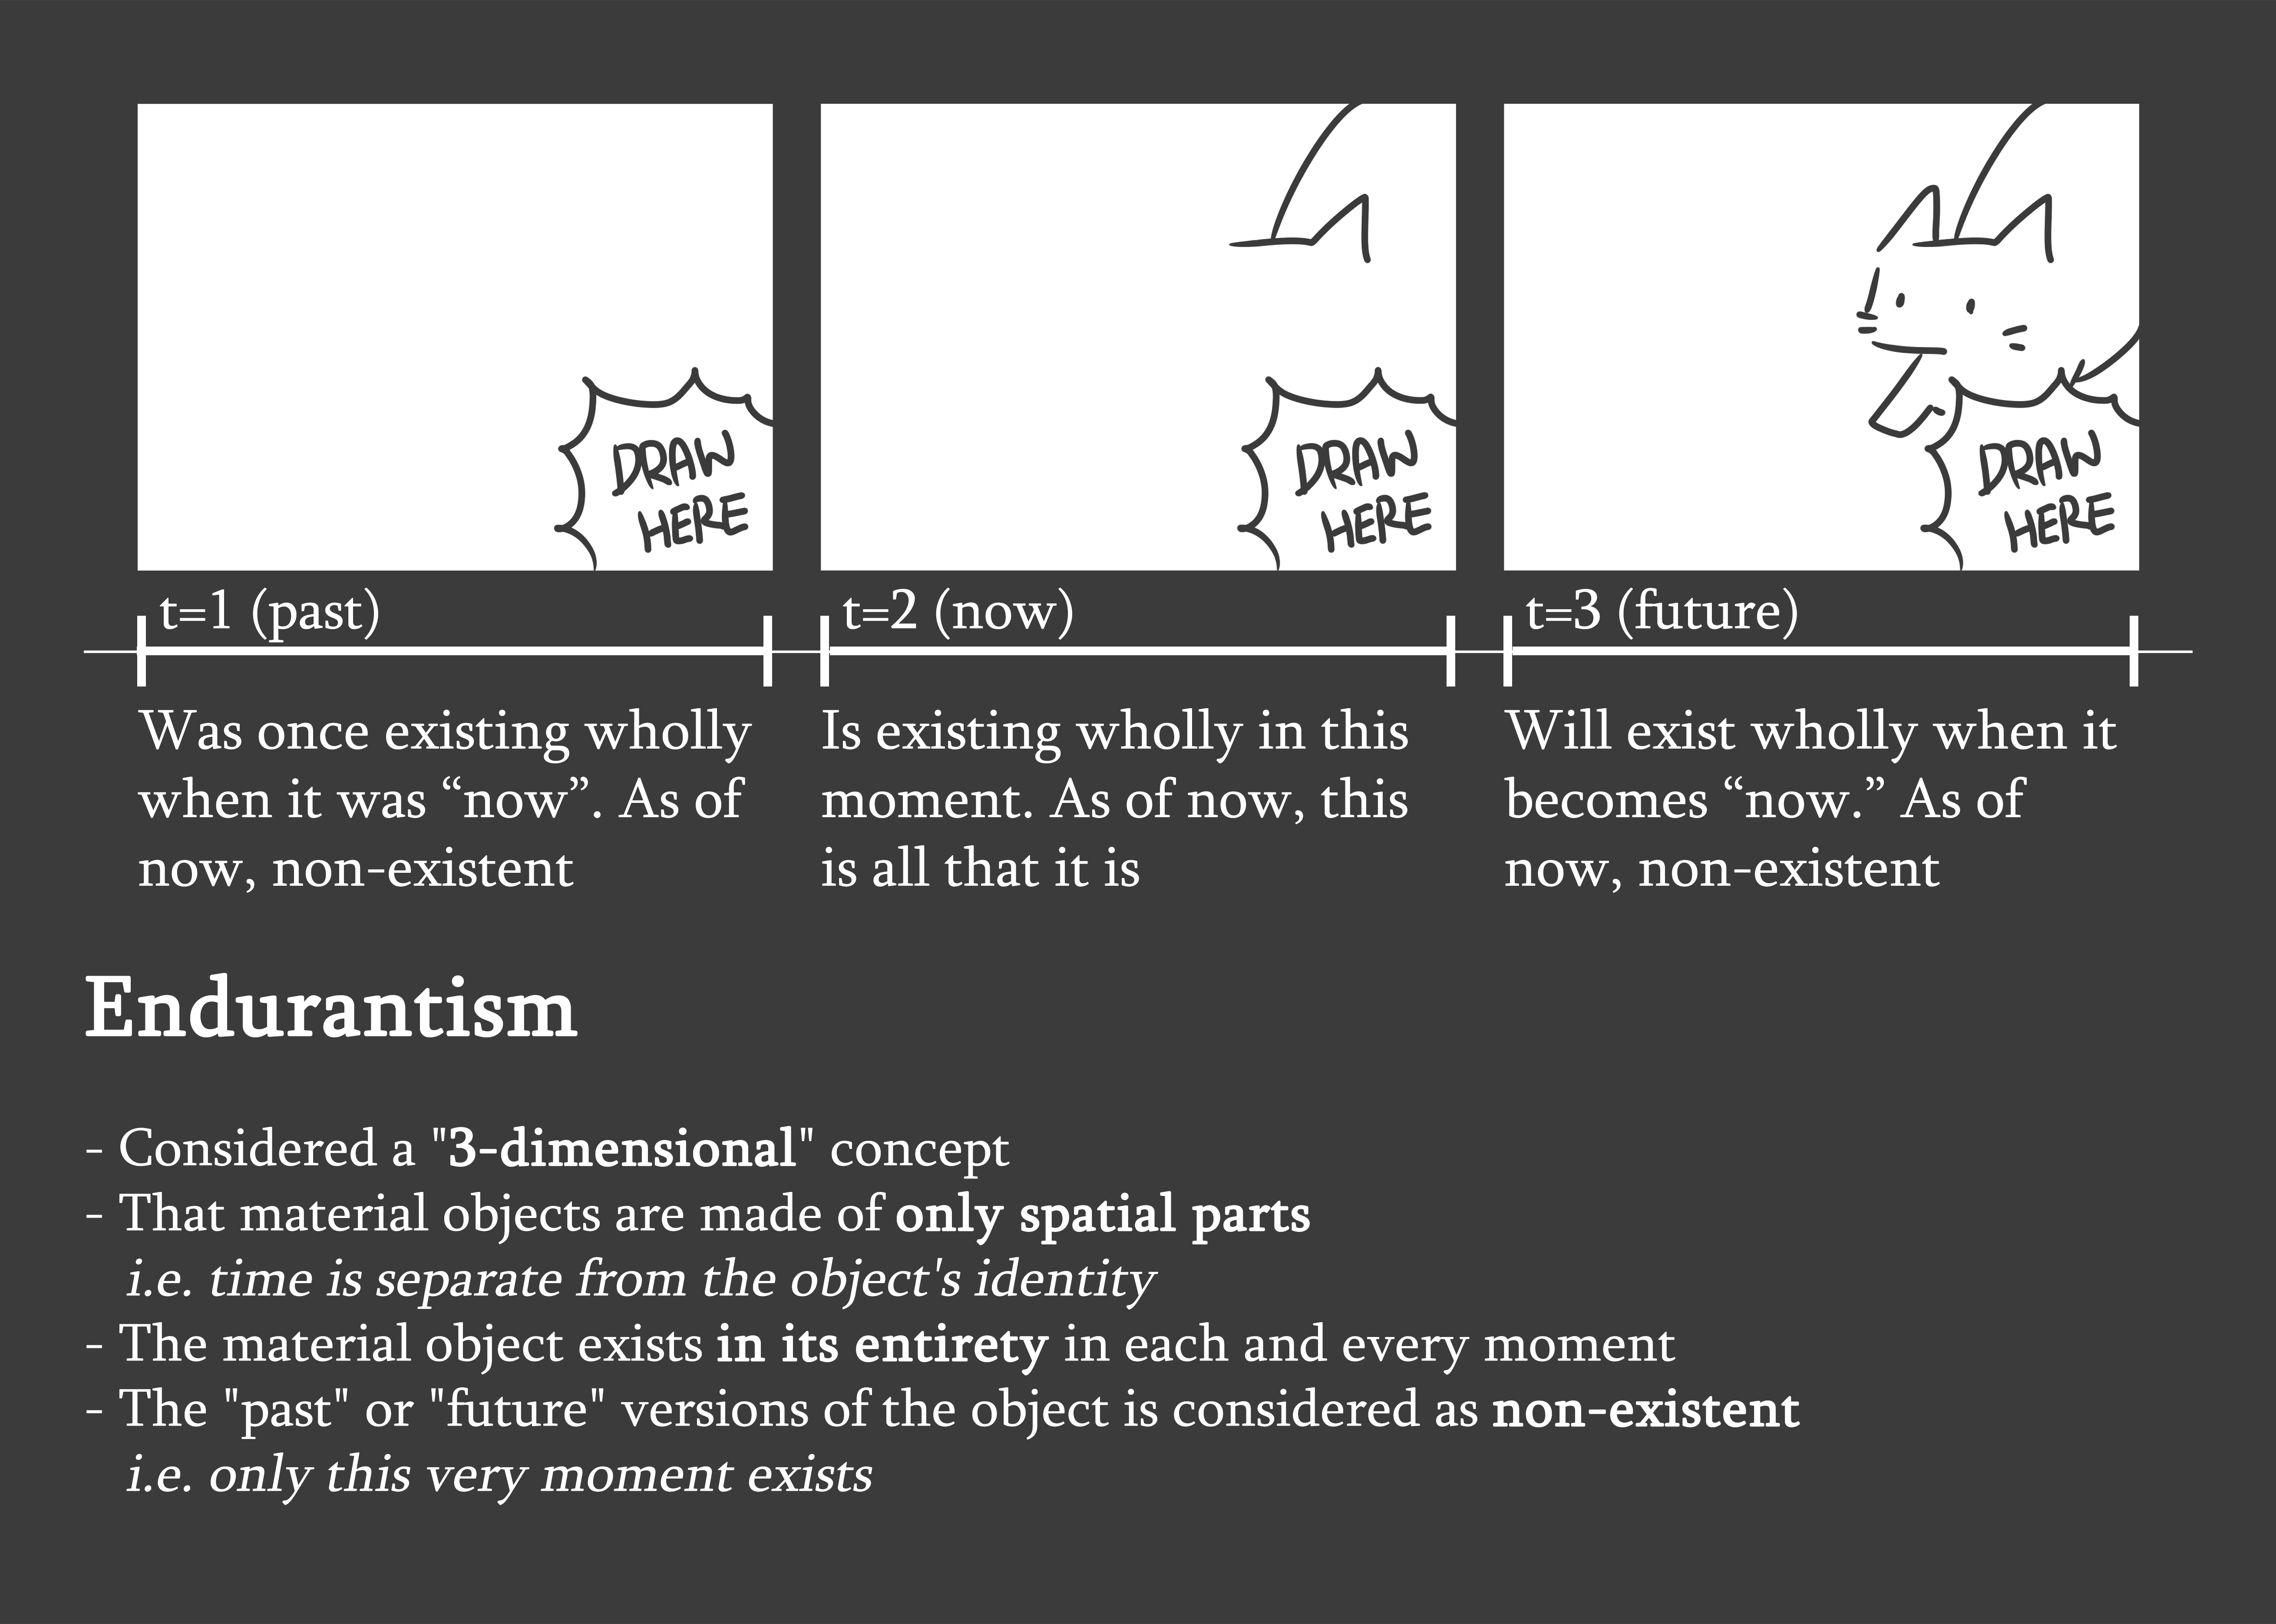
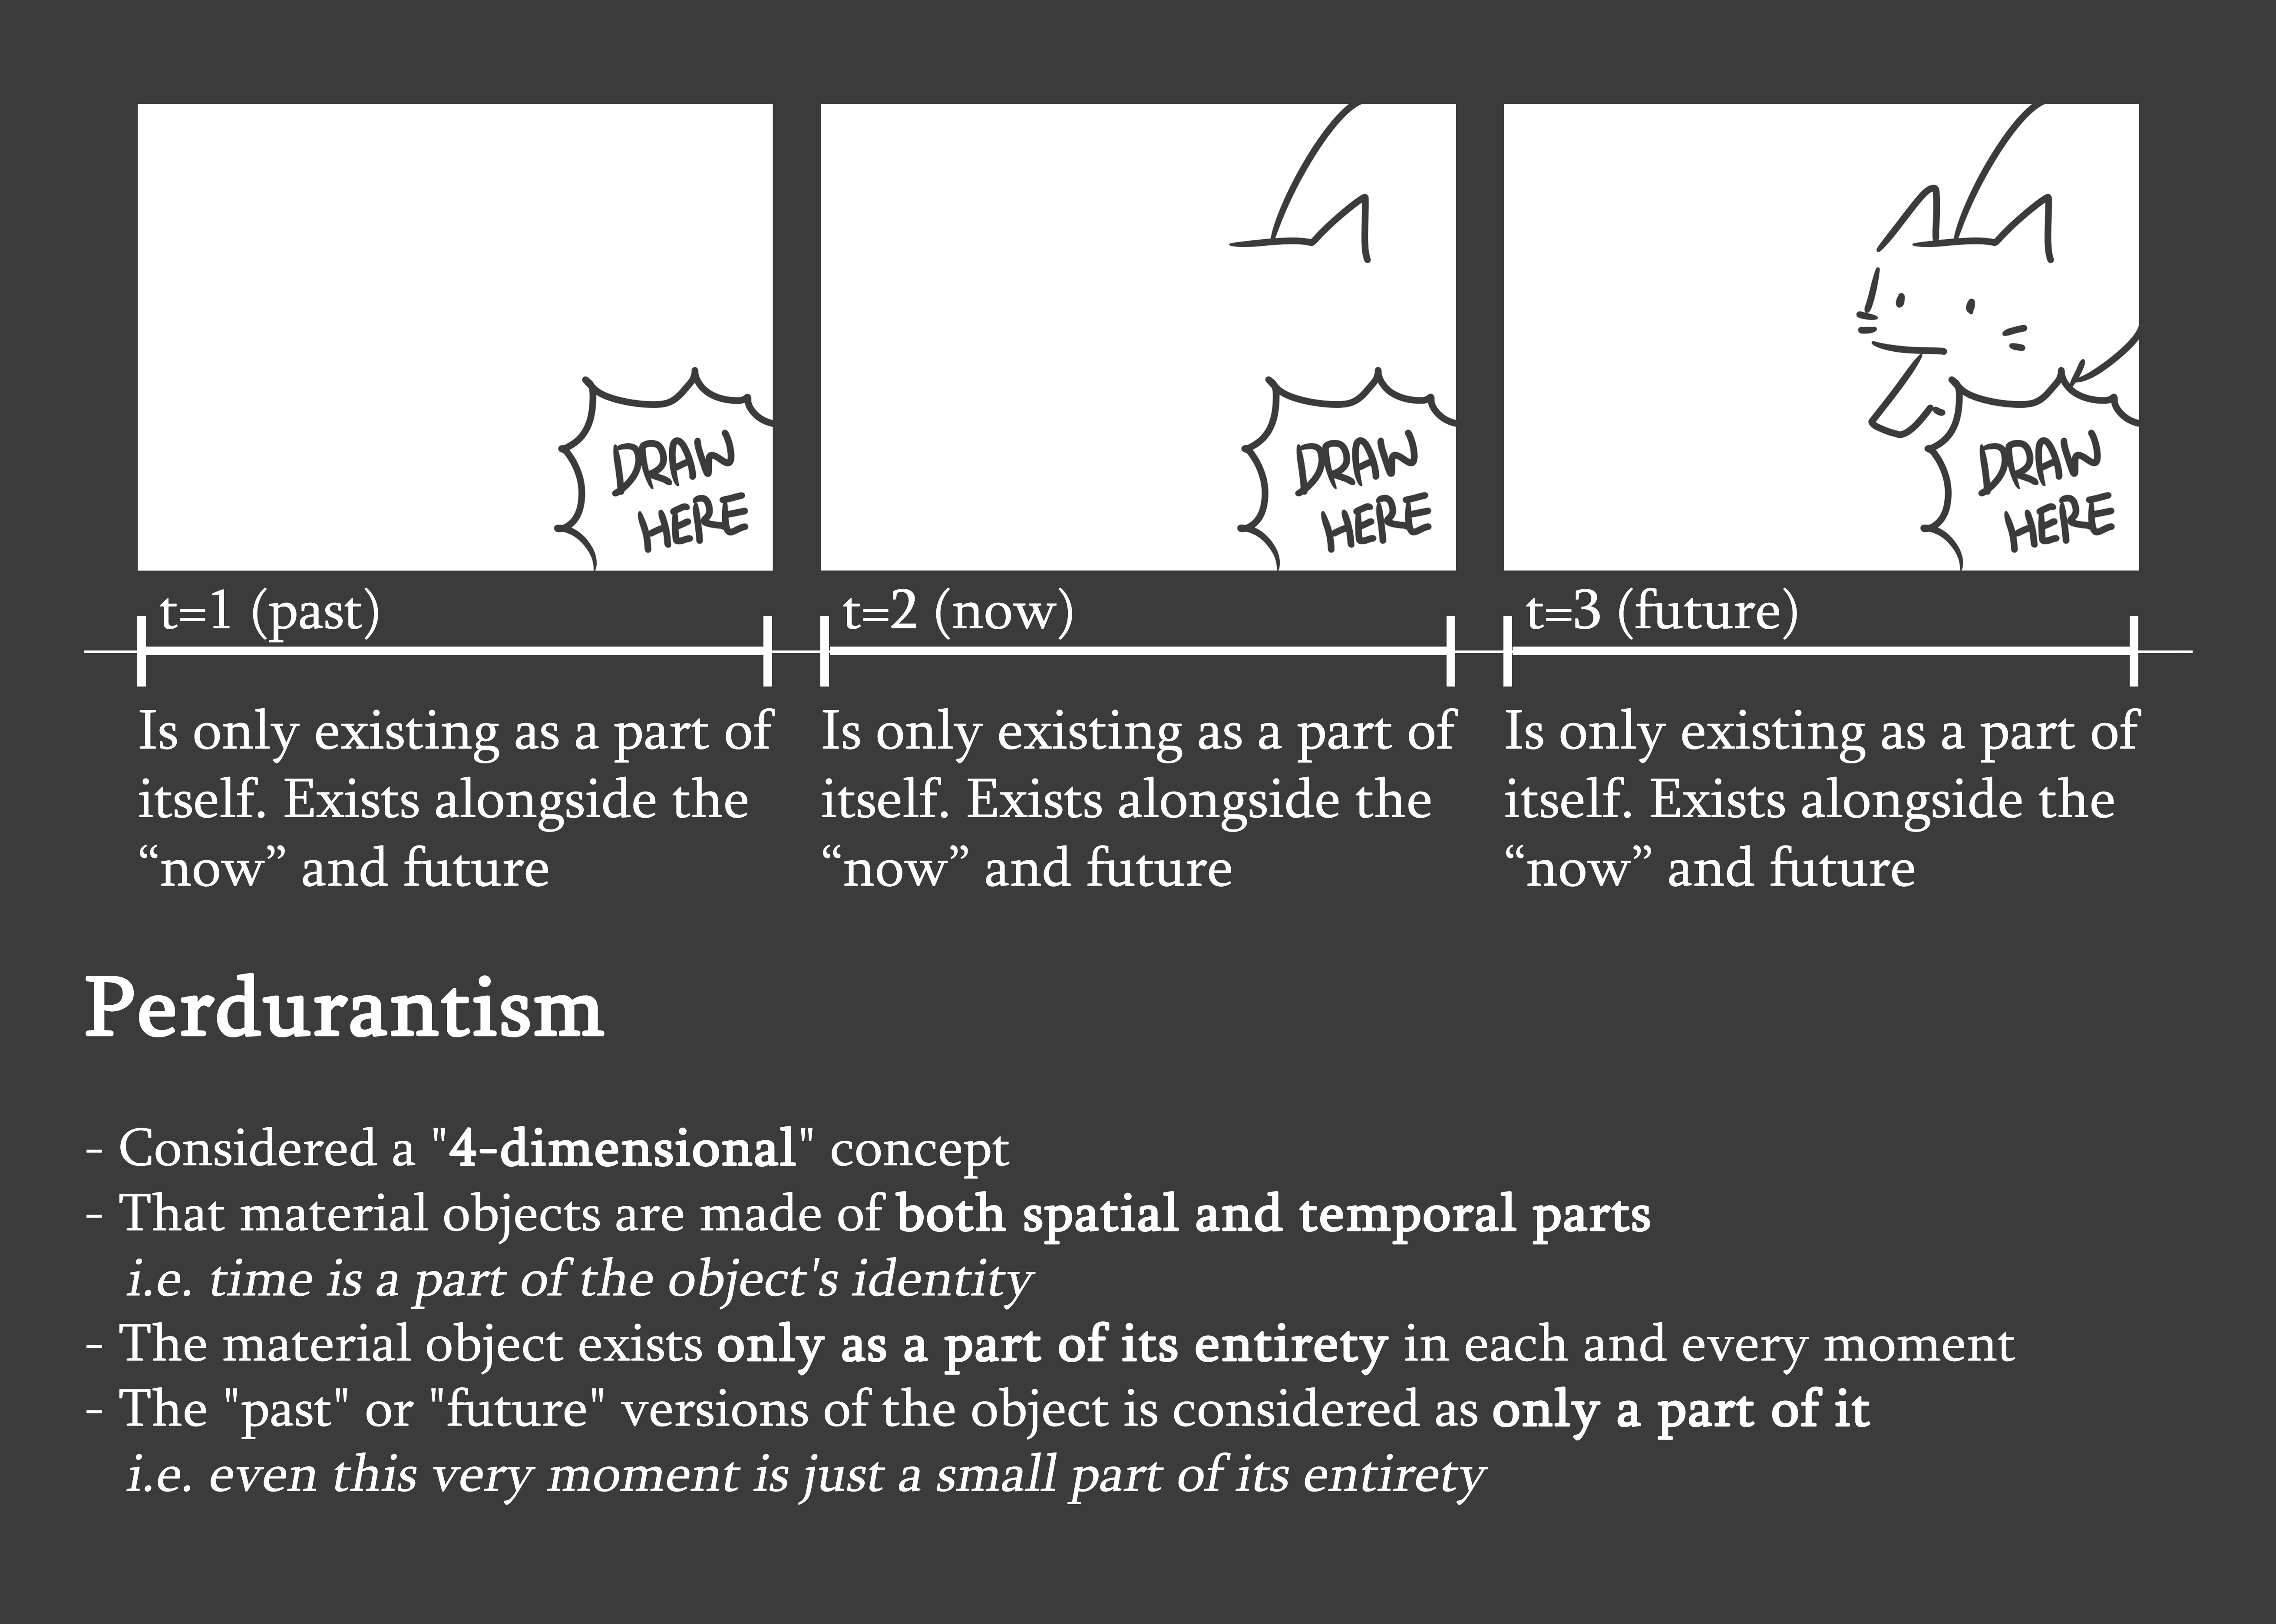
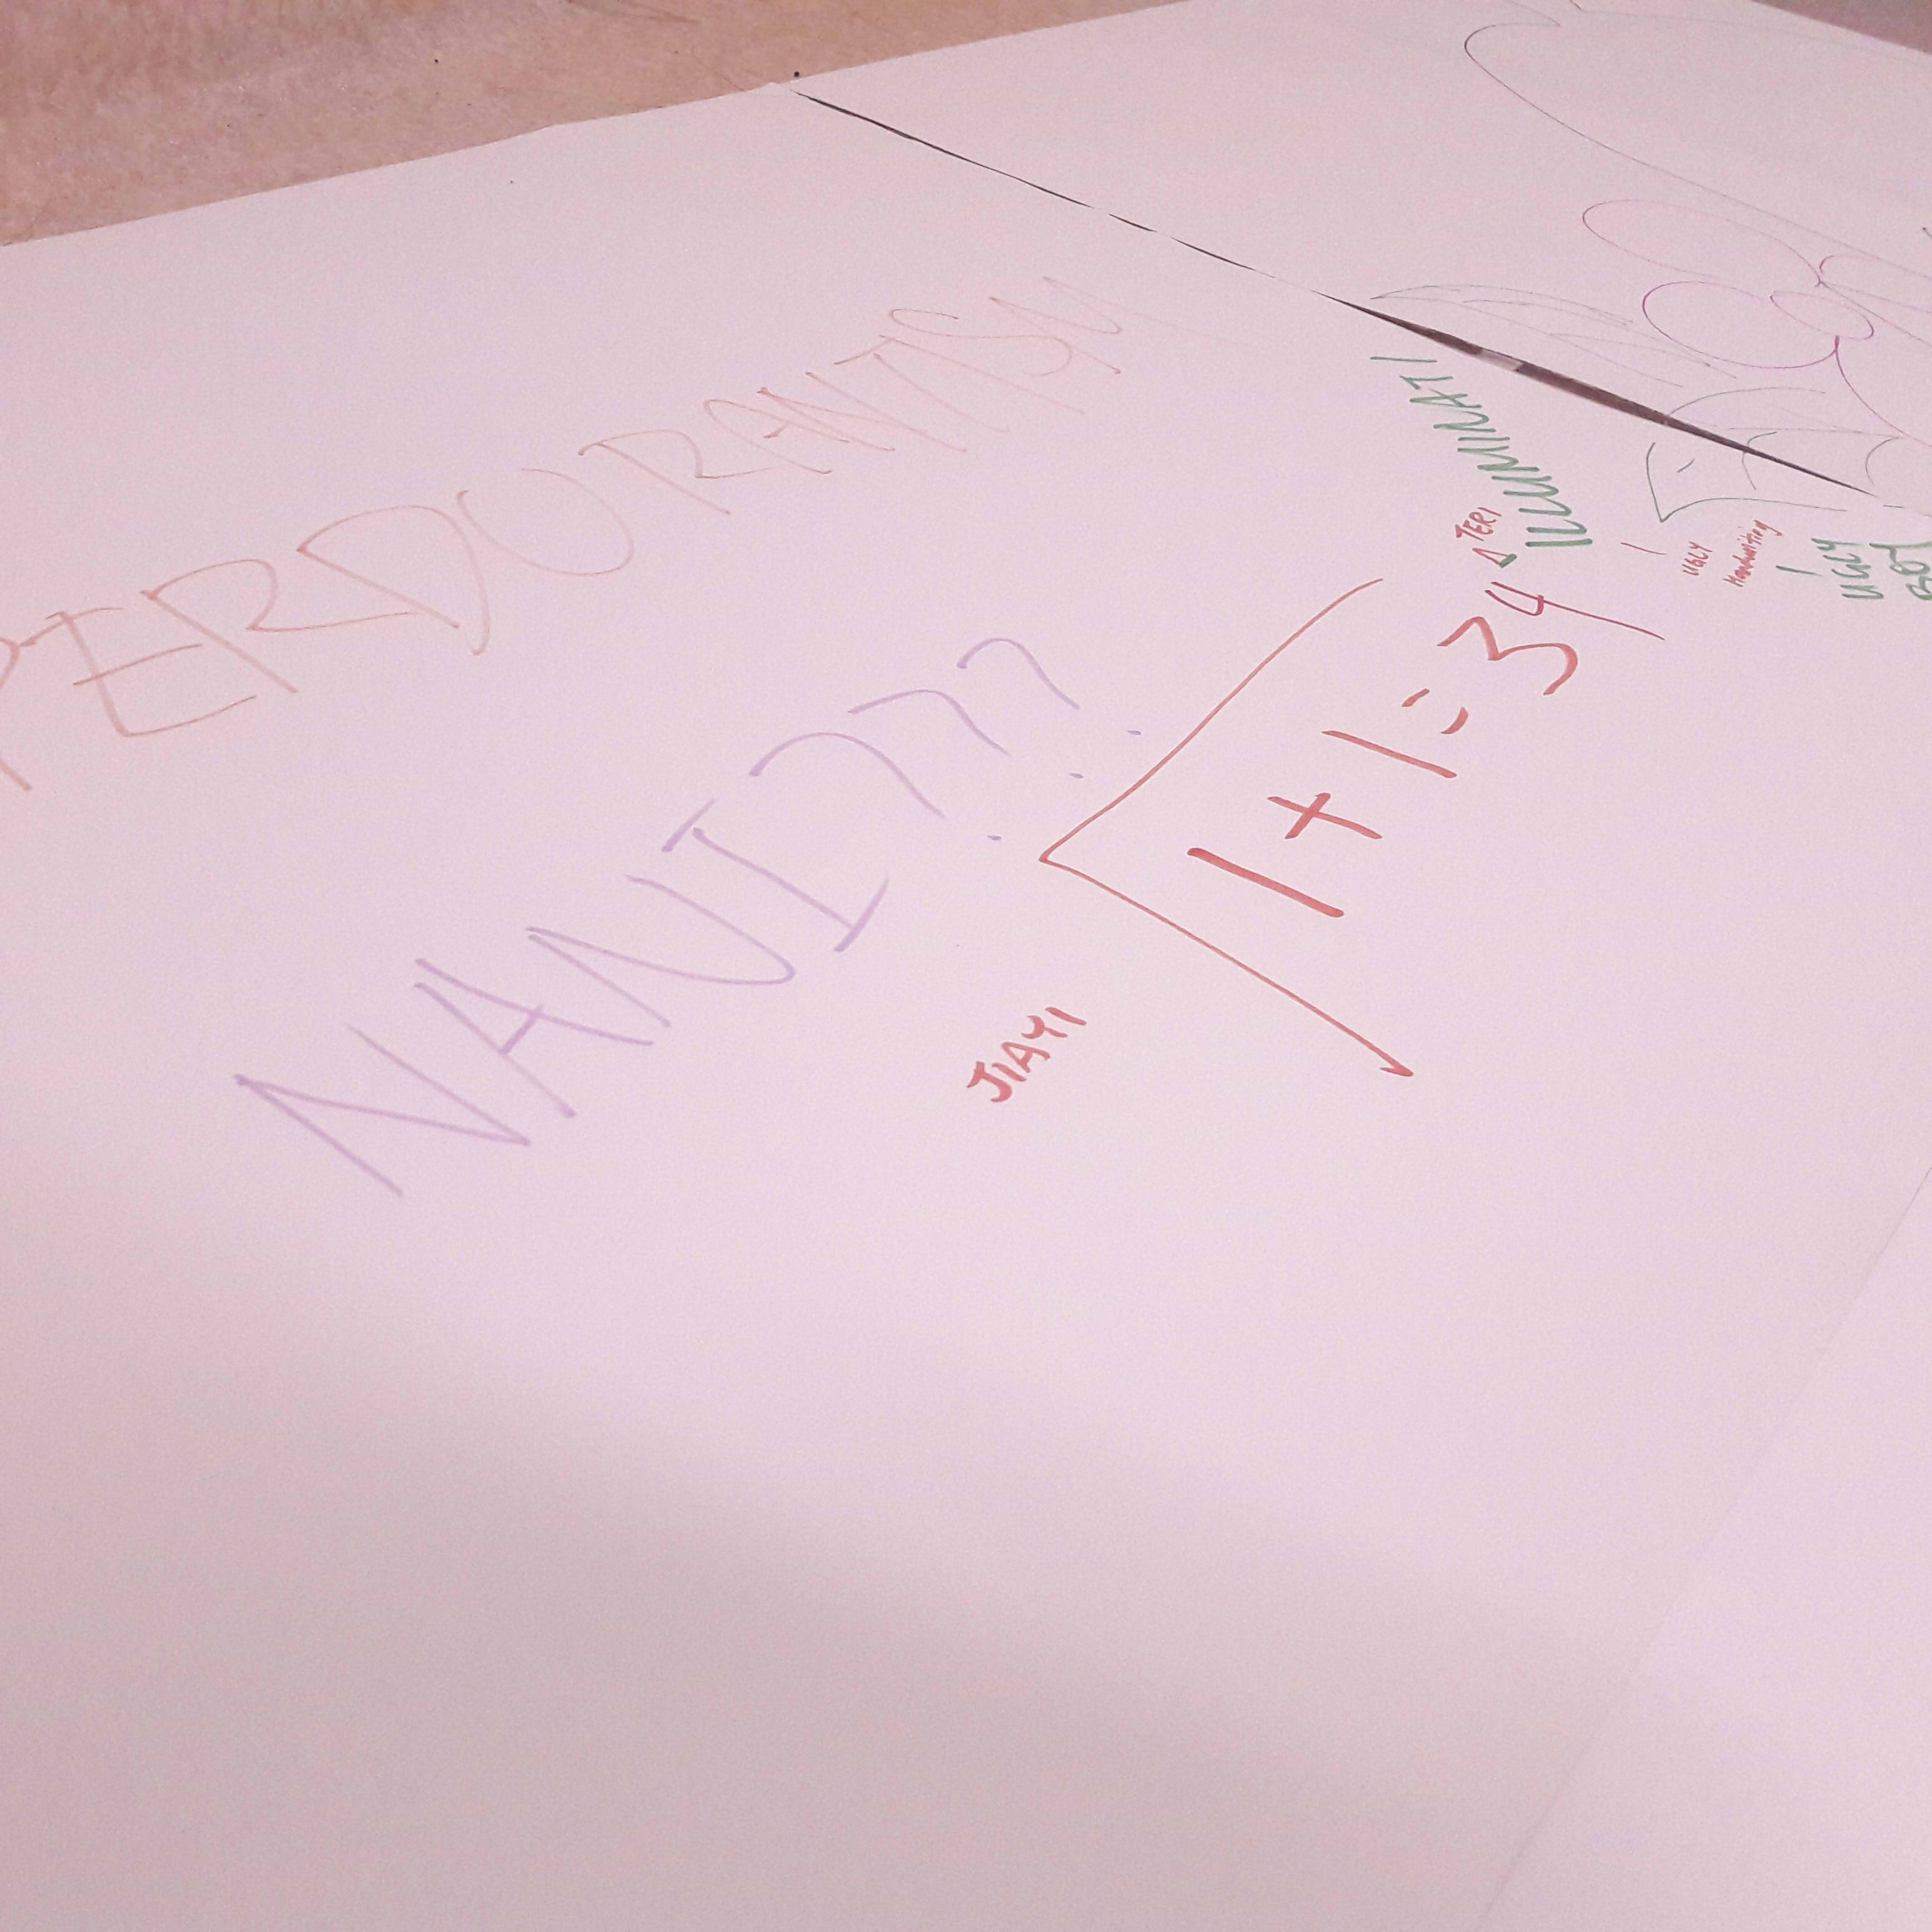
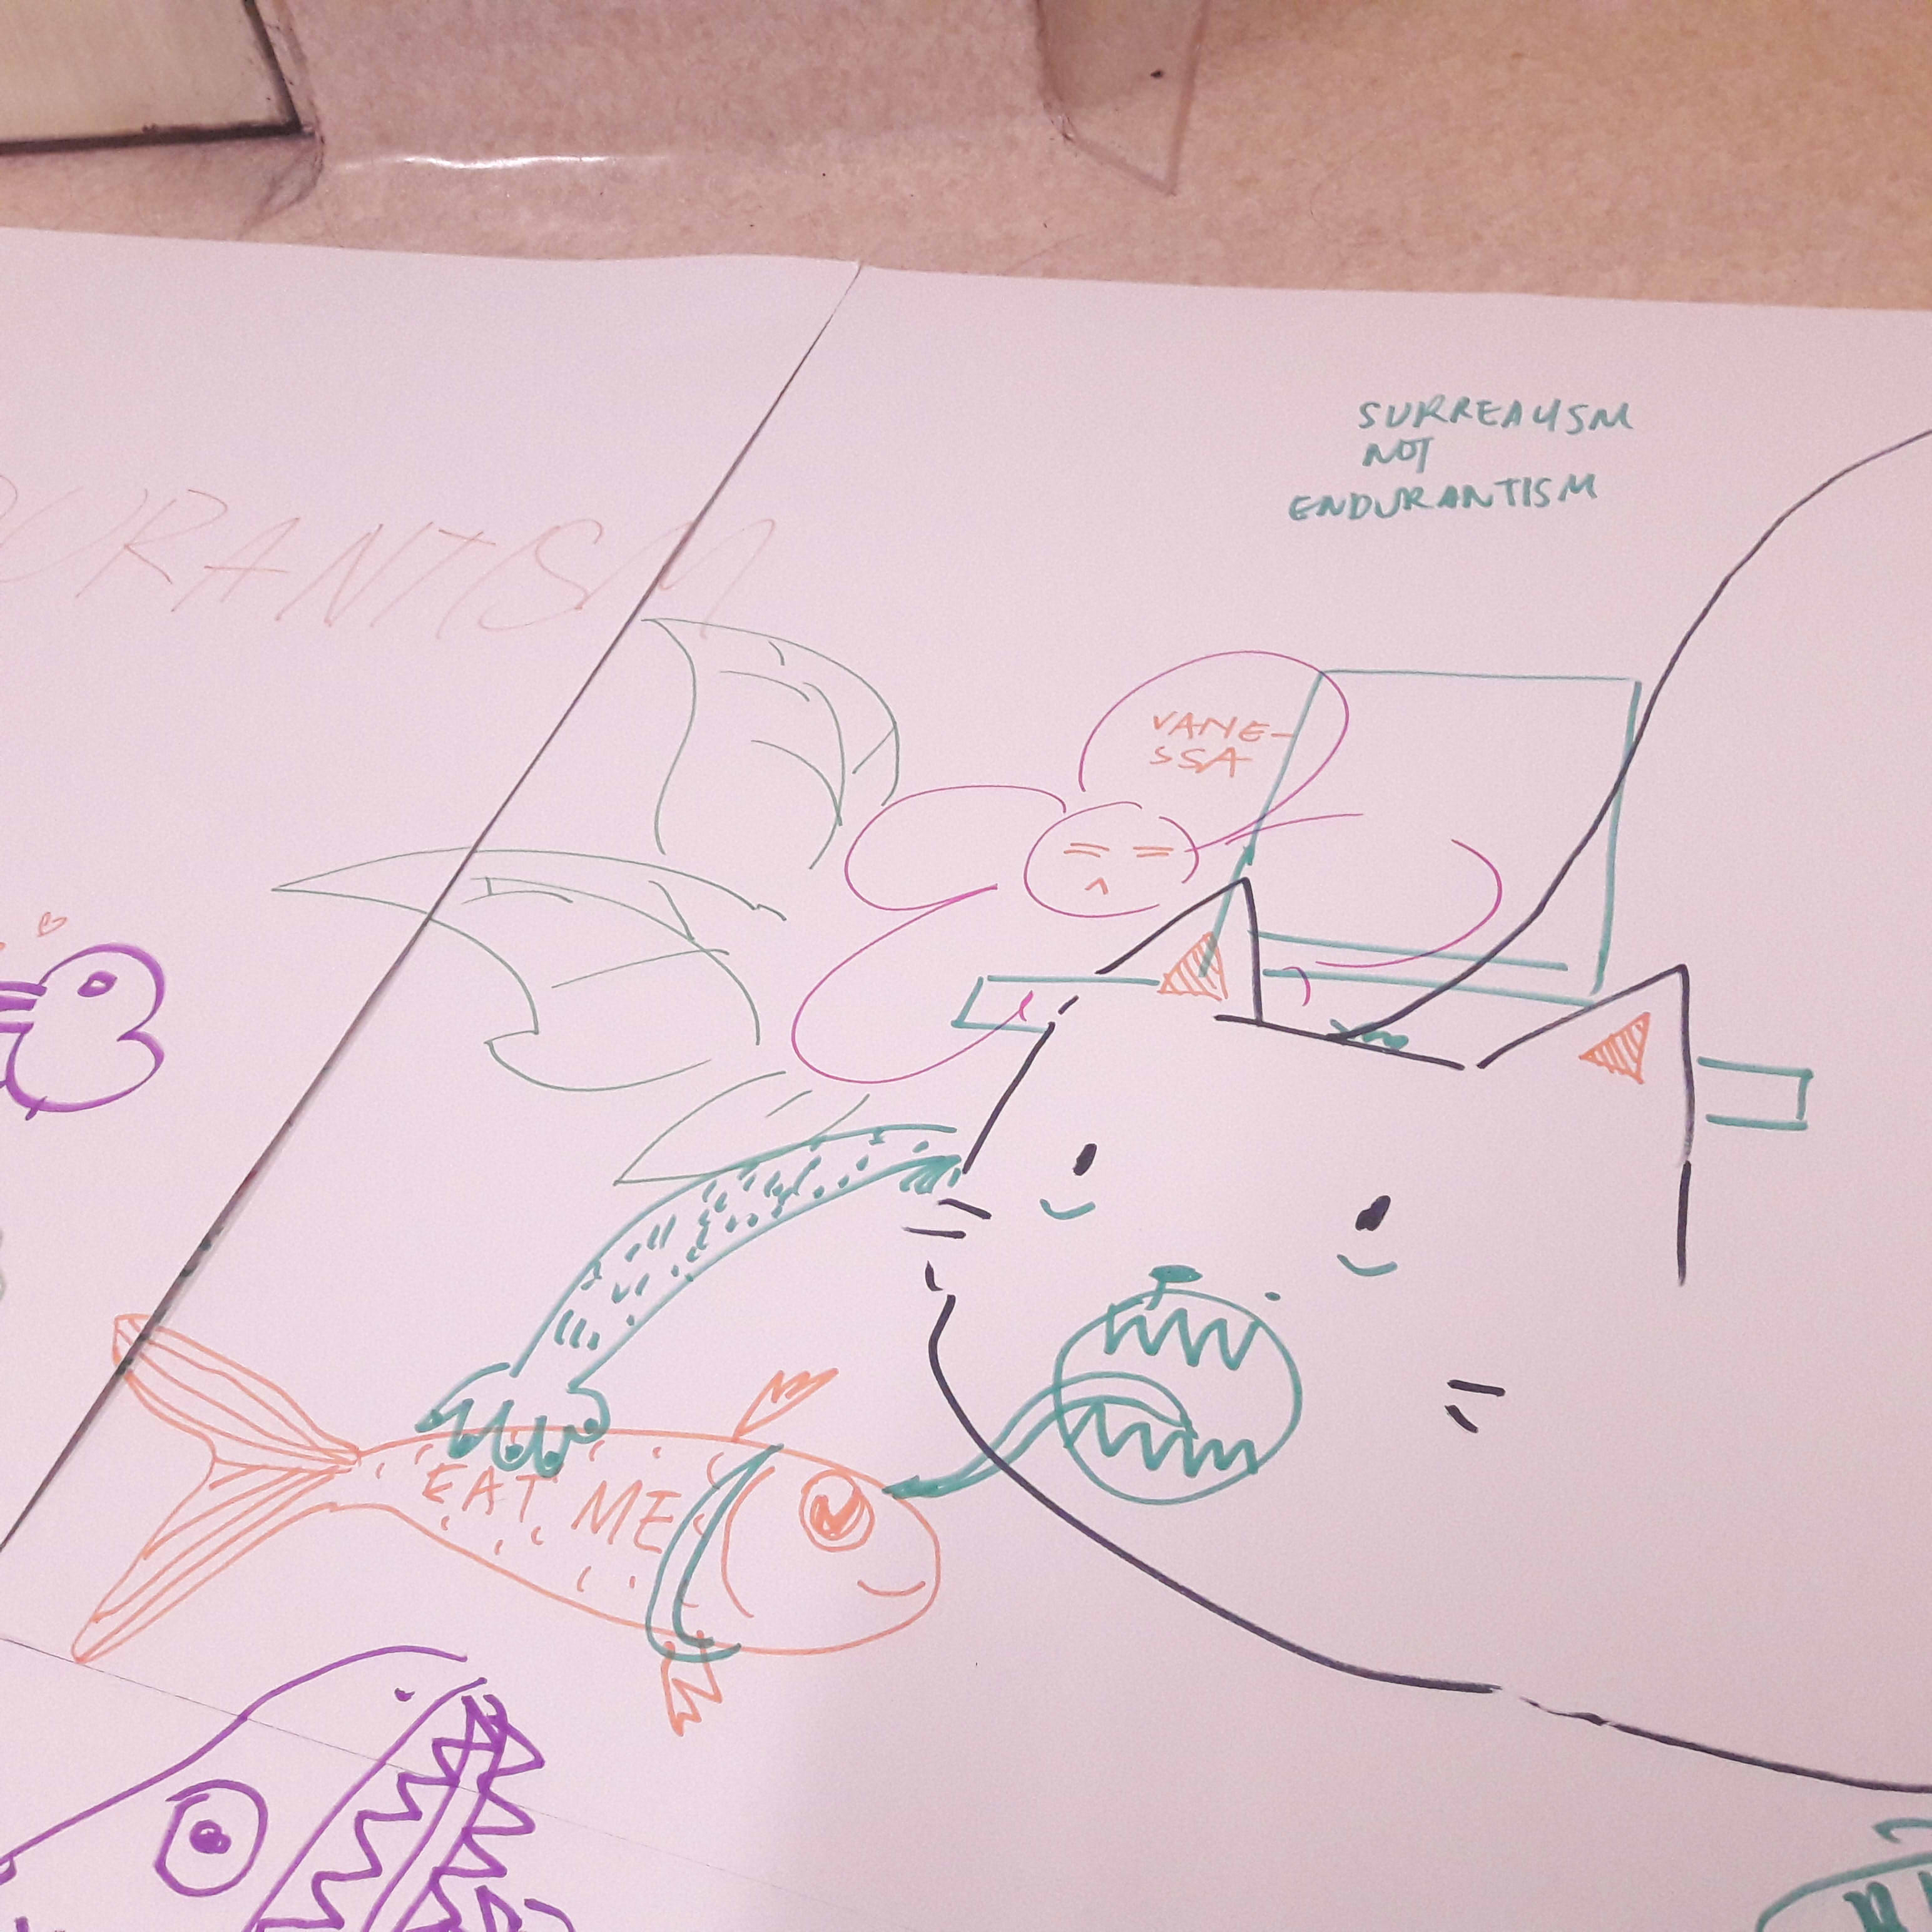
My concept was based around the philosophical antipodes of endurantism and perdurantism. It’s a relatively new concept to me as well, but to sum it up (I also made little placards of this to put up):
I originally considered having an opinion which leans towards either, but realised that
It doesn’t really matter, because no matter which way you perceive reality the tangible outcome is still the same
I can’t make a stand since both make sense to me equally: in a way it’s true that only the world in this very moment in time exists at any point of time, but in a way the world also tends to be a culmination of what happened in the past, now, and what will be
Hence, I decided to just try and present it as best as I could, and let people just learn about it, form opinions on their own if they want to. In fear that I wouldn’t be able to explain properly, or that people wouldn’t get it, though, I made little placards of sorts so people could read it on their own, or maybe better understand through images than me talking.
Here’s some references which I looked at to actually understand anything.
The idea of a 3-dimensional object instantly came to mind, where the concept already revolves around metaphysics and the material world (I will use the word “chair” to describe this object, since it was the first thing that came to mind for me).
To try to create a tangible difference where there was no tangible difference, however, was difficult. The general gist was to use different mediums to bring across the idea, and these were some things I considered to show the idea of temporal parts, and how the chair is interacted with across time, giving it an identity beyond what is currently seen, or the idea of the static, singular moment that the chair exists within.
Stop-motion photography (the temporal parts forming the chair’s identity, albeit in a less flowing form)
Timelapse videos (the temporal parts forming the chair’s identity)
Livestream (I will refer to it as “live transmission” from here onwards, since I realised there’s a difference) (the exact present as is seen right now. the downside is that the static nature of the present can’t be viewed well, where the continuous movement of the transmission suggests temporal parts as well)
Just photography (static, singular moment. the downside is that it won’t be exactly the present, so it deviates somewhat from the idea that only “now” exists)
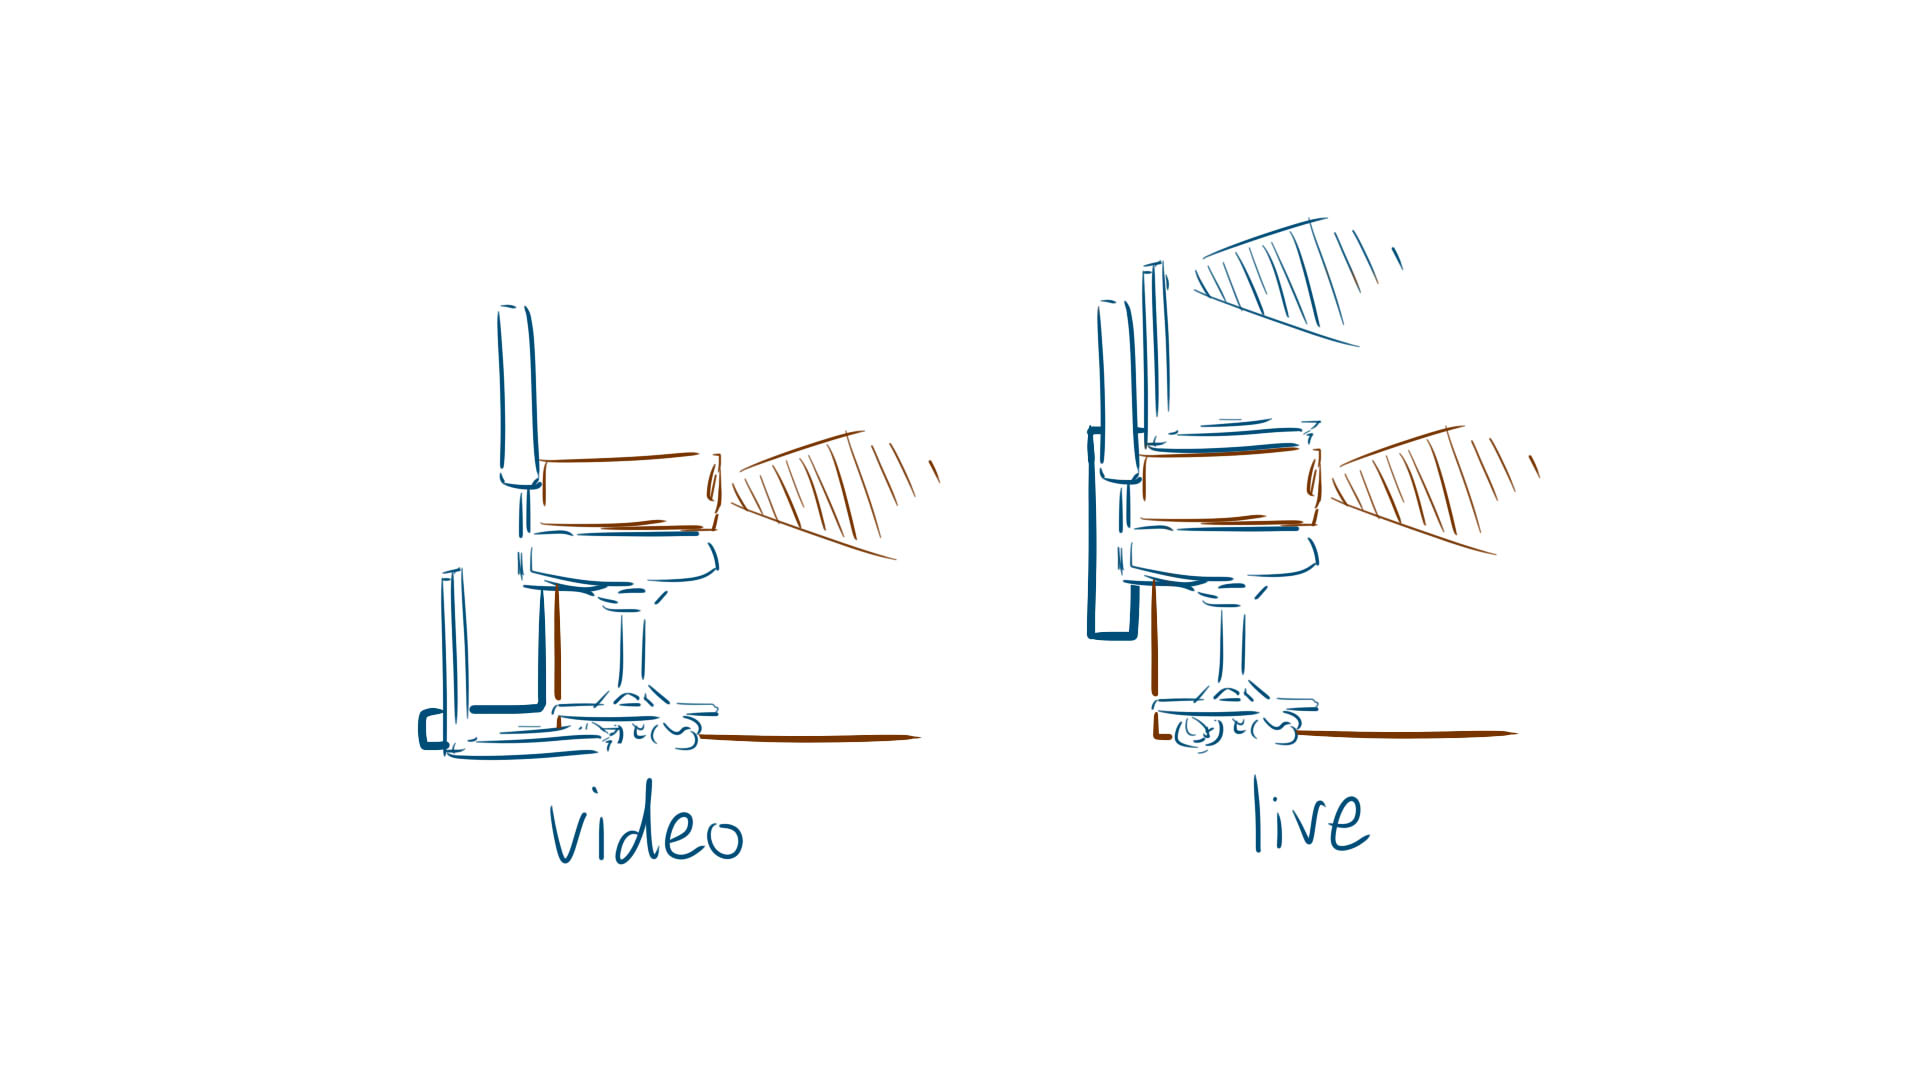
Video
Live transmission
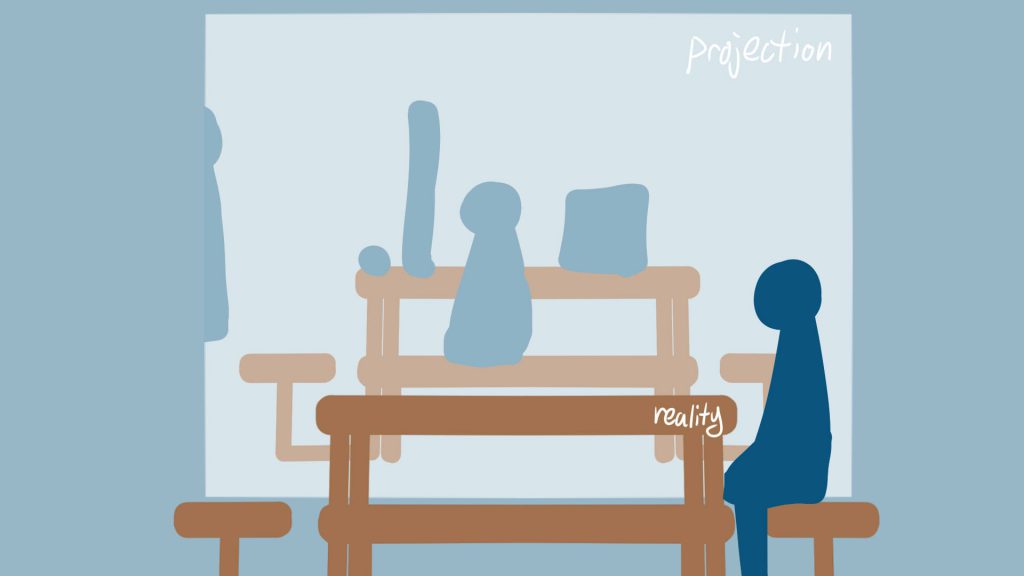
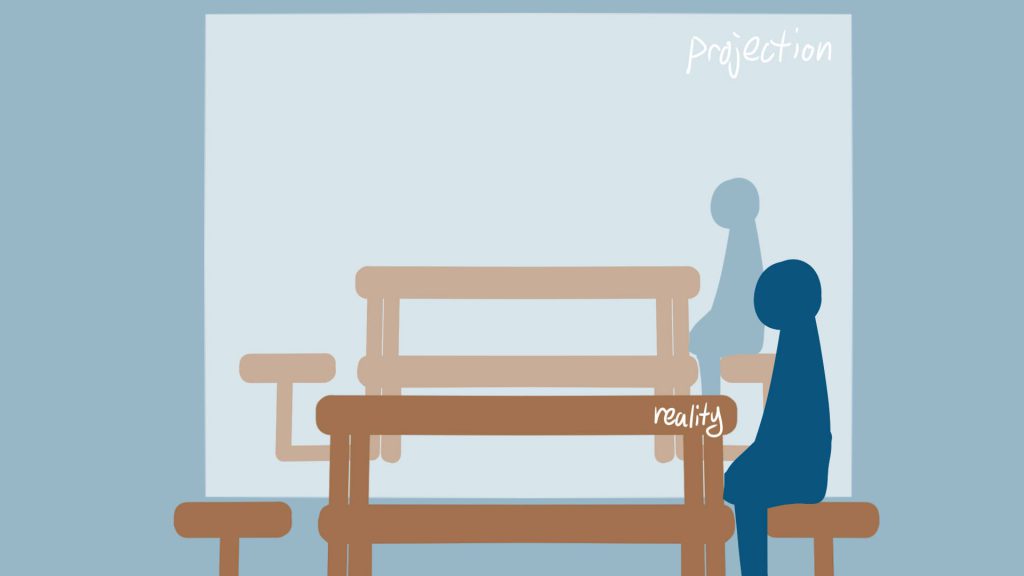
I eventually decided on a video and live transmission, where the video would show another part of the chair’s identity through edited time, where one can see that the chair before them is only a part of what it is, has been, and will be. The live transmission, on the other hand, would show the entirety of the chair’s identity through real time, where it only exists as it is right now, in that very moment.
I also decided to go with a 4 by 3 aspect ratio such that it would focus more on the object than its surroundings.
standard 4:3
widescreen
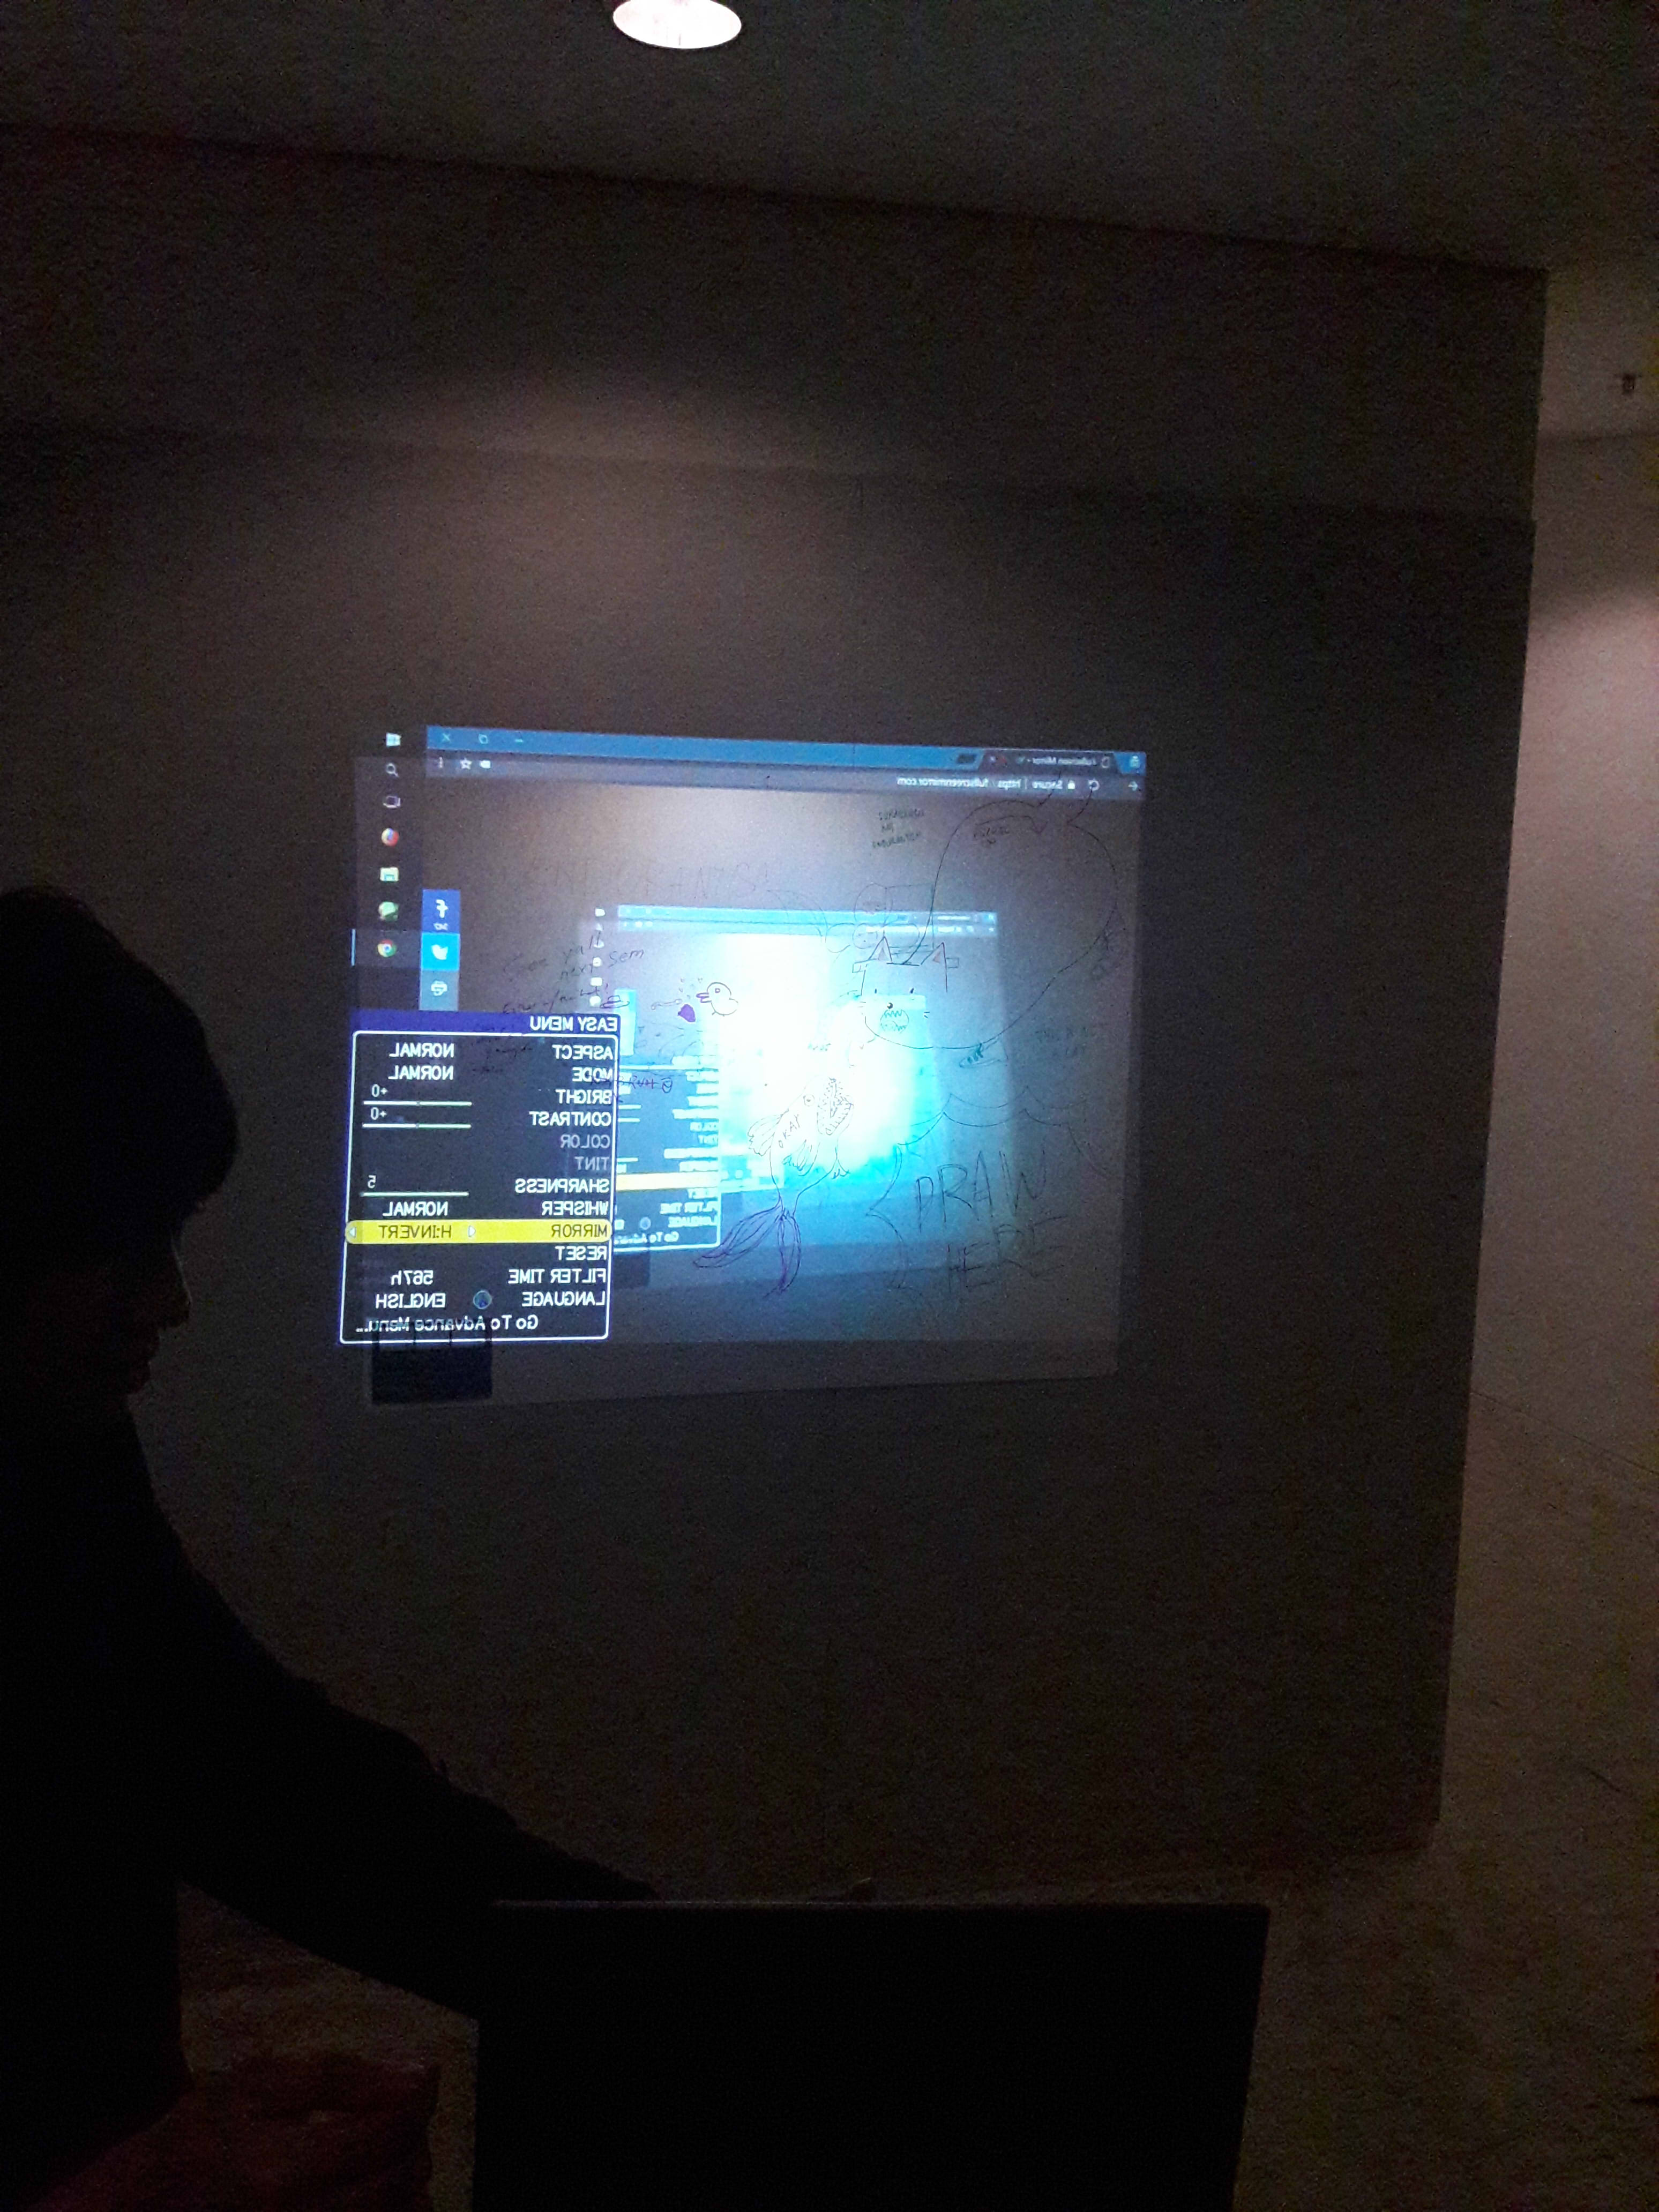
Also, here’s a test of the live transmission. I decided to use fullscreenmirror.com because I couldn’t full screen the inbuilt camera for Windows 10, though it comes with the downside of having a social media sharing toolbar which can’t be disabled. (I also later learned that the school-loaned projector has an option to flip the display, so mirroring won’t be an issue!)
The mirror option, such that it didn’t invert back and forth.
Object & Location
Next, I considered the object in relation to location. Since I had originally envisioned a chair, I went out looking for identical chairs in close proximity to each other in ADM. The general idea, though, was that the object just needed to be something people could interact with, to make it more interesting, and also such that the object could be “modified” across time as people fiddled with it. Preferably, though, it would have to be something immovable, so that the projection and object would still align properly.
I eventually decided on the Basement Foyer (outside the Foundation 3D room), because I noticed the benches there fit the aforementioned criteria. Also, it has a thriving nightlife, where ADM freshmen doing their homework tend to gather there, which gave the benches a special, time-based identity part.
The location
Said bench, along with ADM freshmen doing homework at 9pm
I also took a test video, and quickly discovered my SD card was too inferior to take videos longer than 12 minutes. Lei suggested to just cut it to 10 minutes, which was probably a good idea since it was more than enough to get the idea across. Here’s a sample from 9pm during final project hell week, also edited to 4:3 aspect ratio.
Technical Issue Problem-Solving
Luckily, I had enough common sense to notice that my laptop required some form of adaptor to fit the cable. Also, I checked the projector specifications from the school’s equipment store, and discovered it only serves VGA, and no HDMI: as such, I was adequately prepared to look around for ways to counter that, eventually settling on:
Using an old home laptop which has a VGA socket
Buying a Type-C USB to VGA adaptor for my laptop
Since my installation involved digital projections, I also looked out for sockets. It’s rather startling to know that there’s only 2 sockets in this entire area.
Lei suggested that I should elevate the projector to prevent a cast shadow, meaning I would have to have the power cord span the foyer width, from this socket to the staircase.
Consequently, I drew up a sketch of the setup. It might seem like all I really need are 2 laptops and 2 projectors, but the drawing really helped me to realise that I would need a lot more accessories to address more technical and spatial problems:
The dry run also assisted in realising that
The VGA cables were too short to allow me to use the laptop webcam (placed in front of the bench) while connecting it to the projector (up on the staircase). I resolved it by 1. asking the school equipment store if they had longer ones (they didn’t), 2. purchasing a VGA to VGA connector, such that I could join 2 cables together.
I needed something to prop up the projector such that it would shine downwards rather than straight forward onto the ceiling. I resolved it by wedging random things like my wallet underneath.
I needed something to elevate the laptop webcam more, since it was too low initially. I resolved it by borrowing a chair and stacking random things underneath.
And with all the problems solved, I was ready for the day itself! Or so it seems….
![[FDN4D Project 4] Part 2: Hello Darkness My Old Friend](https://oss.adm.ntu.edu.sg/a170027/wp-content/uploads/sites/1810/2017/11/cover2.jpg)


![[FDN4D Project 4] Part 1: Before the Storm](https://oss.adm.ntu.edu.sg/a170027/wp-content/uploads/sites/1810/2017/11/cover1.jpg)