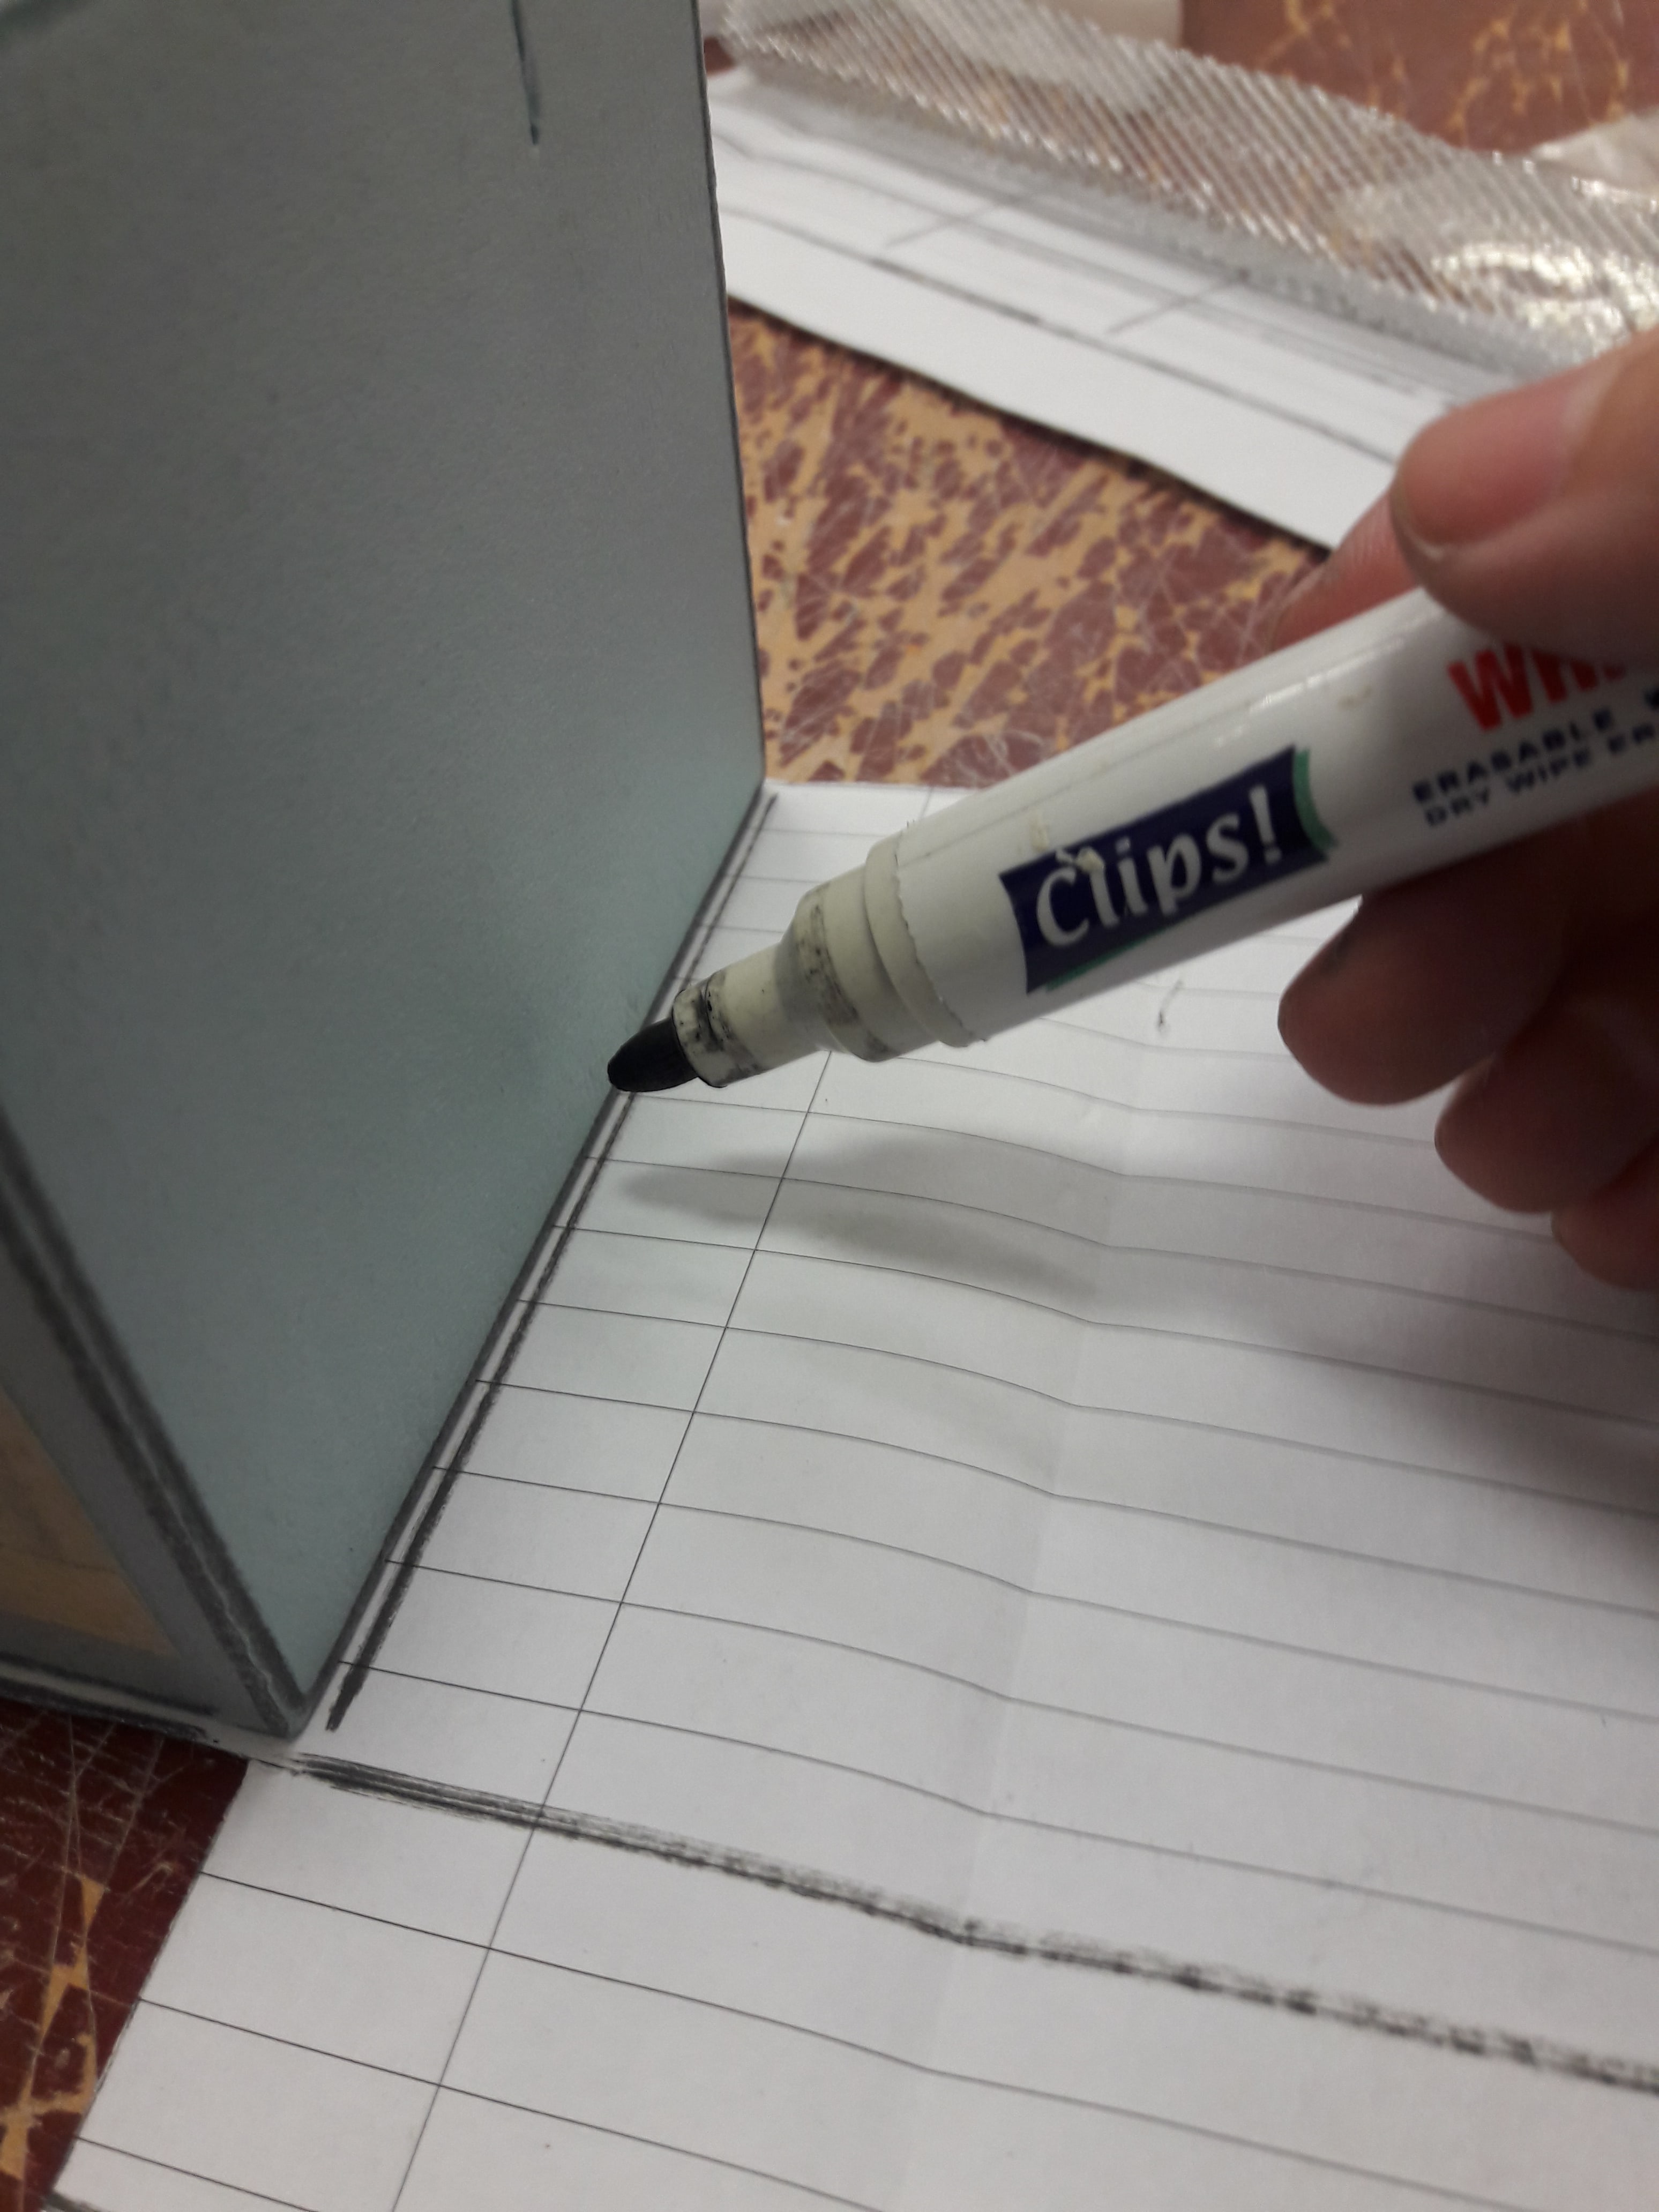
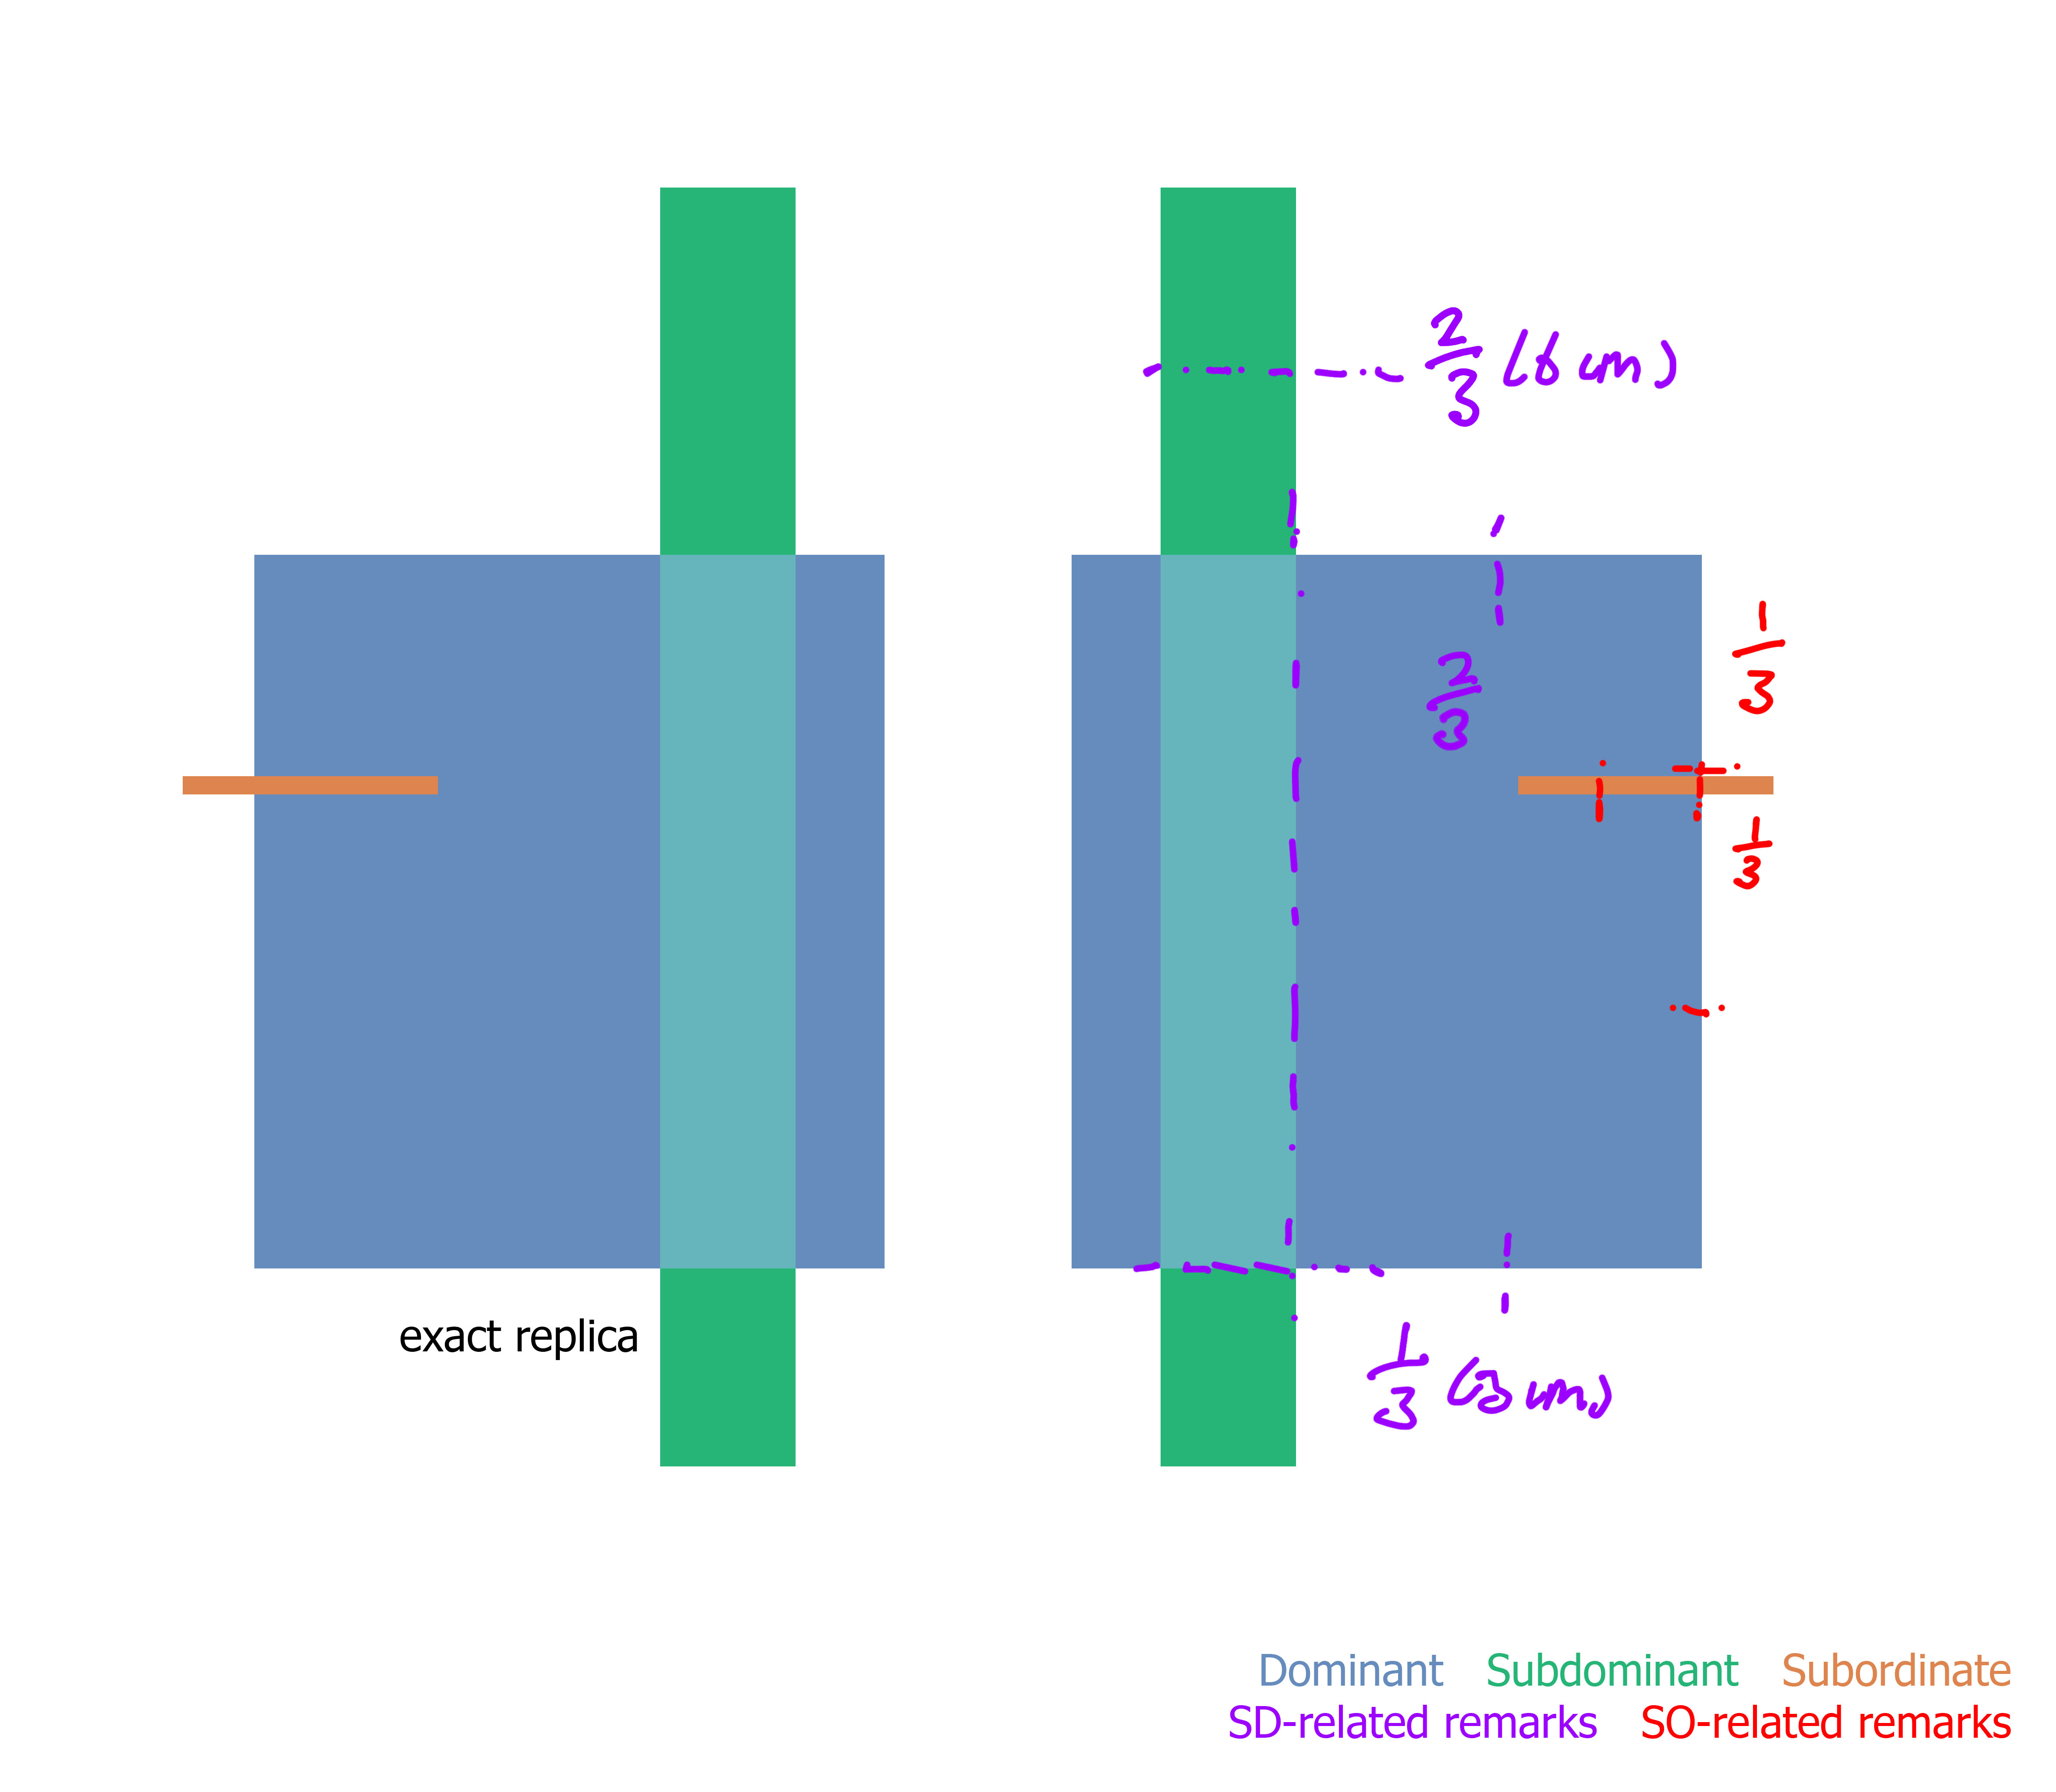
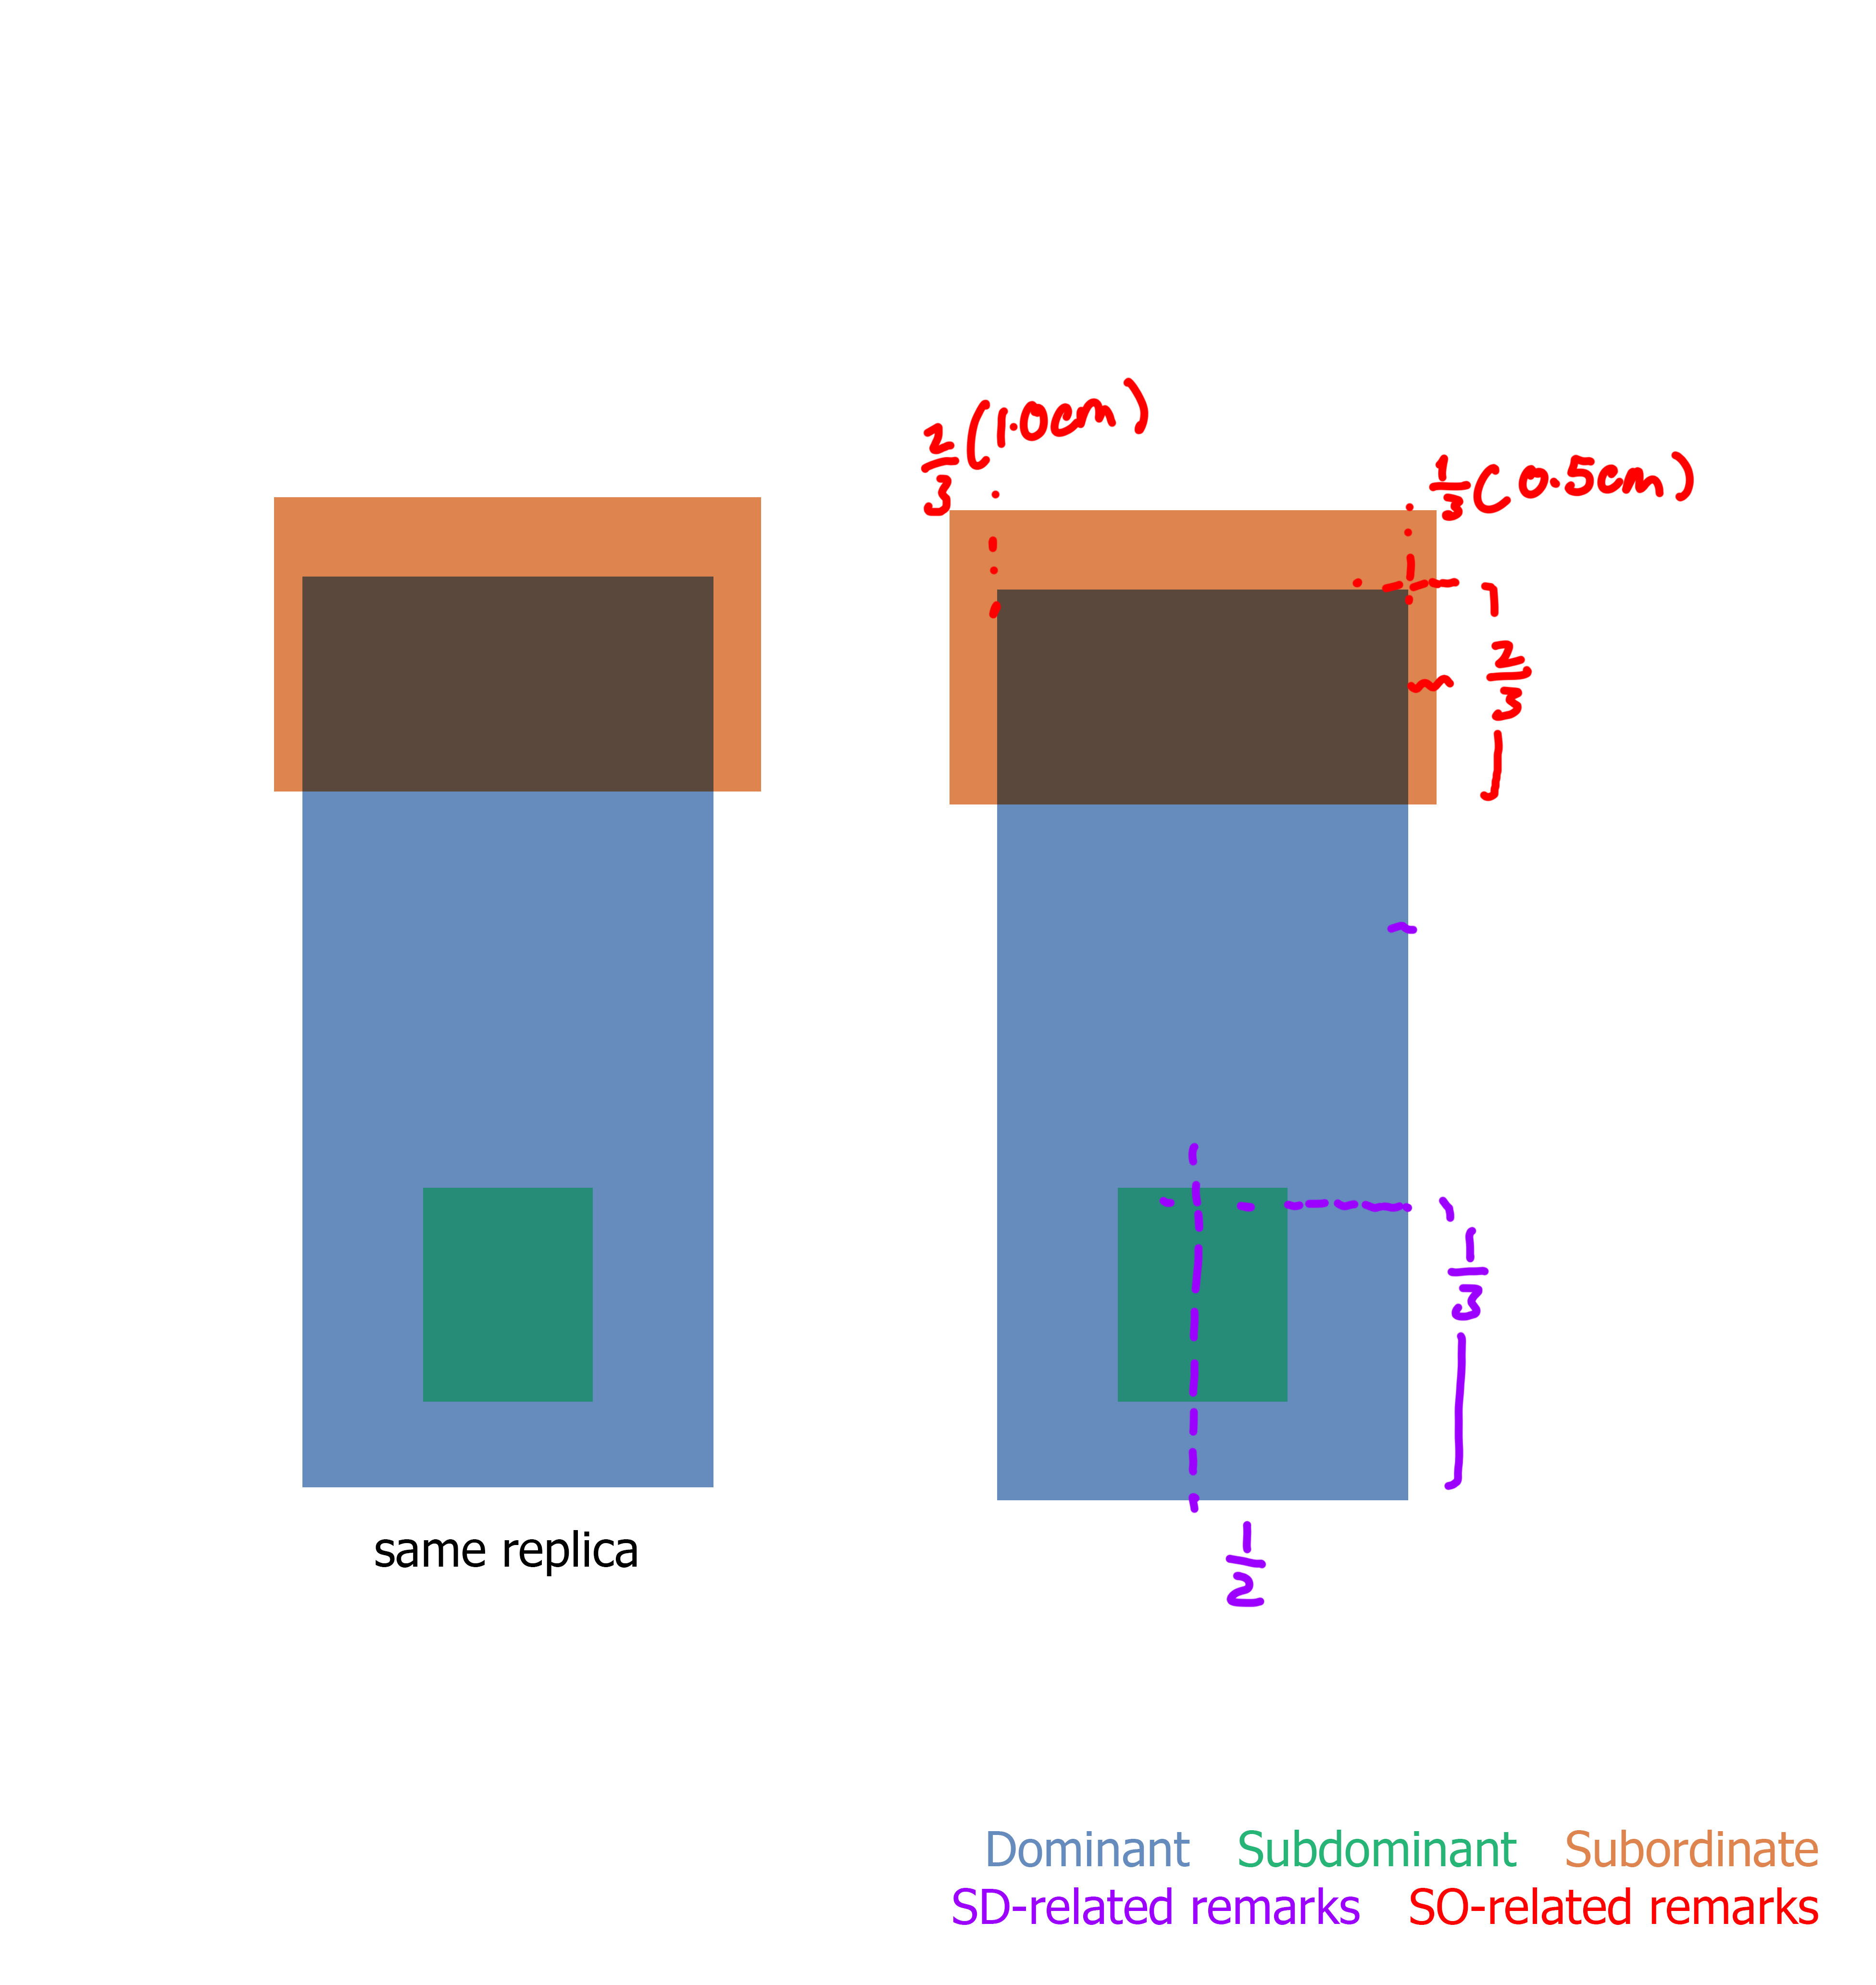
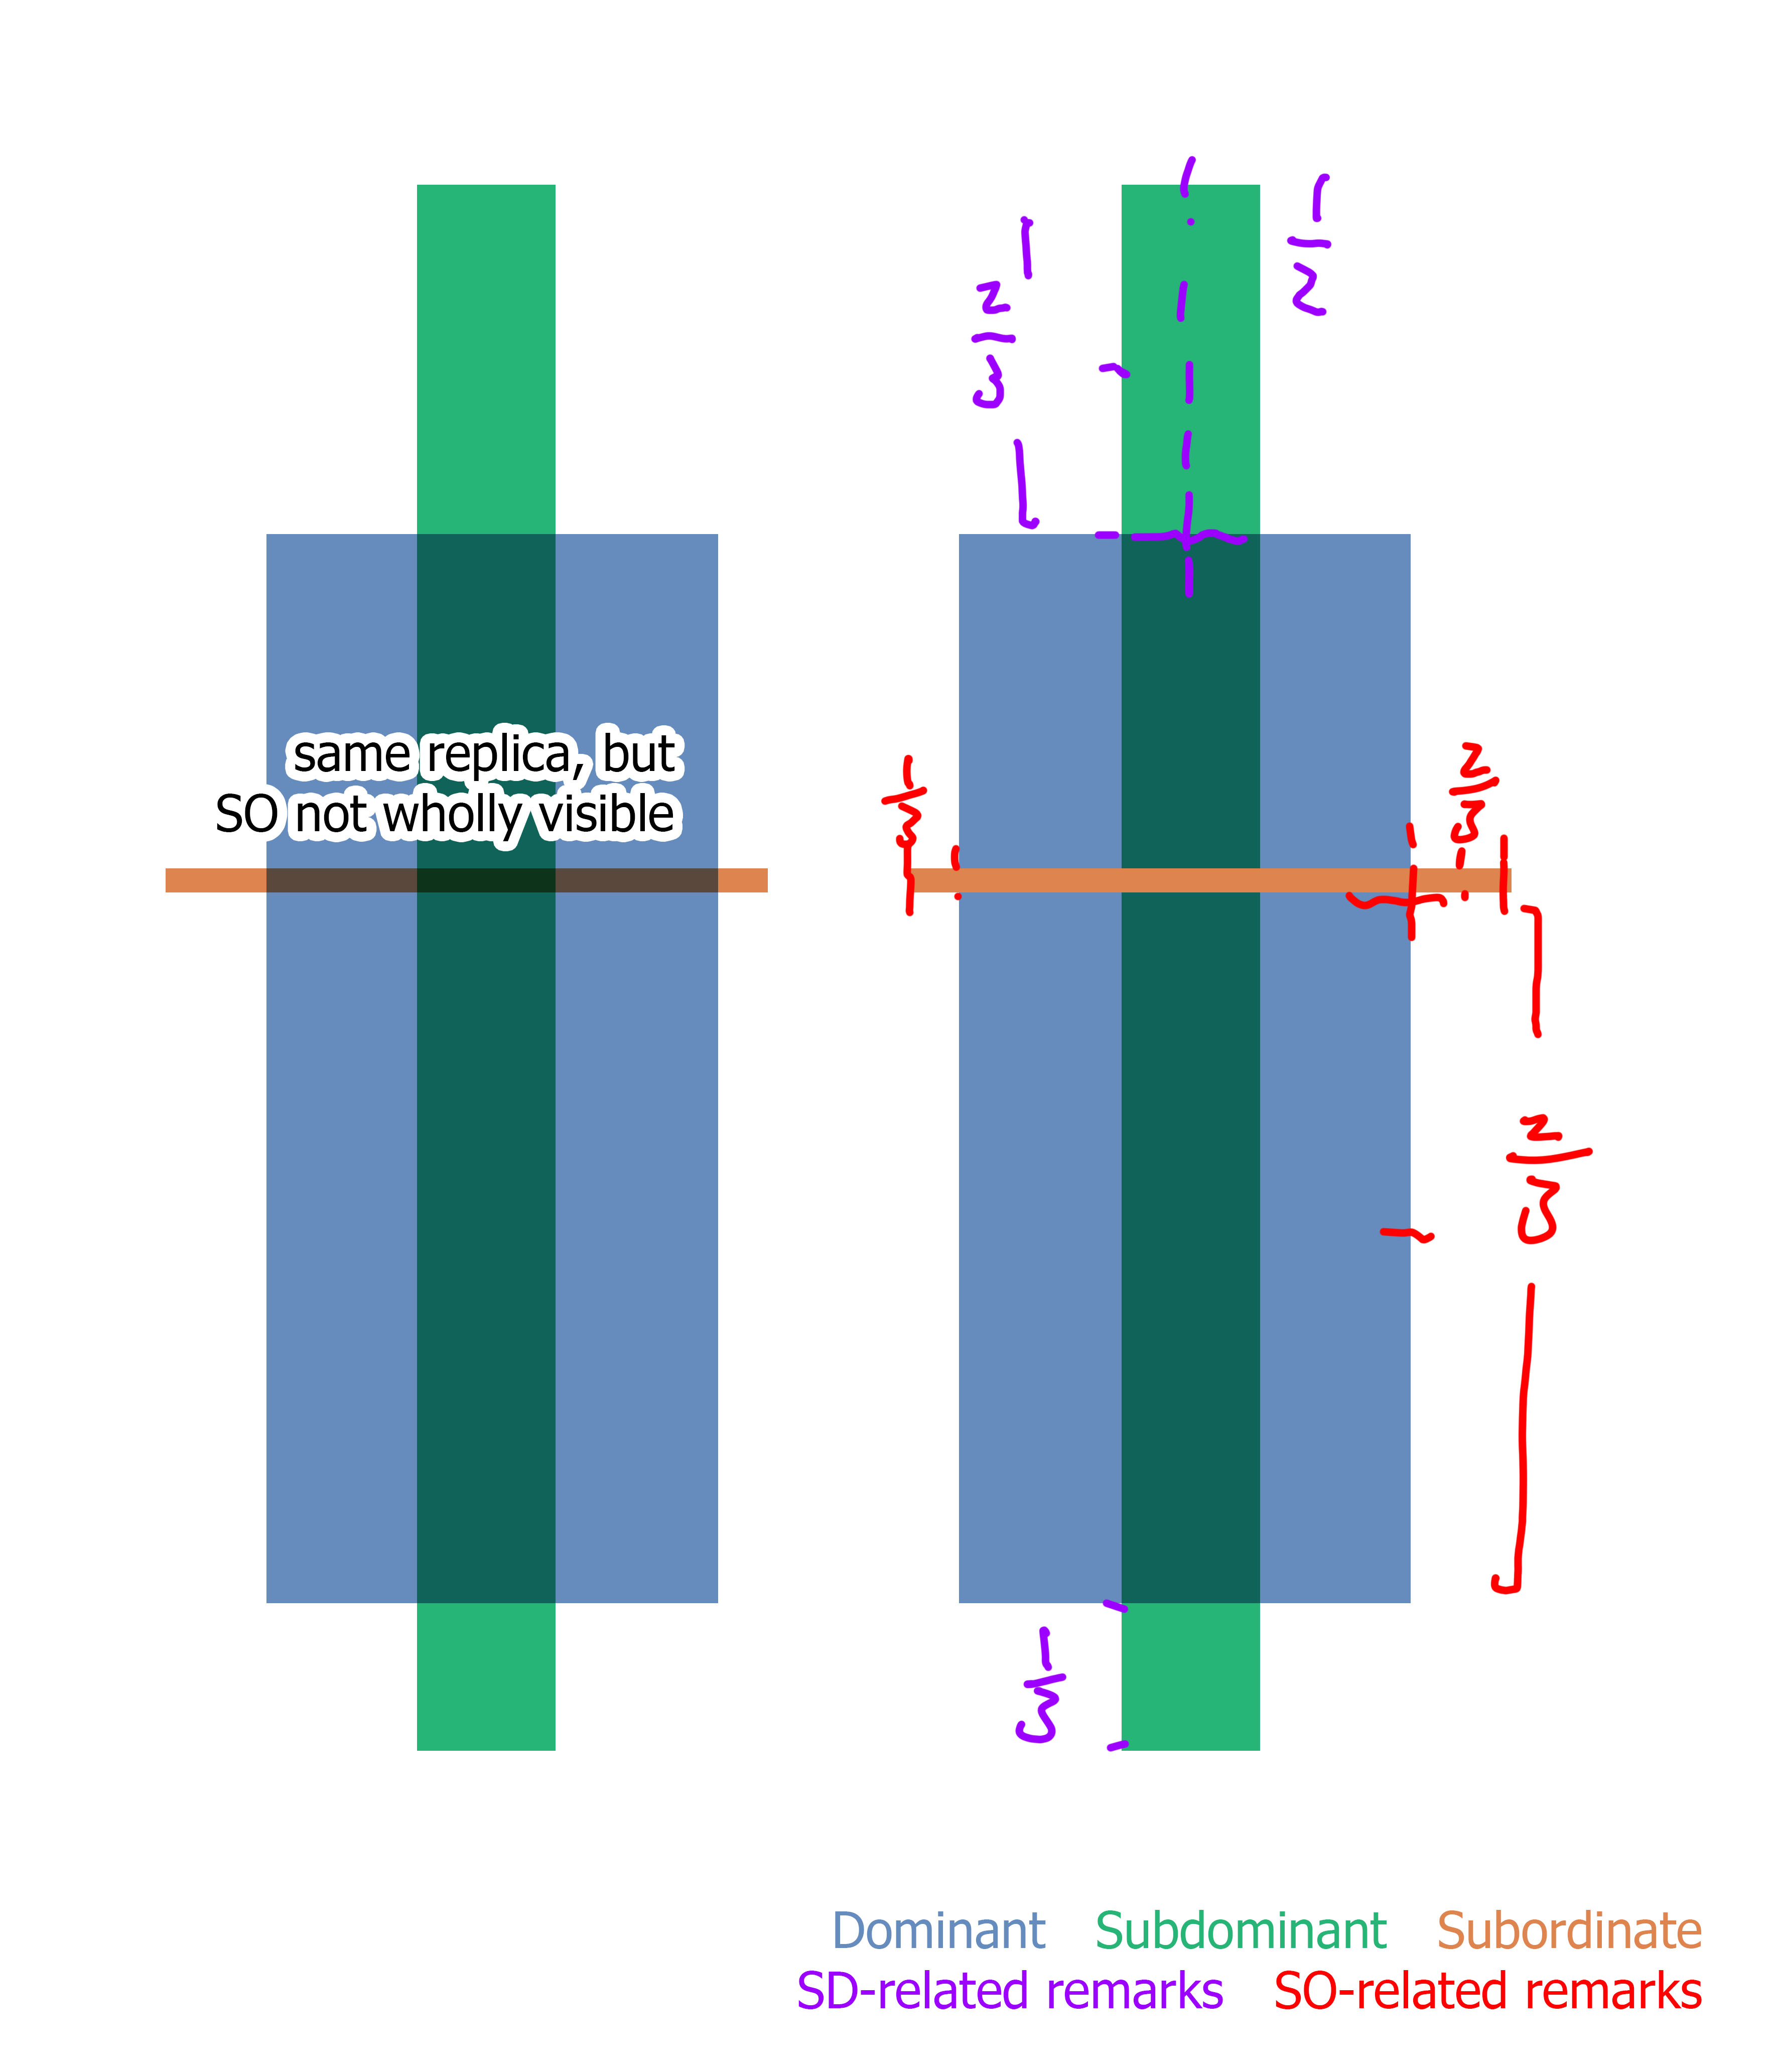
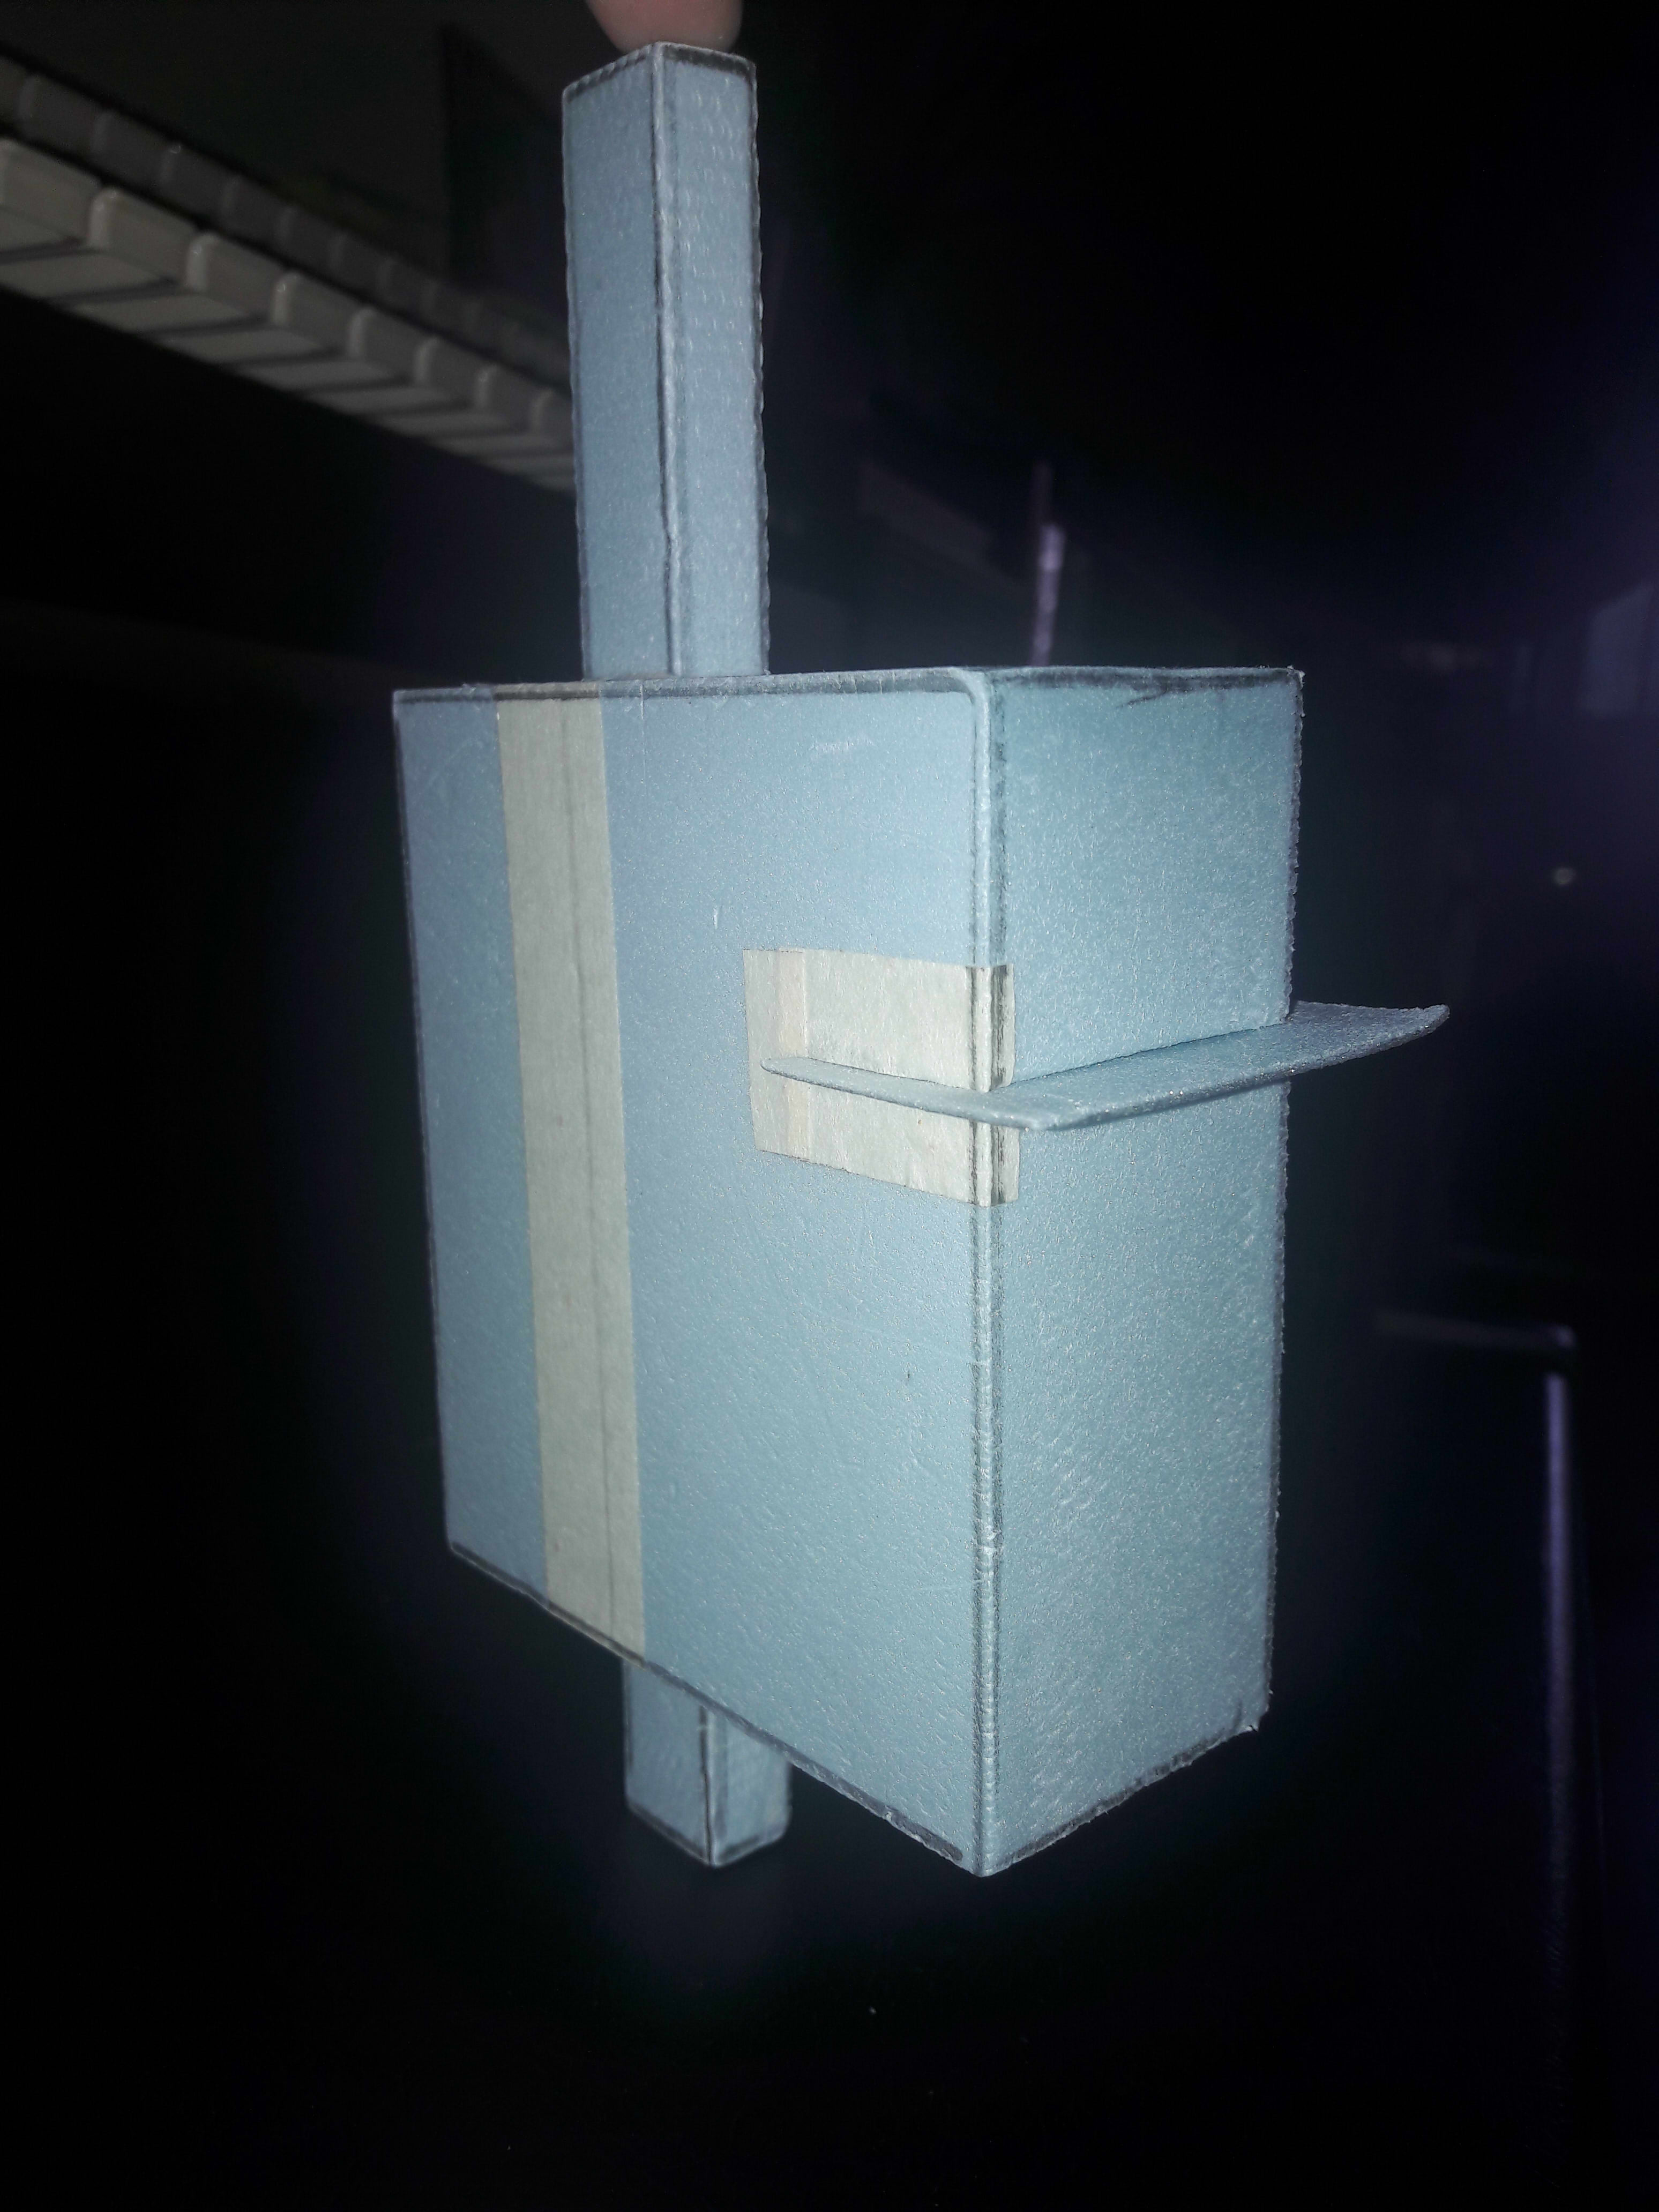
My final model was based off the 2nd model in this post. I increased the overall size since I realised that the reason why I couldn’t adjust the dimensions of my boxes (lest they have “similar lengths”) was because they were all too small. The final dimensions were about 10×9×4, 19×1.7×1, 6×3×0.1 (cm).
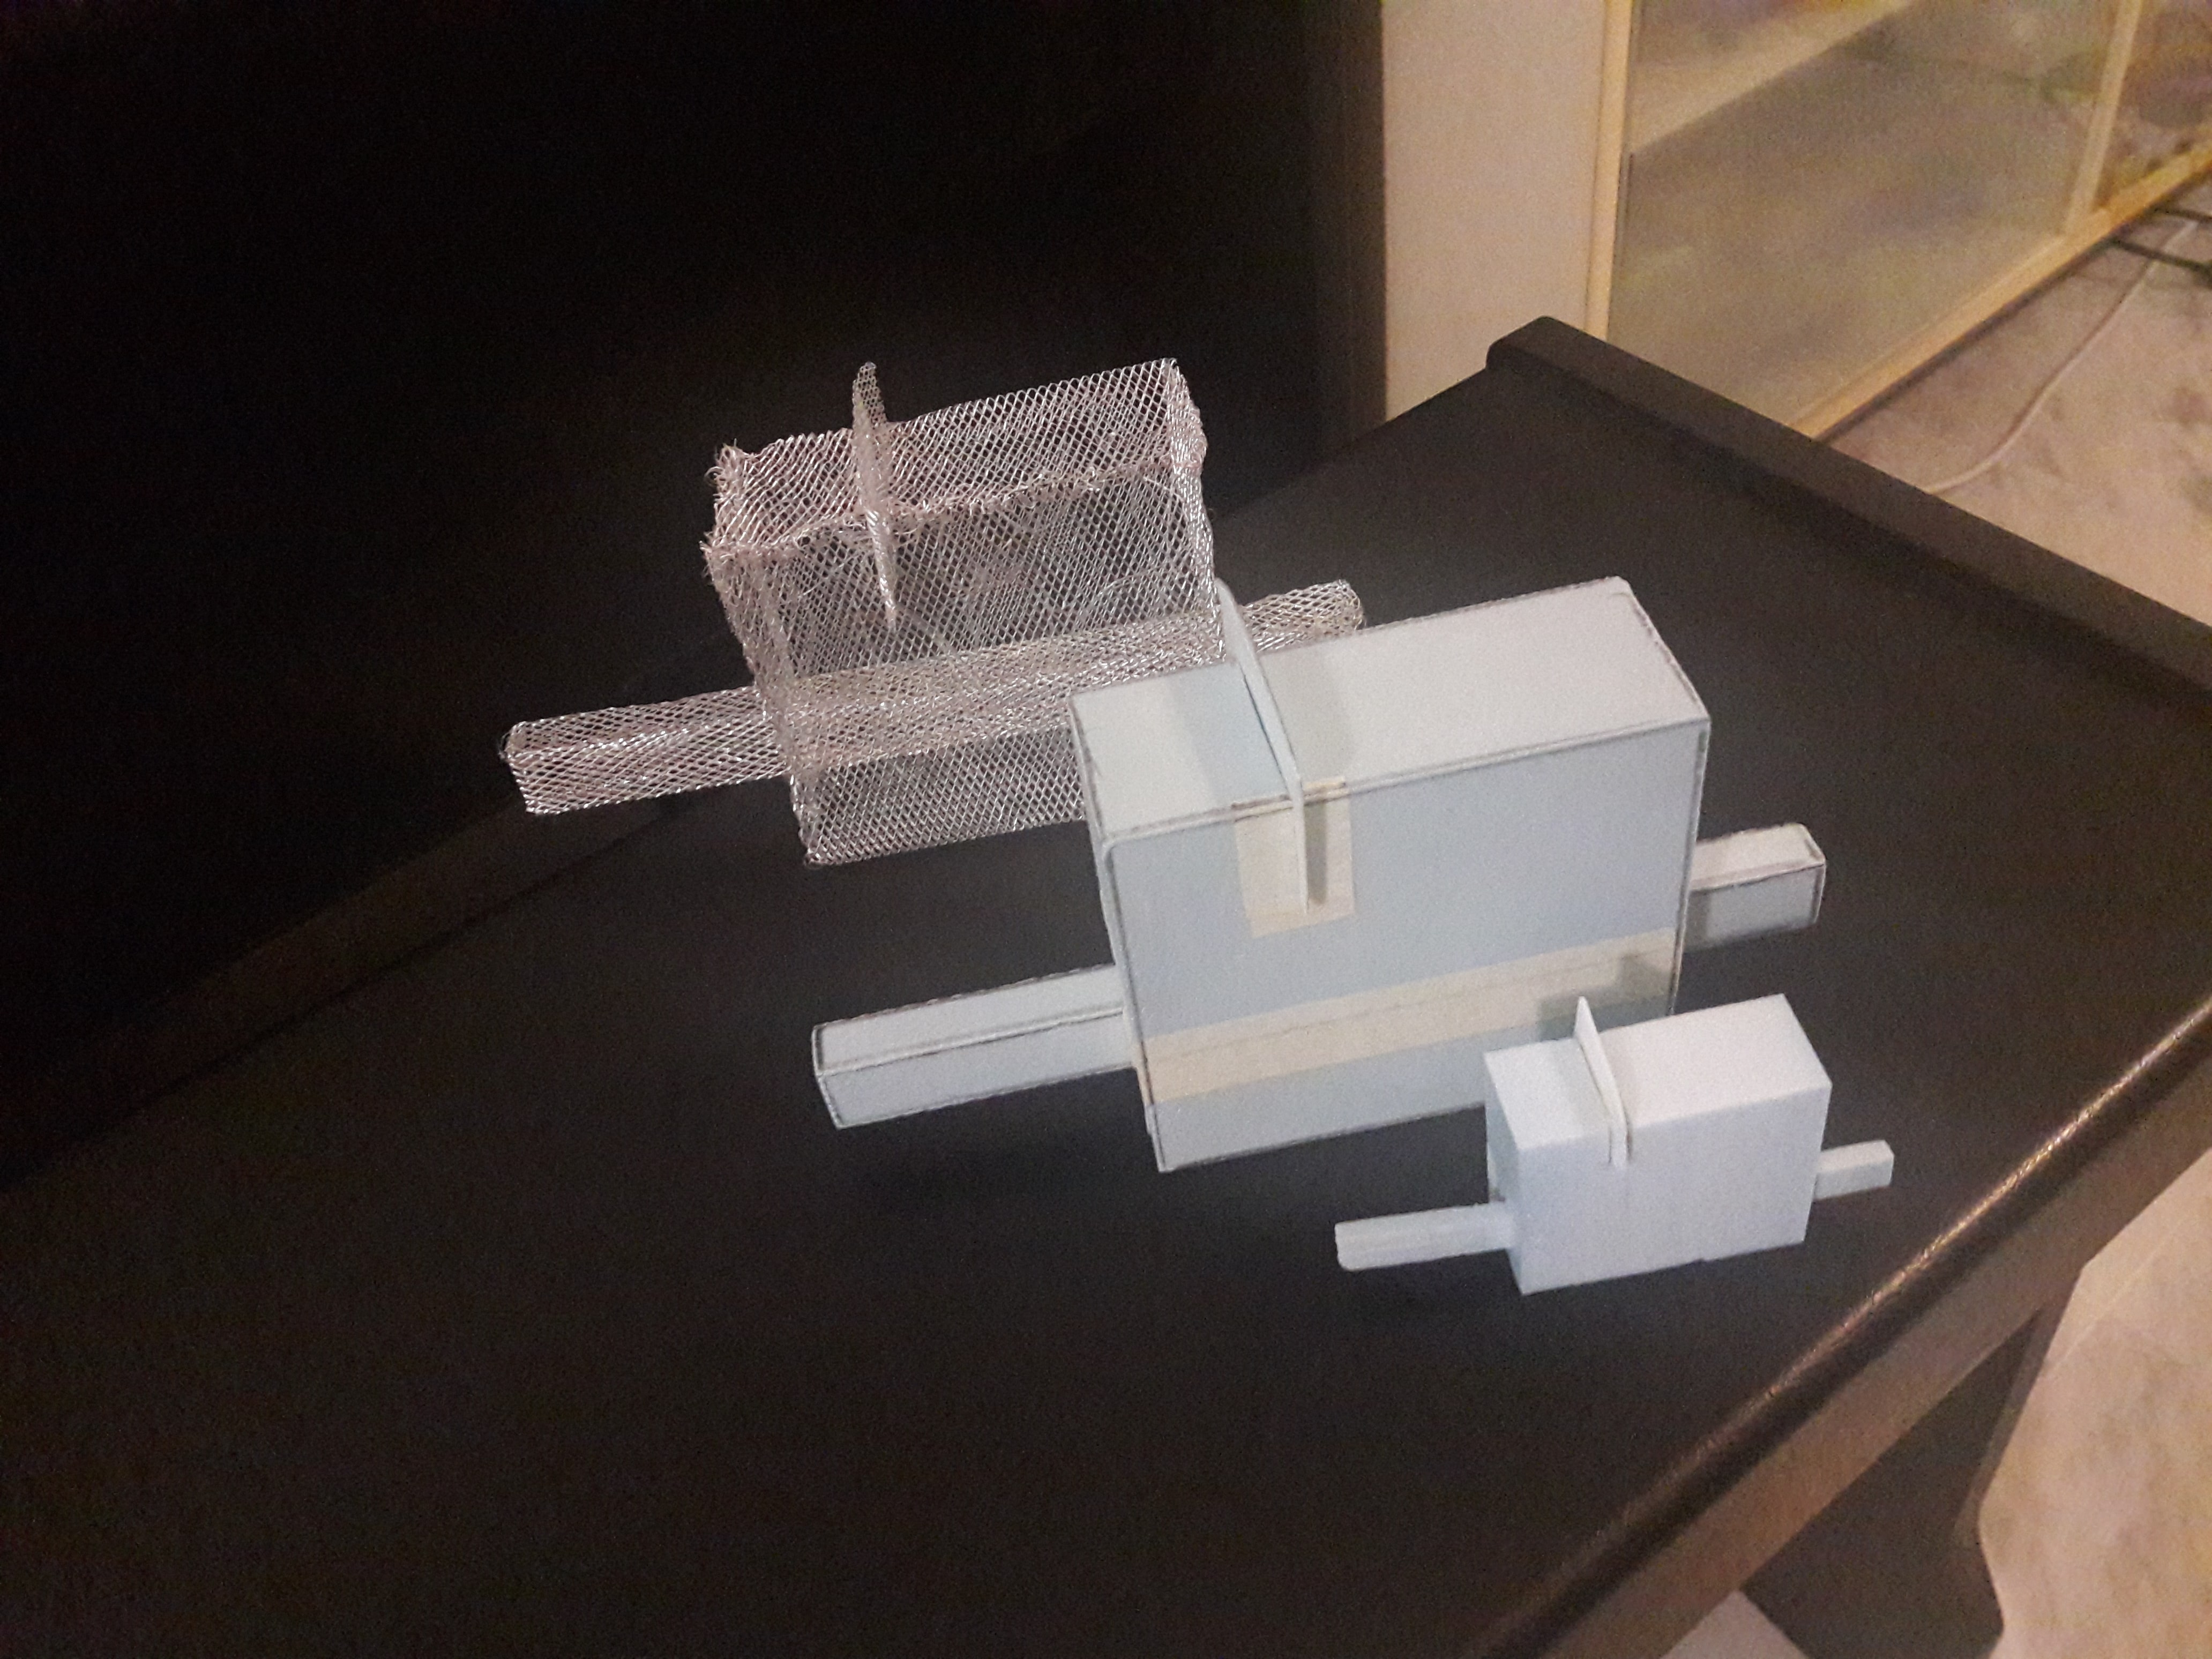
My word was XYZ axes. Initially, I left the subordinate larger in size to emphasise the 3-dimensionality, but the advice was to trim it to emphasise hierarchy rather than 3-dimensionality. So I did. Then the remark was that it wasn’t 3-dimensional enough… T_T

I guess the moral of the story is to take everything with a pinch of salt. A piece of advice followed may resolve the current problem, but raise new problems… T_T
2D sketch analysis and 3D sketch models
Verily summarised version (see aforementioned linked post for more details on actual selection of boxes and reasons for joining together in certain way):
- Purposeful extreme variation of rectilinears
- Emphasis on “directional pull” in 6 directions
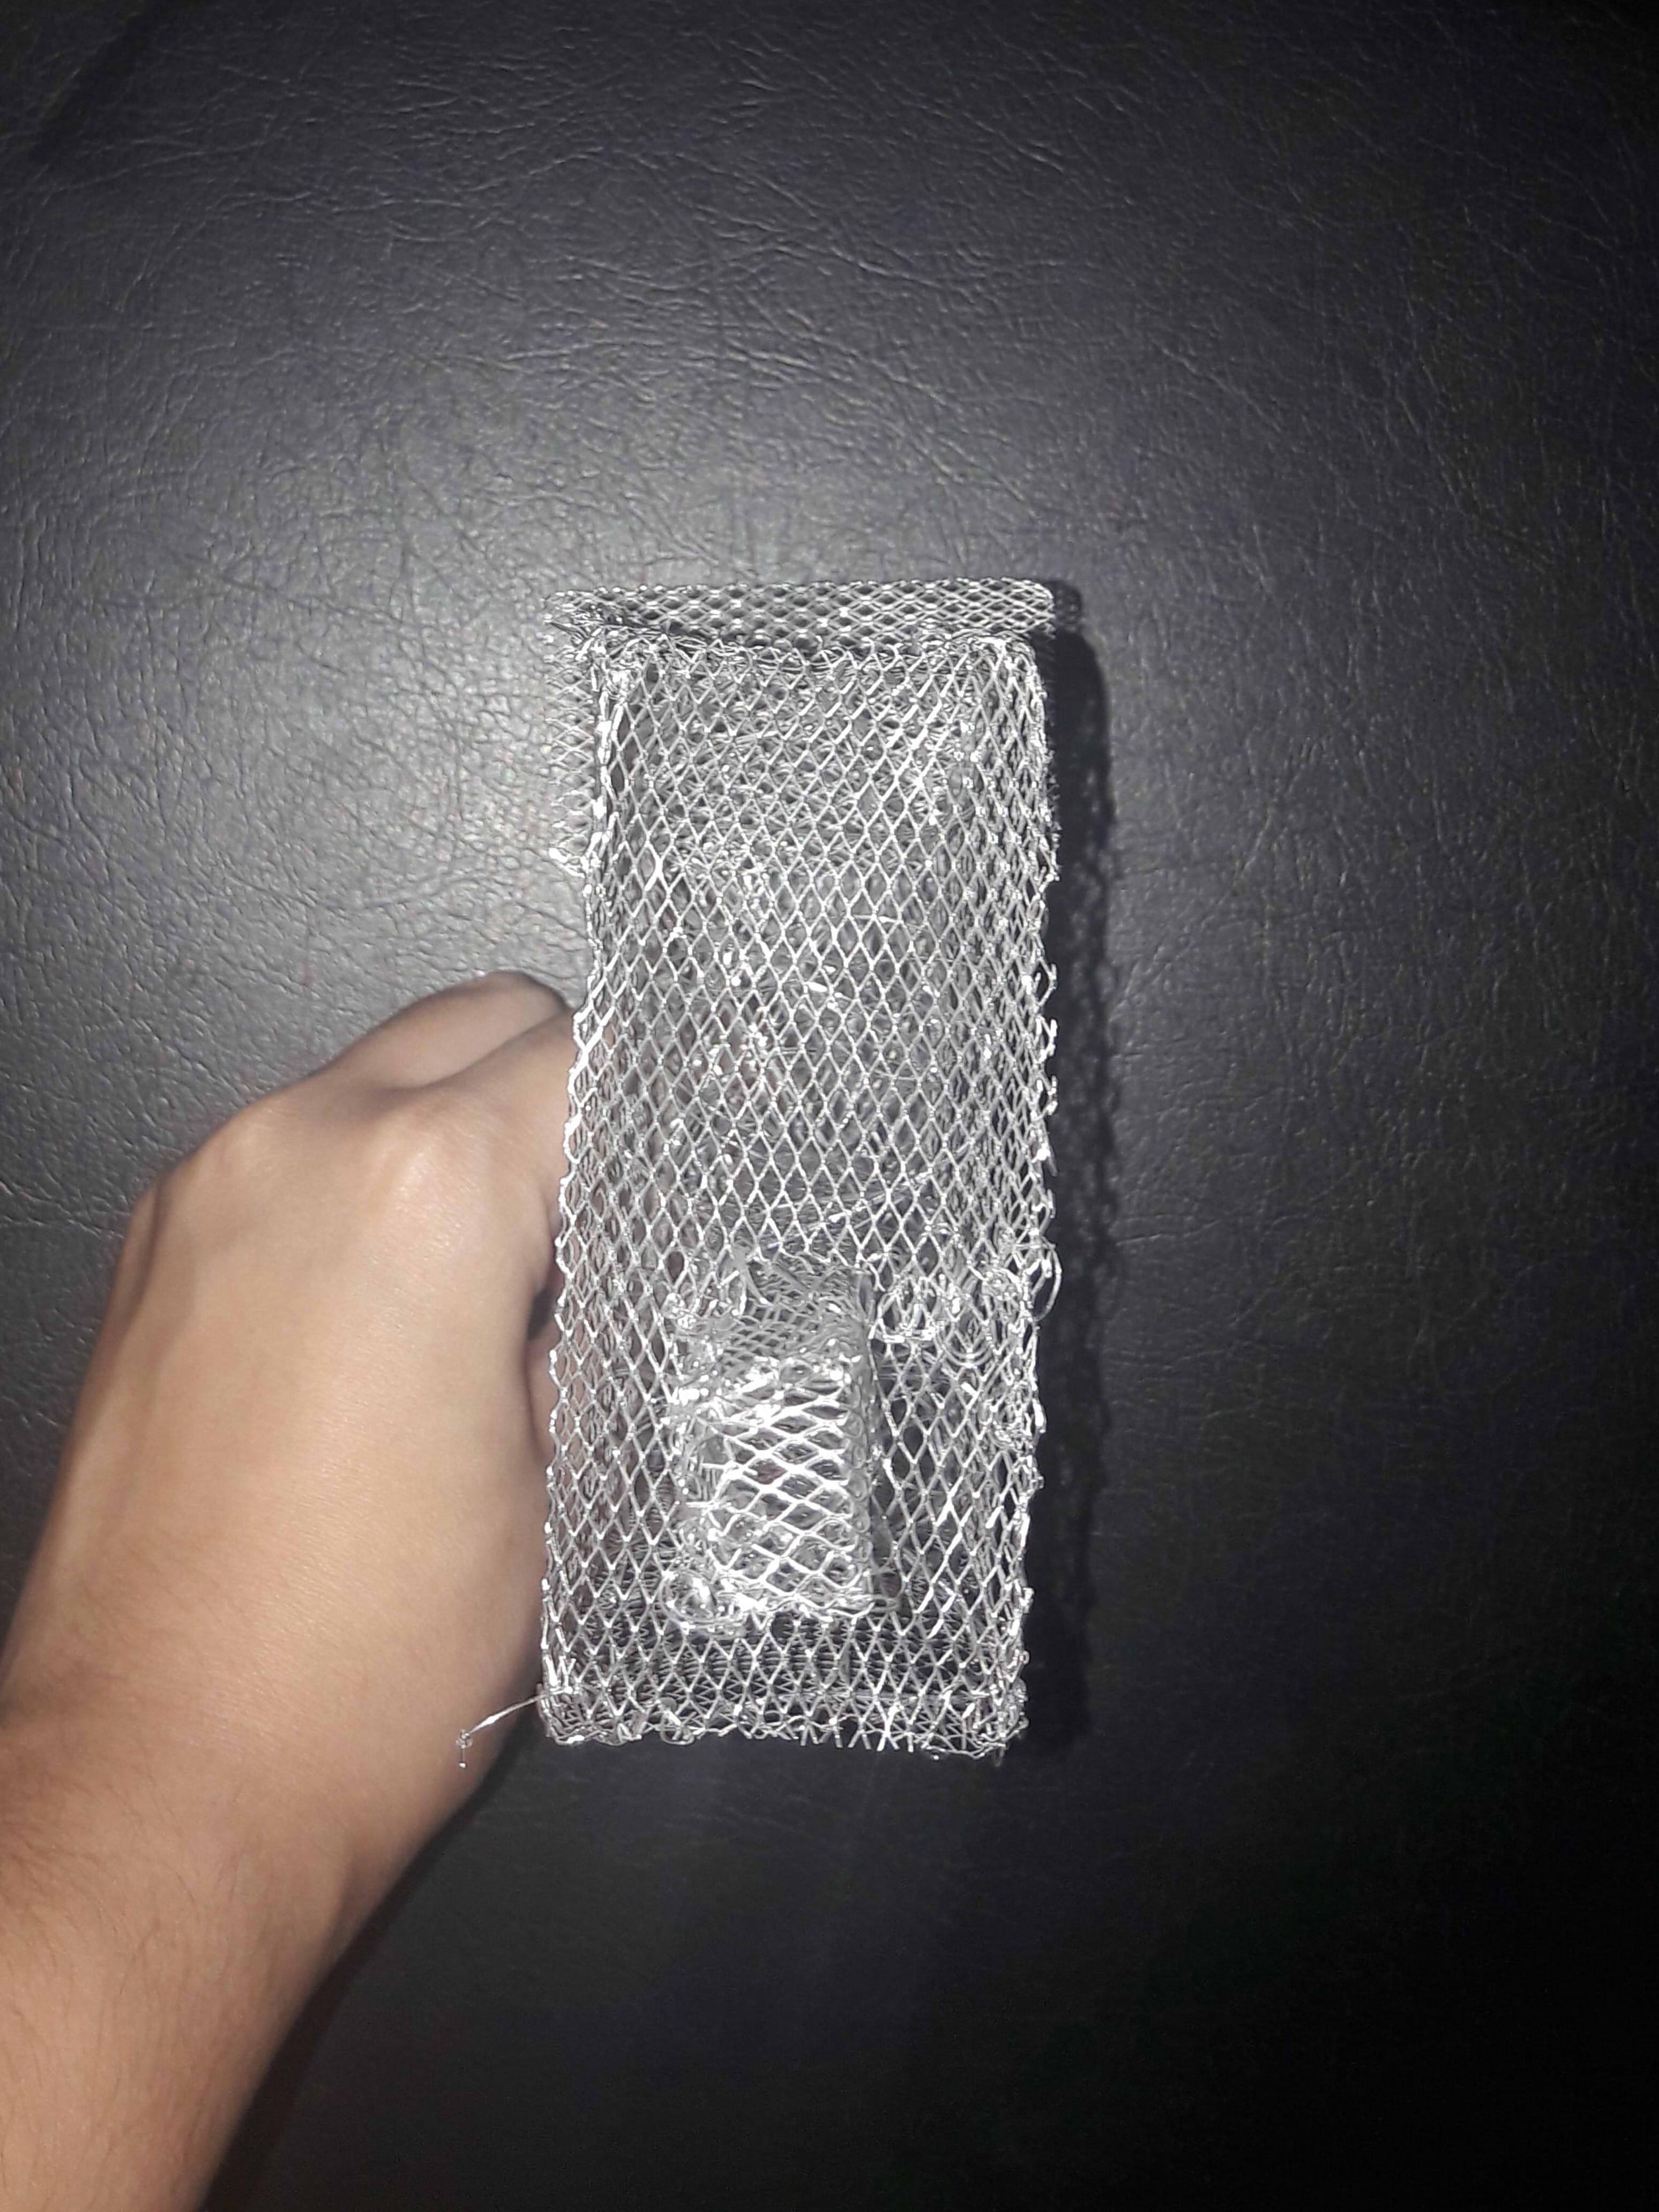


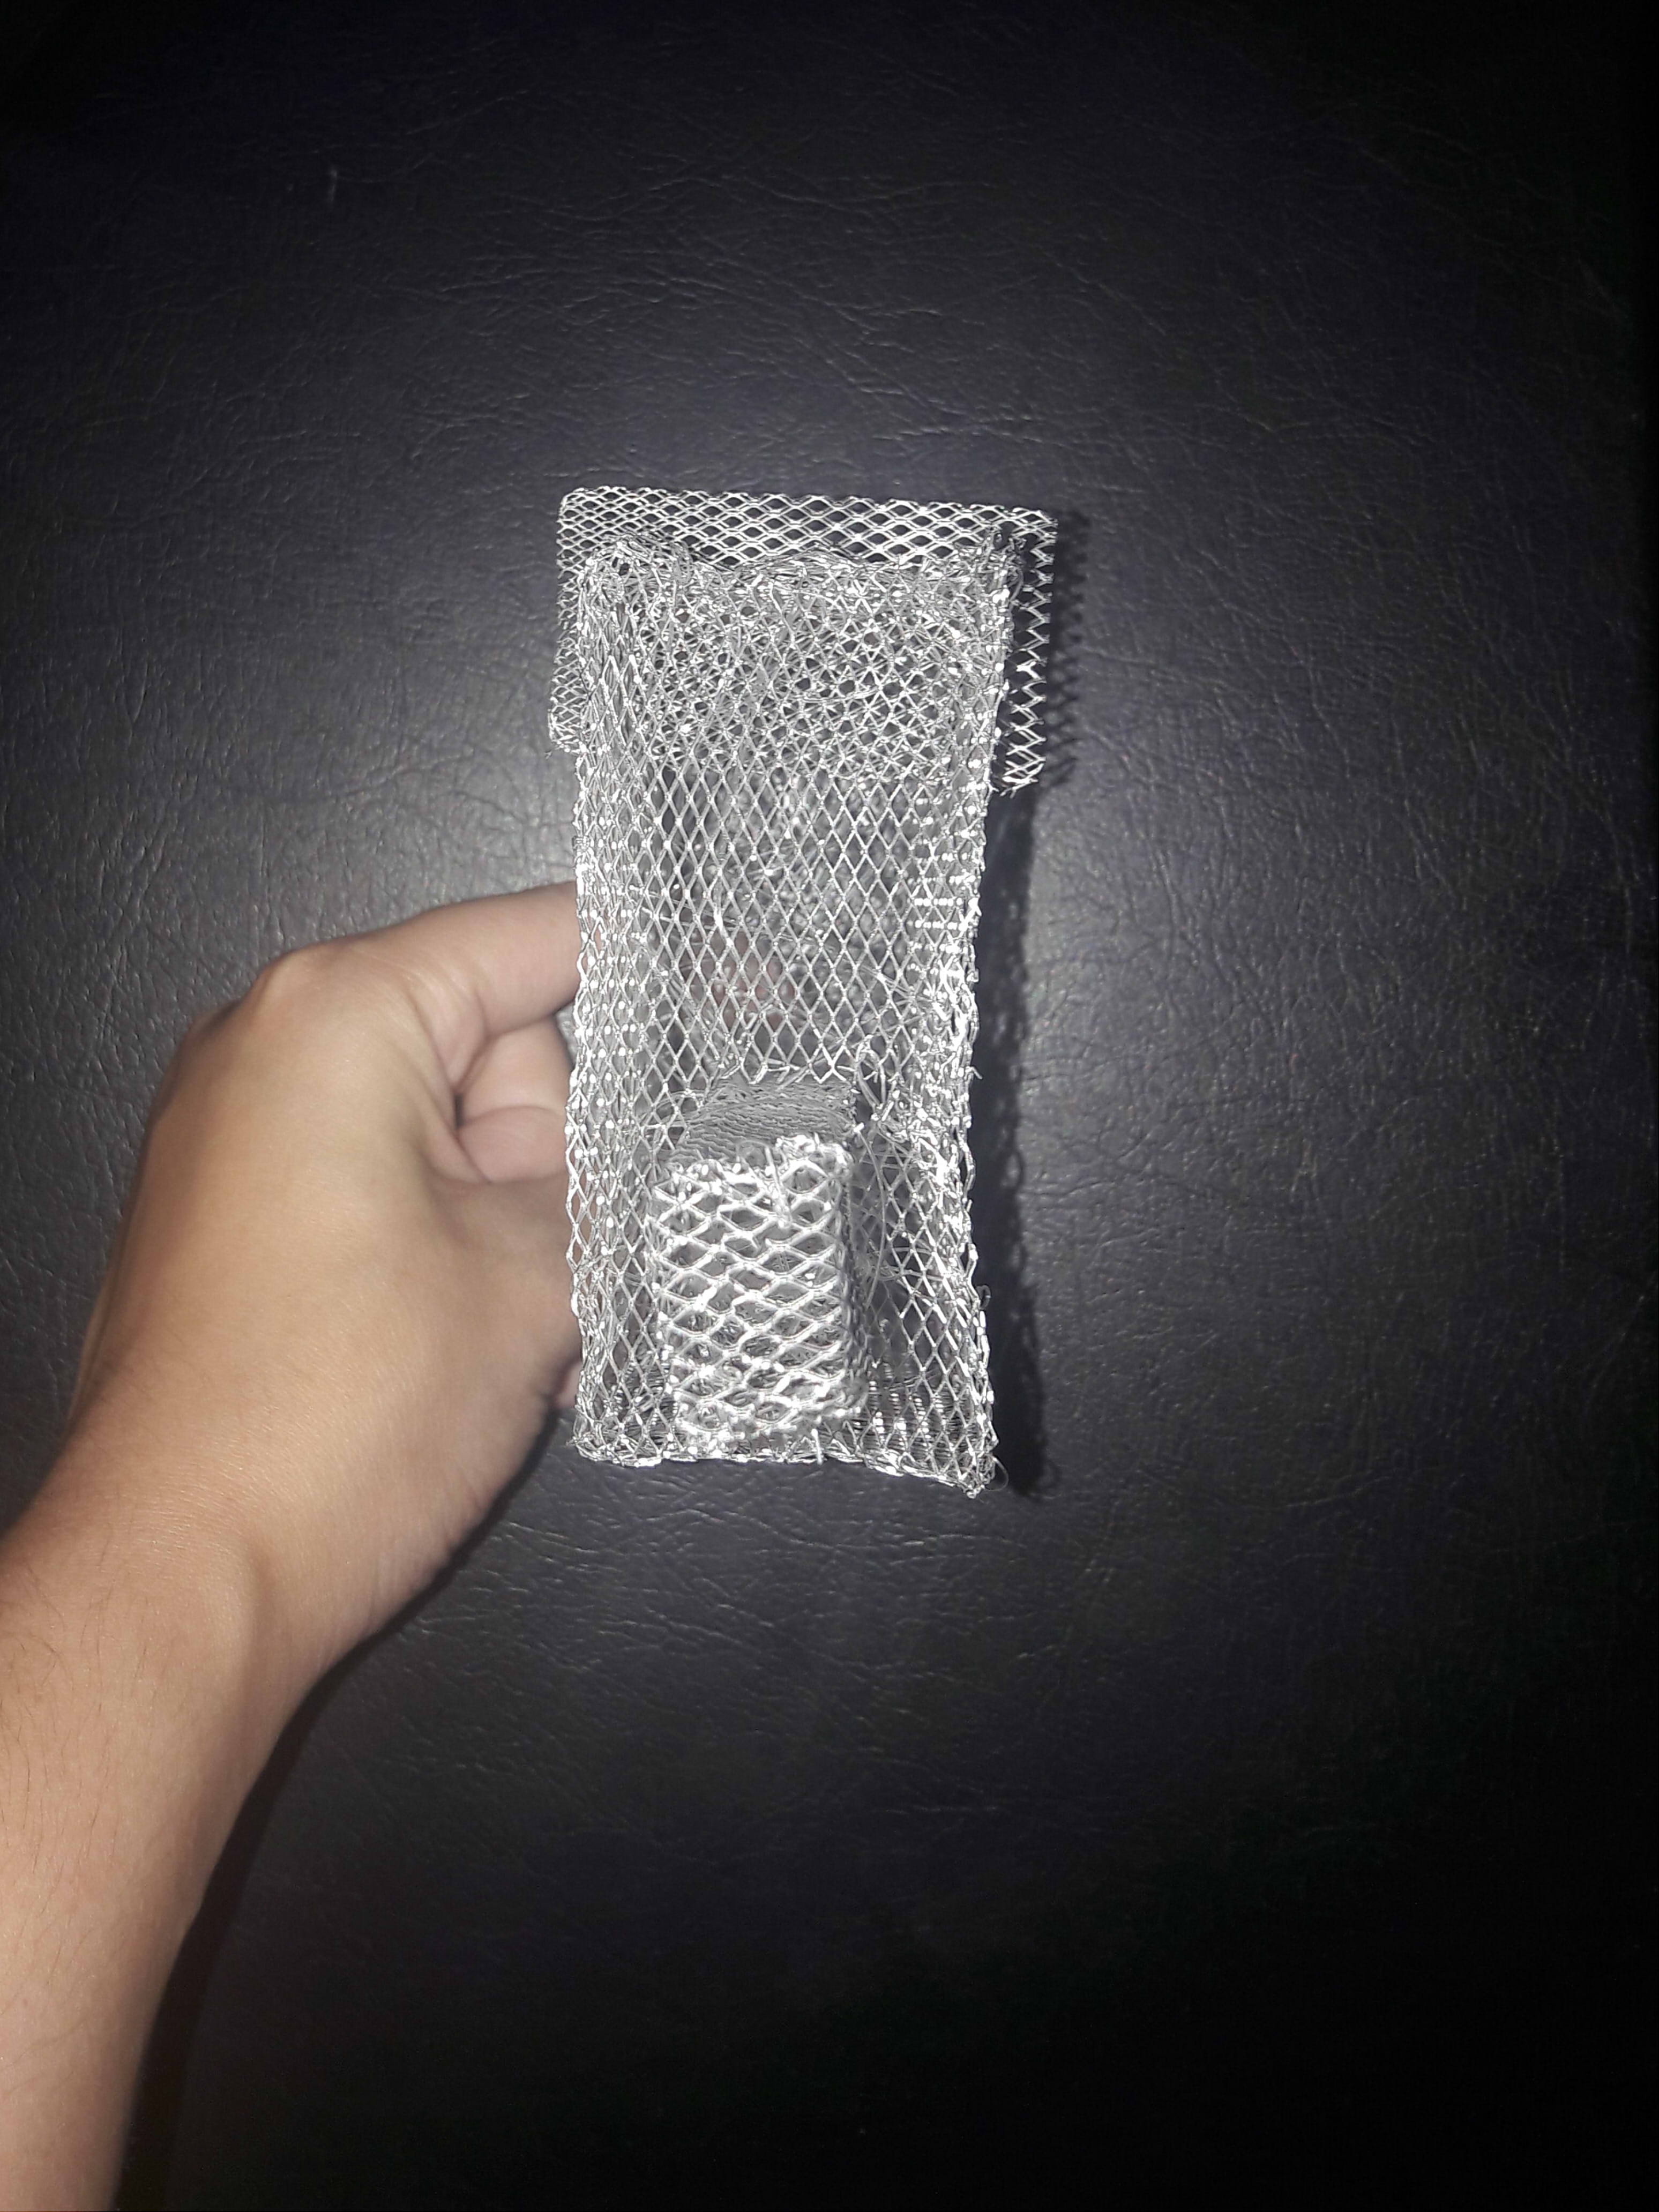
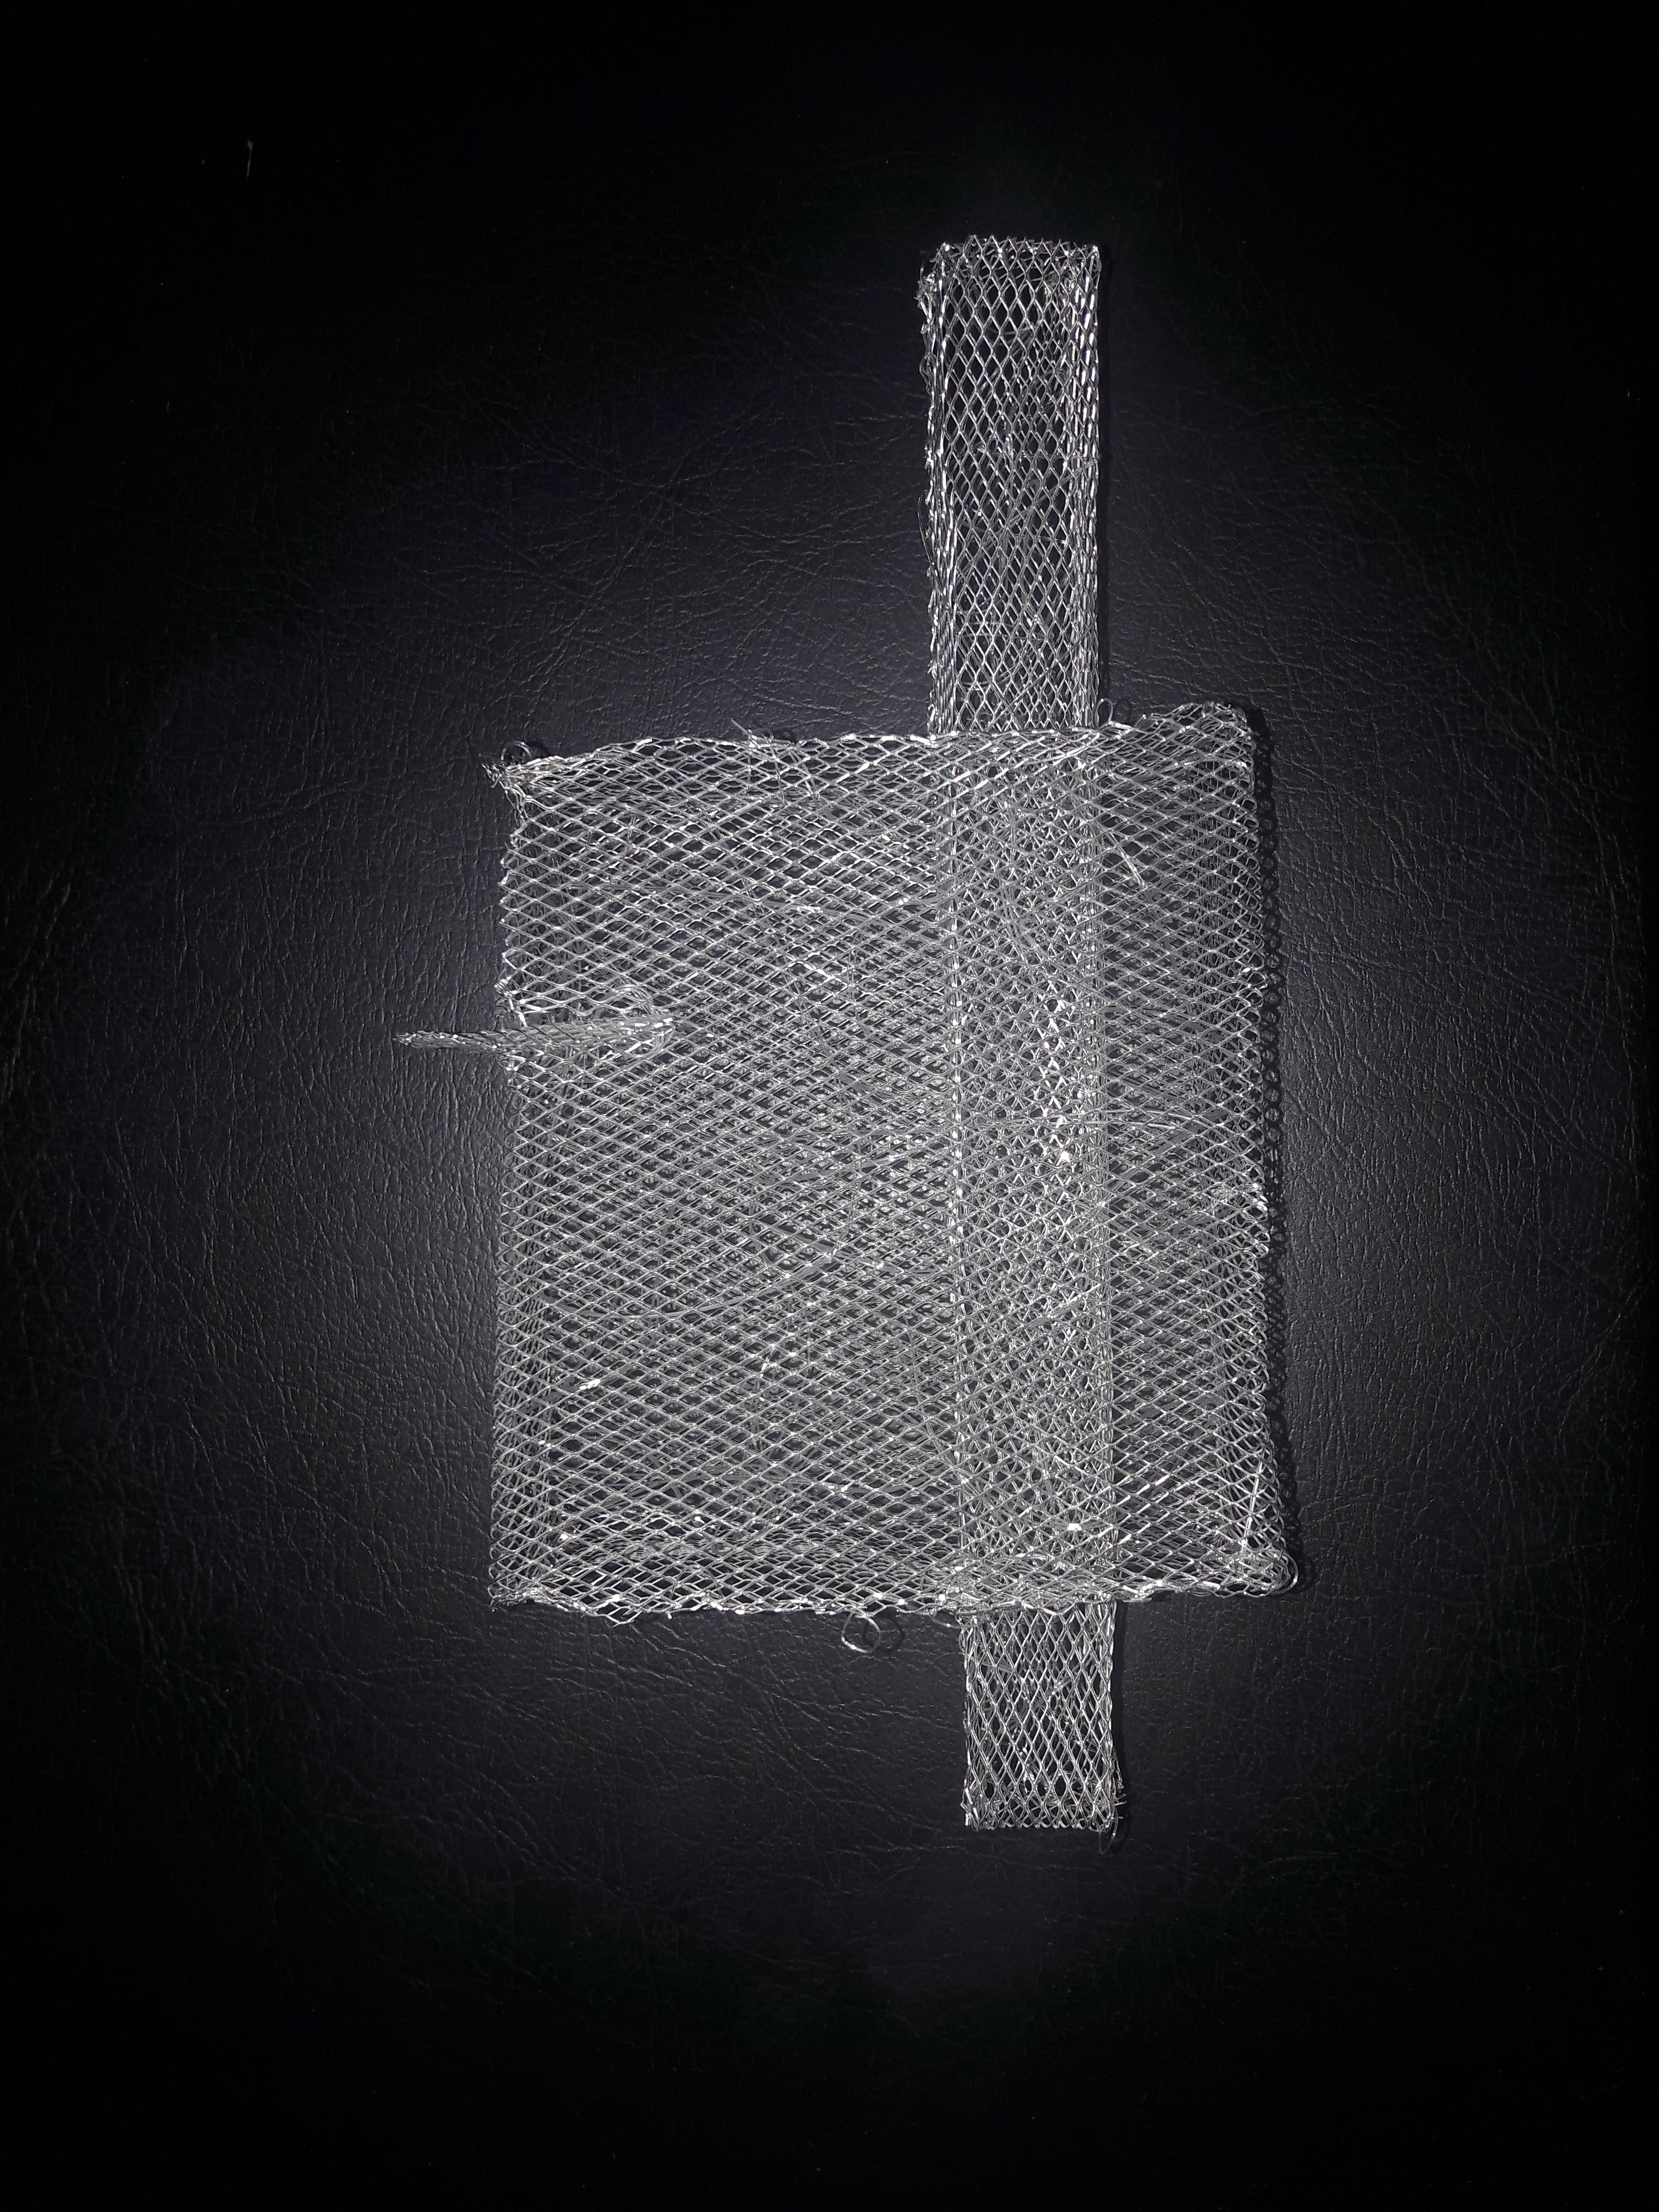
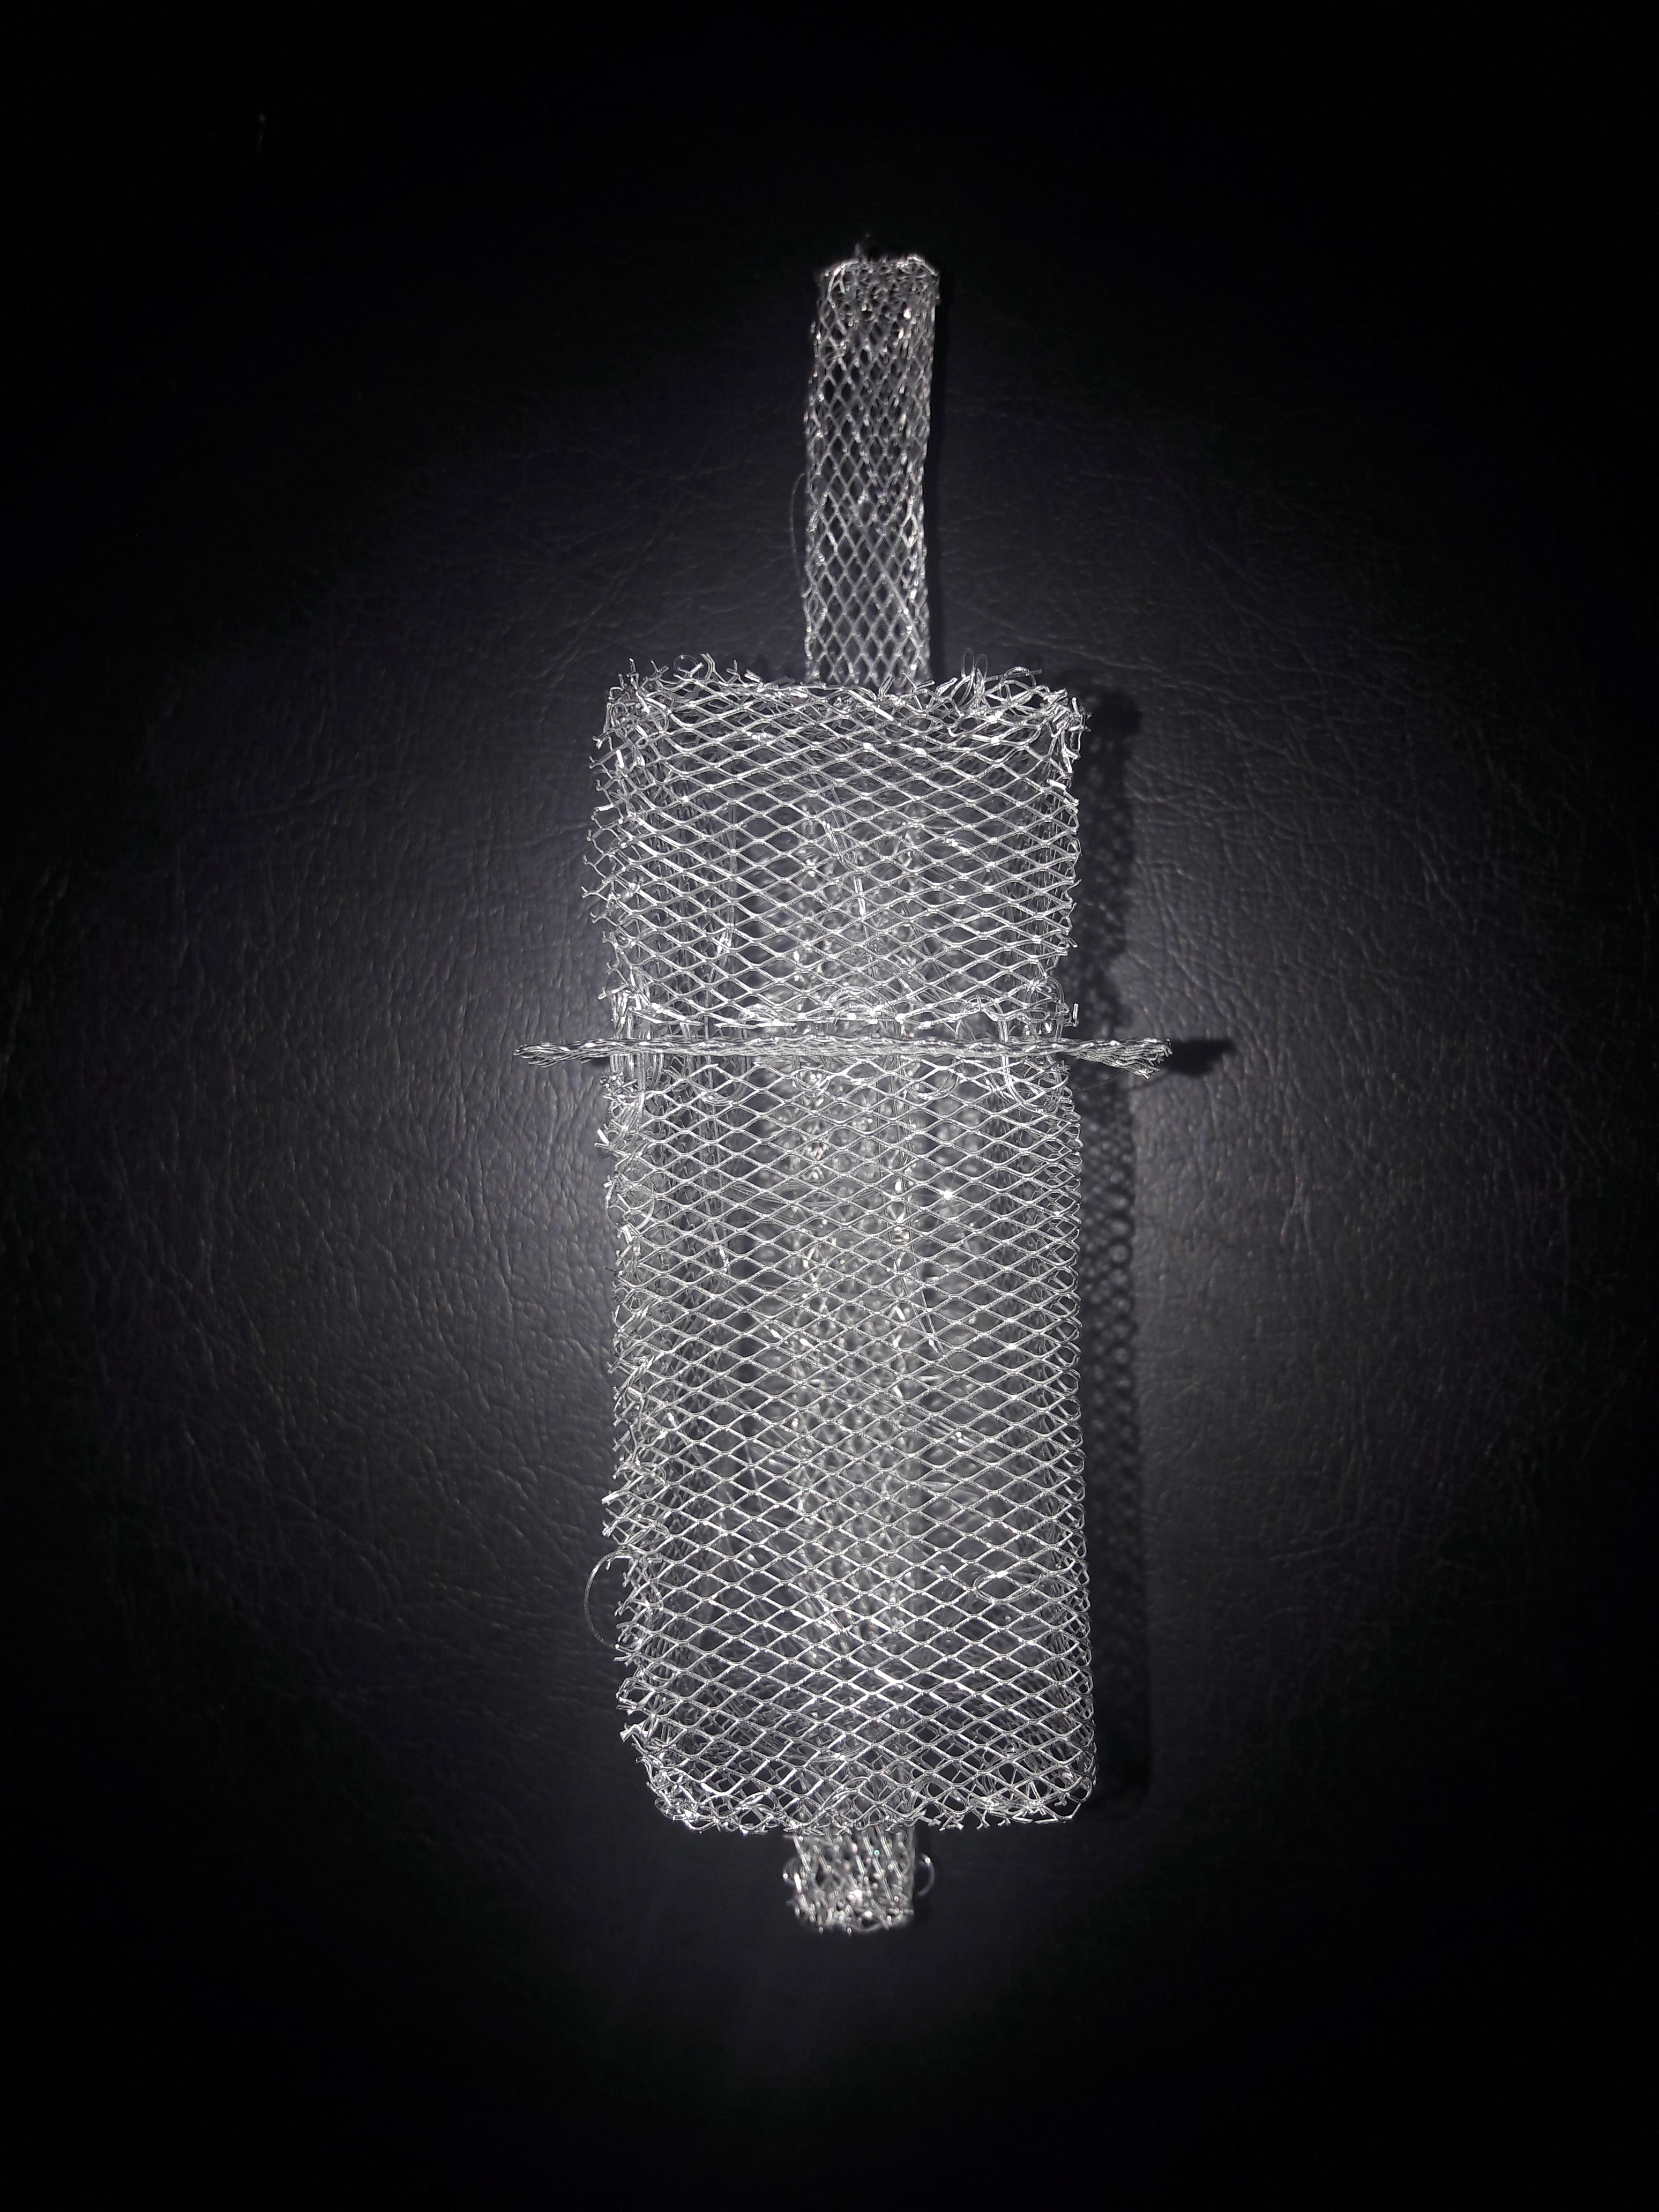
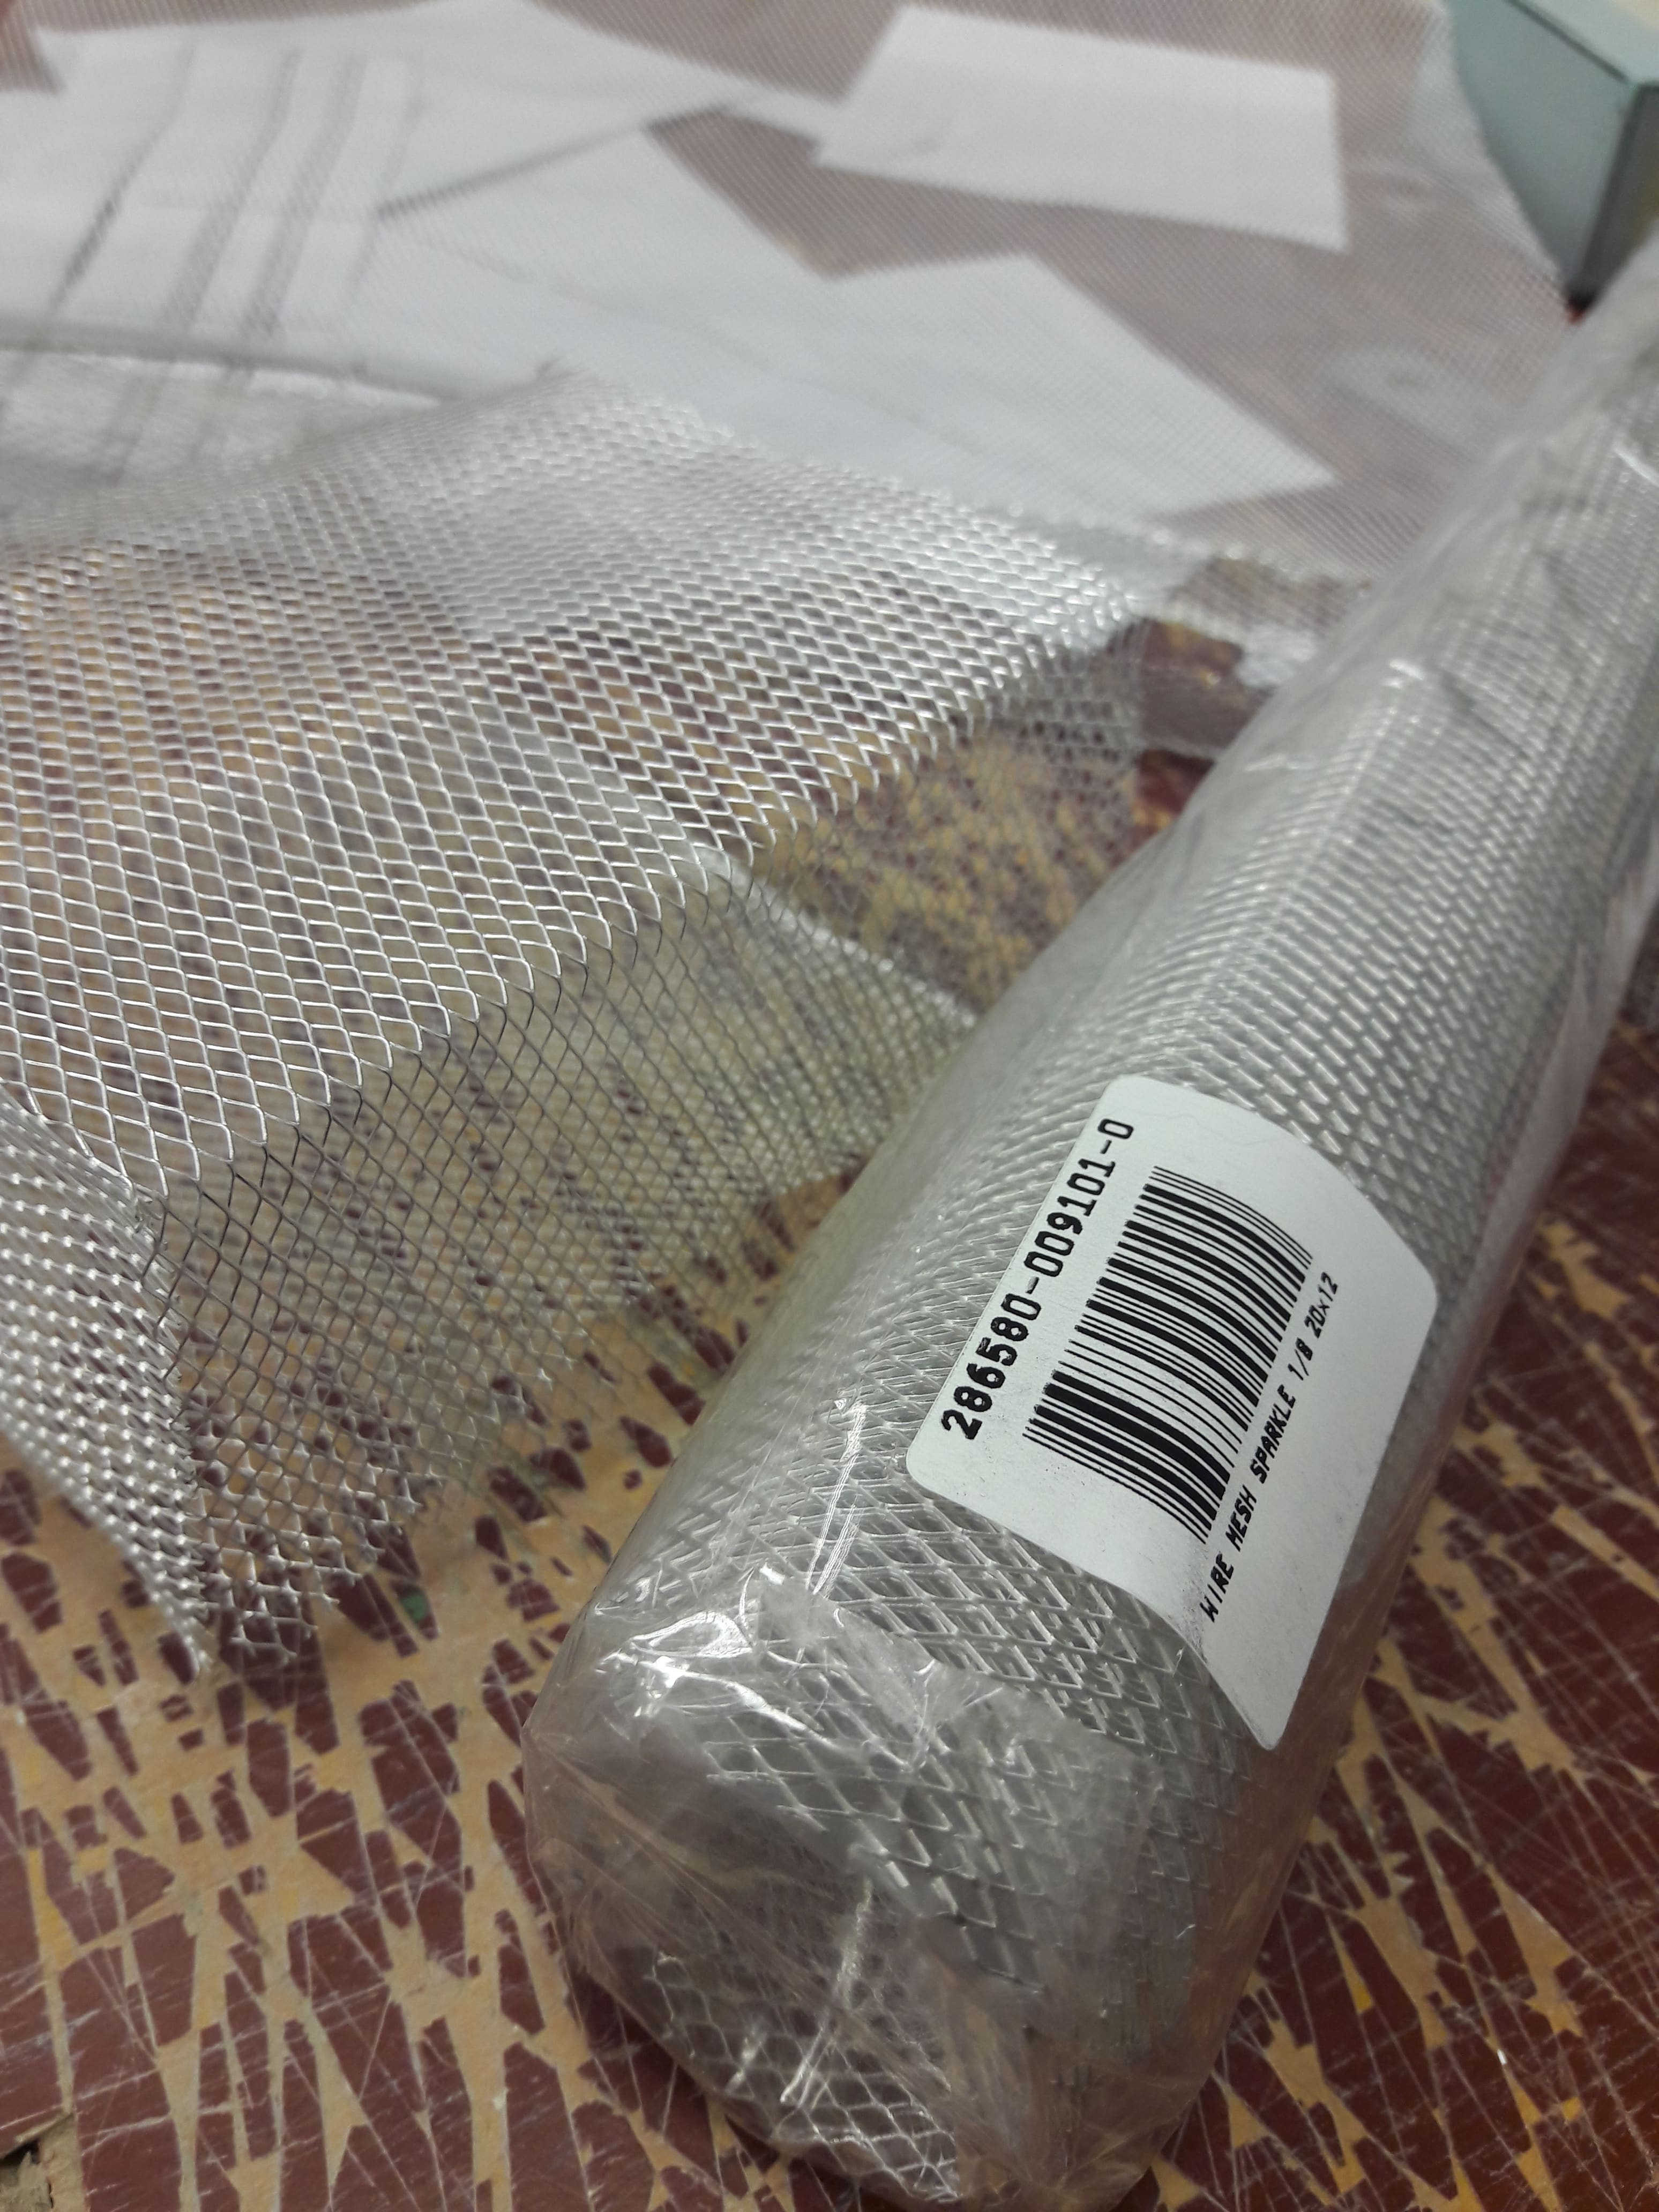
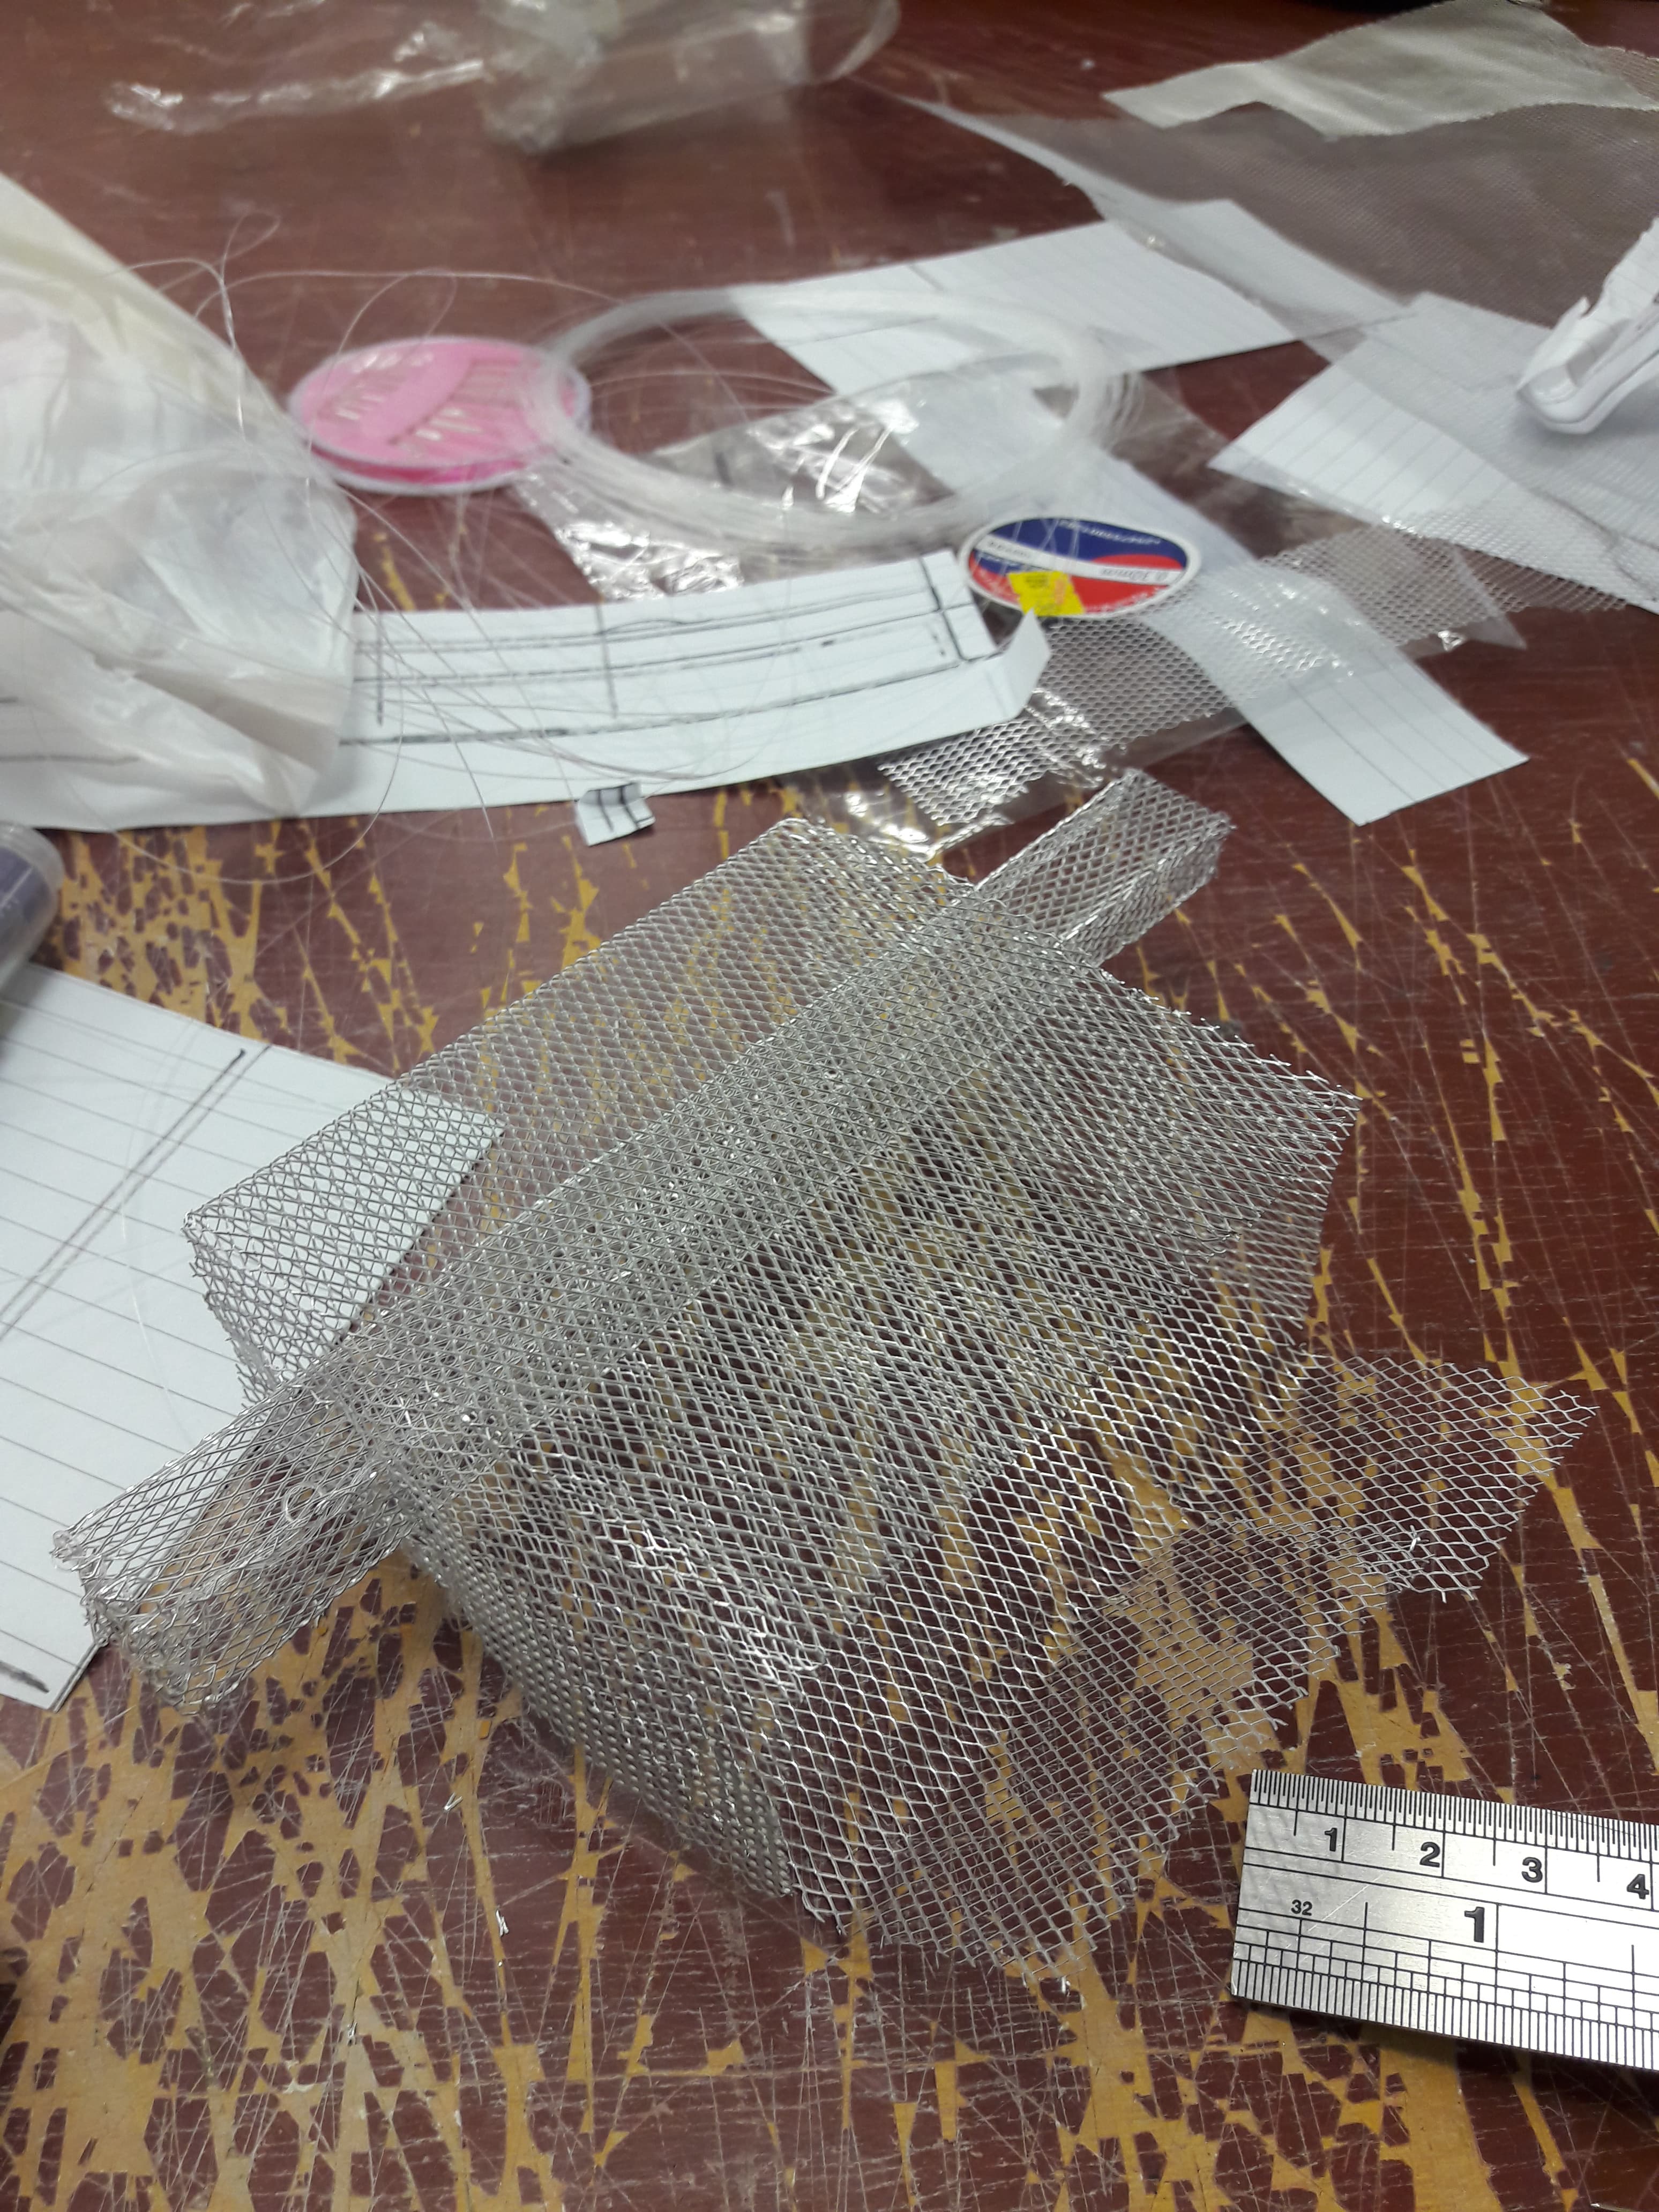
Material: Wire mesh and fishing line
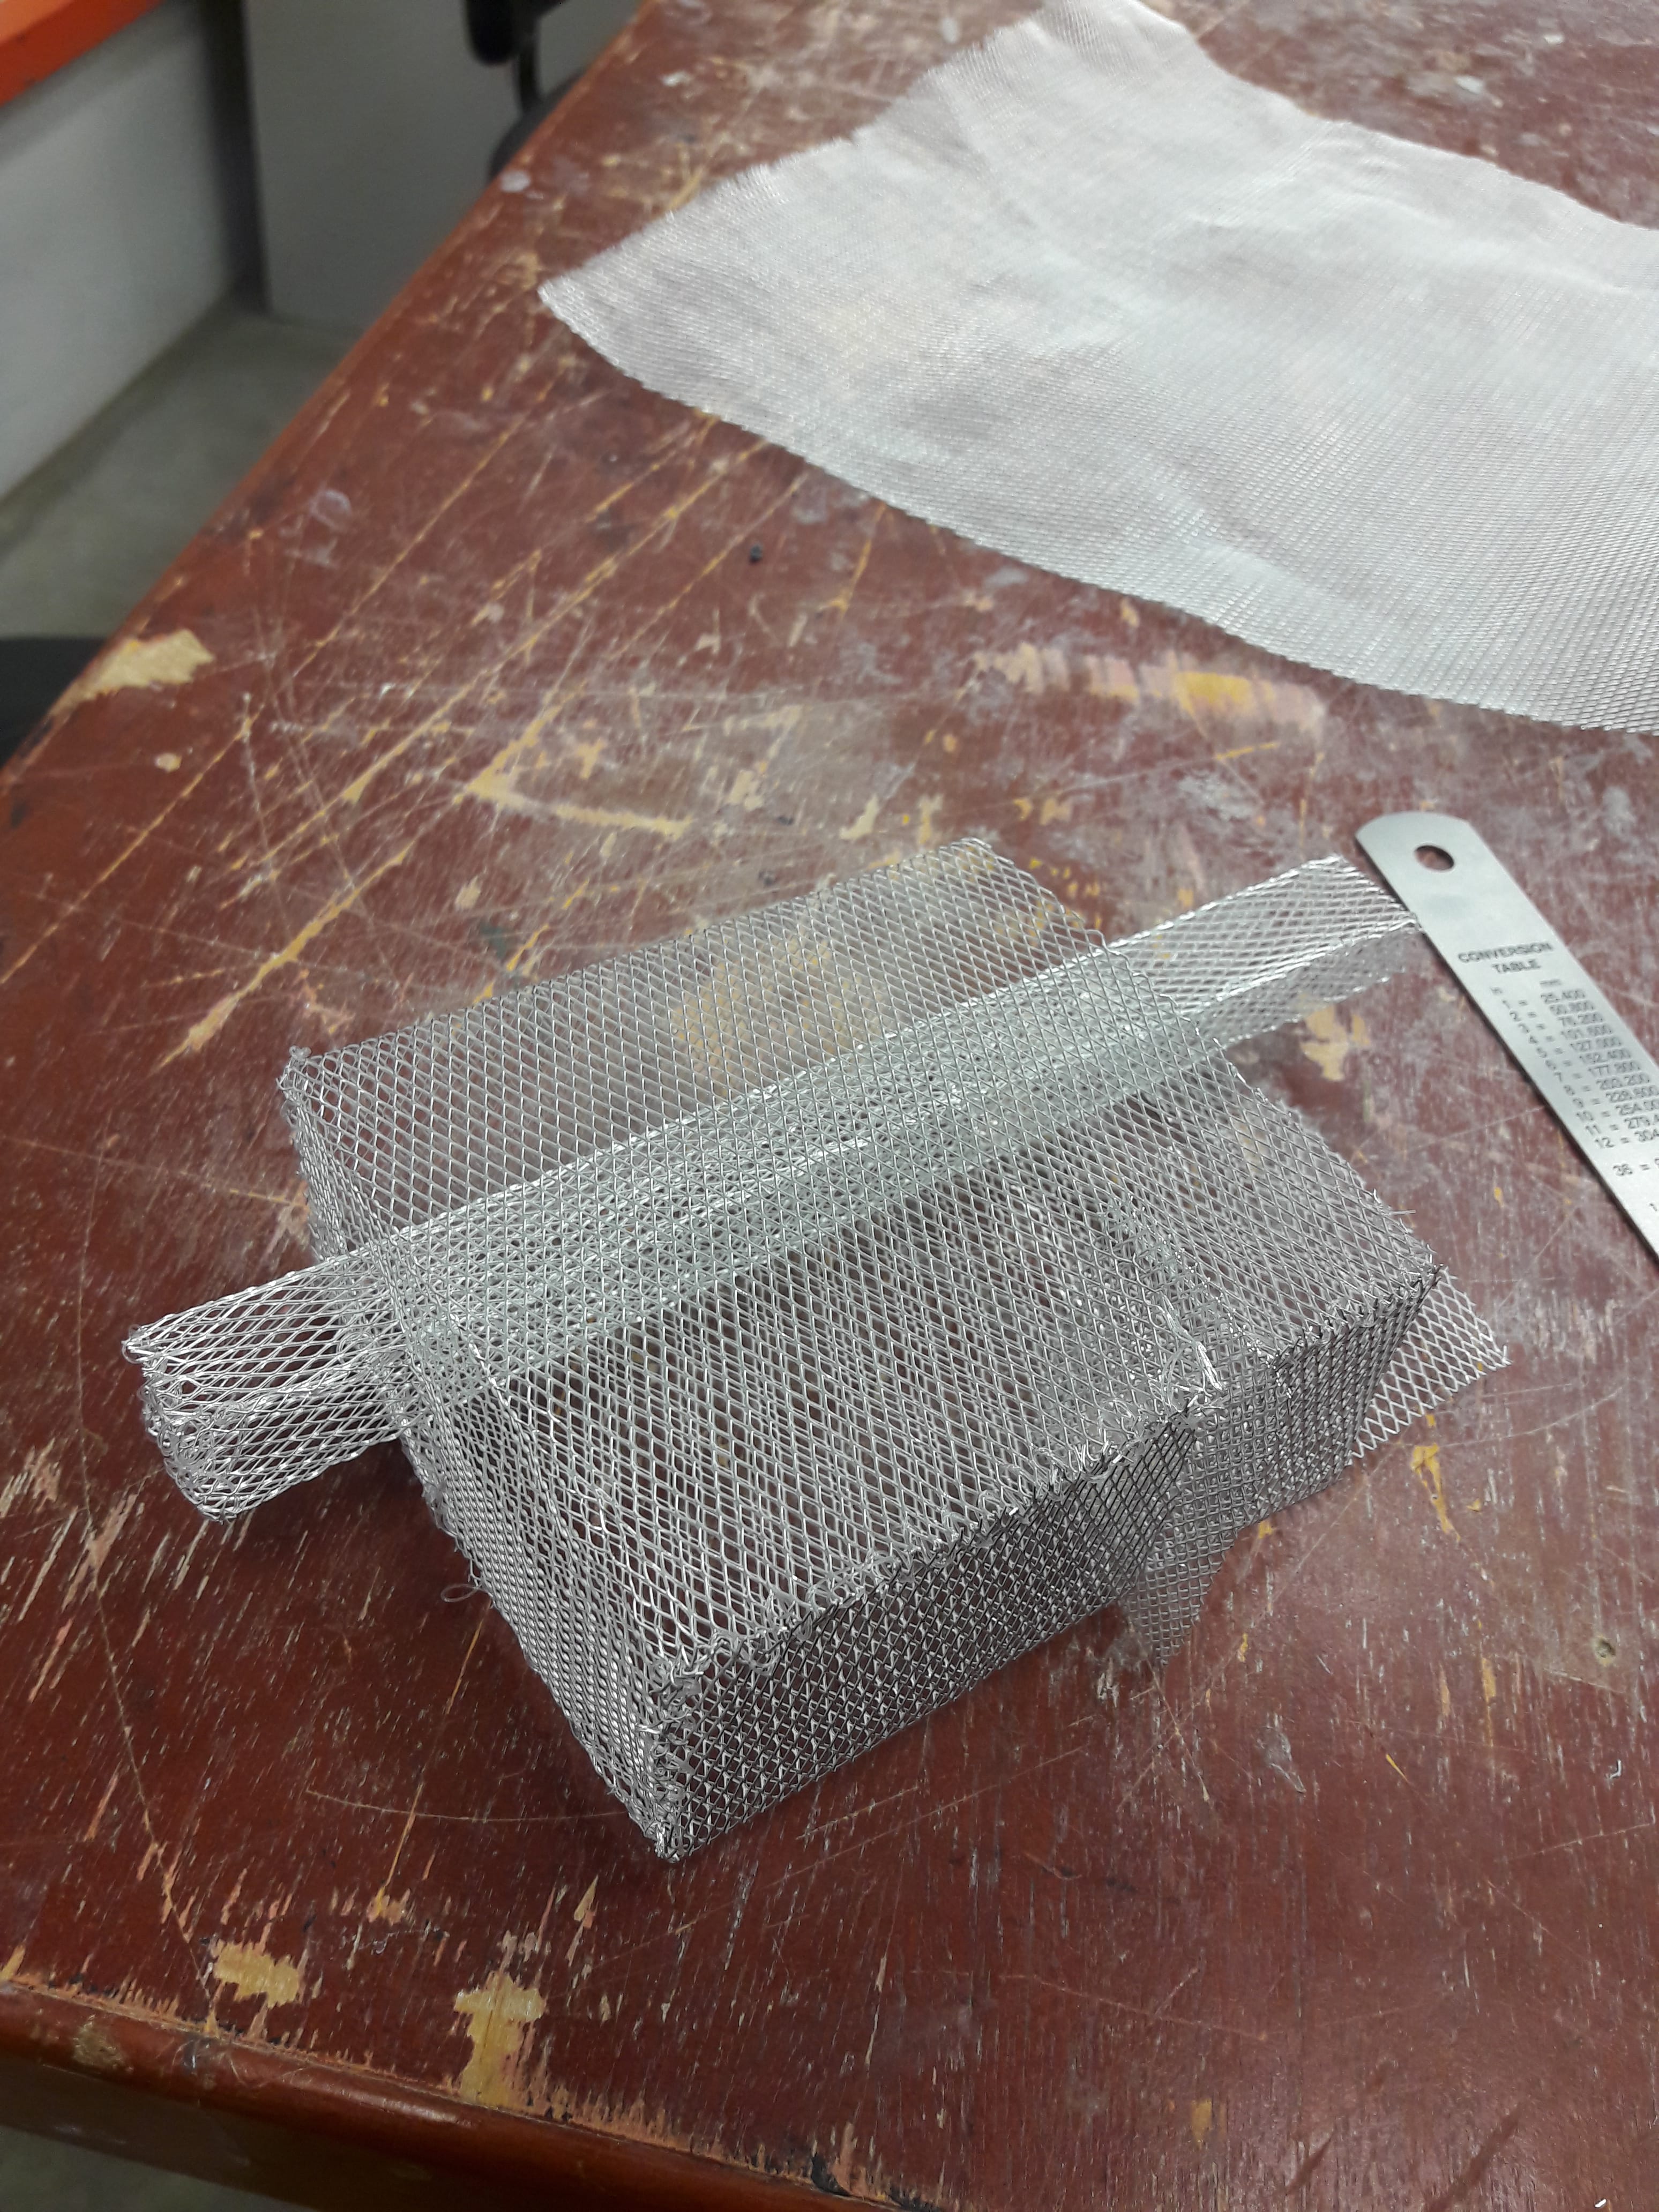
The overarching idea was that planes are just a unison of many lines. Hence, the idea was to use a “transparent” frame, to see inside where many lines cross each other randomly.
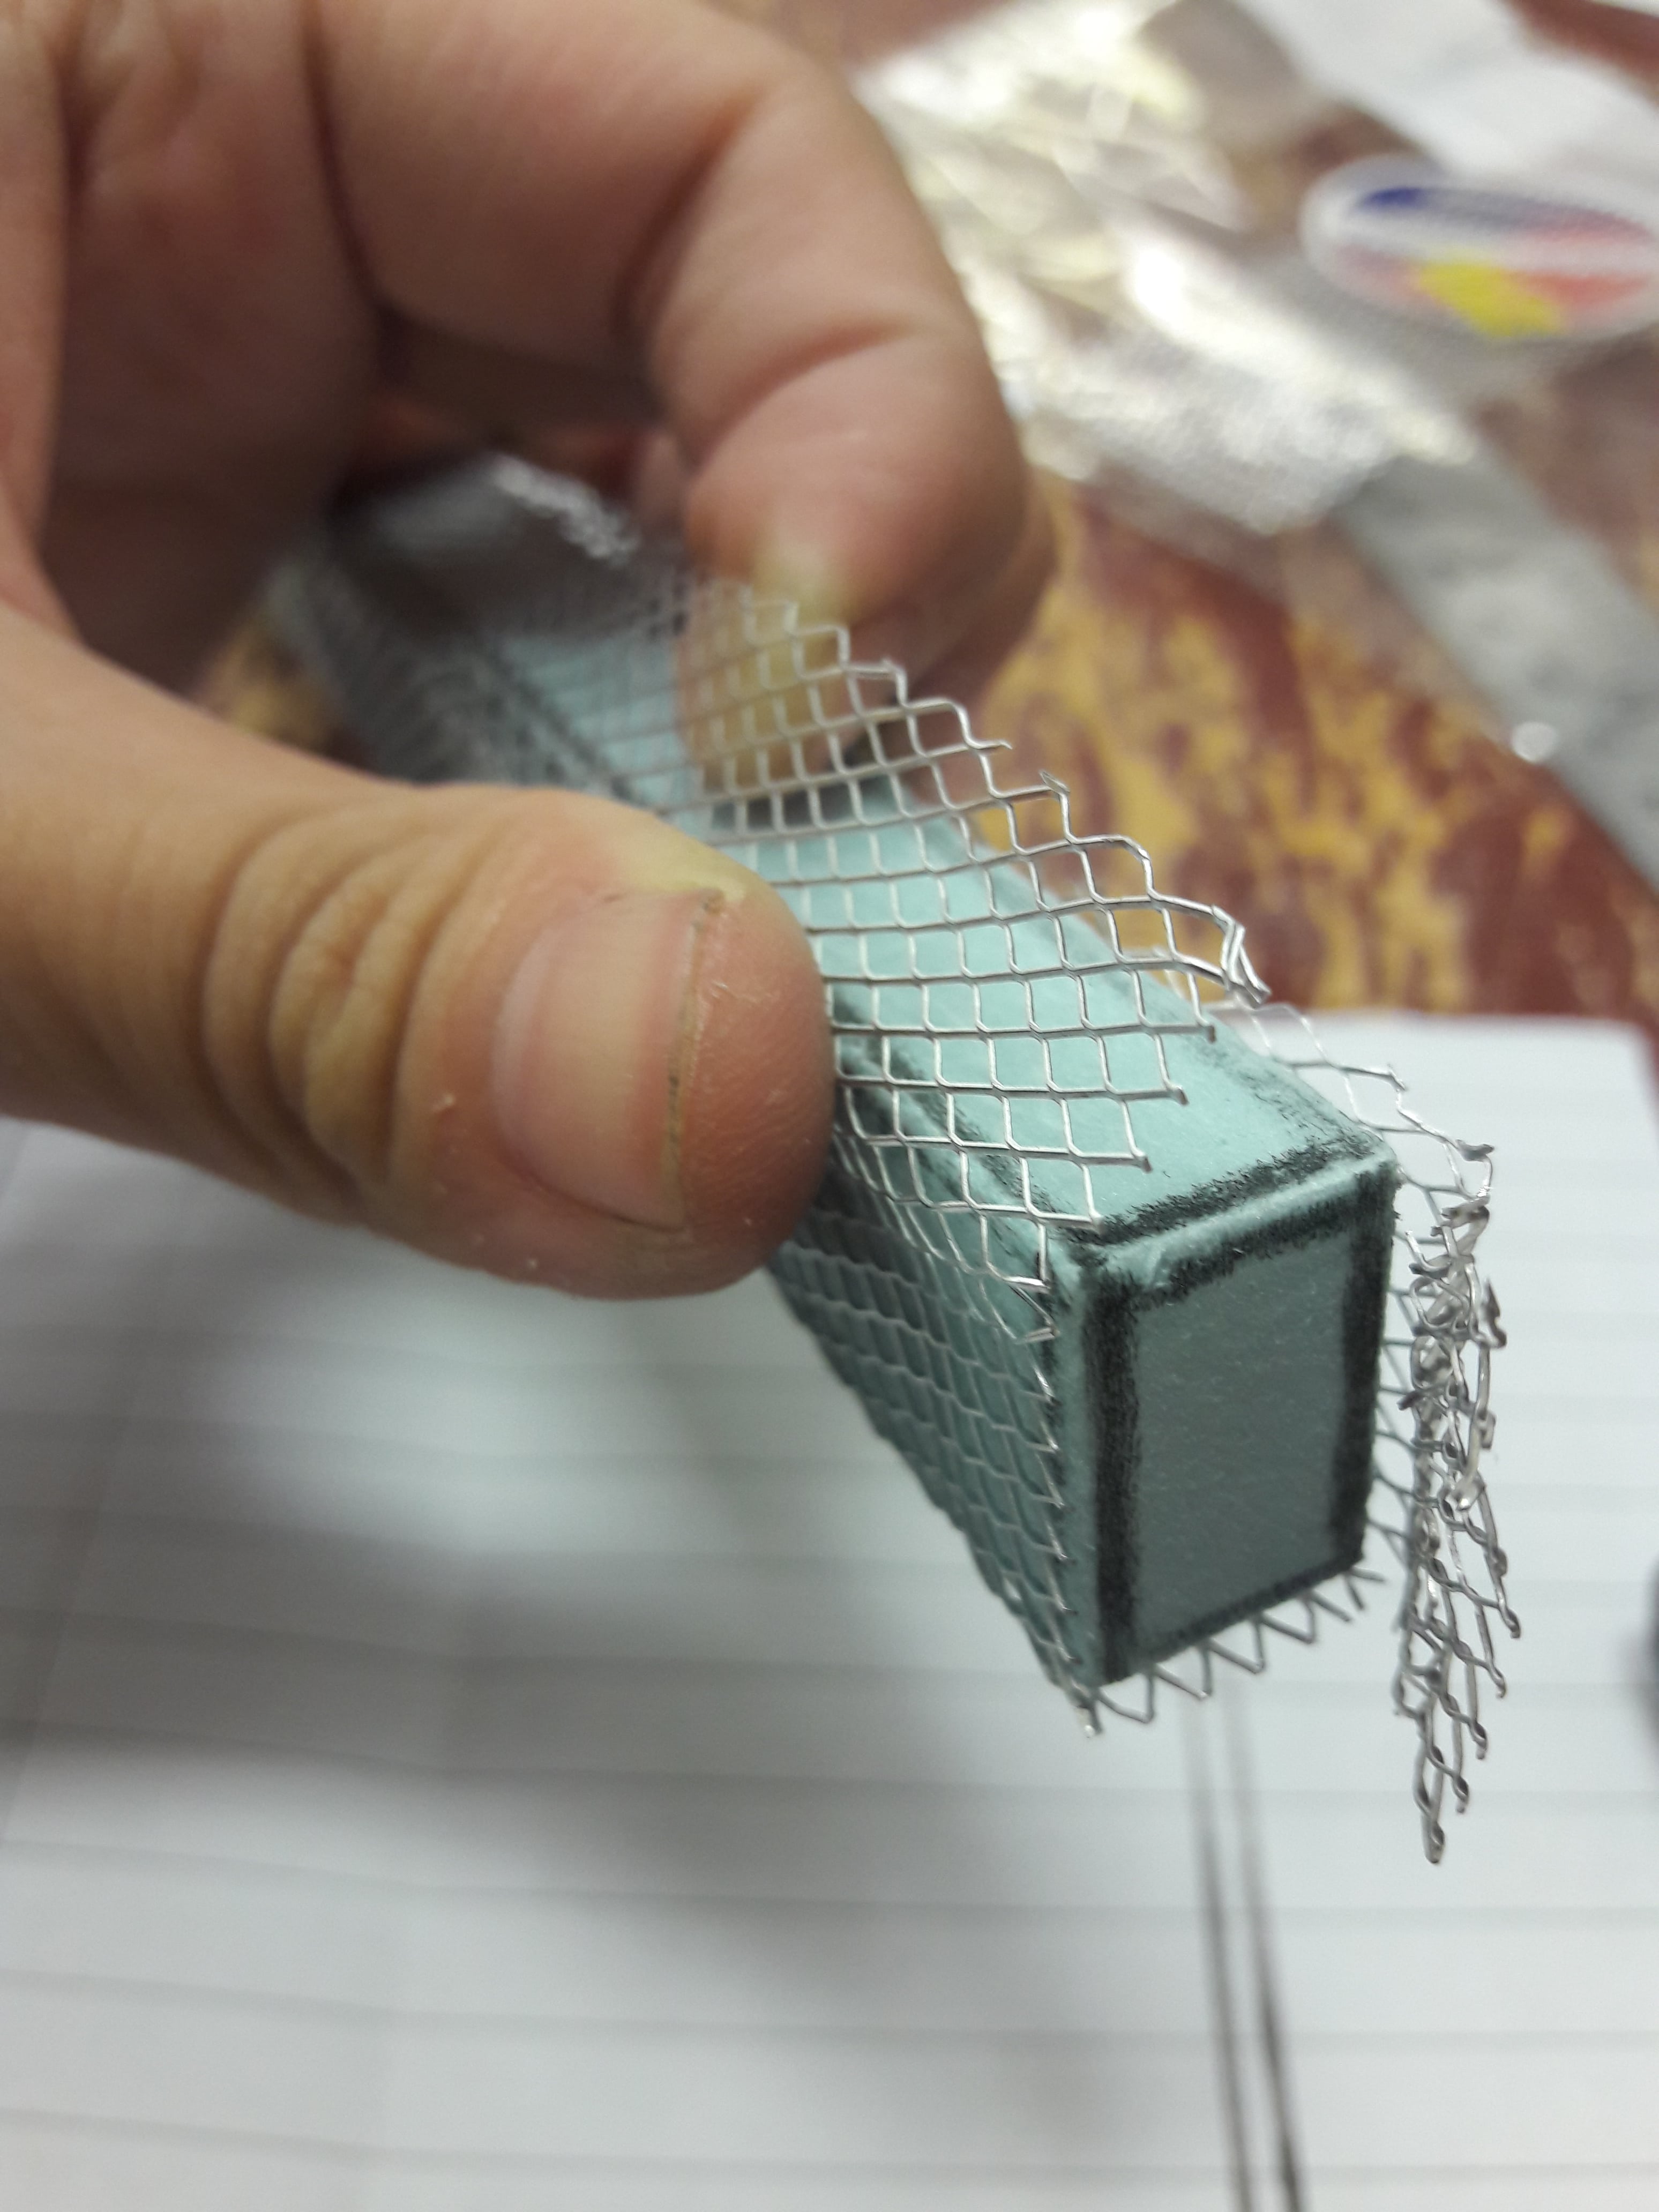
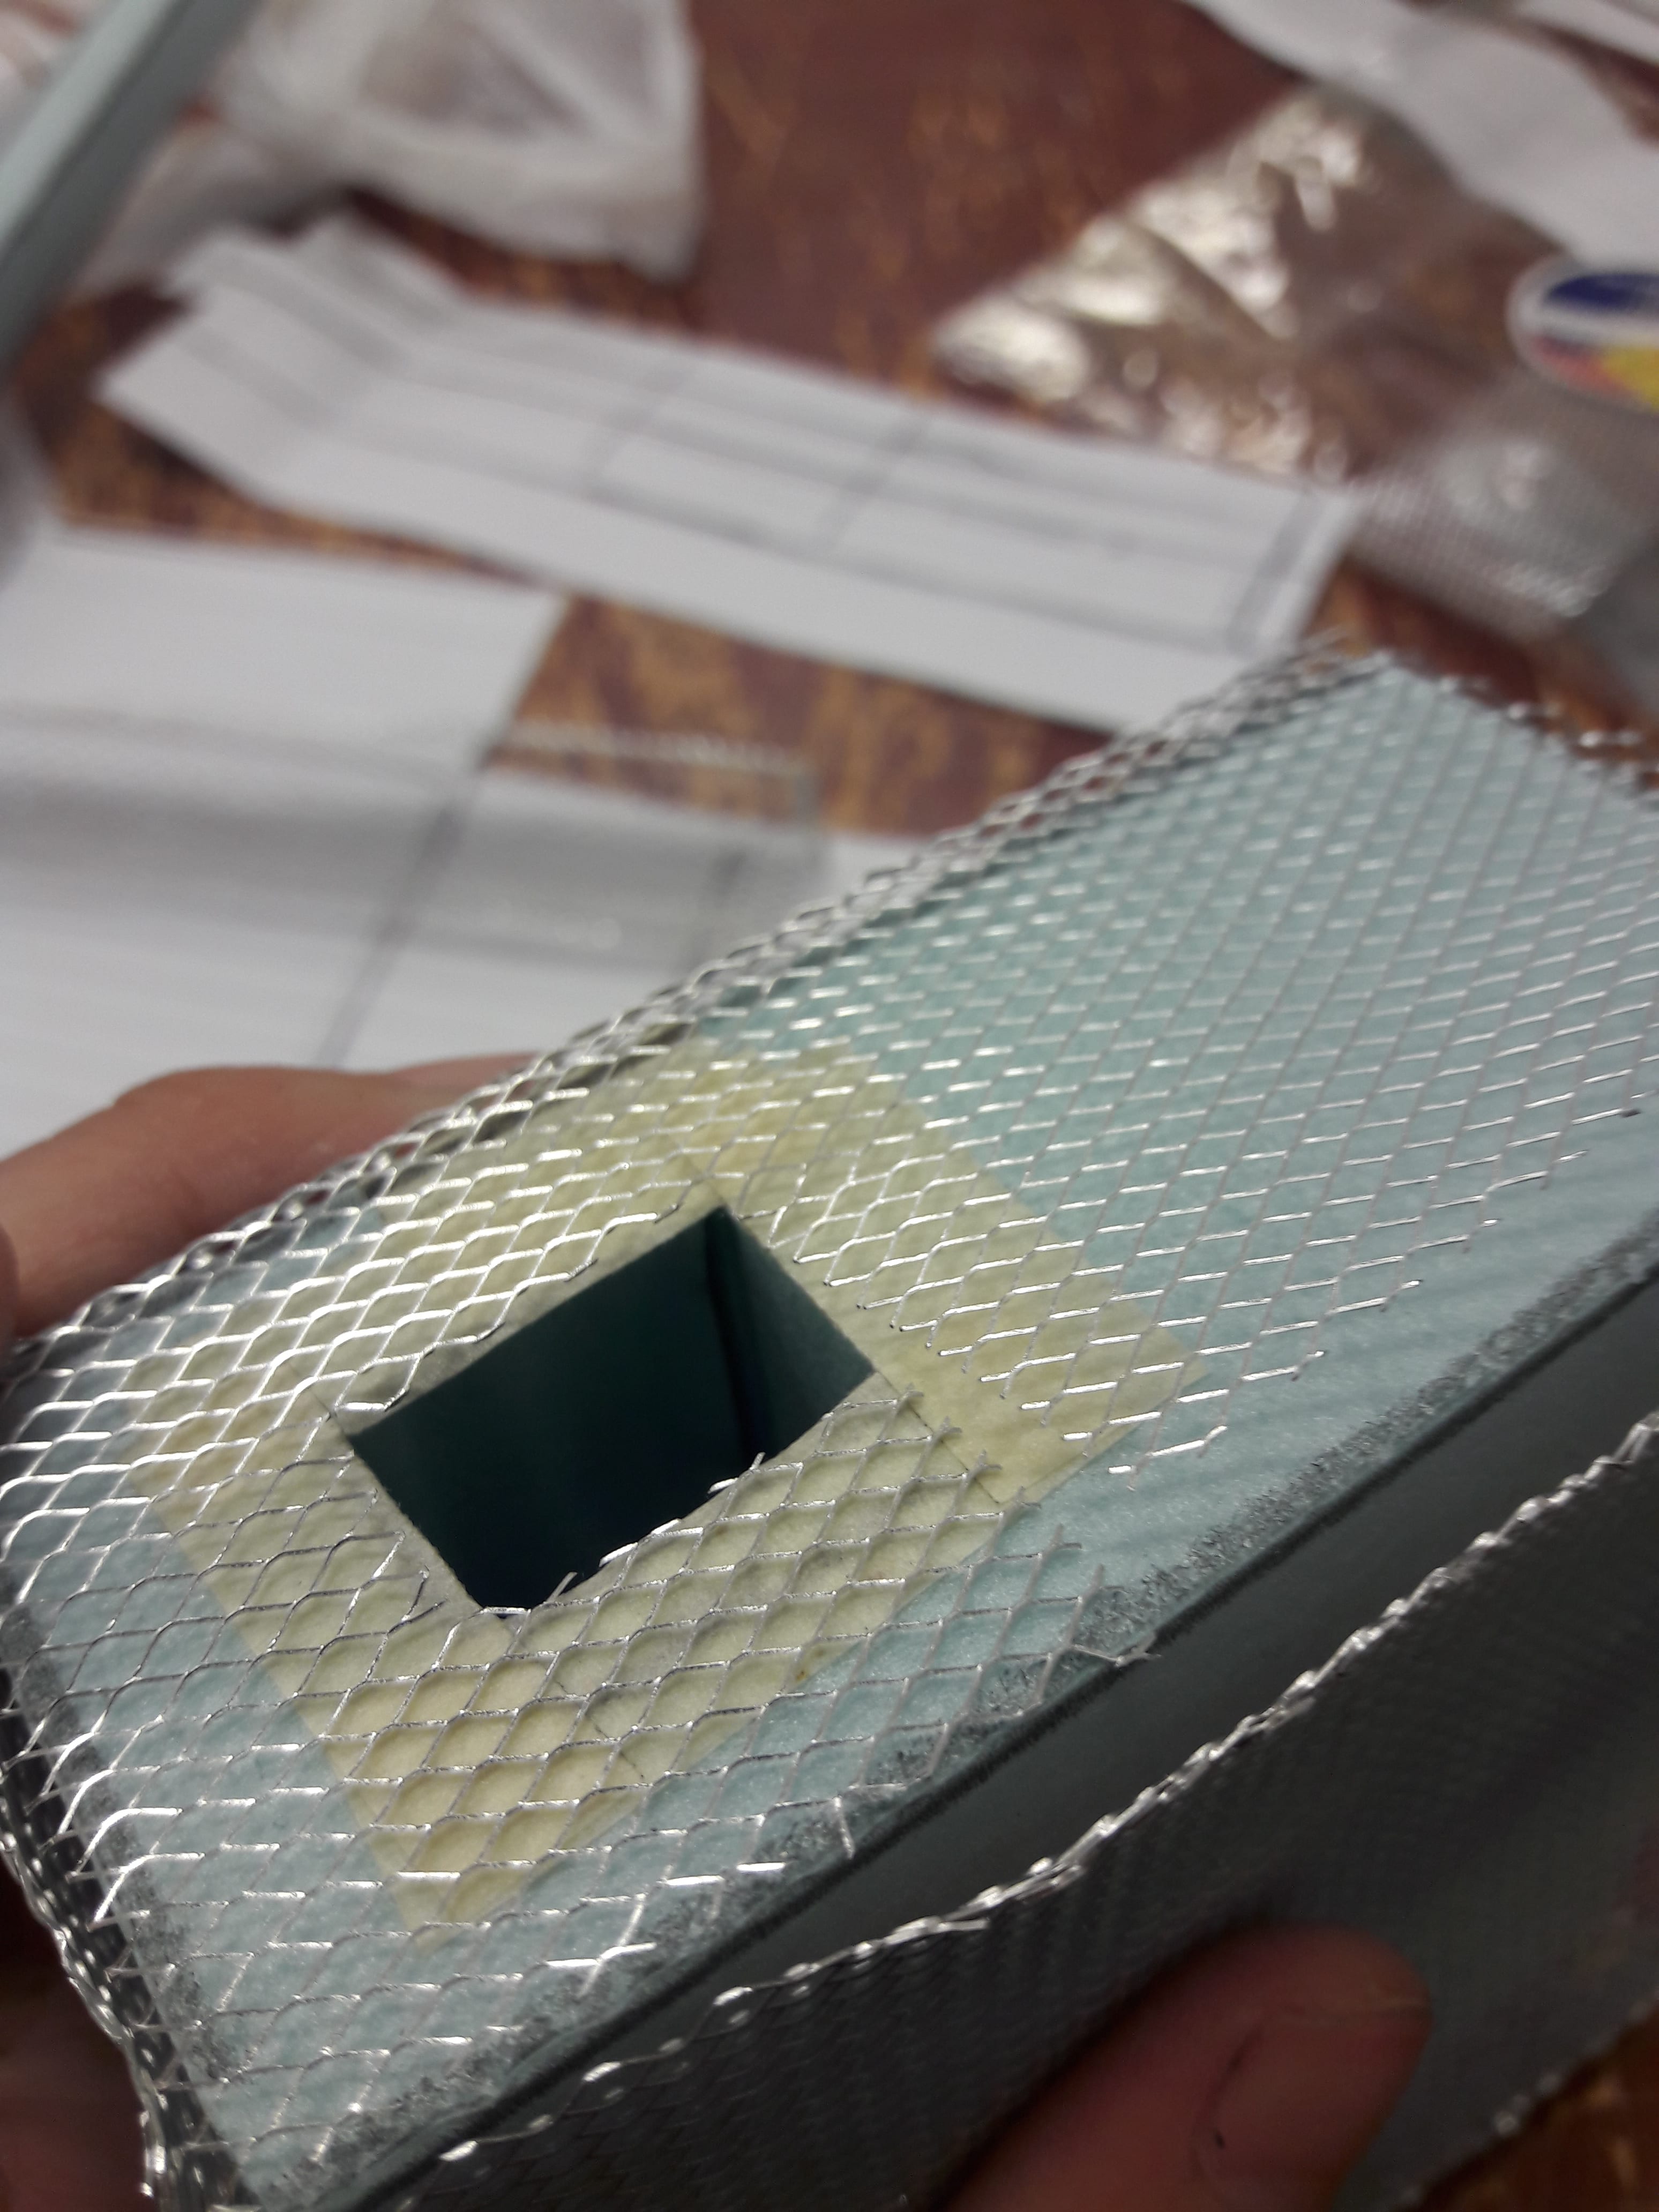
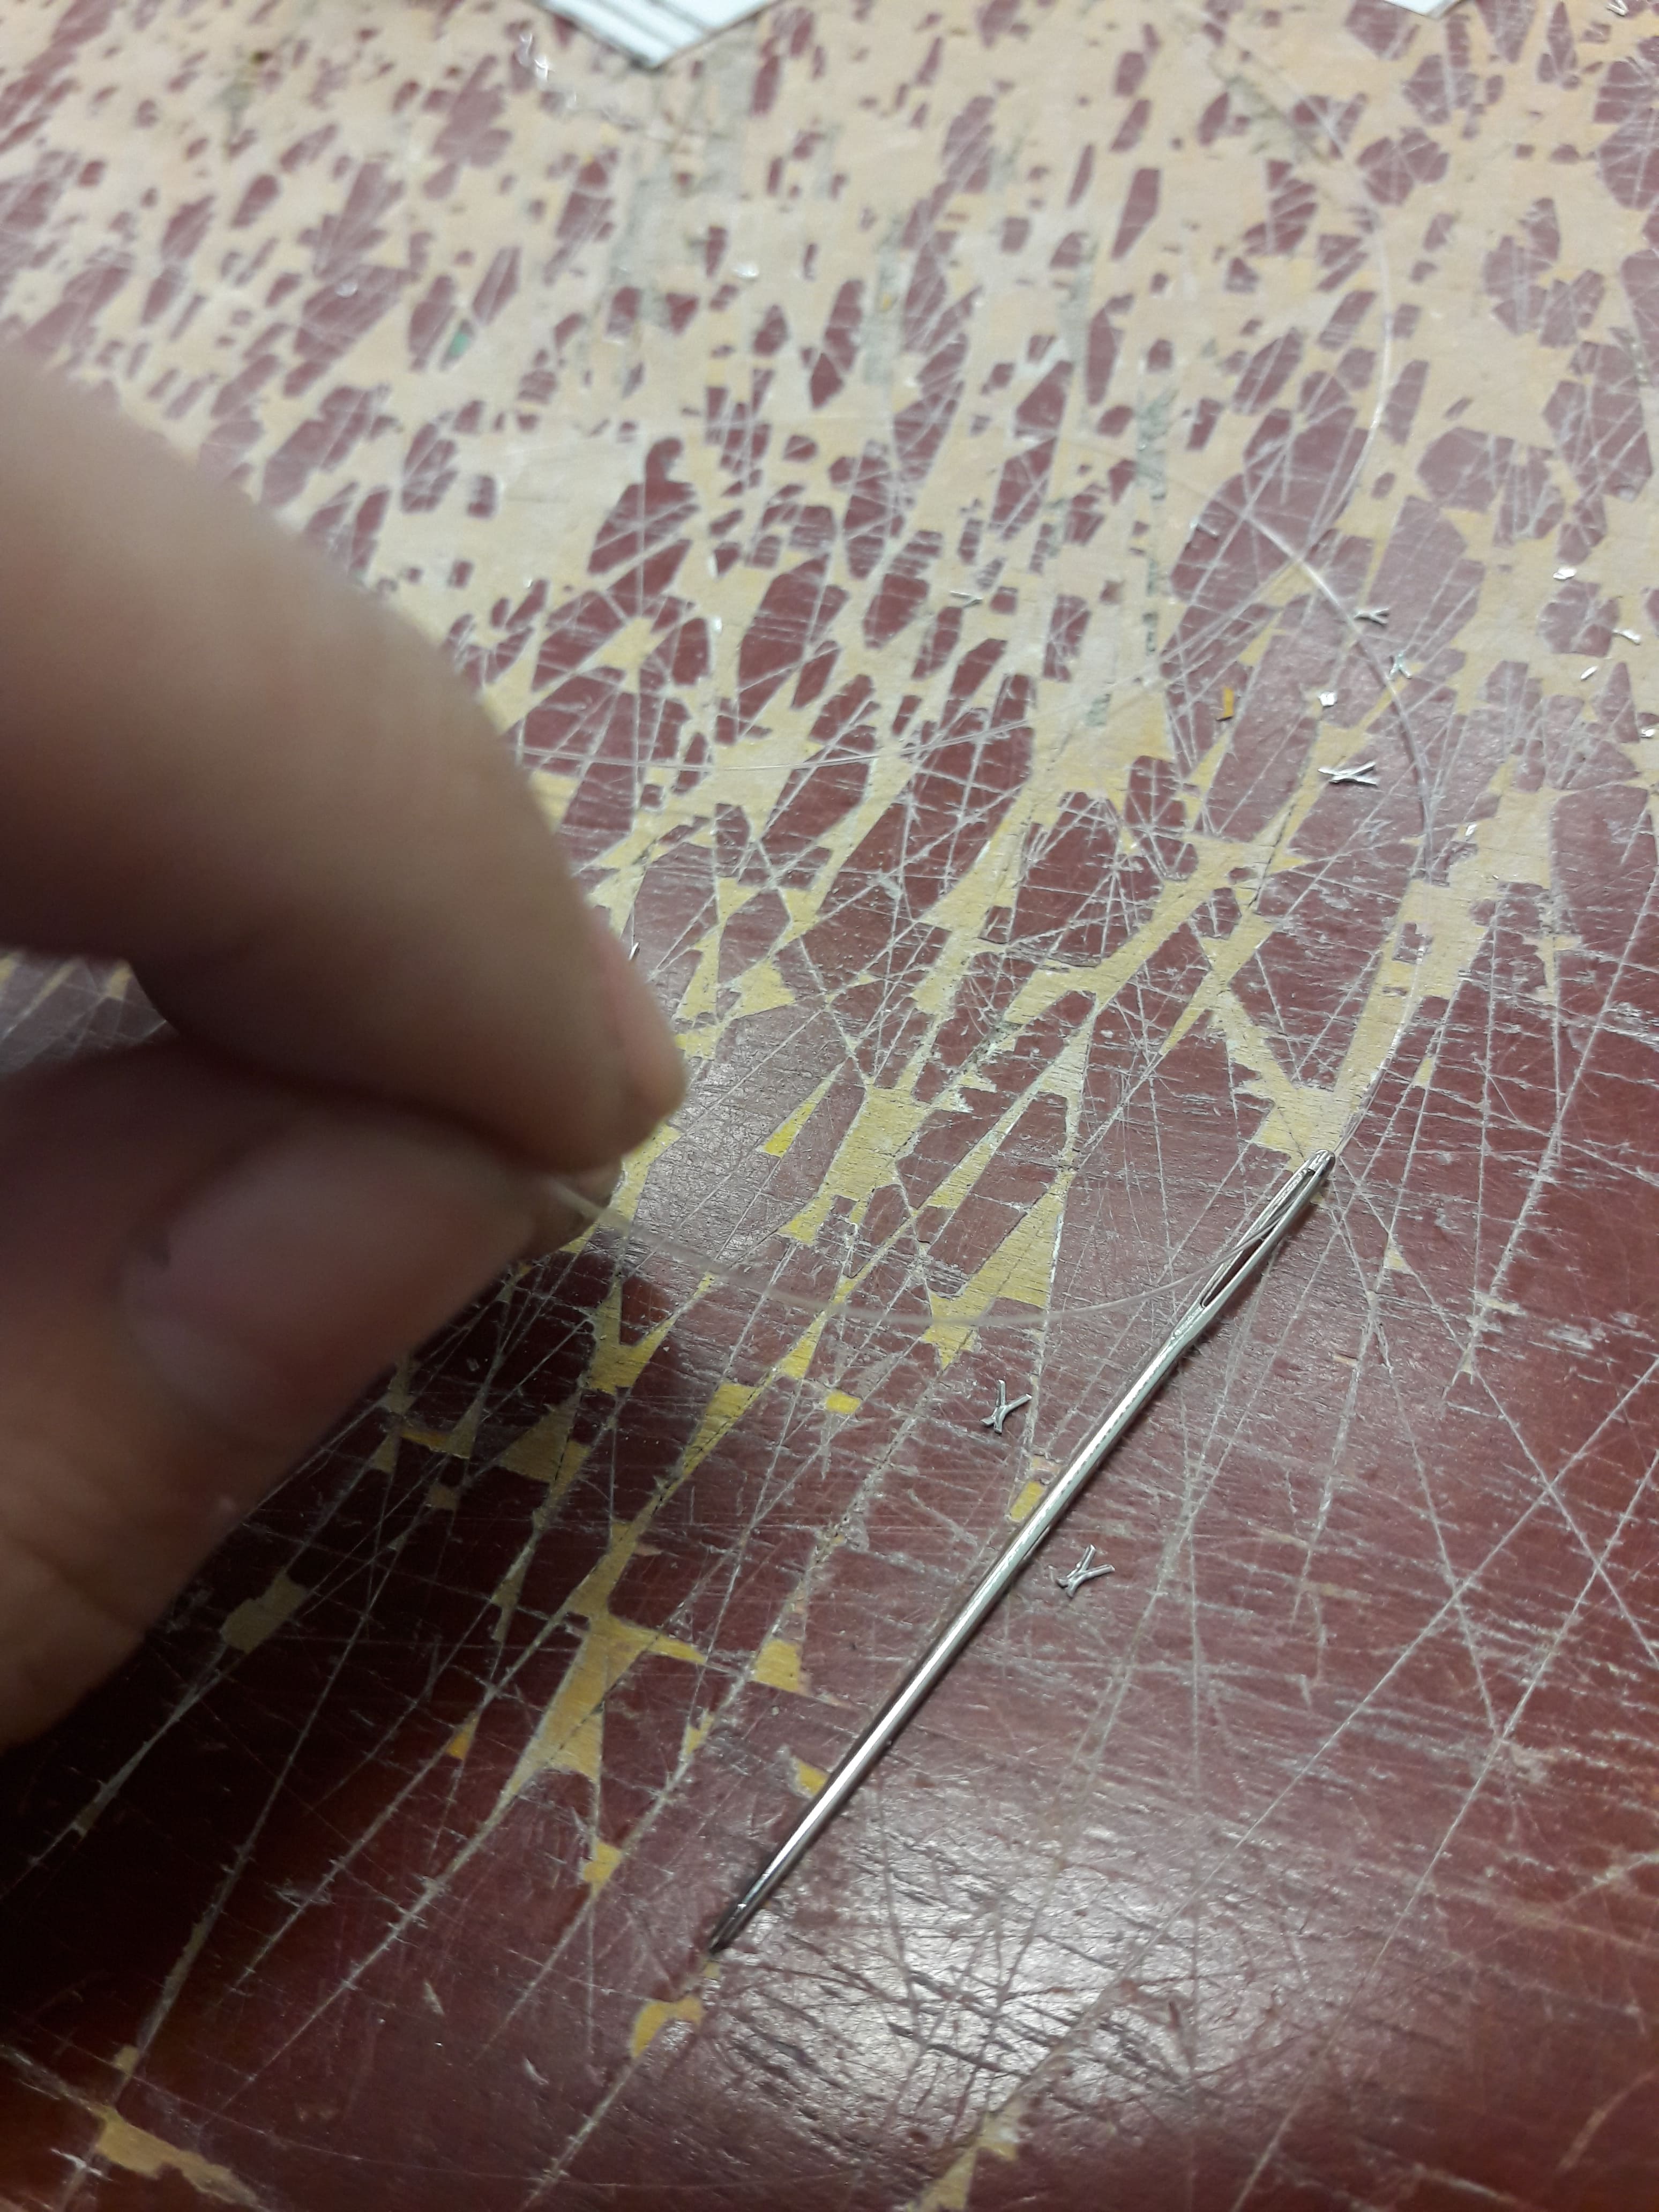
Wire mesh was chosen for the fact that it was the best material for providing anchors to the lines (through the holes), where I could make the lines out of fishing lines, sewn in with a needle, while still vaguely giving that sense of lack of mass. I also used the same material because I personally feel that, more than being separate axes, all 3 axes are fundamentally the same (especially in that X, Y and Z are interchangeable terms.)
Fishing line, joining all of them together, was meant to re-emphasise that unity, while having the fishing line somewhat not visible as well to add to the lack of mass.
(Will update later when I have access to my journal, 3 pages on the step-by-step process of making with wire mesh) Written step-by-step process. I used an embroidery needle specifically for the length, relative thickness and hole size.
(Will update later when I have access to my journal, a page on contemplations of techniques to get what I want with acrylic) I also considered acrylic, which would have fulfilled the transparency criteria much better, but mostly discarded that idea by virtue of that I couldn’t think of a time and cost-efficient way to use acrylic, especially since I have zero knowledge of it as a material. At least wire mesh was malleable. And had in-built, evenly spread and decently-sized holes.
Possible Usages
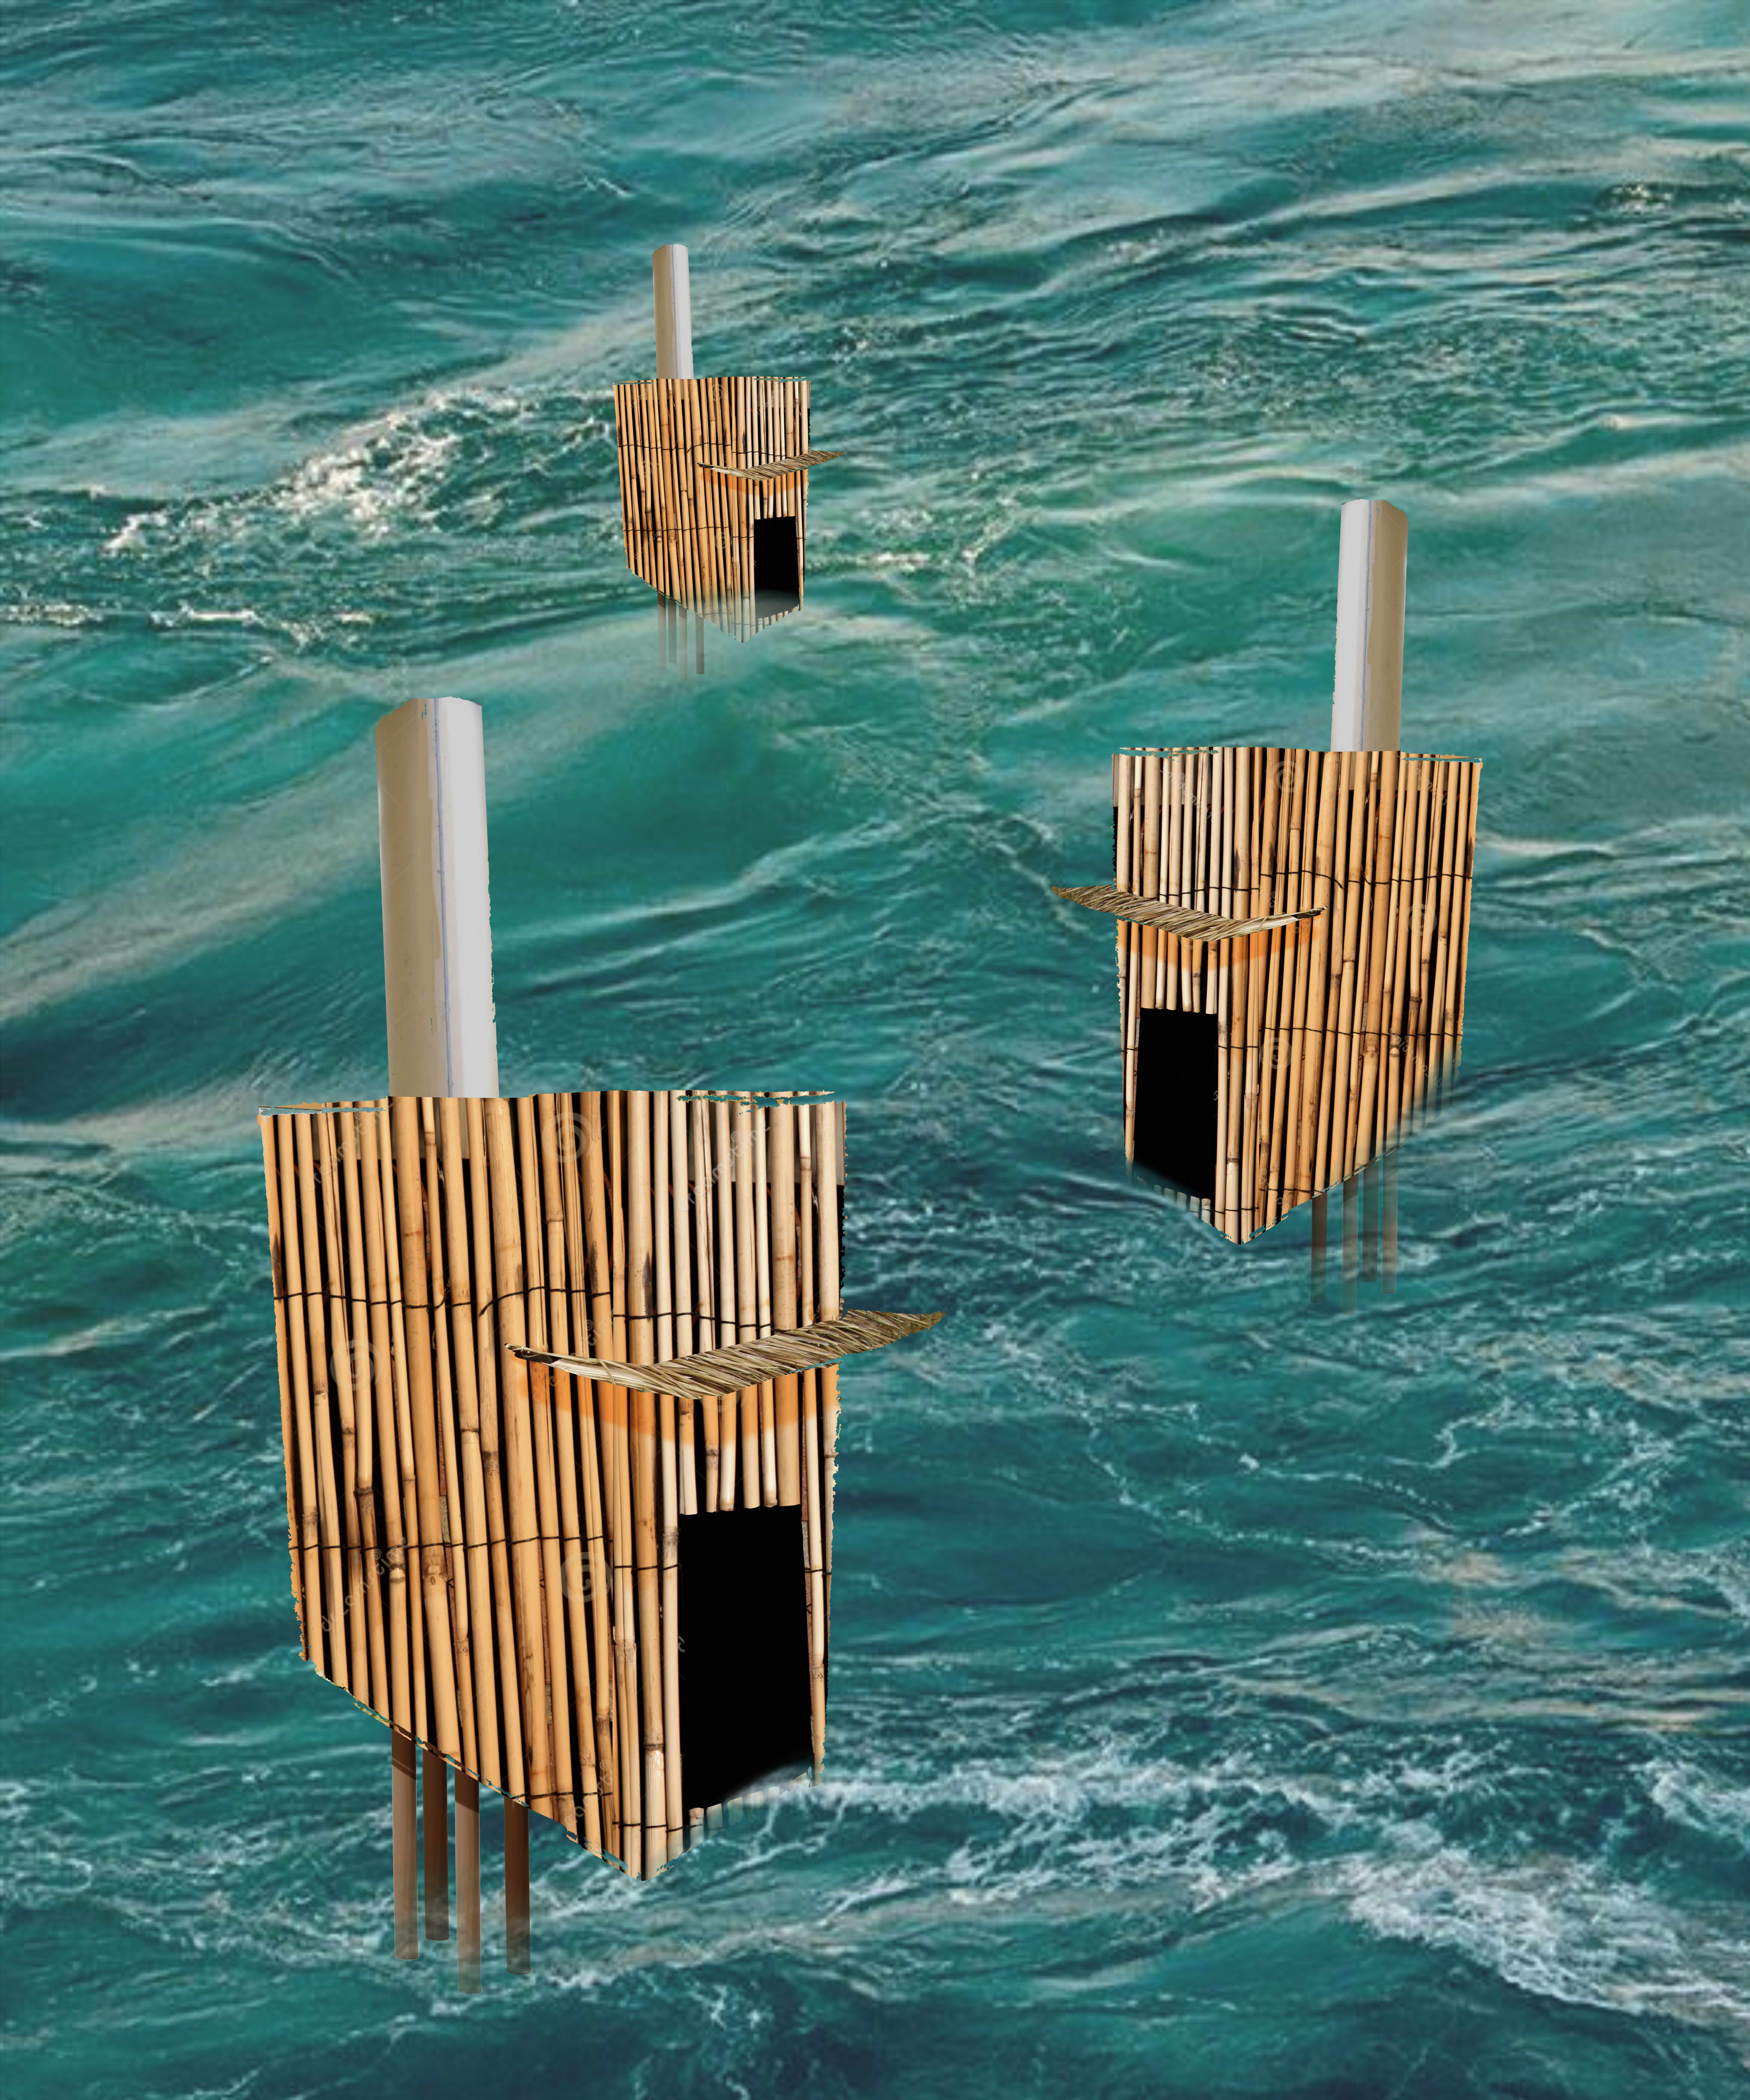
- Stilt house: Bamboo house with nipa doorstep-roof, a chimney-thing, and hardwood stilts (may come with windows, drive-through windows, etc)
 |
 |
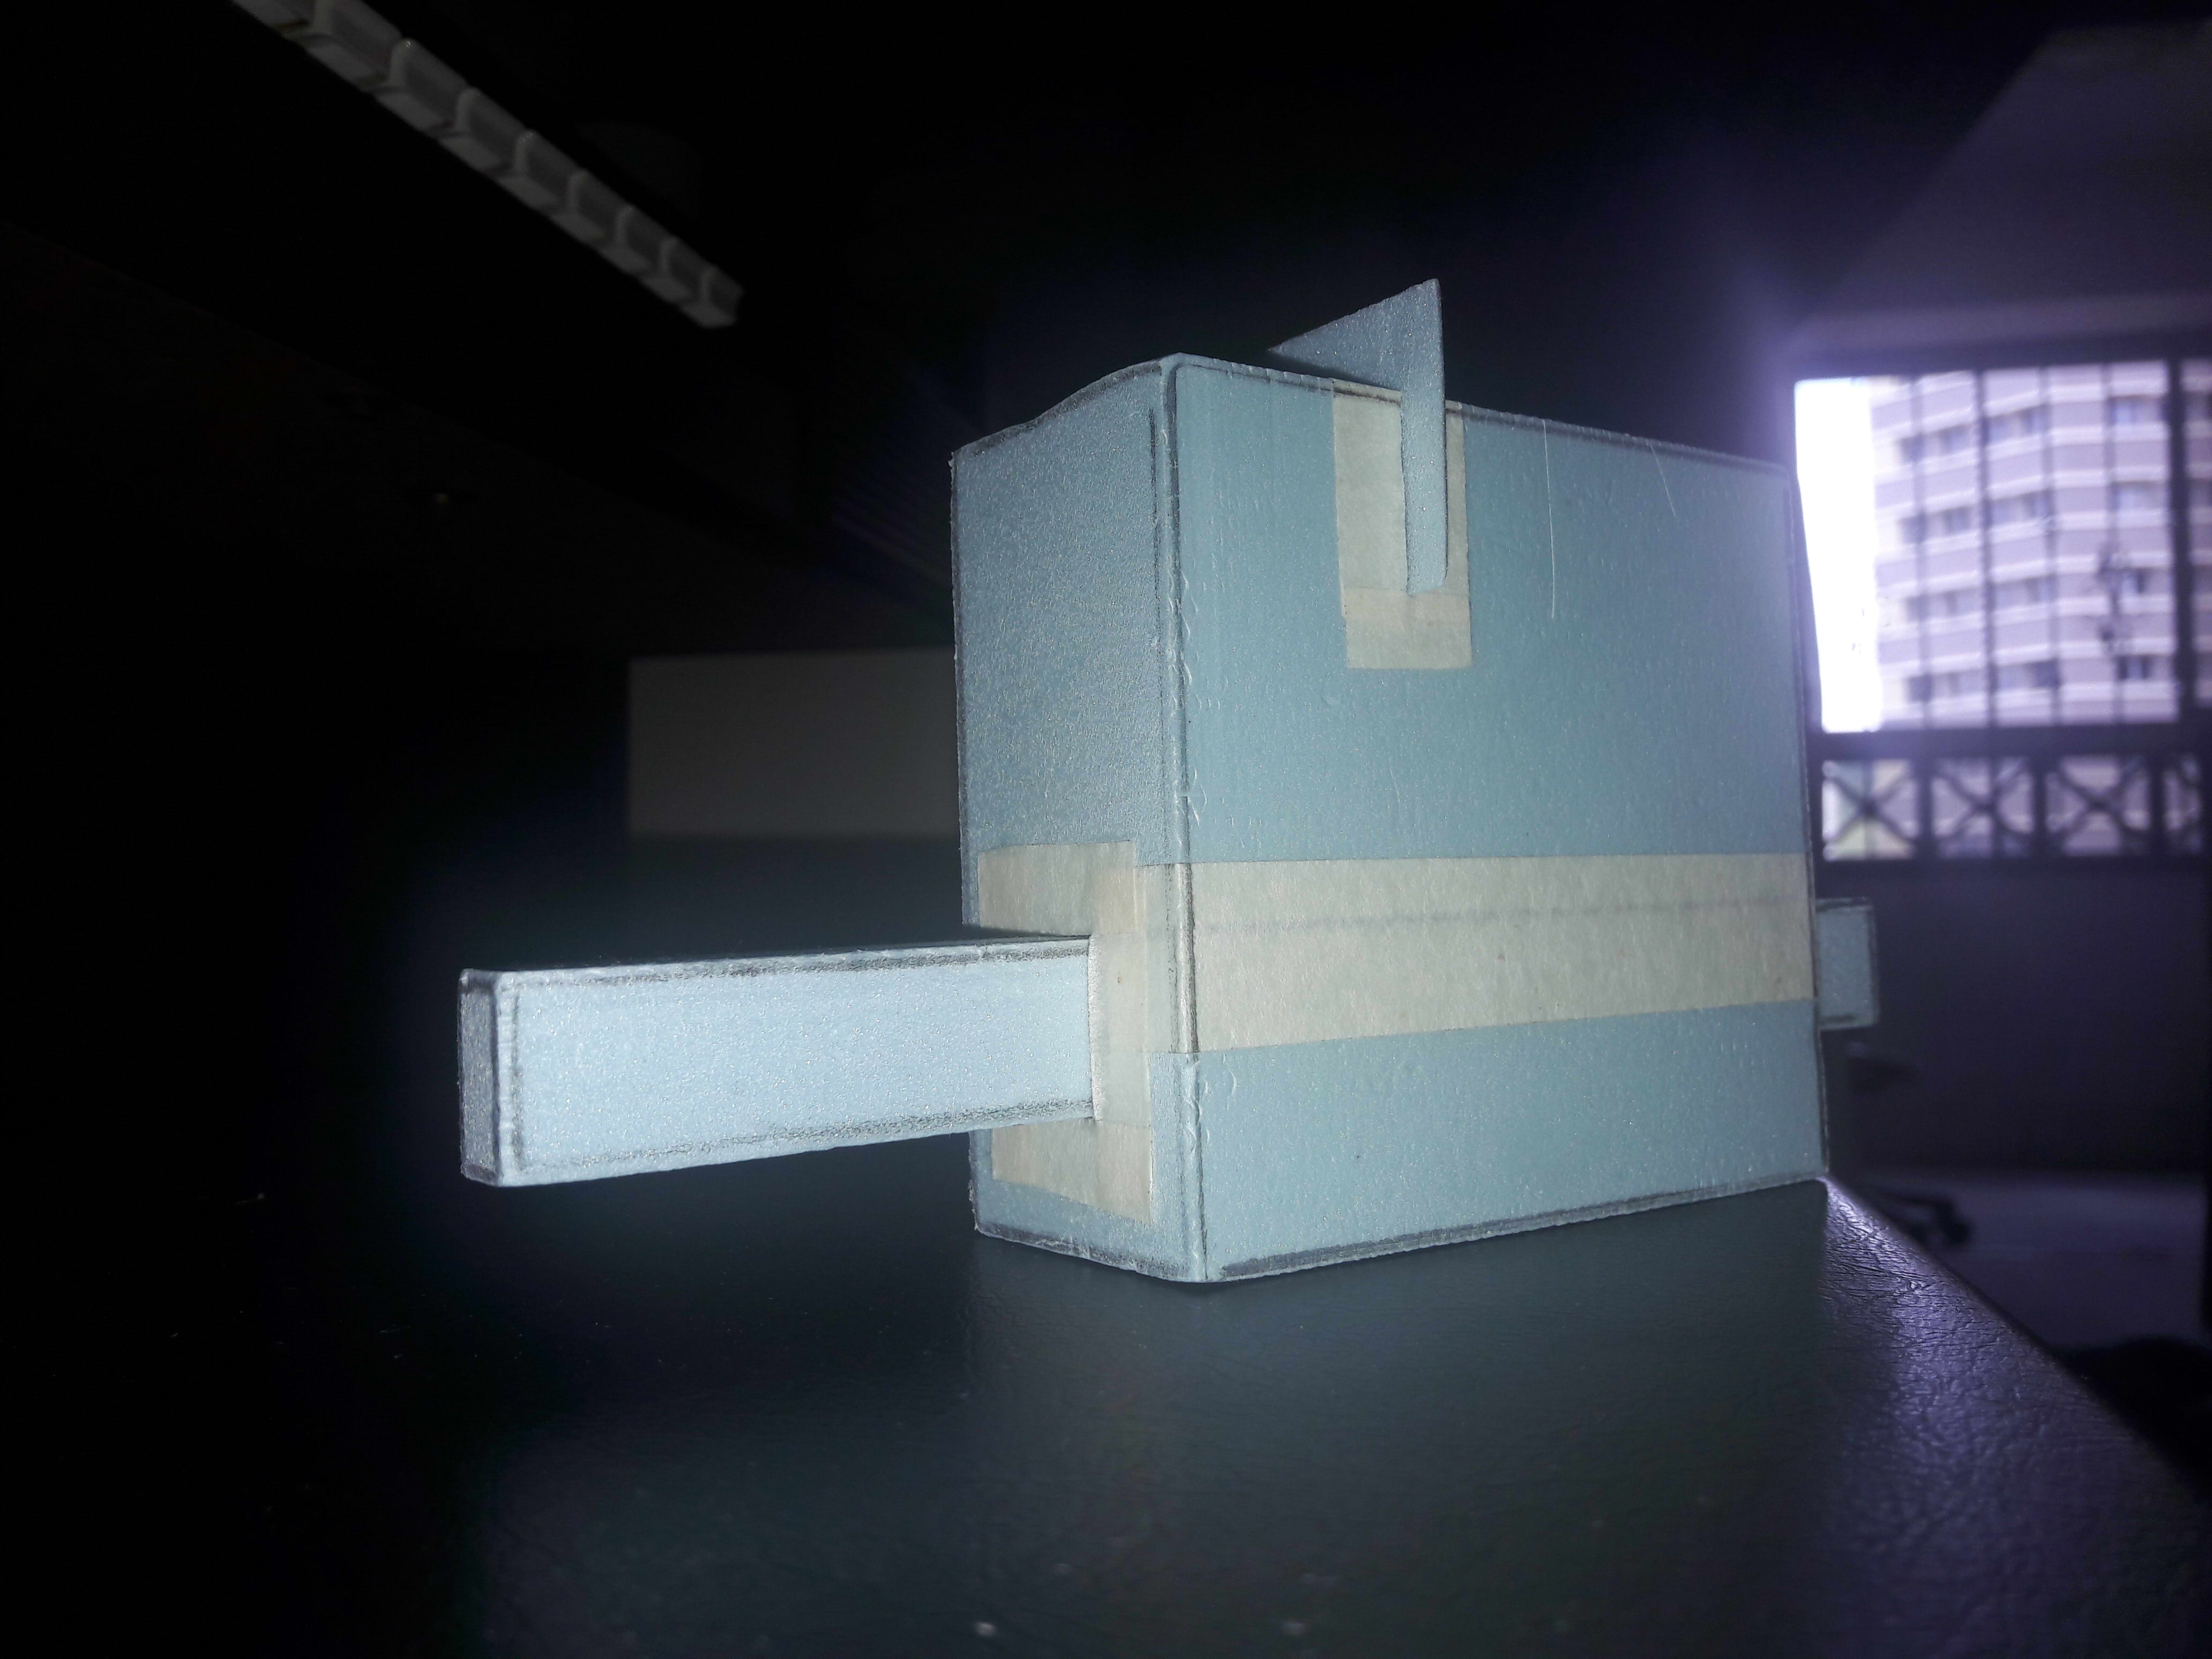
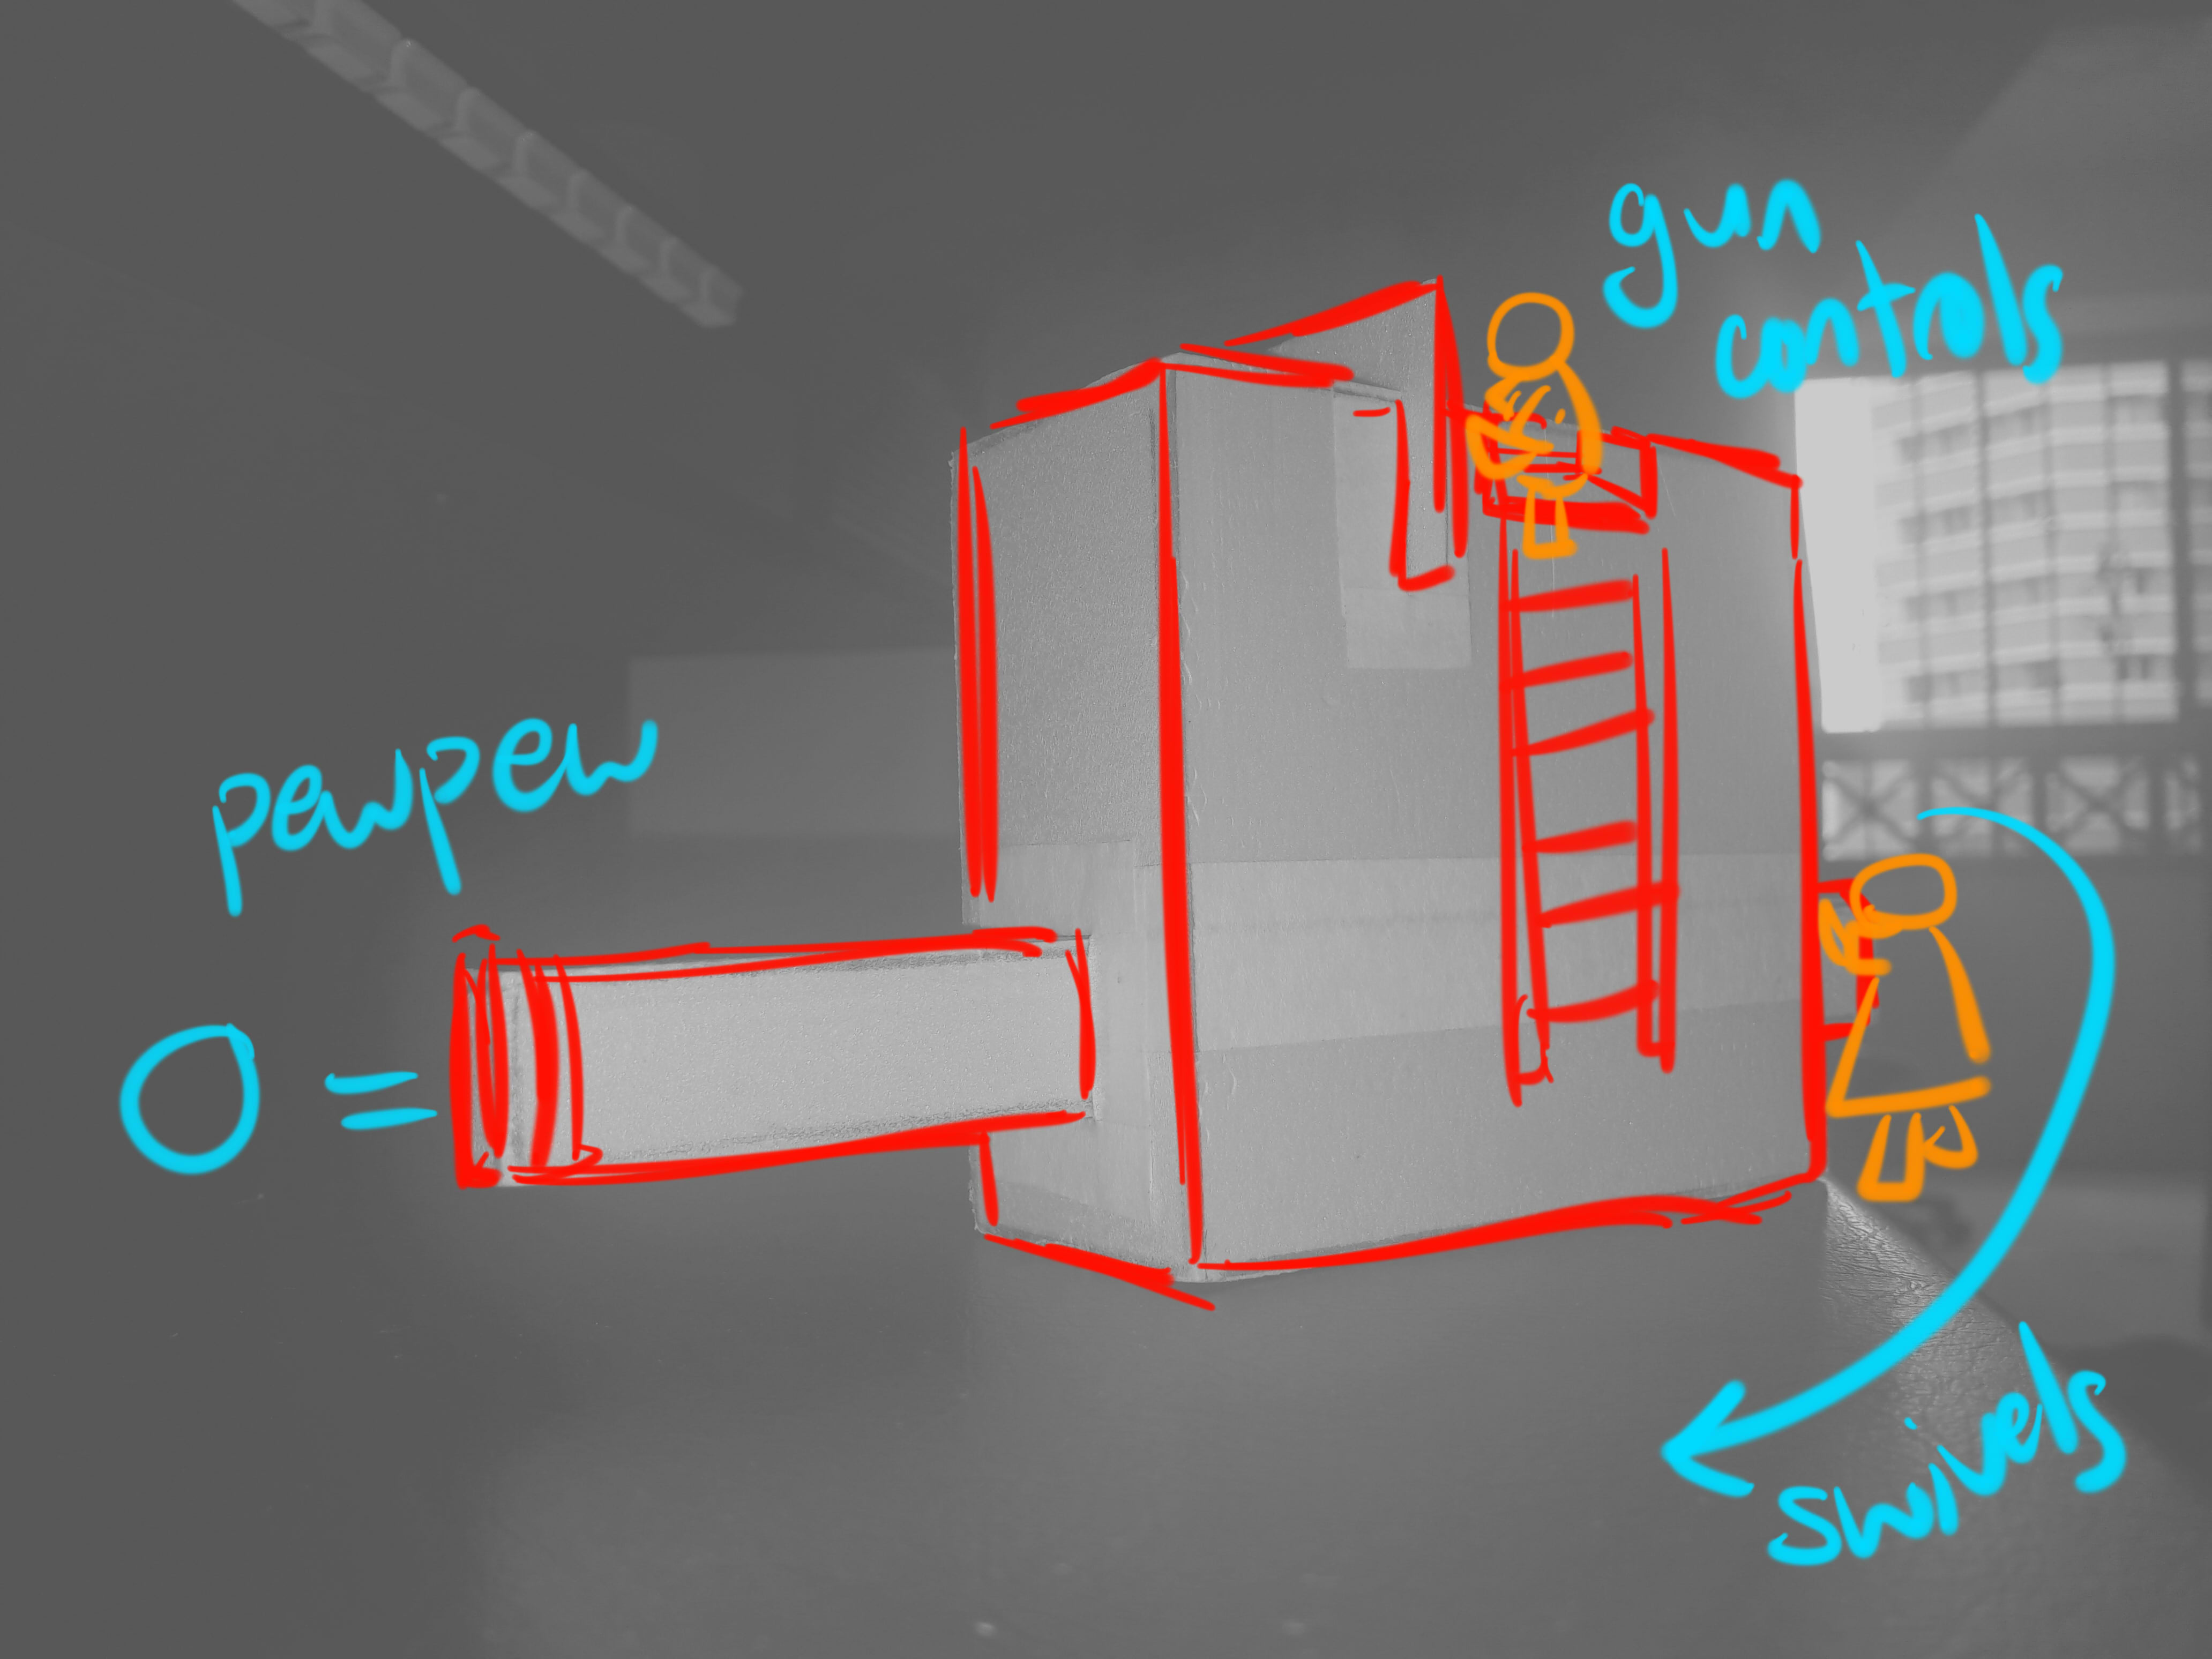
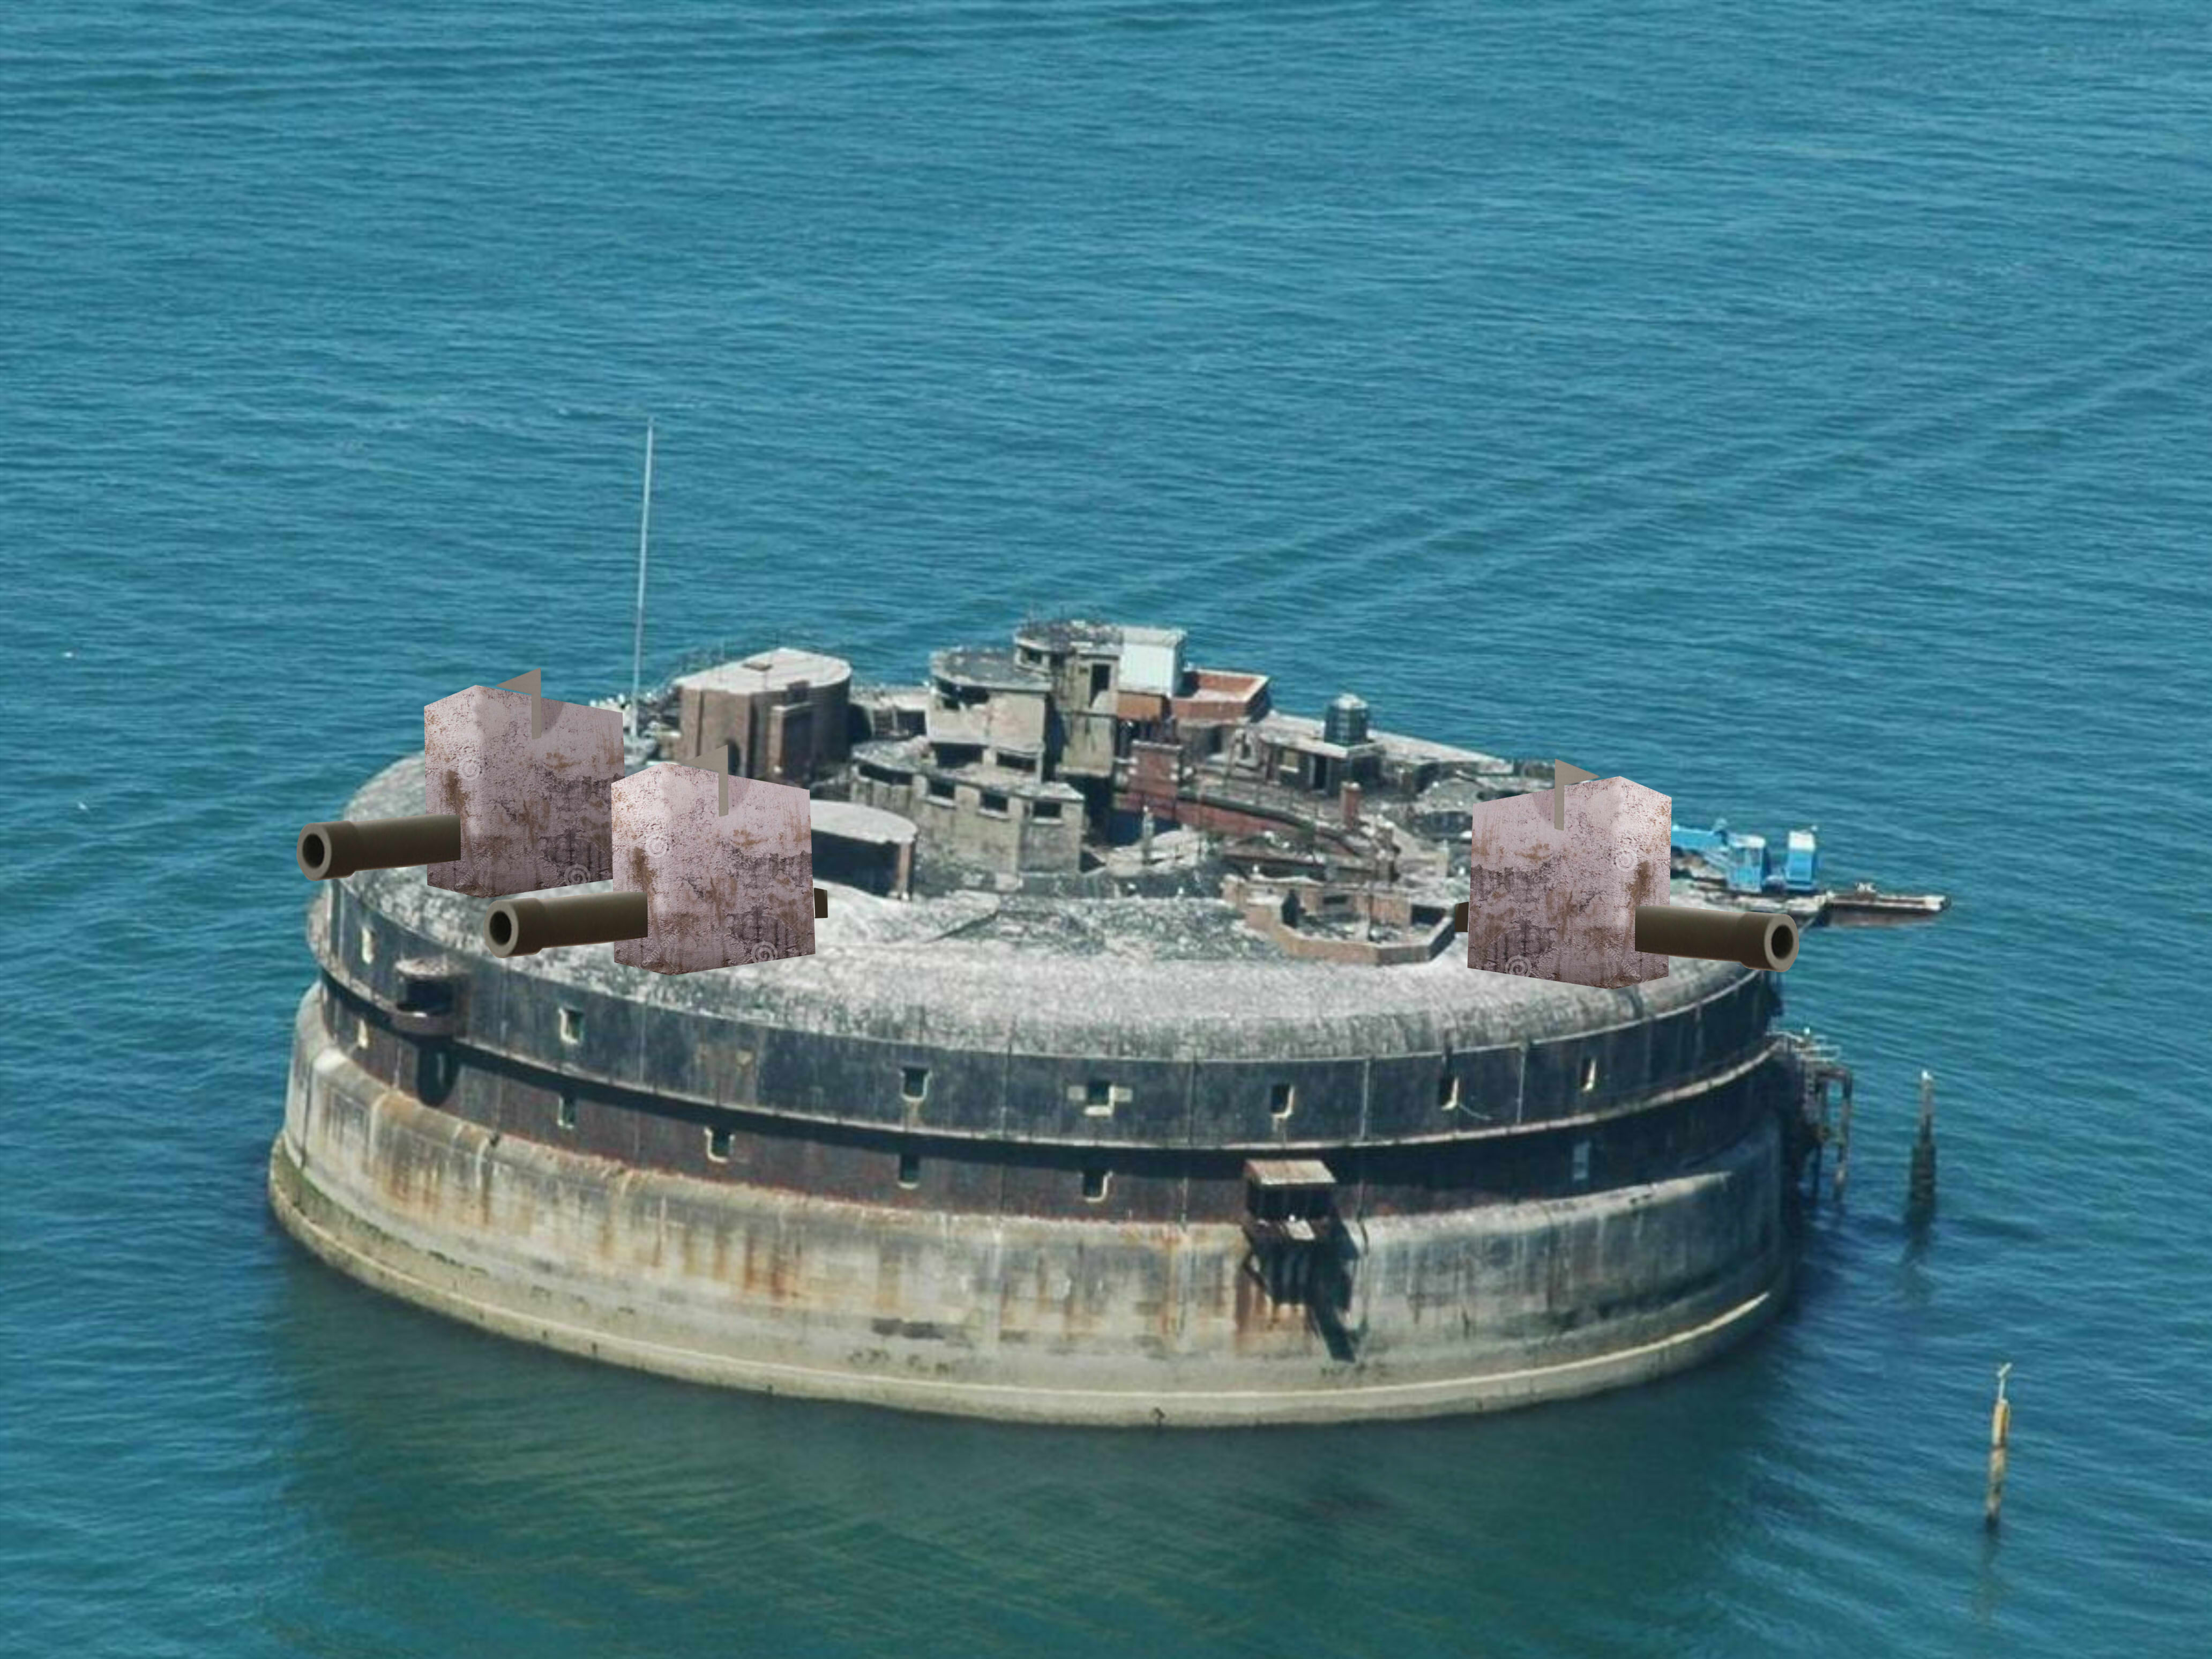
- Weapon: Cannon, gun controls behind a gun shield, and a protruding end for manual swivelling (may come with ladder) (all metal)
 |
 |
Other ideas also include: elevator (SD as elevator shaft and D as elevator), lever-pulling-based exercise machine (SD as lever with elastic wire attached to SO)
Some work-in-progress shots
(to form the lines inside)