For Lesson 2, we engaged in mark making, also known as “use whatever you have with ink to create random things”. For convenience’s sake, I mention the material, methodology and conclusion for most of the results. Hopefully that will help if you’re reading this to gain inspiration. (Unless otherwise stated, all of the things I tried were unconscious decisions, where I randomly did whatever I felt like doing.)
Opting to work in a logical order, I began with my plant-related items, branches and leaves. These were picked up around school, mostly. (A humorous anecdote involves me holding my freshly-picked branches at the CCA fair, and a girl complimenting me on my “nice accessorising!”)
Initially, I attempted to mark by having the paper pressed from above onto the linoleum with branches and leaves. Sadly, I may have overzealously placed too many items, resulting in a tragic lack of… Anything.
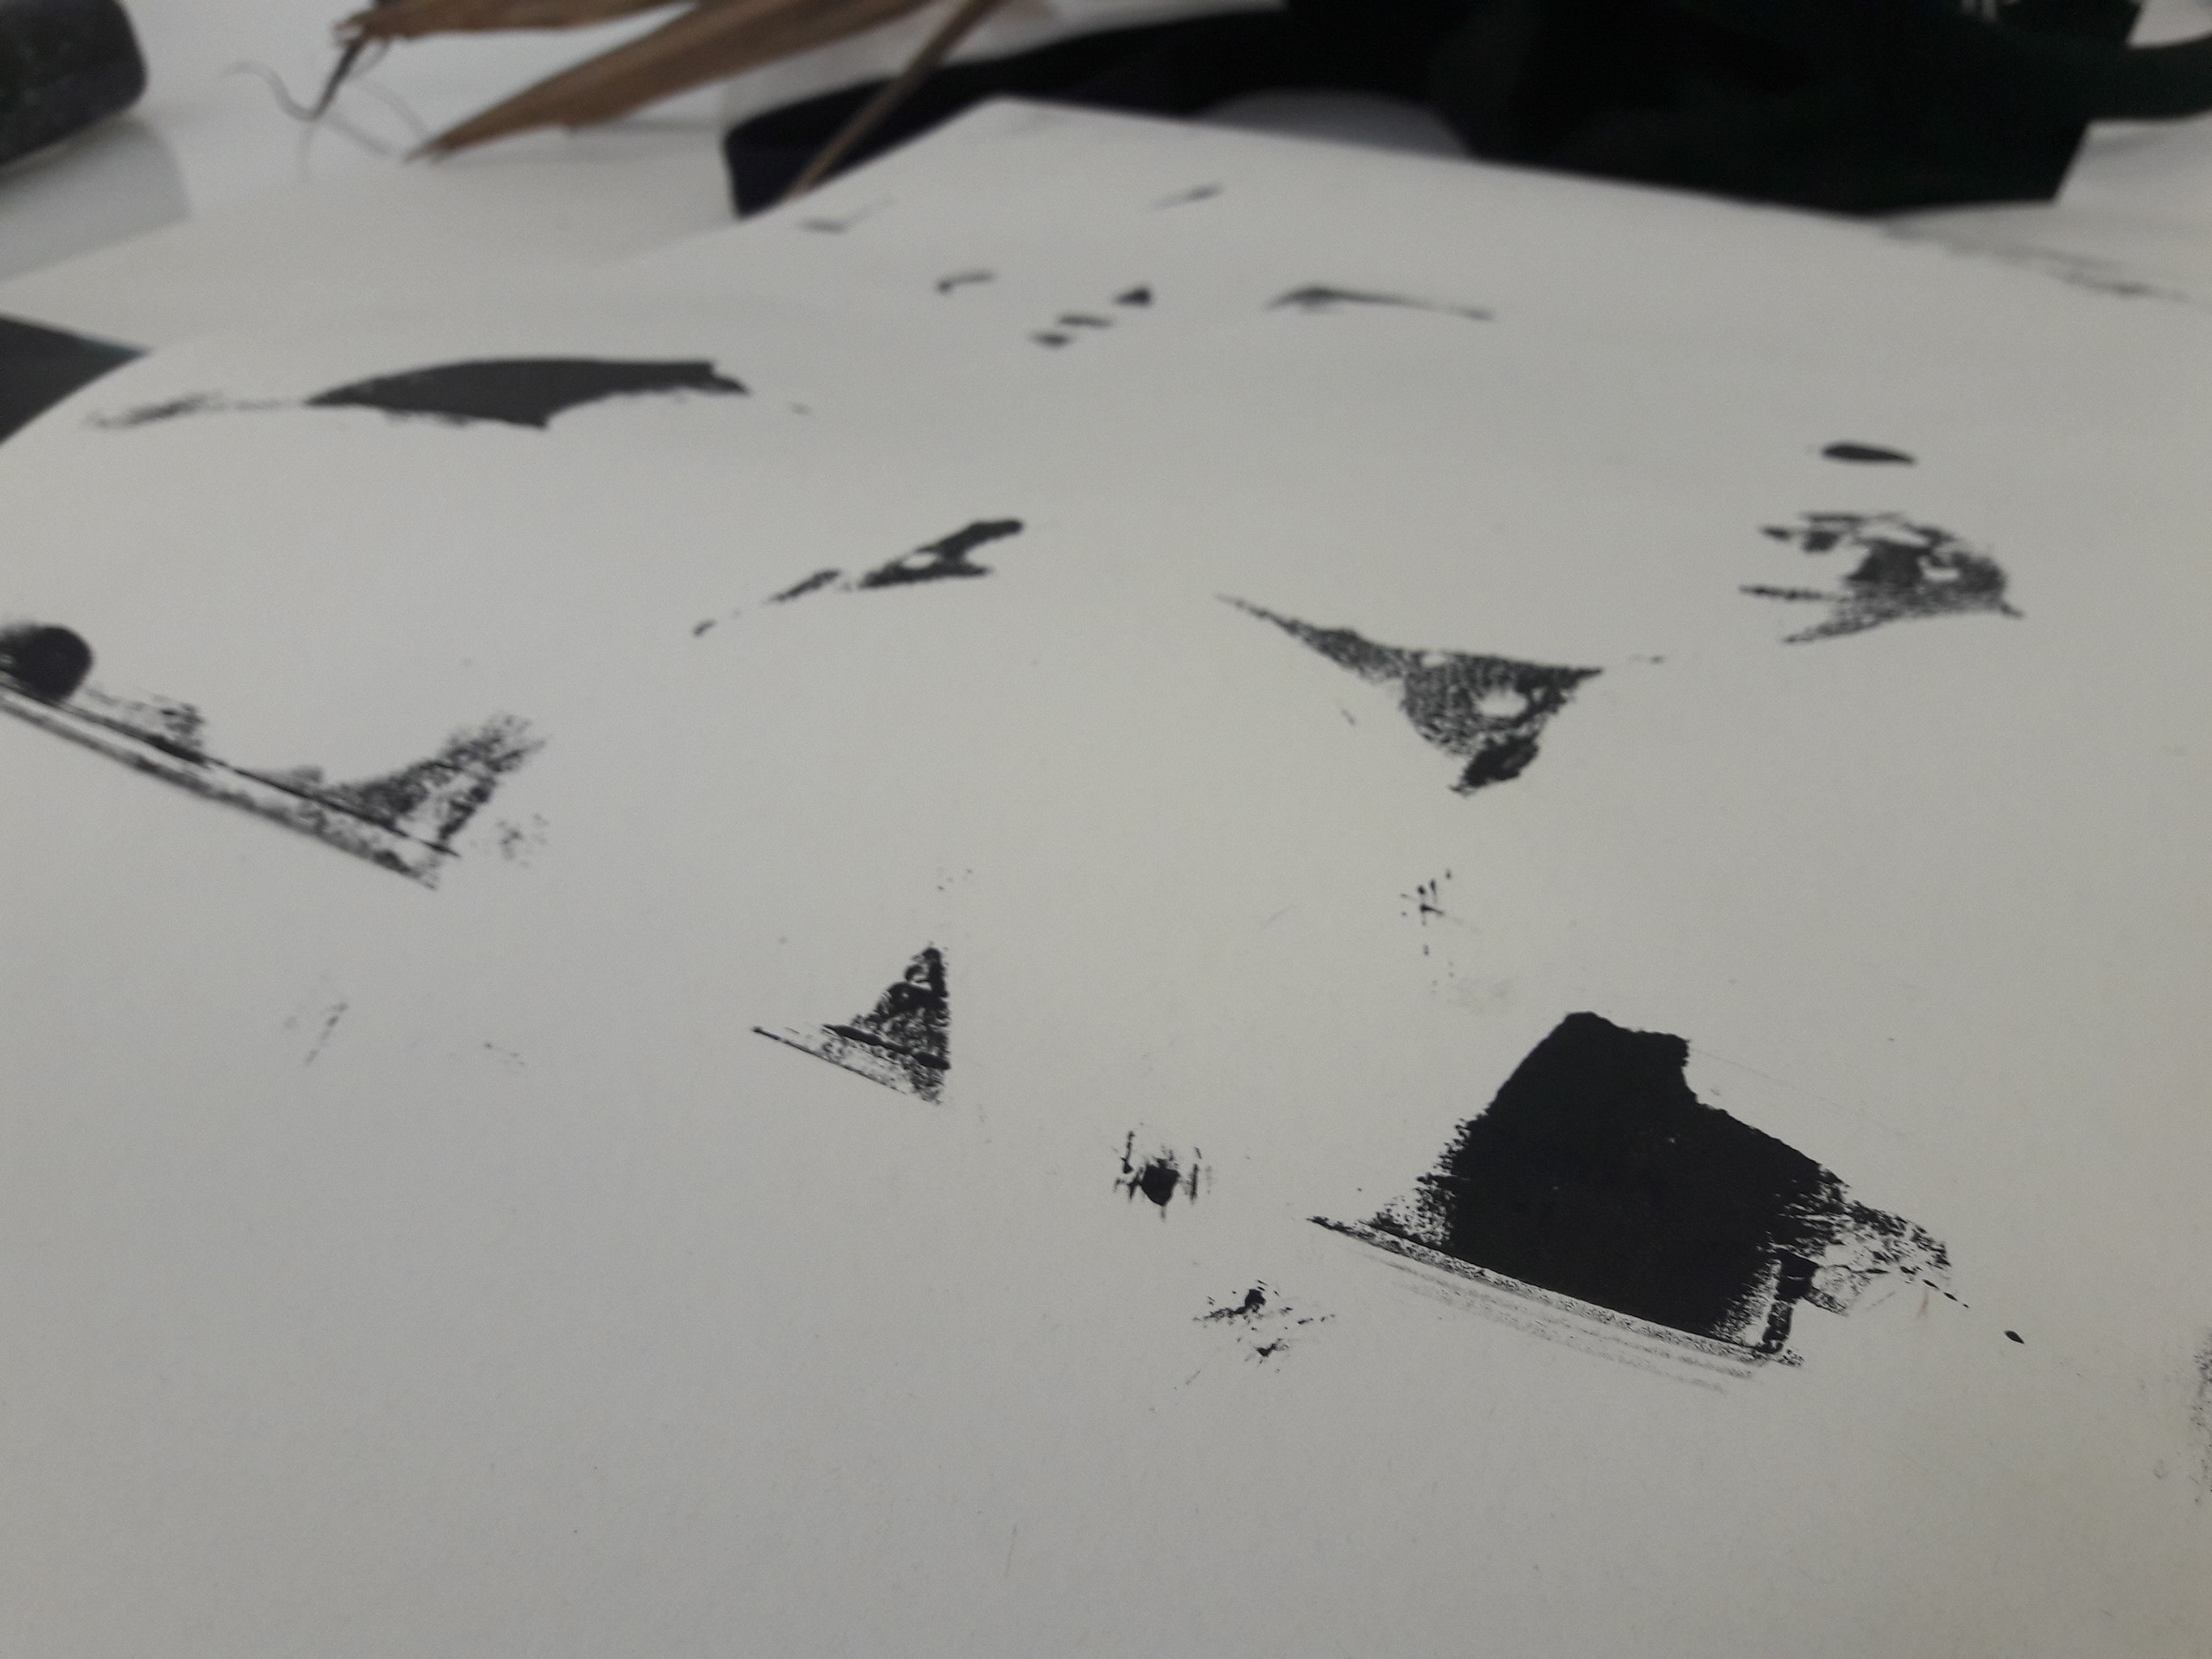
I quickly surmised that this style does not work well with my leaves, because it’s good for emphasising positive and negative spaces, and the unique edges, but not so much on the textures. Consequently, I attempted using the inked leaves directly, like a stamp of sorts. (After the initial tameness, I went more into trigger-happy leaf actions)
Material: Leaf
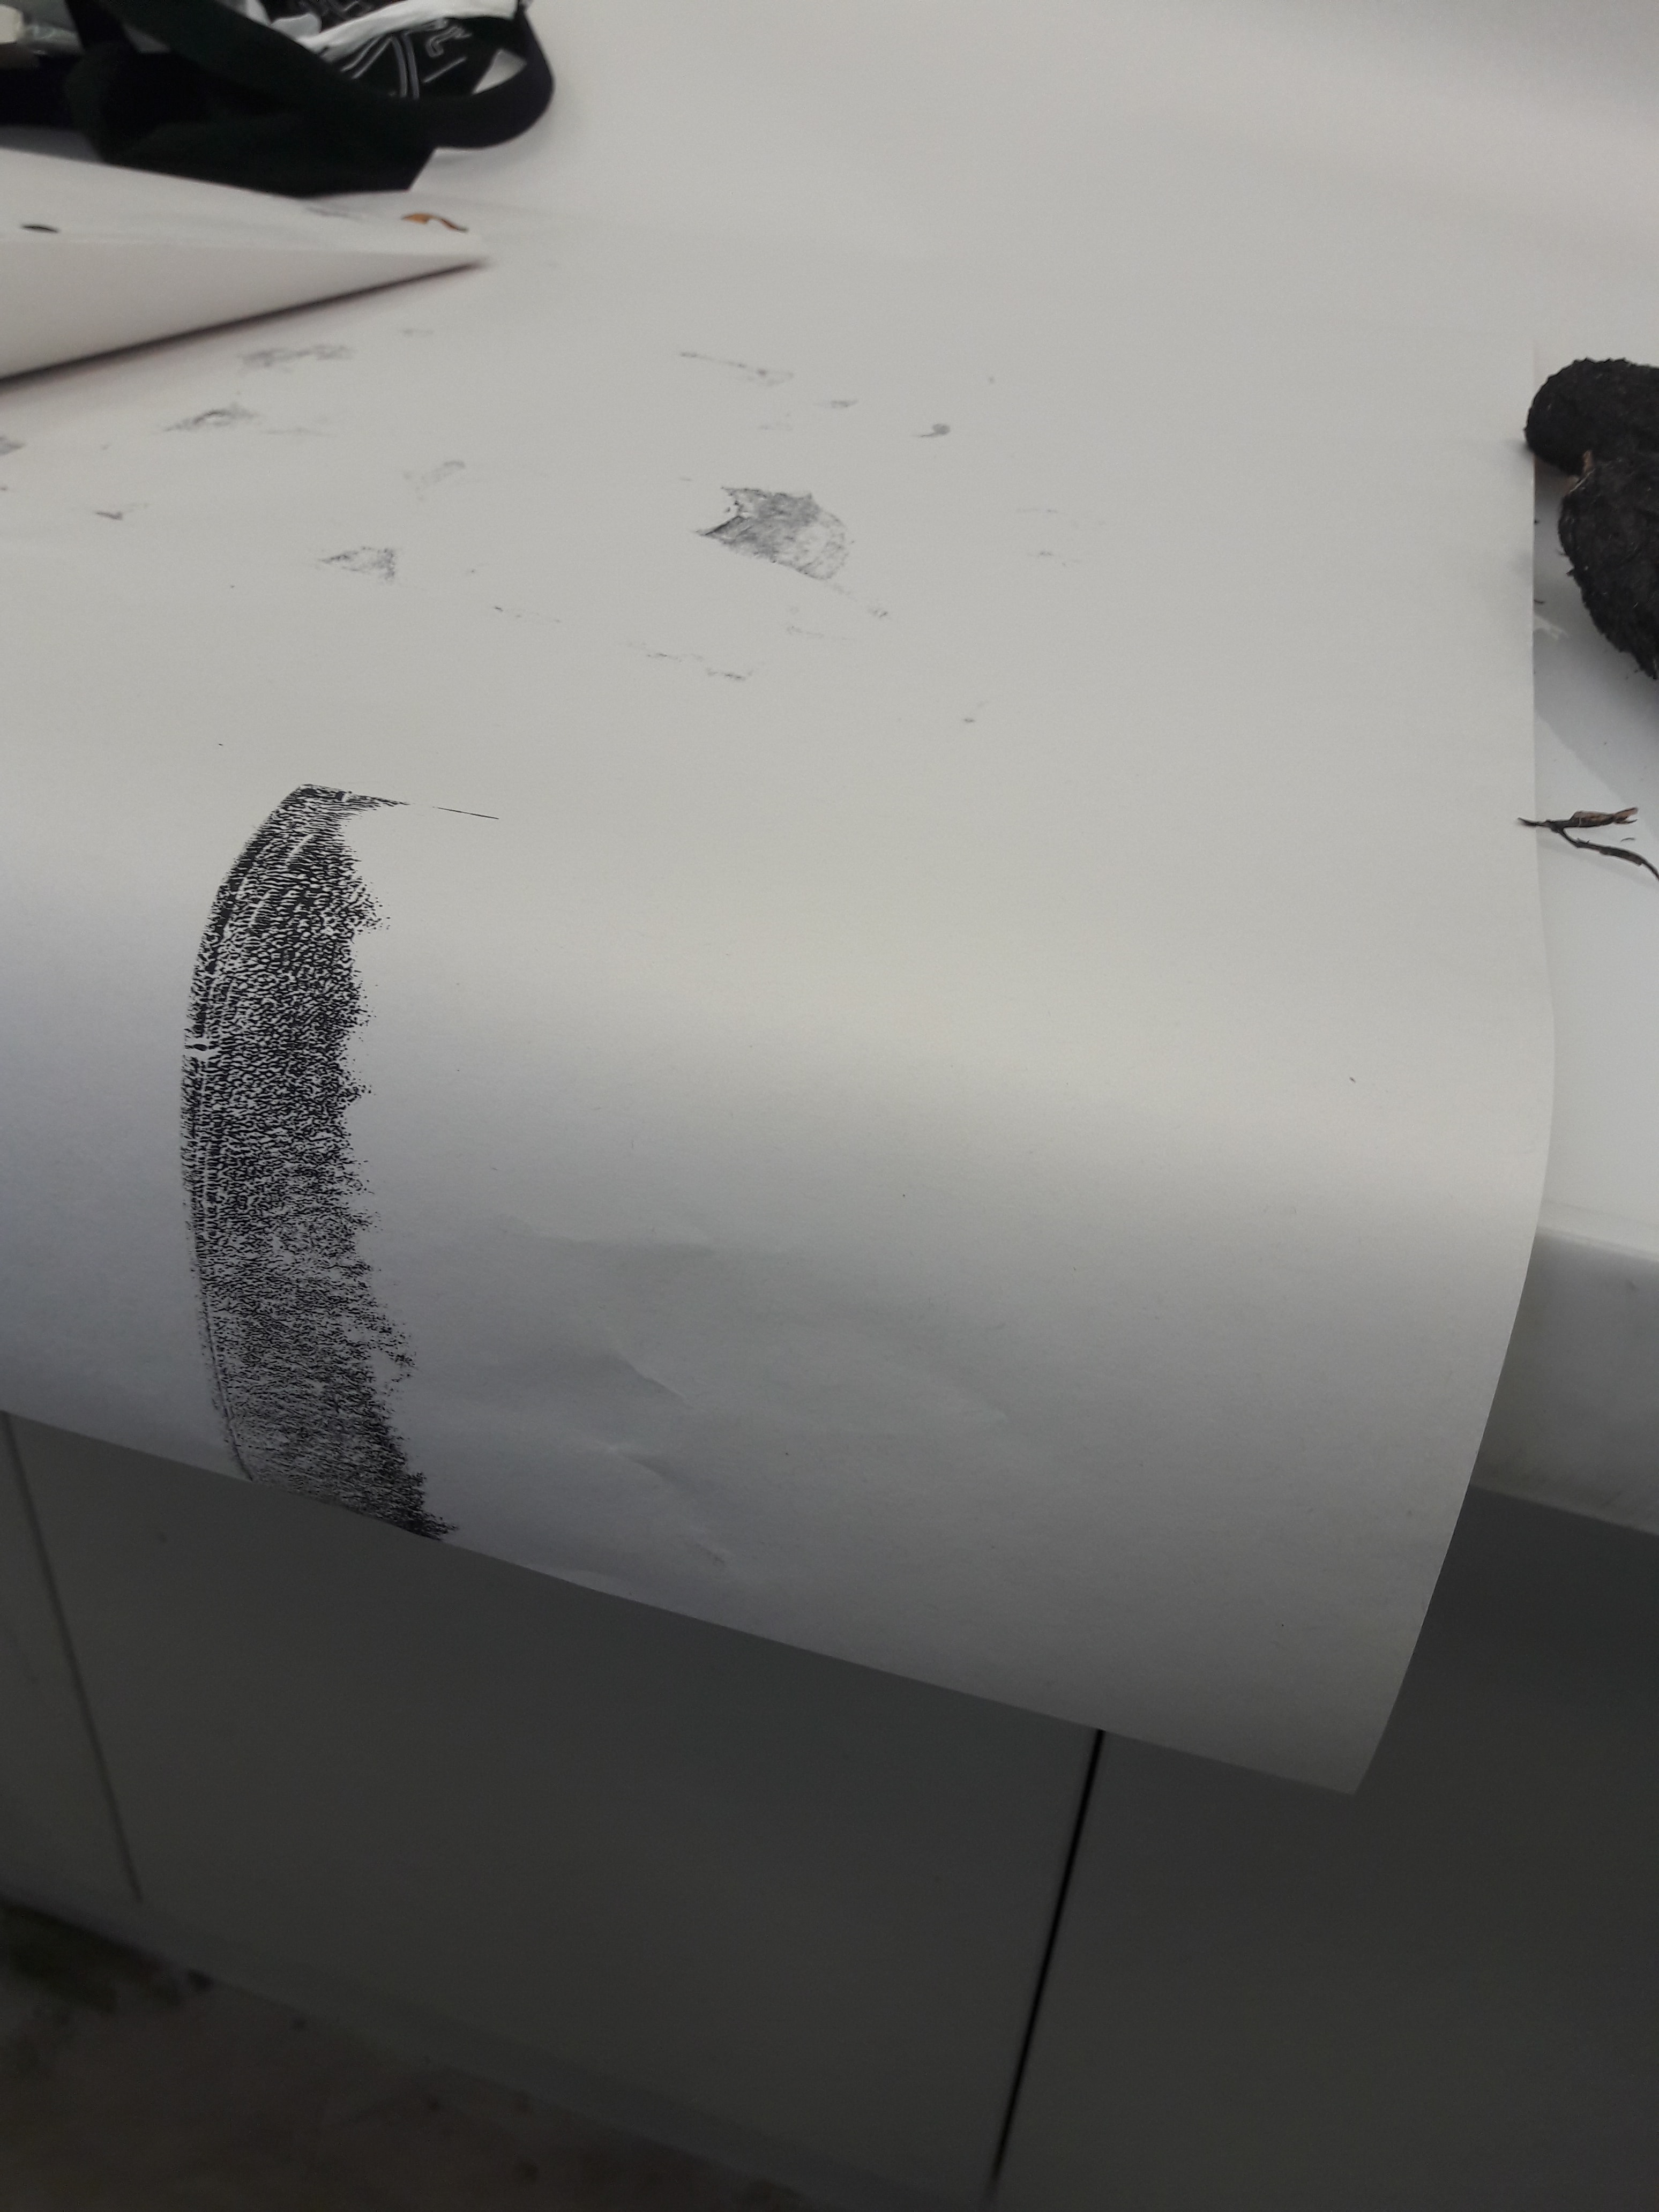
Methodology: Painting leaf with ink, pressing onto paper, piak-ing onto paper, circular wiping with leaf on paper
Conclusion: I like how the leaf has a certain symmetry, with the veins being the most prominent and forming a sort of skeletal shape. But I think it’s even more intriguing that, with sufficient pressure while circular wiping, the leaf loses most of its unique qualities (possibly because the ink dried too) while making nice arcs (when properly turned).
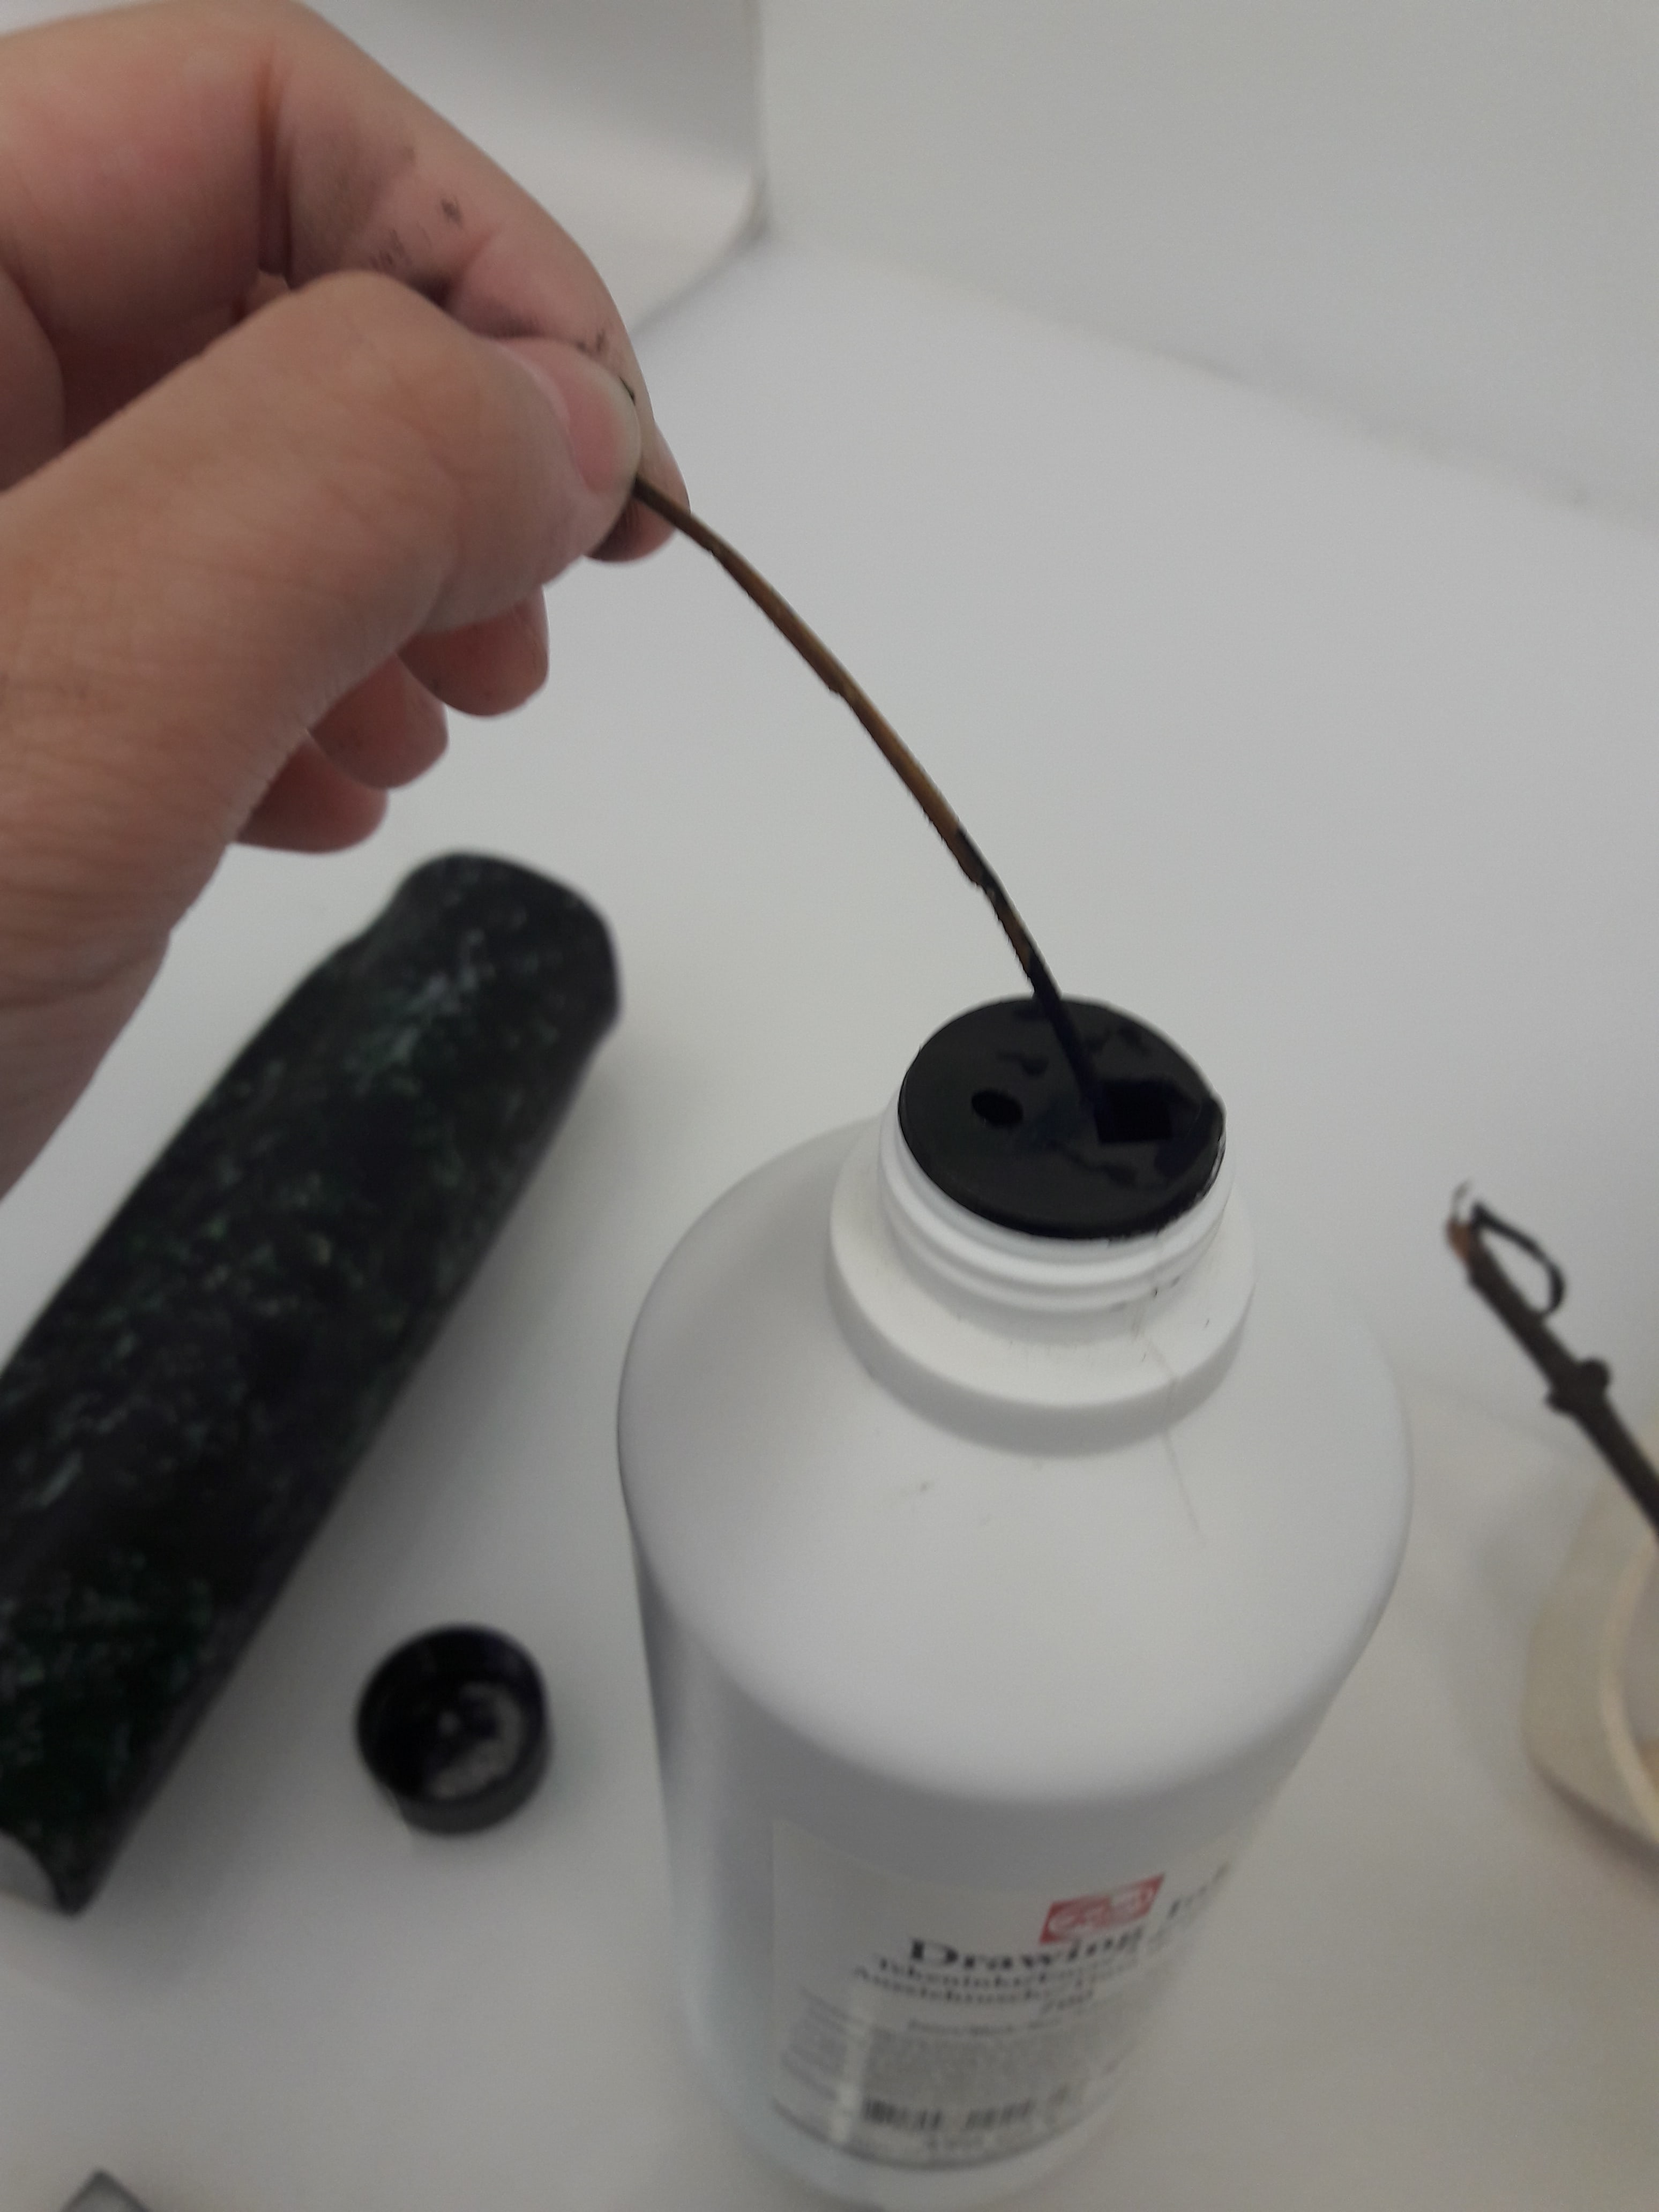
I had brought my own drawing ink as well, so I attempted to use a twig with it, like some sort of dip nib. Surprisingly, it became weirdly effective as a makeshift calligraphy pen when placed almost parallel to the paper.
 |
 |
Material: Twig
Methodology: Dipping twig in drawing ink, then grazing surface of paper with tip and side of twig
Conclusion: It’s difficult to control, but the variation in line quality is superb. The more it’s laid parallel to the paper, the thicker the stroke, and when filed to a point, a thin line. Sort of like what we learn in Foundation Drawing about hard and soft edges.
I tried this again with a different twig, and folded the paper to make space, while dumbly forgetting that wet ink would definitely transfer.
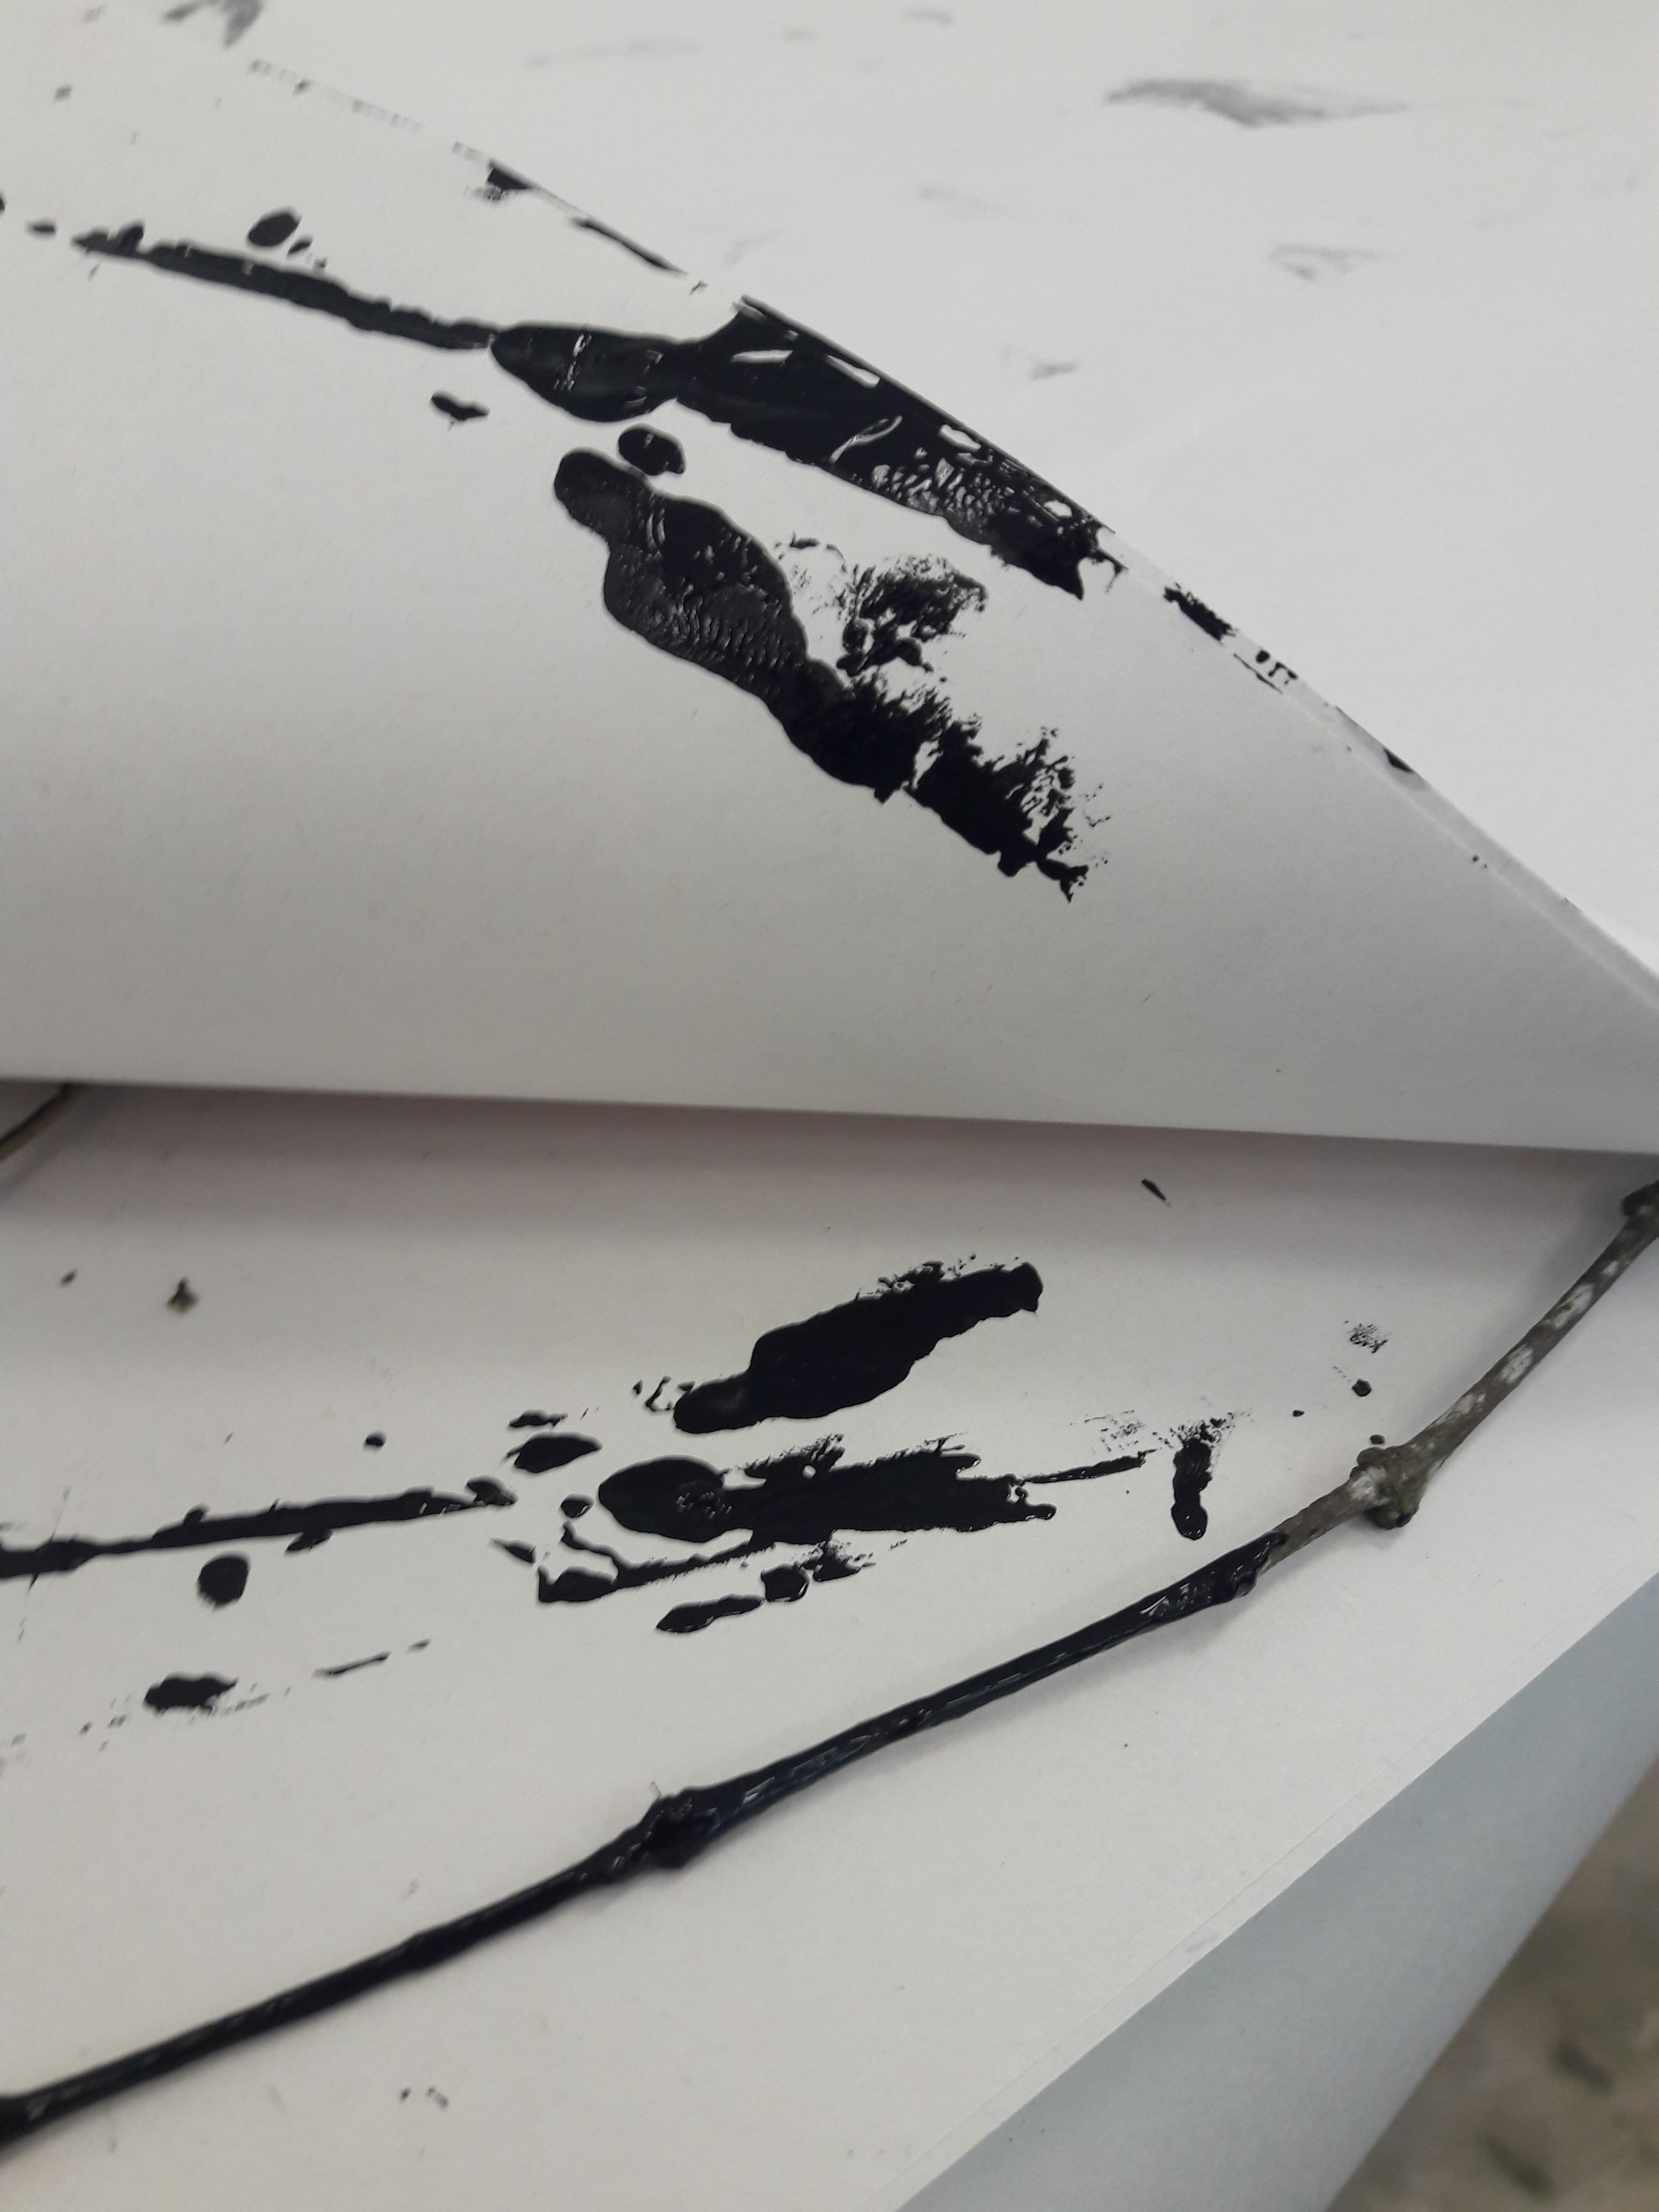
To my horror, the linoleum had bits and pieces of wood and natural sediments on it, and so I attempted, vainly, to lightly scratch it off the ink with a leaf. Note that “lightly” should never co-exist in a sentence with “I” in it, because I’m a “go big or go home” type, and my self-restraint is very low. I gave up trying to maintain an even spread, and opted to just use that to make more marks.
|
|
|

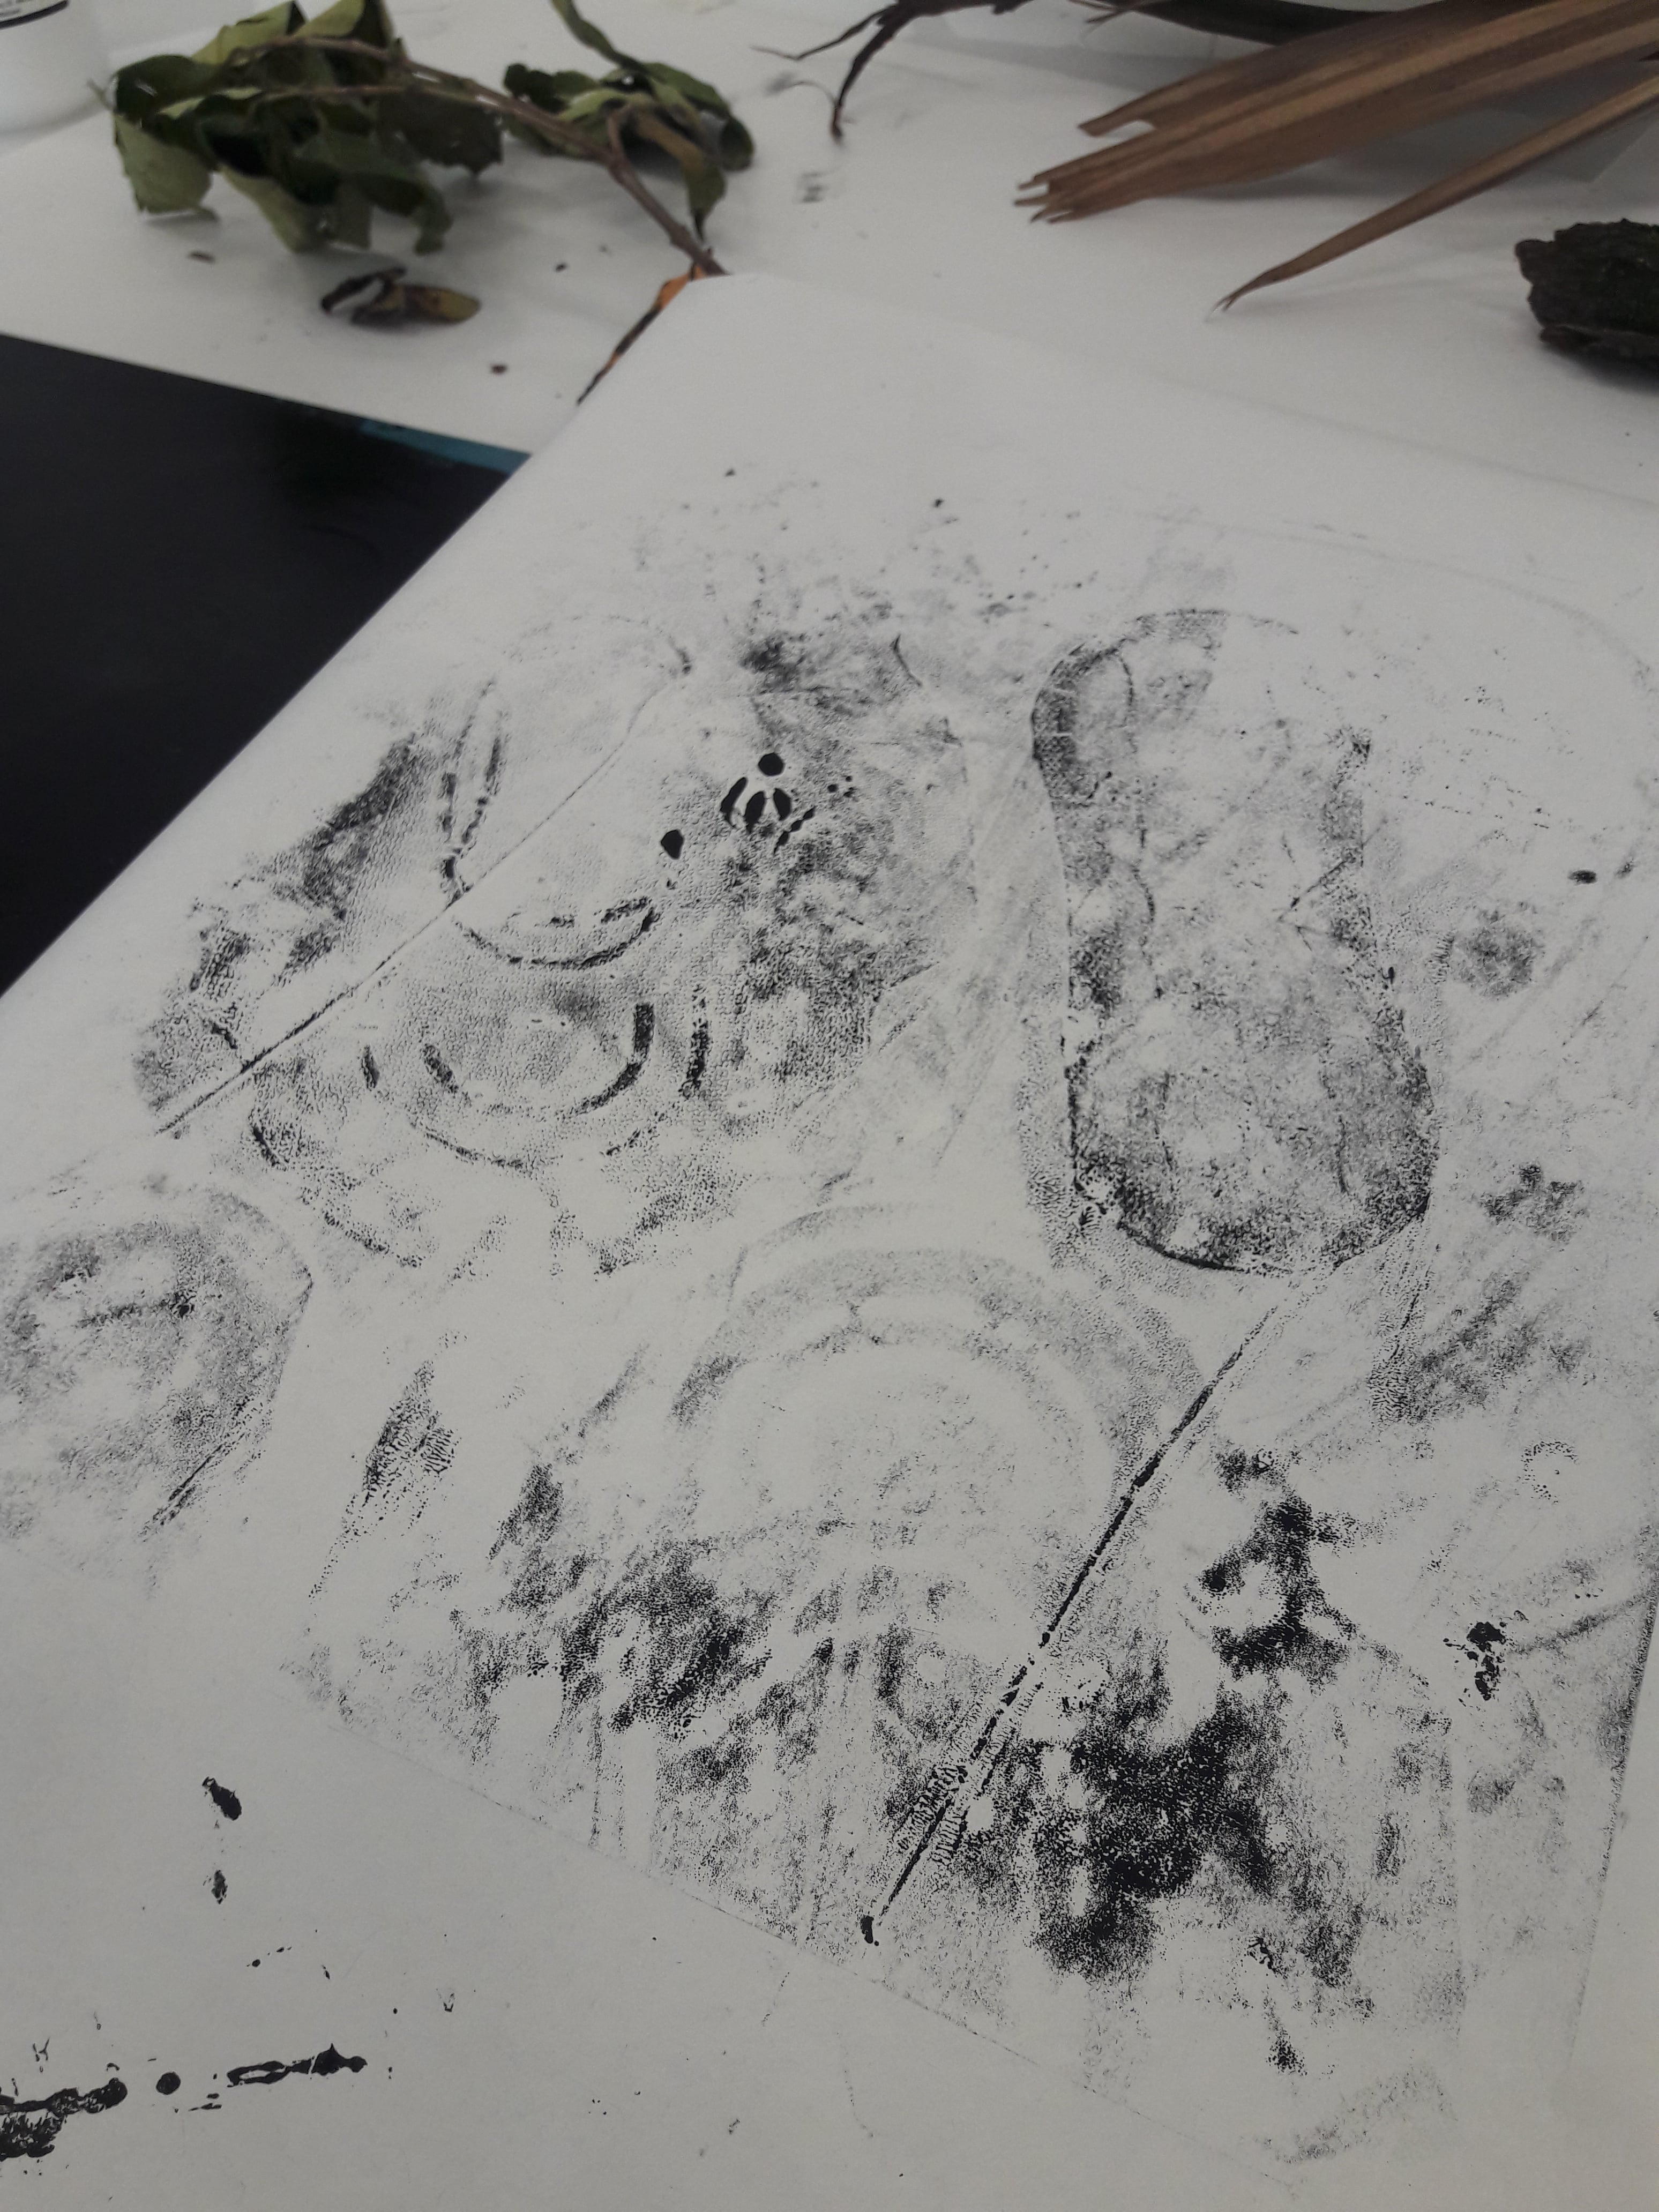
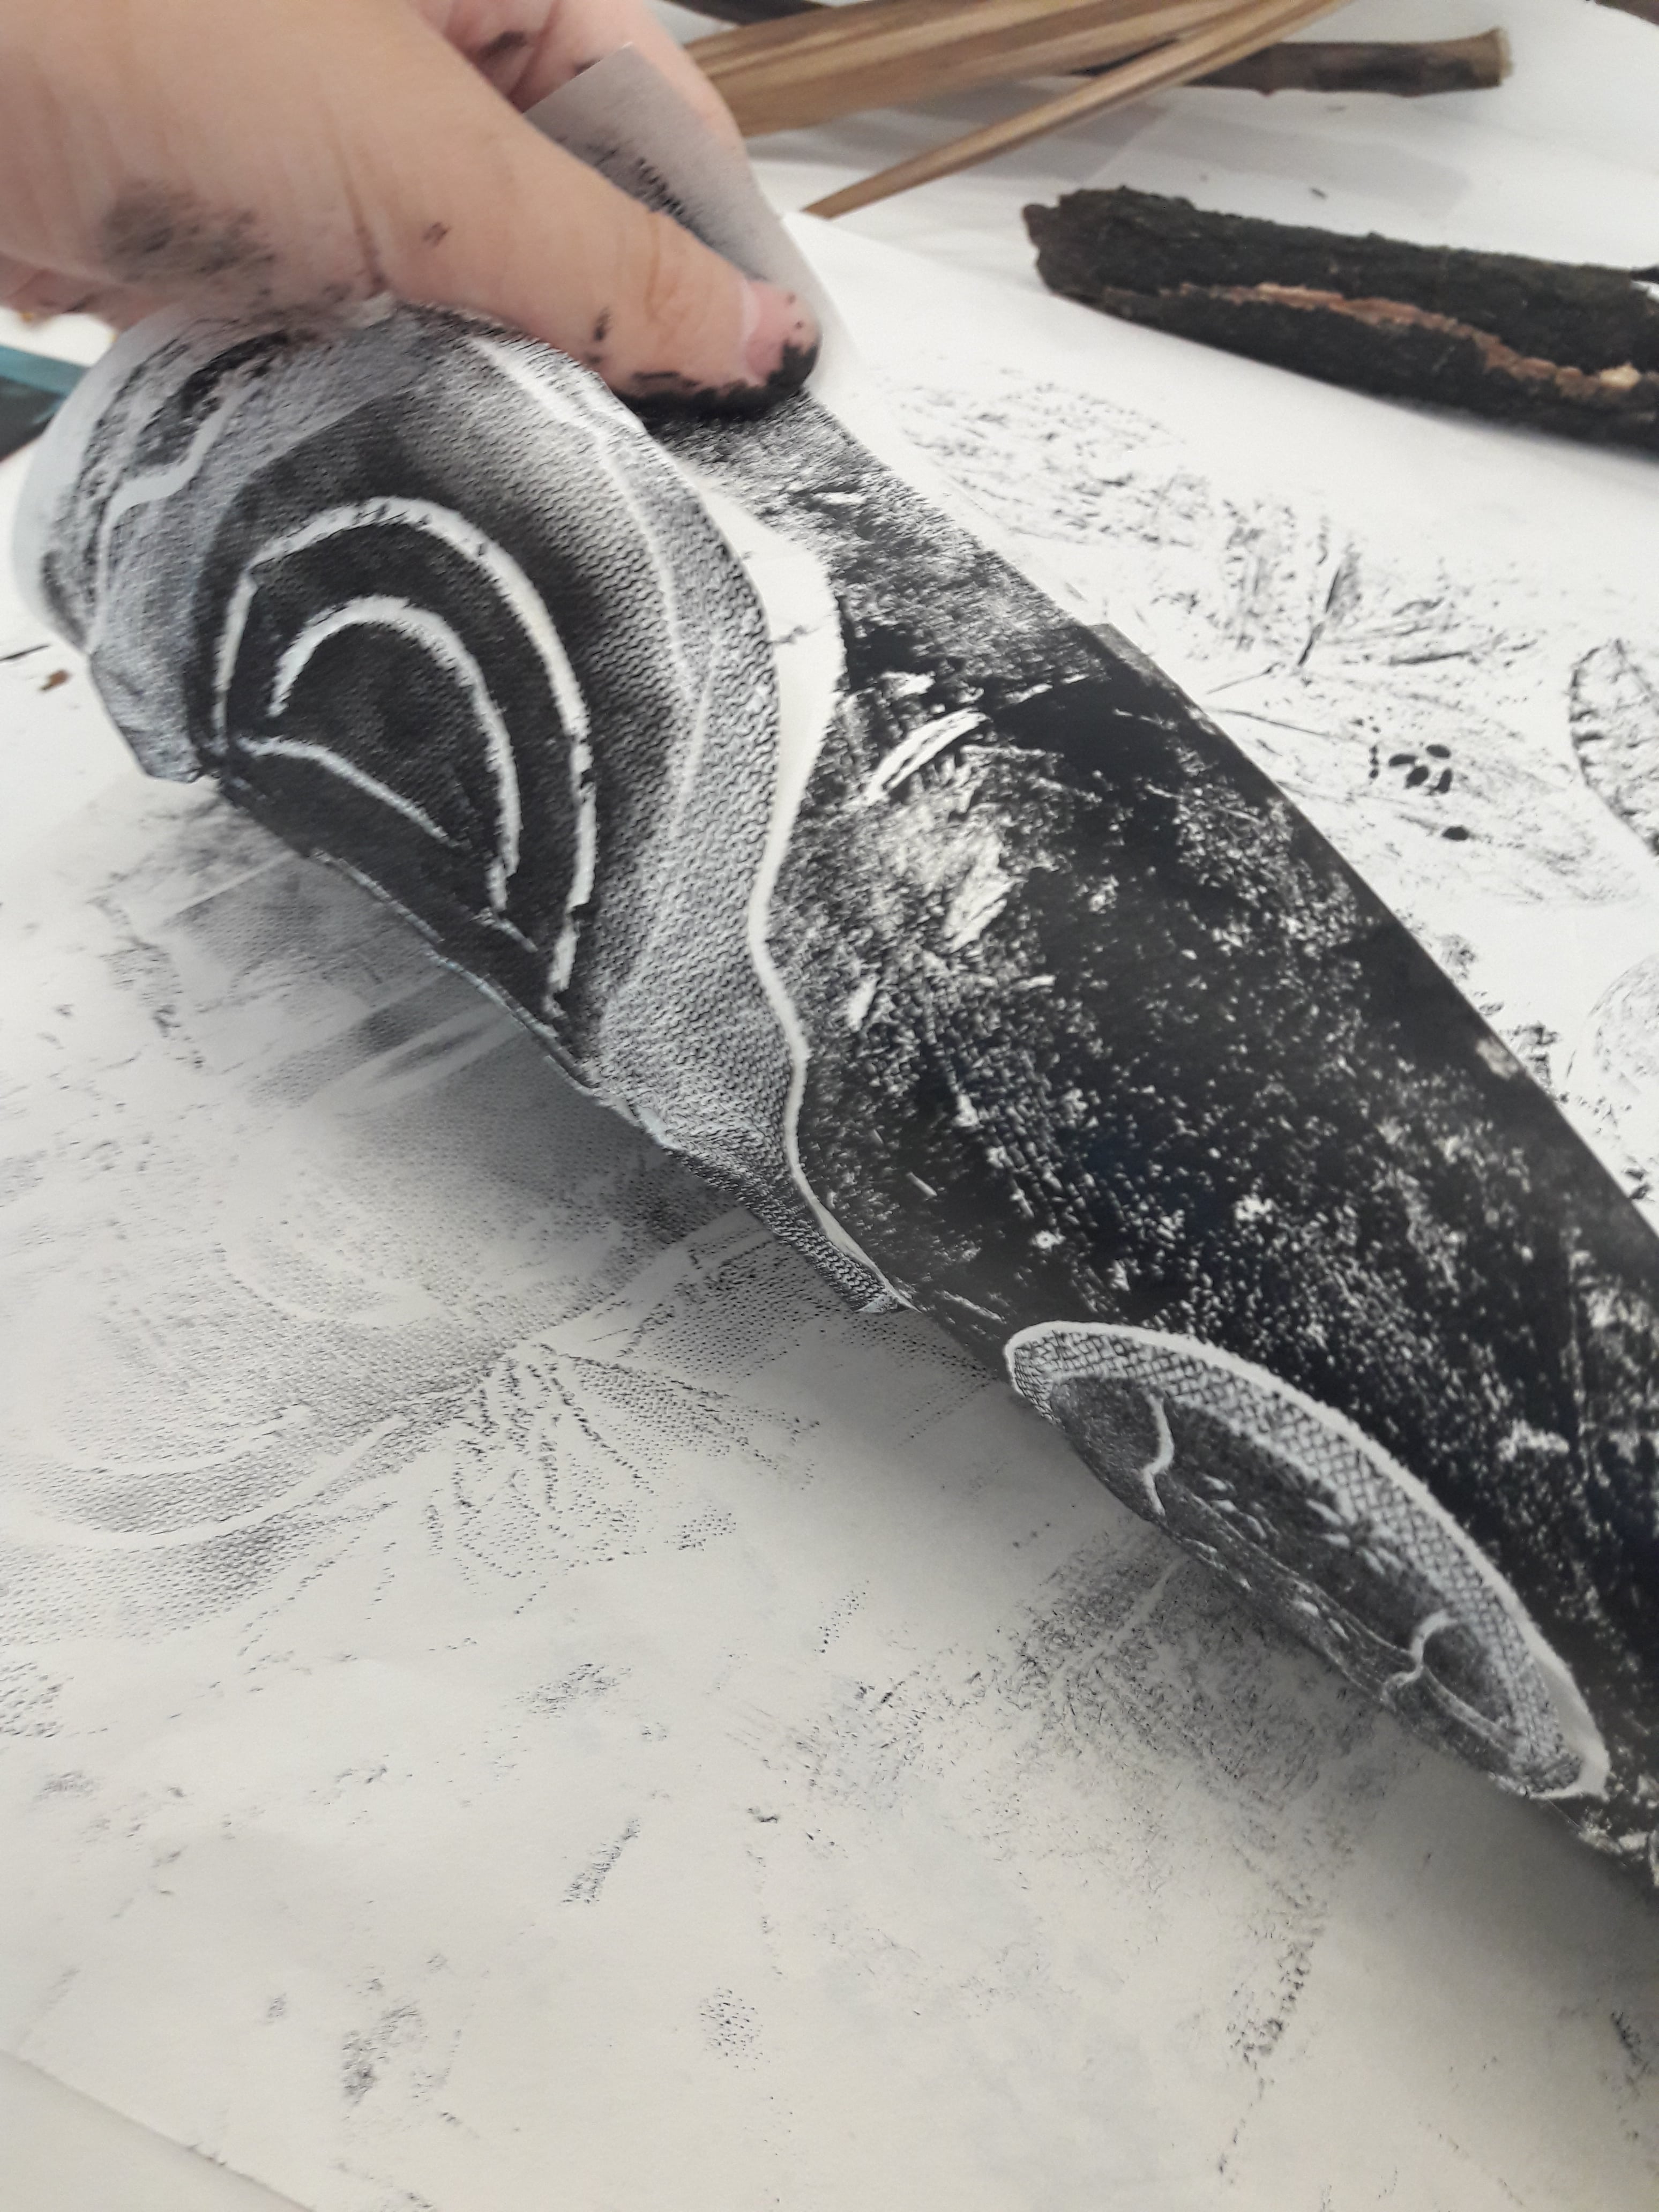
Material: Another leaf
Methodology: Scratching linoleum mindlessly, then pressing linoleum onto paper
Conclusion: The scratching pattern was very random, but I guess I tend towards circular motions. I like the mess of scribbly lines, especially against the unwashed linoleum with pre-existing textures. Especially because I was messing around doing it, this pattern gives me a vibe of energy.
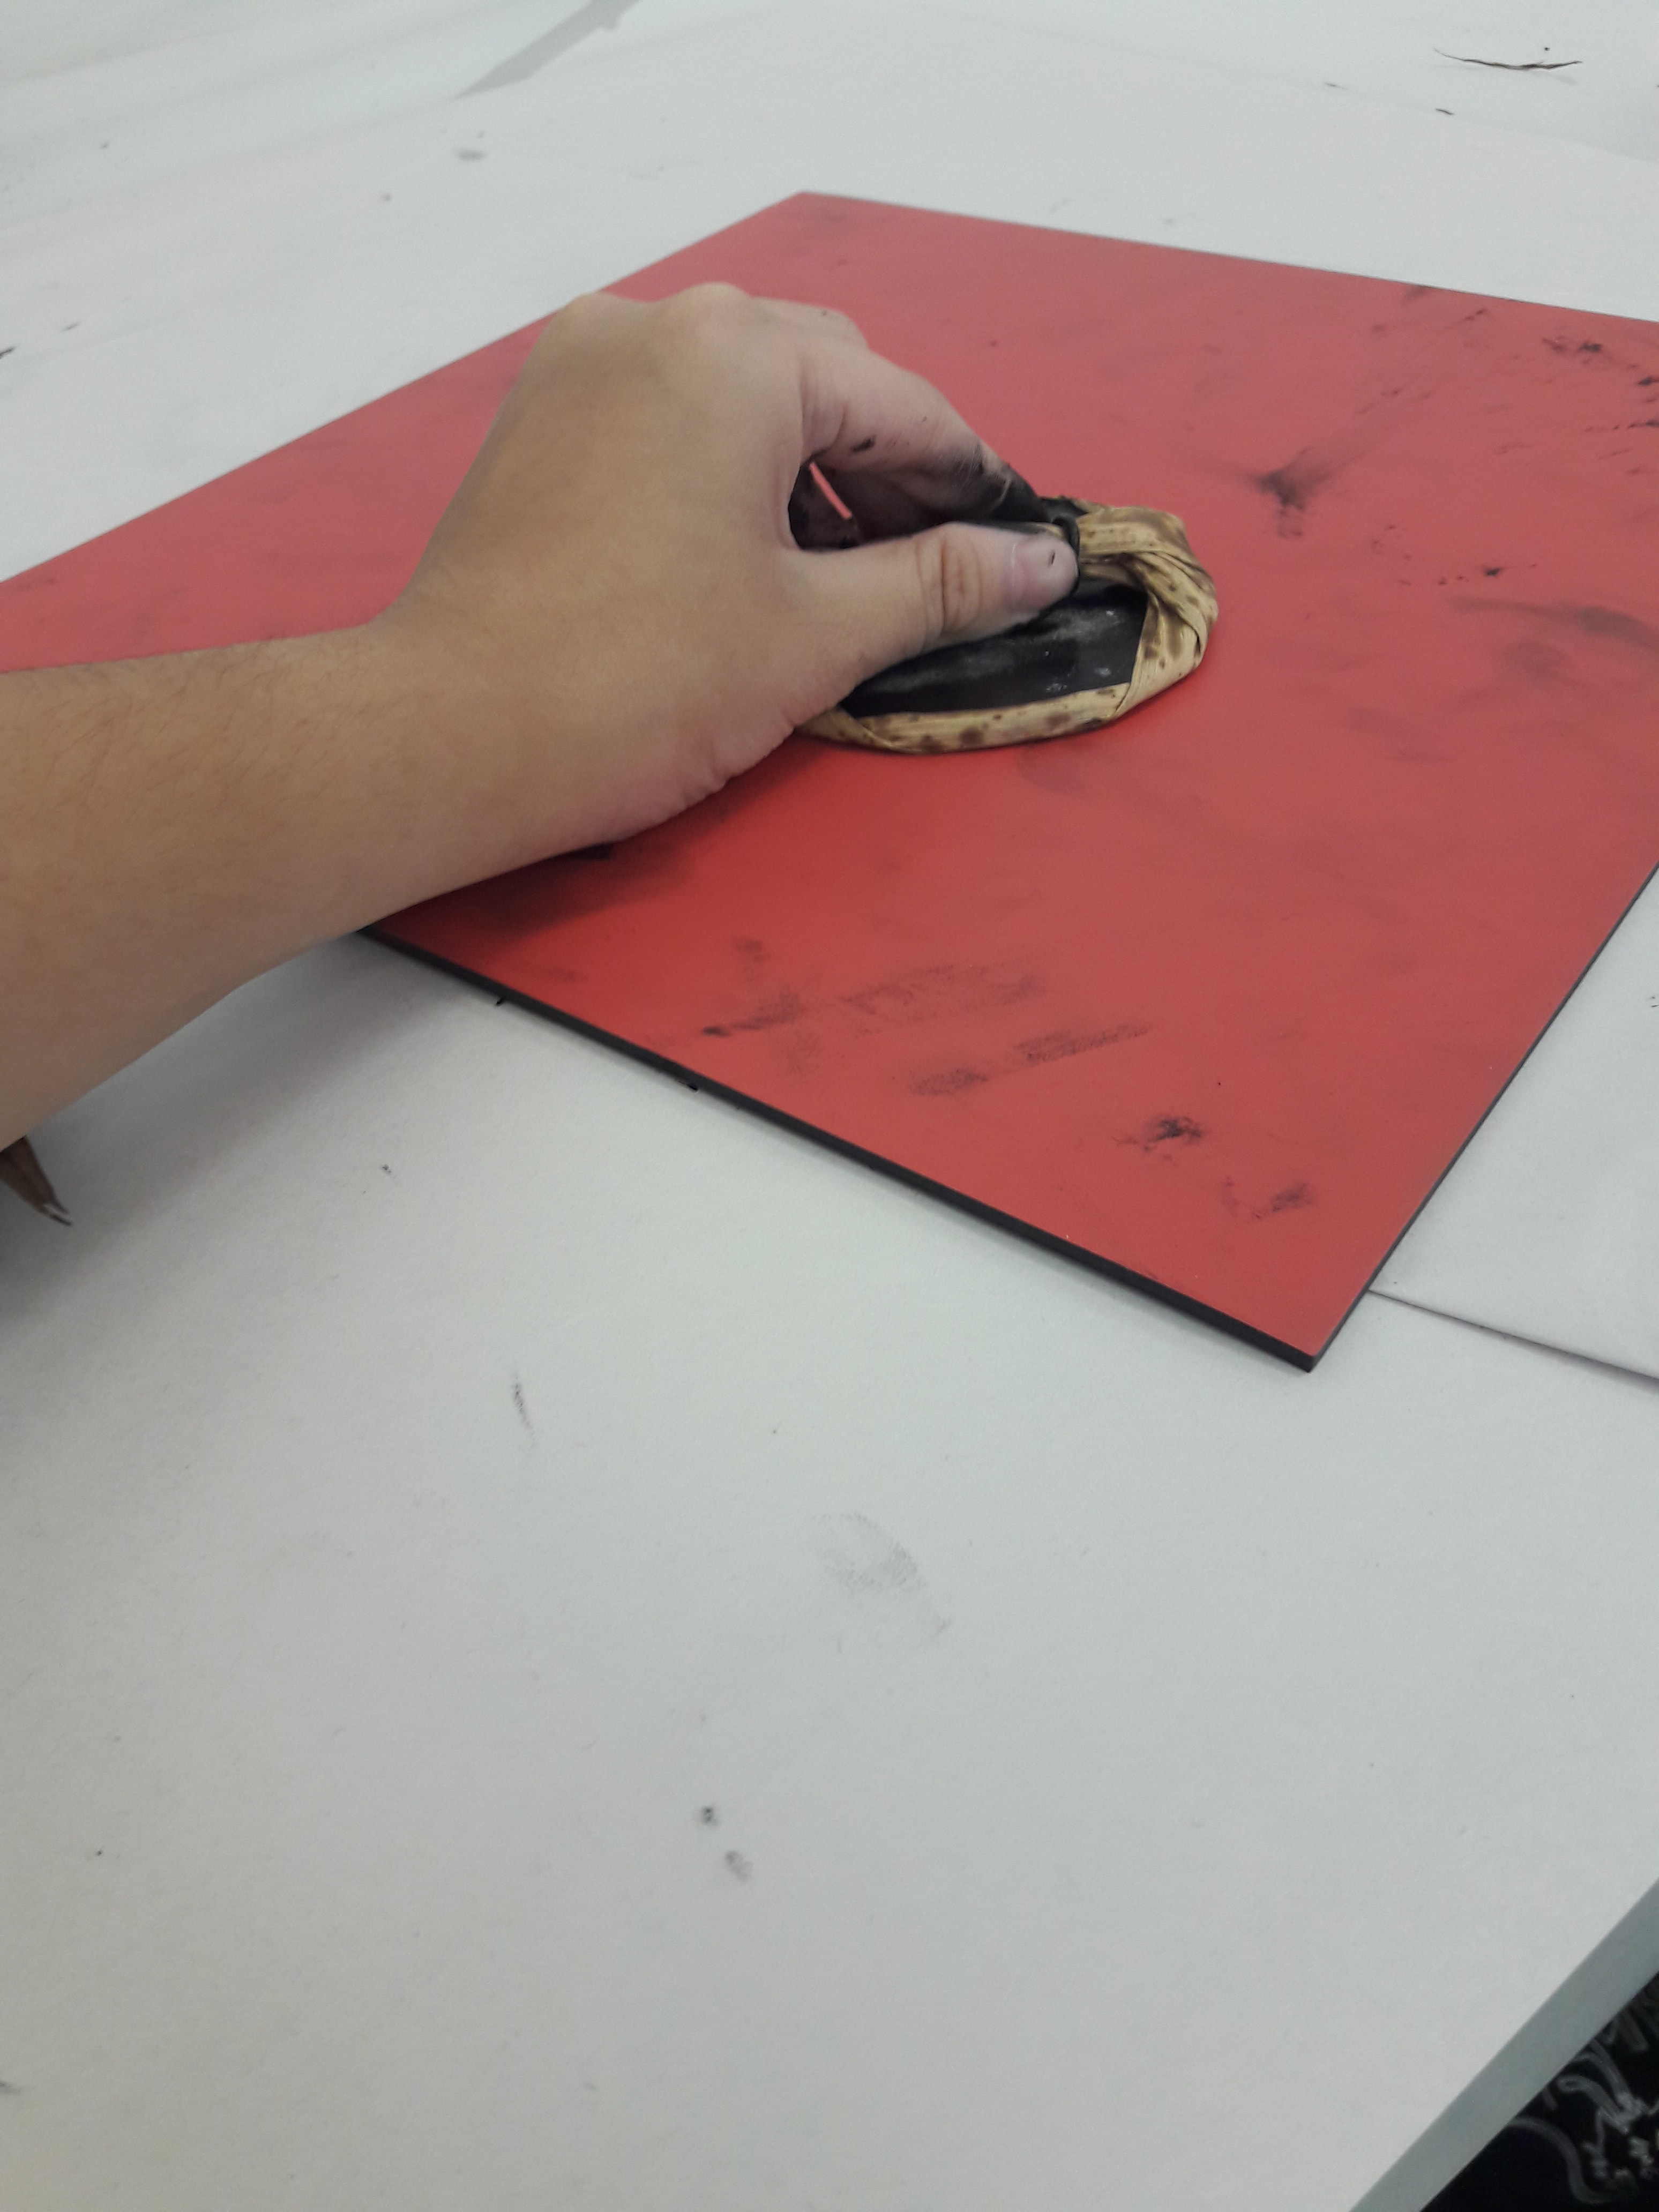
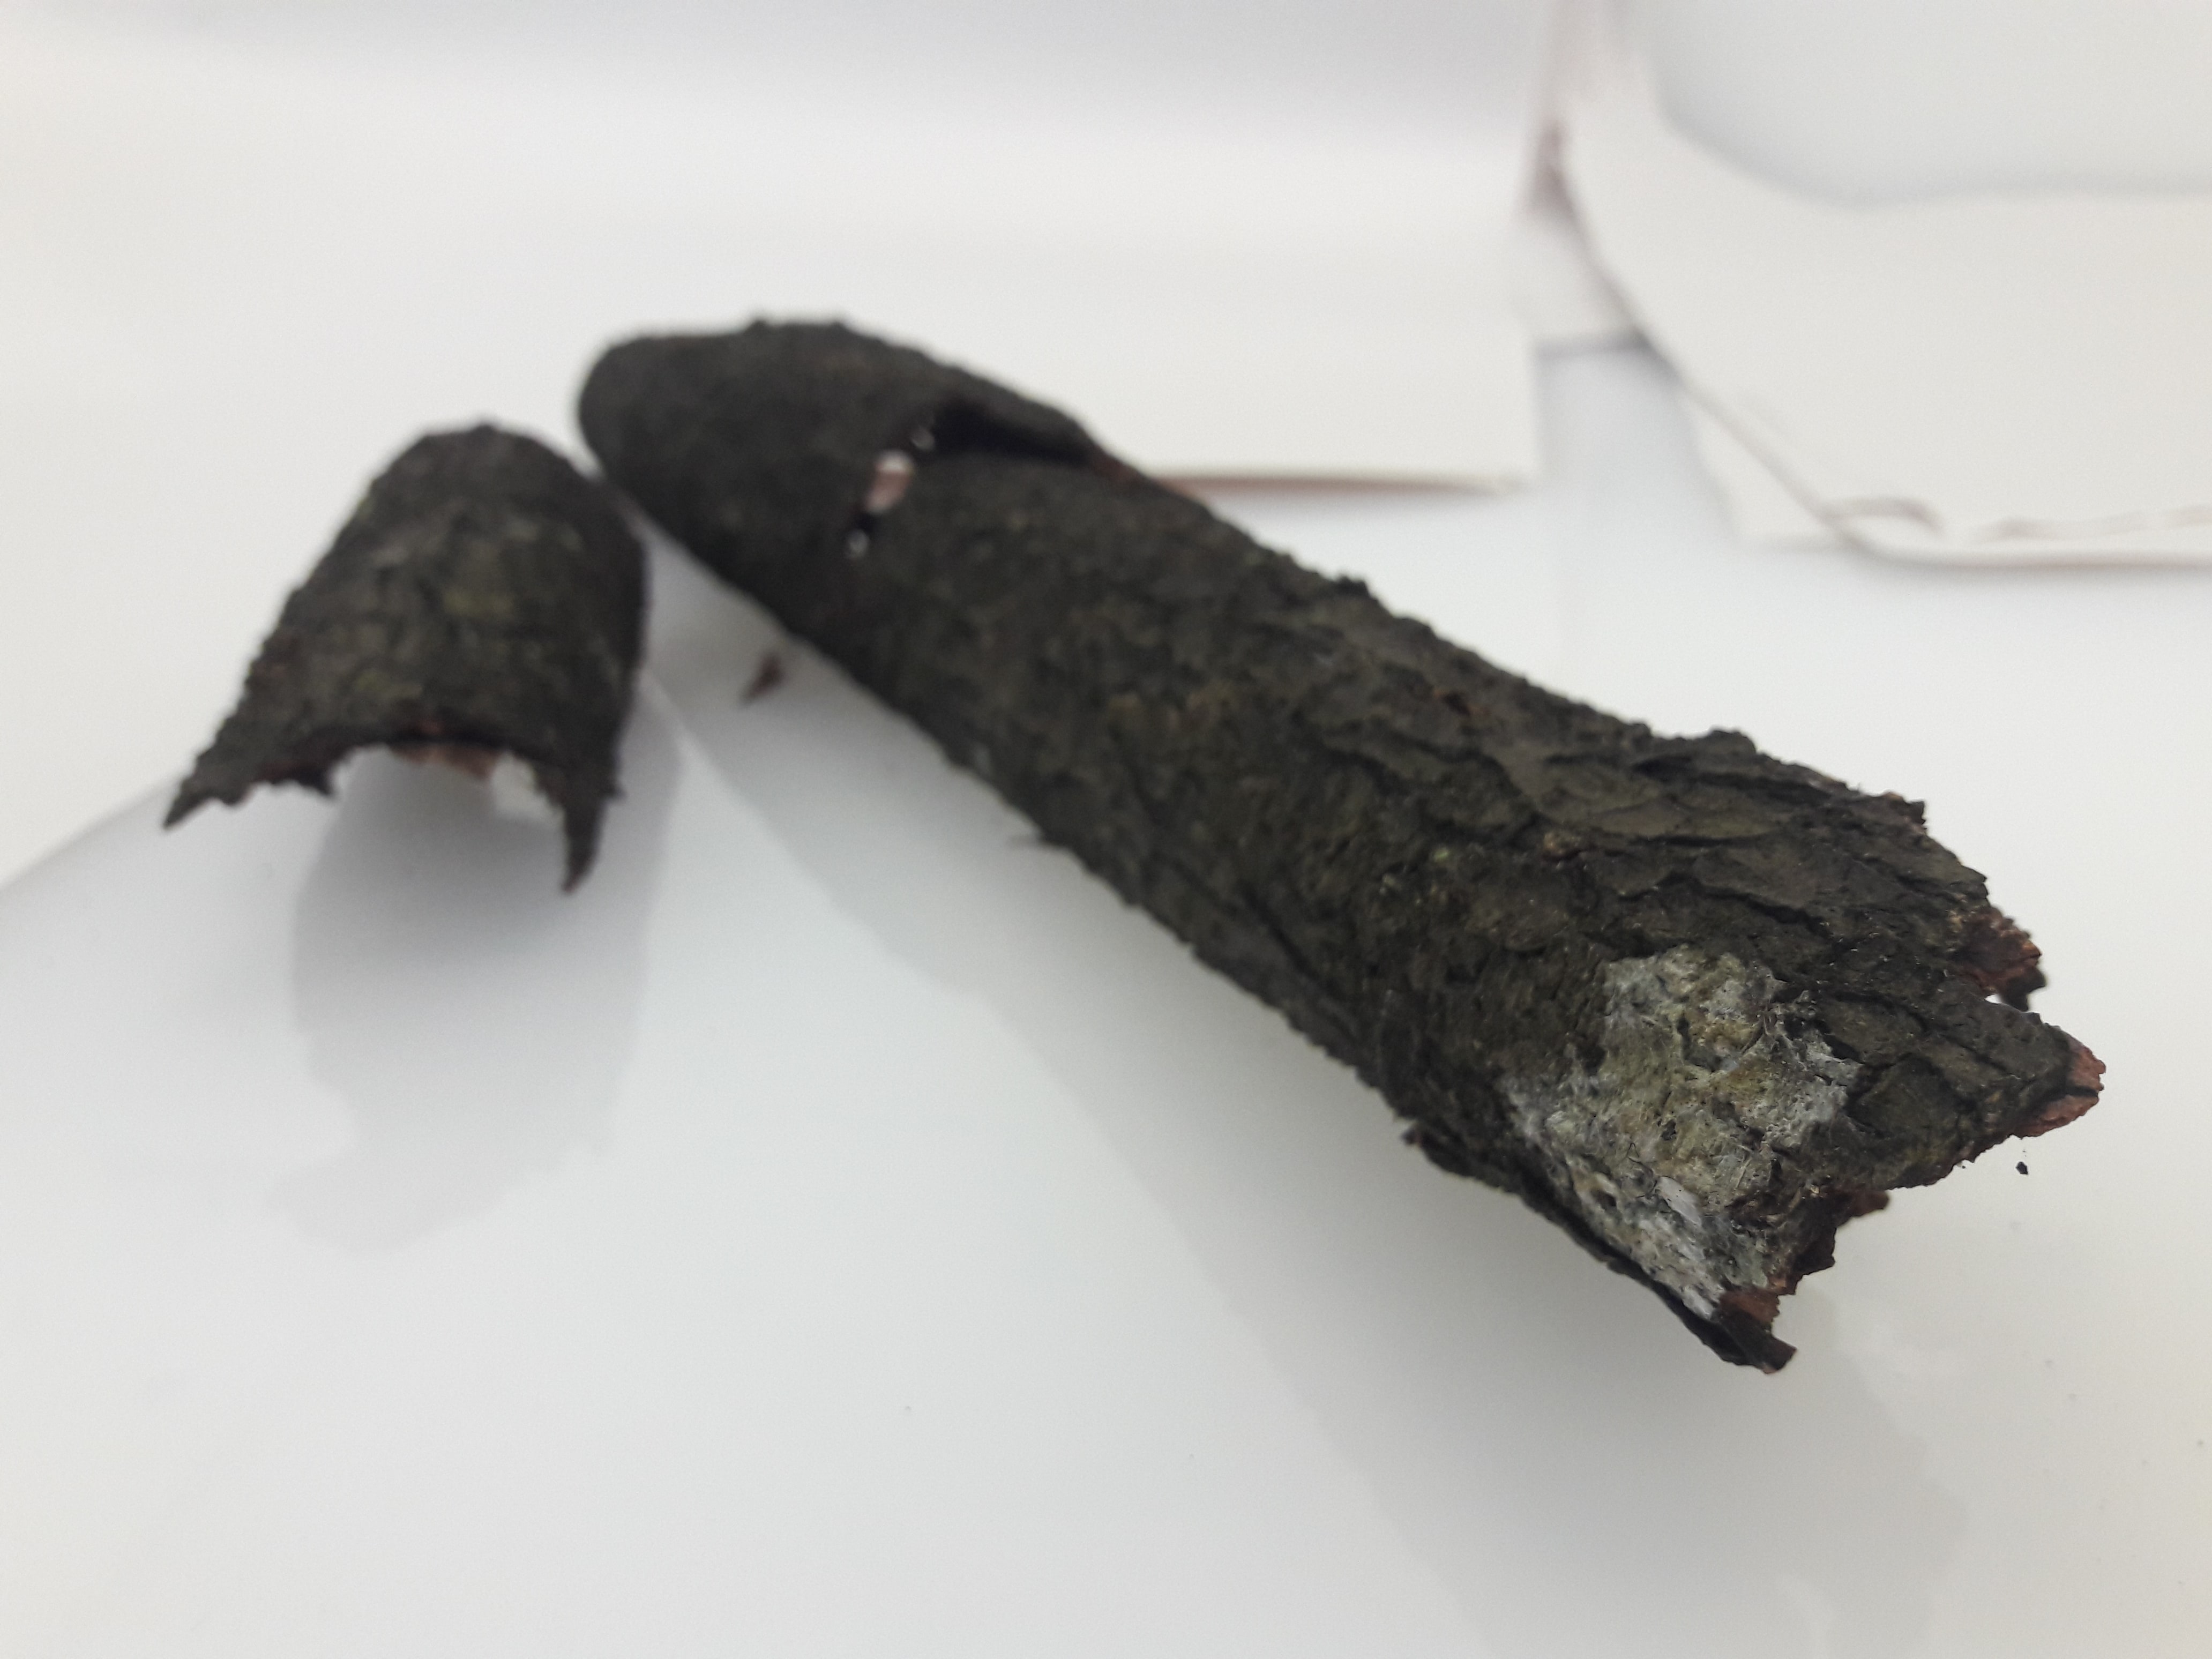
Next, I tried using the texture of the tree bark (?). This didn’t work out particularly well since it was difficult to apply sufficient pressure to make interesting marks without breaking the bark, but there was an attempt.
 |
 |
Material: Bark
Methodology: Painting bark with ink, then rolling bark on paper
Conclusion: I mean… It was an underwhelming result. I’m mostly disappointed. Maybe I should have tried pressing the paper onto the bark than the bark on the paper for more effect. Or slabbing on more paint.
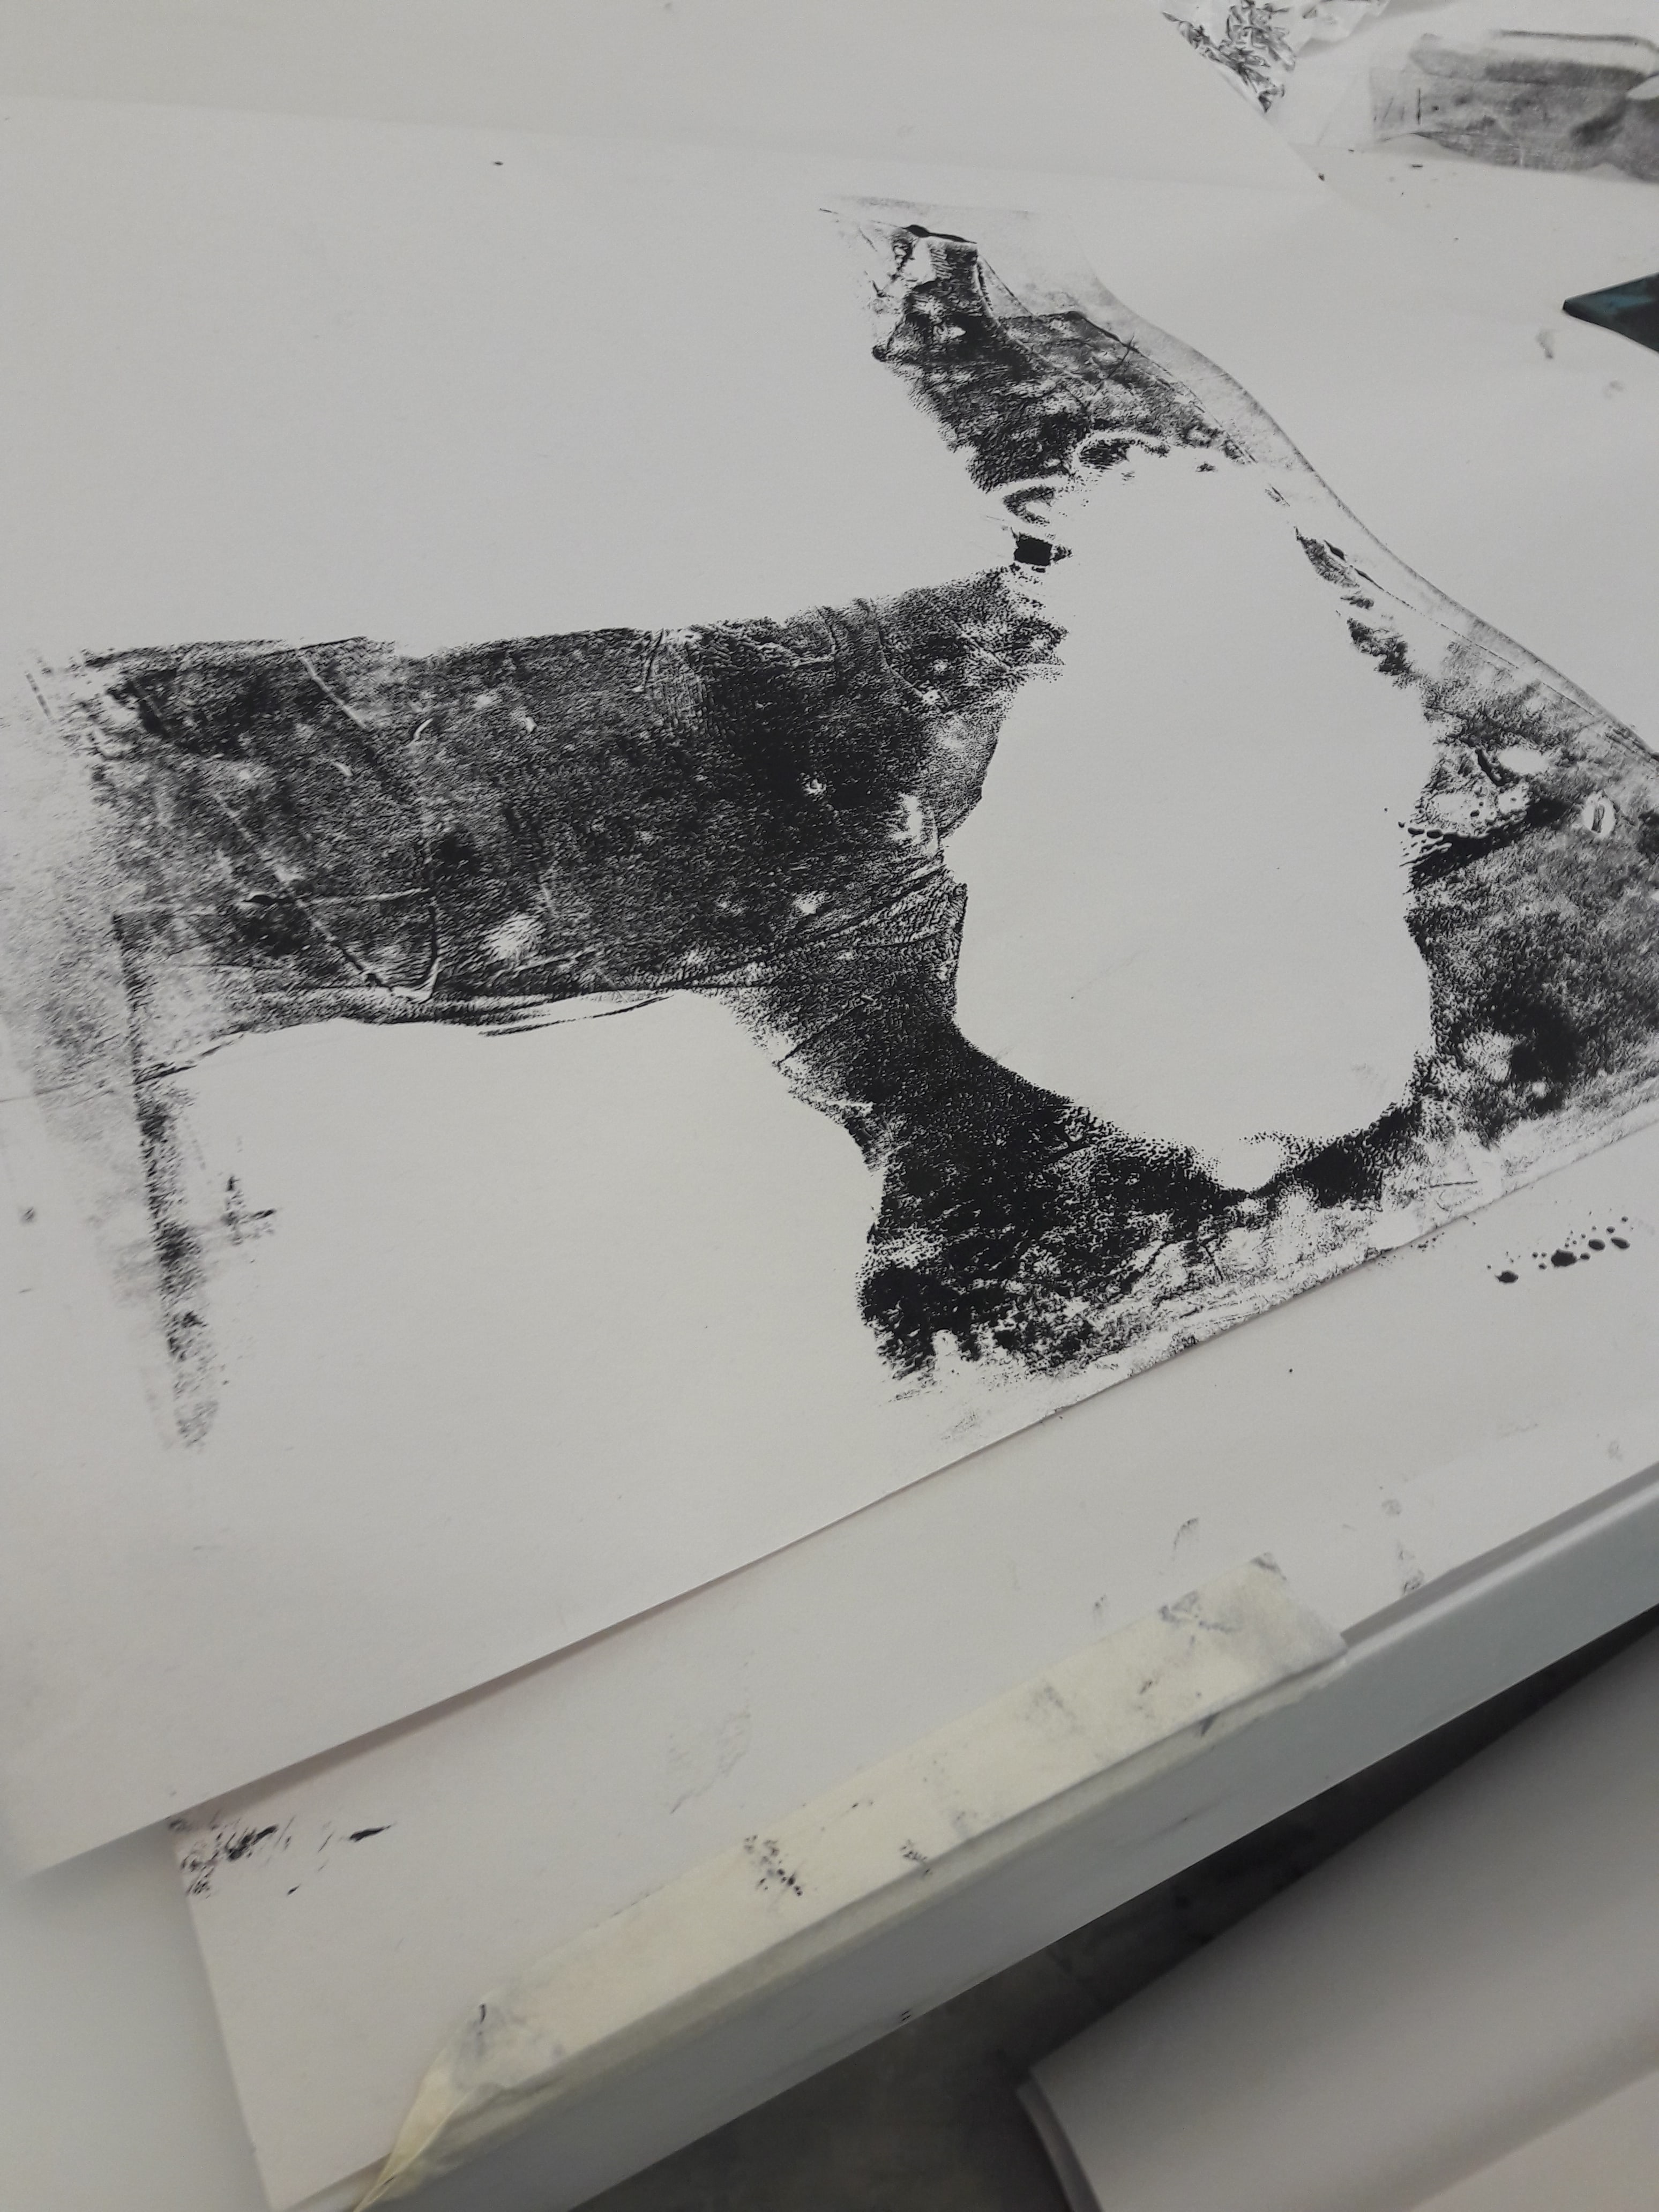
After all the plant-related items, I went into the more outrageous items (this next item is going to be awkward). For this, I did it the typical way, i.e. putting the material onto the linoleum, then pressing onto paper, then separating the linoleum and material and pressing both onto the paper separately.
 |
 |
Material: ……………. Girls will know
Methodology: Pressing linoleum + materials on paper, pressing linoleum (without materials), pressing materials (without linoleum)
Conclusion: After the initial disgust, this actually has a fairly interesting texture, and shapes. You can see the vaguely porous surface, and the patterns on it. While it’s absorbent, when pressed sufficiently the ink comes out only lightly, so it’s not as high contrast as the rest.
Other things I quickly tried before time was up was bubble wrap, various papers (tissues, toilet paper, Scotch Brite paper), and hair (acquisition of this material involved vaguely repulsive cleaning of a communal bathroom).
Material: Bubble wrap
Methodology: Wearing the bubble wrap like a glove and slapping it around the paper
Conclusion: I personally think the most interesting part is how the bubbles aren’t of even surface texture (I don’t know why I expected perfect circles, actually), and it provides a nice consistent pattern of evenly-shaped circles.
|
|
|

Material: Scotch Brite paper, tissue paper, toilet paper, hair
Methodology: Pressing
Conclusion: Again, I don’t find this technique particularly interesting, especially since all of these items don’t have particularly interesting outlines. Perhaps if I used something which was bad at holding ink, so it’d leak through?
 |
 |
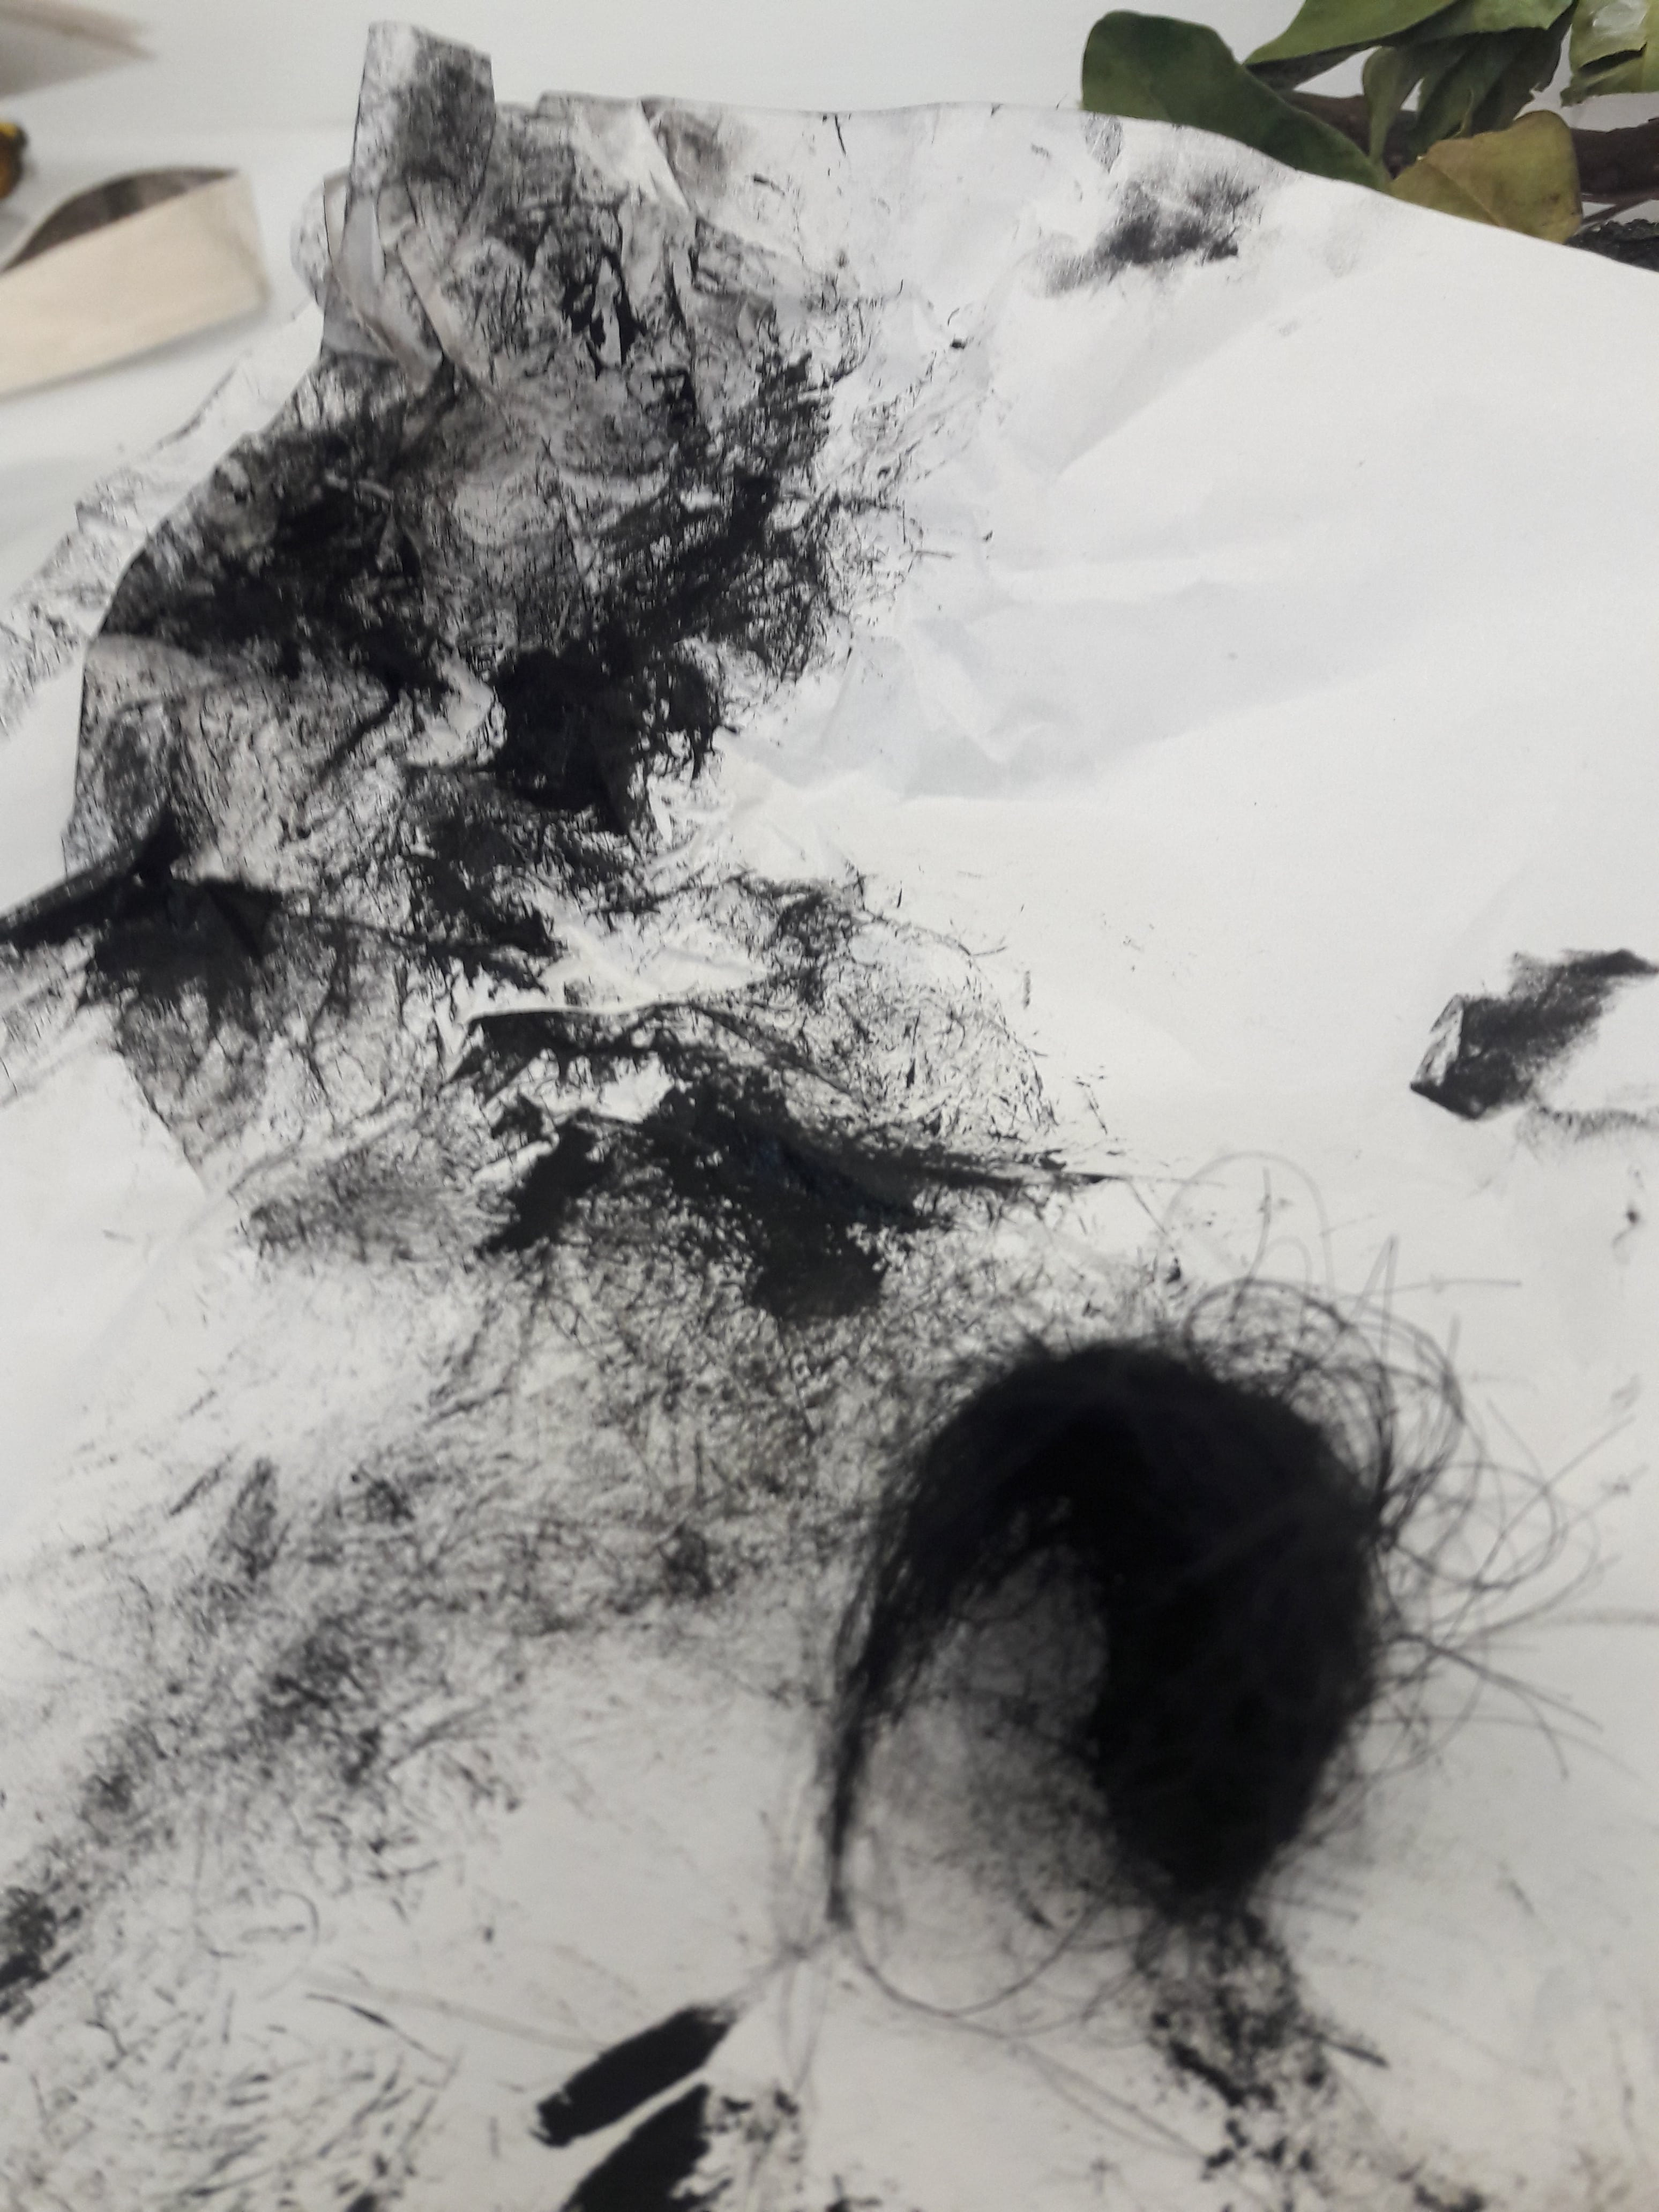
(Look, I went through a lot of internal turmoil to get this hairball, so I might as well maximise it.)
Material: Hair
Methodology: Soaking in ink, pressing and rolling it around
Conclusion: I liked how the density of hair showed clearly, with black splotches where there was a lot of hair, and stringy lines for stray hairs. Also how… Centralised it is, in having a core and then the hairs coming out
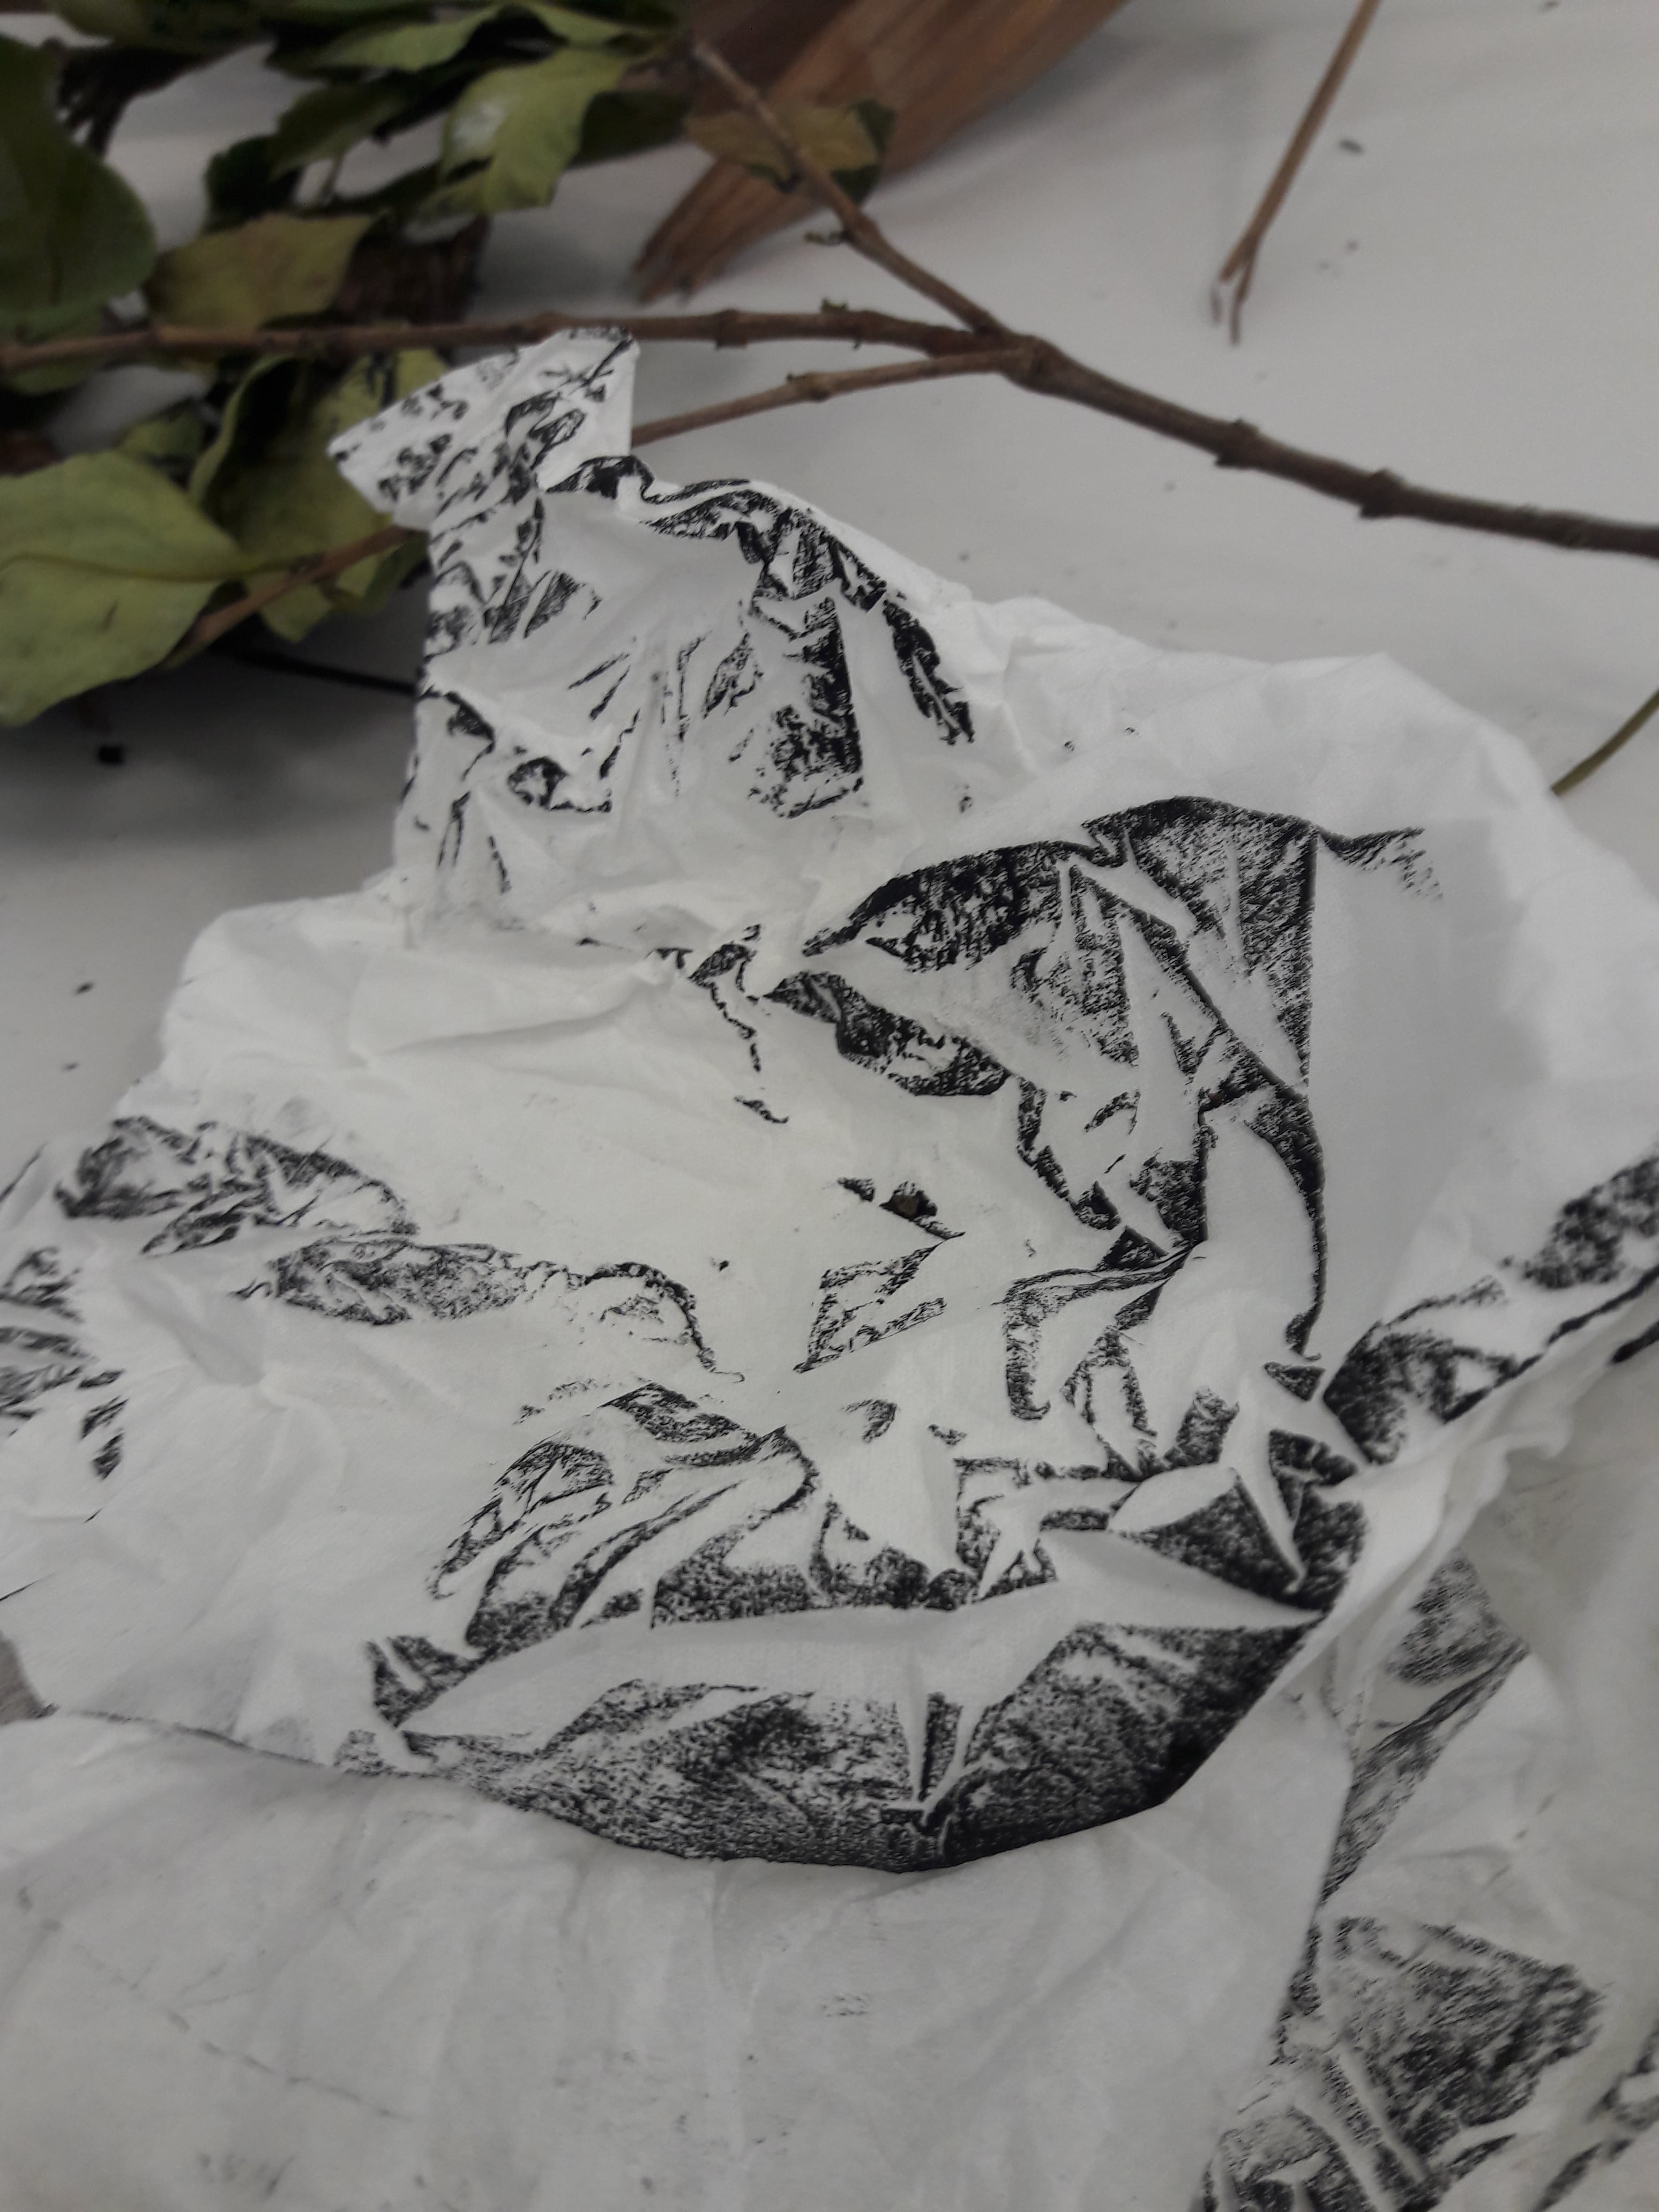
Somewhere at the start, I also decided to line the table with newsprint paper to avoid excessive staining. I also later discovered this also served as a bizarre way of mark making, and a convenient way of wrapping everything up when it’s time to go.
Hence, while clearing up, I took the opportunity to do some final marks:
(Had more fun than I probably should have…)


I really adore how it looks like branching veins. And on closer inspection, like a landscape, especially when combined with the 3D aspect of crumpled paper. Next time I might want to consider varying the level of crumple, since for this I was really extremely thorough in crumpling it to tiny bits.
|
|
|
|


Finally, a threnody for an abandoned item, my uneaten vegetables. As a person of dubious morals, I attempted a zero waste lifestyle by saving them for class. Unfortunately, they rotted. May they rest in peace.

It was a very fun experience, but I still haven’t really analysed what these marks make me feel, and how, meaning I’m no closer to completing Project 1 than last week. Will probably try to do that in a separate post later, when I get back the physical papers.