
Movie Quote 1: “Home is behind you, the world is ahead”

To me, this quote means that for one to grow, they should leave and move on from what they are comfortable with to take on other challenges, learning and developing new skills while at it.

The main feature of the design is the footsteps leading towards the top right of the picture. “Home” here is represented by the welcome mat which can normally be found at the entrance of houses. The mat, however, is upside down, meaning that the person is leaving home instead of entering.
The footsteps are shown slowly increasing in size as in goes further and further away from “home”, symbolising the person’s growth as he continues on to the outside world. The footsteps are also seen slowly changing into leaves, representing the person’s slowly immersing his or herself into the outside world, having a deeper understanding and eventually being part of it.
The nature details on the left and right side of the design also increase in size from the bottom up symbolising the increasing challenges and obstacles but at the same time the increasing knowledge as you get further away from “home”.
Movie Quote 2: “The world is not in your books and maps, it’s out there”
In my opinion, this quote means that for someone to truly experience and know the world, he should go outside and not learn just through books.

To represent books and maps, I first thought of a library, a place where you can find books and maps and generally a place where someone goes to look for information and learn about things. So the main feature of the design is actually shelves, with books represented by doors, supporting the saying,”Books are doors to another world”.
The books and shelves fall into the gap in the middle, with outer space in the background, symbolising “out there” in the quote. Overall giving the meaning that to know more about the world, you have to look beyond books and go outside.
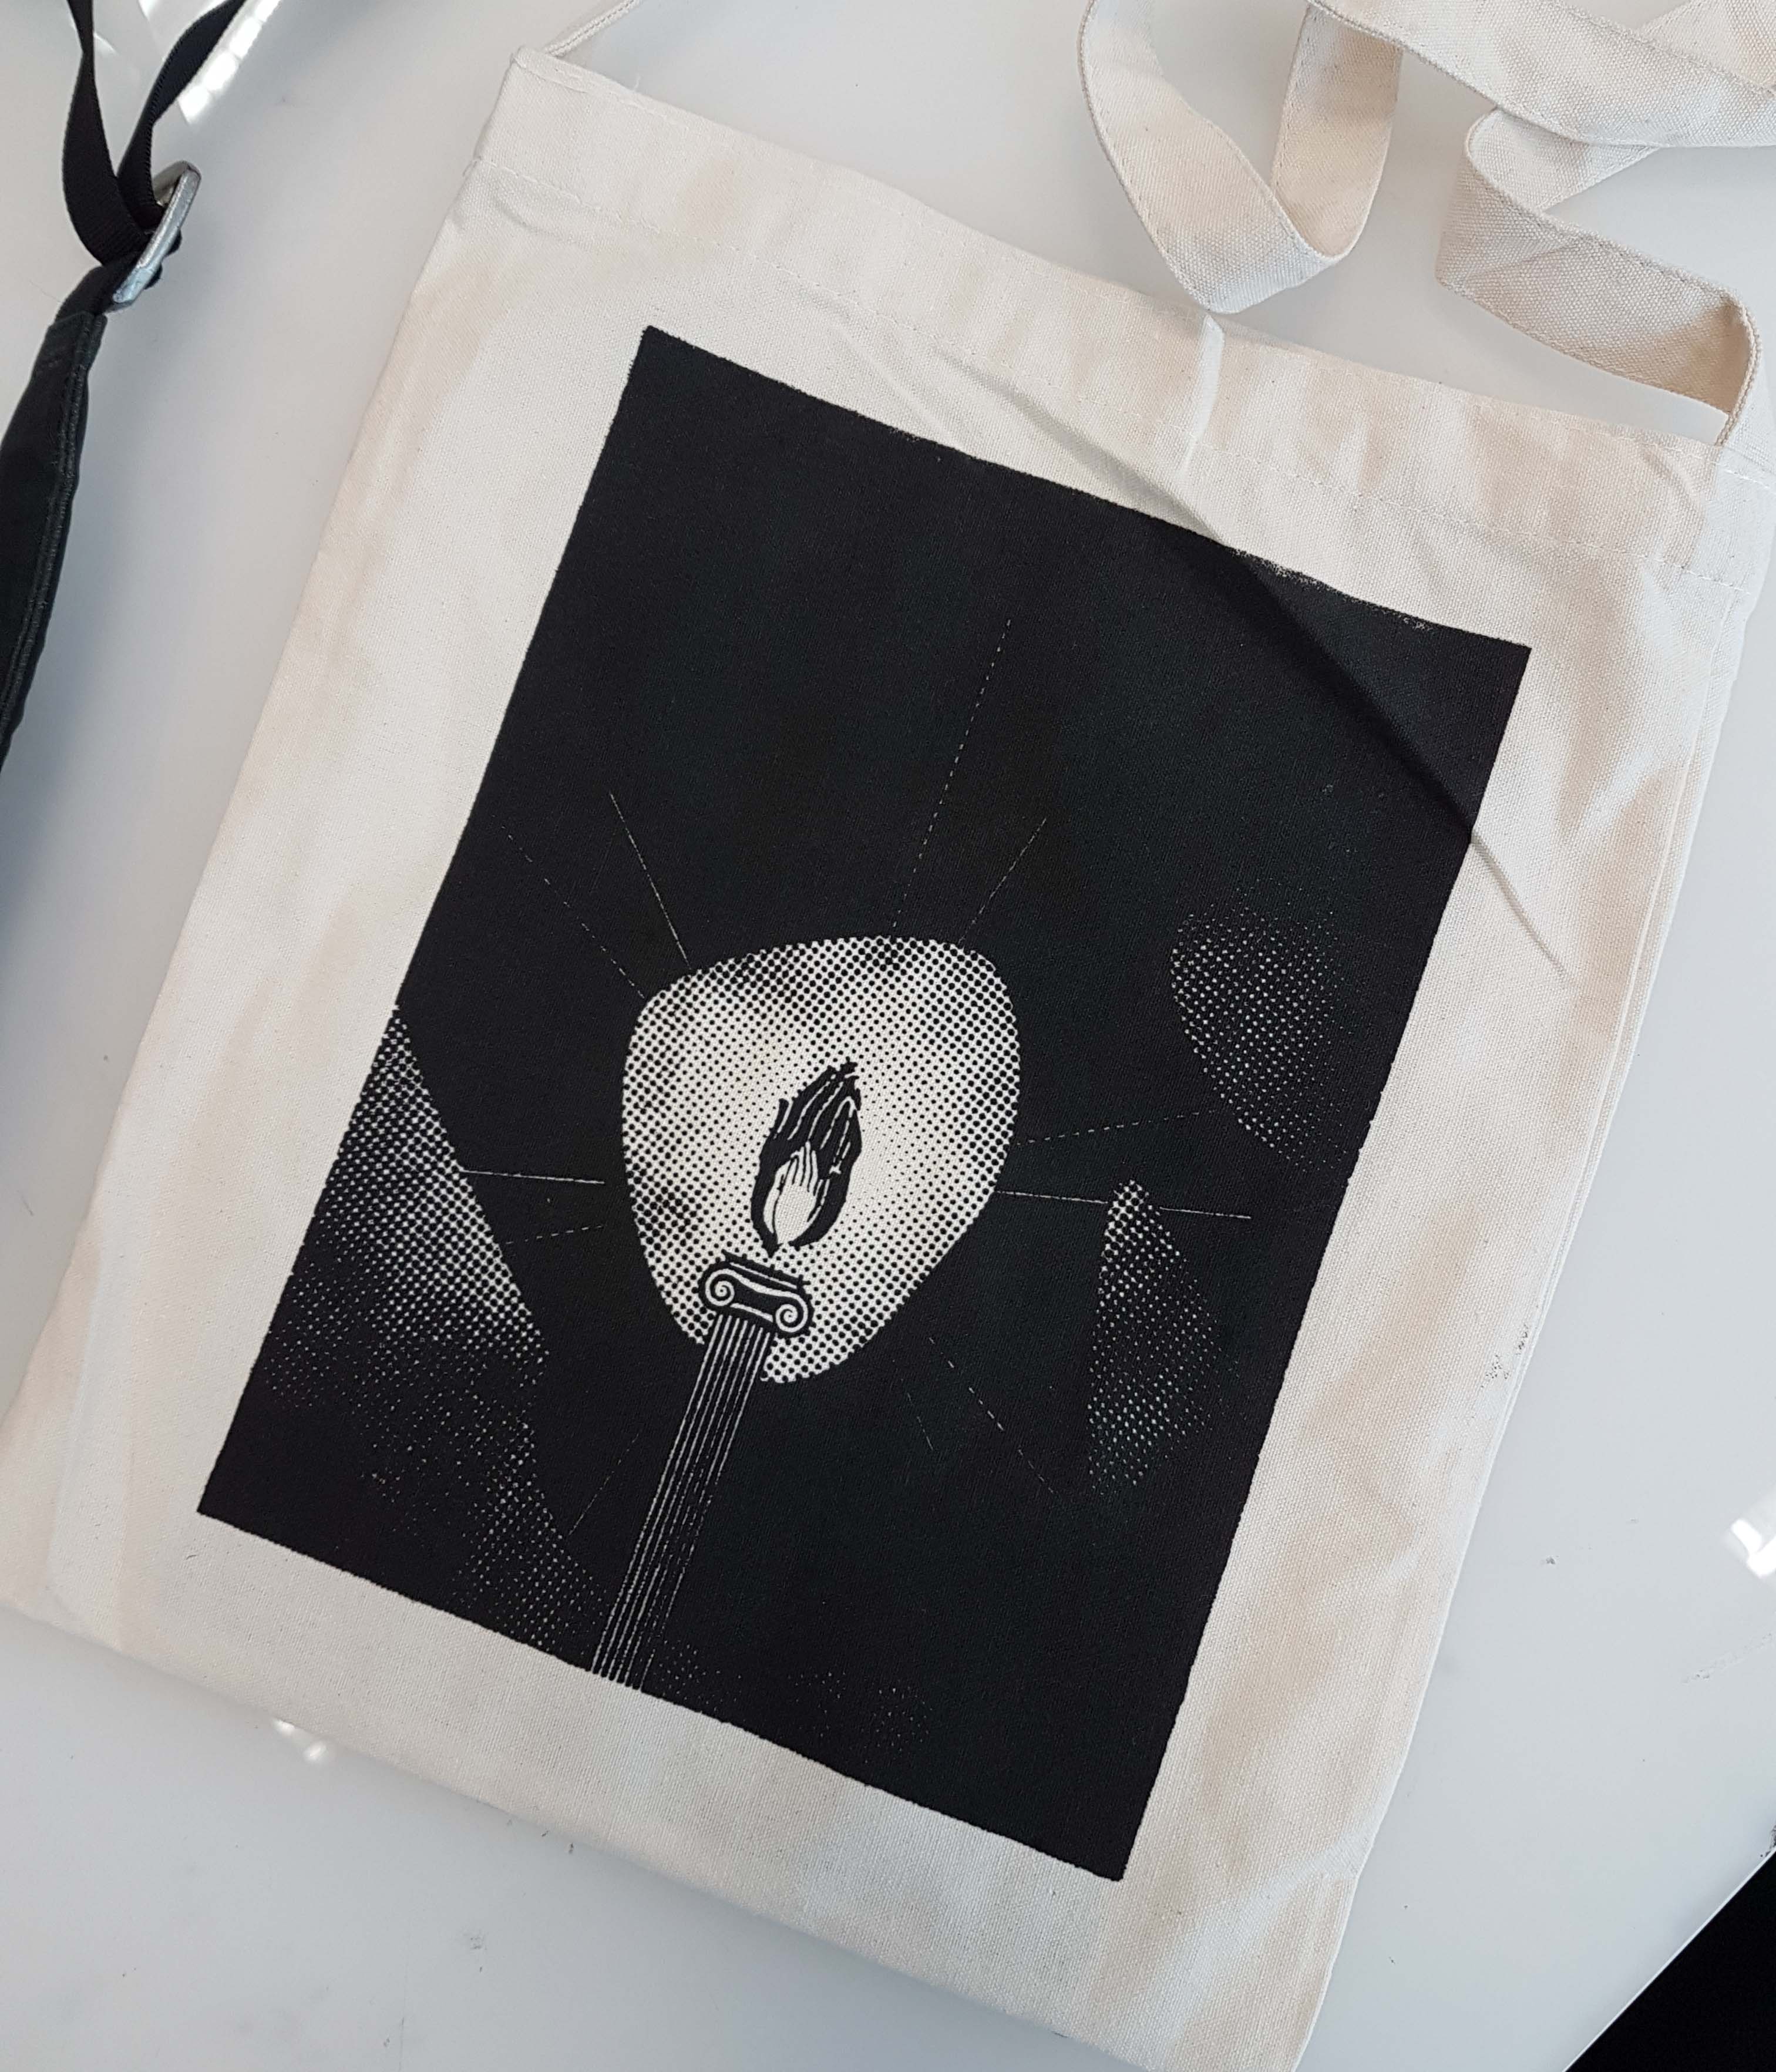
Movie Quote 3: “May it be a light for you in dark places”

This quote to me is the idea of having hope and staying strong when things go downhill in life.
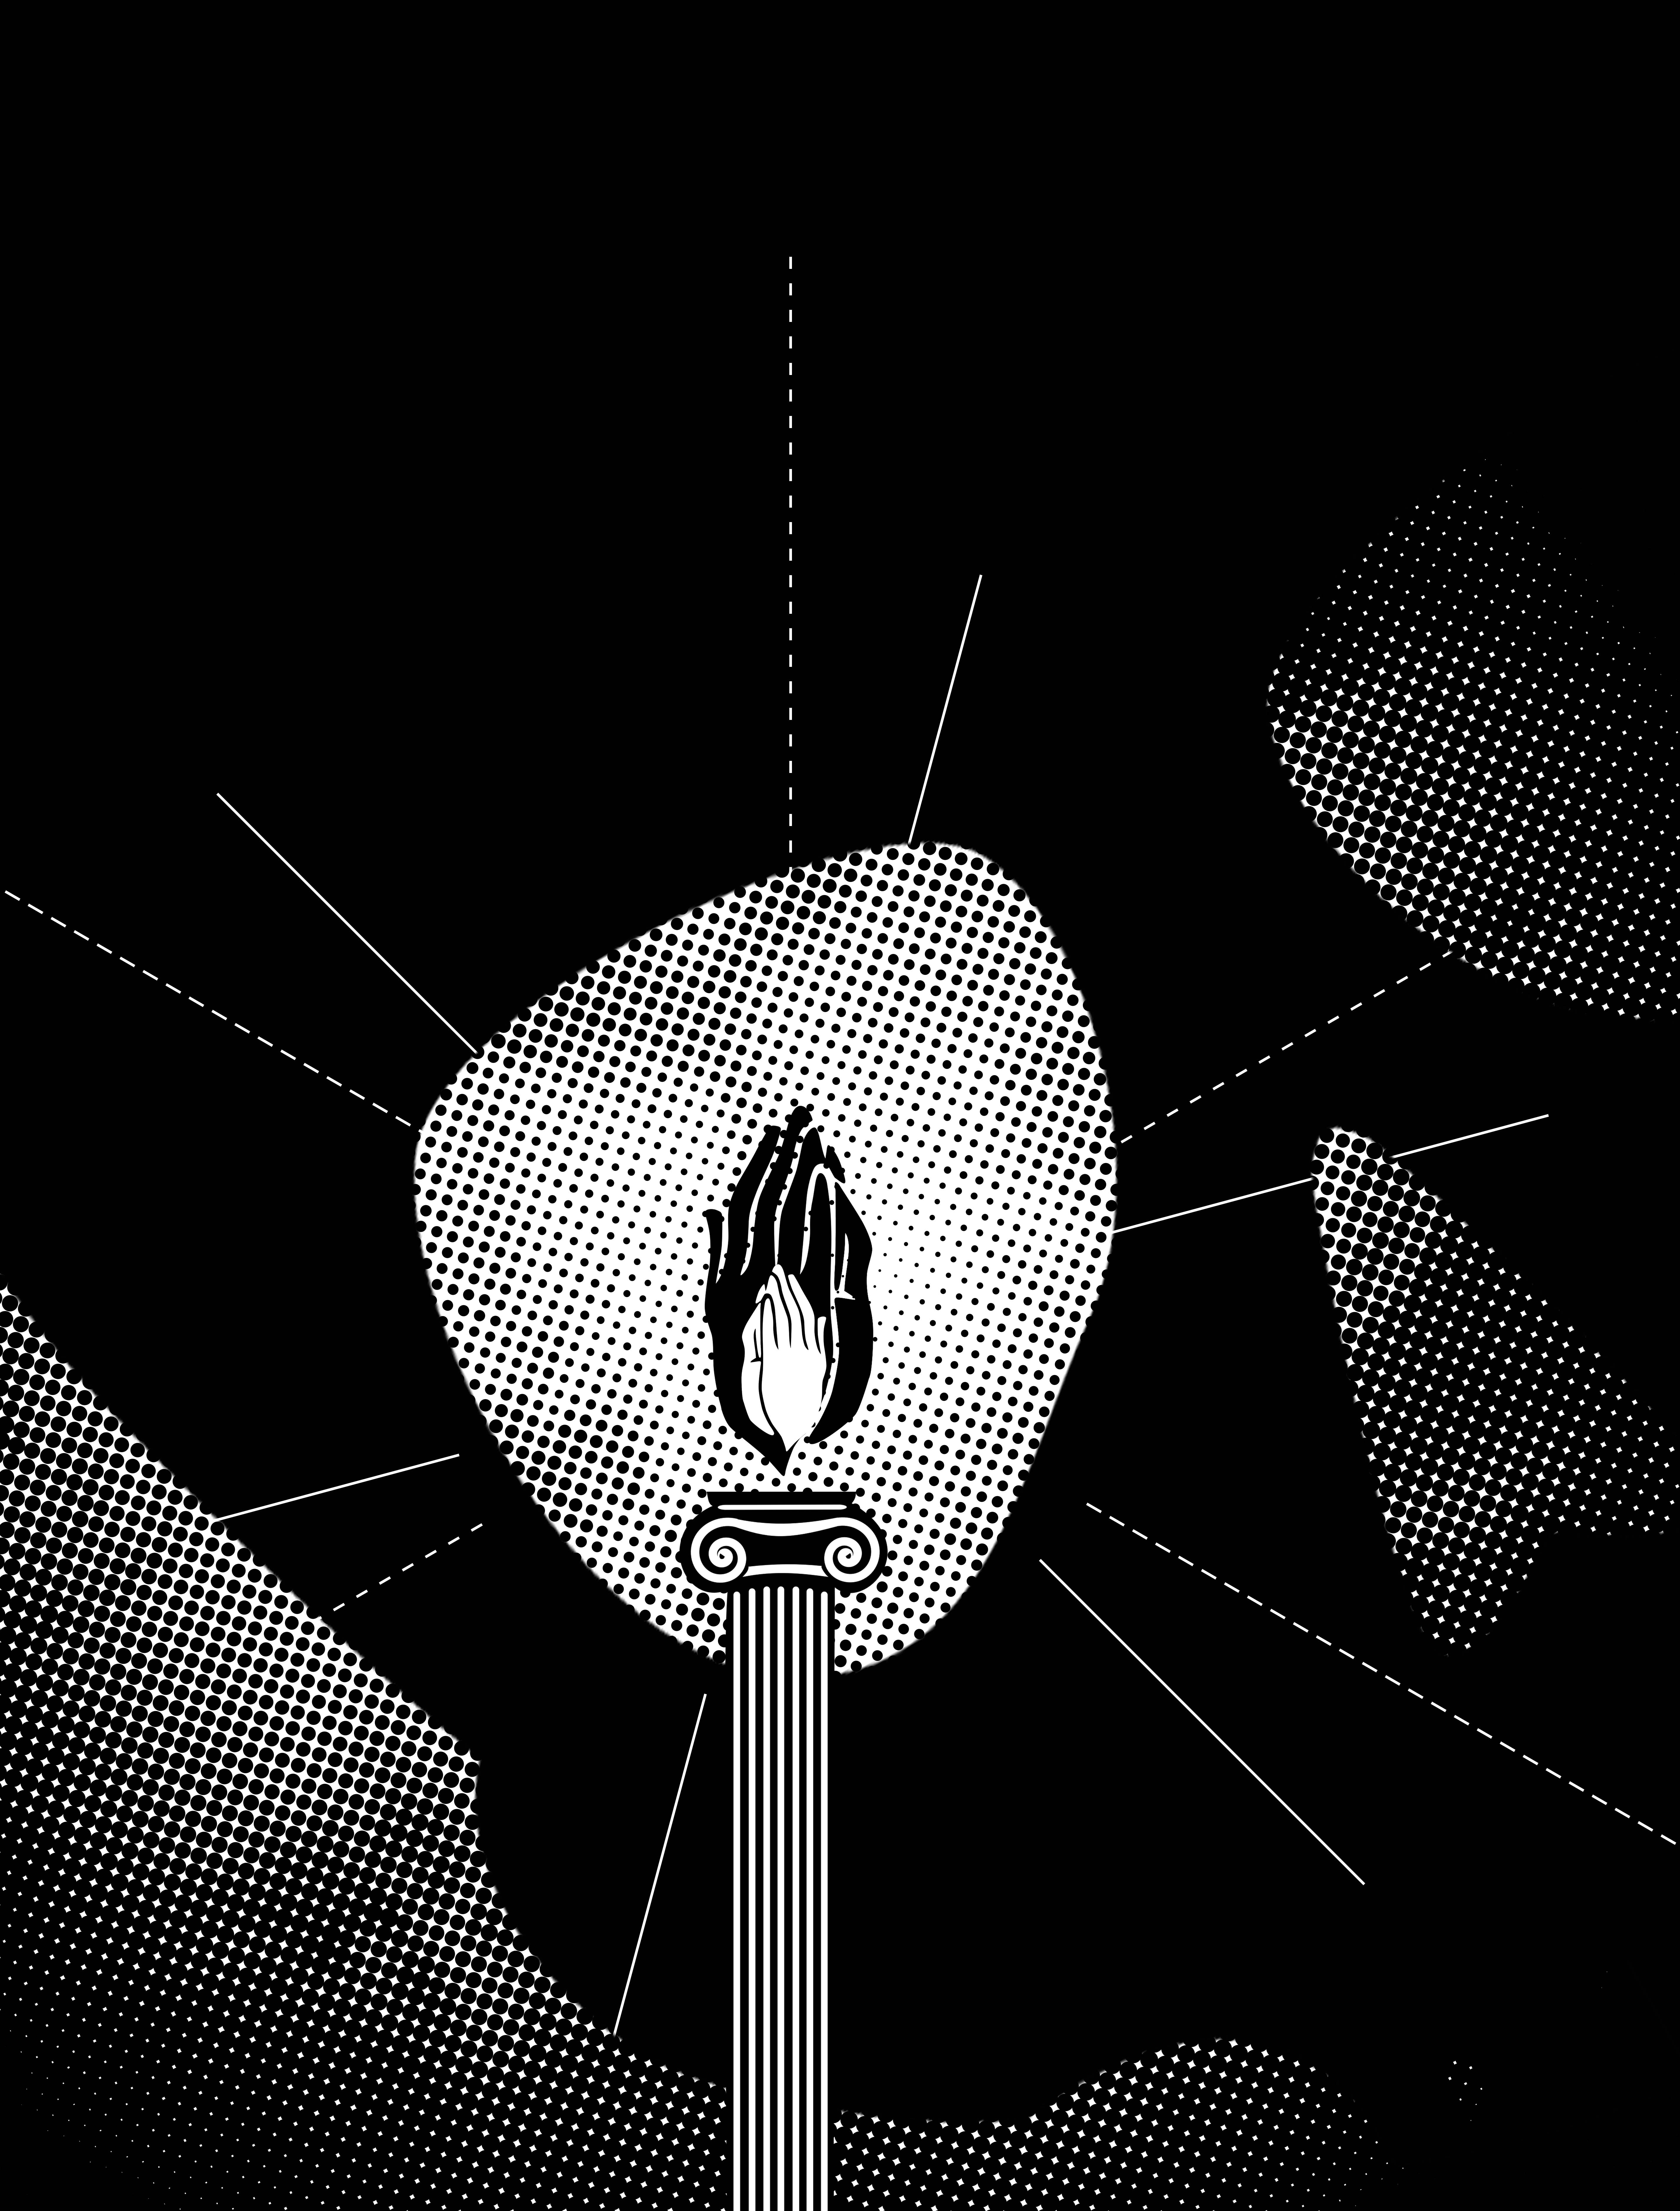
The main feature of the layout is the candle in the middle, with the candle flames made of praying hands, symbolising hope. The candle itself is represented by a pillar, symbolising a pillar of strength. Lines and dashed lines emitting from the candle flame creates a central focus towards it.
Darkness here is represented by the large use of black, and also the formation of the skull, symbolising darkness and death.
In the spaces, however, is actually an image of soft flowers (a little hard to see because of the colour halftone), symbolising light and peace that comes from hope (the candle flame)
Quote 4: “You gave me peace in a lifetime of war”


There are two elements of contrast here, which is peace and war in the same sentence. In my opinion, the quote means someone helped to break someone who was built for war and rage by giving them peace.

An hourglass containing different types of weapons used through the ages, ranging from swords to tanks and fighter jets, which symbolises “lifetime of war”.
If you look closely at the top right, there is a dove, symbolising peace, formed in the negative space formed by the weapons. The dove is released by the pair of hands at the bottom left, which smashed through the hourglass, symbolising “breaking of the lifetime of war”.
The left side of the background is actually chaos caused by war, but once the dove breaks through the hourglass, the background is pure white on the right side of the picture, symbolising peace.
Silkscreening
I have decided to go with the design for Quote #3 as I think that it will look best when silkscreened on the tote bag.
The screened design and the transparency
After creating the digital design, we were to print it out on two transparent sheets and align both of them together.
After that, we were then told to prepare the screen by spreading the photo emulsion on it. Firstly, we have to wash the screen to clear up all the dirt and dust on the screen. After the screen is dry, we spread a thin layer of photo emulsion on both sides of the screen.

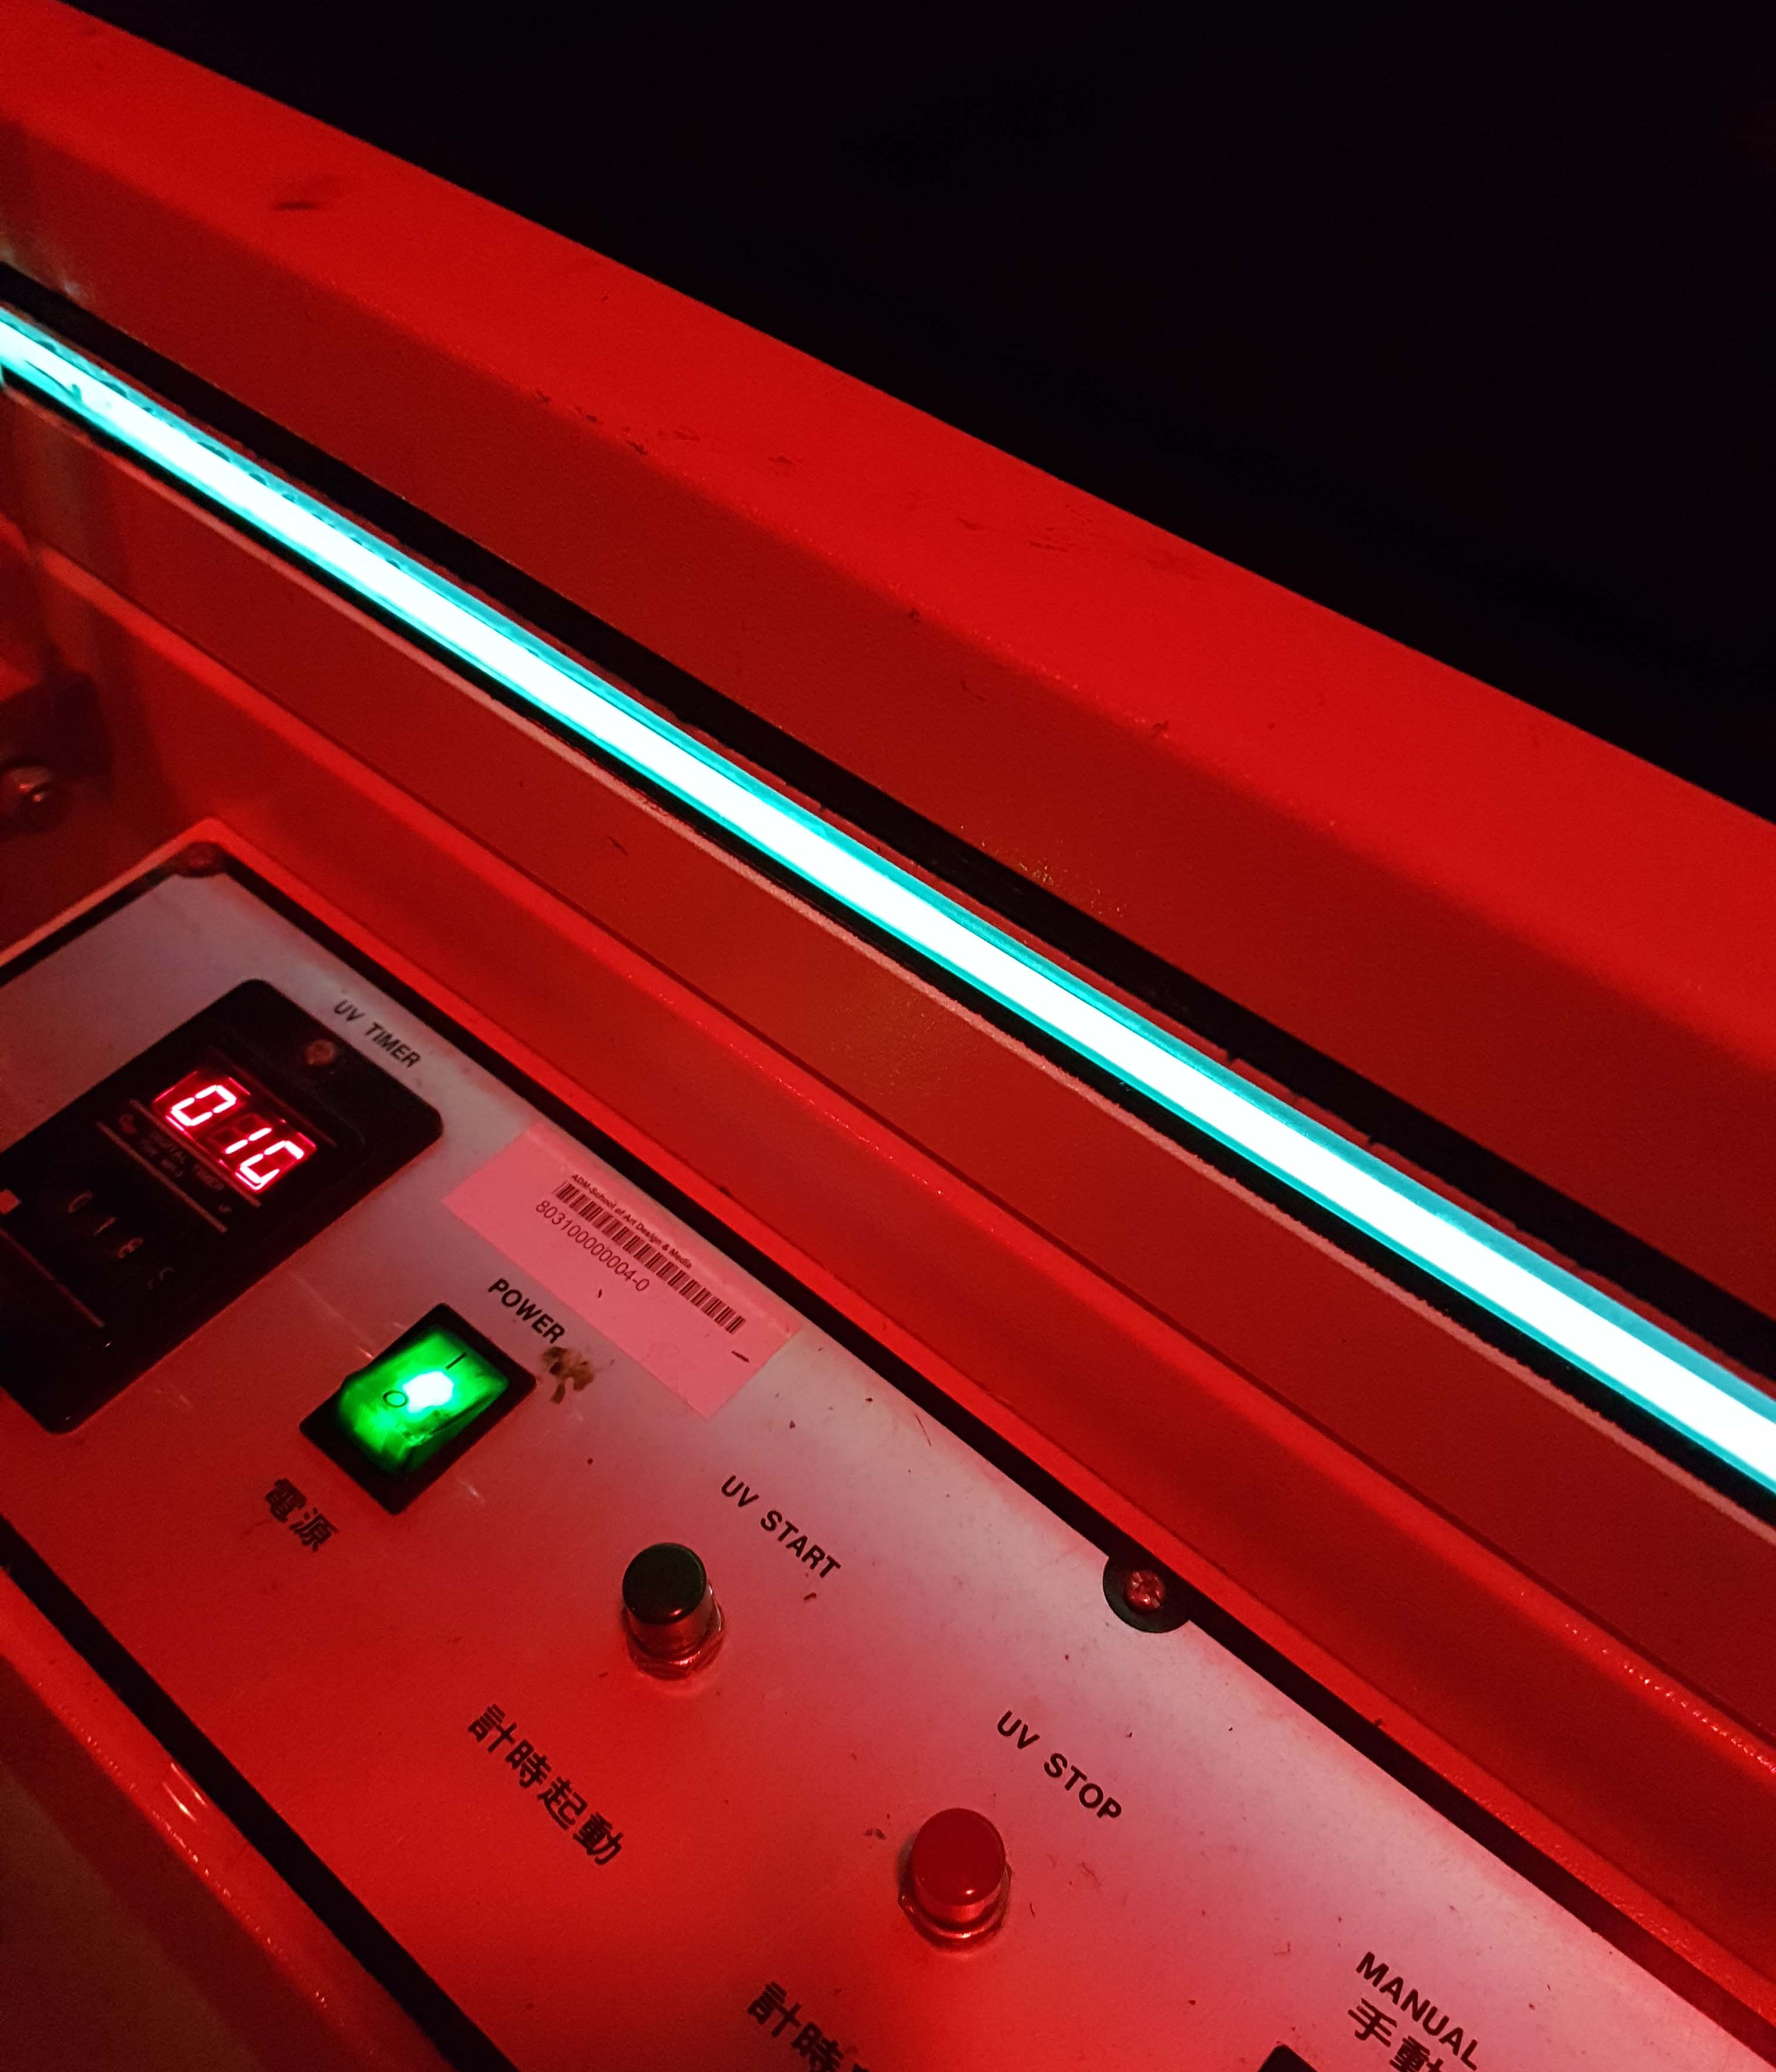
Once both sides of the screen have a smooth layer of photo emulsion on, it is put aside to dry once more.
Once the emulsion has dried on the screen, we place the transparency with the design on it onto the screen and put it into the machine to transfer the design from the transparency onto the screen. The transparency needs to be inbetween the screen and the machine for it to be successful.


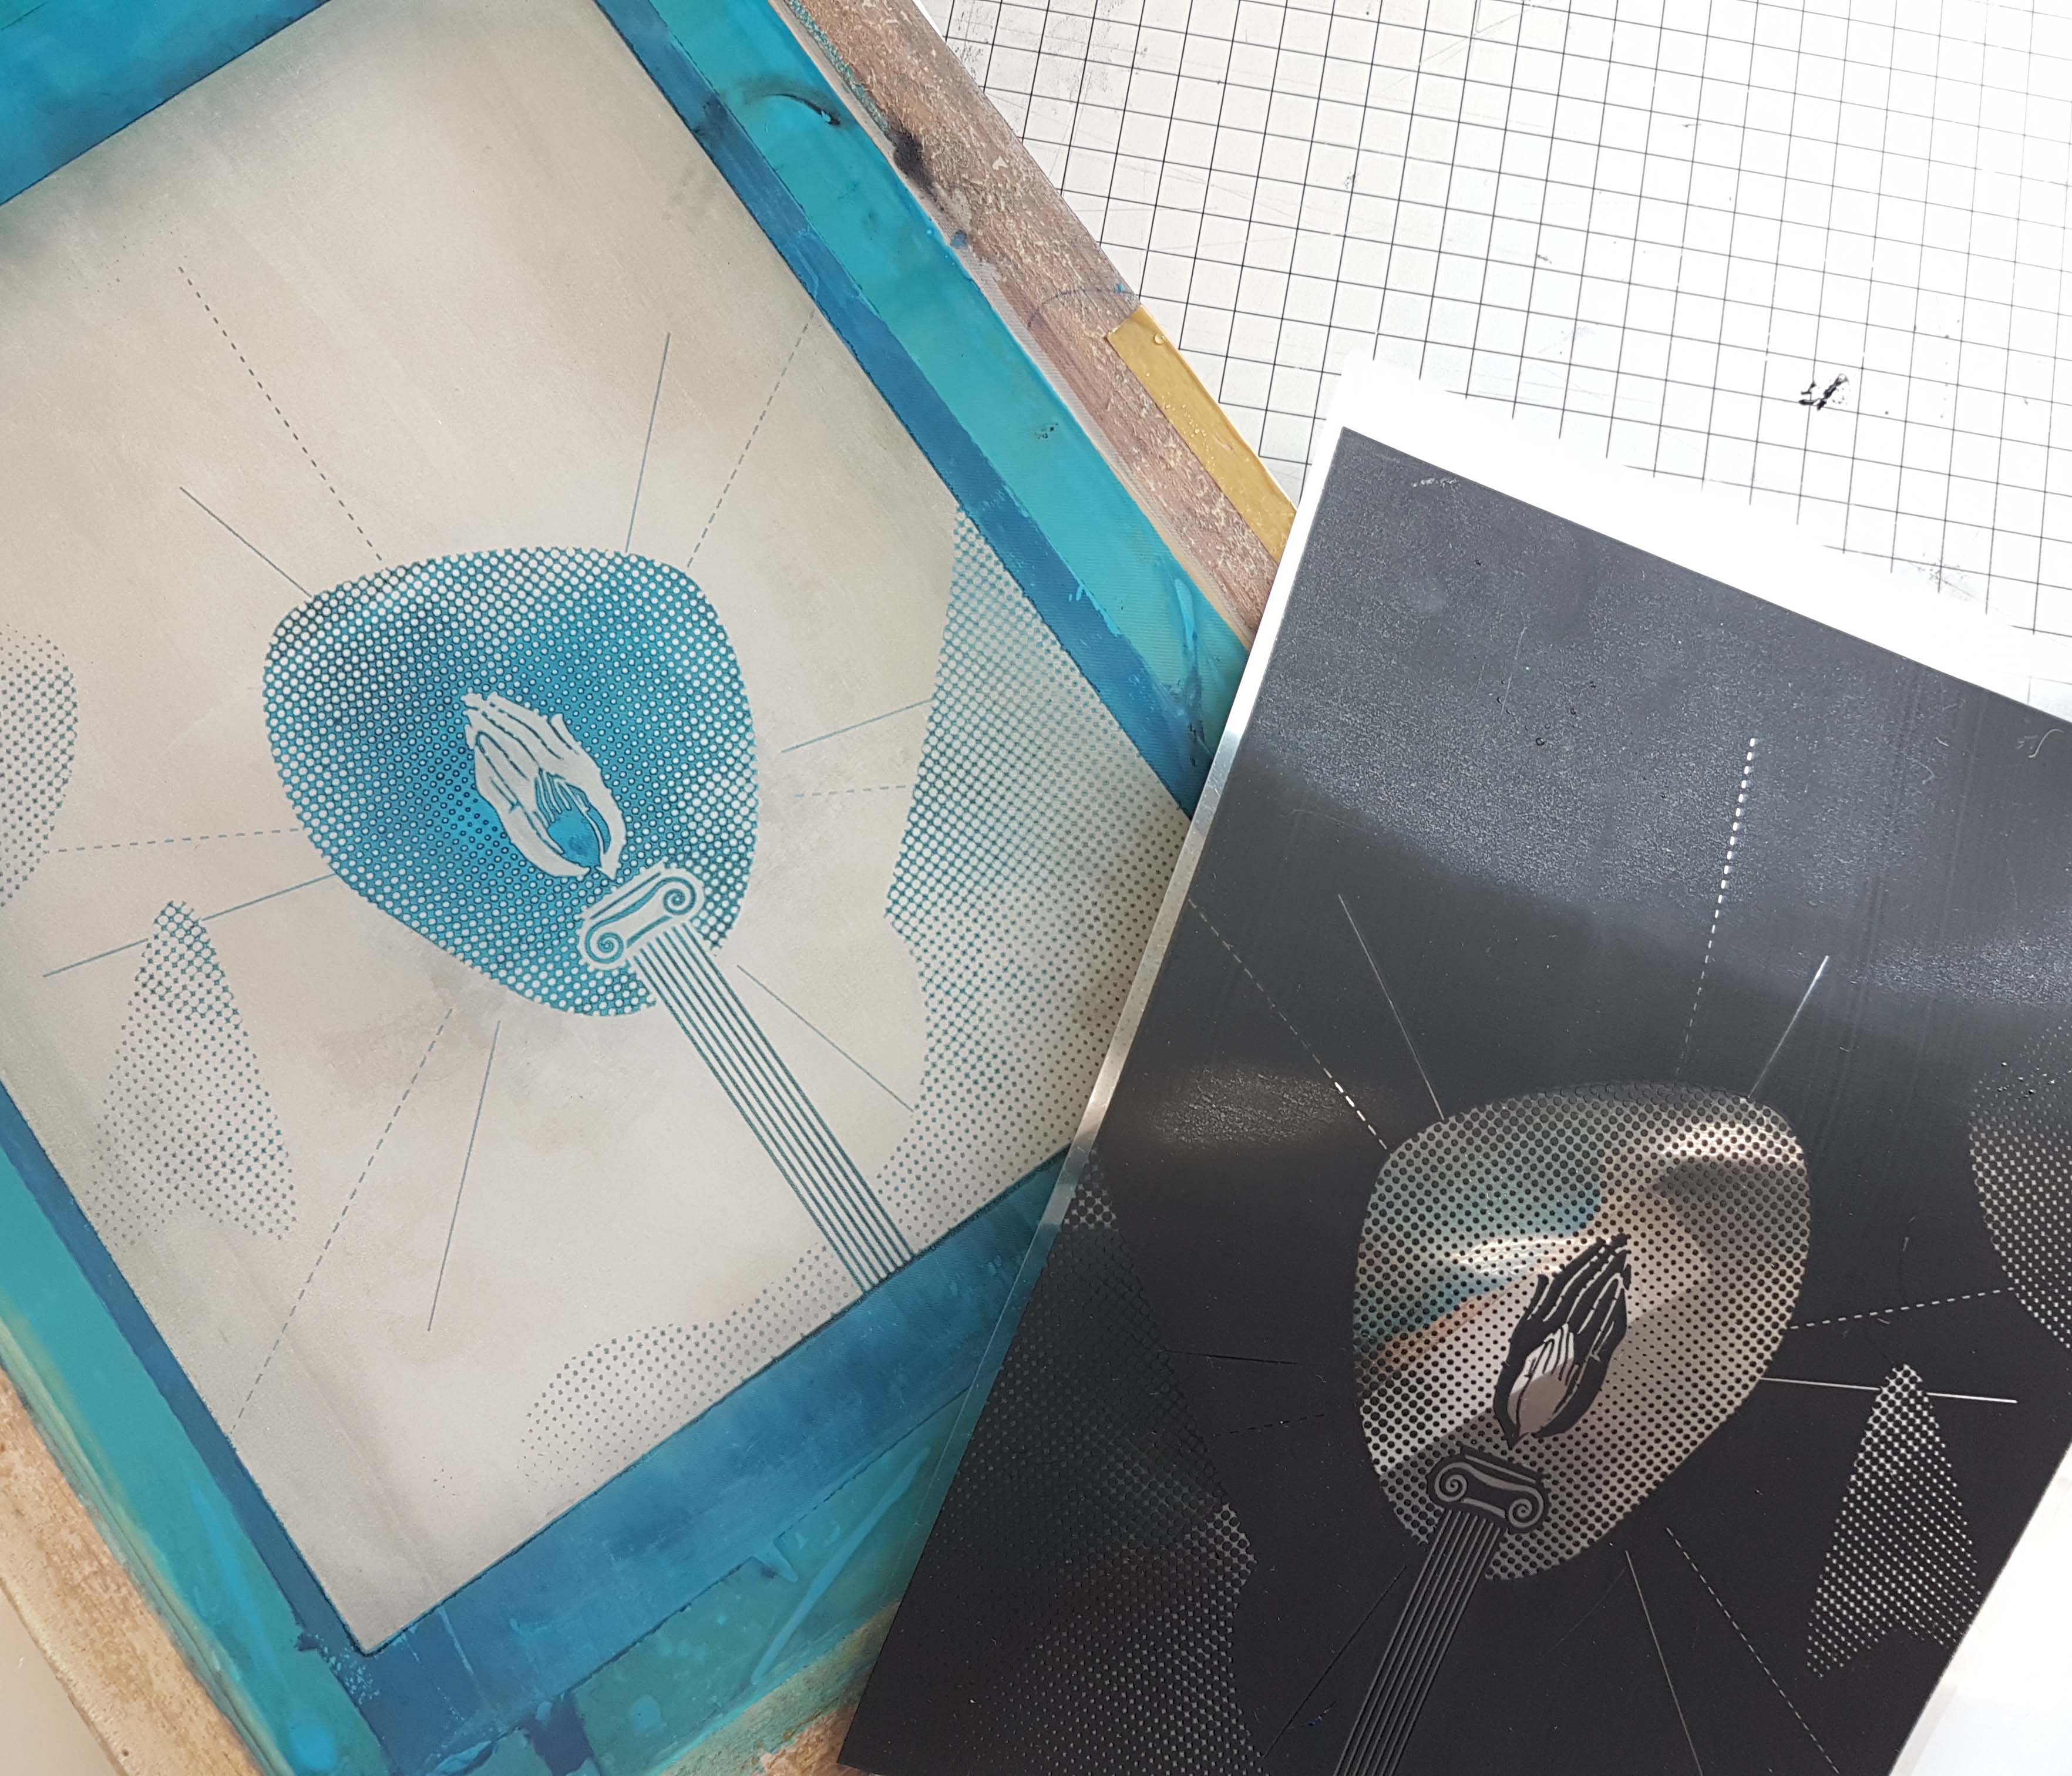
Wash off the emulsion from the screen so that the design will be more clear and the screen is ready to be used for silkscreening. The design, however, will be inverted, in a sense that, the black printed areas will be a negative space, while the negative space on the transparency will be “printed” onto the screen. Put it to dry again.
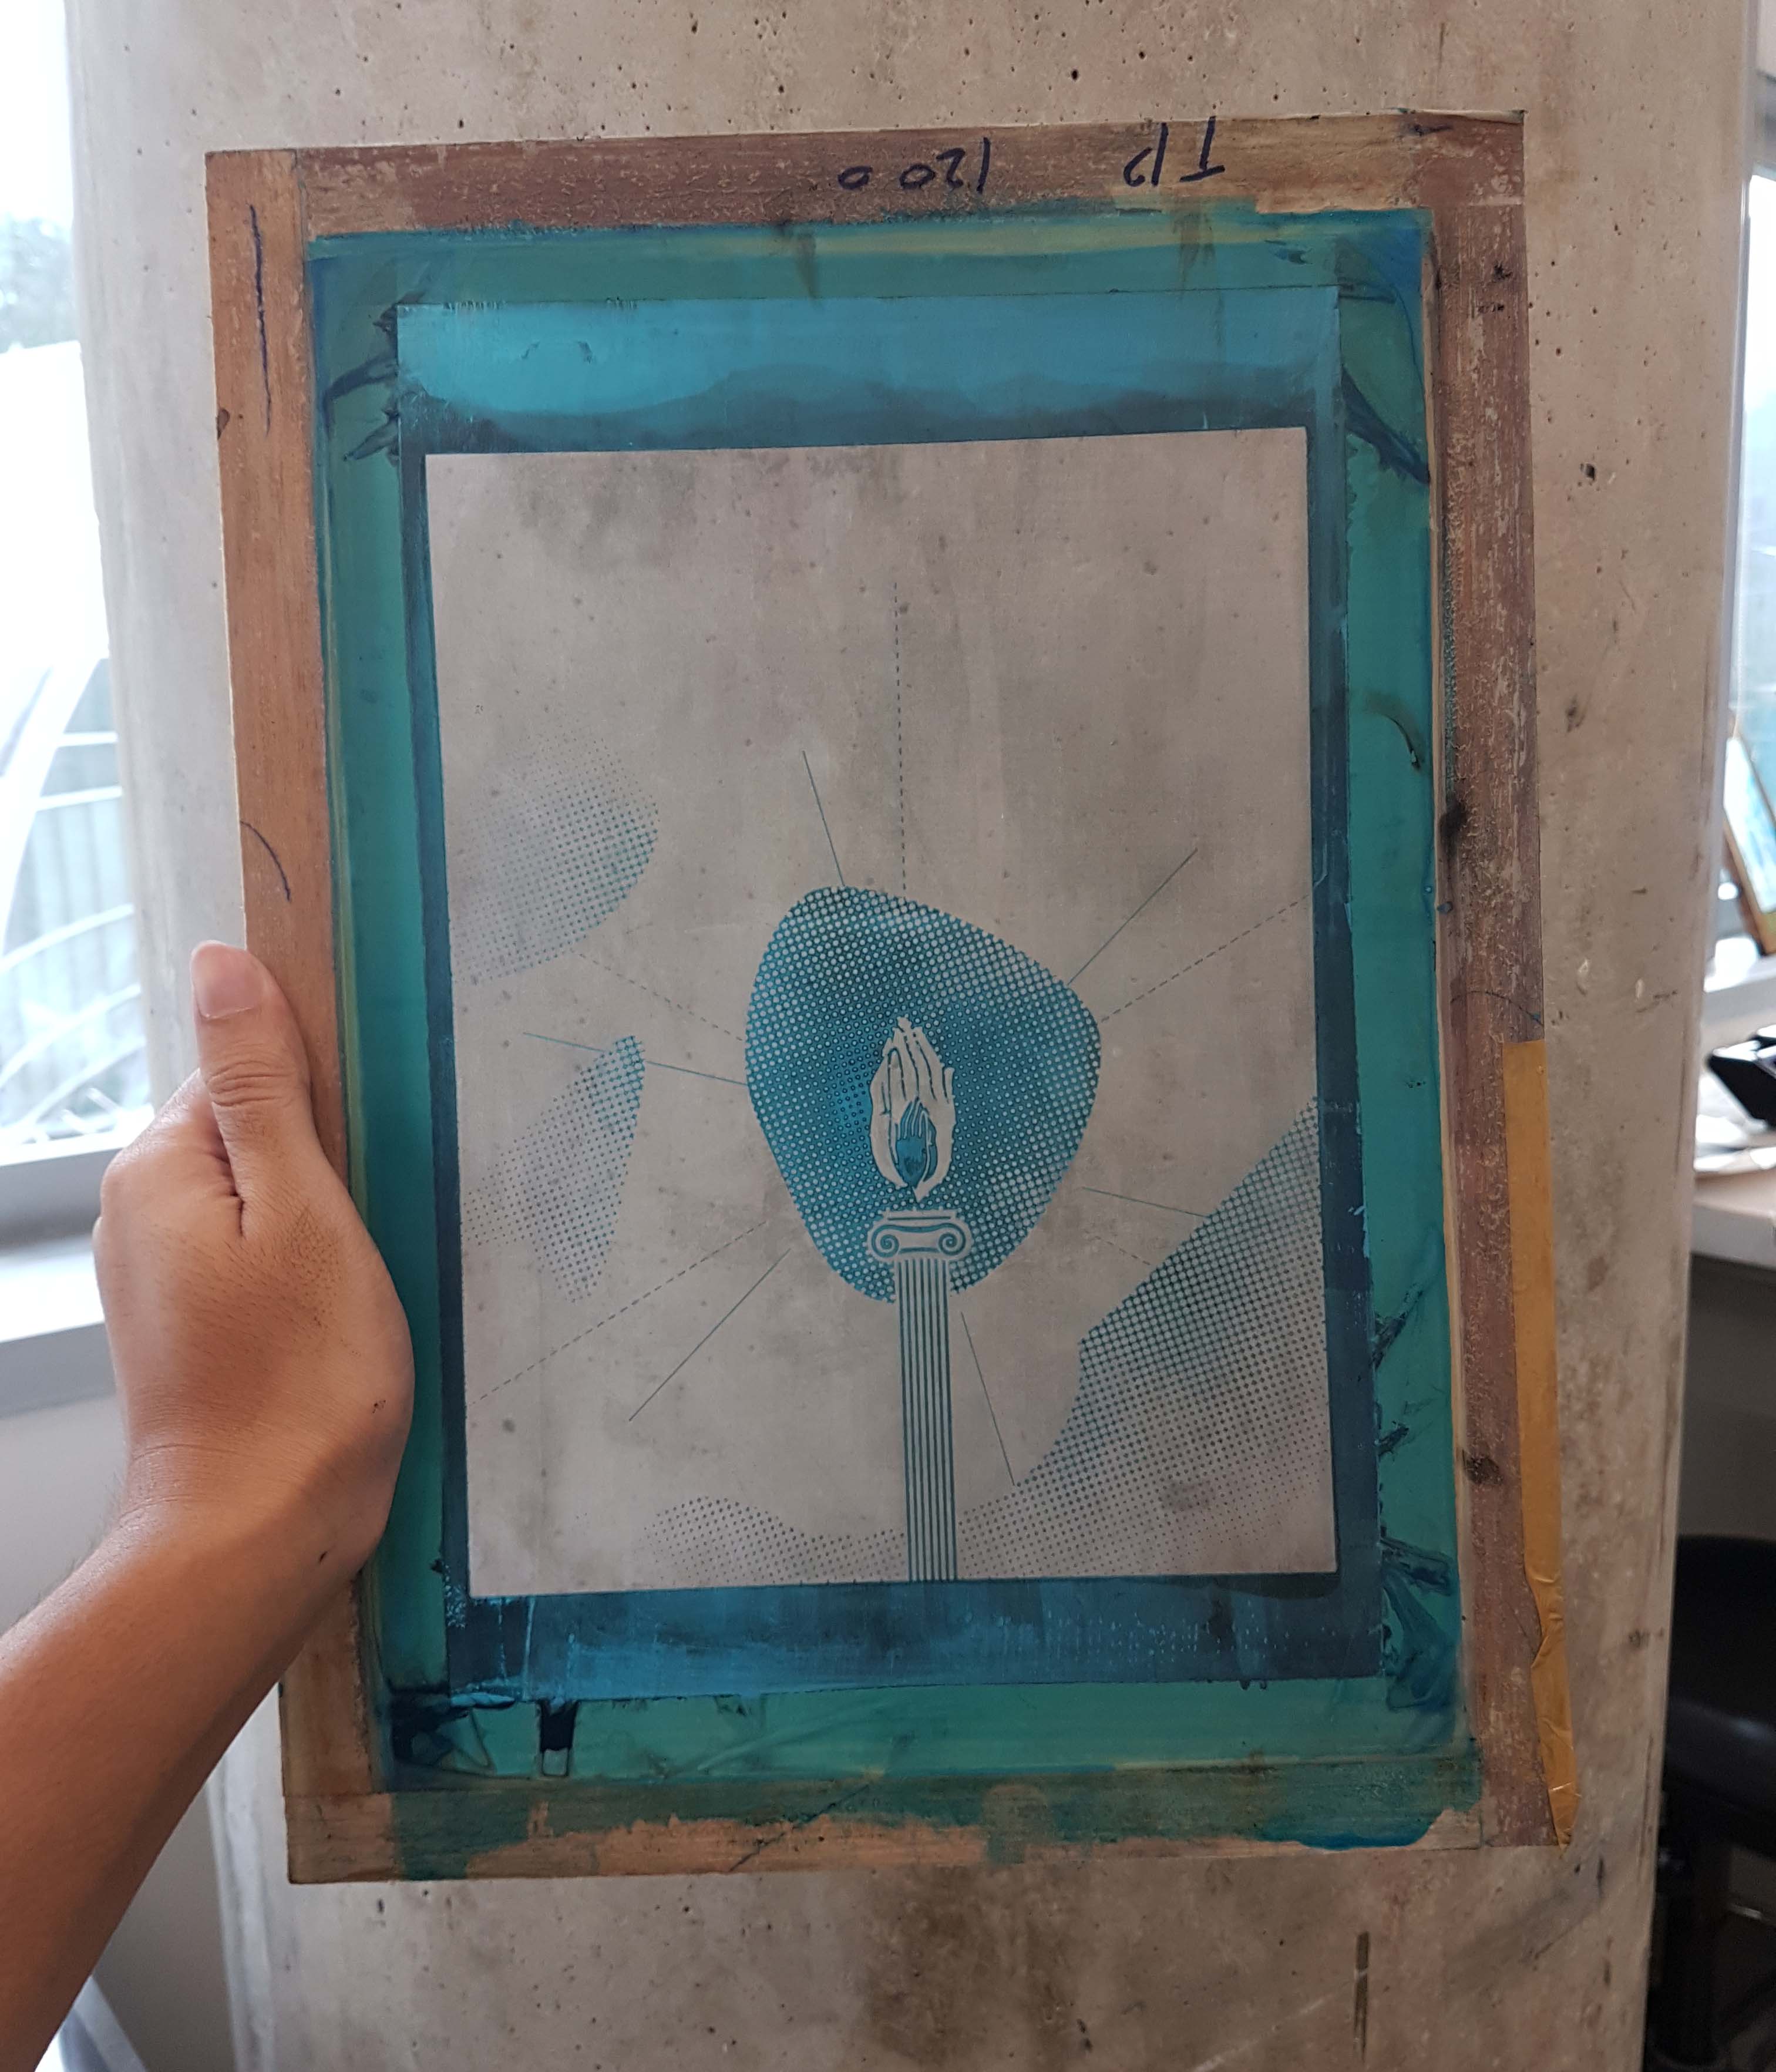
Screen with the design, after washing.
Once it is dry, place the desired surface to print the design onto a flat table. Then lay the screen flat onto the surface, with 4 coins attached to all 4 corners of the screen. This will allow the screen to not touch the surface while and after the design is printed.
Once all of these is prepared, spread a sufficient amount of paint at the top of the screen that is not touching the design. If your design has more negative space, use more paint.

Spread the paint at the top of the screen
Get a squeegee and hold firmly with both hands. Have a friend to help hold the screen firmly in place. When ready, use the squeegee and spread the paint downwards across the screen until the bottom. If you missed a few spots, turn the squeegee around and spread the paint back upwards, till all the spots have been covered. Should not spread too many times (personal experience, once or twice is good enough) as the design printed will turn out really dark and will lose a lot of details.
Hold down the surface (paper or in this case the tote bag) and carefully remove the screen.
Finalised print: