In case you are interested, you can find part 1 here!
Let’s make some fabric sensors !
First off, all credit to kobakant, for their amazing work. Superb repository! I am not going to talk about how this thing works, because I didn’t invent it, and also they do it much better. Hard-soft connections can be found here.
Cooking Ingredients:
- Arduino Megas x2
- Homemade fabric sensors
- Touchdesigner
- Lots of patience
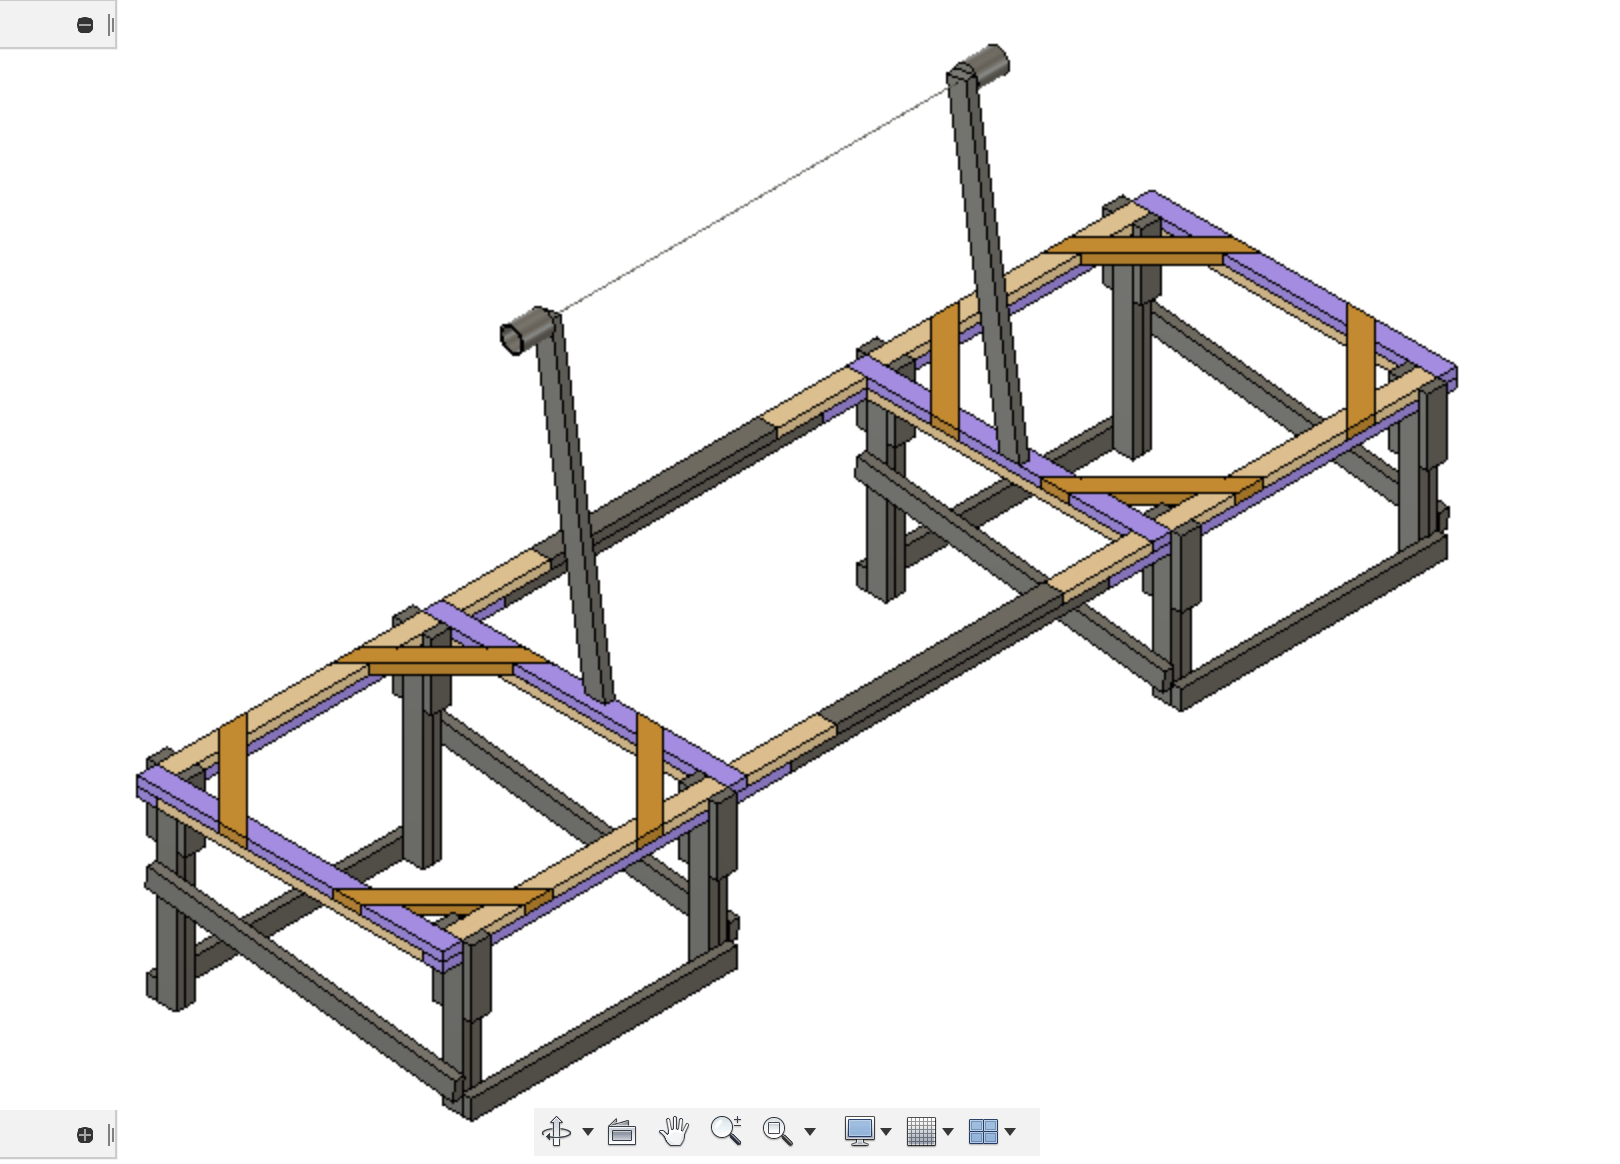
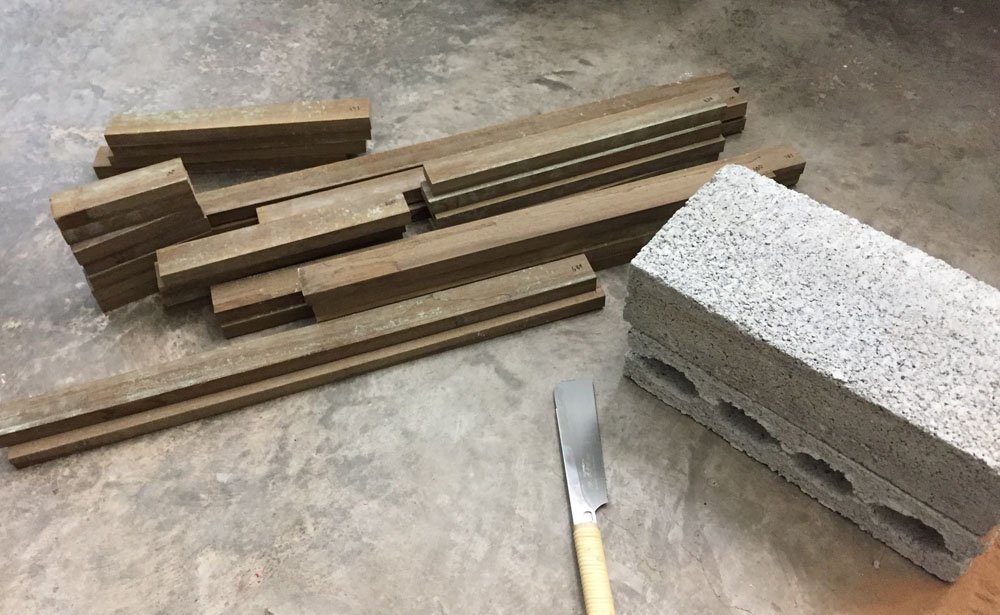
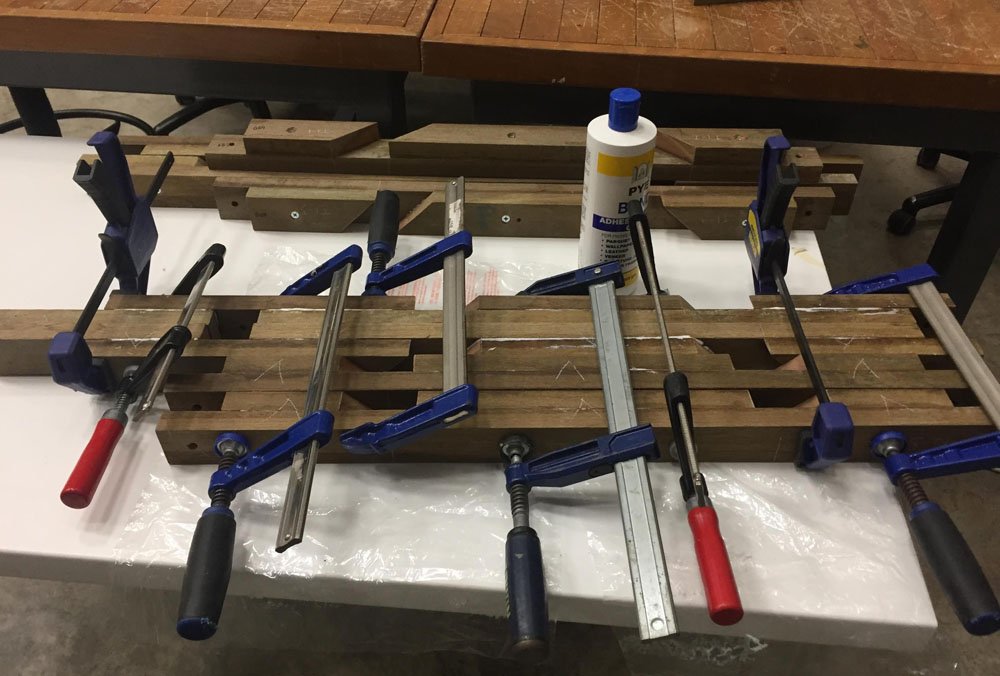
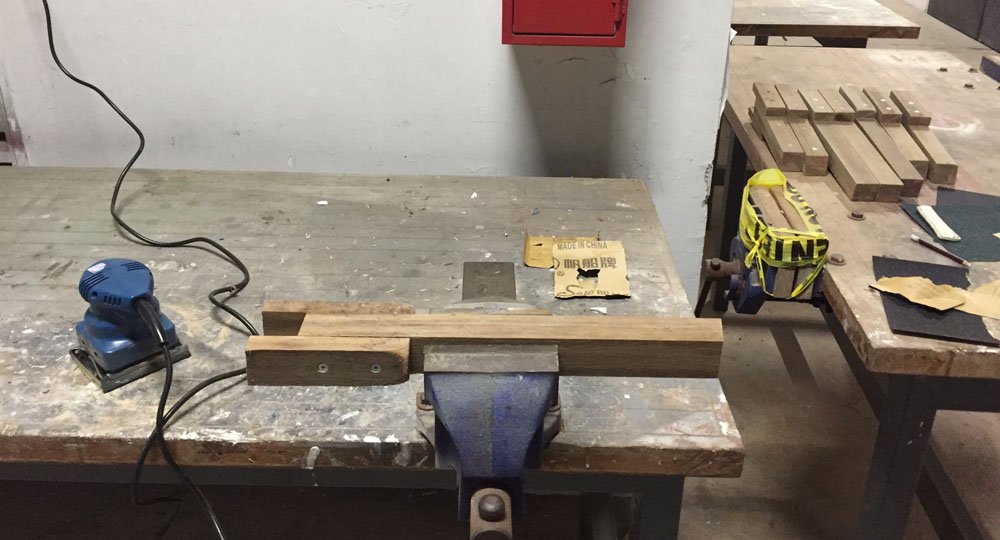
- Wood
- Tough fabrics, used curtains in this case
- Velostat and conductive thread
- Lots of wires
- Computer

Let’s try with RF shielding fabric
So to make a big mat for the final seat, of course it would be prudent to make small ones, like 3 times smaller to be exact. Some quick sewing and soldering and we are off to the races, with the WRONG material. I was just trying to be cheapskate and resourceful at the same time; used some ‘RF’ shielding material. From the test below, clearly it didn’t work. It was basically a big fat switch.
Ordered some velostat, and yes! It works.. kinda. Now just have to scale it up accordingly.
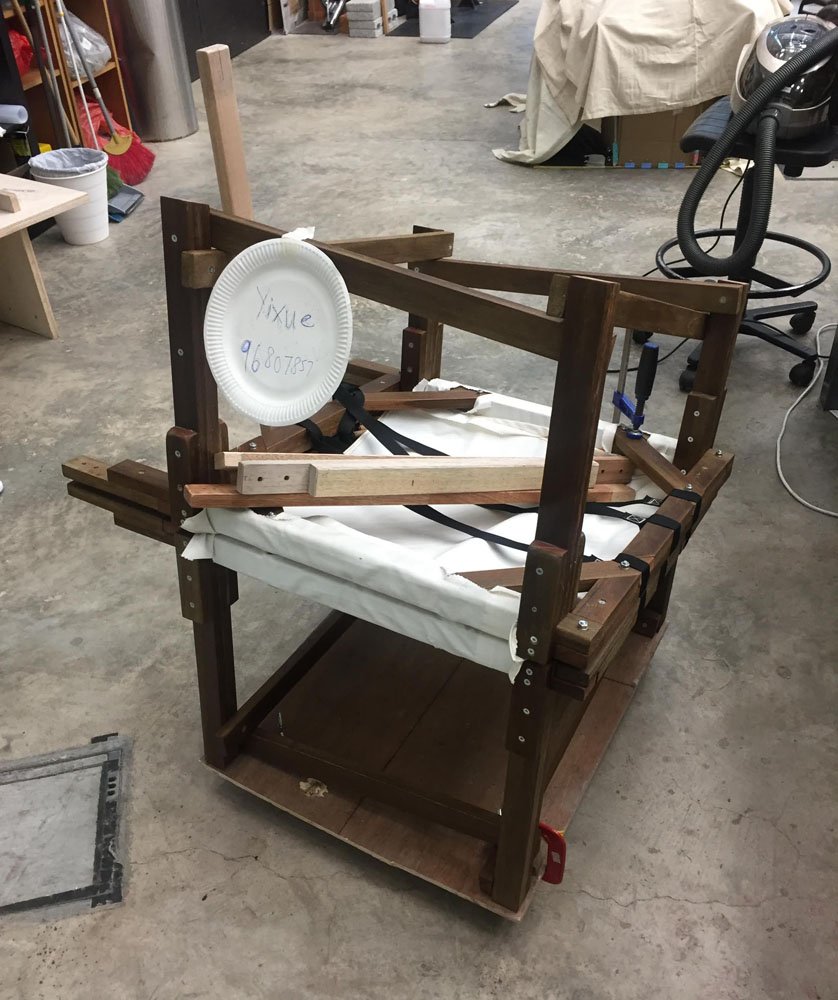
Time for the real stuff.
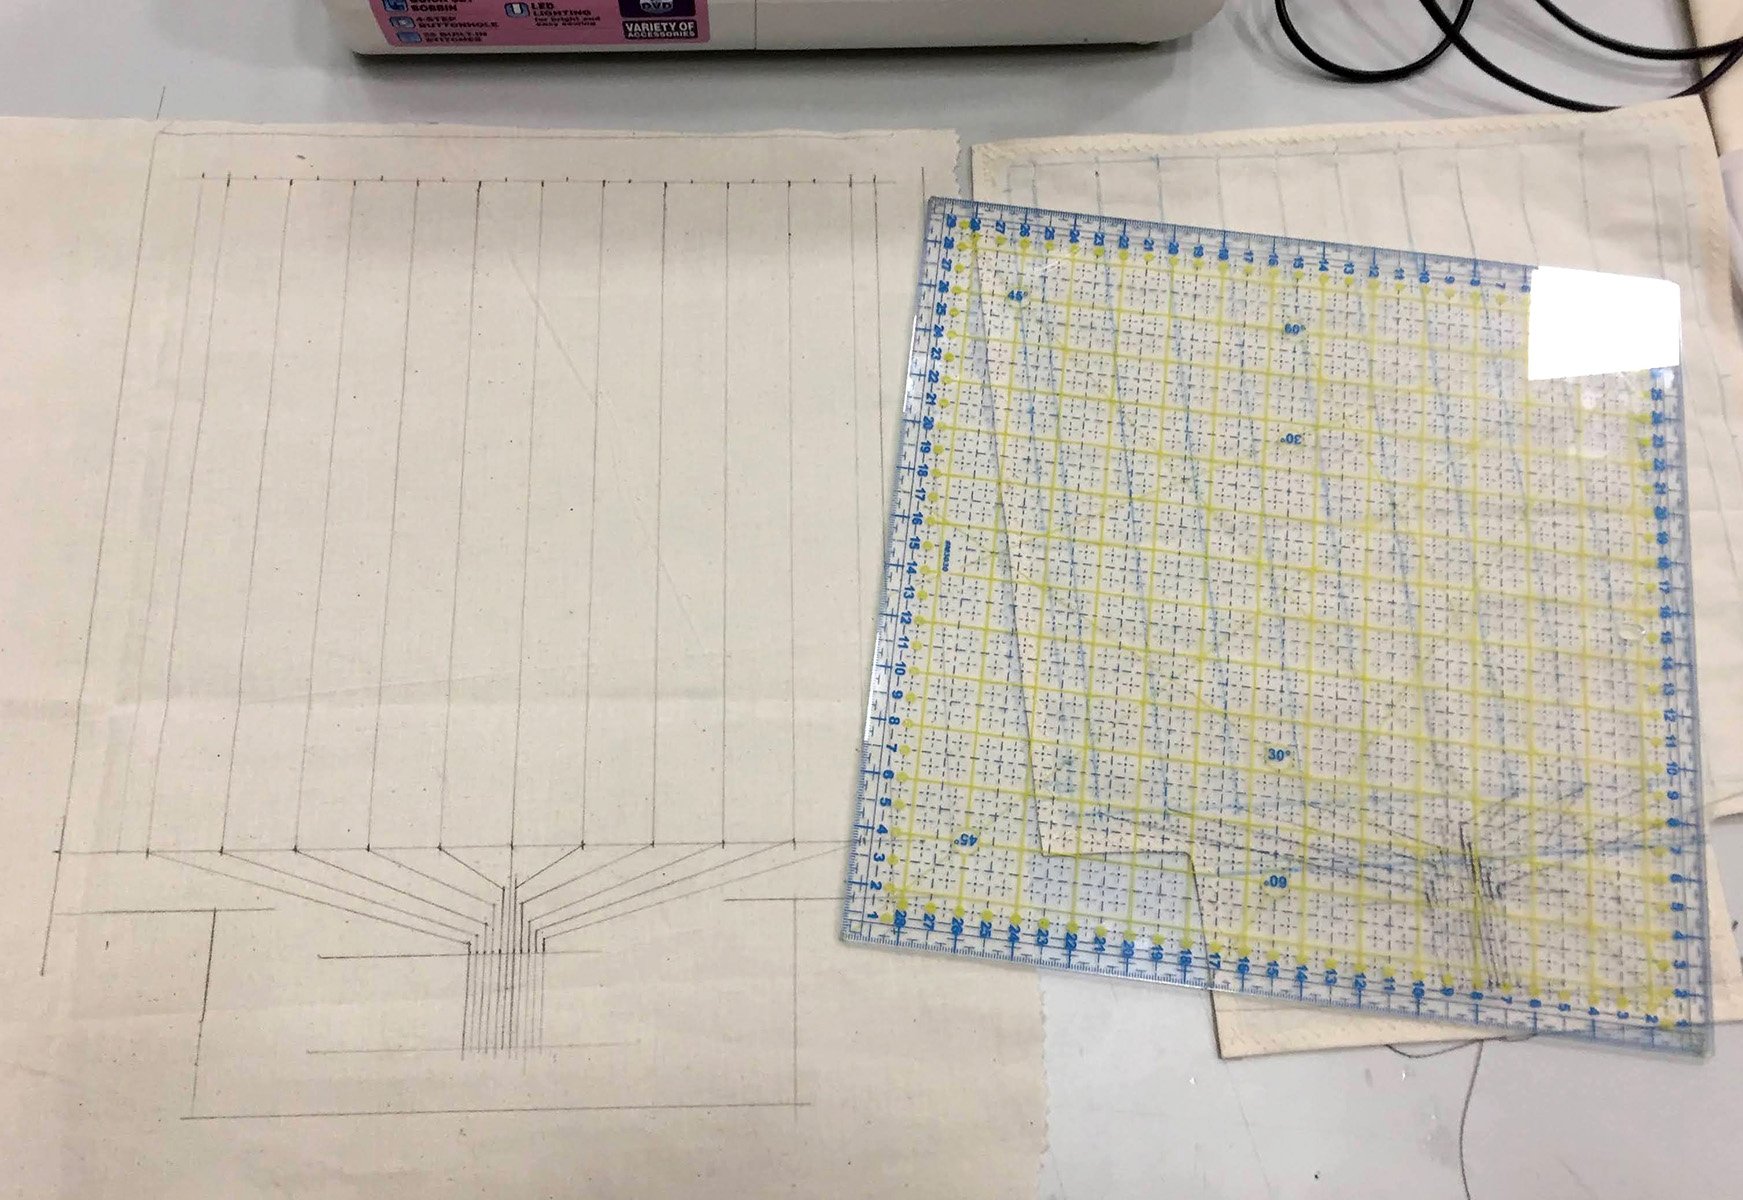
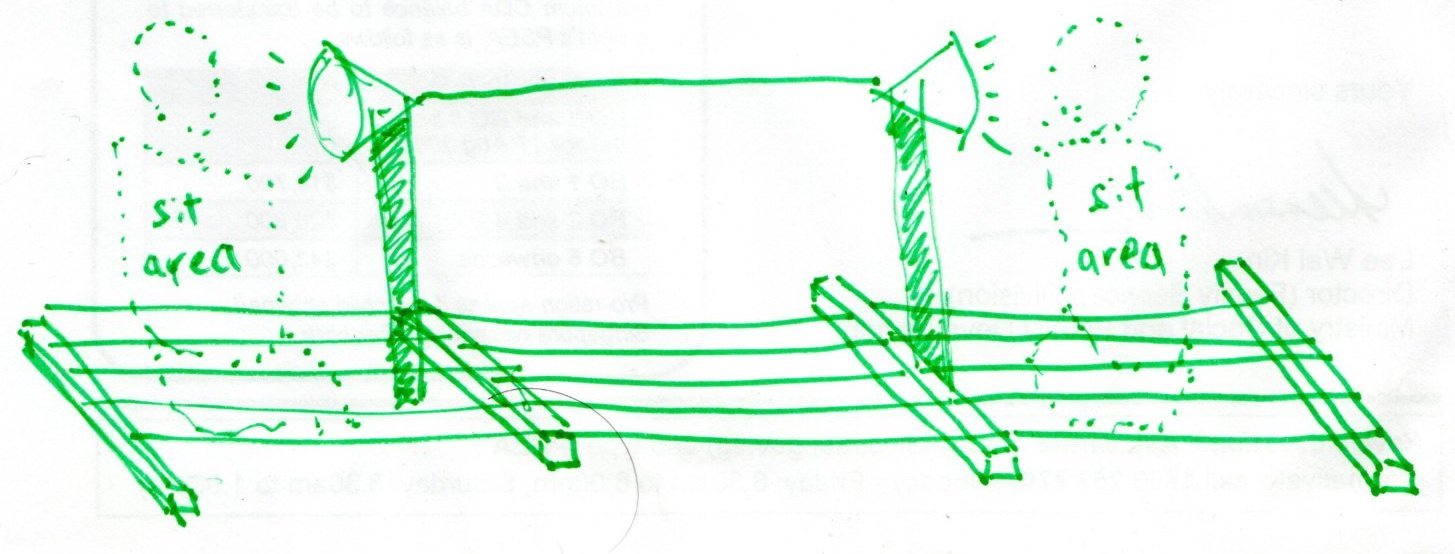
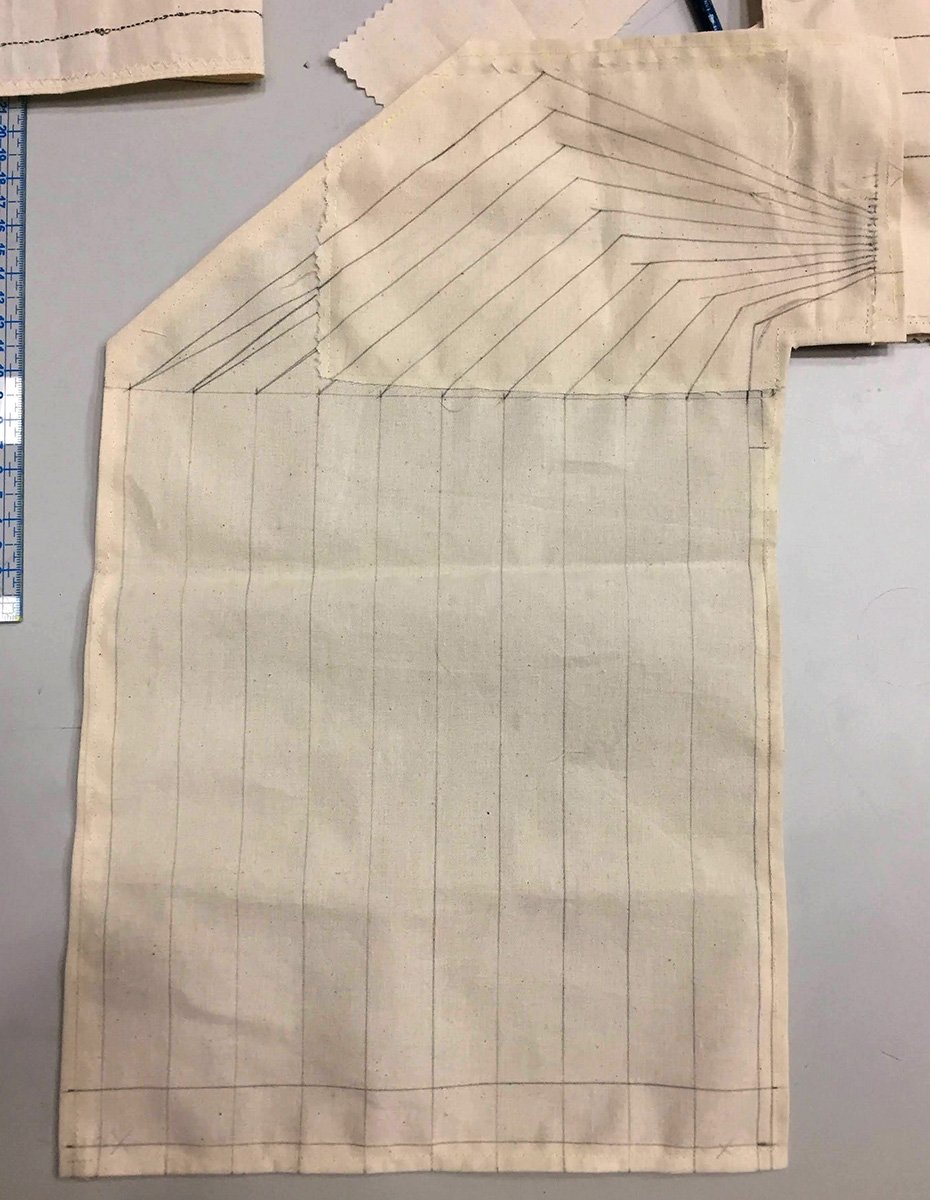
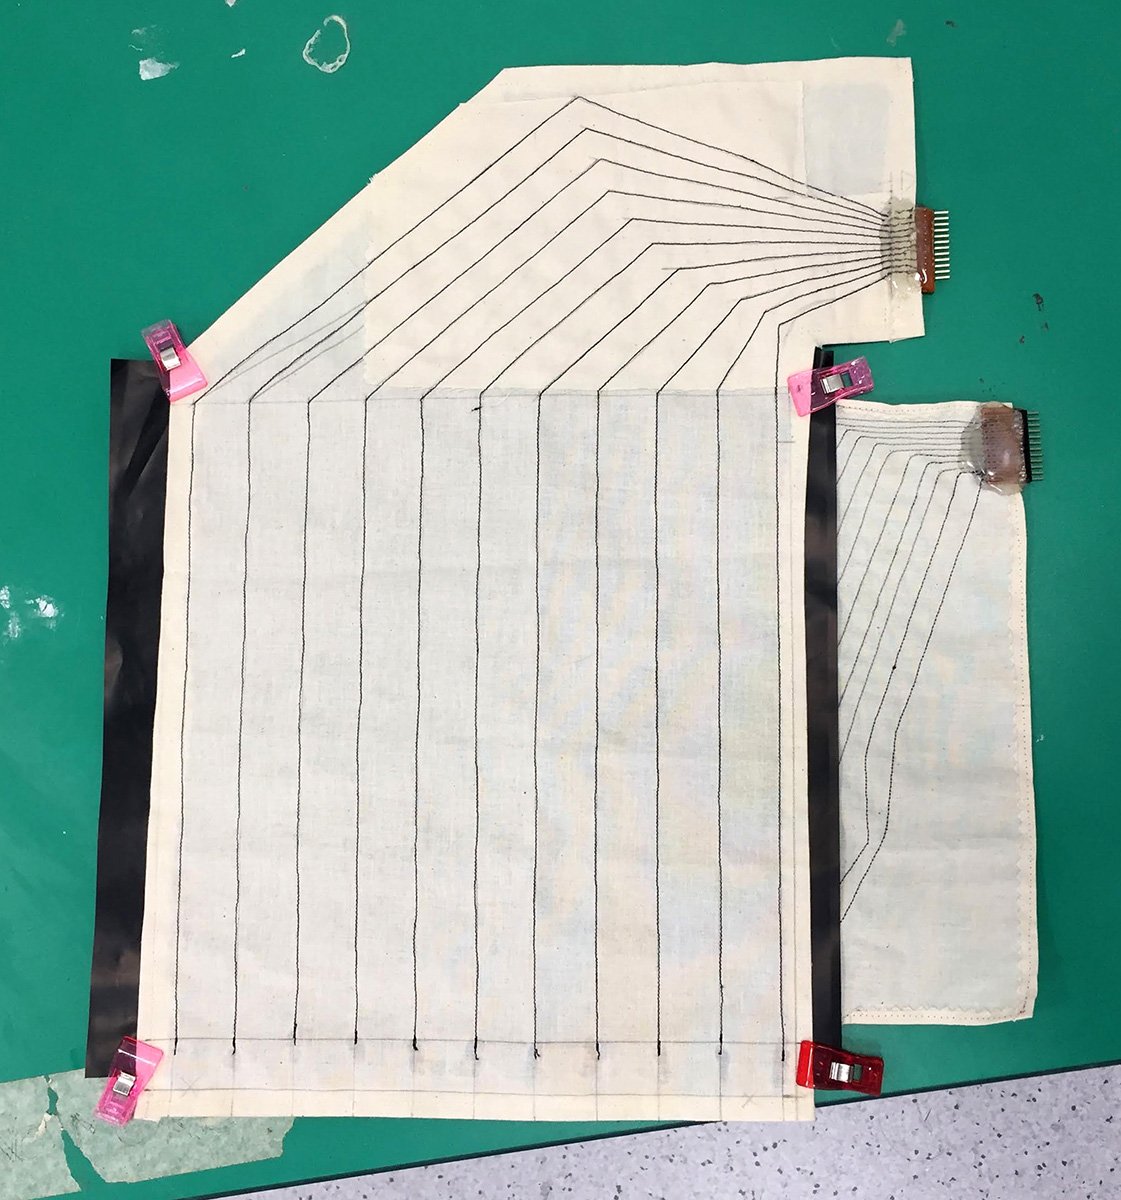
Layout
First design, I am just going with the flow and trying my best to construct a logical design. The wires come together at the end for a soft-hard transition, for easy wire connection.
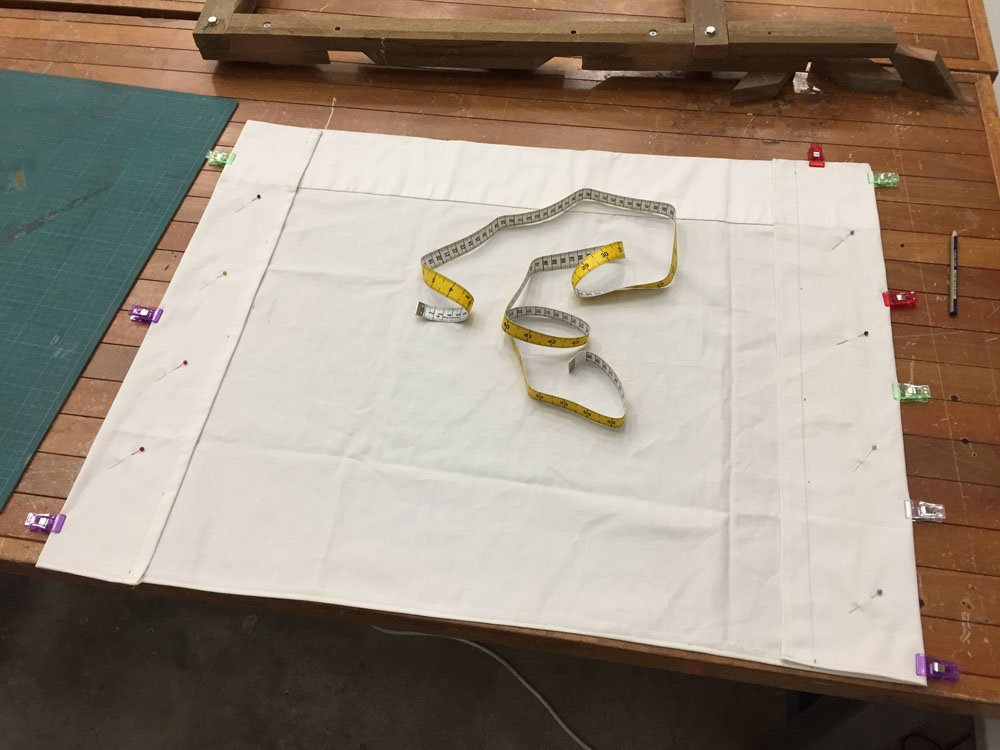
Make it straight
Important to keep the threads straight and hot-gluing them to keep in position. Also, don’t forget to always leave the extra lengths of threads on until AFTER you hot glue everything. Only trim when the hot glue is set, duh…

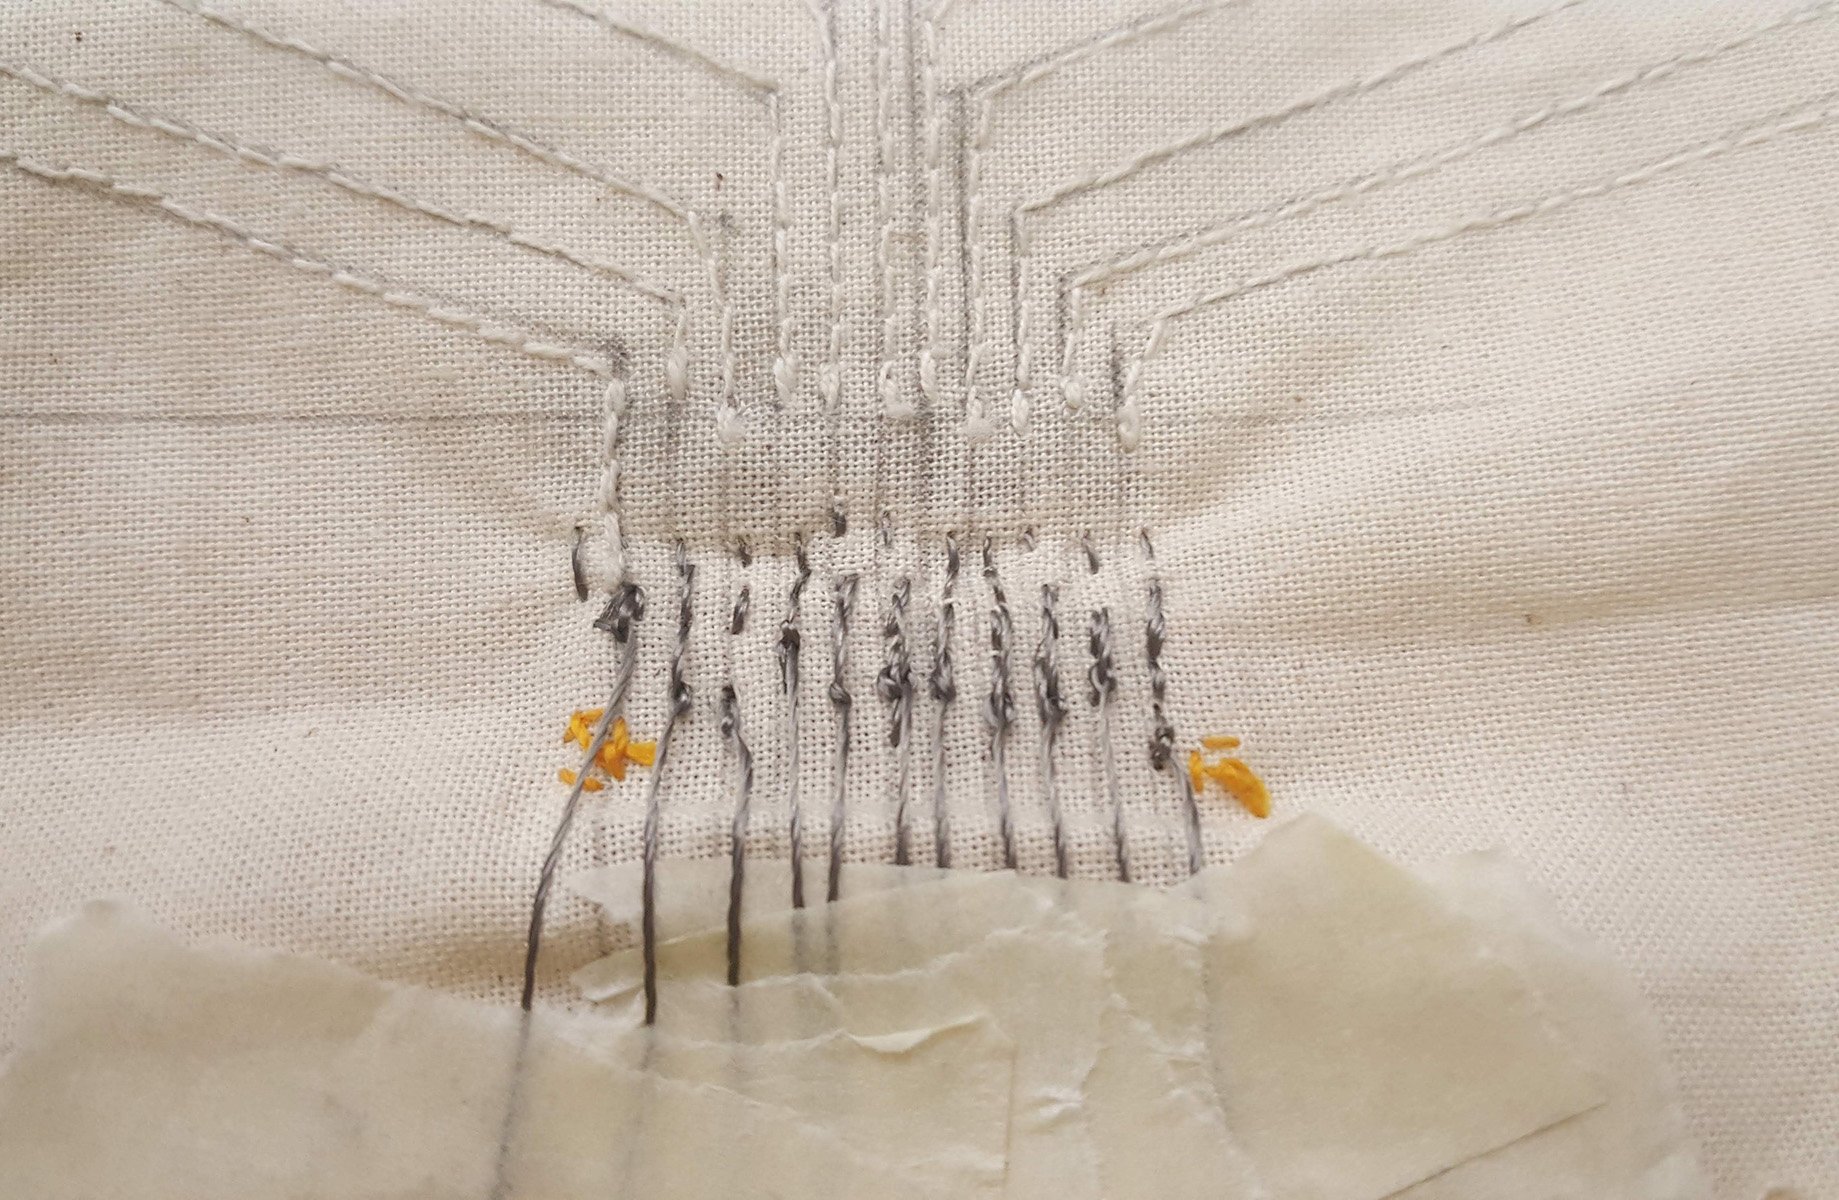
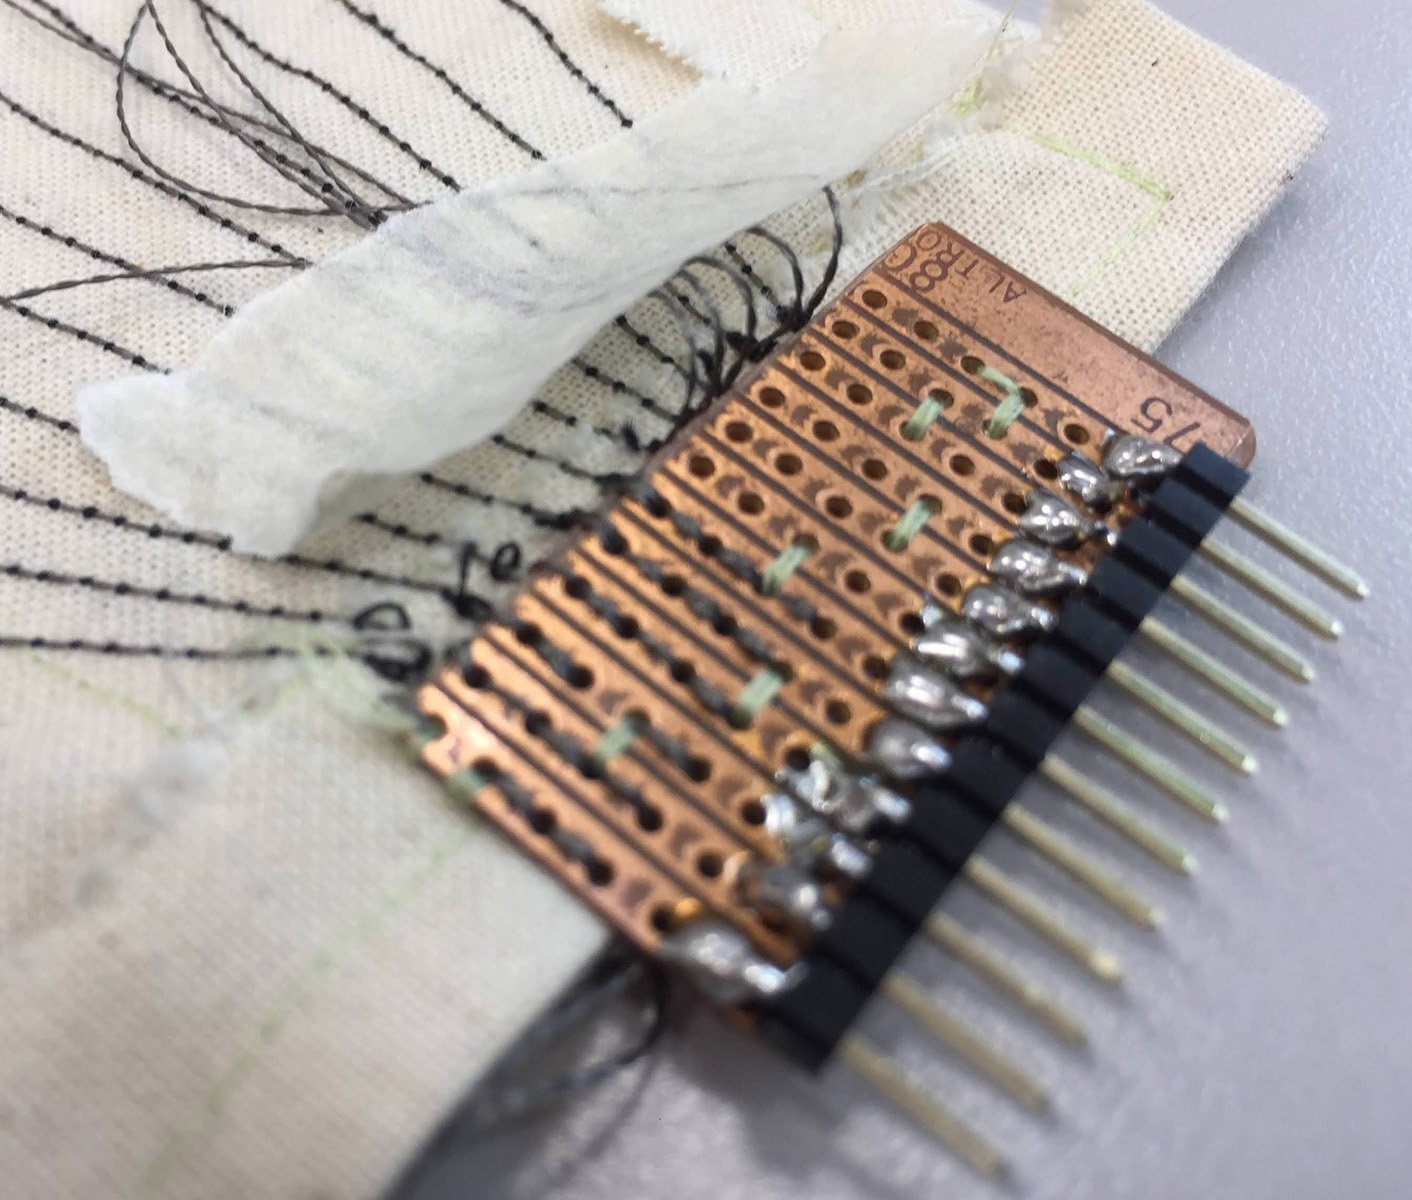
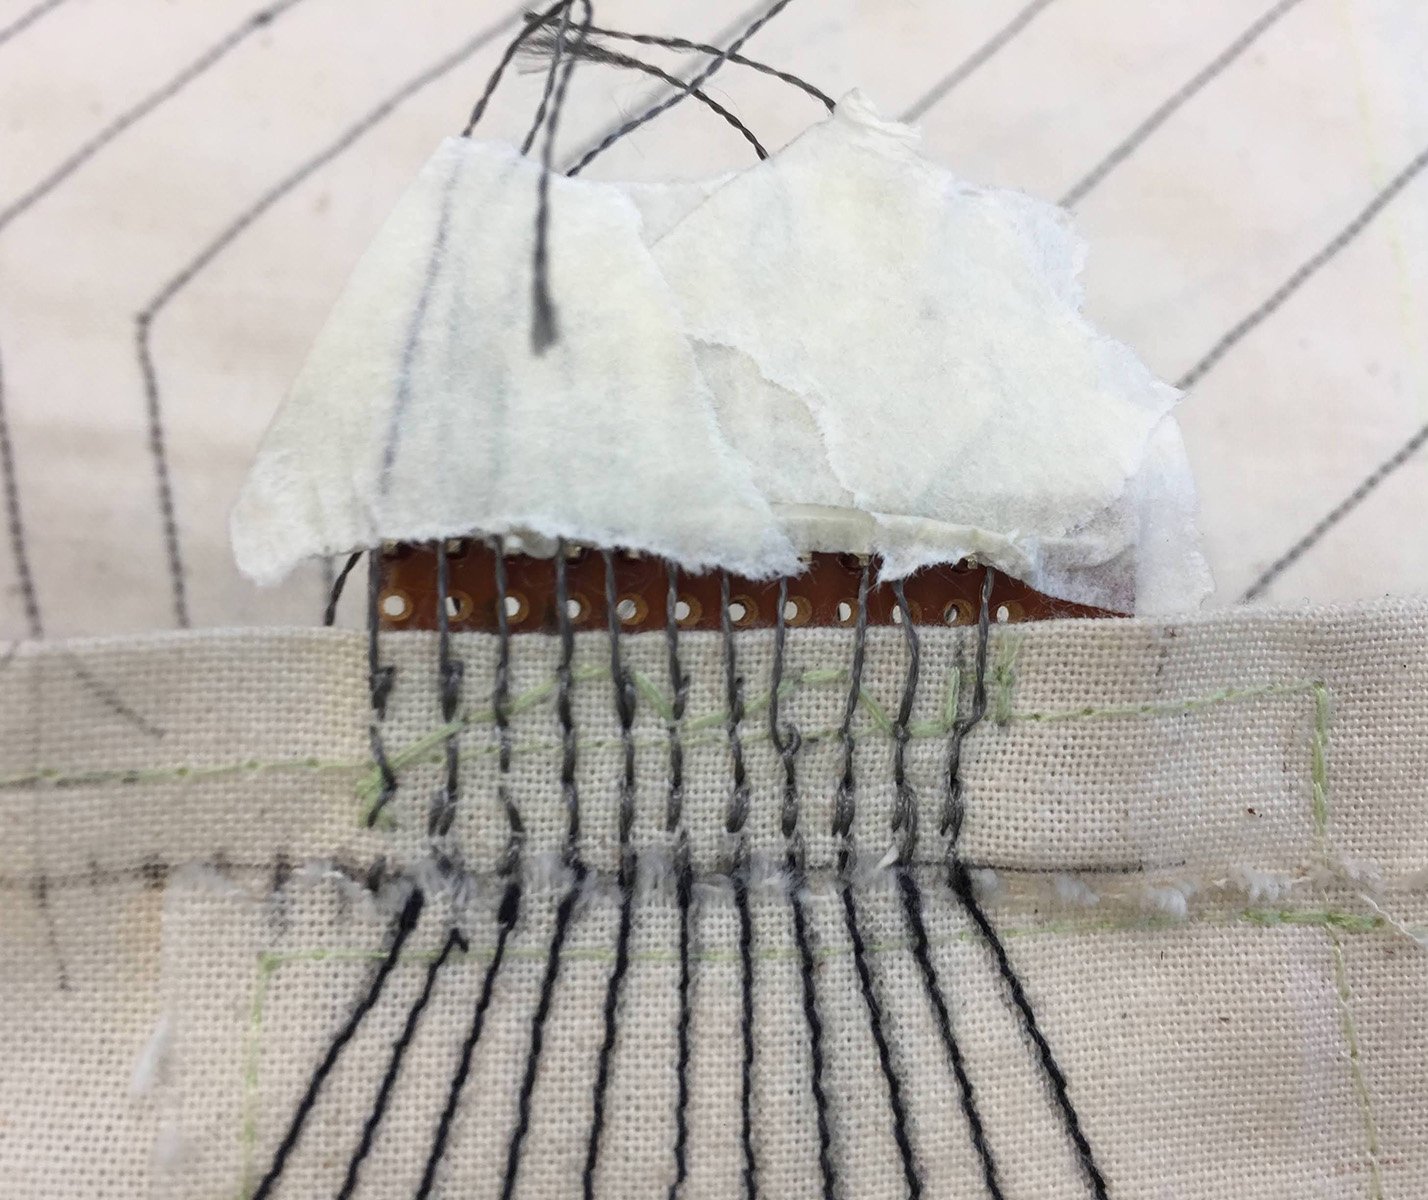
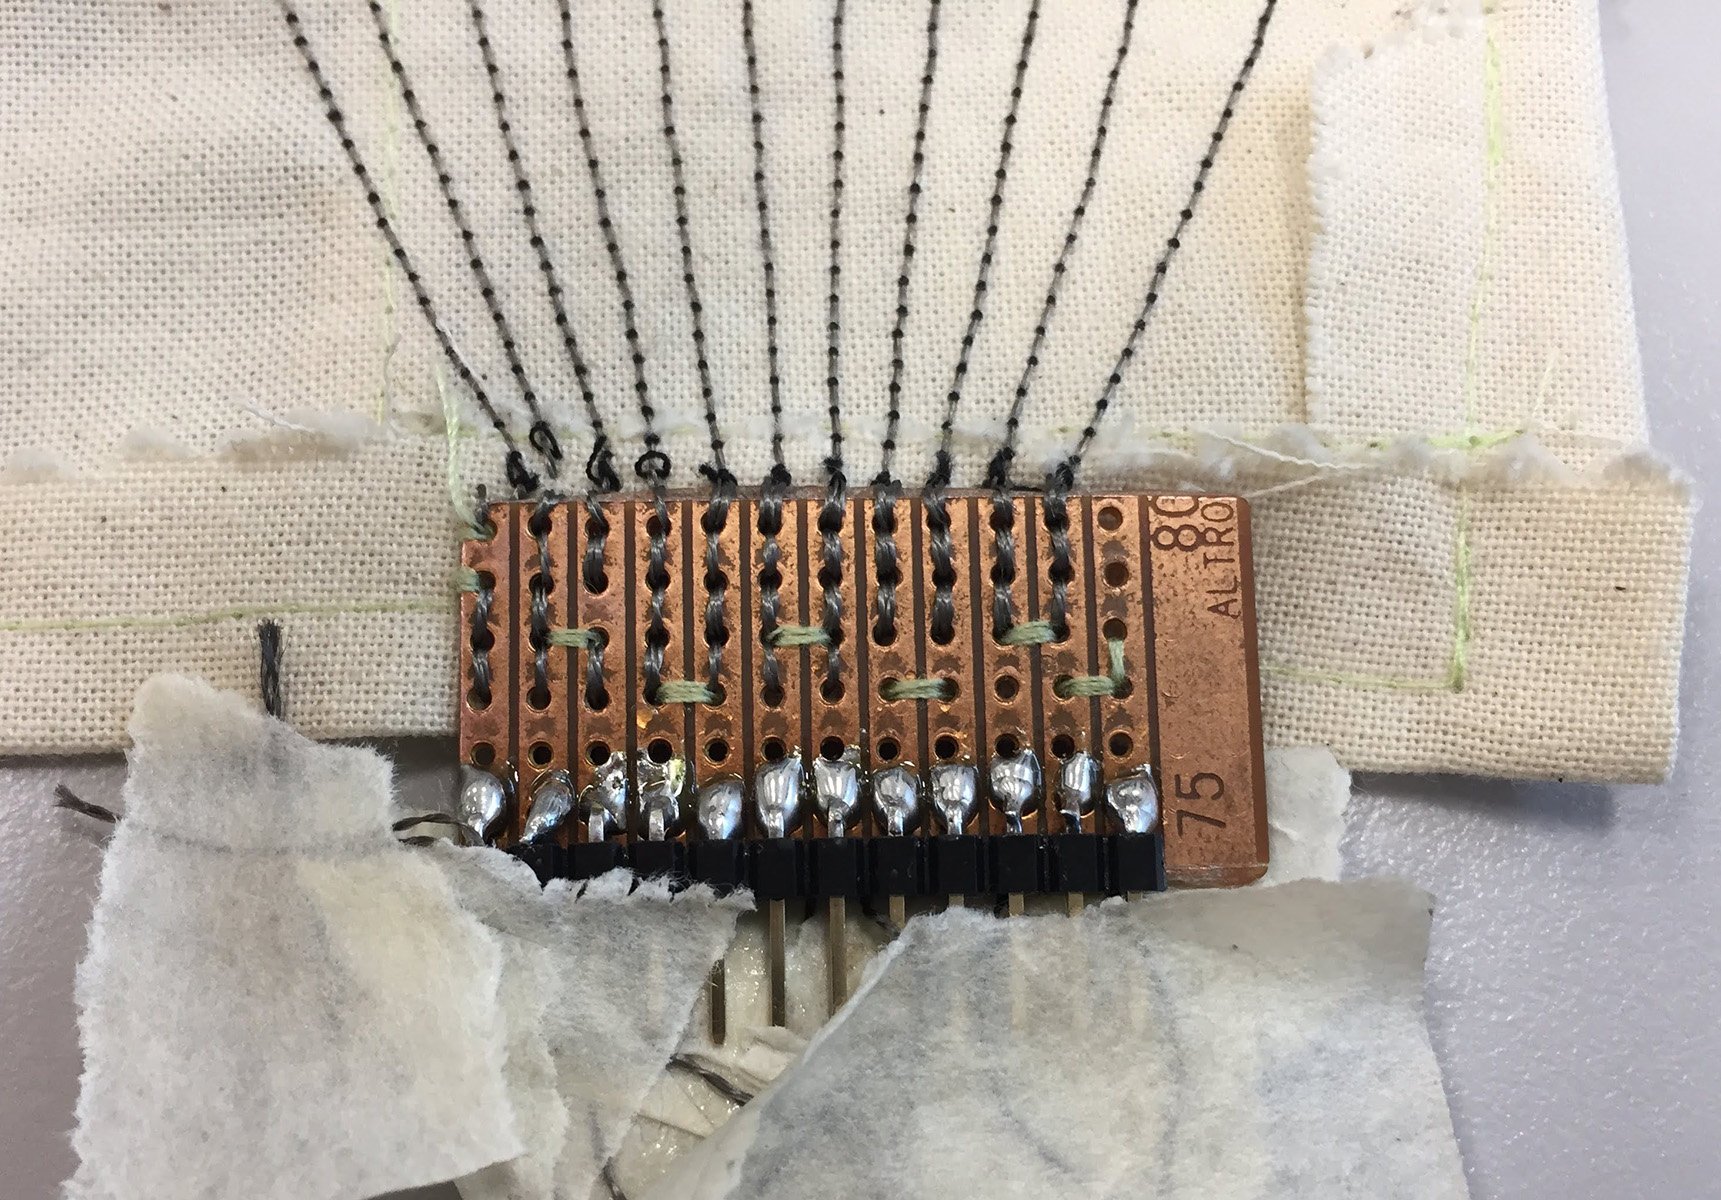
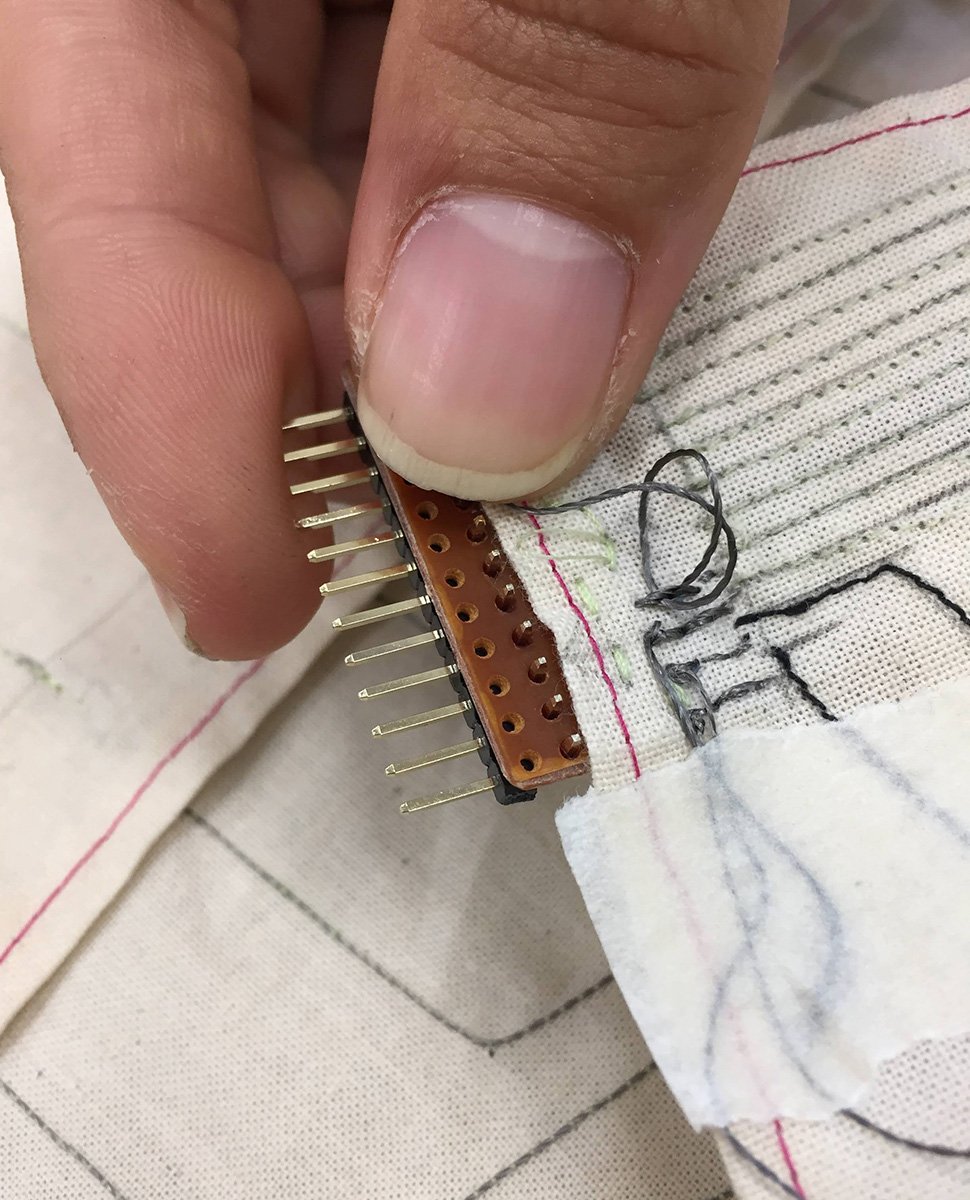
Soft-to-Hard transition

First decent finished piece!
Obviously, this wasn’t the first full piece I made. In fact, the third. Few things I picked up. The conductive thread shouldn’t be too thick; makes it hard to do everything. Ideally 2-ply would do. And always leave plenty of thread at the end for easy soft-to-hard sewing. Experimenting with 2-3mm stitch spacing, I felt that 2mm gives a neater result, and doesn’t really use much more thread; not sure about thread usage actually 🙂 .. Also, I made the terminals face same direction for both pieces, for obvious reasons …
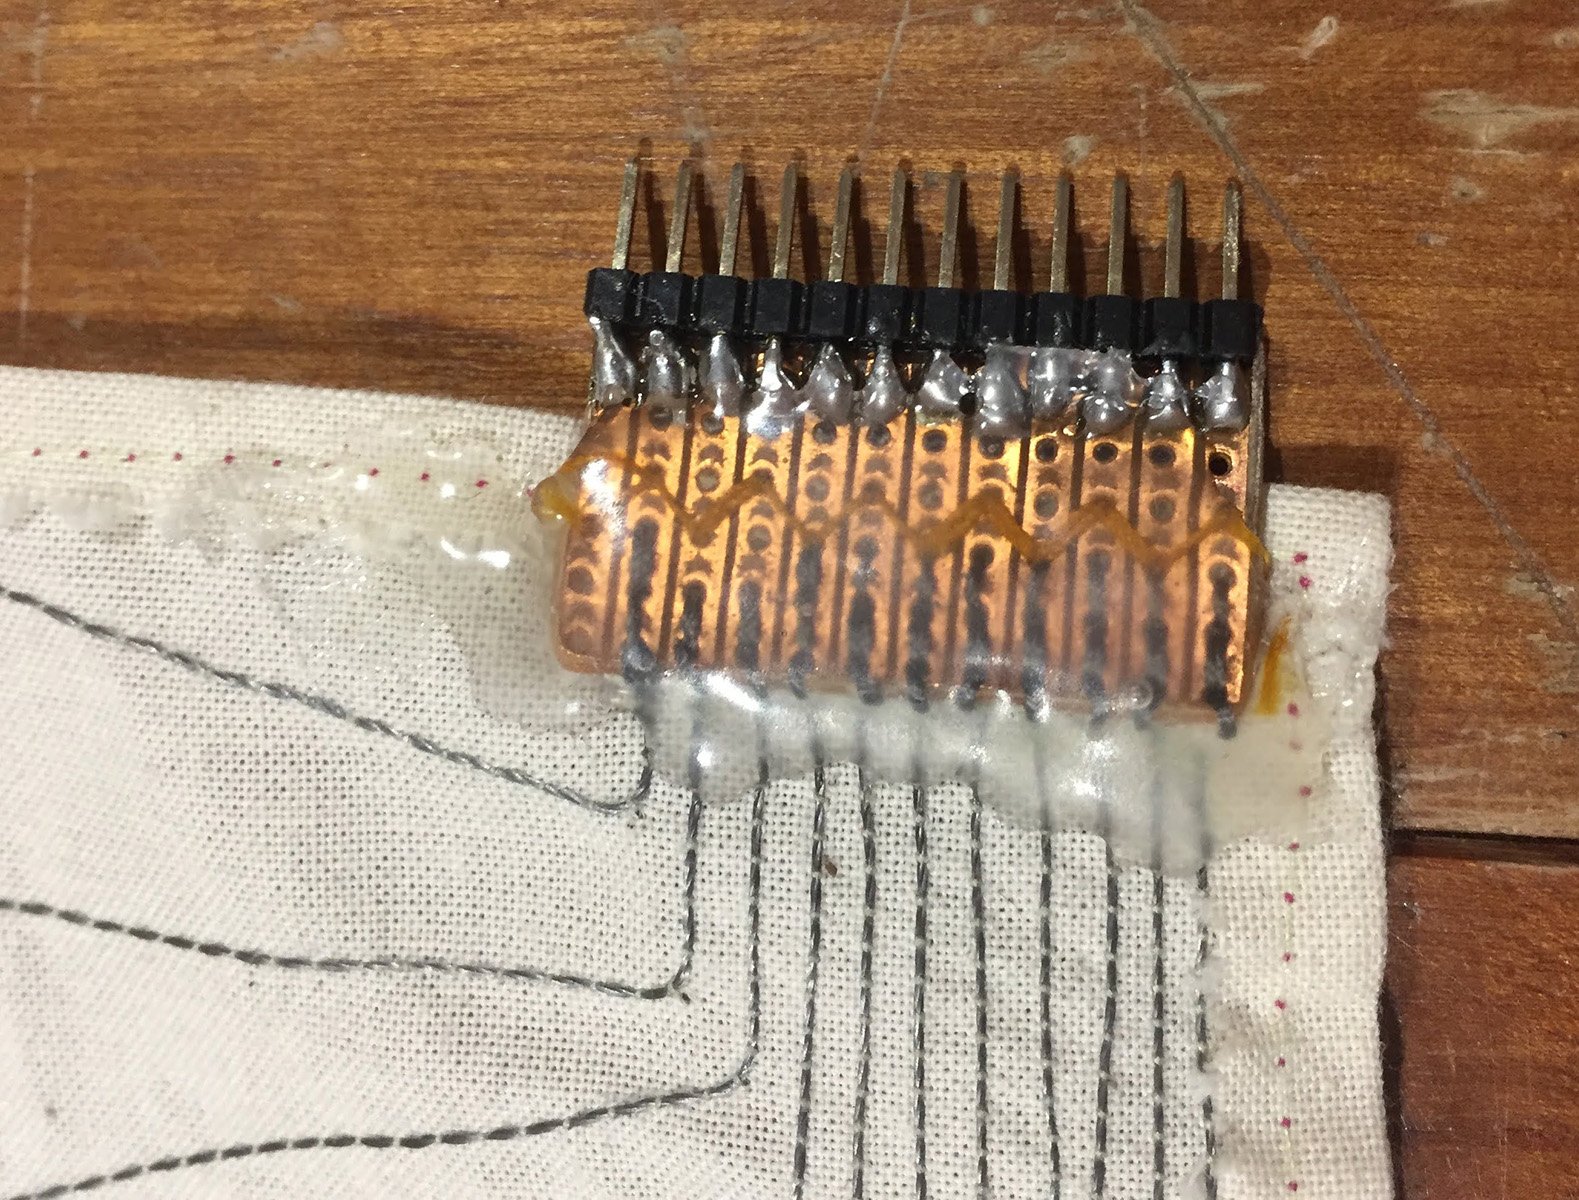
Hot-glue keeps it neat
Yes, hot glue does solve everything in this case. I really don’t think it’s possible to make a reliable product if you choose this type of connection.

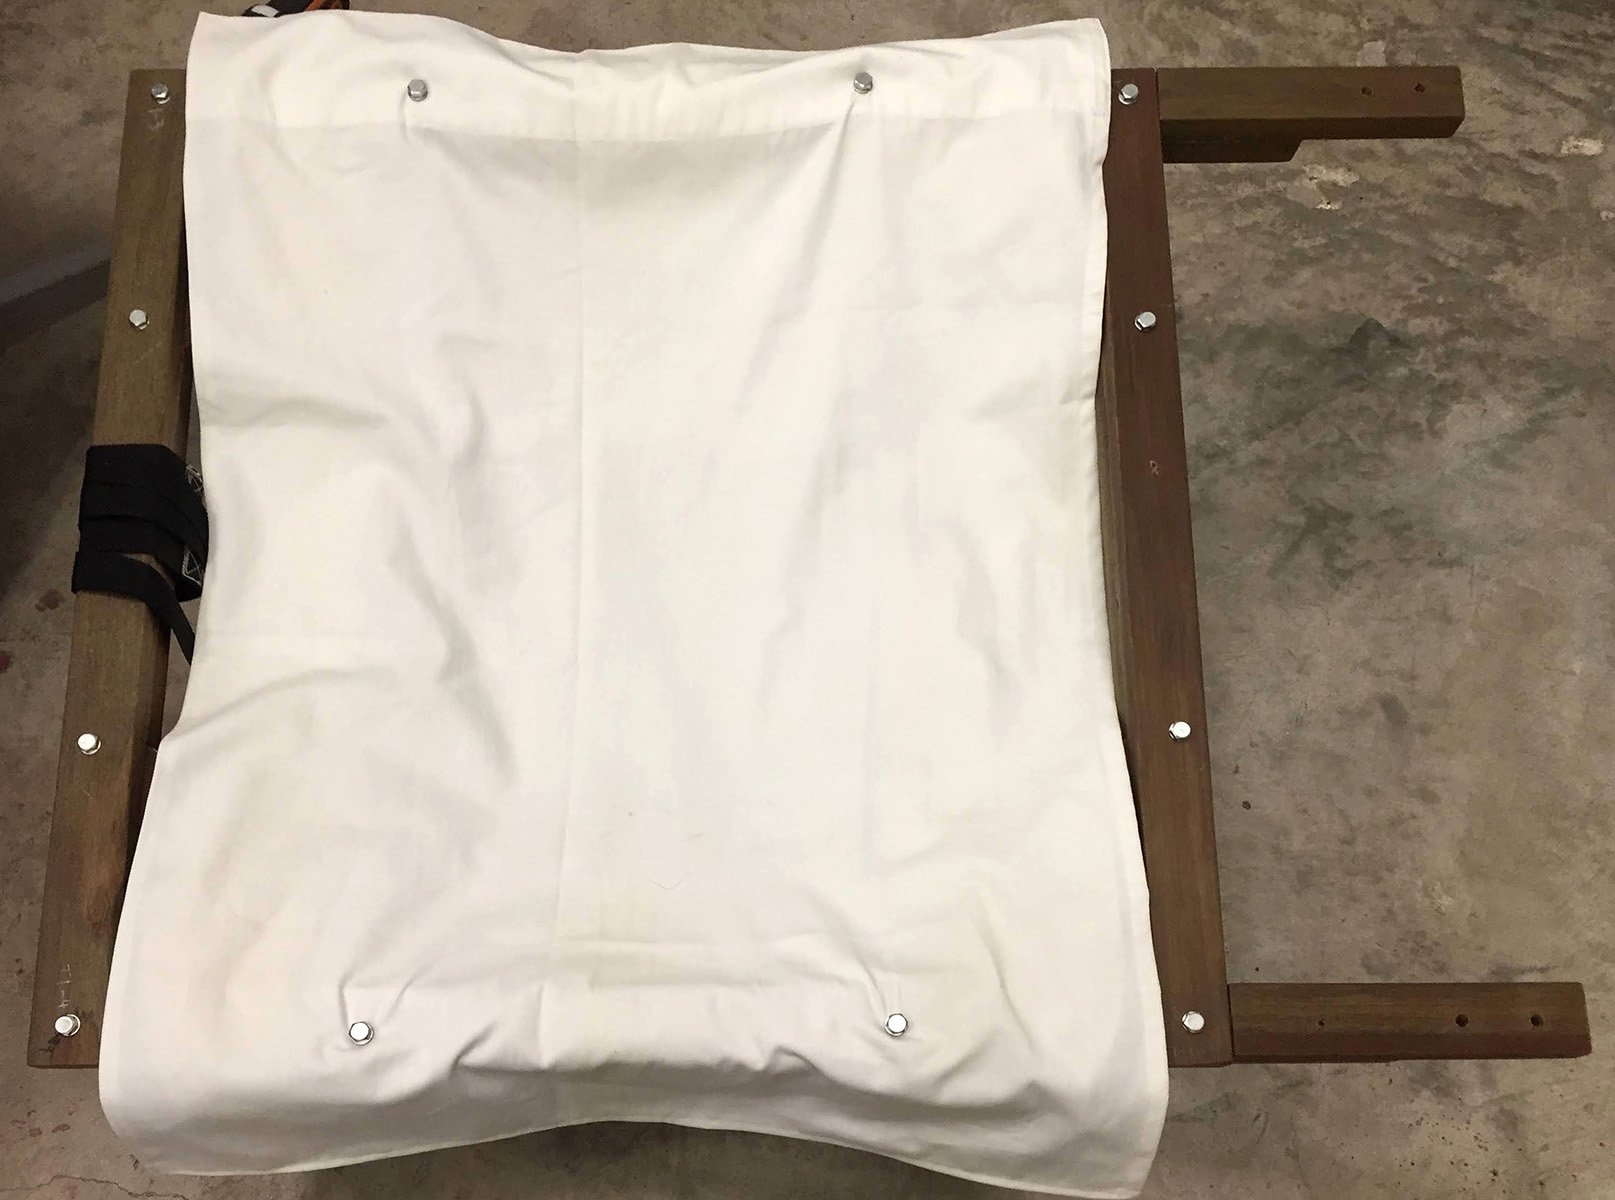
Buttons for easy removal
To ‘attach’ all three pieces together, I decided against stitching as I wanted to make the pieces as serviceable as possible. So I used buttons instead. This way I can simply button the sensor onto the chair seat.

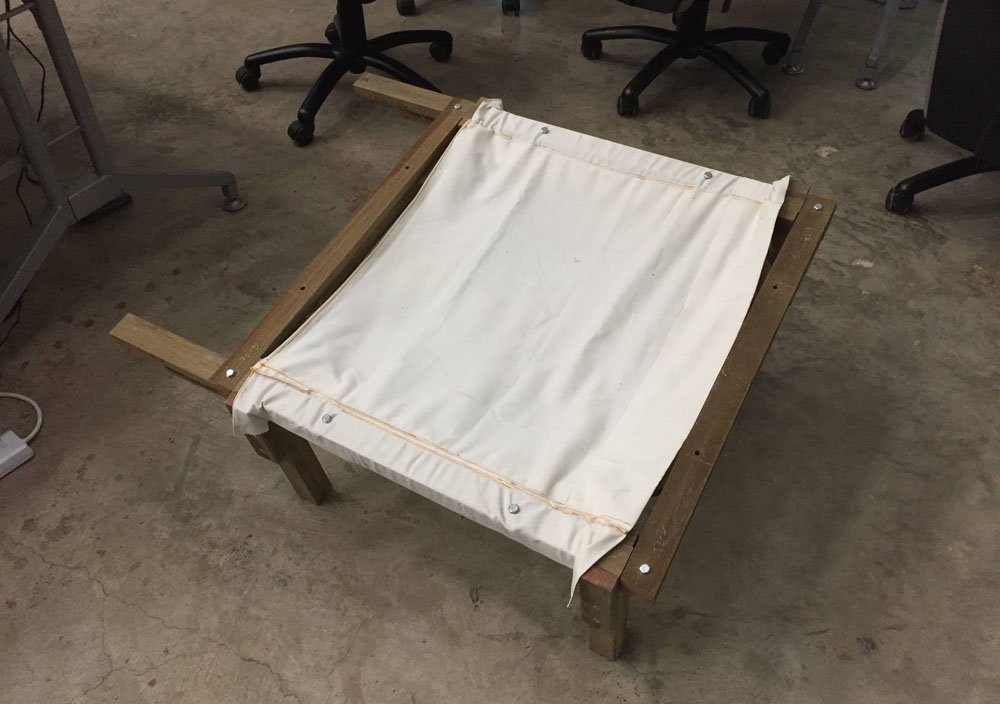
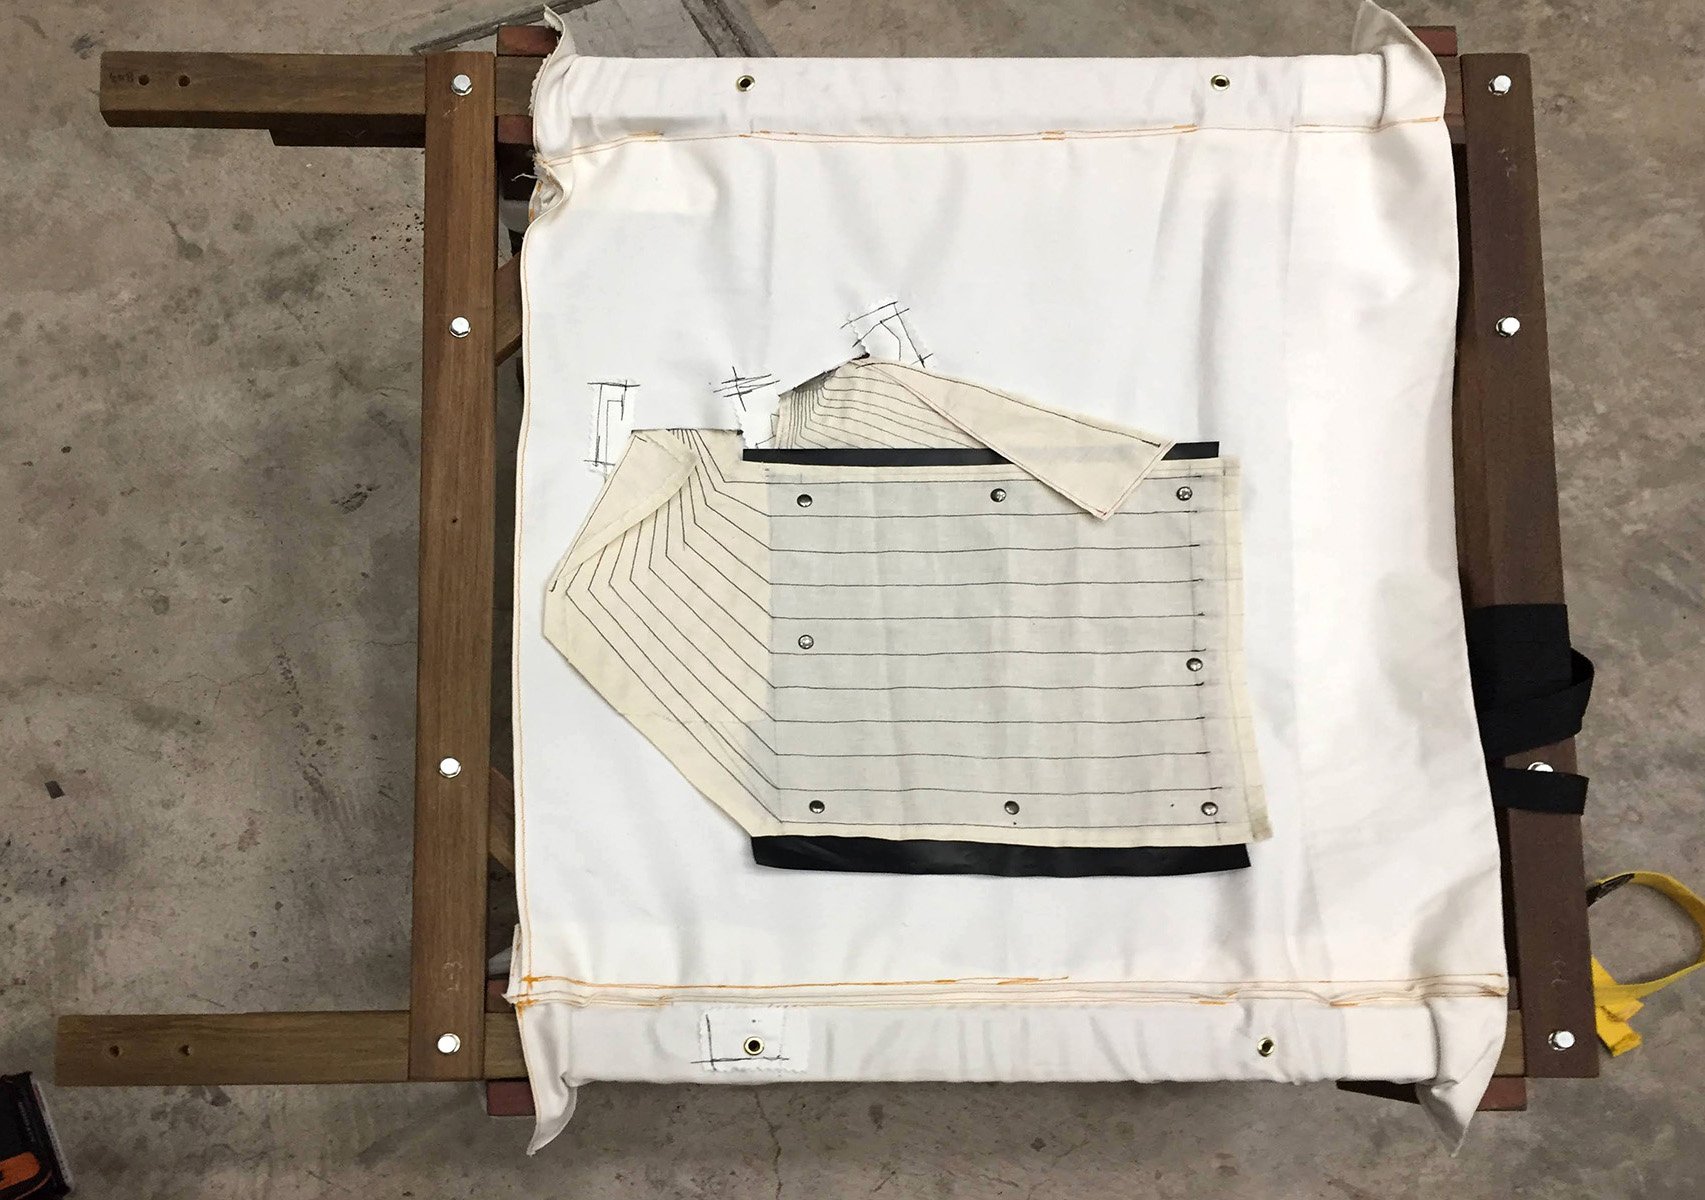
Positioning on seat
Positioning by eyeball, I am guessing most people will sit at the bottom 1/3 of the seat, and also because my sensor is only 27 x 27cm; due to the size of velostat I could procure. But I figured technically I could cut out strips of velostat and sew them onto the stitching, so I could increase the mileage of the velostat use. I’m playing it safe though as time was tight.

Slits for cable relief
Slits are required for the terminal ends to hang loosely so that nothing breaks when 100s of pounds are applied onto the sensor. Small strips of fabric are used to reinforce the sides of the slits in an opposing direction.

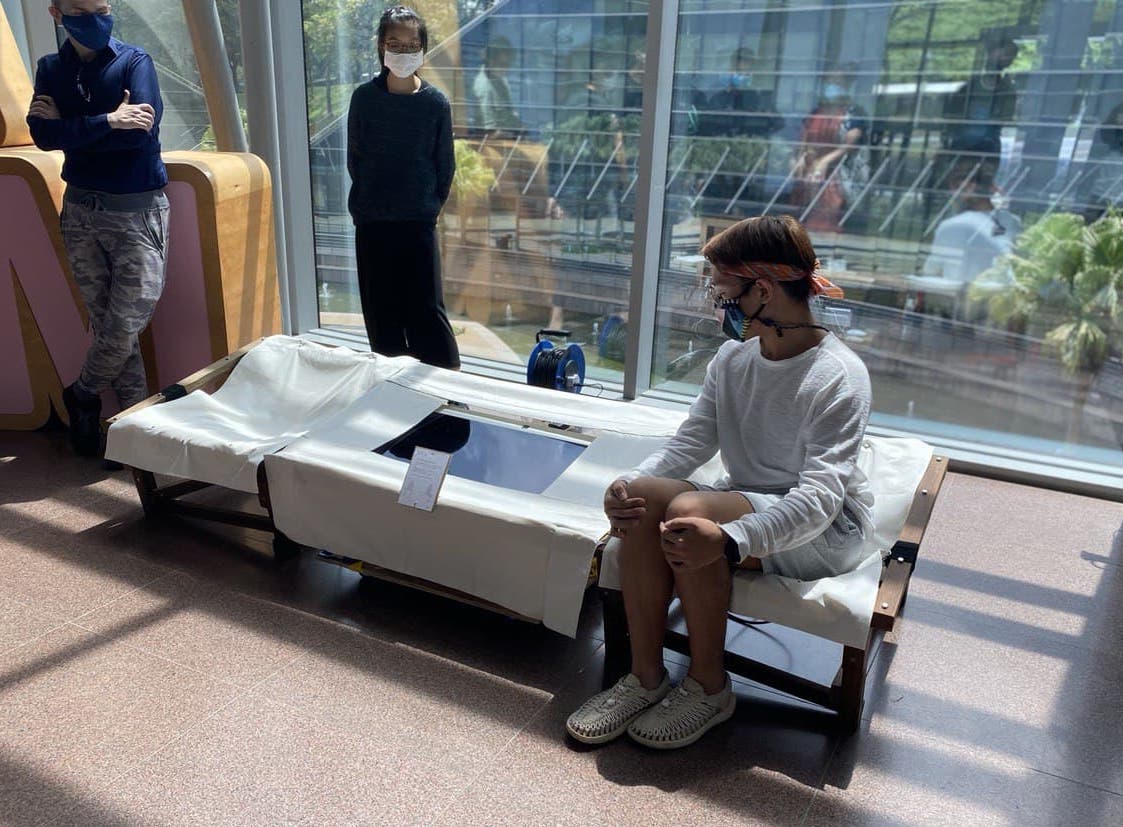
Fitting complete !
Sitting on it and not breaking anything was a sign of relief. Now I just need to go through the whole process and create the second piece.
Top layer for beauty sake
Before I could test run, I had to solder lots of wires; nope, the crimped ones aren’t going to cut. I ran a count, and am proud to say that I did over 100s of soldered joints by the end of the project. But I still had to rely on hot glue 🙂

Lots of connections in this batch; 96 in total!
Here you can see it kinda works, it’s a little noisy and off in accuracy at certain parts. But otherwise I am glad that something even flashes..
Piece 2
New layout; maximize wire spacing ?
As I am making another set, why not have some fun and experiment a little? So I decided to try out a new layout and see if I can notice any tangible difference. Here the layout is for maximizing wire spacing, so that I can delay the tiny spacing as long as possible, but it does burns your pockets…
Practice makes perfect?
Getting neat and tidy joints take time; 1-2 hrs on average!
All done, hot glue to tie up everything

new layout all done, last piece as well!
Lessons learnt from sewing 6 pieces of these things.

no knot necessary?
Tying knots mean the thread length needs to be more, which equals extra cost. So being cheapskate me, I struggled with tying knots while having short ends. But I realized that you can get away by just having it loosely looped while pulling it through, but does require a finer touch.
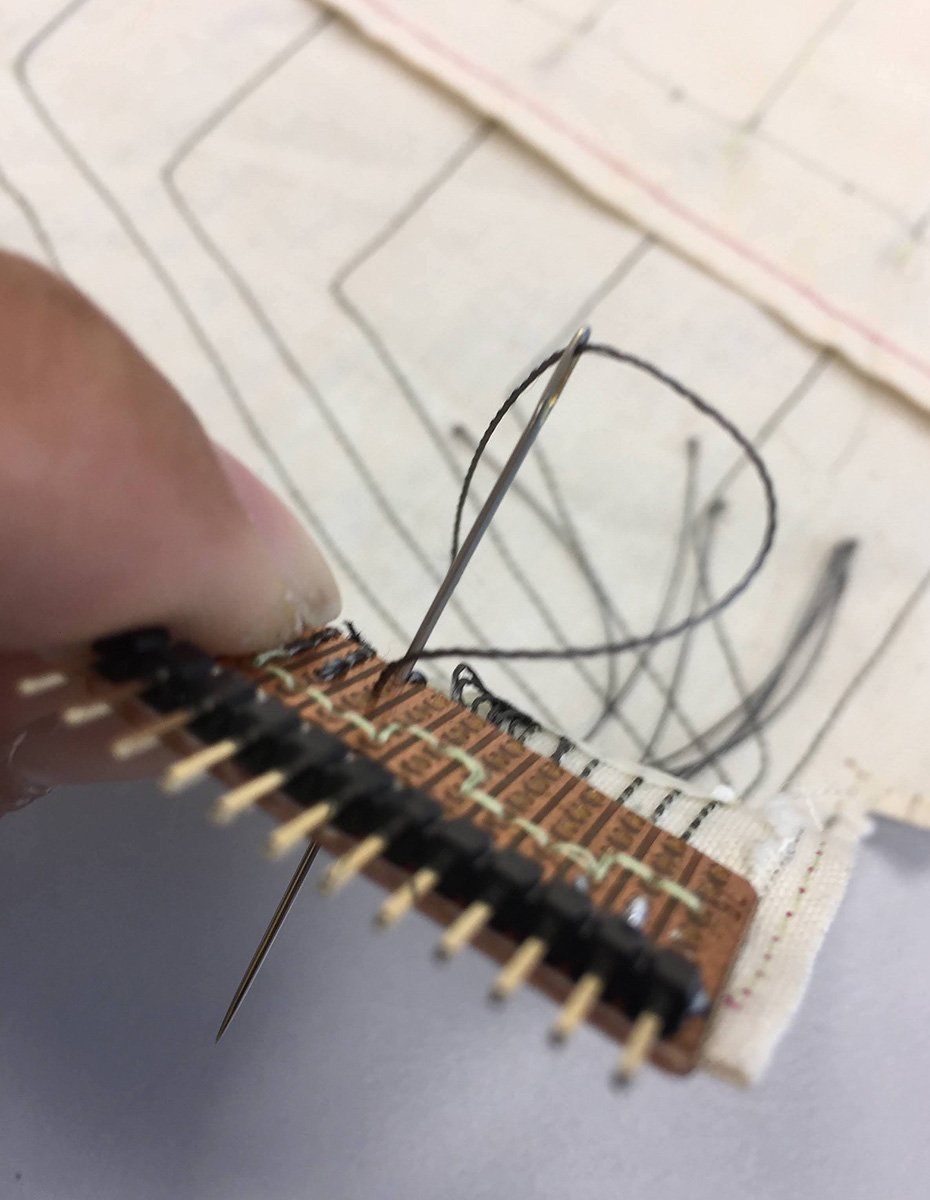
needle just needs to pull thread thru
Tie a knot! You can never tie too many knots when you are doing e-sewing.
be sure to tie a knot !
wala! second set done
I must say, this second set seems much improved. In appearance I mean.
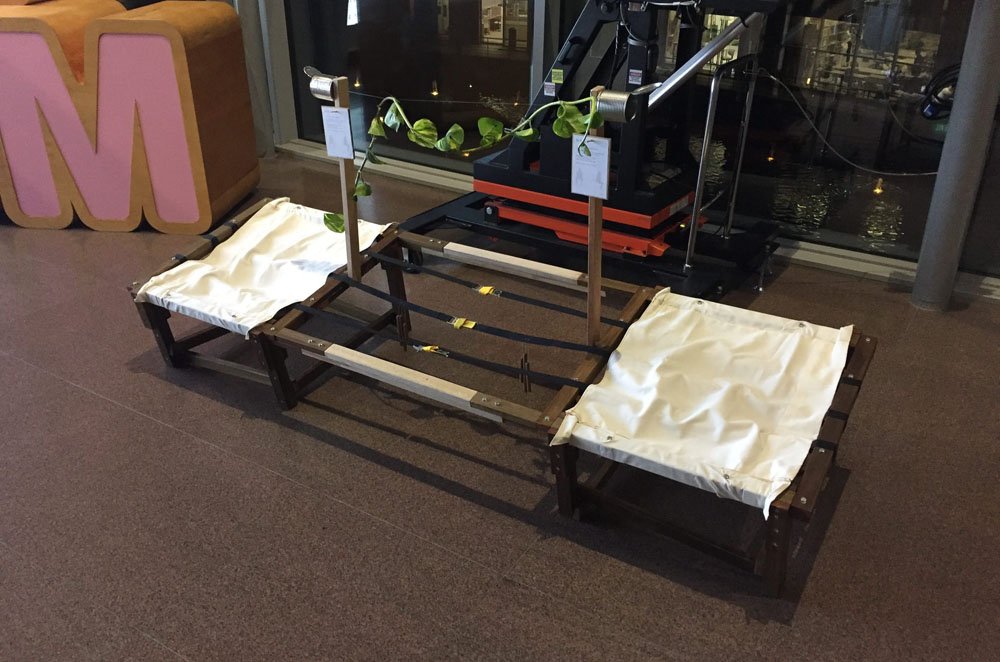
Second set integrated onto chair, support strips added at wire terminal areas
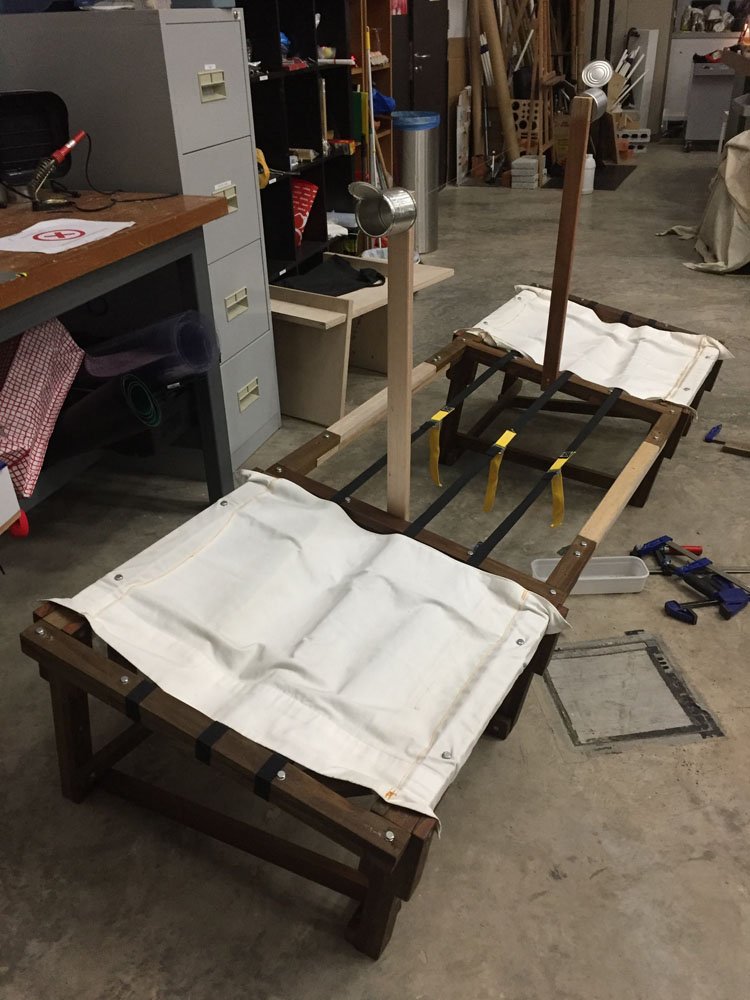
Last stretch, the sensor is integrated and we are done

makeshift arduino platform, with barebones cable relief
Simple makeshift board for mounting the megas, with tremendous cable management and strain relief.
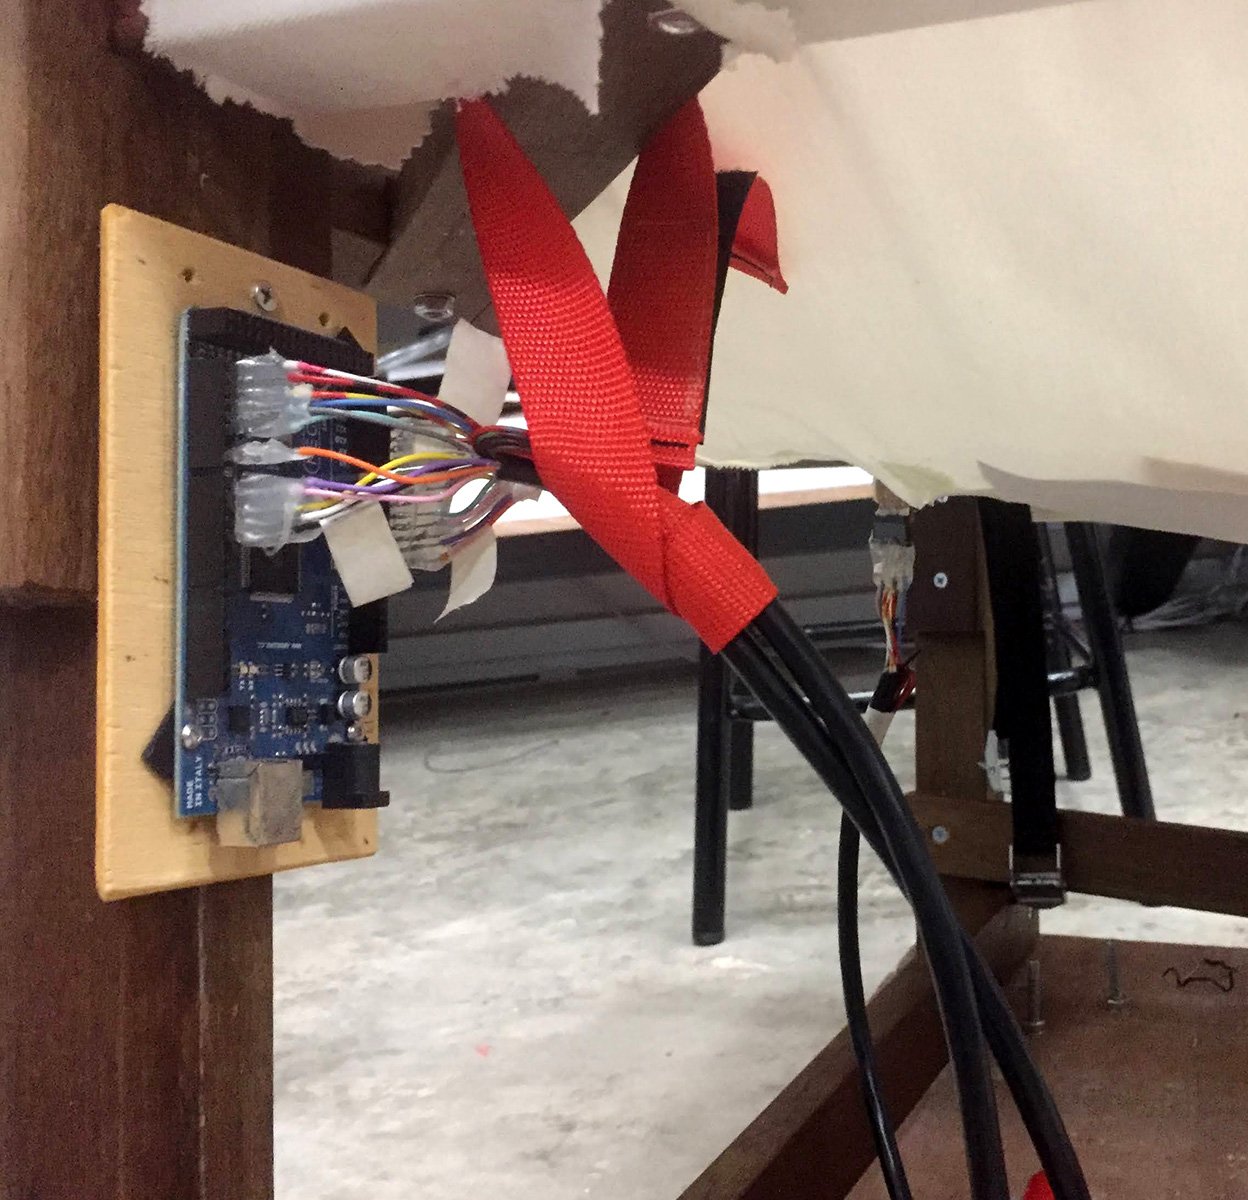
cables start and end wires labeled for easy install
Software is eating the world
But mine doesn’t. Touchdesigner is all the rage these days, and I have no intention of bucking the trend.
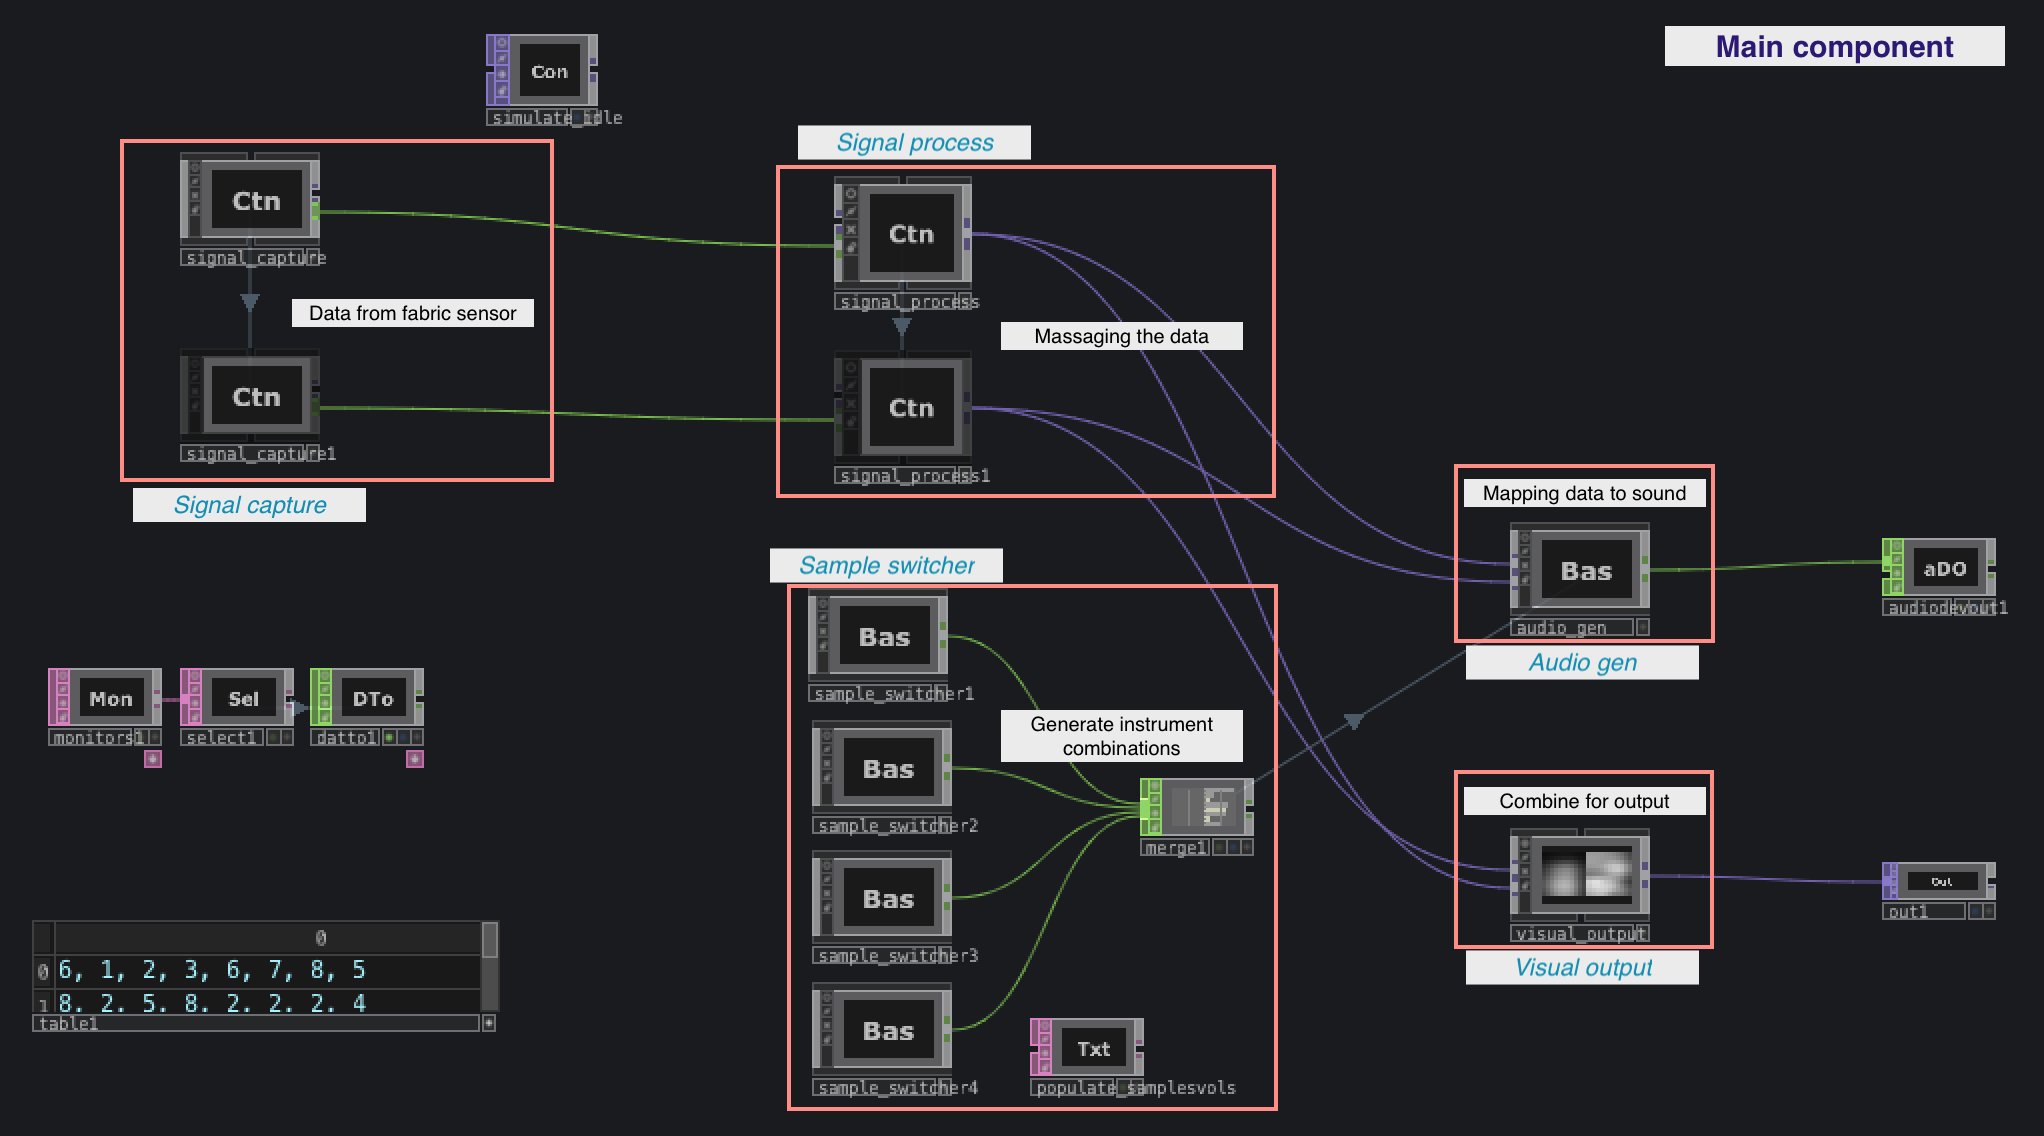
Bird’s eye view of the whole setup
I try to modularise as much as I can so that the logic can be made/fixed independently, OOP style, so to speak.
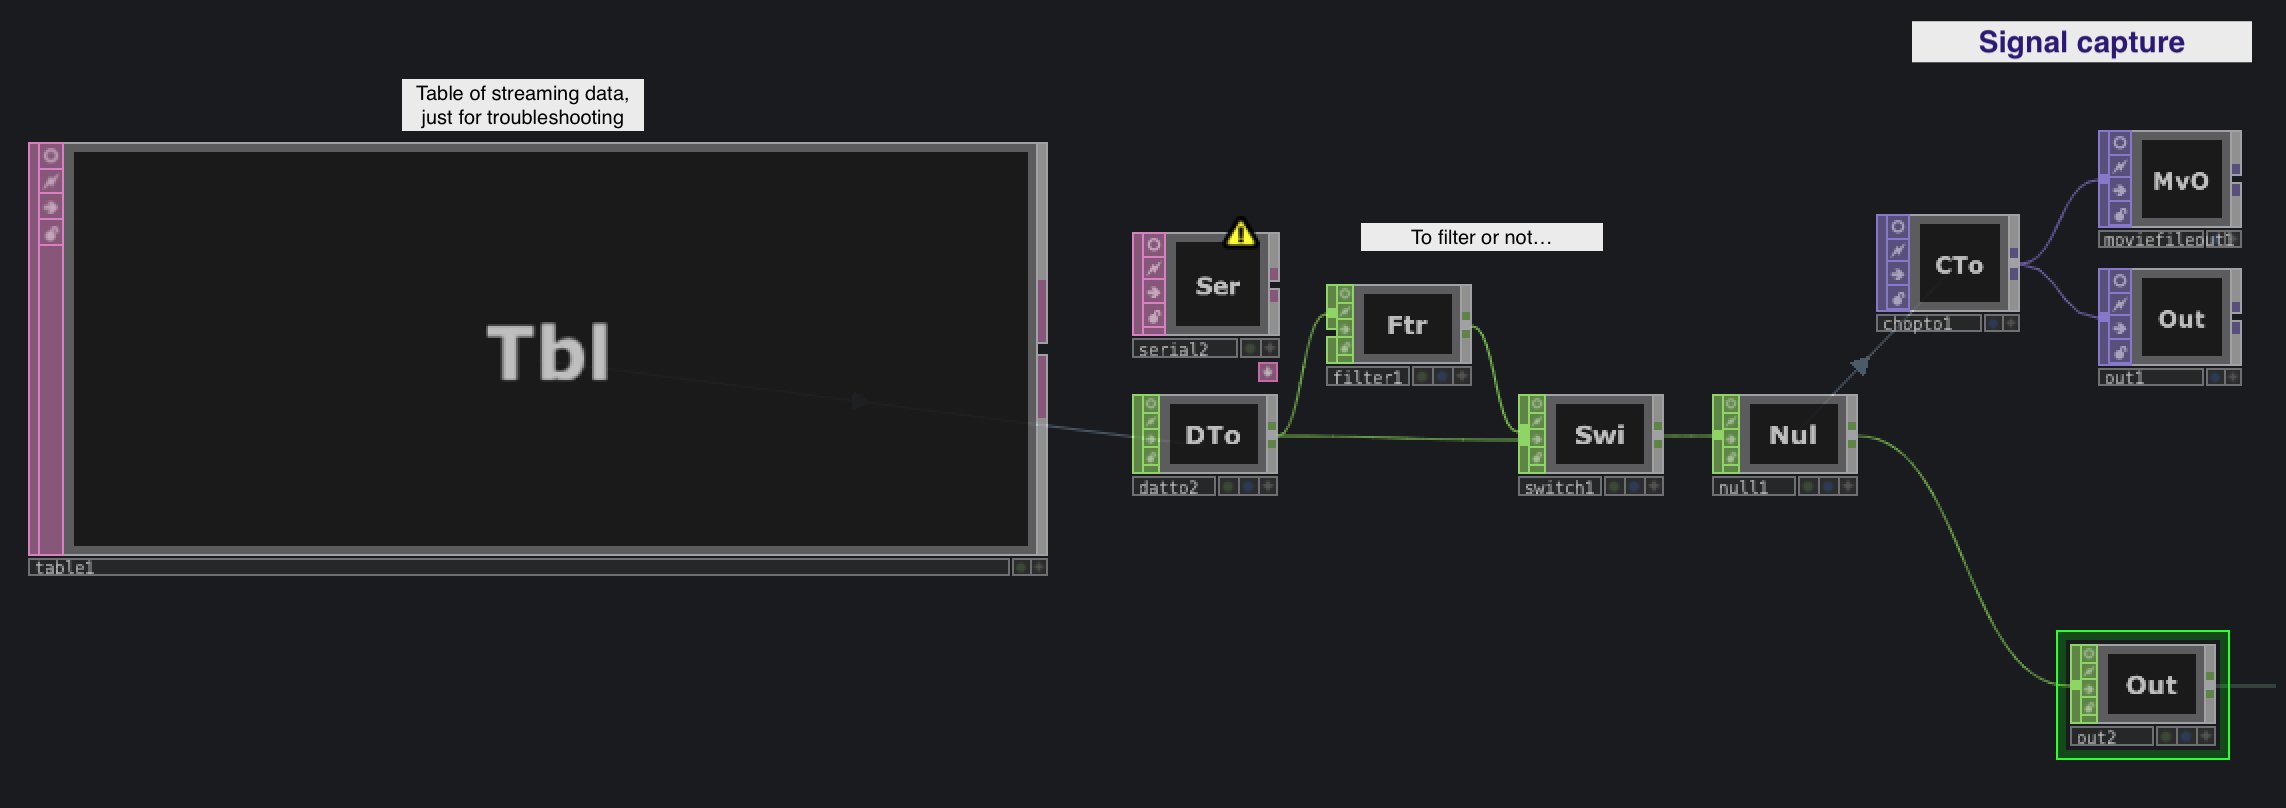 This module simply receives data from Arduino and converts it into a usable format. TD is receiving the serial data in rows, as I tried sending all 121 values all at once but doesn’t play well.
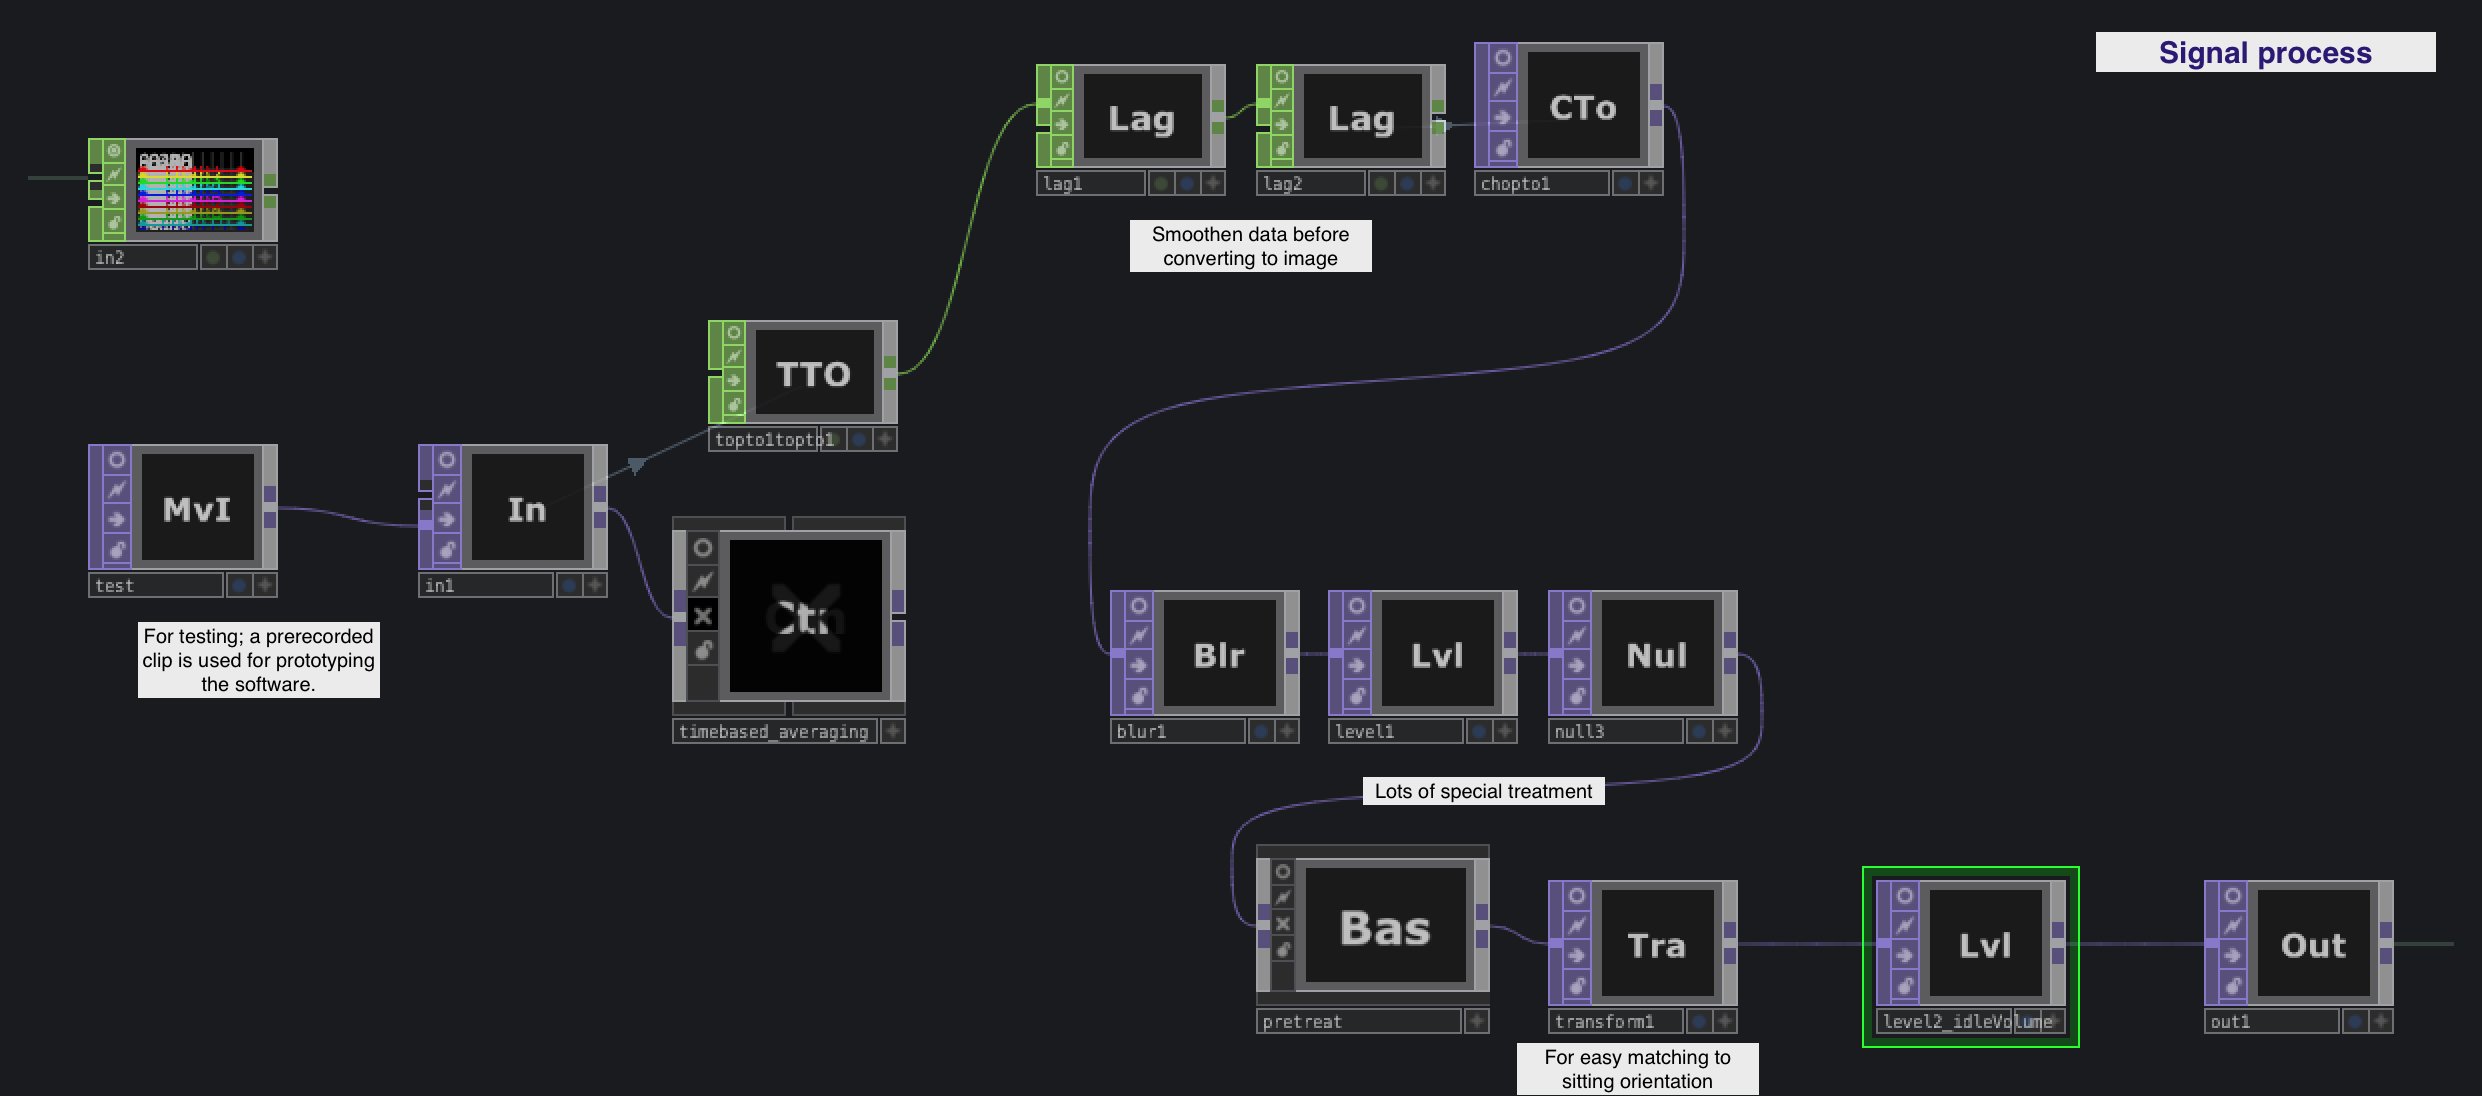 The data is pretty noisy, partly because I believe of the many imperfections of the homemade sensor, and also the lack of calibrated tests based on the conductive threads I used. In short, lots of data fixing before it’s in usable form.
 This part is simply to automate the process of changing instruments/sample combinations every set interval, so that I don’t have to pay someone to sit there and press a button. Also, I can experiment with combinations and add/remove them easily.
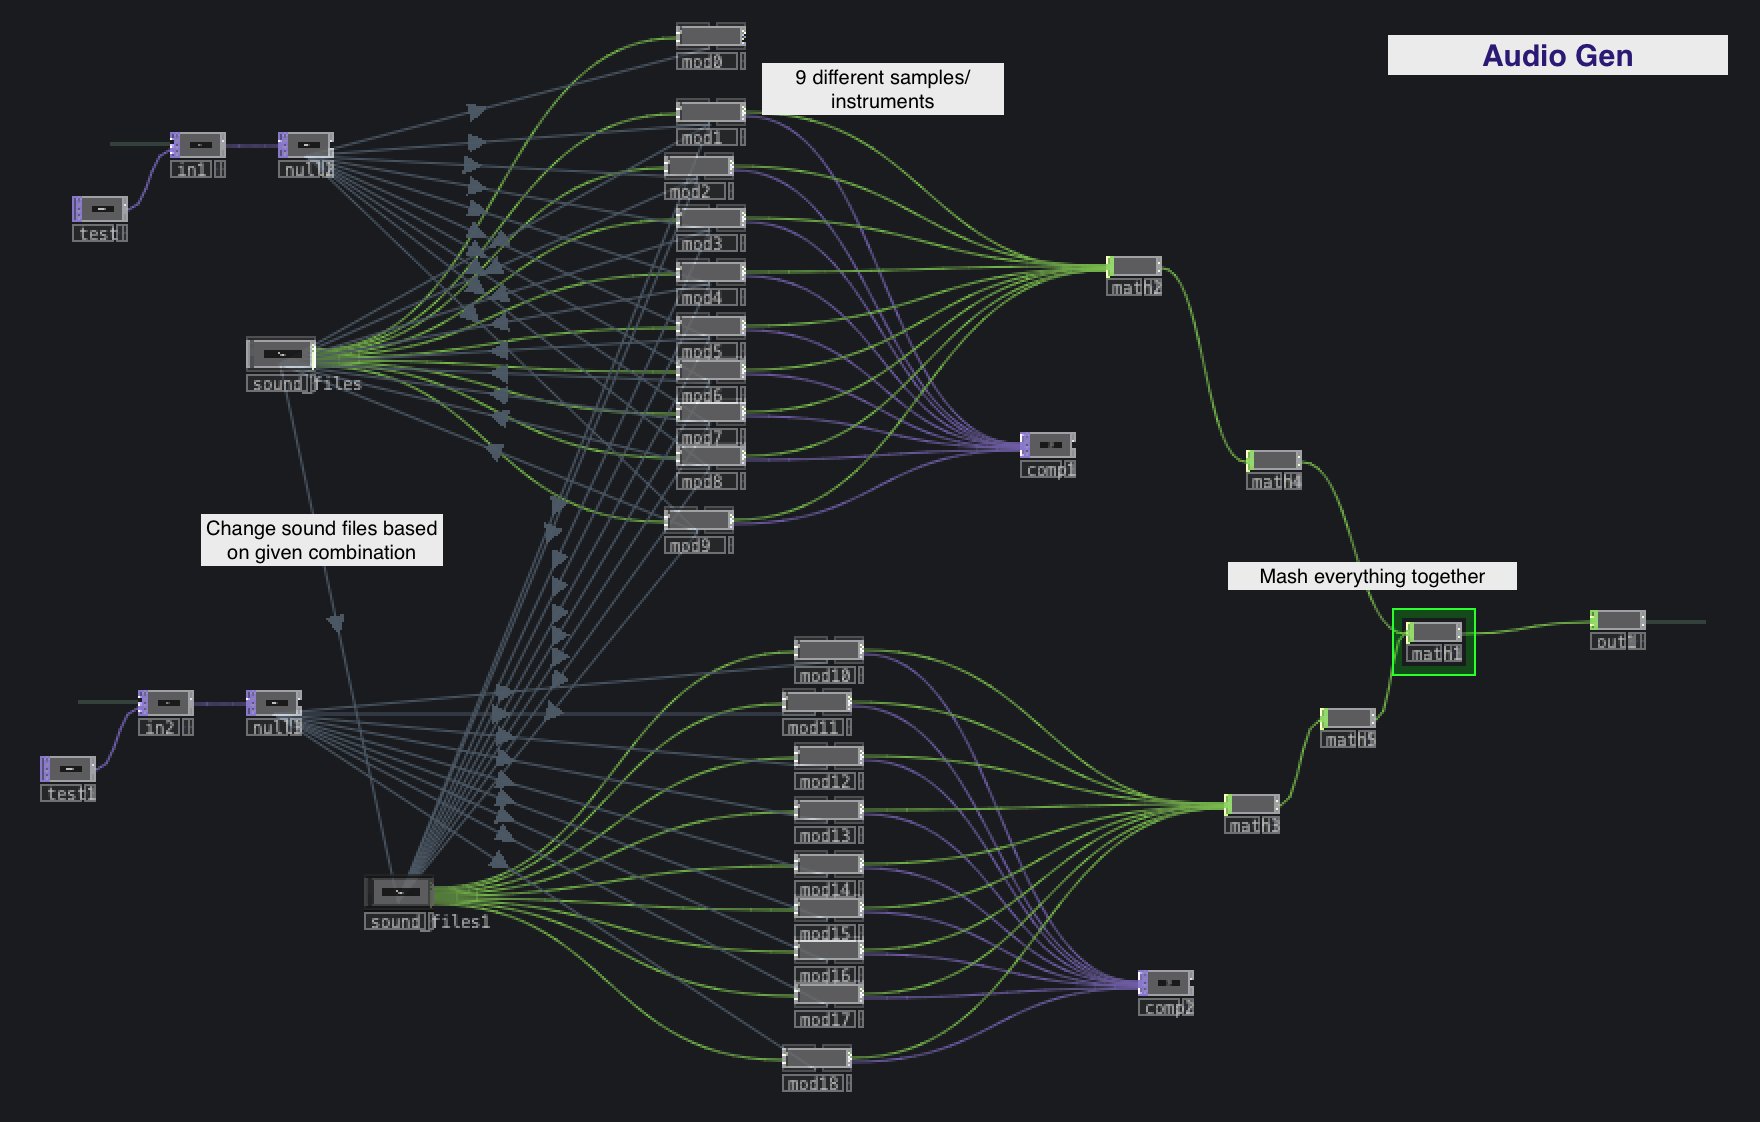 Many connections, but it’s because we are dealing with 2 chairs, and each chair’s sensor has 9 spots that correspond to 9 different sound files. TD makes it easy, and very fast as well.
 Here the sound files are switched out according to what combination is selected. Again, TD has made it easy; here I am switching between 9 sound files x 8 combinations = 72 files, all achieved with some dragging and dropping.
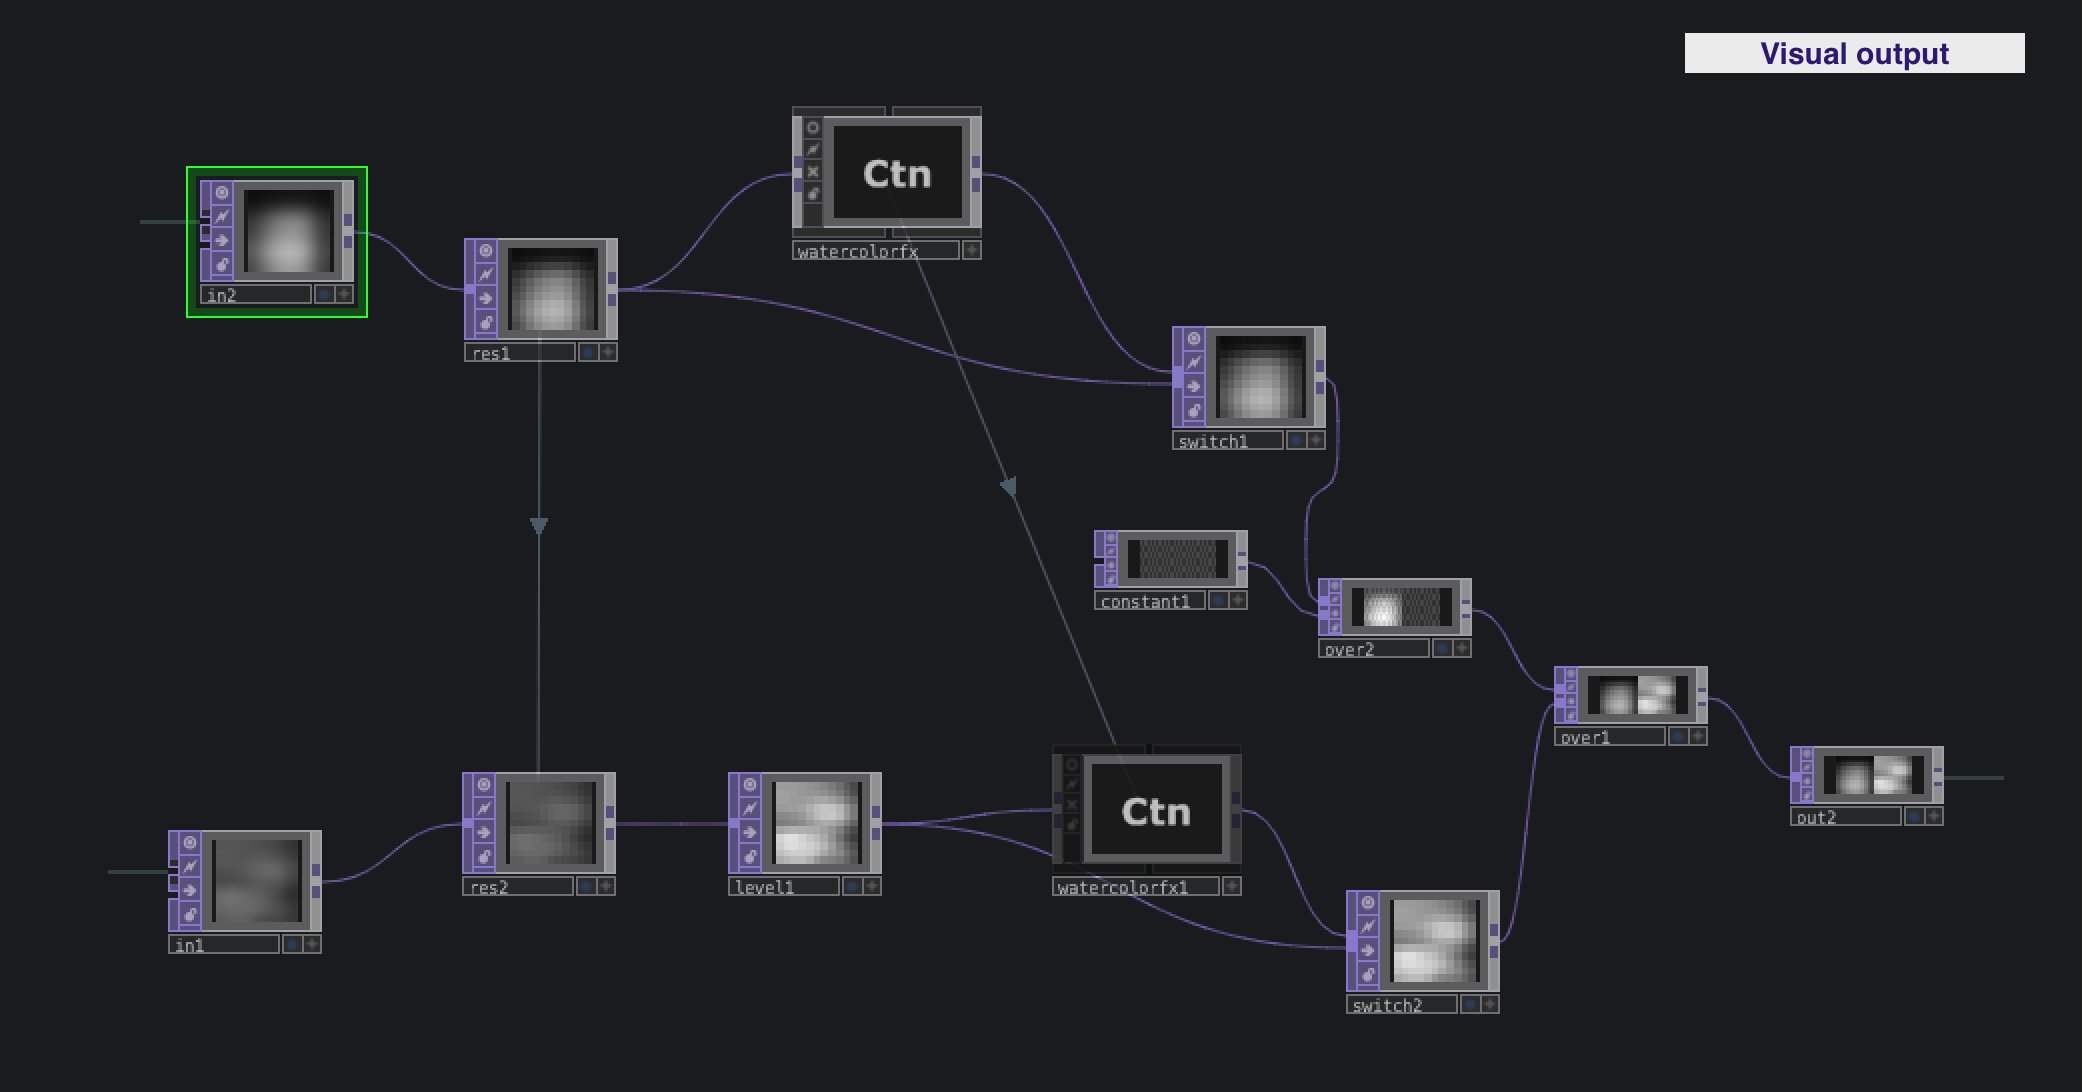
Here the outputs from the sensor visualisation are combined, and I have added a ‘watercolor fx’ just for added visual interest. and partly because the iMac has enough muscle to run everything at 60fps.
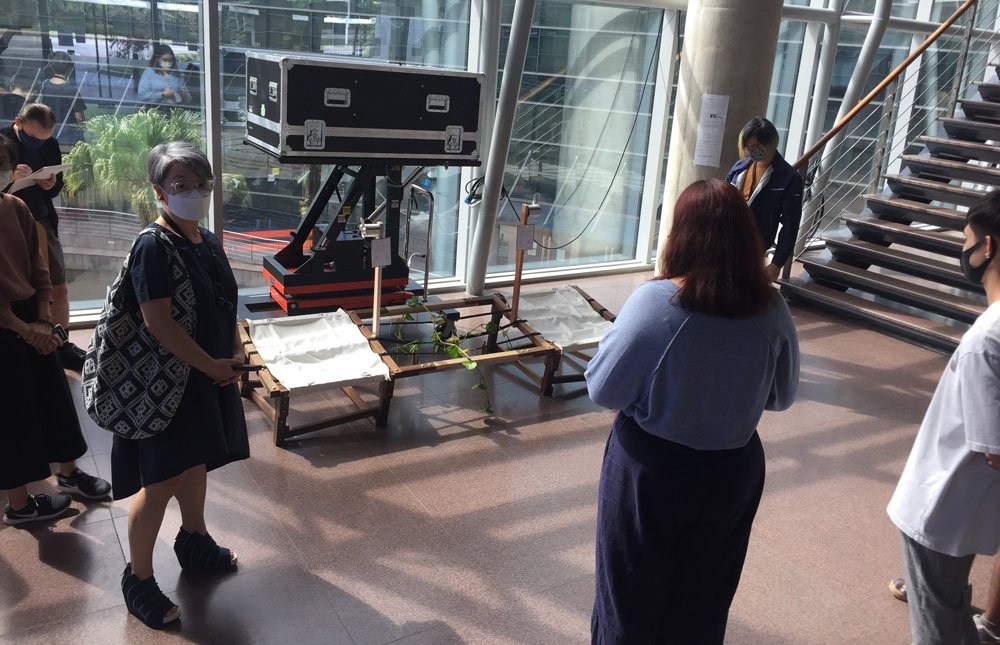
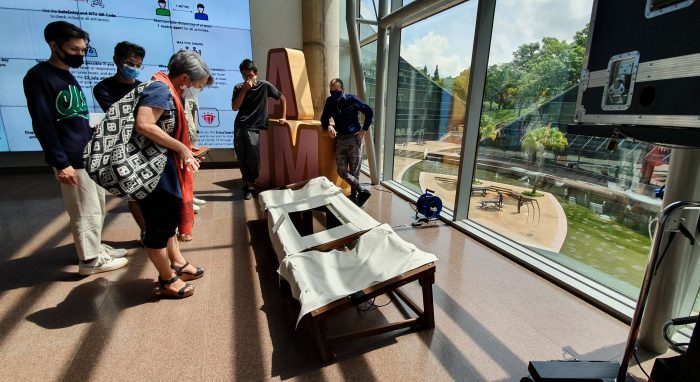
Finale
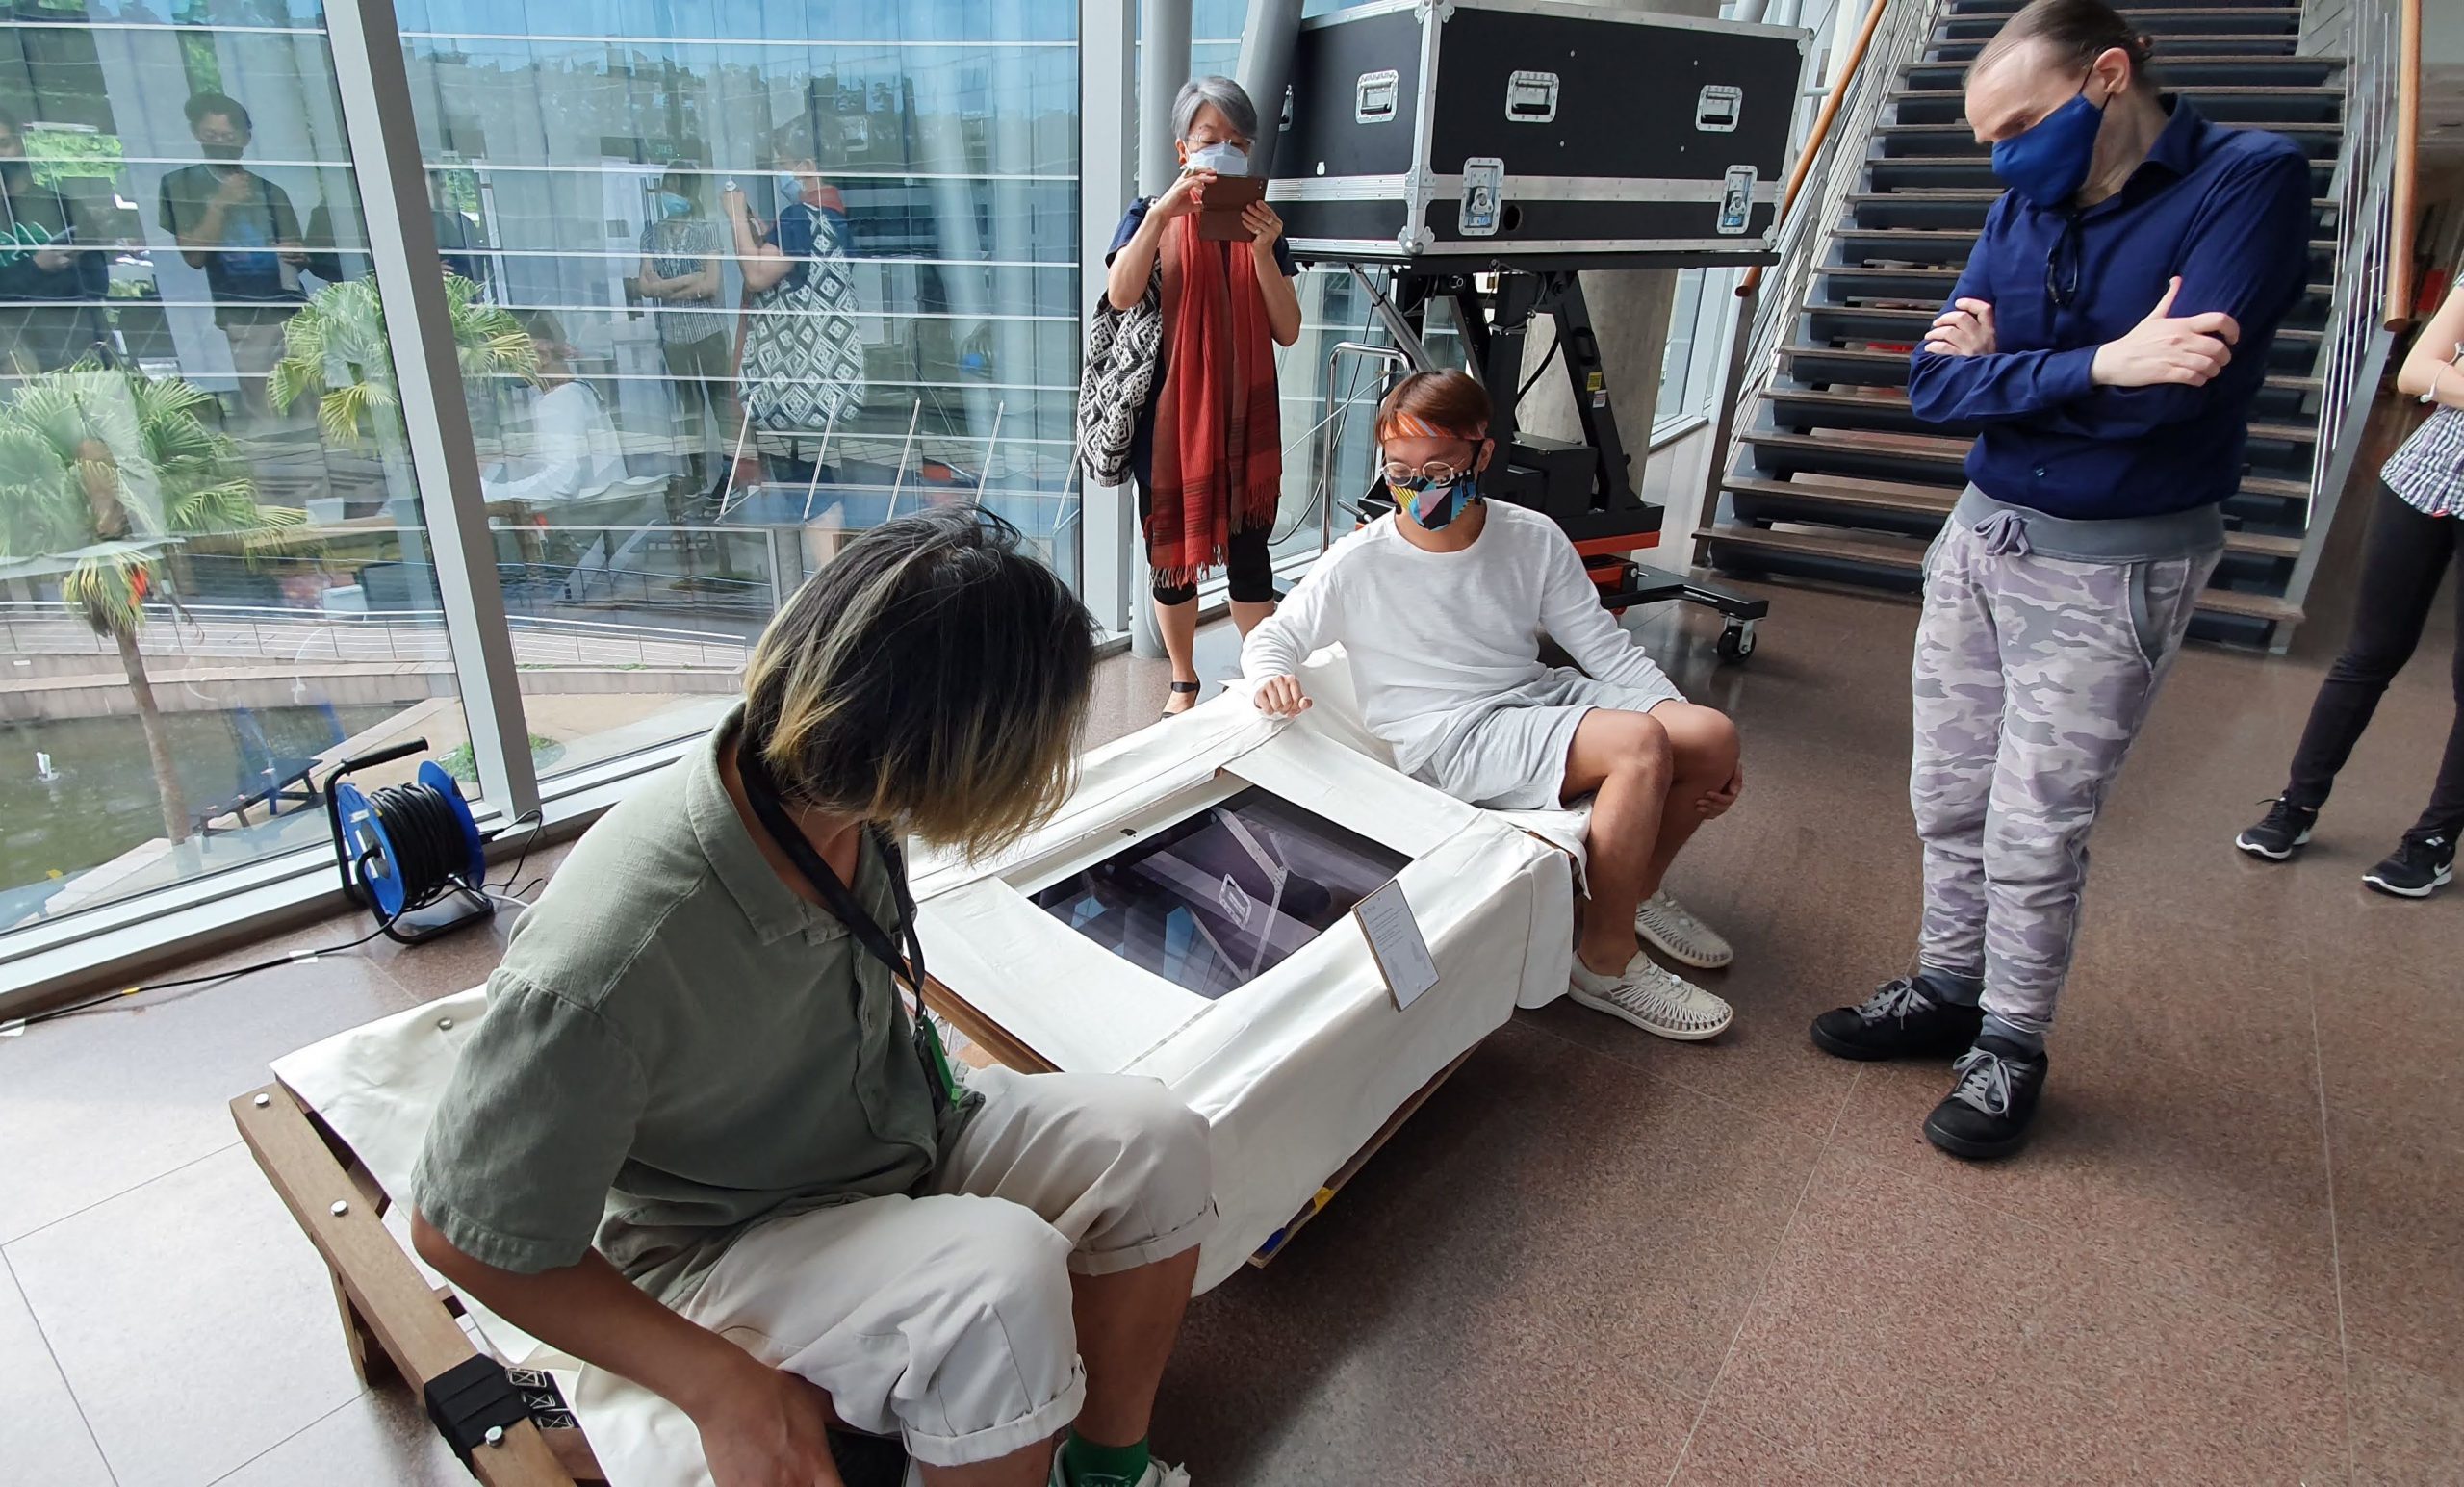
The day has come for showcase !

Special mention(again):
Sensor Fabric based on work & research by Kobakant
Special thanks to:
- Interactive Spaces Class of 2020 Sem 1
- Prof. Kristy
- Prof. Dejan
- Bryan Leow
- Poh Zhang Yu
- Man Wei (videography!)
- Phenomenal staff at SPMS Making and Tinkering Lab, for technical and logistical support.