Sem prj: Tele-Bonsai

One-liner concept

Tele-bonsai is a tele-operation machine that will allow a bonsai master to remotely help you tailor-cut your beloved bonsai from anywhere in the world.

CAD time !

Yes, it is very comforting to design and construct everything on the computer. Laser-cutting was the tool of choice and I had plenty of throwaway 2mm acrylic boards, so I worked my design around that. Though it wasn’t as convenient as being able to 3d print ‘any’ shape, I find that it was a good practice for designing modular small parts that can fit together to make a larger shape. And my recent foray into cardboard design helped somewhere too. CAD also allowed me to play with different ideas without spending any time and money before committing, unlike relationships in real life :p

Parts assembly

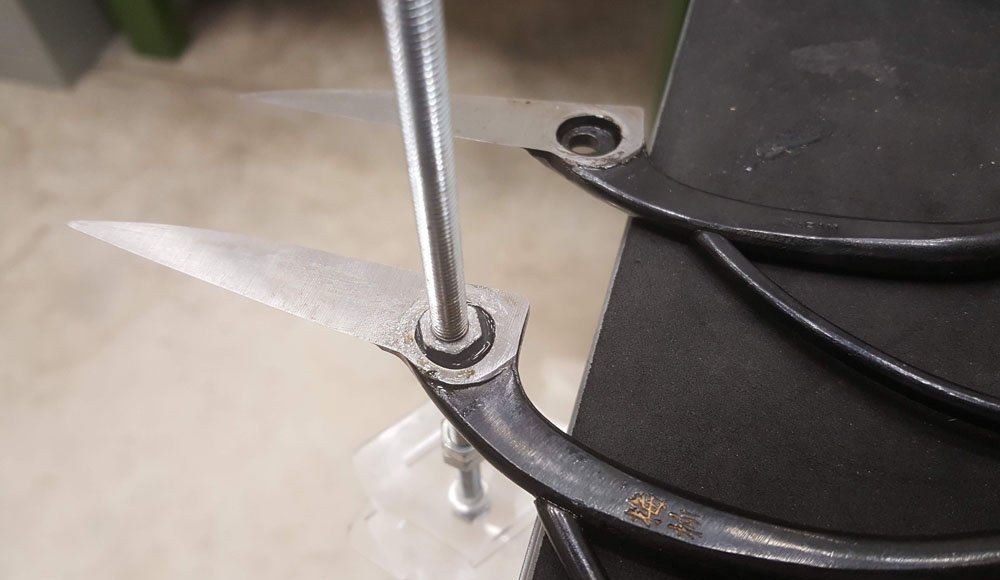
epoxy nut into shears for clamping, and yes it’s a real japan made bonsai shears ($18 a pop) !

Locking the (bonsai) shears to the shaft is particularly challenging, I tried a variety of methods, but finally stuck to using epoxy and sticking a nut inside a hole inside the shear.

lazy susan as base

lazy susan with internal gears

Next up was the lazy susan for the rotating base. This went pretty smoothly; I chose an internal gear of about 6-ish:8 ratio to reduce the amount of degrees lost as I am using a servo and would like to rotate at least 120 degrees. Originally planned for 2 pieces of 3+mm material, but ended up using 5 pieces for the robotic side’s base.

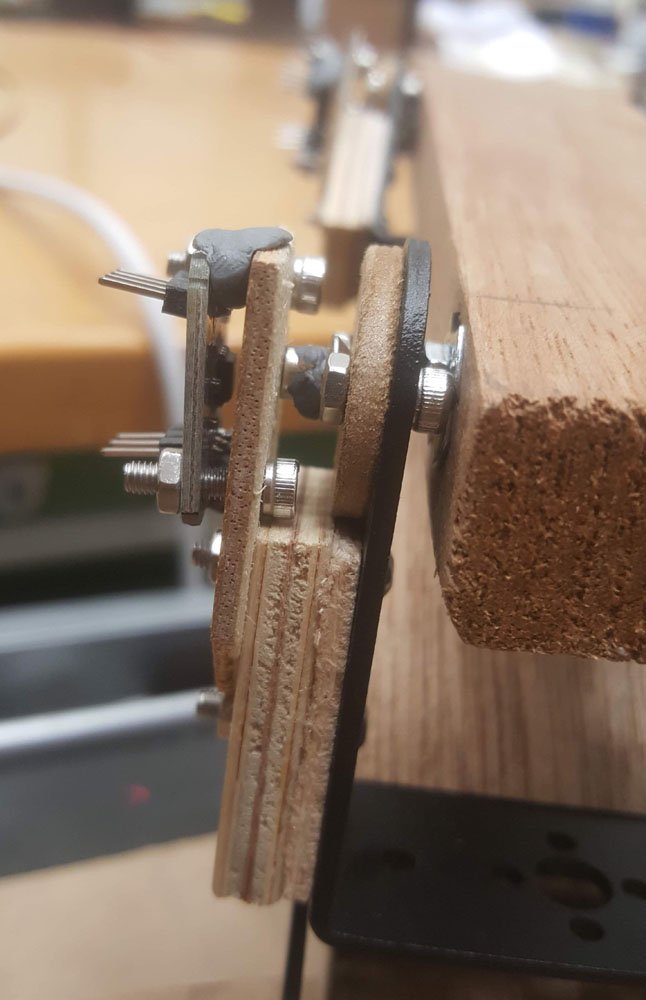
Encoder with magnet assembly

I have chosen to use magnetic encoders(AS5600) for this project as they weigh practically close to nothing and have ‘infinite’ resolution, but it turns out to be quite a bit finicky then expected and proved to be quite a problem as the premise of tele-operation relies on accurate sensing. Hardware encoders should have been used, though at the expense of weight and footprint, but would most likely be much more reliable. I am not absolutely sure but it seems the noise ripple from the power supply for the servos messes the signal significantly, though the effect is less pronounced in the wee hours(12am – 1.30am). But still its very accurate for what it costs and its size. The ‘spacers’ are for fine-tuning the spacing between the diametric magnet and the encoder.

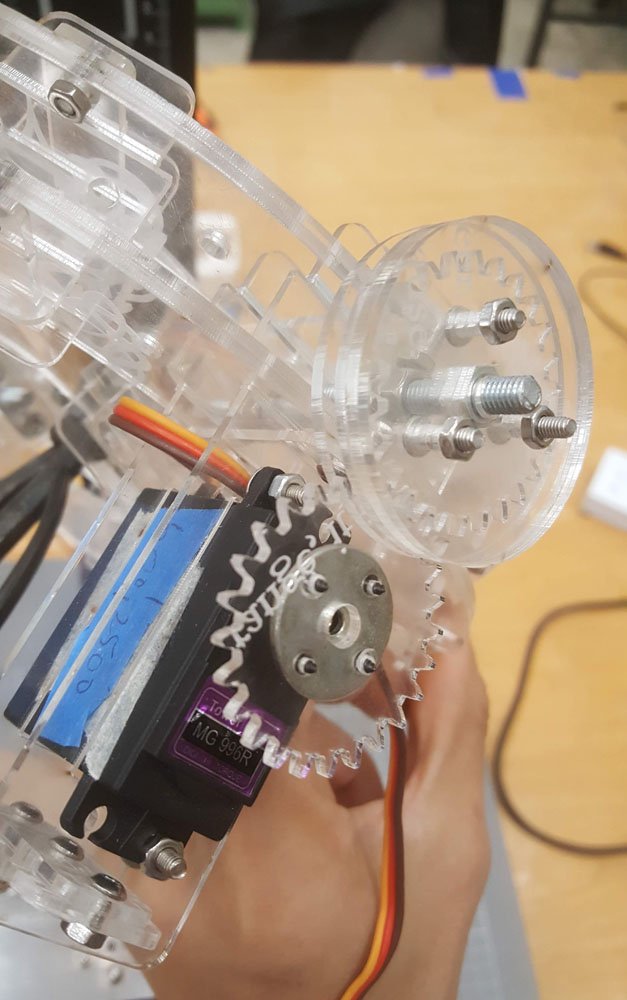
gear assembly for shears frame

The gear assembly is quite hard to lock onto the rotating shaft, and it seemed to slide abit, though the frame didn’t quite make it to the final; more on that later.

Test assembly

.

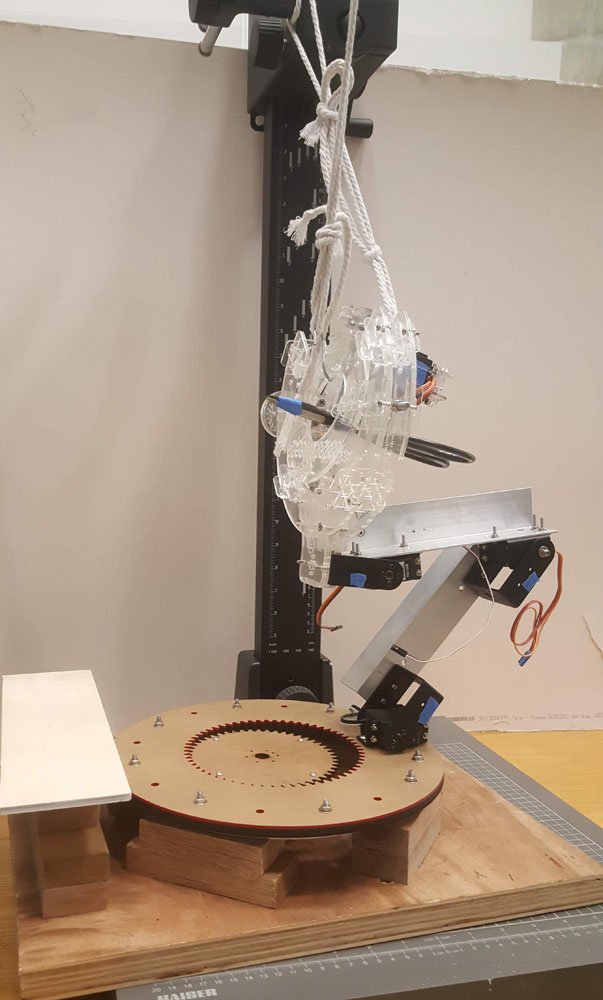
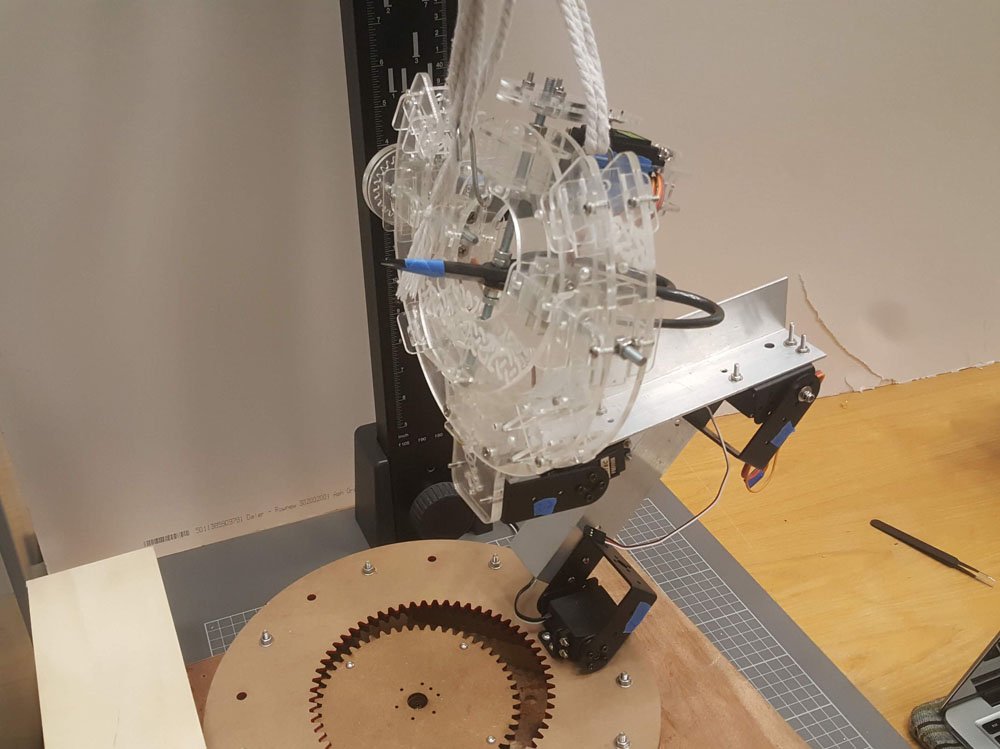
testing with safety lines

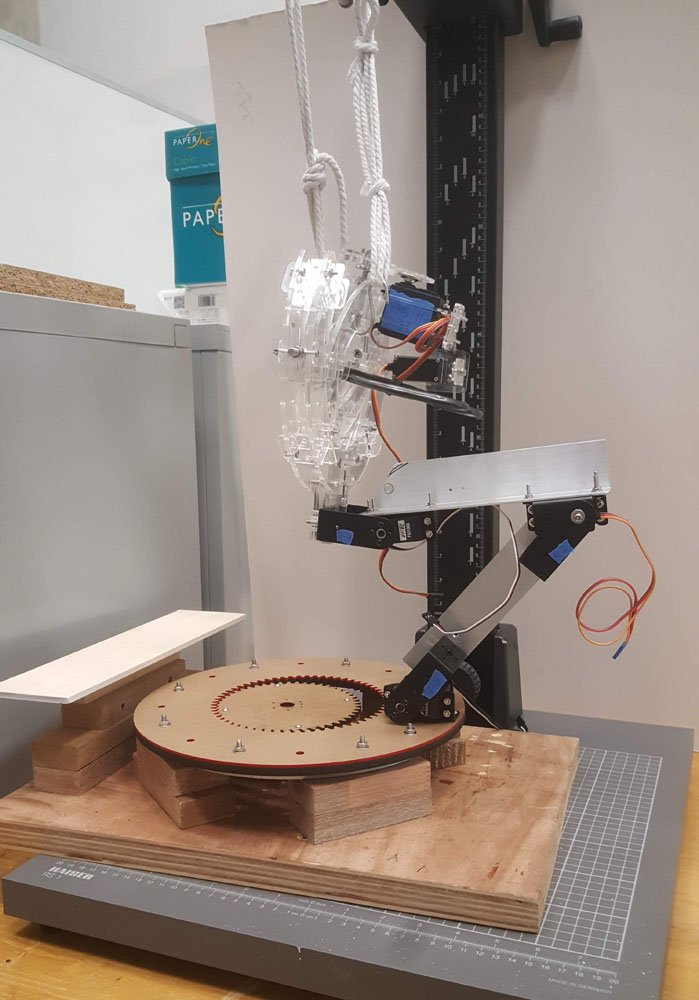
testing with safety lines

Moment of truth!

First off, I was quite pleasantly surprised to be able to assemble everything without too much drama; CAD designs sometimes fall into the pitfall of being impossible to assemble.

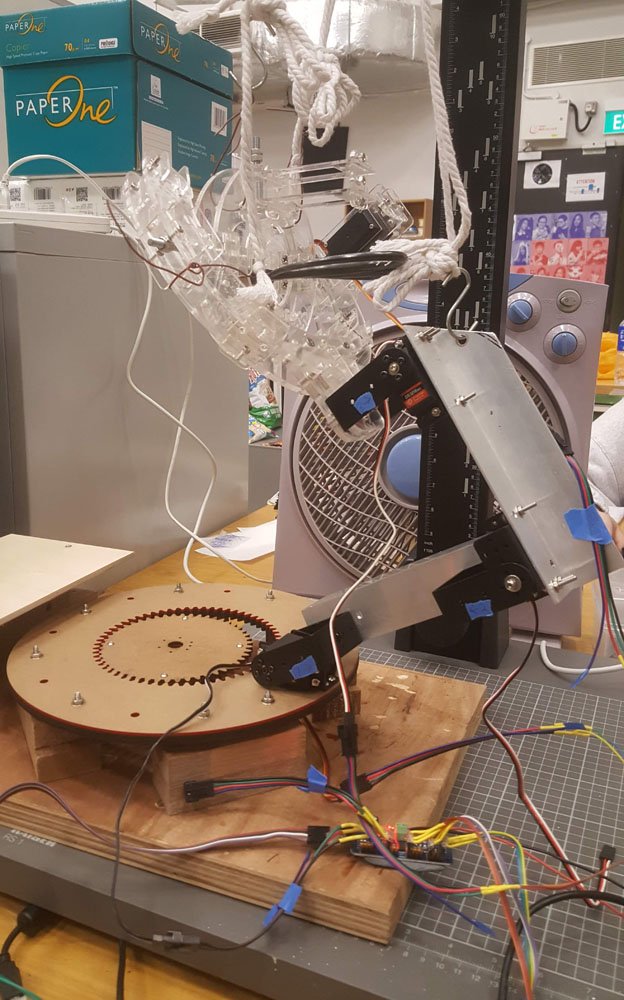
However, I must admit, my heart sank as I came to the conclusion that the motors won’t be able to support the frame, but lesson learnt. The three joints in particular are not favorable; the middle one had to support a great deal of weight and I burnt up a beefy 20kg/cm rated servo for that…

testing with safety lines


I tried to shortening the distance between the servos in hopes of them having more torque to overcome the heavy frame, but to no avail. Oh well..

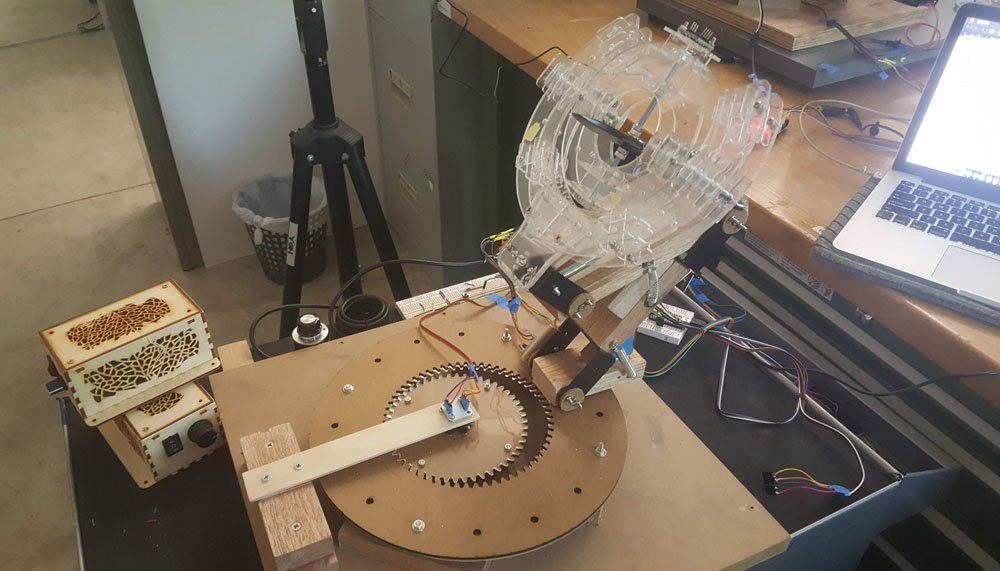
final controller setup

Wiring & electronics

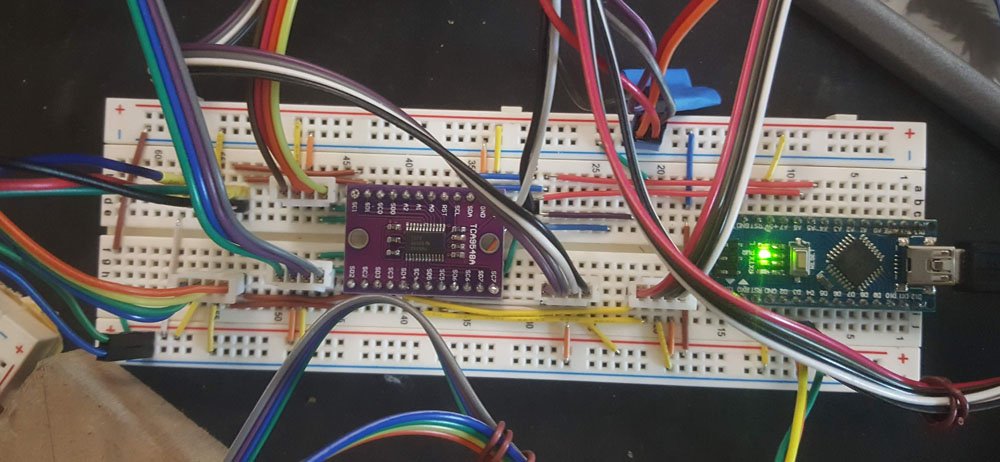
final wiring

controls for debug

It was a good time to practise tidy wiring, and I did just that. It’s oddly satisfying to spend(waste) the time to wire nicely. But it does help; I only had to troubleshoot 2 wrongly placed wires for a whole day of wiring. And lots of custom wiring splicing as well. It was a welcome break from the construction work.

I used a hardware encoder to determine all the limits for each of the servos to prevent mishap before powering up anything. The magnetic encoders took quite a while to figure out its quirks, and I should probably have done much more extensive testing before committing to this approach.

The coding was pretty straightforward, the i2c did throw me off a bit for a couple of hours; initially I couldn’t figure out why the 16 channel PWM controller wasn’t detected when I combined the circuit with the magnetic encoders(using a tca9548a i2c multiplexer), and realised I had to connect it to one of the channels on the multiplexer instead of running it in parallel. It was a rather silly mistake on hindsight. But it is certainly easier than having 2 Arduinos sending data back and forth.


Final assembly

After much deliberation, I decided to laser-cut a cardboard replica of the frame for the robot side, just for visualisation sake.

Yes, cardboard .. better than nothing though …

Final demo

Not available yet, trying to pick a good timing(less people on campus = less noise in the power lines?) to shoot a video, or figure out how to use a battery pack to power the servos … stay tuned … ?
proposals for sem prj


Idea 2: the bonsai master tele machine

what: a tele-presence machine that allows a bonsai master to physically manipulate a bonsai remotely.

why: you might have difficulty hiring a bonsai master in your area to help you with your new expensive hobby.

gameplan:

  • tabletop mechanism for bonsai (wk1)
  • remote hand (wk1-4)
  • hand controller (wk1-4)
  • camera (wk4/5)


Idea 1:  cry baby

what: a crying ‘baby’ that only stops upon encountering solar power/movement(lots of)

why: to encourage physical movement and getting out in the sun.

Idea 3: peace-seeker

what: a machine that helps guide you towards a solidarity and contemplative state.

why & how: could be useful in a (future) highly contagious pandemic situation. all we need is a direction indicator to take us on the ‘right’ path.


Sketch – Multimodal

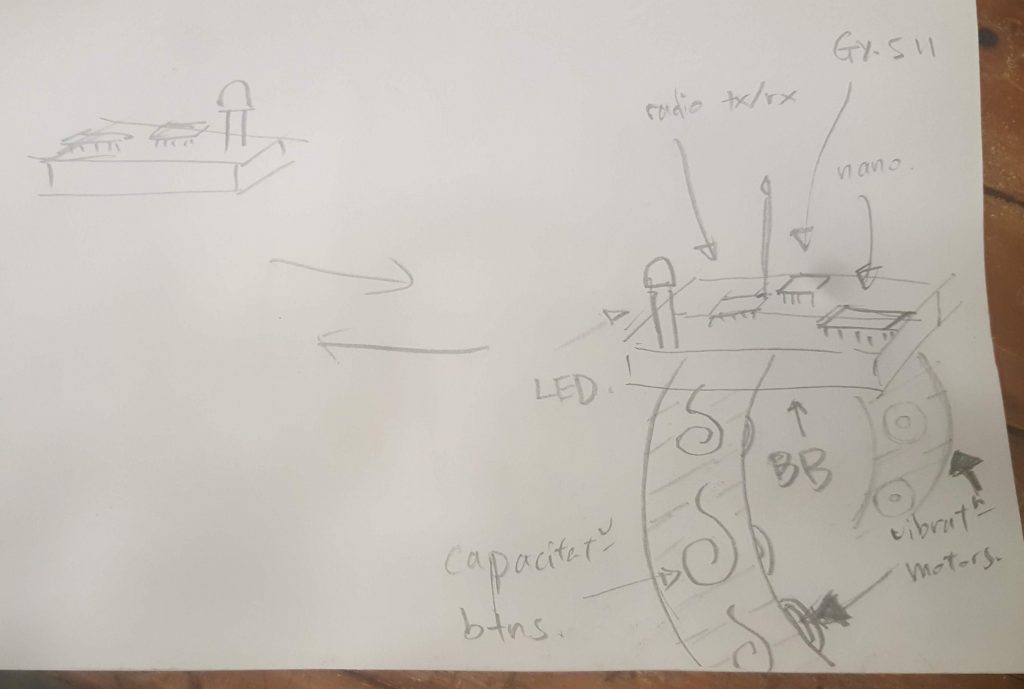
A pair of wrist devices to help people find each other. When facing each other, LED shines most brightly. The capacitative buttons and vibration motors work in tandem to allow simple tactile communication between them.

Device of the week(IoT): FarmBot

On first glance, I wasn’t quite sure if I love or hate the FarmBot. The nerd in me is intrigued with the automation, the engineering and the tech behind all of this. But this also conflicts with the practicality side of me.

Let’s take a moment to review what is the FarmBot .

FarmBot is an automated(for the most part), CNC-gantry-style machine featuring modular replaceable head tool, that helps you, grow vegetables. Through a highly customisable web interface, you can ‘design’ your plot allotment, and set watering/fertilising details, and let the bot do everything else. It even claims to have the ability to utilise computer vision to detect weeds and growth problems. It has been widely adopted in domestic, academic, research and even commercial(includes NASA) settings. The bot is also connected to the Internet, allowing you to continue to tend to your produce while on vacation. The team has also been gracious enough to make the project open source(both software and hardware), allowing anyone to adapt and modify for their own purposes.

The premise is simple and straightforward, but I think the implications and use-cases are worth considering. For one, I don’t feel that this product is suited for solving the impending crisis of feeding a growing population. The practicalities of growing any substantial amount of food should be dedicated to someone who is doing it for a living, and not as a side project or hobby. Even for the homemaker who is adopting the FarmBot for self-sufficiency, I can’t see how having one makes it easier than just simply reading up and learning through the visceral experience of growing your own produce, while accumulating locale-specific knowledge, with consideration for climate, seasons, resource availability etc. Having the bot just makes everything unnecessarily complex; servicing broken parts, supplying electricity, firmware upgrades; you get the idea.

However, I do see this as a perfect candidate for research applications, especially in experiments where carefully controlled scenarios and high repeatability are needed to study specific details of agriculture in a scientific, quantifiable way. If anything, vegetables produced this way for consumption is most probably the most expensive way out of all existing options. There was a section titled Carbon-footprint on the official site. A cursory glance confirmed my doubts that many of the assumptions on that page have been ‘adjusted’ to fit their preferred rhetoric, but to each his own.

In summary, I think this is a neat product, but its feasibility is probably limited to educational and research purposes. This is typical of modern day engineering where we strive to find solutions to either problems that don’t exist, or problems with time-tested ‘classical’ methods.

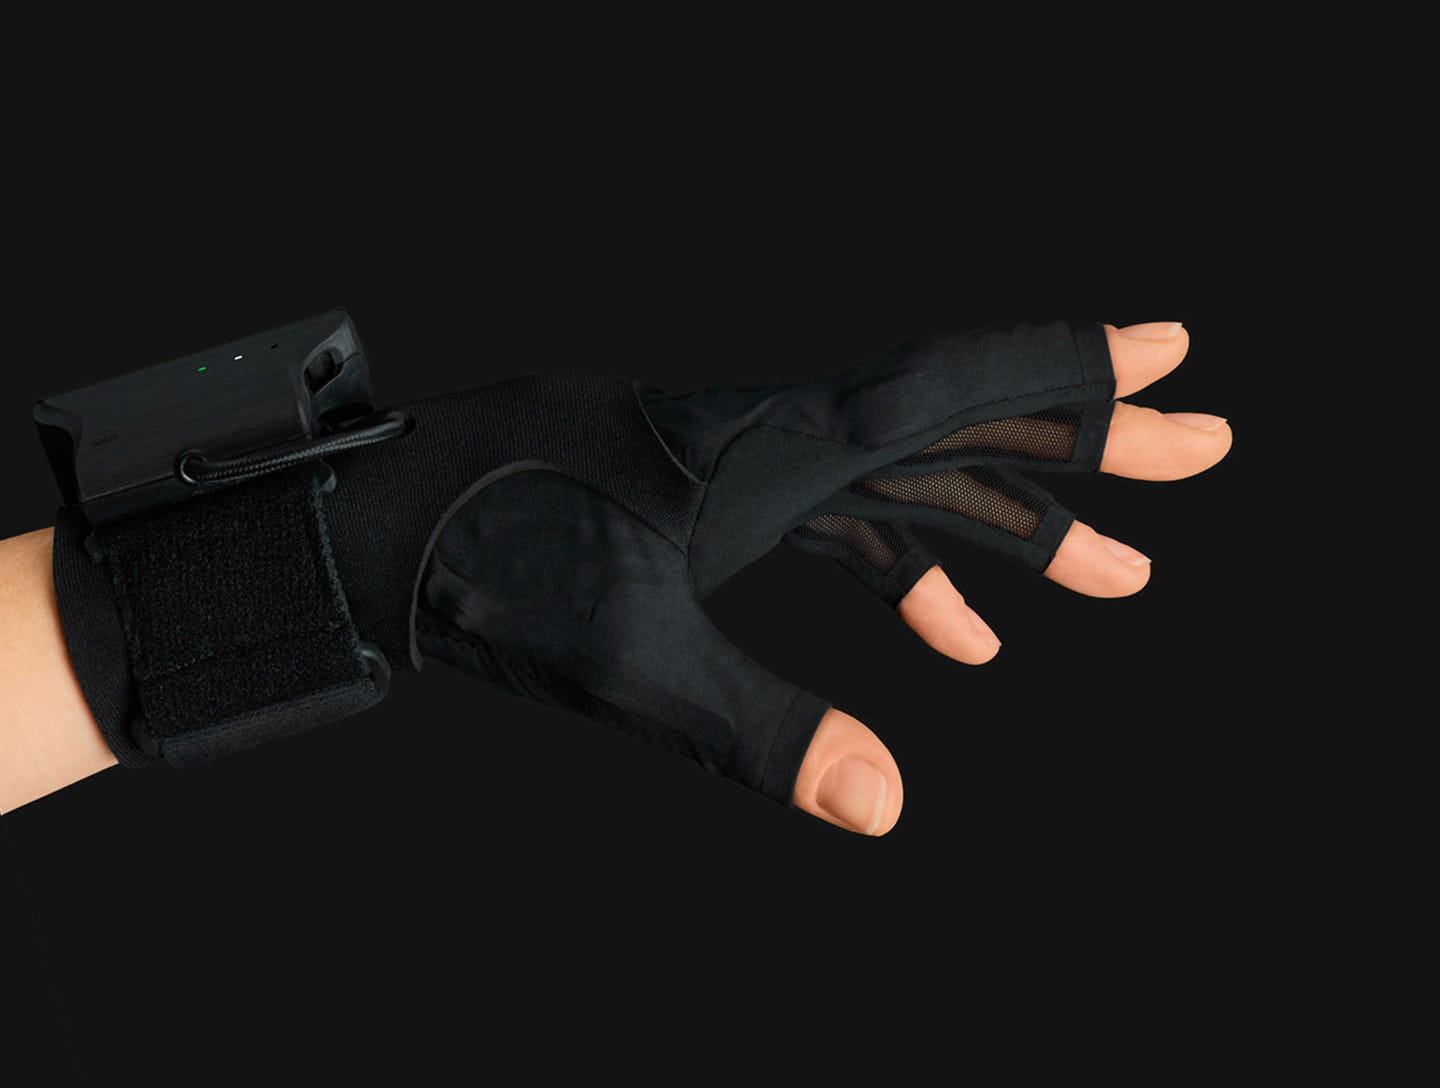
Device of the week(Senses): MiMu Gloves

I first encountered this device while helping myself to the amazing work over at Kobakant’s How to get what you want site, a blog dedicated to open-source information on e-textiles.

The idea of a glove that captures gestures from your hands for creative output sounds fascinating at best, but after many years and research dollars, the commercial product, available at a grand total of SGD$4912, seems somewhat contrived, and to me, confusing to what it actually brings to the table.

First, let’s watch a video about what it can do:

Okay, that sounds kinda great. You can manipulate sound, play instruments and add effects in real-time. Yes, it does look snazzy and exudes a cool factor for the performer to use these trendy high-tech gloves for live performance.

But beyond that, I am not sure if I am missing the point of these gloves; if the gloves have to be manipulated in a specific way for the intended sounds to be created, then wouldn’t the ‘performative’ aspect of the performance be thus restricted to how the gloves can be used?

On one hand, the performer is freed from the keyboard, control surface or whatever else, yet the gloves rely on bending your fingers, twisting your wrist etc. for operation. From the examples shown, there doesn’t seem to be any significant difference to any aspect of the sound ‘produced’, which relies on the subtle finger bends or wrist twists.

The software, which is a separate purchase, seems to be trying to fulfil too many roles at once. Boosting support for Leapmotion, microbit(not sure why this is so other than this is a BBC product), iPhone and OSC, MiMu Glover interfaces with several devices and can act as a standalone performing application, with basic music mixing functionality that can be easily found in big names like Ableton.

From the video, it seems that a lot of calibration has to be done before any real music can be made. Each finger has to be assigned an instrument, and what the gestures do, and perhaps what range is desired for these parameters, so on and forth. Here, it starts to feel pretty similar to how a ‘traditional’ performer would approach his/her craft, setting up loops/patches and assigning it to keys and whatnot.

Perhaps I am too skeptical of technology for technology sake, but I cannot see the point of having something novelly hard to control, replace something that is straightforward, perhaps much more reliable, and not necessarily less sexy to look at.

One irony I detect when looking at the software was also that with the leap motion, one can basically have something that resembles the functionality of the gloves, albeit with some physical limitations. But at a modest price tag of a couple of hundred dollars(leapmotion) vs thousands, I don’t think it’s hard to make an informed choice.


In closing, somehow I have a feeling that the whole premise of the gloves’ extraordinariness is predicated on the fact that moving your hands to ‘control’ music while performing is considered ‘redefining’ how live performance is delivered(their words, not mine).


Sketch – Gesture

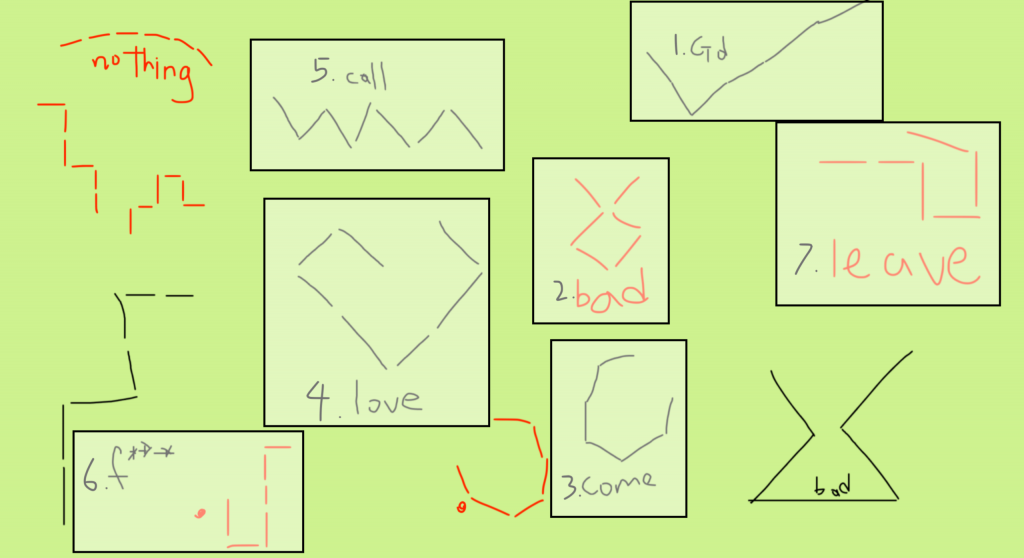
this is a 2-user device, one set for each. The premise: rather than the tedious process of picking up your mobile and texting your friend or loved one, you can now scribble a gesture on ur computer and give him/her a piece of your mind. The led strip is articulated by a simple robot snake(no good reason for making so) to form specific shapes, for a grand total of 7. i try to match the led animation and colors appropriately for the given gesture as well.

boxed ones are the final shapes i used for the snake robot

initially i had tried with hand gestures coupled with handOSC and wekinator, but the recognition proved unreliable. Leapmotion didn’t fare better due most probably to information-overload(yes its partly my fault too), but curiously with the mouse input example from wekinator and a few small tweaks, i was able to get reliable results with only 2-3 samples for each mouse-written gesture.

Device of the week(Medical) – India’s M19O2 Oxygen Concentrator

Yes its another pandemic related post. But this is simply too inspiring to be left unshared.

India has been hit particularly hard by the pandemic, and with a sizeable population and high levels of poverty, the citizens are in dire need of solutions.

The M19 initiative was spearheaded by Maker’s Asylum‘s band of artists, designers, engineers, doctors and more during India’s national lockdown on 23rd Mar 2020. Initially they had a modest goal of delivering 1000 face shields to frontline workers. But their efforts received so much support from makers across the nation, surpassing over 1 million and counting. #m19shields

The contingent have since progressed to more audacious projects:

  • M-19 Rebreather – Smart Air Purifier with Replaceable Carbon activated HEPA Filters is an active respirator to help breathing comfortable inside an N-95 mask. Especially designed for senior citizens for comfortable breathing.
  • M-19 MAPR – A low cost powered-air purifying respirator (PAPR) for use in reducing exposure to airborne particles. This PAPR is designed to provide constant filtered airflow to healthcare workers in high risk environment during the COVID-19 pandemic.

Their latest endeavour is to activate local communities to make 2900 M19 Oxygen Concentrator (with indigenously sourced parts) in cities, towns and villages and building capacity to manufacture & maintain locally and in a decentralised manner.

After digging through(with little understanding :() a treasure trove of Github repositories and Hackaday.io articles, one can have a sense that the project is moving along well, with a fourth prototype well underway.

What really struck me was how the pandemic has somehow managed to bring out the best in humanity. Citizen led innovation, decentralised self-organisation at its finest.

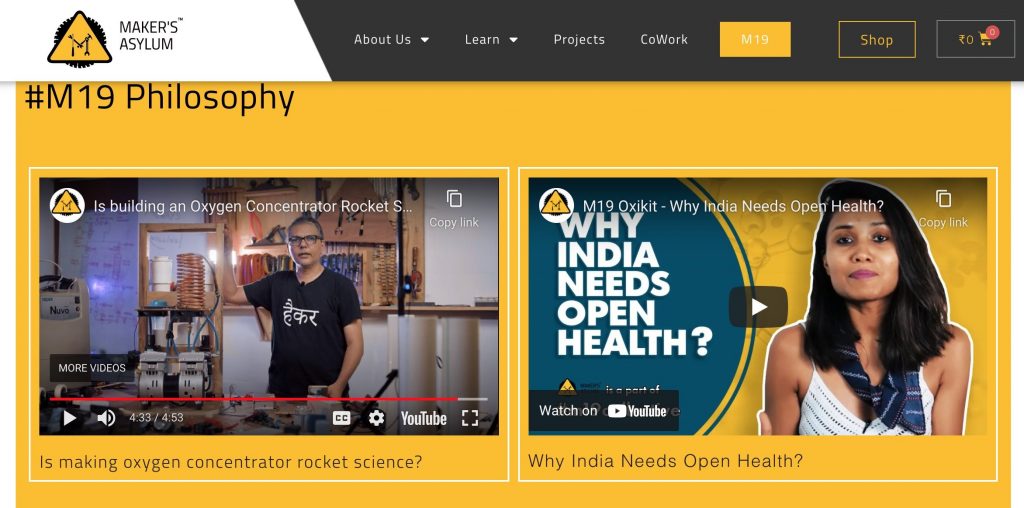
There is a video on the main project page titled: Is making oxygen concentrator rocket science?

The founder of Maker’s Asylum gives a convincing and succinct explanation of how a seemingly complex device can be tackled and (most probably) conquered. This also brings to mind how the modern society has ‘out-sourced’ much of our problems to ‘specialists’ or ‘qualified professionals’, creating an endless hierarchy of blackboxes and ‘safety nets’.

This pandemic has jolted us out of our comfort zone into reality(hopefully); society and its people have to start taking action and responsibility for their well-being and interests.

This pandemic has highlighted many underlying issues with existing power systems and global resource distribution, and this project, is both inspiring and extremely thought-provoking to me. IMO, self-sufficiency, participation in community and citizen science are going to be important pillars as we embrace the coming century.

Sketch 1: Covid Mat

A picnic mat that keeps track of how many people is within the mat, and shows green when max capacity hasn’t been reached, and blue otherwise. The entrance also prevents entry after max capacity is reached.

Sketches 1A

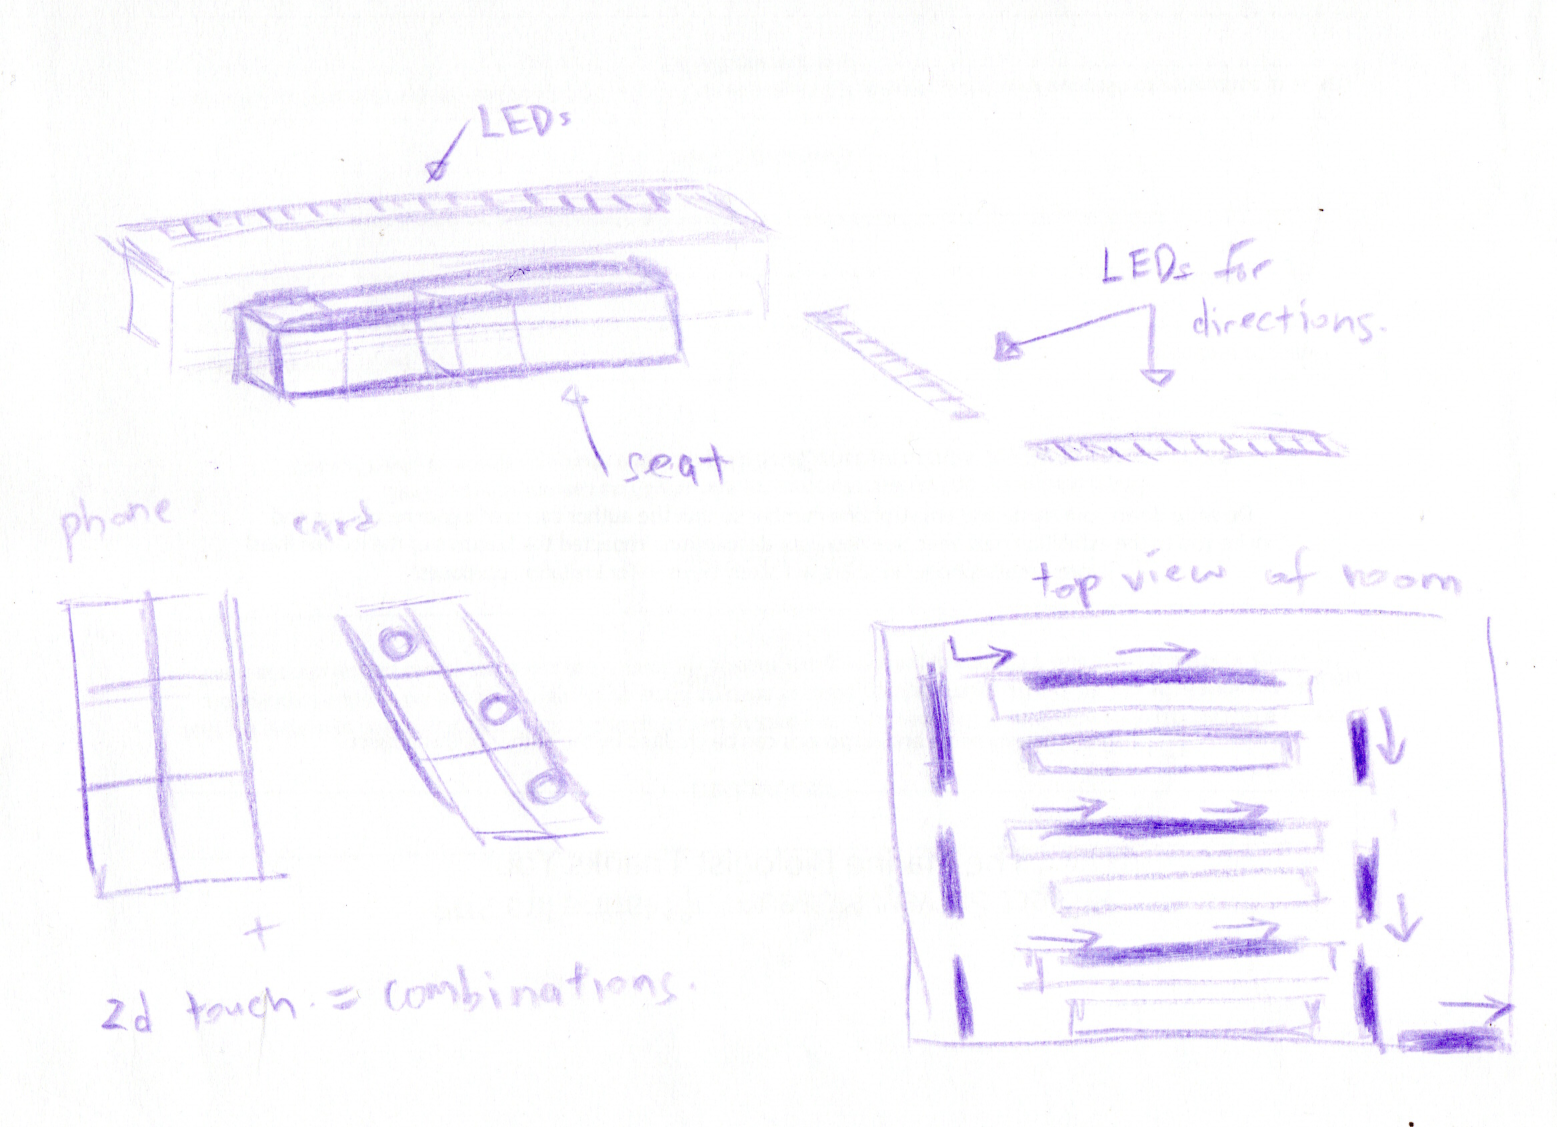
Sketch 1

Use custom zigsim touch cards for safe entry to automatically light up the correct seats . After seated, customers can use the provided phone and corresponding touch cards to make different requests:

  • like praise the chef for food
  • ask for table service
  • for bill etc

when requests are made, the lights will turn to different colour combinations so that waiters can respond accordingly

led strips on floor can direct customers to enter and exit.


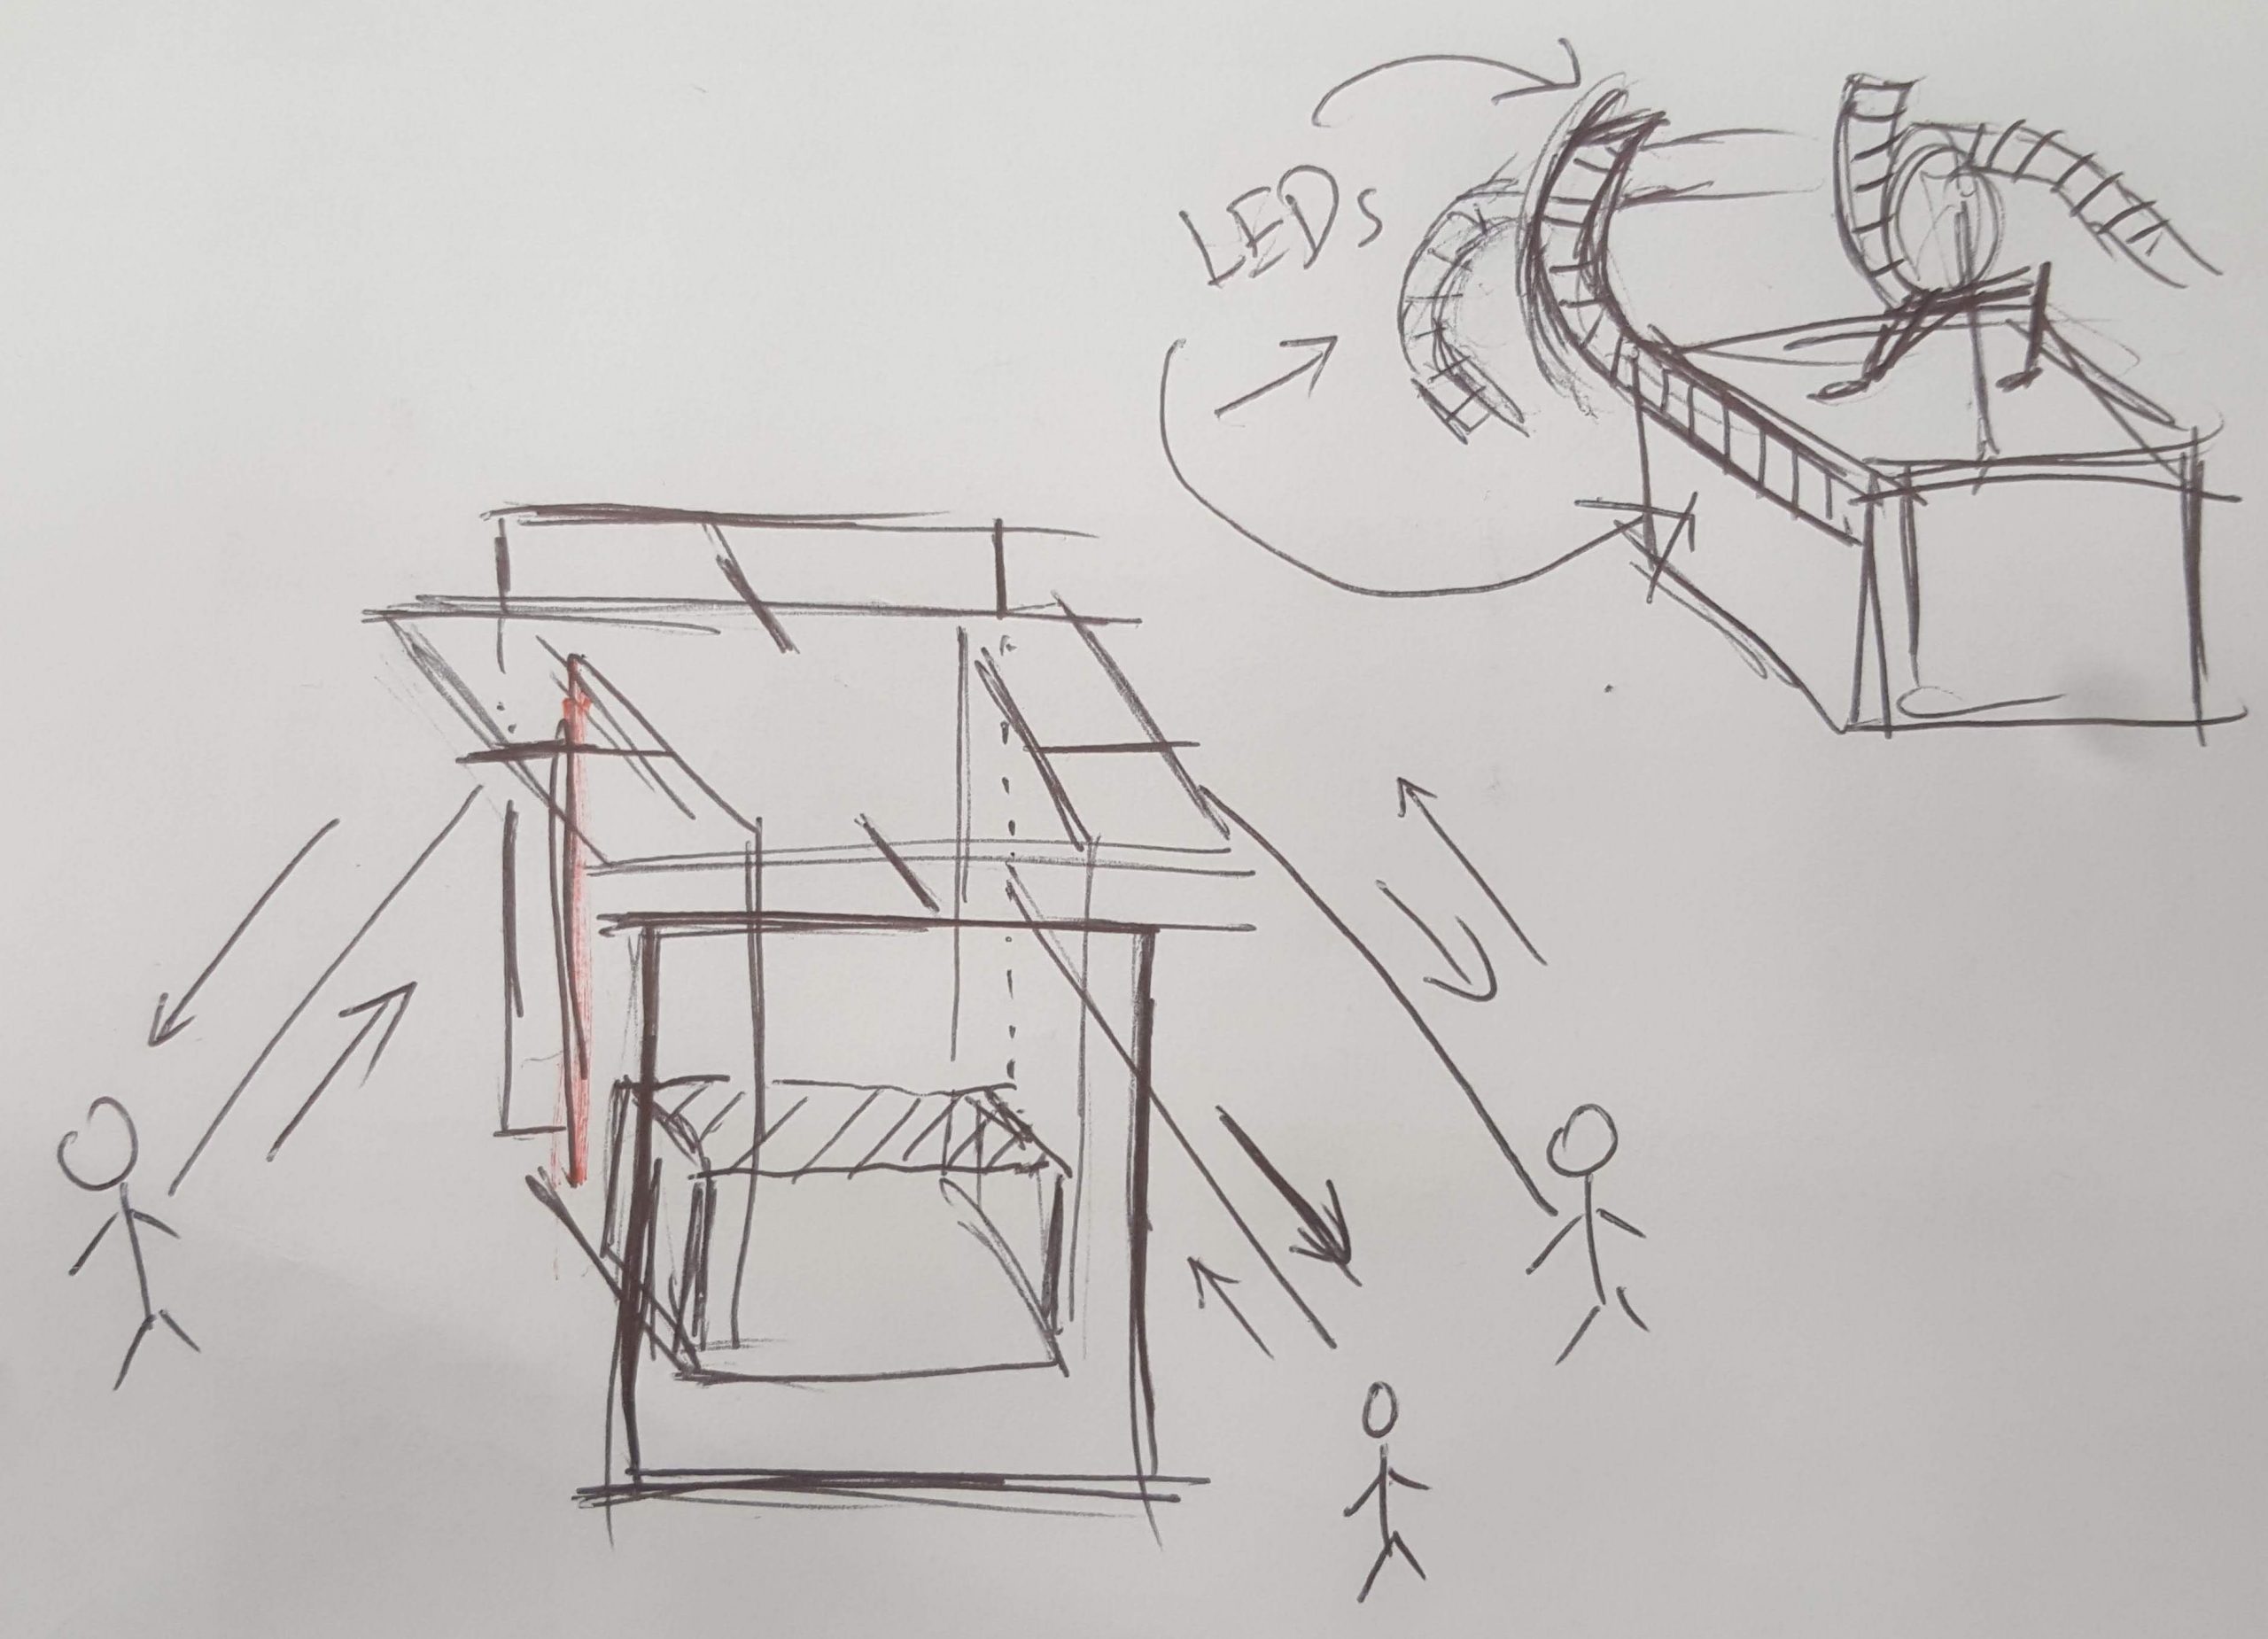
Sketch 2

Roller coasting at home with family and friends. Basically a seat on gyro structure, with ropes for friends to pull. Phone with zigsim positioned around seat area that detects orientation and translates that to corresponding LED strips. LED strips are in chasing lights configuration, implying speed and movement. Add-ons would be a mounted fan in front of user


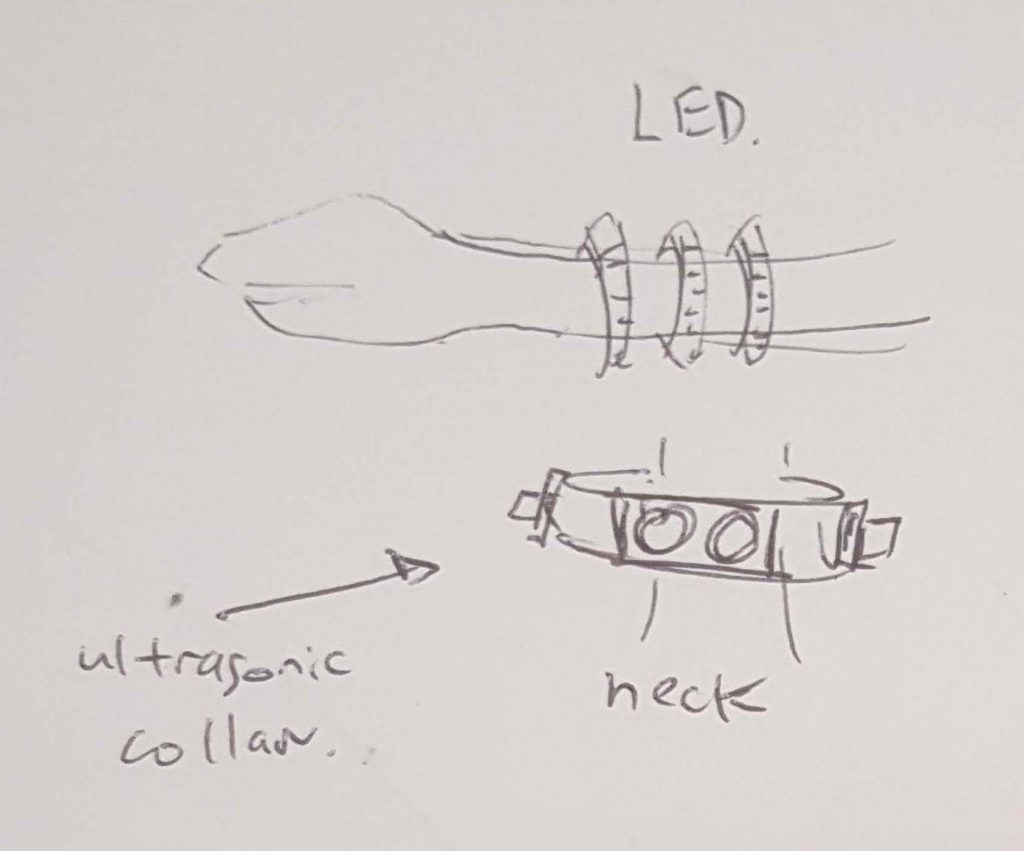
Sketch 3

Neck gadget senses surrounding crowd concentration, and if its not ideal, bracelet will start pulsating in red, else green or blue.


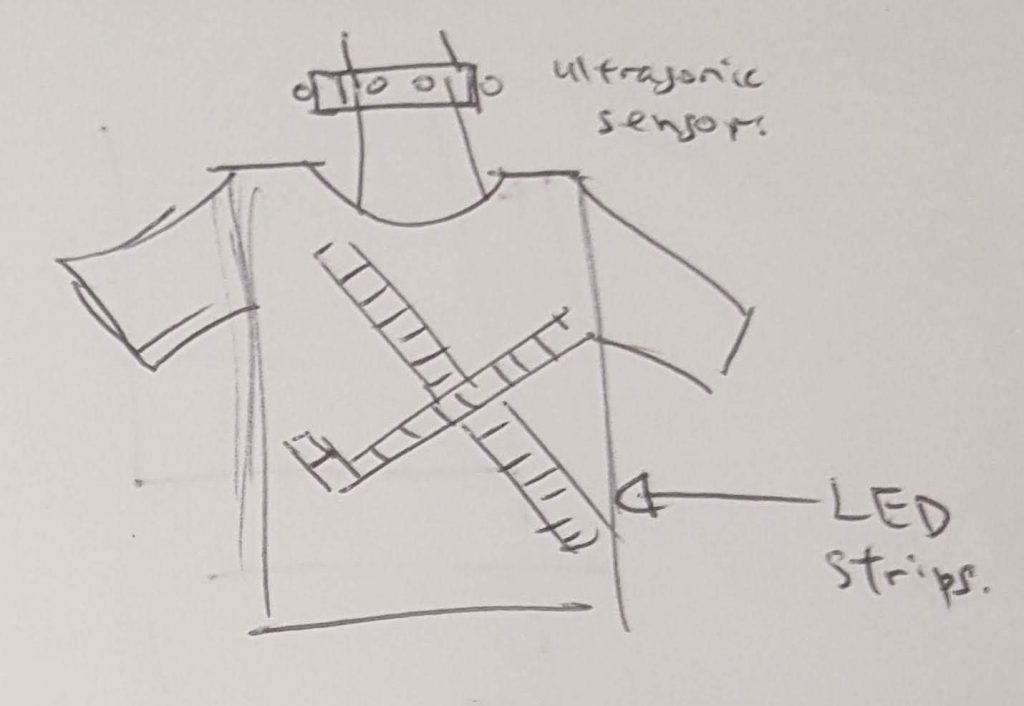
Sketch 4

Same neck gadget, but this time output is to a shirt with LED signs, to ward people off.


Sketch 5

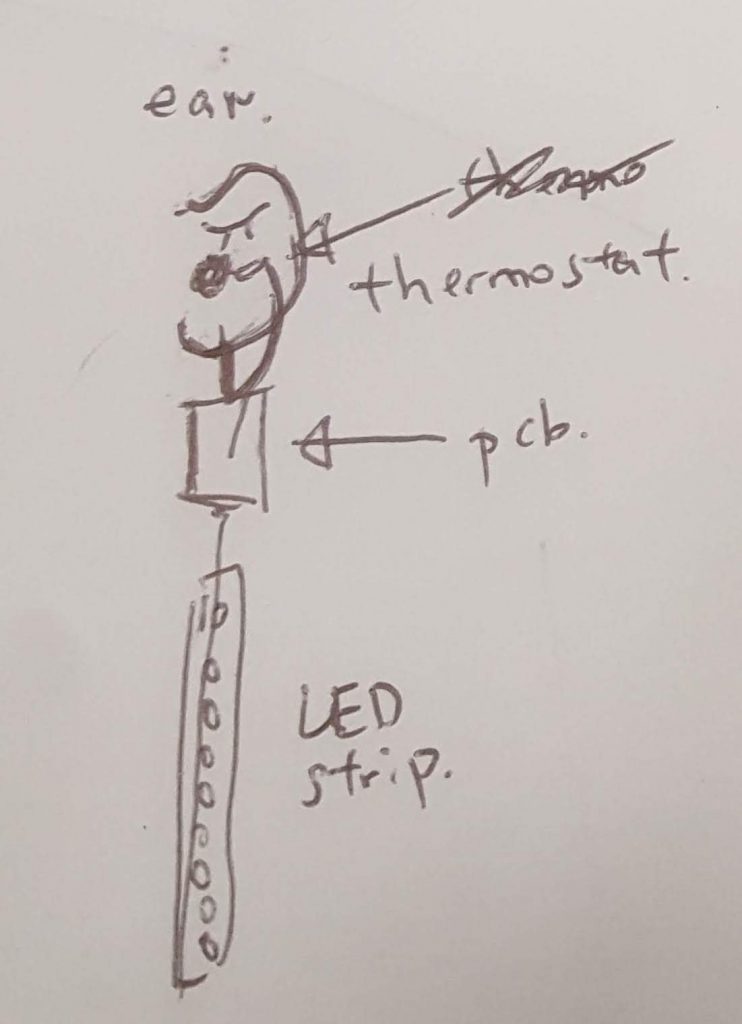
Earring to tell people your temperature, thus serving as a warning/reassurance to others. A thermostat is stuck into ear, and LED strip hanging from ear provides color indication of bodily temperature.


Sketch 6

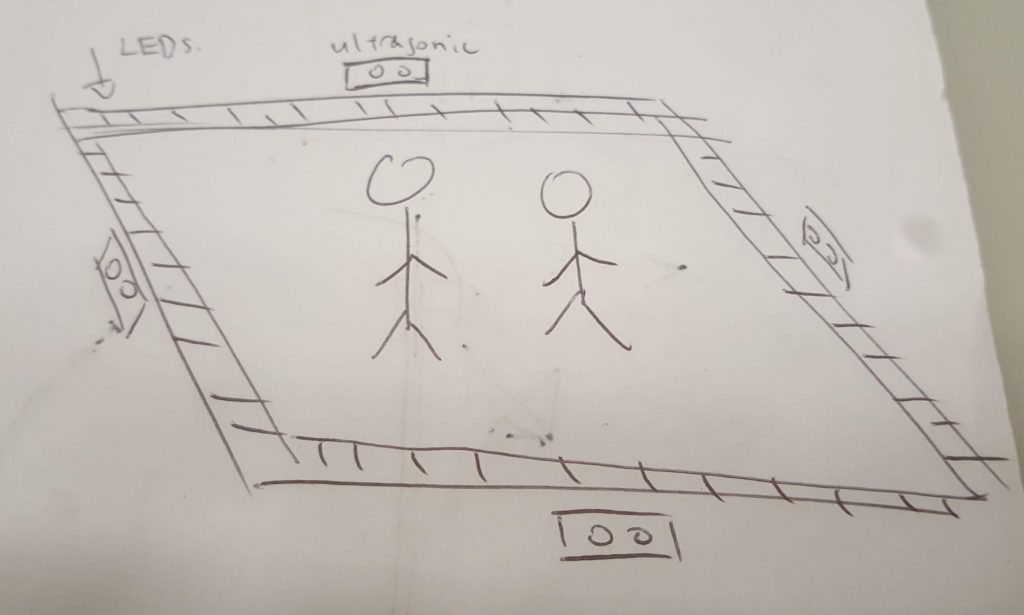
The safe distancing picnic mat. When people approach, the lights surrounding will start to pulsate faster in red, otherwise, it will be yellow and in slow pulses.