Part 1:
 Images taken from Google
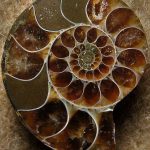
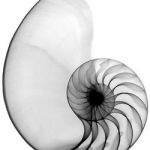
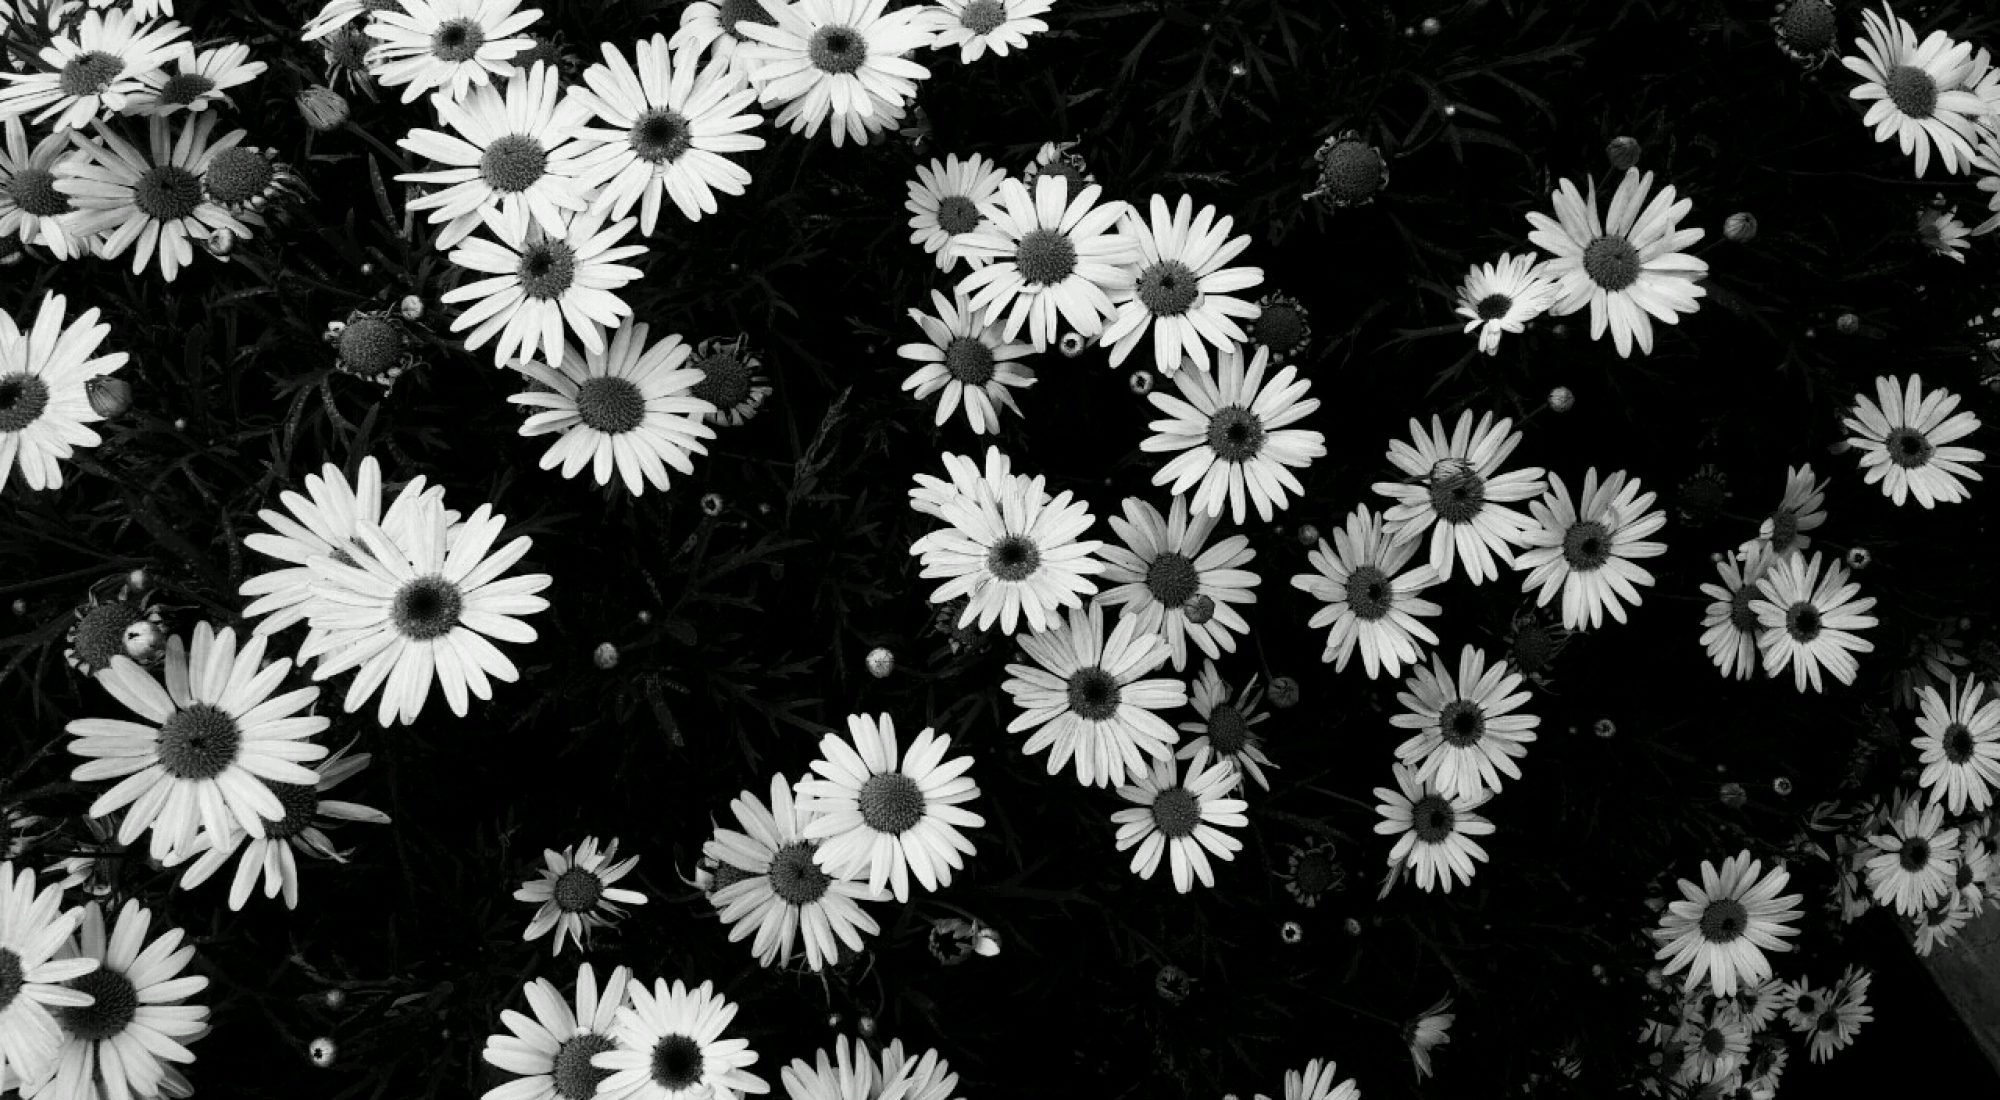
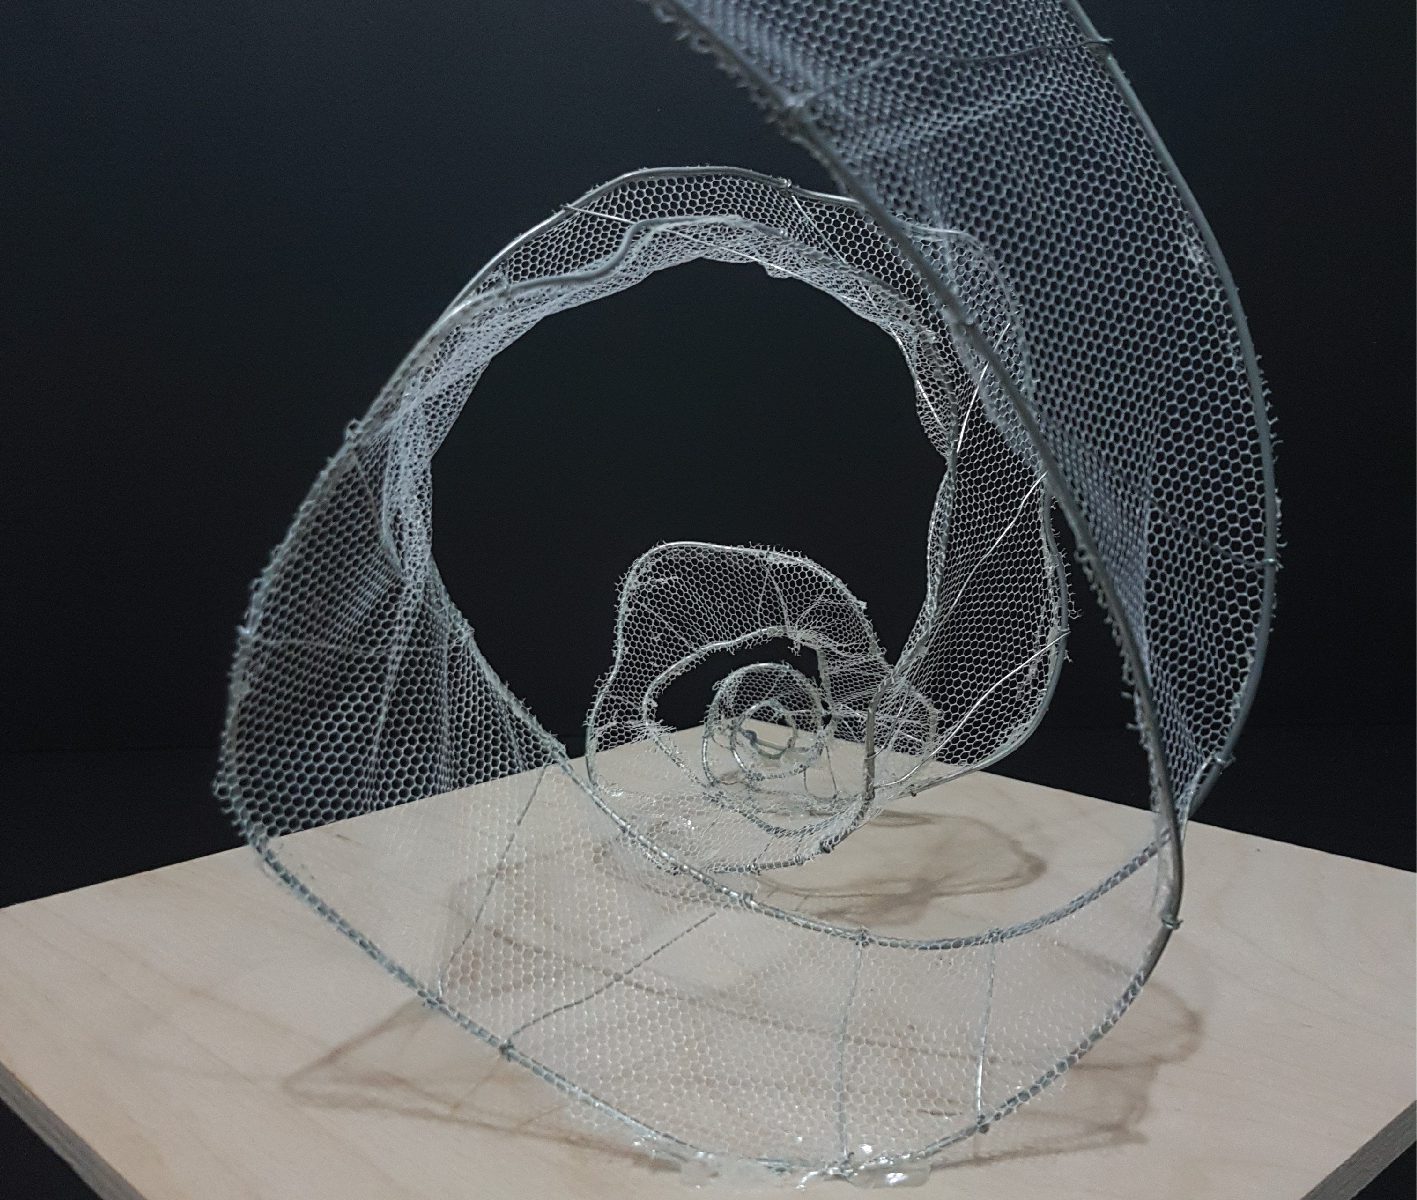
My reference image was a close-up image of a Pin-cushion starfish (Culcita Novaeguineae). Unlike many close up images and SEM photography, where the patterns seemed to be linear or/and seamless, the pattern of the pin-cushion starfish was radial; which radiates rather symmetrically from the middle point. Hence, I was rather intrigued by the radial pattern; which sort of resembled how heat energy moves through radiation, and as well as the pattern of the alternating sizes of the elements.
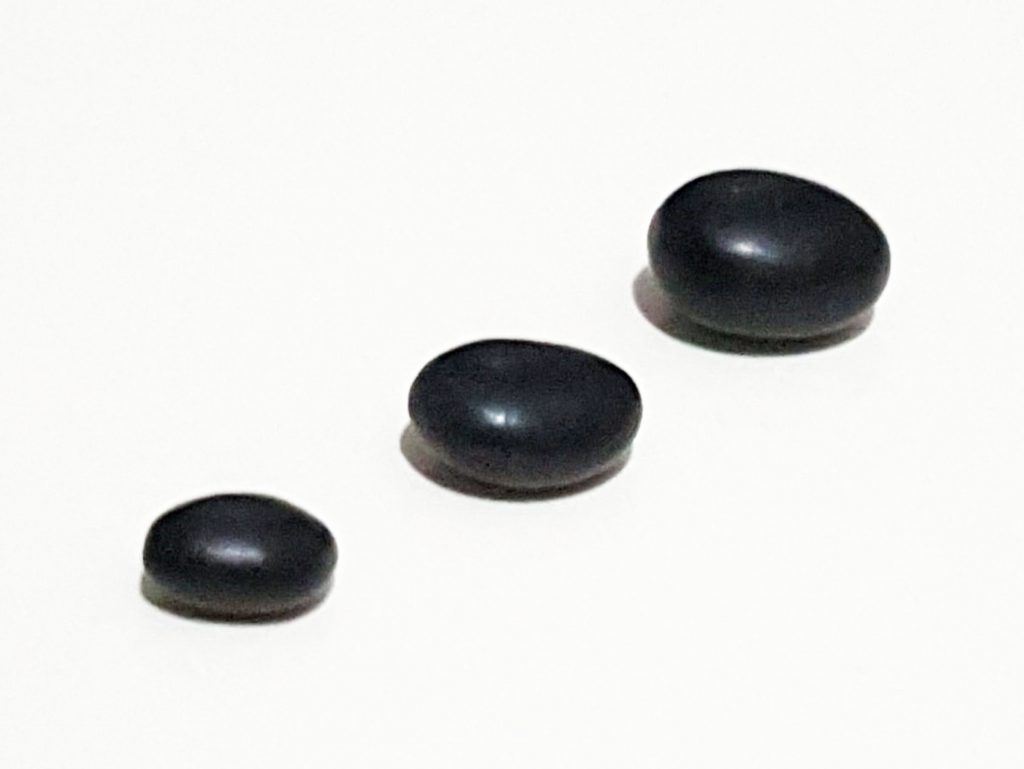
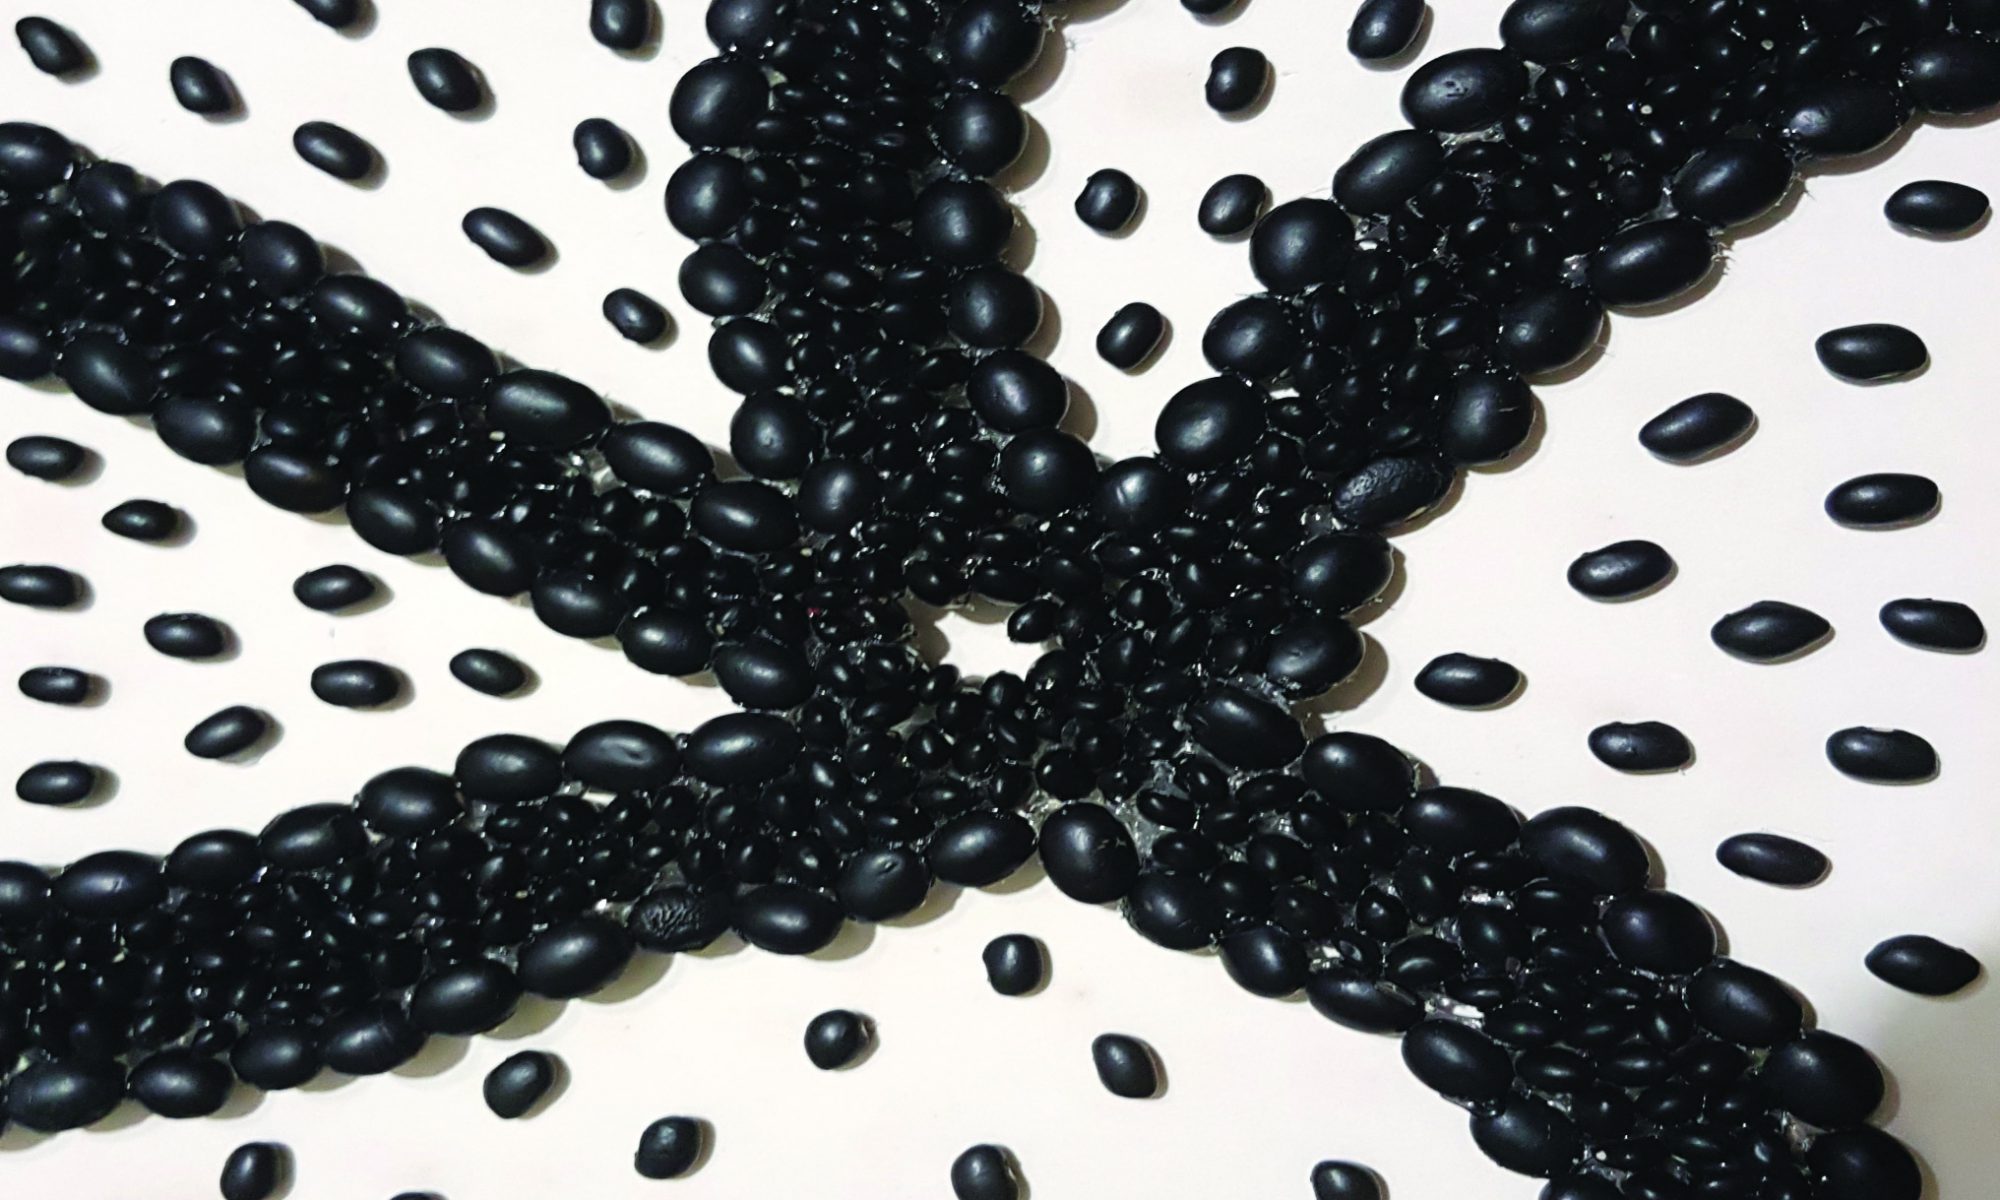
Material Choice: Black Beans ( Organic )
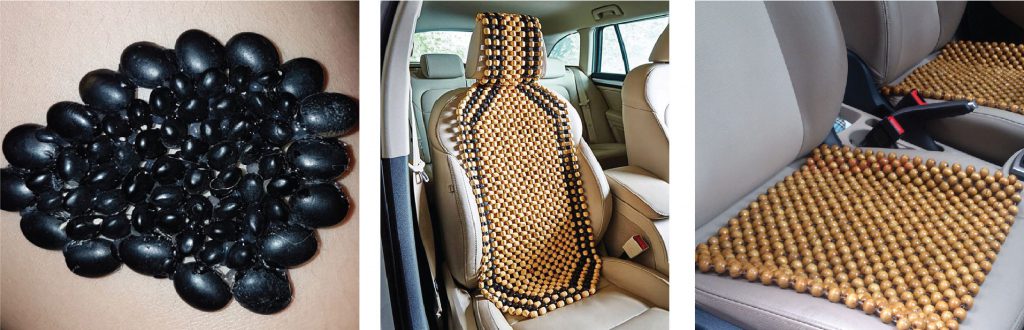
For my study, I decided to use beans as they resembled the elements in the patterns. I decided to use black beans as they were the only beans I could find which had a greater variation in sizes. Furthermore, they were smooth, cool to the touch, and round; creating gaps when attached together which enables air ventilation. This was similar to the “cooling” wooden beads which are commonly seen in Asian countries, placed on chairs and seats.
 Images taken from Google
Process:
Initially, I tried several ways to attach the beans together, but it did not work out well. Hence, I decided to stick the beans one by one using hot glue instead.
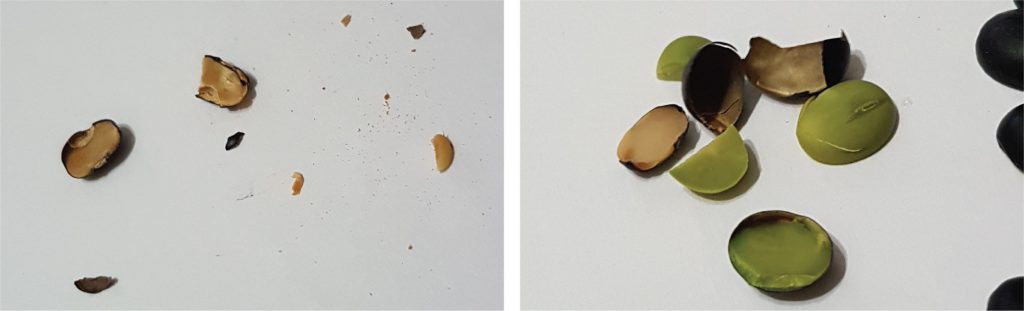
Cutting the beans into halves so that they have a flat base; bigger surface area and easier to attach onto something. However, it was rather difficult to achieve perfect halves; they tend to shatter and the “skins” became detached, which looked rather weird as they have varying colours on the insides.
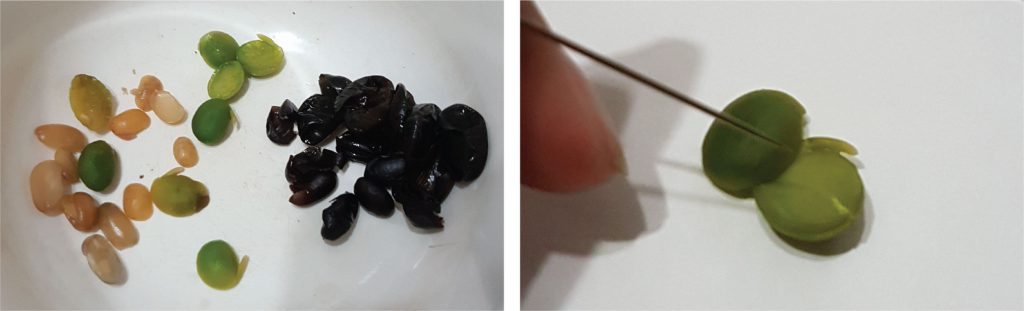
I tried to boil the beans in hopes of softening them so I could attach them together with needle and thread. However, the “skins” came out as well, and the beans were either too hard ( impossible to poke through and ended up breaking when too much force was used ), or too soft ( become green bean paste ).
Part 1 Final:

I wanted to mimic how the pattern of the Pin-cushion starfish was not totally straight and symmetrical, but I had some difficulty trying to “steer” the directions of the beans, and it sort of ended up a bit too curvy.
Part 2:
For my final, I decided to make a hat as Thailand had always been notorious for its burning sun, and that the top of our heads would usually be the first to receive the brunt of the sun.
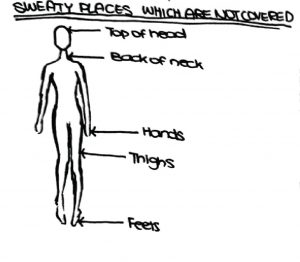
Furthermore, research have shown that the top of our heads are one of the few parts of our bodies to overheat first to trigger sweat and evaporative cooling.
However, evaporative cooling is impossible for Emiko as she was unable to sweat. Hence, I felt that a hat to shield her head from the sun would be rather important for Emiko in the storyline, as her hair would most likely be black, which would absorb heat more easily from the sun.
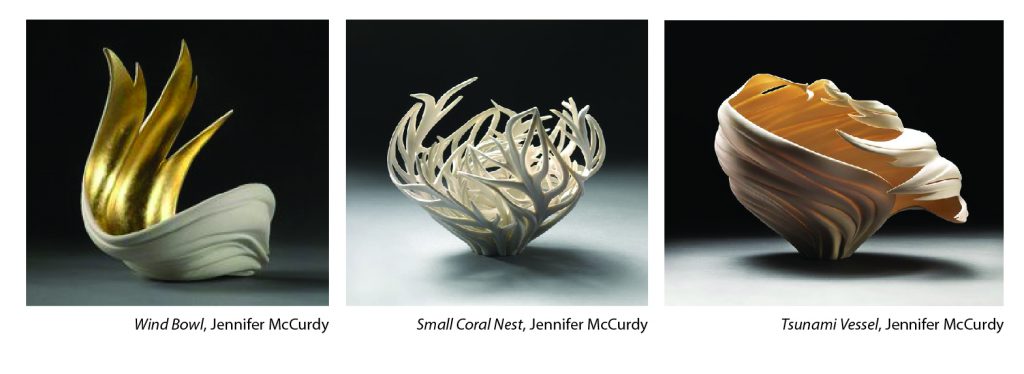
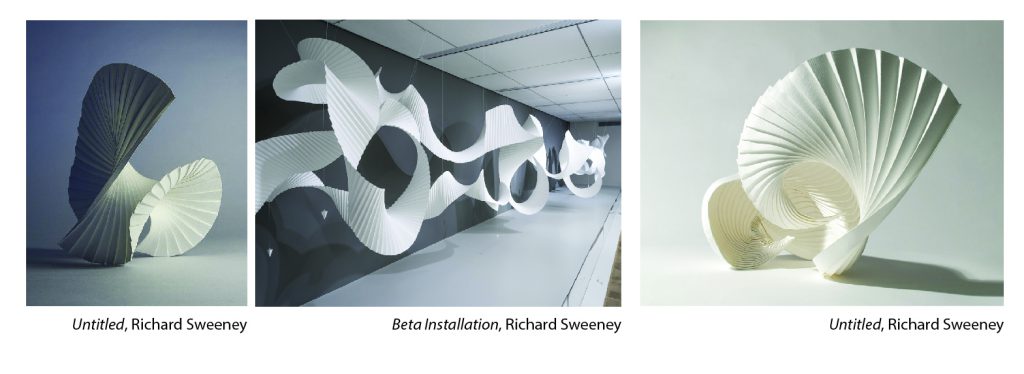
Inspiration:
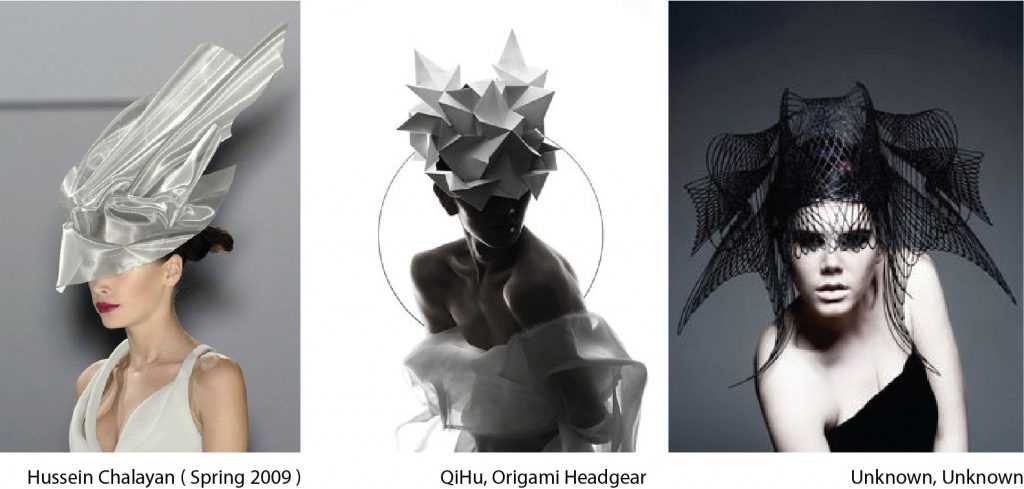
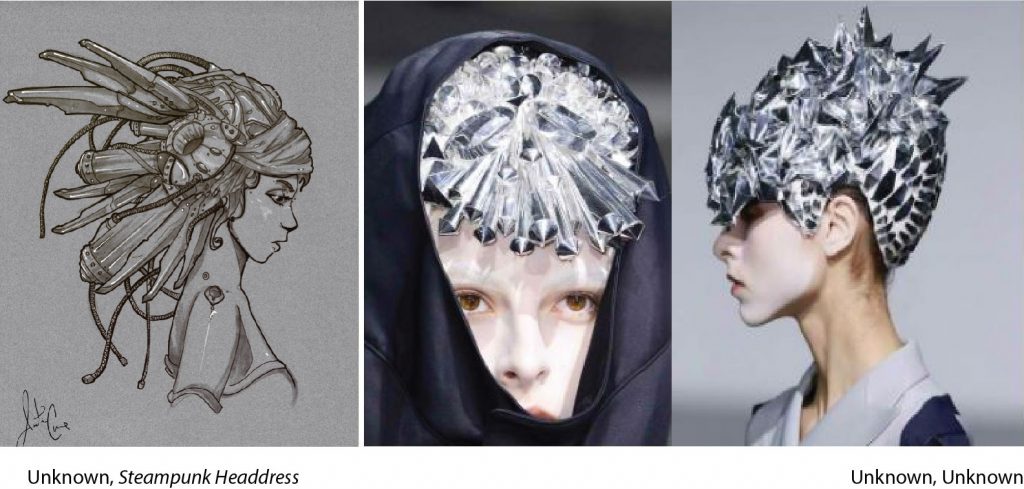
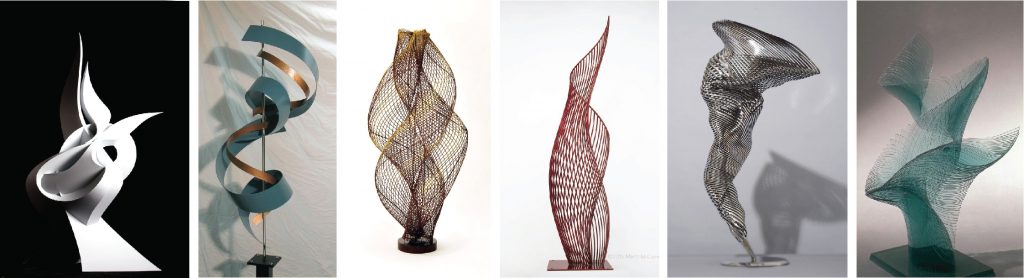
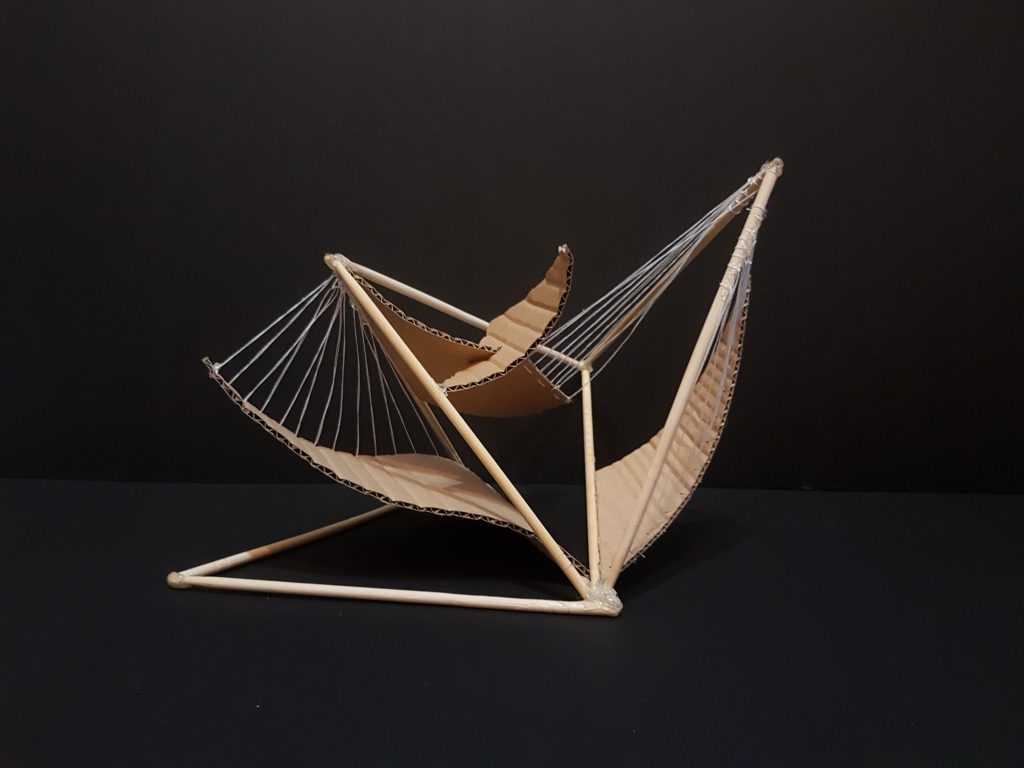
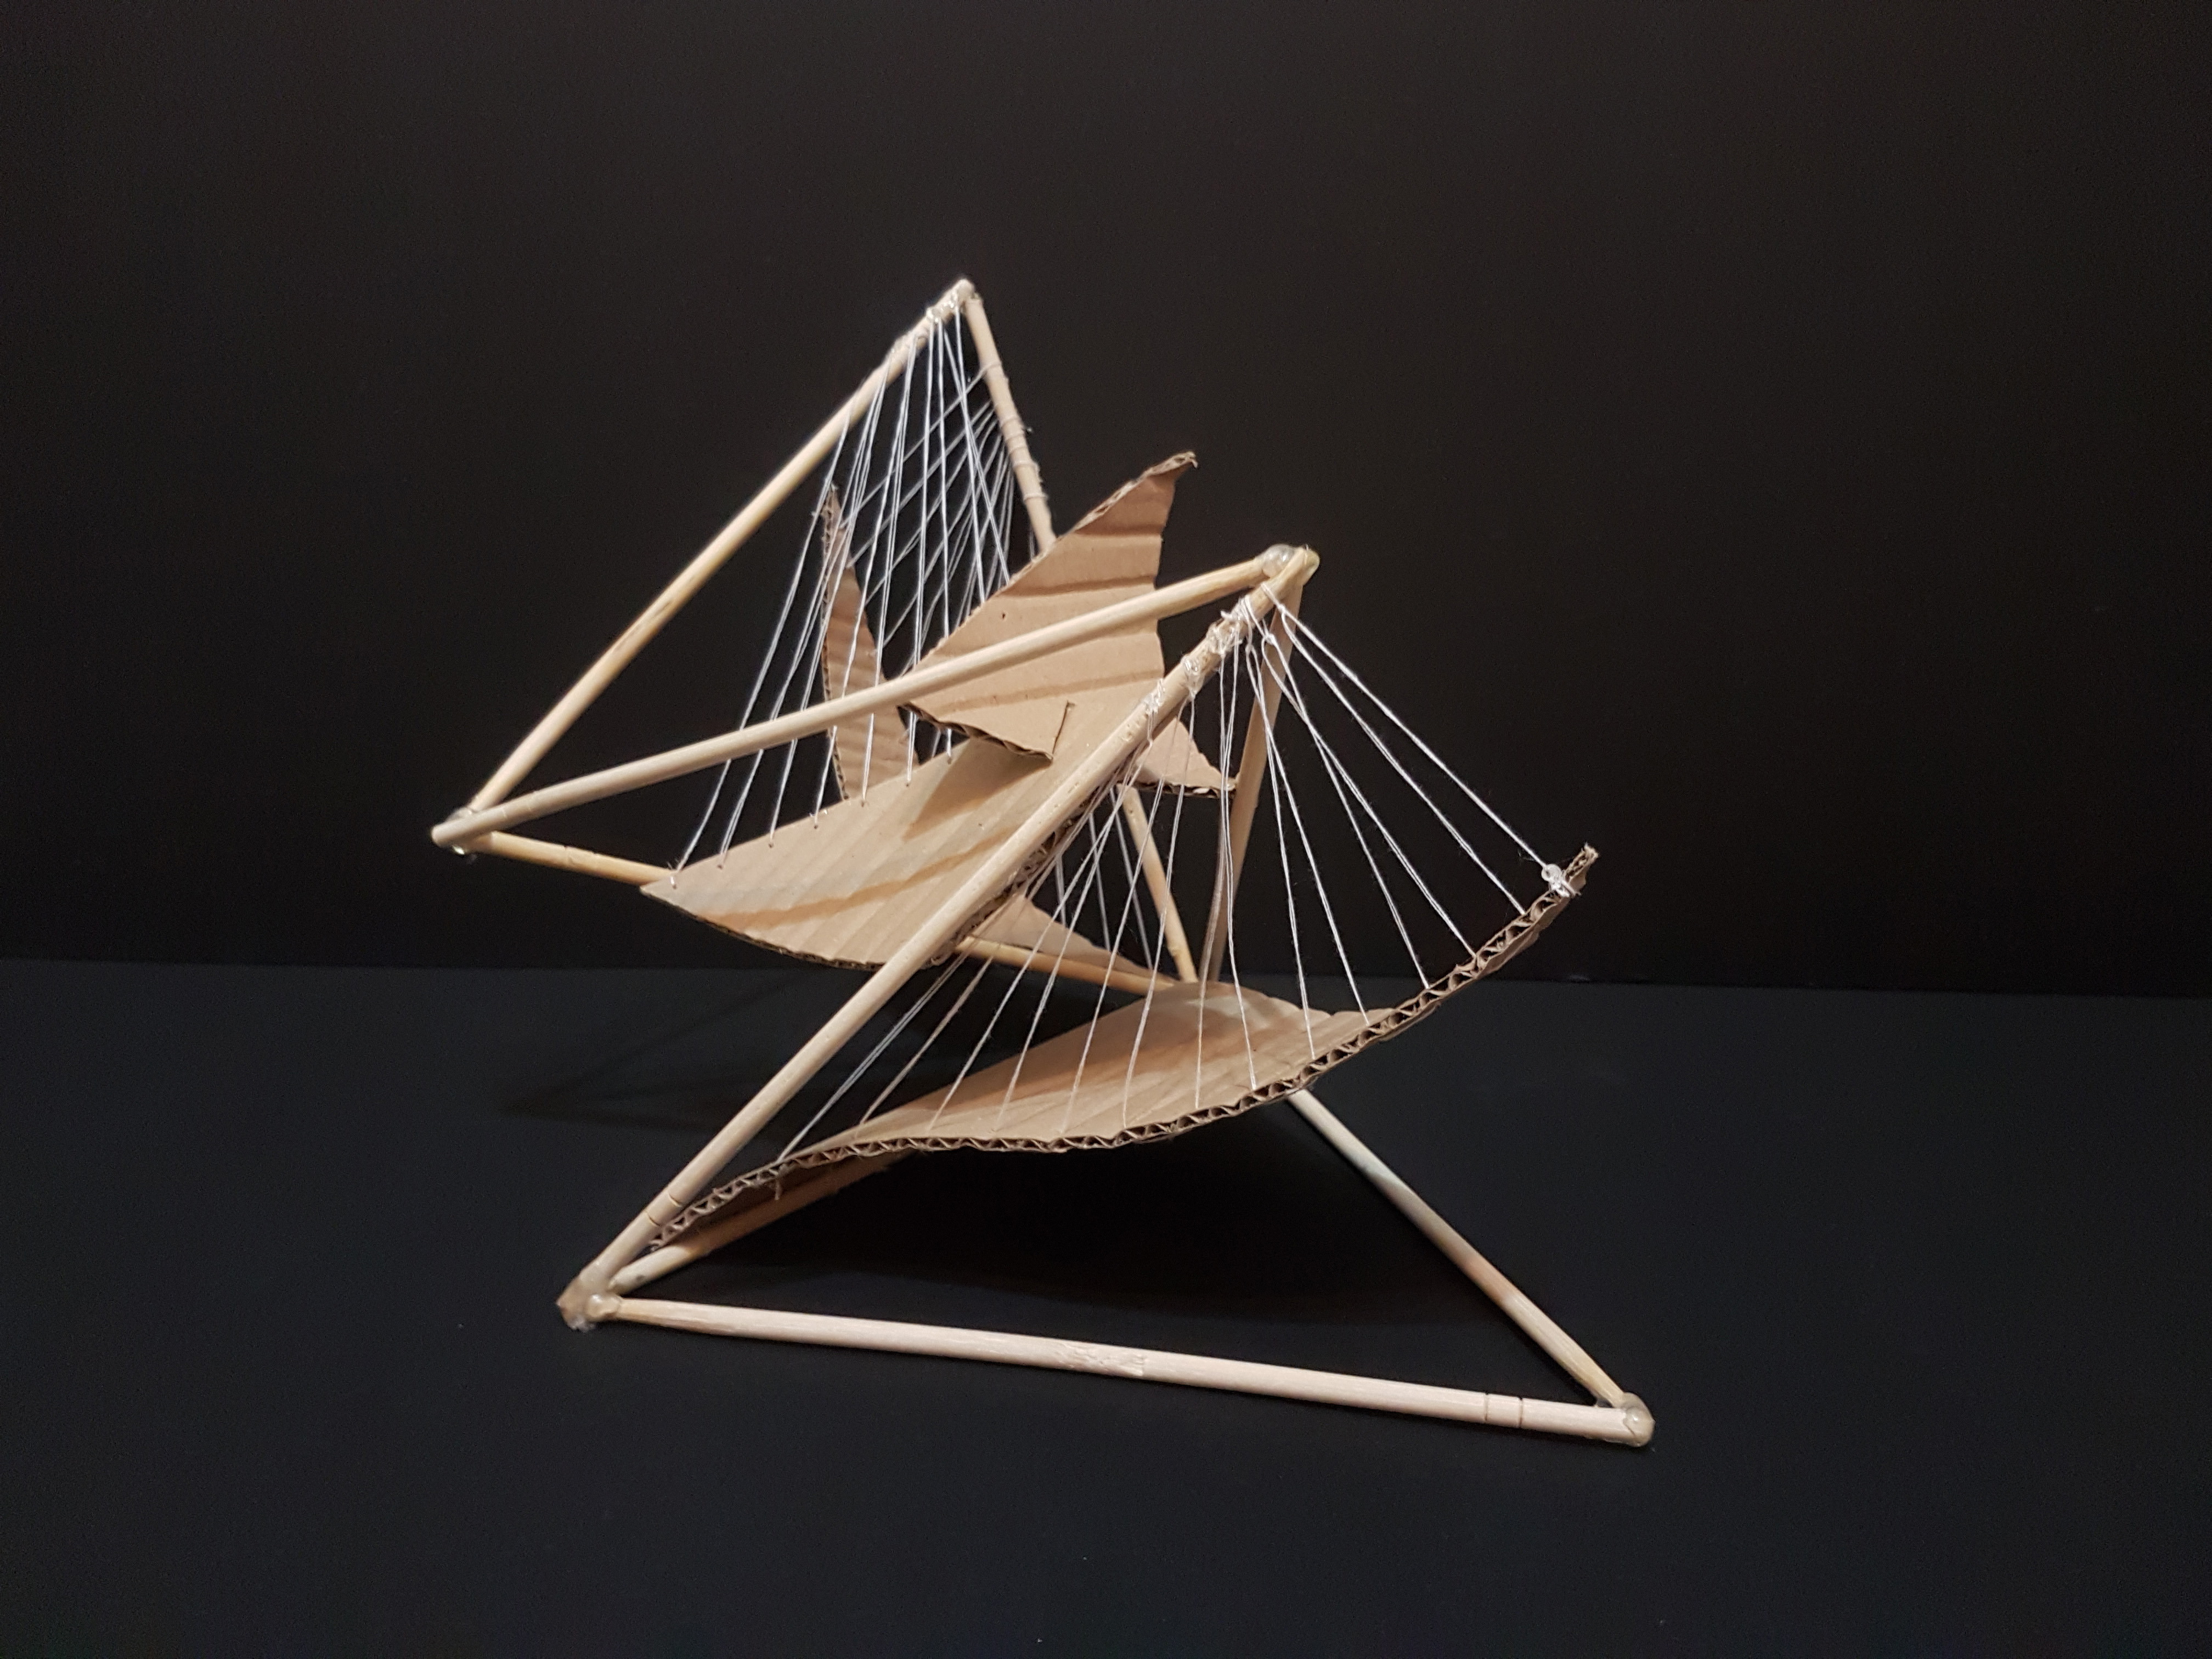
My hat was inspired by futuristic headdresses which are metallic are mainly angular, and as well as the fabric headdresses by Hussein Chalayan. I felt that the angular features made the headdresses look very visually aesthetic, and rather futuristic.
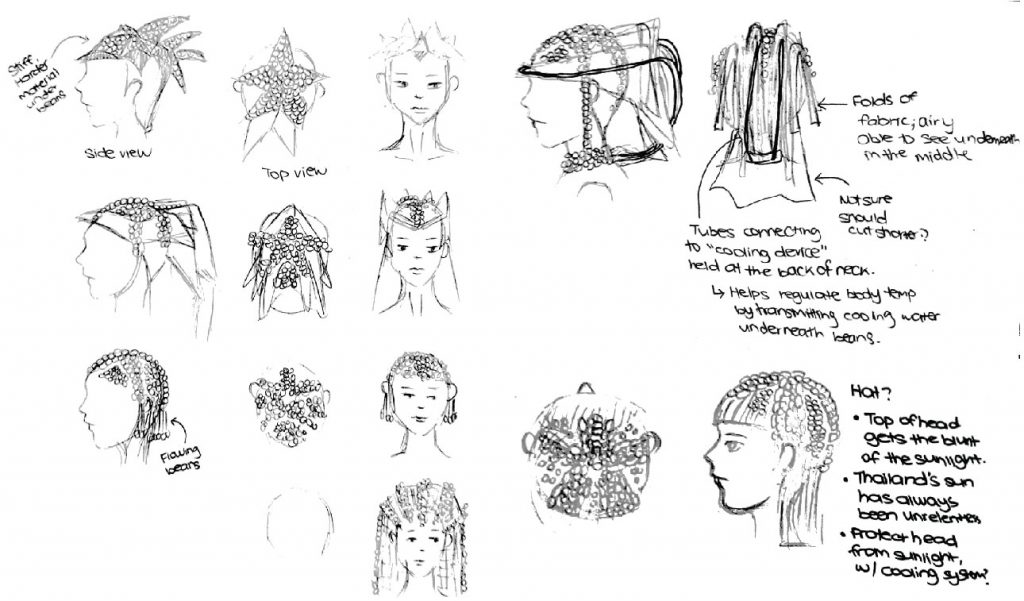
As I really liked the radial pattern of the Pin-cushion starfish, I wanted to implement the radial pattern and the shape onto my final wearable. I decided to forgo metals, as metals would definitely heat up fast under the scorching sun, and are reflective, which would be too attention grabbing for Emiko, who wants to blend in as one of the Thais and to become less unnoticeable.
Materials:
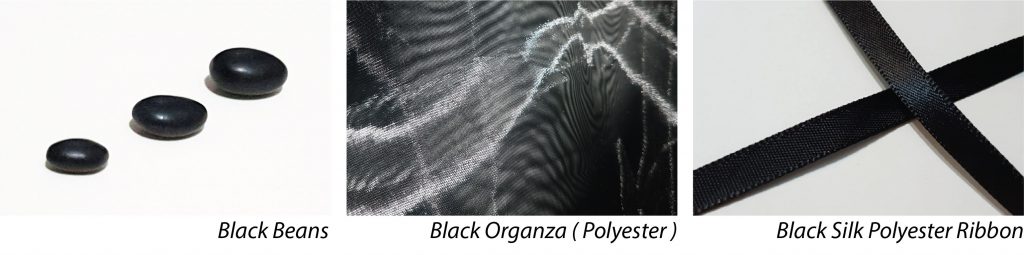
- Black Beans ( Organic )
- Black Organza // Polyester ( Manufactured )
- Black Silk Ribbon // Polyester ( Manufactured )
I decided to use make the entire hat full black. Initially, I was rather skeptical with using black beans, which are black in colour, and which was known to be the colour which absorbs the most heat. However, after doing some research, it was proven that the colour black was not necessarily the colour that would make you feel the hottest under the bright sun.
 Images taken from Google
Studies have shown that the Bedouins, a group of tribes living in Africa and the Middle East, frequently covered themselves with thick, loose, and black robes from their heads to their ankles, despite the scorching heat in the deserts. It was proven that although black colour indeed absorbs heat more easily from the sun, the heat would not be able to transmit to the body if the material was thick enough, as it would have been dissipated through the movements that the user makes ( heat convection ).
Furthermore, black colour permits lesser short-wave radiation from penetrating to the skin compared to lighter colours ( similar to lighter coloured curtains vs. darker coloured curtains ), hence protecting the head from both the sun and the heat.
Hence, I decided to make the hat entirely black, and I also felt that the colour would help Emiko to stand out lesser as well.
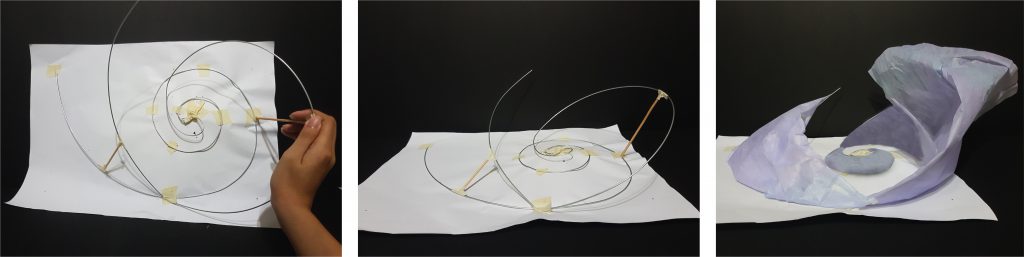
Process & Mock-ups:

Used a styrofoam head to make the layer of beans more form-fitting.
Sewed the ribbons together to form the directions of the pattern, and as well as to serve as a way to secure the hat when it is being worn.
Pasted masking tape over the styrofoam head to prevent it from getting burnt from the hot glue, and as well as to hold the first few beans in place.
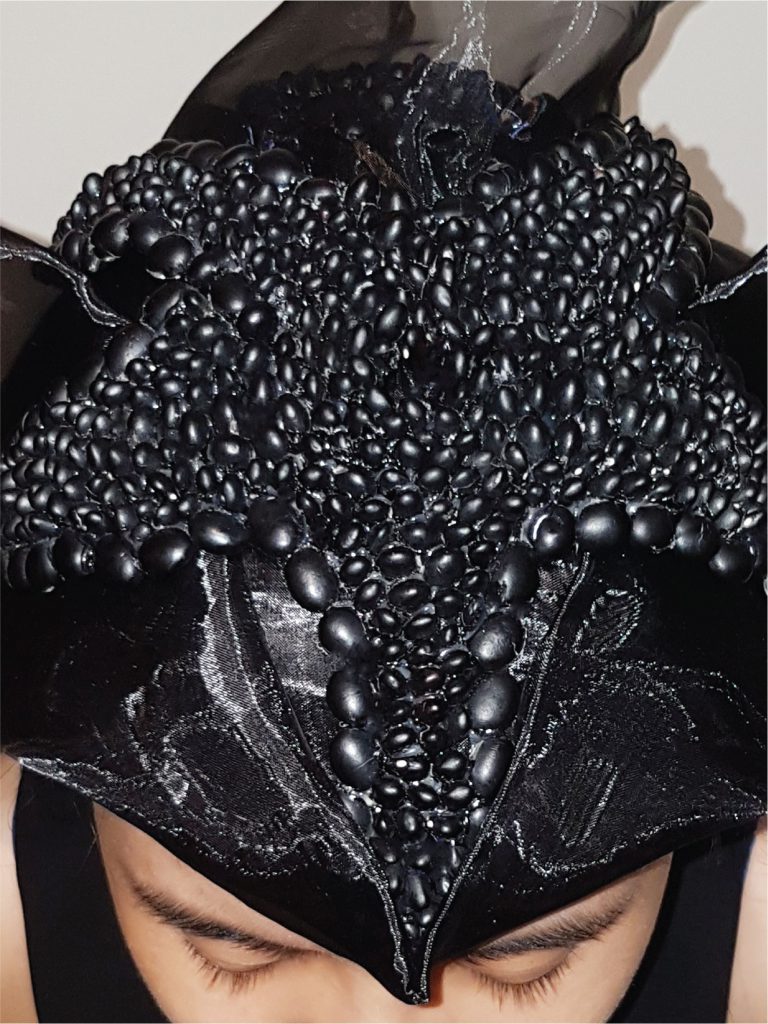
The smaller beans were purposely glued vertically to one another to increase the width of the layer; to slow down and prevent the heat from reaching the layers underneath.
Tried to experiment with different folds using the organza. Initially, I tried to use paper to create a mockup, but it was impossible as paper does not drape like the organza, and it was rather messy to morph it onto a head.
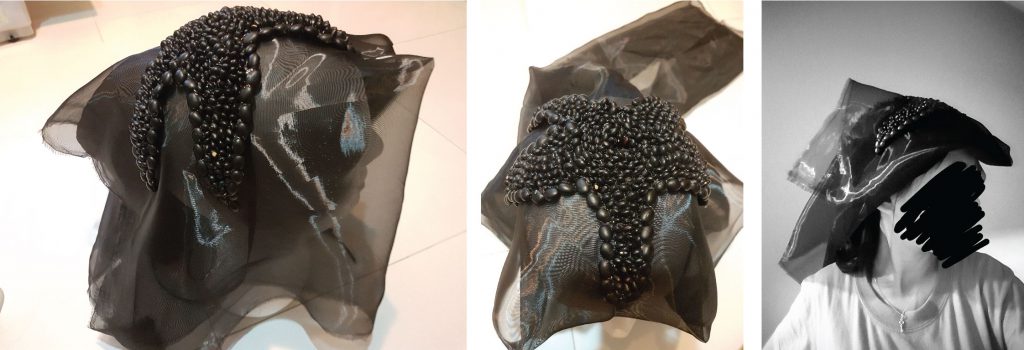
Final Mock-up:
To ensure that the heat would not be transmitted to the body, I decided to use black organza, a light and airy material which tends to move easily, to help dissipate the heat faster through movement. However, organza are rather translucent. Hence, I decided to fold it into layers while attaching the layer of black beans on the very top to block out the heat and sunlight, and prevent them from reaching the head.
I was rather satisfied with how the folds turned out, and debated if I should snip the organza shorter at the back, and how.
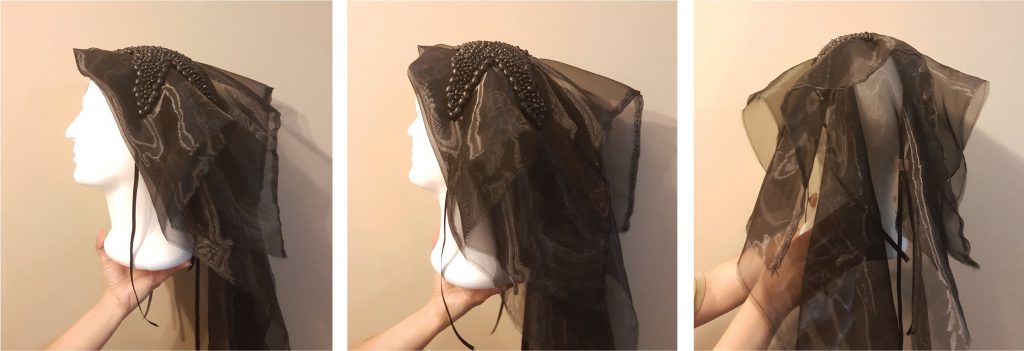
Final Process:
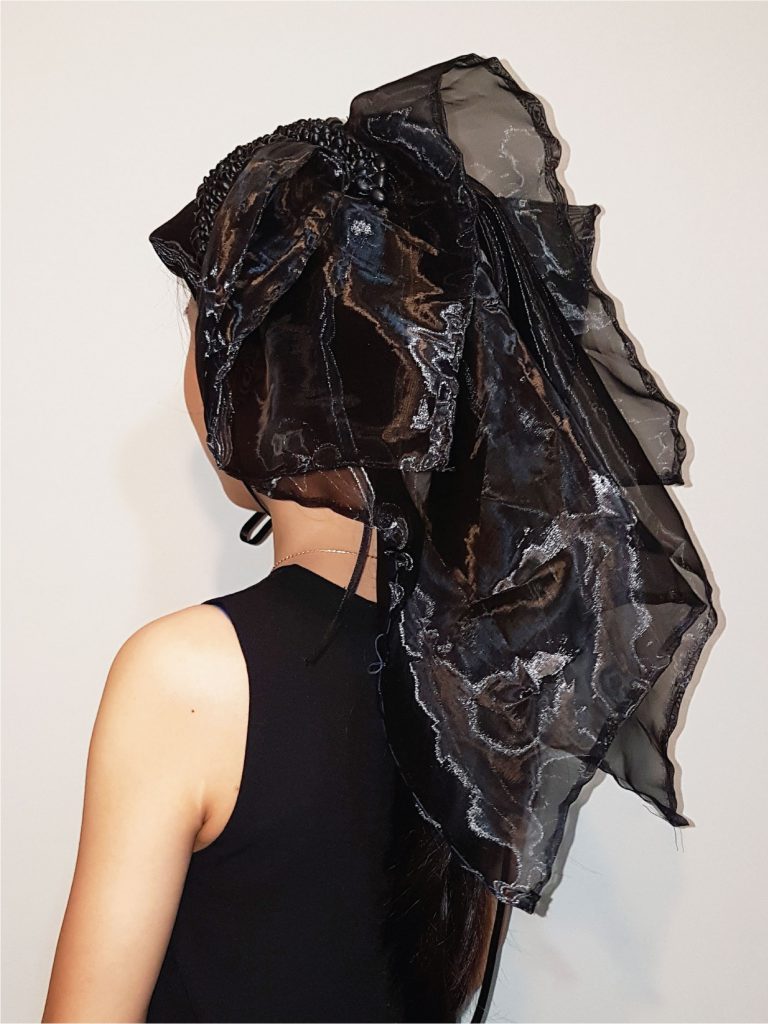
The organza was cut shorter; sweeping past the shoulders a little, and in a way that there would be “two tails” formed at the end. This was to make it more angular, aesthetically pleasing, and as well as to ensure that movements of the organza would be more easily created to enable heat to be dissipated.
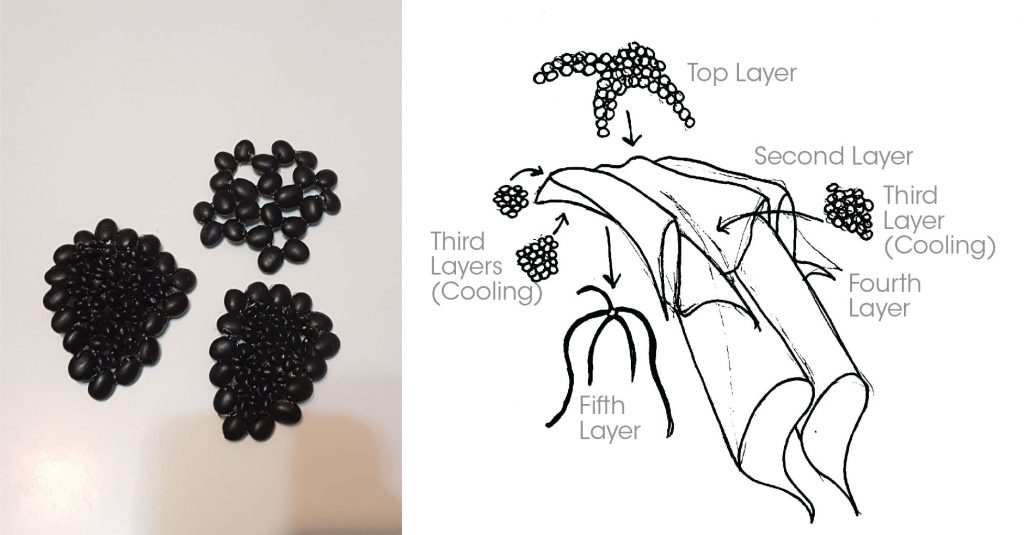
The edges of the organza were hand sewn, and the top layer of black beans was sewn onto the organza afterwards. The folds were also sewn to keep them in place. I decided to add the third layers ( refer to figure above ), underneath a layer of organza to act as cooling elements. 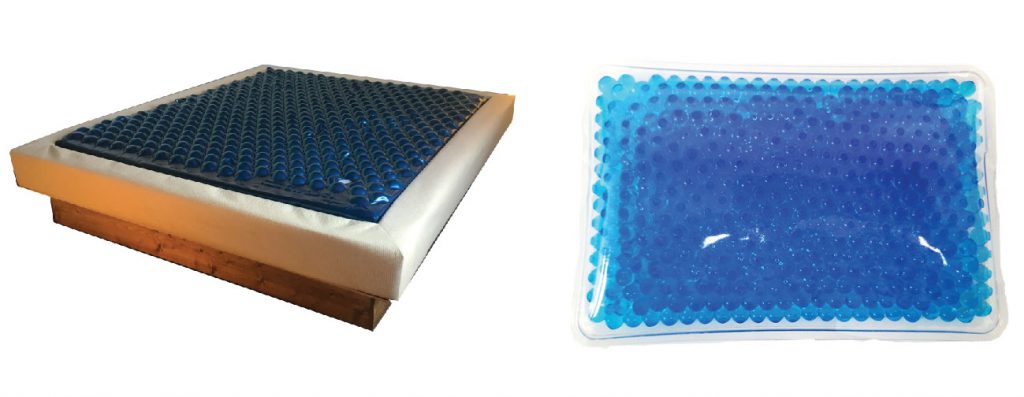 Images taken from Google
As the black beans also resembled capsules, I wanted the third layers to be capsules contained cooling gel / liquid, which was inspired by cooling beds and cooling beads in cooling packs. As technology would have been more advanced during the storyline, these cooling gel / liquid would have been improved to remain cold for a more extended period of time or even forever.
Hence, the top layer of beans would have been used to keep the heat out, while the bottom layers would have been used to keep Emiko cool.
The third layers at the front of the hat would have been bigger and extended to the underneath of the hat. However, I took too much time sticking the beans and sewing.
Final:
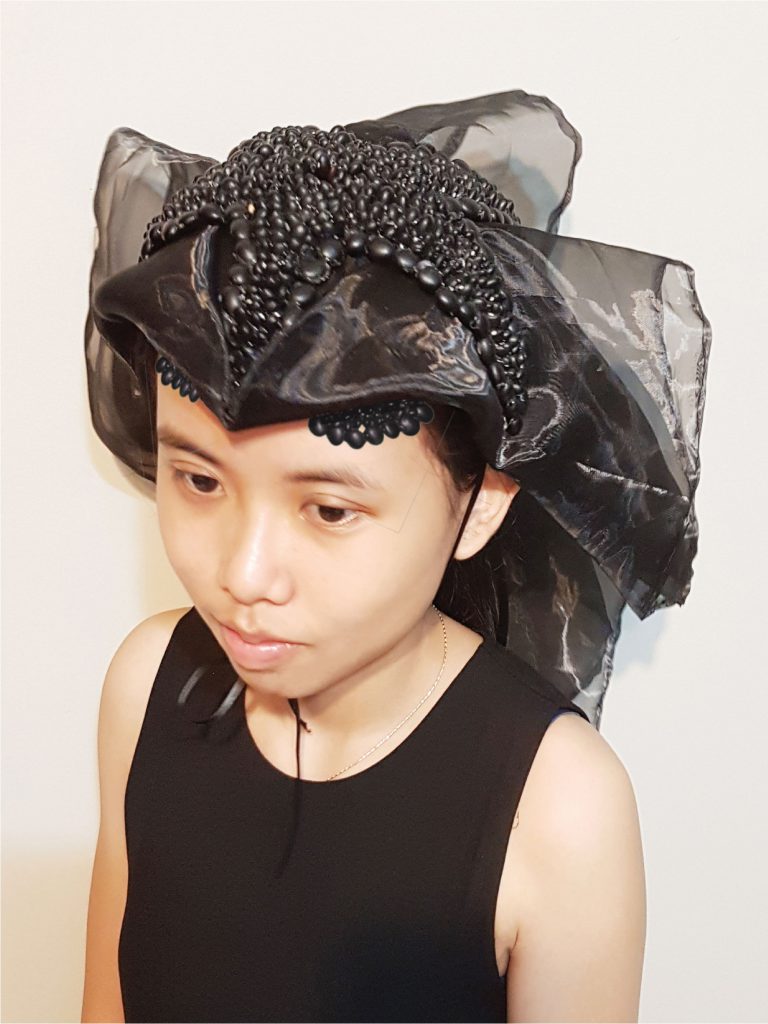
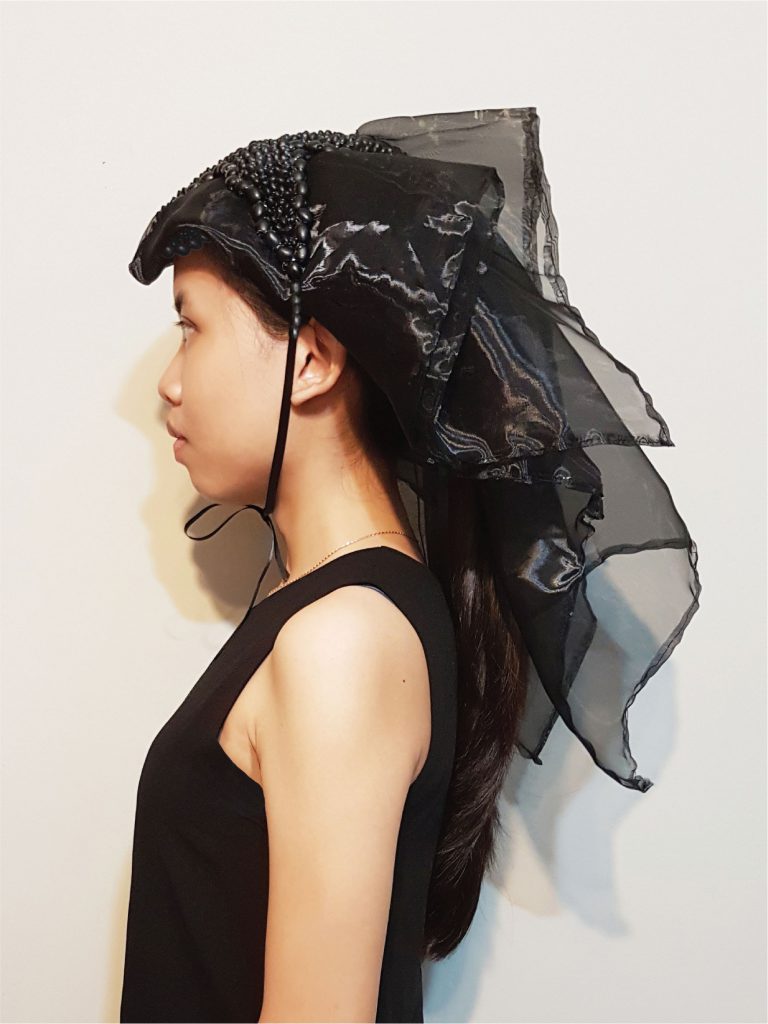
Overall, I was rather satisfied with how it turned out to be in the end, and how it looked rather “alien” as well – like the aliens in some futuristic sci-fi movies.
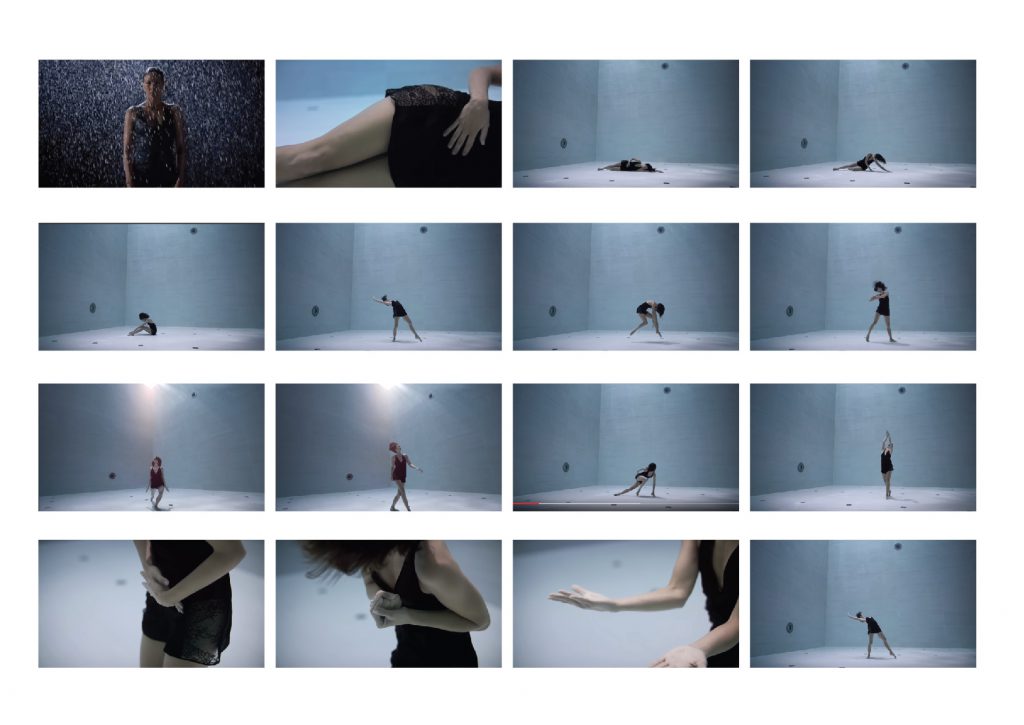
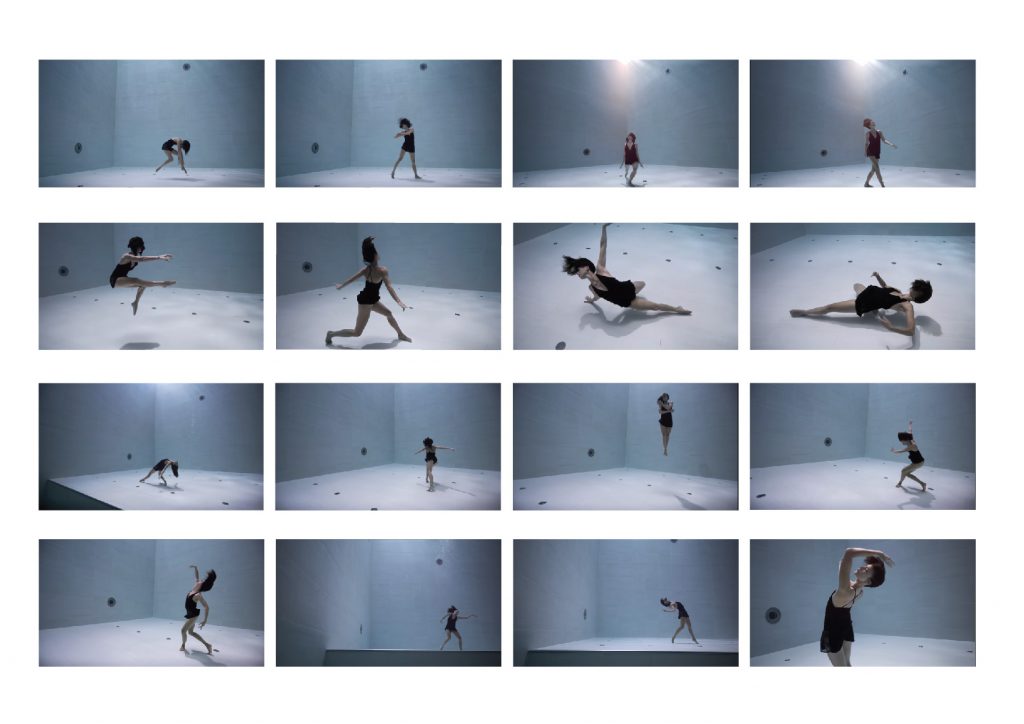

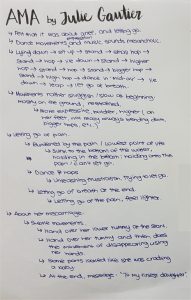
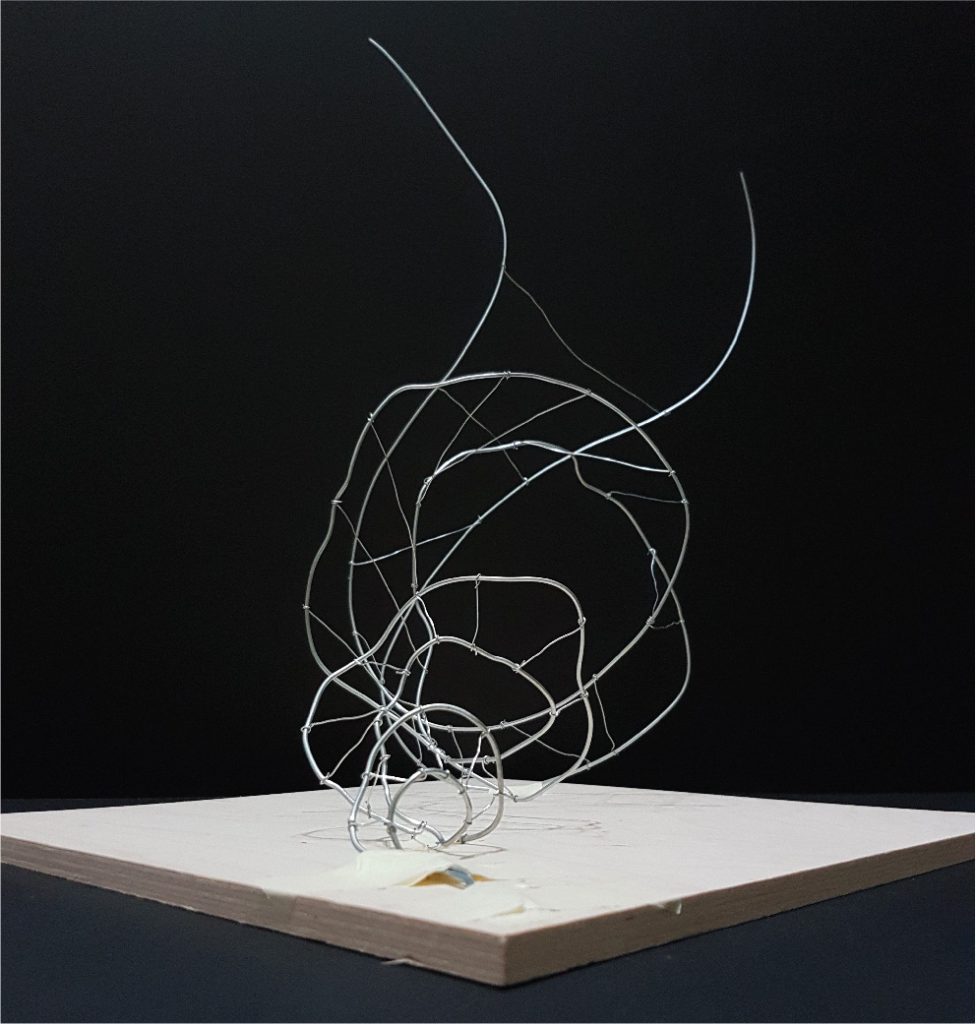
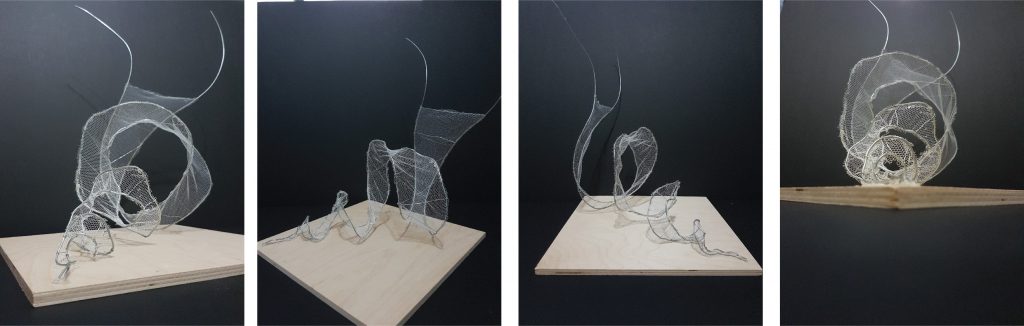
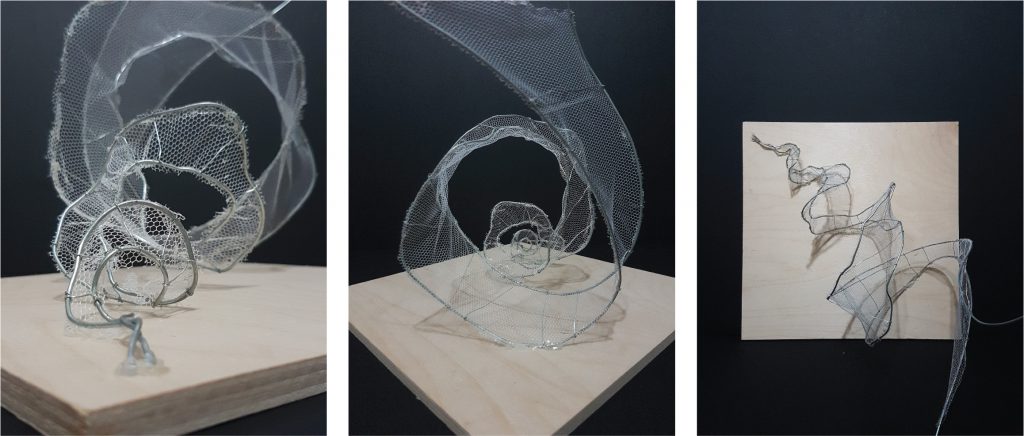
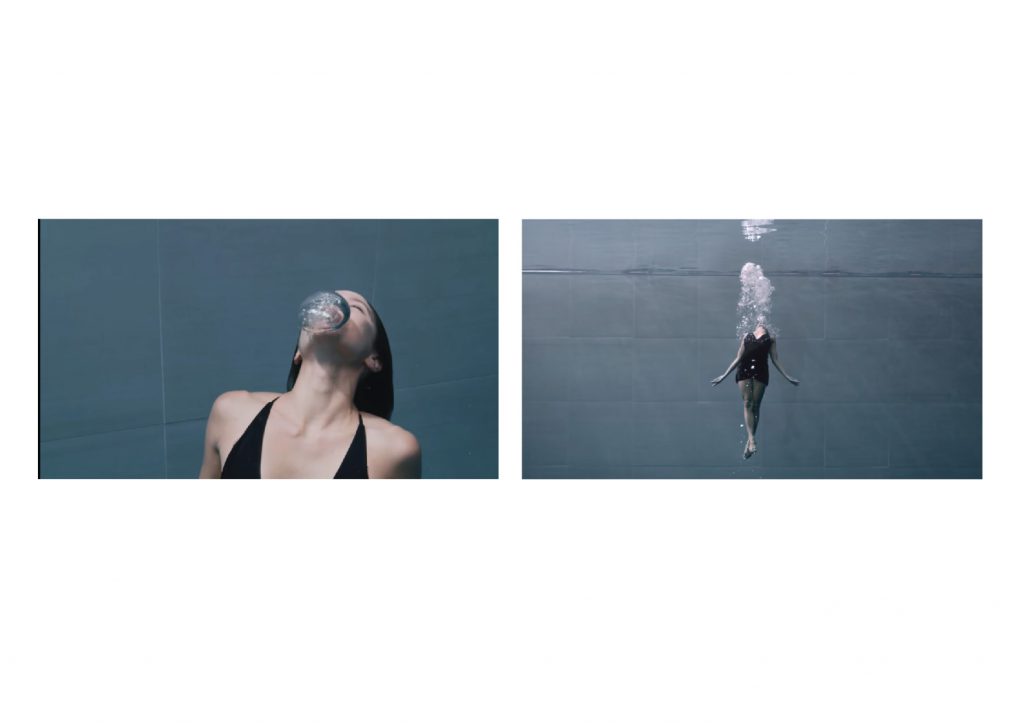 The dance piece which I have chosen was the first video, AMA by Julie Gartier. The words which I wanted to express was “struggling“, and “letting go“. I felt that the dancer wanted to express the pain of losing her unborn child; how she was being weighed down by her grief, and how she felt lighter when she finally let go of her grief at the end. Hence, I decided to portray the emotions expressed by the dancer in the video instead.