Streak – An experimental film, 2017
Concept / Theme
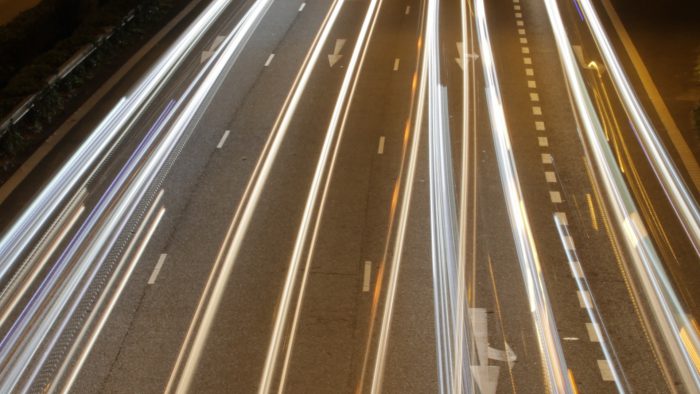
‘Streak’ captures the vibrance of an urban city fueled by lights and how the city truly comes alive at night. Using the medium of photography, I wanted to capture and create the manipulation of time by ‘stretching’ the captured image and combining it with effects to evolve an image into something new and refreshing.
Inspirations / References
Koyaanisqatsi (1982 experimental film by Godfrey Reggio)
- The film consists primarily of slow motion and time-lapse footage of cities and many natural landscapes across the United States. The visual tone poem contains neither dialogue nor a vocalized narration: its tone is set by the juxtaposition of images and music.
TimeLAX 01 by iVideomaking
This is a very interesting approach to a moving city in Los Angeles through timelapse.
- Another example of the use of timelapse to create the feeling of the city being alive and moving.
Kaleido-lapse by Young Elephant (Sai)
Another great example of what I hope to achieve for my own video with the use of mirror effects to achieve a kaleidoscope effect.
Initial moodboard from Pinterest
https://www.pinterest.com/alazmir/media-art-nexus-timelapselong-exposure/

Lucas Zimmermann – Traffic Lights 2.0

Photo by Lucas Zimmerman

Photo by Lucas Zimmerman
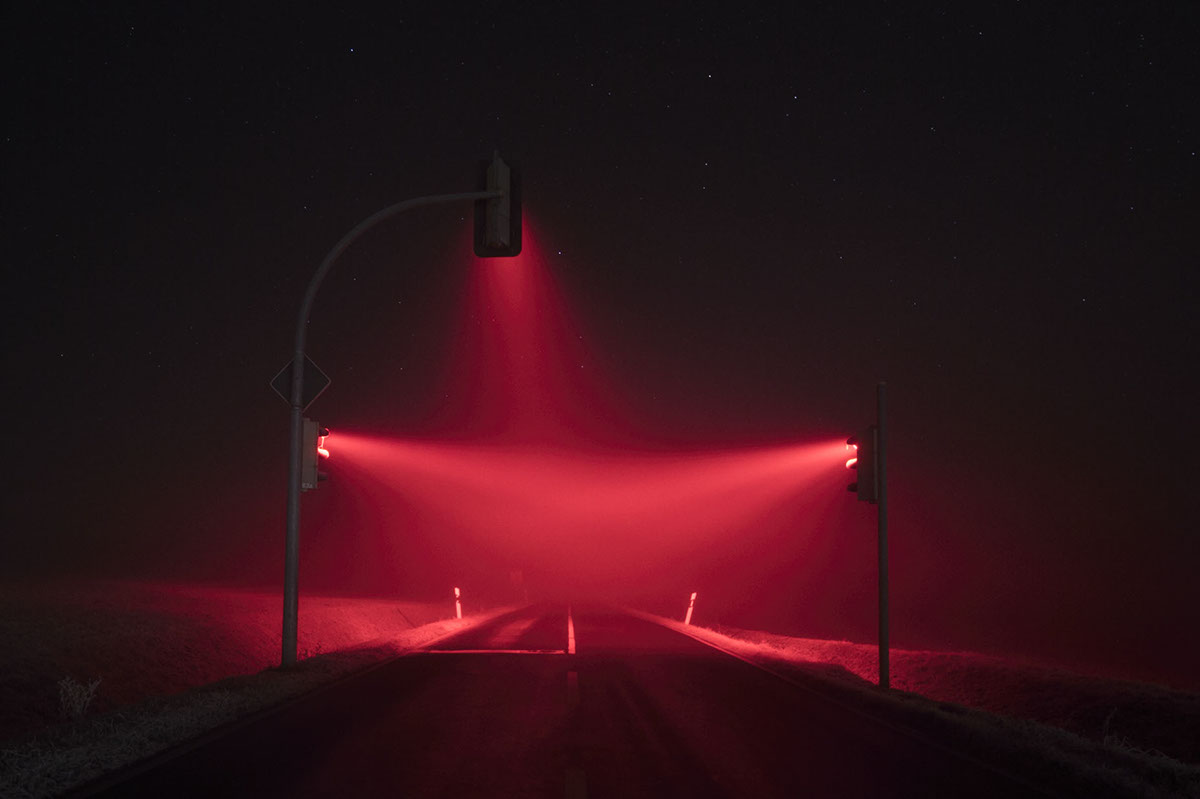
Photo by Lucas Zimmerman

Photo by Te-Wei Liu

Photo by Mark Burban

Photo by Andres Caldera
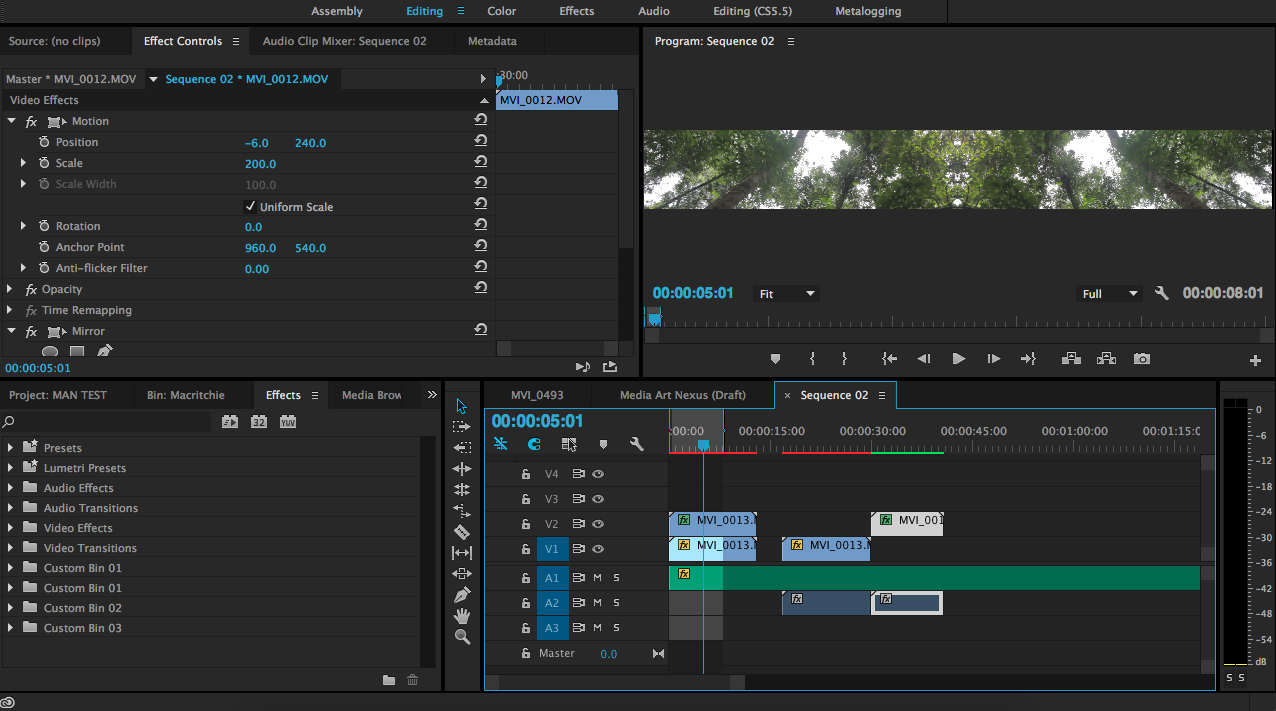
Process
It took me several nights spanning across a few weeks and a lot of patience to capture these timelapses. In order for me to get the streak effect, each shot/angle had to be experimented based on how long I wanted the shutter to be open in order to capture the moving light.
So, for example, I take about 9 seconds for each picture. I set my timer for about 20 minutes, which will roughly give me about 133 photos. If importing into Adobe Premiere Pro with a 24fps sequence, I can achieve about 5 seconds of moving visuals.
Importing
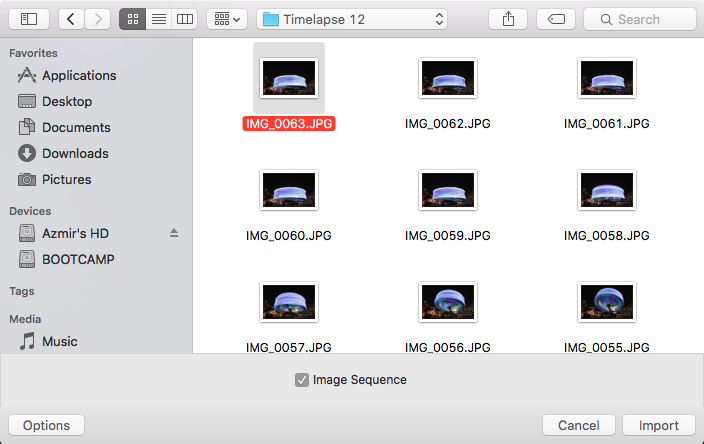
Import (Image Sequence)
Marking the beats of the song

Marking beats
Overall timeline of project
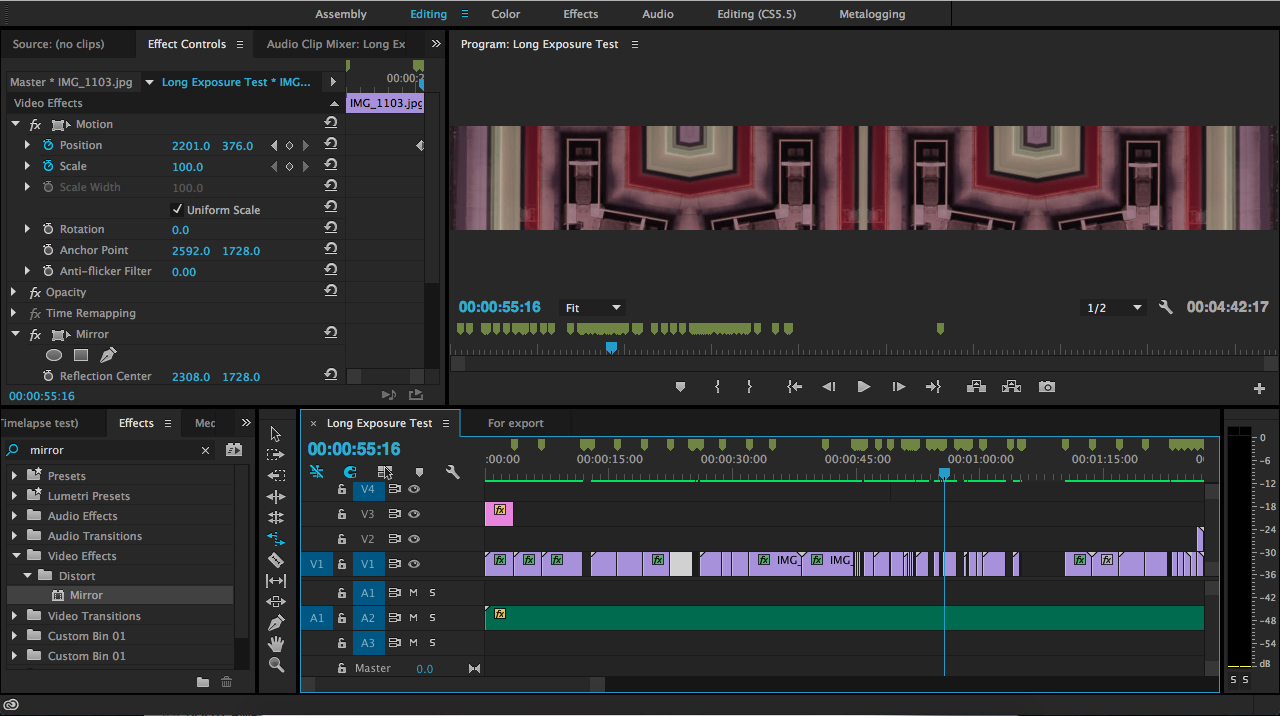
Sequence Timeline
Prototype
This was the initial test of the visuals, testing out the resolution, quality as well as the speed of the clips. The visuals are raw and have no added effects applied to it.
Methods
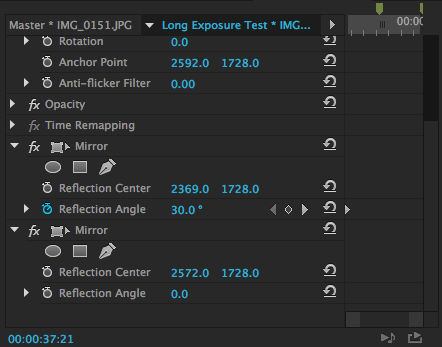
The effect that was widely used throughout the video is the ‘mirror’ effect which essentially reflects the image to form a more sophisticated shape/form. All of my editing (compiling timelapses, arranging of clips, applying effects) is done in Adobe Premiere Pro CC and tweaking of colours of certain images is done in Adobe Lightroom.
Reflection city tutorial by Artbeats Inc.
Mirror reflection video effect tutorial by Justin Odisho
Kaleidoscope effect tutorial by Alex Edwards
Current


Future Plans
As of now, I hope to get all the clips sorted from start to end by next week and also to tweak and tighten up certain transitions in between different clips to make it more cohesive. There is also room for me to continue experimenting with different effects and possibly overlaying certain elements to bring out the idea of the city being alive.