Week 2-4: Progress update

Experimentation

Mirror effect

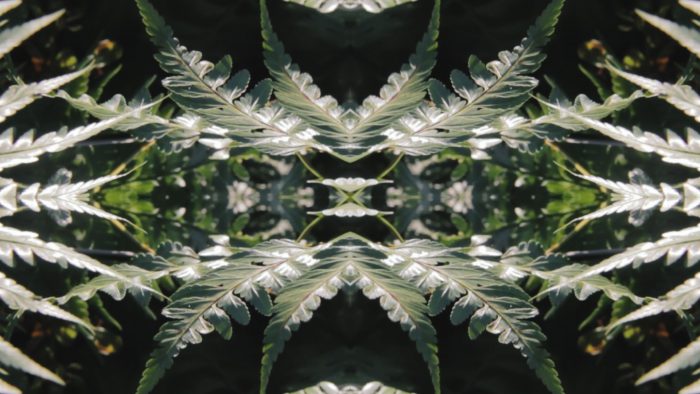
Following up from my previous post, I went around and did some experimental shots at a nature reserve to try and have a feel of what I can come up with relating to the theme/mood I was going for. I played around with the effects in Adobe Premiere Pro (mainly mirroring and glitching) in order to bring out a kaleidoscope effect/generative art from a mundane piece of visual.

For this piece, I basically did some movement with the camera in the actual filming and then I added a single layer of mirror effect. I personally like this piece as the reflected image and the movement allows it to look like it is evolving within itself, creating a new and refreshing image with every frame.

Next, I experimented with more layers within the same clip and overlayed 4 different layers of ‘mirror effect’, each with a different angle to multiply the image to make it look more abstract. This produces an image almost similar to when we look through a kaleidoscope.

These are a few more examples I did experimenting around with the mirror effect to see the outcome of it.


Glitch effect

In addition, I referenced from youtube tutorials to learn how to make glitching effects, either to compliment a transition from clip to the next or just to give an extra layer of effect to enhance the clip.


Speed ramping effect

This clip below was a combination of the glitch effect I’ve learnt earlier and also doing a bit of speed ramping (which is basically speeding up certain parts of the clip and slowing it down).


Slow motion effect

I also tried out slowing down the time of the clips to test out how I can incorporate different speeds within different footages to give more depth to the entire film. The clip below was slowing down the time with a combination of a cant angle movement, resulting in a more smooth and stable shot.


Realisation

After experimenting with these clips and effects, I realised that I’ve been working on the 1920 x 1080 resolution instead of the intended Media Art Nexus wall resolution which is 3840 x 480.

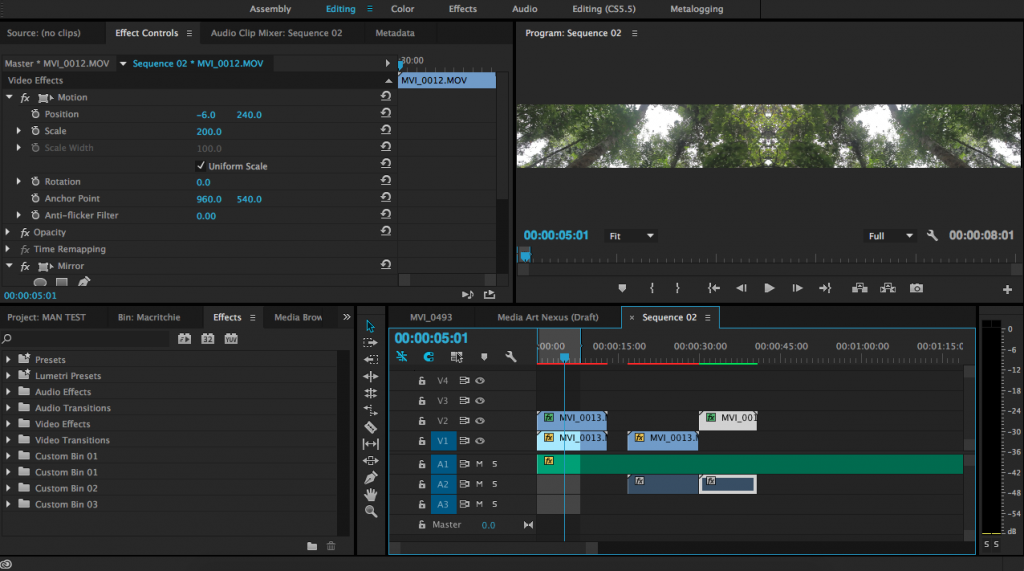
I converted my files to fit the sequence settings of 3840 x 480. However, I wasn’t very satisfied with the outcome when my 1920 x 1080 footage had to be resized to 3840 x 480 as that would mean that I would have to double the pixel count on the long side which would result in a loss of quality of the footages. This also led to more problems that affected the storytelling I initially envisioned. Due to the ‘crop’ resolution, it looked like there was a narrow field of vision which didn’t portray the visuals I had in mind. A large section of the images were cropped out which resulted in an almost ‘zoom’ perspective of these images.

Timeline screenshot of the footage in 3840 x 480 resolution.

Example footage with mirror effect in 3840 x 480 resolution. There is a narrow field of vision as compared to what I initially intended.

Overall, these experiments have helped me to realise what actually works and what didn’t. It also allowed me to improve my technical skill of the software and workflow of the project.
2D Project 2, Week 10: Final (Point Of View)

Object: Cardboard Box

This series is inspired by the idea of how we see ordinary things and what it means through the eyes of different individuals. A cardboard box is something we normally see on a day to day basis, be it by the street, in a convenience store, etc. These cardboard boxes have a lot of uses and meaning to different people and I wanted to portray their perspectives through my illustrations.

A cardboard box from the point of view of a warehouse is a piece of puzzle.

Full 6 combined-01

Explanation: This is basically through the eyes of a warehouse where they usually categorise lots of packages and boxes neatly. I wanted to portray the idea of how there will always be a perfect spot for each of these boxes and how they always seem to seamlessly fit into the spaces in between each other.

A cardboard box from the point of view of a child is an imaginative space.

Full 6 combined-02

Explanation: This was inspired by how, as a child, even the simplest of things can be an entertainment. A cardboard box to a child, is a whole new world. With their wild imaginations, the idea of using cardboard boxes can literally take them to places.

A cardboard box from the point of view of a cardboard collector is his next rice bowl.

Full 6 combined-03

Explanation: A cardboard box to a cardboard collector is a day’s job. In Singapore, it’s very common to see the elderly collecting cardboard boxes just to make a living. The hardwork they go through going to different places, collecting cardboard and flattening them just so they would earn enough to feed themselves is really disheartening. Sometimes we tend to take for granted the things that we deem as trash, but to others, it could mean the world to them.

A cardboard box from the point of view of a cat is temporary solace.

Full 6 combined-04

Explanation: This was inspired through a youtube video that showed how cats are content with sitting in a cardboard box, no matter what the size and how many cat toys are surrounding them. I wanted to portray how in the busy world we live in, the constant noise and hectic life, a cardboard box to a cat would mean a temporary place of peace.

A cardboard box from the point of view of a postman is a responsibility.

Full 6 combined-06

Explanation: A cardboard box in this case, is a form of responsibility. The cardboard box is seen as people’s packages and as a postman, he has the responsibility of delivering these packages to each individual.

A cardboard box from the point of view of a techie is a visual revolution.

Full 6 combined-05

Explanation: Modern technology has changed the way we experience and see things. This was inspired by google cardboard and how it has taken our visual experience to a whole new level. It has allowed humans to be at another place or a different dimension with just a cardboard box. The invention of the google cardboard has revolutionise the way we are able to experience digital media.

Process (Work in progress)

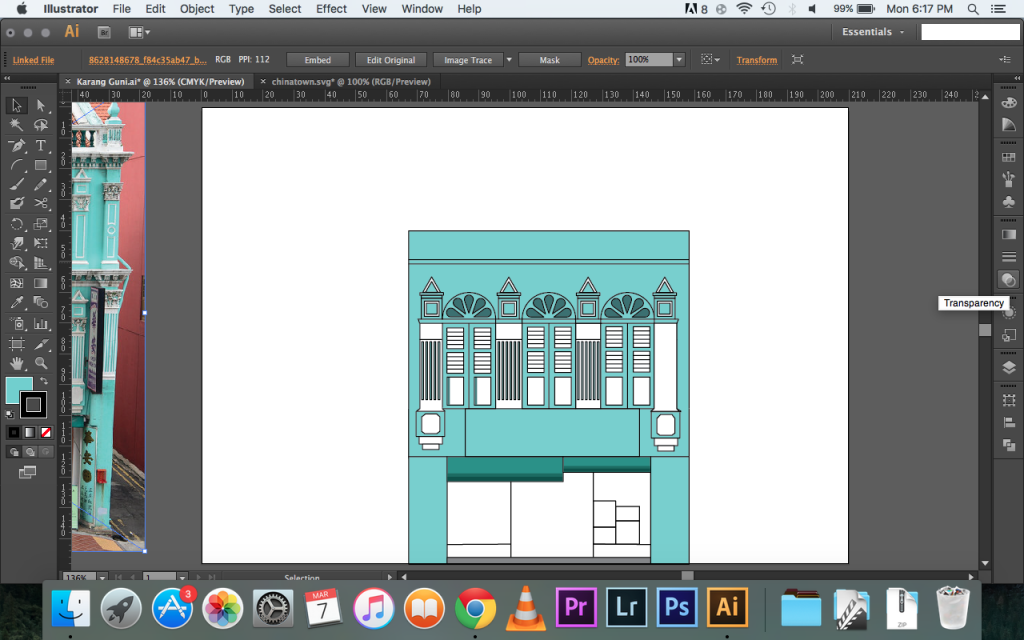
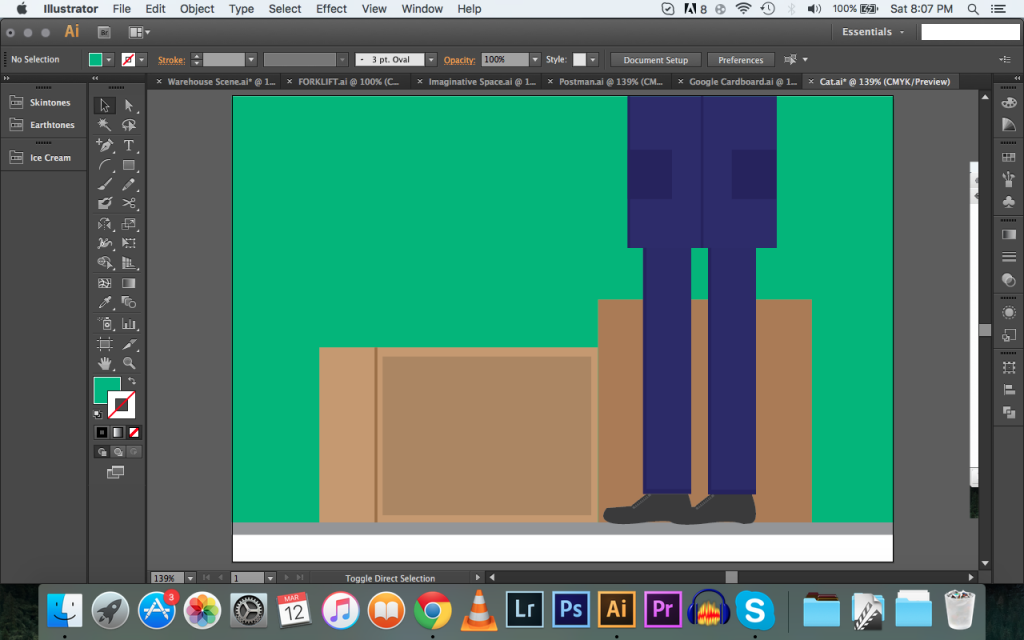
This was the some of the process shots I took during the production of some of these compositions. I tried with different ways of producing the composition (with lines and without lines) and see what works for me. It was a tedious task trying to line up the points together and picking the right colours to gel seamlessly.

Screen Shot 2016-03-07 at 6.17.17 PM Screen Shot 2016-03-07 at 6.17.35 PM Screen Shot 2016-03-07 at 6.18.08 PM

This is the basic outline of the shapes I used before adding colour.

Screen Shot 2016-03-07 at 6.26.13 PM

For some of the illustrations, I had to refer to image references off google to get the basic shapes right before adding my own flair to it.

Screen Shot 2016-03-12 at 7.00.53 PM

I tried using a different shade of the same colour to achieve the shadow effect, making it look 3-Dimensional but yet showing its flat 2D components.

Screen Shot 2016-03-12 at 8.07.52 PM Screen Shot 2016-03-14 at 6.47.36 PM

Some of the compositions were made with the whole object involved to get the basic shapes before resizing it down to the main focus of the subject matter and then cropping out what was not needed.
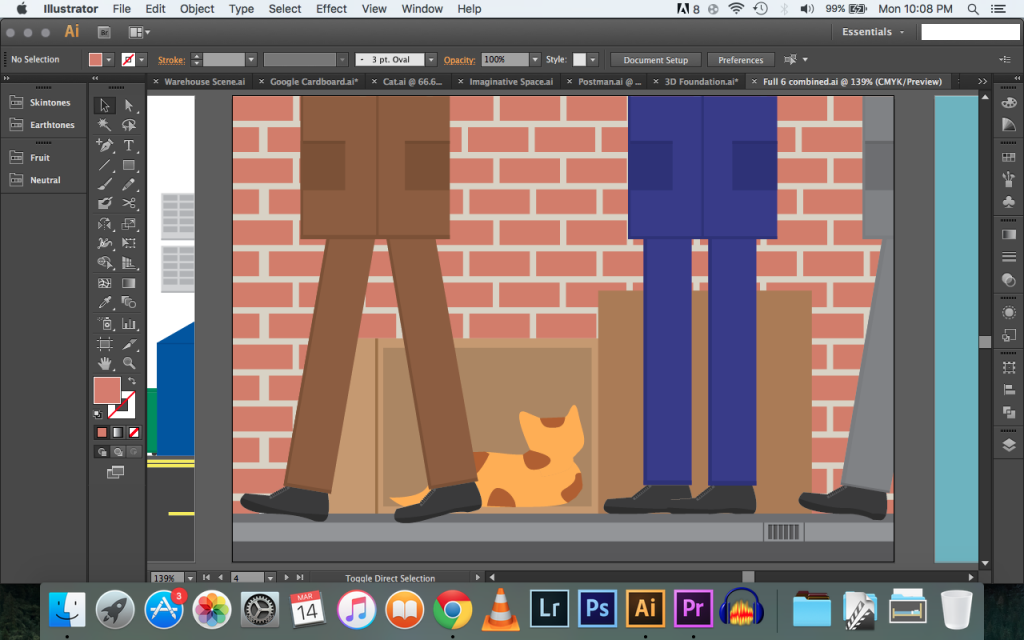
Screen Shot 2016-03-14 at 10.08.26 PM Screen Shot 2016-03-16 at 11.01.53 PM

I laid out all the 6 compositions together in the same project to see if the colour theme matches with each other and whether the compositions co-relates with one another. Then, I will do slight changes to individual compositions to match the rest.

I used this website http://www.colourlovers.com/ to get ideas of different colour palettes that works well with each other. It took a while to understand how the colours would work in my composition but I slowly worked it out.

Screen Shot 2016-03-12 at 8.09.42 PM Screen Shot 2016-03-12 at 8.07.26 PM Screen Shot 2016-03-12 at 9.04.05 PM

Since it was my first time using Illustrator, it took me a few tries before I managed to slowly ease into the workflow of the software. With the basic knowledge that I had of other Adobe programs, I was able to adapt quickly to the new software. I also had the help of youtube tutorials to overcome some of the basic functions that was needed to create these illustrations.

Reflection

Overall, I had a good learning experience taking up a new direction in my art journey. Going out of my comfort zone/style and challenging myself with a whole new different way of presenting my work was definitely an enriching experience. I am also glad that I had a lot of encouragement from friends and Joy with my work and I’m definitely looking forward to explore more of vector illustrations in the future. 🙂