3D FINAL PROJECT

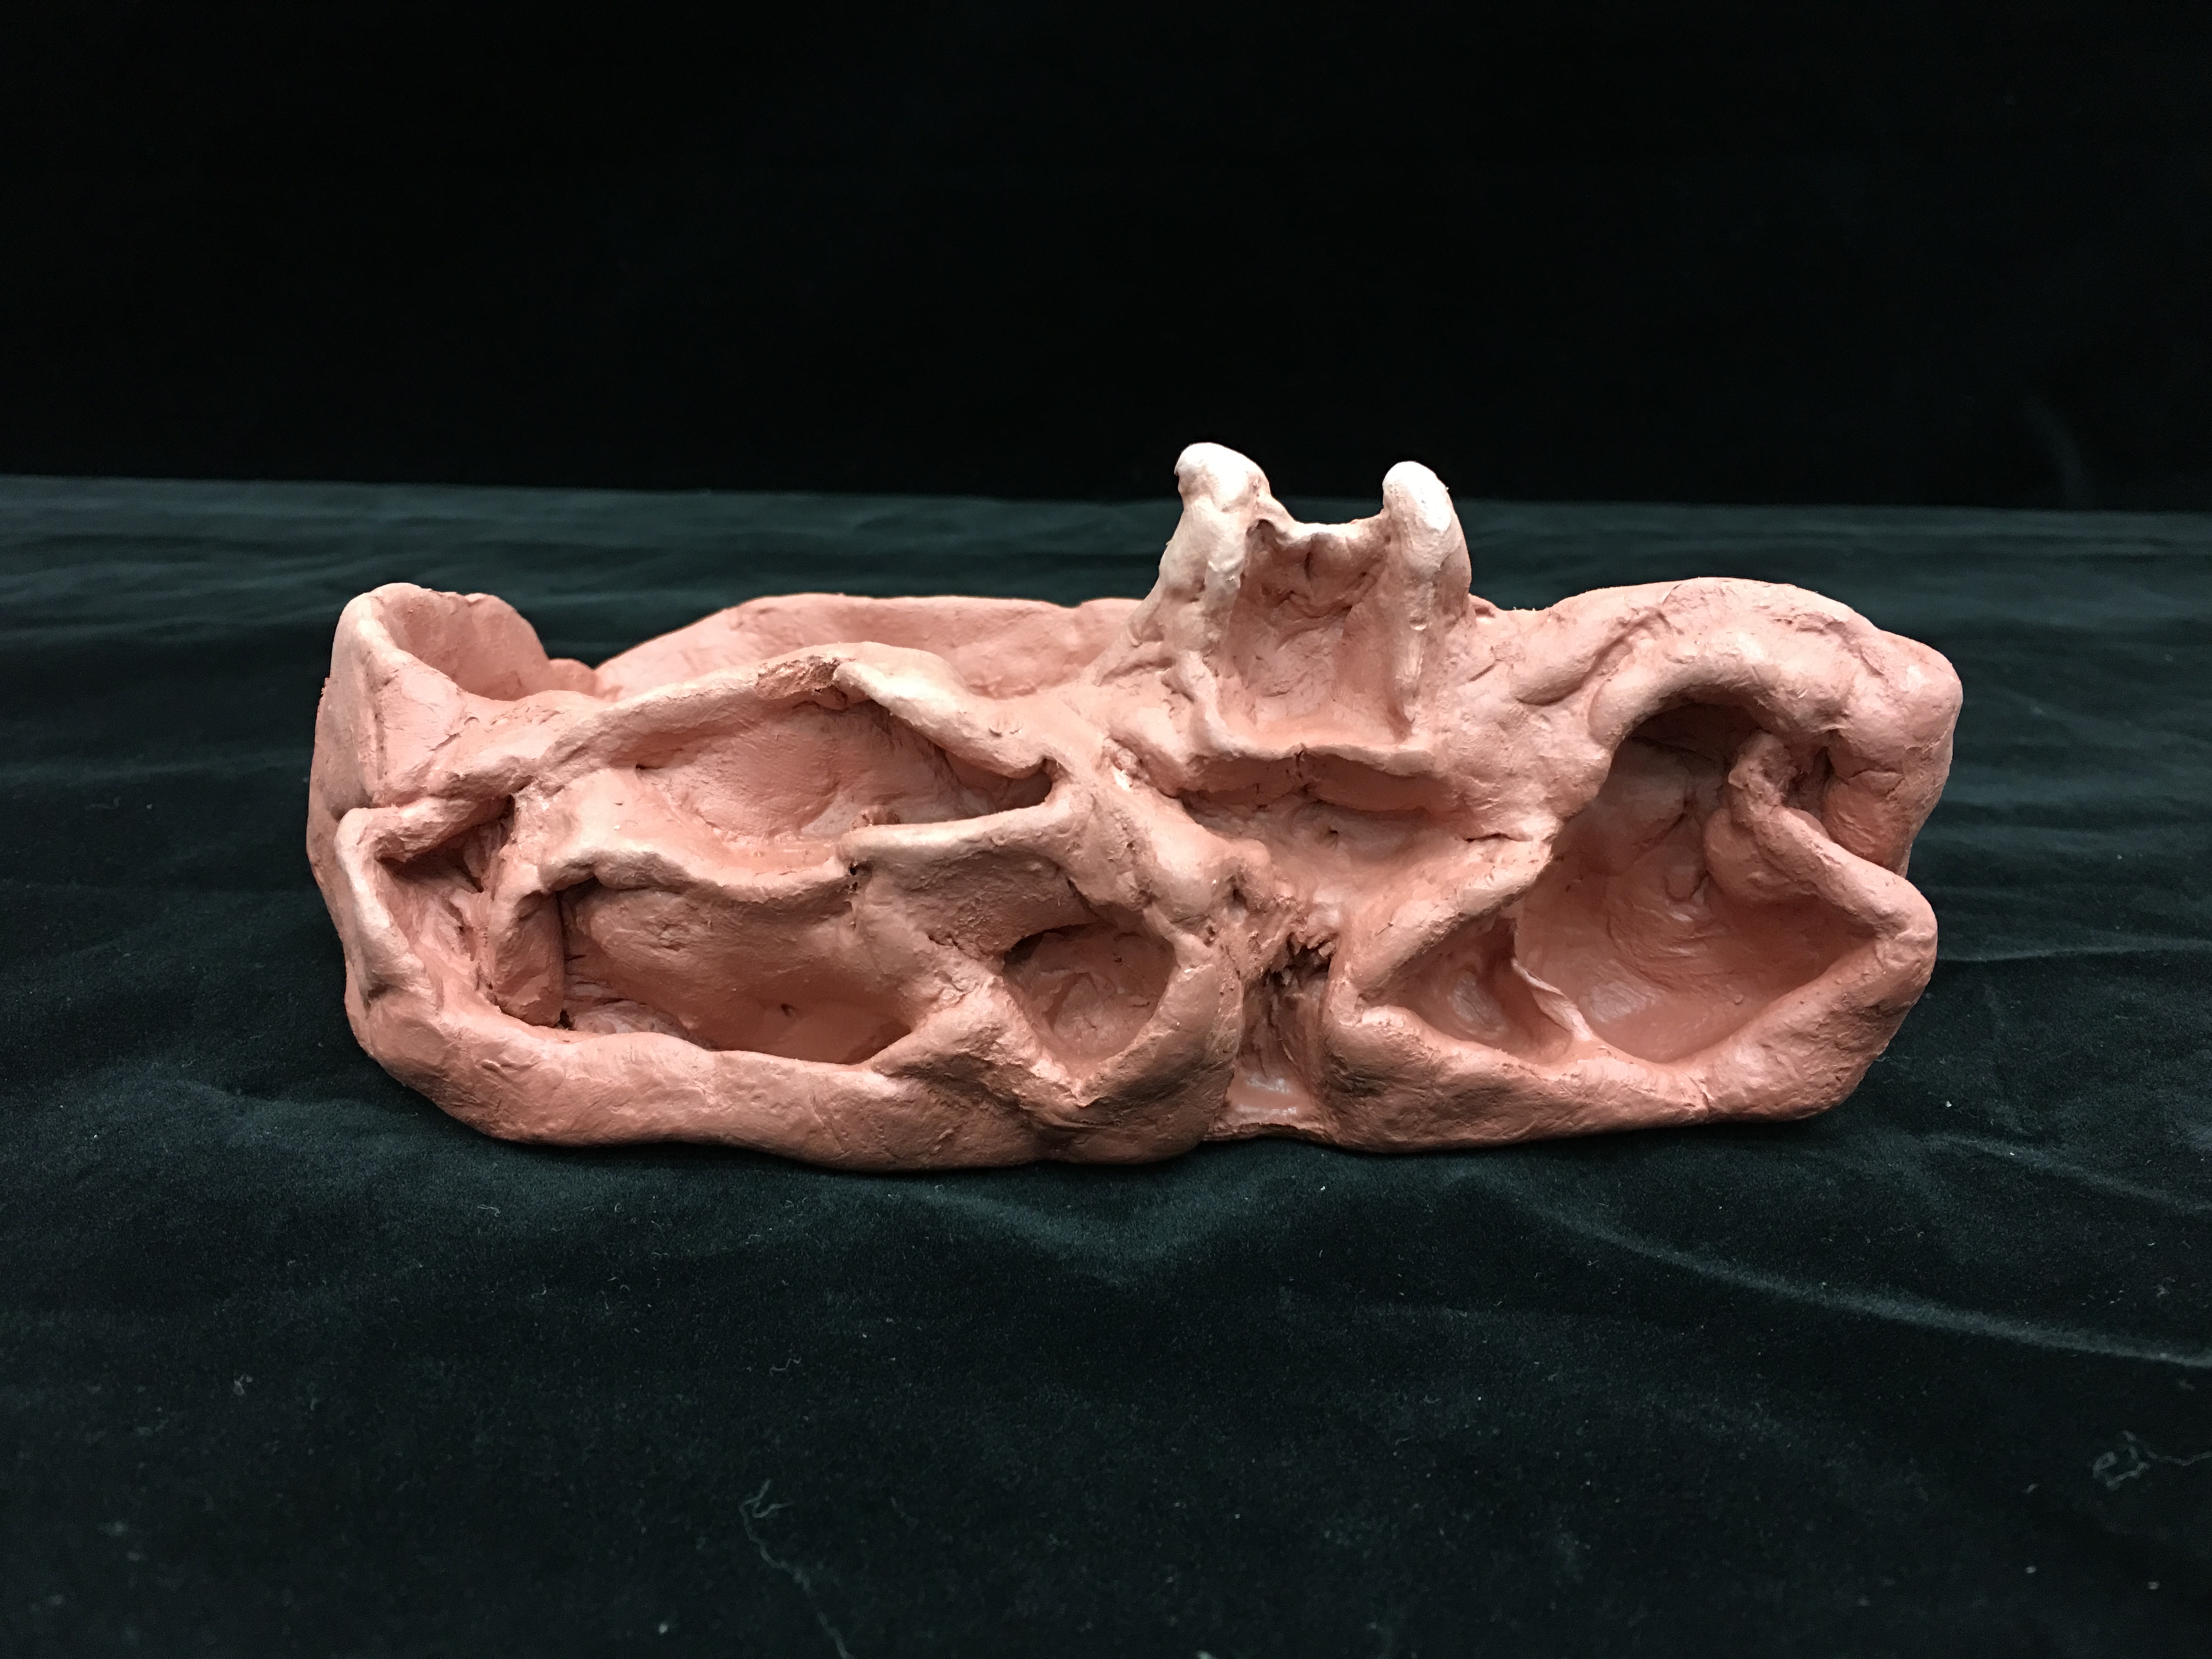
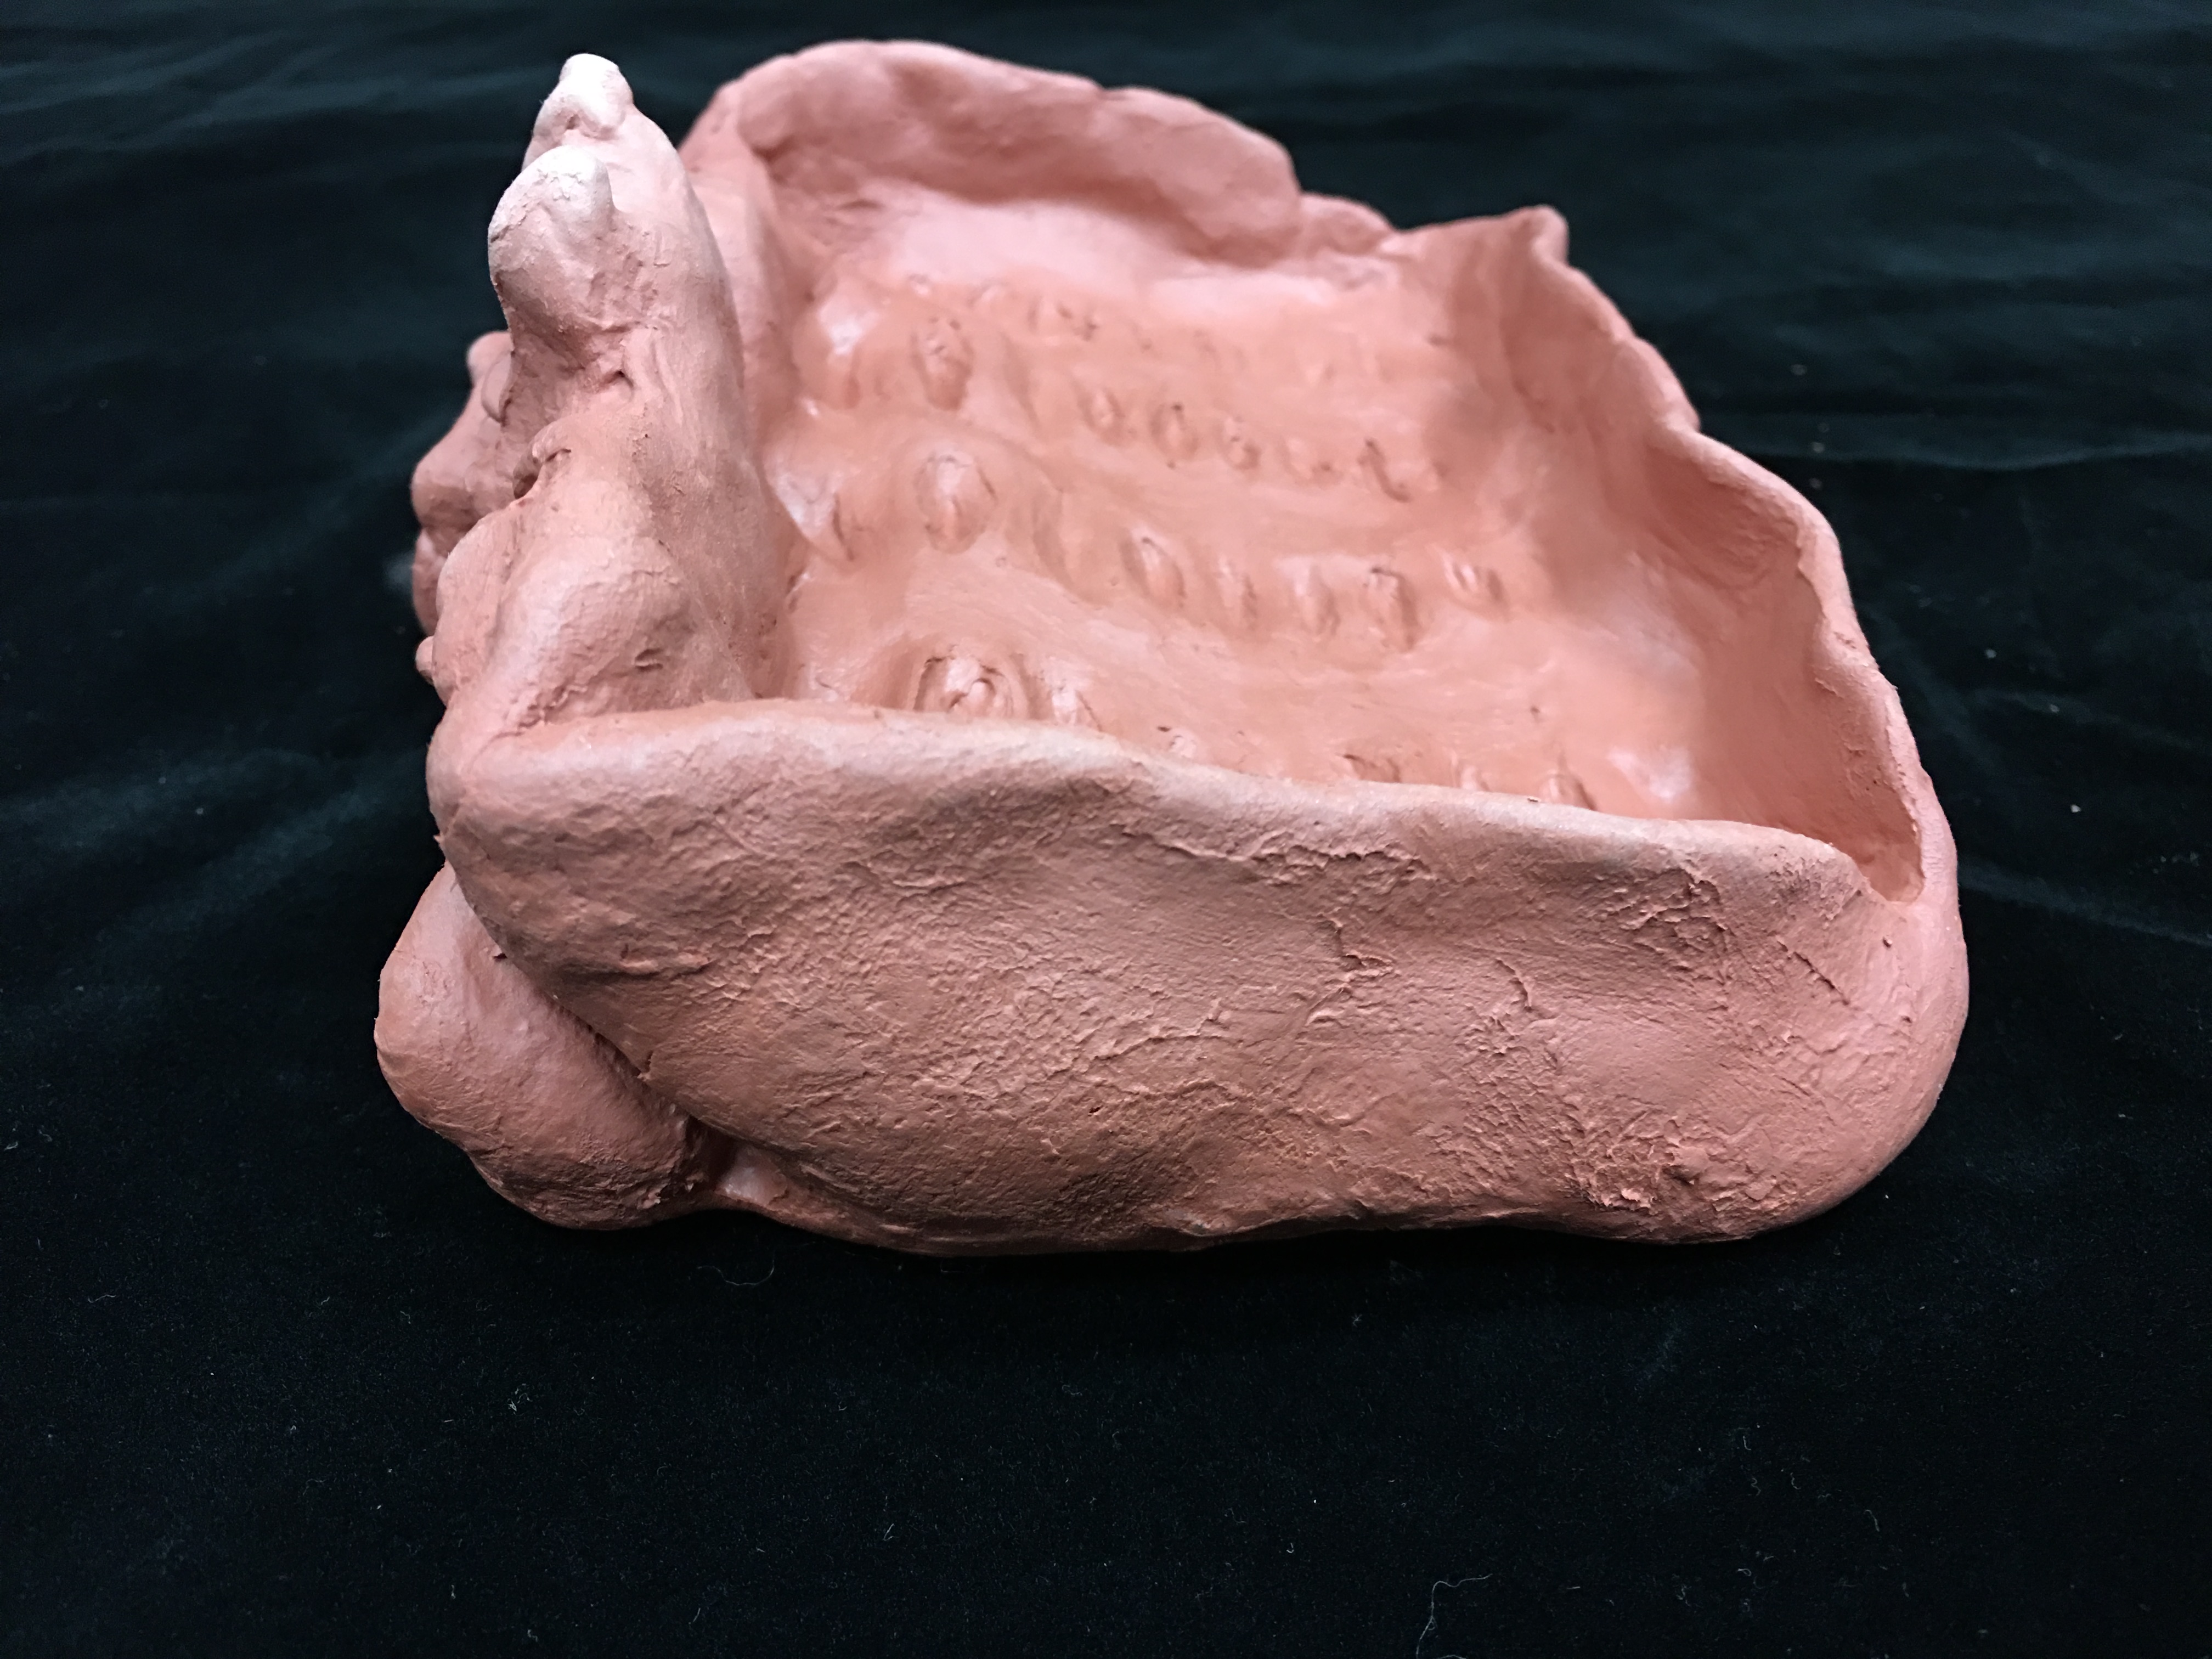
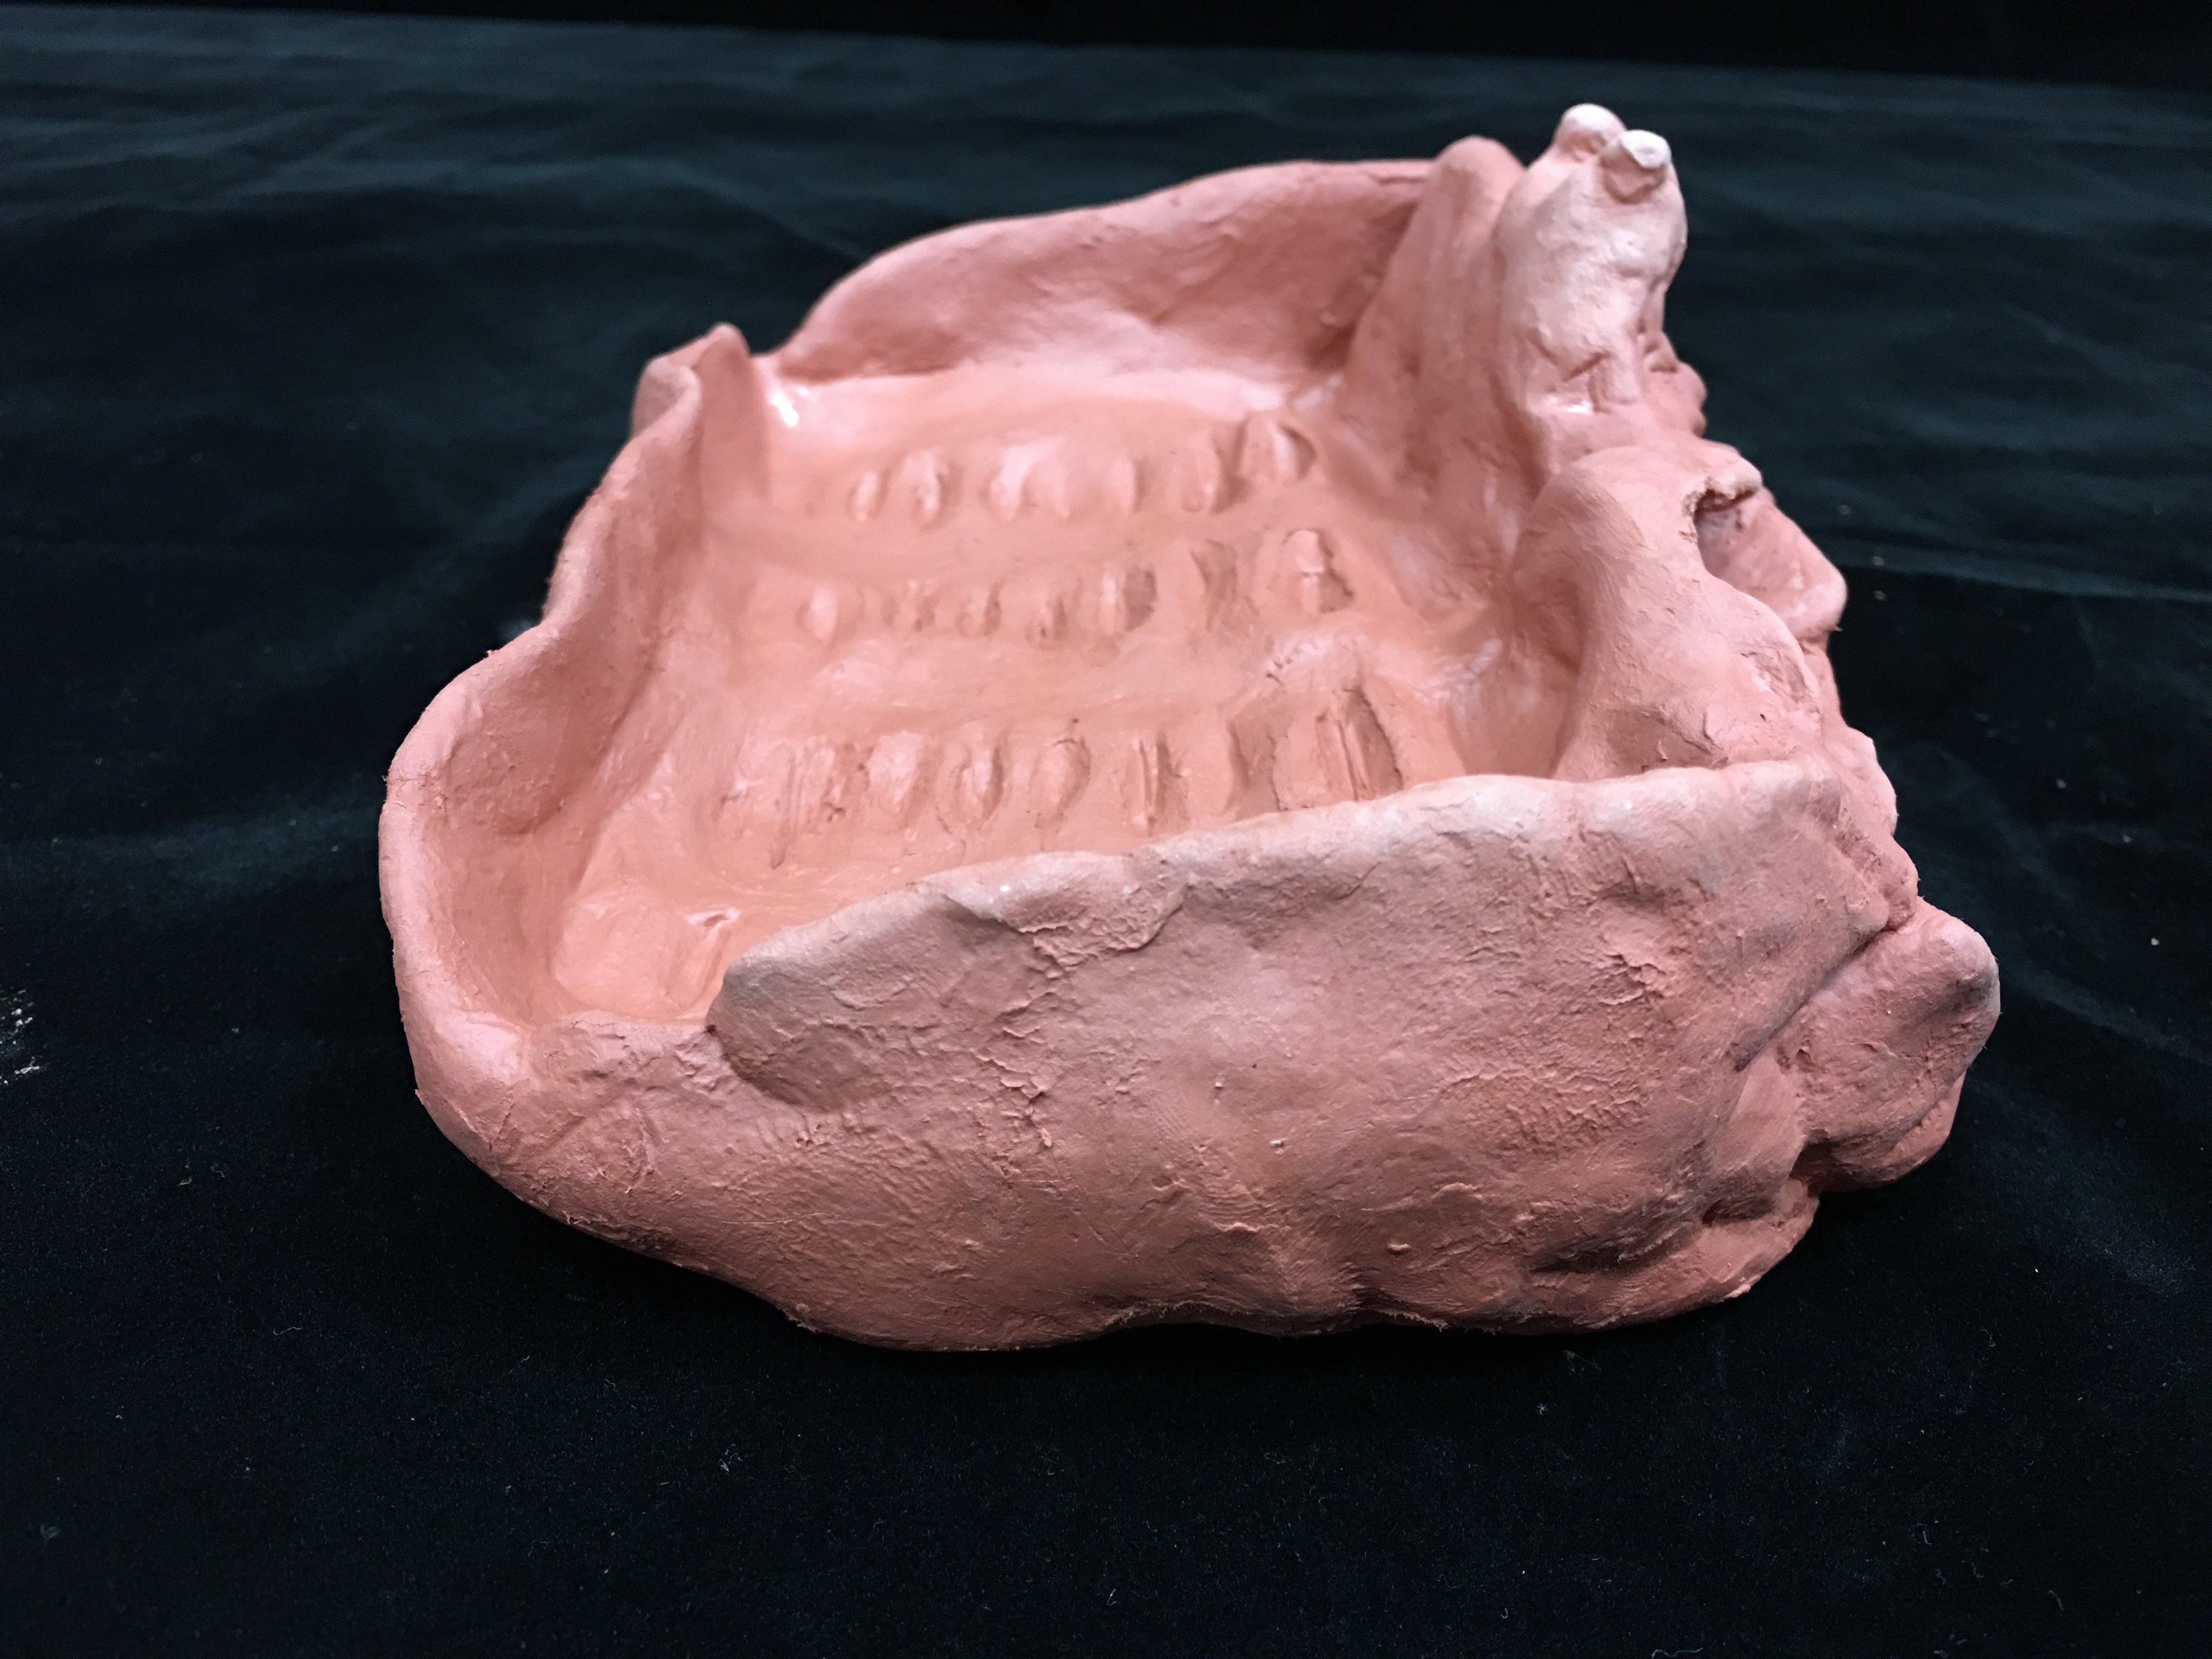
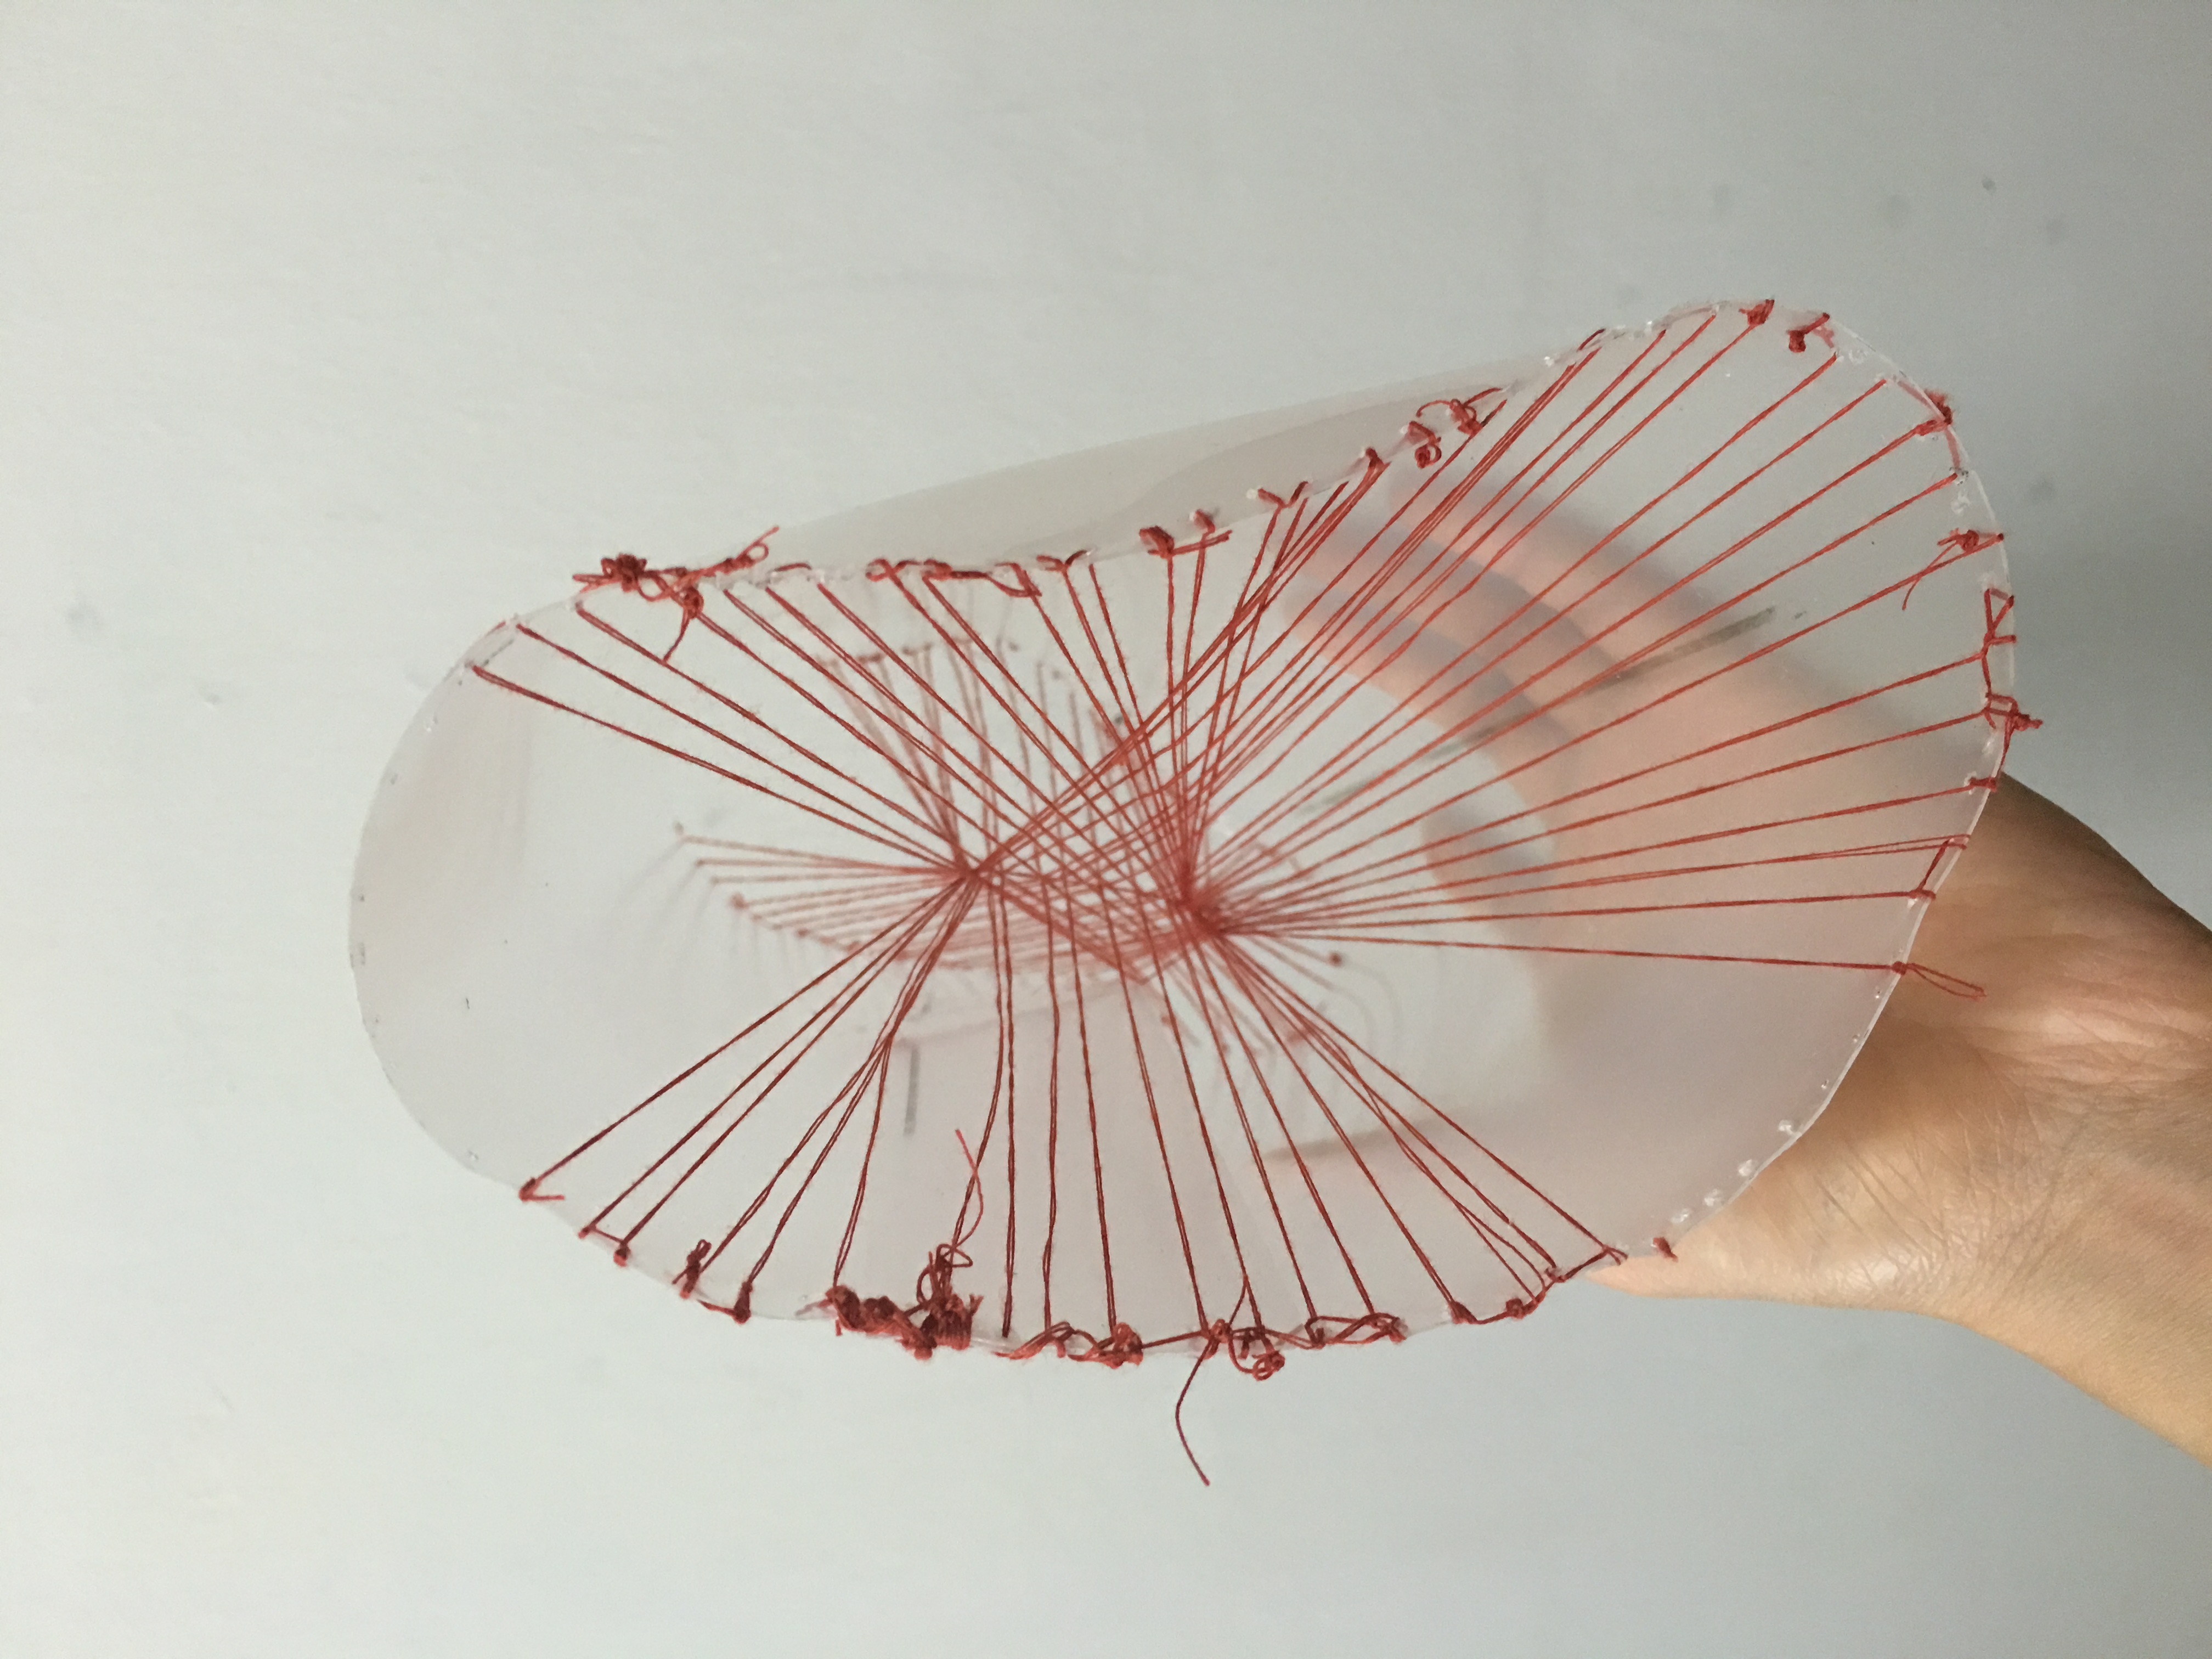
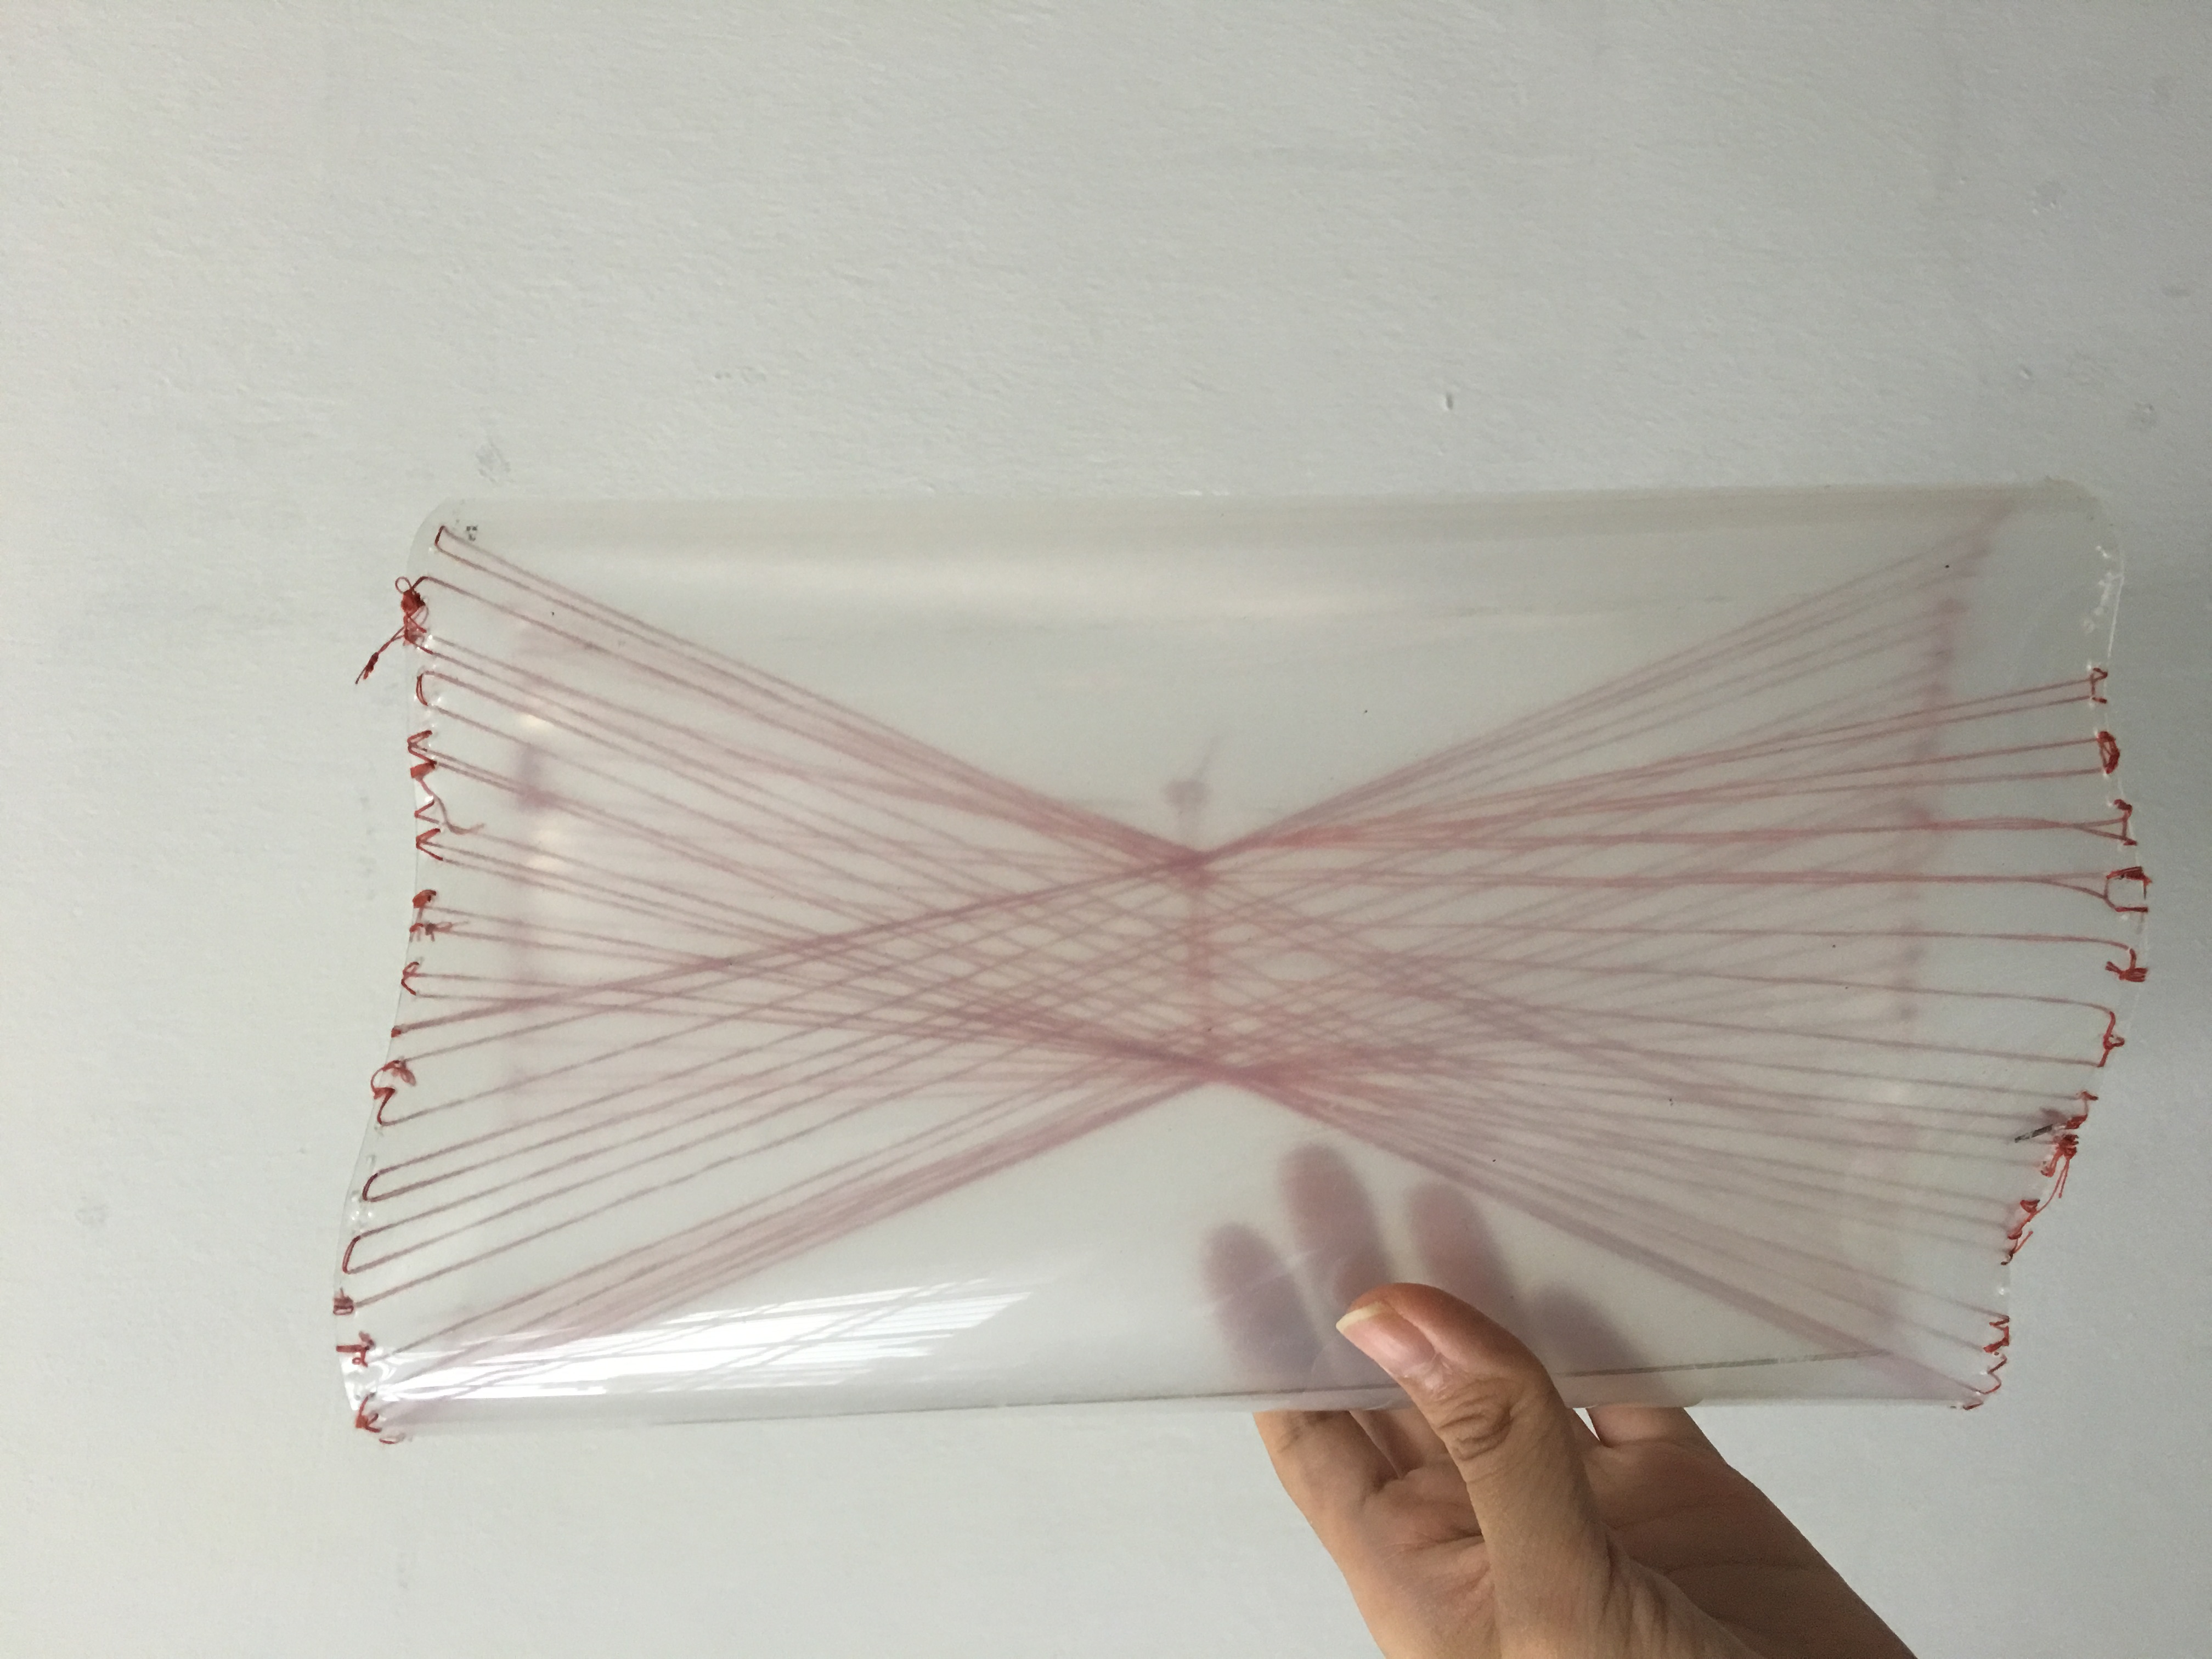
Sketches and ideas of how our final work would look like
3d-final-project-plans

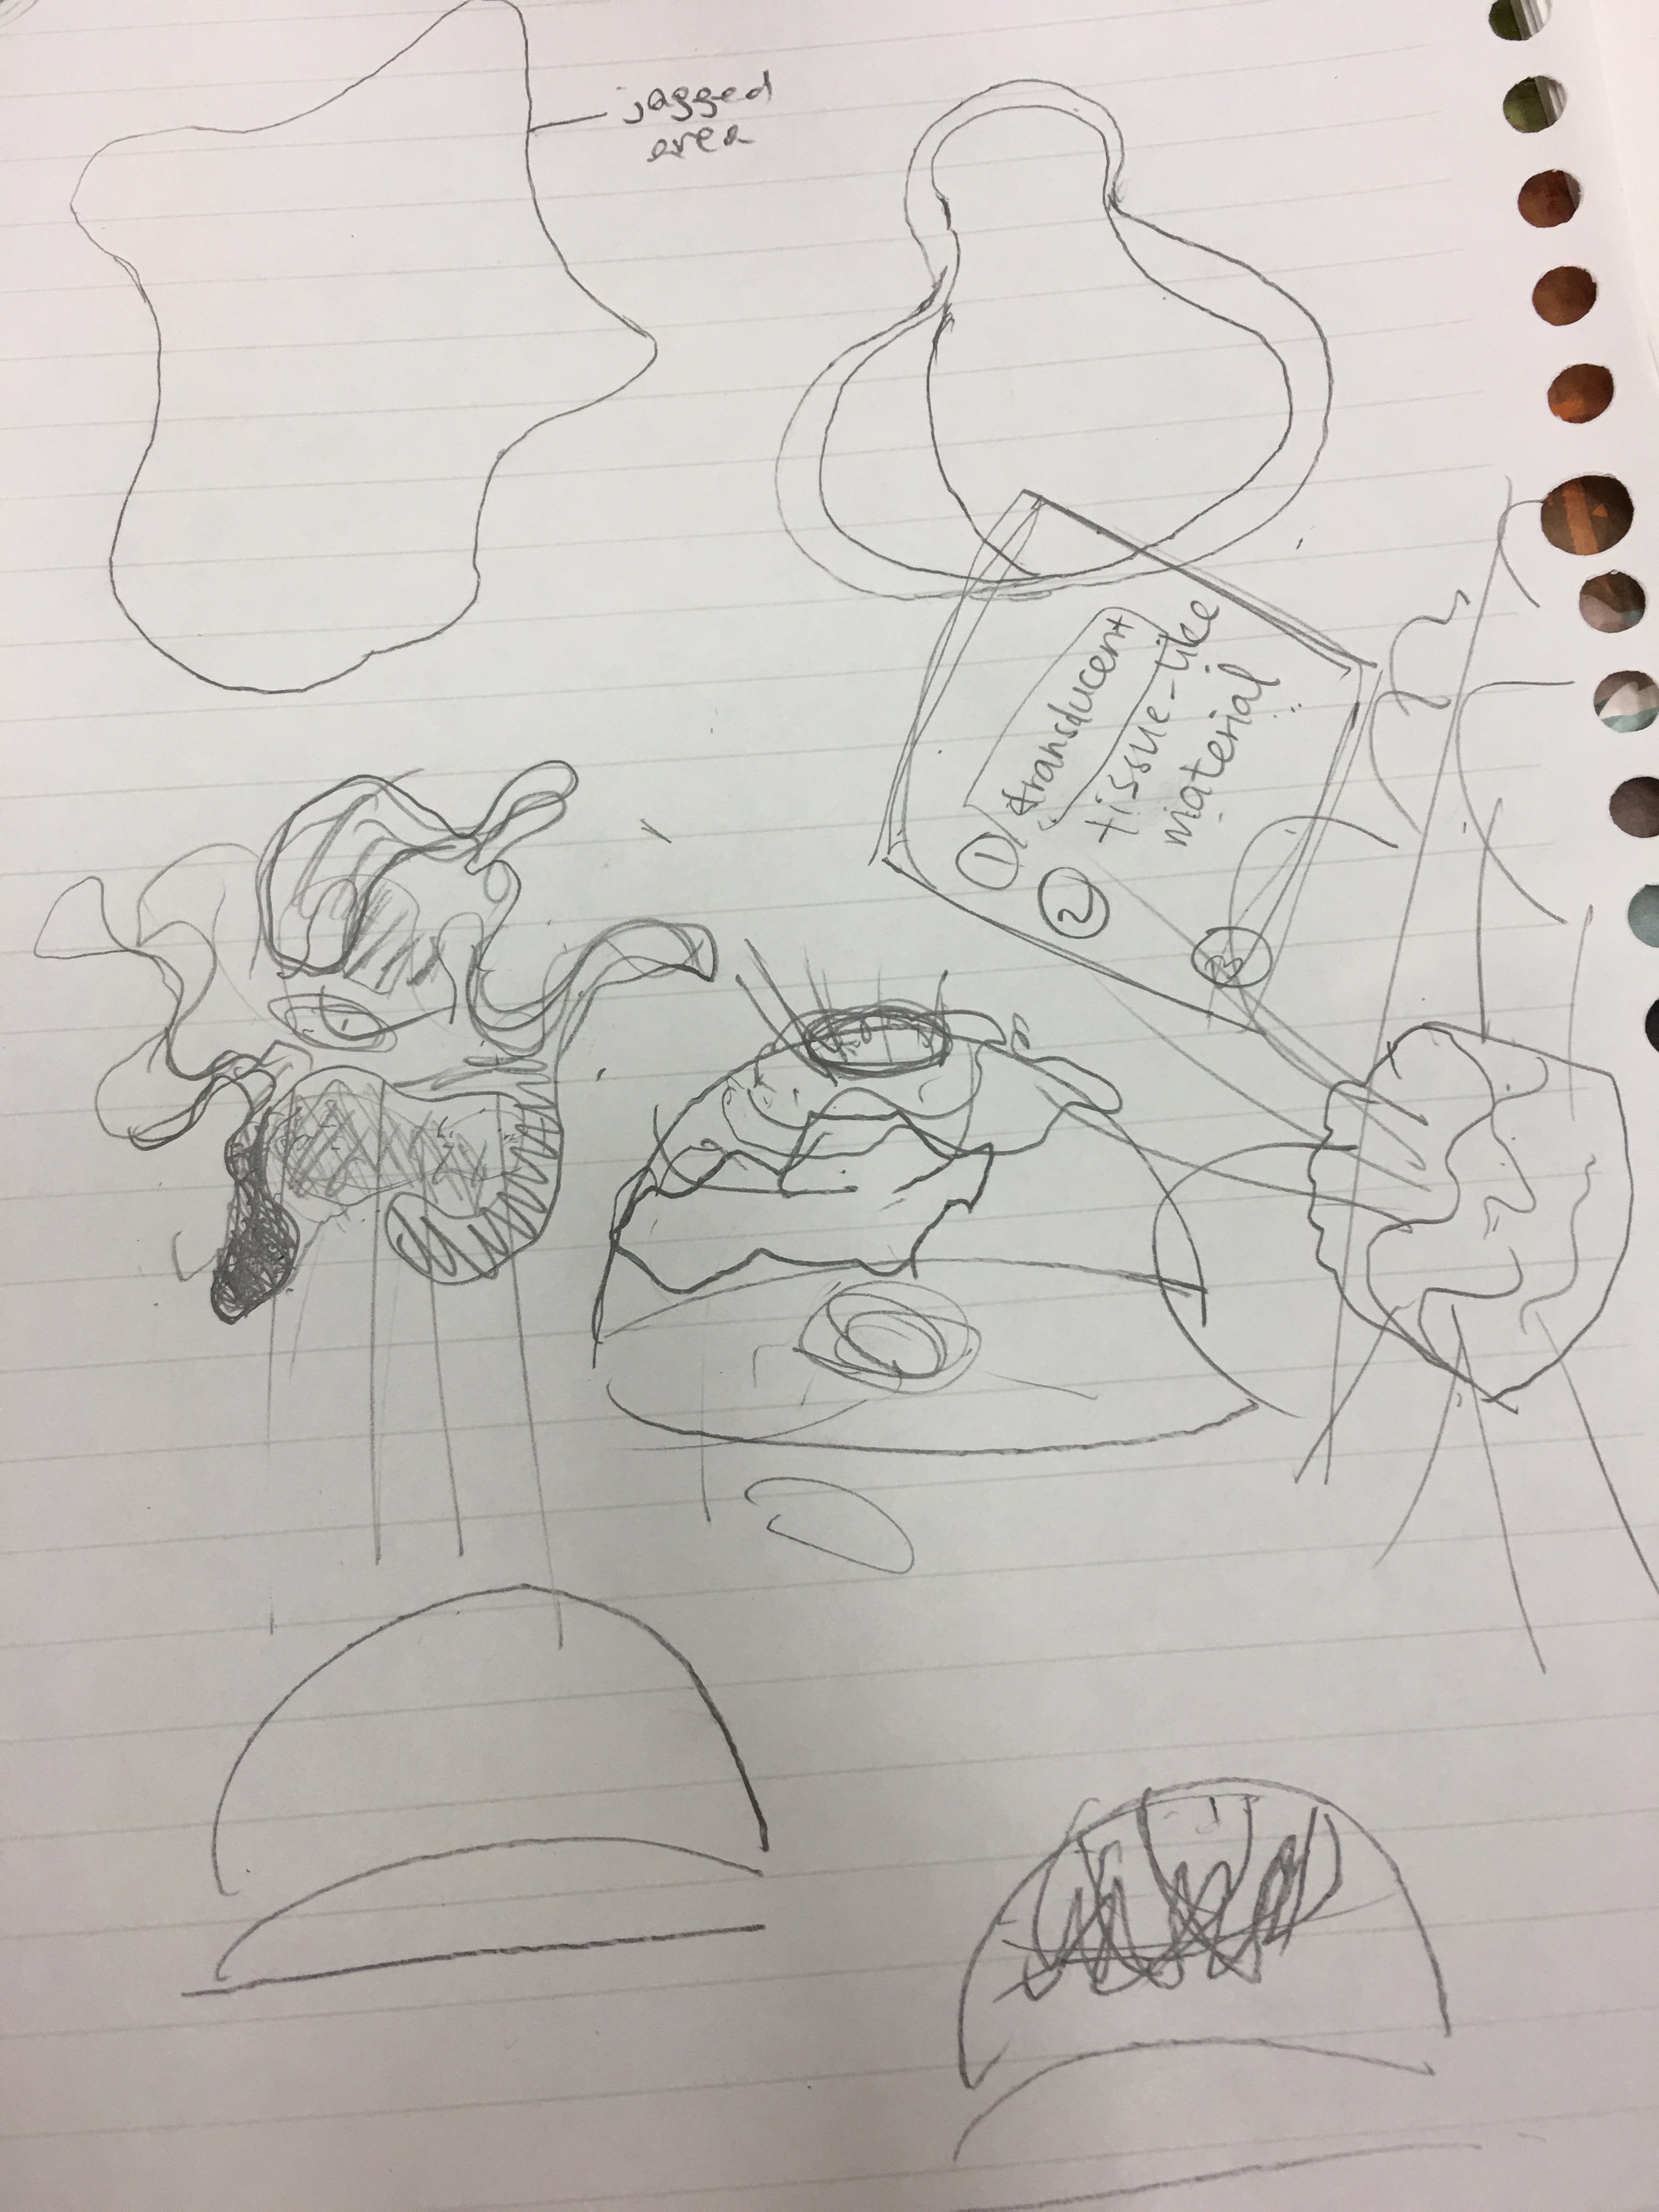
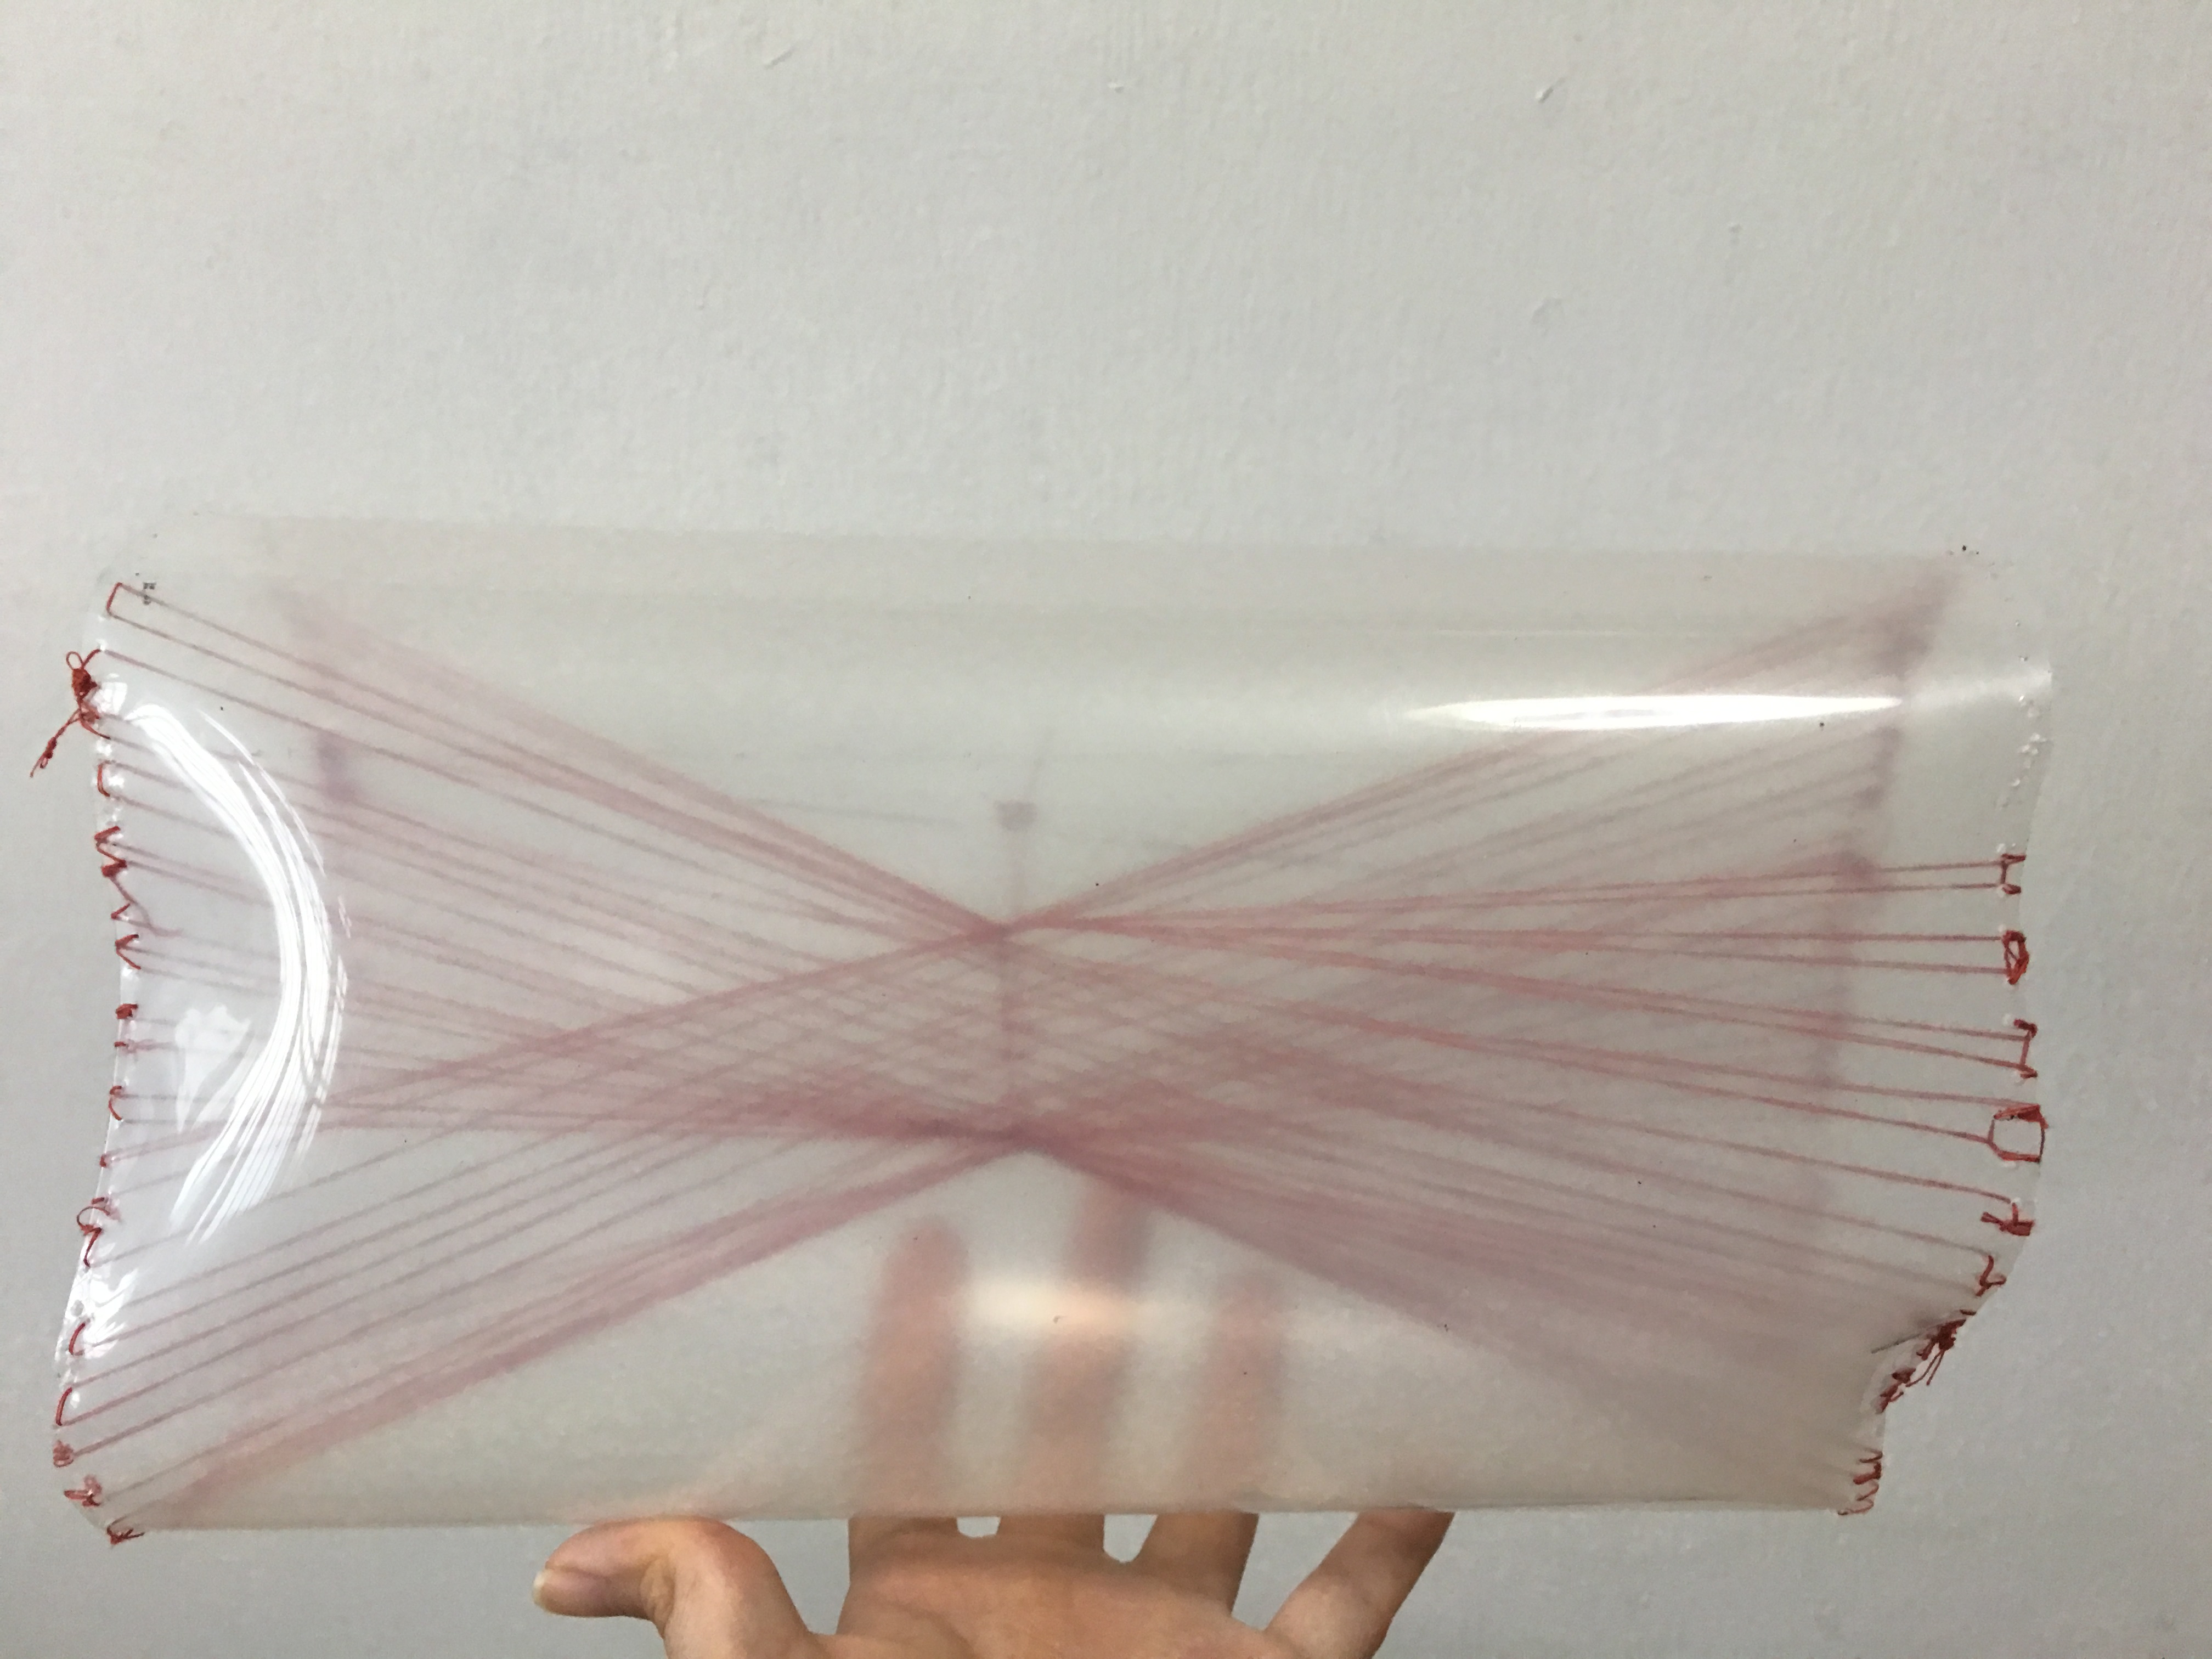
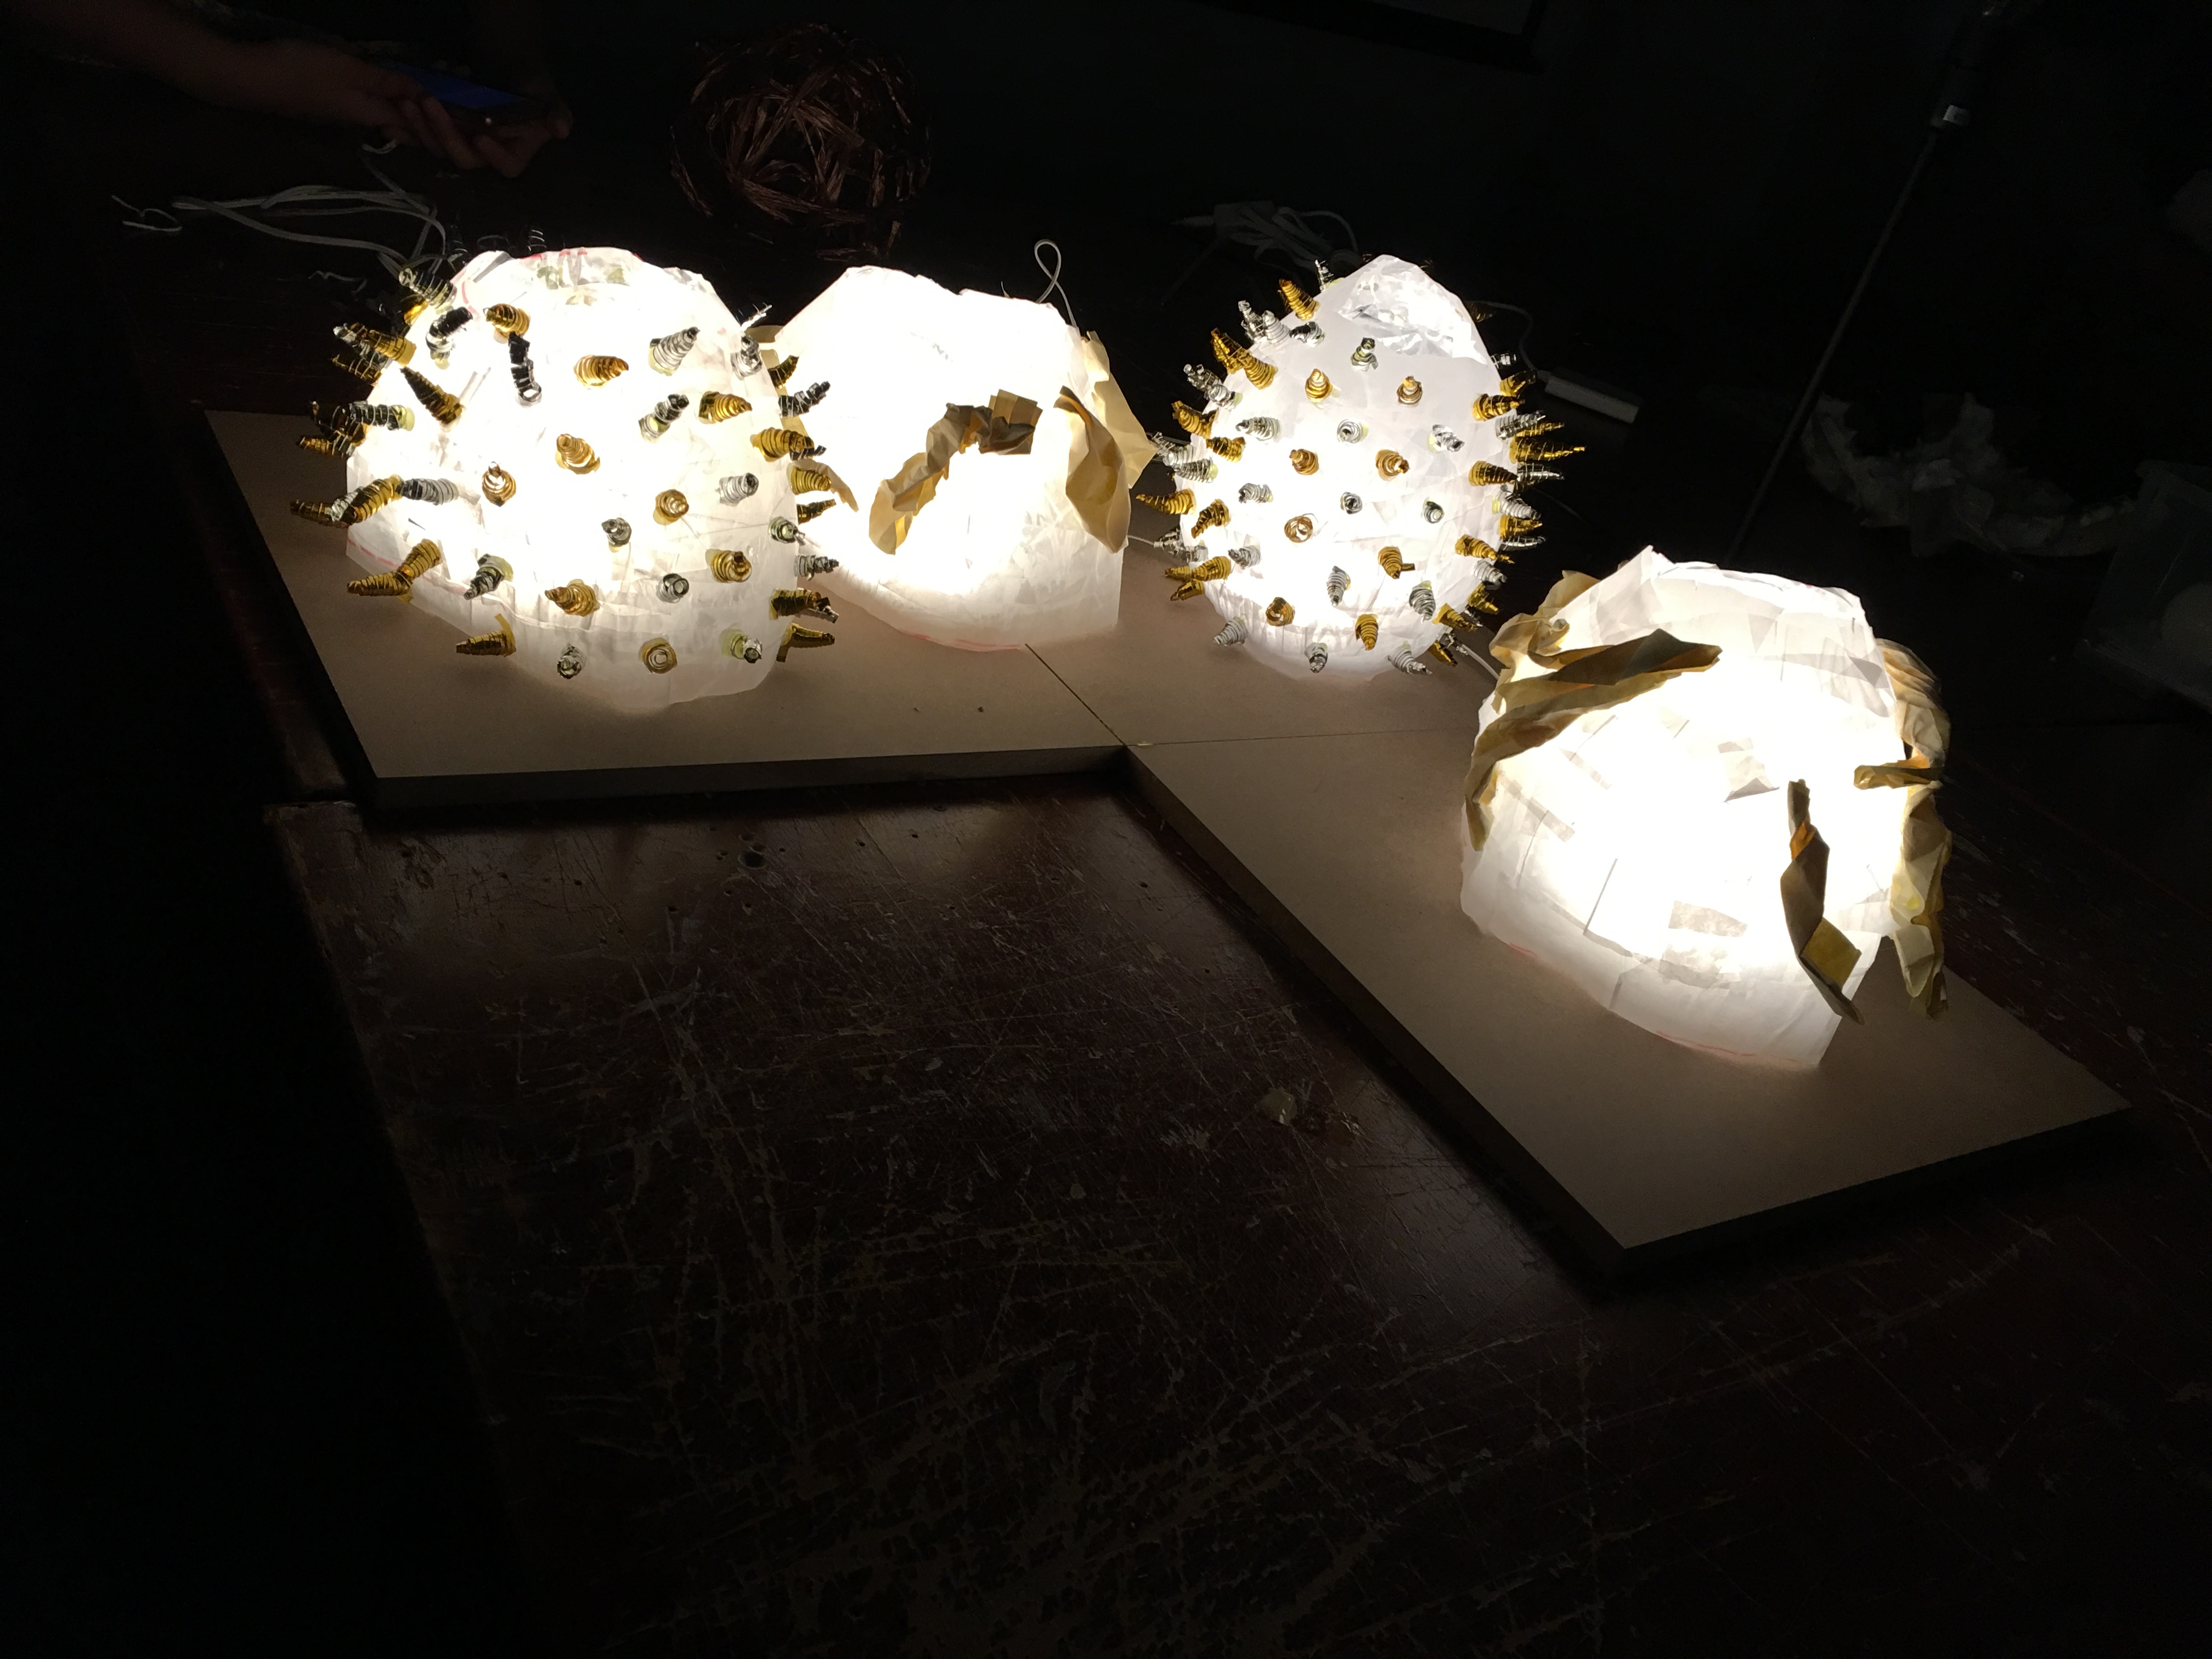
My partner and I have decided on going for a dome shape that could combine both my jagged edges and my partner’s pointed pine cones to create a certain bedroom light that is also comfortable in the room.


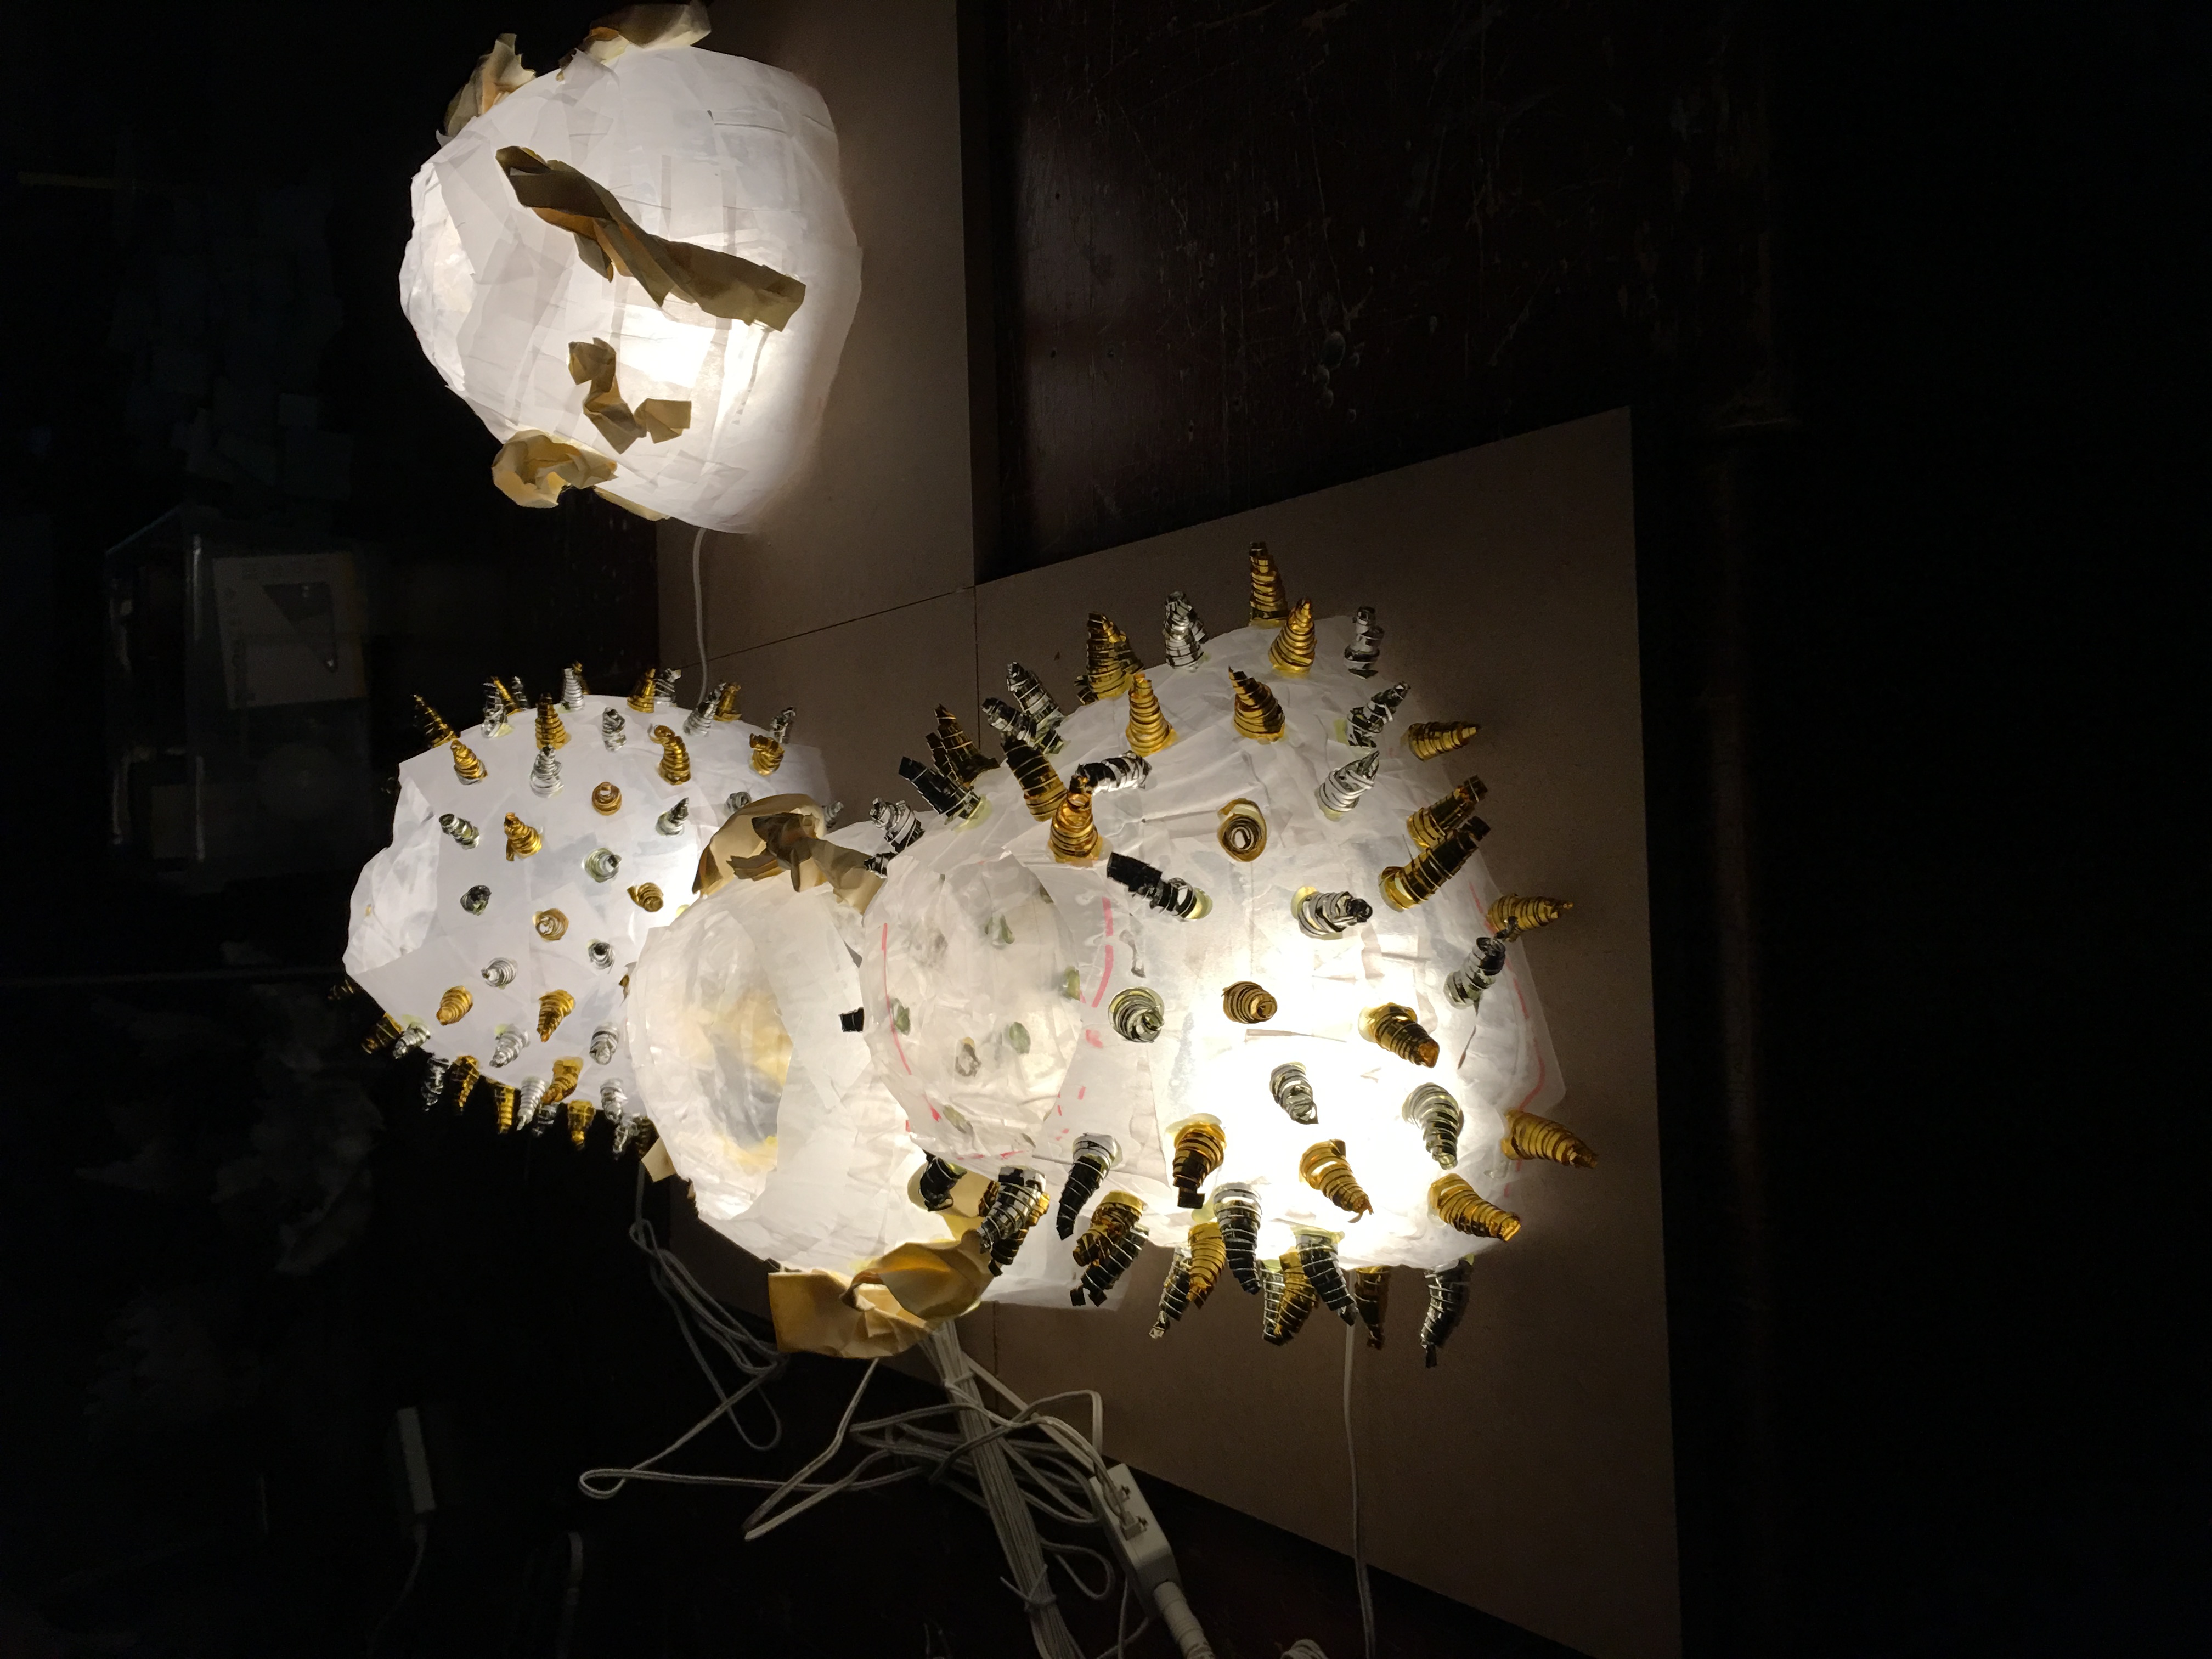
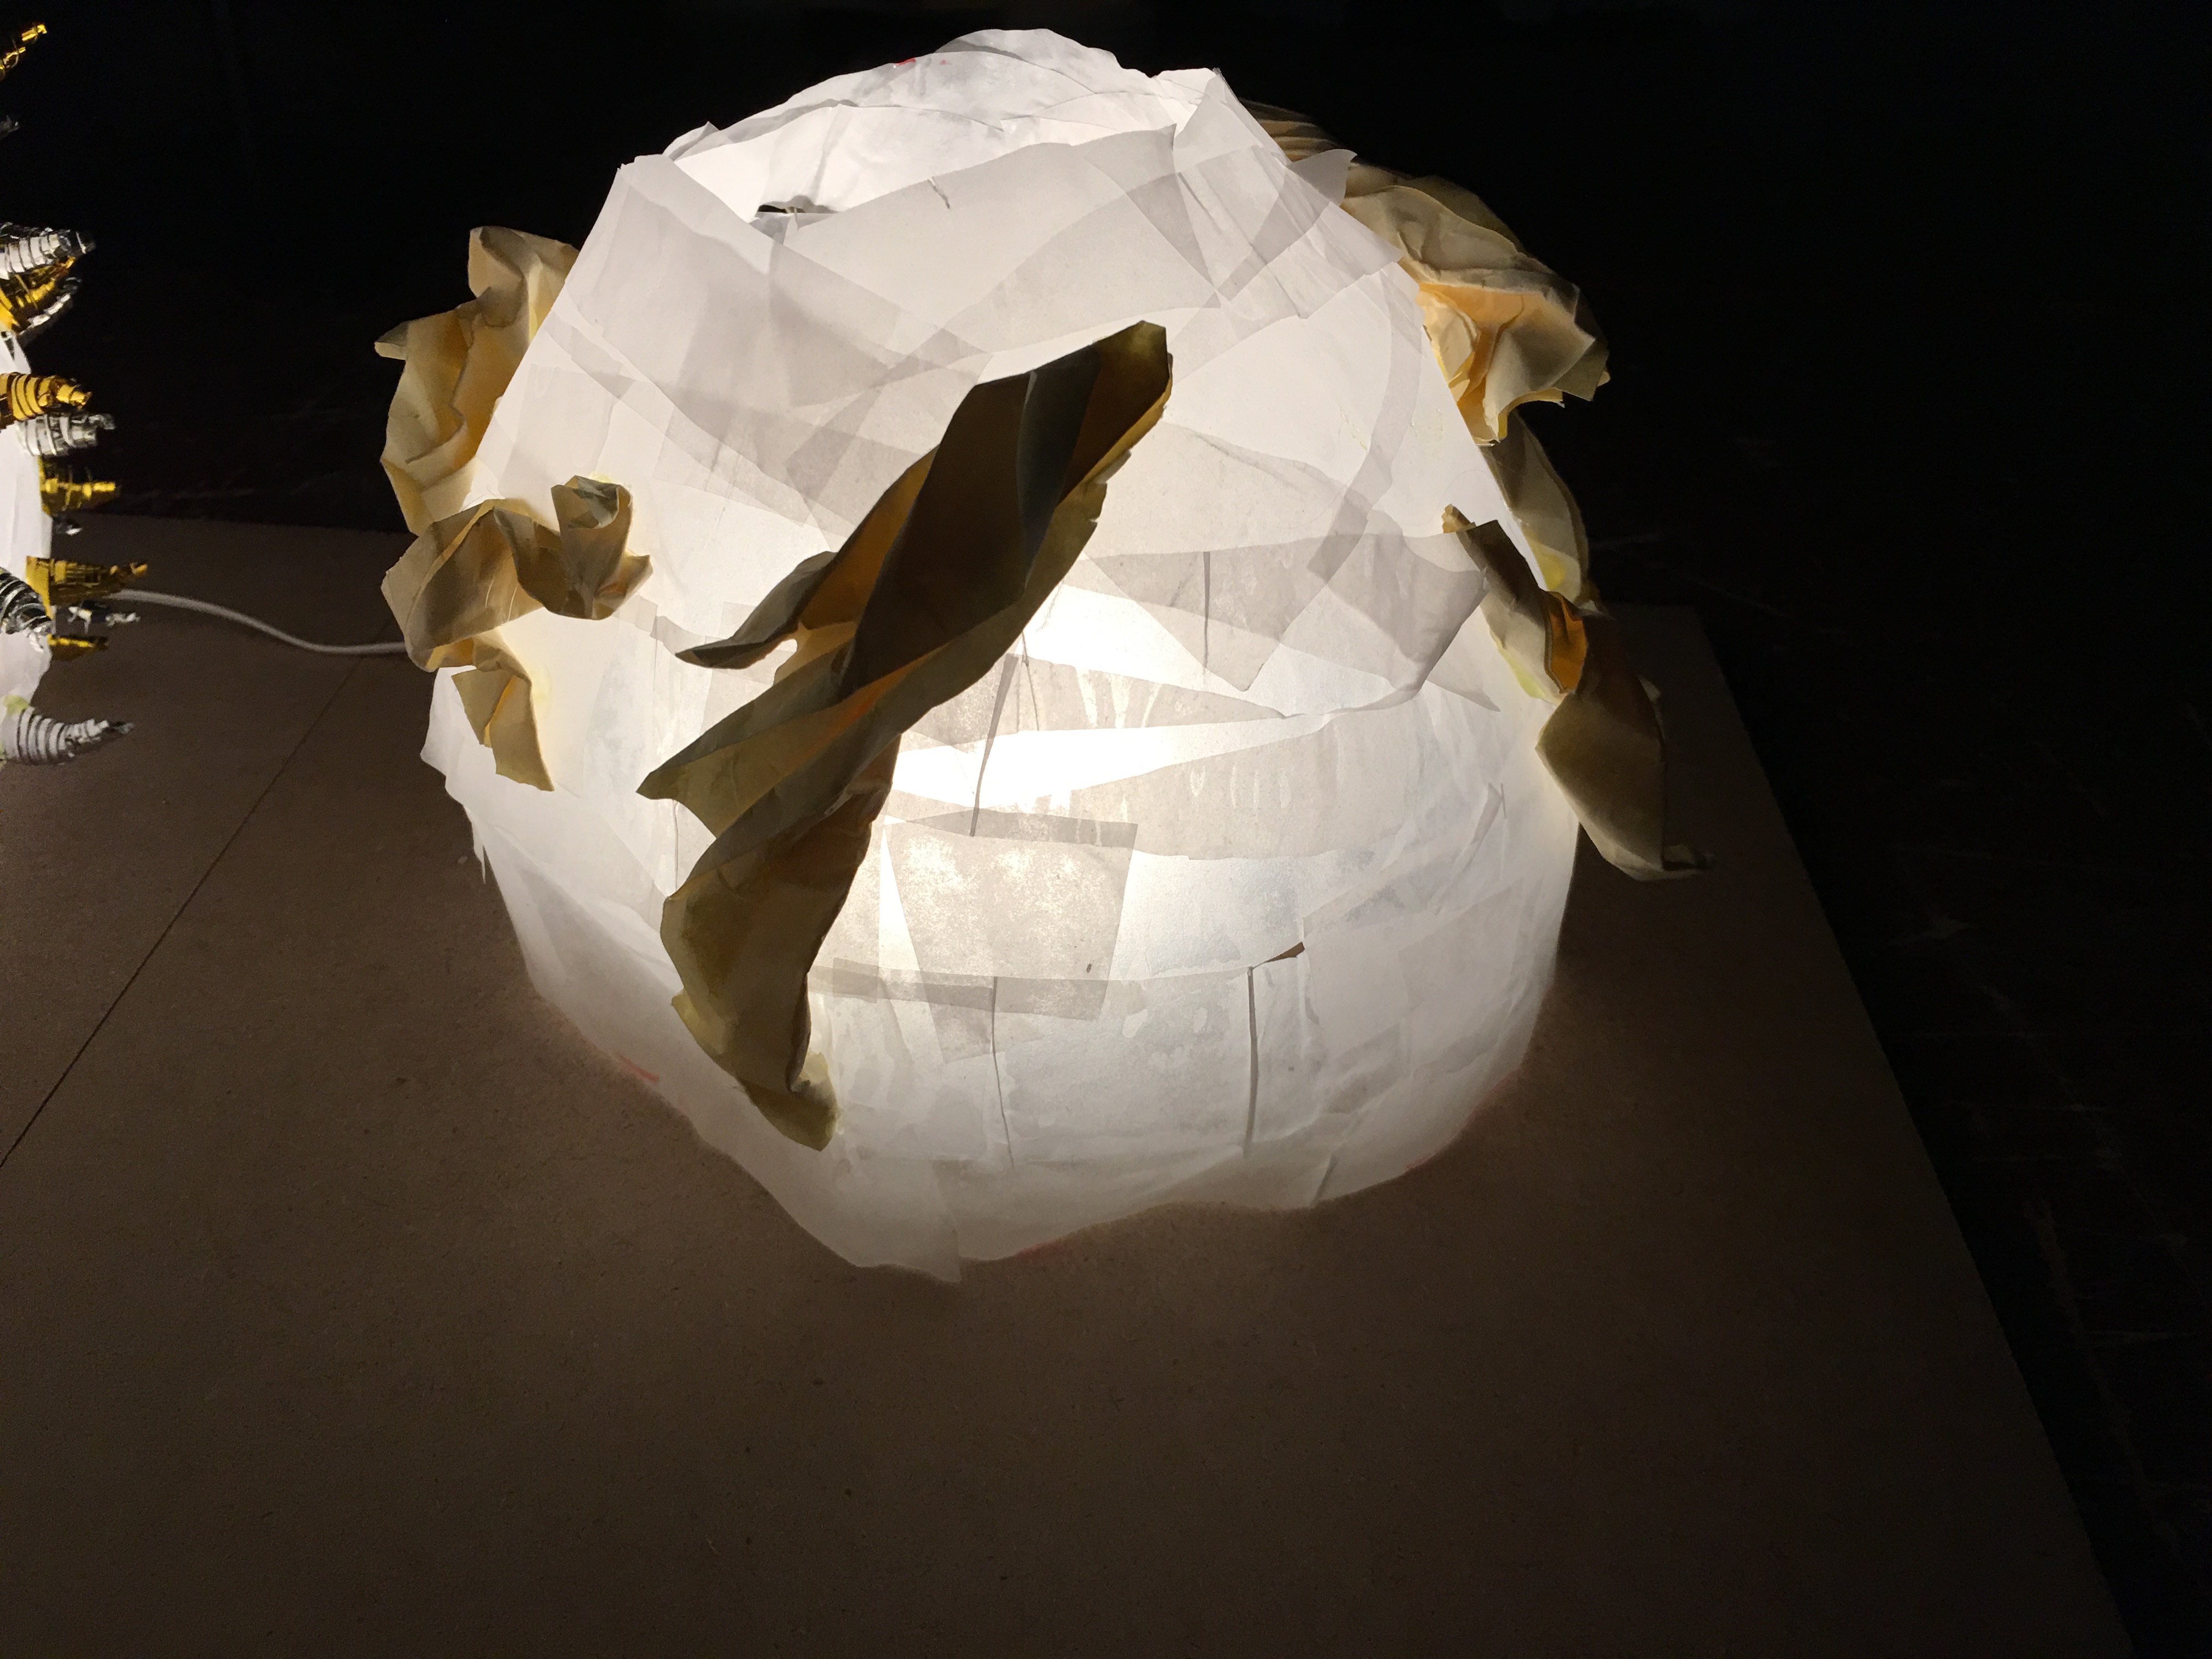
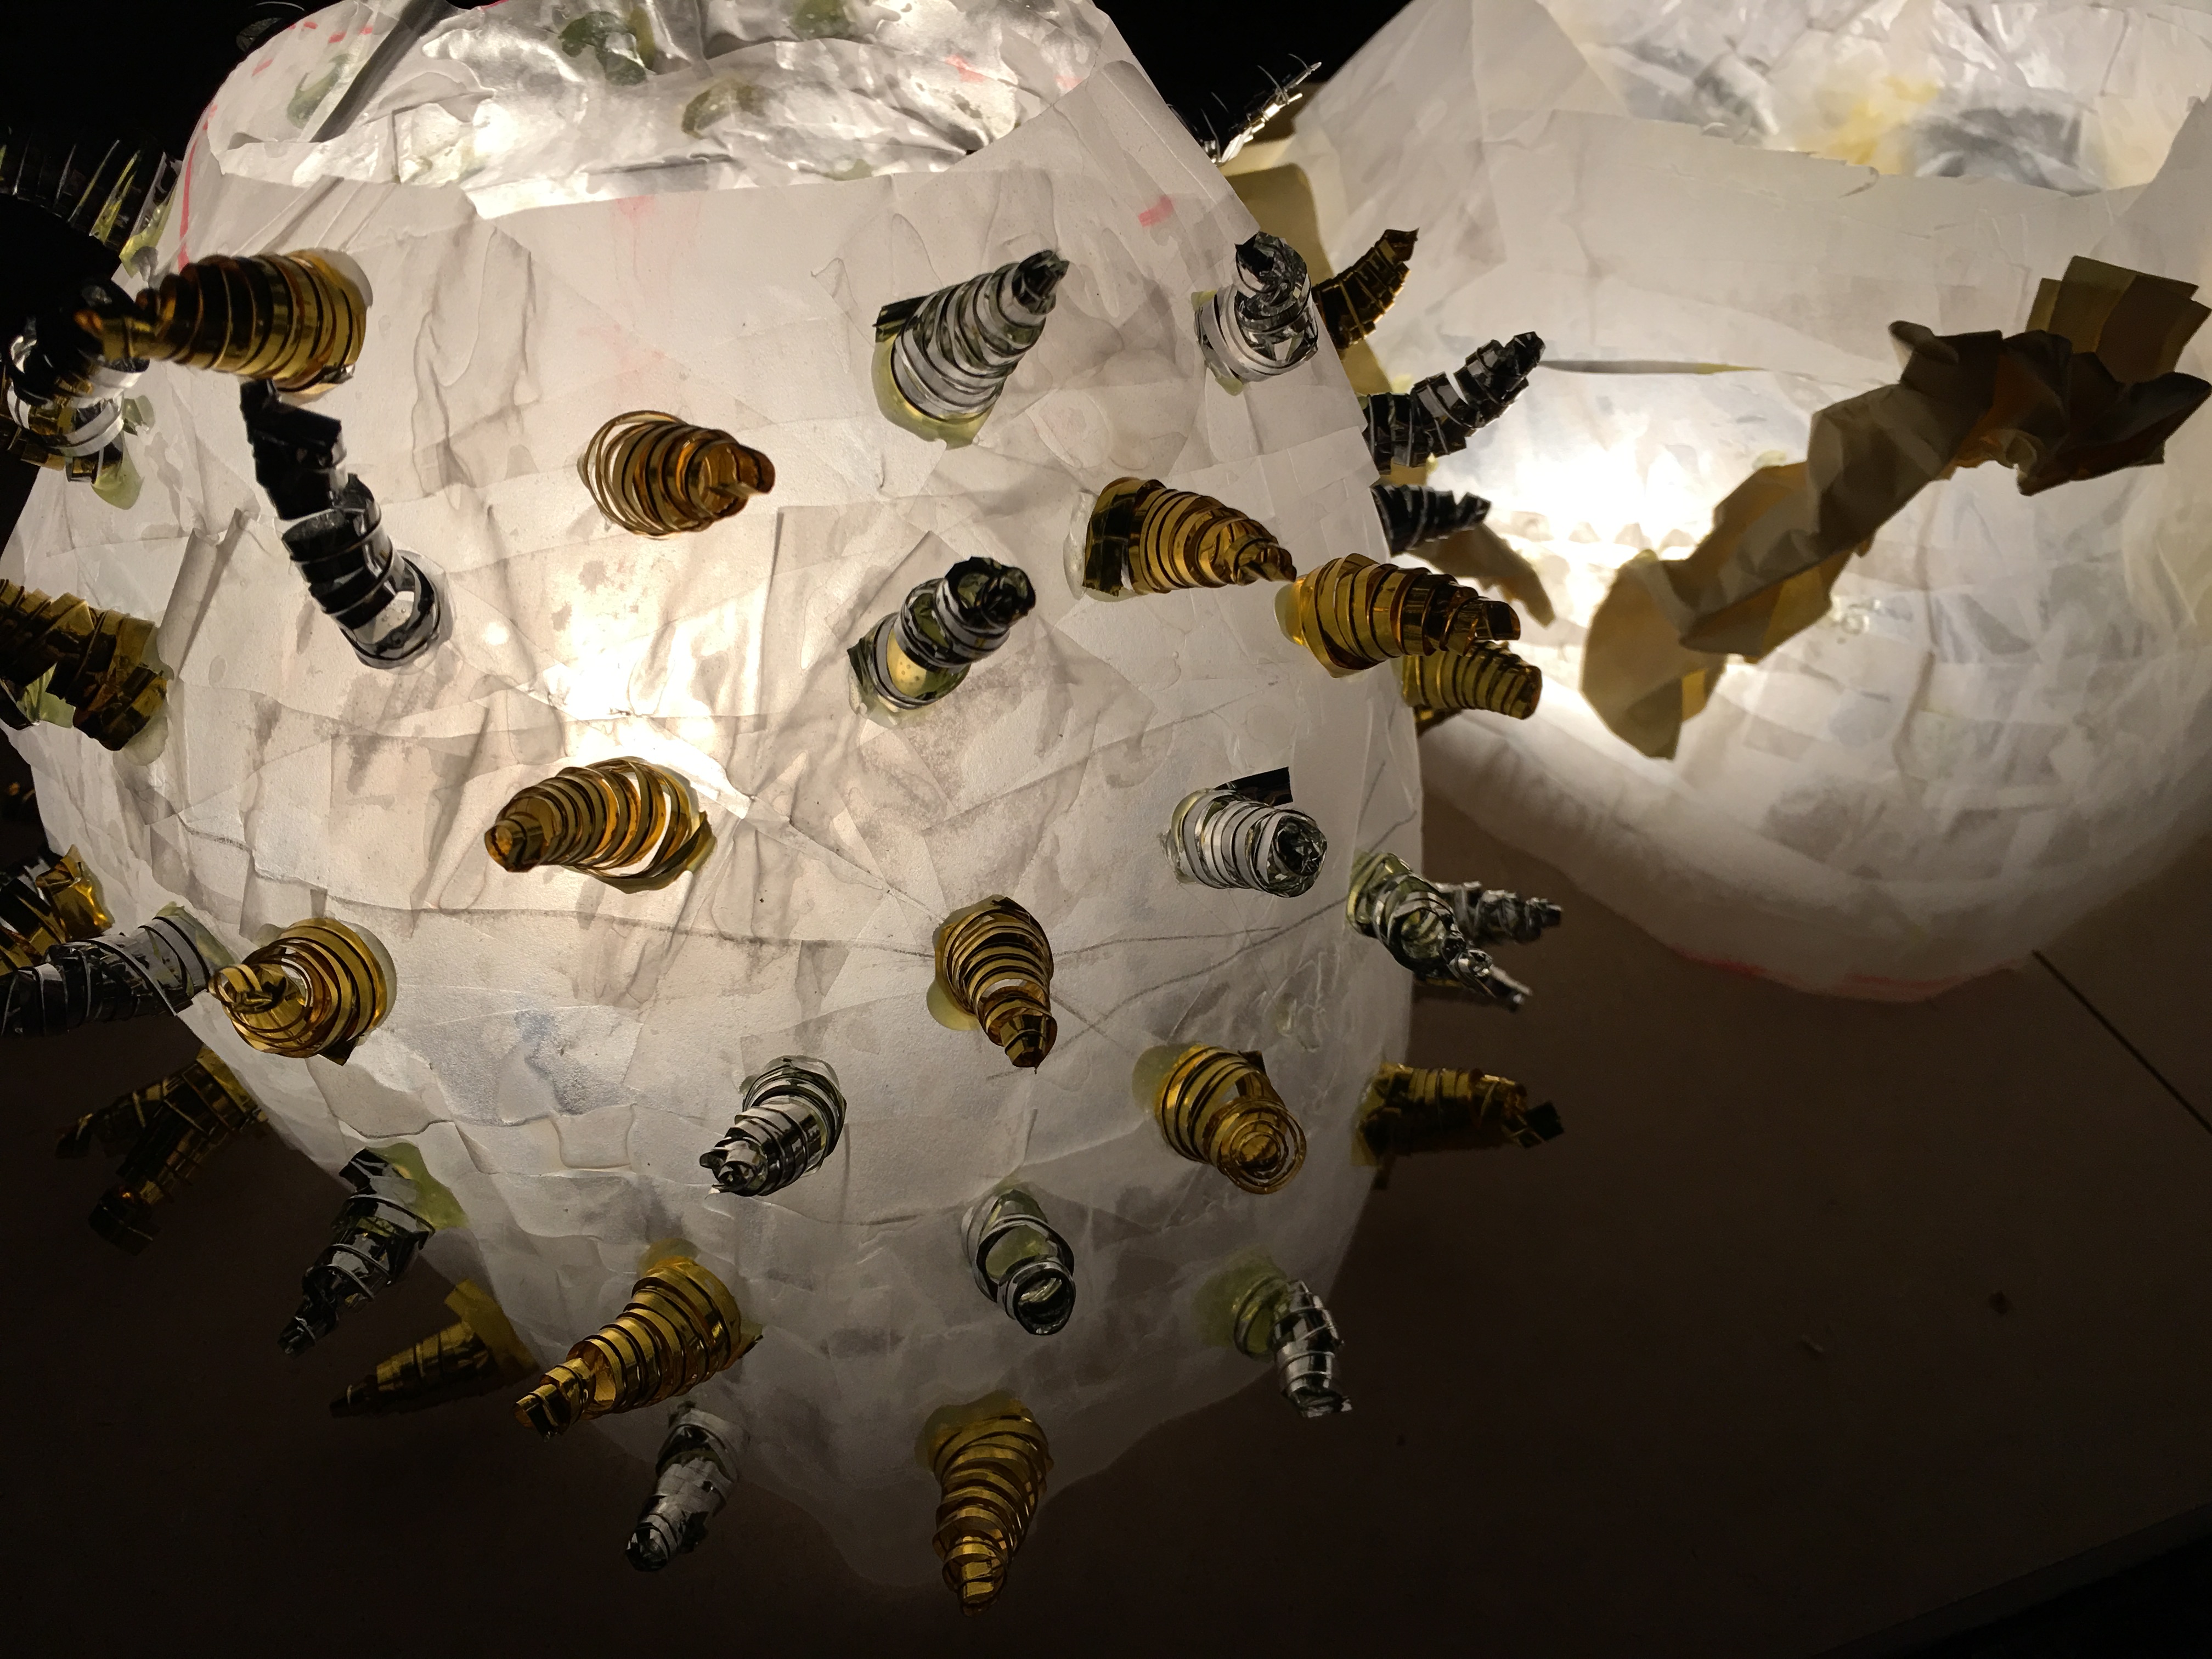
Final outcome of lamp cover

img_1693

img_1694

img_1695

img_1696

Reflection

At first, I thought it would be difficult to come up with a shape that could reflect a shadow. During the process, it was also difficult to find the right material for the design of our final work as we wanted something sharp but not too heavy and metallic. This is because most of the materials that we were exposed to were expensive, sharp and metallic. However, both my partner and I have carefully considered the materials to be sturdy and pointed but also affordable. Thus, we have bought the metallic strips that is meant for gift wrapping and as for the jagged edges, we would just simply use coloured paper. As for the shadow, I was quite disappointed as there was no shadow when we used the lights provided to us. However, despite that outcome, the aesthetic of the work turned out to be what both of us wanted to look in a comfortable setting that is the bedroom.

3D Project 2

img_1481

For my unit, I have chosen the stomata of an aloe vera. Thus, the choice of materials I have chosen is clay. This is because of how there are some deep ends on the inside of the stomata and the fact that it is very irregular, makes clay the best choice for material. The stomata is also on the cuticle of the plant, which is why I have chosen to have a cuboid shape as my base and the stomata at the front.

img_1482

For the background, I have chosen to have a certain texture that would be more rough but also have a certain wave like appearance that makes the whole structure to look rhythmic. I depicted the background as the stomata, and thus there would be sunken holes at the background surrounded by lobes.

Side view

img_1483

img_1484

Reflection

At first, I thought that it was difficult to find a representation for the unit itself. I thought of using egg cartons because of how I noticed there were stomatas that were shaped like a dome and the texture is similar to the egg carton.

However, after examining the material, I thought that clay would be a better choice as it is able to create deep ends and a concave structure.

3D Project 2 Final

image

image

image

Process

At first, I wanted to do something like my first study model when I had a cross that from stretches from the front to the back. However, in order to fill up all of the holes I have created, I ended up making this structure. I was thinking about making a wave like effect for the cross. For this final work, I still managed to maintain the criss image as there are two cross and also two triangles that can be seen. Thus, there is an illusionary effect in this overall structure which also fulfills my intention of having a three dimensional effect.

Reflection

One thing I have learnt throughout this project was patience. I have never seen before and this was my first time sewing. Due to the fact that the thread was so thin, I had difficulty untying the knots and making sure that the threads do not tangle as the length of my thread needed to be very long.

I have also learnt that threads are able to become a versatile material in creating a three dimensional structure. It depends on the type of structure that we create when using those threads. The threads are able to make the structure to look as if it is suspended in the air and to be different in different angles.

3D Project 1

imageimageimage

Process

Before I started making a pig, I actually had another animal in mind that I would like to do. I wanted to make a rabbit using the two pairs of shoe which I bought front eh flea market. The shoe would be the base and I was intending to use a water bottle to be the rabbit’s back spine curving in.

However, during class, I realised that I could not make a rabbit because of the shape of my water bottle is not curved enough. Furthermore, I wanted to use aluminium foil to wrap around the shoe so that the rabbit will be white. However, I realised that I did not bring enough aluminium foil.

Thus, I looked at the shape of my water bottle and realised that it is more round and it forms the shape of a pig as I cut it. With the aluminium foil I had, I wrapped it around the transparent bottle so that the pig would be seen much clearer and more prominent. I also used the cap of the bottle for the nose and the tip of the shoelace as the eyes. The springs were thought to be for the tail because I was thinkng of an iconic image of a pig’s tail which would be like a spring. In order to use lesser materials, I made use of the spring for the pig’s legs, at the same time, the pig is able to become more prominent from afar.