PROJECT 2a: Vernacular Type
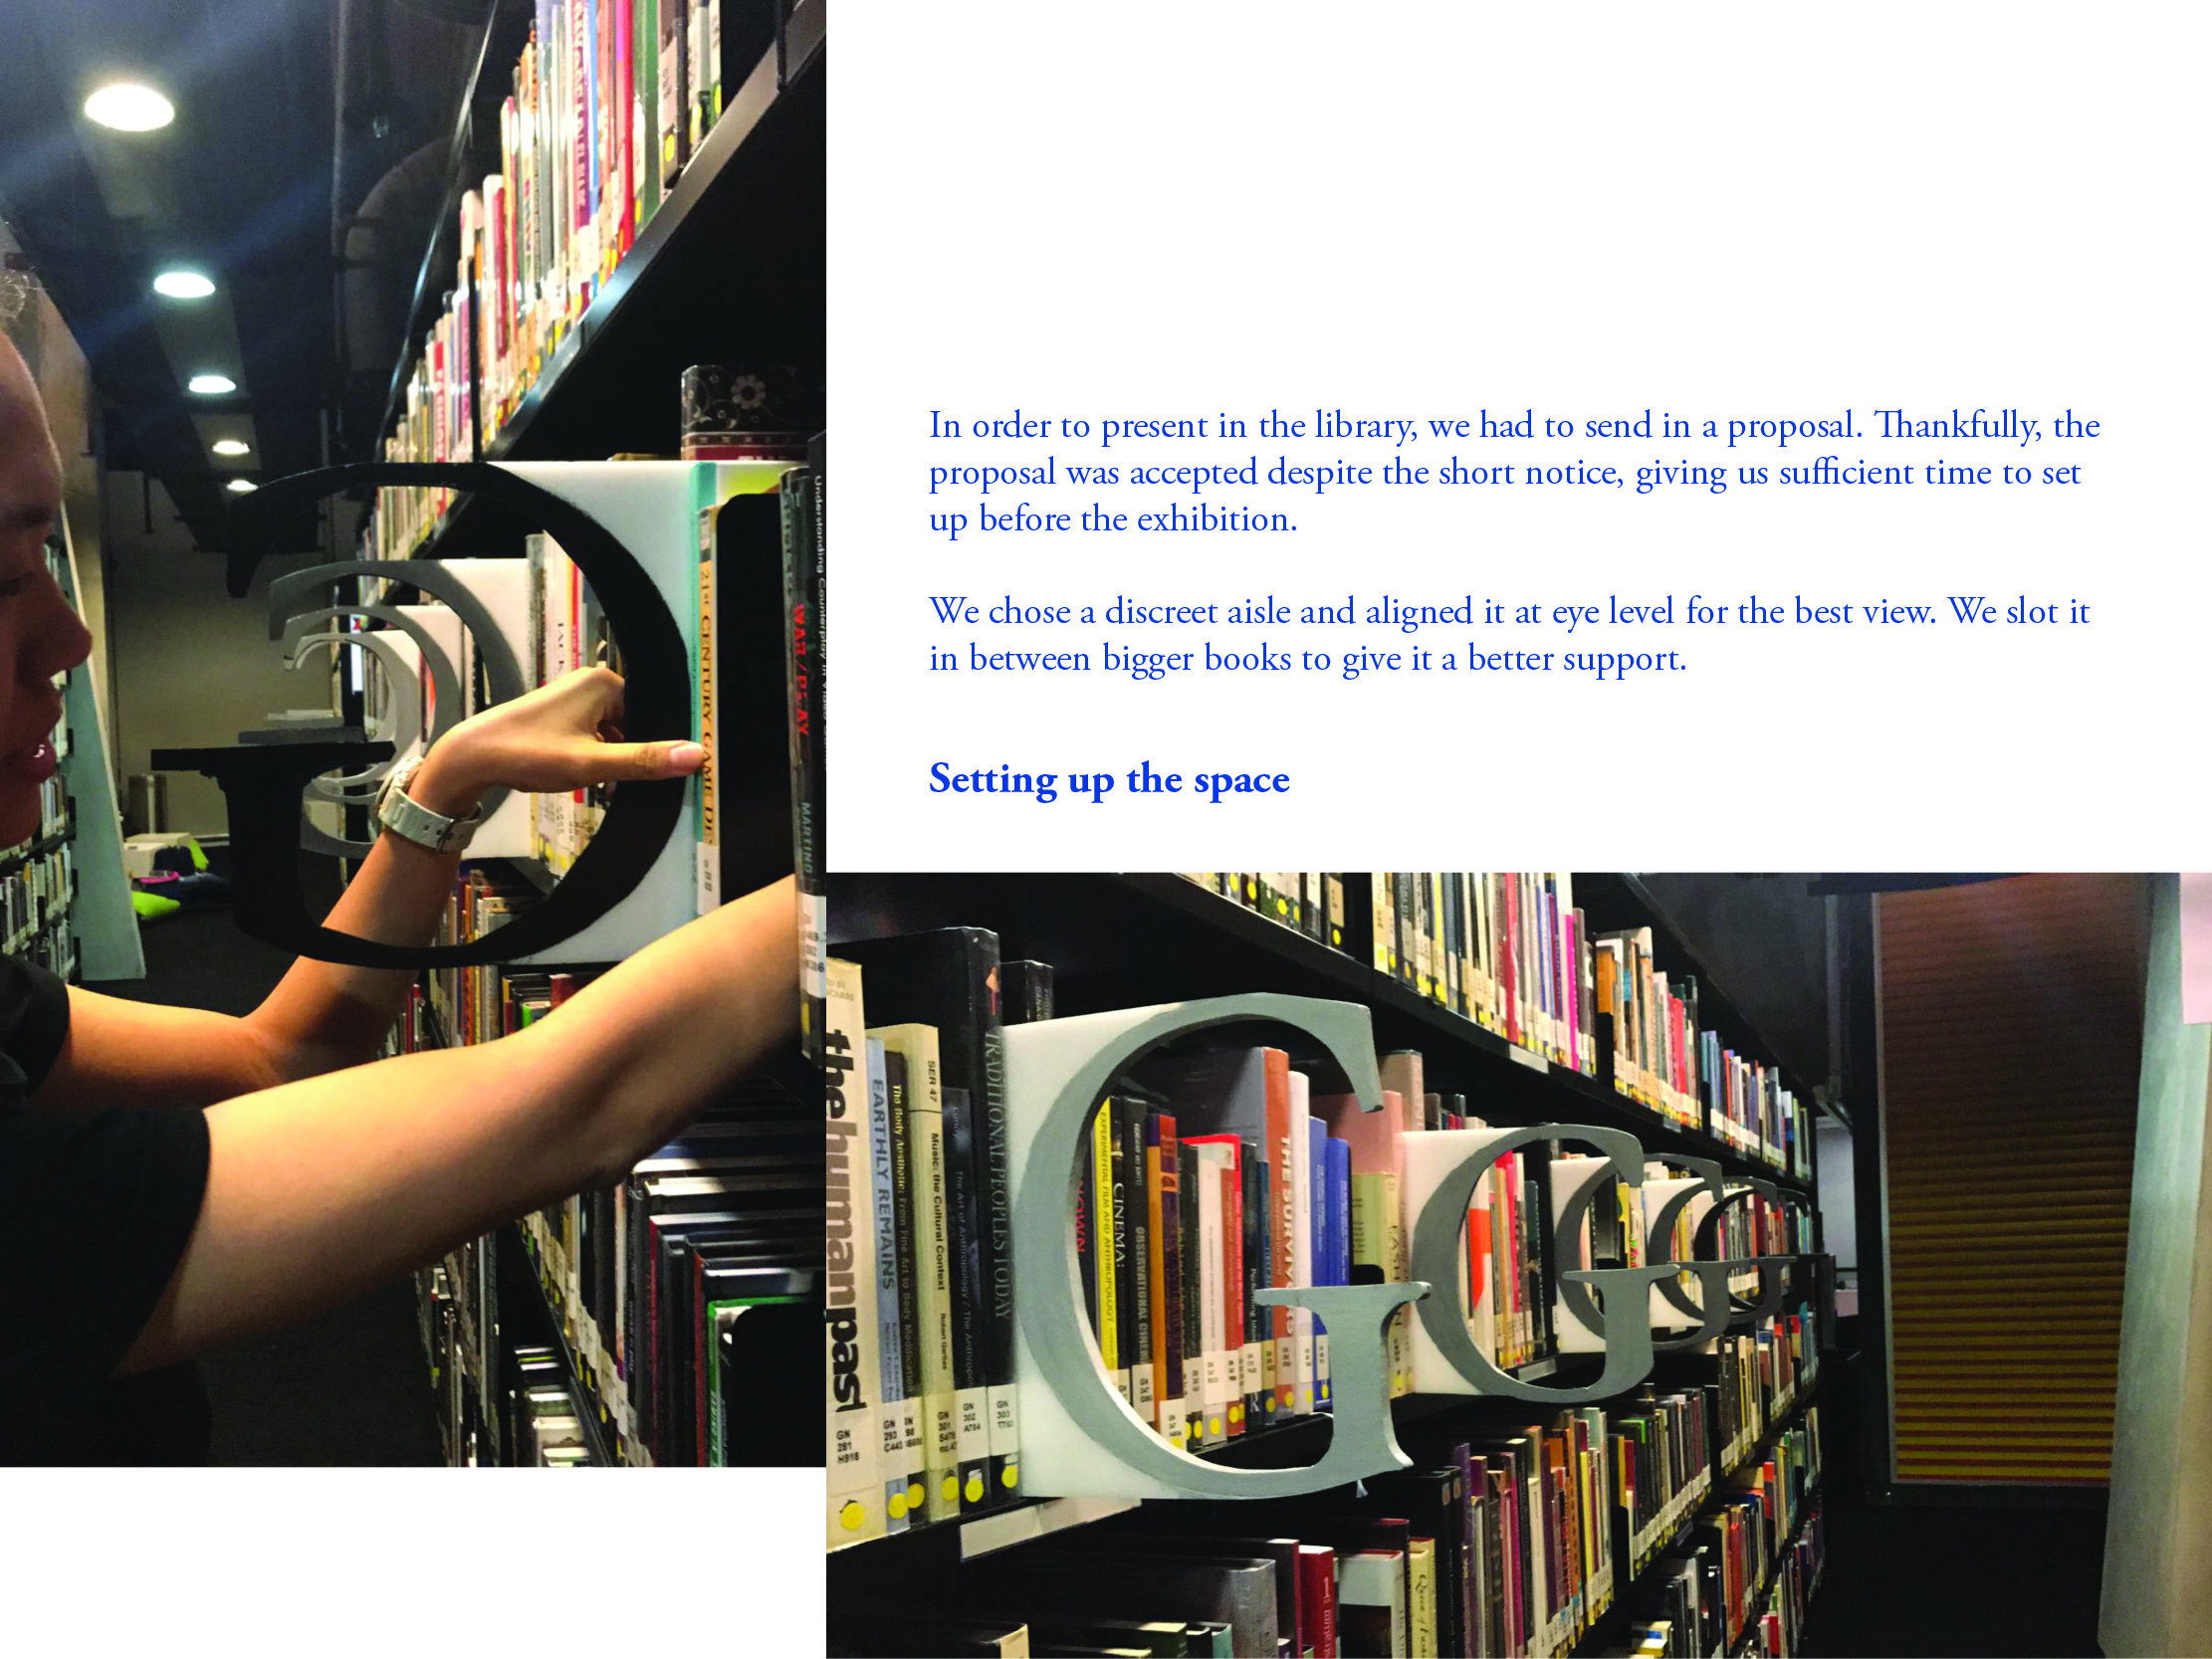
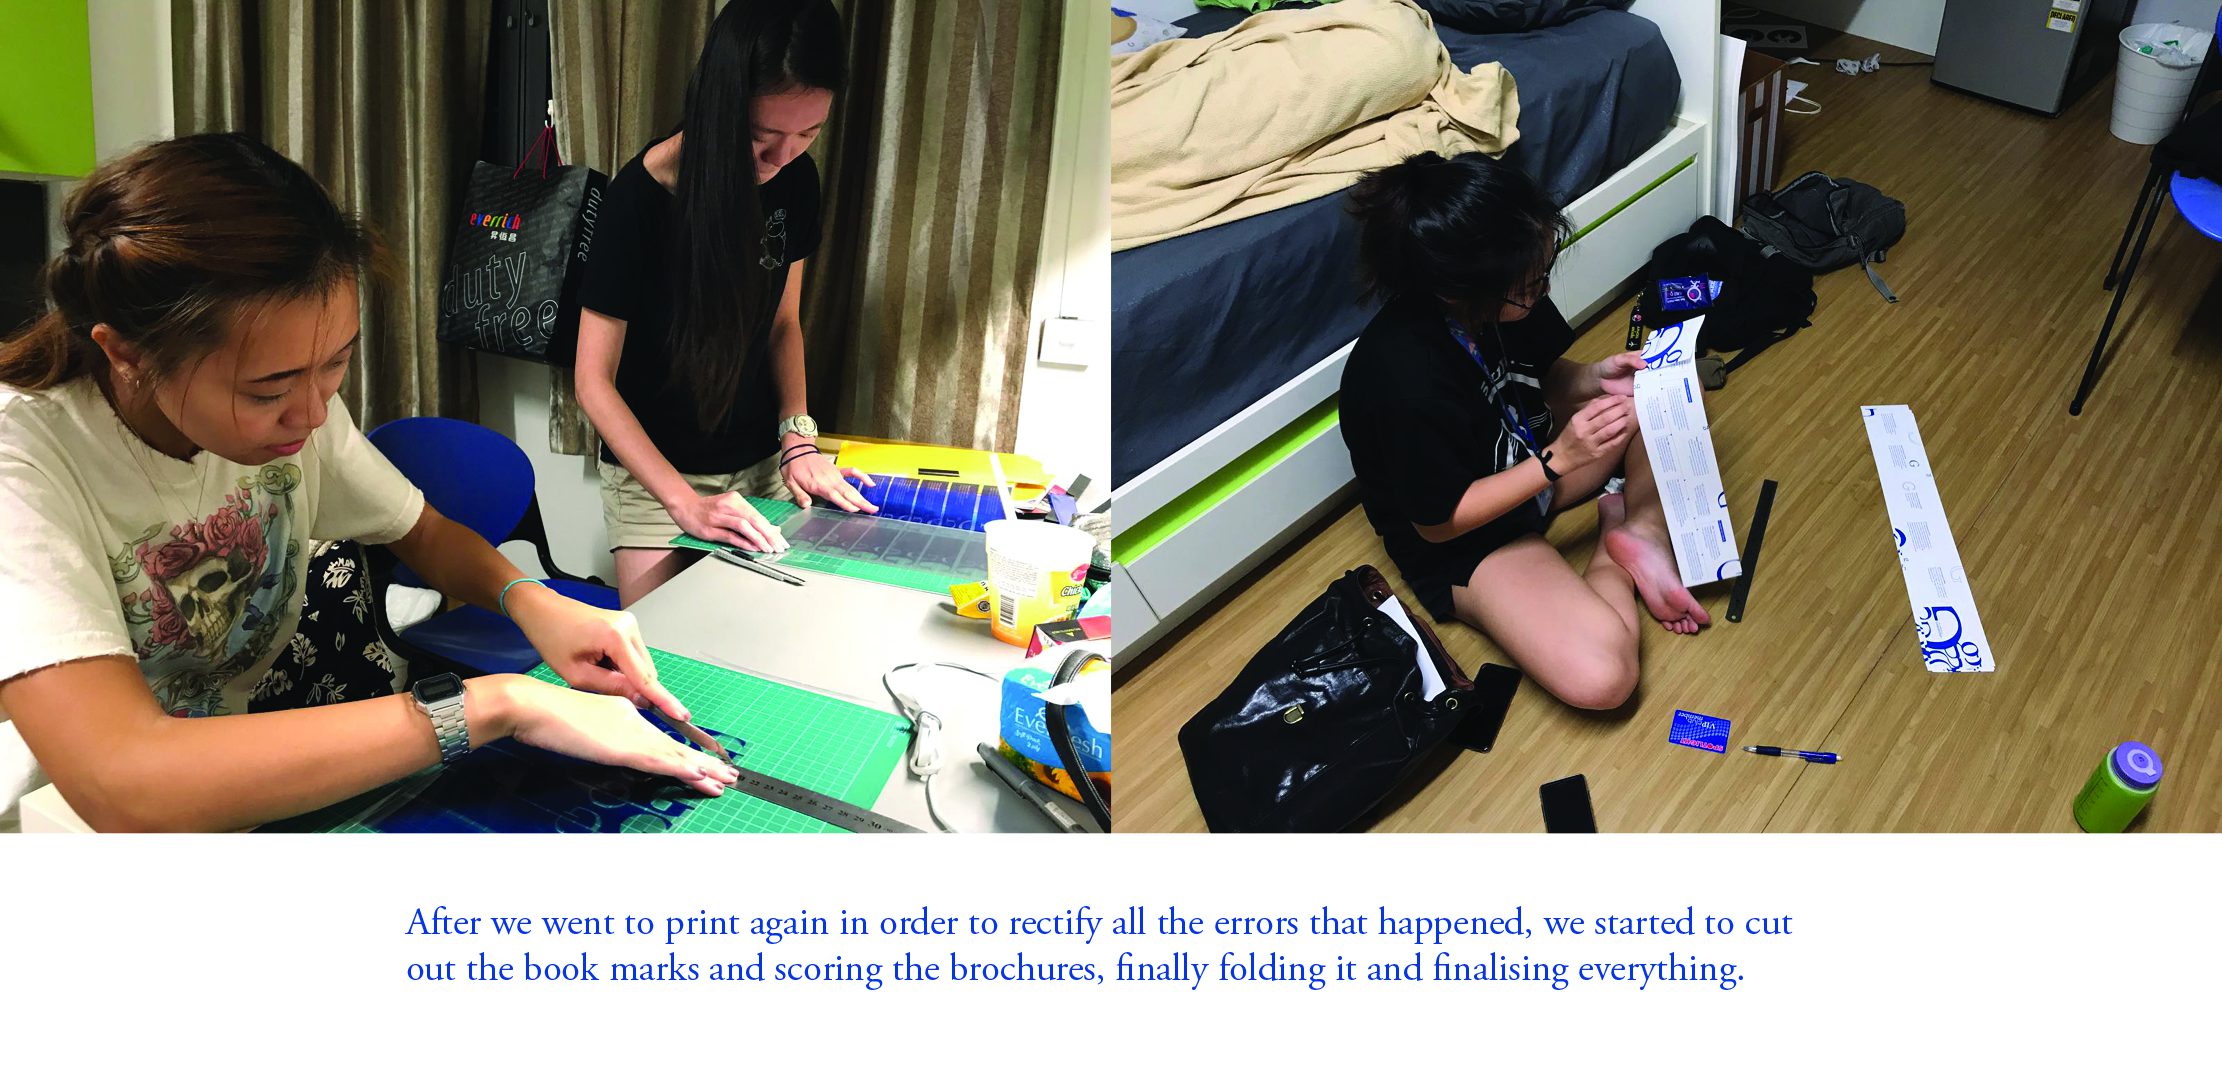
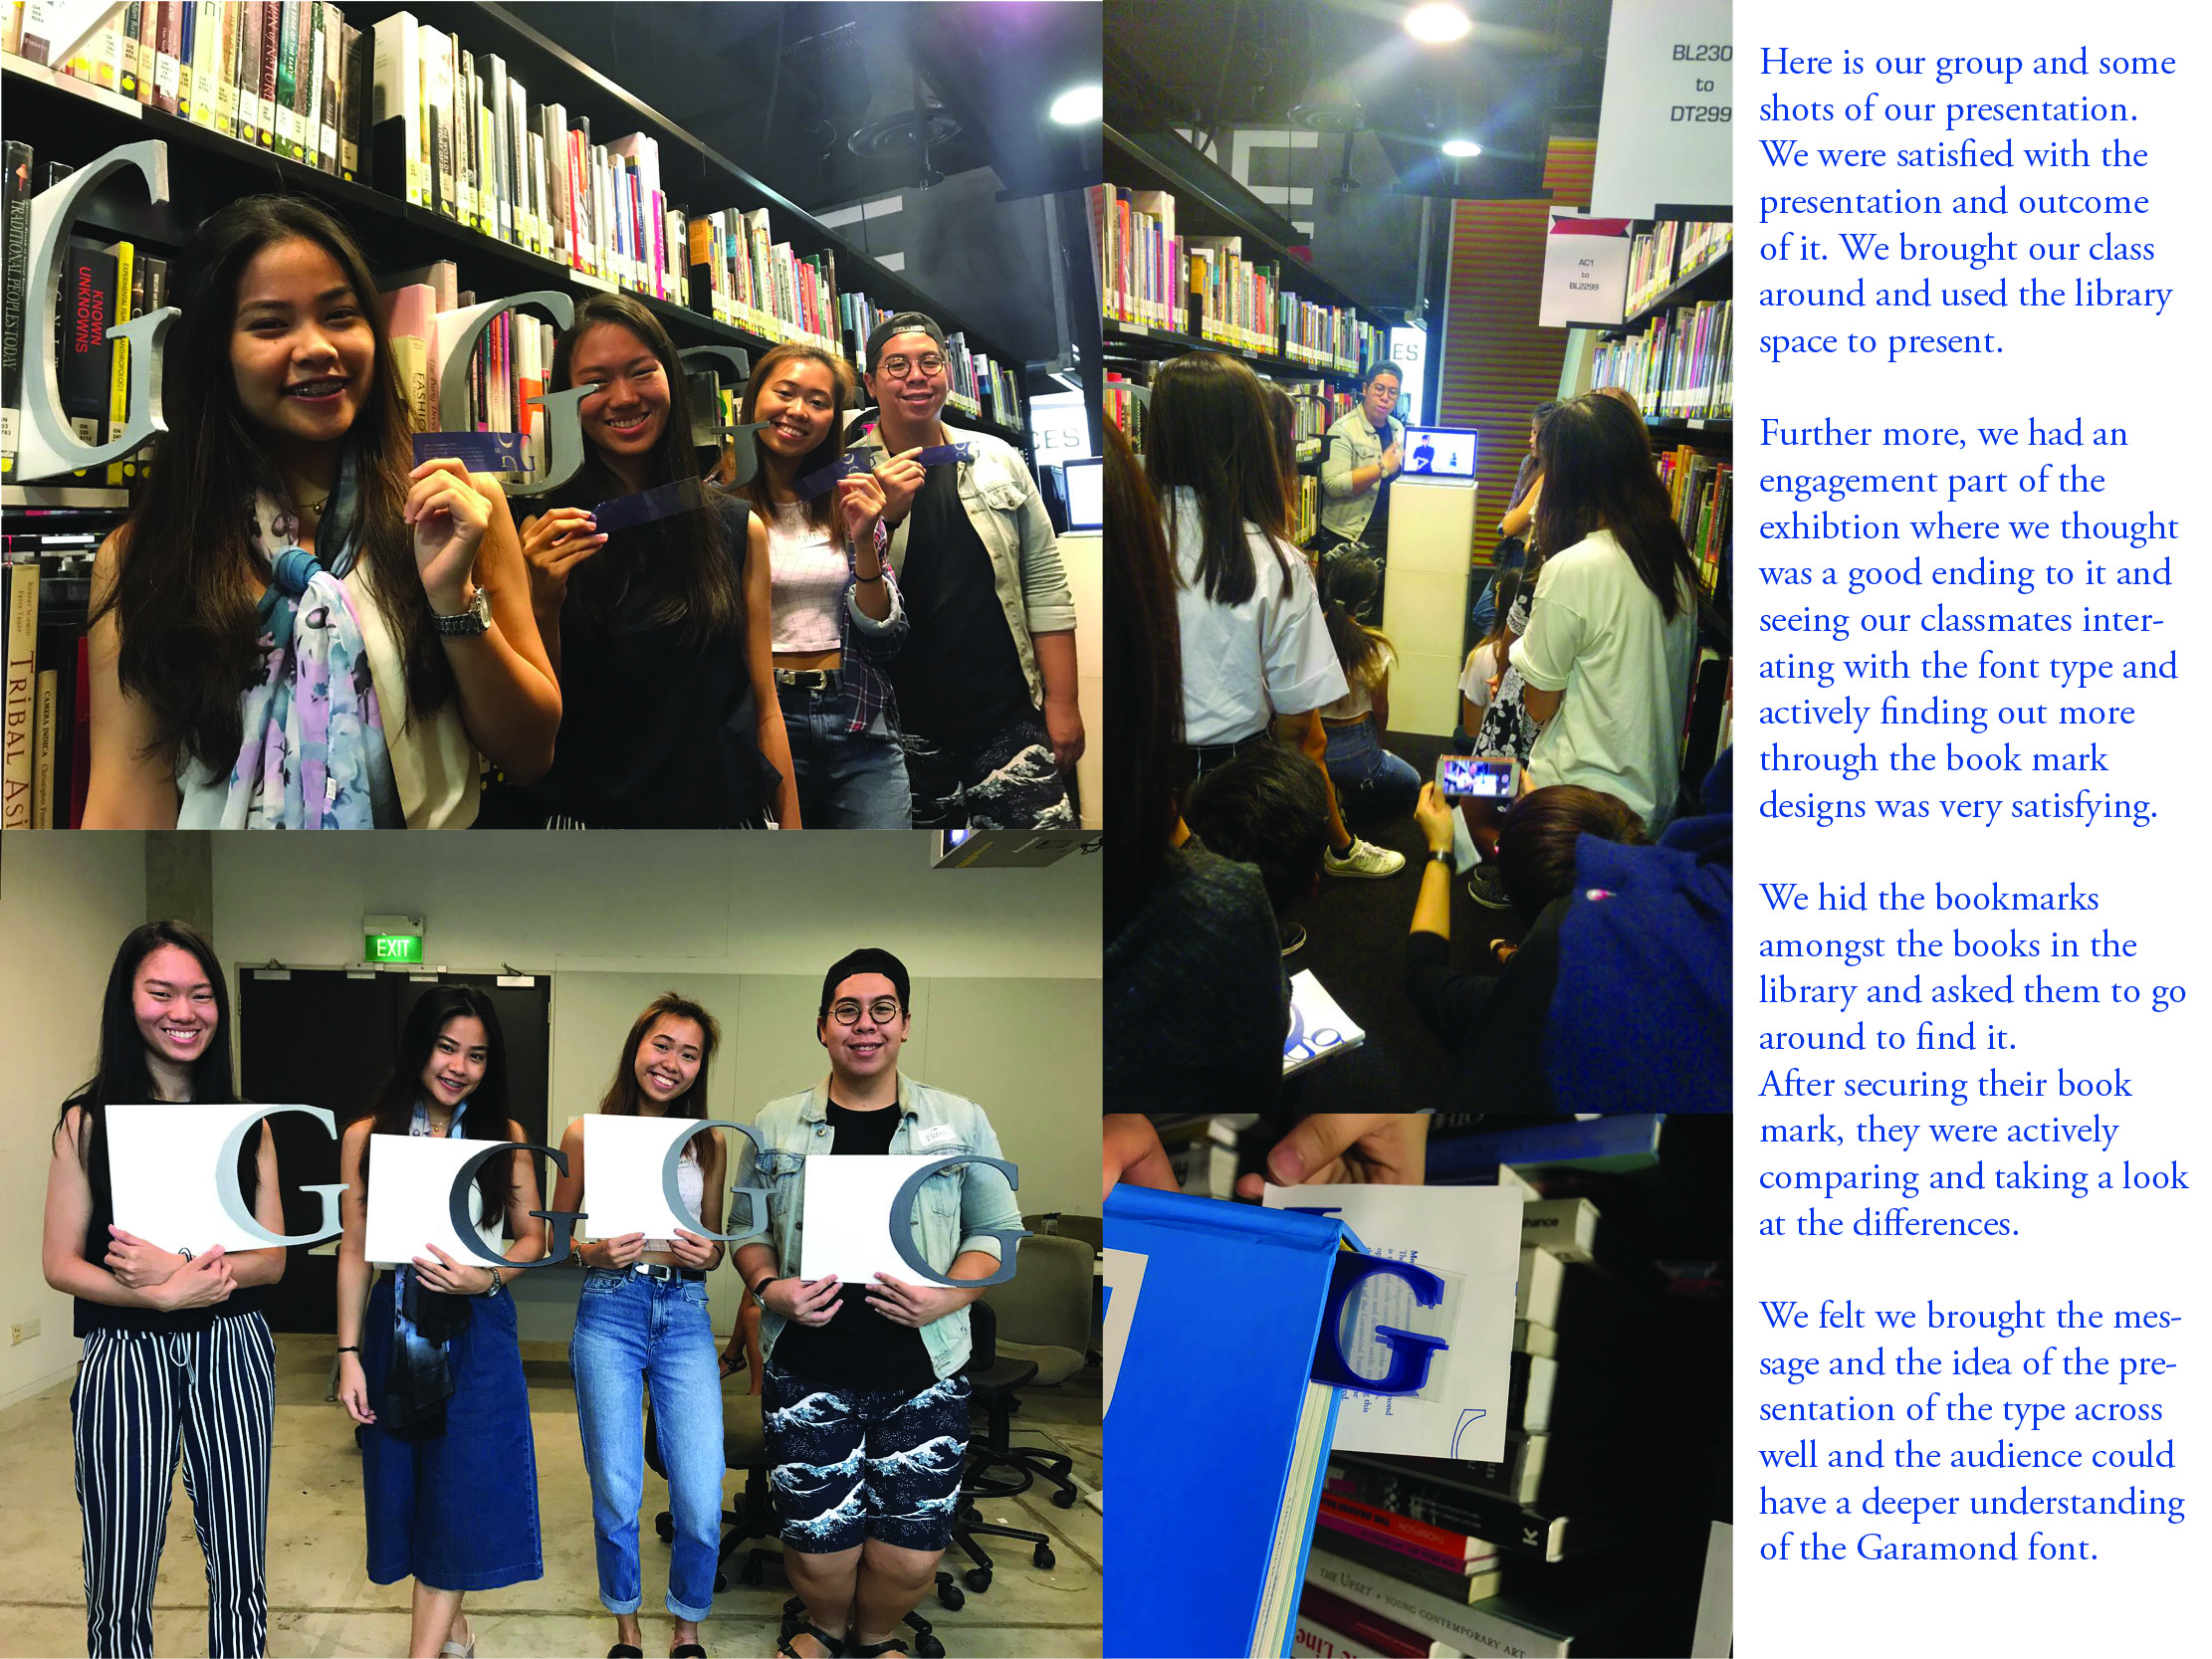
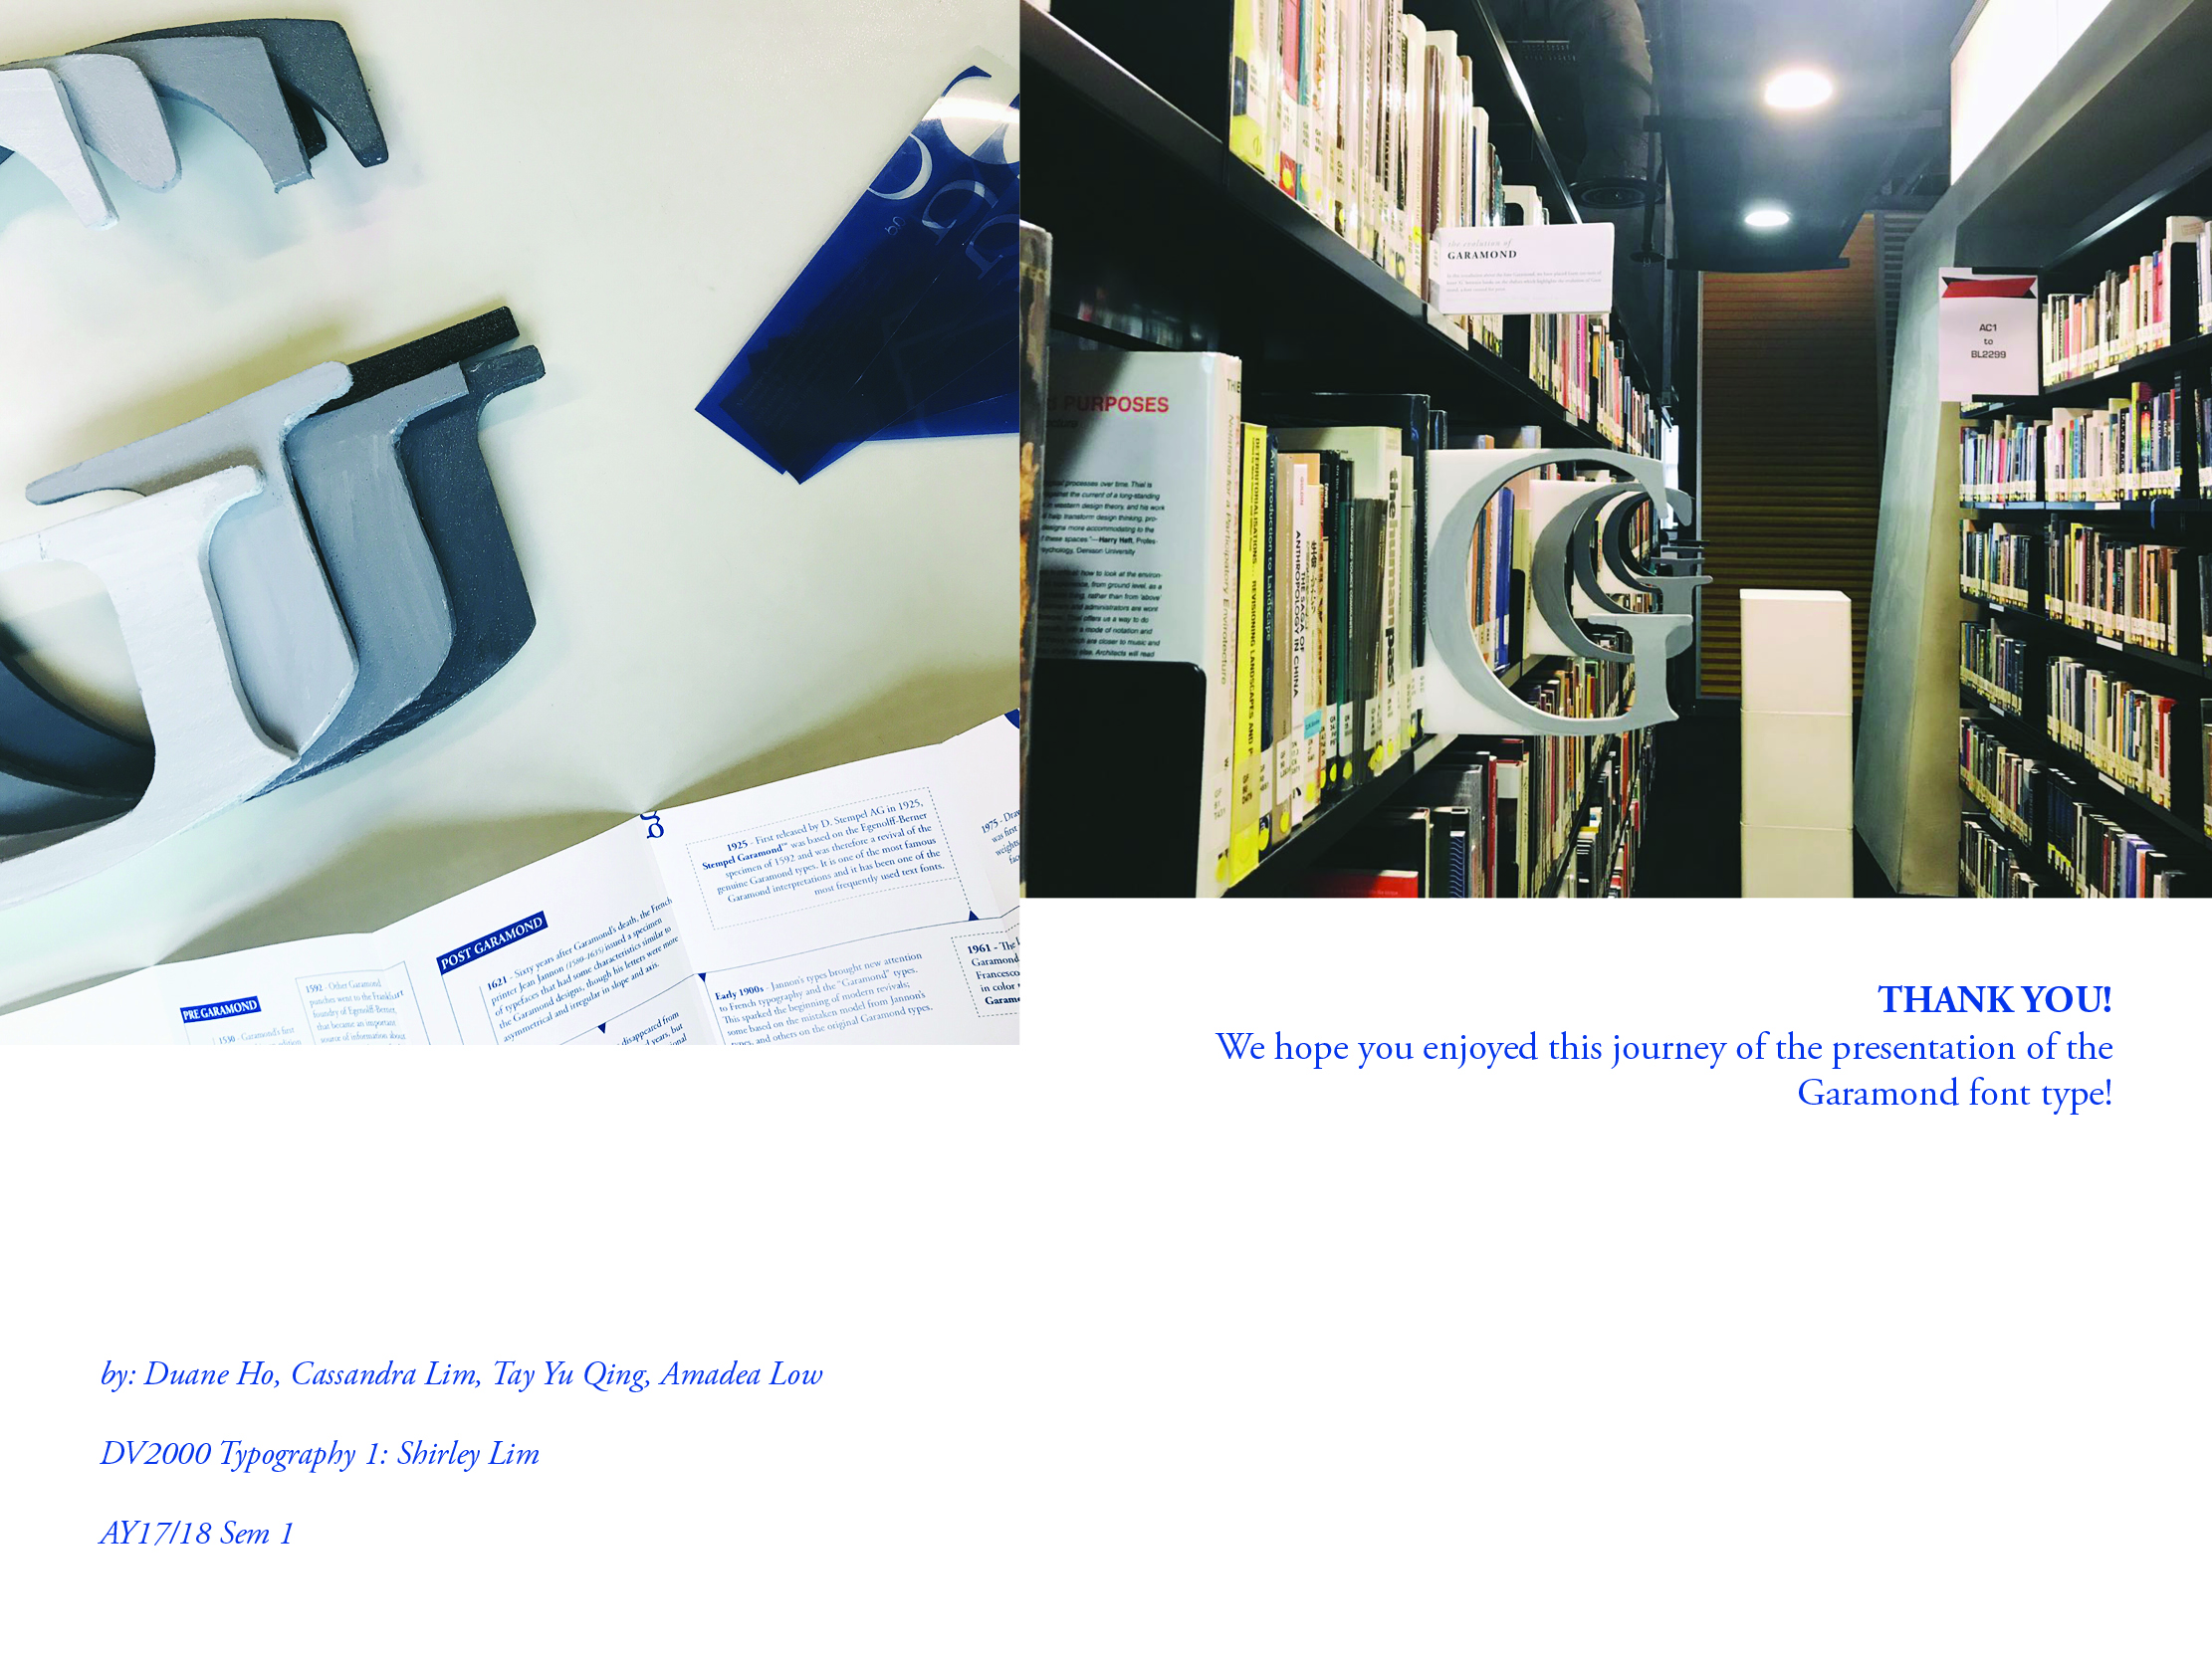
Location: Marketplace (Yishun)
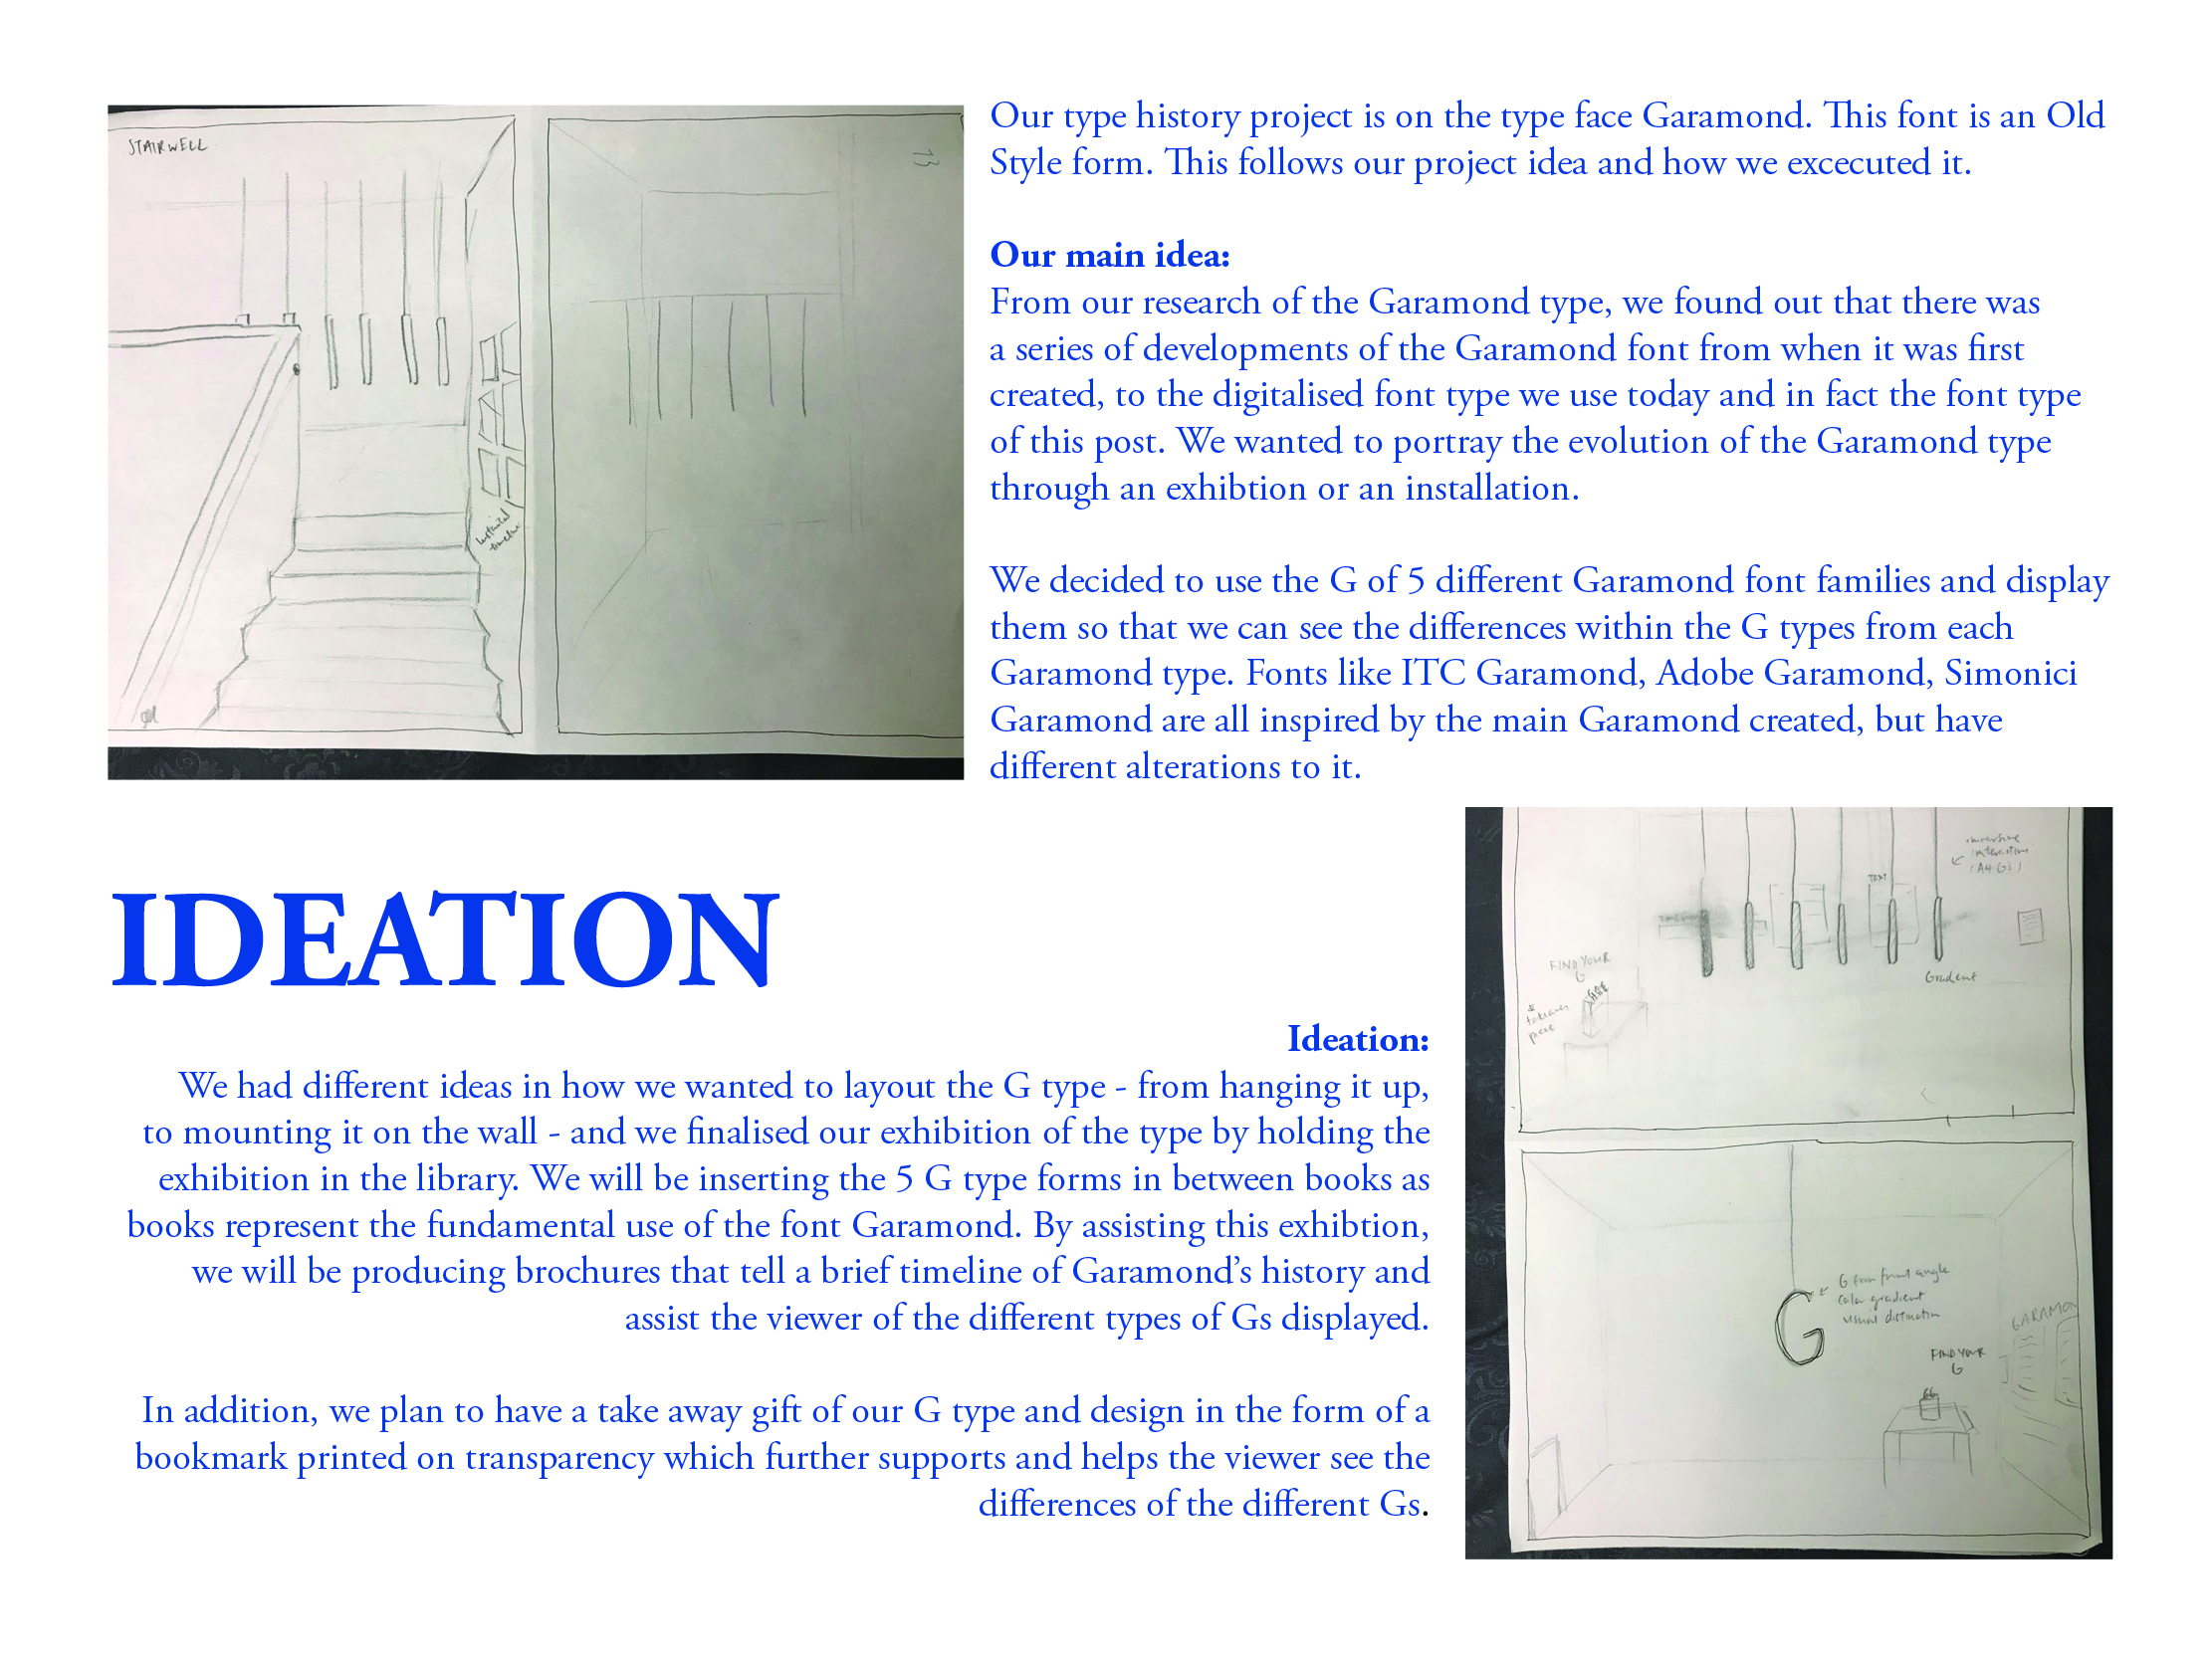
I chose the Marketplace at Yishun as it is a place close to me. It was a place where I frequented and grew up in. I wanted to bring out the market vibes which is the common market lingo that ‘aunties’ and ‘uncles’ use for their purchases. I thought of the different things that they would say and came up with:
“cheap can anot”
“one basket how much”
and a lot more Hokkien lingo that is exchanged – which I don’t really know of.
It was night by the time I decided to take pictures and I thought this would be a good setting because I wouldn’t usually go to the market at that time whenever i’m home. So I thought this would give me another perspective to the way I saw things at the market and I hoped it would give me another angle to the way I saw the signs and looked for types.
It was a challenge because a lot of things were foreign and I had to look at things different as compared to what i would usually if I made a trip there during the day doing the routine marketing. However, this time I was trying to pay attention to small details and pick on things that wouldn’t usually catch my eye. It was manageable at first, however as I went in further, I felt I was running out of things that caught my eye or had a type to it. I also wanted to choose types that would represent the market and also find elements would be visually recognisable by the general public and that they can associate it with the market.


After I got back, I edited them, sifting out the shapes and type that I could see and just had them in little blocks and exported them over to illustrator to lay them out. I didn’t really play with the contrast and brightness at first because, whatever I saw, I directly cropped it, thinking that if I saw it, others would too (mistake).
However, after the review with my peers and with Shirley, I started to understand better how ideas can be played around but it must still be fun yet clear in conveying the message to viewers.
Below is my first attempt at the quote
“Ah uncle, cheaper la, cheaper abit more can or not?”
Looking at it now, it is very messy and all over the place. I can read it, but unless the viewer knows what the quote is, the type isn’t conveyed very well in this.

I then shortened the quote to “Uncle cheaper abit can or not” because it was already cluttered and having too much type was abit confusing. I then changed and manipulated the images to amplify the type and letter I wanted to bring out. I also played with contrast, brightness and saturations etc. This helped to clearly directed the viewer to the letter without being too distracted.
I chose not to add any filters or over enhance my images because I wanted to continue bringing out the raw essence of the market and attributes of the market, which is: all over the place and messy with it’s market and very tradition culture and colours that we can associate easily with. I kept with the 1:1 ratio as to try and keep it consistent because of the already very vibrant colours.
Thus, I present my final quote and layout to you:

PROJECT 2b: Organic Type
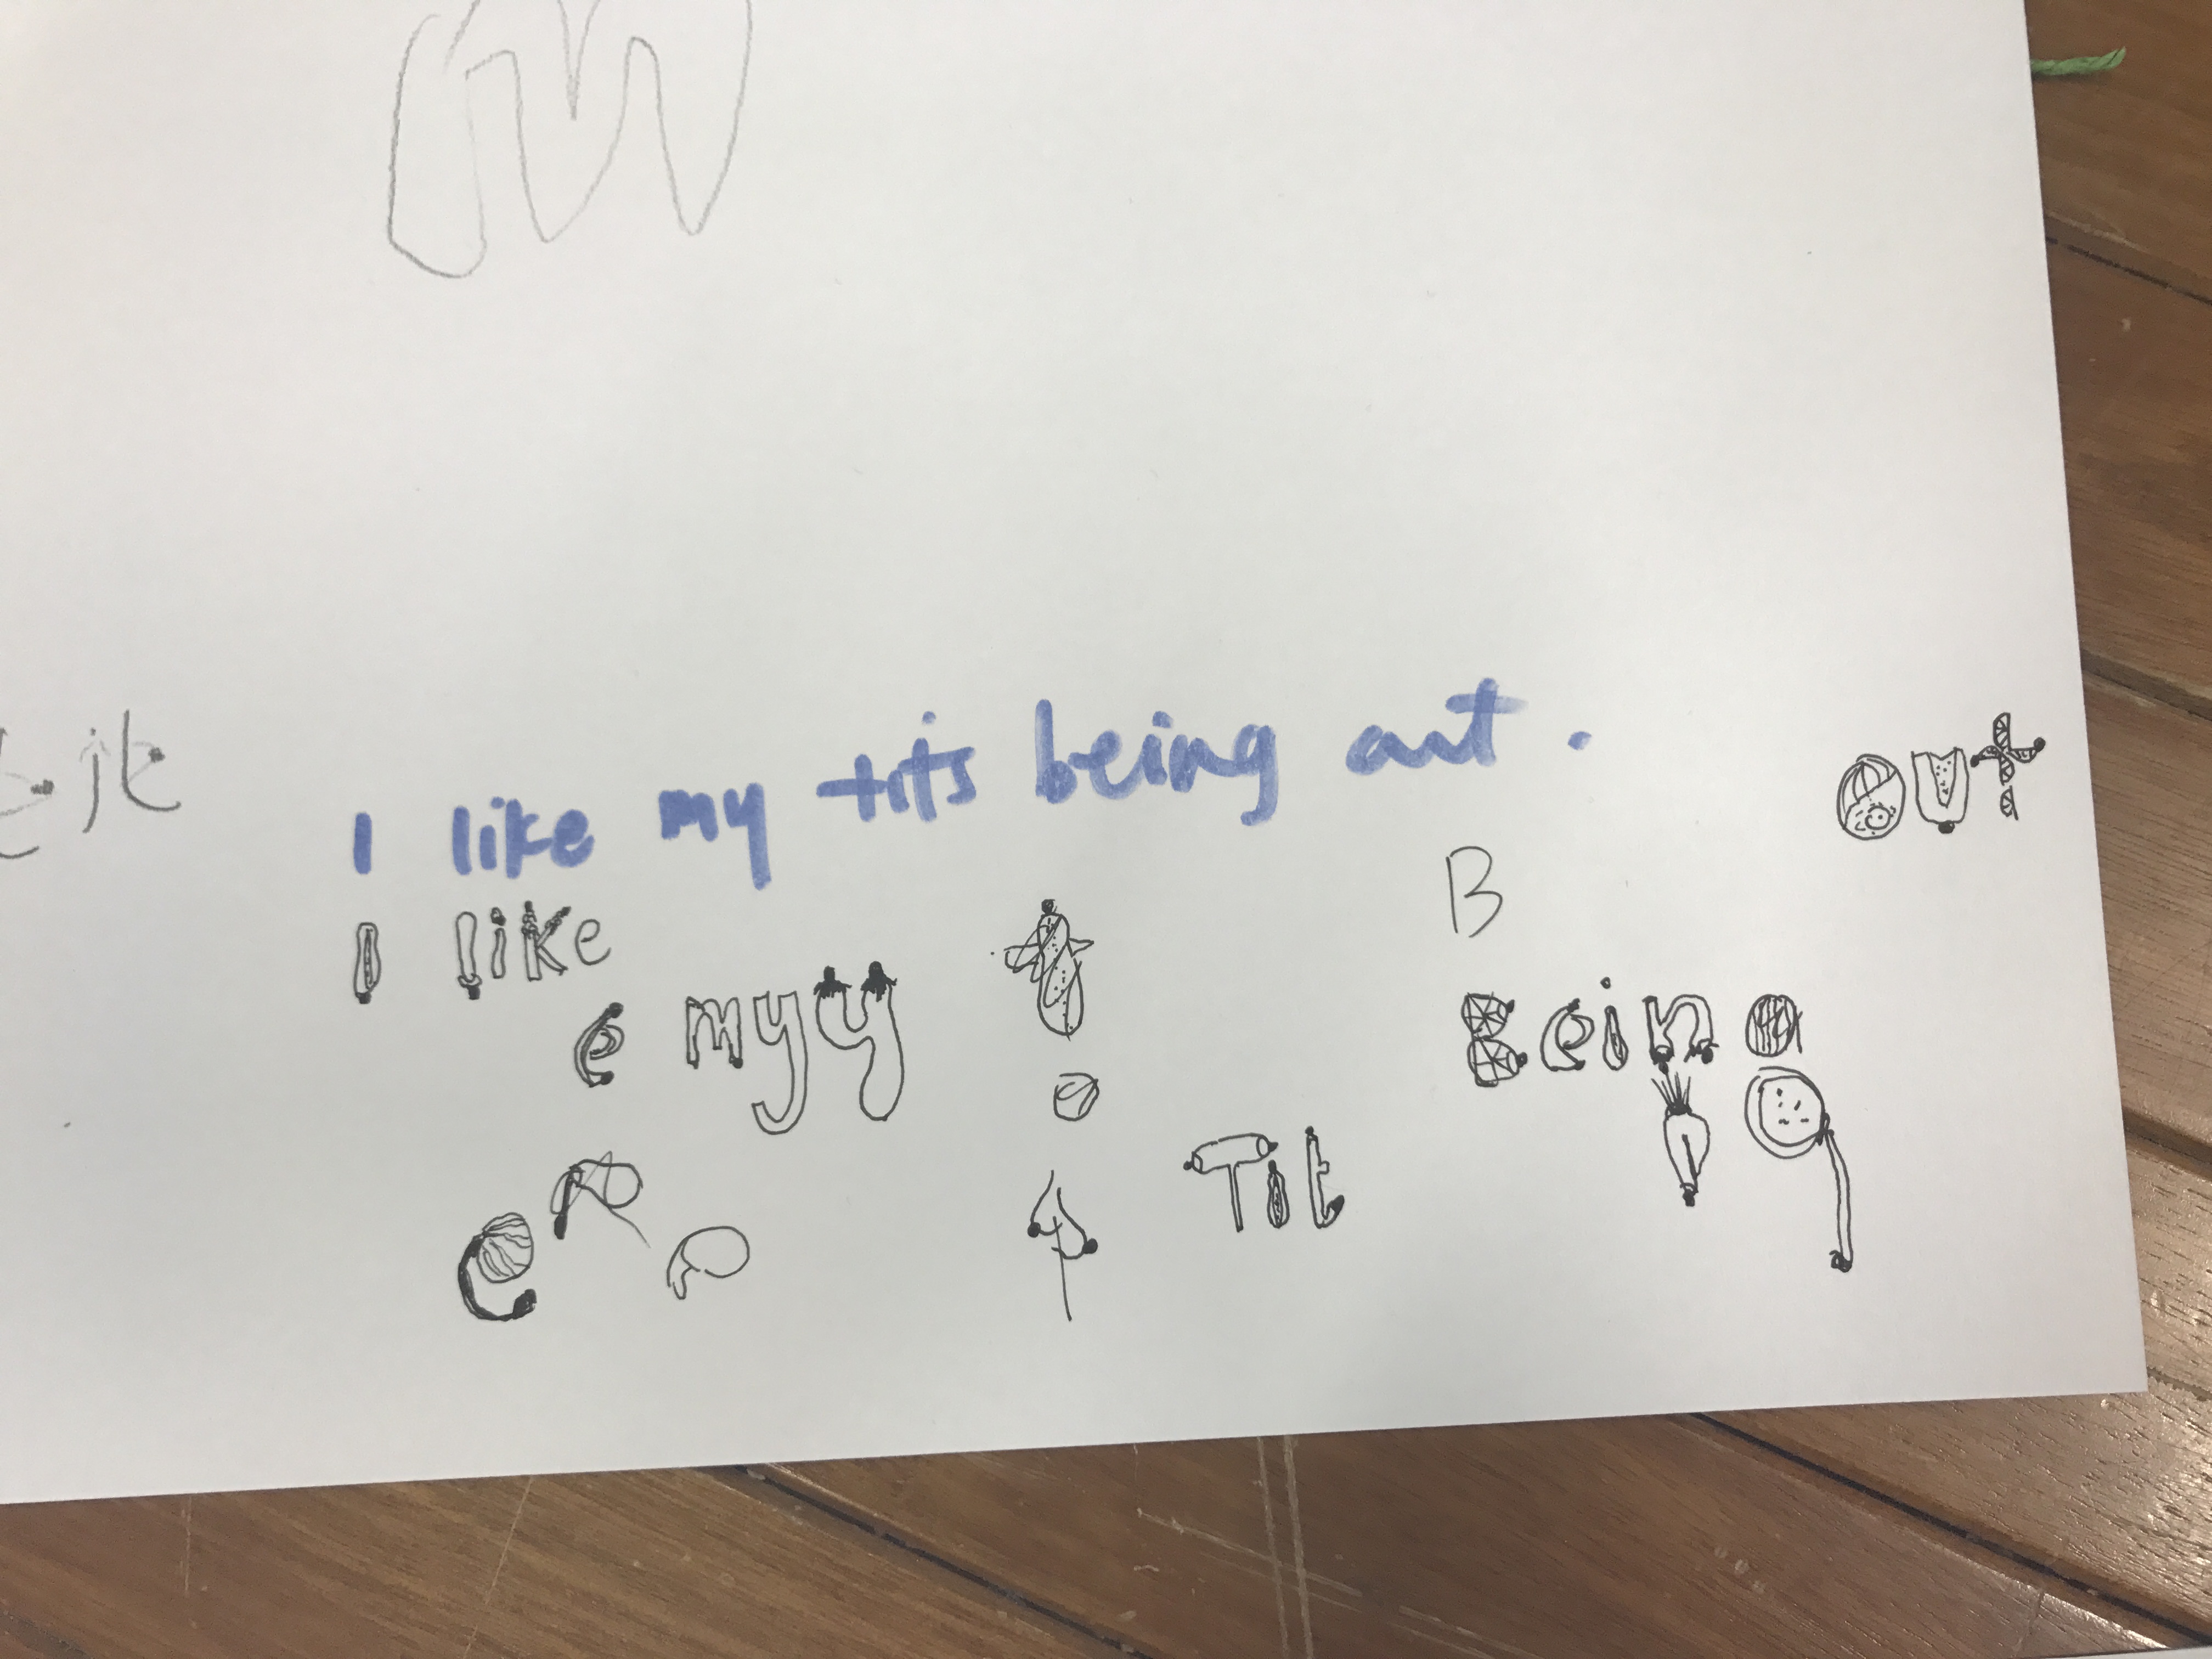
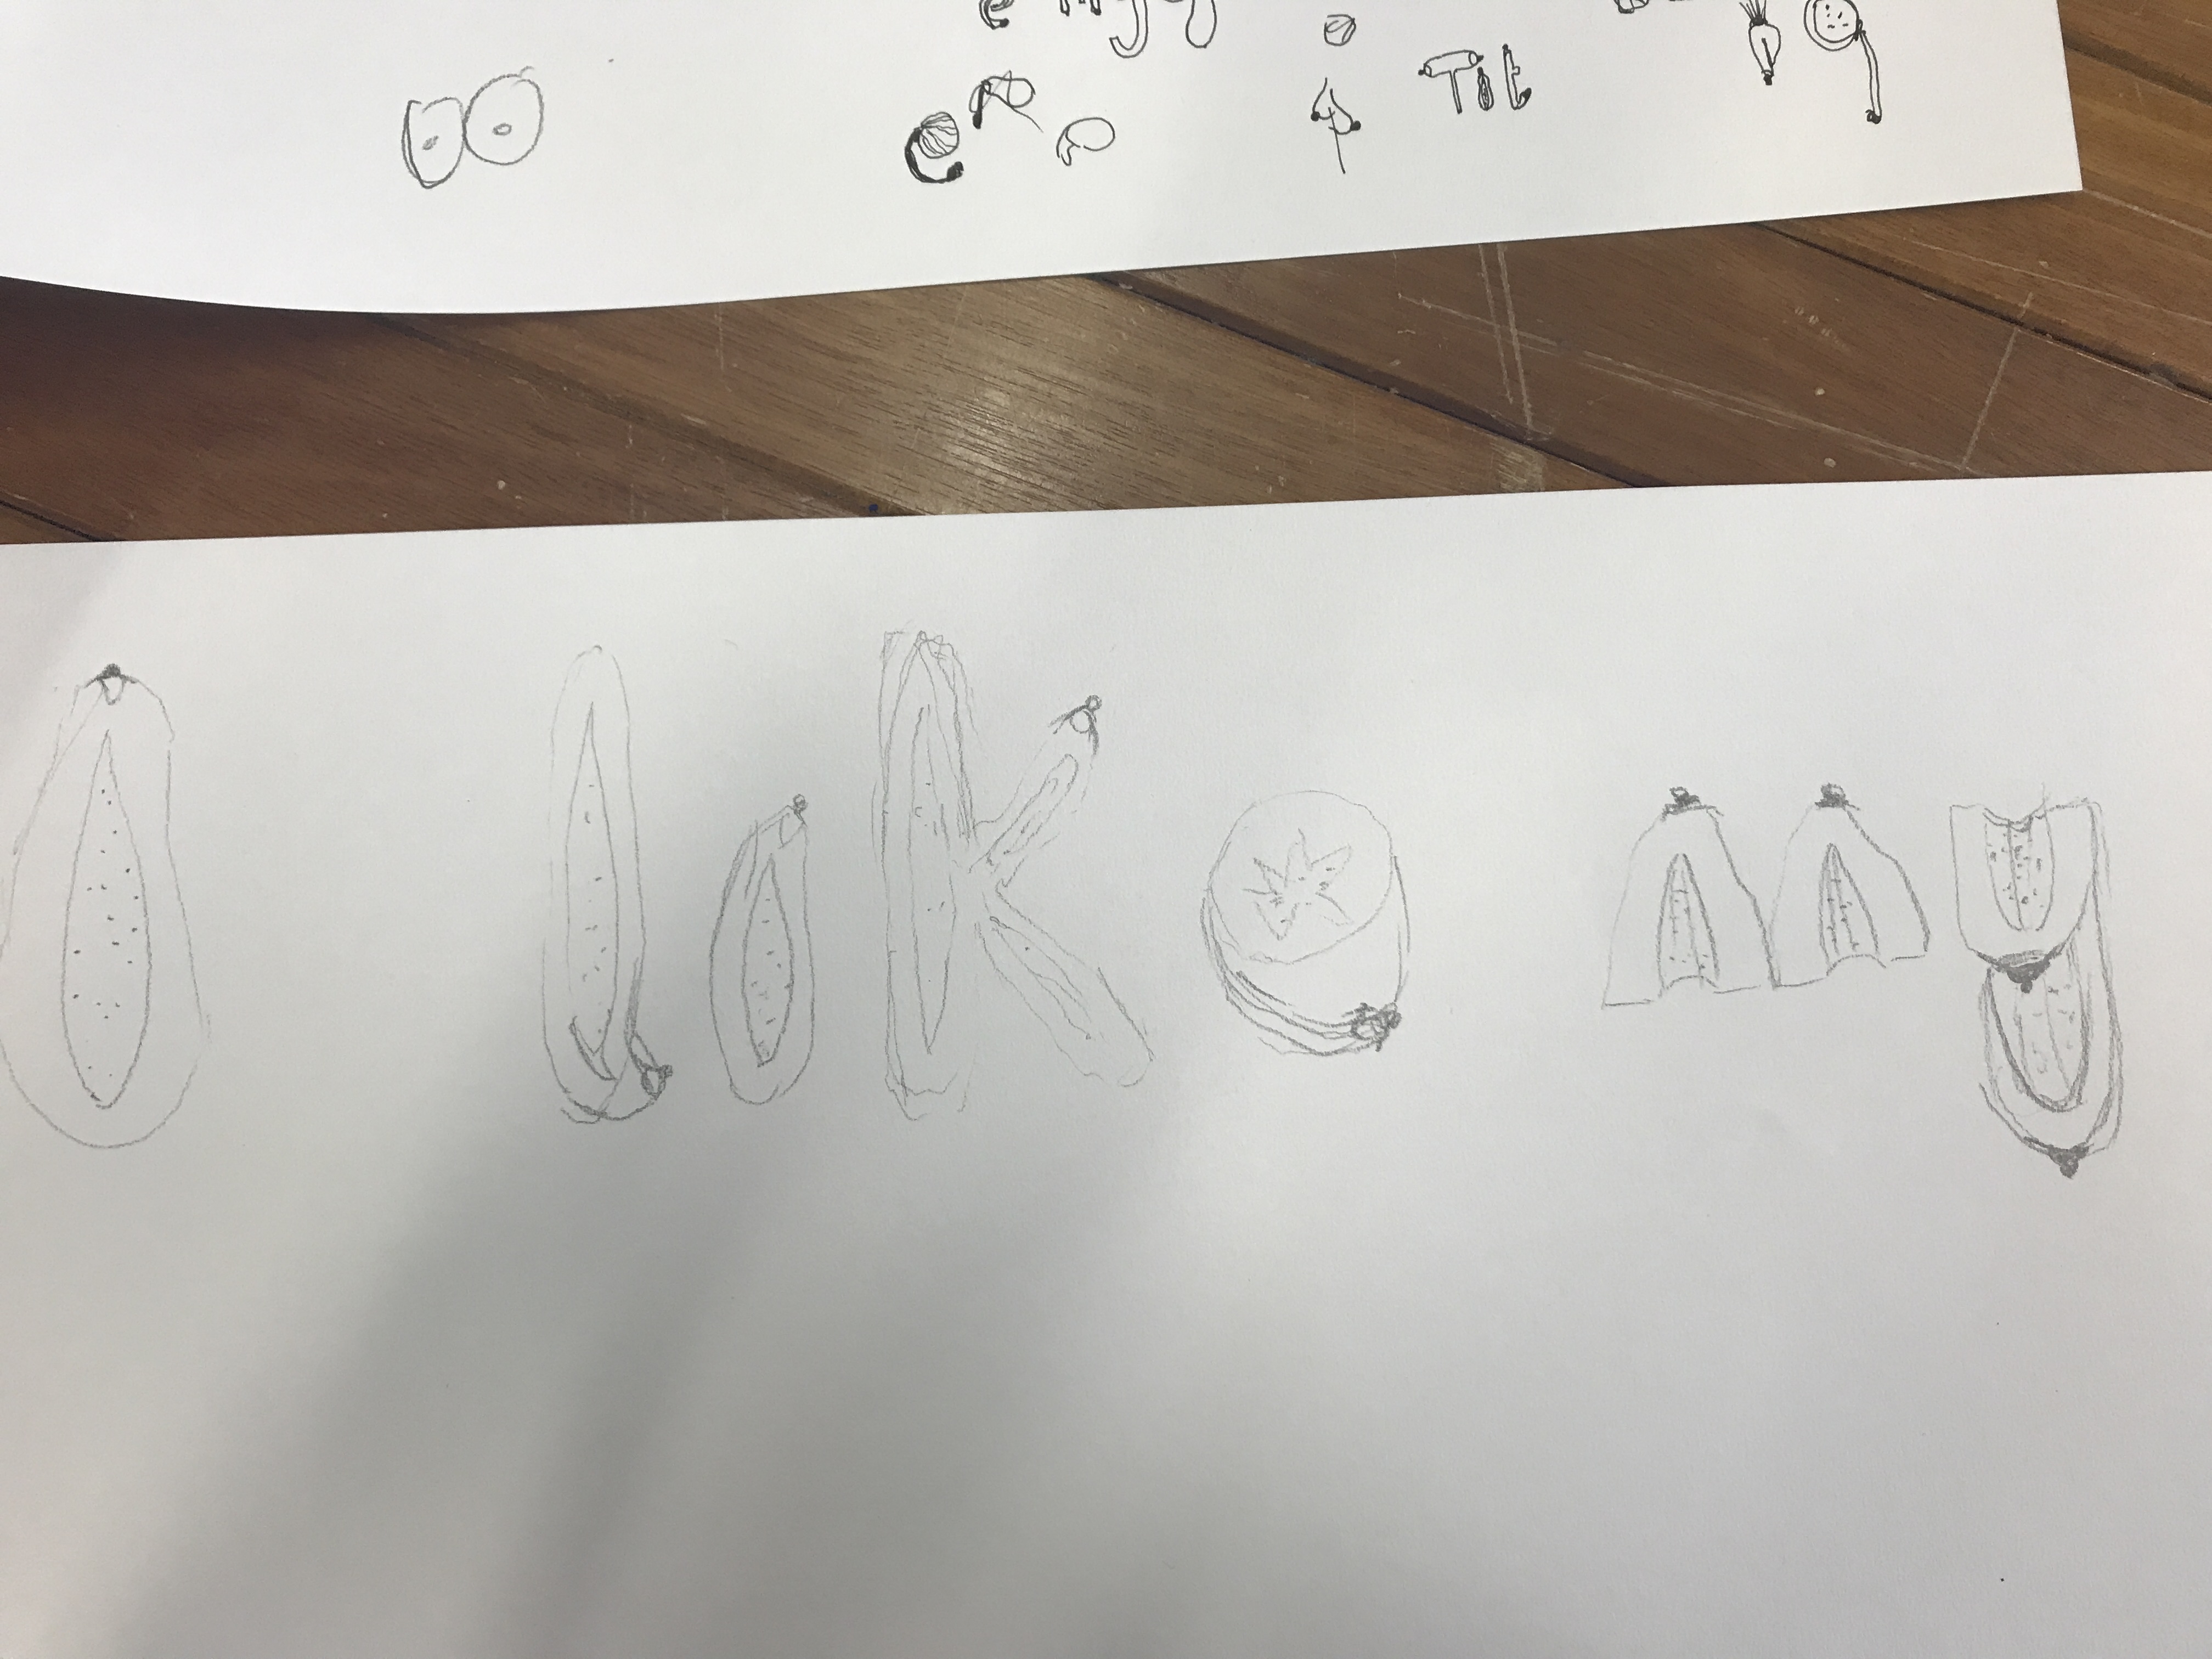
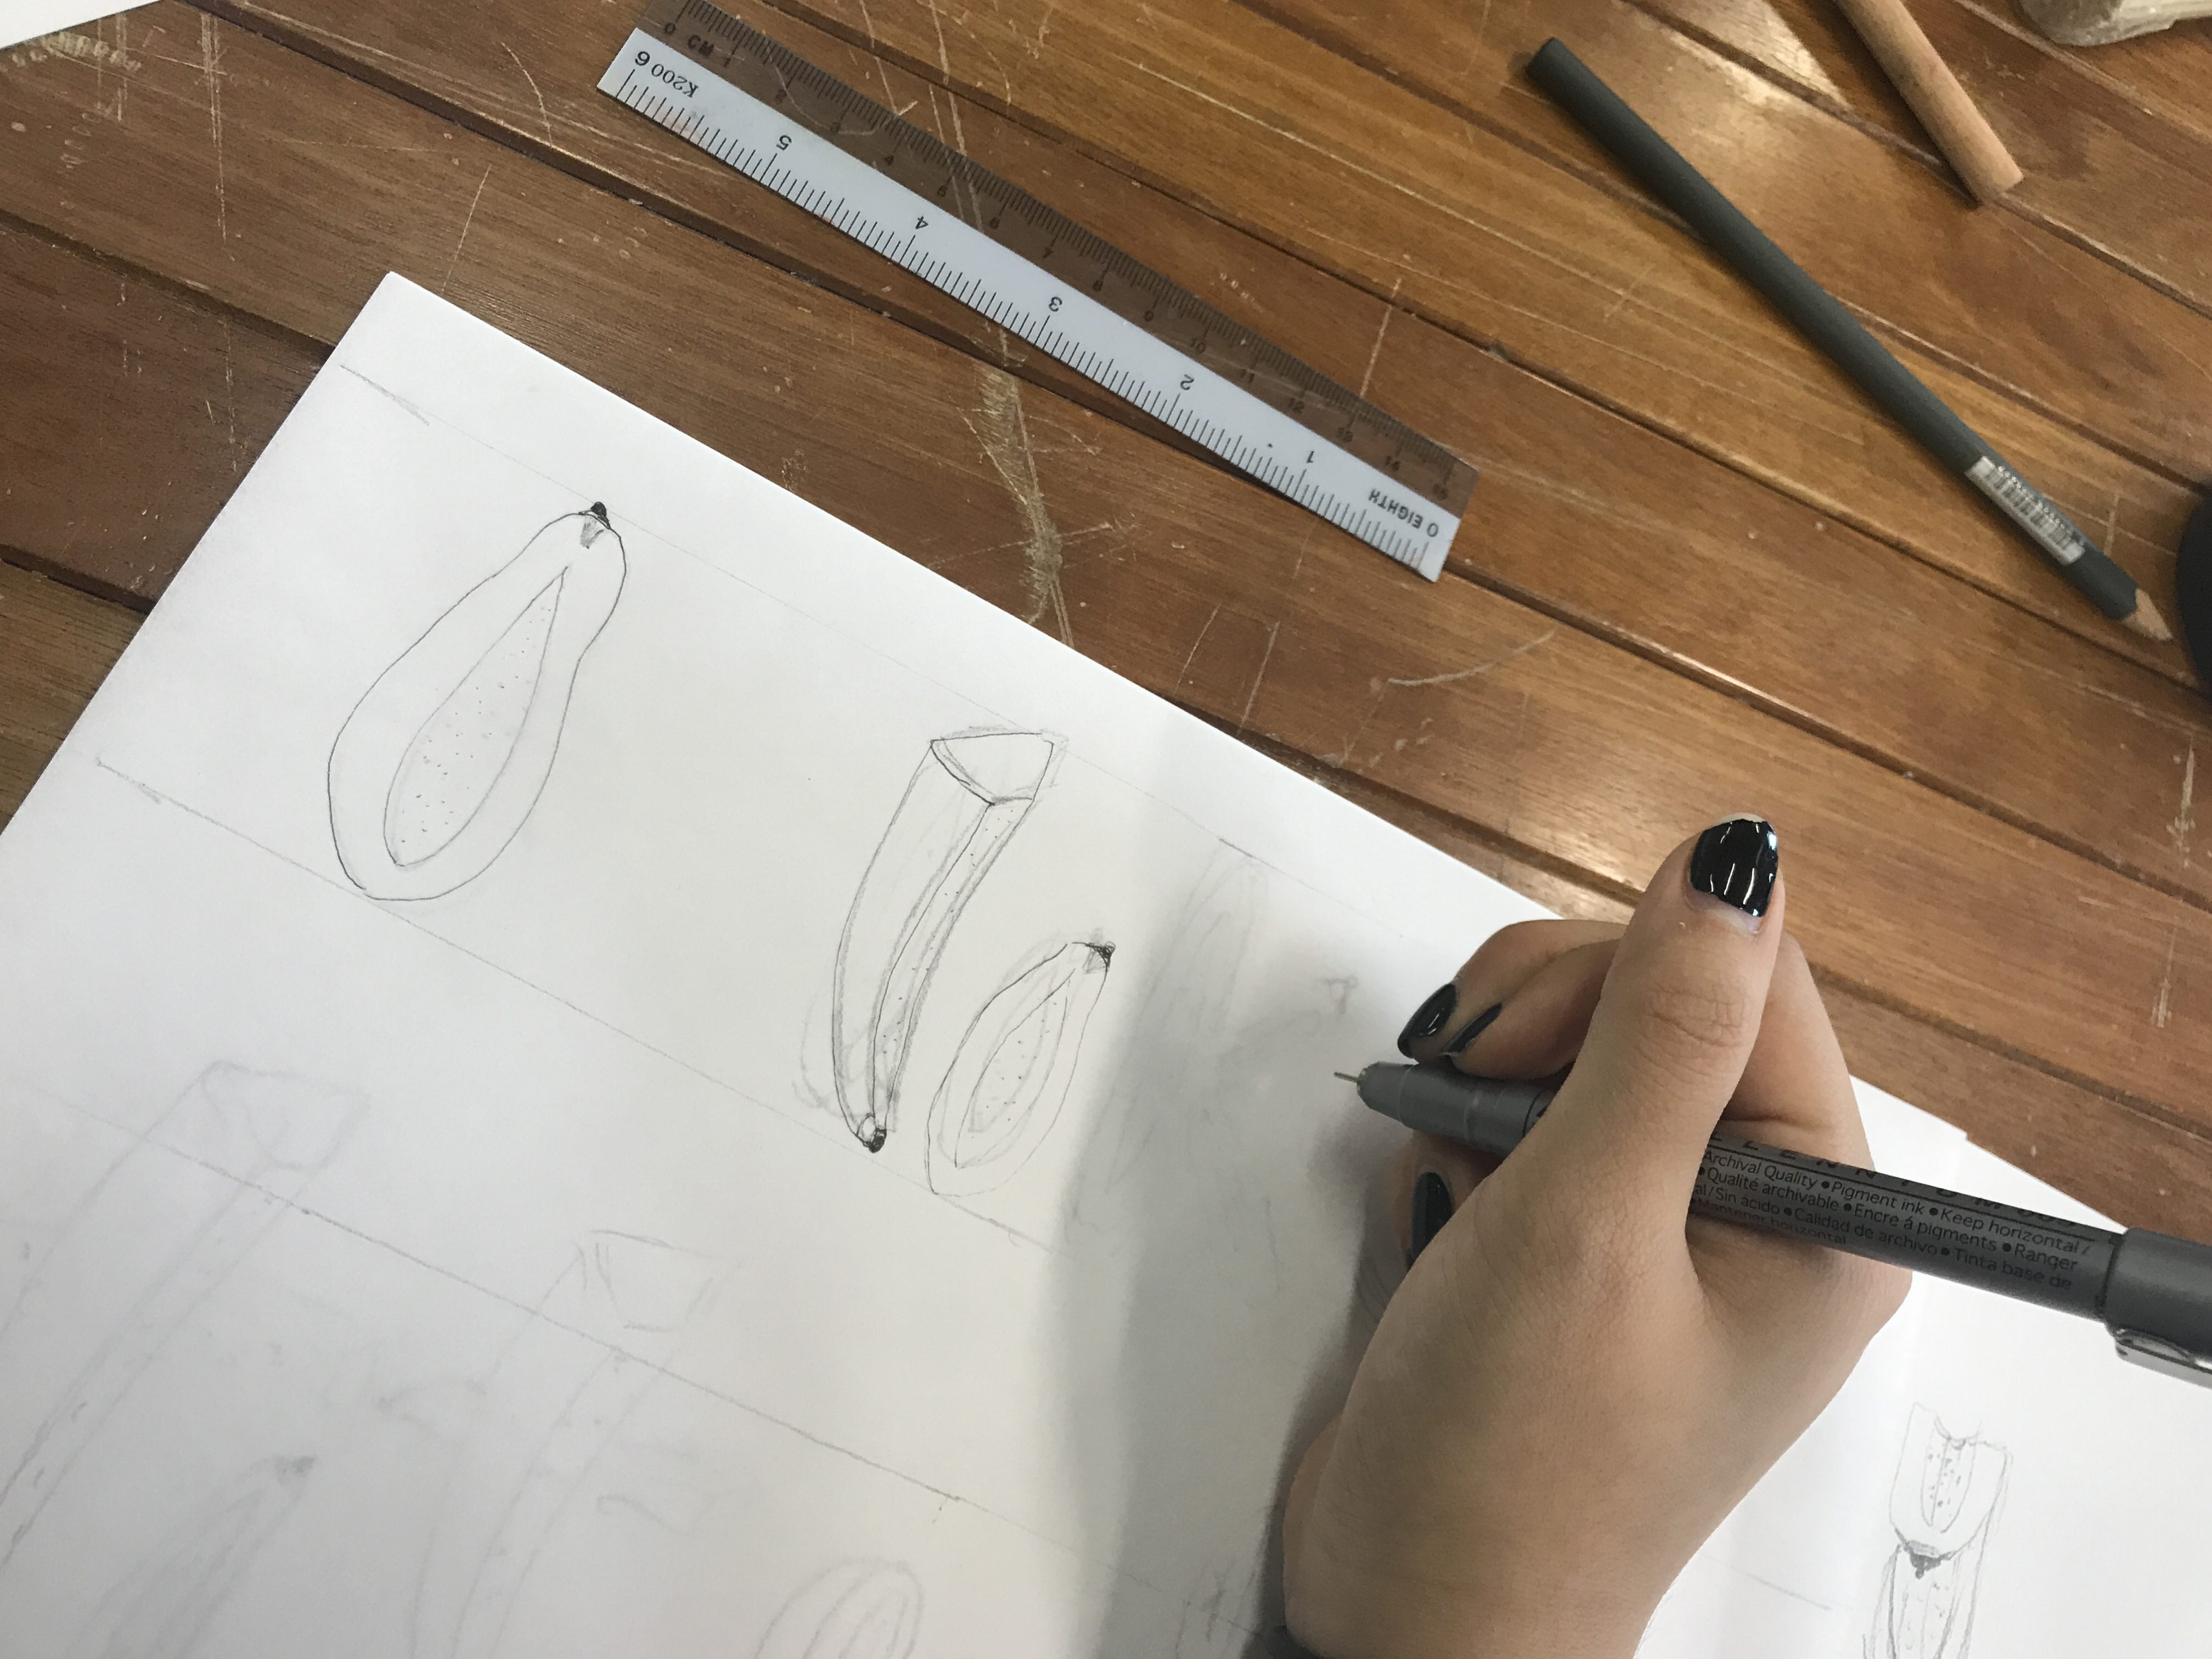
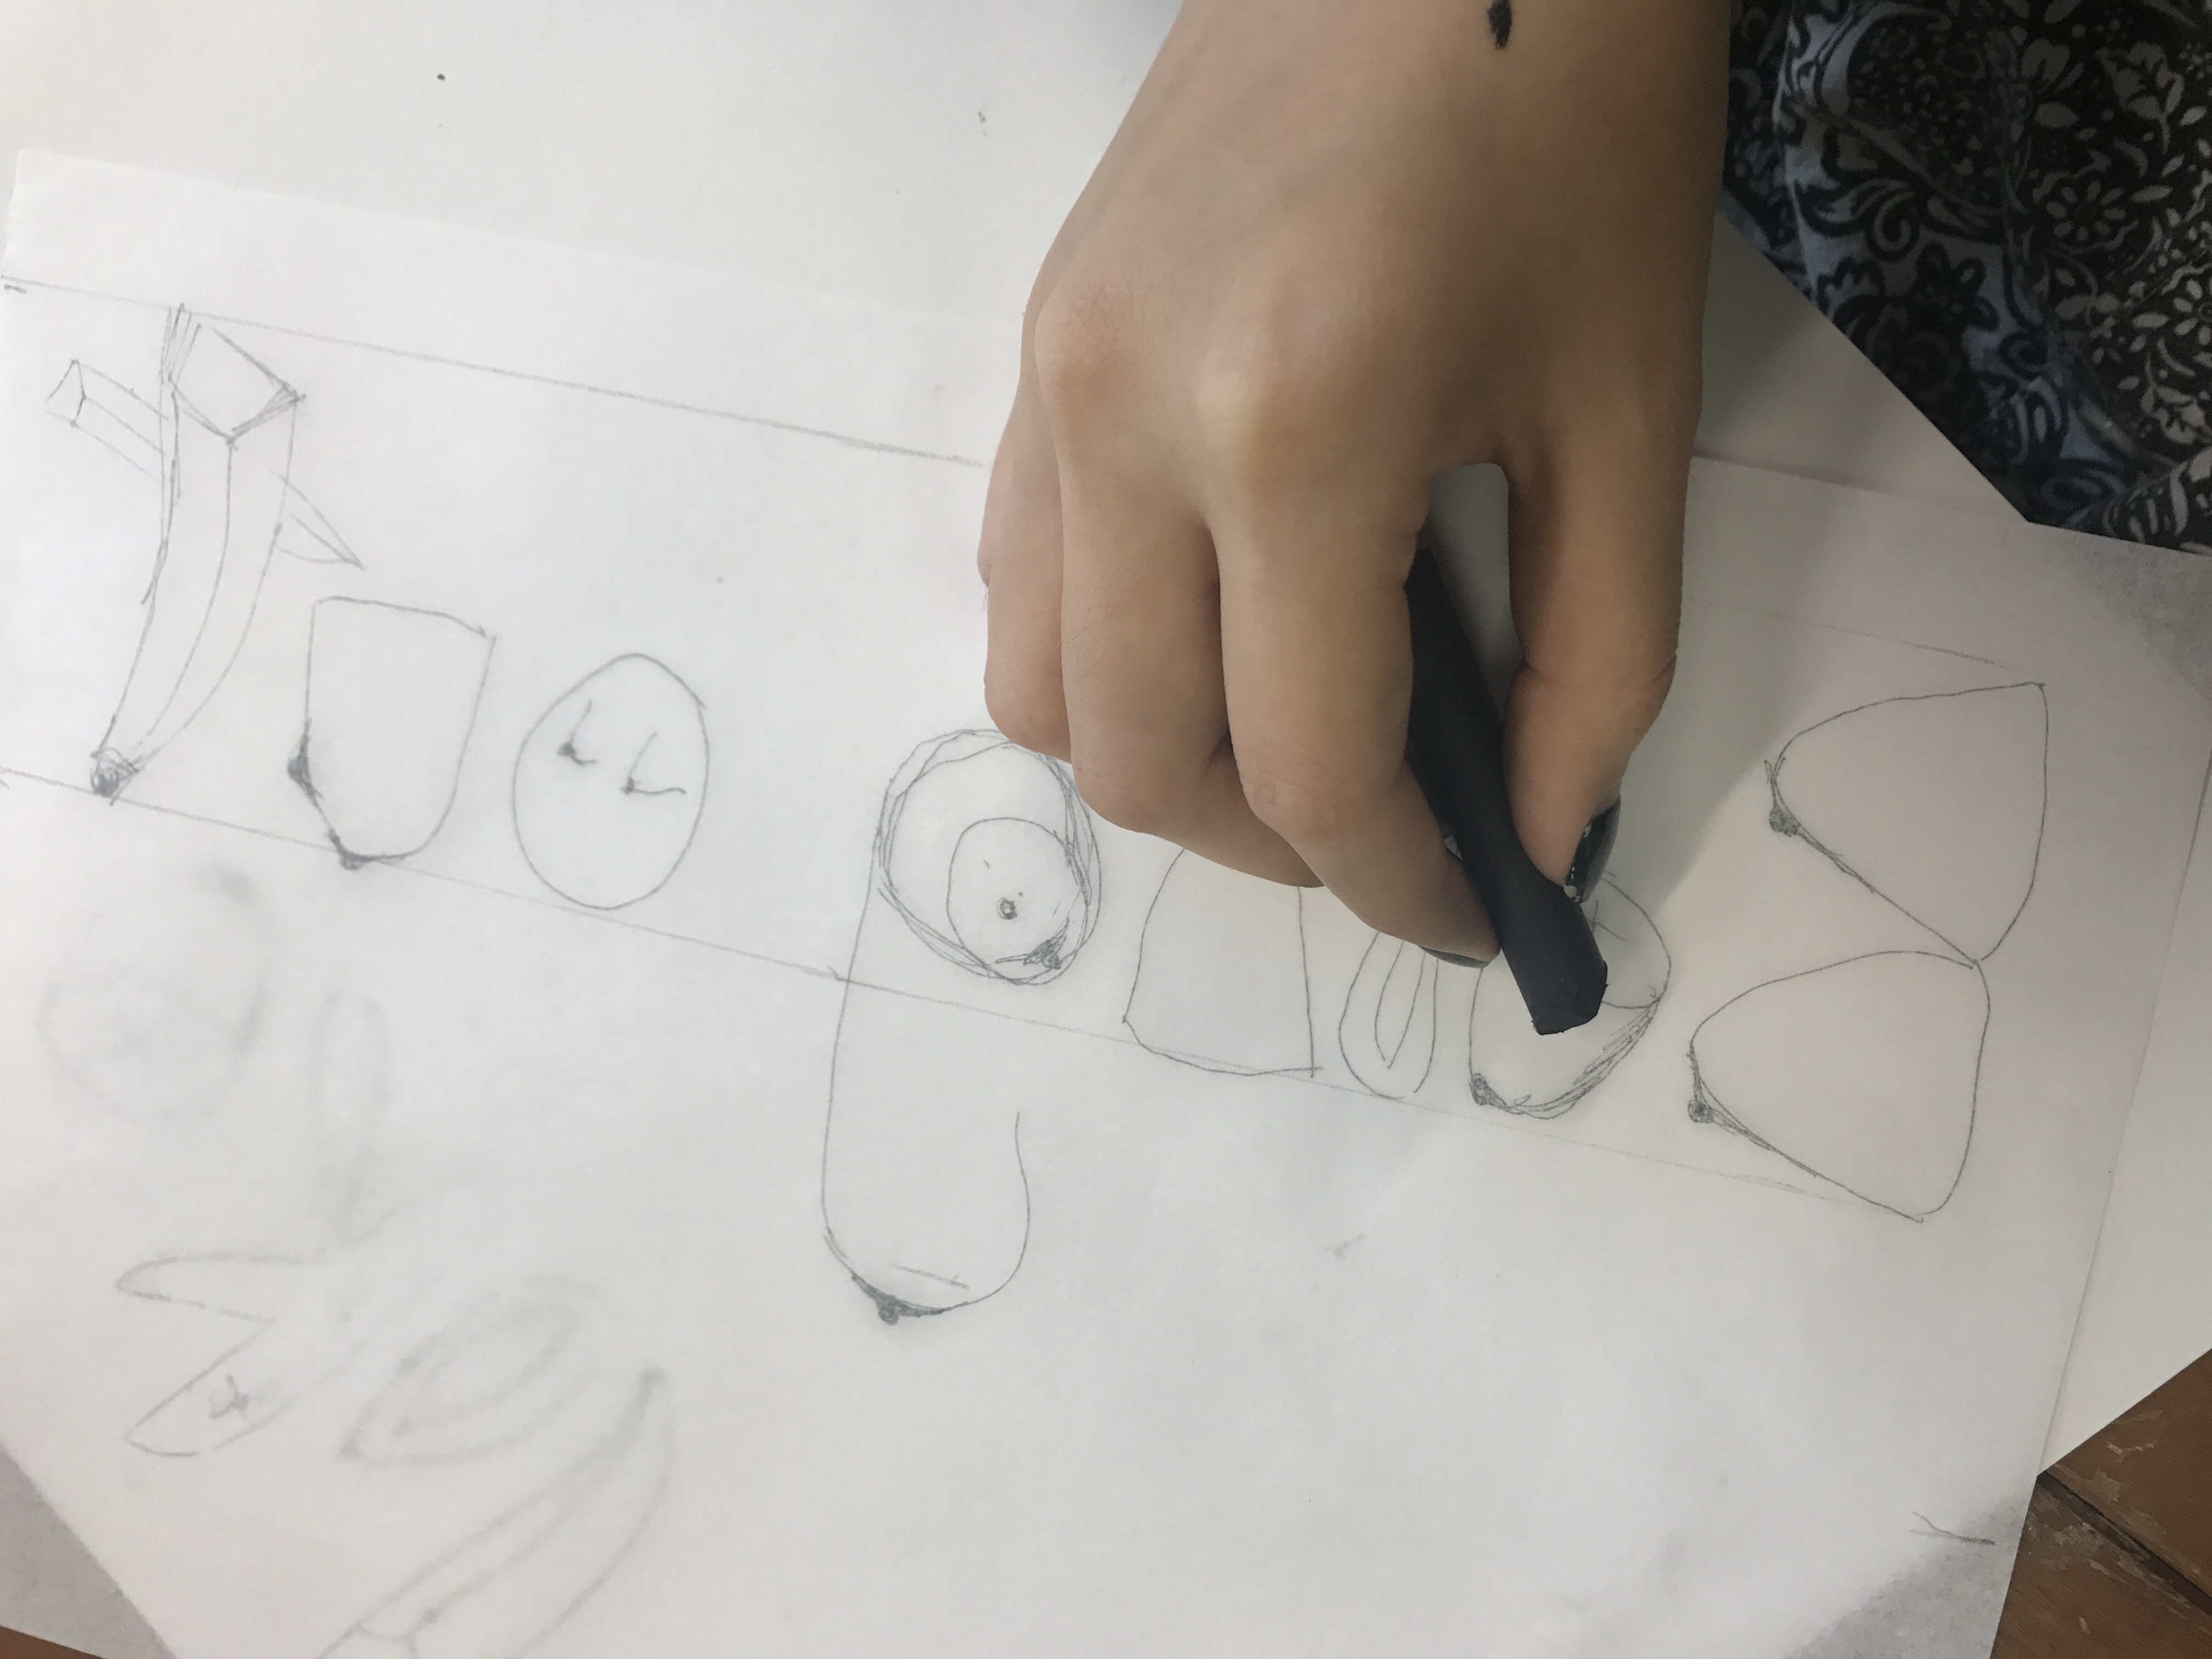
This is project 2b! We were tasked to created an organic type form
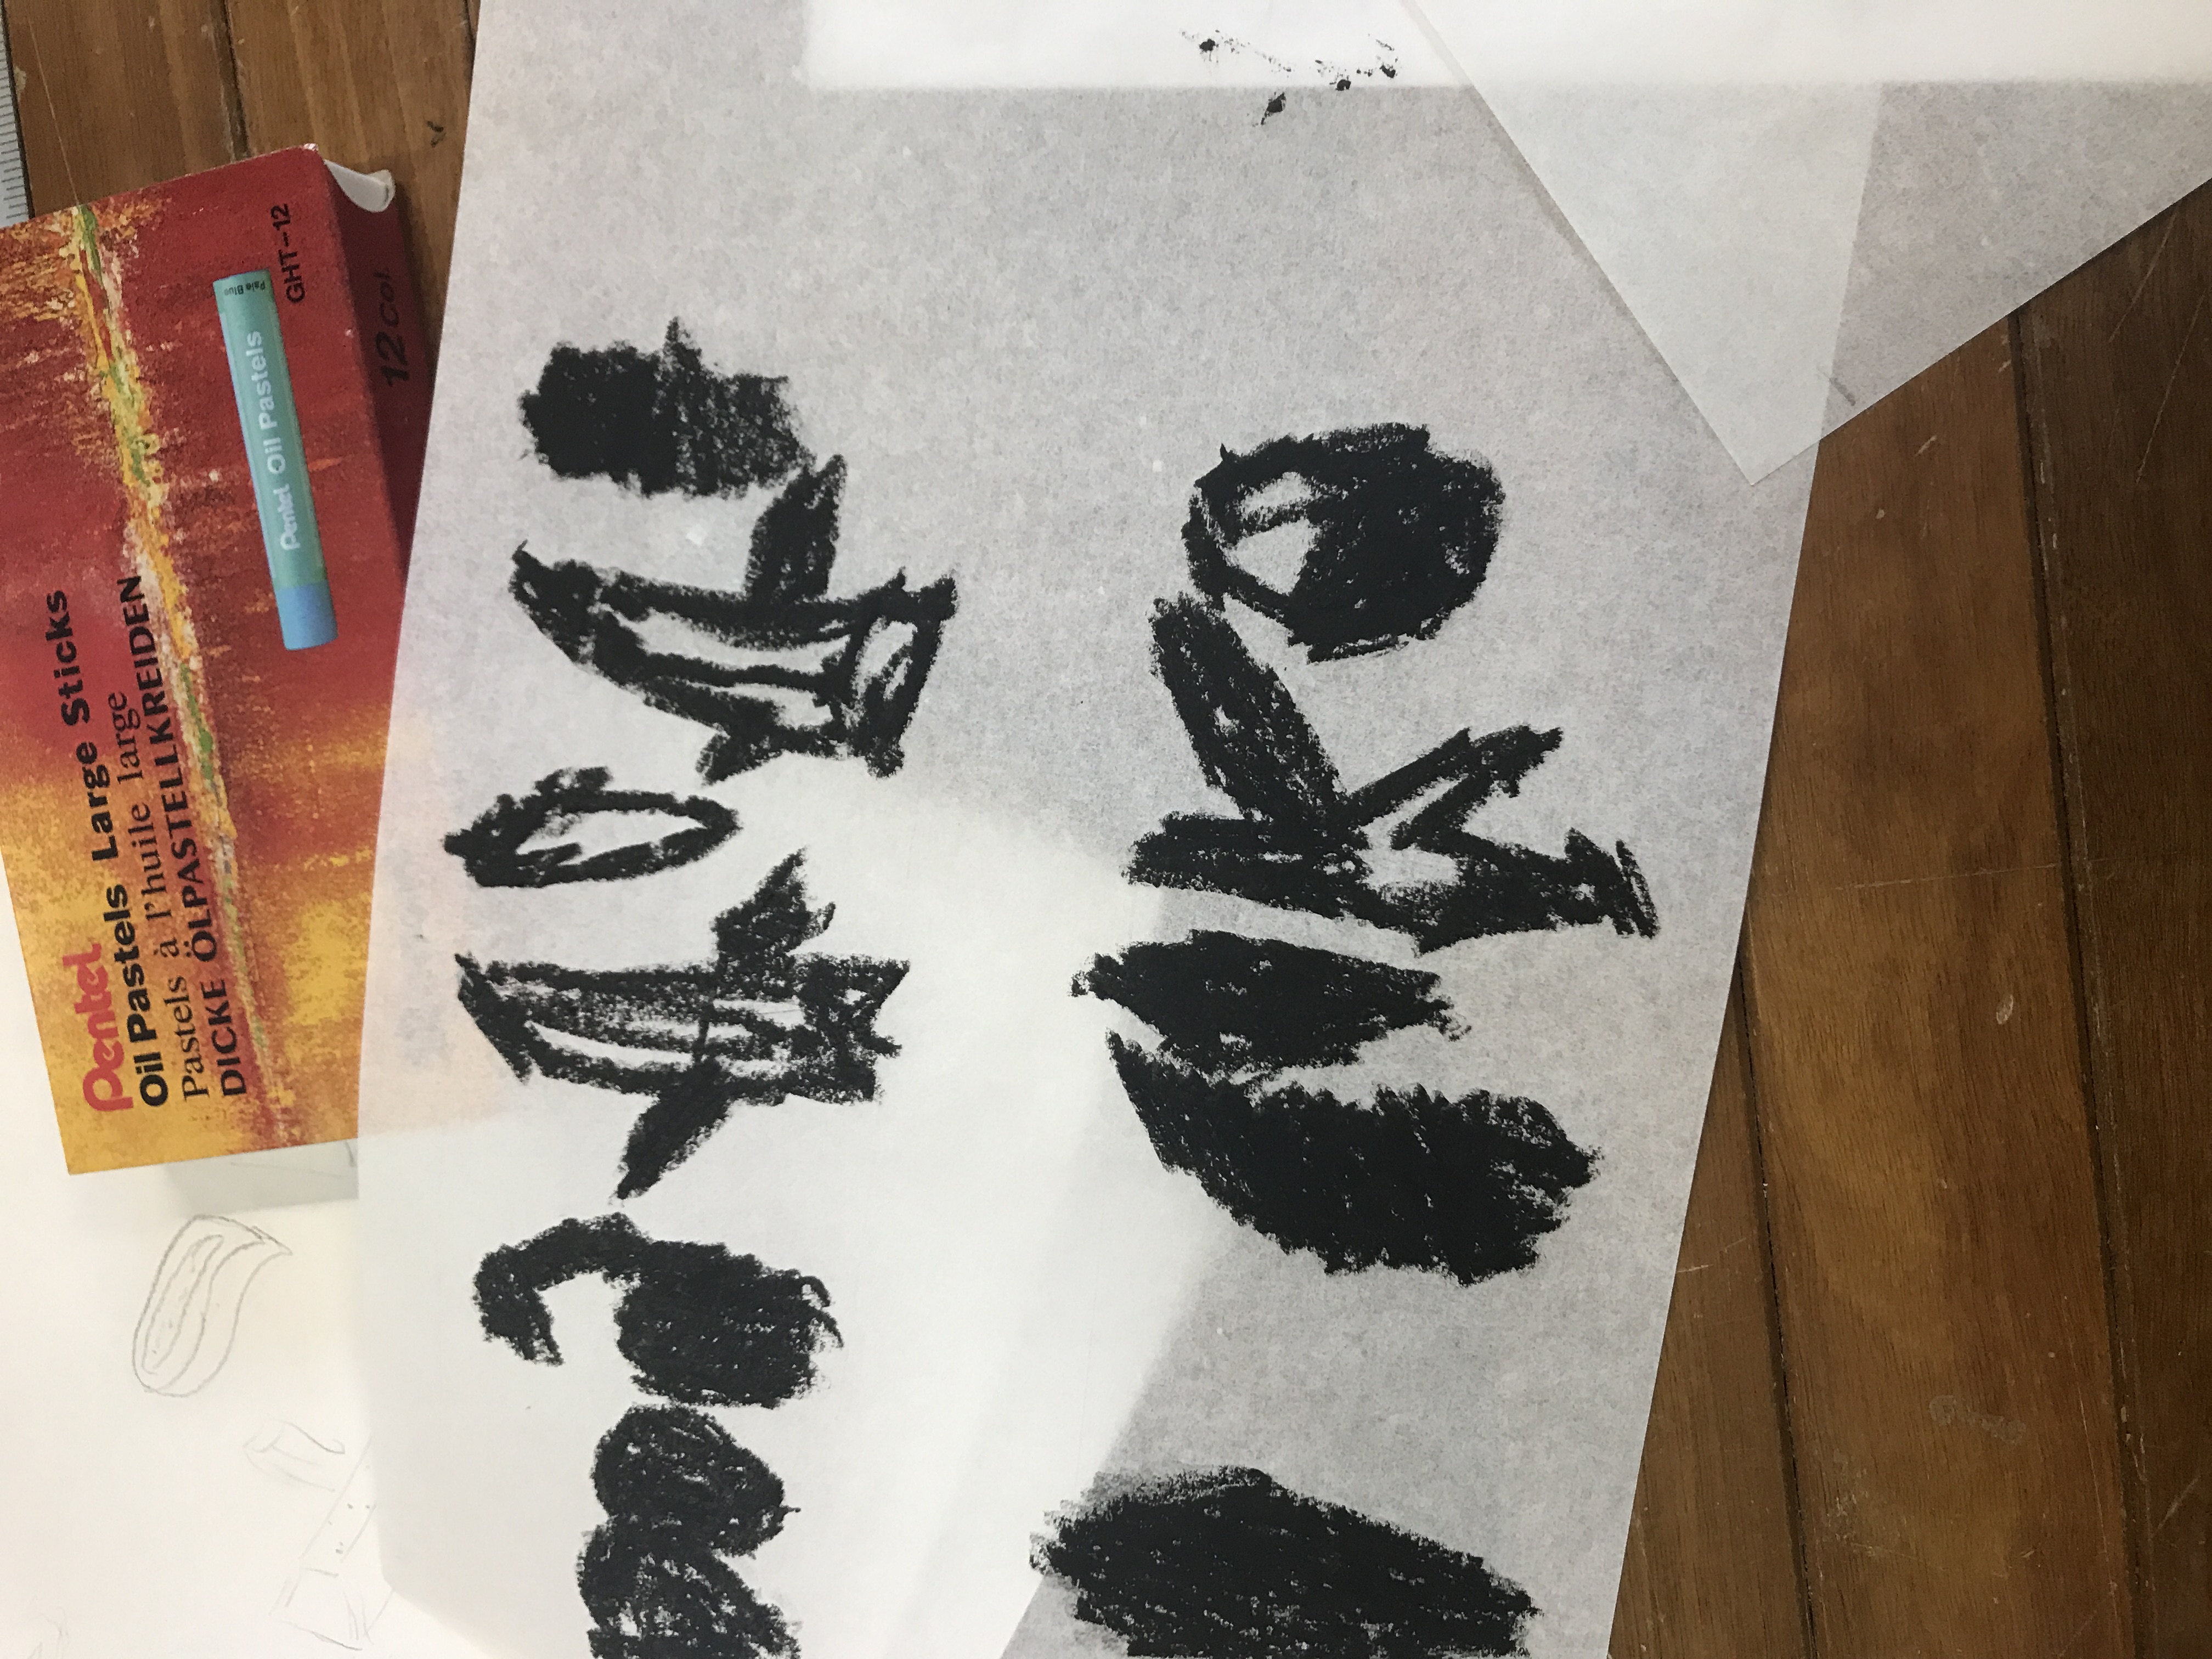
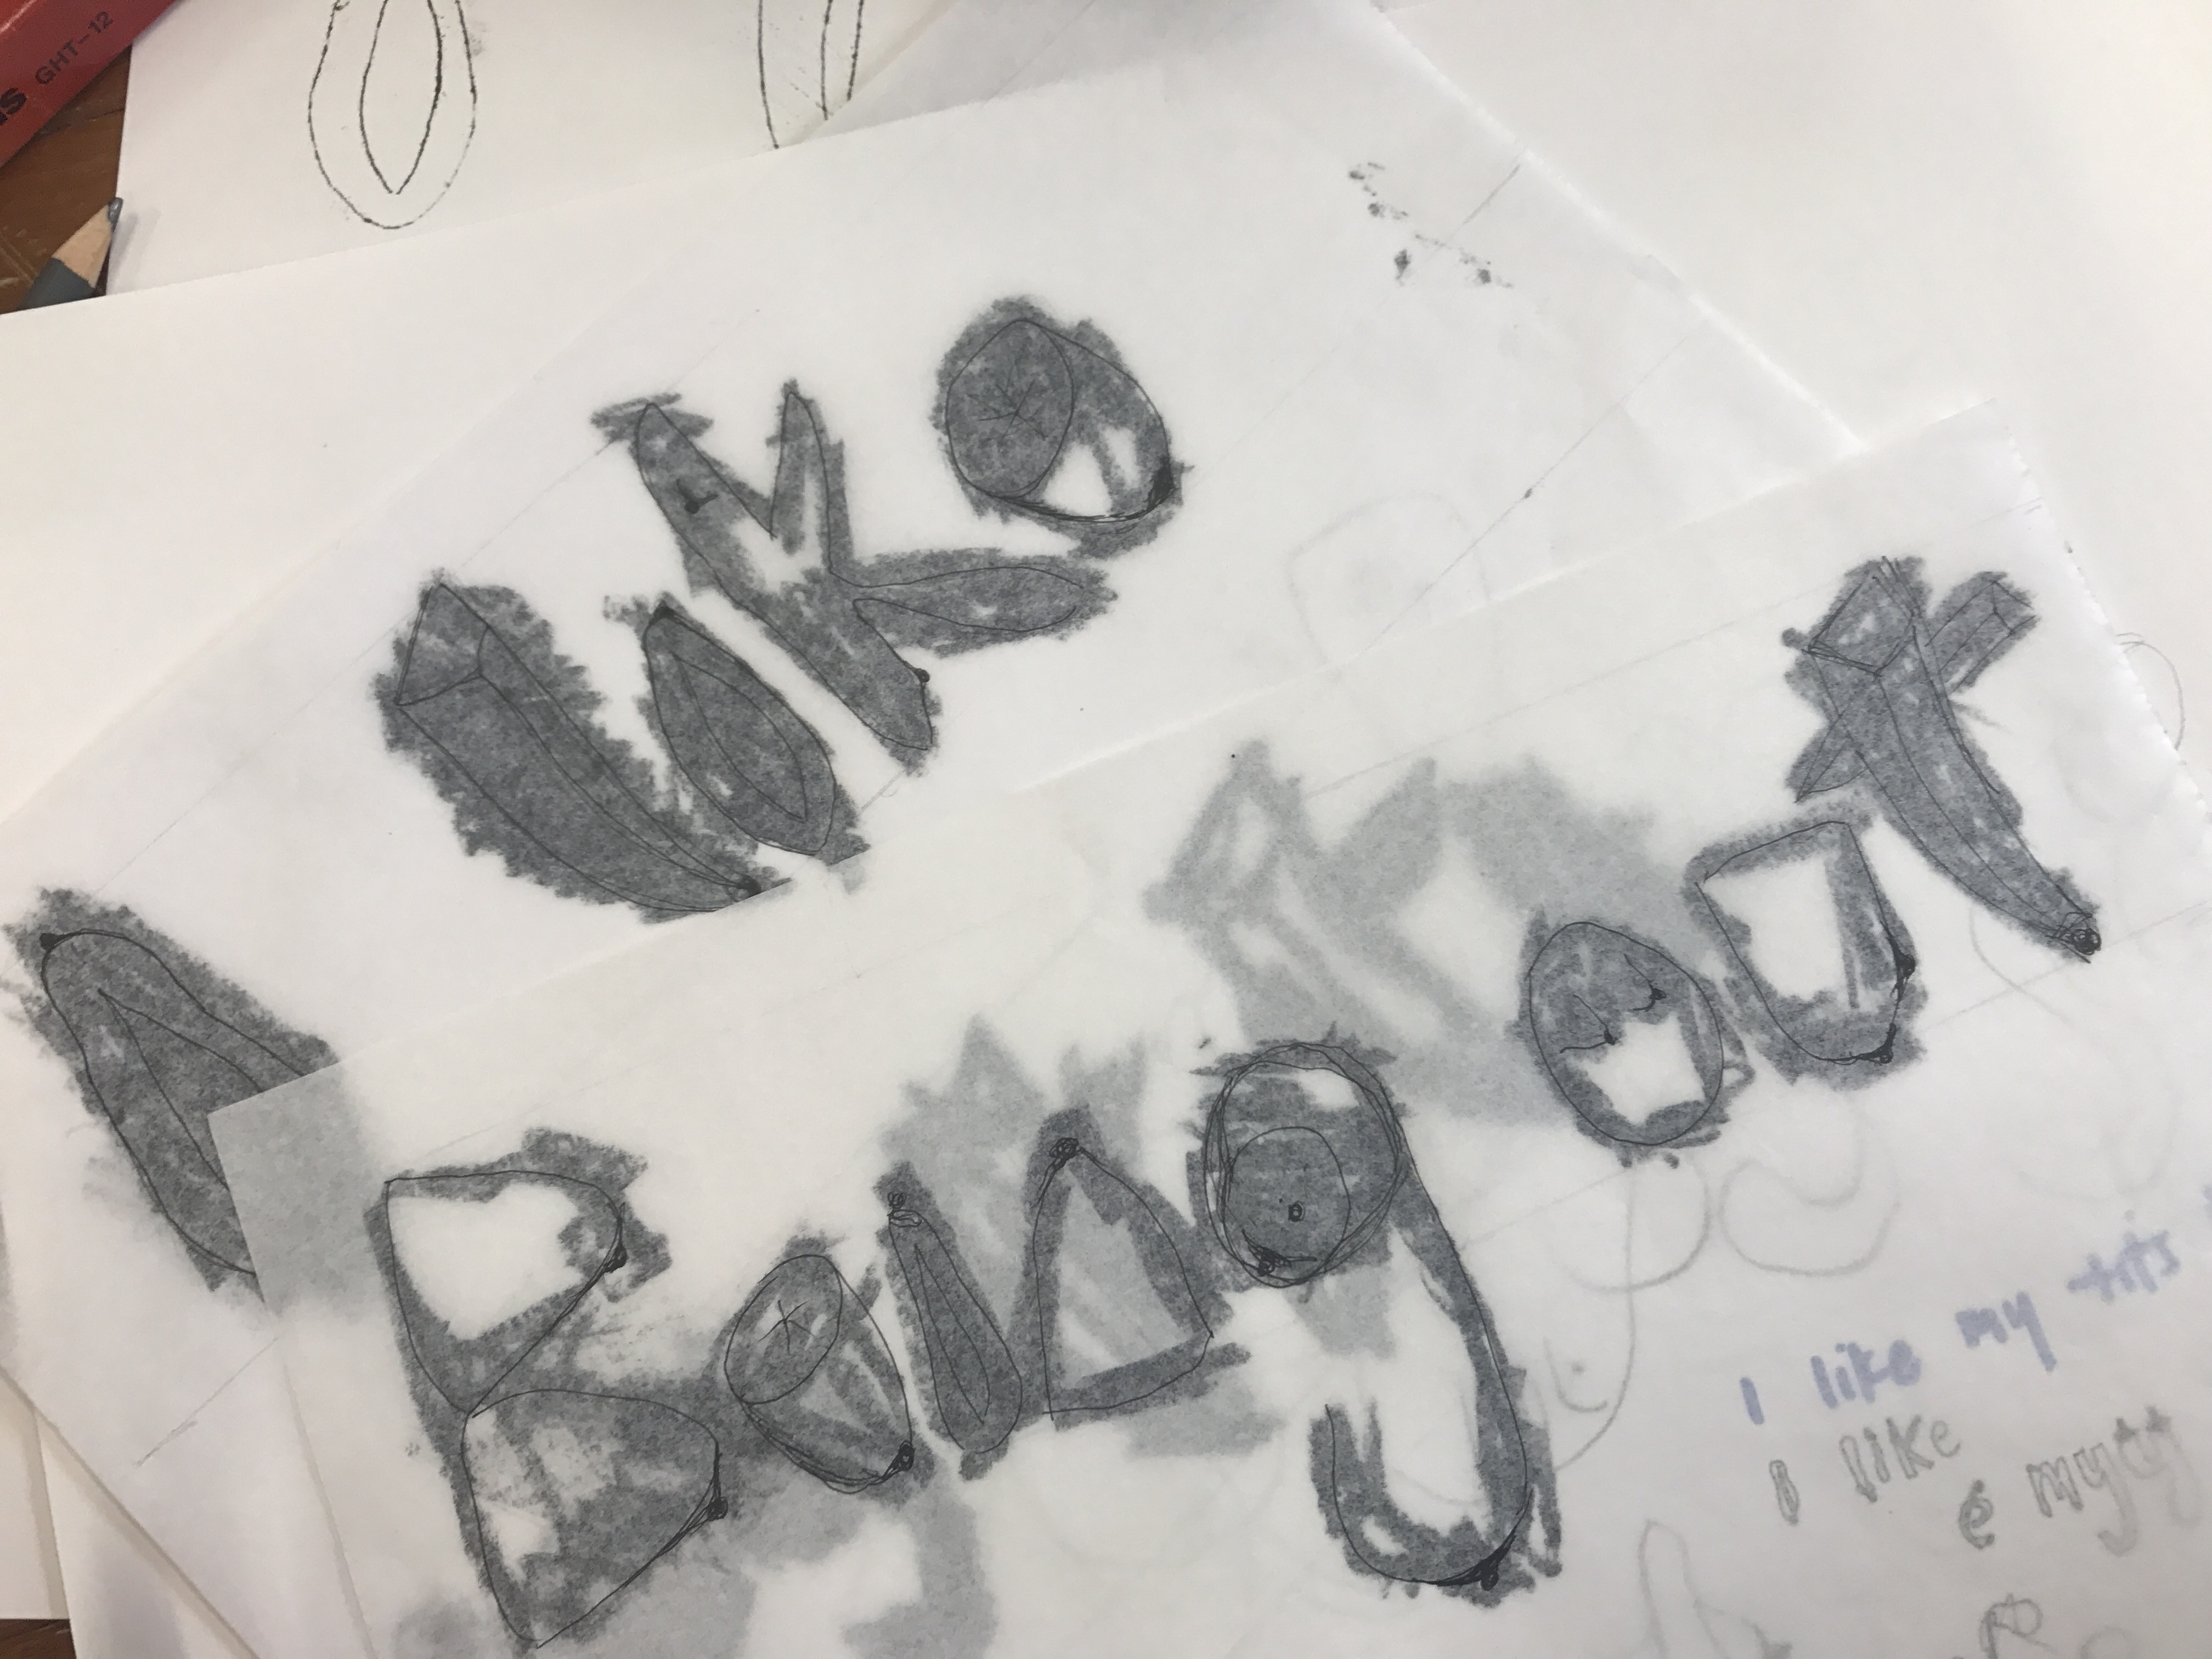
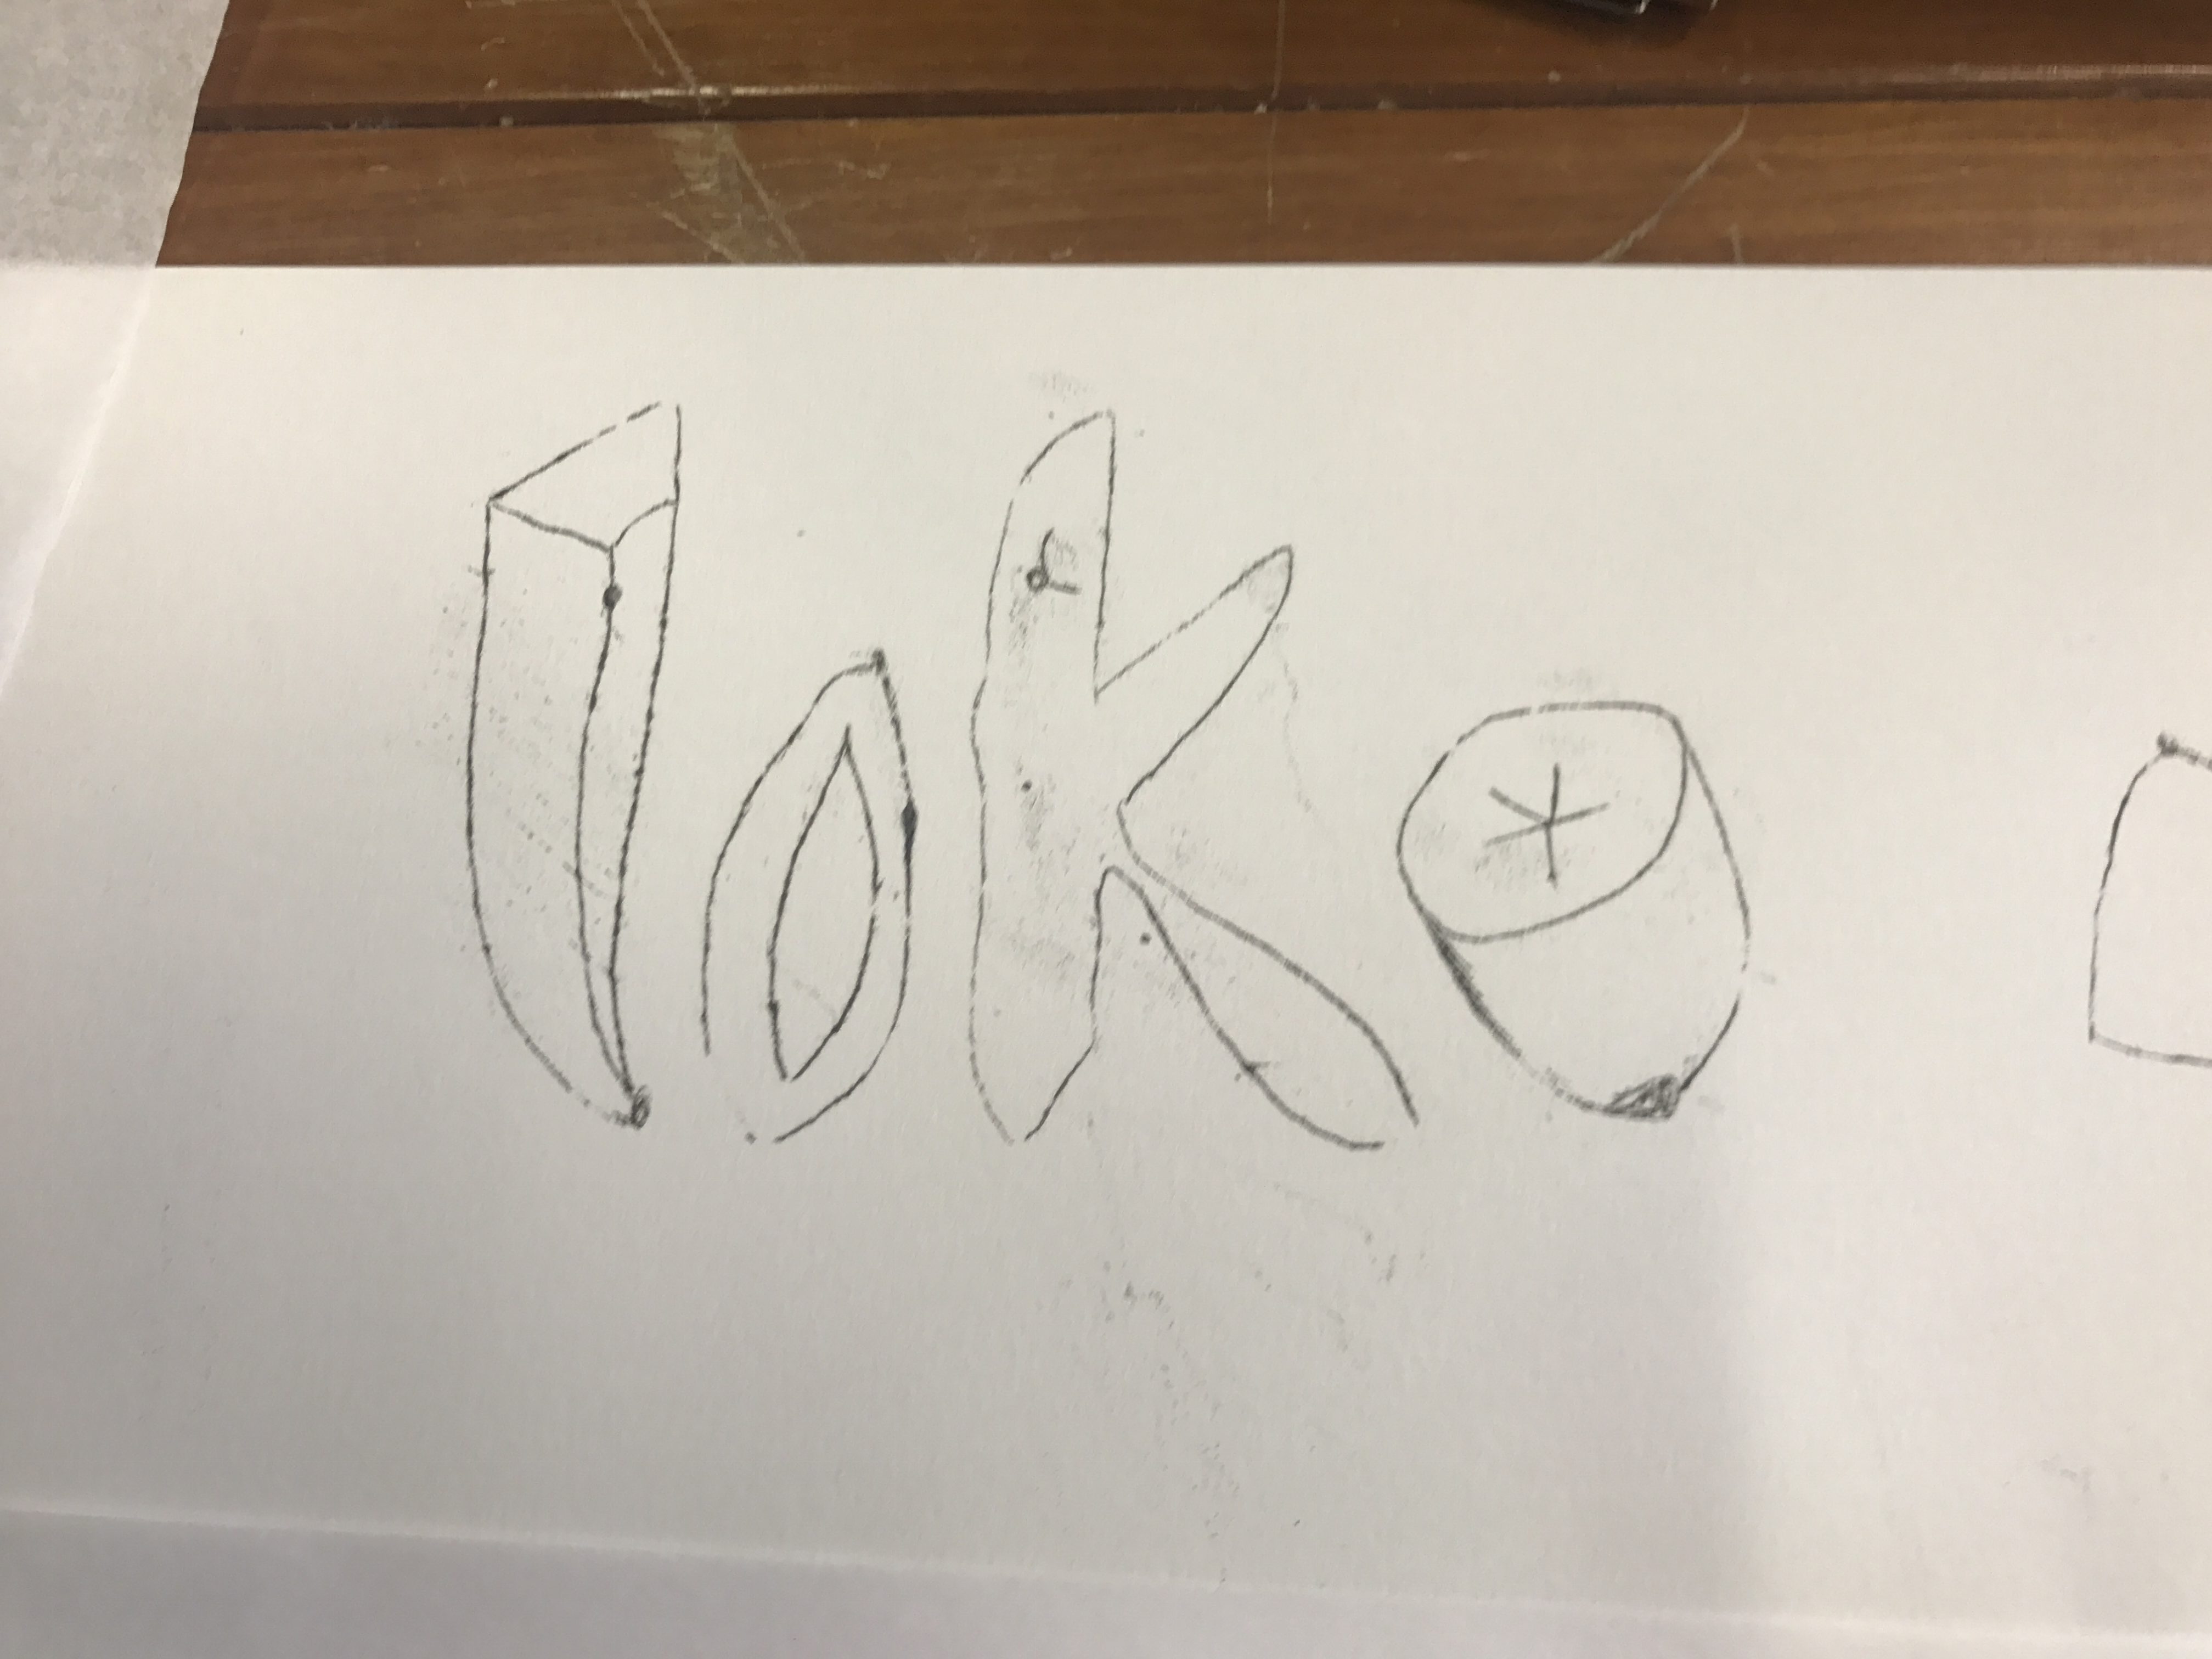
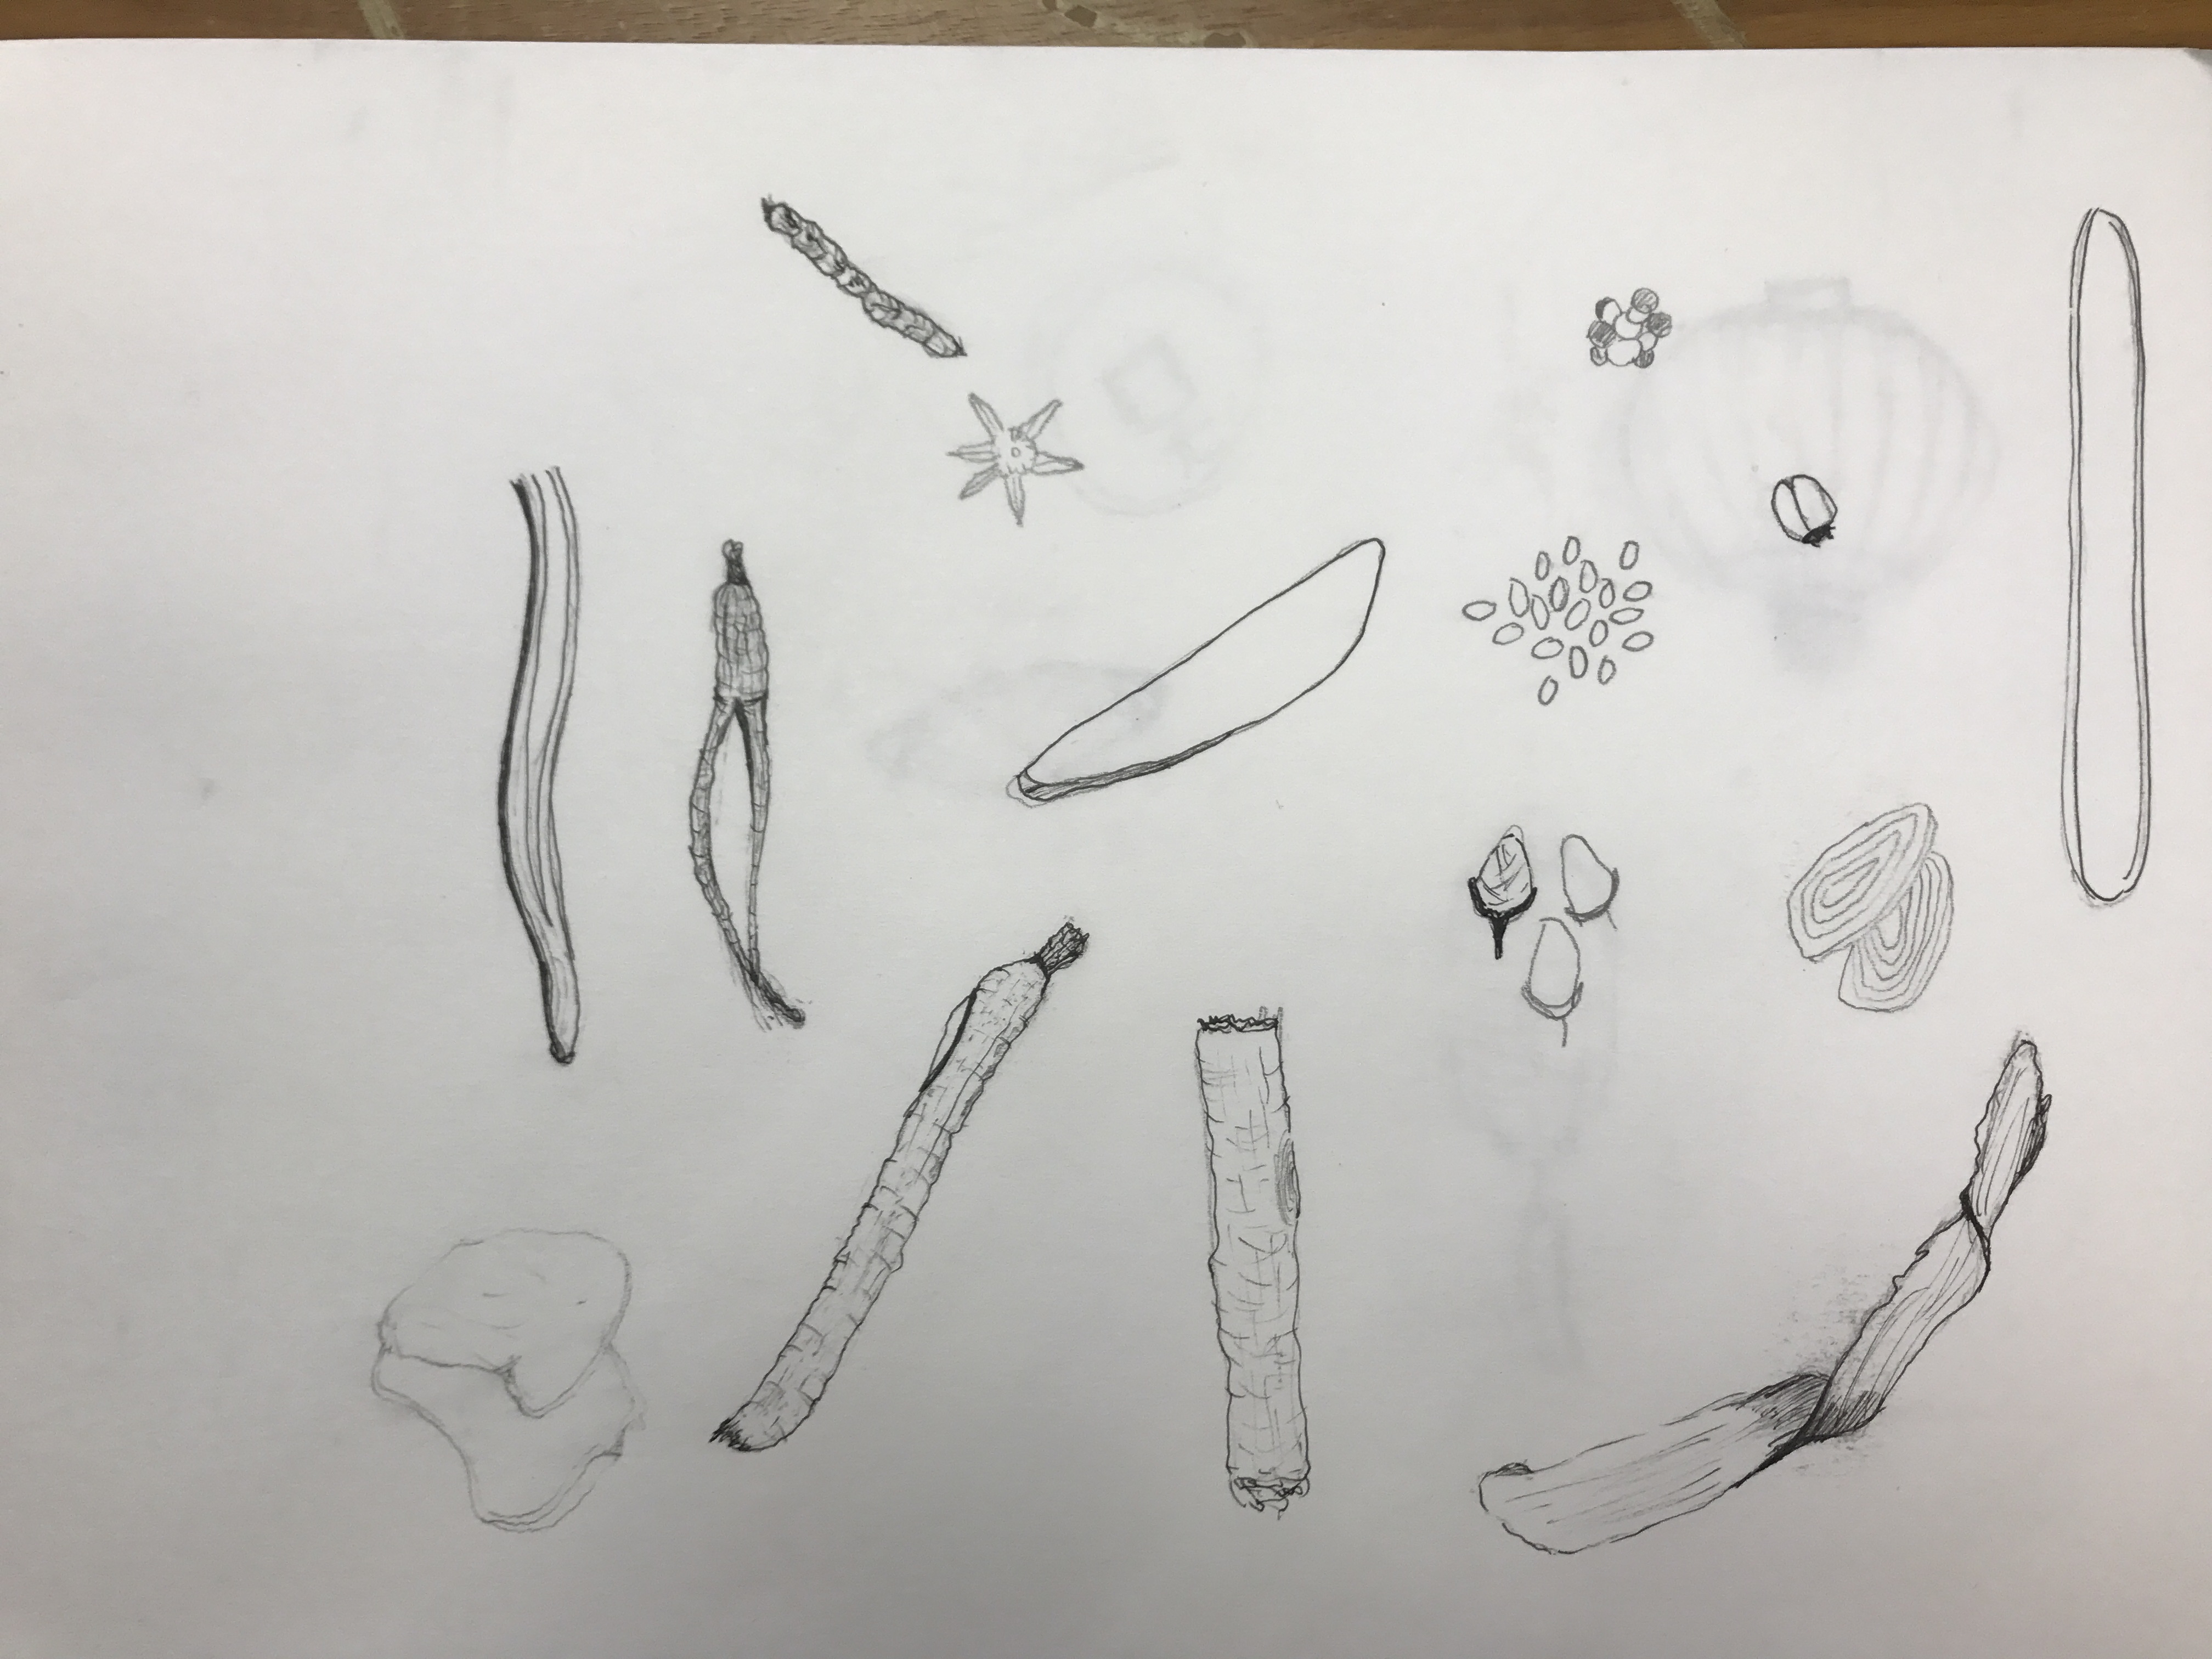
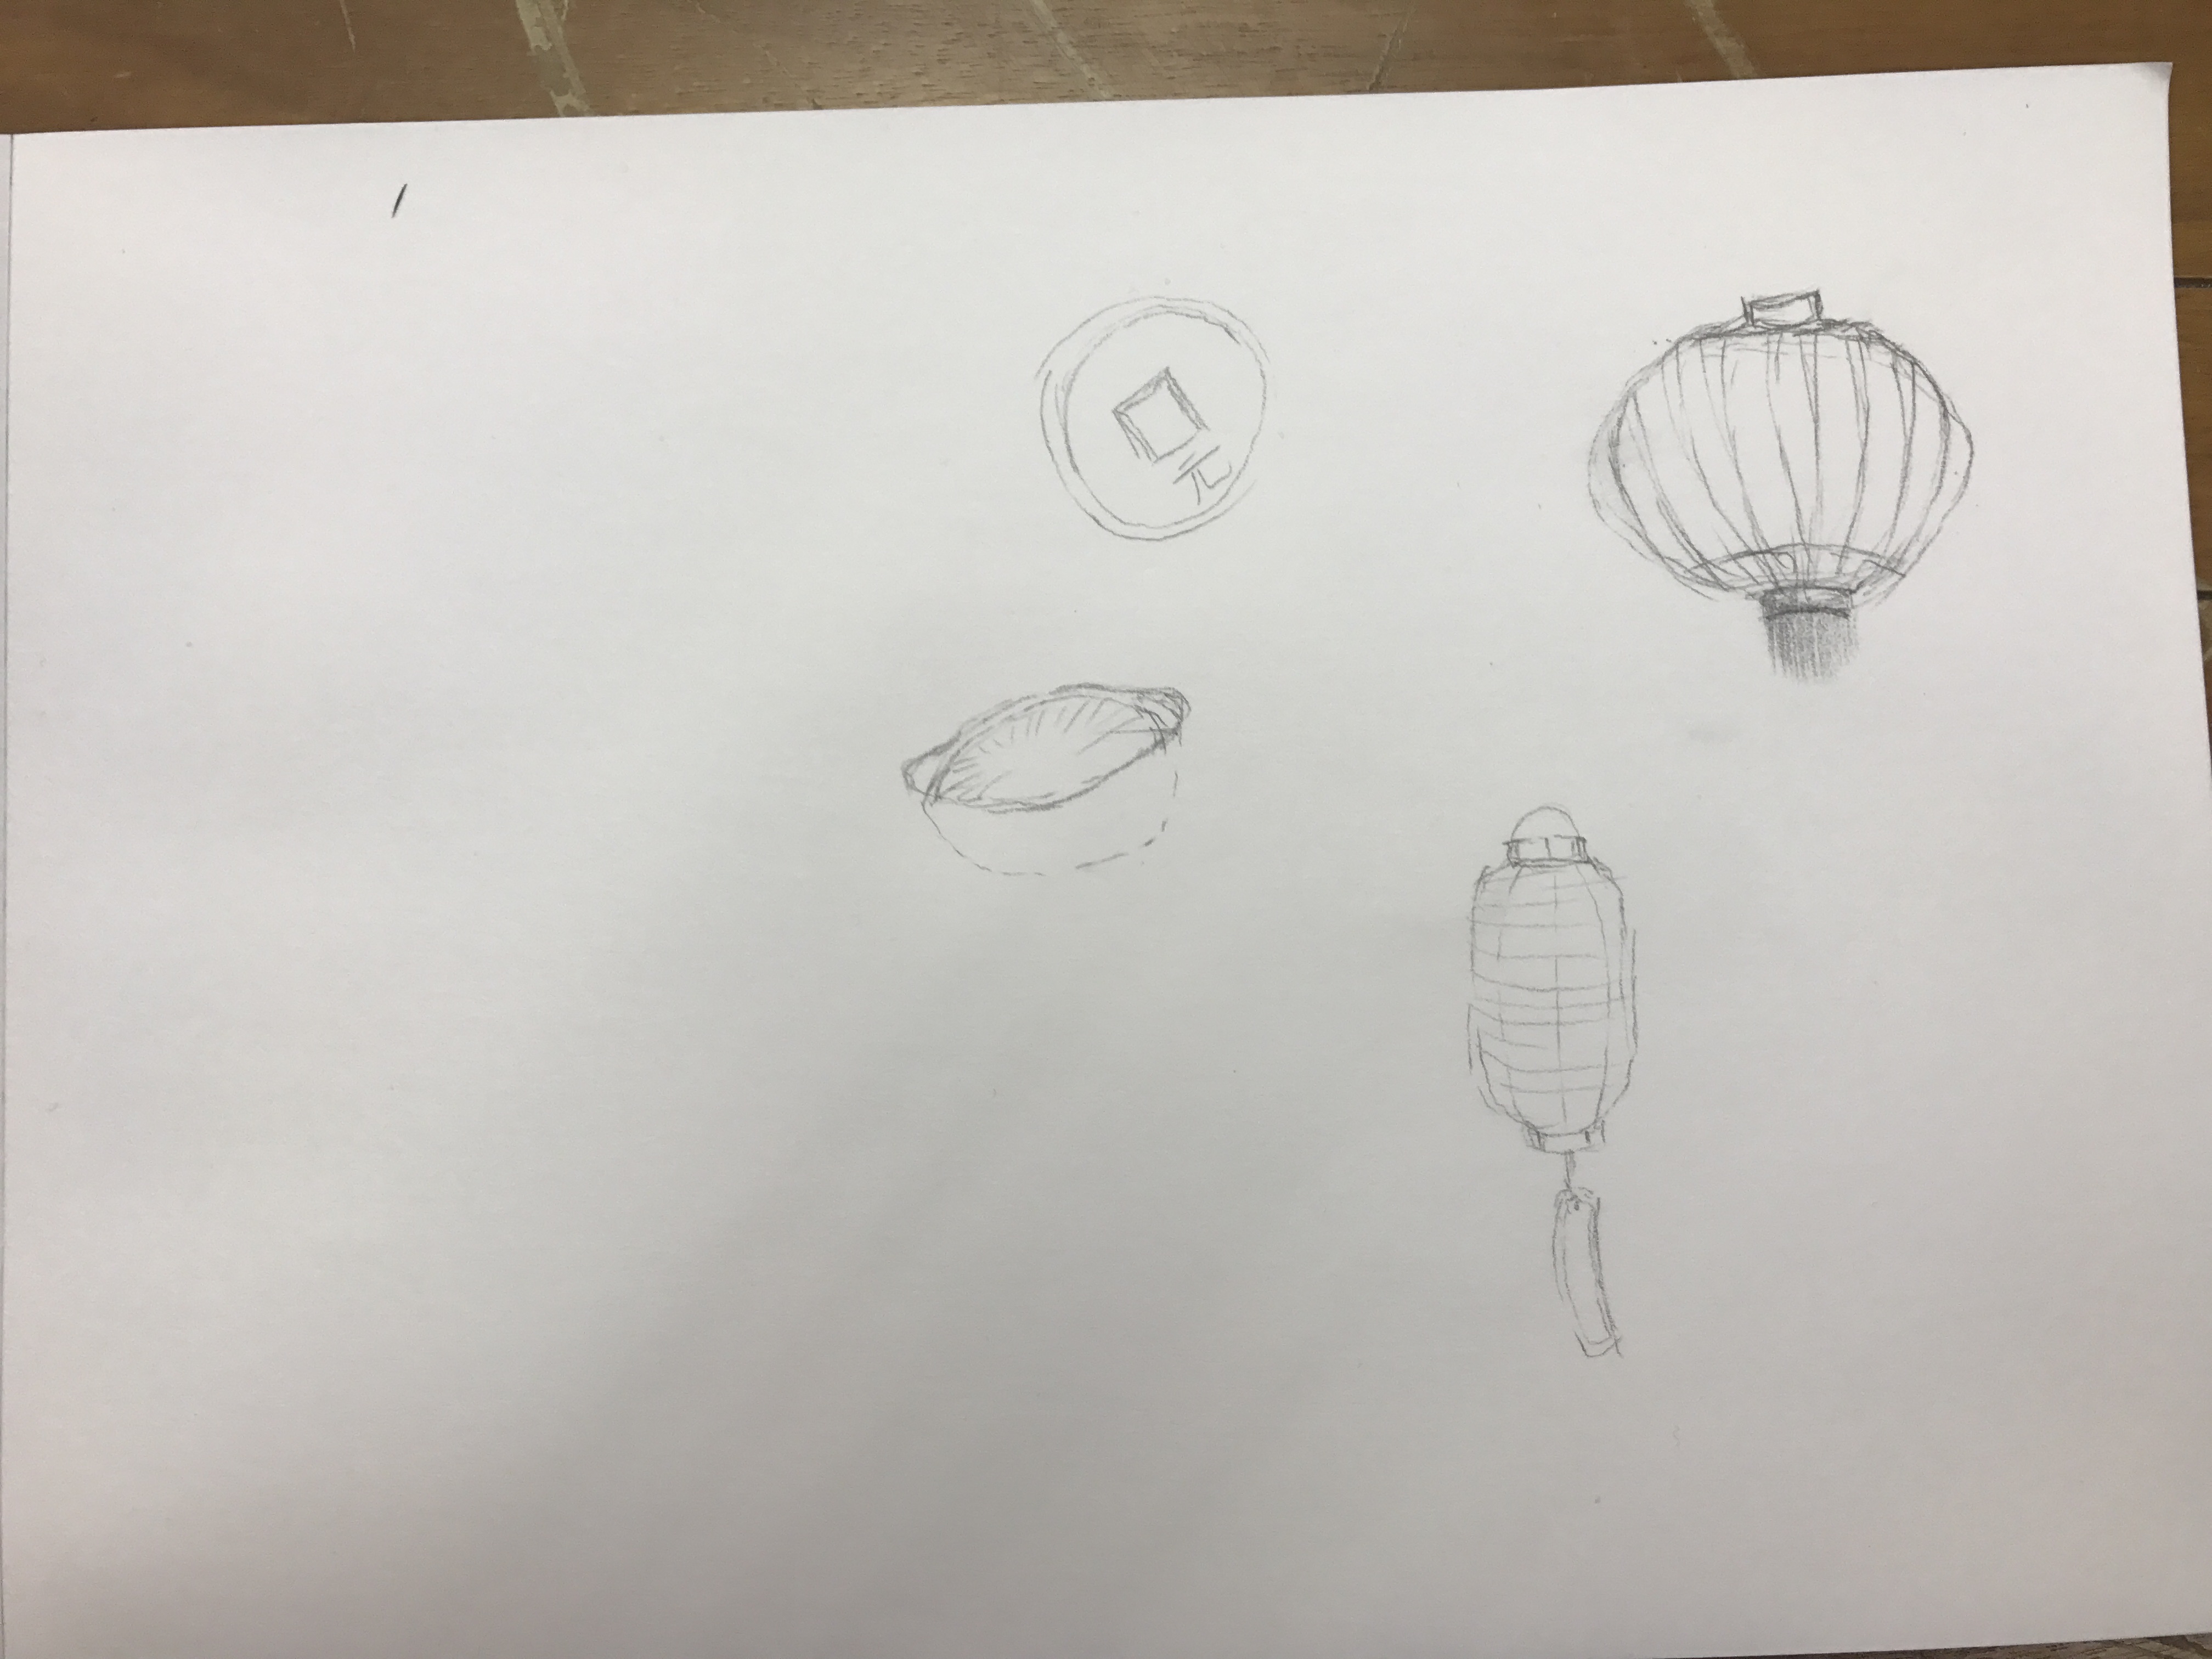
I first experimented with some drawings and a different quote which you can take a look here.
However, I felt that I wanted to change my quote and do other experimentations besides drawing a quote and creating that hand drawn type.
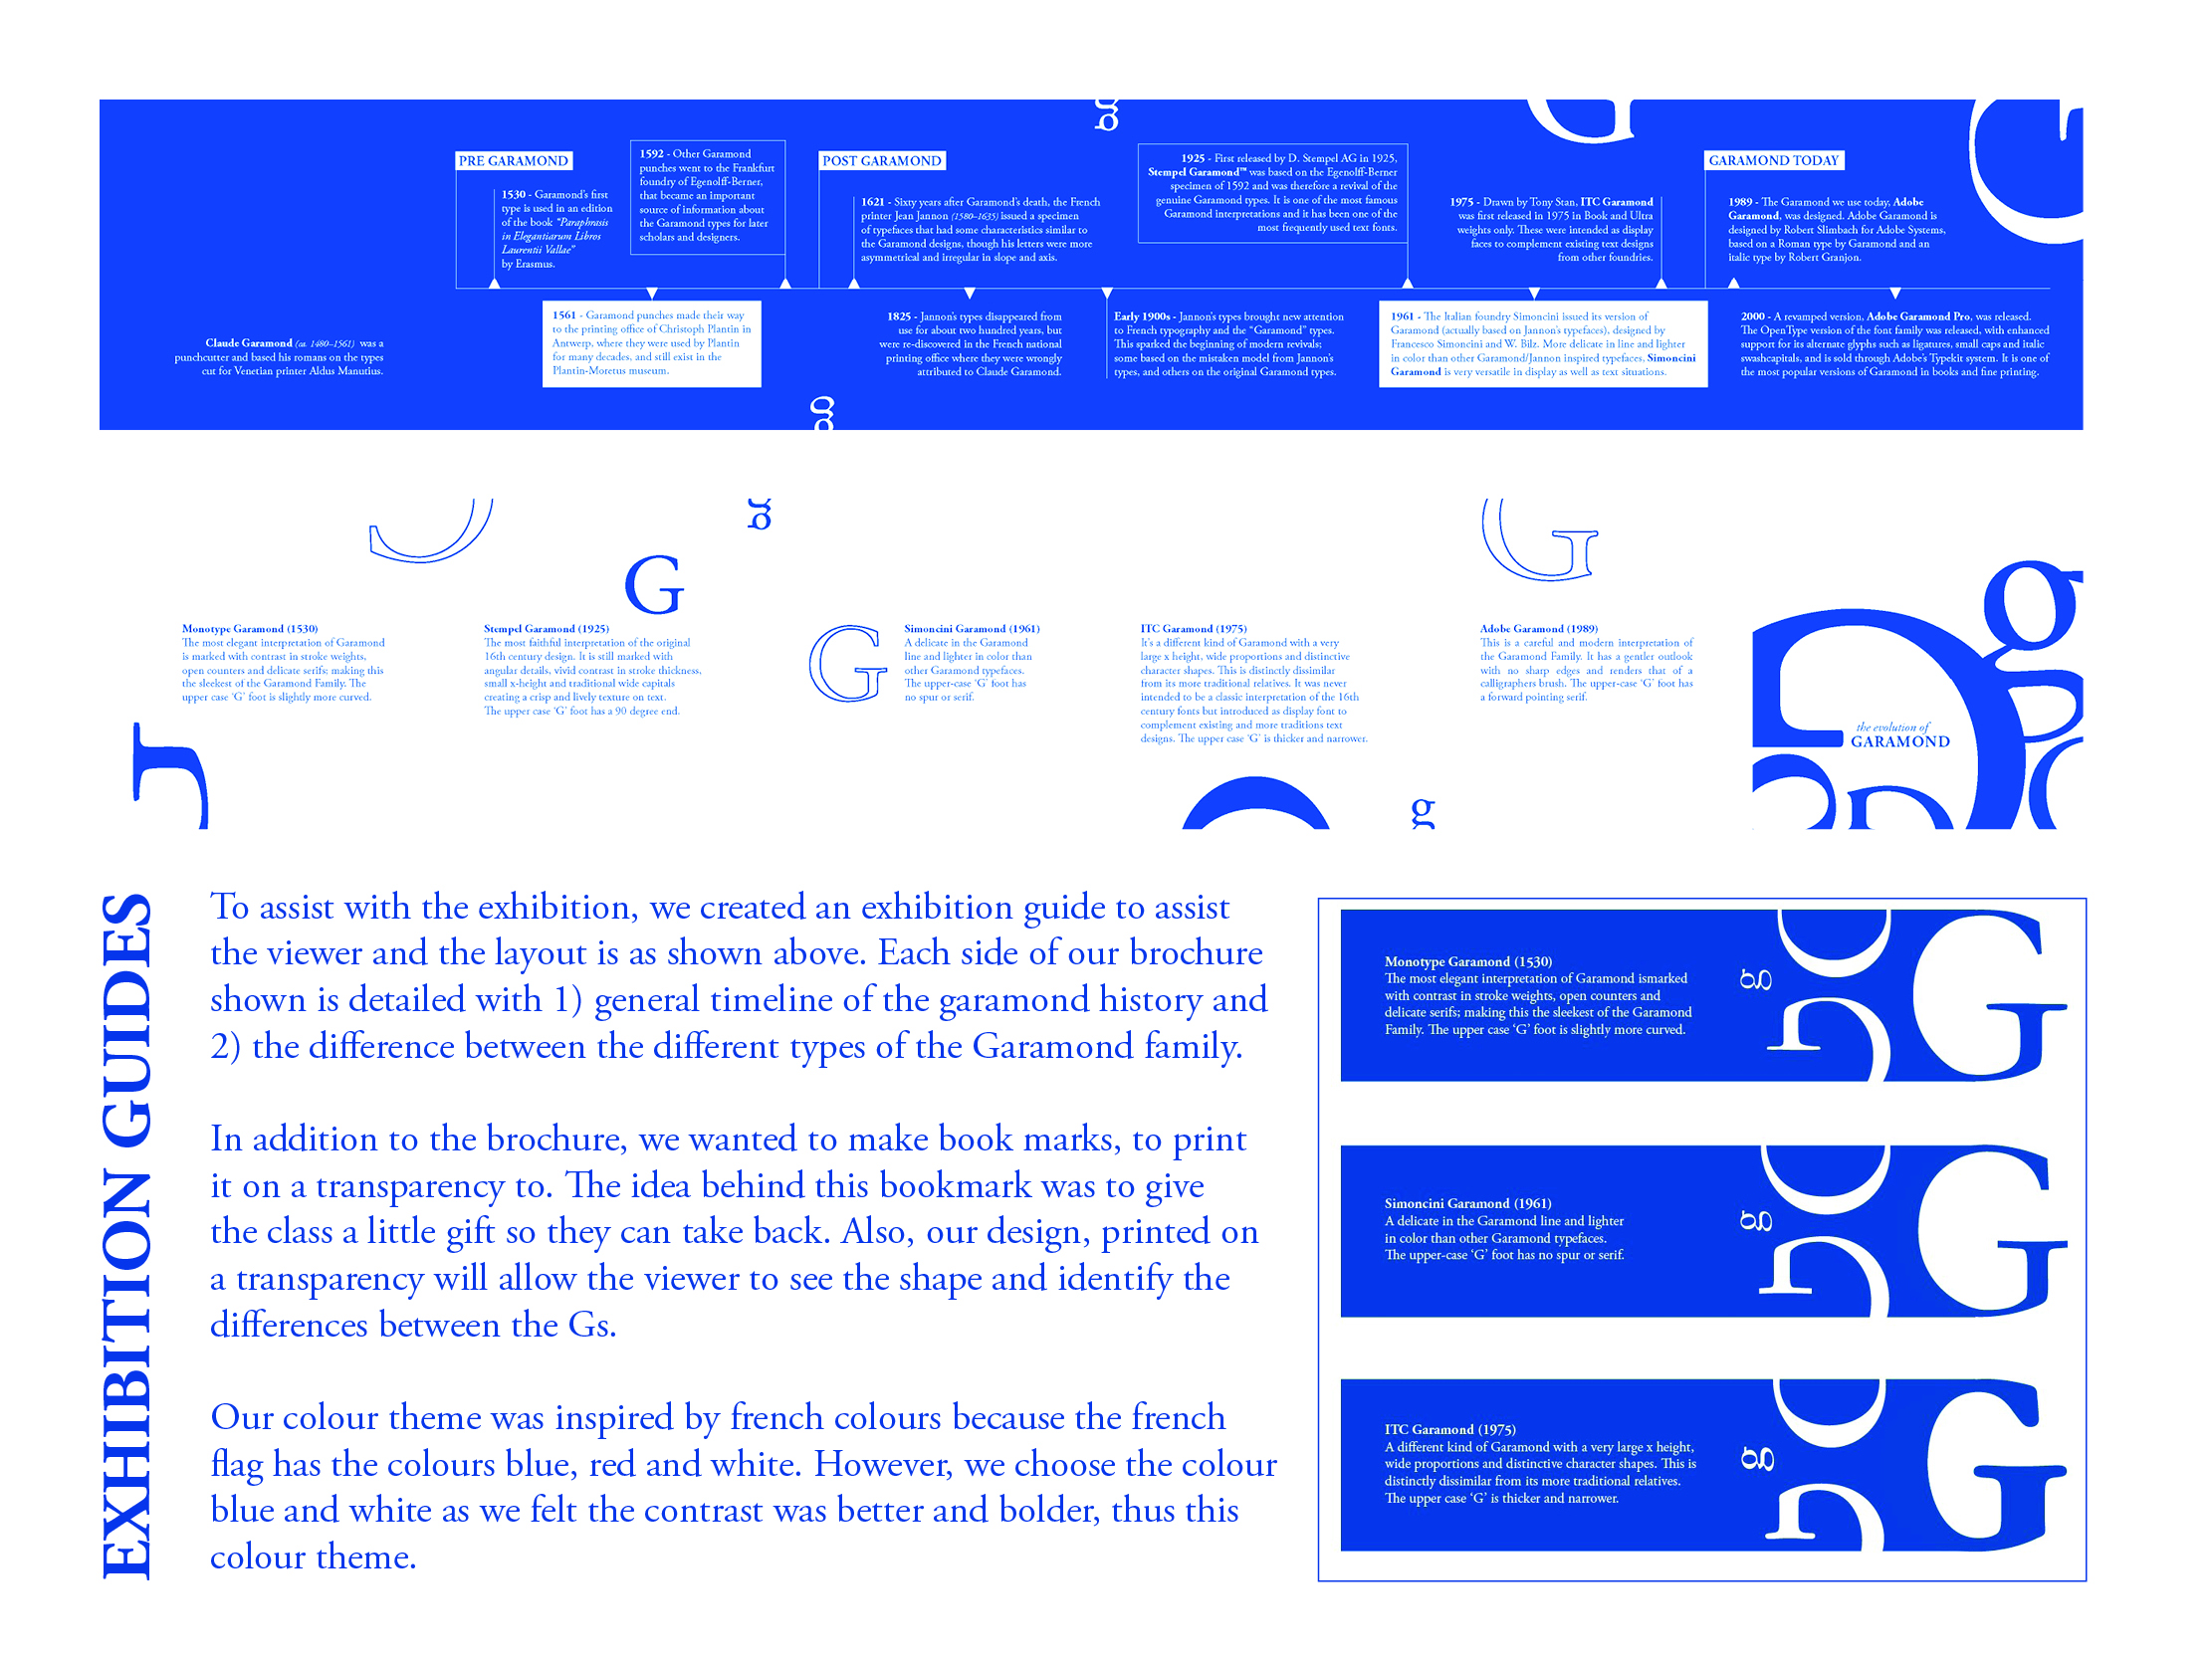
I moved to thinking about cut outs or painting. This image is of my planning the layout of a new quote that I chose. This quote is “You are what you eat” which stemmed from the original quote that I really love “I eat flowers because I am beautiful and you are what you eat.” I shortened the quote because I wanted to represent the first part of the quote by the type creation (using flowers) which I felt would give the quote a double meaning to it.
I wanted to try a cut out idea where I cut out the letters and layer flowers at the back of the type. However, I felt that it wouldn’t work out so well as much of the letters would be block letters, it would not have any variations or interesting elements to it.

My second idea was to paint and infuse flowers with it. I had some dried lavender, baby’s breath and several other flowers. I kept to a light colour palette of red, blue and white. These are the only colours used in this organic paint. I didn’t keep to a strict format but just freeform painted with a rough idea in my head of how I wanted to lay out the letters. So here is the first part of my painting where I placed the flowers on my type by layering paint on it, acting as a glue medium for it too. 
This is my final type, but I wasn’t very satisfied with it because I felt it wasn’t consistent and it wasn’t the ‘perfect’ type form that I could create. But I showed Shirley this and she seemed to like it and told me to go ahead with my application. What I learnt from this was that organic forms need not be perfect and you can find perfection from its imperfections. I learnt to appreciate what I created and grew to like it even though I know it isn’t perfect or the best, but it had a very raw feel to it. Furthermore, I was very satisfied with the play of colours and how I mixed the colours to create this colour palette. 
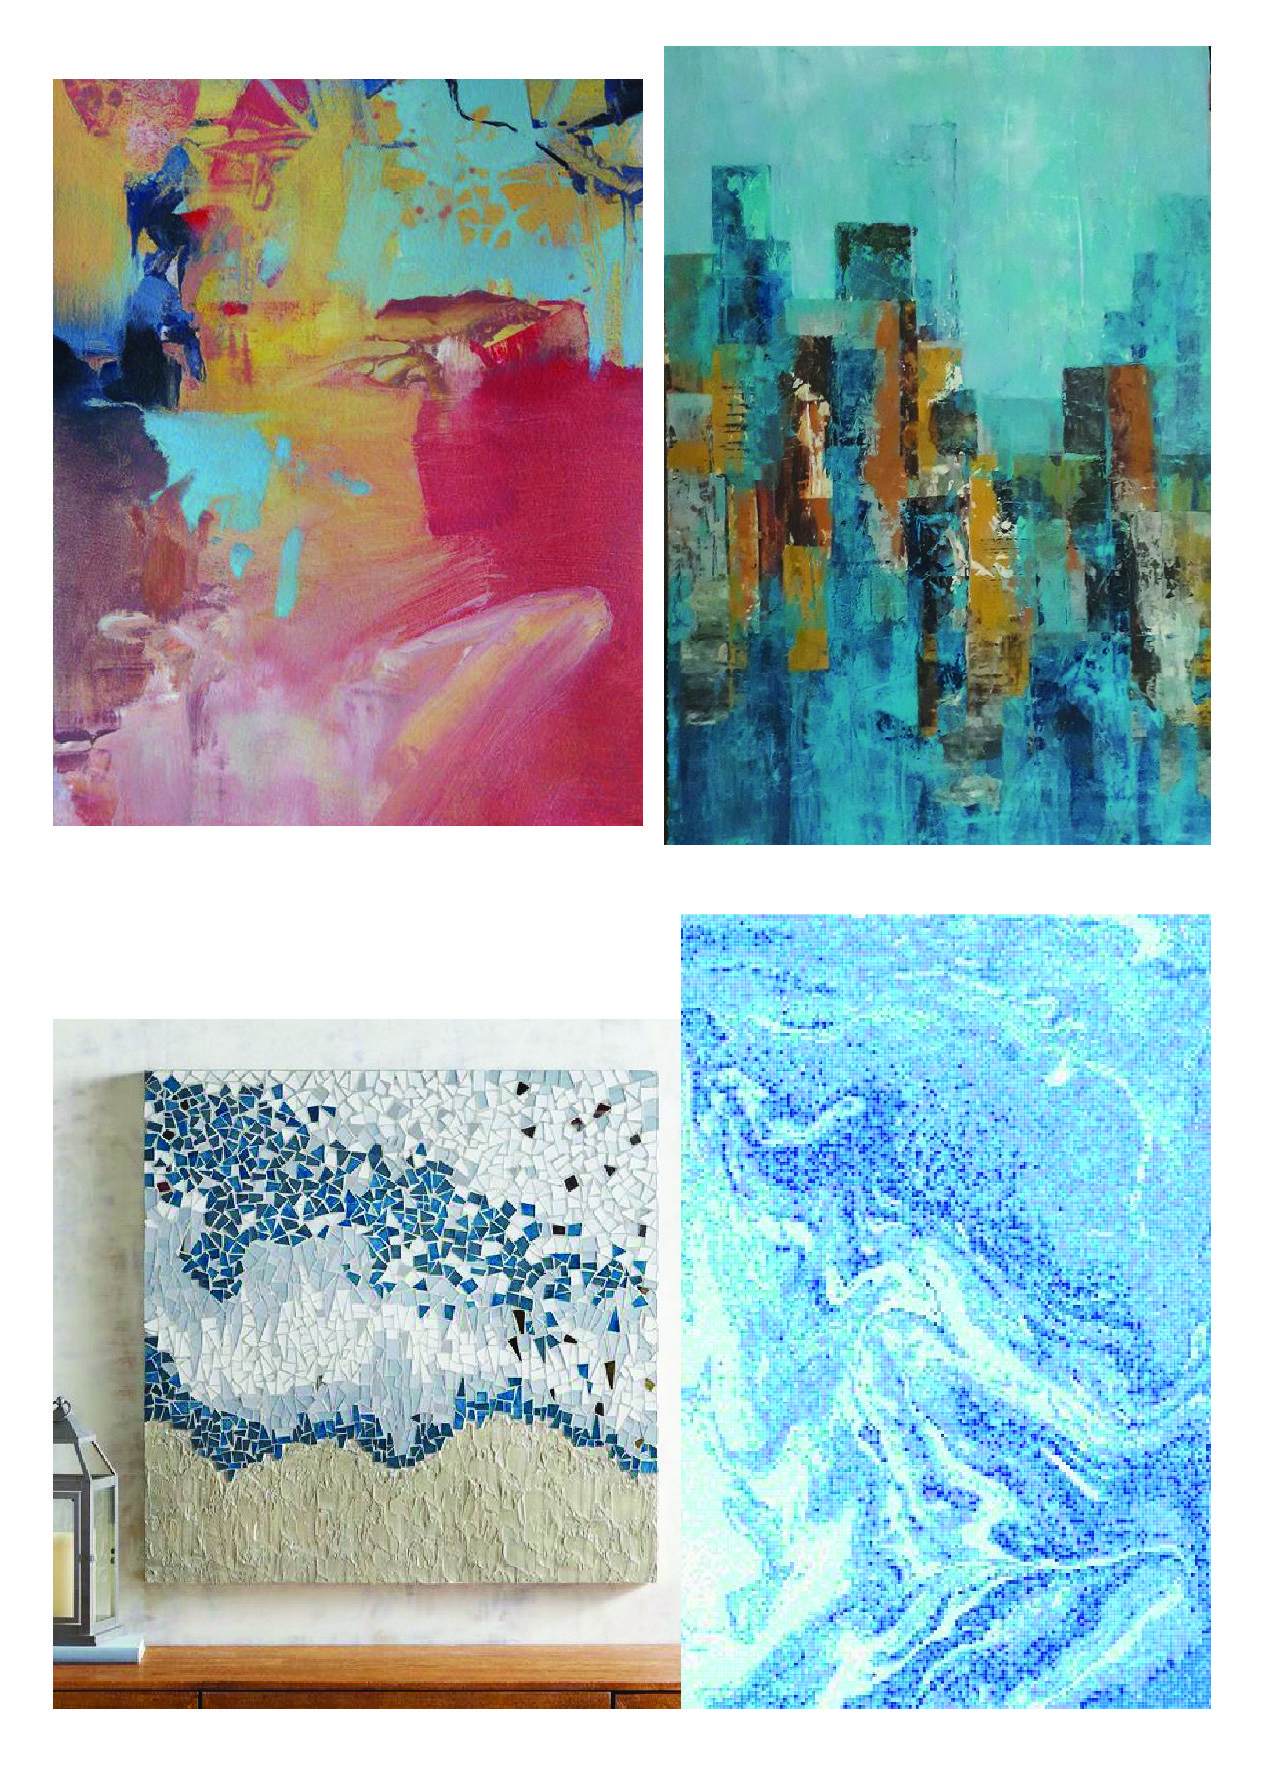
At the same time of this painting, I painted an abstract painting of similar colour tones in case I wanted to use it for any applications of further back my organic type up. I created it but little did I know I was actually going to use it in my application of this type.
This is my final poster. I chose a dark purple background as I felt it compliments the light and pastel colours here. It brought out the flowers and the pop of the lettering.

For my application, I was thinking of labelings or designs for flower tea or tea bags because of the flower theme and original quote, however Shirley suggested a cupcake box or box for food, so I decided to experiment with that too.
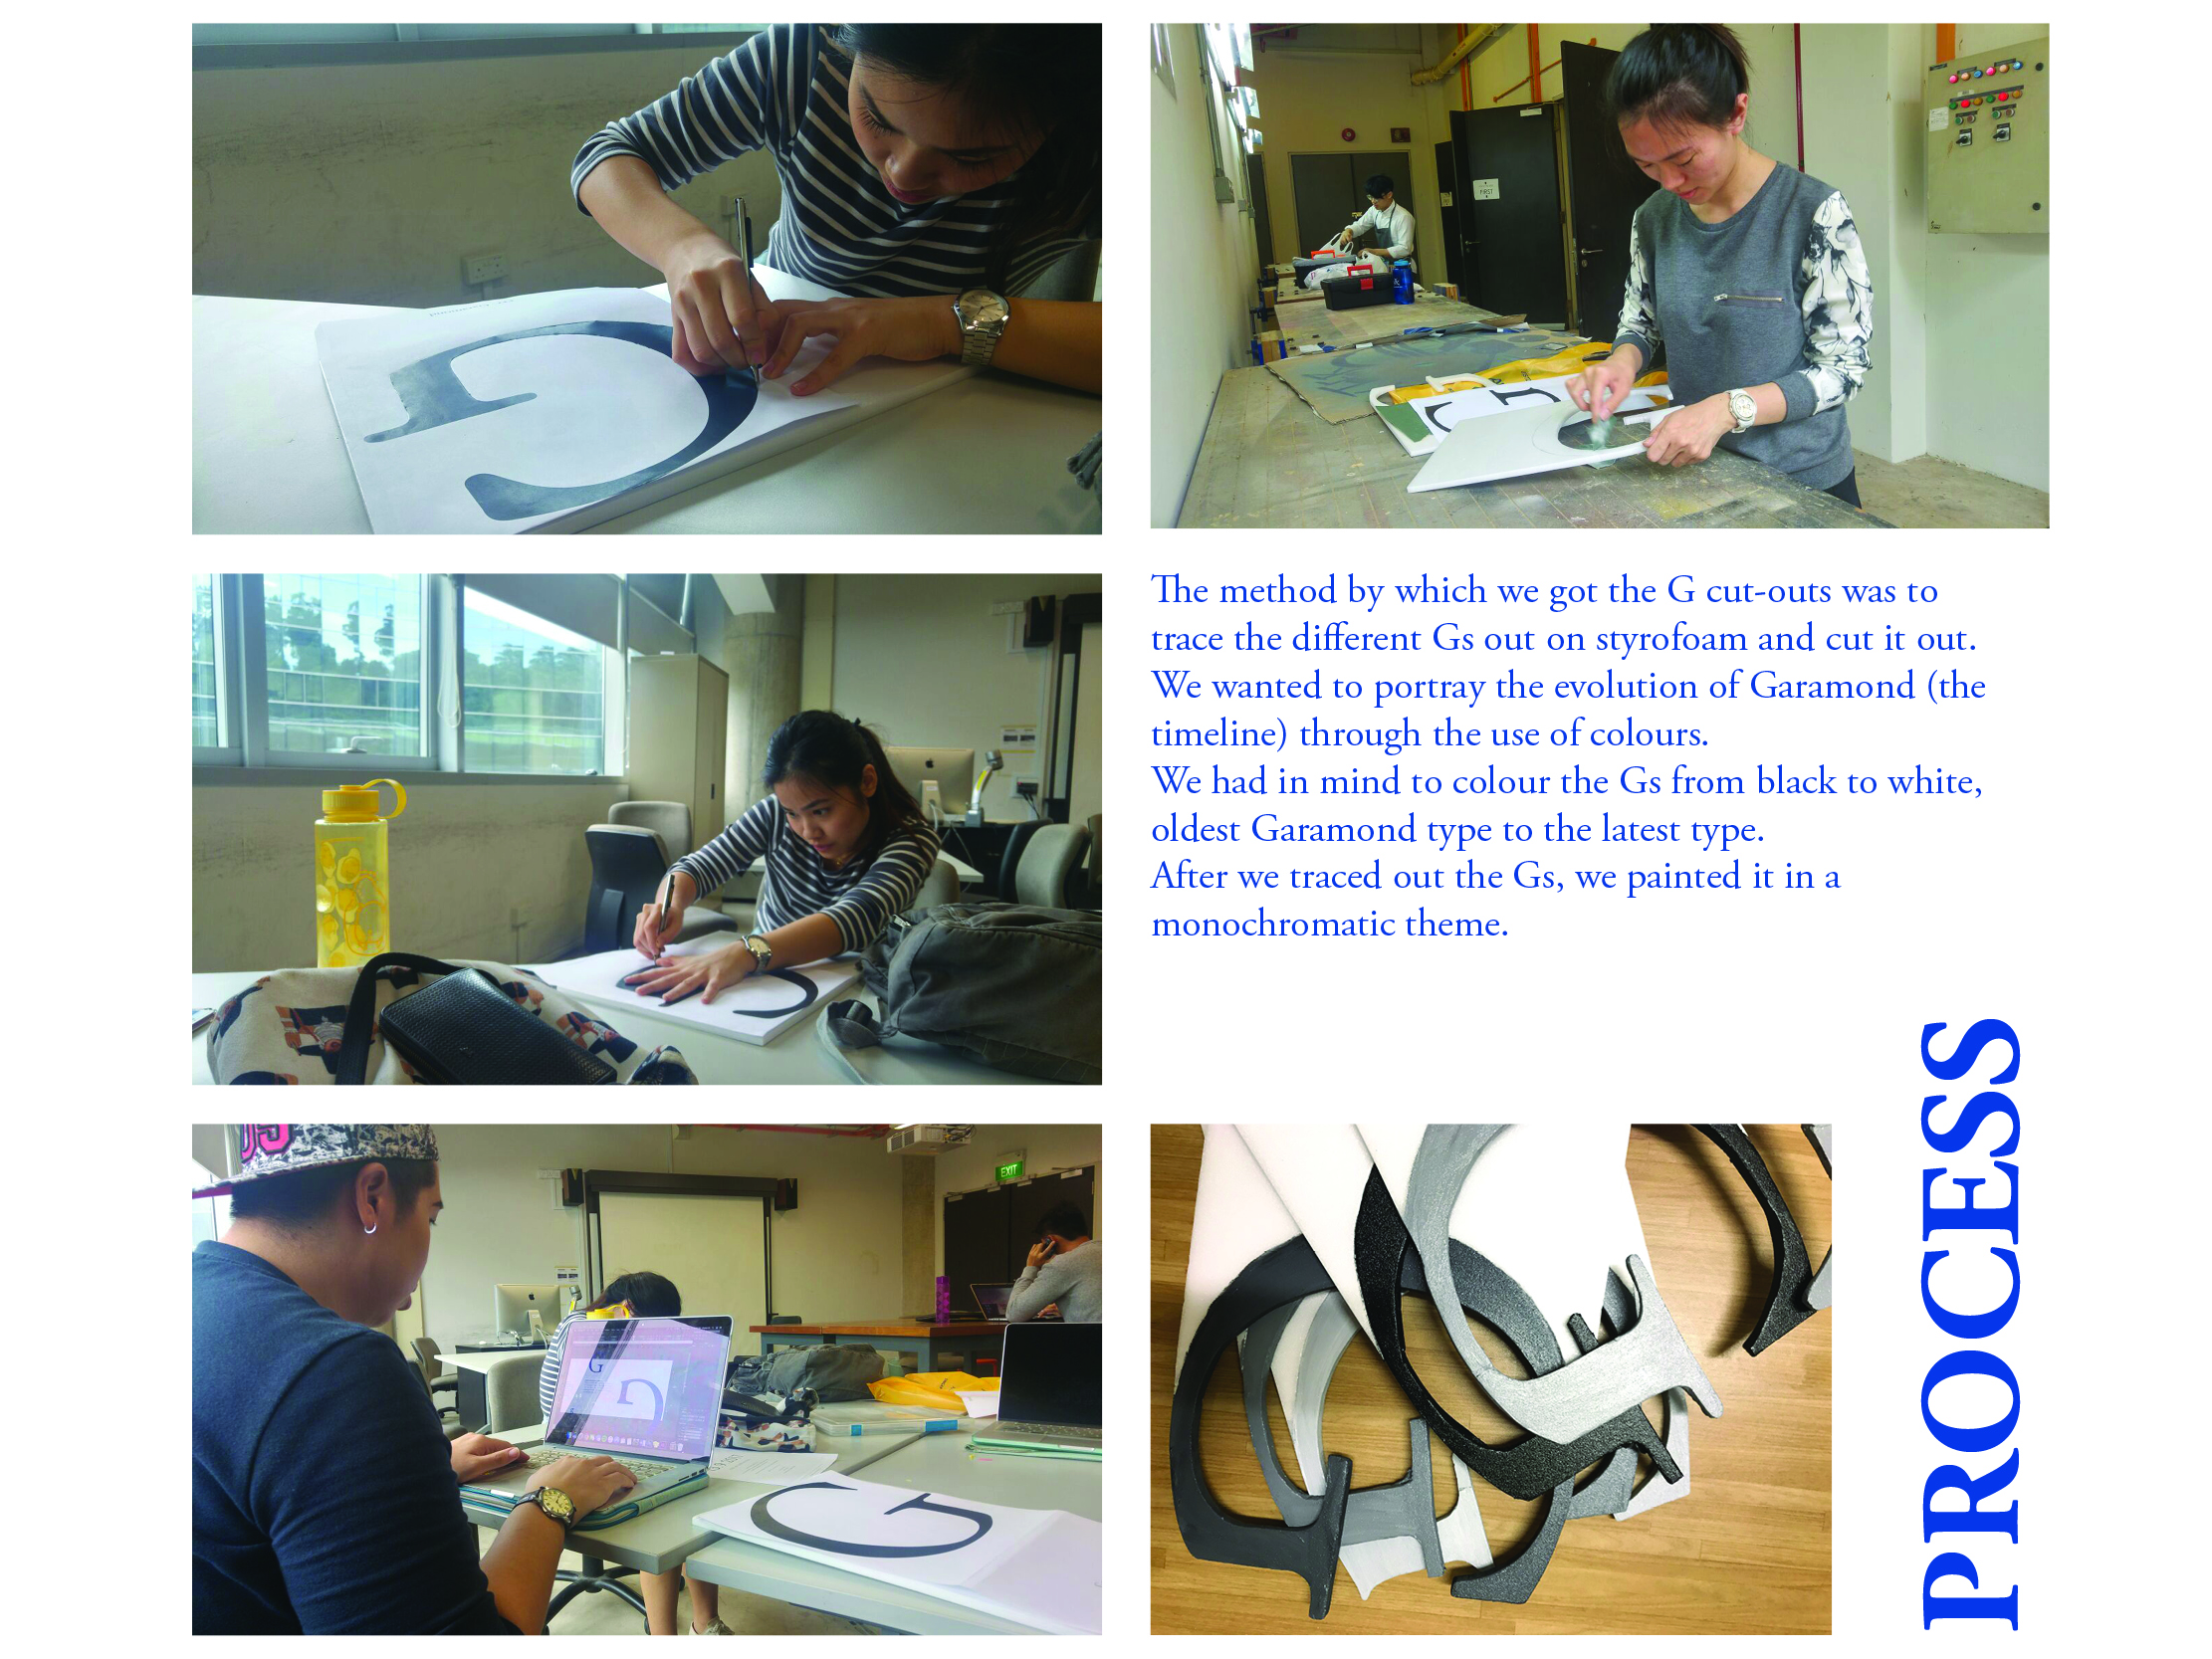
I printed out some samples to find which kind of box I wanted, what dimensions were needed to create the actual cupcake box.


I felt this was the best sizing however I also had to alter its dimensions because I wanted a transparent panel where the quote would be shown and I wanted the cupcake box to be standing vertically and not sitted horizontally.

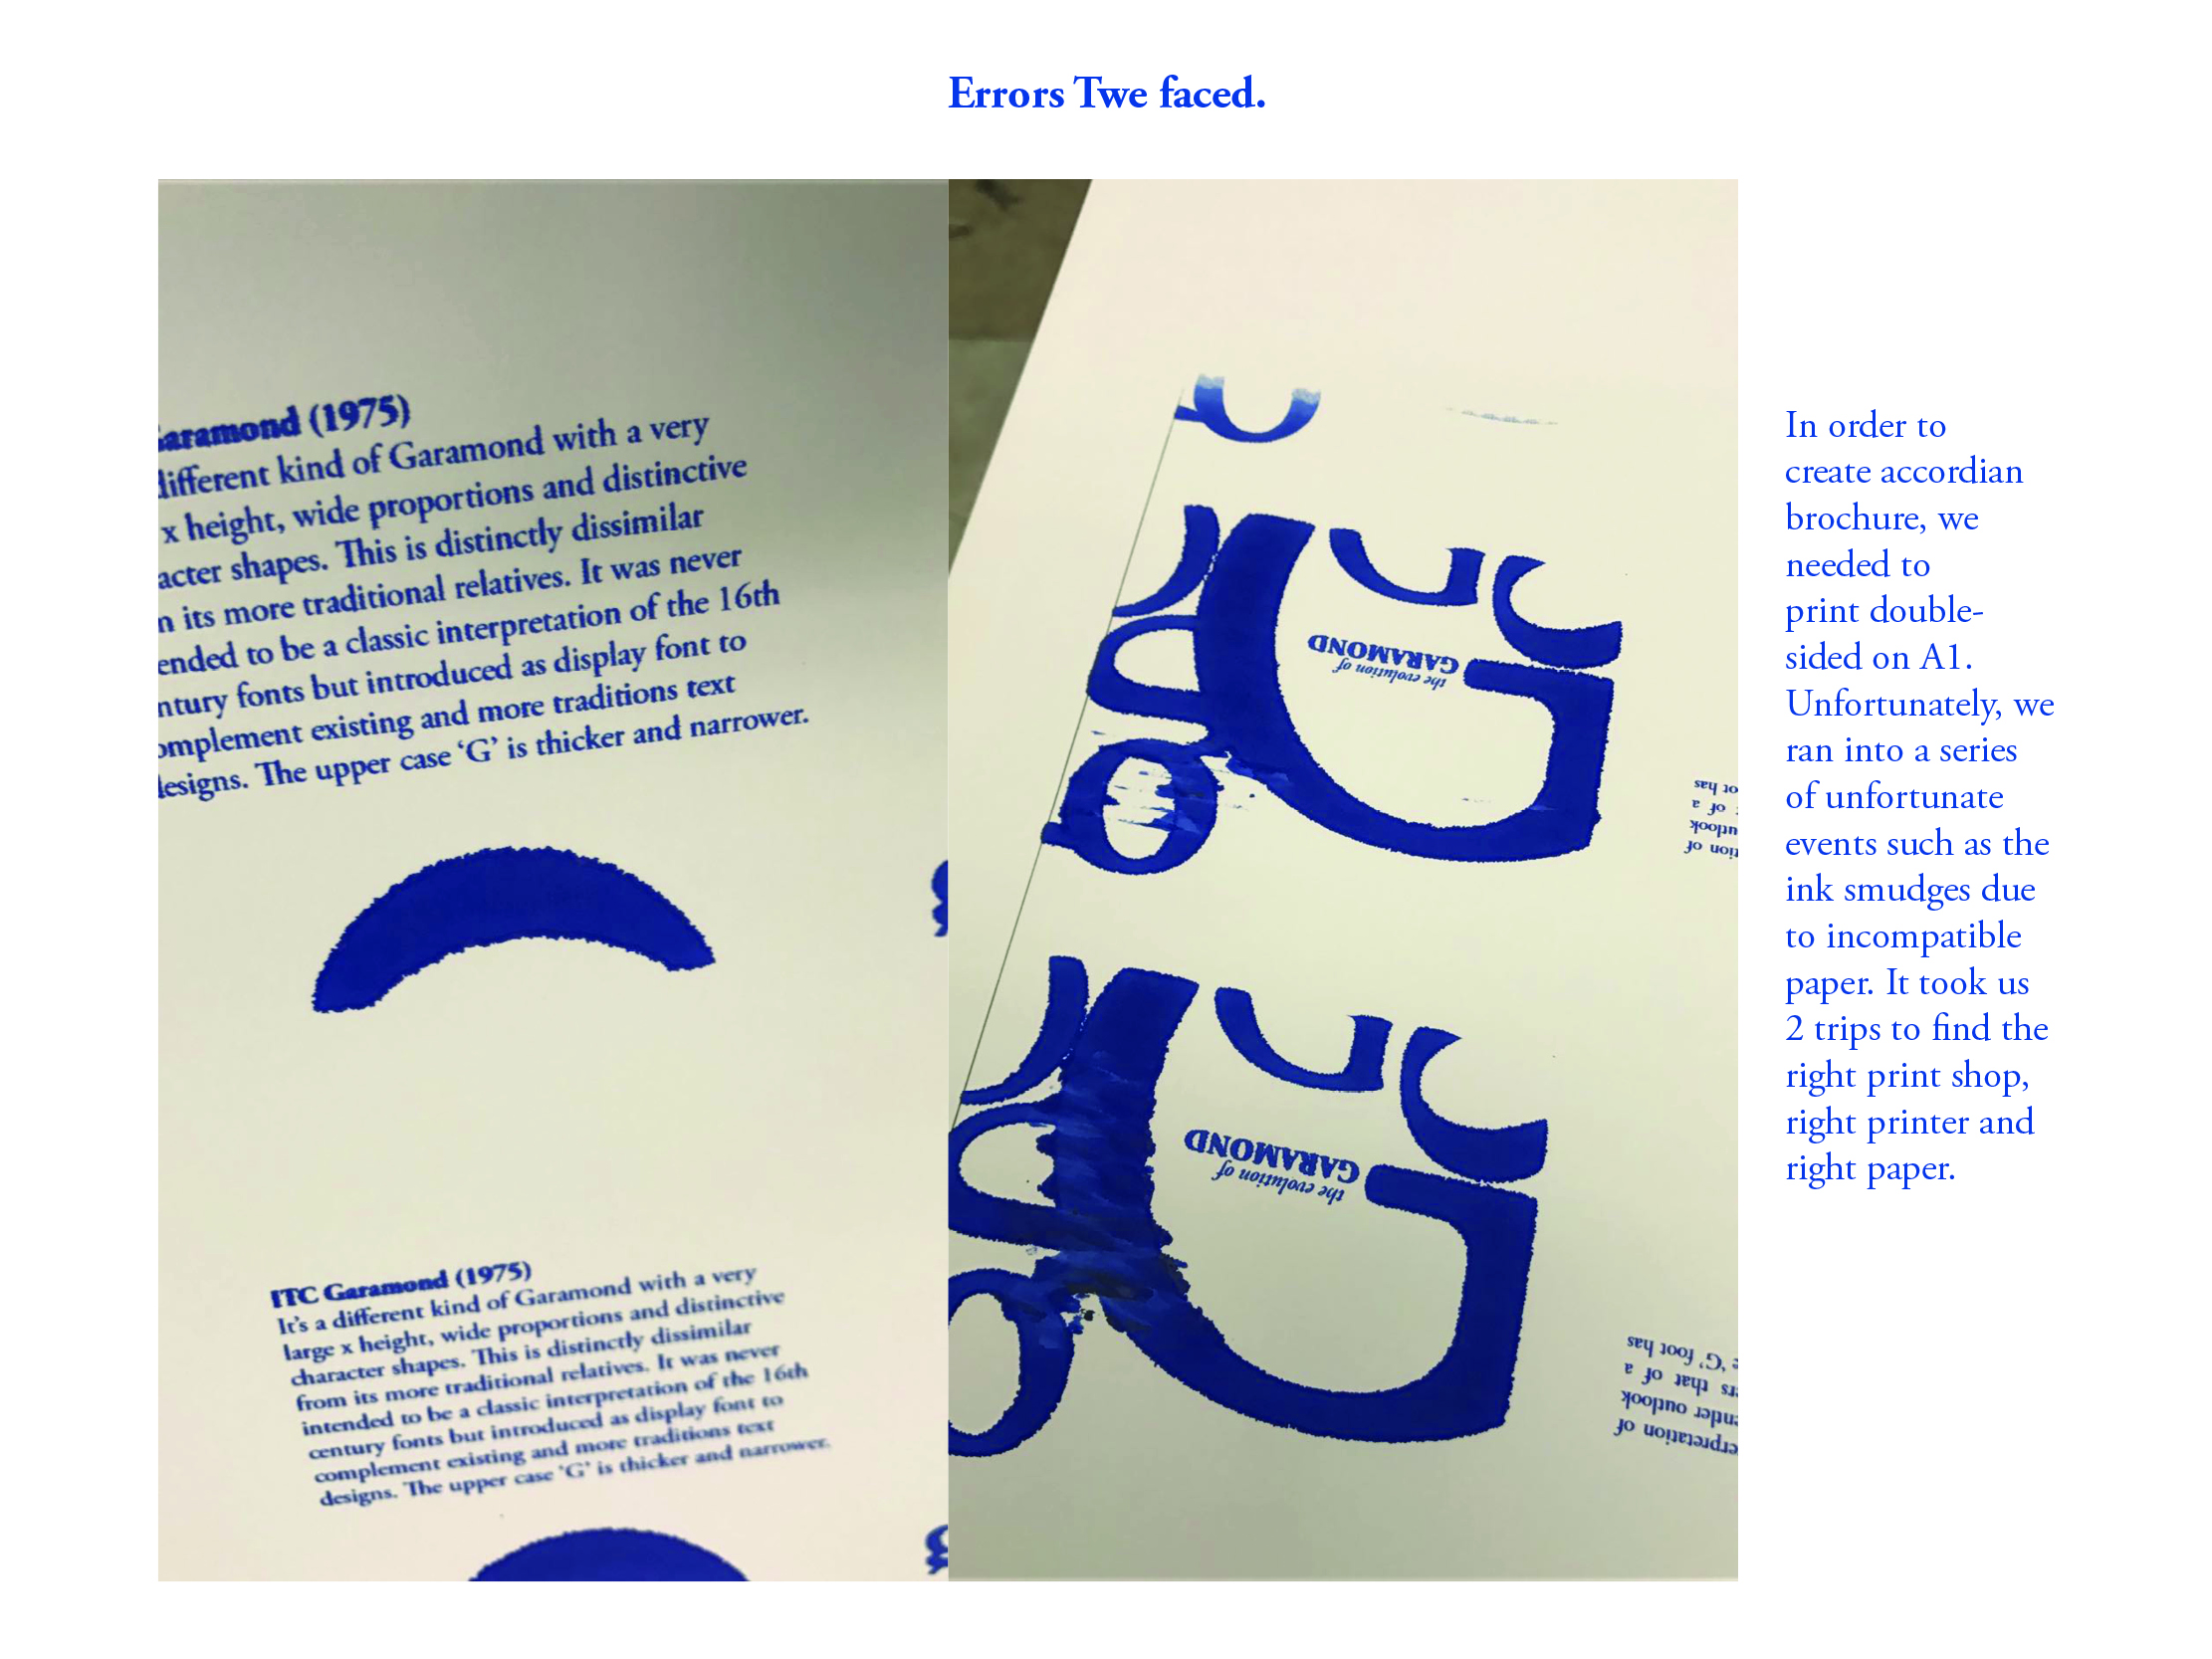
Here, I drew out my own template of the box and adjusted the adjustments which was adapted from the above template. I created a panel to print the quote on transparency to lay over my box so you can see through and see the contents. For the pattern, I colour manipulated and edited my painting to fit the colour scheme slightly better and thus used it for the design of the cupcake box.

Here’s is the final product of the cup cake box with the quote imprinted on the transparent panel of the box.

Here are my other applications:
1, box
2, Flower tea label
3, Make up: Lipgloss and eyeshadow labelling and design
I chose to do a design for for make up because I thought the colour scheme fitted into it very well. Initially, I couldn’t think of more applications but then I thought then since make up is something used constantly and “consumed” externally, so I thought it was an apt quote and design to use on the products. So I used the same designs and layout and created the make up for both the lipgloss and eyeshadow palette.
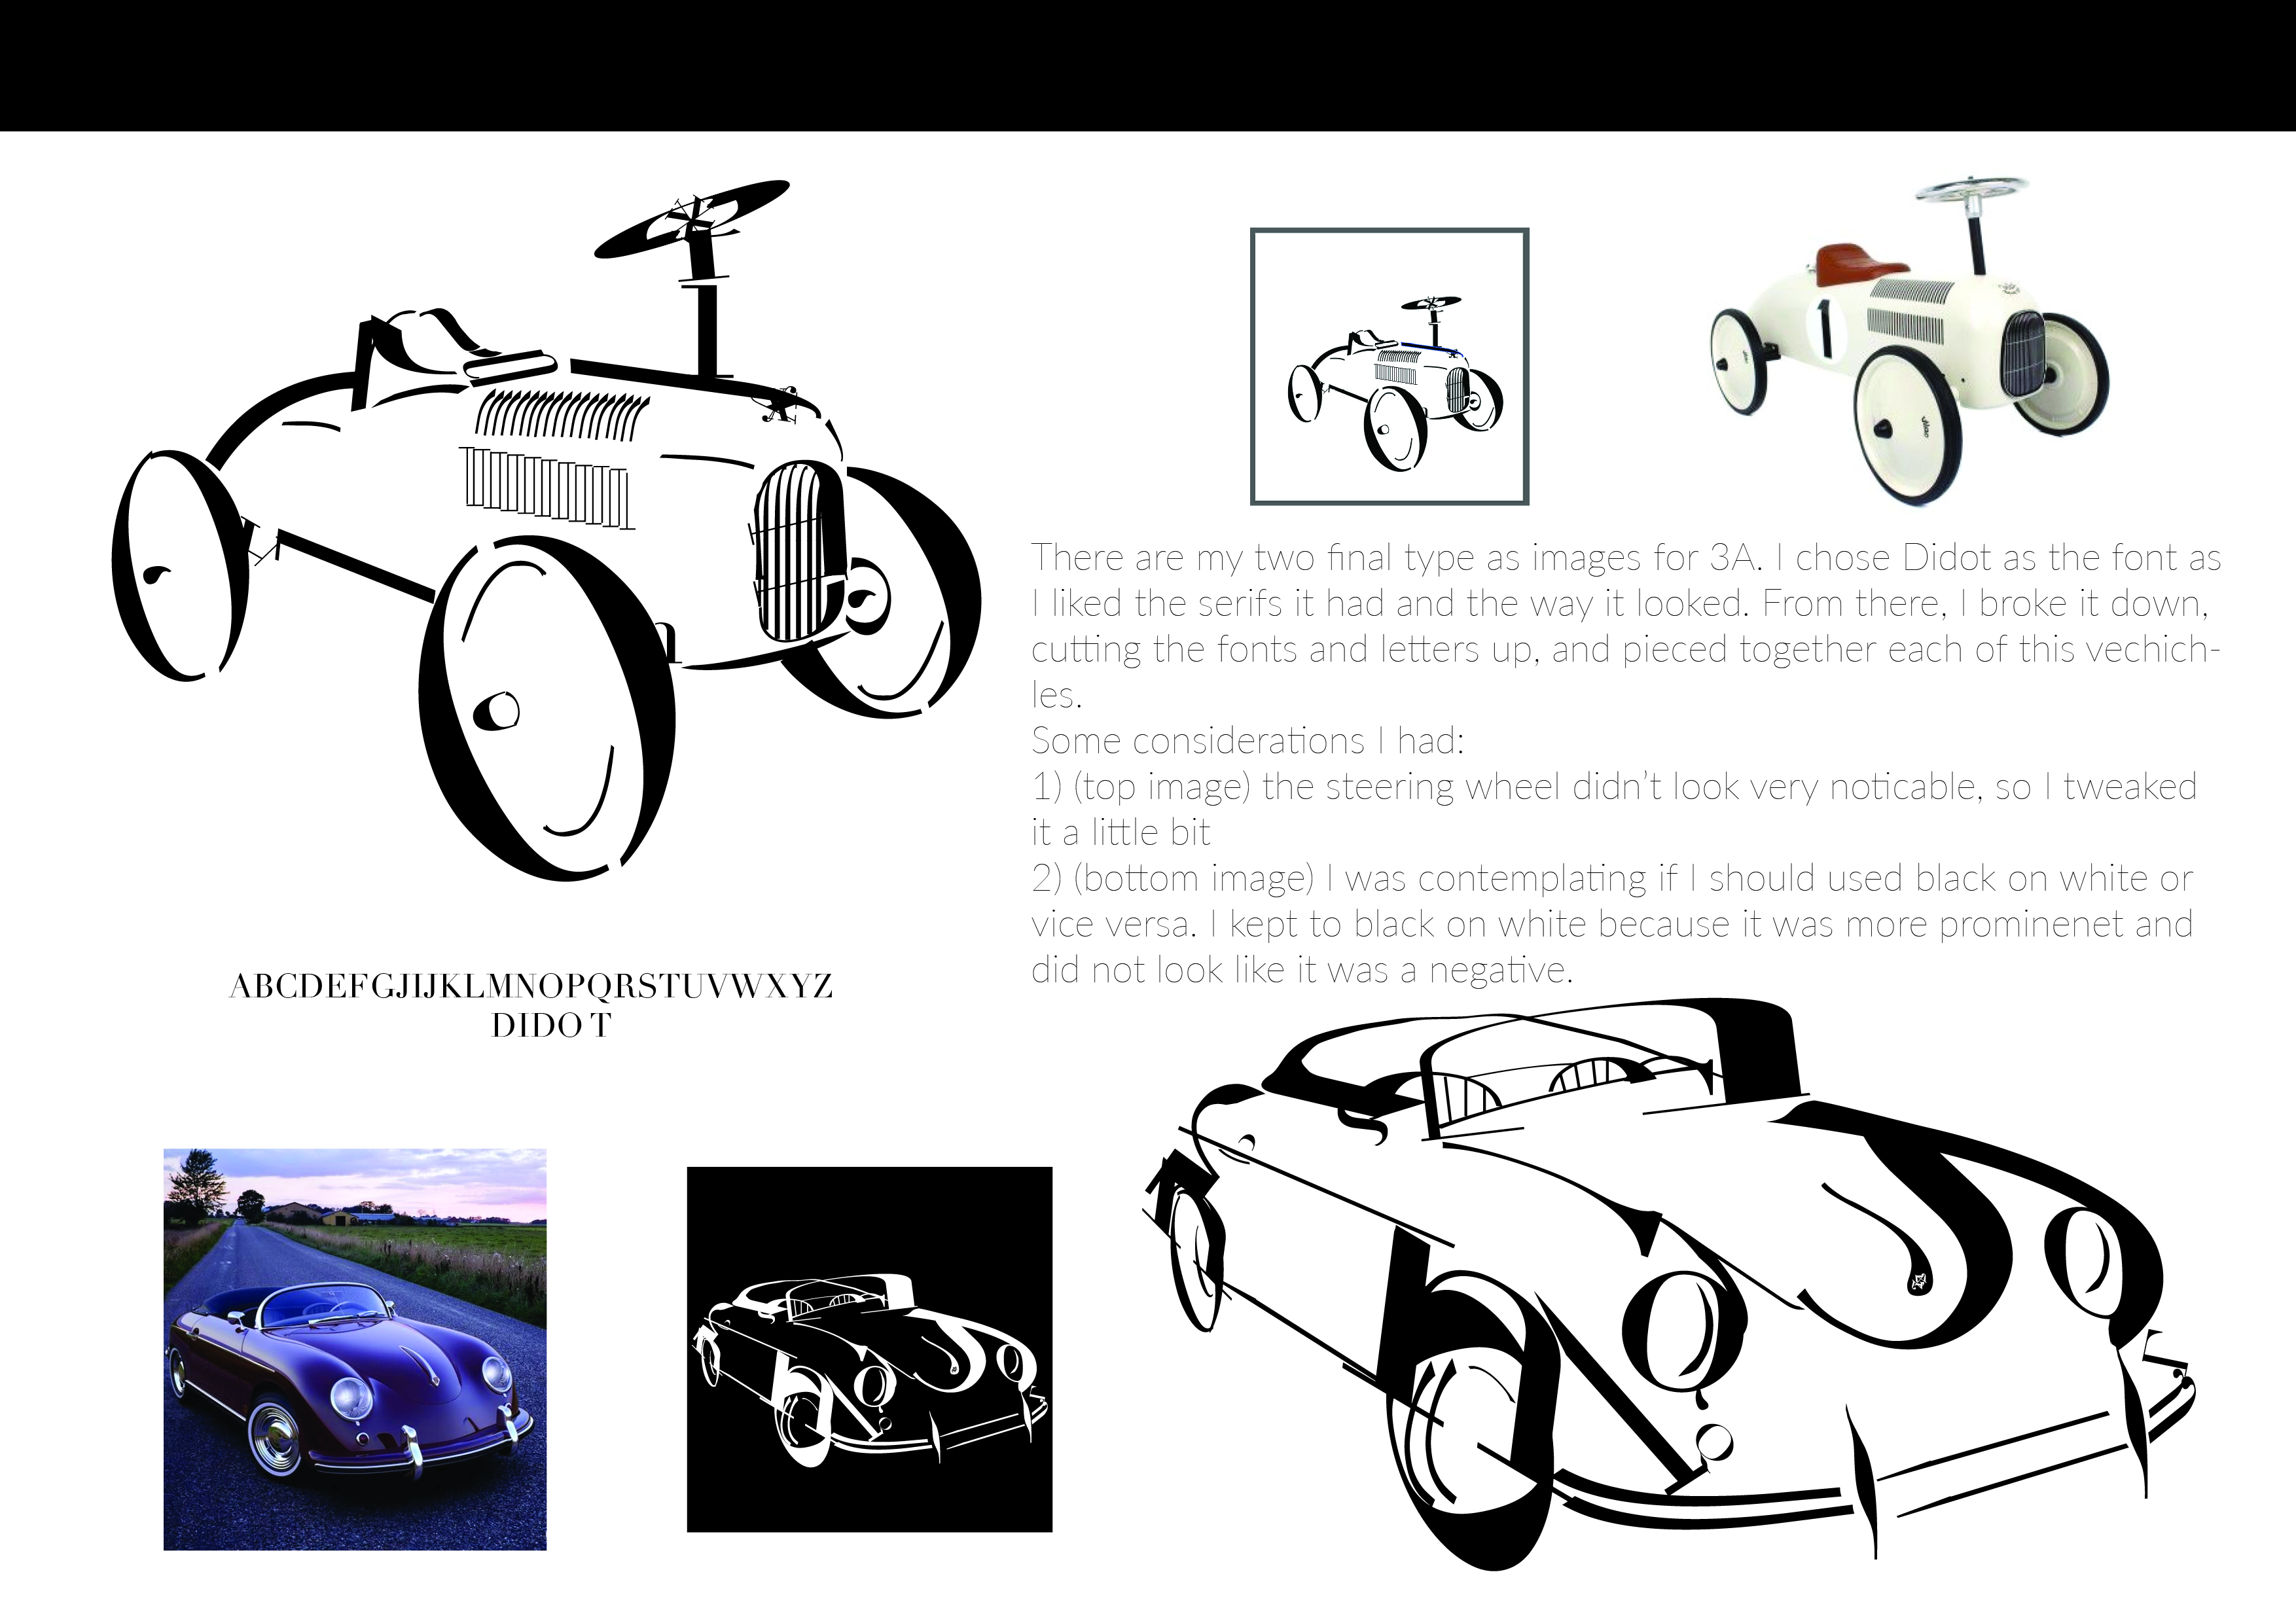
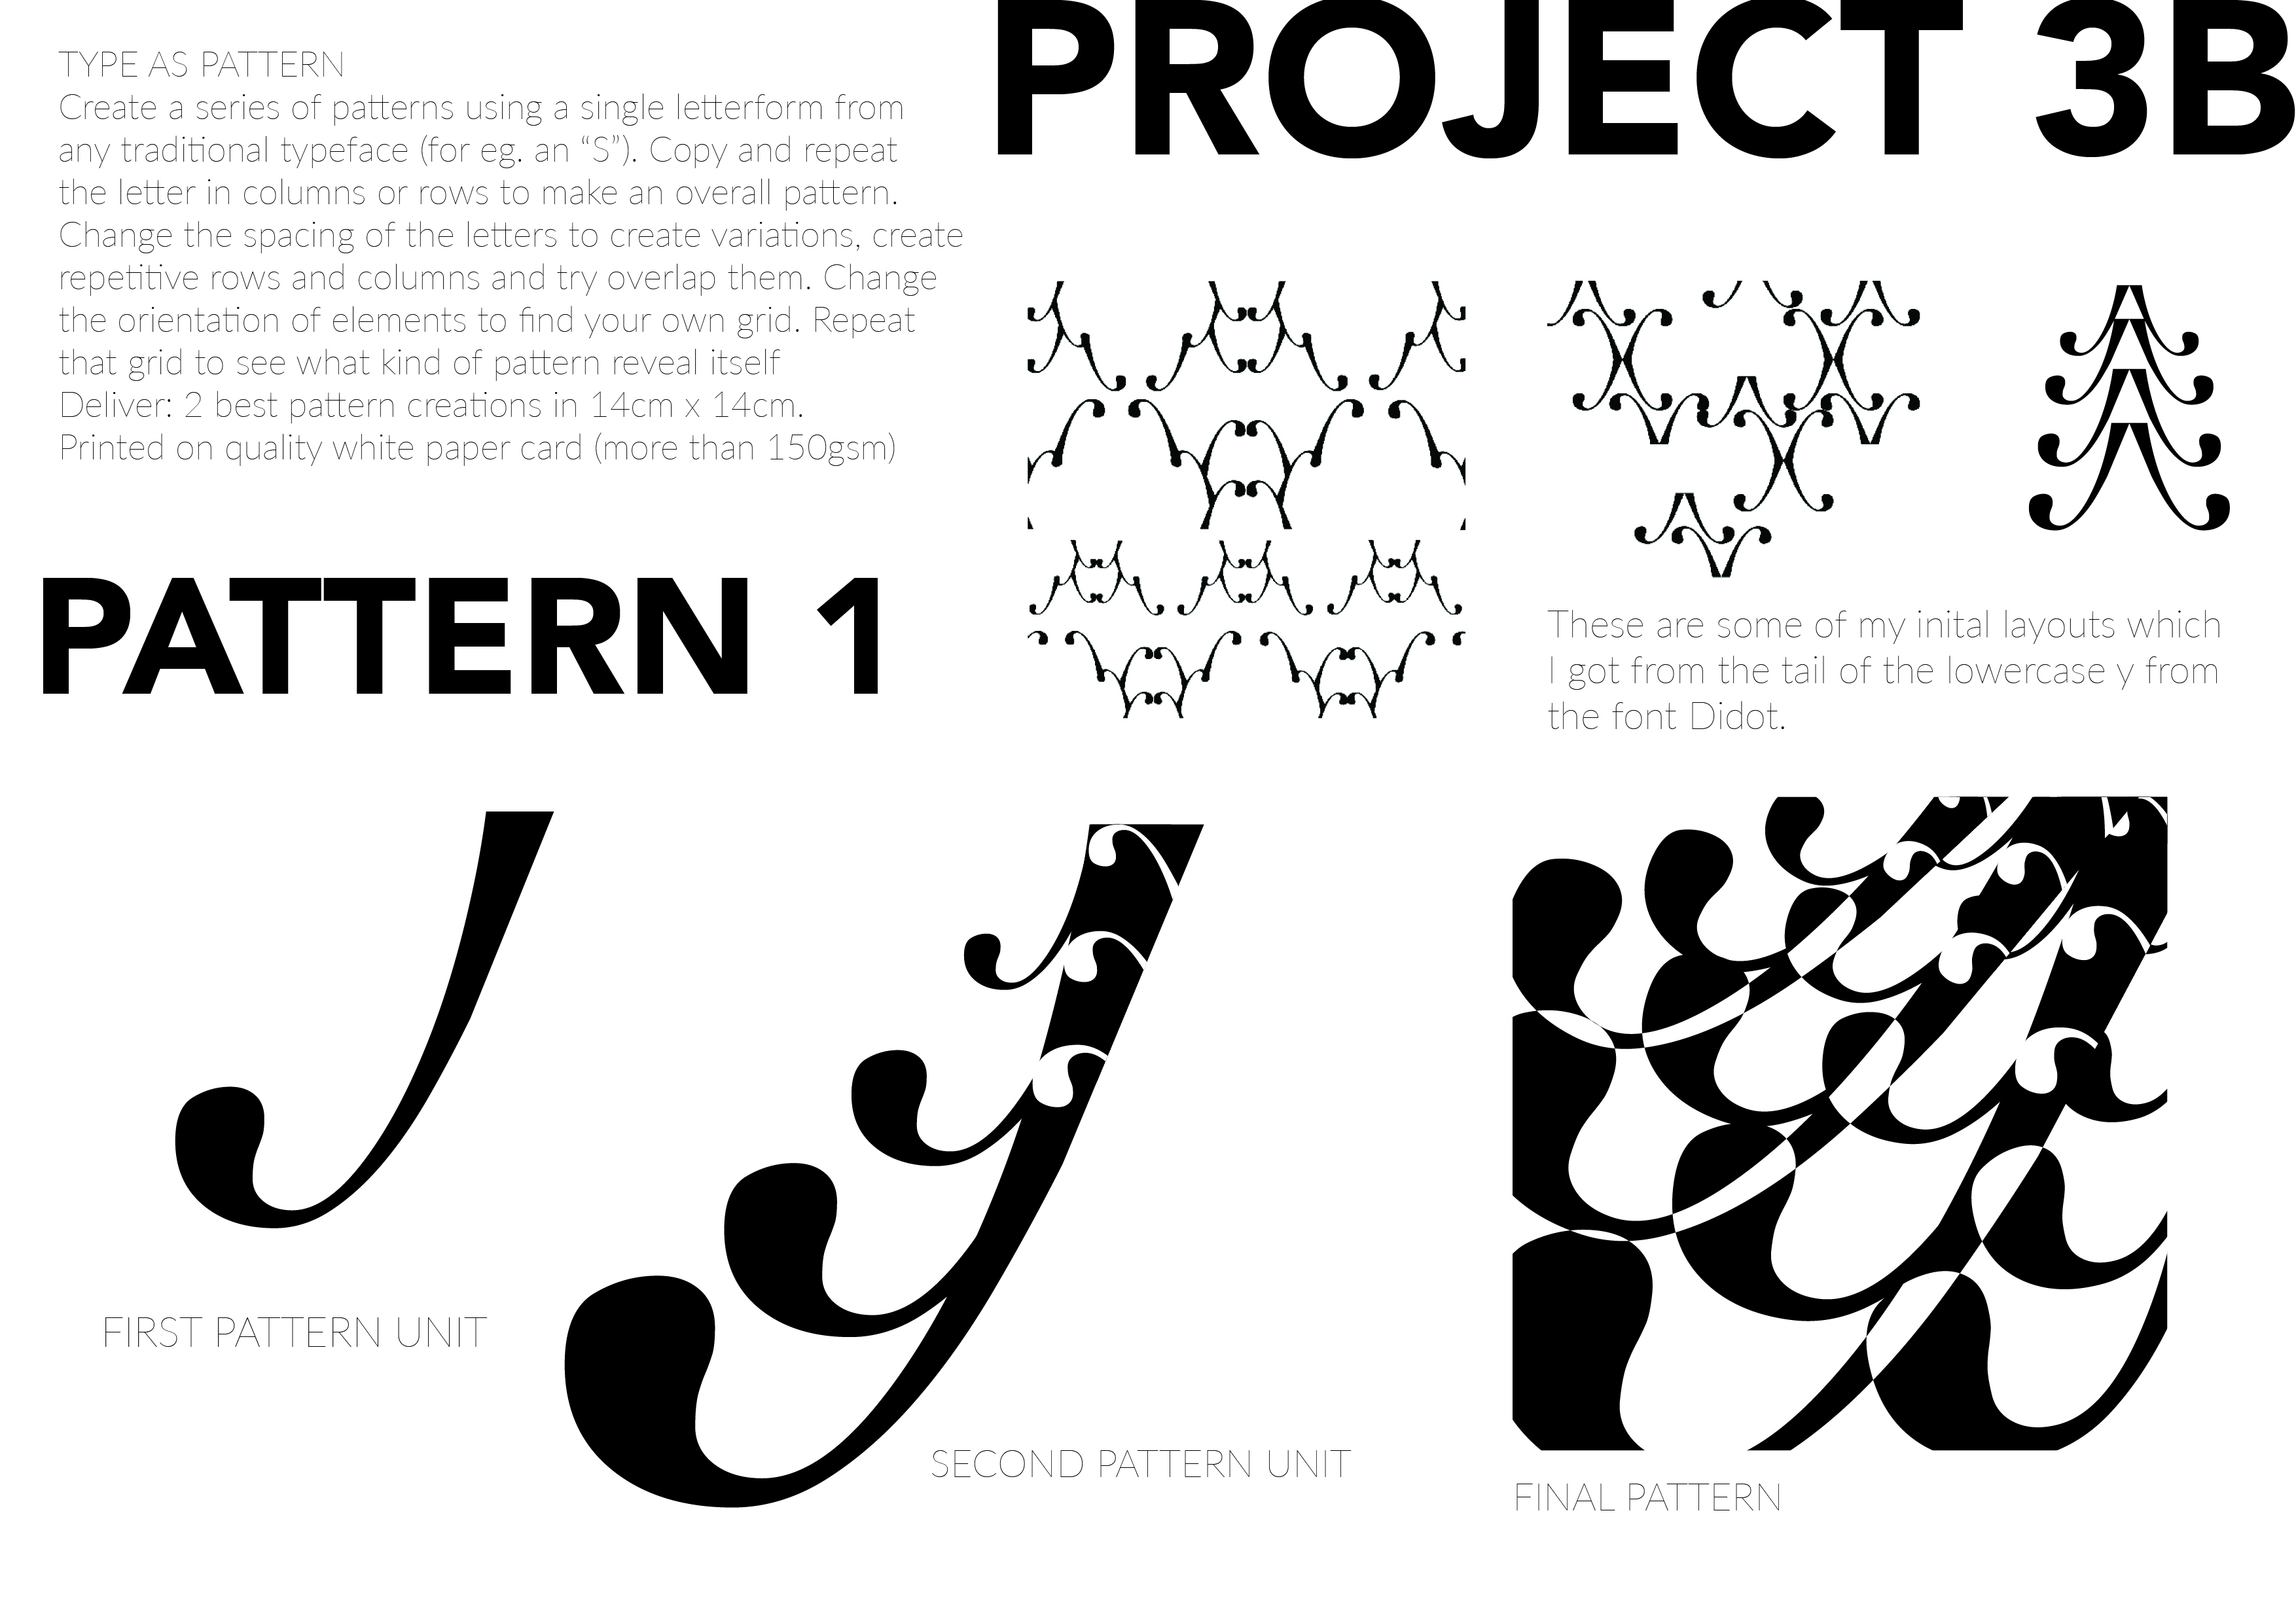
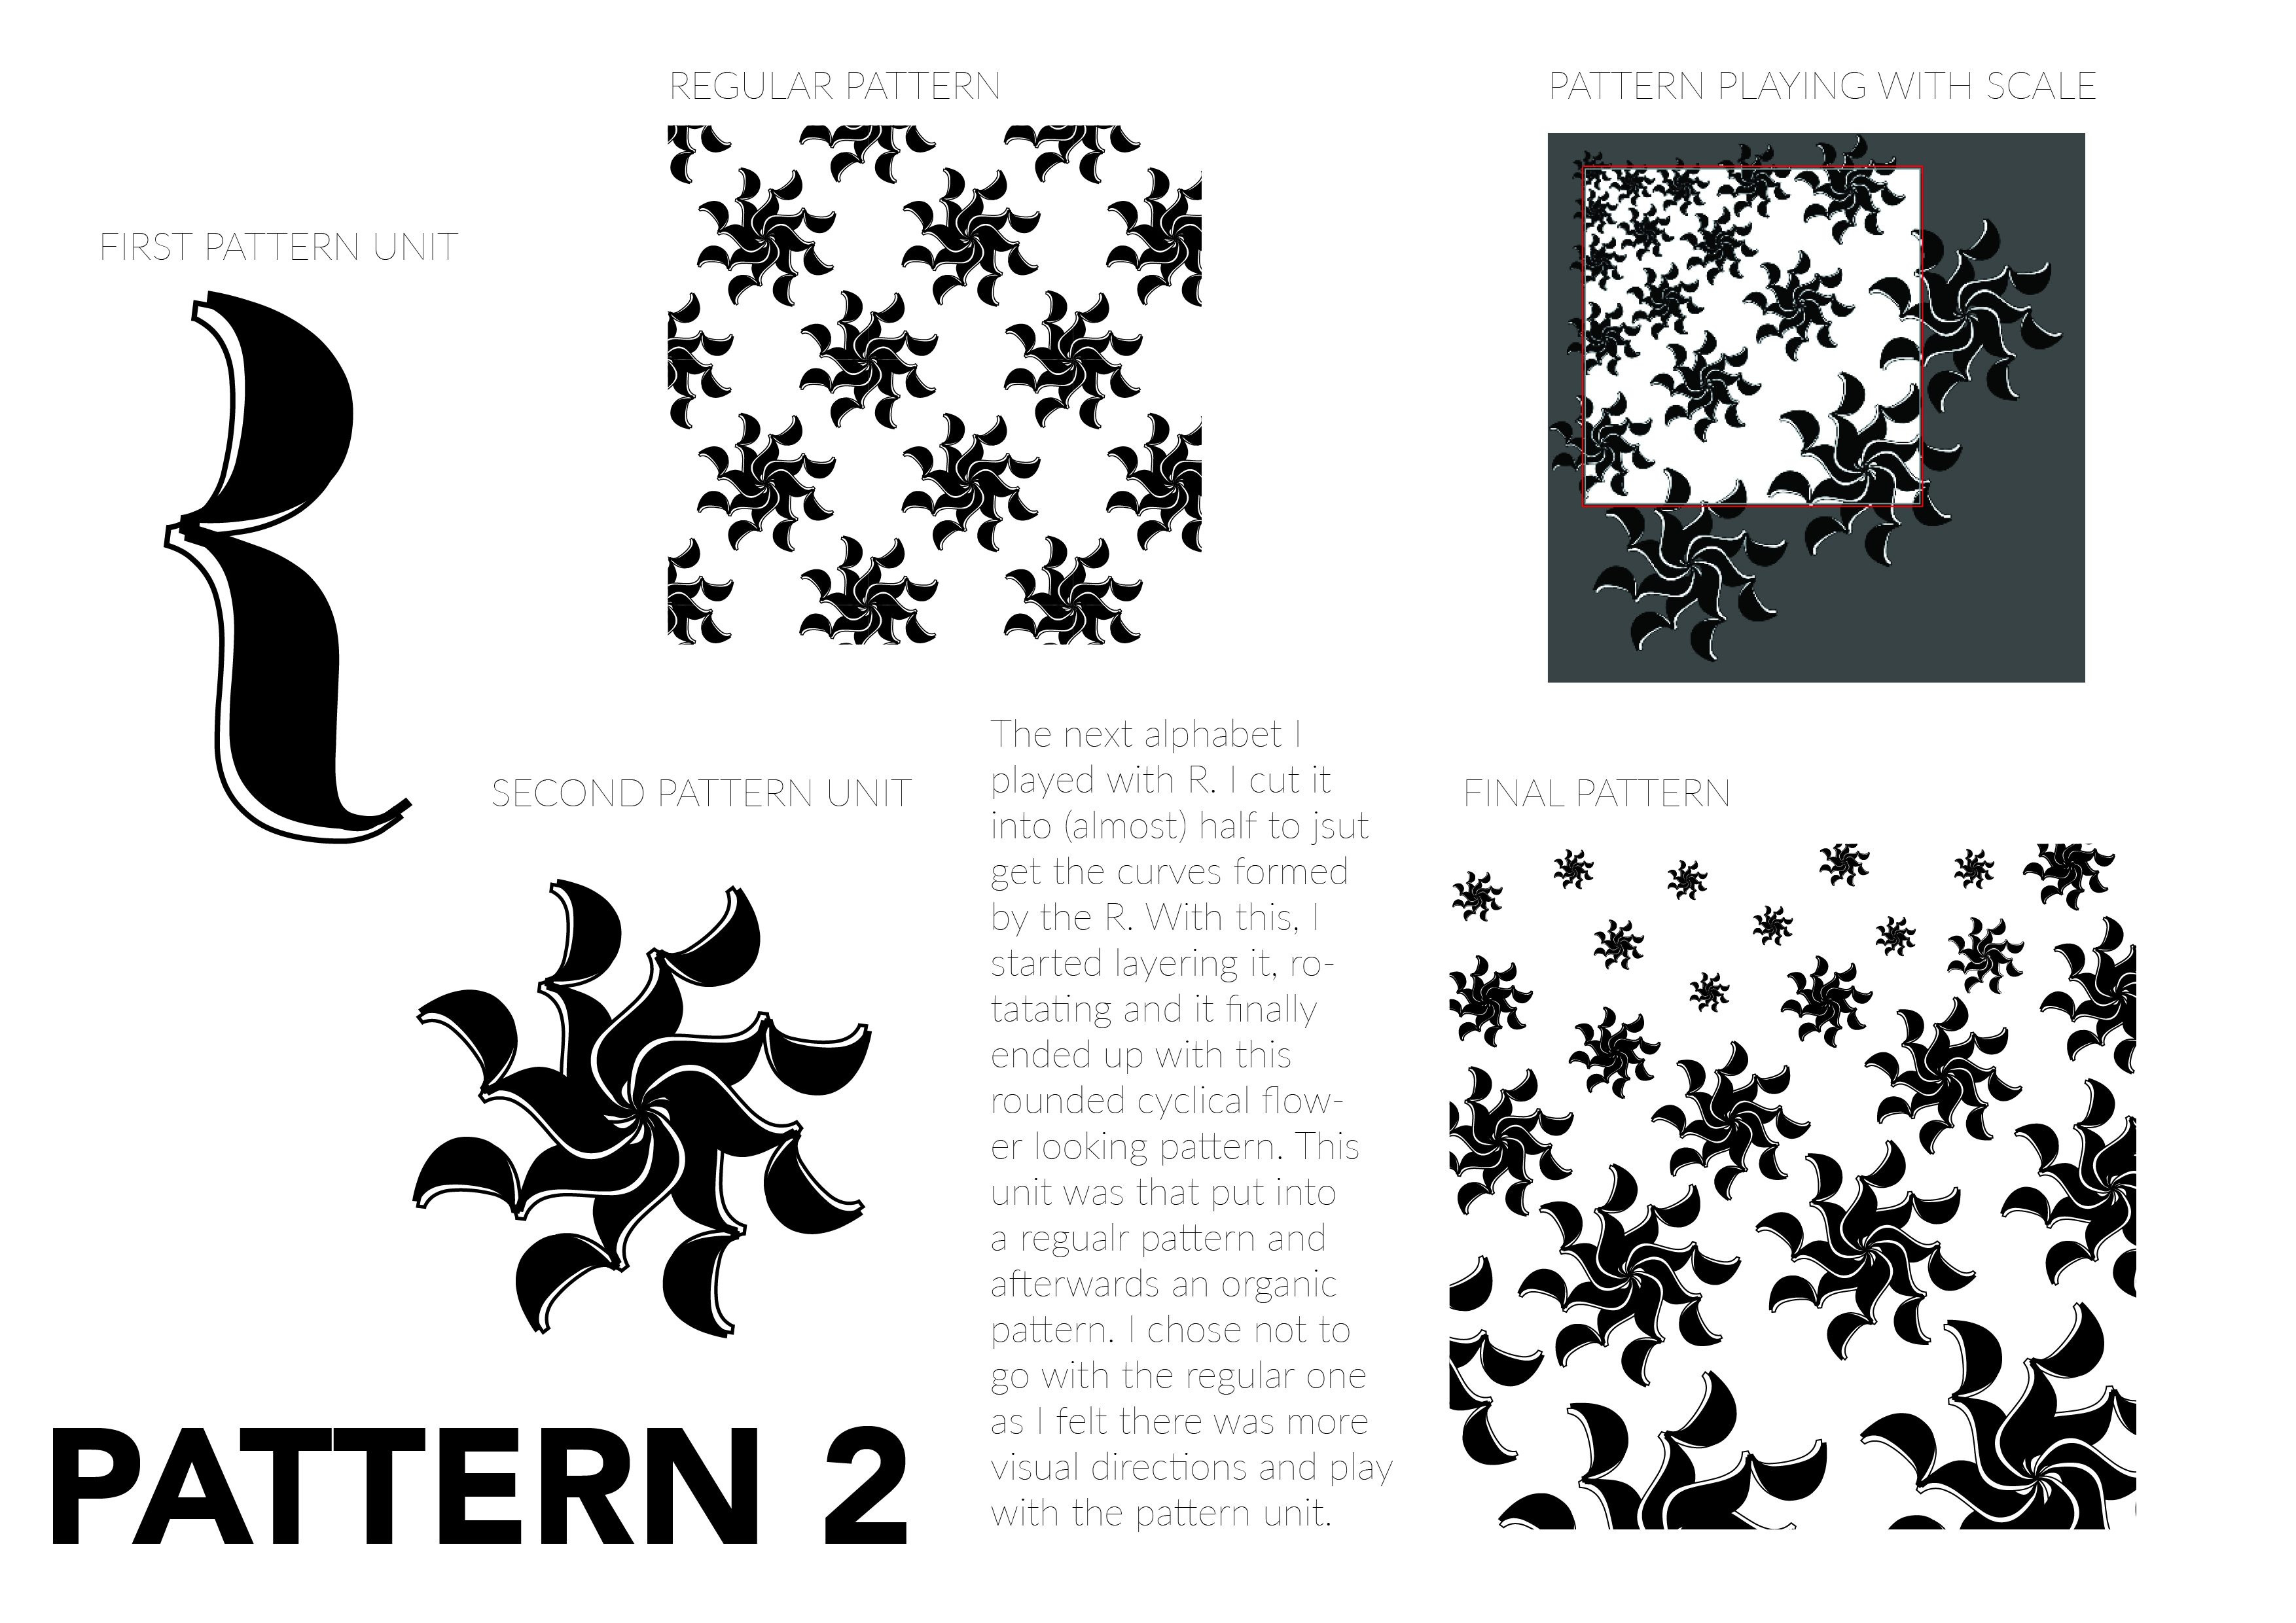
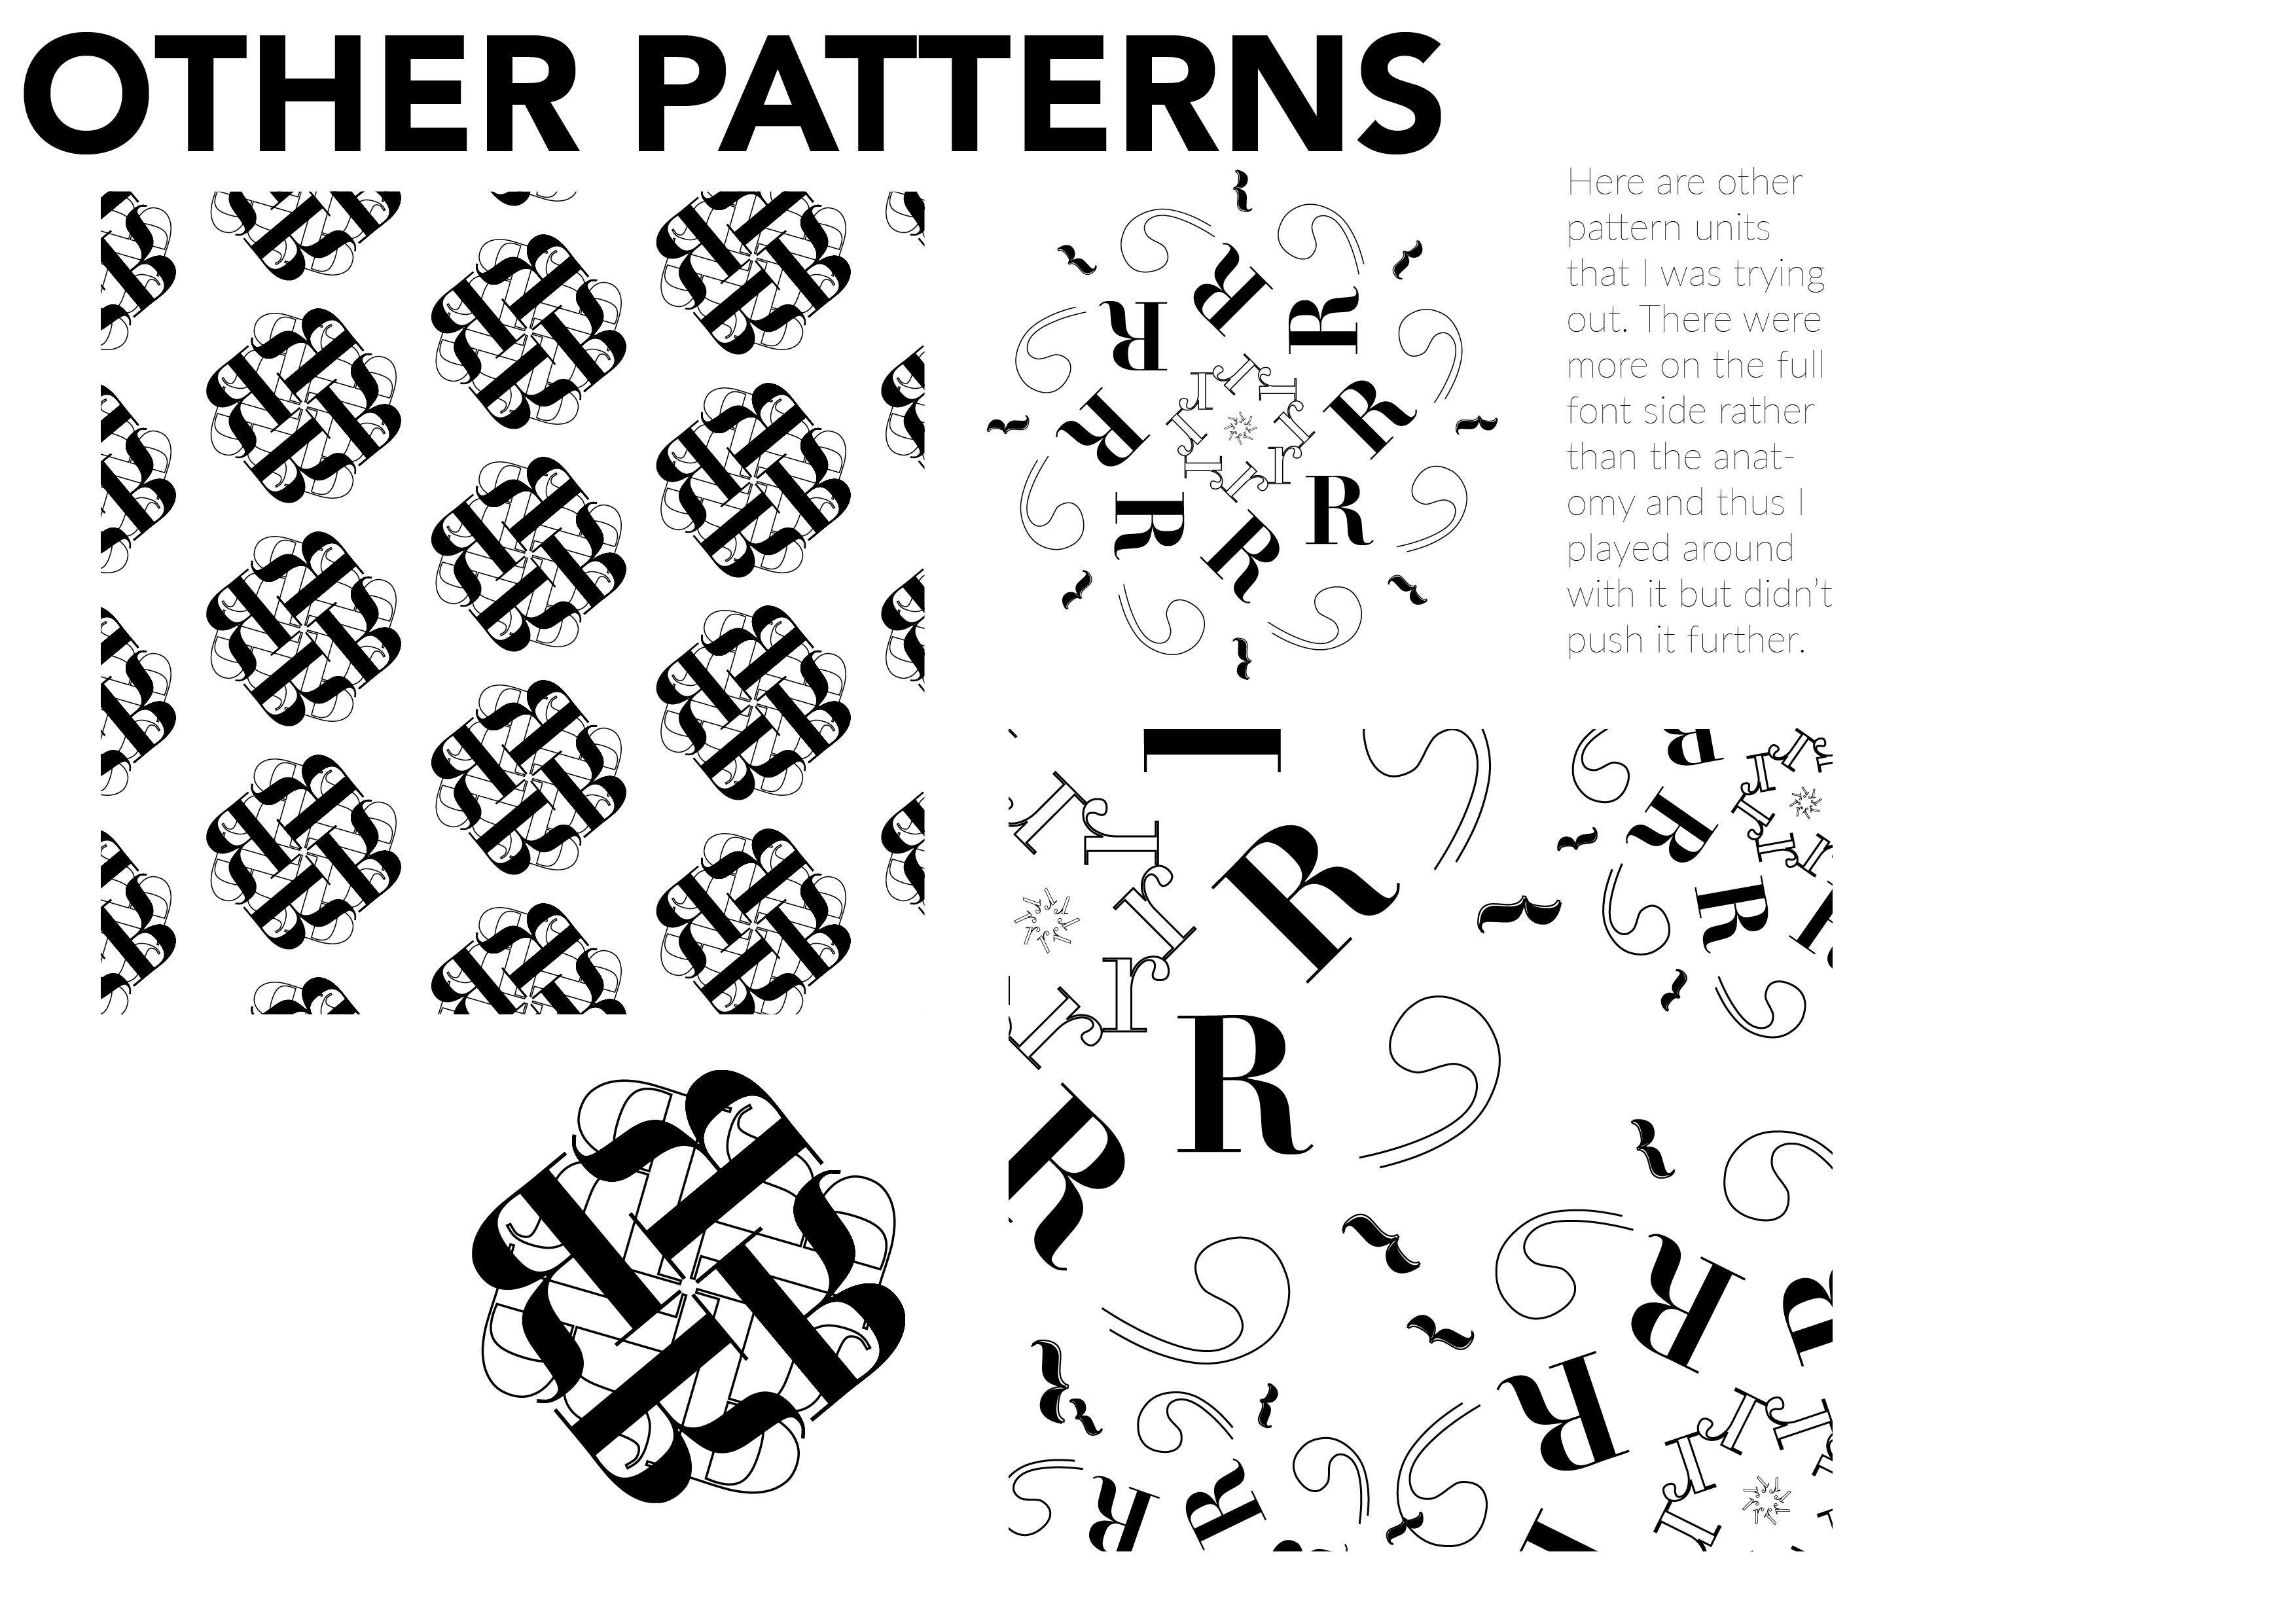
 What I took away from this project is to embrace the imperfections and creating type need not be perfect or to have a correct angle or that everything has to sit in perfection. I also learnt to better love things I create and try to find ways to enhance it or love it because it is imperfect.
I had a fun time for this project and I learnt not to stress to much over things that aren’t perfect and learnt to convey my ideas clearly and directly for viewers to see and appreciate.
This is a photo of my presentation print set up in class, I was very pleased with the way the print came out and how the colours turned out. Initially, I used textured paper to print, however the ink didn’t seep or sit in properly even though the colours were nice. I printed it on a matt smooth paper finish and the image was much was much clearer and better, so I decided to present with this paper print instead of the textured one.


Hope you enjoyed the process!!
toodle noodles
xx


 These are created by using acrylic paint to create fluid art.

 Layers edited in Photoshop
 Frame animation created from a painting




 What I took away from this project is to embrace the imperfections and creating type need not be perfect or to have a correct angle or that everything has to sit in perfection. I also learnt to better love things I create and try to find ways to enhance it or love it because it is imperfect.

