Category Archives: Project 1 Emo

My Line is Emo: Final Work

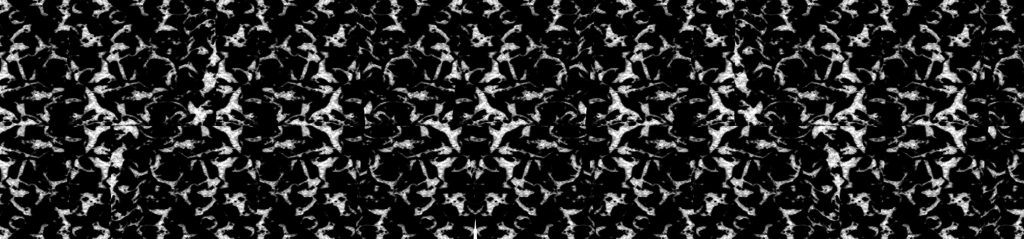
These are my final 18 lines for the project & explained why the lines are representing the different emotions. I mainly focused on decalcomania with the mixture of mono print and hand drawn.

Optimism

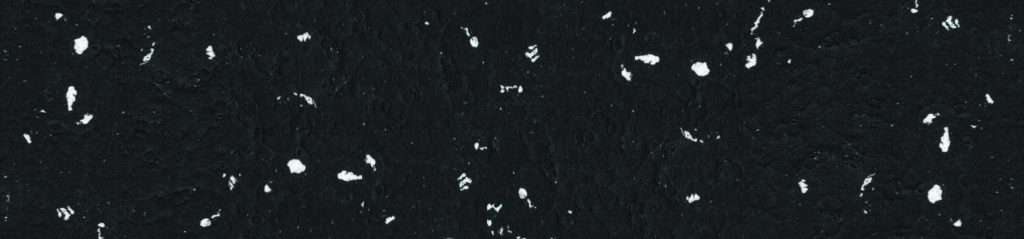
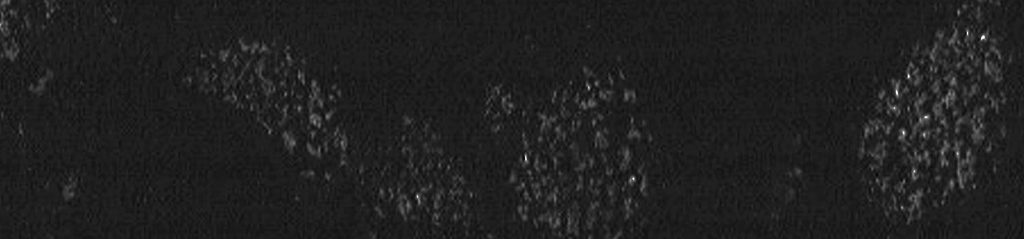
Little speckles of ‘light’ among the darkness.


Envy

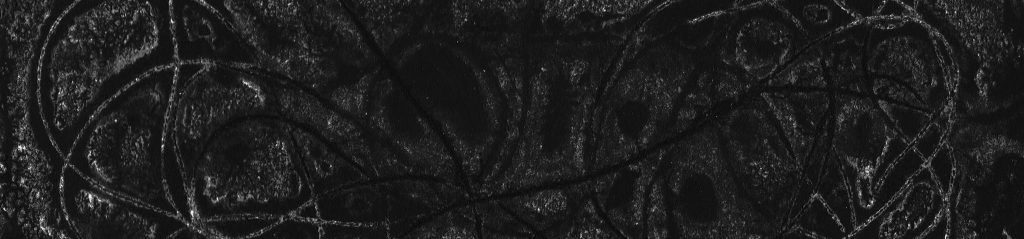
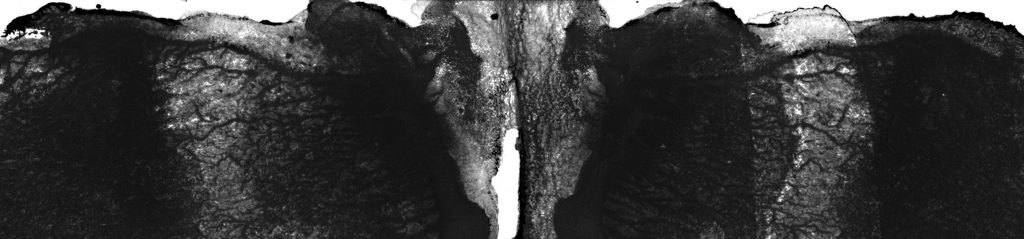
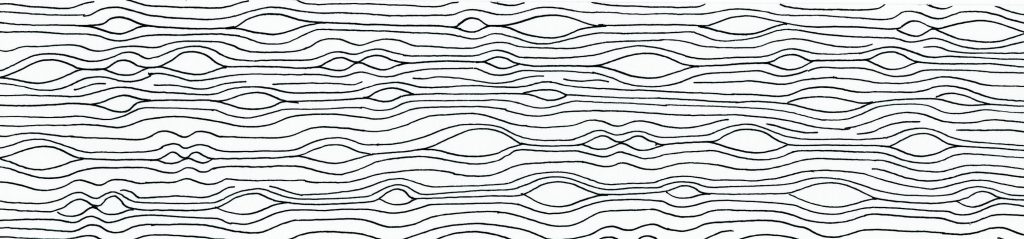
Veins/nerves stretching out.


Horror

Paint marks splattered up like a blood scene.


Disgust

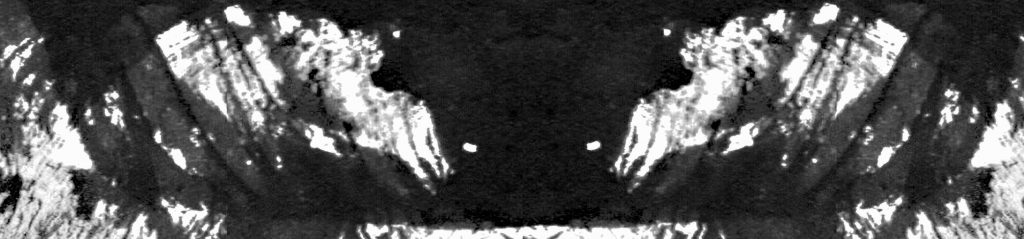
Mimics the disgusting worm when scanned inside the stomach.


Longing

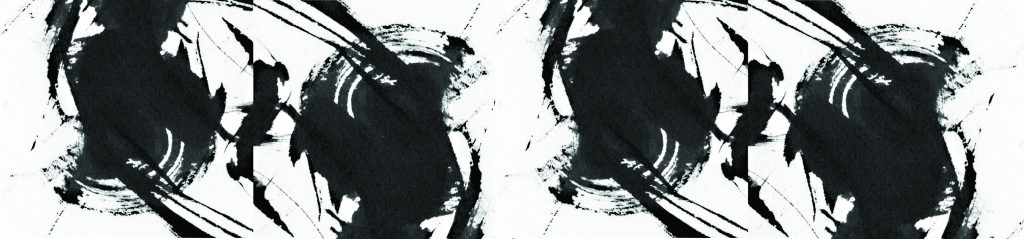
Different flow in opacity just like longing, coming and going.


Suffering

Looks like worn our bandage covered in blood from wear and tear.


Surprise

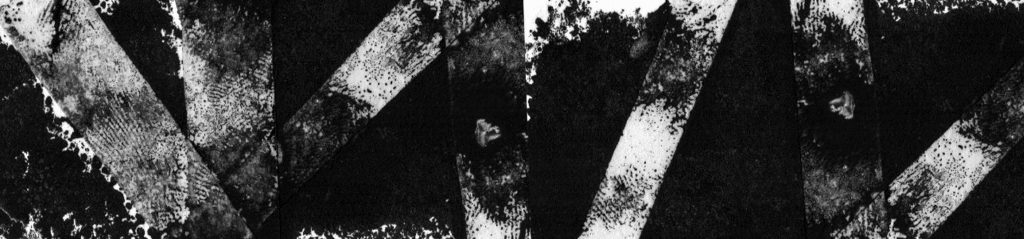
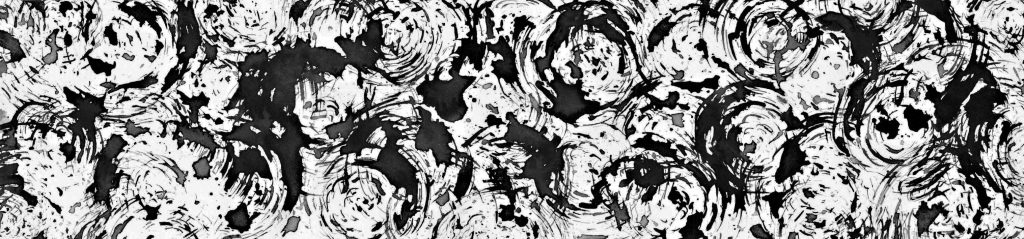
Something moving circularly suddenly goes out straight.


Excitement

Small spritze bouncing off here and there.


Relief

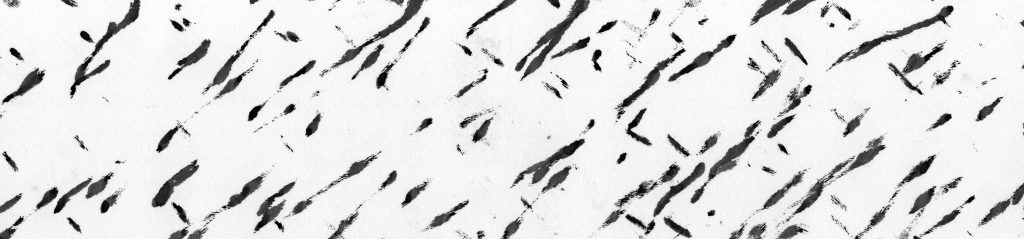
Just like tattered rain drops.


Enthrallment

Excitement like ripples in the water.


Anxiety

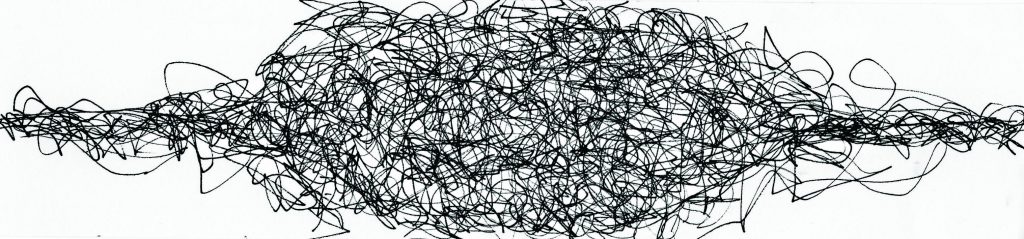
Never ending small strained lines, like reoccurring worries.


Arousal

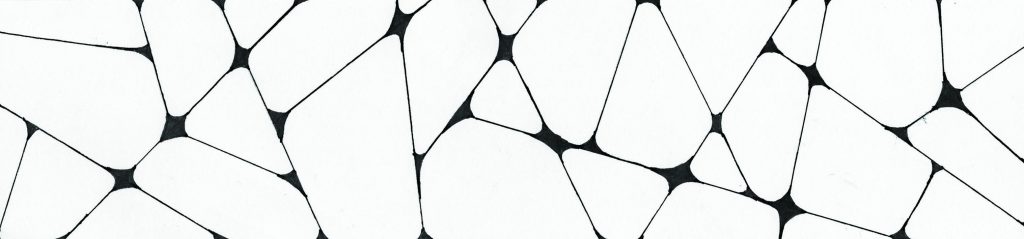
The different open spaces at different areas in different sizes like arousal increasing little by little.


Exasperation

Fading out into small scribbles from a large one.


Tenseness

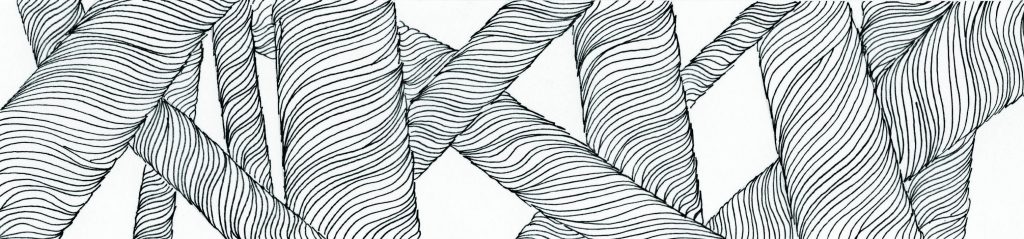
Stretching hair like structures in different strenuous directions in a confined area.


Hysteria

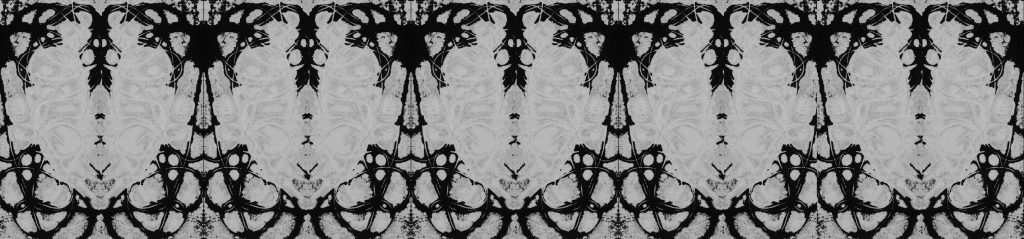
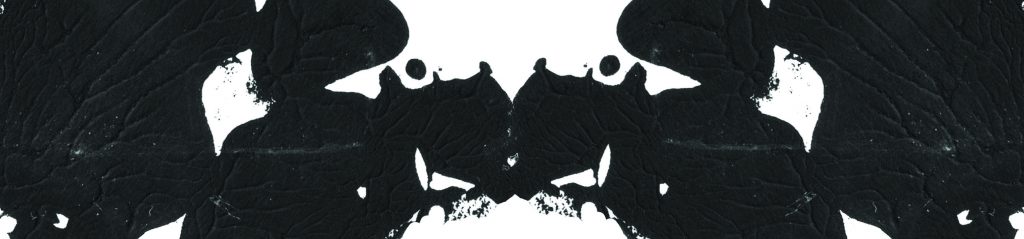
Different faces,skulls, brain neurone and such depicted inside.


Ecstasy

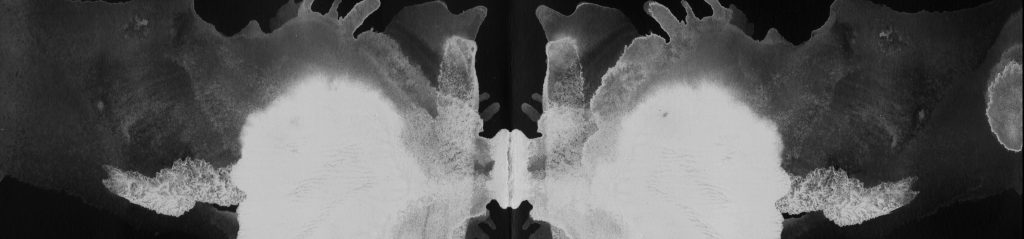
The opacity of the paint flowing almost shows ectasy or happiness experience in the brain.


Alienation

White faint marks left behind, like the feeling of alienation being left out.


Bitterness

Like someone feeling bitter, the very sharp points poking the heart.

Decalcomania and my artist reference, Max Ernst

Decalcomania comes from the French word dècalcomanie. Which derives from the French word decalquer, which means to transfer or copy.

It is highly used by surrealists artists that use the technique to achieve different patterns solely due to the process of chance. It is first created by putting ink or paint on a surface such as paper, and then another paper is placed on top and pressed down with pressure to create intricate patterns. Originally it was to transfer a patter onto pottery or canvas. One might be familiar with one of its common uses is the Rorschach test in which ink blots are used in a psychological test to analyse a person’s emotions or characters. If you all are interested, you can take a test here! http://theinkblot.com

Rorschach_blot_01
example of a Rorschach test inkblot

in a funny way, this method sort of coincides with the project of ‘my line is emo’


images

larger
Europe after the rain – by Max Ernst

My artist reference is a very popular surreal artist called Max Ernst. He is best known to employ the decalcomania technique to this famous painting called Europe after the rain. It was an eerie reflection on World War II as the Nazis took over. He was terrified of the horror around and had been condemned in a prison camp. It was here that he started to conjure up this painting and completed it after he managed to escape. There is a stark contrast between the clear blue sky and the seemingly dark ground with bodies. Here is a helpful link for a video that I chanced upon that someone managed to figured out how Ernst did his texture for the trees in his paintings. So instead of plastic I played around with other materials in between paper to achieve different textures! Enjoy!


Other than using simple materials like plastic wrap or even thread to make interesting imprints I have also discovered this interesting video that led to the success of many of my decalcomania prints resulting in interesting prints simply just by adding white glue! Here are some of my works that I did successfully by pressing the glue paint solely on its own or placing a material on top of it and then taking it out to get interesting results.

In decalcomania I learnt that one can also play and vary the amount of water added to the paint to make it more diluted allowing it to spread even more or just making it thick so it sticks more and upon removal will produce something.

On top of that, I discovered that decalcomania can also not only be done in just one fold or layer, but repeated! One can gradually add a little bit more water or paint depending purely on randomness and chance to what the result would be.

Thats the end of my wonderful discovery of decalcomania!


Process: Deriving emotions from mono prints and hand drawings

Olla! Here is an update on how I have managed to derived a few of my lines from a combination of trial and errors which includes mono printing, decalcomania (my own method) and also some hand drawn ones as well!


Scan 6
scan from monoprint
Scan 6 zoom
zoomed in on small blotch
Print 2
final photoshopped strip

To my surprise upon doing one of my mono prints, was that after scanning it looked like rubbish to me. I thought I couldn’t possibly can anything nice out of this scan. However upon zooming closely into a tiny blotch of paint, I was excited to see ‘nerve-like’ texture in the paint! I then decided to put that section in photoshop and adjusted it even more to emphasise on the ‘nerves’ and try to make it decalcomania since I was leaning towards that. This strip represented the emotion envy because when someone in envious of another person, you can feel the emotion twisting up and your nerves about to explode.


Notebook 2
decalcomania with thread & acrylic in notebook
Notebook 2 zoom
one of the imprints zoomed in
Print 6
photoshop of final print using decalcomania and inverse

For my trials with decalcomania, I was pleasantly surprised as well. What I did was to mix white glue and acrylic paint with a little water and paint onto the cartridge paper. Afterwards, i let some loose thread in a random way and folded the paper in half and left it to dry for awhile. Upon peeling, it left an interesting print but peeling the thread out from the paint also left an interesting imprint. So what I did was to inverse the entire scan and repeated it into a pattern to make it more decalcomania.


Scan 9
monoprint with my mark making tool
Print 15
final photoshopped strip

As for this strip, I used the mark making tool that I made that consisted of a brush being tied with a string and two different type of feathers at the end. For this print, I merely twisted the tip of both the feather end in a circular motion and found out that I liked the result it gave. I then proceeded to photoshop and repeat it to make it more decalcomania.


Print 8
emotion: irritaion
Print 9
emotion: exasperation
Print 10
emotion: arousal
Print 11
emotion: anxiety
Print 14
emotion: joy

Finally these are some of my hand drawn strips that are being scanned. Although I preferred to leave it hand drawn, Enhancing it just a little brings it out better.

What I have learnt at this end of the project is all the different and diverse ways one can play around in achieving different results and effects and some times digitally enhancing it a little really helps. It has taught me to not look at the big picture, but zoom in and discover the possibilities that can be obtained from what it seems like pure mess.

My Mark Making Tool


This is my mark making tool that I made. So what i did was taking an old paintbrush and attaching two different types of feather at either side on the end. One was a slightly sturdier feather like that of  a chapteh whereas one was more of a soft and fluffy texture like that stuffed inside a pillow.


Marks

I tested out my tool trying out both feathers, moving each in a specific way to obtain a marking. Some of the directions include gliding in downwards like in the bottom left markings, or flipping it side by side like in the top left ,markings. I even tries point the toll downwards whereby both feathers touch the paper and start to rotate them. What i achieved was a circular marking with a opaque contrast in the centre by the sturdier feather and a slight circular marking on the outside by the softer feather.


What i have discovered on my own was that since the soft feather is softer its soaks up the paint more so I have to drag it slightly across the surface in order to achieve an interesting patter. Unlike the sturdier feather where i can be a bit more aggressive and press it harder on the surface and achieve better markings.

Aside from the tool, one very helpful tip i learn was mixing acrylic paint with white glue to make it thicker and because of its stickiness it has helped me with some of my decalcomania prints like the one below.

Notebook 3