Tag Archives: 2d

Neighbourhood Explorer: Geylang Sipaku Geylang!

CONCEPT

Moving towards the final of the zine project, I was using the different colours hidden deep behind the concrete front of Geylang as my main concept. The concept behind the zine was that how these small coloured areas are reminiscence of what left of the vibrant culture of Geylang that we knew.  I got more inspired when I saw more images like these.


CONTENT

I decided to add in poetry to accompany my photos as I felt that it would suit my zine better than just writing texts inside. I decided to base on the familiar song “Geylang Sipaku Geylang” and have my take on it. To me the song was somewhat like an invite to go back to Geylang together in a very lively and homely kind of way. So my poetry included a bit of Malay.


CURATING PHOTOS

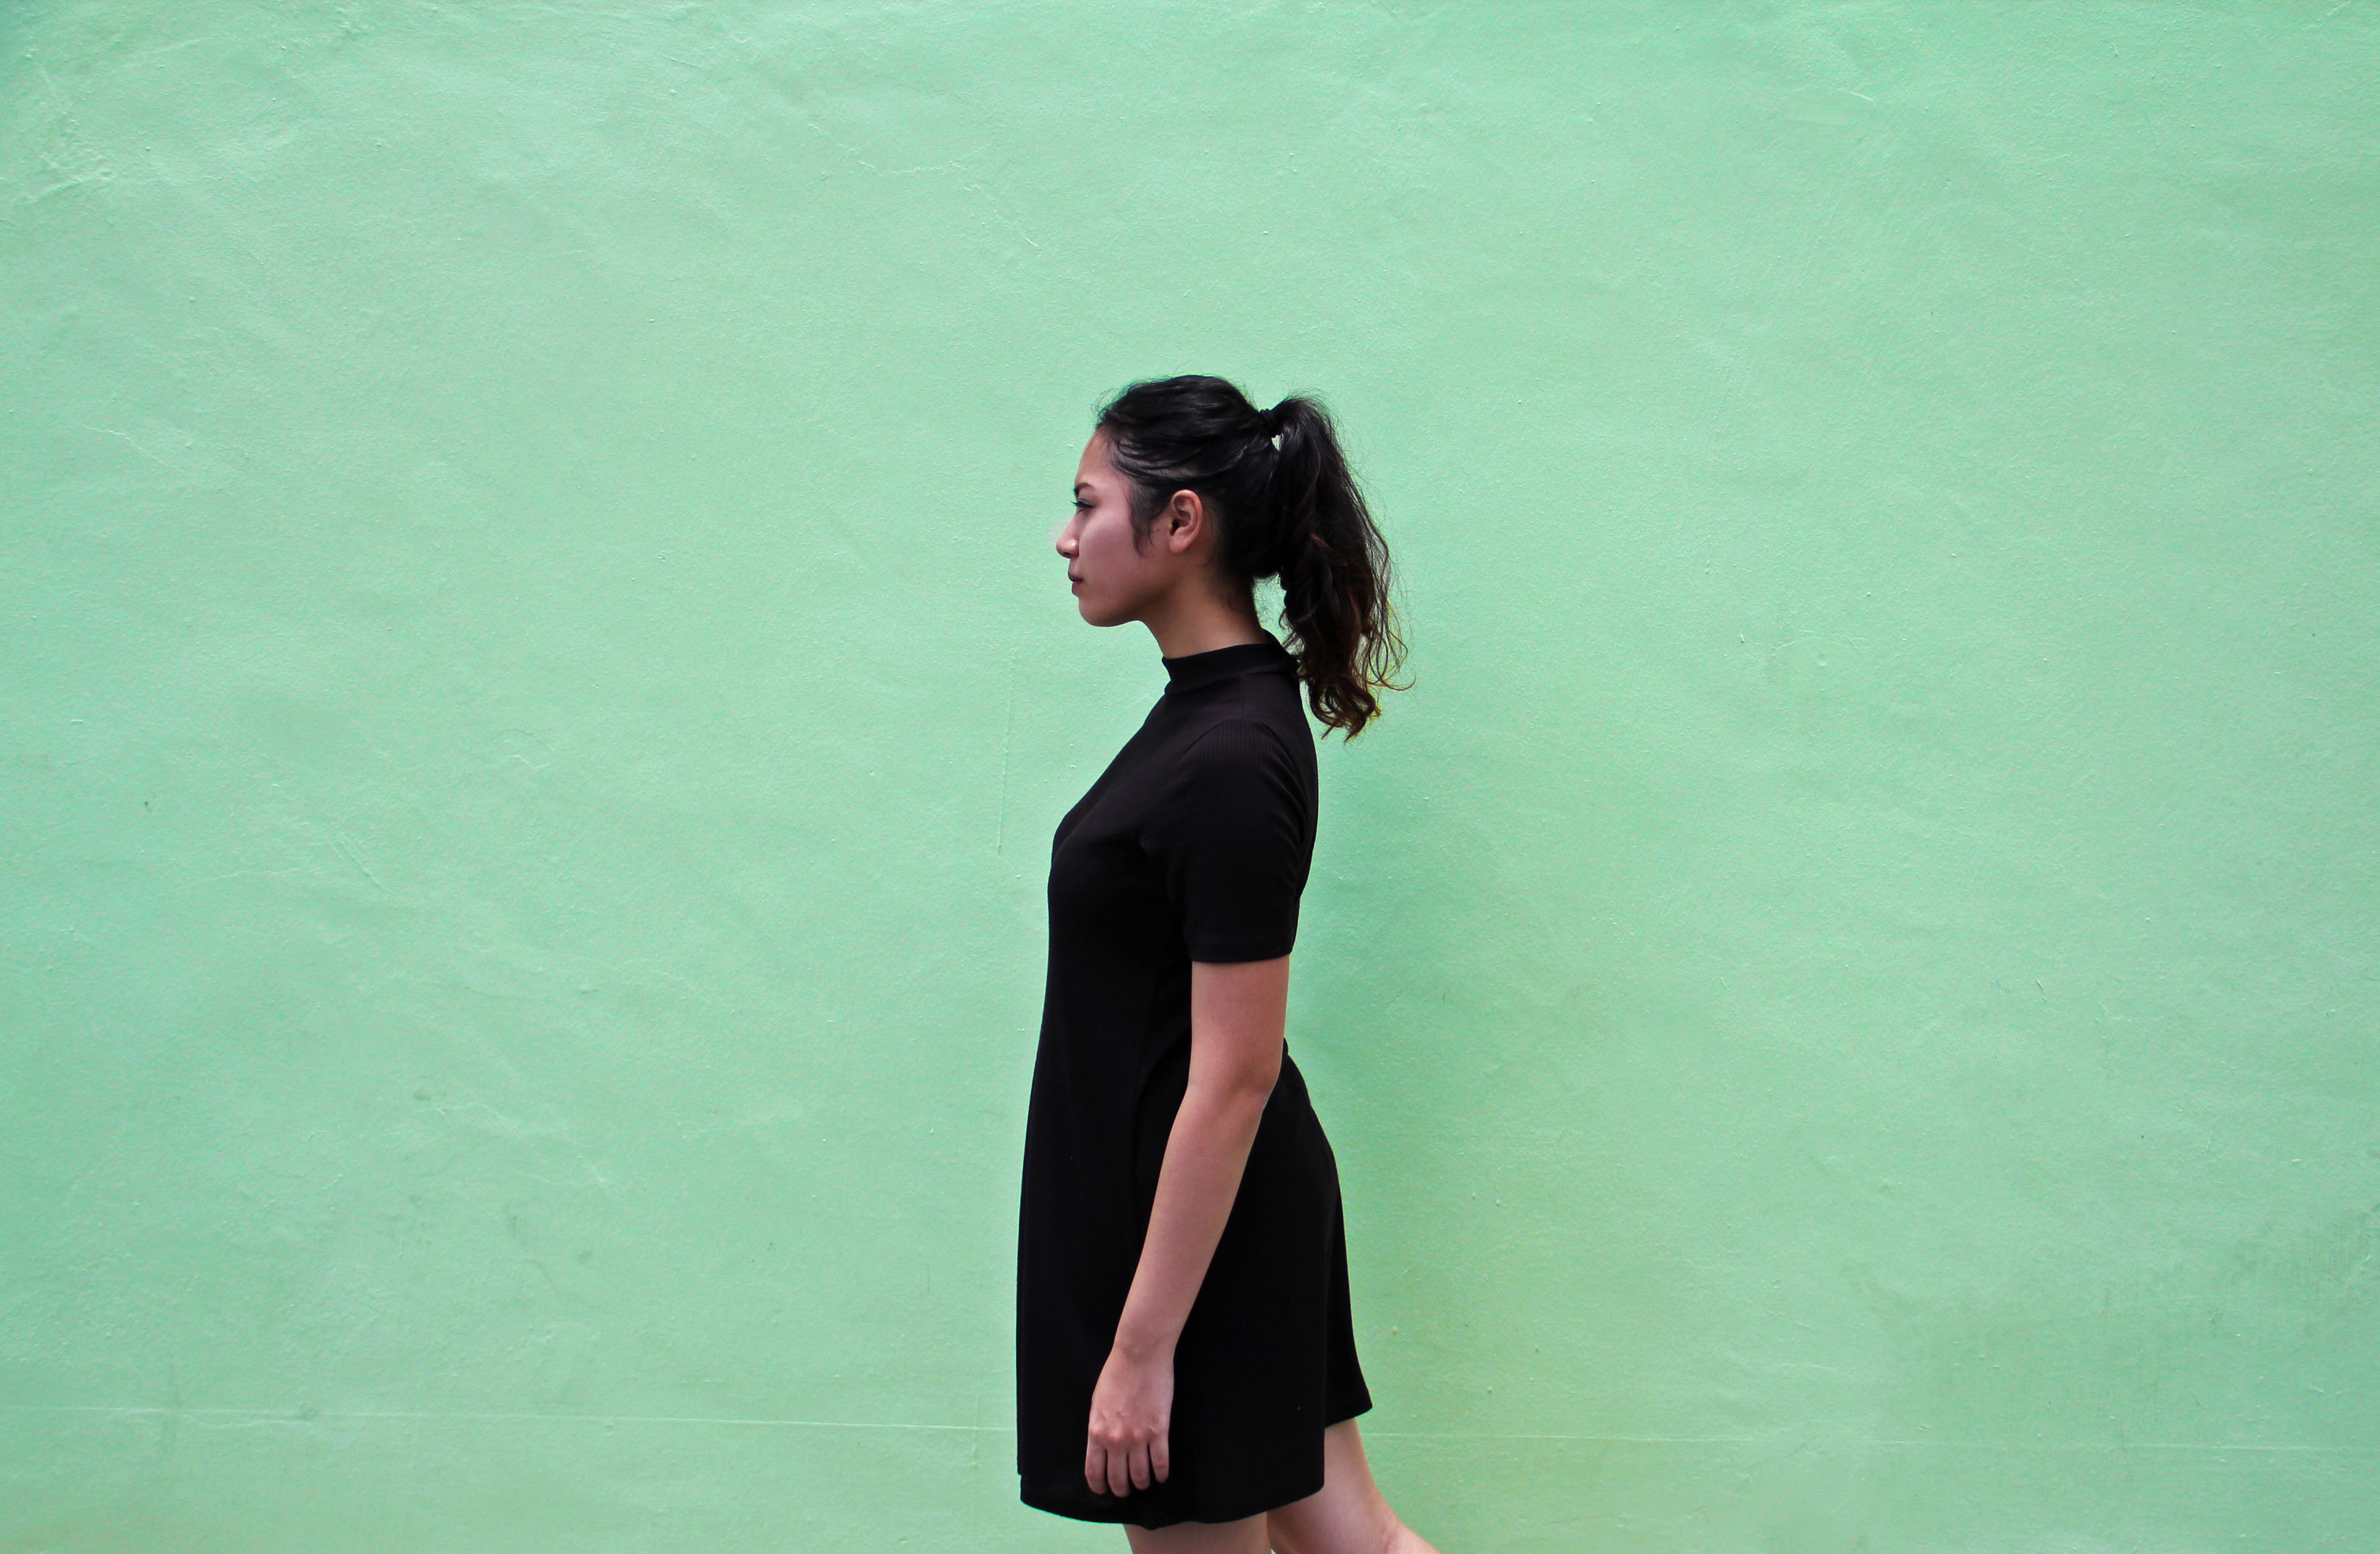
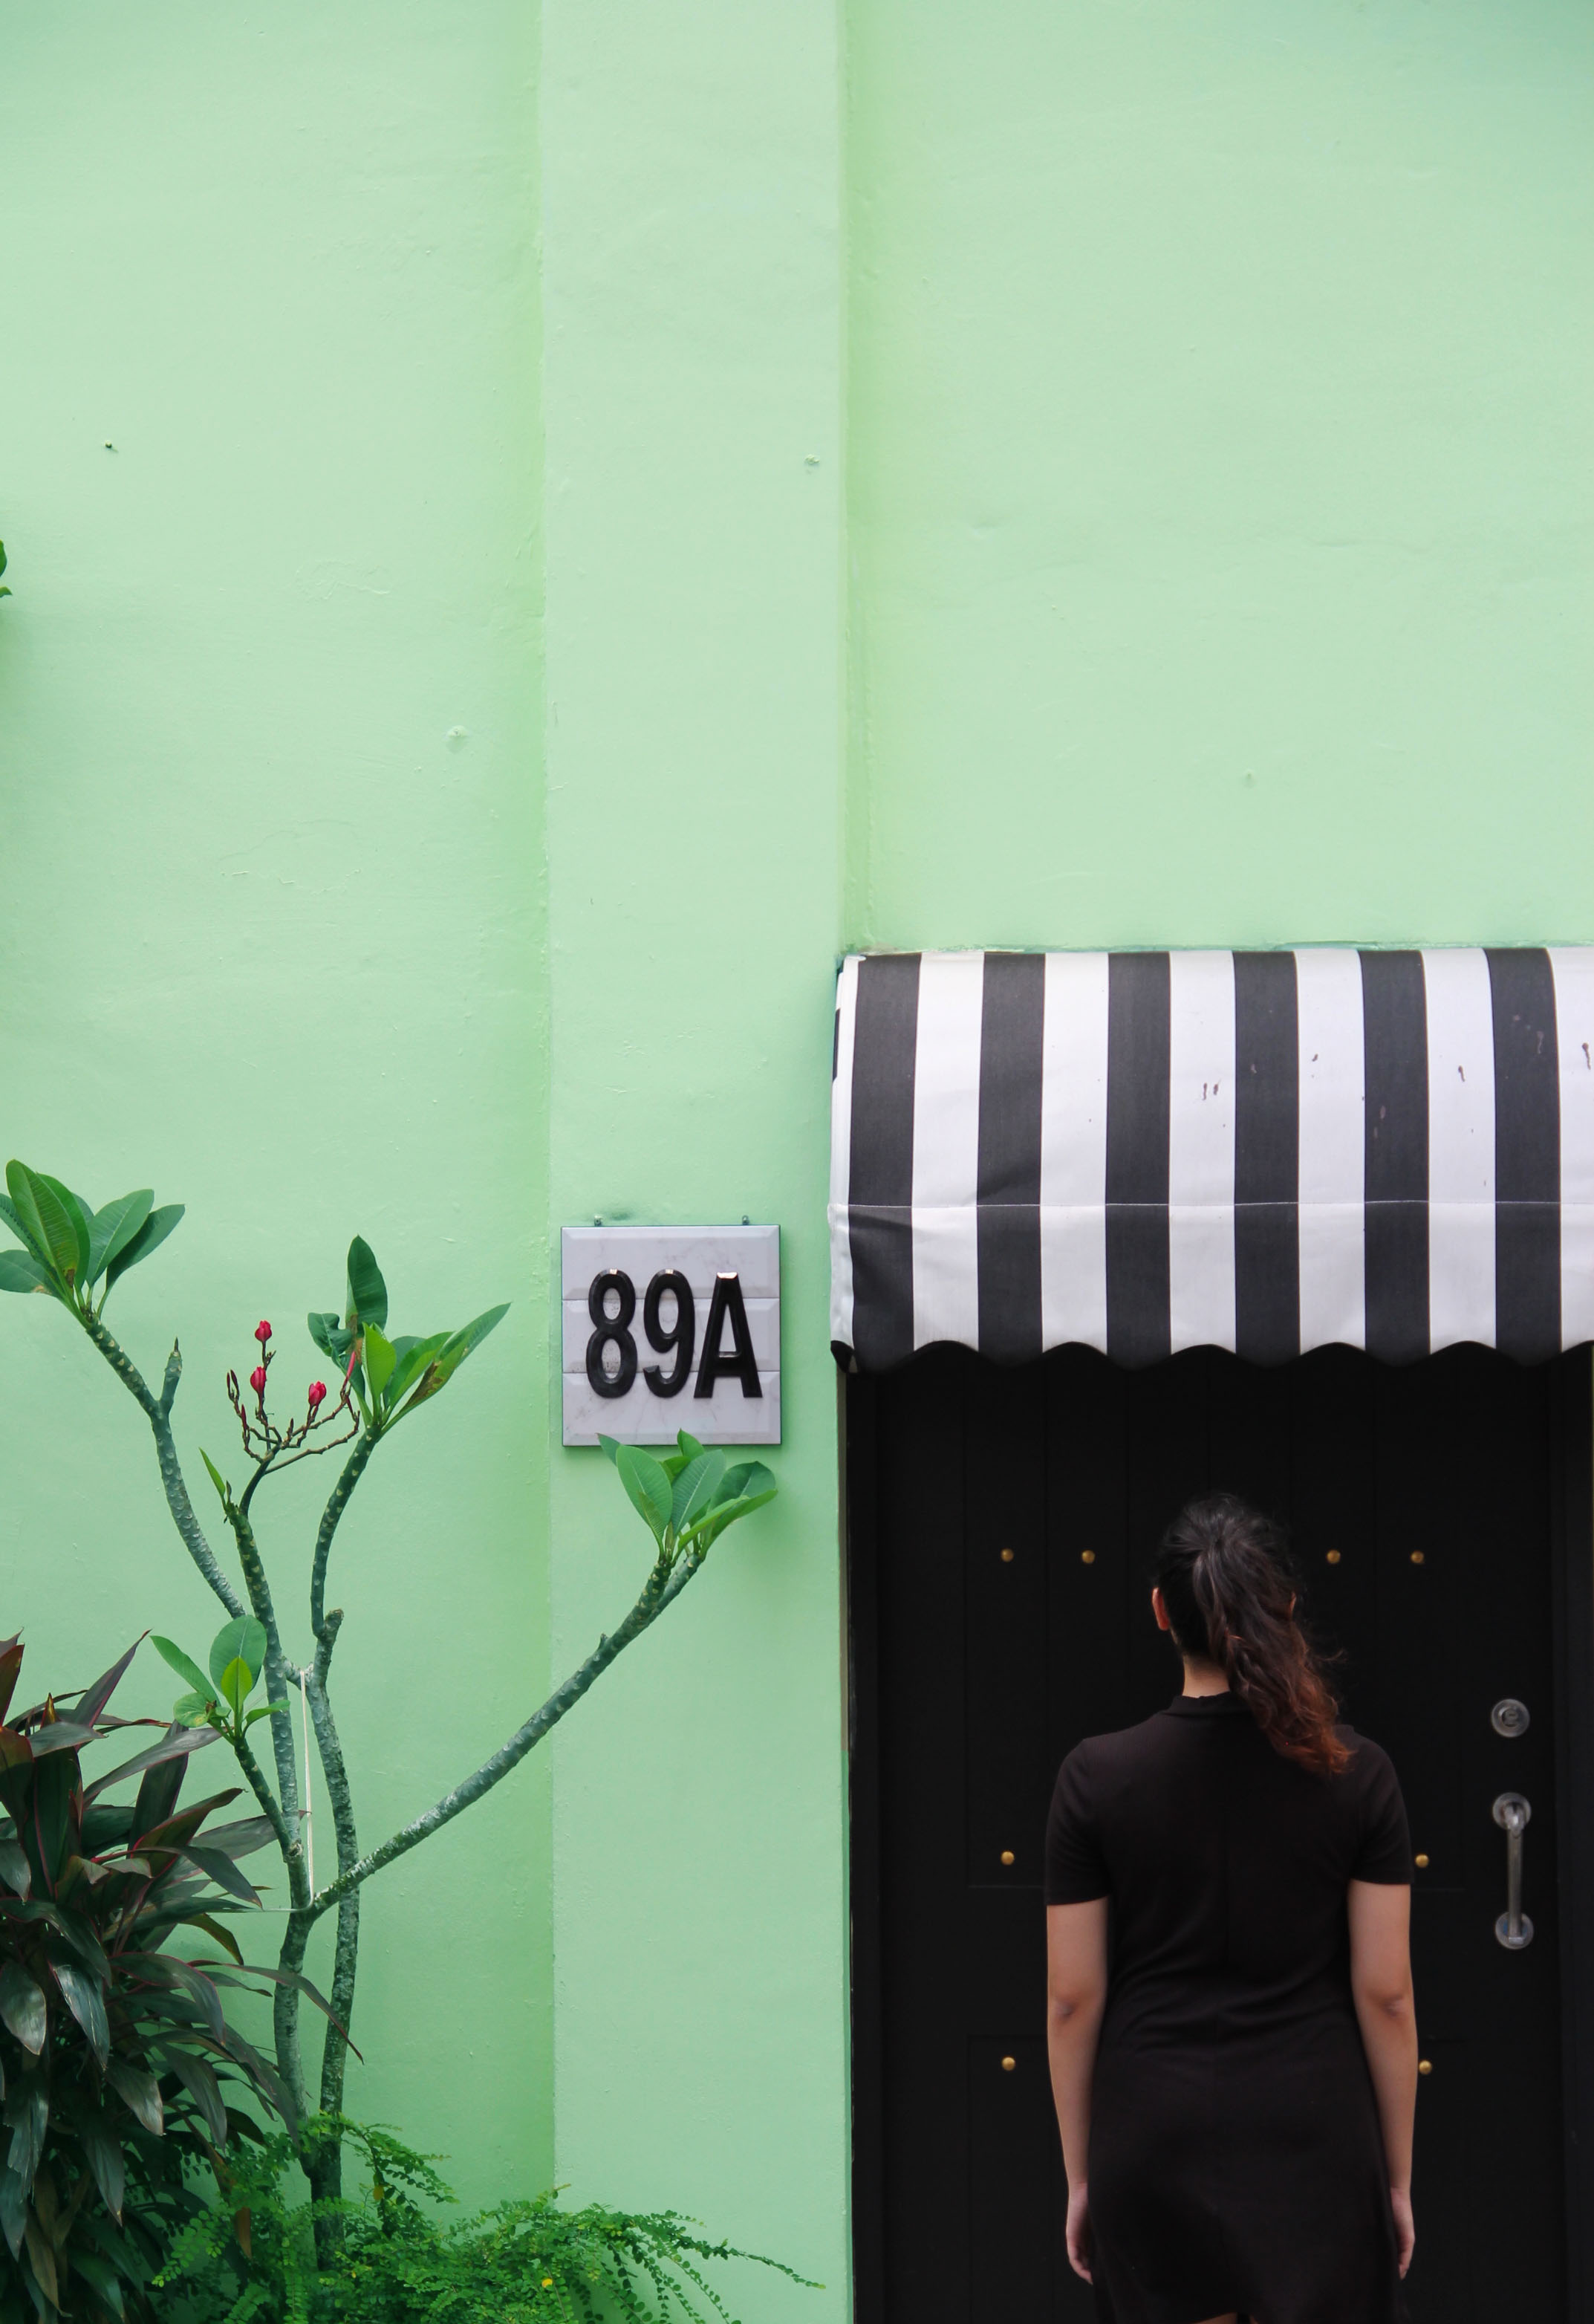
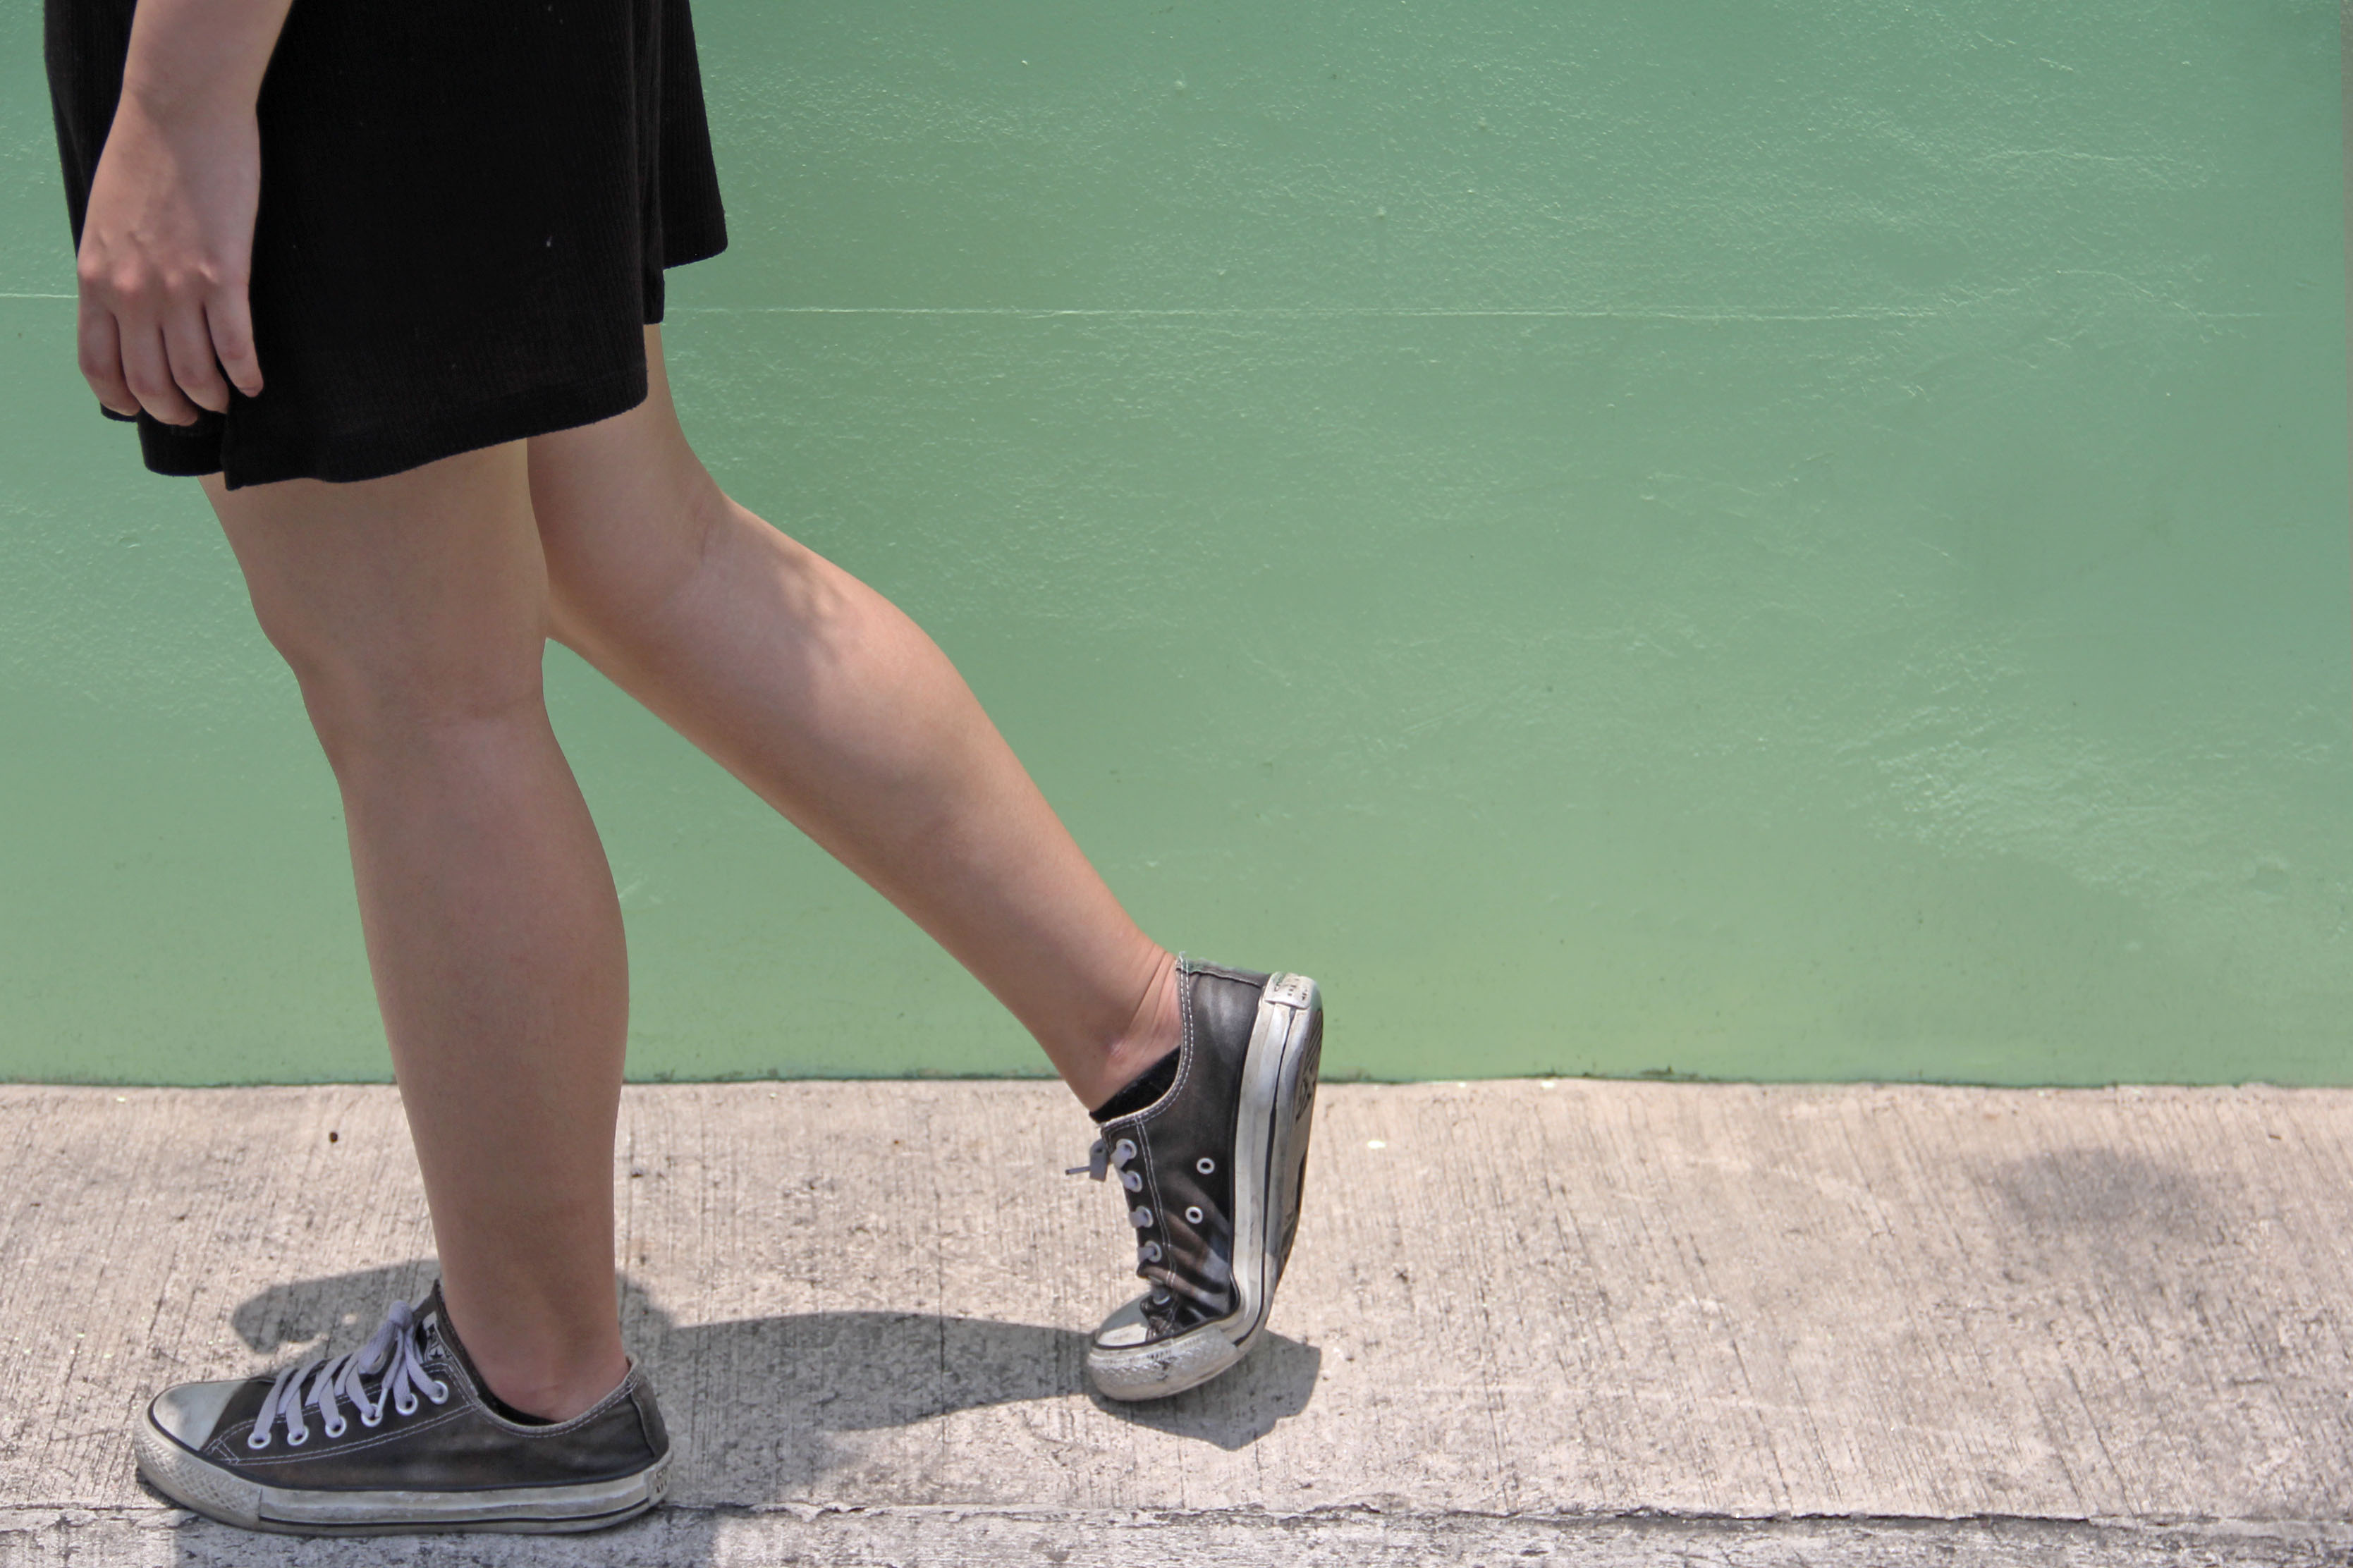
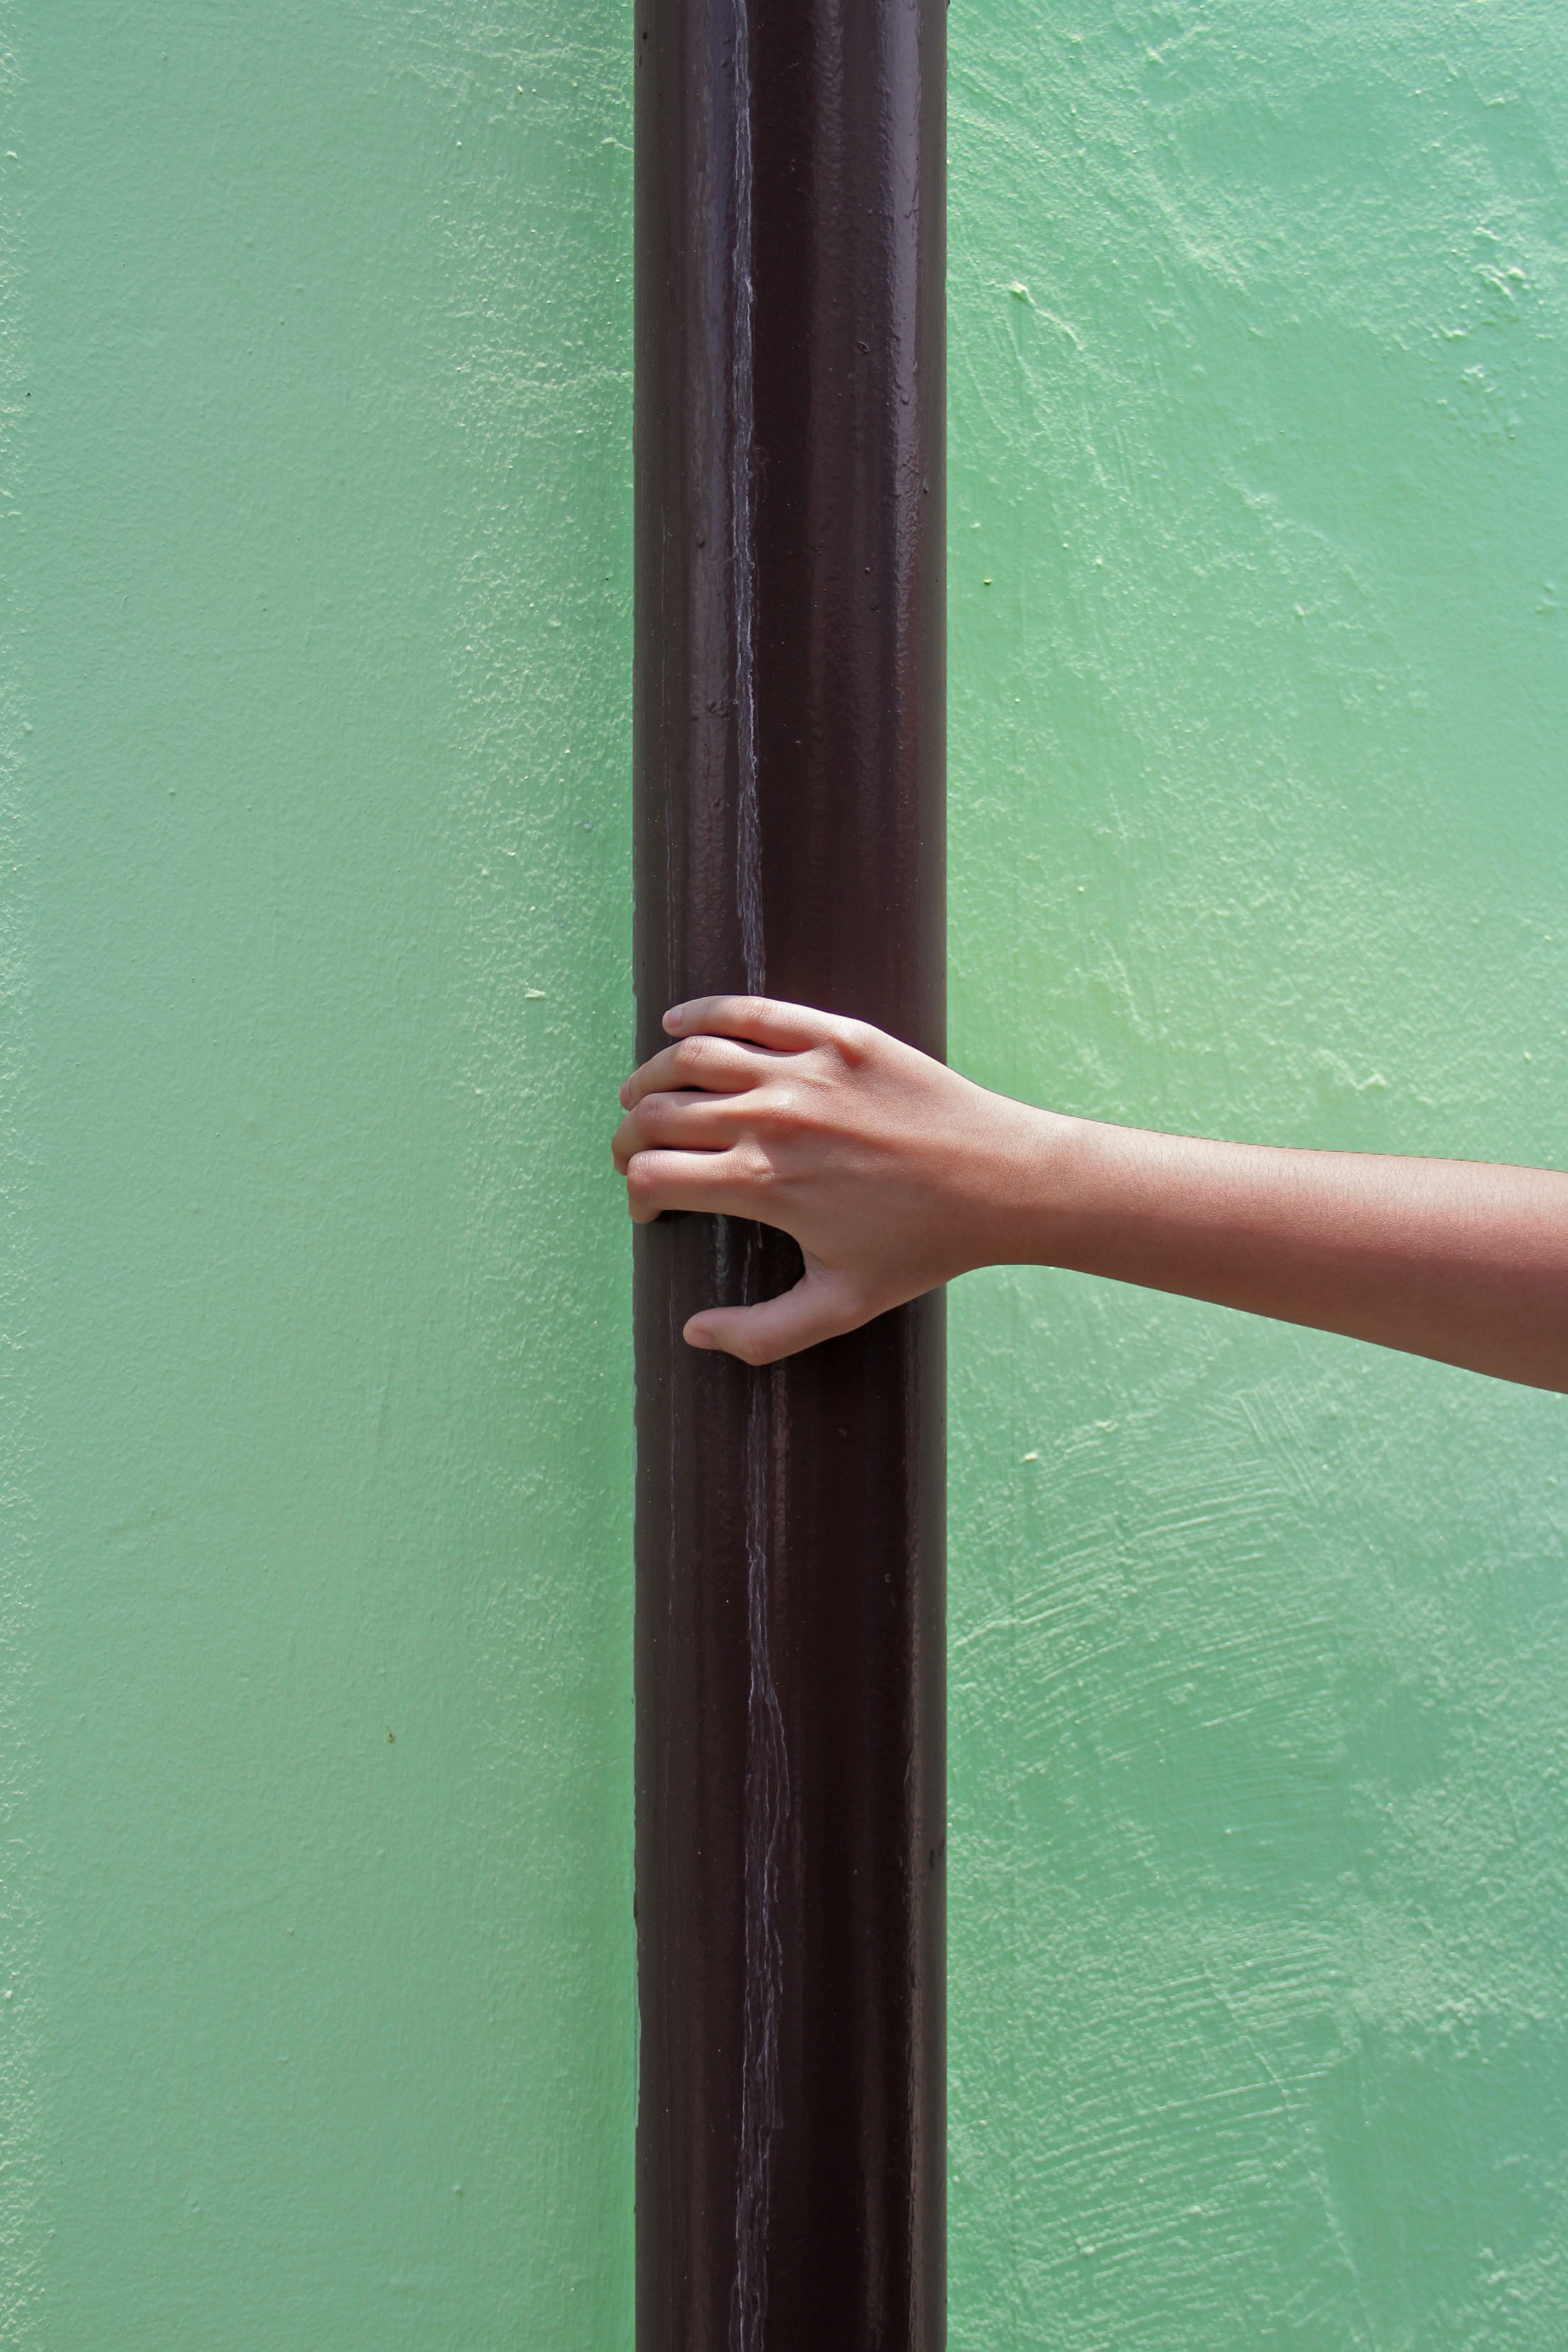
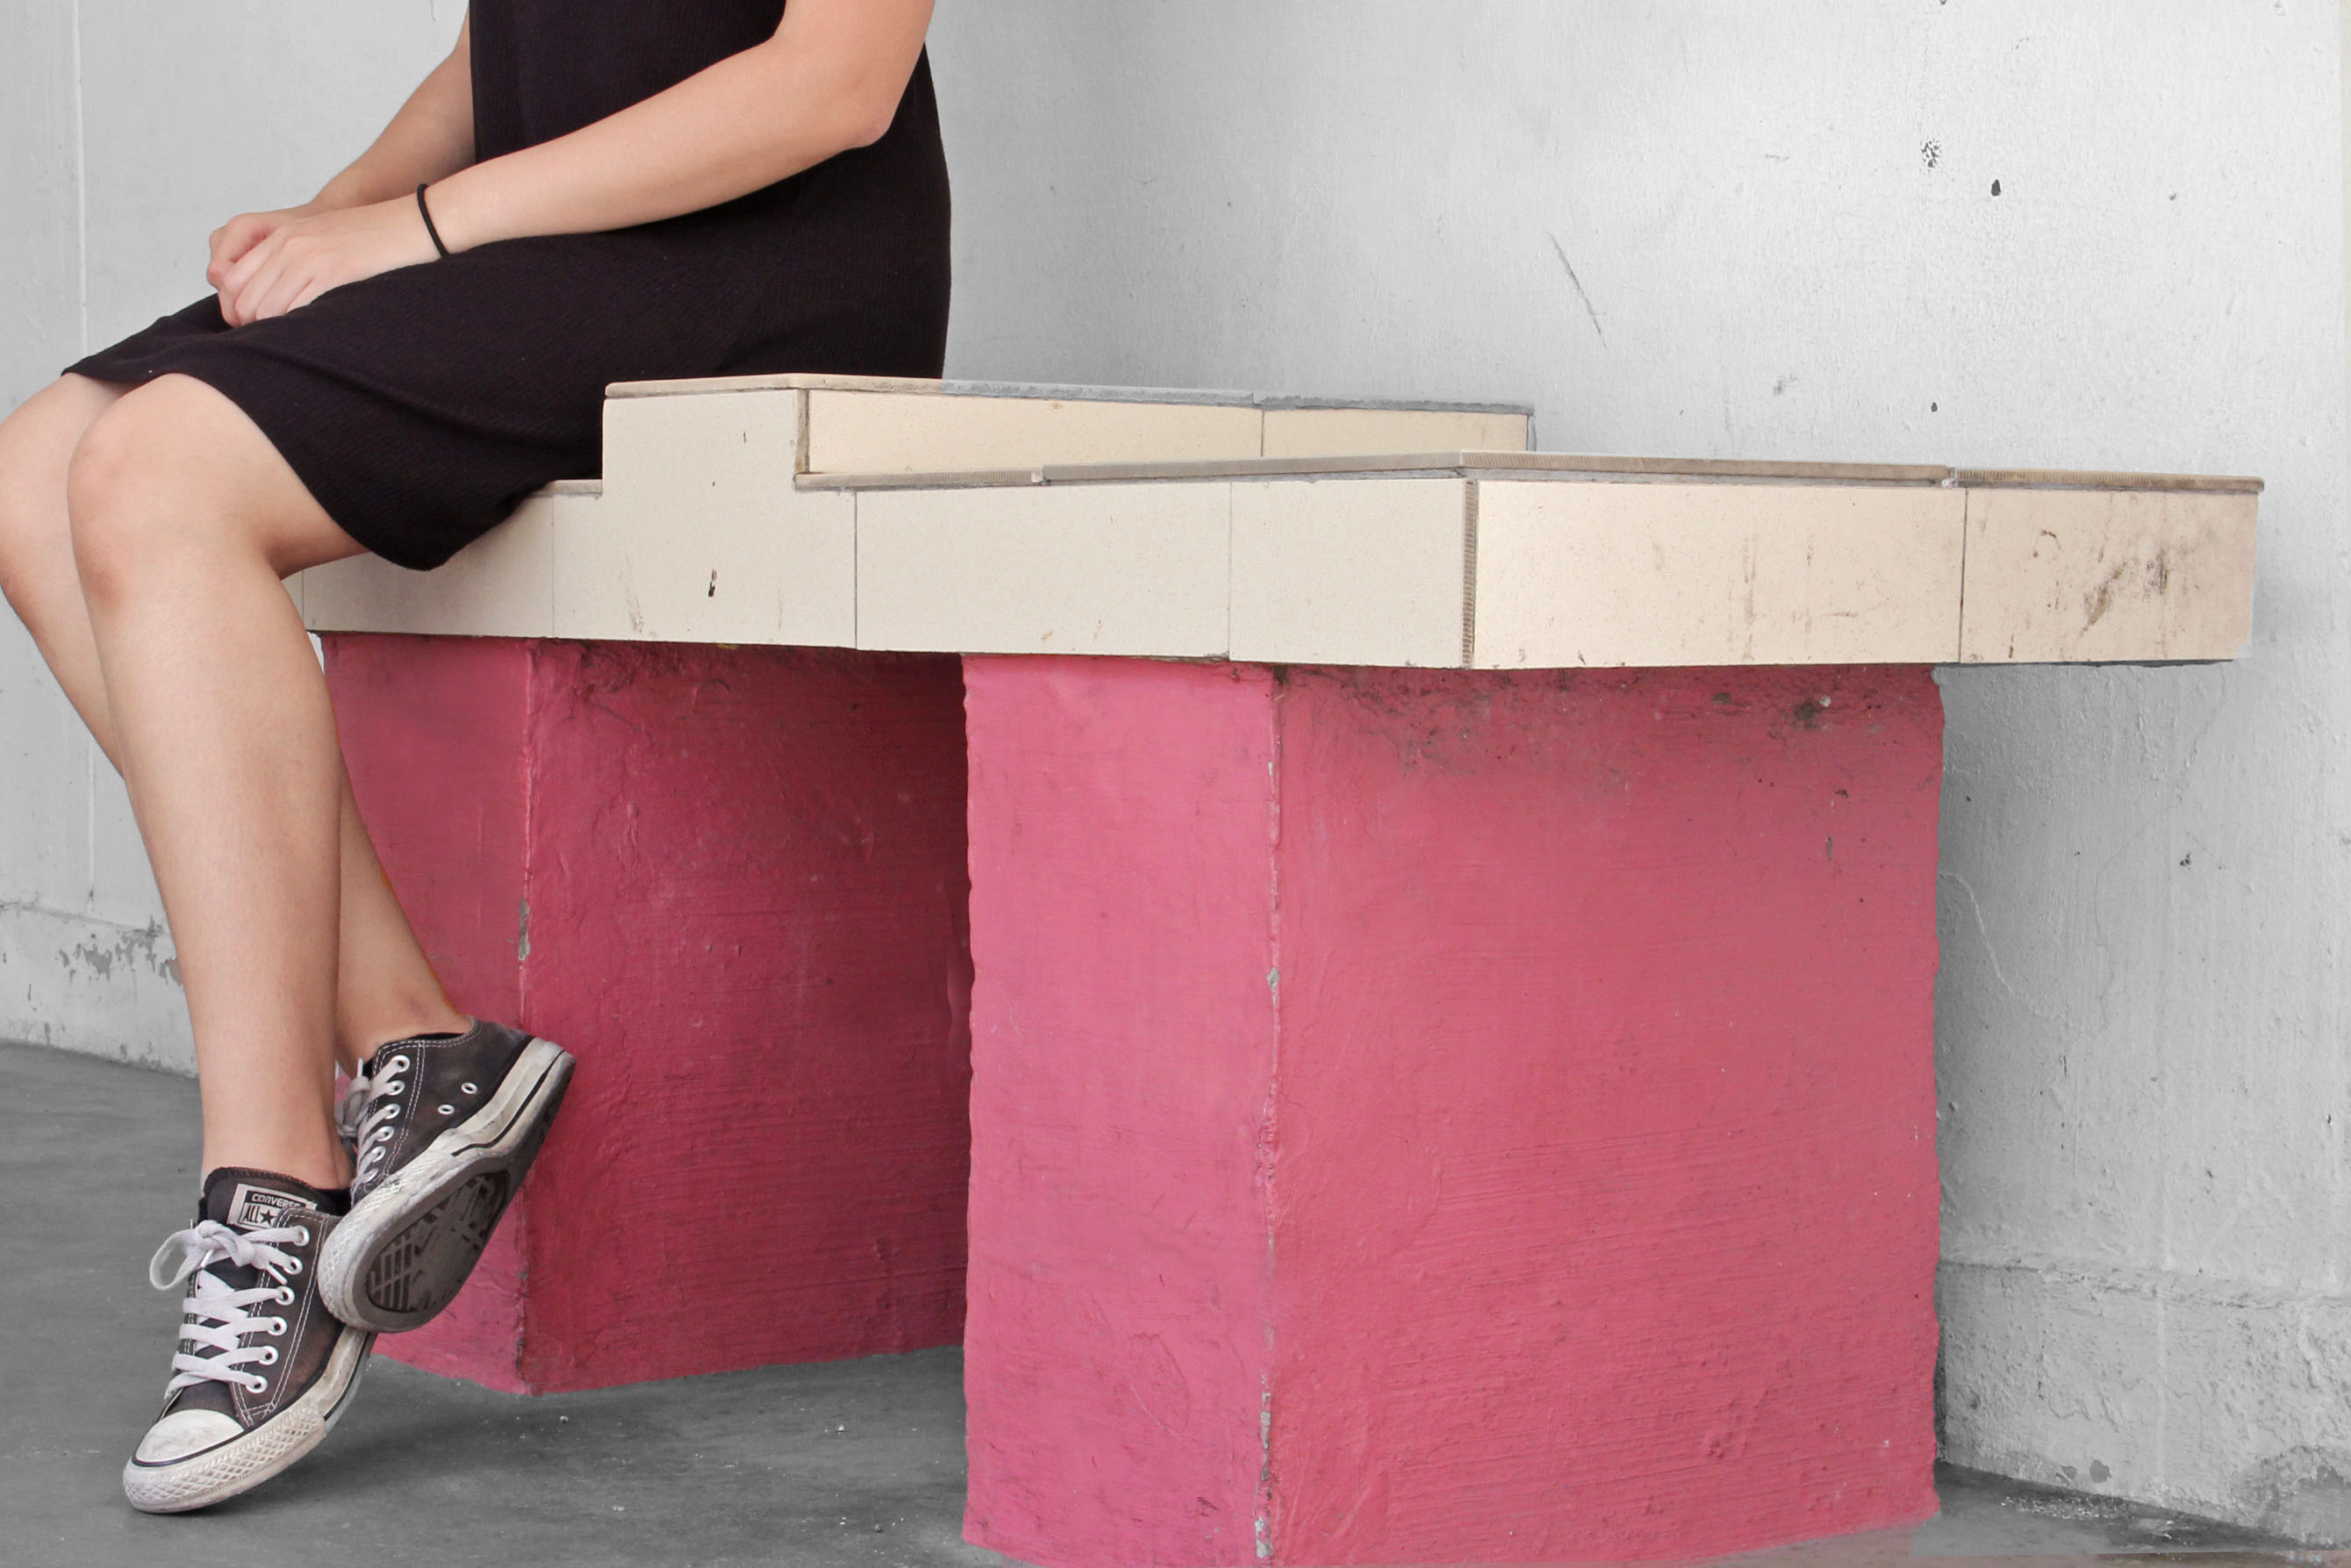
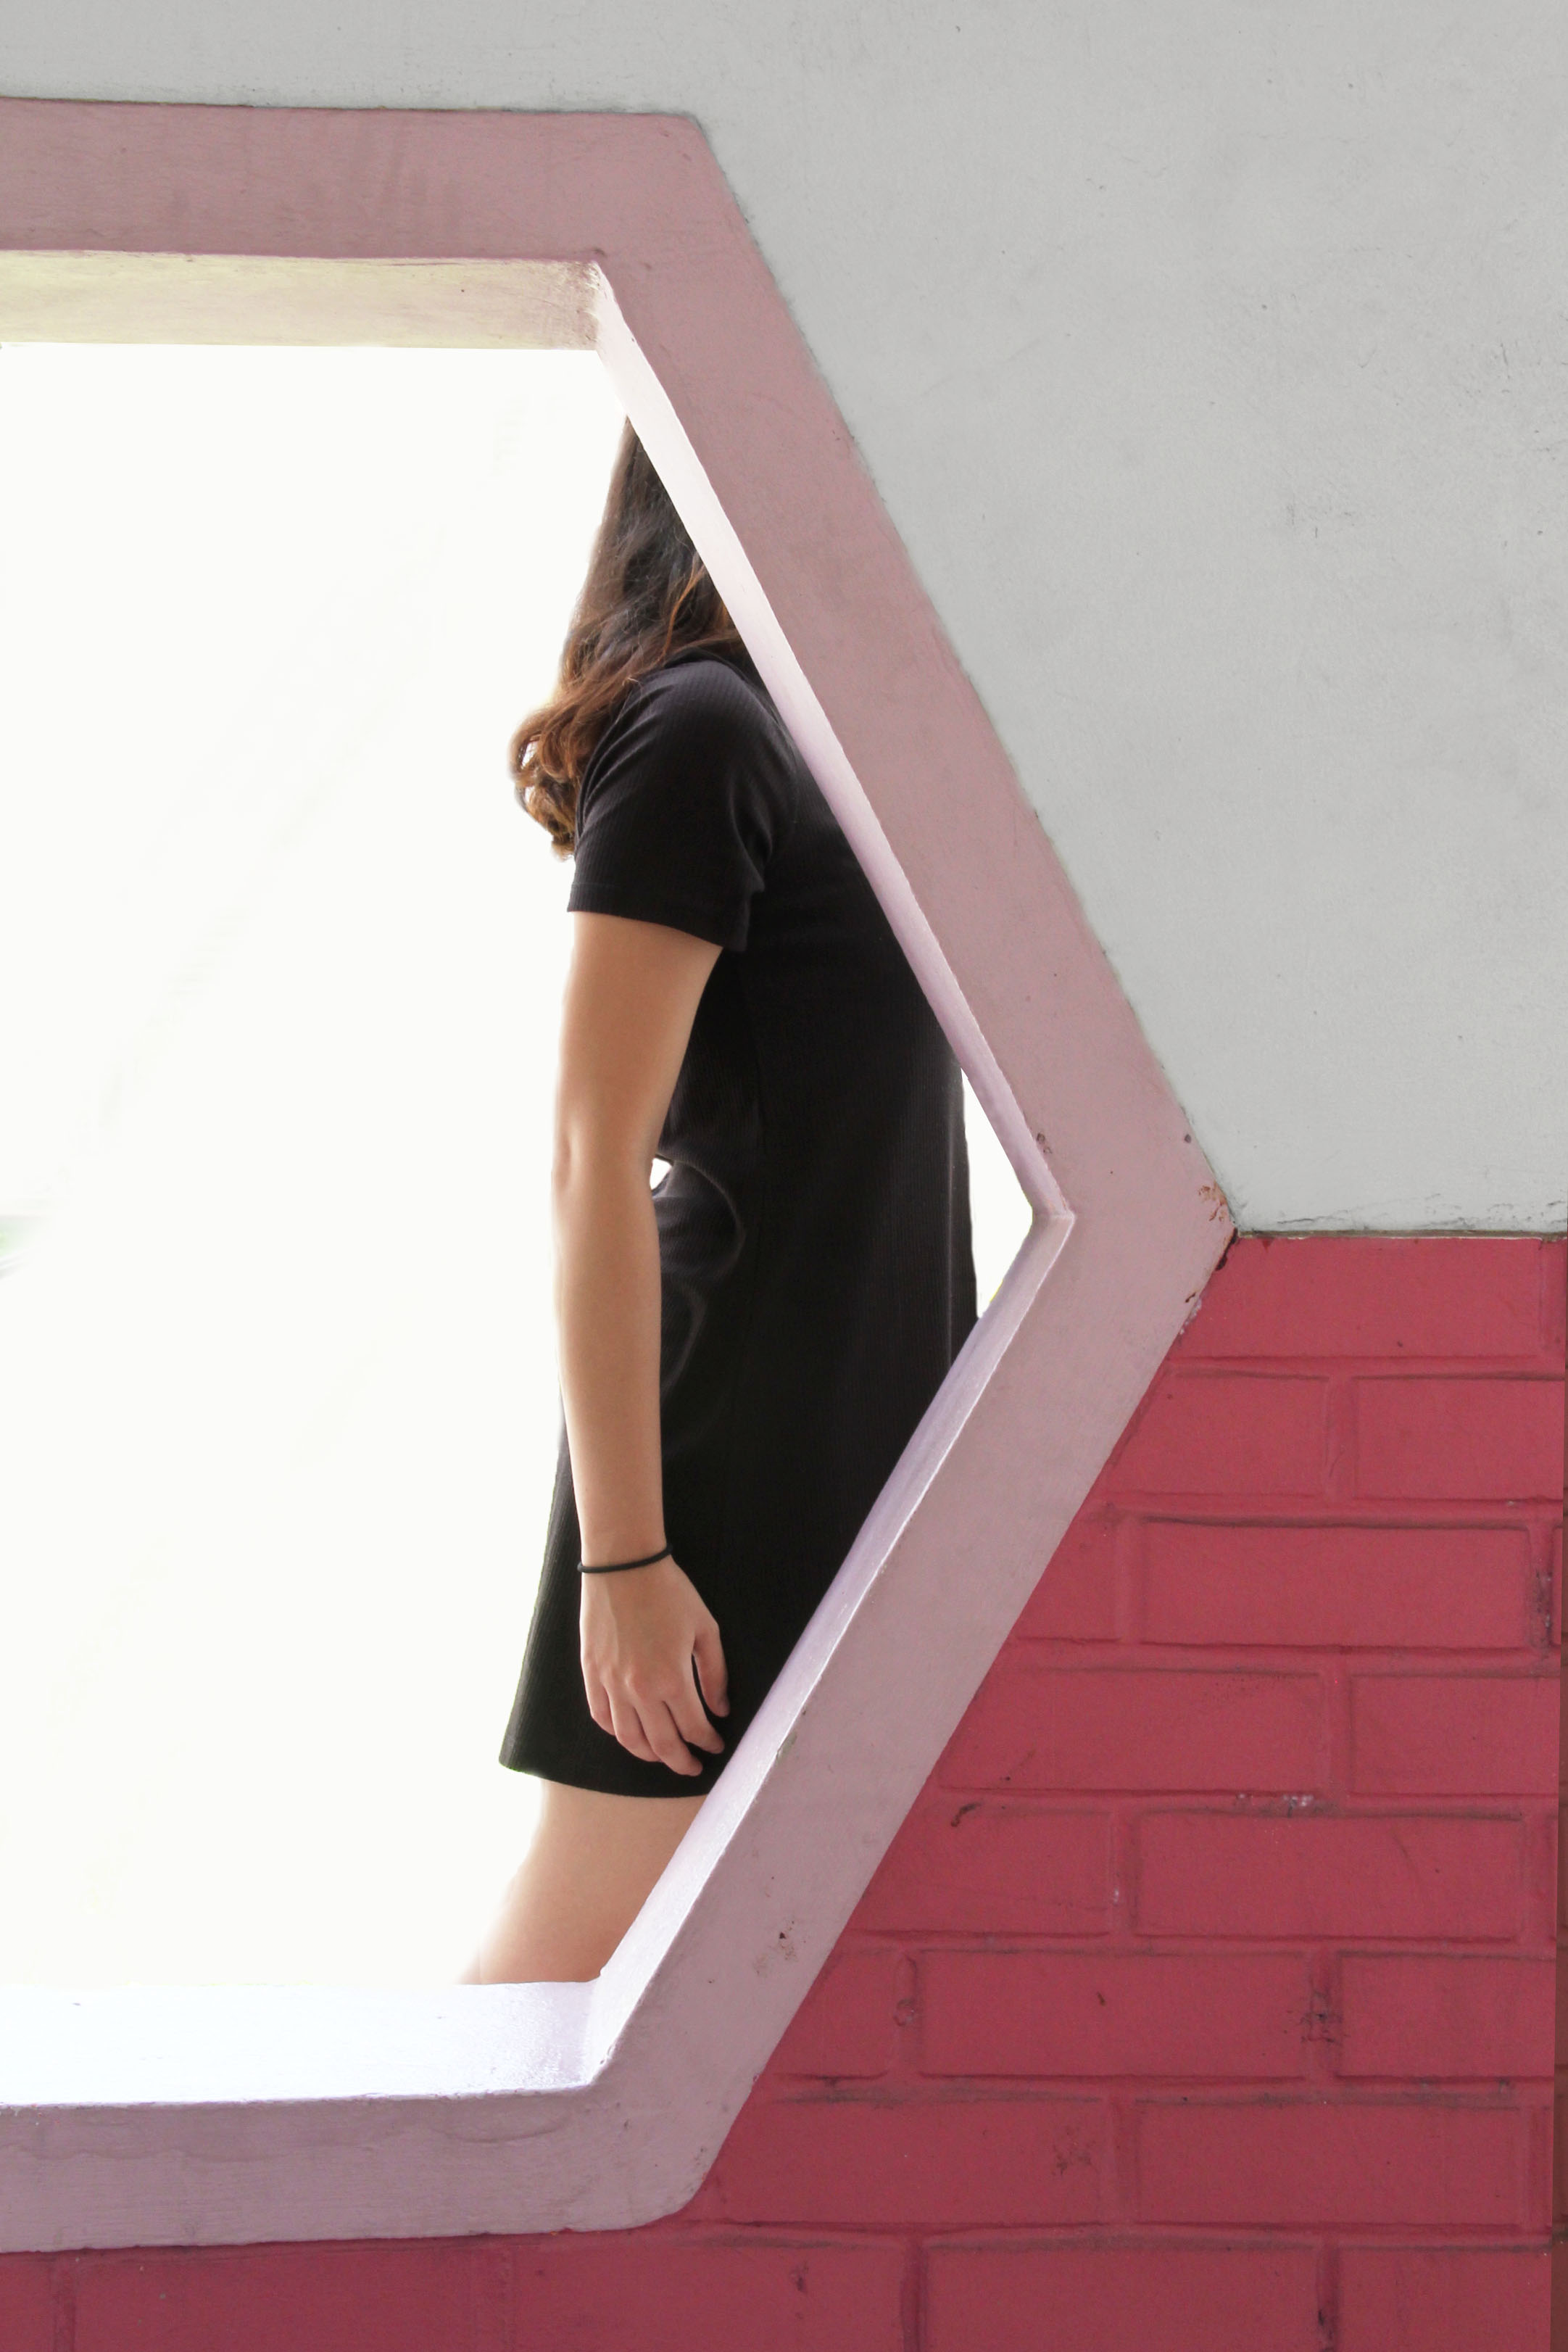
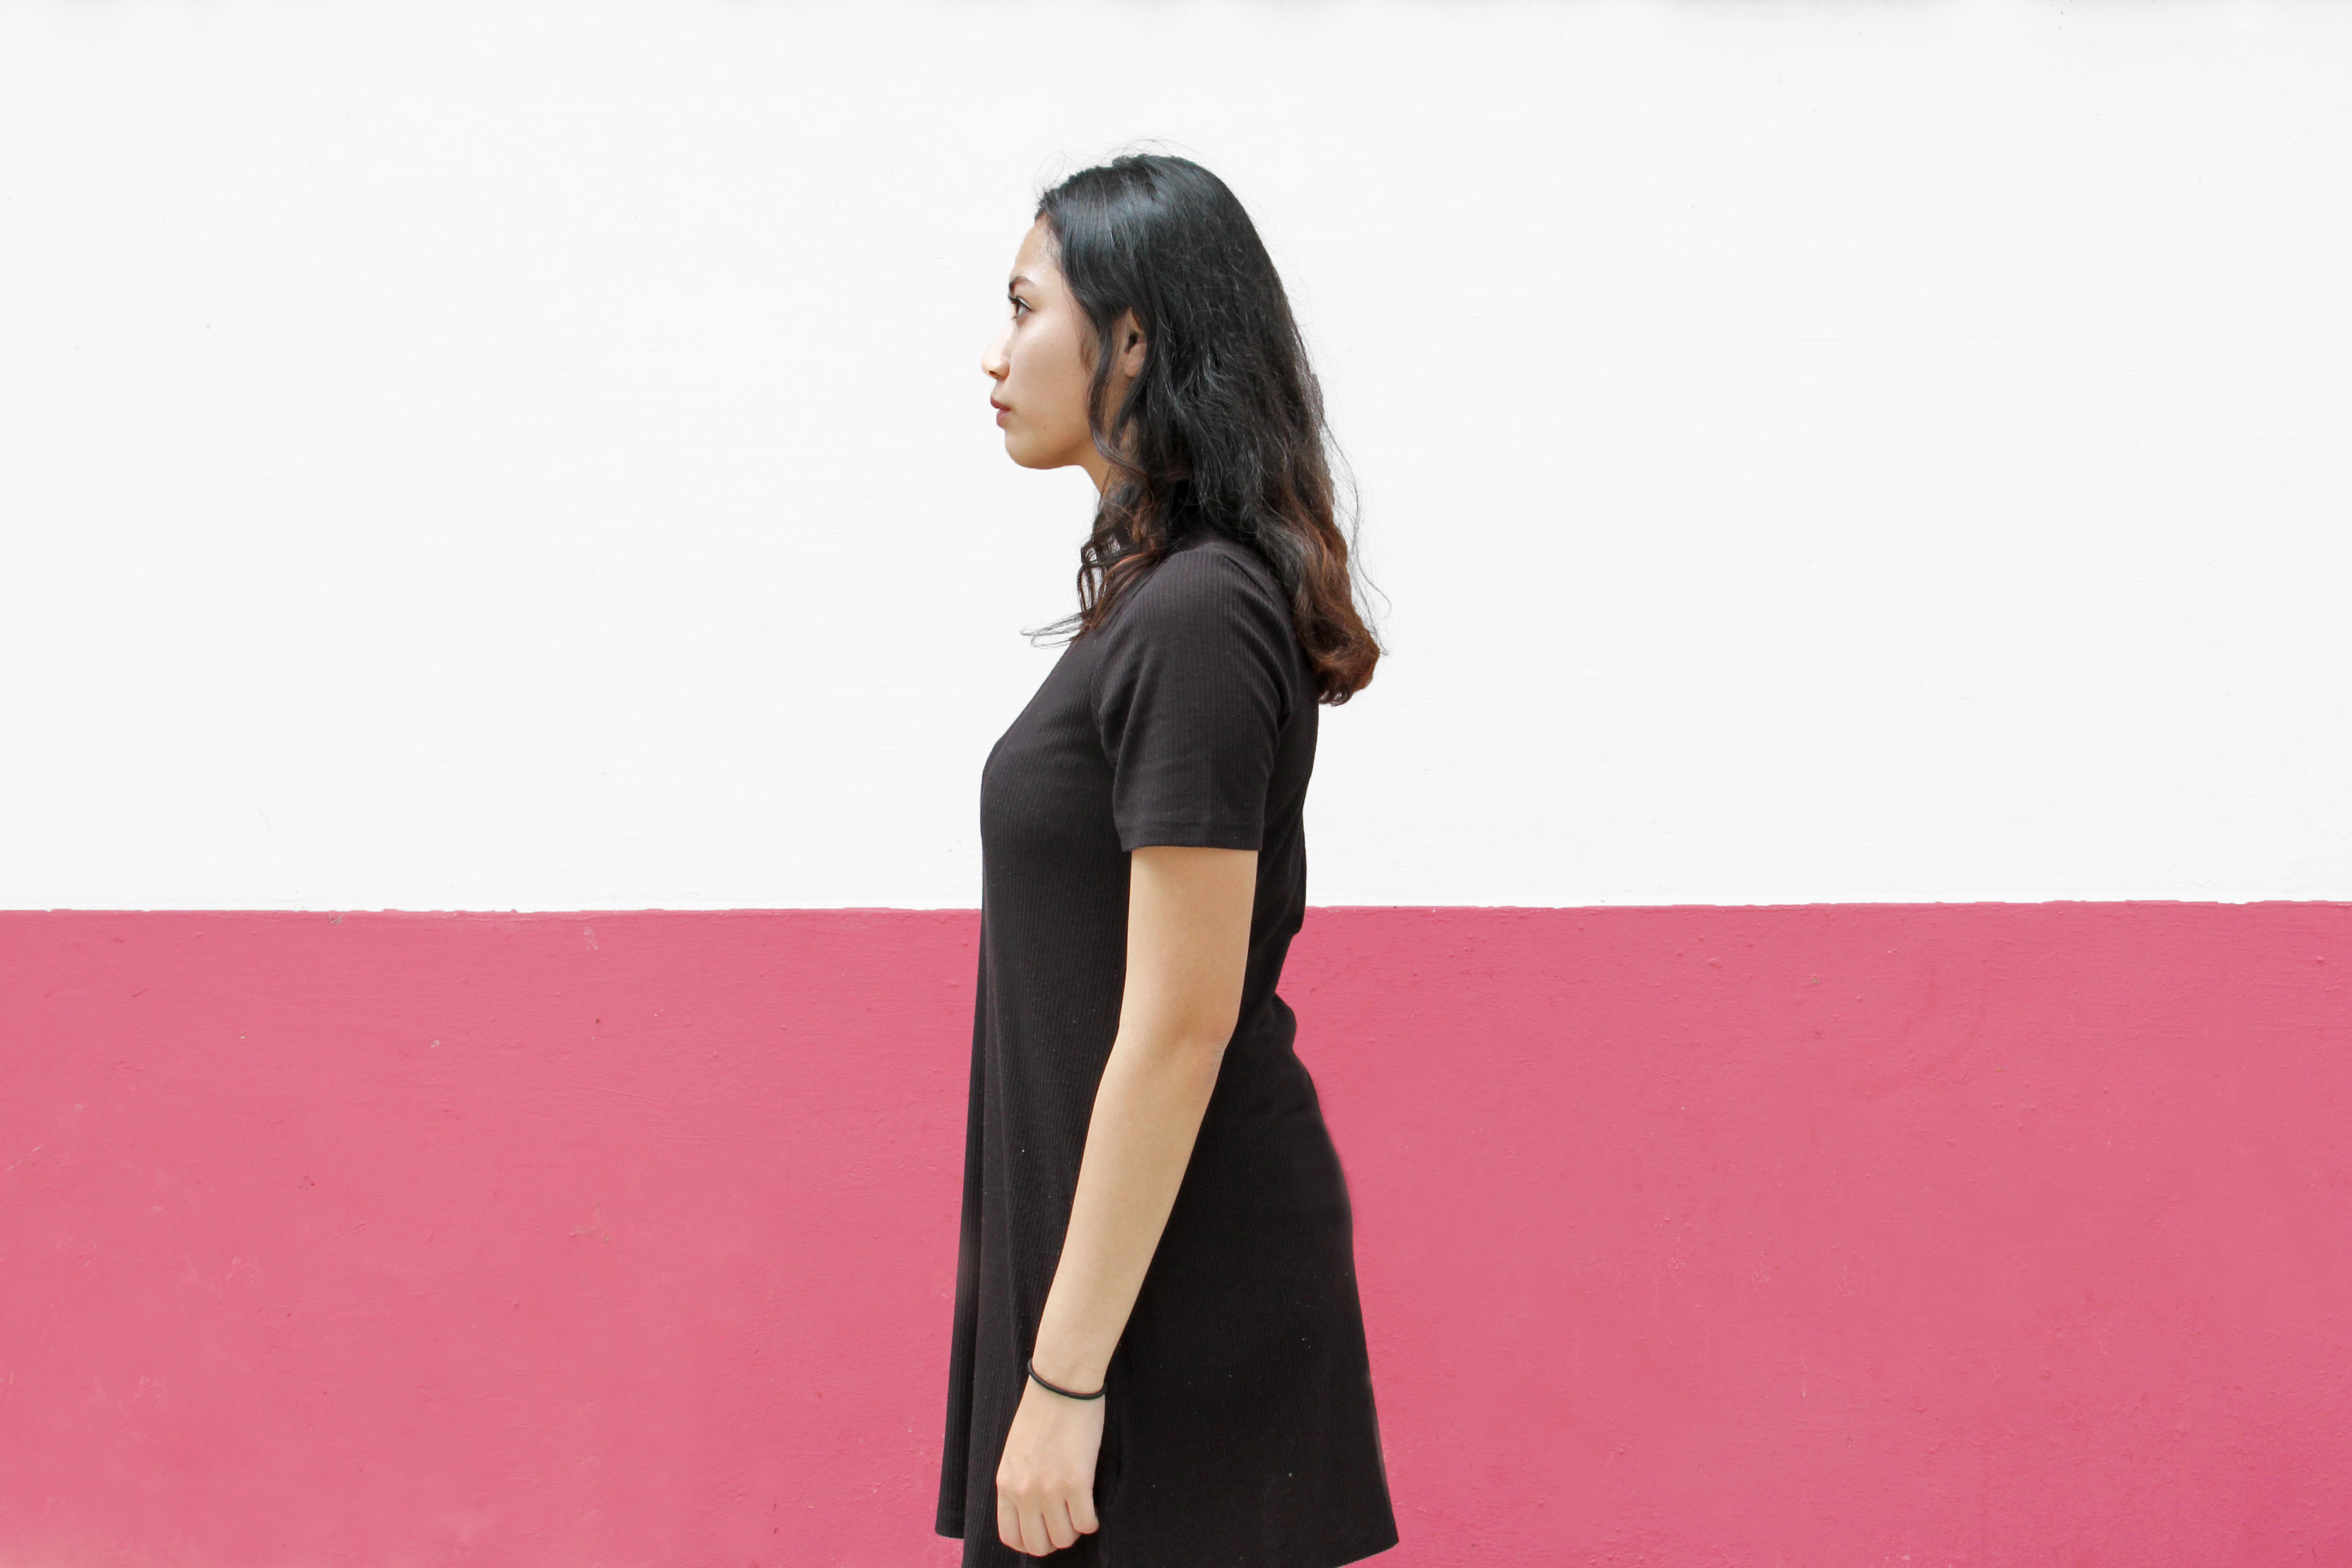
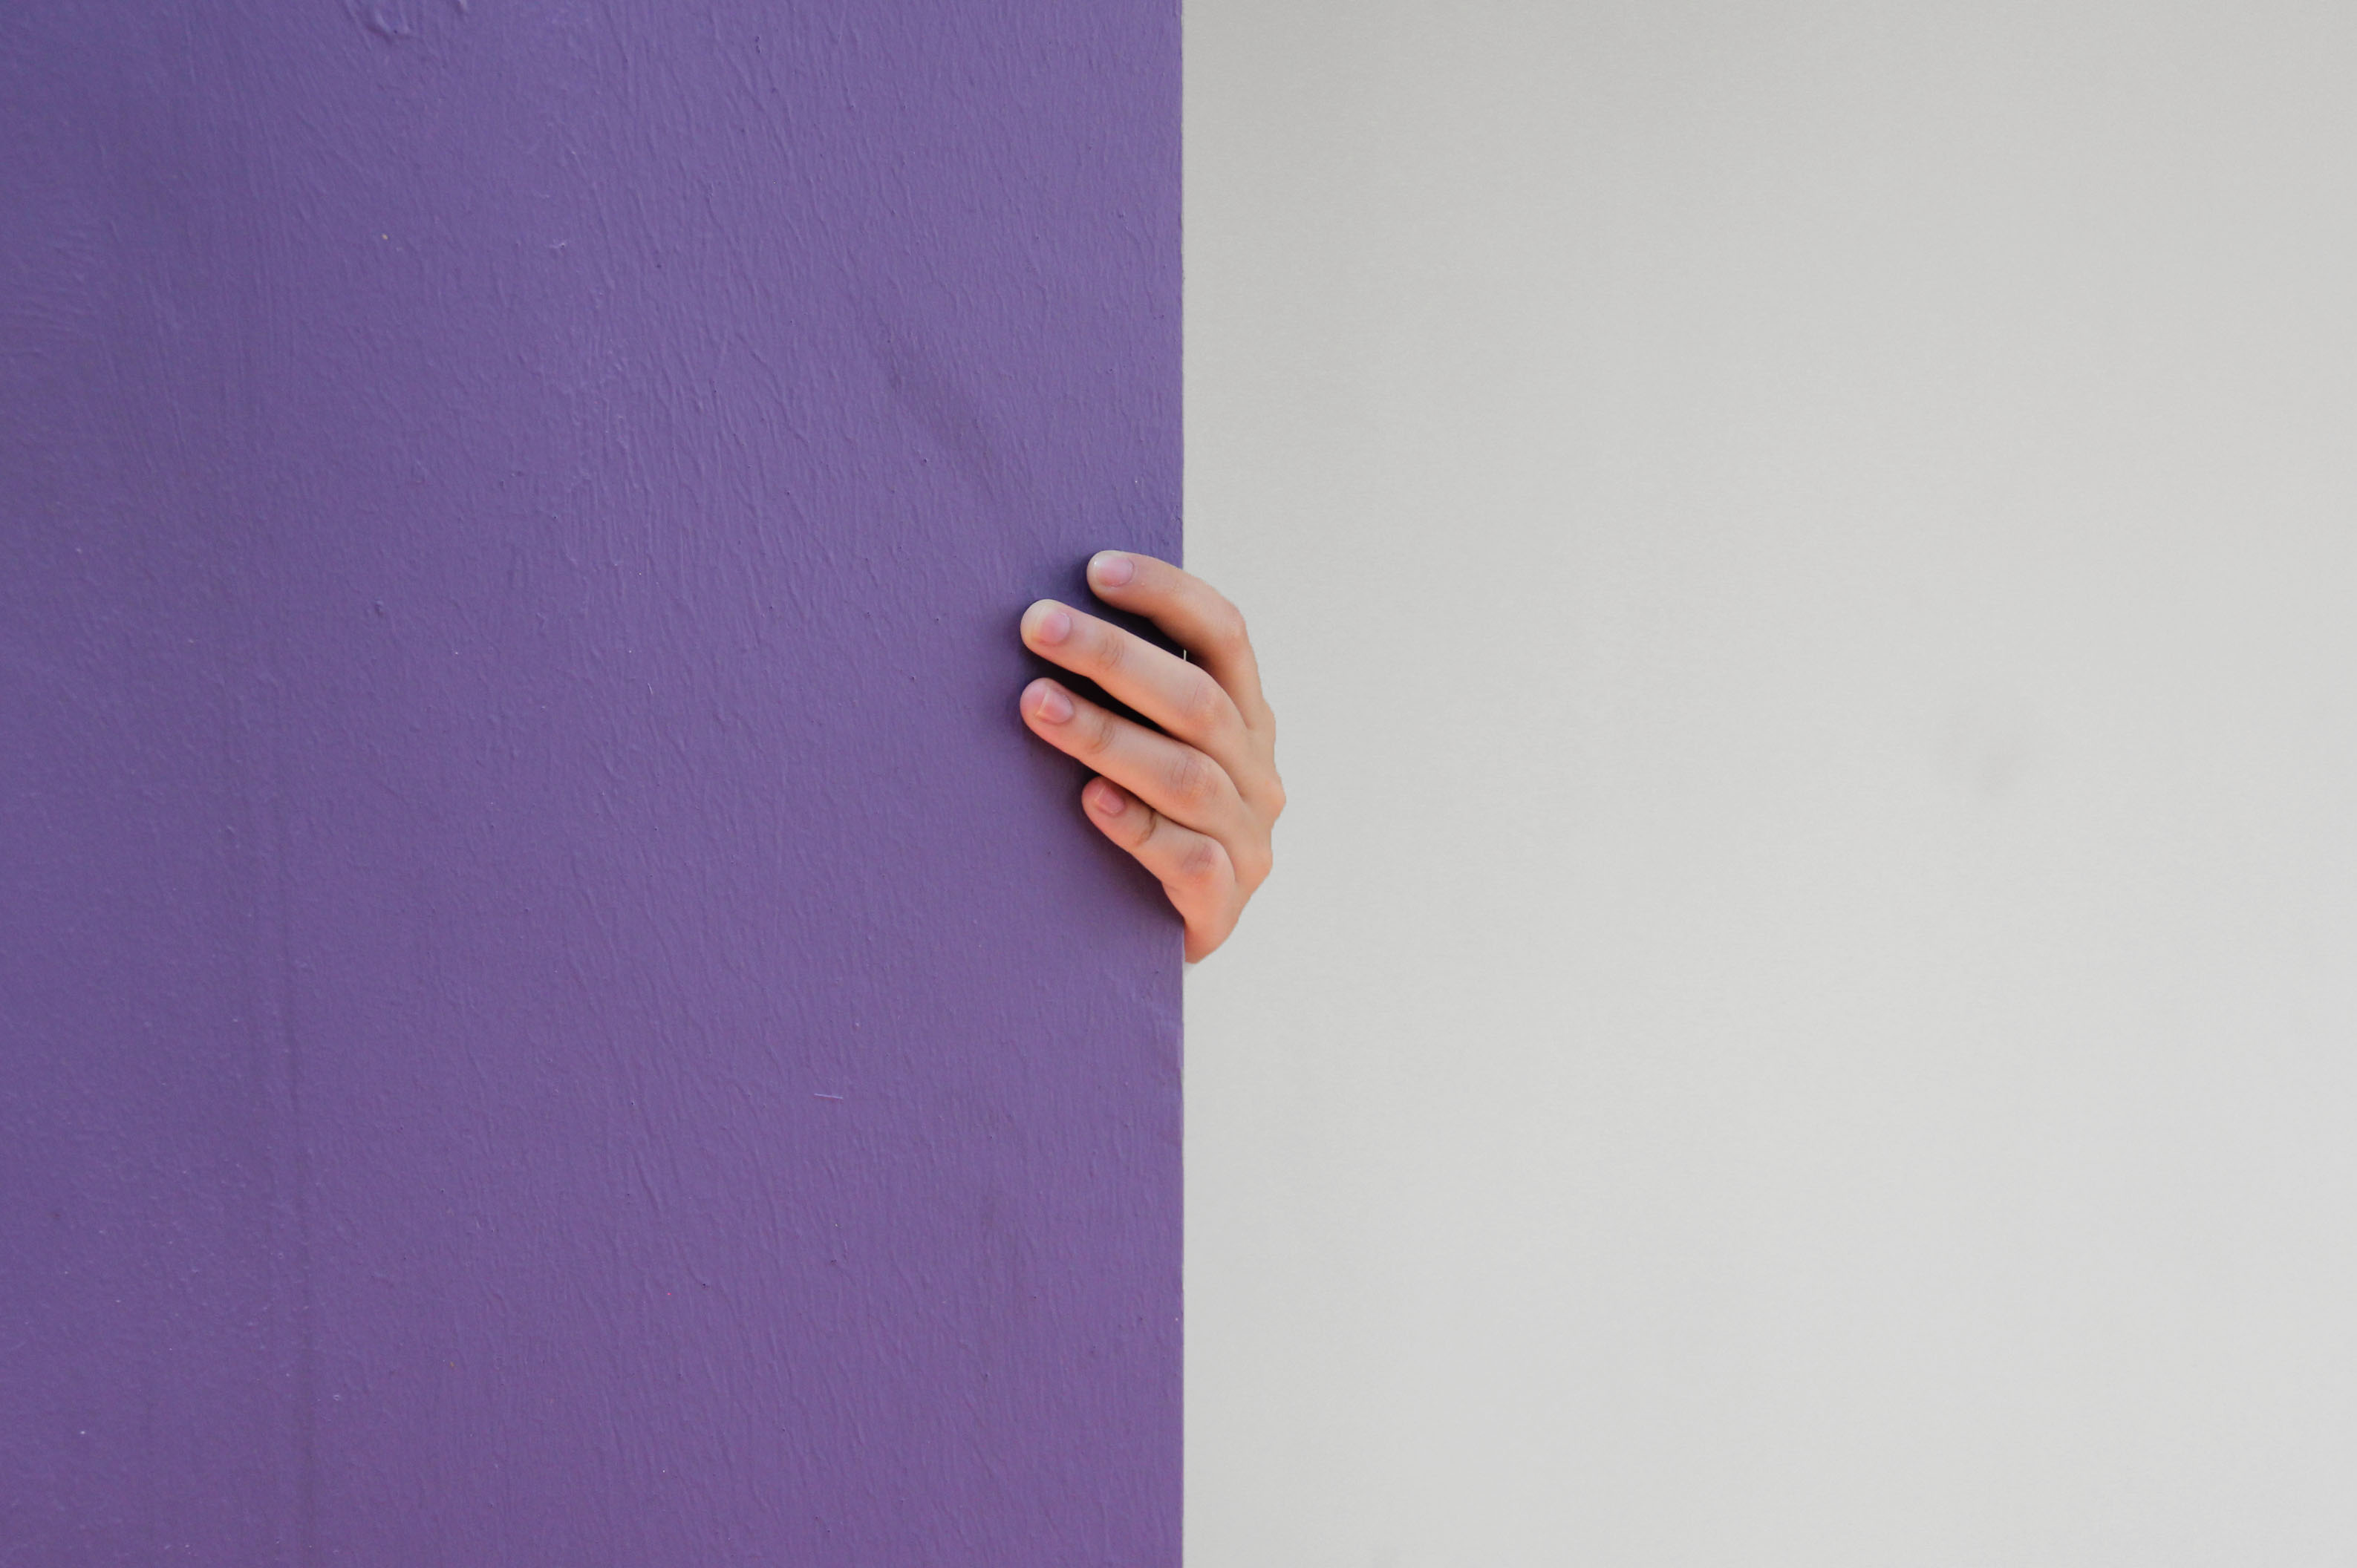
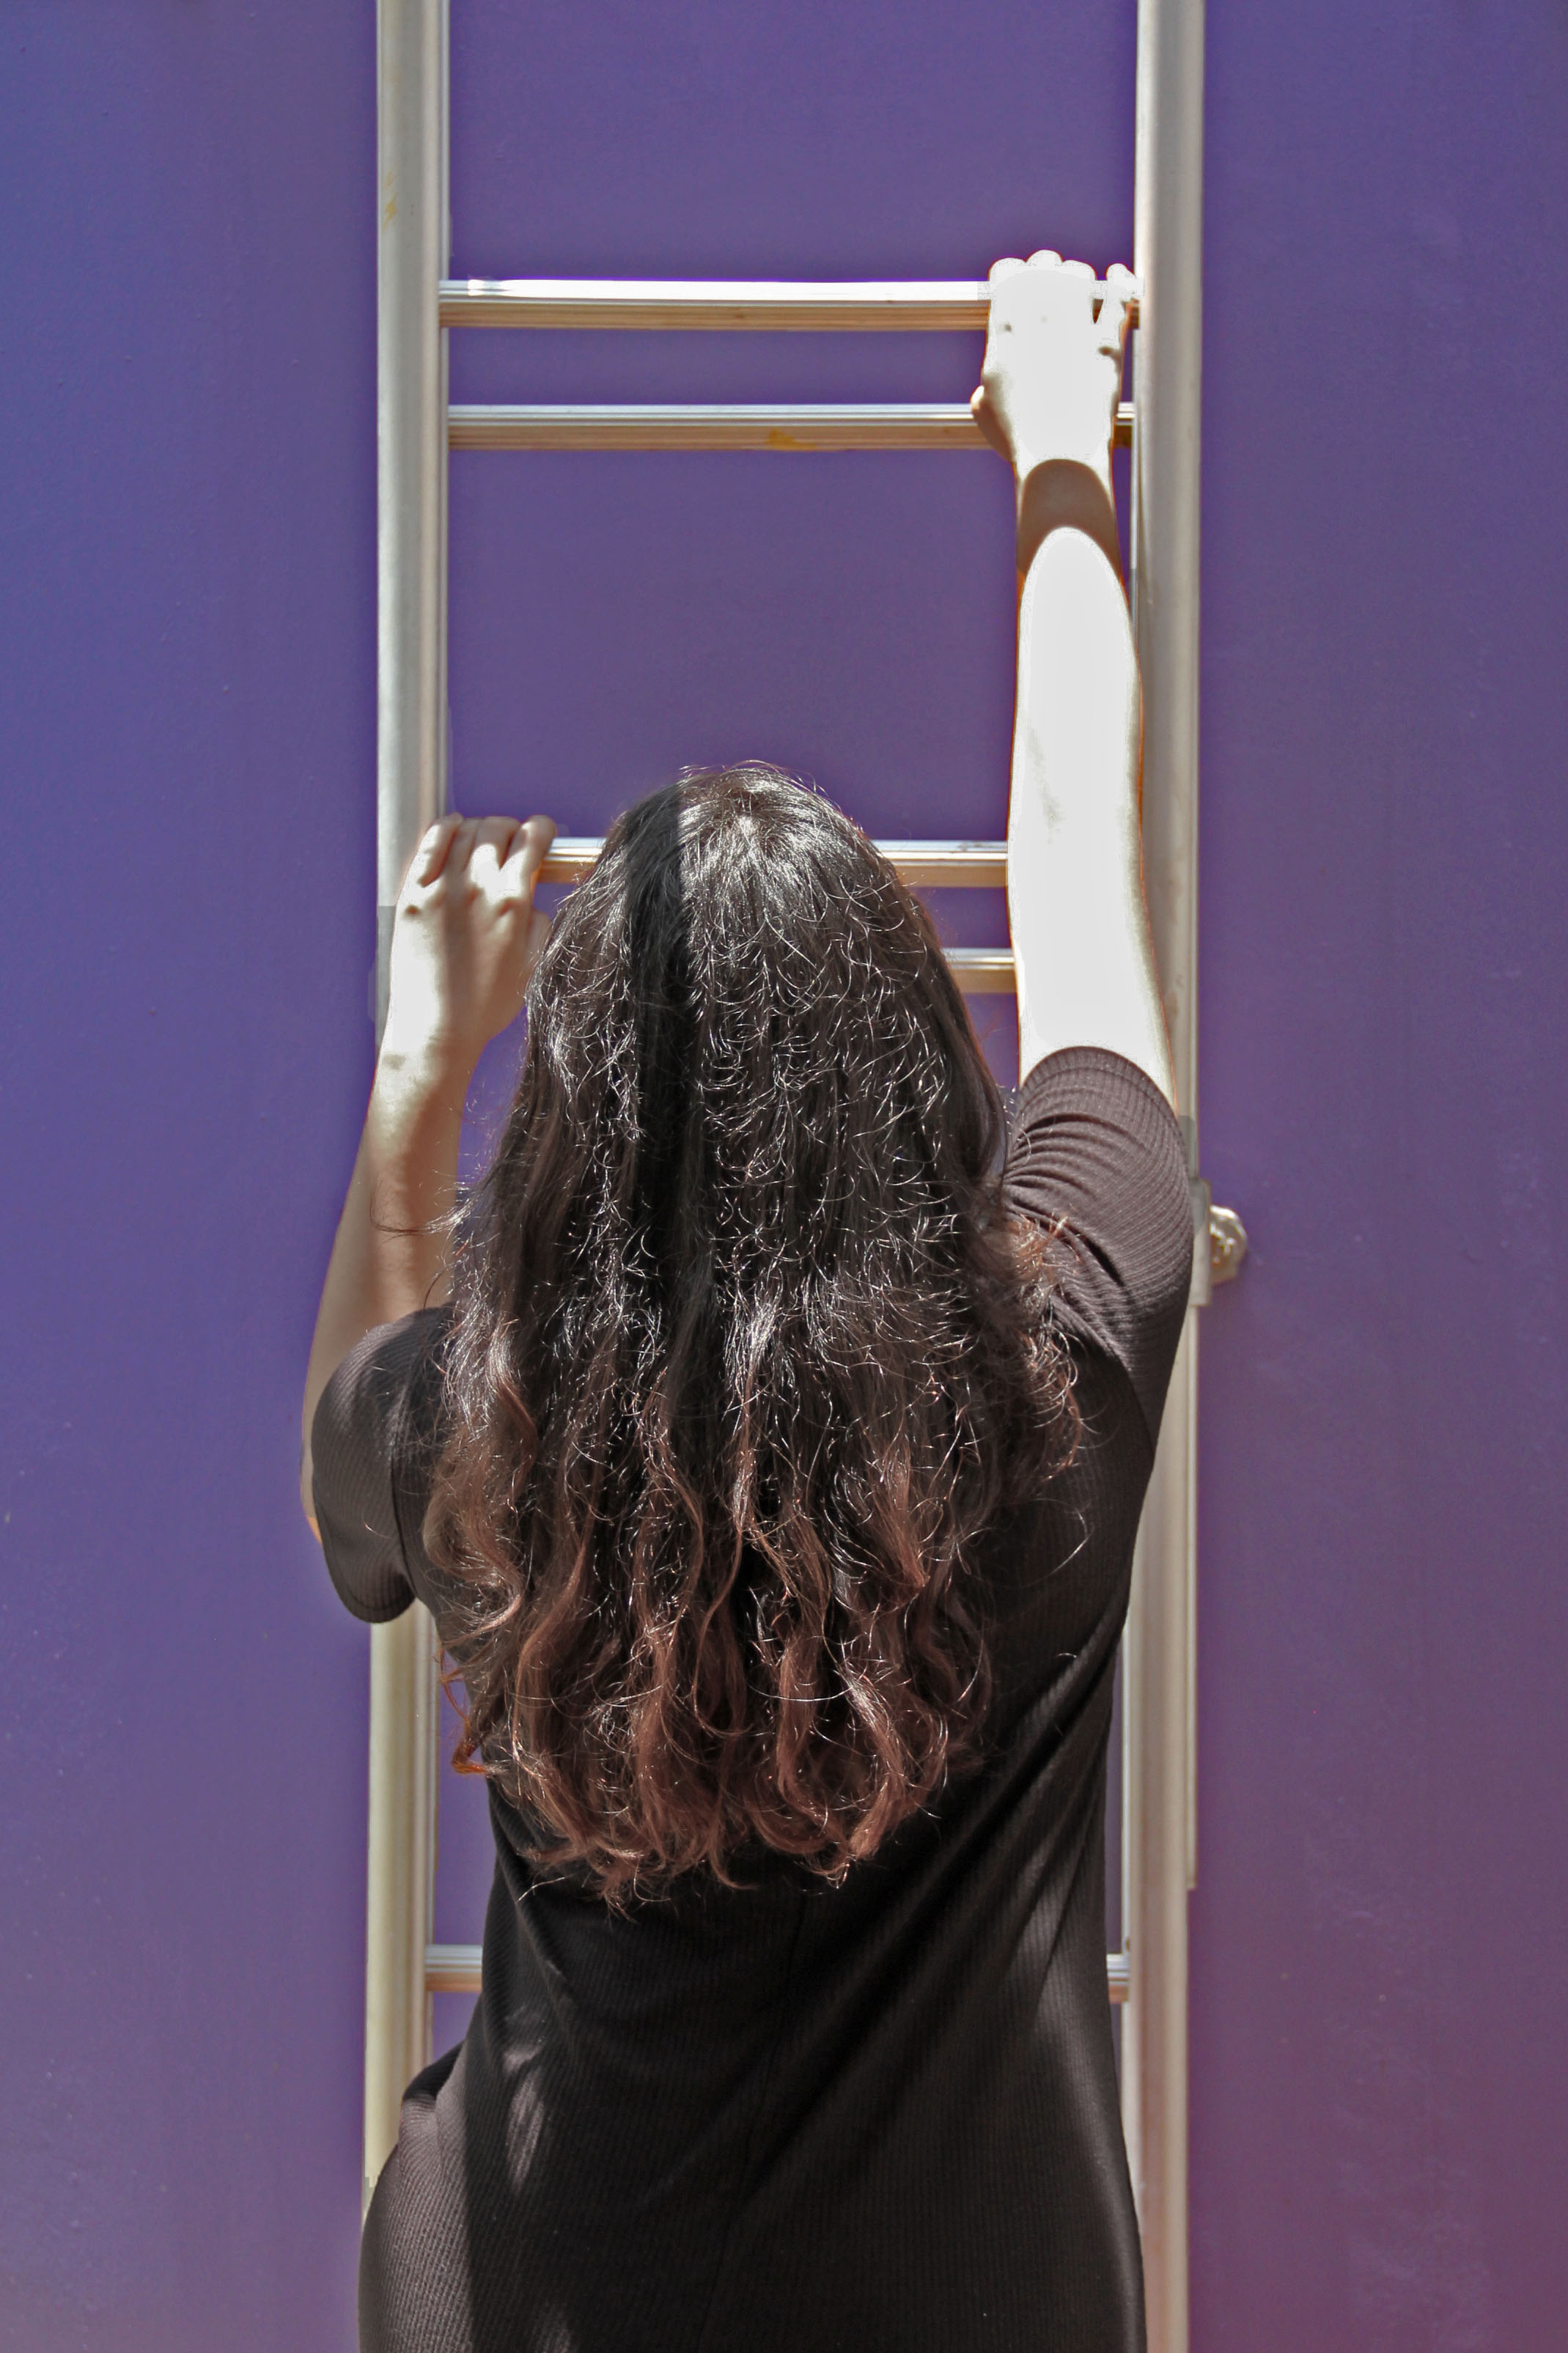
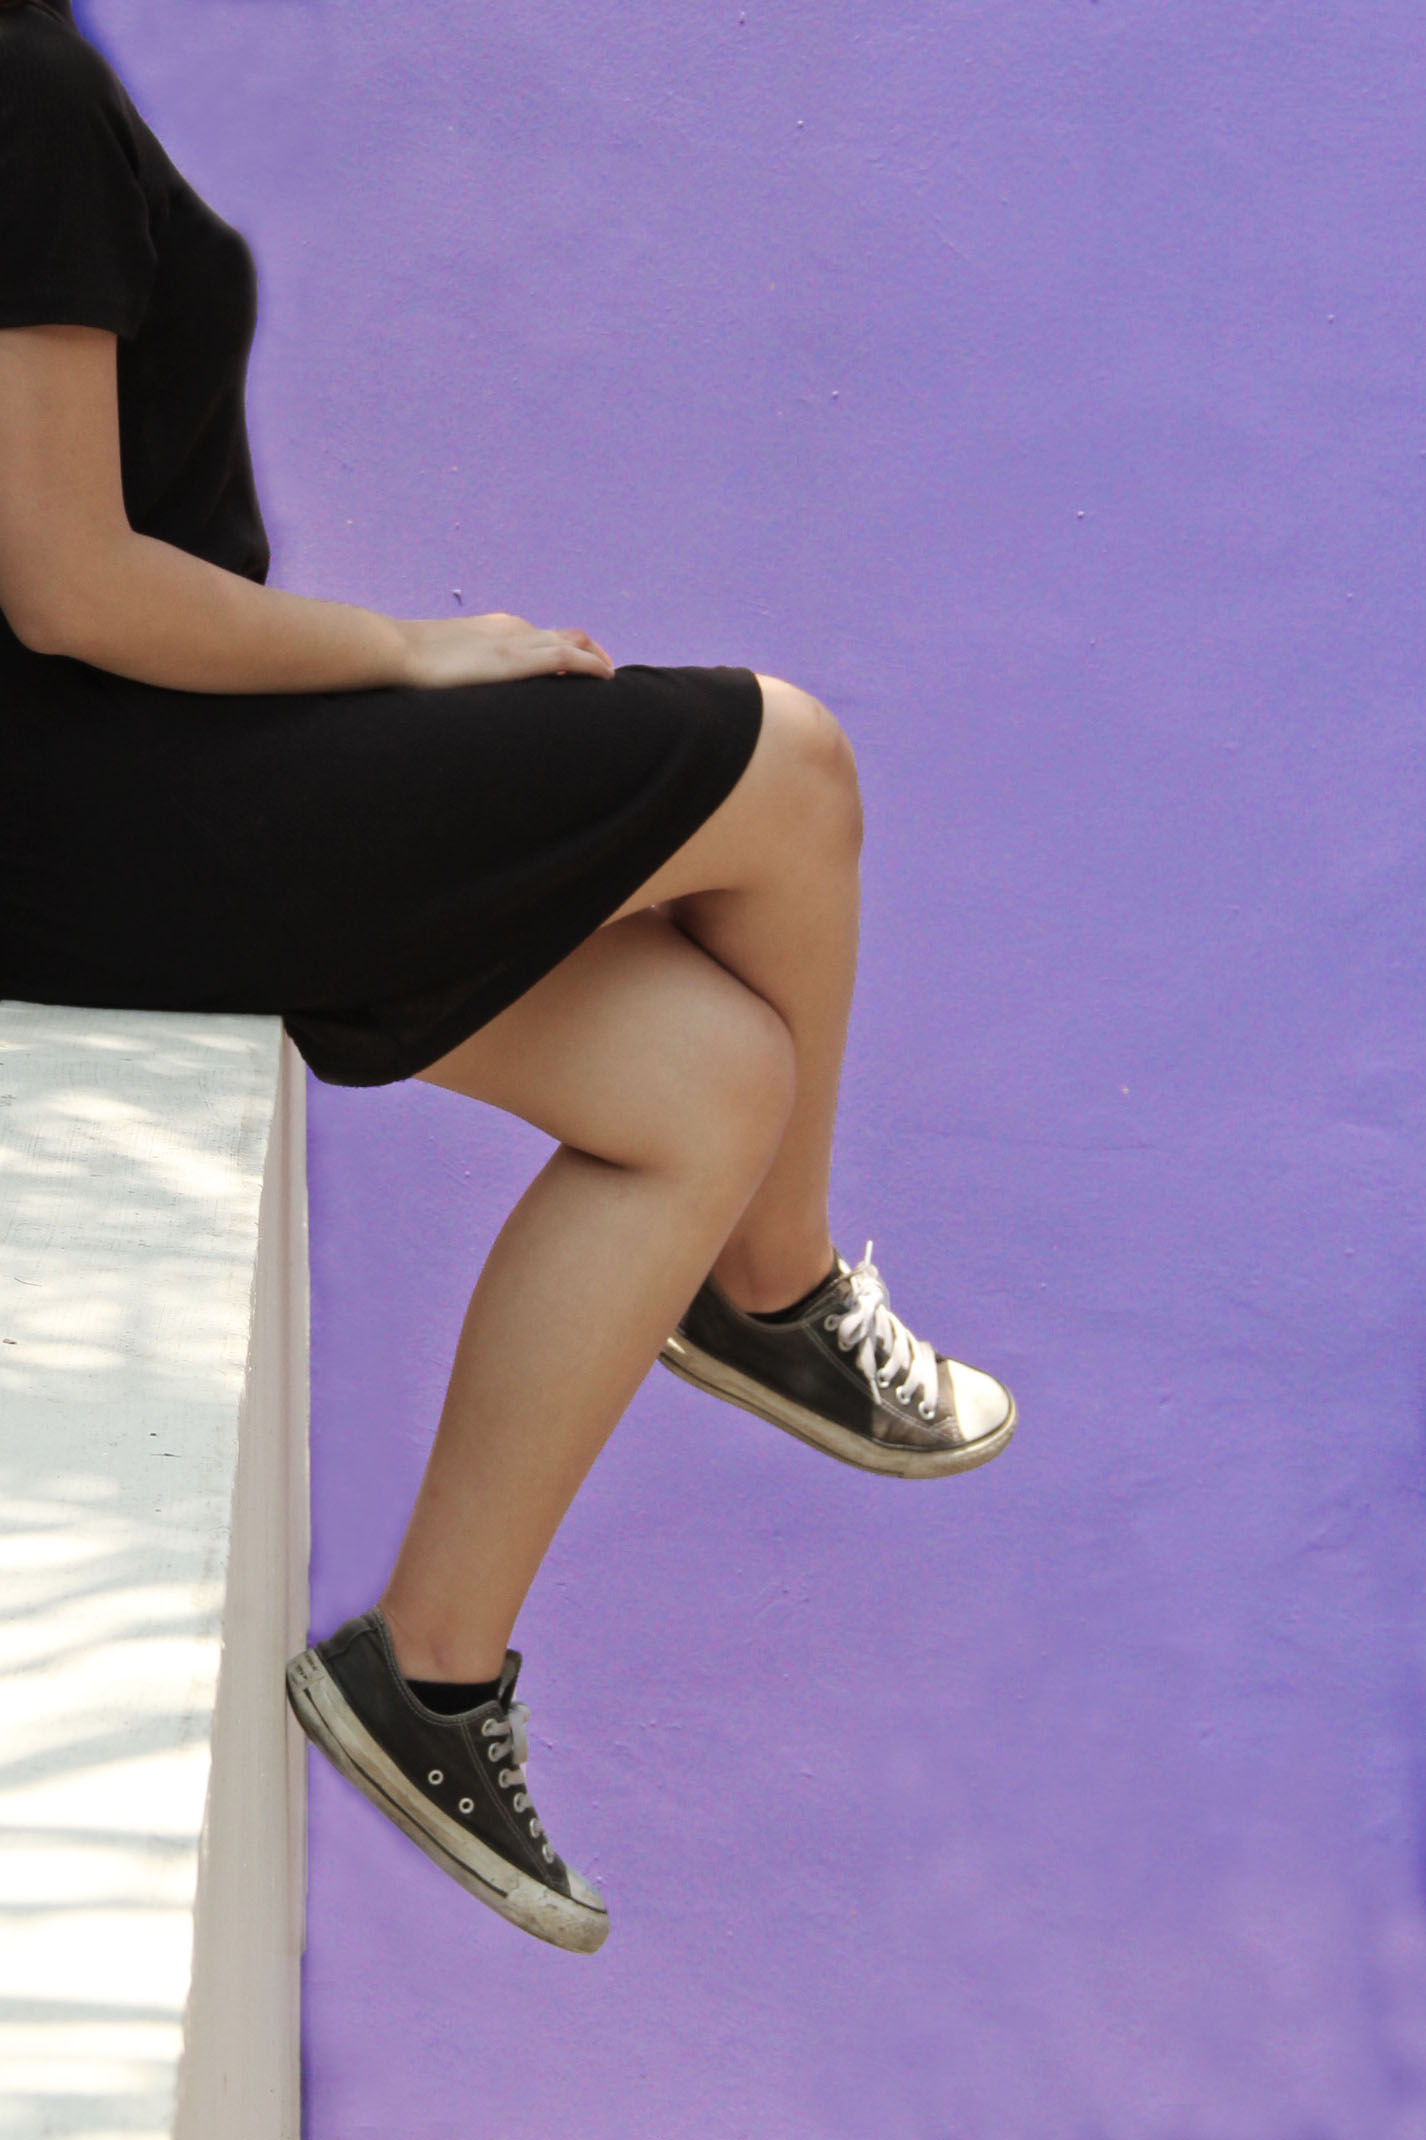
My past photos only showed architecture so I figured if I added a character inside, it would add more narrative to the zine. So with the help of a friend, I asked her to help make my photos more curated and almost as if she was discovering through these coloured places. I decided that I would only show different parts of her body so the main focus would be only the colour and architecture. I also edited the photos to bring out the colours more in photoshop and to get rid of the unnecessary elements in the photos. 

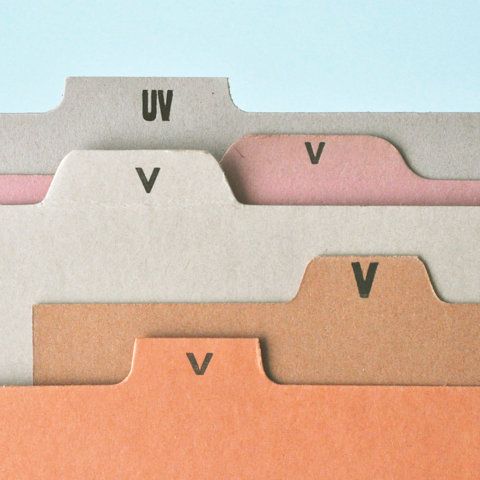
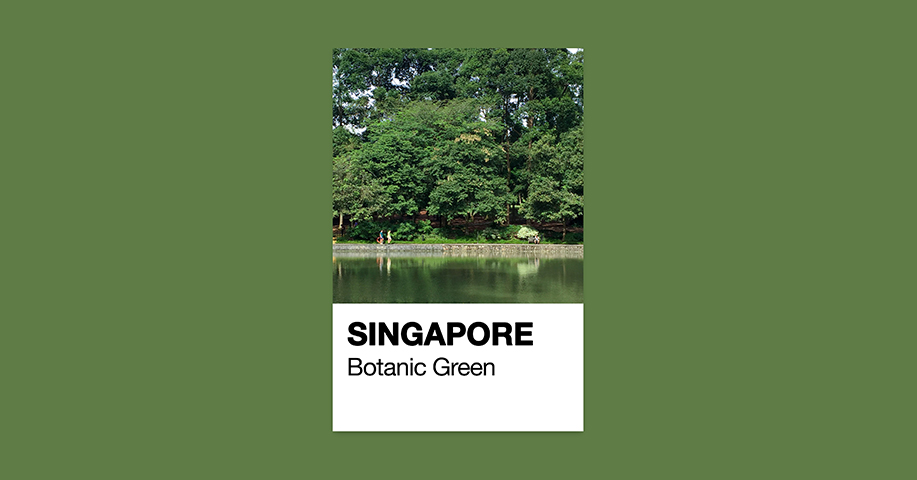
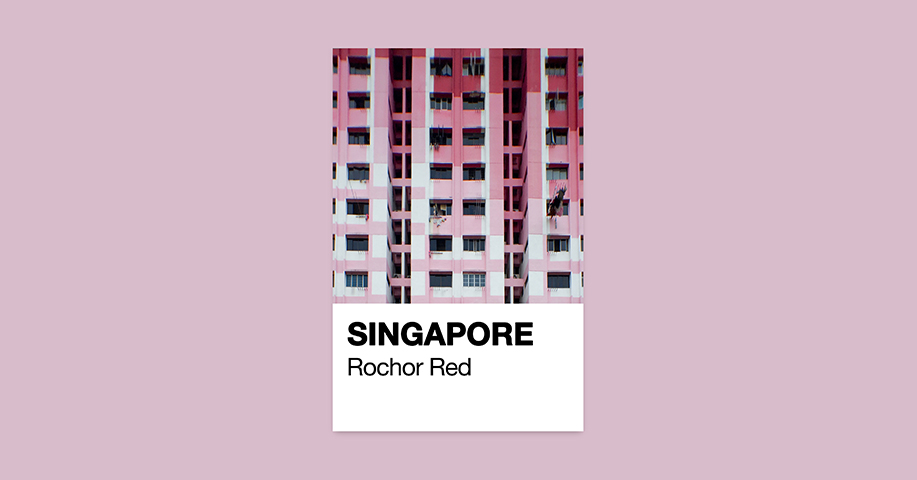
I also decided that it would be fund to curate the colours of Geylang into a Pantone kind of way. I found inspiration from this local photographer, Jonathan Tan. So what he did was to classify the different places in Singapore into their iconic colours. So here is my attempt on my own!

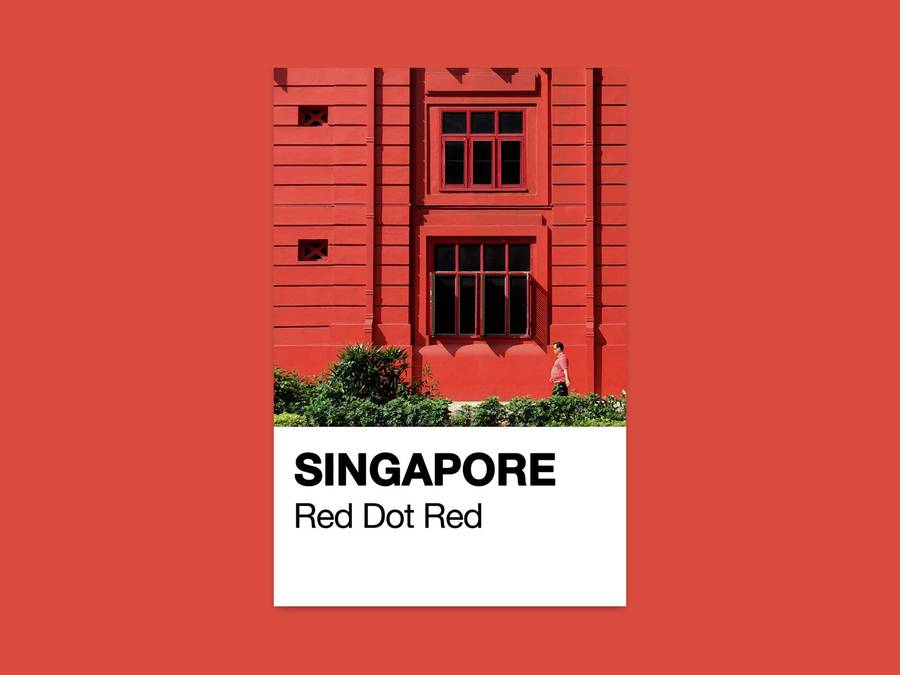
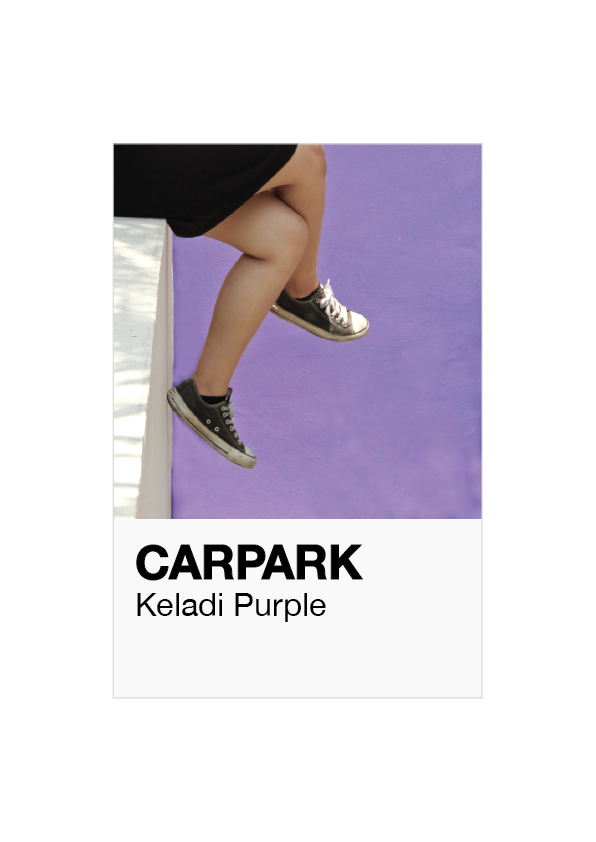
Attached is my zine! Geylang Pantone

One thing I have learnt from this project is to learn how to really curate photos and due to the restriction of the zine, how to best fit the content into minimal number of pages. I am looking forward to inputing more on what I have learnt about layout, typography and images and how to benefit from them into my future major!

Thats all!

2D and 3D animal movement analysis

So after being informed about the class activity, this is my 2D analysis on the movement of the sea anemone.

I used different coloured crayons to show the different positions the sea anemone has stayed before moving off again.

As they are fairly slow creatures, i felt like they don’t make much difference in space as they move and is quite slow thus the numerous rounds of circular scribbles.

I choose a circular shape as the body of the sea anemone is cylindrical and it is not a perfect circle as i feel that its movement its quite random and it is going against water currents so it would be gripping onto anything it can.

The middle portion that i yellow and more directional is the sea anemone being attached onto a hermit crab. I figured it was also another way the sea anemone would move.

Moving on this is my 3D paper sculpture on the creature.

I decided to keep the circular pattern and decided to make it more varying is sizes from it going from smaller to bigger and then smaller again. This depicts the sea anemone ‘speed‘ on whether it was staying in that place or moving. The bigger the circle is the longer the presence of the sea anemone.

The way the circles wrap around really feels like how the sea anemone would move, almost sluggish and random, clinging onto anything it can.

Thats all!

My Mark Making Tool


This is my mark making tool that I made. So what i did was taking an old paintbrush and attaching two different types of feather at either side on the end. One was a slightly sturdier feather like that of  a chapteh whereas one was more of a soft and fluffy texture like that stuffed inside a pillow.


Marks

I tested out my tool trying out both feathers, moving each in a specific way to obtain a marking. Some of the directions include gliding in downwards like in the bottom left markings, or flipping it side by side like in the top left ,markings. I even tries point the toll downwards whereby both feathers touch the paper and start to rotate them. What i achieved was a circular marking with a opaque contrast in the centre by the sturdier feather and a slight circular marking on the outside by the softer feather.


What i have discovered on my own was that since the soft feather is softer its soaks up the paint more so I have to drag it slightly across the surface in order to achieve an interesting patter. Unlike the sturdier feather where i can be a bit more aggressive and press it harder on the surface and achieve better markings.

Aside from the tool, one very helpful tip i learn was mixing acrylic paint with white glue to make it thicker and because of its stickiness it has helped me with some of my decalcomania prints like the one below.

Notebook 3