The way I approached this project was really straightforward. As I am very result oriented, I did not experiment much composition-wise, but more so thought it through and planned it out in my mind.
I listed the character traits which I thought affected the way I interact with people and narrowed it down to the four main traits of being unorthodox, being a social chameleon, being cynical, and being emotionally empty.
Then to complete each equation I thought circumstances or people that might result in me showing my character trait. Some examples are
For UNORTHODOX
– When meeting new people, will become normal
– When meeting with societal judgement, will conform
– When meeting people who are not used to the peculiarity of art students
For SOCIAL CHAMELEON
– When meeting new people, will try to figure out what kind of person they are
– When meeting similar kind of person, will go crazy
For CYNICAL
– When meeting people who have idealised outlook, will destroy their ideals
– When meeting new people, will be distrustful of their intentions
For LACKING EMOTIONAL CAPACITY
– When meeting emotional people, will sympathise but cannot empathise
For each equation I selected the situations that make the most coherent sense as one of the four equations.
Thus I resulted in the following equations:
Character
Situation
Resulting Reactions
UNORTHODOX
Meet New People
Will try to be normal (Hide unorthodox-ness)
SOCIAL CHAMELEON
Meet Similar People
Go crazy (In a positive manner)
CYNICAL
Meet People Who Have an Idealised Outlook
Destroy their ideals
LACKING EMOTIONAL CAPACITY
Meet Emotional People
Cannot mix well with them
With these equations settled, I thought about how to apply colour theory to the different equations. I know that I wanted a coherent overall look for the twelve squares so it was a matter of deciding the overall colour scheme, then manipulating the value and tone of the colours to portray the meaning of my work.
Initially I wanted to use this colour scheme, like split complementary colours grouped together.
However, after some research, I decided I was interested in the “pastel grunge” aesthetics. The colour scheme that suits such a style would be the rather dreamy pastel analogous colour scheme of blue, purple, and pink.
Thus, I did up a list of different tonal value of these three colours as a main colour chart guide for my illustrations.
Lastly, illustration-wise, I wanted the entire piece to look like a coherent decorative series. Thus, I decided that the elements in the composition would not really represent the meaning of the equation, but more of the colours in the composition.
Here are some research photos I found online on pastel grunge that the aesthetic of my illustrations were inspired/based on:
Basically a rather stylised, pastel, illustrated, teenage-angst aesthetics.
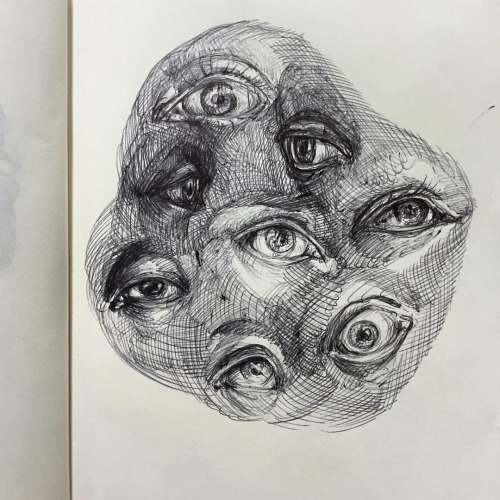
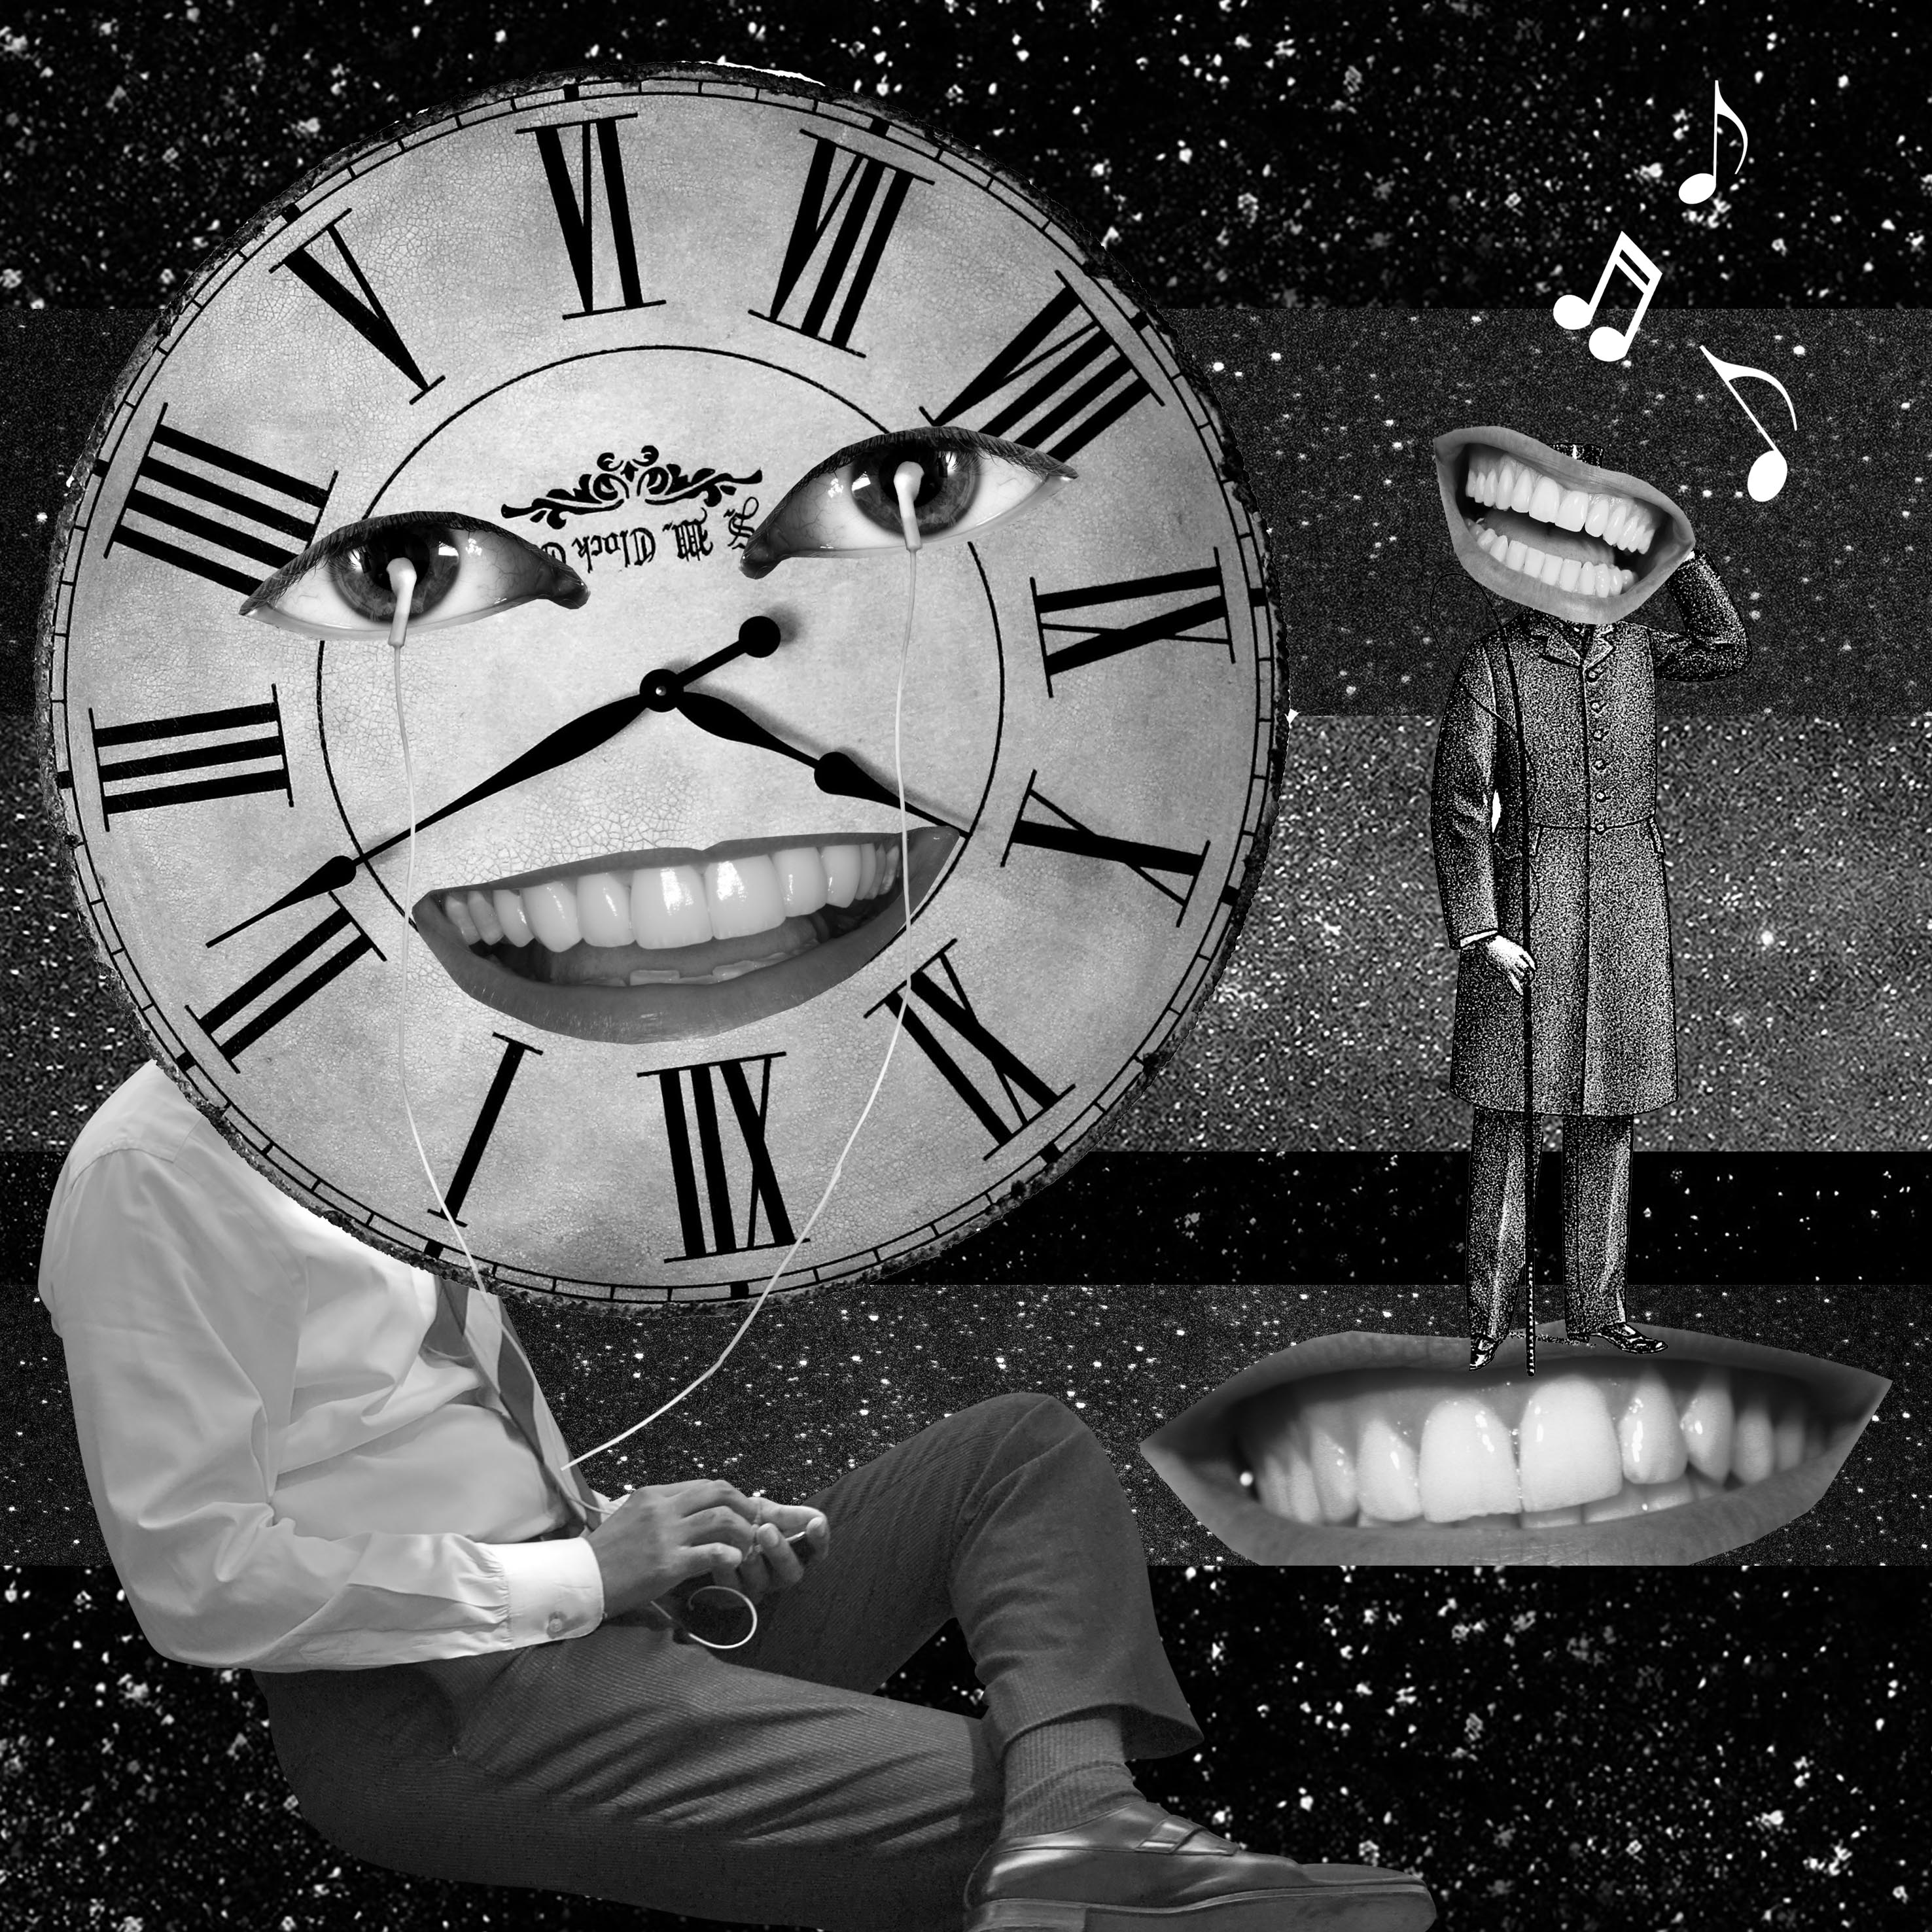
The only experimentation I did composition-wise was that of the mouth motif, as I decided to repeat it for every equation.
I thought that adding a neon ring of light might make the composition more visually attractive. However, I realised that this move strayed too far from my general aesthetics, thus, I decided to stick to just the illustration of the mouth.
Trial Sketch:
With this, I conclude my rather direct thought and planning process of this project. See you in the final project post! 🙂
We had our first silkscreen printing lesson. I was not a stranger to silkscreen printing, as I had experimented with it before. However, I had always worked with vector image with lots of line work, and not with realistic image bitmapped designs.
Nor had I worked with such high-tech equipment before. In the past it was using a light-box, not a machine to expose, and a hair dryer instead of a large heater.
Thanks to Xiu Meng, we successfully produced our designs on our screens. I met with some difficulty during the printing itself. That was because I had never worked with such a complex design before. I placed the bitmap as 50, thus, the design was extremely complex.
Here are some of my prints:
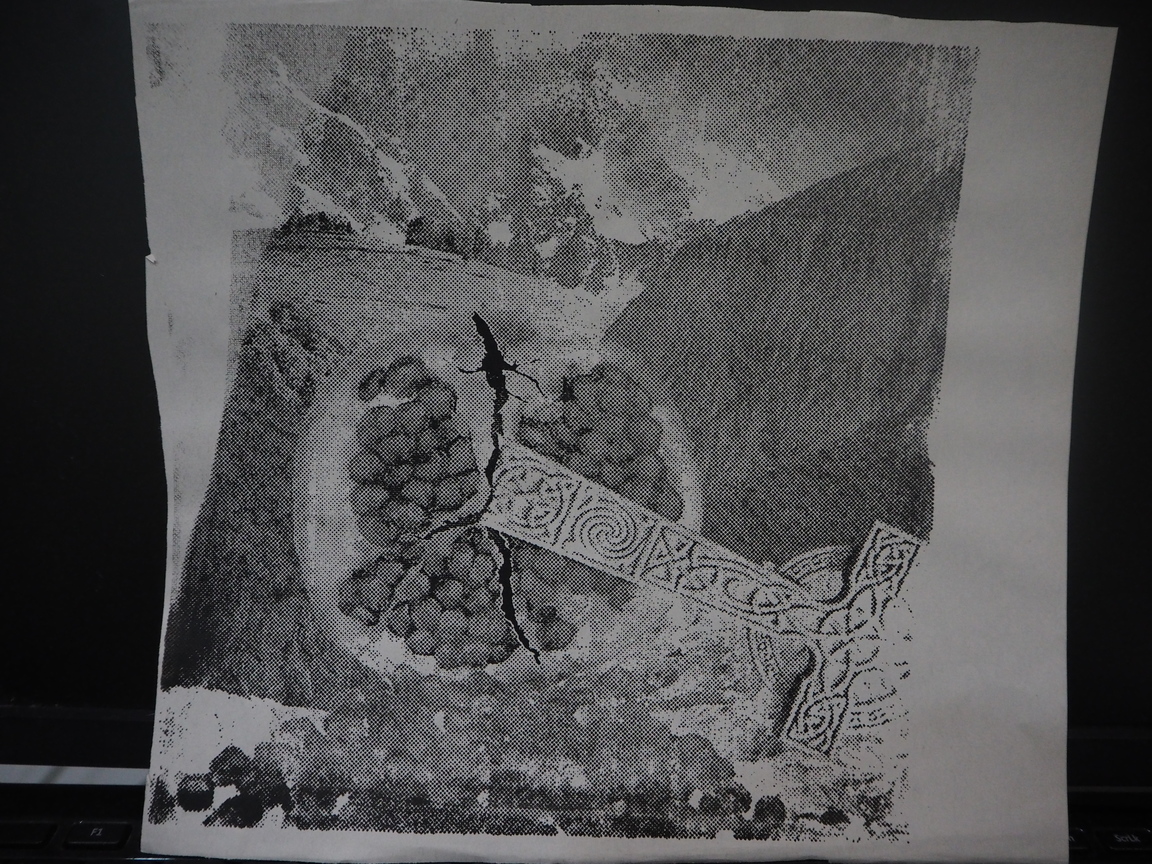
This print came out too light. As I was afraid that if I added too much ink for such a complex design, the print would turn out too dark.
This print turned out not bad. However, it was unevenly inked as when i was dragging the squeegee I accidentally slid the squeegee out of place.
This was one of my last prints, and one of the better ones, as it was both evenly inked and had the most details intact.
Through this class, I decided that for my future works, I would put lesser dots for bitmapping as the effect will turn out better.
Actually, before I came to class, I was only a half satisfied with my designs. It was not the aesthetic I had in mind. During the silkscreen printing workshop was group consultations. After feedback from my group, and an extra consultation with Joy, I decided that it truly was not the aesthetic I was comfortable for my work to be in, I was going to start from scratch. I did not want to submit a piece of work I am not happy with.
STAGE 3
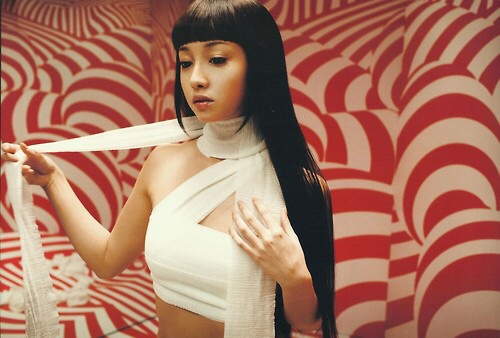
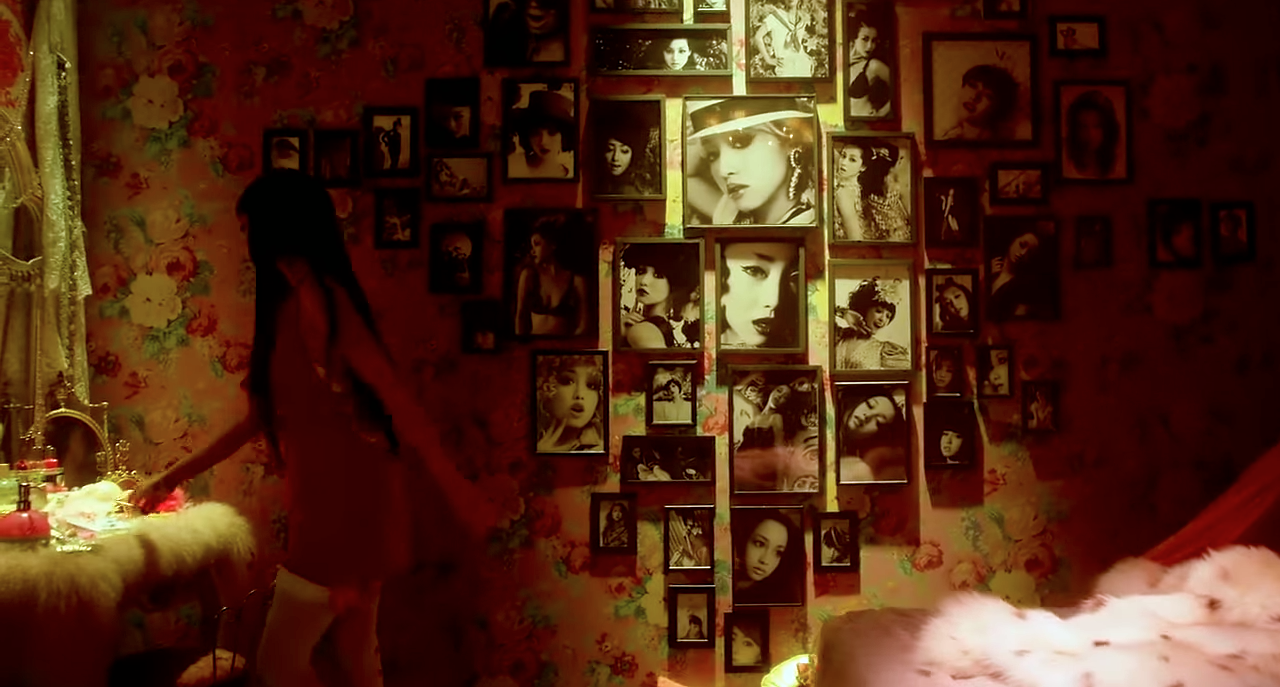
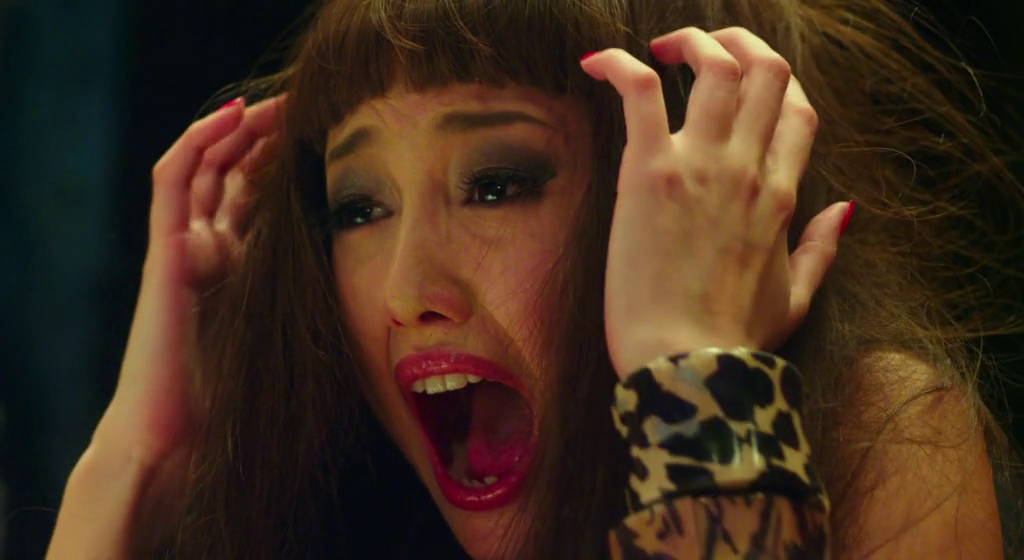
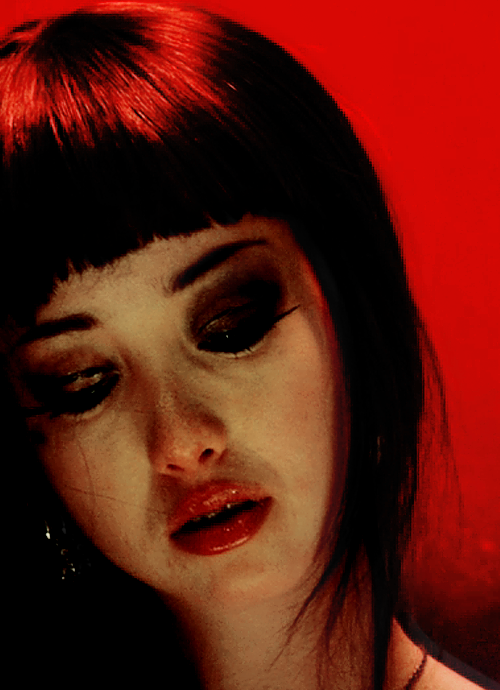
I remembered there a movie I really liked a while back, Helter Skelter. I loved this movie as I have a preoccupation with beauty and aesthetics and this movie explored and challenged notions of beauty. It was quite hard for me to find quotes from the movie as it is a Japanese movie, translated into English. Thankfully, I managed to find film stills with accompanying quotes.
I was inspired by its aesthetics of excessive luxury and beauty turning into something rather grotesque.
She was so beautiful.
But the negative consequences of the pursuit of beauty turned her mad.
She looks like she could belong to a horror film.
Thus, from the idea of excessive beauty turning grotesque, I got inspired and thought to make something truly grotesque look beautiful instead. The movie’s cinematographer and art directors sure managed to do so.
I also went onto pinterest and weheartit to search for inspiration, looking through fashion editorials (which was a direction I had been interested in for a long time, especially in 4D class, but I never thought to bring it over to 2D ).
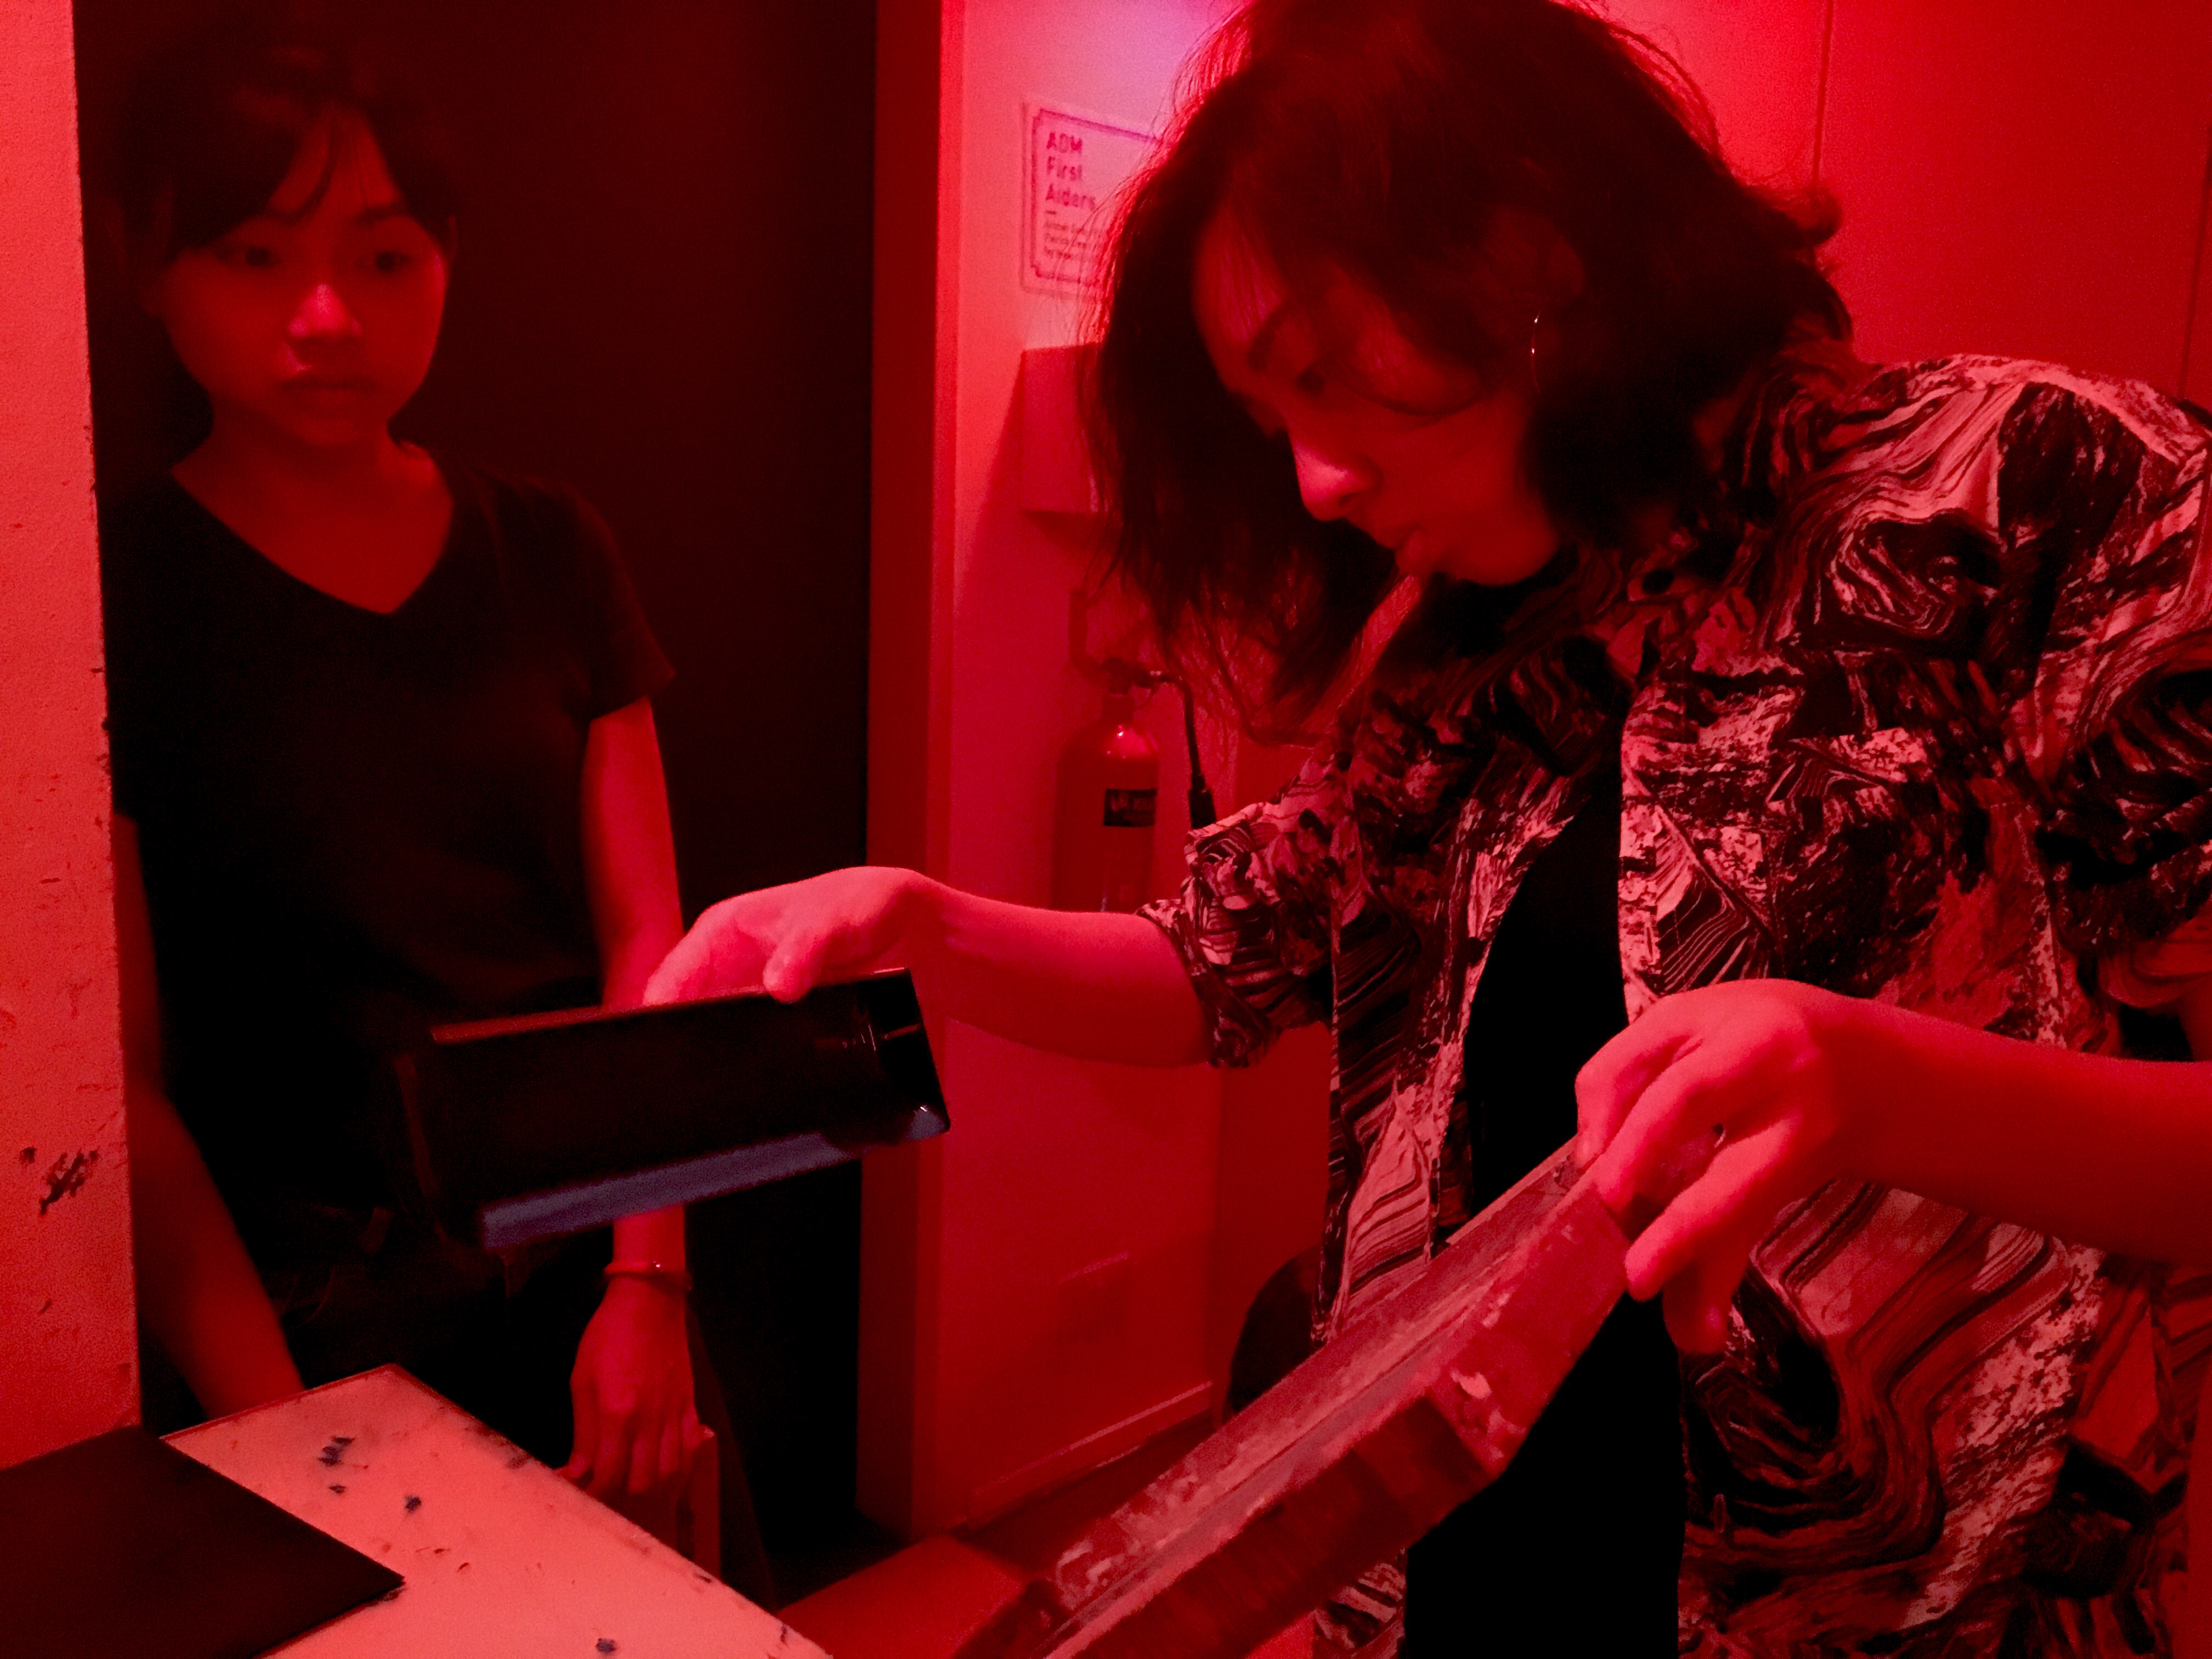
From there I developed my final compositions and did my tote bag. I will not talk much about my compositions as I’ll go into more detail in my final. However, I would like to talk a bit about the process of printing my tote bag.
Thank you XF for this candid photo of me coating the screen.
I made sure to decrease the number of dots in bitmap so that it was easier to print. However, it was rather challenging and I printed quite a number of test prints on newsprint paper before doing it on several tote bags.
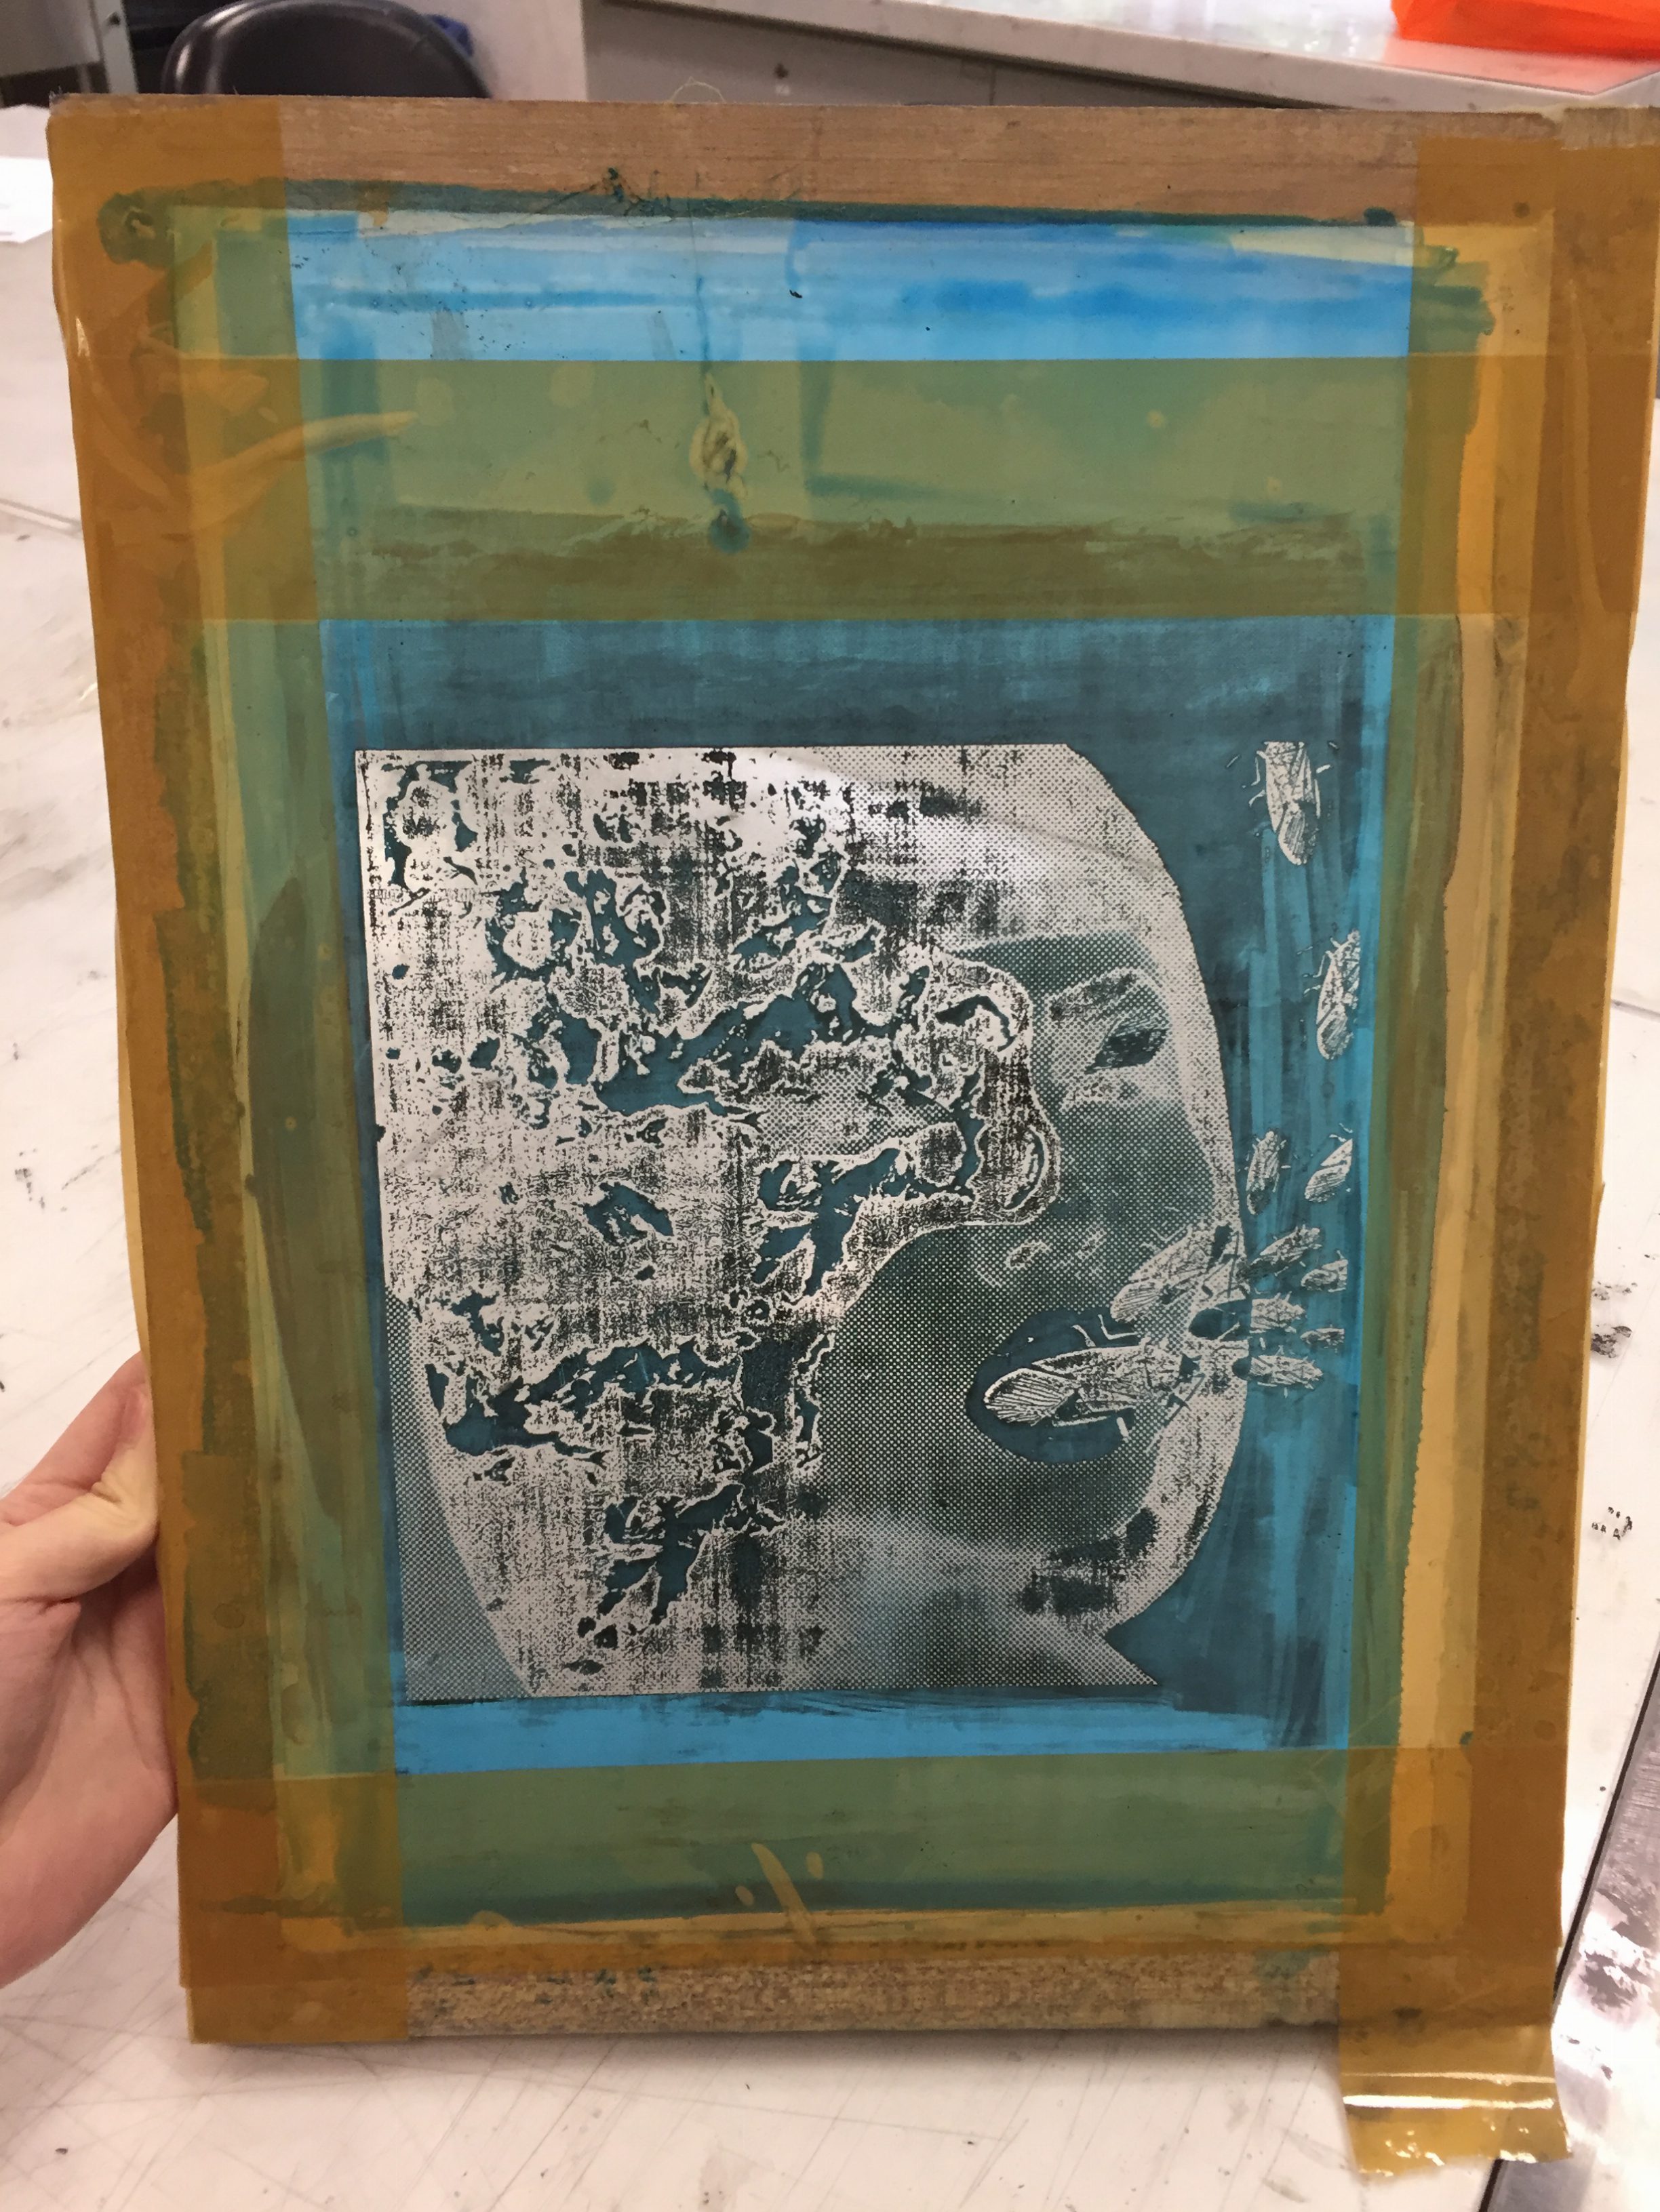
This is my screen. The chemical did not fully wash off, so I tried my best in printing.
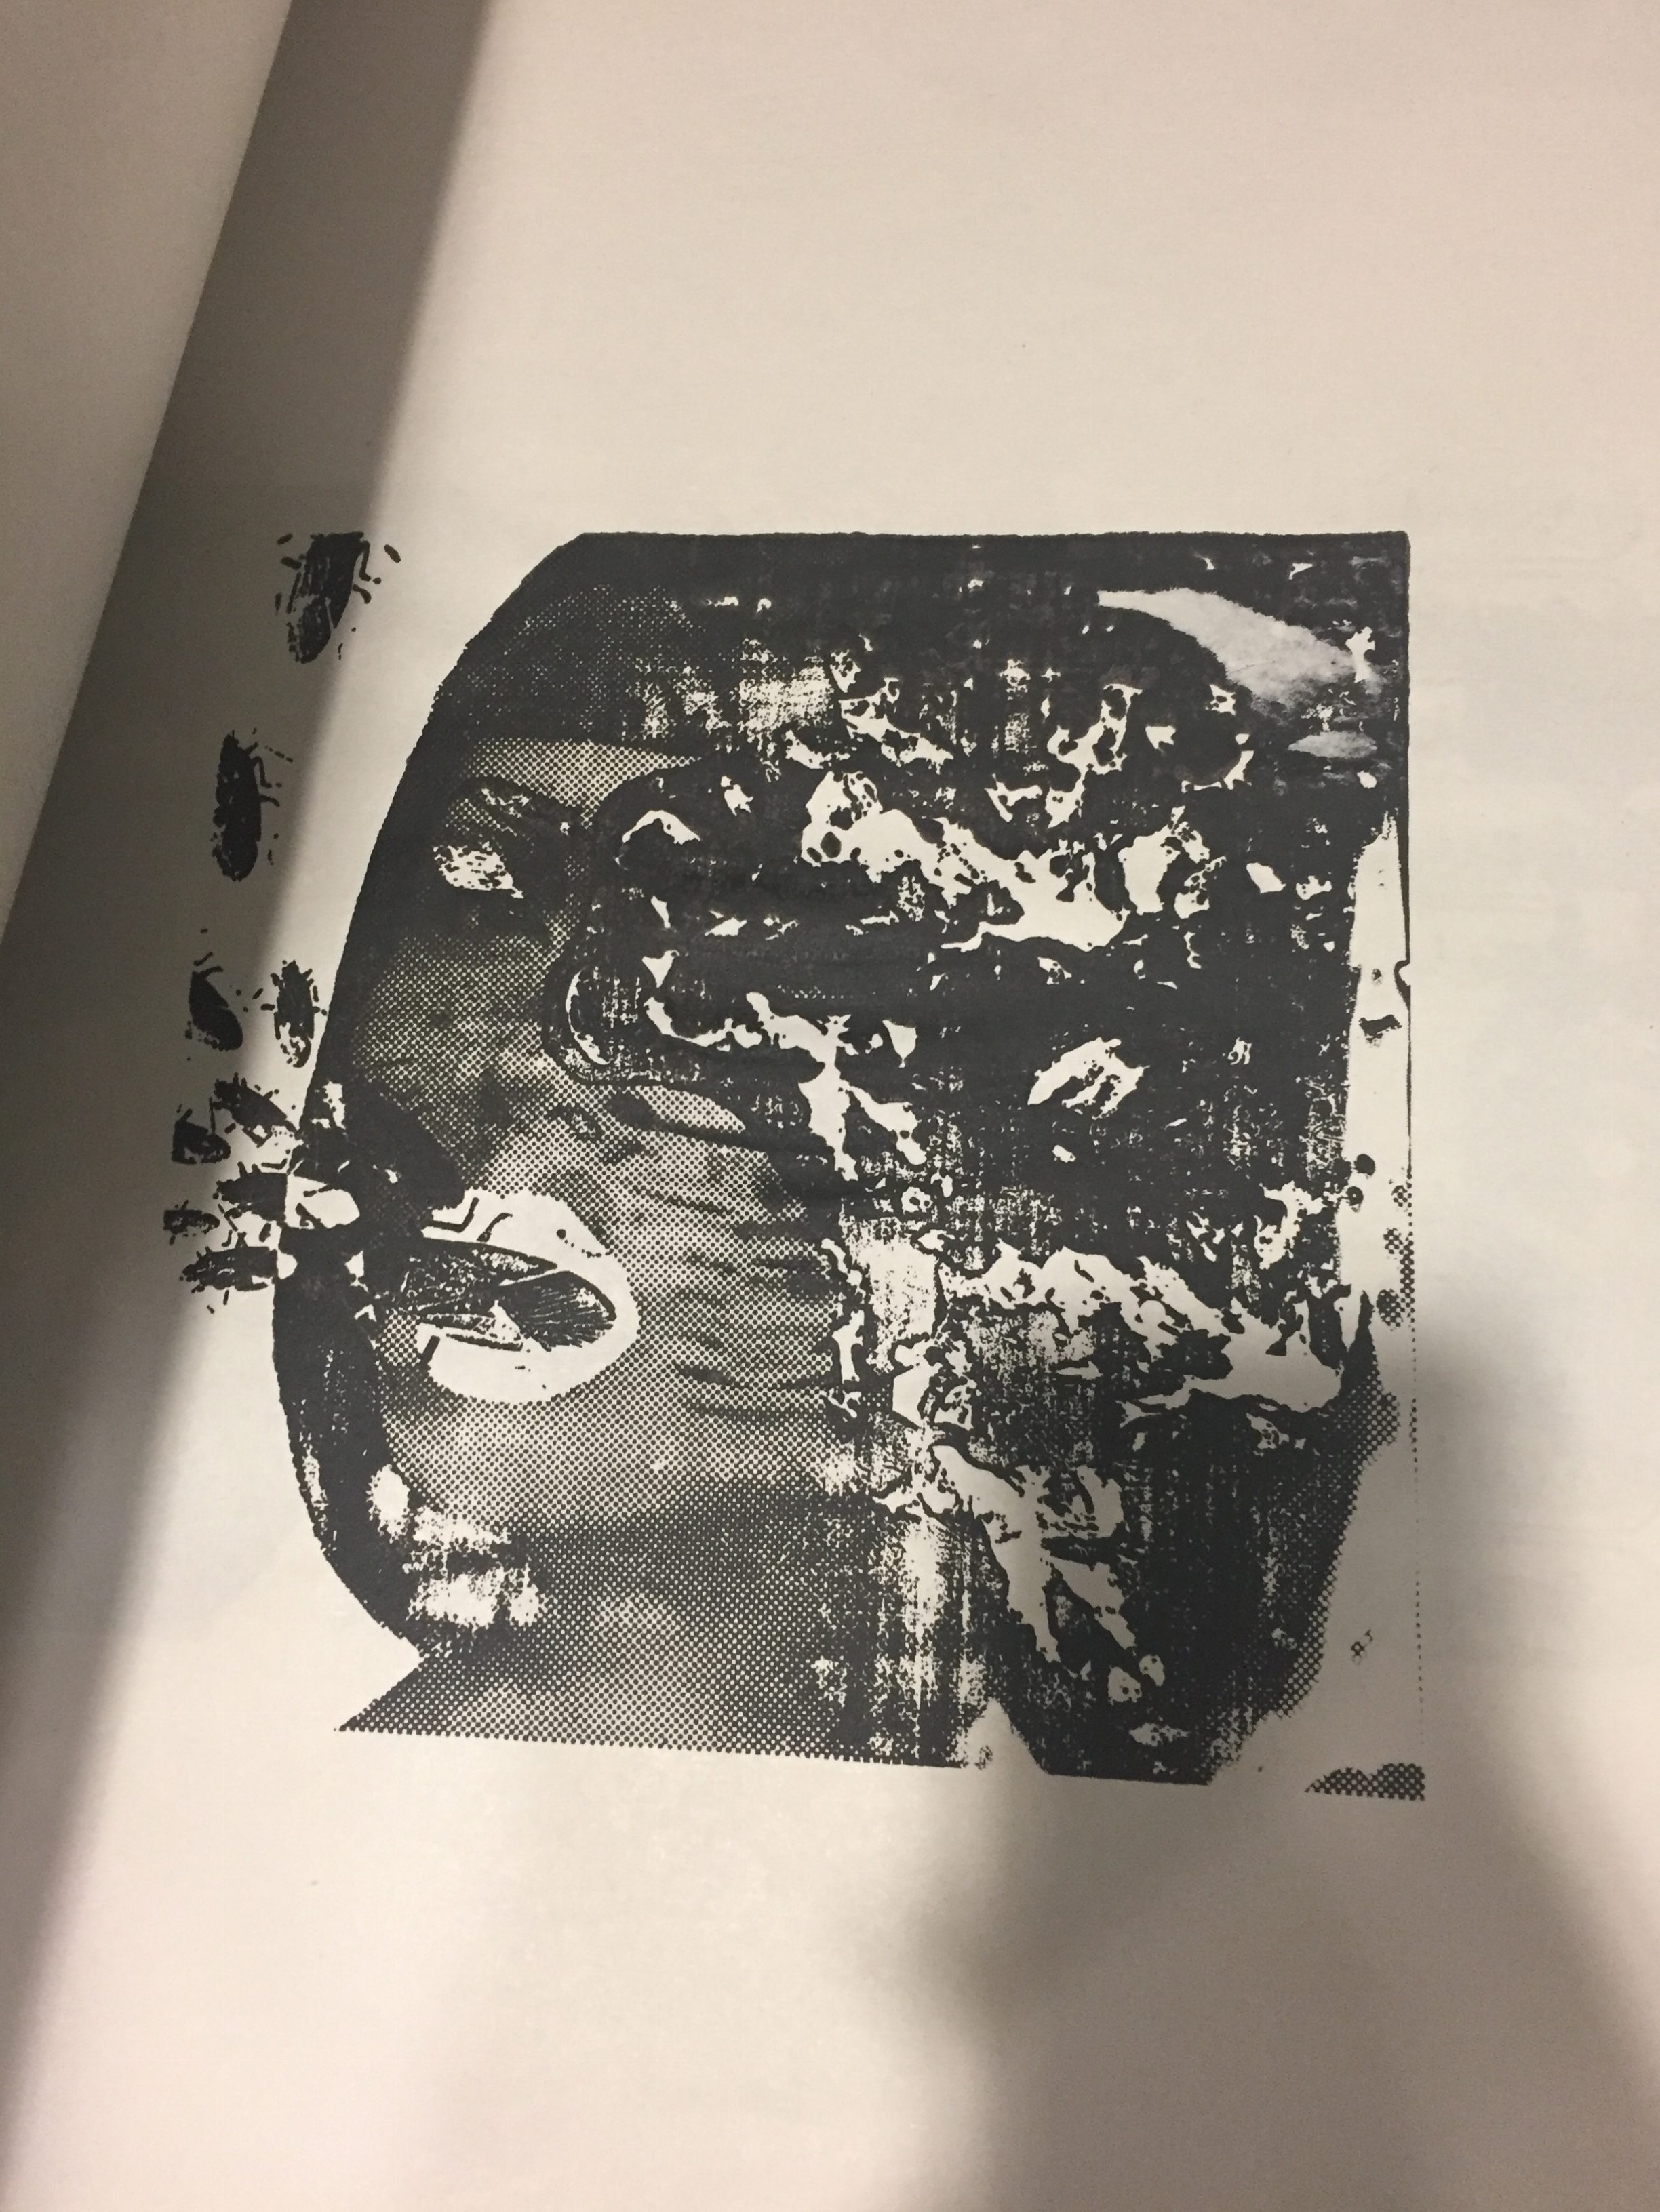
This was one of the dark versions on newsprint.
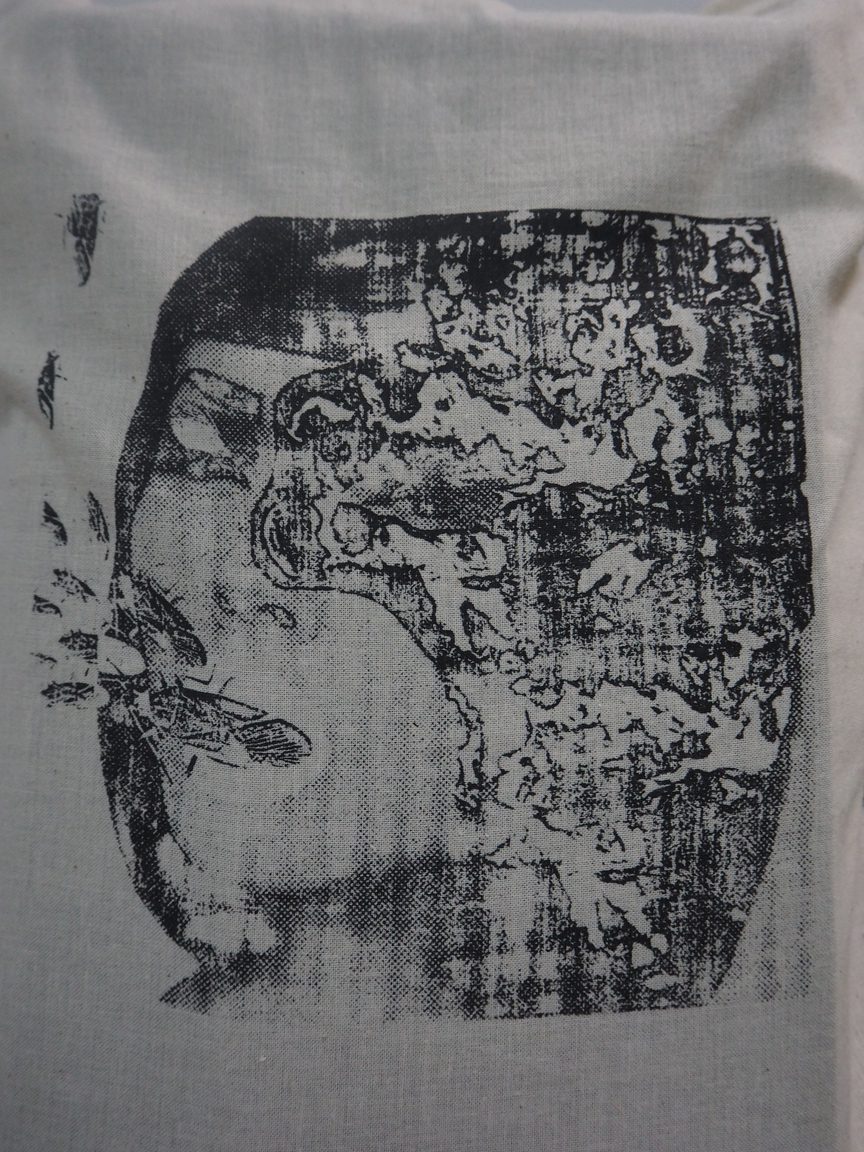
This is a lighter version on a failed tote bag. I decided that I quite like the hair being left with gaps of white as it brought out the texture of grotesqueness more.
With this I’ll end my process post and head on to the final post where I’ll explain my final compositions. See you there!
Initially, I was really clueless as to how to approach this project. I was a methodologically result-oriented person, so this project was a huge challenge to me, as we were limited to finding images on the web. That posed as a huge hurdle for me, as I couldn’t recreate the exact imagery I had in mind.
Furthermore, I could not settle on a quote as I did not want to limit myself to selected quotes in case the end-result compositions turned out badly.
But due to the project timeline, I had to march on ahead and come out with compositions. So my initial approach was to list out quotes from my favourites movies, choose a few, and try to make compositions out of them.
Here are the results:
“I’ve mastered three!” – Hugo, 2011
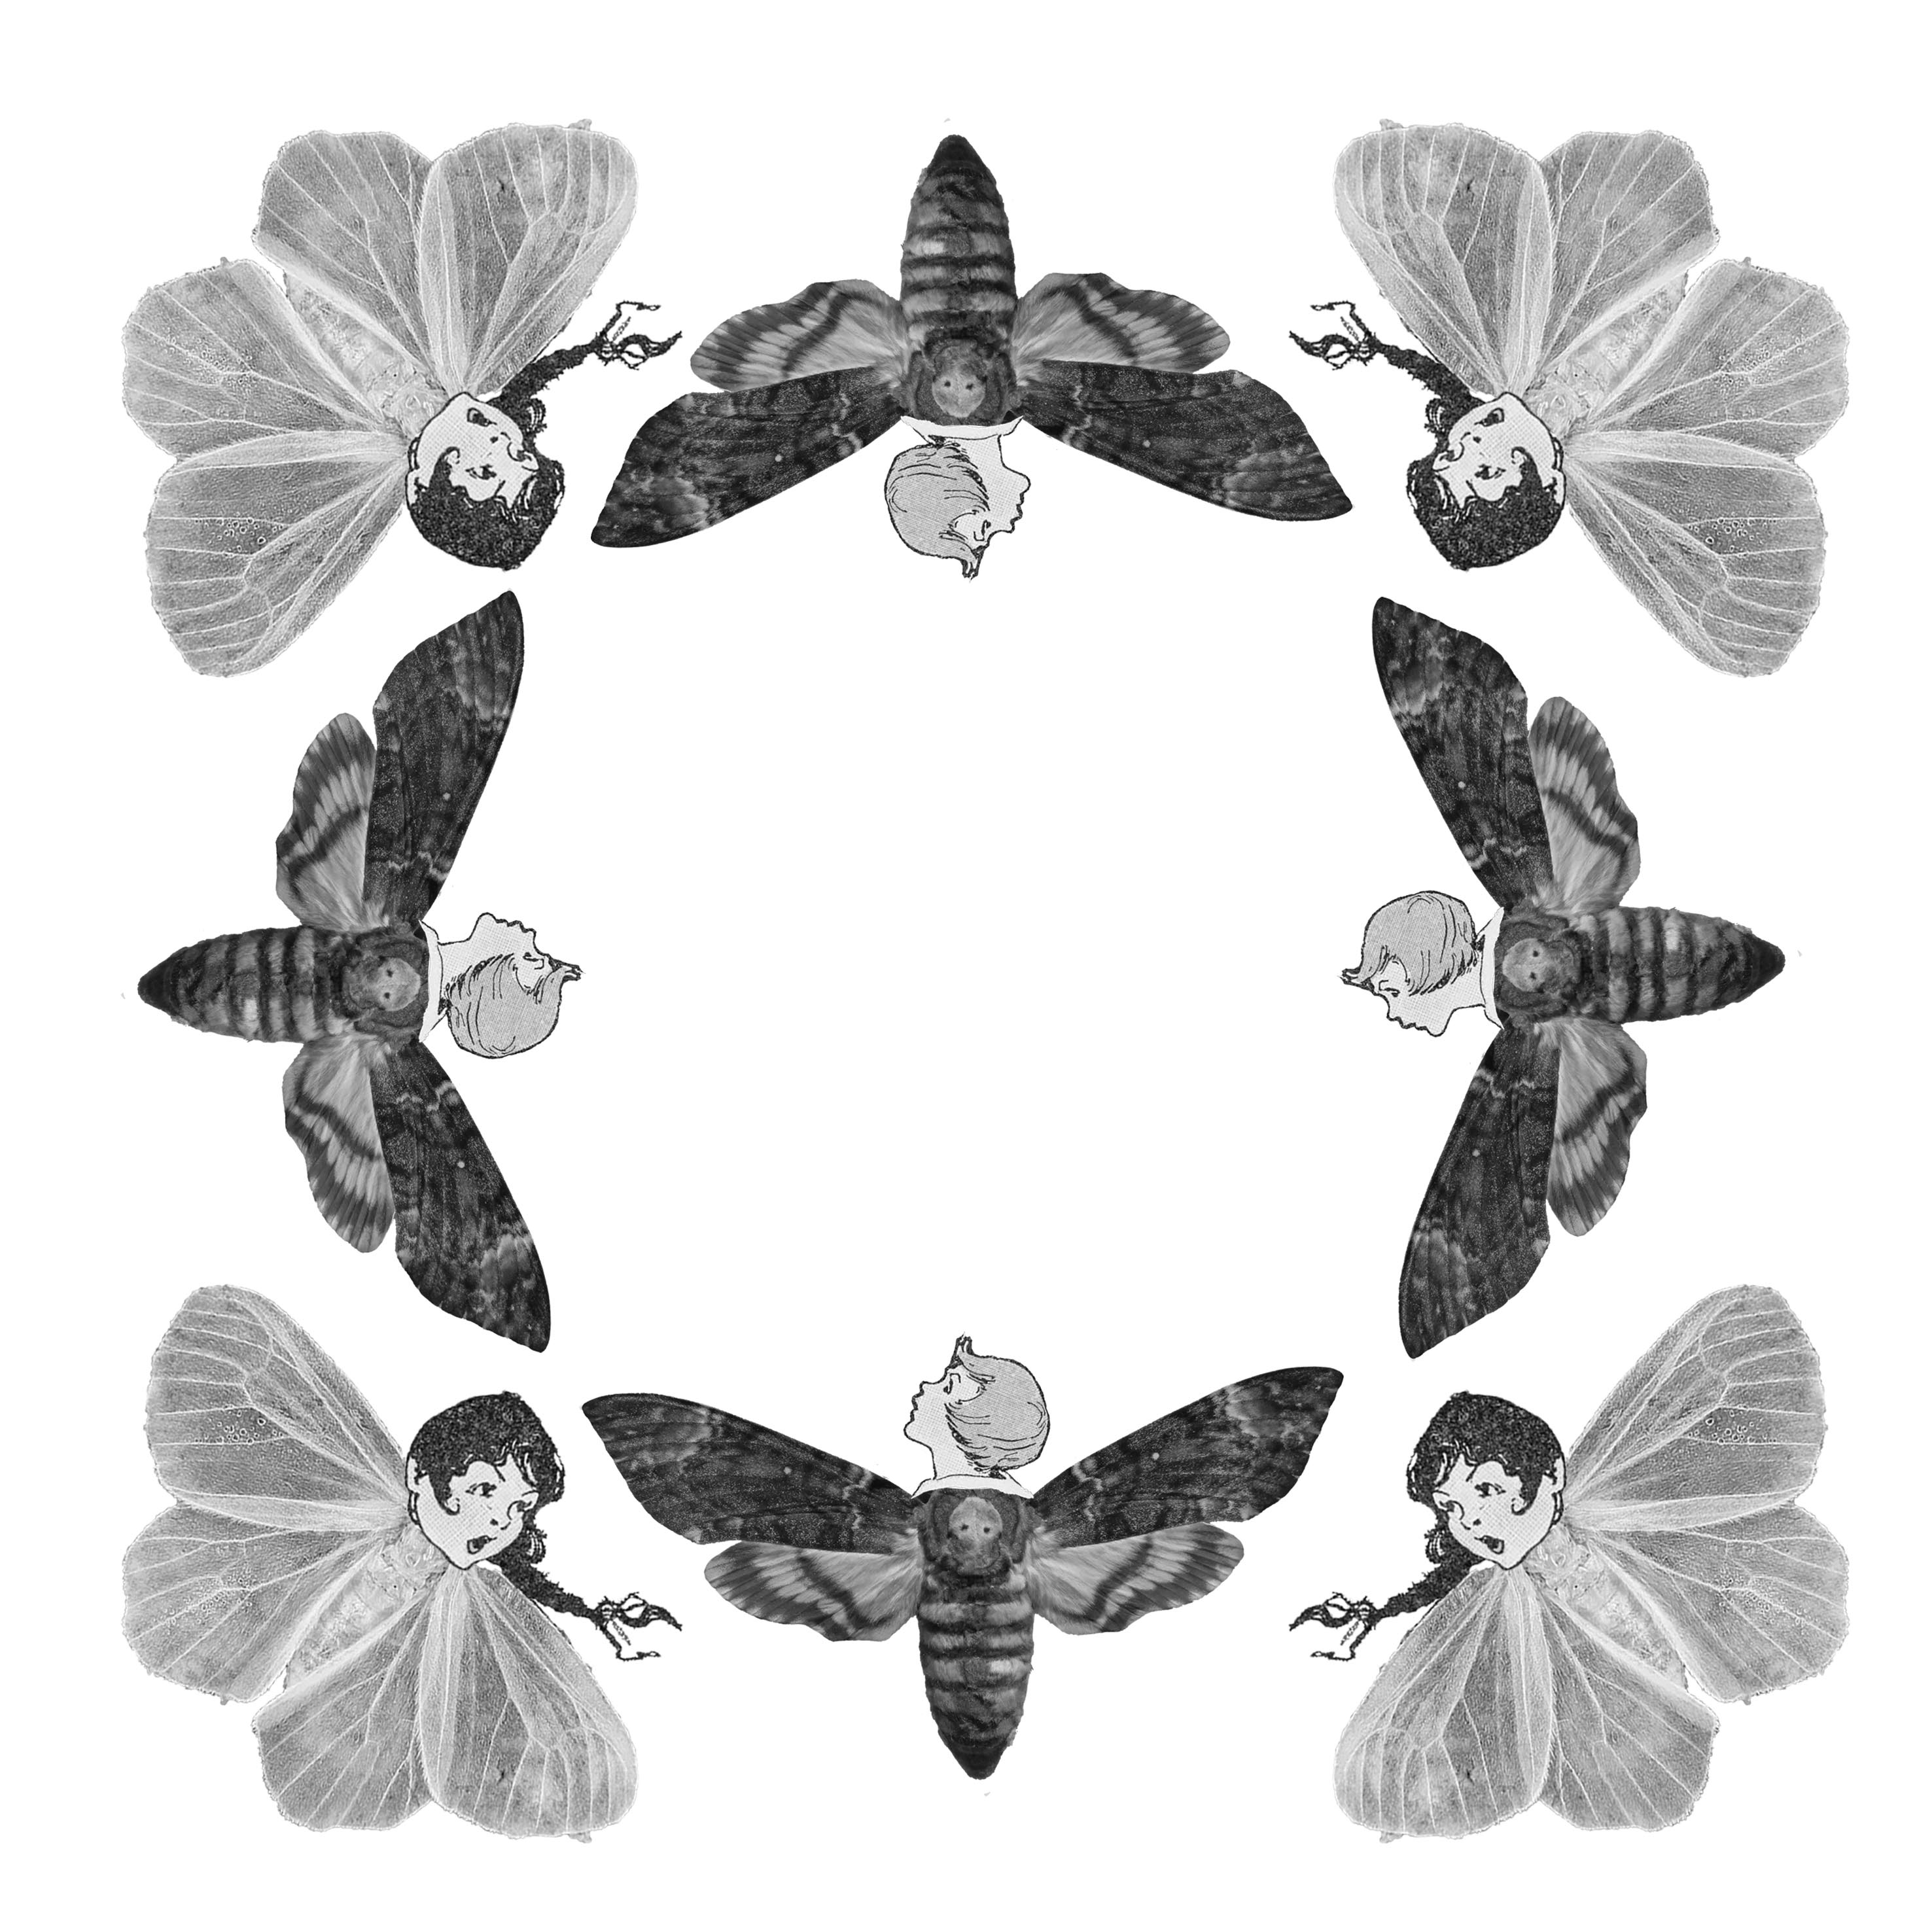
“In his blue gardens men and girls came and went like moths among the whisperings and the champagne and the stars.” – The Great Gatsby, 2013
“Dear Diary: My teen angst bullshit now has a body count.” – Heathers, 1988
However, after consultation with Joy, I realised I had been approaching the project wrongly. I misunderstood and thought that I could not use literal imagery to illustrate the quotes. That resulted in an artist block, as the quotes I had chosen were very poetic, and thus, when thinking of the end composition, it was unavoidable to have some sort of literal imagery.
Therefore, to avoid literal imagery, all my compositions turned out disjointed from one another, and were just a mish-mash of images put together, not properly integrated into a design.
In reality, all this project aimed for was to have an overall theme in all our compositions. This was to help us build a style and visual vocabulary that was unique and identifiable as ours. It was like having our visual filter placed over our chosen quotes.
Thus, with that takeaway, I proceed into the second stage of my explorations into trying to create a filter to see things through.
STAGE 2
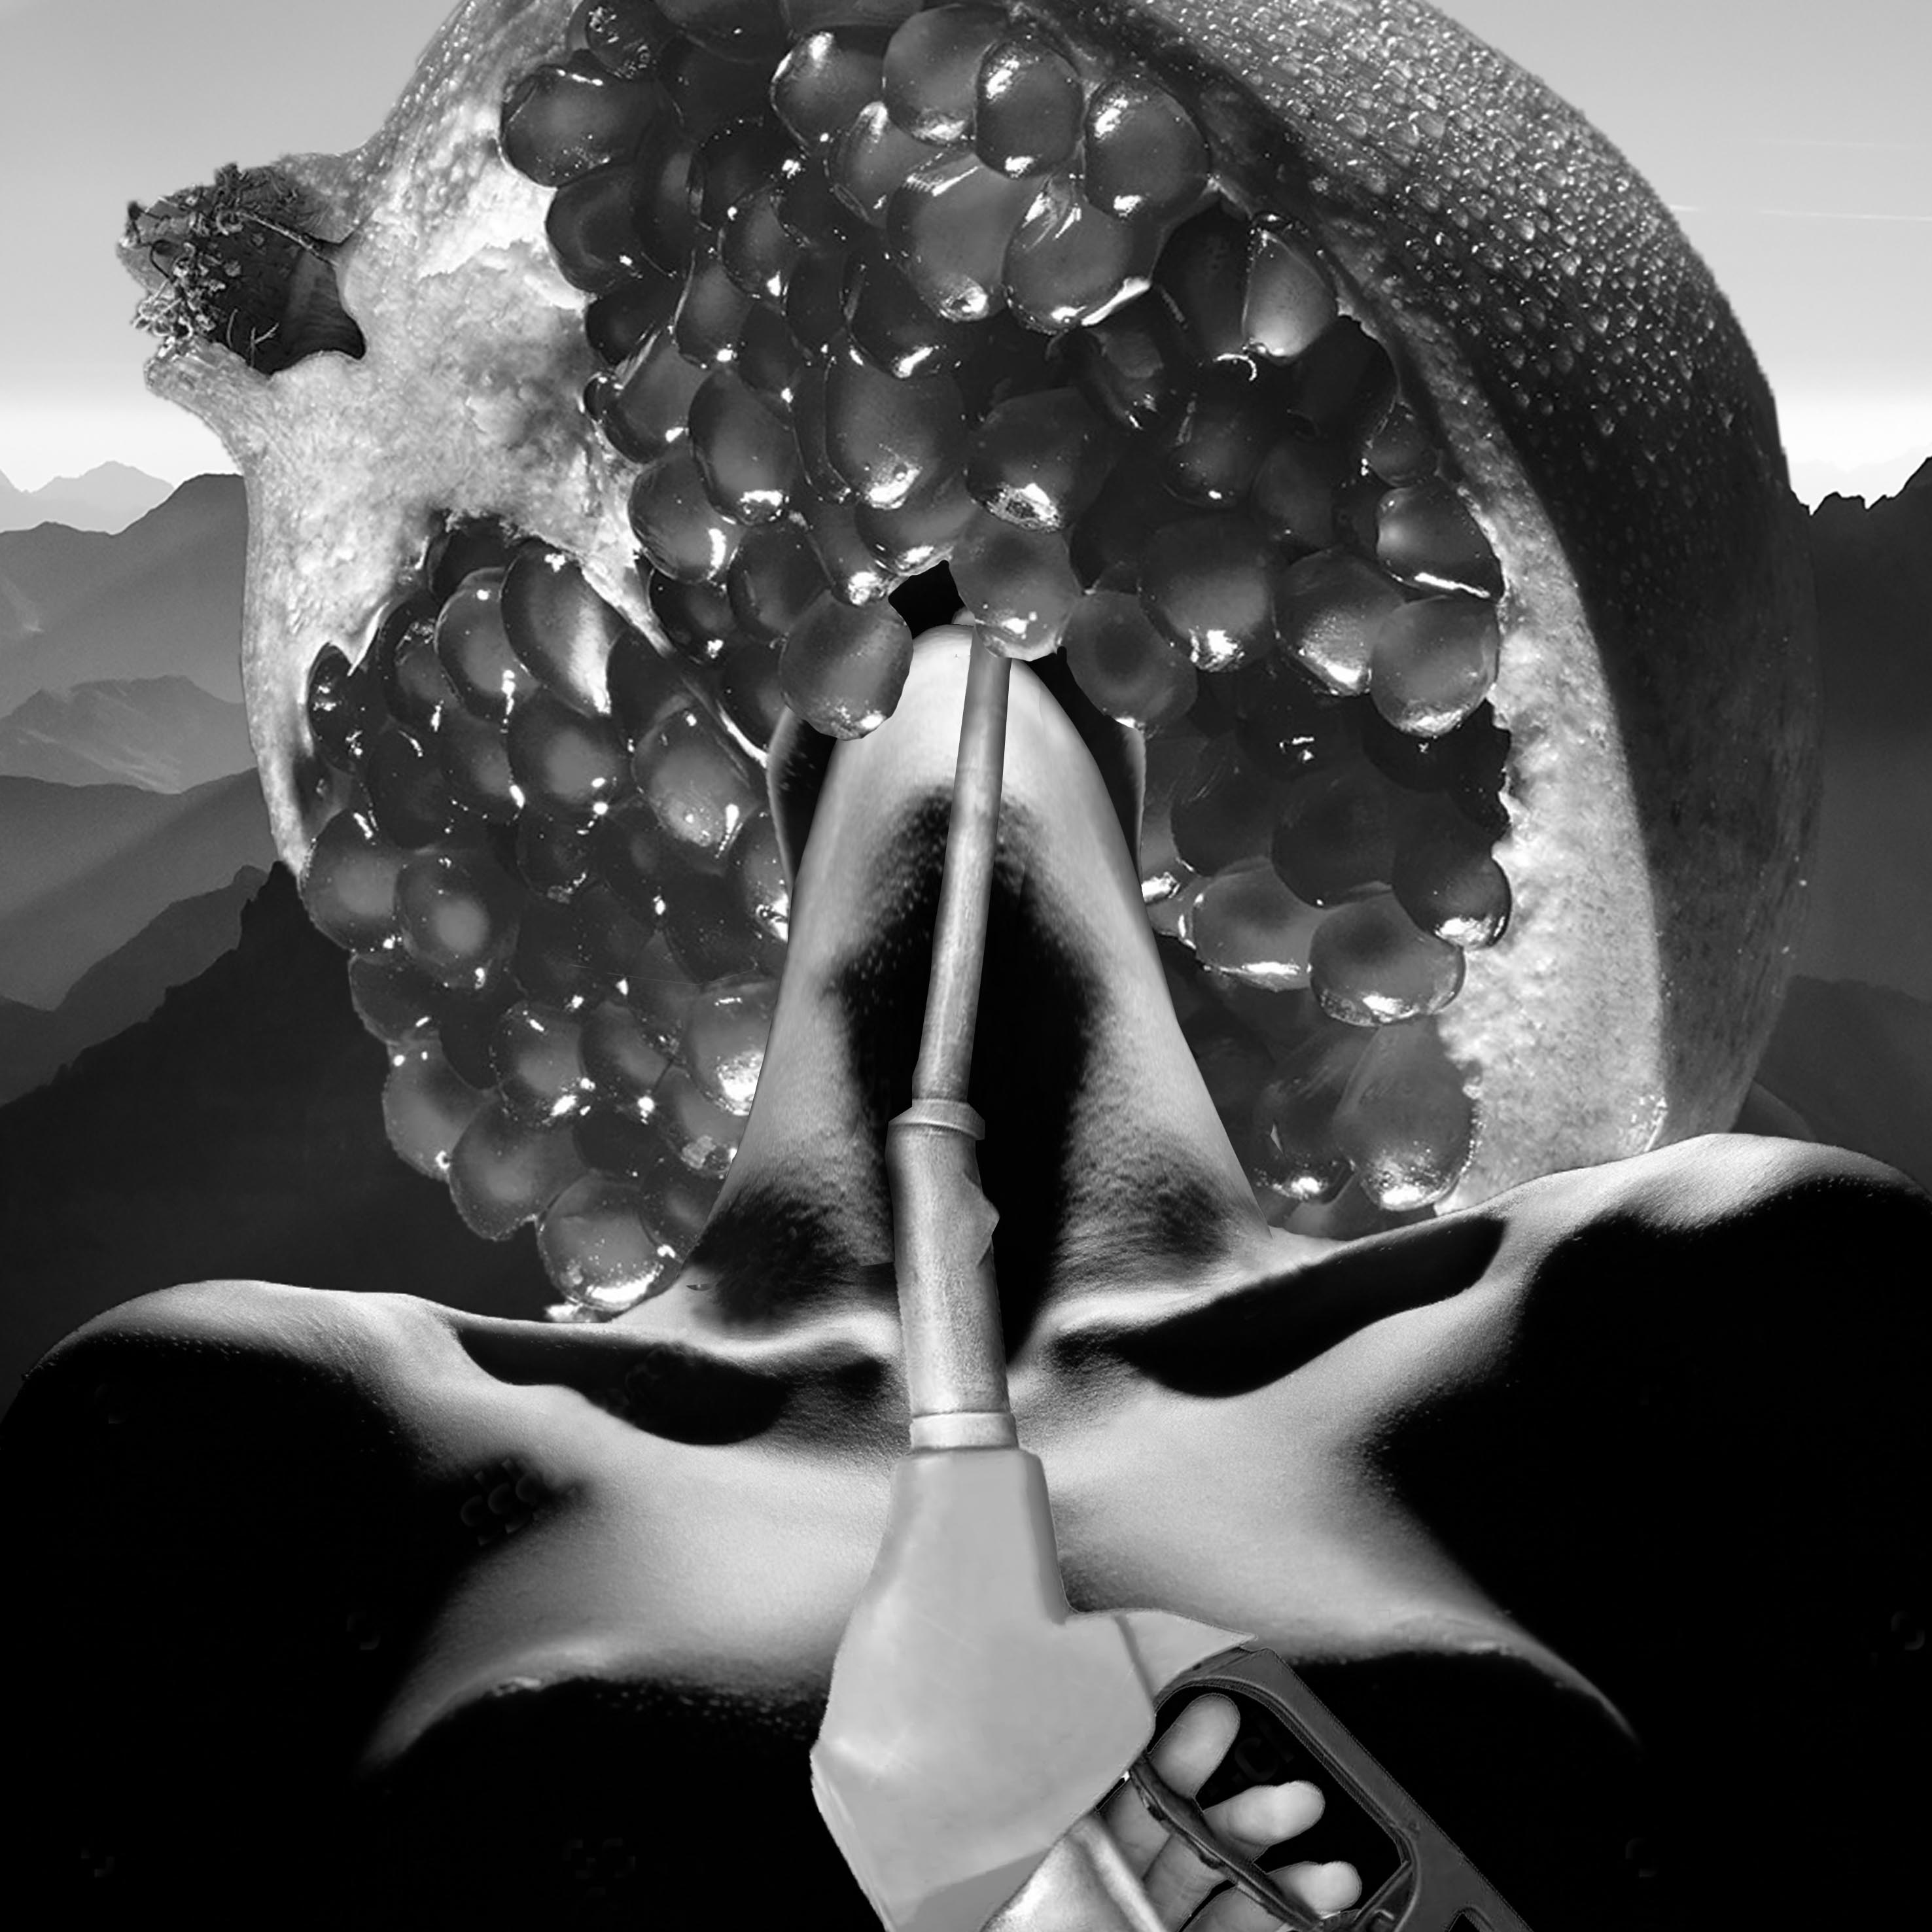
After reviewing the list of quotes I had, I realised there was a primary theme of sex and death. So I decided to make my designs based on sexual imagery with a tinge of morbidity, to highlight the sexualization and romanticisation of death.
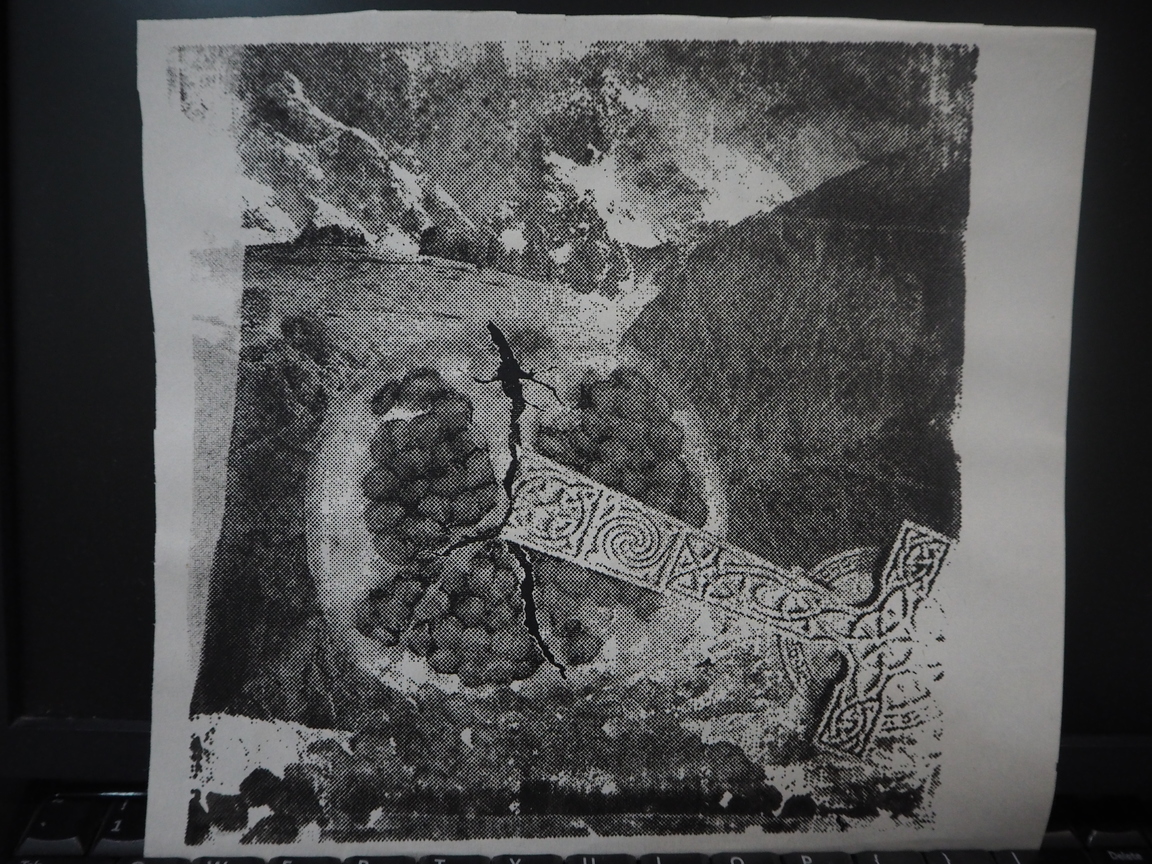
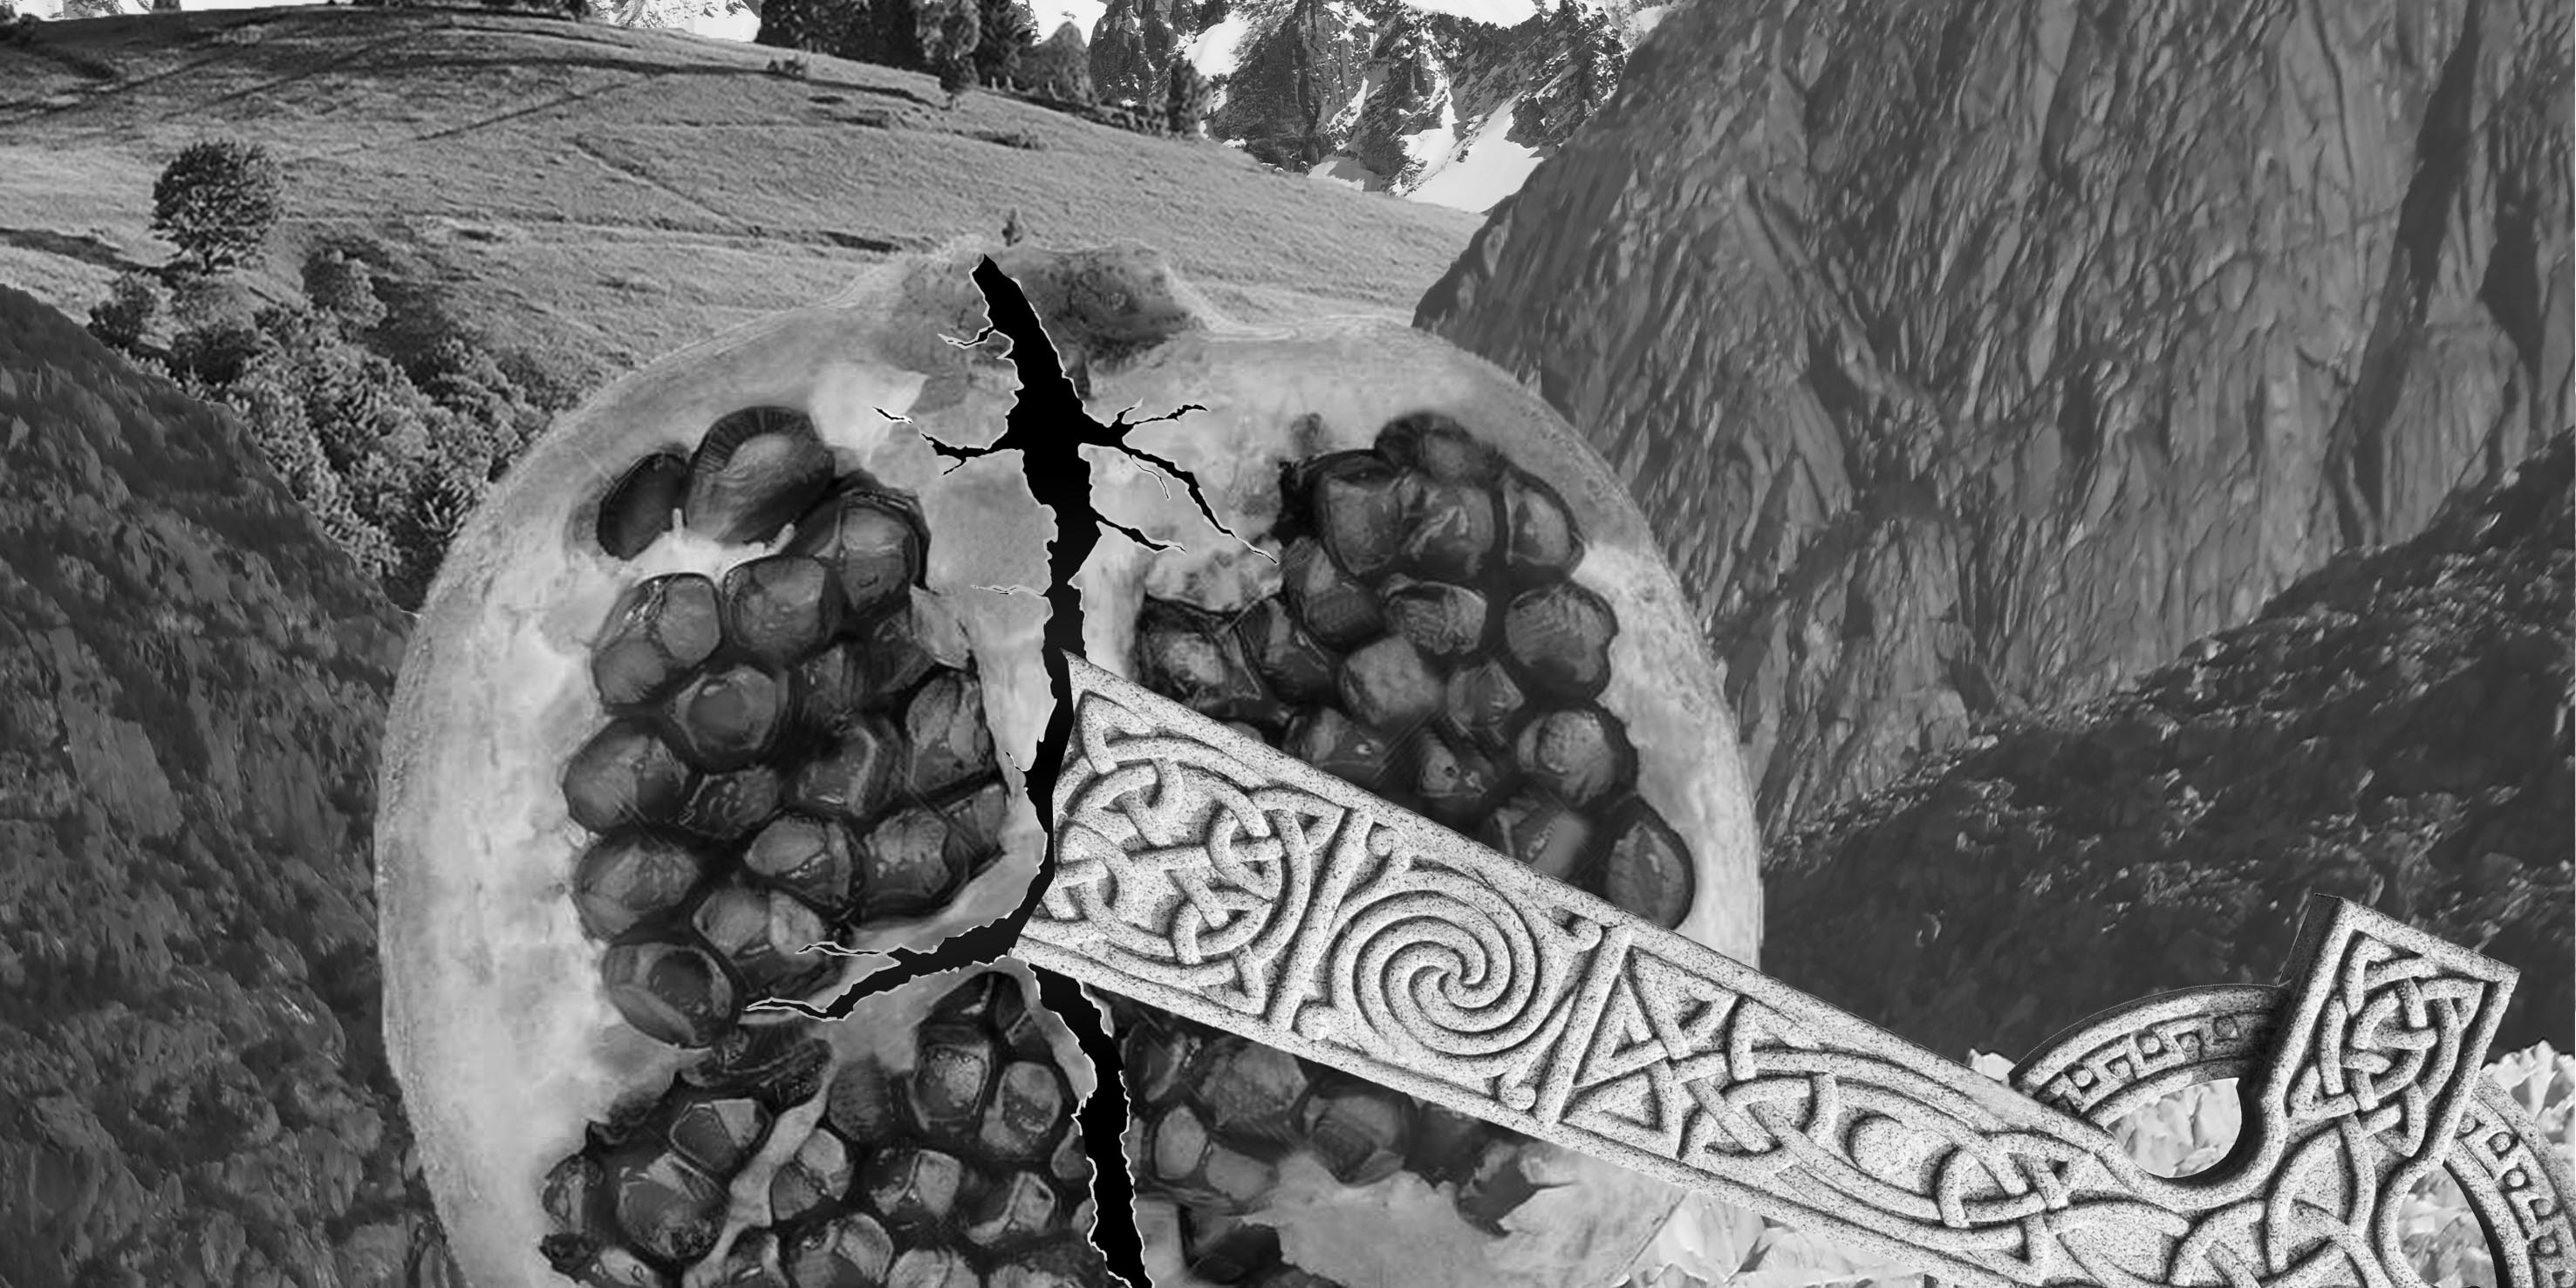
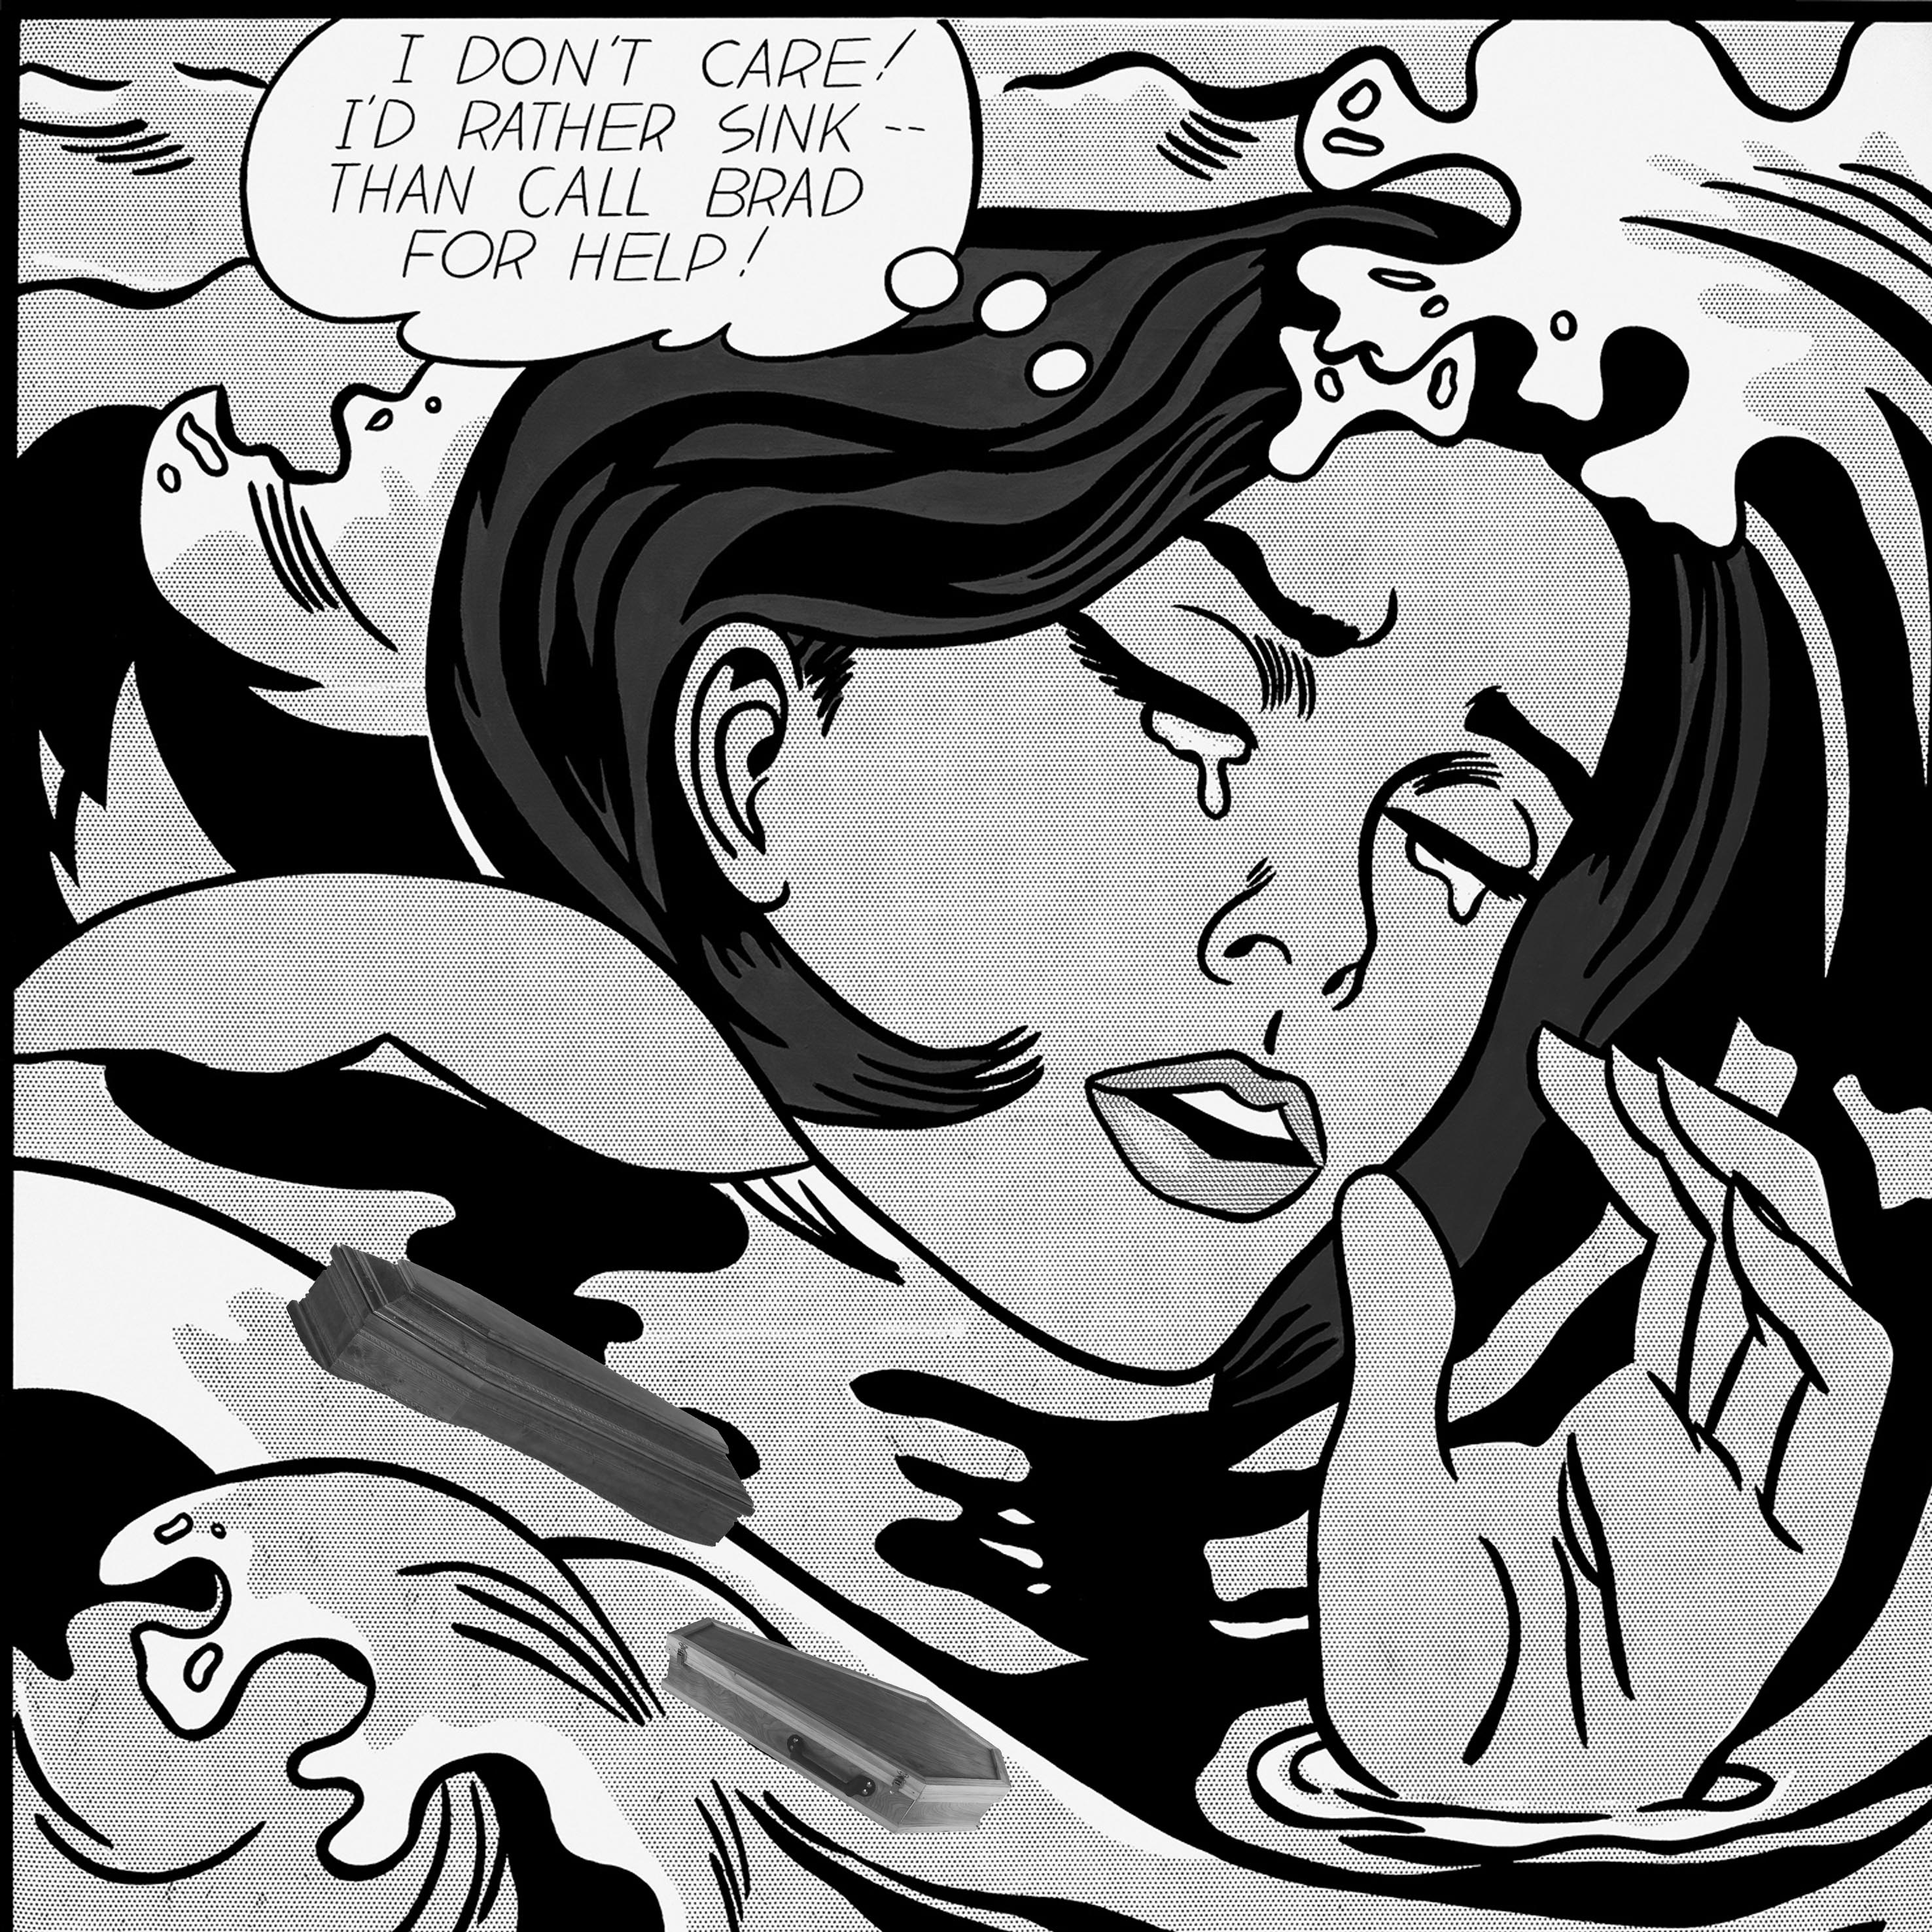
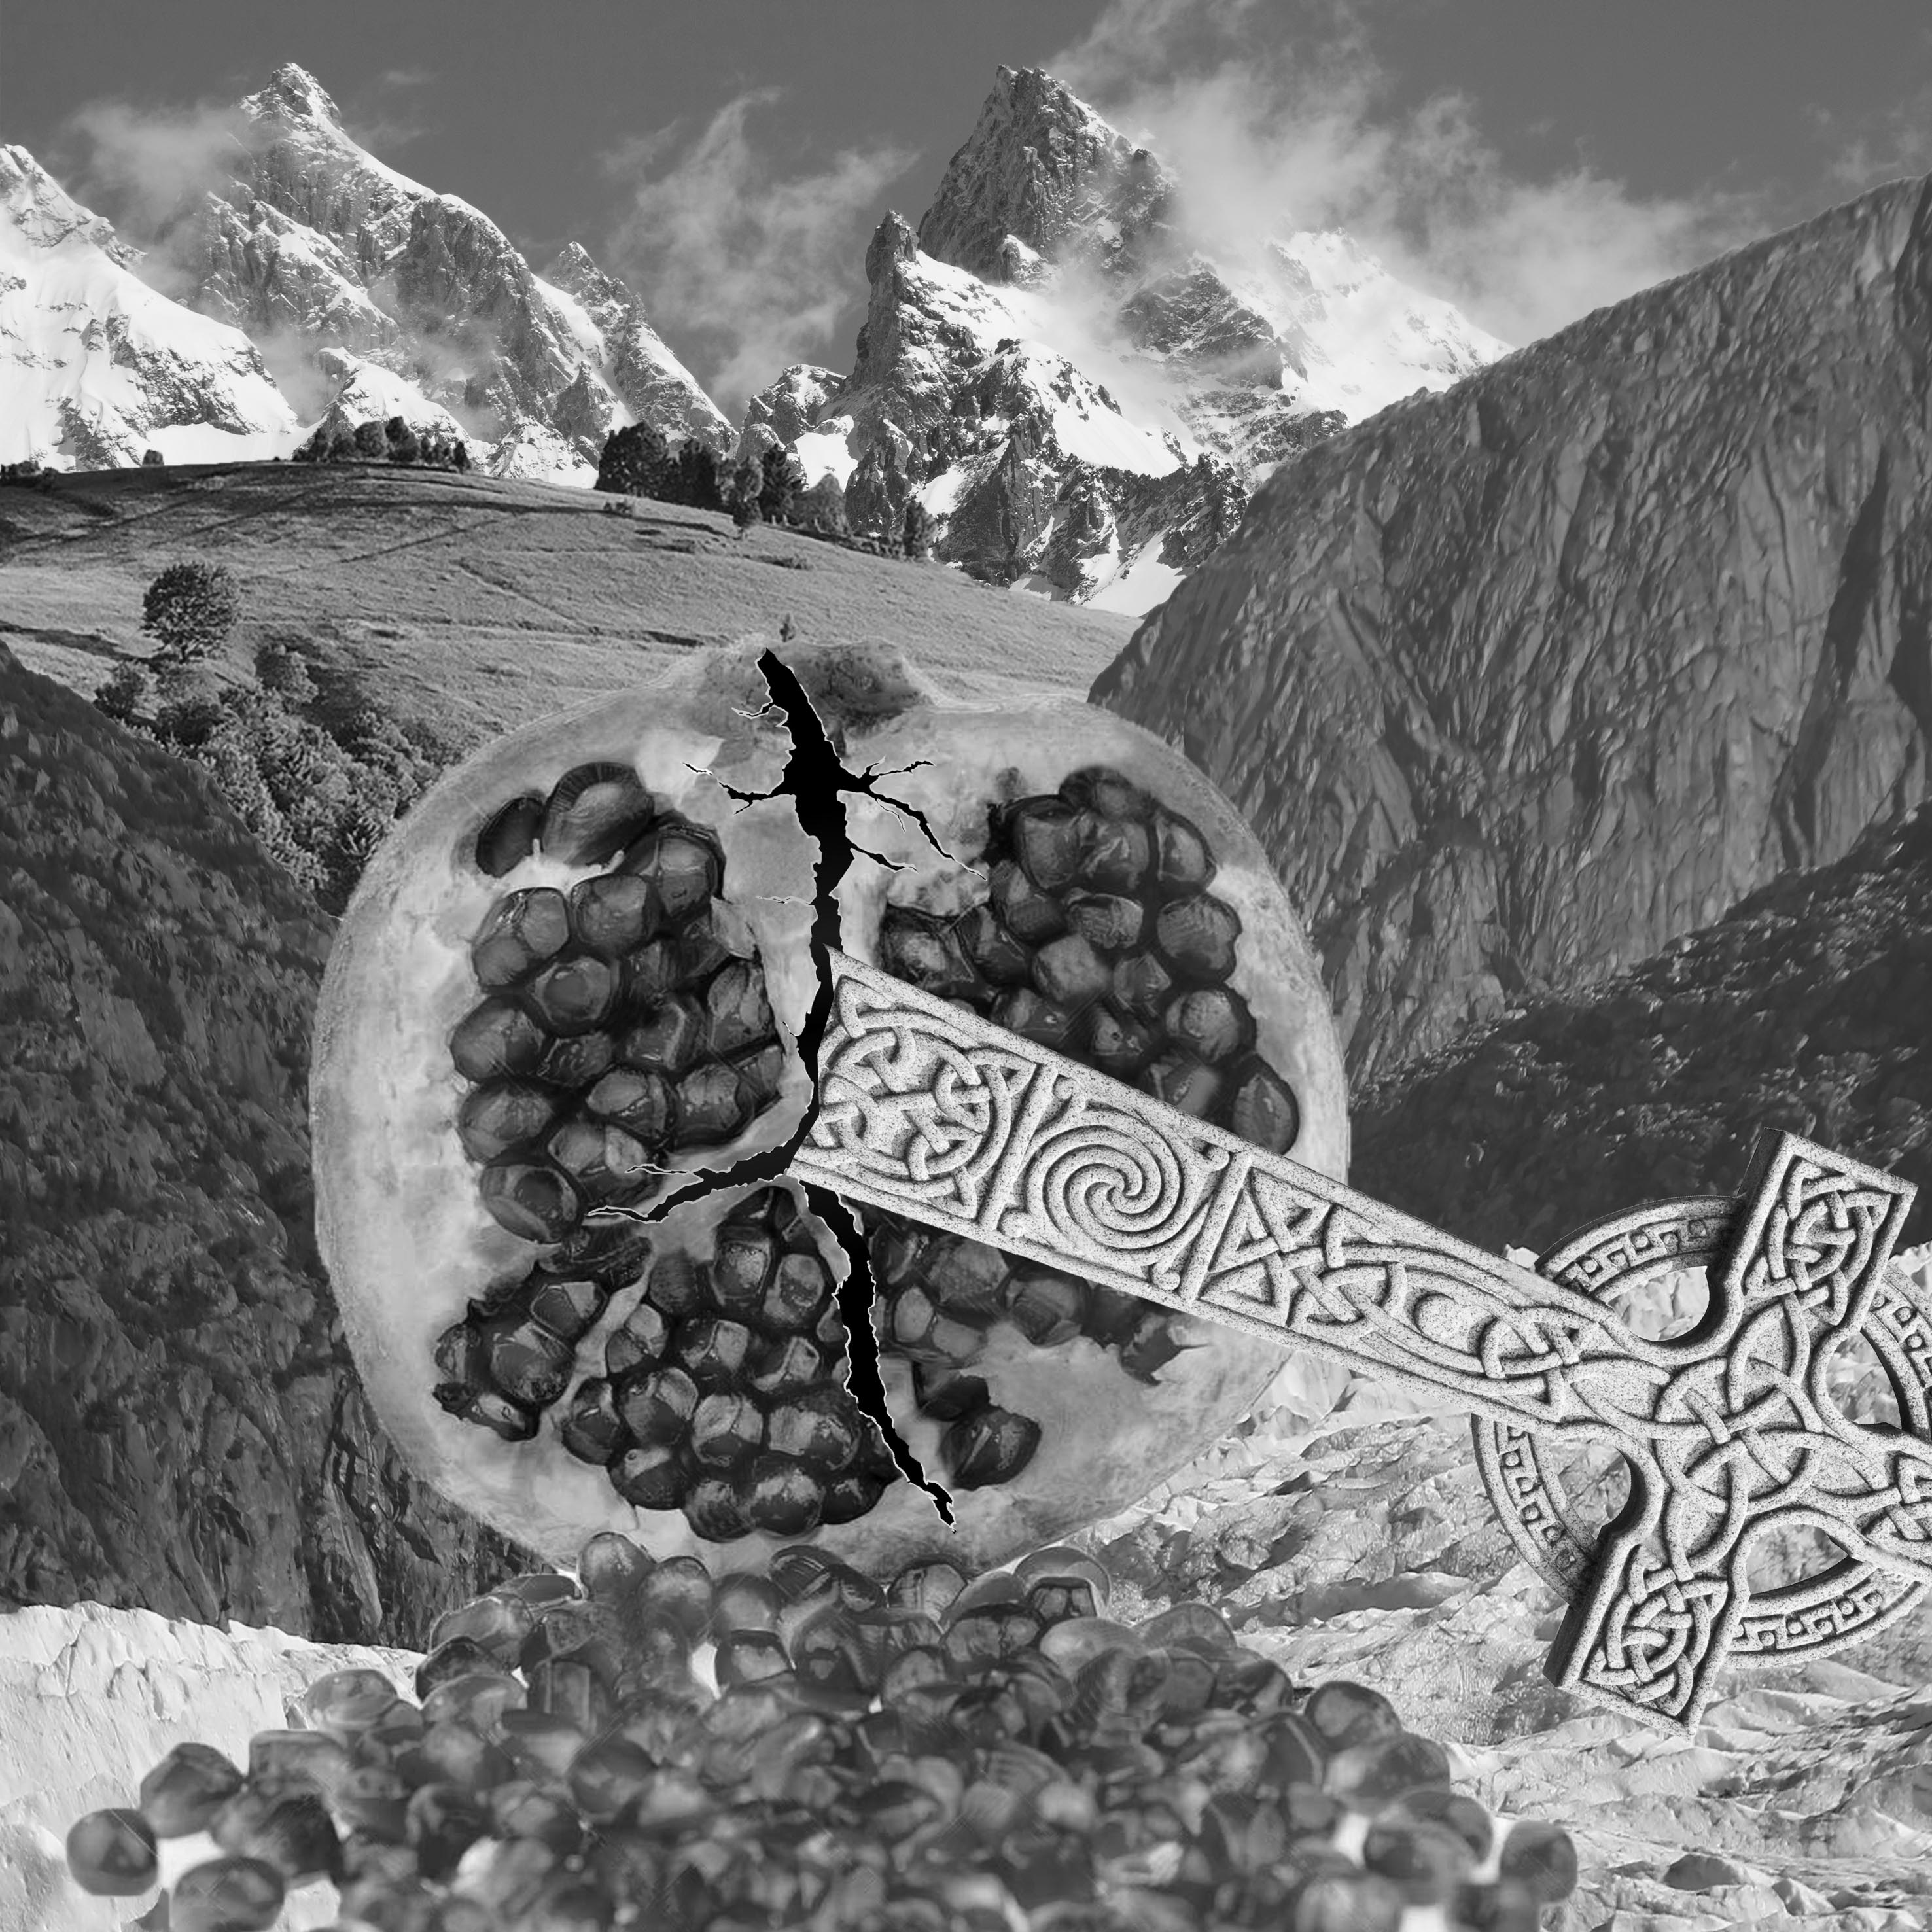
“Fuck me gently with a chainsaw. Do I look like Mother Teresa?” – Heathers, 1988
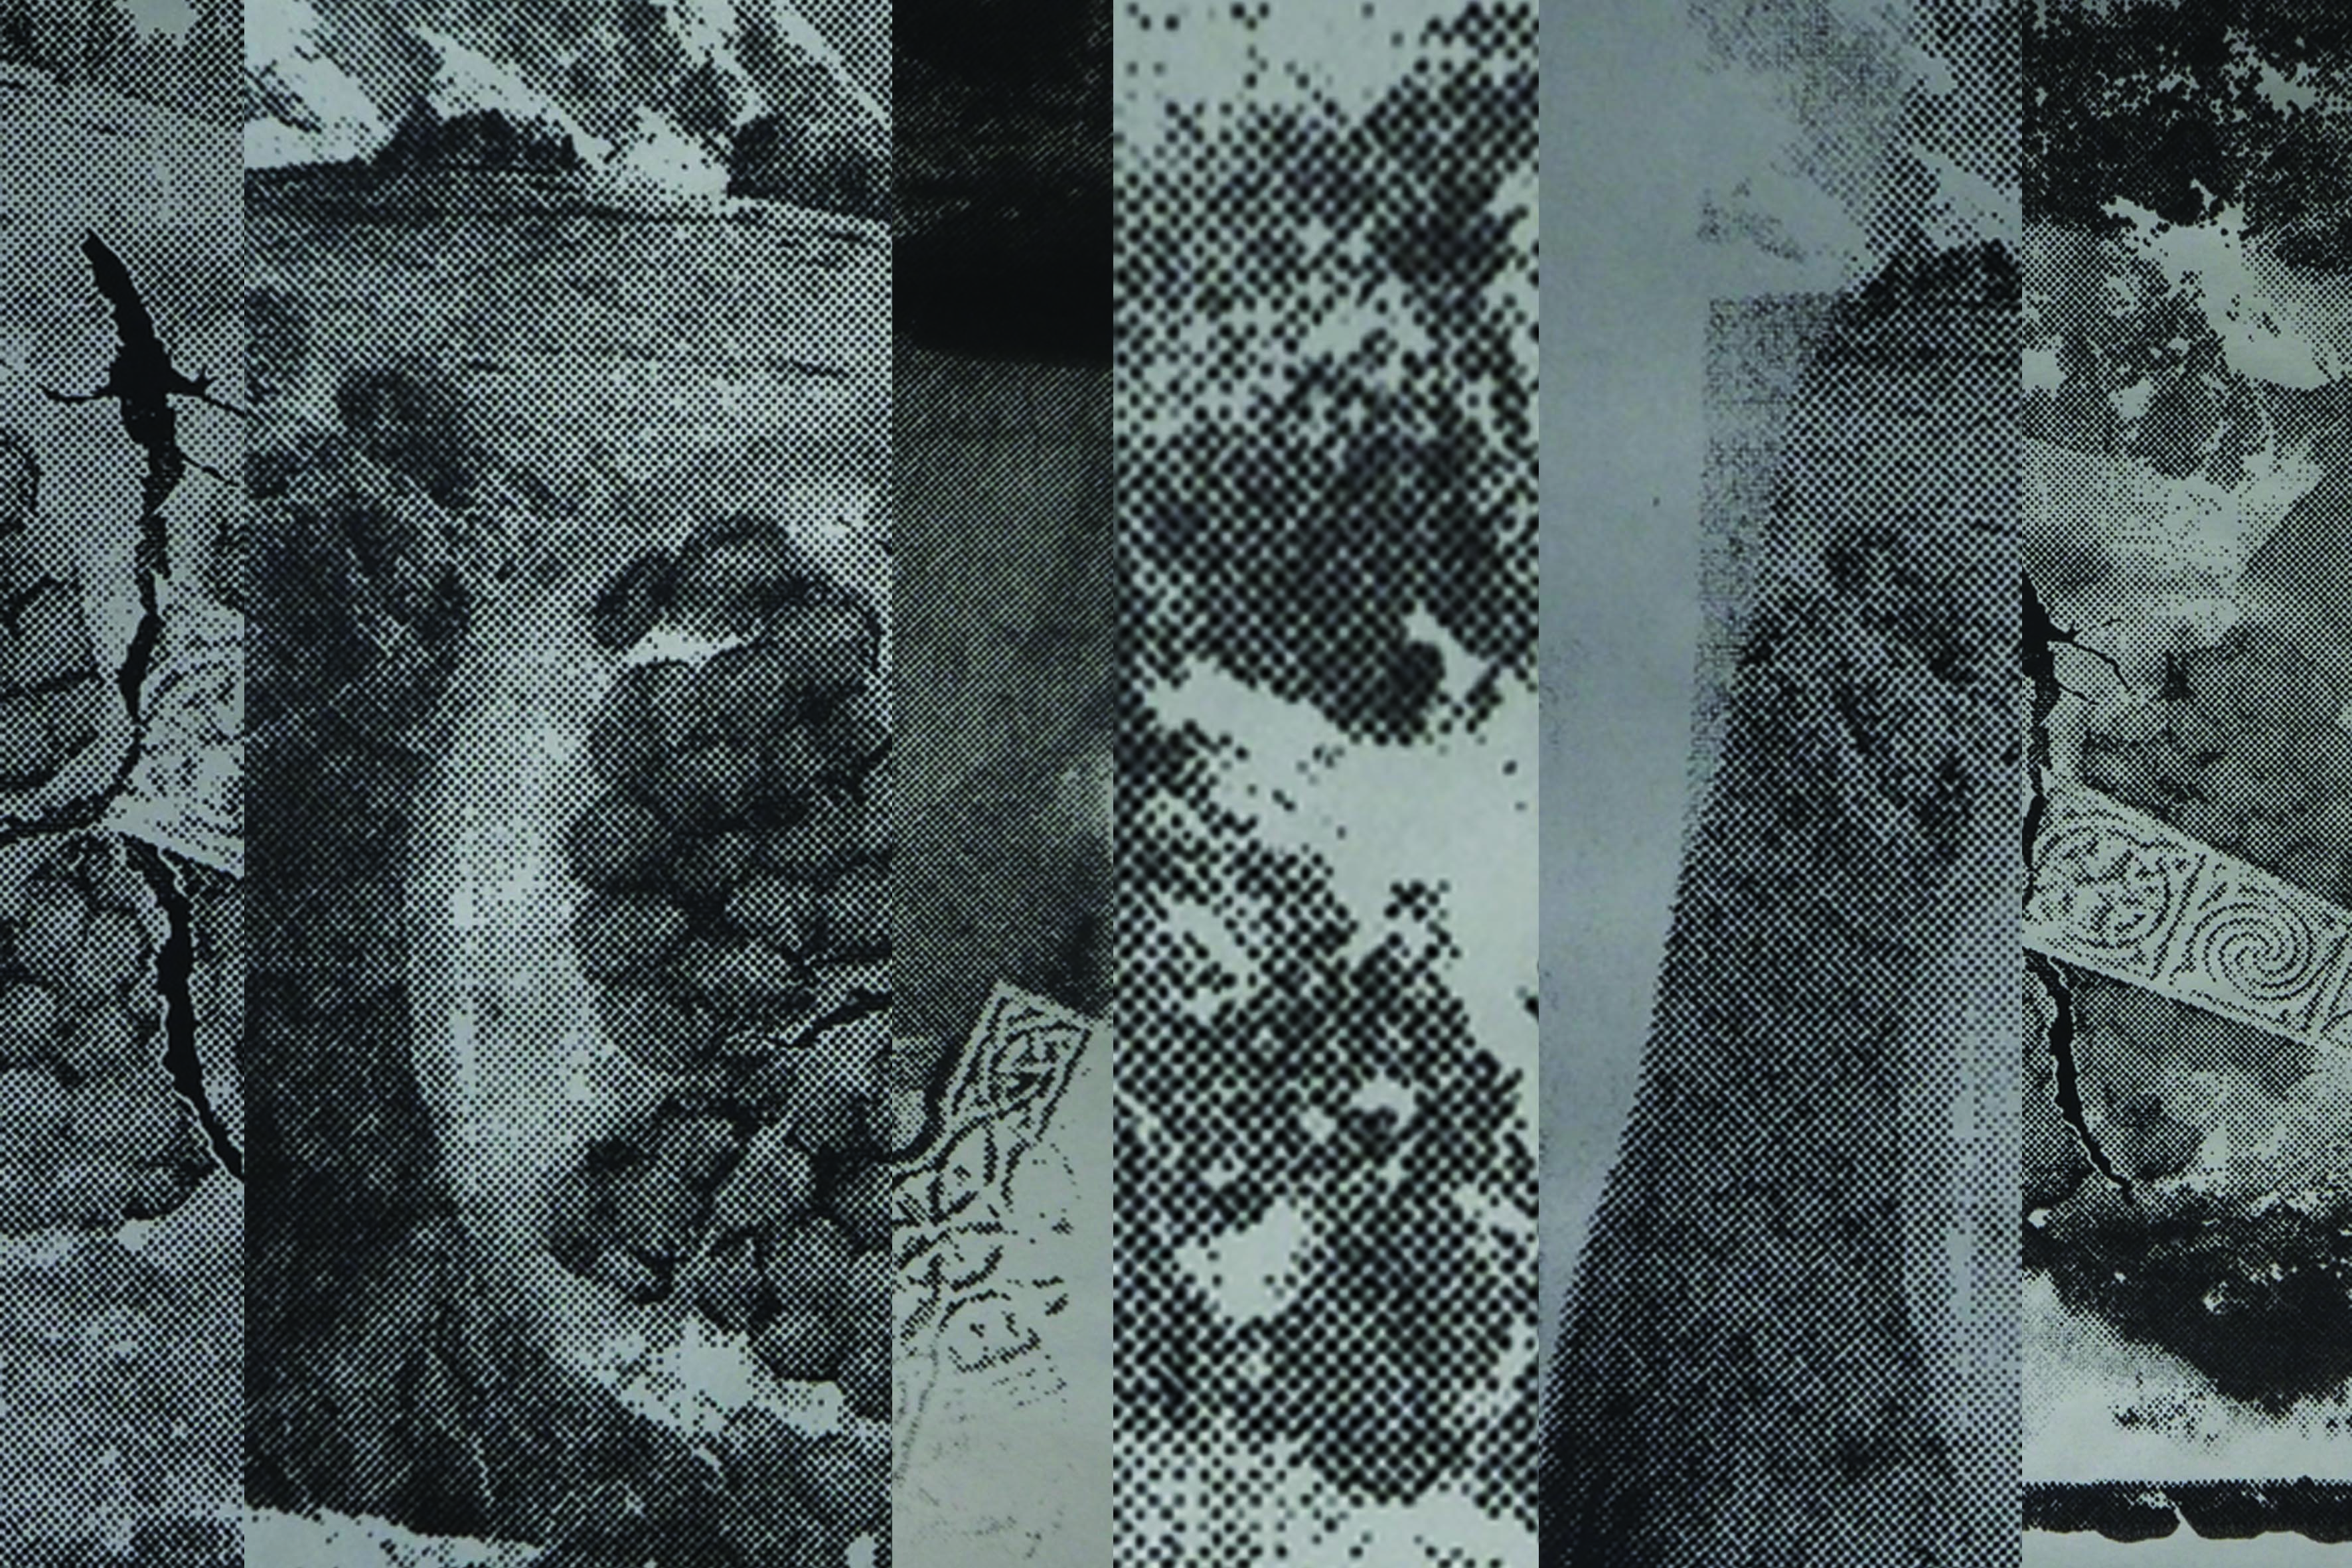
The first composition I attempted, I use the pomegranate as a symbol of the vagina, and the background landscape to form the female anatomy. This resulted in a rather subtly graphic and vulgar design of a female impaled on a cross. (The perspective is one from the bottom of the female body)
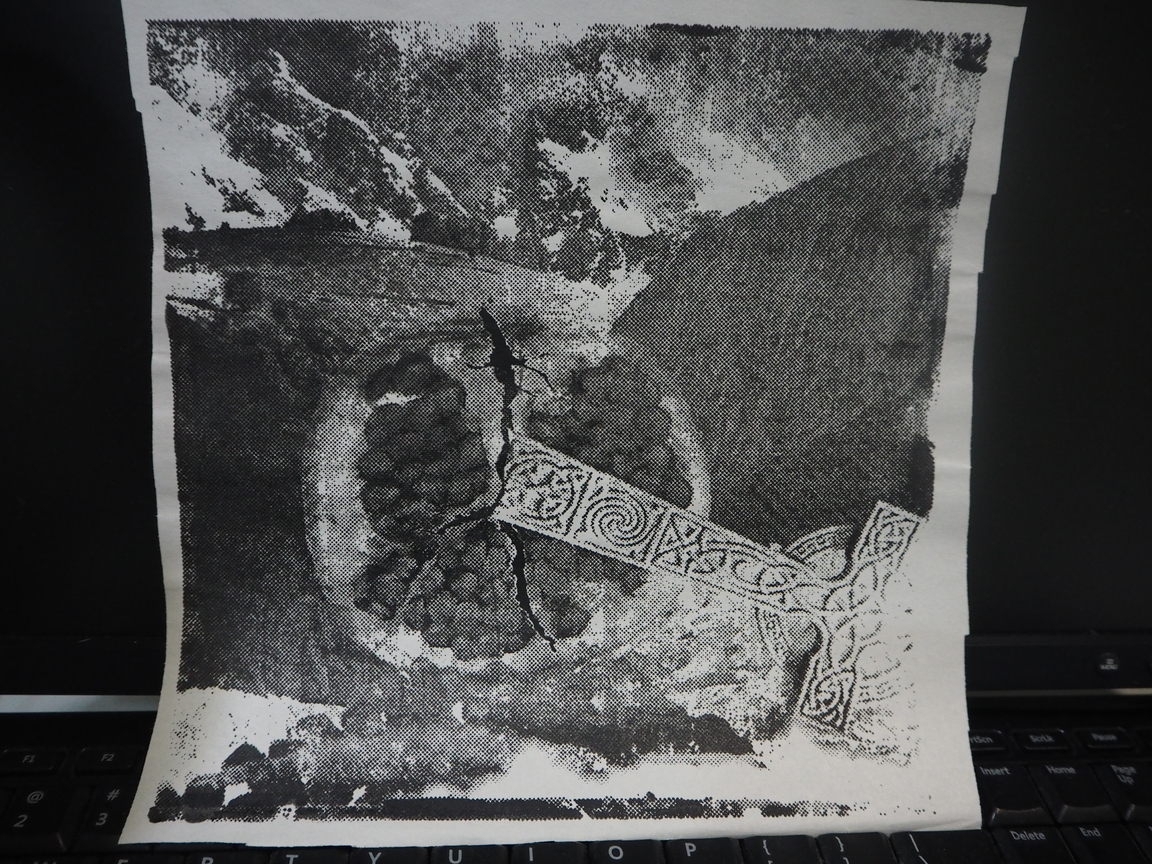
“We’ll be forgotten. We’re machines for the processing of desires.” – Helter Skelter, 2012
While in this second composition, I increased the contrast of the female anatomy to make it look more abstract and blend in with the rest of the landscape in the background. I lengthen the neck and jaw of the female so it became a phallic imagery impaling a pomegranate, that the “female subject” seemingly wears like a halo. While, the gas pump was to represent the machinery image, and at the same time emphasise the sexual connotation of the image.
With these two compositions in hand, I headed to the second consultation, and silk-printing workshop, which I will be covering in a second process post. Head there to read up more on my collage-printmaking journey!
In this WIP post, I would like to share mostly about the methods and explorations I did while working on my final 18 strips. The techniques I used in my final work are loosely grouped into: Cotton wool dabbing, Salt in ink, Water in ink/Paper Marbling (and the ones with additional pen work), Dry brush, and a little bit of Mono-printing.
COTTON WOOL DABBING
This was a continuation from the initial explorations I did in the other post. There were improvements made in my technique to counter the problems I met previously. The issue was that the amount of ink in my palette had to be very little in order to coat just the surface of the wool. However, it was impossible to control the amount I pour each time. Therefore, I thought of painting a plastic surface with ink before coating the wool on that surface. That way the amount of ink would be appropriate.
Previous attempts of hate
This was the print I visualised to represent hate. I wanted the entire piece to have a slightly darker value. I realised the trick to do so would be to re-coat the plastic surface each time I do the print, which was what I did in my last attempt.
Another emotion I did with this technique was loneliness.
Initially this was the print I visualised for tenderness. However, due to factor differences in coating of ink, I was unable to get the same effect I did in the previous times. Instead, the result I achieved reminded me more of loneliness. Tenderness and loneliness shared similar intensities, in terms of small ebbs of positive and negative emotions respectively. The difference lay in the nature of the mark. To me, tenderness should be portrayed by patches of faded dots, but this print had defined thin web-like lines, which was more suited to the more negative emotion of loneliness.
In addition, I was considering using this technique to create the emotion of longing.
However, because I did it in inverse, white paint on black ink, I felt it was too incoherent with the rest of the strips, and abandoned the idea.
SALT IN INK
There was two main methods I used in this technique. One was to paint the strip with plain water first, drip ink into the water, then sprinkle the salt in. Another was to paint the strip with ink mixed with water, then sprinkle salt in.
The first method I used to express the emotion of anguish.
A few problems I encountered in these attempts was accidentally dripping too much ink resulting in the salt not being able to create the mark effectively.
Examples of my other attempts
However, I had to be careful not to drip too little or too apart. As all the ink drips in water created circular marks, and I did not want a polka-dotted print. So it was crucial to find a balance between the amount of ink dripped and the distance in which it is done so.
For the second method, I was very excited when I discovered it because it involved less variables as compared to the first method. I chose to use this second method to convey both esctasy and anxiety.
The only things I realised I had to be careful about was the amount of salt sprinkled and the duration in which the salt is left on the paper.
Examples of my other attempts
Esctasy was a beautiful mistake, the original print when the salt was just sprinkled did not have so much negative space. However, I was inexperienced and left the salt on the paper to dry. It was then I learnt that the longer the salt is left on the paper the more the ink would be absorbed by the salt, thus leaving even more negative spaces behind.
I had better control over the salt while doing anxiety, but not so much over the distribution of inky water. However, I think the affect turned out desirable.
WATER IN INK
Longing was the emotion I was trying to convey. I wanted to create spaces of lighter value within spaces of darker value, but did not want the salt effect. Thus, I decided to use a dry brush to dry up certain parts of the strip.
While for disgust, I created small dips of ink in water reminiscence of trypophobic inducing images.
I had to be very cautious while dripping though, as the water would flow which results in the concentrated ink spots to dissolve and dispersed, ruining the effect I was going for.
WATER IN INK (WITH PEN)
This was one of the emotions I had the clearest image of what I wanted it to be. I was convinced that the curvilinear pattern could best represent arousal but did not want it to be the only strip fully done in pen. So I decided to incorporate ink within it.
Regretfully I did not manage to capture the process of creating delight (as seen above), but it was using similar techniques of ink and water with pen.
WATER IN INK (PAPER MARBLING)
This is one of the new techniques I tried. I did not think it would produce good results, as to my knowledge, paper marbling requires a certain kind of paint to make extremely distinctive marks. However, I felt that the light swirls of paper marbling could help me bring out feelings of tenderness. Thus, I decided to give it a try.
Examples of my other attempts
The first few attempts were really bad. I tried really hard to control the ink swirling within the water on plastic, making sure it was neither to sparse nor too diluted. It was also really hard to ensure that the shape of the water could fill the strip. Thankfully I did manage to get a pattern that I was satisfied with.
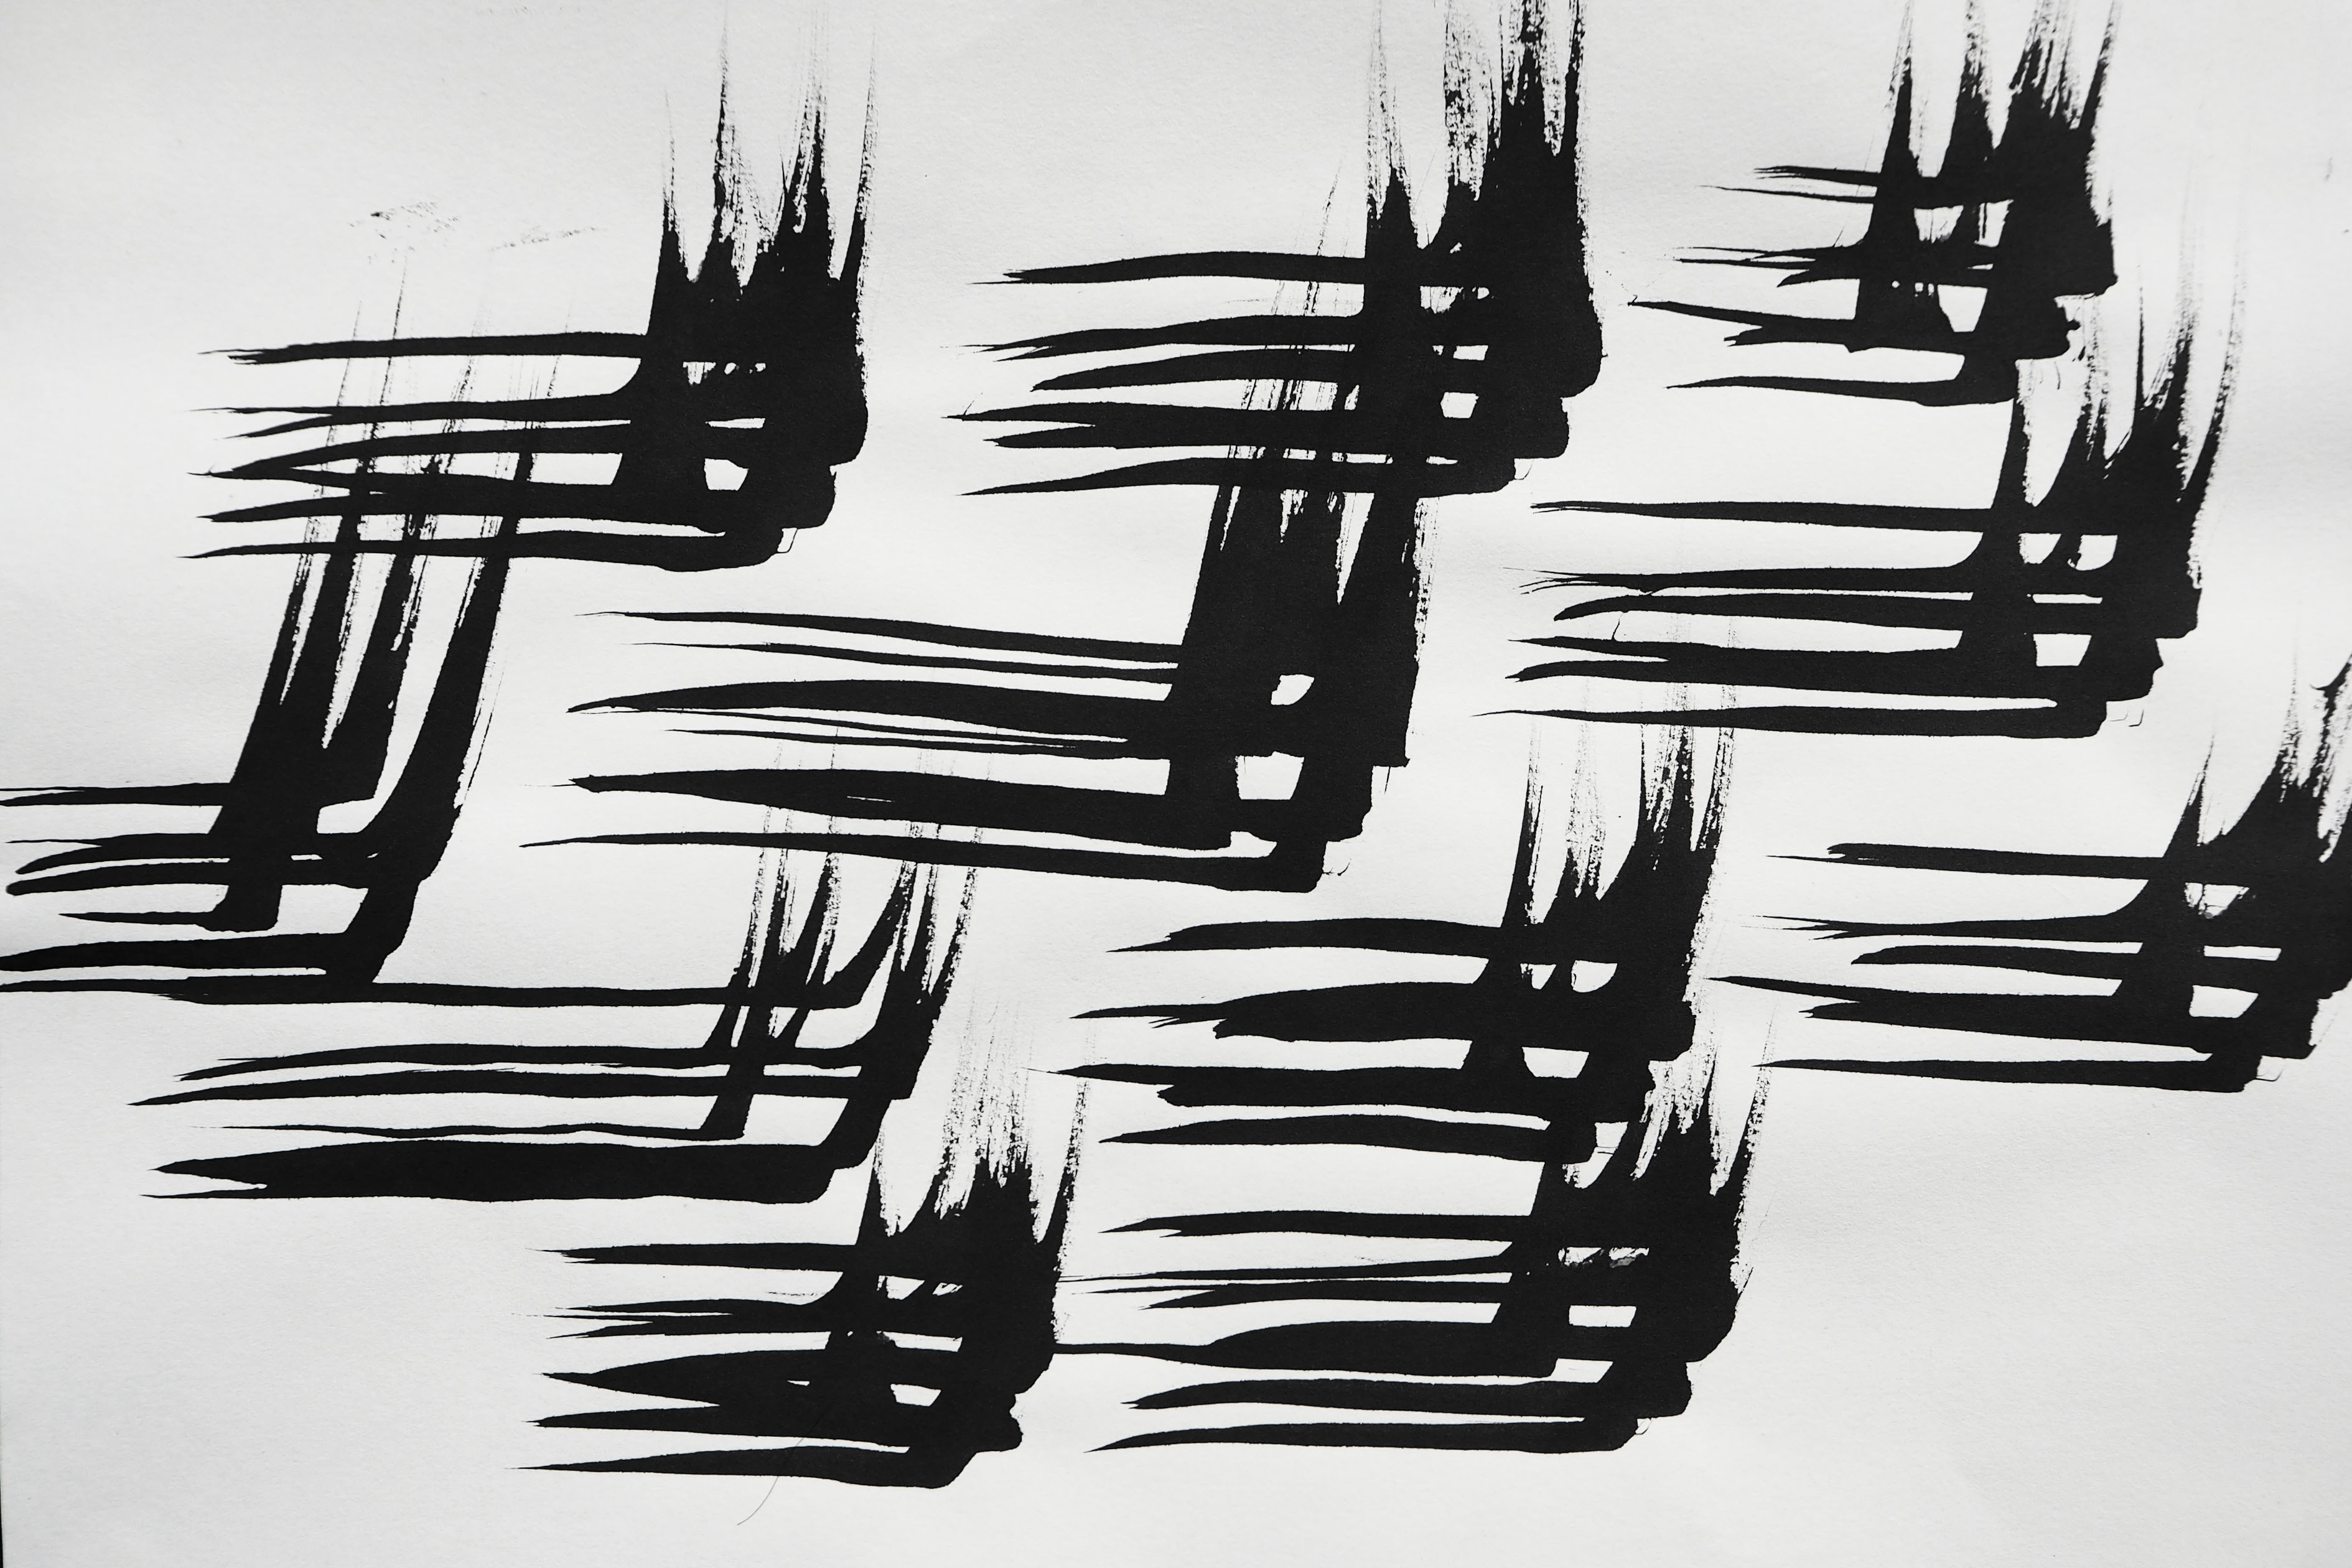
DRY BRUSH
I documented the process of creating this mark this time round. This is because I wanted to document how in creating thrill, a sense of fast motion strokes, my process of creation was filled with speed too. Thrill was one of the rare ones where the mark created revealed the process of mark making.
Tenseness was another one of such. While painting the strips out, I held my arm out unsupported, trying to draw a straight line as accurately within the strip as possible. I felt that the tenseness of my arm used to draw really reflected the emotion in the resulting mark.
Meanwhile, ease was a good example of how the process is different from the resulting mark. The process of creating ease was not slow, but brisk and precise. The required accuracy of the print made me really tense while making it. The brush had to be dry enough, but not too dry, to ensure a consistent and light print throughout.
For other emotions like hysteria, idleness, contentment, and depression, I used the same techniques reflected in the last post, so I would not elaborate further, but instead talk about their characteristics in the final post.
MONO-PRINTING
Even though I said I would not be doing mono-printing previously, I realised that the print created by a foam piece really helps created the feeling of irritation with the irregular dense specks.
With this, I am almost done with Project 1 and my journey of mark making. Look out for my next post about my final presentation and basic summary of “My Line is Emo”!
We have finished presenting our first 2D task in ADM “My Line is Emo”, and I’ll like to do a little looking back on how I started my mark making journey in these weeks.
On our first lesson, we started our venture into mark making by learning mono-printing. I brought a lotus root for printing, as I was fascinated by the organic shape of the vegetable and thought that the creases on its flesh might make an interesting pattern.
However, the resulting effect was not what I expected due to the limitations of mono-printing. I was hoping for the ink to capture more texture of the sliced lotus, but the prints turned out to be a rather solid patch of colour.
Next, I decided to try to print a netting and a binder. Both of which created really interesting results. However, I felt that none of the prints were what I was looking for in terms of the project brief in “My Line Is Emo”.
Netting Print
Binder Print
After realising that mono-printing was not the technique I was looking to do in my project, I decided the best way to continue was to try out some mark making techniques. Some techniques I explored were the dry brush technique, cotton wool dabbing, water with ink, and salt in ink. In exploring these different techniques, I had important takeaways that would eventually define my final work.
At first I was just trying out different strokes of the brush. As I continued, I realised there was a specific way I approached this mark making, I would constantly work on and improve the same print I did if I felt that the result I got was not desirable. Thus, I had a lot of pieces done in similar methods, but had differing resulting effects.
Here are some examples:
This two pieces were created using short brisk dry brush strokes that were done by flicking my wrist. However, after doing the first piece, I felt it was too messy and wanted to see how it would look like in a neater format. Thus, I immediately did the second piece.
It was then I started to realise how the contrast between the two brought out different emotions. For the first piece, as it was brisk and messy, possibly suggesting emotions of hysteria or agitation. In comparison, the second piece looks calm and the illusionistic feathery texture it created gives it a feeling of lightheartedness and ease.
While for these two, they were both created using cotton wool, repeatedly torn to ensure consistency in texture, then dipping into my almost dried-up ink palette before dabbing onto paper. The difference in this two prints was actually an accidental creation. I wanted the prints to be light, but after dipping the wool in ink, the first dab would definitely be too dark in value. Thus, one piece of paper was used for the first dab, before dabbing the second piece of paper. After doing so, I observed that the piece lighter in colour in photo two brought out emotions of tenderness and love. The piece darker in colour in photo one, in contrast could possibly evoke feelings of hatred and loathing.
Through this exploration I had my first takeaway: Drawing contrast and difference in prints can better bring out the emotions the mark is trying to present, and this would be something I would like to use in my final project.
Here are some other marks I tried that did not really resonate with me:
Some evoked emotions, while others were just pleasant to look at. I also tried contrast within compositions but I did not really like it.
Next, I tried a more directed approach in trying to form emotions. One experiment I did to attempt to create the emotion of surprise was to ask my friend to “surprise” me at random intervals. I would start off by drawing a continuous line and each time she said “change” I would flick my wrist upwards.
The results were an interesting pattern albeit a little messy, but I felt it did not really present the emotion of surprise to the viewer.
I also tried to create several patterns of anger by physically imitating the body language of anger.
Making harsh angry strokes across the paper
Jabbing the brush violently into the paper
Aggressive and frantic swirls on paper
Trying to “shake in anger” literally while drawing lines across the paper resulting in jagged lines
These were process-centric prints whereby the process in creating the mark displayed anger but the results on the paper did not. This was something I wanted to avoid.
Through this directed approach, I had another important takeaway: I prefer a result-centric approach instead of a process-centric approach as I wanted the viewer to be able to feel the emotions I was trying to portray in my mark.
Other than these two main takeaways, I had other smaller observations.
By reducing the negative spaces of the mark in the first two photos, it will evoke a more sombre mood as it has an overall darker value. This is as compared to the piece in the last photo with a lot of negative space.
Also, I really like the effect of water with ink and salt in ink as it produced marks impossible to recreate using the brush, and I felt it could express emotions of anguish.
However, as it was my first time working with salt in ink, the marks I produced was not very successful. I would definitely have to continue working and improving on it.
To sum up, my first experience with mark making was really eventful, and it was really a journey of learning for me. It forced me to start to observe qualities of the prints, like the thickness of lines or value of the mark, something I do not usually take into consideration. Furthermore, I realised that mark making, especially the ones made with more experimental methods, was actually really hard. It made me look at mark-making artists with ten times more respect now.
Continue reading more about my mark making journey in my second post. See you there!!


 Previous attempts of hate
 Examples of my other attempts
 Examples of my other attempts
 Examples of my other attempts


 Netting Print
 Binder Print


 Jabbing the brush violently into the paper


