Category Archives: My Work

Please Change Beliefs: An Analysis

“Please Change Beliefs” is Jenny Holzer’s first project on the World Wide Web. She is famous for her Truisms – they’ve been displayed on storefronts, billboards, and other public places, such as Times Square in New York. A great number of people have derived pleasure and provocation from them. With “Please Change Beliefs” (1997), that number grows all the more larger with the World Wide Web’s unique ability as a platform to connect people from all over the world. Indeed, within just three years of the launch of the project, over 10,000 new Truisms had been added to the work.

During our first lesson, we added our own version of Truisms to the website by clicking on the word “Change”. My task now lay in exploring the other sections of the website. Upon entering the site, we are greeted with a truism, and a phrase: “Please Change Beliefs”.

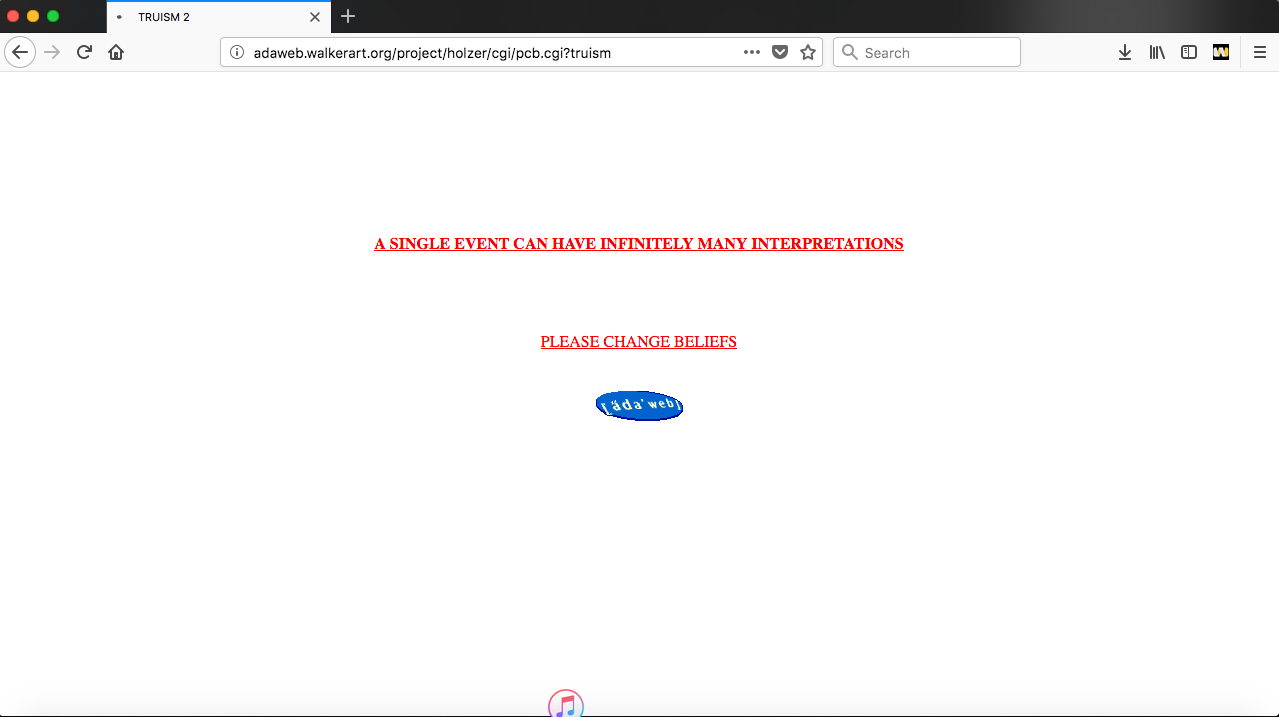
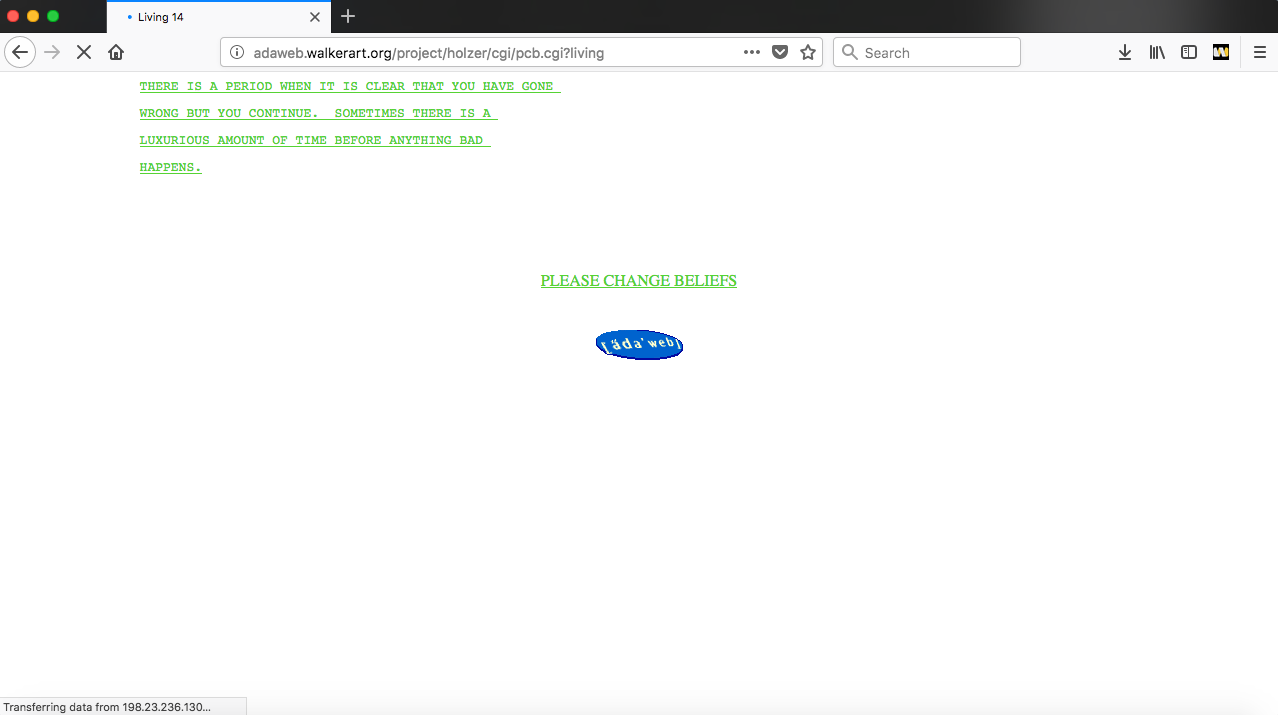
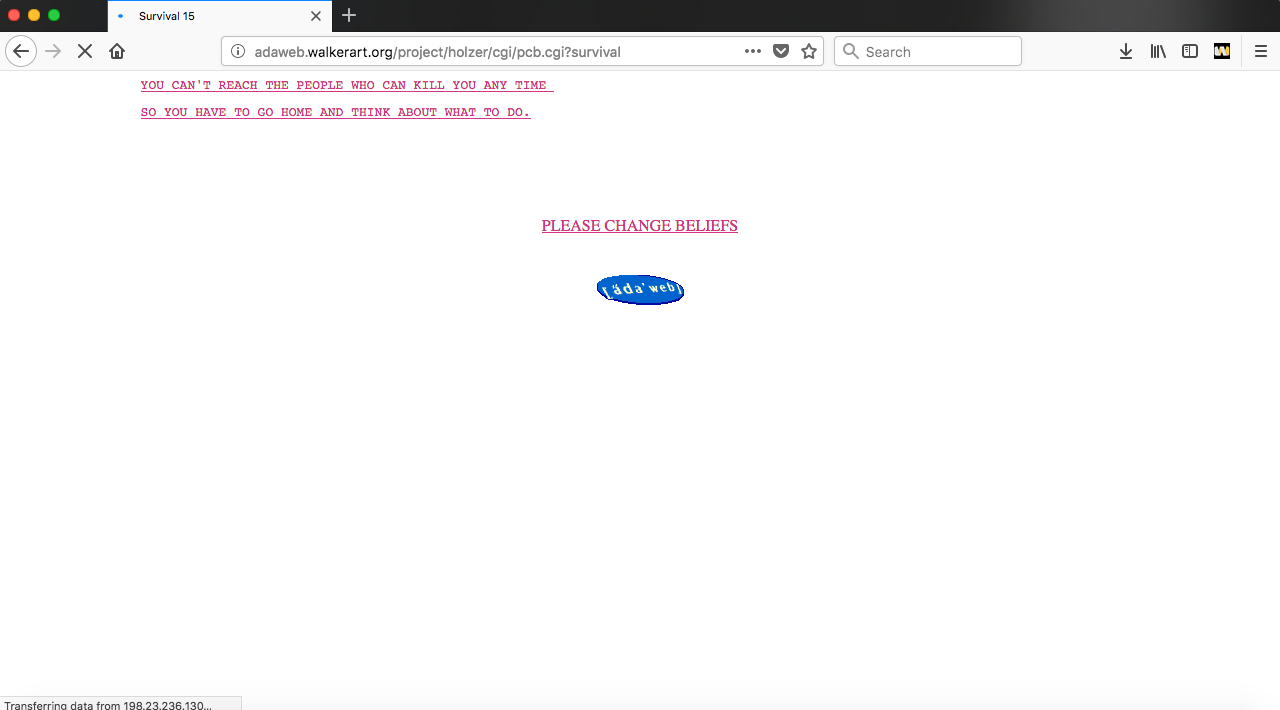
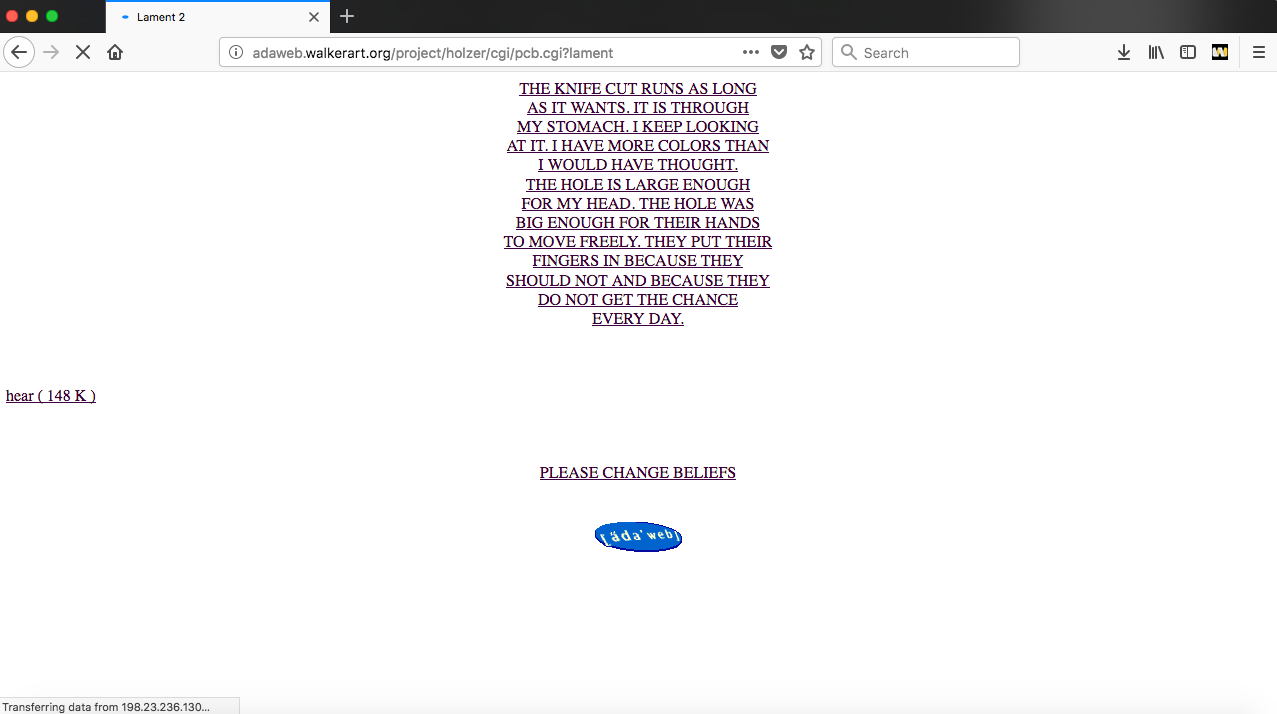
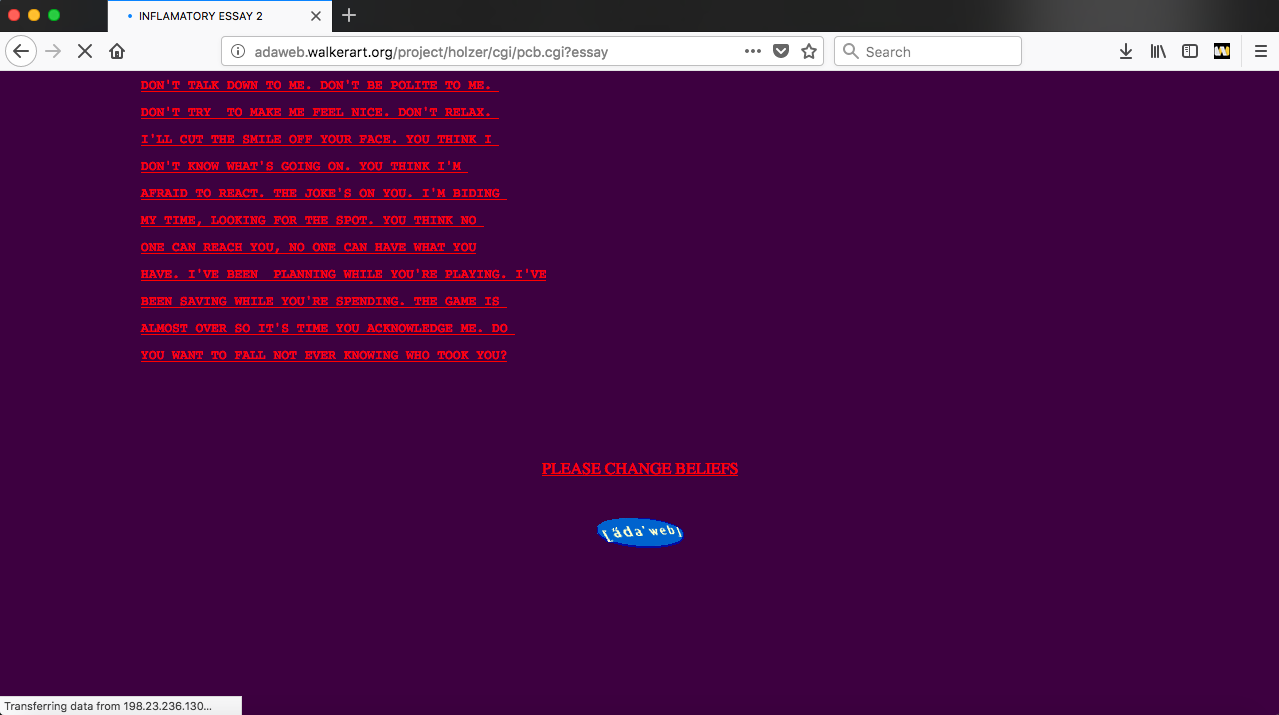
Clicking on the truism brings us through five series of work, presented one after another, as we keep clicking on the phrase/essay at hand. We are able to identify what series the work is from from the name of the tab: truisms, living, survival, inflammatory essays, and laments. Each series also has its own unique features, from the position and color of the text to the background color. Inflammatory essays, for example, have a colored background, whilst laments are centered.


Clicking on the word “Please” brings us back to the homepage.

Clicking on the word “Beliefs” enables you to choose Truisms you agree with, which in turn are updated on a real time poll. Curiously, this is reminiscent of Twitter’s poll function, or even Instagram’s two-optioned poll function as well. Recently, users have used these functions to great popularity, with even choose-your-own-storyline type narratives being invented. This narrative invited a whopping 366,000 votes. The virality of it spurred countless fan art, reaction videos and even translations.

Clicking on the word “Change” enables us to add our own “Truisms” to a separate database, as mentioned previously.

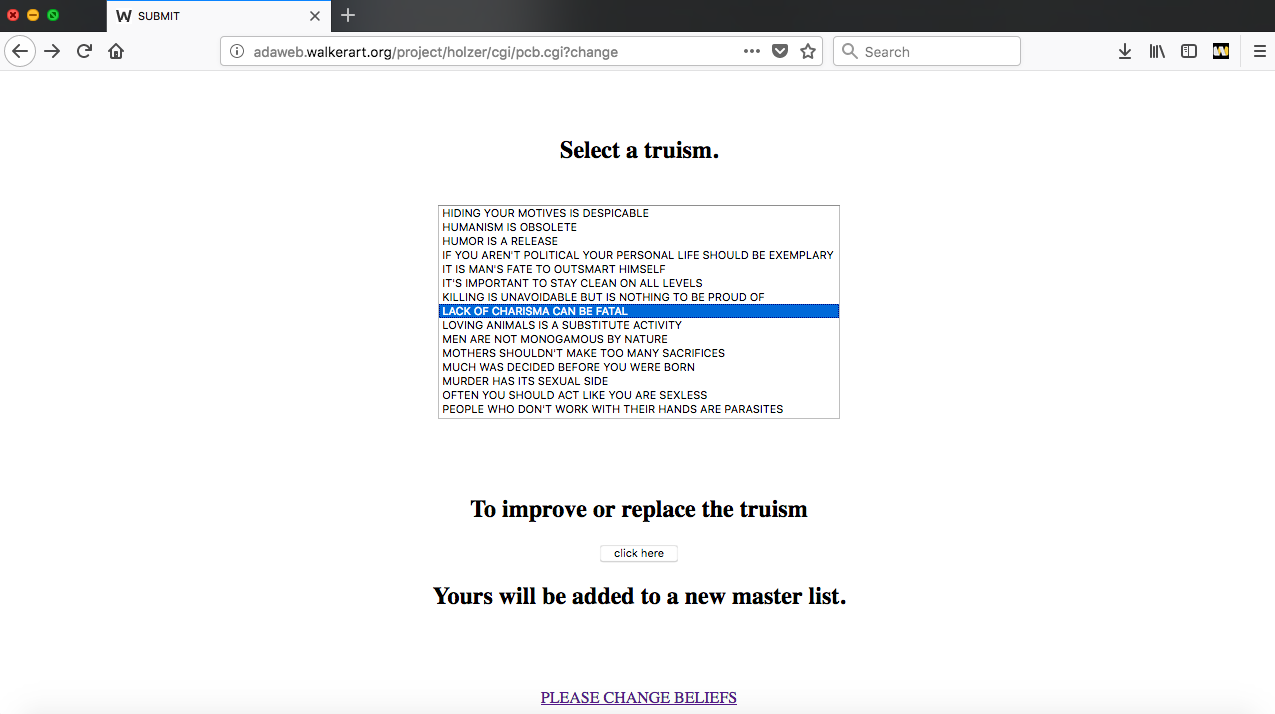
The page turns to a list of truisms within a small, scrollable box. You, as a participant, are encouraged to modify the truism selected.

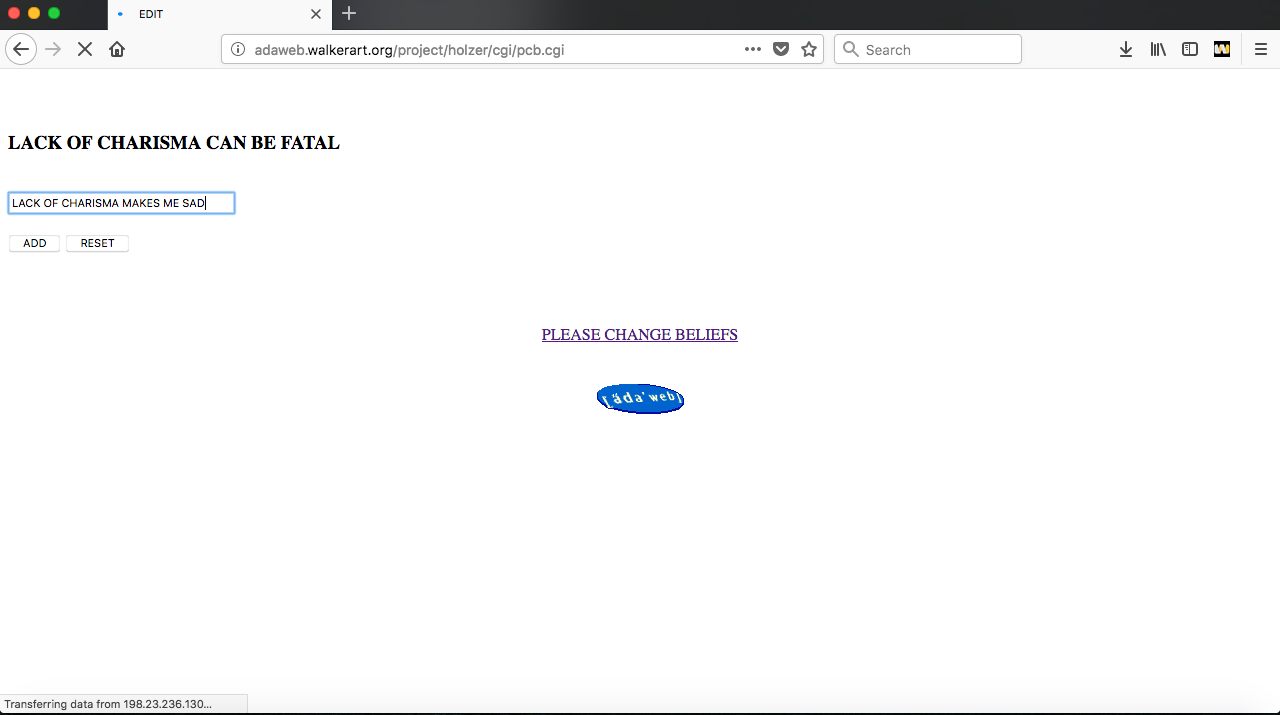
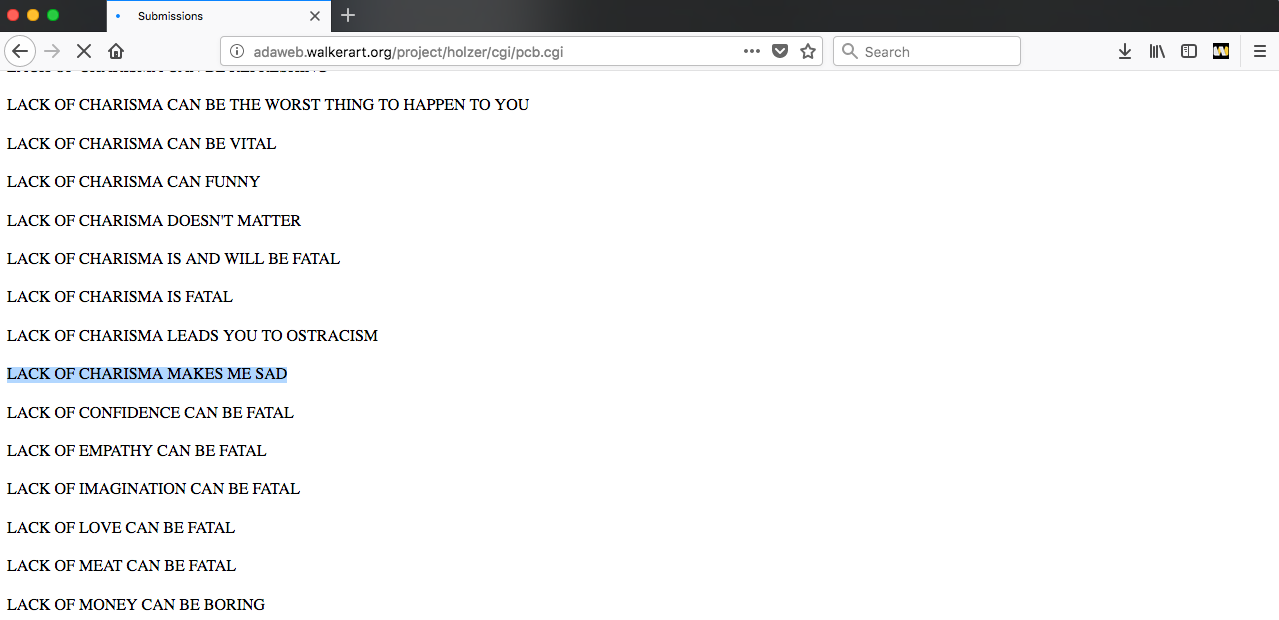
You can choose to change parts, or even all of the truism. By documenting each and every truism within an archive, Jenny Holzer has turned her site into a collaborative artwork.

“The collective narrative … leads to a synthesis of voices: forming a common thread among peers.”

Randall Packer writes that “the collective narrative … leads to a synthesis of voices: forming a common thread among peers”. Indeed, this was most striking when we view all the ways a Truism can be modified to bring out the participant’s own voice.

While this may not be thought of as traditional narrative, … asynchronous dialogue constitutes a form of narrative that is … often playful, and multithreaded.”

I share this sentiment with Randall Packer. Even though there is an aspect of anonymity, this makes the work all the more engaging as you, as a participant, imagine who could have written what. Many of the Truisms are provocative (A BITCH NEEDS TO LEARN HER PLACE, for example). Some don’t even make sense (A A A AAAA). This huge variety in modifications is what makes this work so human, even in a virtual space. Having no rules, no bounds as to how the Truisms can be modified makes this work incredibly authentic by imparting a great deal of freedom to the participant.

“The possibilities of peer-to-peer authoring … such as Google Docs, Microsoft Word, and WordPress … dramatically alters the act of writing and narrative … (as it becomes a) collective activity that is highly collaborative.”

Randall Packer also writes that “The possibilities of peer-to-peer authoring … such as Google Docs, Microsoft Word, and WordPress … dramatically alters the act of writing and narrative … (as it becomes a) collective activity that is highly collaborative.” Comparing these softwares with “Please Change Beliefs”, similarities are that all are collaborative in nature, and use the World Wide Web. Google Docs, being more collaborative with the ability to edit, actually made me question the inability of us as participants to interact more directly with others’ truisms in this work.

It would be the only criticism I have for “Please Change Beliefs” – I personally feel that it would complement returning participants’ experiences to somehow have their modified truisms be incorporated into the initial cycles with the five series instead of being a separate archive. This could heighten the collaborative experience, but then again, Jenny Holzer was probably limited by the funding it would take to incorporate this into the code.

Randall Packer ends off with the insight that with the emergence of social media, the idea of collective narrative has become common.  Platforms as Twitter, an entirely public telematic writing space (like Please Change Beliefs), has encouraged collective forms of narrative on a mass scale.

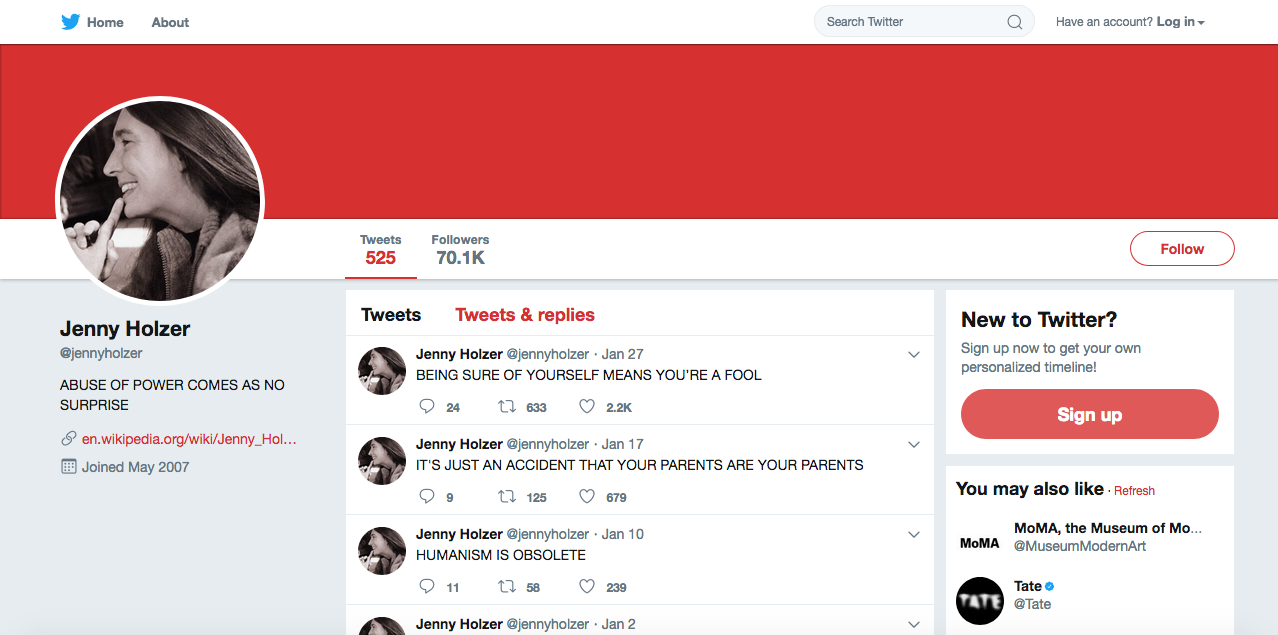
Curiously, in relation to Jenny Holzer herself’s twitter page, it’s a fascinating parallel, with the thousands of users retweeting her Truisms being akin to the “Beliefs” section of “Please Change Beliefs”, both of which involve ‘participants’ voicing their agreement with her Truisms. Retweeting and Liking a tweet then become the newer versions of the “Beliefs” section.

The ability to reply, and question, on her twitter page, echoes the “Change” section of “Please Change Beliefs” – indeed, this narrative is playful and multithreaded as well.

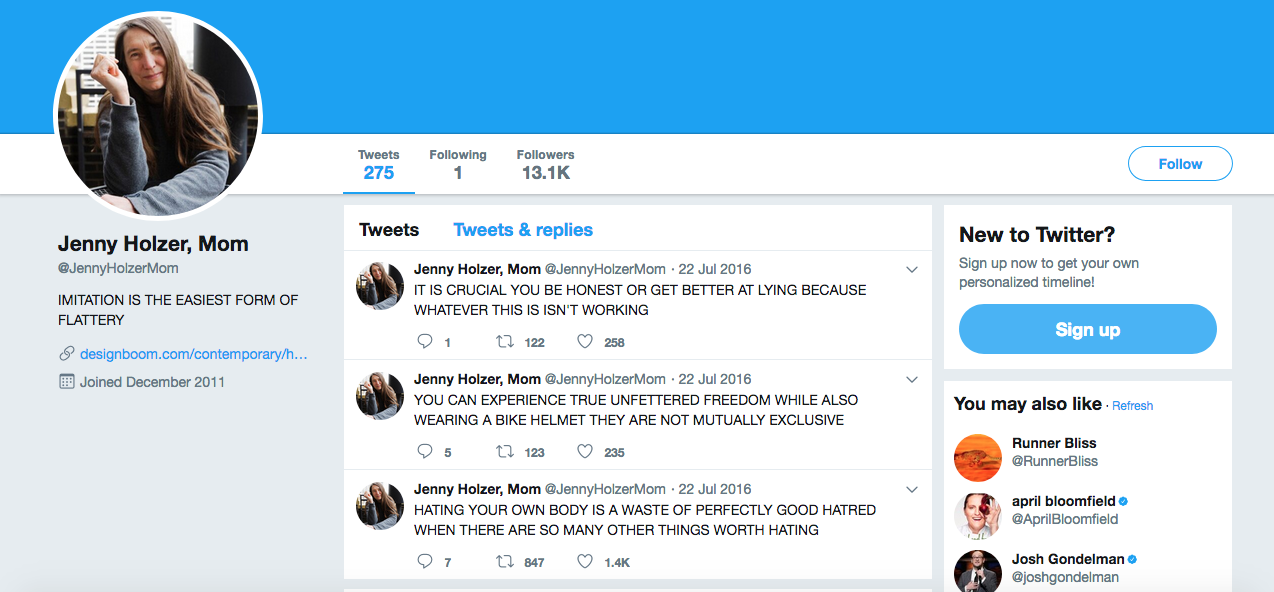
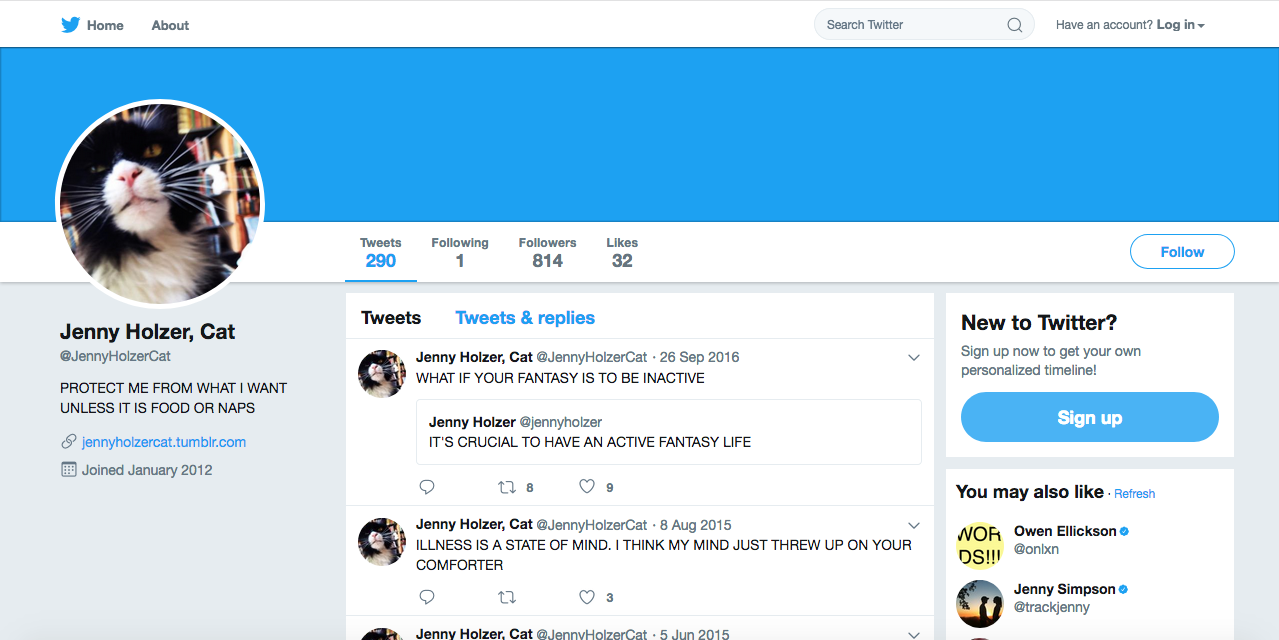
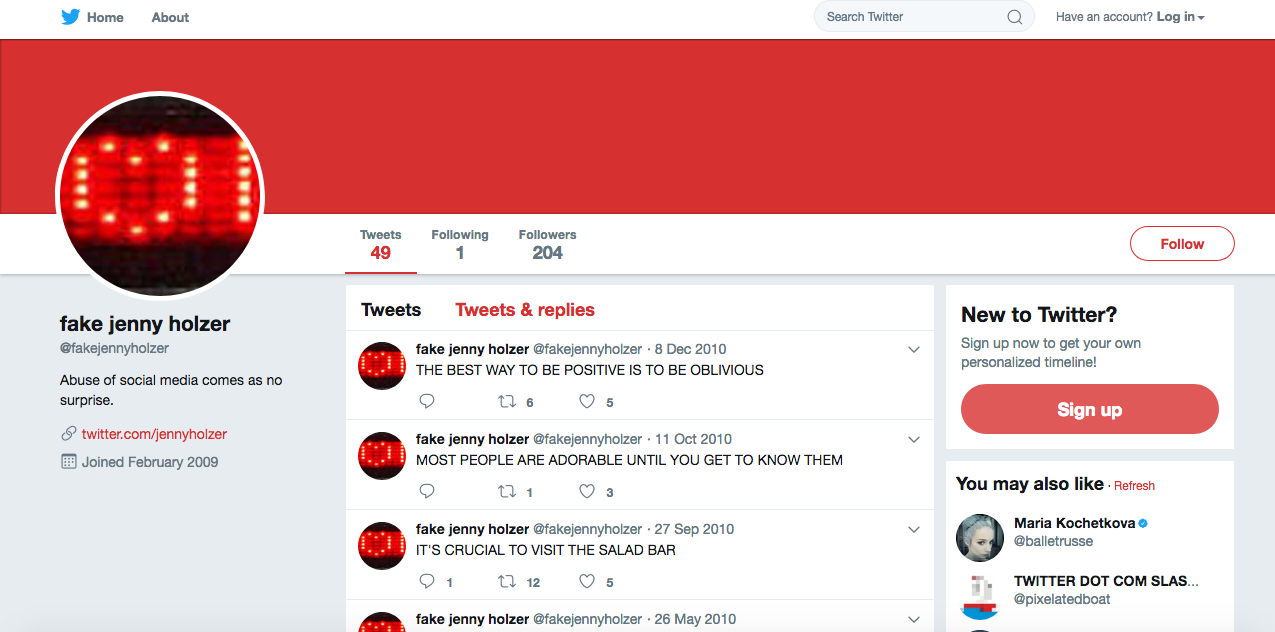
Jenny Holzer’s art has always been public in nature, with the examples mentioned at the start of this essay. And what is more public than the Internet? With the infinite possibilities the Internet presents, her ruthless critiquing is made all the more ruthless with the thousands of voices that have joined her. I thought that I would end off this post with the more hilarious twitter pages inspired by her.


Sources:

https://www.net-art.org/node/110

https://elmcip.net/creative-work/please-change-beliefs

http://www.lisasolomon.com/HTMLasArt/Holzer.html

https://art.colorado.edu/hiaff/review4da6.html?id=116&cid=7https://www.moma.org/collection/works/63755


The Telematic Embrace

Last week, we immersed ourselves as a class into the third space with Adobe Connect. Our second spaces were relatively the same as we were all in the same classroom, but Adobe connect enabled us to see everyone at once, which was something we were previously not able to do due to our seating positions. It was also interesting to see how our virtual positions differed from physical reality, with our positions all mixed up on screen – the person to the left and right of me, for example, were at opposite ends of the classroom. I’ll discuss some of the key concepts we touched upon in class.

Image courtesy of Randall Packer

The million-dollar keyword Randall Packer emphasized on was “negotiation”. Be it aligning our arms together, or making a “pen train”, we wouldn’t have gotten the results we did without negotiating and compromising with one another and adjusting as when we saw fit. I felt that this exercise really exemplified the term “Do It With Others”.

Image courtesy of Randall Packer

It took a fair amount of time to get things perfectly aligned sometimes, especially because we couldn’t really talk to another considering our partners were on opposite sides of the room.

Speaking of which, it was fascinating to interact with each other through gestures from opposite sides of the class. It’s different from when we Skype with our friends, for example, or from the Social Broadcasting experiment from week one, because we are consciously aware that we are performing a collective action.

Image courtesy of Randall Packer

The scale of the project was also an important feature to take note of – I’d never been in such a large conference, and the possibilities that that number brought to the table reaped beautiful results. For example, we are able to appreciate the sheer variety of images here, and conjuring up a narrative for each image is a delightful task on its own.

Image courtesy of Randall Packer

This image was particularly beautiful to me – I would never have noticed everyone’s eyes in real life to this level of close-up. This collective action of putting our eyes close to the camera is all the more emphasized with the small screen – objects seem all the more bigger without all the objects that they would be surrounded with in real life. The eye here then becomes the most important thing as it encompasses all of the actuality in the third space.


[2D] Process: My Line is Emo

 Mark-making Session 1 

For the first session, I scavenged around my hall and brought some items with interesting textures to experiment with.

  Mark making with cereal

Whenever I’d eat my Banana Nut Crunch cereal in the morning, I’d find the texture of the cereal really cool. I’d take a piece and run it between my thumb and index finger, feeling all the tiny bumps.

Hence, it was natural that I’d bring it along for our first mark making session.

I tried rolling over the ink with a roller, but very little of the ink ‘stuck’. Hence, I resorted to spreading chinese ink over the cereal.

I manipulated the cereal by using it whole, as well as crushed into tinier bits.

 Experiments in cling wrap

For ‘frustration’, I tried to get a “glass shard’ effect using cling wrap, block ink and the printing press. The first time I tried it, the print came out too light. I tried again using more ink, and the print came out a lot more distinct. I wasn’t too pleased with the overall effect, though, and vowed to retry using cling wrap should I deem the glass shard effect the final effect I was aiming for.

 Experiments in foam 

I tried using foam to create some marks for “surprise”.  I experimented with a variety of spacings – spacing the foam close together and wider apart to create a range of “explosions”.

I also ripped the foam apart into big and small chunks, hence experimenting with the “weight” of the explosions I was trying to create.

Experiments in wet tissue – printing press

Experiments in wet tissue – manual hand pressing

I also tried soaking the wet tissue in chinese ink and manually pressing over it to see if I could get another type of print from it. It was questionably successful – it did look like cloth, but not to the detail I wanted. I think its texture would be better expressed by using the printing press.

Mark making session 2

Marbling experiments

I tried spreading some white paint on a plate, swirled some black paint over it, and used a palette knife to make the mixing more chaotic in certain areas, like a burst of emotion for euphoria.

I then placed the drawing block over and lifted it off, creating very intricate patterns. I really enjoyed the intricacy and dynamism of this (refer to sketchbook), and decided I wanted to incorporate this in some way atleast.

I tried marbling with the paper from my sketchbook, drawing block, watercolor paper, and newsprint, with chinese ink and diluted black acrylic paint. I got the best results from newsprint, which seemed to take up the intricacies of the swirls the most.

I also experimented with the amount of ink used i.e. how “dark” the marble was, which affected the intensity of it. I felt that for lust, the darker marbles would be more suitable for the headier, sexual nature of the emotion.

 Experiments with Salt


I thought about I felt very weak, and dehydrated, when I was feeling melancholic. Hence, I thought about which materials soak up paint, as a metaphor for energy, and it immediately hit me – salt. It dehydrates, sucks the energy out of you (the paint) – I sprinkled some salt on paper and had it form patterns.


 Gauze

As the previous manual pressing with wet tissue was hardly satisfactory, I tried again with gauze, which has a more distinct cloth-like pattern than wet tissue. Again, it did not imprint well enough, leaving me to finally decide against this method.


 Experiments with palette knife

Having had used palette knives for some of the earlier exploration with white paint and swirling, I decided to try using the palette knife for making marks itself. It created fluid, stable lines, which wasn’t suitable for any of my emotions which were unstable in one way or another.


For frustration, I tried scratching the splotches of paint with the paletten knife to create straight, even scratches. I prefer the more “raw”, not straight scratches as I feel that they convey the instability you feel when you’re frustrated.


 Experiments with glue

I wanted to convey the feeling of emptiness you feel when you’re melancholic with an empty background, literally, as white glue dries clear. Acrylic paint broke up into tiny pieces when mixed in with white glue, giving the effect of the fuzziness and buzzing you feel in your head when you’re sad. I really enjoyed this effect, and made a bigger strip to compare against other “Melancholy” composition strips to make a final decision.


 Alginate experiment (failed)

To get the skin texture, I tried covering my hand and pouring alginate over it. Initially, I inserted my hand into a small plastic container, but it turned out to be too small. I then used a bigger pan and completely covered my hand with alginate, to be used as a mould later.

I initially wanted to fill mould with terracotta clay but it dried up, even though the pack was unopened. I then filled the mould with glue, but for some reason, it didn’t dry even after 3 days. I didn’t try again because on consultation, I realized that the cast would cross over into the 3D realm.

Detergent & milk experiments

I’d read about how detergent causes ink drops to travel outwards in a swirl in milk, due to the detergent breaking down the fat in the milk. I tried it with diluted black acrylic paint, but it gave a completely different reaction – instead of swirls, the paint “broke” into smaller bits and travelled outwards. I feel that this would be more appropriate for surprise.

Foam block experiments

I’d also bought a small foam block as I thought that the surface texture could be interesting. First, I spread black acrylic paint on the block, then did a usual pressing down of the block on paper. I enjoyed the print it gave – there was something really rough and raw about it, which might make it a good texture to incorporate into parts of “frustration” or “melancholy”.

Then, I spread some white paint on it into small ovals as I hadn’t done that yet so far for “surprise” – I had made marks that looked like explosions, but nothing that looked like small spots of surprise. The resulting was very interesting, especially with the foam’s texture overlaid on the white spots.

Lastly, I spread some glue on the foam, knowing it would melt it. Indeed, it did, and when I pressed down the foam block on white paper, the resulting print had a bumpy, 3D texture as well. It looked like splatters, but as predictable as the splatters I was used to seeing – the lines were stretched in more random directions, came in clumps – it was a visual treat on the eyes.

Mark making session 3

I went back to the Foundation 2D studio for about 3 hours to experiment more with different materials, as well as try a new range of gestures.

Frustration: punching and scratching

I thought about the actions I associate with frustration: violent ones, such as punching and scratching. I either want to punch someone or scratch my skin out (two different levels of inflicting hurt: either hurting others or hurting myself) so I hence spread some block ink on my knuckles and punched a paper – various times, as different intensities and ways of punching produced different results.

My scratching attempt was wholly unsuccessful and did not look as frustrated as I wanted to be as I had short nails, and hence most of the paint went on my fingers themselves, so I figured it would be better to scratch onto a surface which is already painted.

For frustration, overall, I figured that scratching would be better as personally, when I’m frustrated, I try to contain the emotion and hurt myself by trying to contain it rather than releasing my frustration and hurting others.

 Making my own mark making tools

Washed some milo cans I’d drunk out of and made my own “pens” with satay sticks, masking tape, and aluminium from the milo cans to make more innovative marks.

I felt like I needed marks that were more staggered, unsure, uneasy – for this purpose, I chose to make my own mark making tools. I cut up two milo cans and made five “pens”, some of which are pictured above.

 Other process photos

Gauze Fan brush Potpourri
Chinese ink Melancholy (1)

Process for folded paper

Melancholy (2)

Marbling of Tissue paper

Mark making session 4

Streamer prints

Melting oil pastel with heat gun Making of Thunnoor paste Anxiety – making of paper mache

Image transfer experiments (failed)

The image transfer didn’t work with hand sanitizer, rubbing alcohol, or aerosol spray – in hindsight, I should have used xylene ( ; ω ; )