Brochure


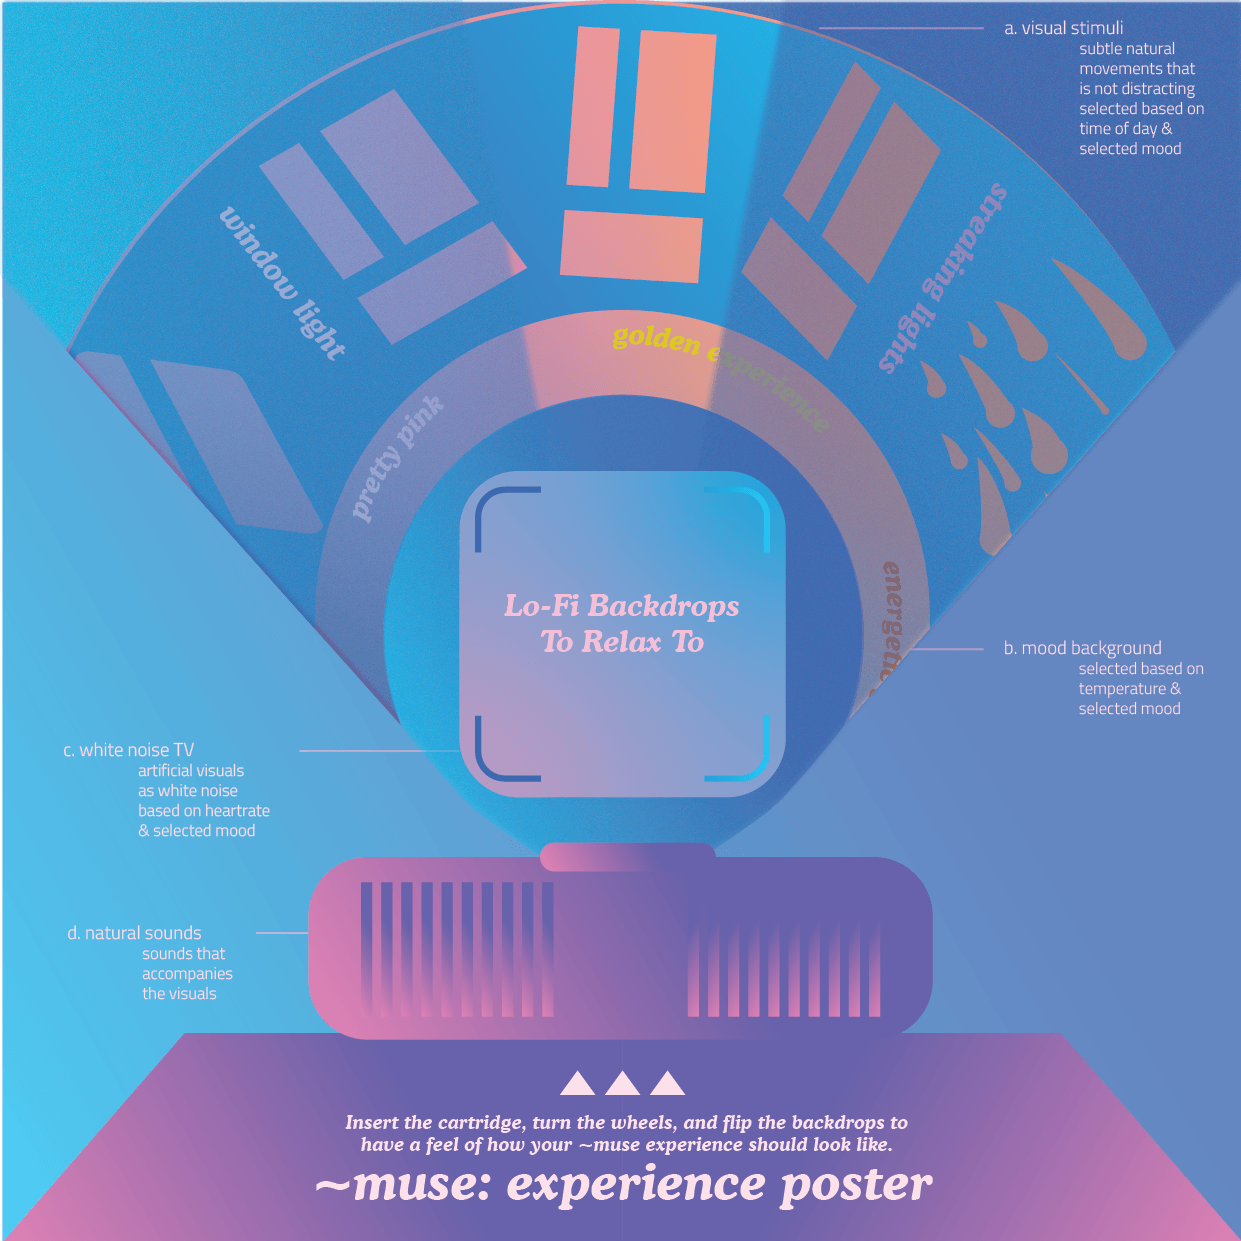
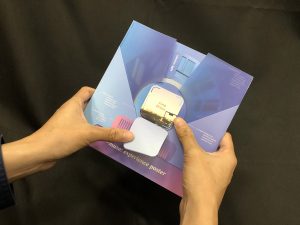
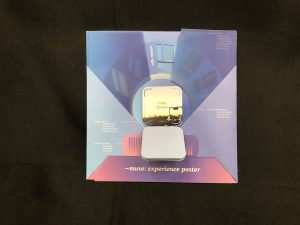
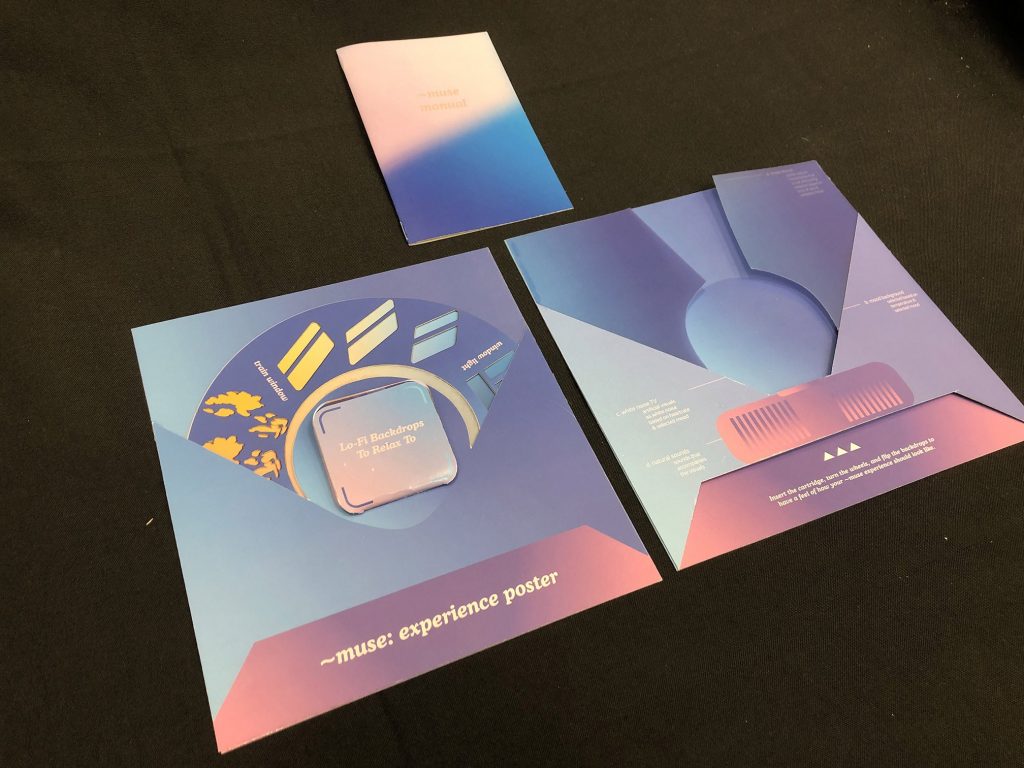
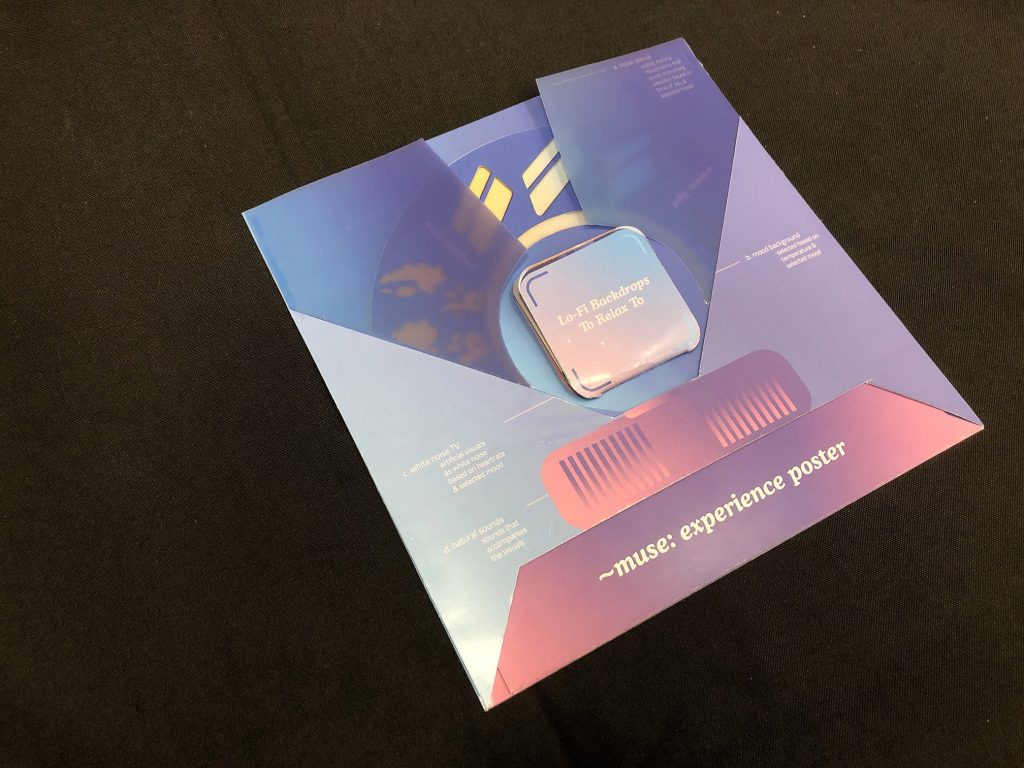
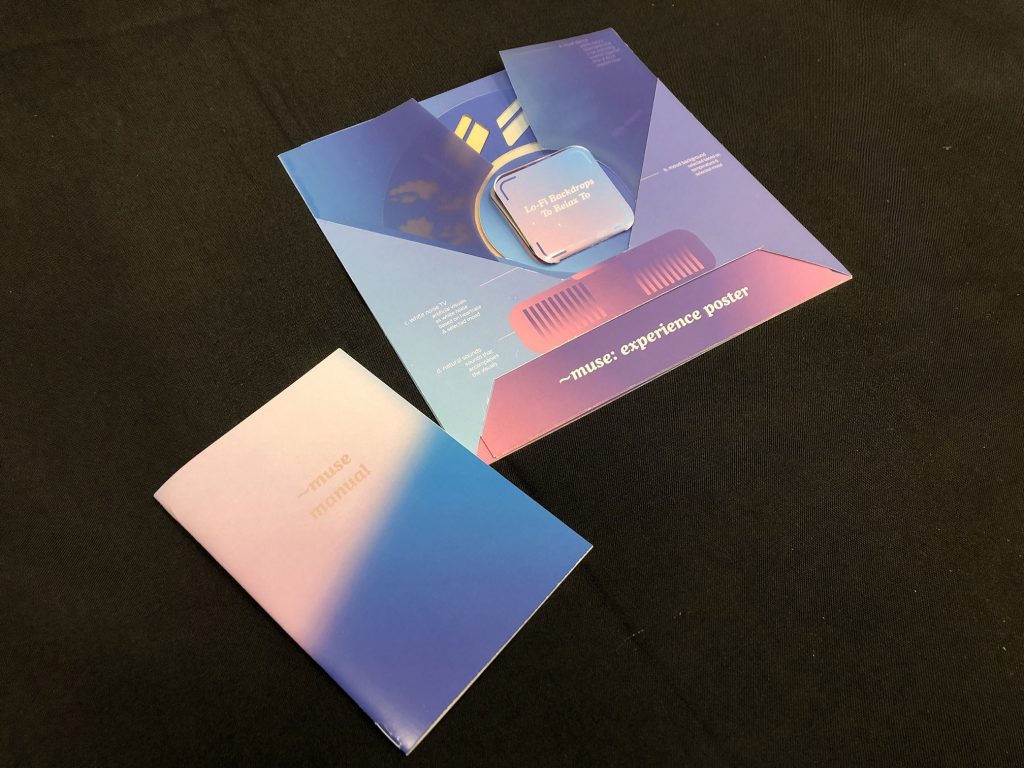
Experience “Poster”
Prototype 1:
Final


Images
Interaction:
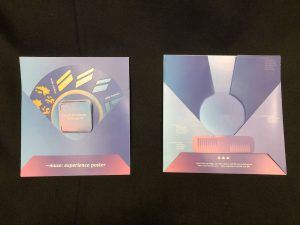
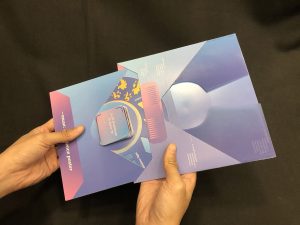
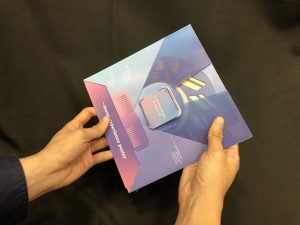
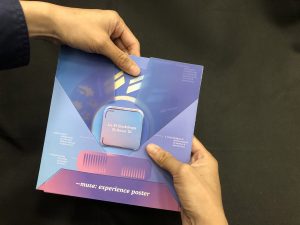
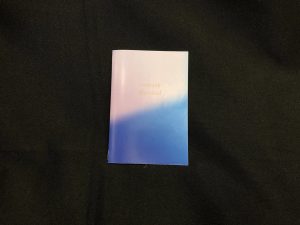
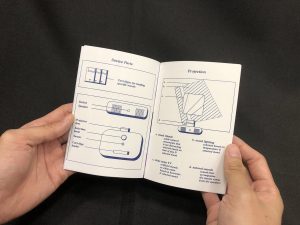
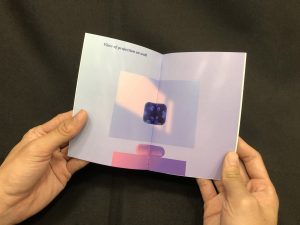
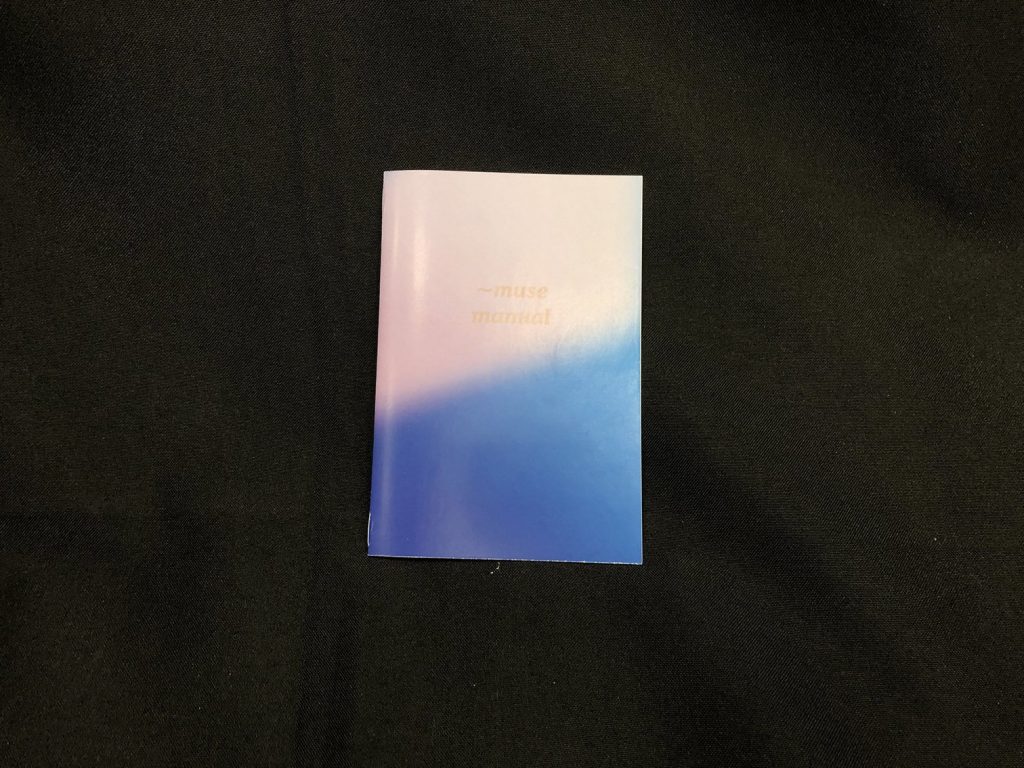
Brochure:
Documentation:
Welcome 2 da ride pls wear ur seatbelts
Prototype 1:
Final
Images
Interaction:
Brochure:
Documentation:

https://docs.google.com/presentation/d/17-Pvo66K8ttybAE1qZW7n7R4OzupP-roymF4opGizro/edit?usp=sharing
I would really like to thank Galina for helping me with the sleeves, collars, and the fitting! Also… IT HAZ POCKETS NOW!!! The pockets are really useless for my concept but having them makes the garment looks really whole and useable after the show, AND I LOVE IT! THANK YOU MOTHER GALINA :’))) Without you my garment will be just a floppy beige thing that’ll be thrown to a corner after the show…
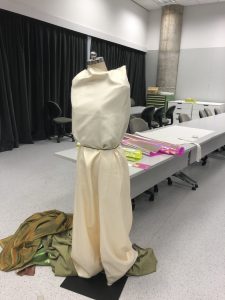
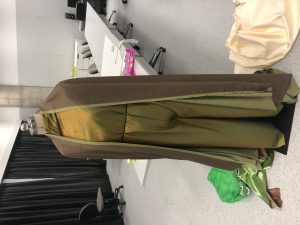
Anw, so here are images of the growth of my garment…
It starts from me working on my “final” on my own and….. turns out many things I’m doing is wrong.


Although I got some parts correct, the overall look is quite shabby. I’m ok with it, but turns out it can be much much better.
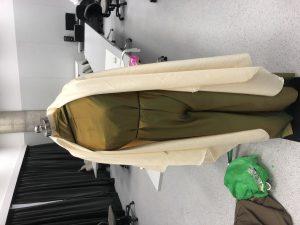
I went to buy more fabric as I ran out, but then I saw a nicer fabric and it costs $8/m at Gim Joo. I thought I can redo it and do better so I Bought 3m. Came back to school to cut. Lucky Galina spotted that I was cutting it in the wrong direction (not along the grain) so she flipped it for me. After cutting, I went to sew the back and front pieces together, then Galina started teaching everyone on how to work on the sleeves.

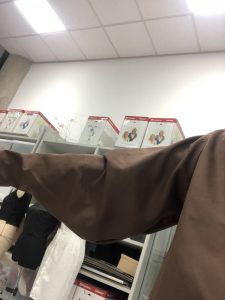
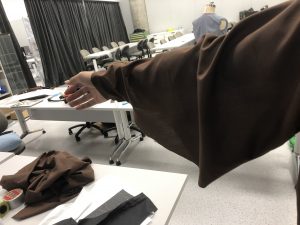
I then worked on the other sleeve of the shirt (note: this image may not be the sleeves part cos I didnt document the process :’) )
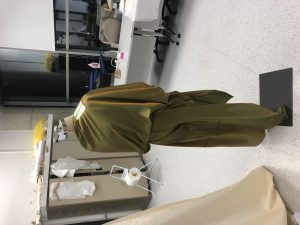
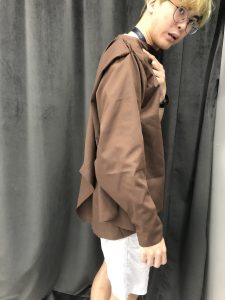
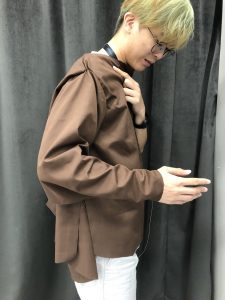
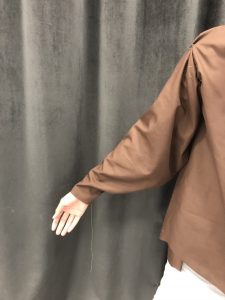
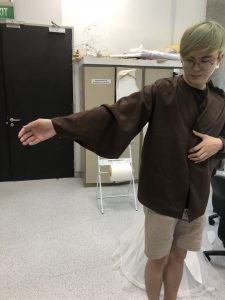
After finishing the sleeves, the garment looks like this:


So afterwards we worked on the lapels, then the collar. Again, not well documented process, but heres an image of Galina ironing the collar!

To finish the collar, I have to handstitch the collar and facing so it will be nice and invisible. Galina showed me how to do it and I brought it back to hall to finish it.


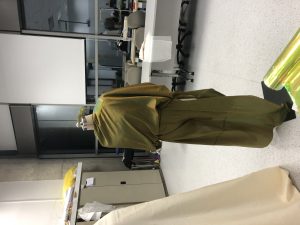
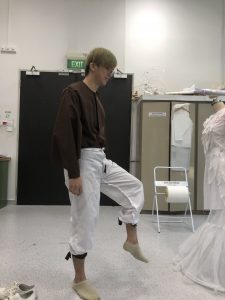
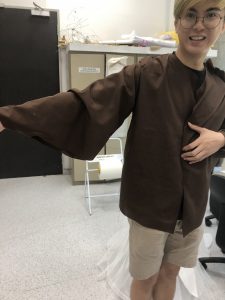
Here’s some photos of me looking at the mirror after sewing!


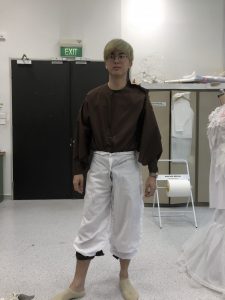
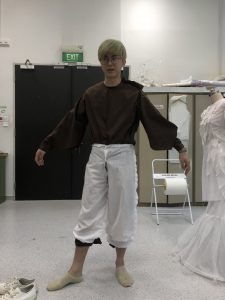
After being happy about the collar, I sew the pants and wore the pieces together:


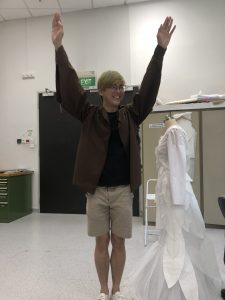
Galina helped me with the fitting afterwards to make sure that I can bend my body with it.


Then, we begin with the pockets. There’s nothing much to see cos I didnt document this also :’)
Now, I’m just left with the zipper and buttons and then I’ll refine the sleeve ends and pants ends and I think I’m done with the garment. Then… the tech part. Which I’m working on right now.
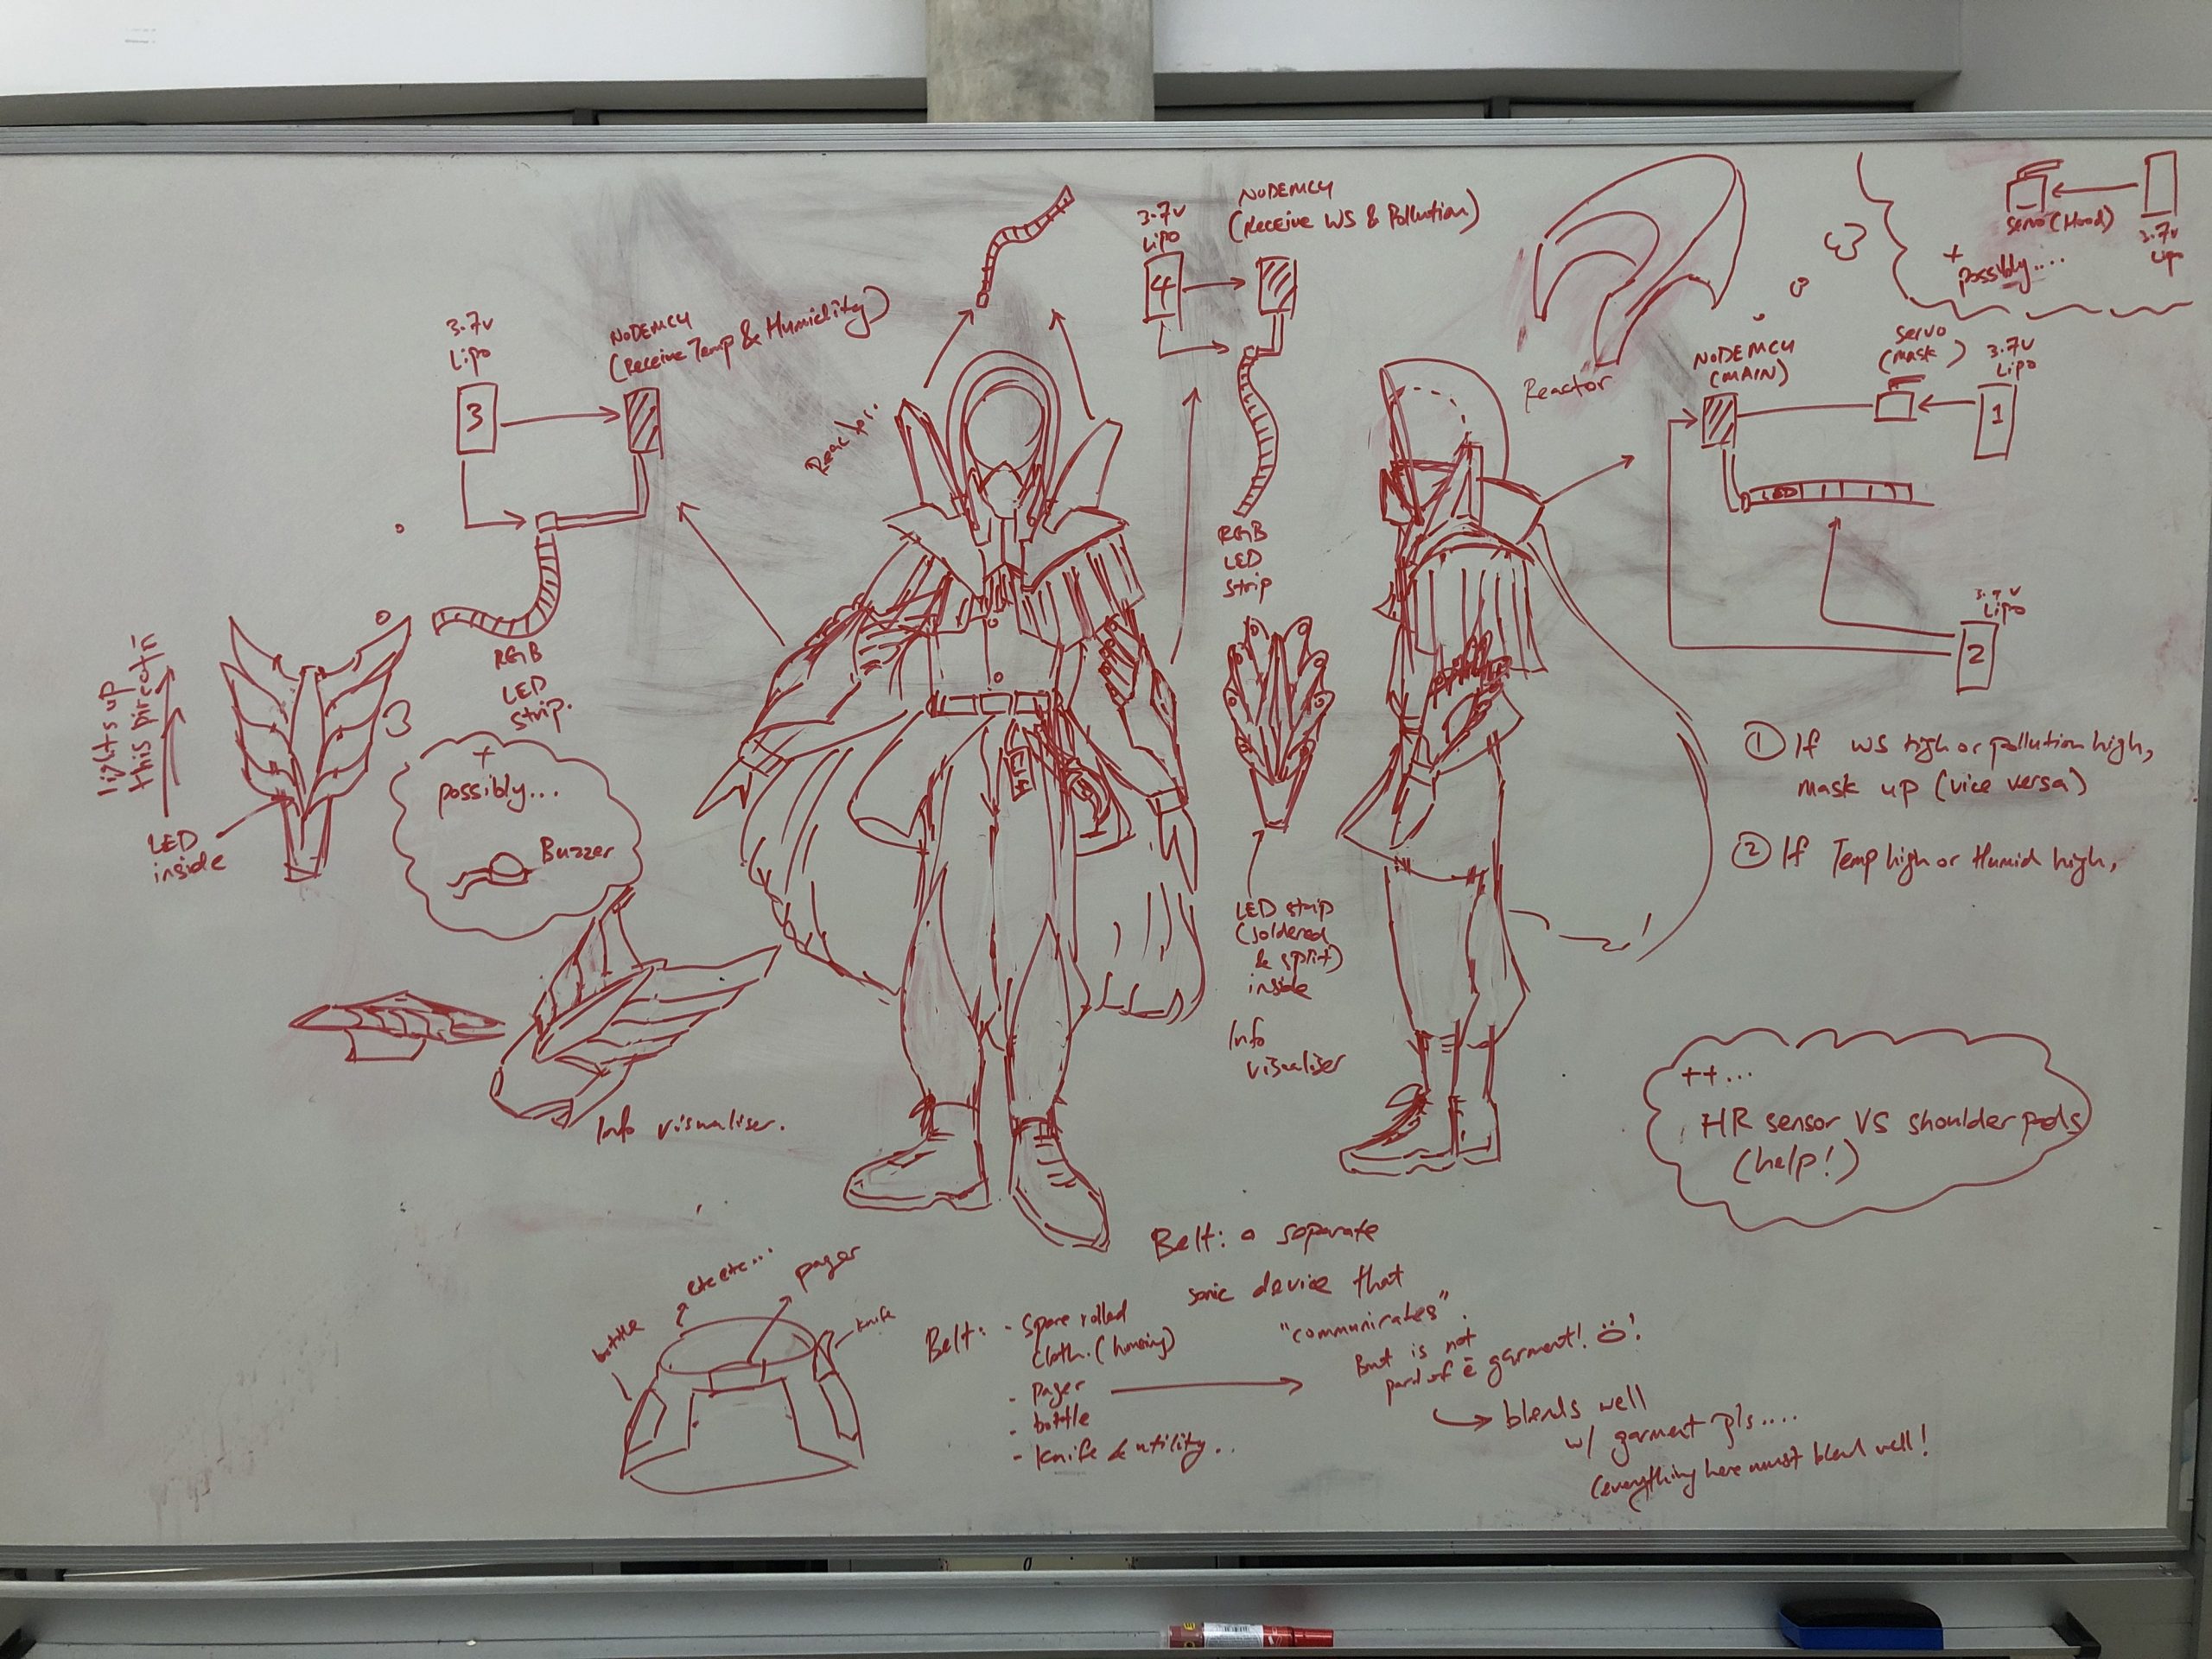
Ok you see, although my concept have always been revolving around the futuristic cyberpunkish desert, I haven’t really gotten the hang of the exact things I want. So today I clarified it. I also tuned it to fit what I can do and what’s best for a wearable, while also noting that this is a 13 week school project.
Previously, I had an illuminator, respirator, a cape, and sensors on arm that are like armour. Now, I want to make use of the belt and tone down on the components on the garment itself, so I can still impact viewers with the show, make it easy for me, and also stick to the theme.
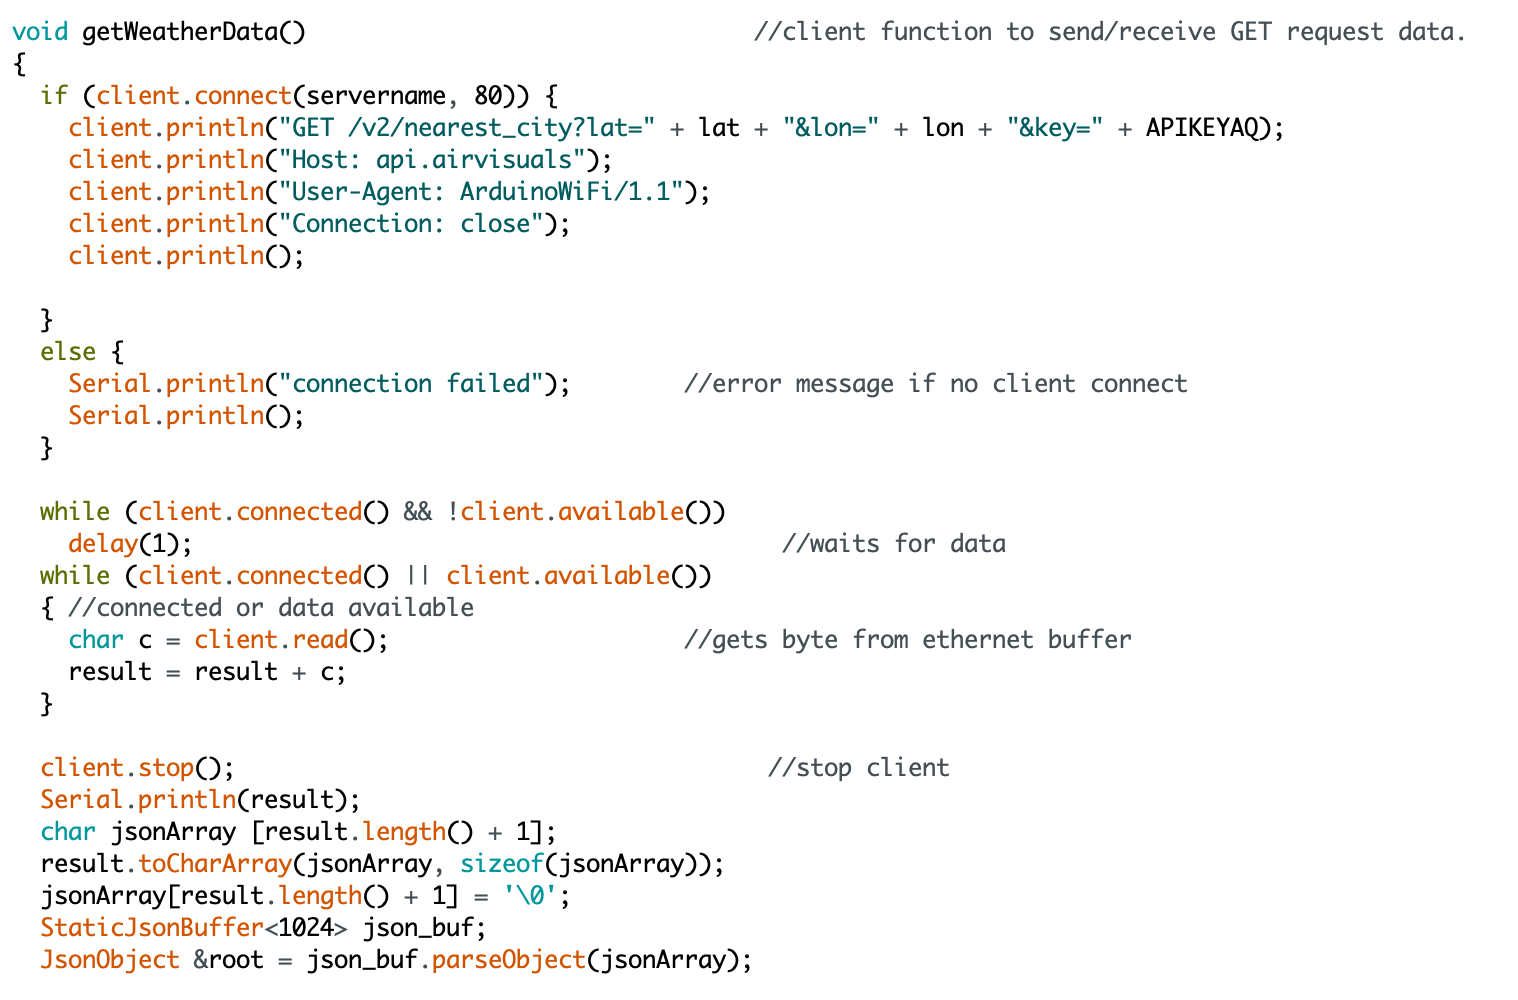
I was playing with OpenWeatherMap API, after Naga recommended it to me. I tried many codes but it doesn’t work and was going to give up. But yesterday, I consulted Zi Feng and we figured out a bit of the code, and I think it was like those kind of moment where you dont look at code for a while and come back and you realised how things work… Yeah… So it worked for me.
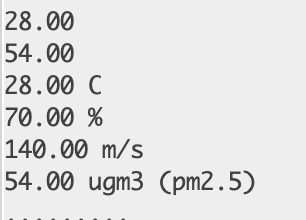
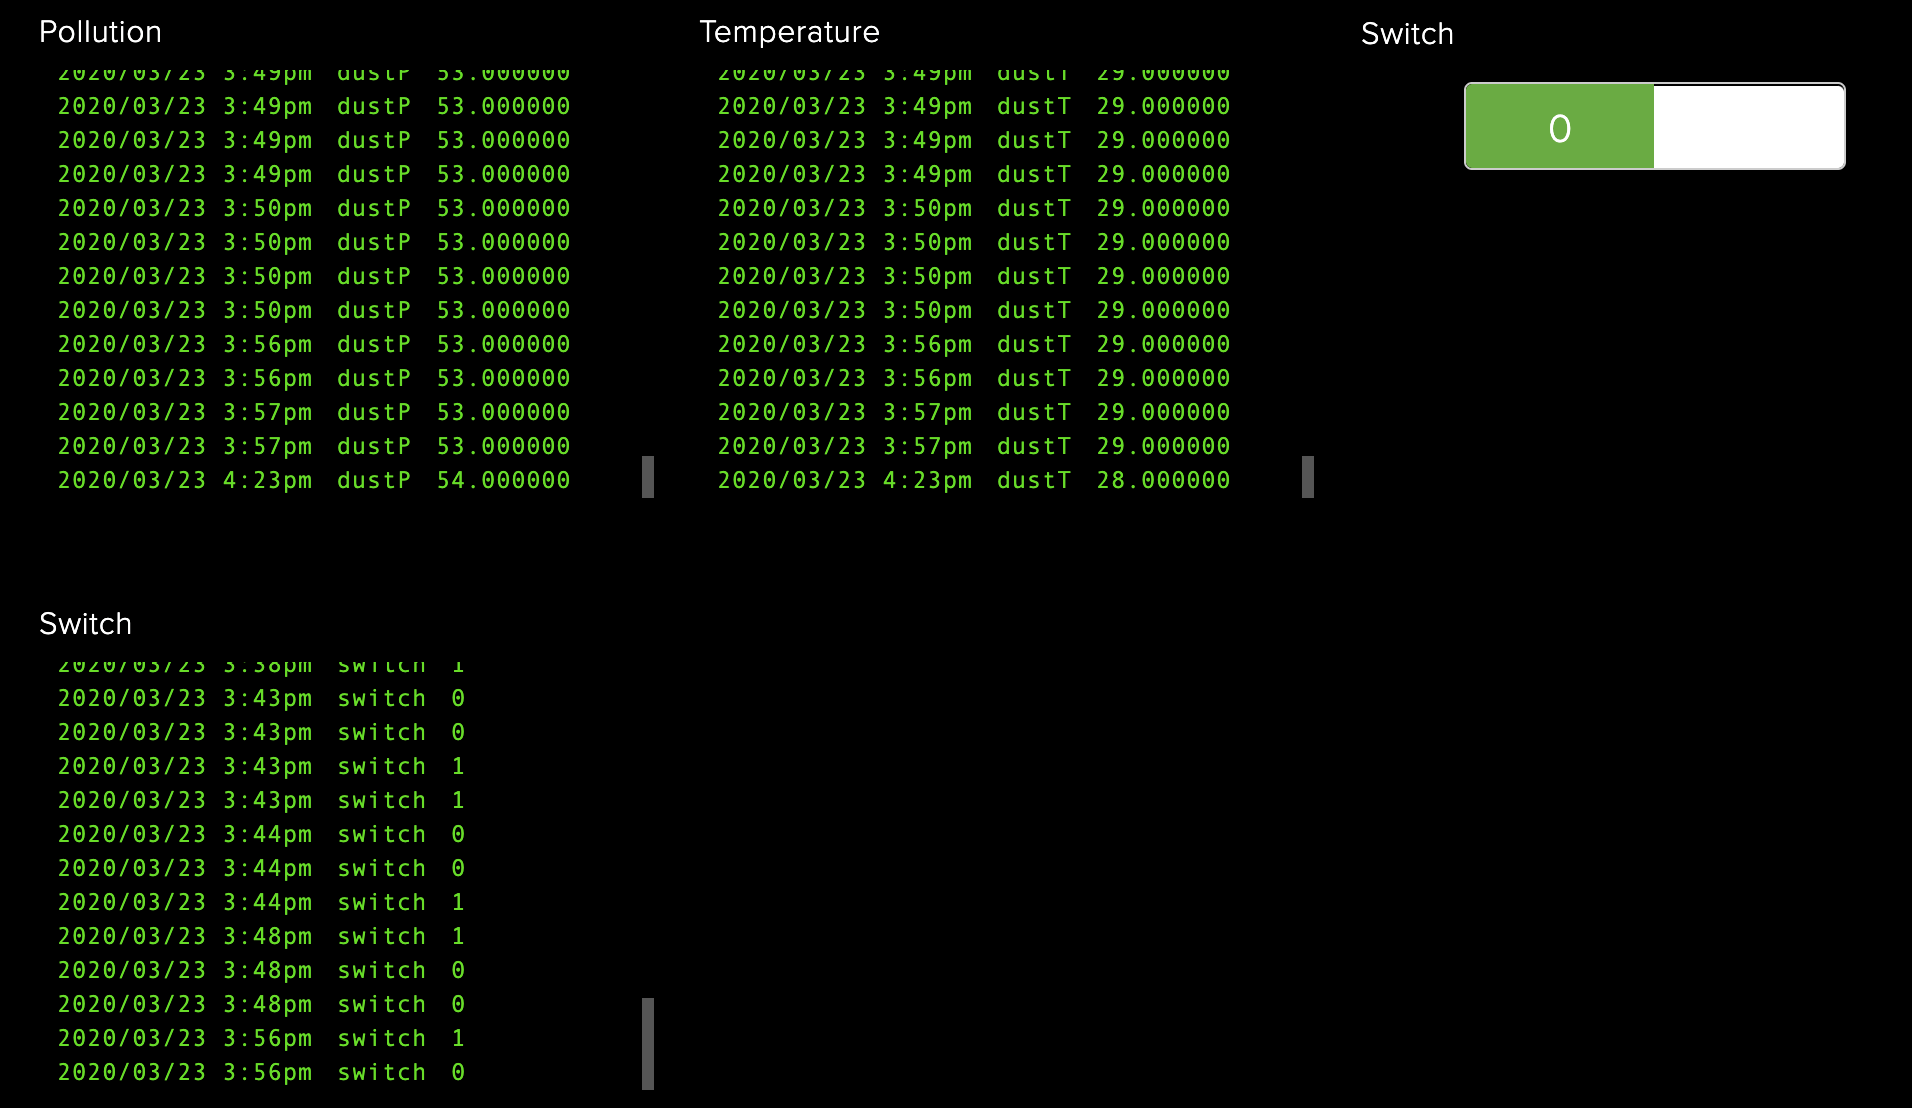
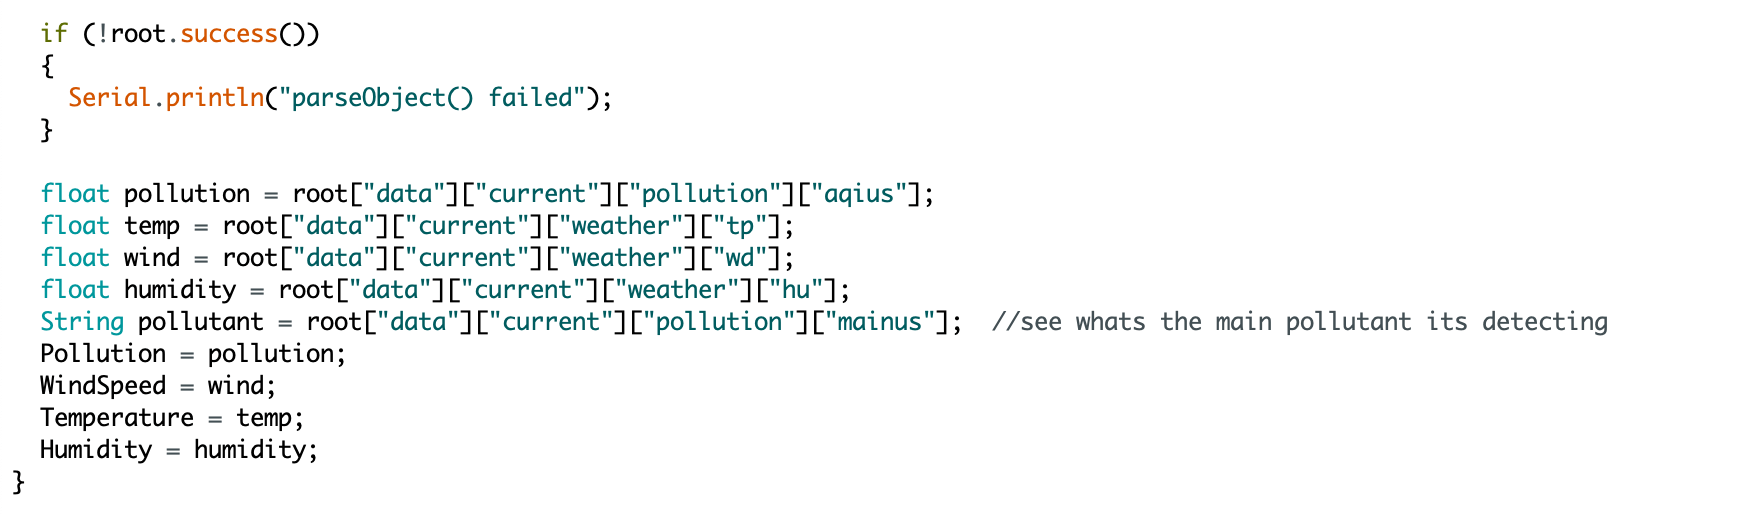
So basically, I used the api with the api key and I ran it in arduino and the code will generate the information and pluck out what’s relevant (temperature, humidity, wind speed, etc)
http://api.openweathermap.org/data/2.5/weather?q=singapore,sg&appid=[insertAPIkeyhere]
Then I switched to this other API called Air Visual which has much more information (including pollution)
http://api.airvisual.com/v2/nearest_city?lat=1.3521&lon=103.8198&key=[insertAPIkeyhere]
So after figuring out how API works, I’m able to draw relevant information directly from the website to my NodeMCU wifi module. This means that I don’t even need an external program (eg. Python) to feed my program.

So I’ve decided to use this instead of components so I can lessen the wires and energy. I worked long enough with wifi to have enough faith with it i guess…
So I tried using the data to control servos and LEDs, it worked. But after a while I think the servos burnt out (SORRY ZIFENG I WILL Buy BACK FOR U :((( ) so I needed to plan properly for the power and components.
Photo documentation of code:
![]()
![]()
![]()


Electronics Logistics:
After today’s breakthrough, I’m gonna start getting the necessary stuffs
So for today’s presentation, I’ll show my progress with electronics and my plans.
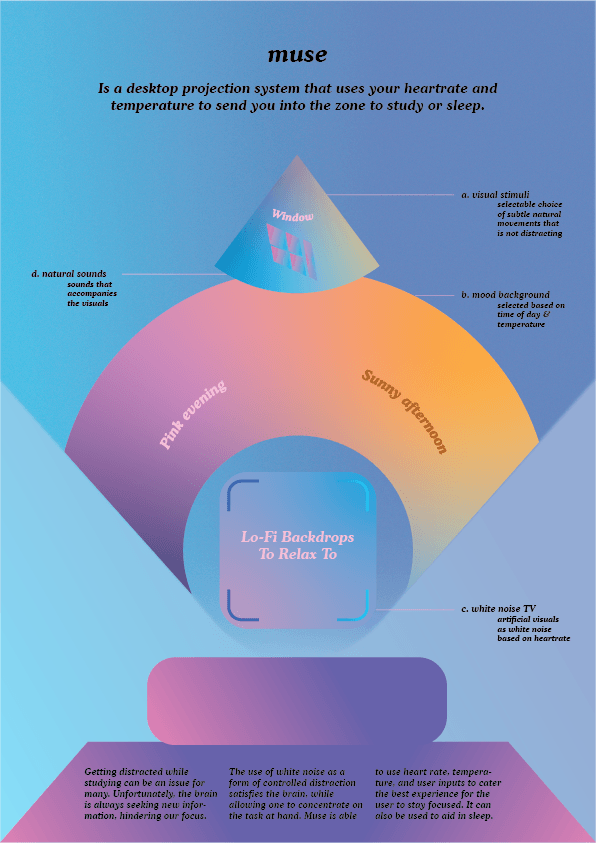
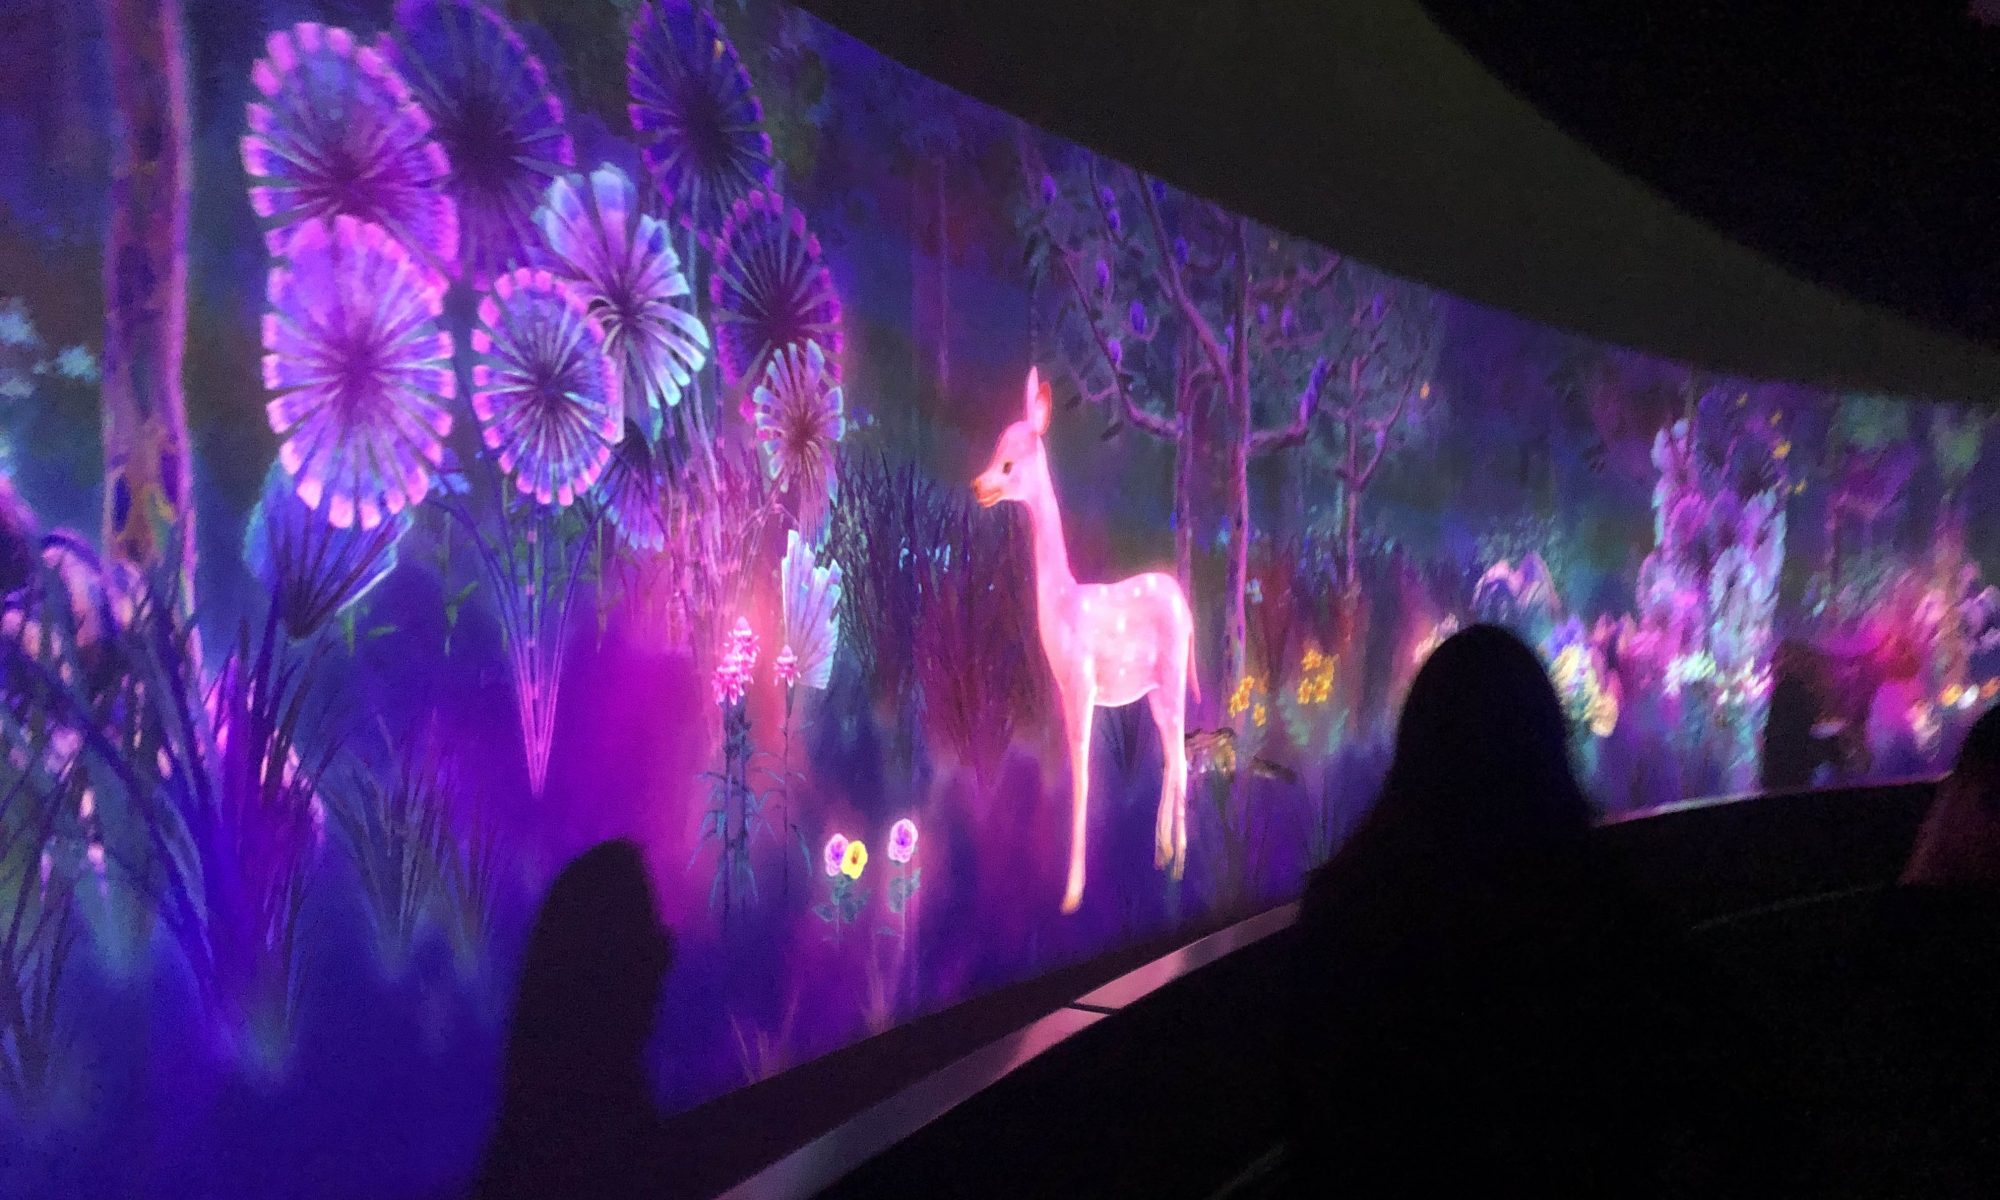
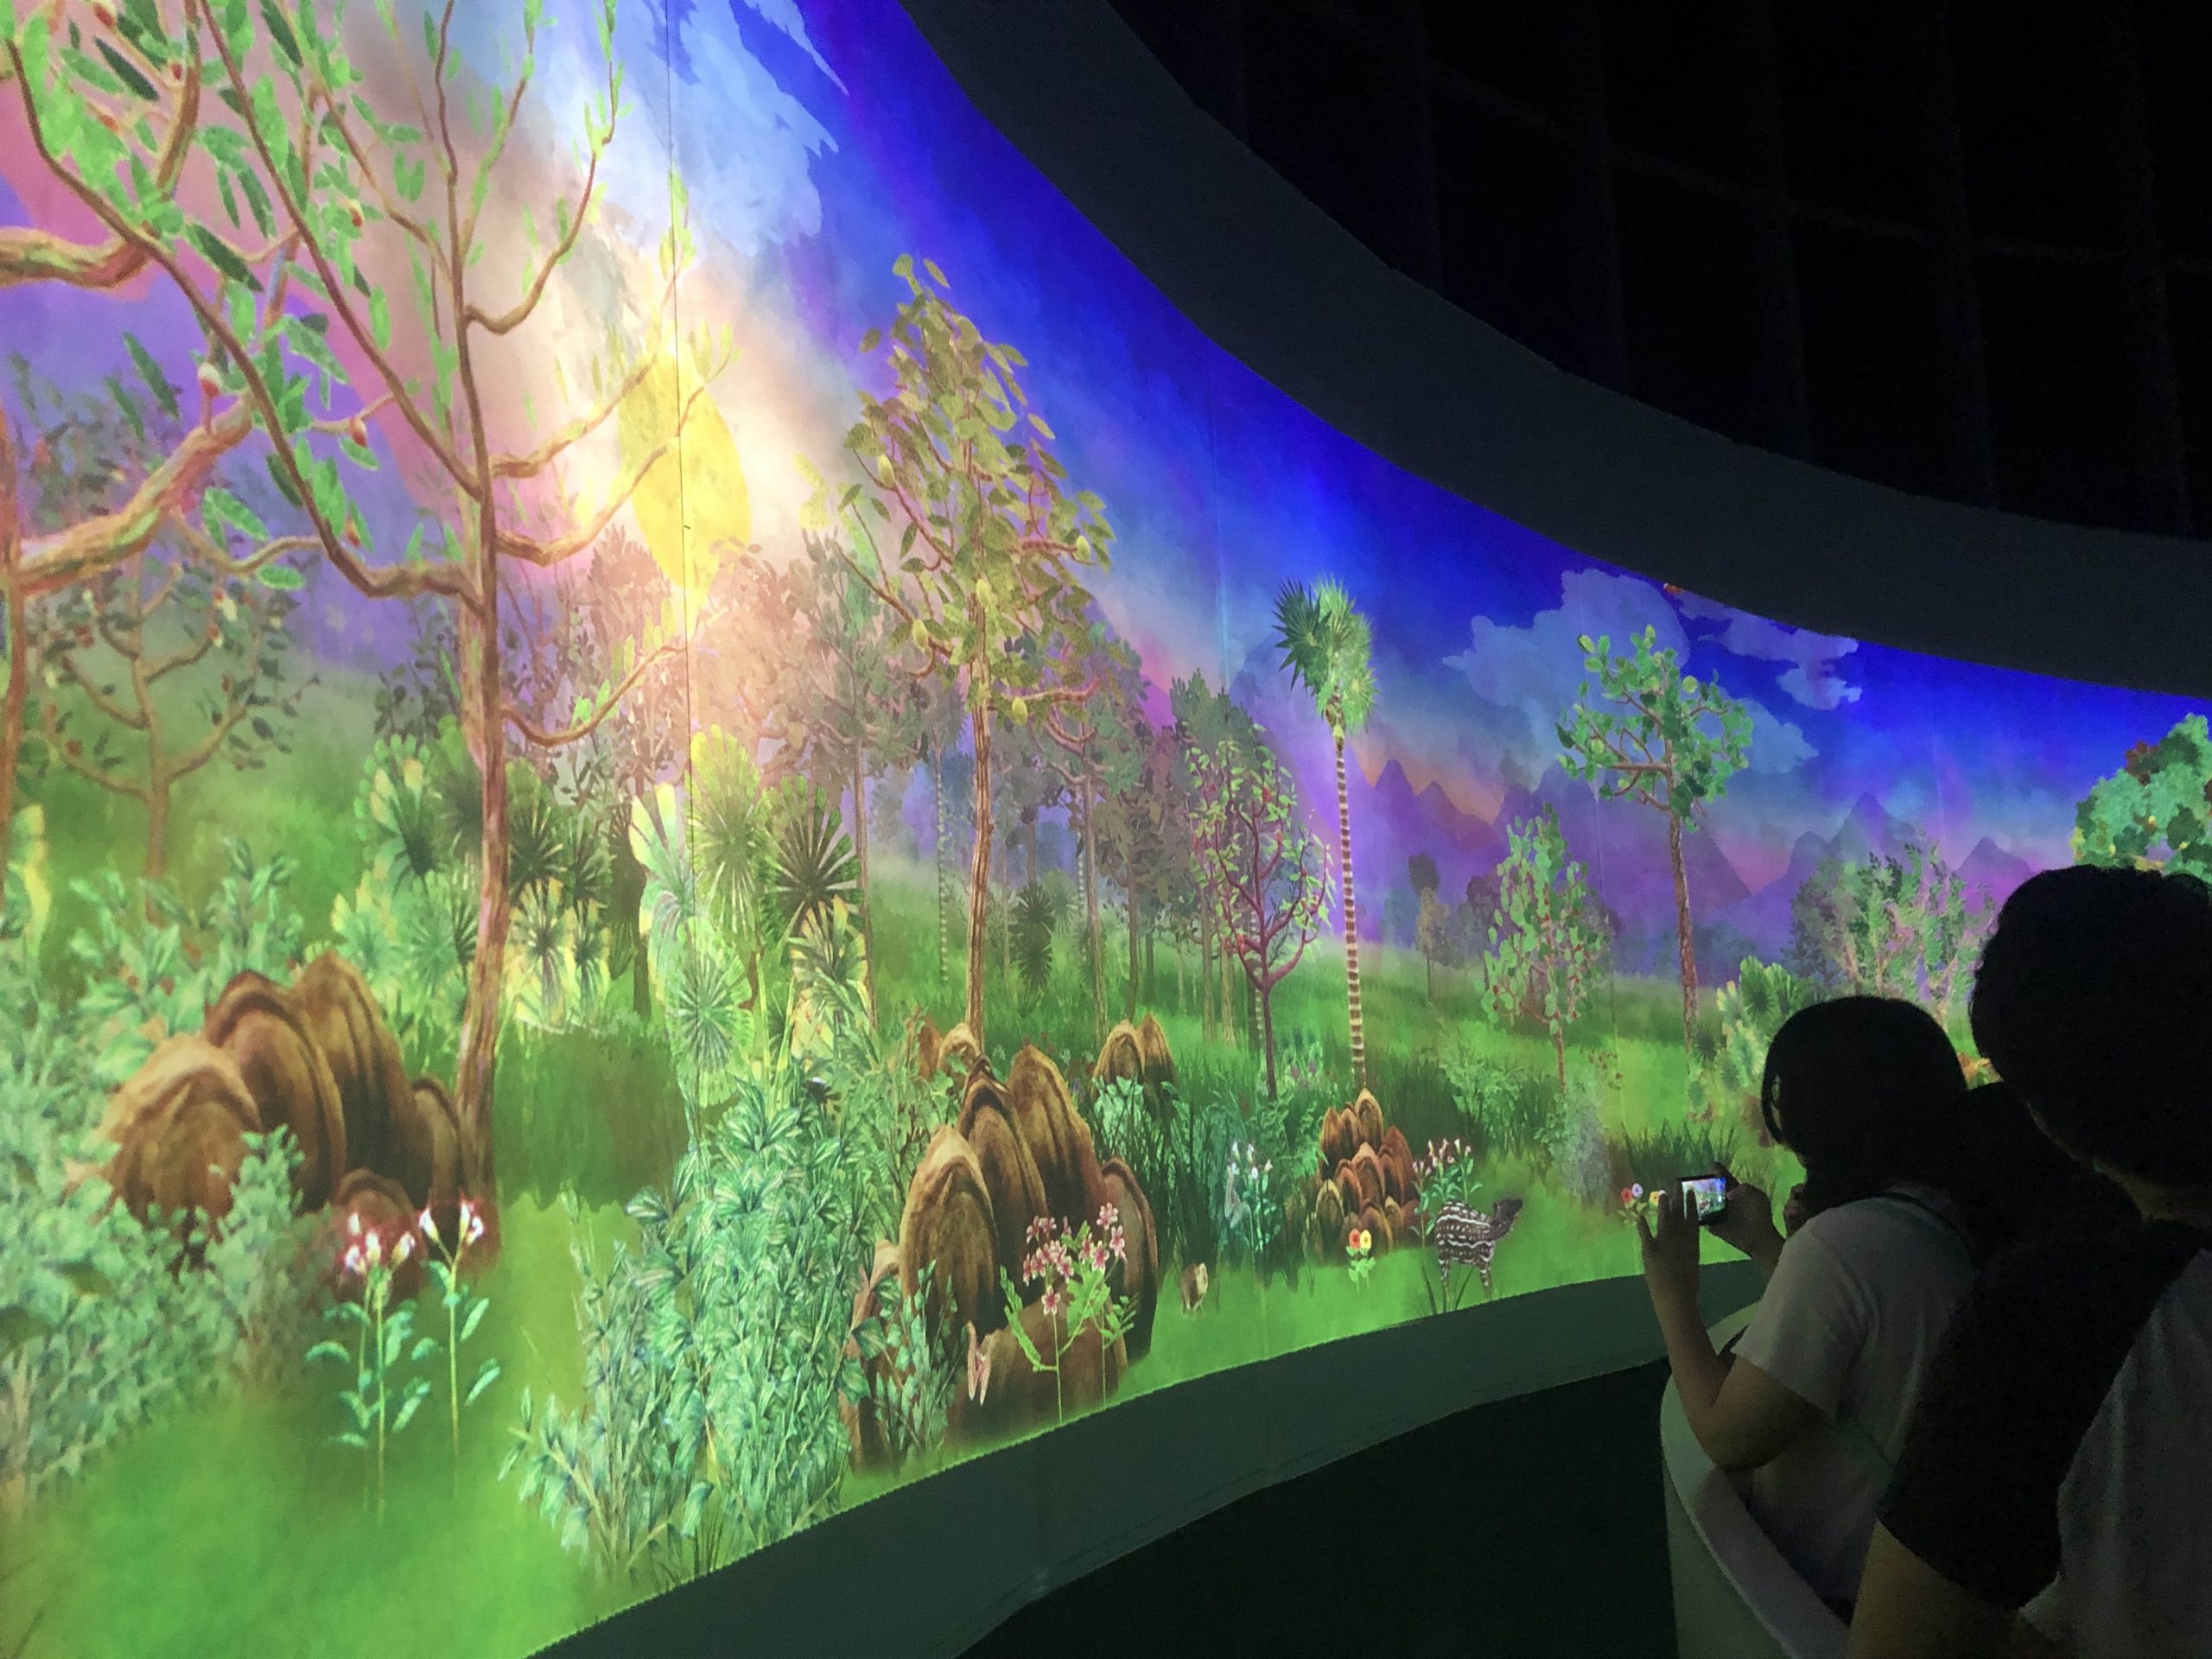
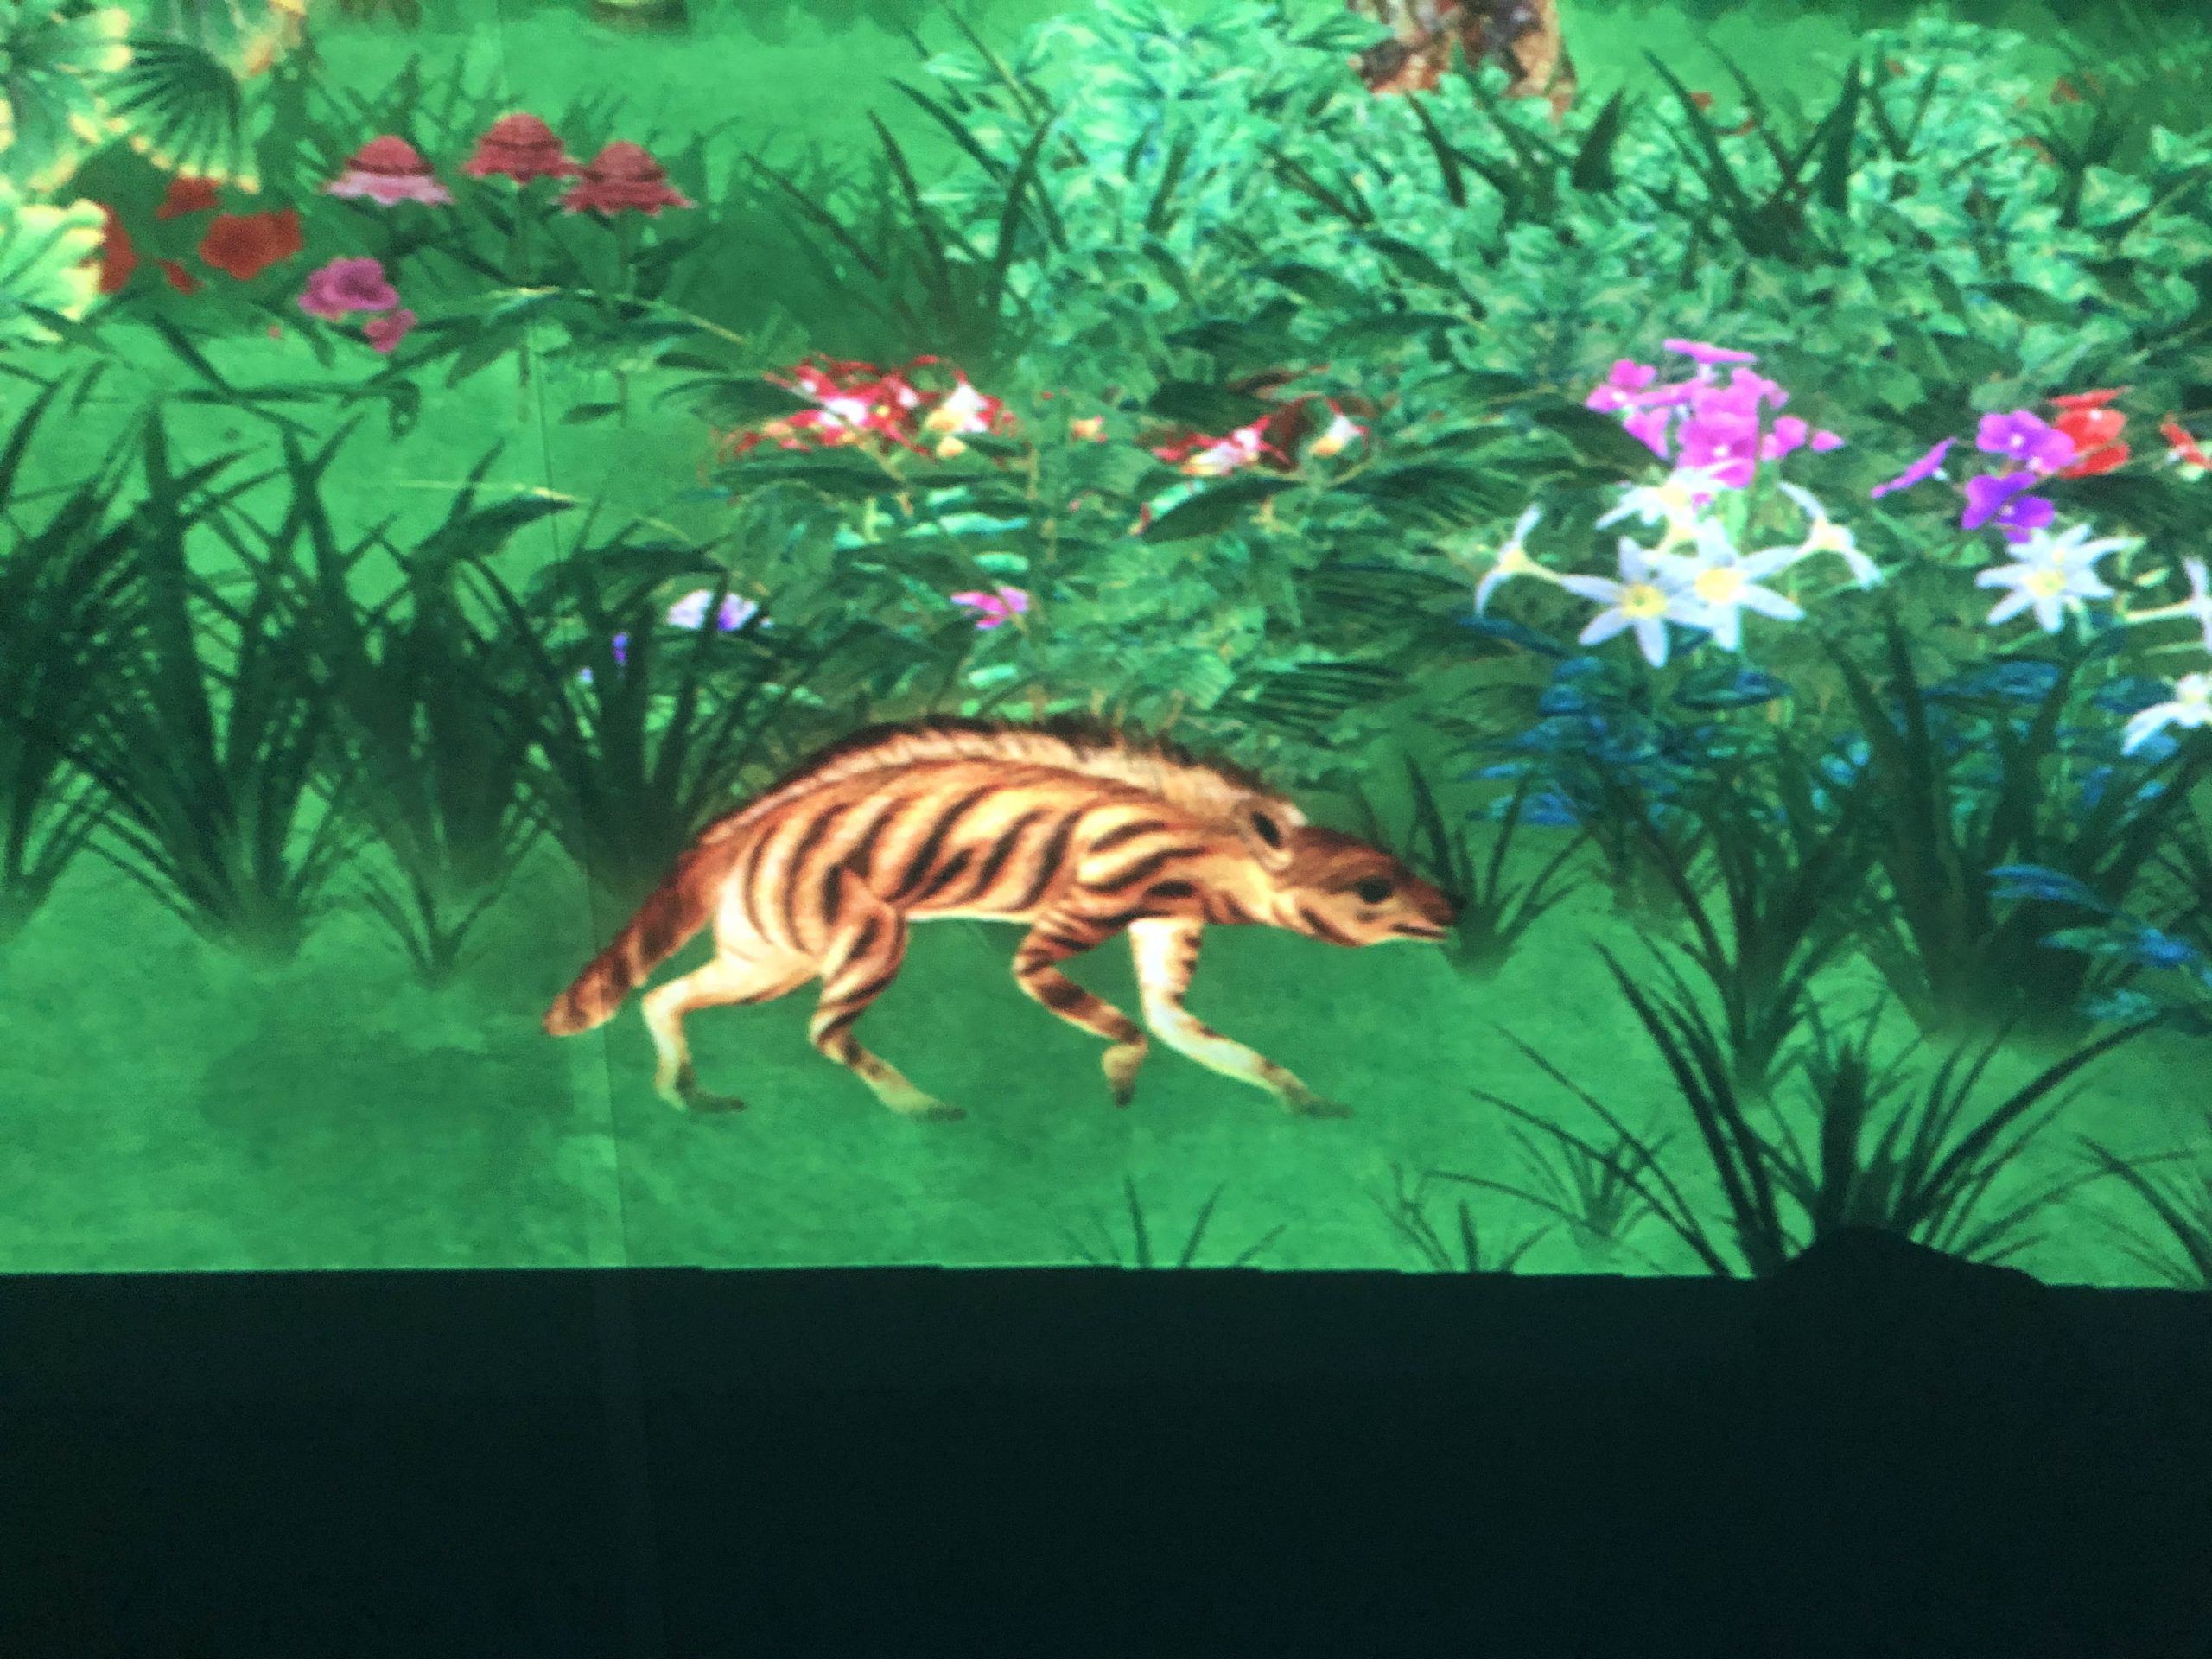
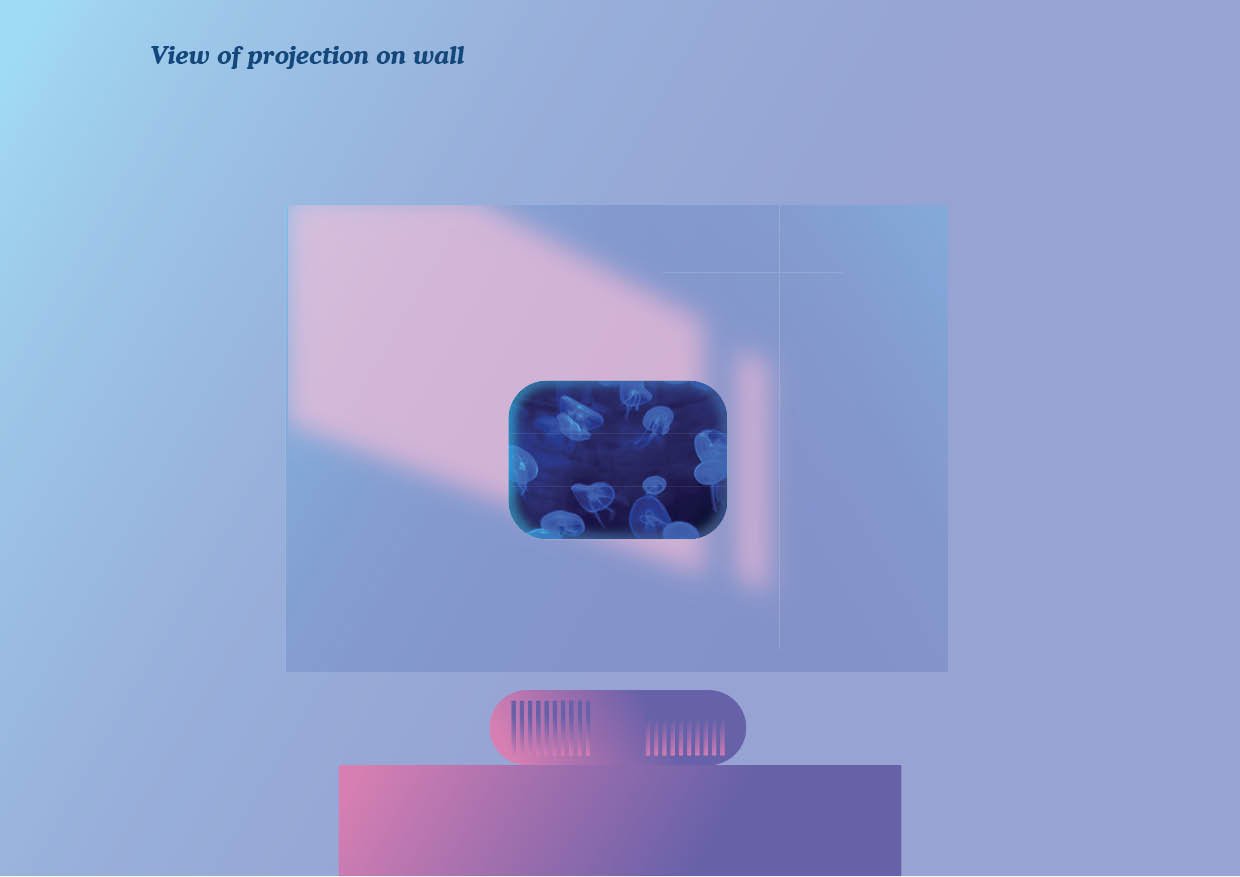
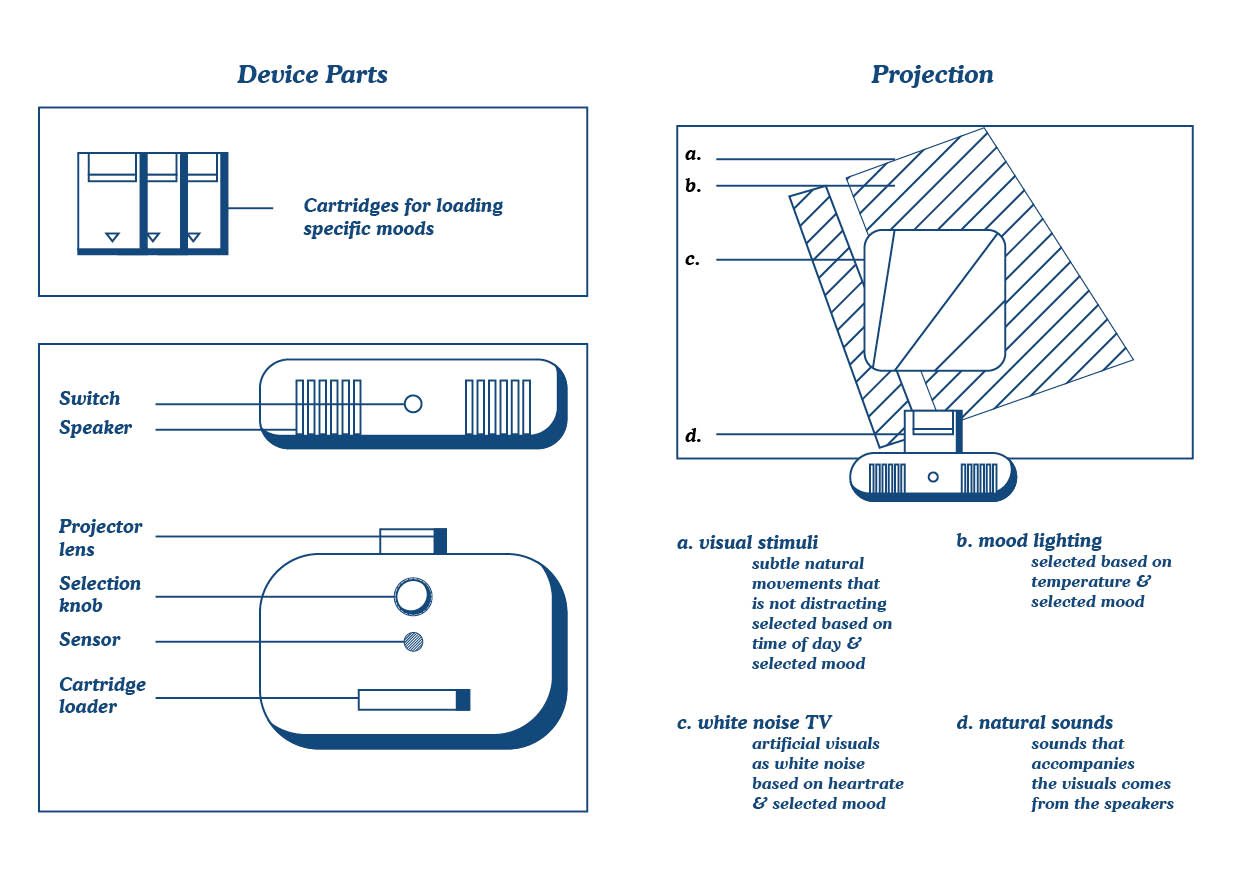
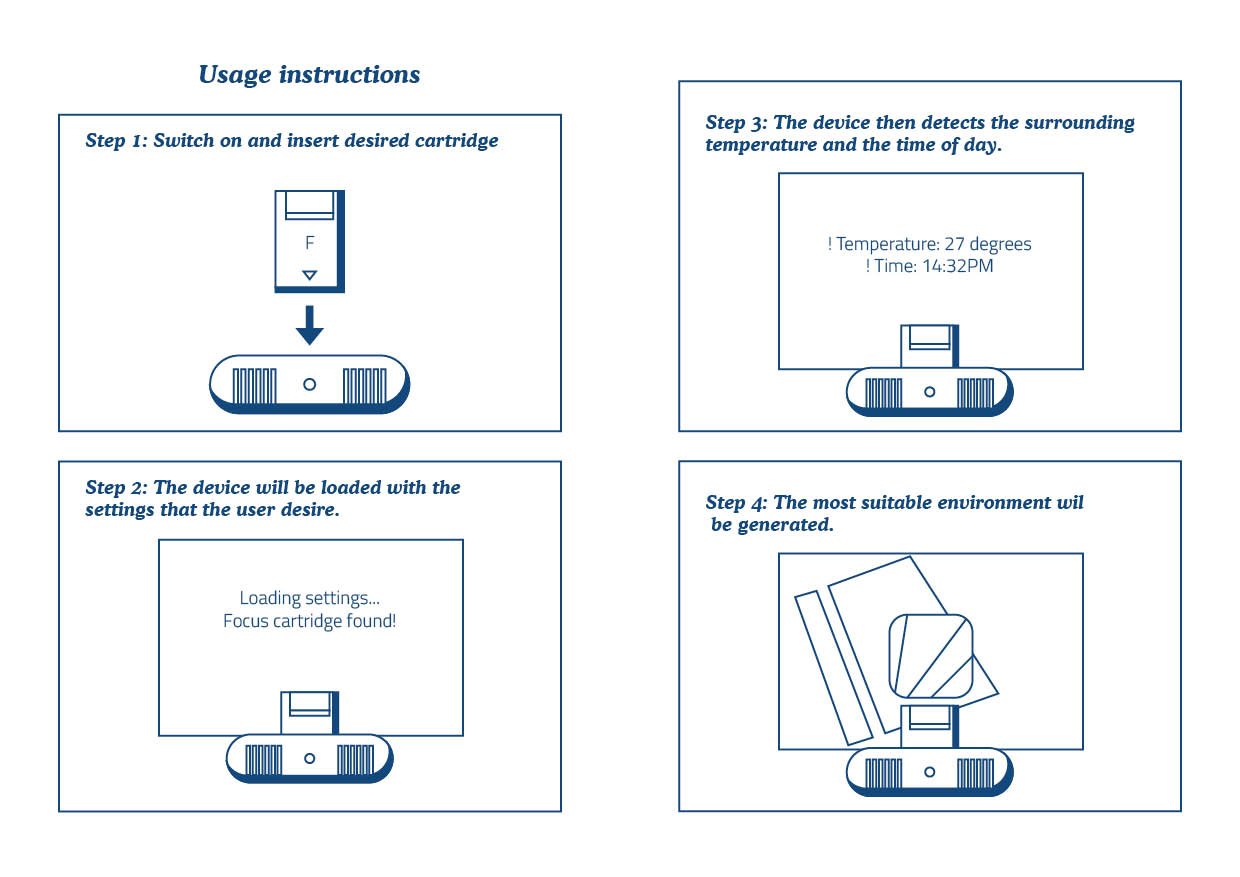
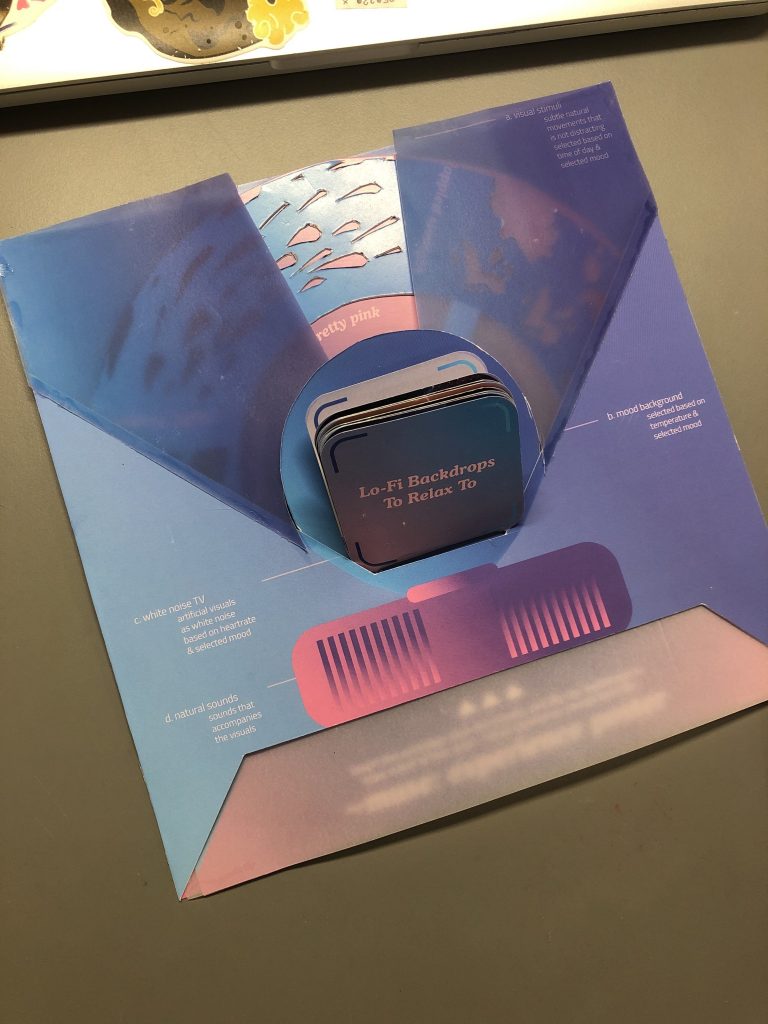
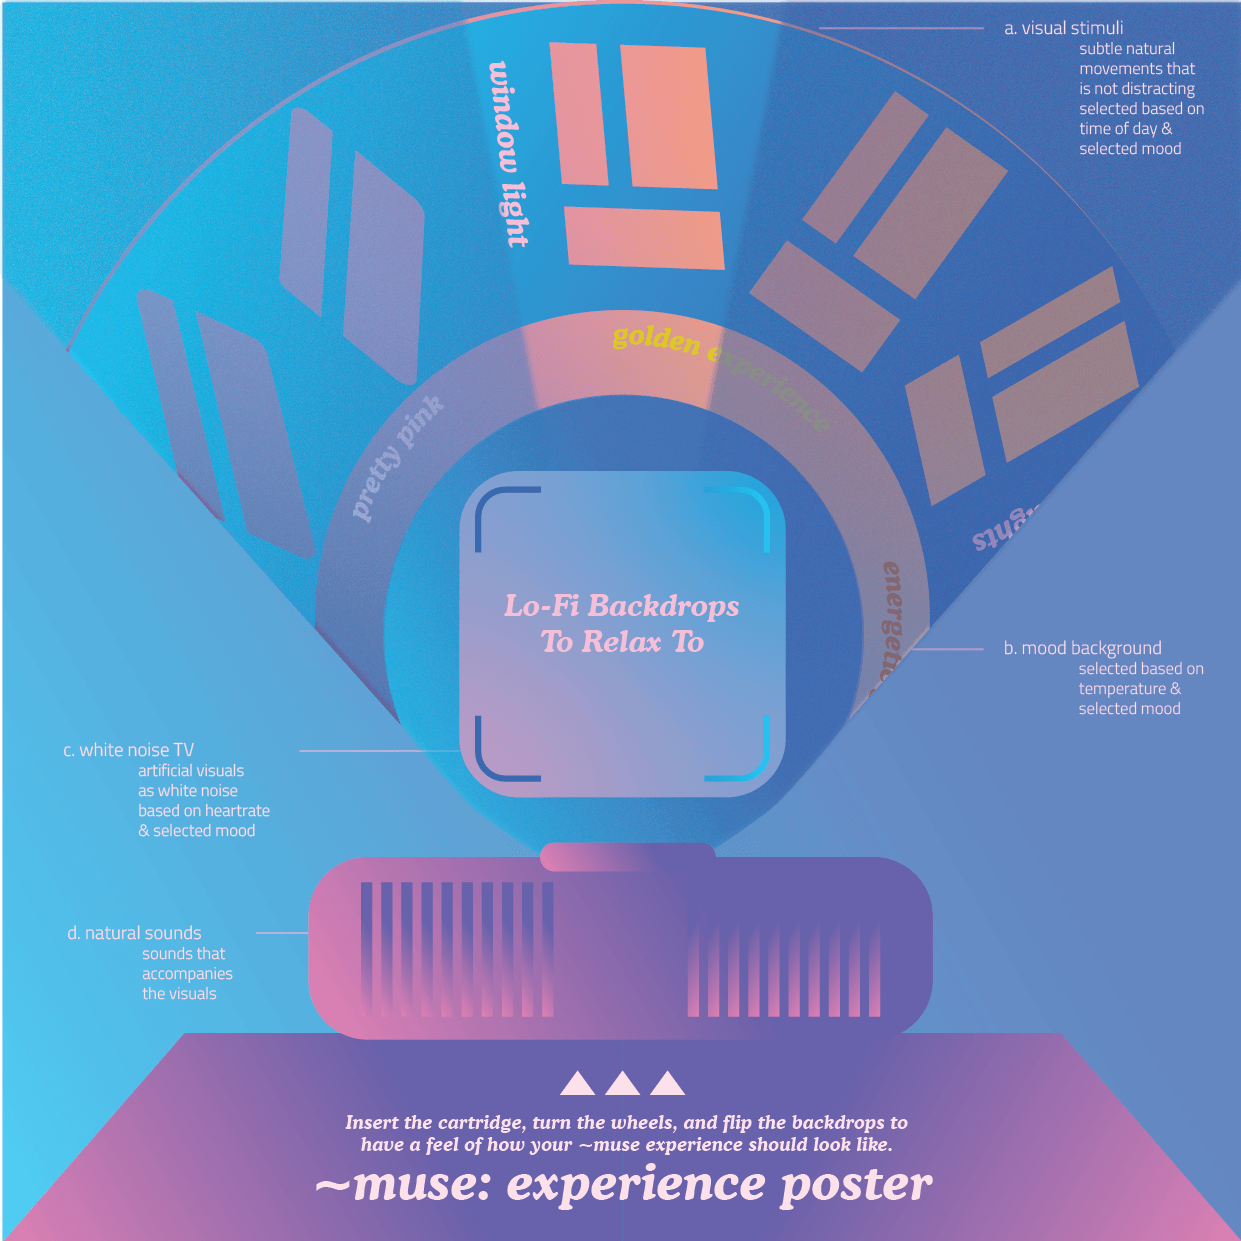
Interactive poster that gives you a feel of the projection, with some small text information.
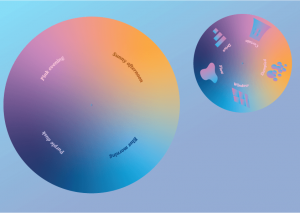
Separated Assets:
Hi so I’m just gonna spam some photos here as a form of update. This is for documentation for myself.
MATERIALS EXPLORATION / RESEARCH
I went online to look at some materials for my armour. I want to find shiny iridescent stuffs cos I can’t get enough of it. I think it’s a weird phase and I hope it works well with my other pieces cos I really don’t know what I want and I’m just winging it with shiny stuffs…
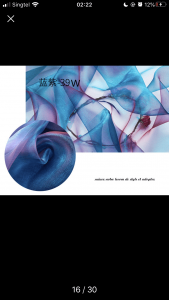
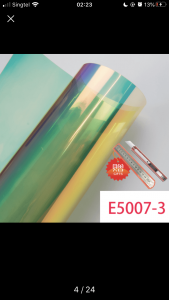
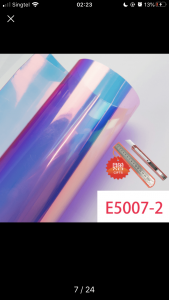
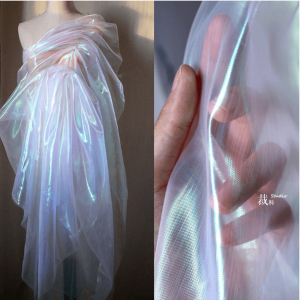
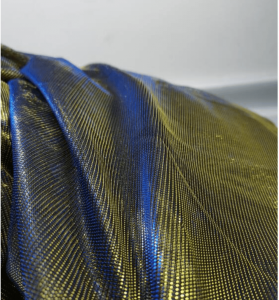
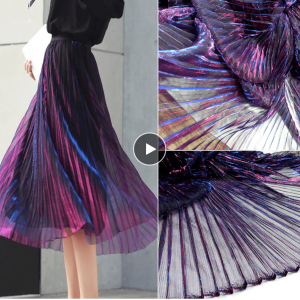
SEE SO MANY COOL STUFFS!!
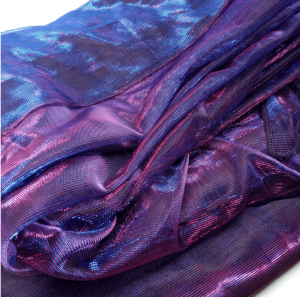
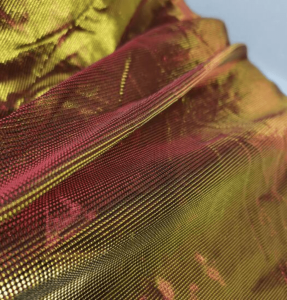
CLOTHES I BOUGHT:
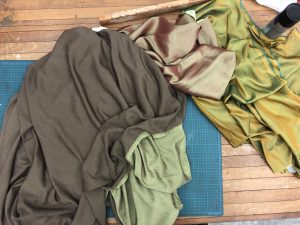
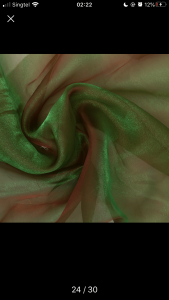
Duotone Rayon (brown / green): $6/m at 90 Arab Street, Gim Joo Textiles.
Duotone Satin (red / green): $12/m at Chinatown Complex, Yong Zhi Trading.
Duotone polyester (green / yellow): $6/m at 90 Arab Street, Gim Joo Textiles.
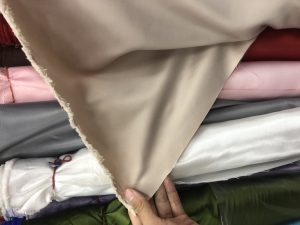
Beige cloth (IDK WHAT MATERIAL): $6/m (i think) at Gim Joo also.
So I bought some of those, will keep them as samples and hopefully show my collection of samples sometime!
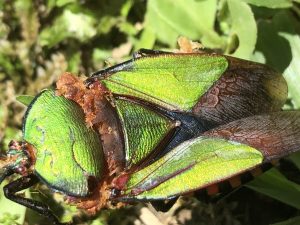
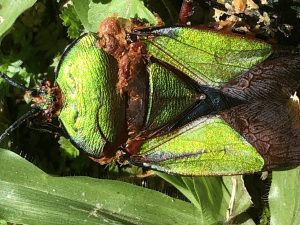
FOUND COOL BUG. INSPIRING MY CONCEPT!! MORE SHINY STUFFS

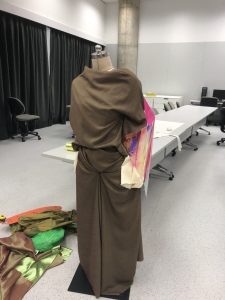
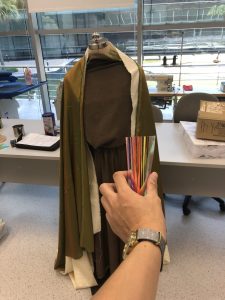
TRYING DIFFERENT WAYS TO COMPOSE PART 1
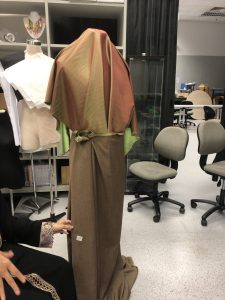
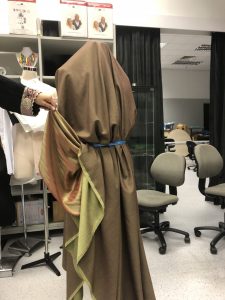
Didn’t like it that much. The duotone satin is too feminine and flowy, does not fit the rugged desert jumpsuit look. The rayon is nice on closeup, but from far, it looks like an ugly brown cloth. I didn’t like it. Both don’t combine well also.
COMPOSING PART 2 (digital)
I tried looking at illustrator to help me:
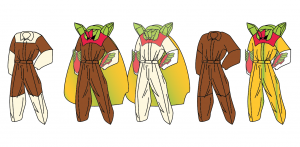
I think solid colours work the best. And I think beige works well.
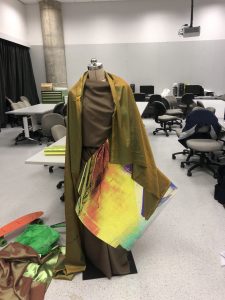
COMPOSING PART 3
I’m indecisive. I think beige works best though. I’ll run with it first. Meawhile, shiny stuffs bought from Spotlight. $18/m 🙁
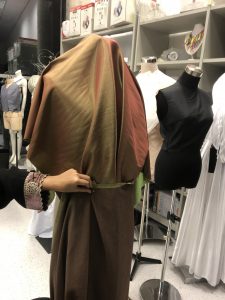
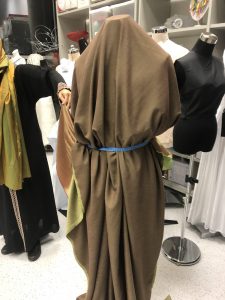
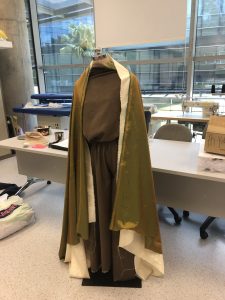
BROWN BASE:
BEIGE BASE
OTHERS (i don’t want to rotate the images anymore, takes too much work cos OSS isn’t that good at portrait photos. So i’ll have them here sideways since I’m more interested in seeing the beige and brown)


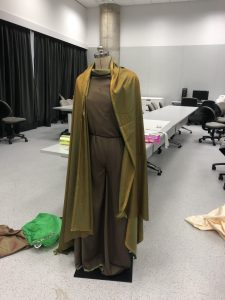
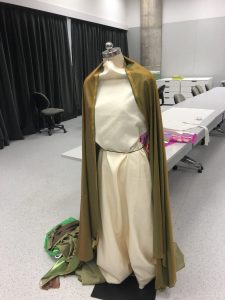
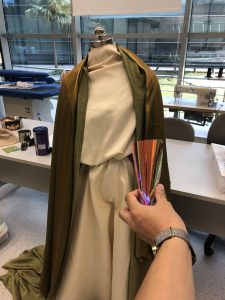
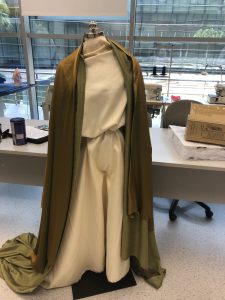
I got a lot of feedbacks that this looks StarWars-y, which I think is good and bad. StarWars kind of goes for a space nomad kind oflook?, so it kinda makes sense for my concept to have that element as well. I mean, pretty sure they have similar concept as me. I just didn’t realised it’s similar.
Also, I like shiny cloth as the base. But it’s too soft. As for green, I also really love it, but it does not fit my concept.
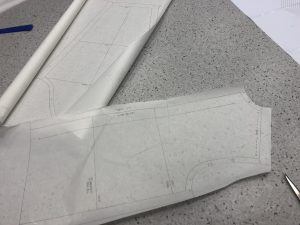
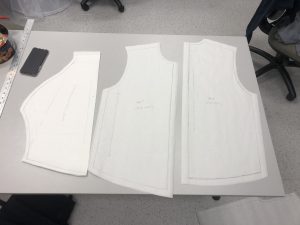
PAPER PROTOTYPING: ROUND 1 (pattern tracing)

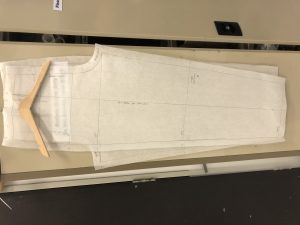
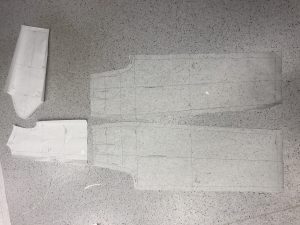
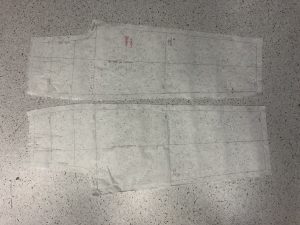
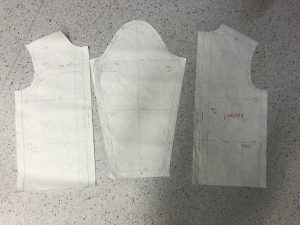
ROUND 2: better sleeves, torso, copied from Muji shirt that fits me really well
MY FIRST MUSLIN PROTOTYPE IS TOO UGLY TO BE SEEN SO BYE
FIRST TRY WITH SLEEVES!!!
FINISHED FIRST PROPER MUSLIN PROTOTYPE!
WHAT’S NEXT?
I think too much so I’ll probably ramble if I keep going. I’ll just start on the actual piece this week (WK 8). Next week I’ll start on electronics (WK 9). But before really going into electronics, I still need to plan out the armour pieces so good luck to me ha ha ha. Working on the armour pieces and thinking about electronics will be week 9. Week 10 will really start working on the electronics.
Also, this weekend I’ll go buy more cloth cos I realised I don’t have enough. I may scout for new materials for my body piece cos I’m still not super satisfied with it. So I’ll probably make 2 garments if I find a new material. (lol)
AH ALSO forgot to mention that I’ll think about adding collars and pockets after I’m done with the whole thing since I think it looks really cool la. Also want to add buttons and zippers and interfacing so… IDK MAN… I’M REALLY AMBITIOUS AND THINK LIKE I WANT TO HAVE ALL THESE THINGS BUT I KNOW I CANT HAVE EVERYTHING AND IT KILLS ME INSIDE AHHHH
ok bye
edit: ok btw im watching some tutorials
and and and… i want to update some new inspos but I think that’s a lot of extra work 😛
But basically…
https://hypebeast.com/2020/1/undercover-fall-winter-2020-menswear-collection-fallen-man-runway-show-presentation-paris-fashion-week