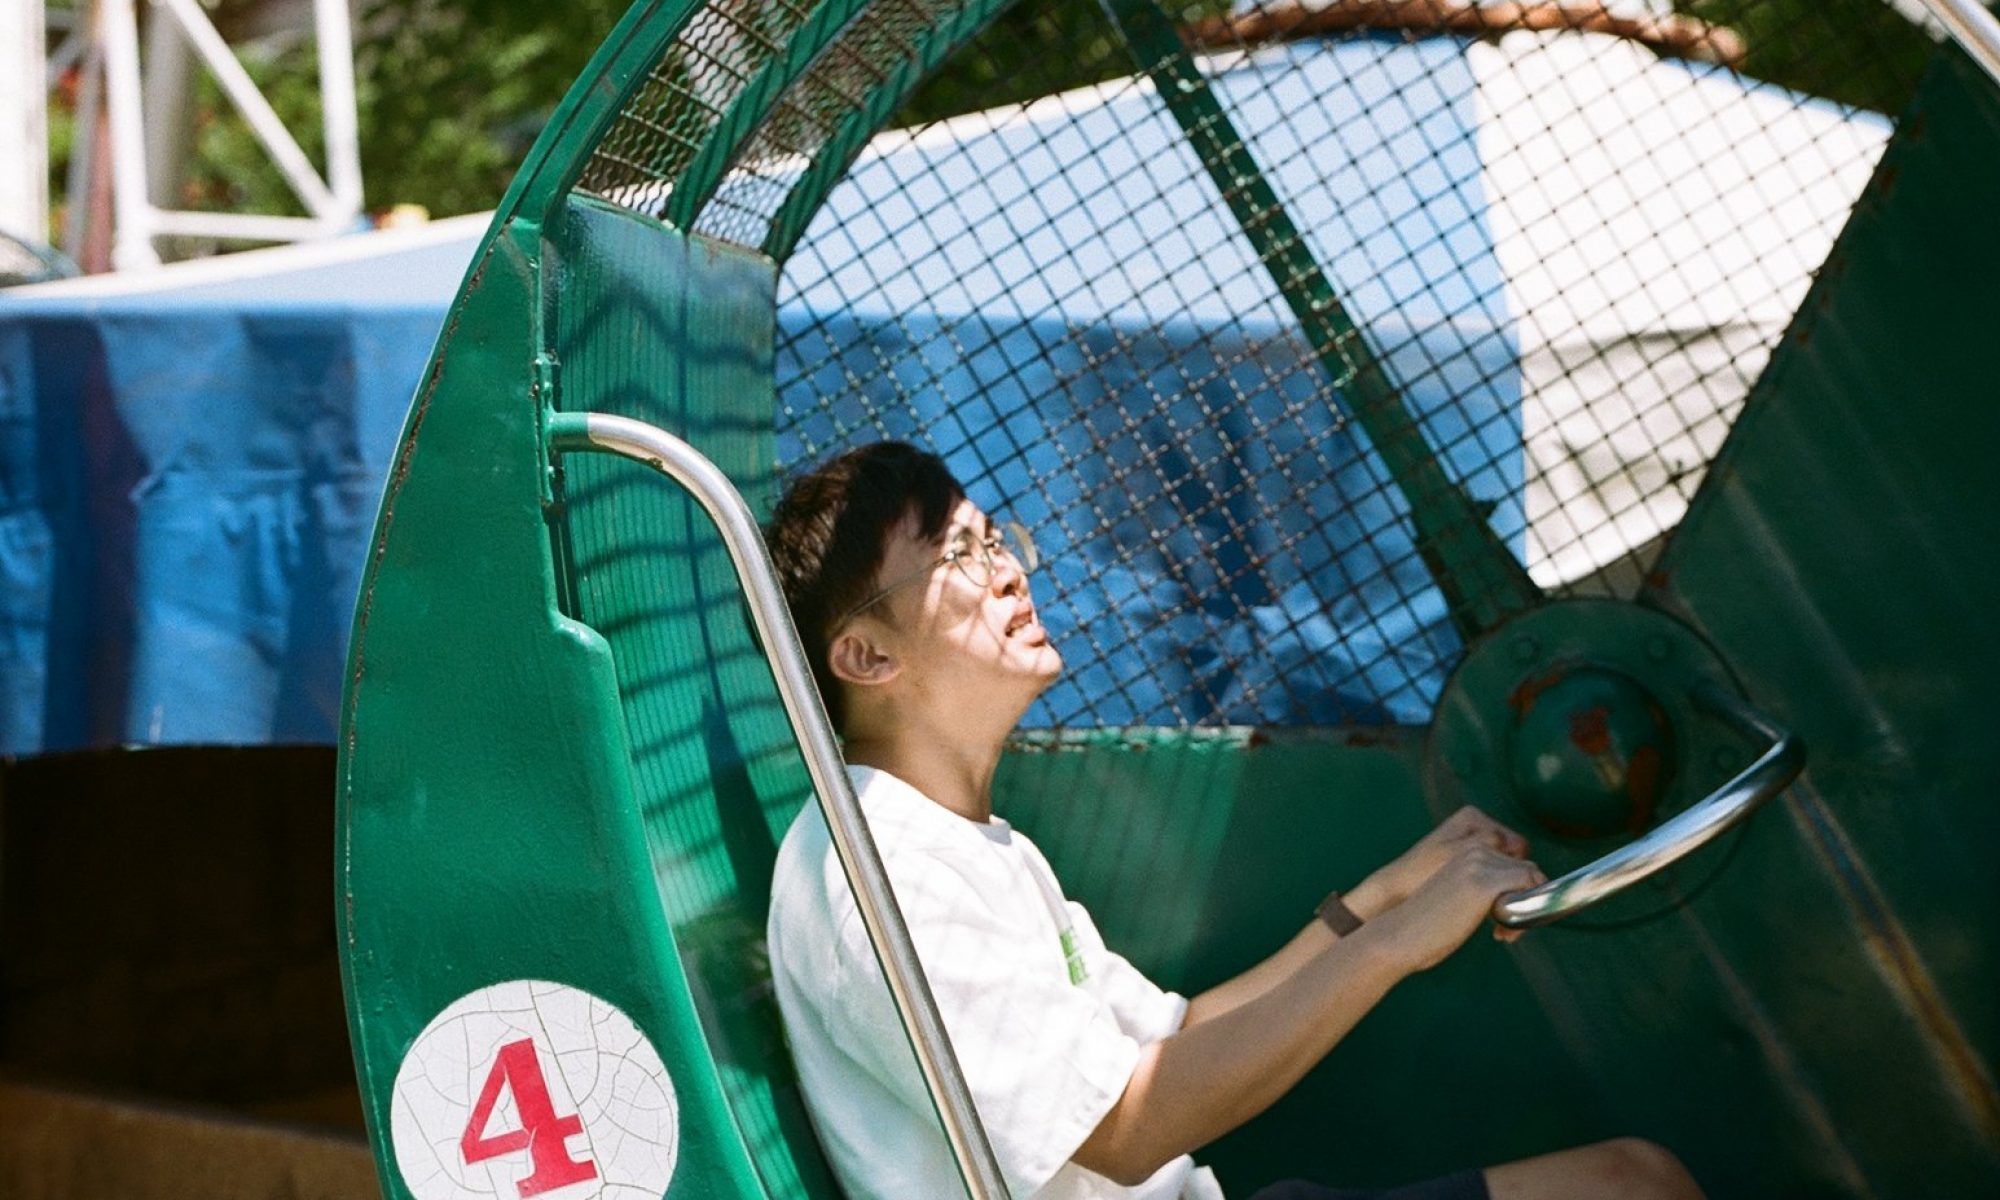
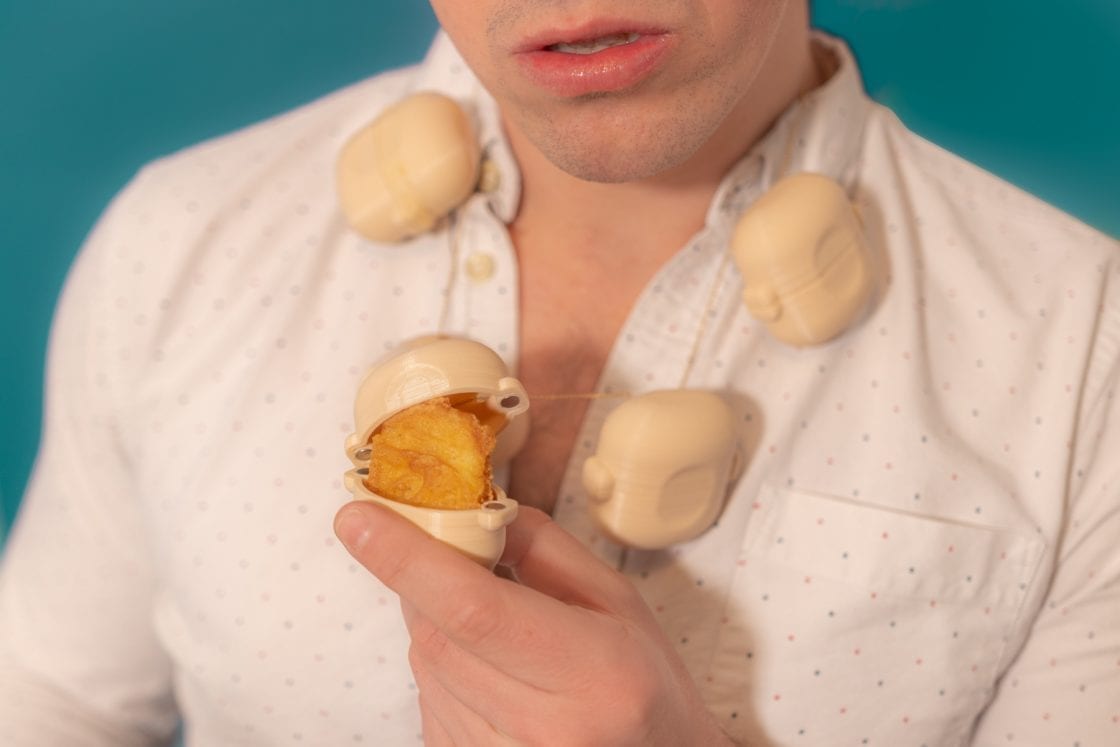
Matt Benedetto is a product designer that I admire. In his on-going project, Unnecessary Inventions, he solves non-existing problems by creating humorous or satirical products that nobody really asks for. The products are all fake one-off inventions that solve a very niche problem, like mouth curtains for people who chew with their mouth open, or a silicon comb that is made to look like fingers. He creates his products using diverse methods like 3D-printing, sewing, laser cutting, mold making, and working with traditional tools in his workshop. For every product he creates, he will document them well and have a photoshoot so they look like real products, which are then posted on the internet for people to admire and have a laugh. Some products and processes are even documented in video and are uploaded on Youtube.
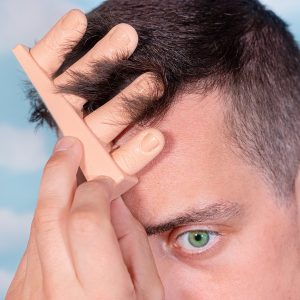
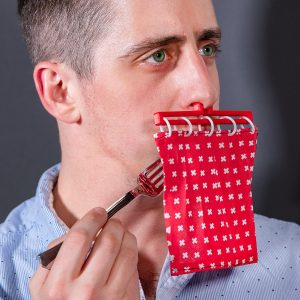
Digits Comb lets you style your hair with fingers-like comb Image taken from https://www.unnecessaryinventions.com/Cuisine Curtain cover the mouths of people who chew with their mouths open. Image taken from https://www.unnecessaryinventions.com/
Matt starts his process through writing down his observations and feelings, or when somebody emails him an idea. From there, he invents a product through a proper design process, starting from a sketch, 3D design, getting materials, and then making them. Even though his products are not real, his dedication to the process is admirable and I aspire to be like this for every project I do.
I also love the way he uses humour to engage product design. Even though his products are unnecessary, he expanded his viewer’s creativity through his ideas. I think this can help us all to be more creative in the way we see the world, and also in the way we tackle design problems. His works also let us question the ridiculousness of “novel” existing products and be more cynical about them. In the end, his “useless” inventions are useful in entertaining his audiences and feeding their imaginations, which I think is worth the effort he put in.
Nothing was done other than me drawing a weak mindmap, making observations and thinking of more ideas. I need to rethink on my plans as I kept promising myself to make a prototype but I just don’t start. (my excuse is that I have other commitments and just didn’t have the drive to push myself for FYP…)
So here is a new plan for myself, starting from the basics which is…. research.
1st Week Expectations:
I want to focus on research next week, as I think I need to do more readings. My goals for this week’s research is to understand other artists’ approach with using senses in critical design and speculative design (as this is pretty much my area of interest). I also want to confirm the science behind sensory substitution / addition, as to why it works and how sensitive do I tune it for it to work.
Finish reading Devices That Alter Perception 2010 (book): I want to find all the relevant papers written by artists and designers and cite them
Skim through A Tour of the Senses: How Your Brain Interprets the World (book): Have a bit more in depth idea of how our senses work. This book will just be skimmed through as I think the theory behind everything doesn’t have to be the focal point of my research.
Finish reading See Yourself Sensing (book): I’ve been wanting to finish reading the book but I keep getting distracted.
Read Sensory Pathways for the Plastic Mind: I think there are useful information here too and I haven’t found the time to go finish the book… AAAAHHHH….
I also want to understand the aesthetics I’m going for. I’ve always liked Cyberpunk aesthetics and I think just purely using such aesthetics is very shallow. I will be doing a few things to fix down the aesthetics.
Read Tokyo Cyberpunk: Posthumanism in Japanese Visual Culture: This is the only book I can find about cyberpunk genre in the ADM library, and I think I will just look at the rationale behind all the aesthetics choice.
Create a moodboard! It’s in my to-do list for a long time and I haven’t gotten to do it. It will help me find my visual language. It will be based on cyberpunk genre so I need to do some reading on cyberpunk stuff through either the book or online research.
Along the way, any observations I made will also be written down. I’m already making observations that will be part of my ideation as well. I’m compiling as many ideas as I can. This will continue for the next 2 weeks and more.
Continue observing, writing ideas, sketch em out: This will help me get closer to what I want to do. Just a whole pile of ideas through observation and then see what works and what doesn’t.
First Week Priority ranking:
Observations + listing or sketching
Devices That Alter Perception 2010 Book
A Tour of the Senses Book
Sensory Pathways for the Plastic Mind Book
See Yourself Sensing Book
Moodboard
Tokyo Cyberpunk Book
Realistically, I don’t think I can do that much reading. So I’ll expect that I won’t be able to finish finding my aesthetics by next week. But that’s fine, these are just temporary goals for now.
2nd Week Expectations:
One of week 2’s focus will also be on research. I think by then, I will have enough materials to work on. But I still think I should read these books as I think they have important info I need.
Read Speculative Everything: Dunne & Raby have a lot of insights in critical design and speculative design. Since my approach is pretty much that, I should understand why, how, and what I’m doing with my work.
Read Sensory Arts and Design: I saw this book in the display of ADM library and I think it will be relevant in my concept. I have no idea what this will be about but I’m sure I will be able to understand more about using senses in my work.
Read Cybercognition: Brain, Behaviour and the Digital World: Same as 2nd point. Sensory Arts and Design and Cybercognition are more for backing up so they are not high priority readings.
Again, I need to know the aesthetics I’m going to use, so I’m gonna need to research on cyberpunk still. Whatever’s not done will be carried over.
Aesthetics research (moodboard + read Tokyo Cyberpunk book): Same reasoning as the first week’s point.
I also have a bunch of journal articles that I have compiled that I have not read yet. I will be selective about what I read as I don’t think there is enough time left for me to slowly go through all the materials. By now, I should have a good idea on my concept and any other readings will be extra.
Read saved journal articles (optional): I’m sure there are some really useful texts out there, but I really really have to be selective or else I’m be losing precious time. The readings I choose must contain information that the above few books didn’t cover. Don’t want to be wasting time.
Observations, Ideations, Sketches…
Continue observing surroundings, write ideas, and sketch em out: Same reasoning as 1st week’s pointer.
2nd Week Priority ranking:
Observations + listing or sketching
Speculative Everything
Moodboard
Tokyo Cyberpunk
Sensory Arts and Design
Cybercognition
Journal Articles
By the end of these 2 weeks, I should have:
Good grasp of the concepts I’m trying to use and understand how artists apply these concepts to their work. This is done through all the readings.
Made enough observations and have enough ideas to start creating a proper picture and narrative of what my work will be like. This is done through 2 weeks worth of observation and ideation.
Following this, I will be focusing on ideation and prototyping, where I will be doing sketches (paper or physical mock ups), and some extra readings if I have to. Here is also when $$$$ starts flying!
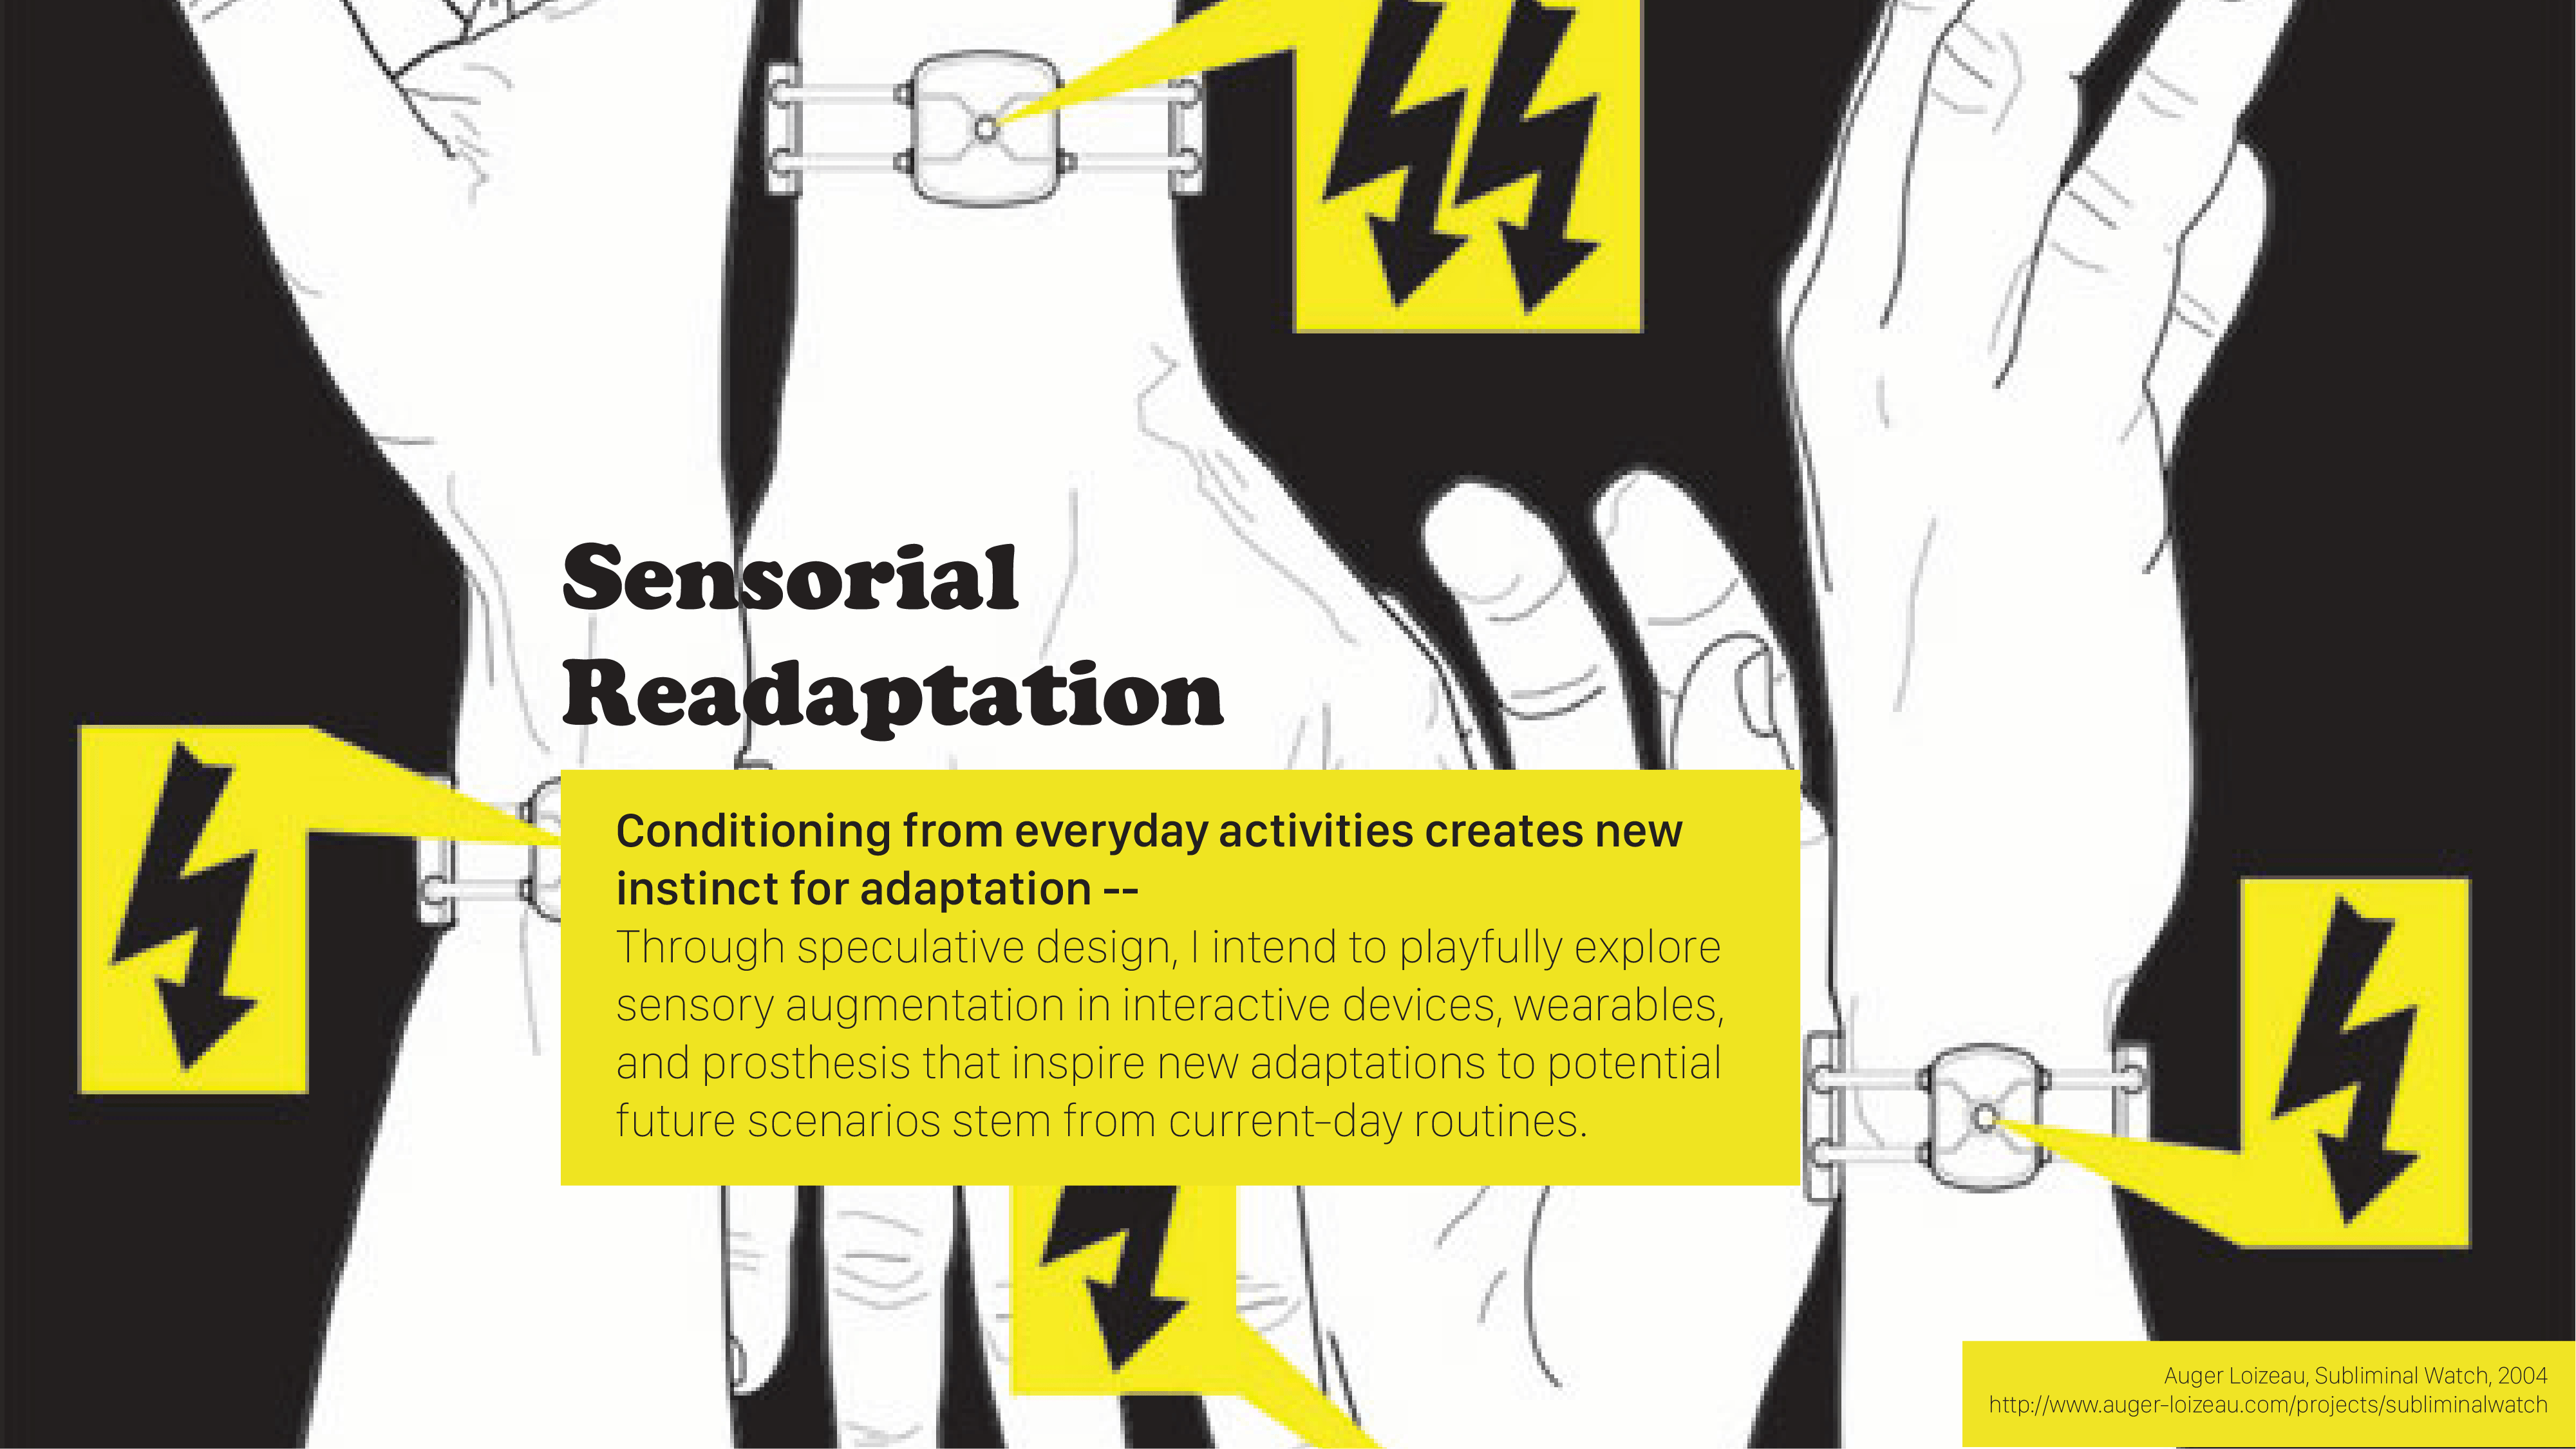
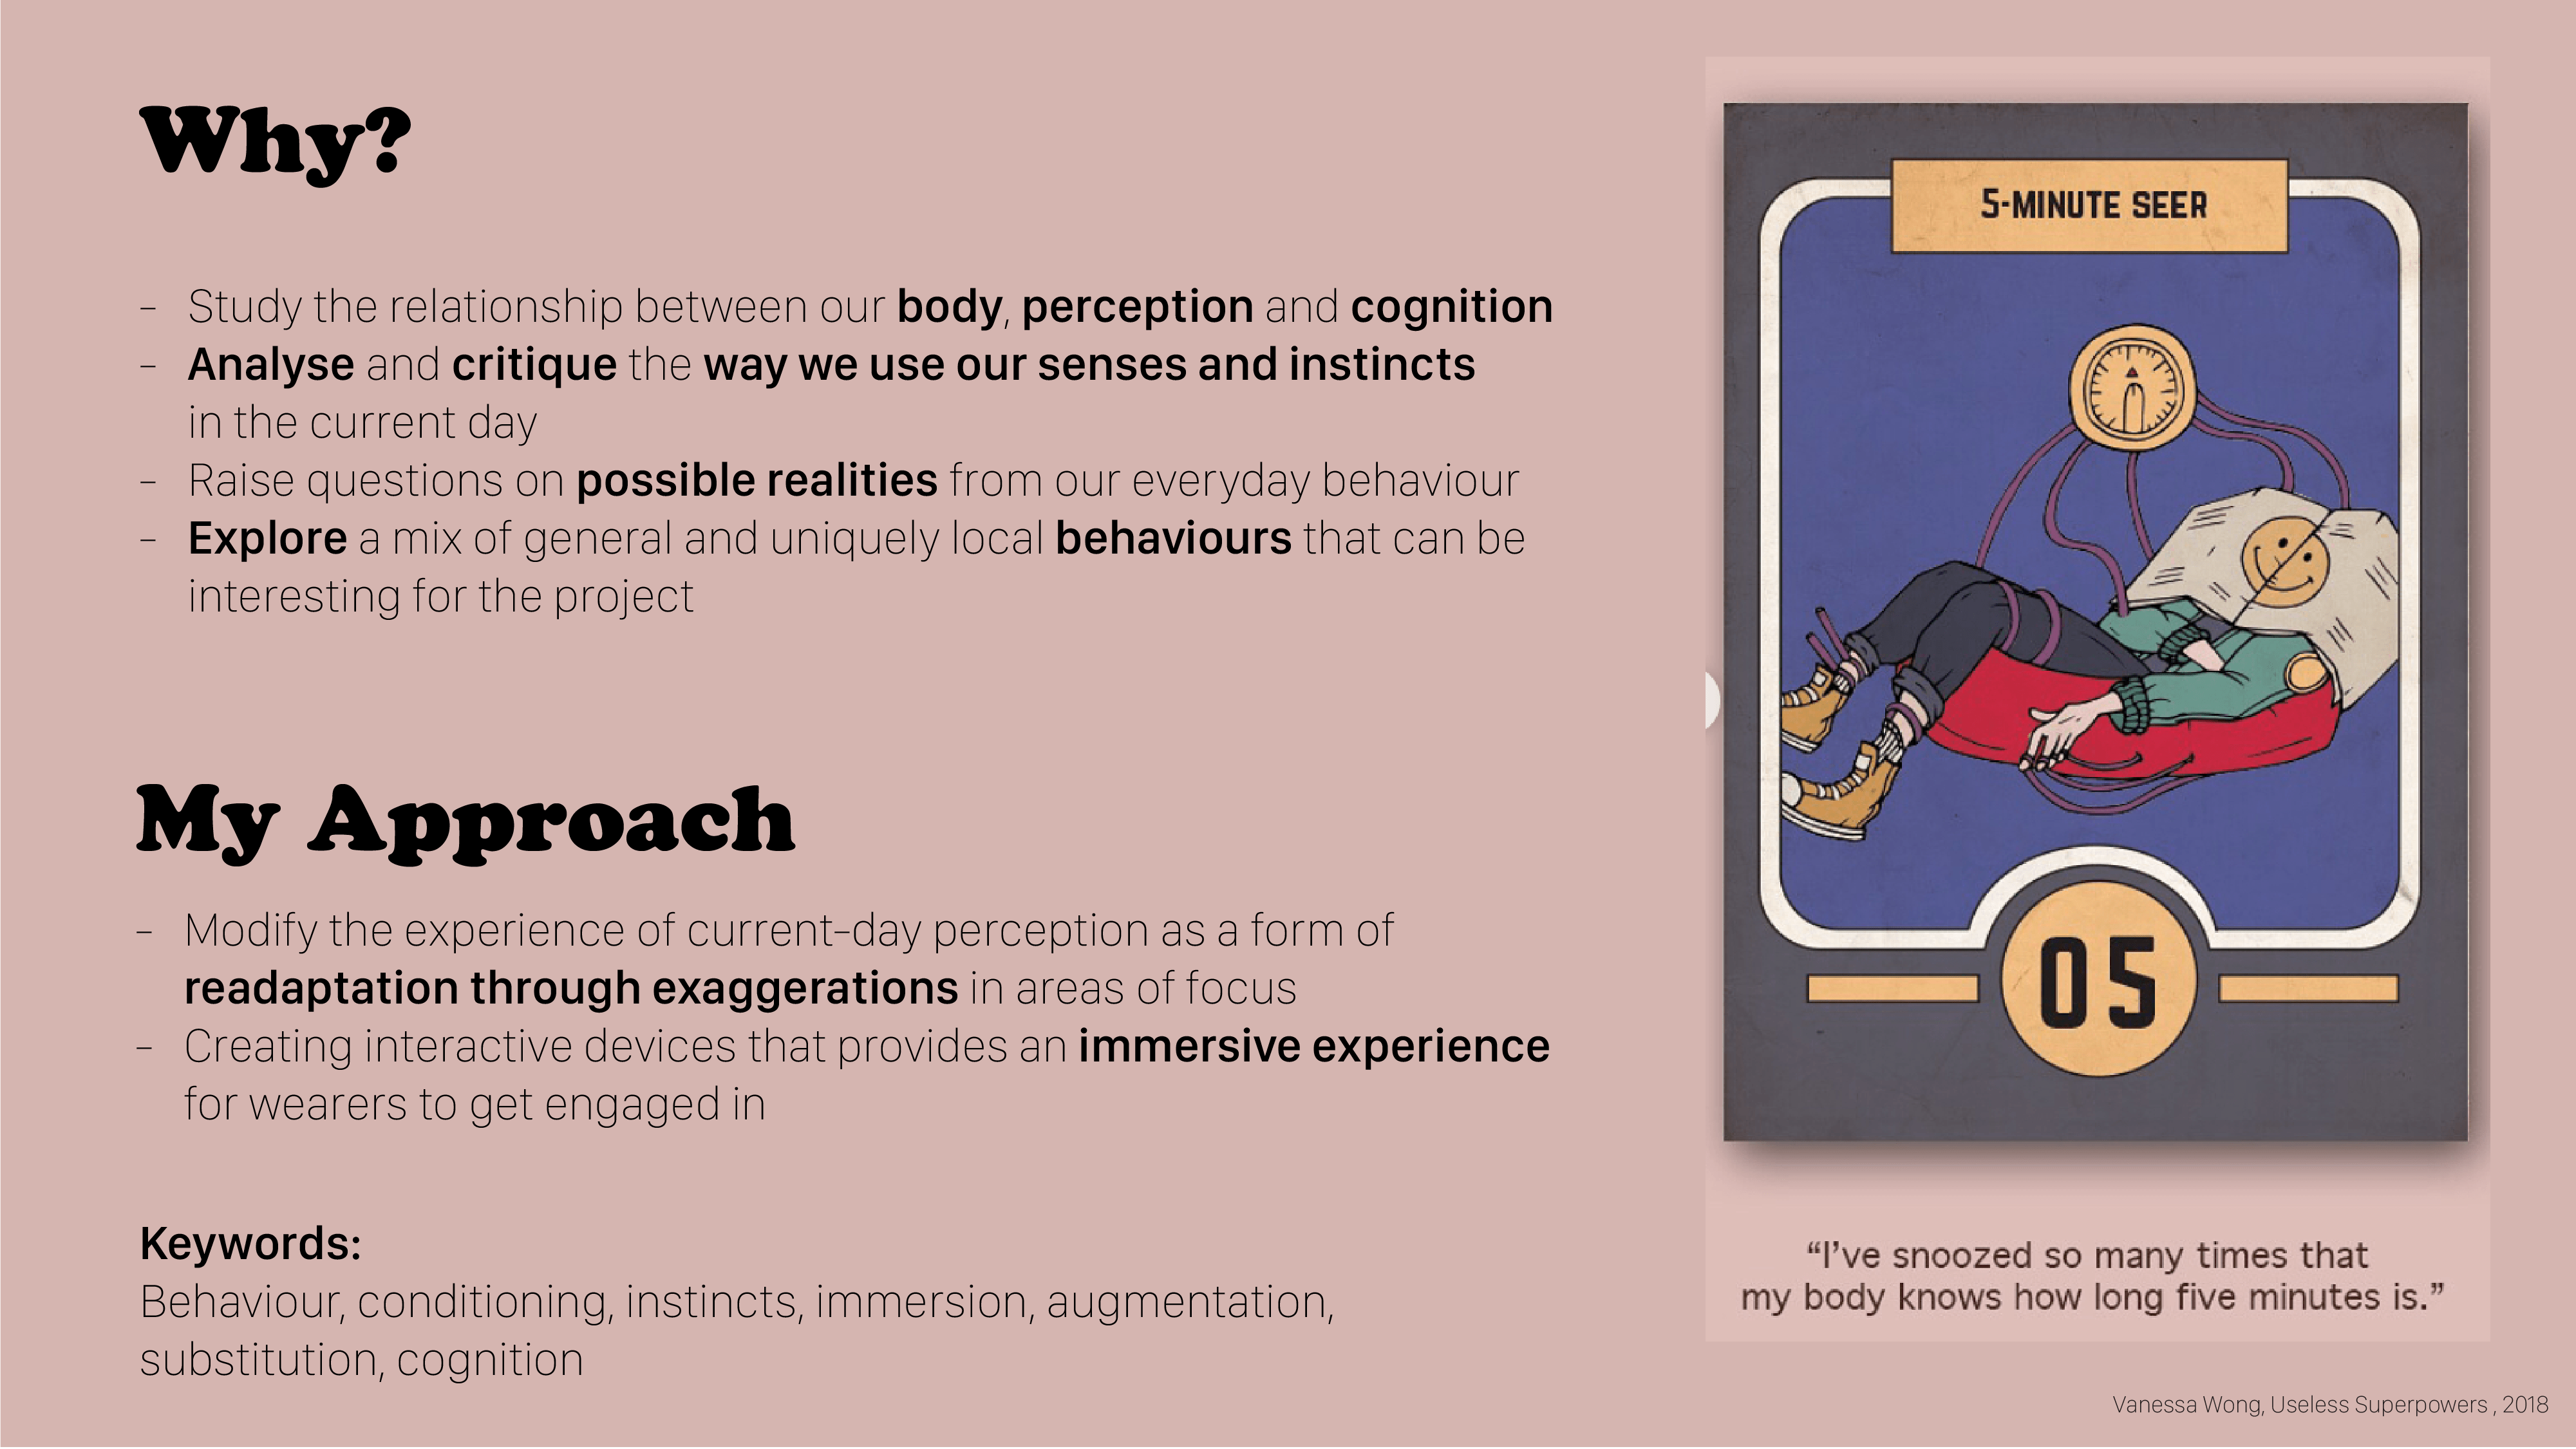
I found time to revisit what I’ve thought through previously and remembered the origin of my concept which is in senses and cognition when we expose ourselves repeatedly to stimuli that transforms into a new “sense” or instinct. Example, my body is able to estimate how long 5 minutes is due to my constant alarm snoozing; and how I dreamt of playing a game after hours of intense gaming. Took a step back and tried to simplify everything + researching helped.
Metropollutan is a wordplay on two words “Metropolitan” and “pollutant”, signifying the idea of a citizen in a city surrounded by pollution.
In the distant future, global warming have desertified Earth. Temperatures are always high and dust storms frequently hit urban cities, forcing its population to adapt. The garment is an imaginative reflection of the clothings that people in this dystopian future wear, referencing elements from desert wear and the clothings from Cyberpunk genre in Science Fiction.
The jumpsuit is the innermost layer of the garment, and is made of a comfortable and breathable fabric which helps the wearer feel cool. The sleeves are made broader to make it more cooling, which can also be buttoned off when a dust storm hits.
The poncho is the next layer, covering half the wearer’s body. This is inspired by the garments worn by desert dwellers. The poncho can be further extended to cover the wearer more if needed.
The outermost layer is the armour, which is used to protect the wearer and to perform functions such as detecting environmental changes, and responding using lights and motion. The armour pieces are also inspired by beetles in the way they are designed and the way they are segmented. For example, the arm pieces look like beetle legs while the shoulder pieces look like antennas. The armour also has an iridescent shine like beetles, which also coincides with cyberpunk aesthetics.
The garment is thus able to allow wearers, the Metropollutans, to adapt to the dusty yet urban environment.
The different parts and their functions:
The hood and the mask helps the wearer to protect their face against dust. When high pollution is detected, the motor moves and the mask comes up to cover the face.
The shoulder pieces are called the “Illumunators” which lights up into bright green light when there is high pollution so as to increase visibility.
The chest and neck piece houses the electronics and helps keep every other armour piece together.
The arm pieces help the wearer to visualise the environmental information in the form of light. The left arm piece responds to pollution changes, where in low pollution, it glows in blue and green, while in high pollution, it glows in pink and purple. The right arm piece responds to temperature changes, where in average temperature, it glows in blue and green, while in higher temperature, it glows in orange and red. These changes notify the wearer of the changes in environment, while also preparing them for the change in the garment pieces’ movements.
Finally, the belt allows the wearer to hold more things as it acts like a utility belt.
How it works
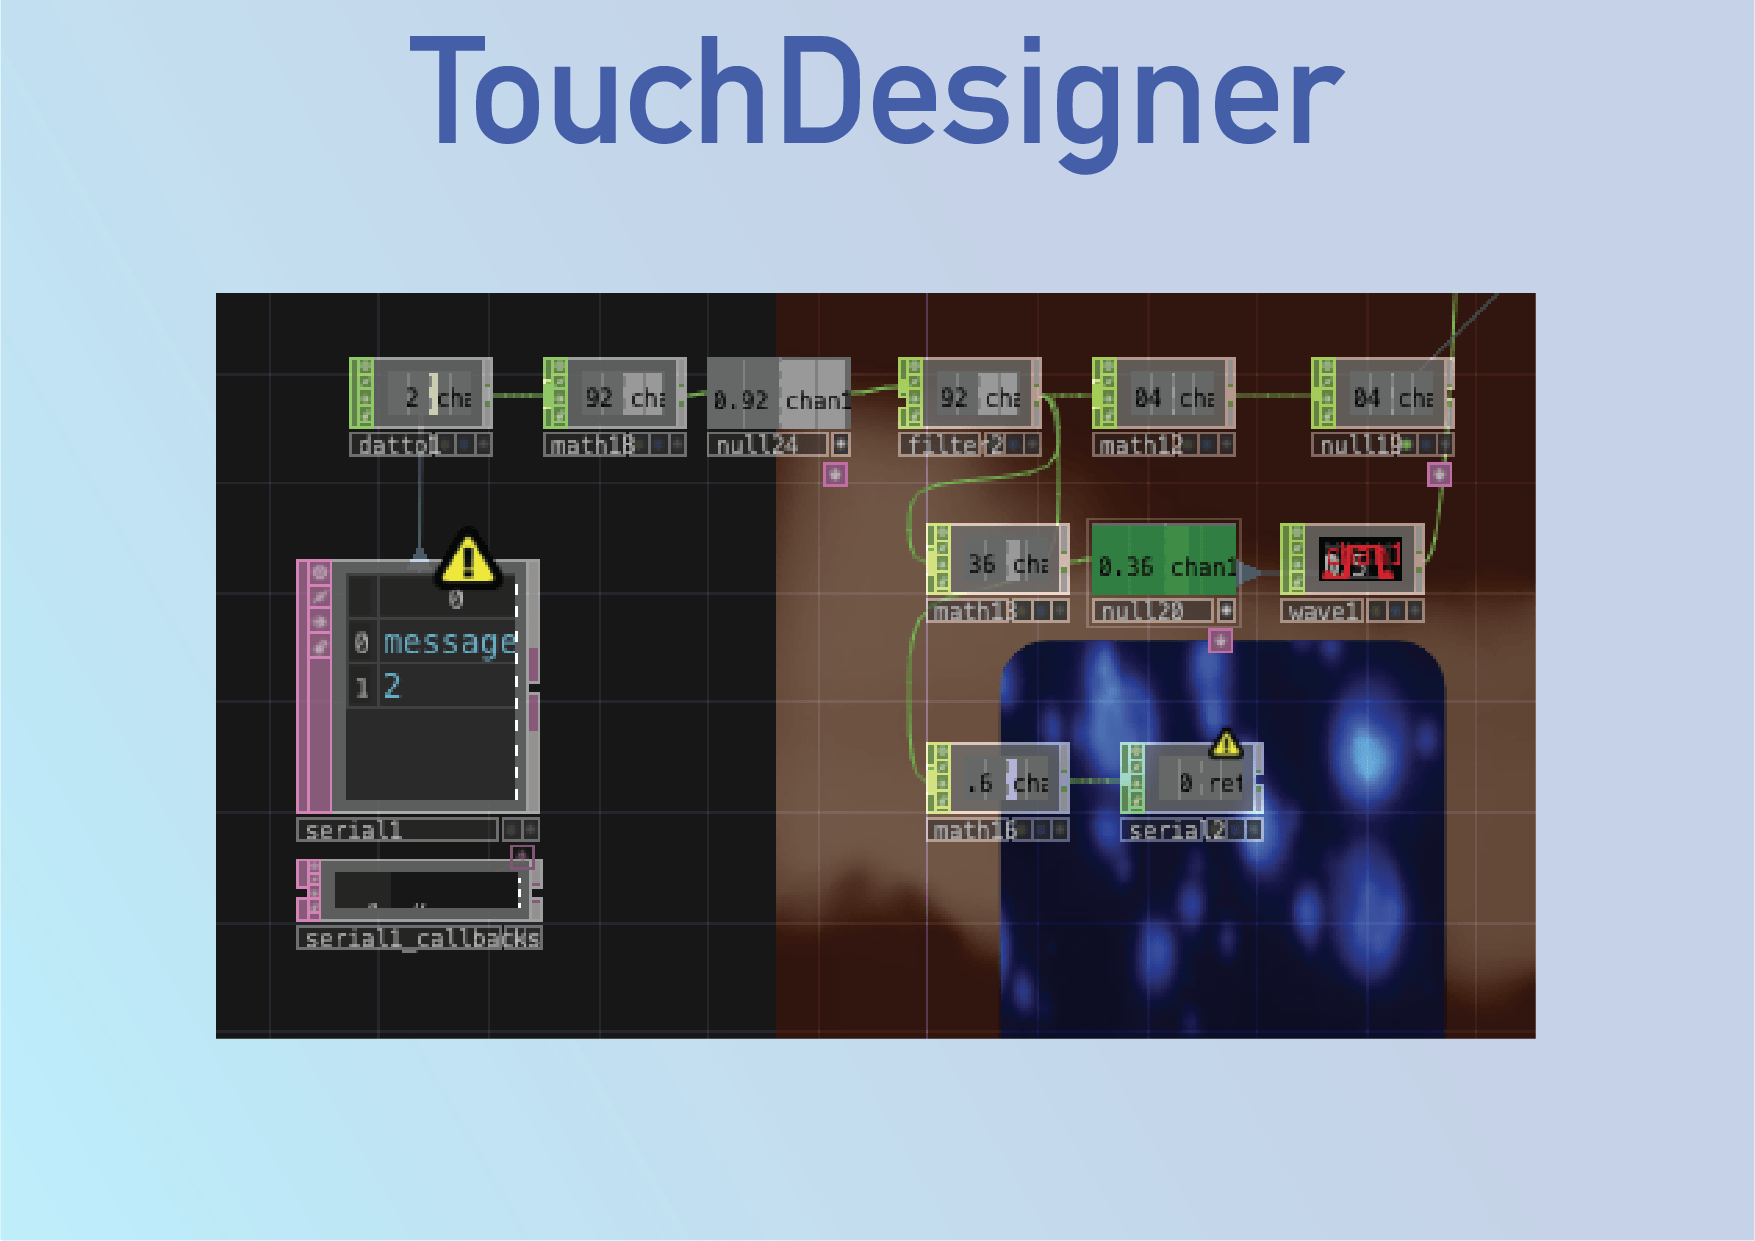
The garment uses Internet of Things (IoT) services to collect, send, and receive data to alter the state of the garment. Data is collected from Air Visuals, a weather data API. The data is sent to Adafruit.io, which stores all the data. The stored data is then sent to microcontrollers, NodeMCU Amica, inside different parts of the garment, controlling different LED strips and servo motors.
As IoT data do not reflect the imagined world’s environment very well, the garment is also controlled by a switch on Adafruit.io which changes the state of the garment. There are two states that works on my garment currently: high pollution and low pollution. On high pollution, the mask will move up to cover the wearer’s mouth, the Illuminator will switch on, and the arm piece colour will turn from blue/green to red/orange; vice versa for low pollution.
Photos of final state:
As I didn’t have the tools (and drive 🙁 ) to continue working on the garment, this is the final state of my work.
Current state: With a piece of armour
Additionally, I’ve worked on the mask and the electronics at home.
Mockups, Sketches:
To make up for the lack of finalised project, I used sketching and mockups to imagine the way the armour pieces look.
Video of Electronics / Interaction:
Role and Future Aspiration in Fashion Show
I would remain in the role I was assigned, doing the stage. I wish to do projection for the show, and had discussed with Shah before about it and we think it’s a good idea. I think we can project the quirks of the different garments, like for example, mine could be a desert world, while Fizah’s can be snakes.
The stage design will also include logistics like smoke machine placement, decorations, etc. This should tie in with the theme, but that’s undecided yet.
Not much happened. Here are some small scale mockups I made to visualise the pattern to cut on the actual piece:
I used Illustrator to create some patterns. Yet to really test them out properly but I’m planning to trace these out on drafting paper (which I forgot to bring home 🙁 ) and test them instead of testing them on the actual PVC leather first because its EXPENSIVE.
Chest pieceShoulder piece and maskbeltHood and eyepieceNeckpiece
Here are some progress with the shiny PVC leather:
Hi yes I’m wearing the Mcdonald’s pyjamas
I only managed to make a mask. Put all the electronics on it and it works! Video is on my final post.
Electronics
I documented before but I’ll reiterate.
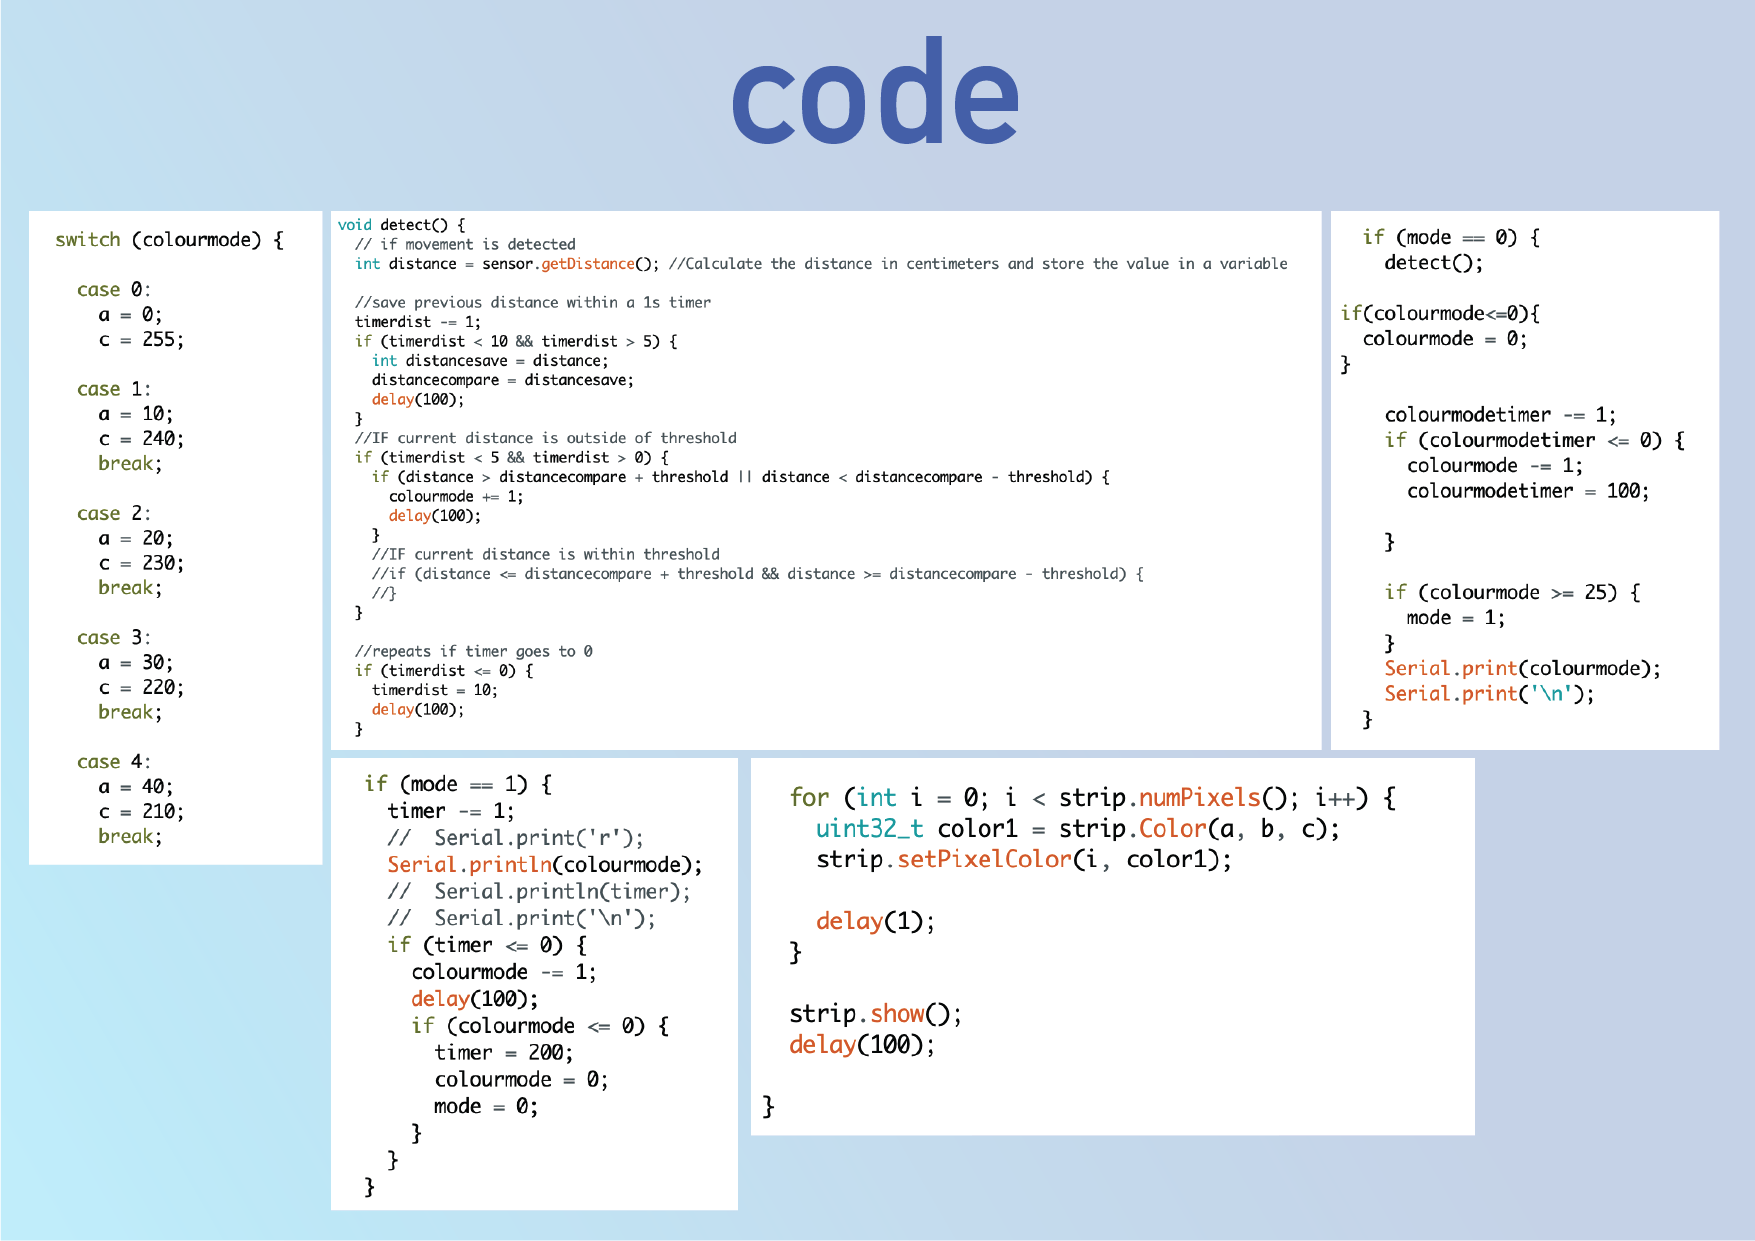
I used a code that brings info from AirVisuals, an open source API that lets you collect info from the internet.
This code collects the dataThis code prints the data out for me to see its values
It works, but as weather is always consistent, the results may not be the most exciting for a fashion show. As such, I created a virtual button on Adafruit.io to toggle the effect from “green” to “red”. Green represents healthier air quality, while red represents dangerous air quality.
Servo motor codeCode for virtual switch to work on my device
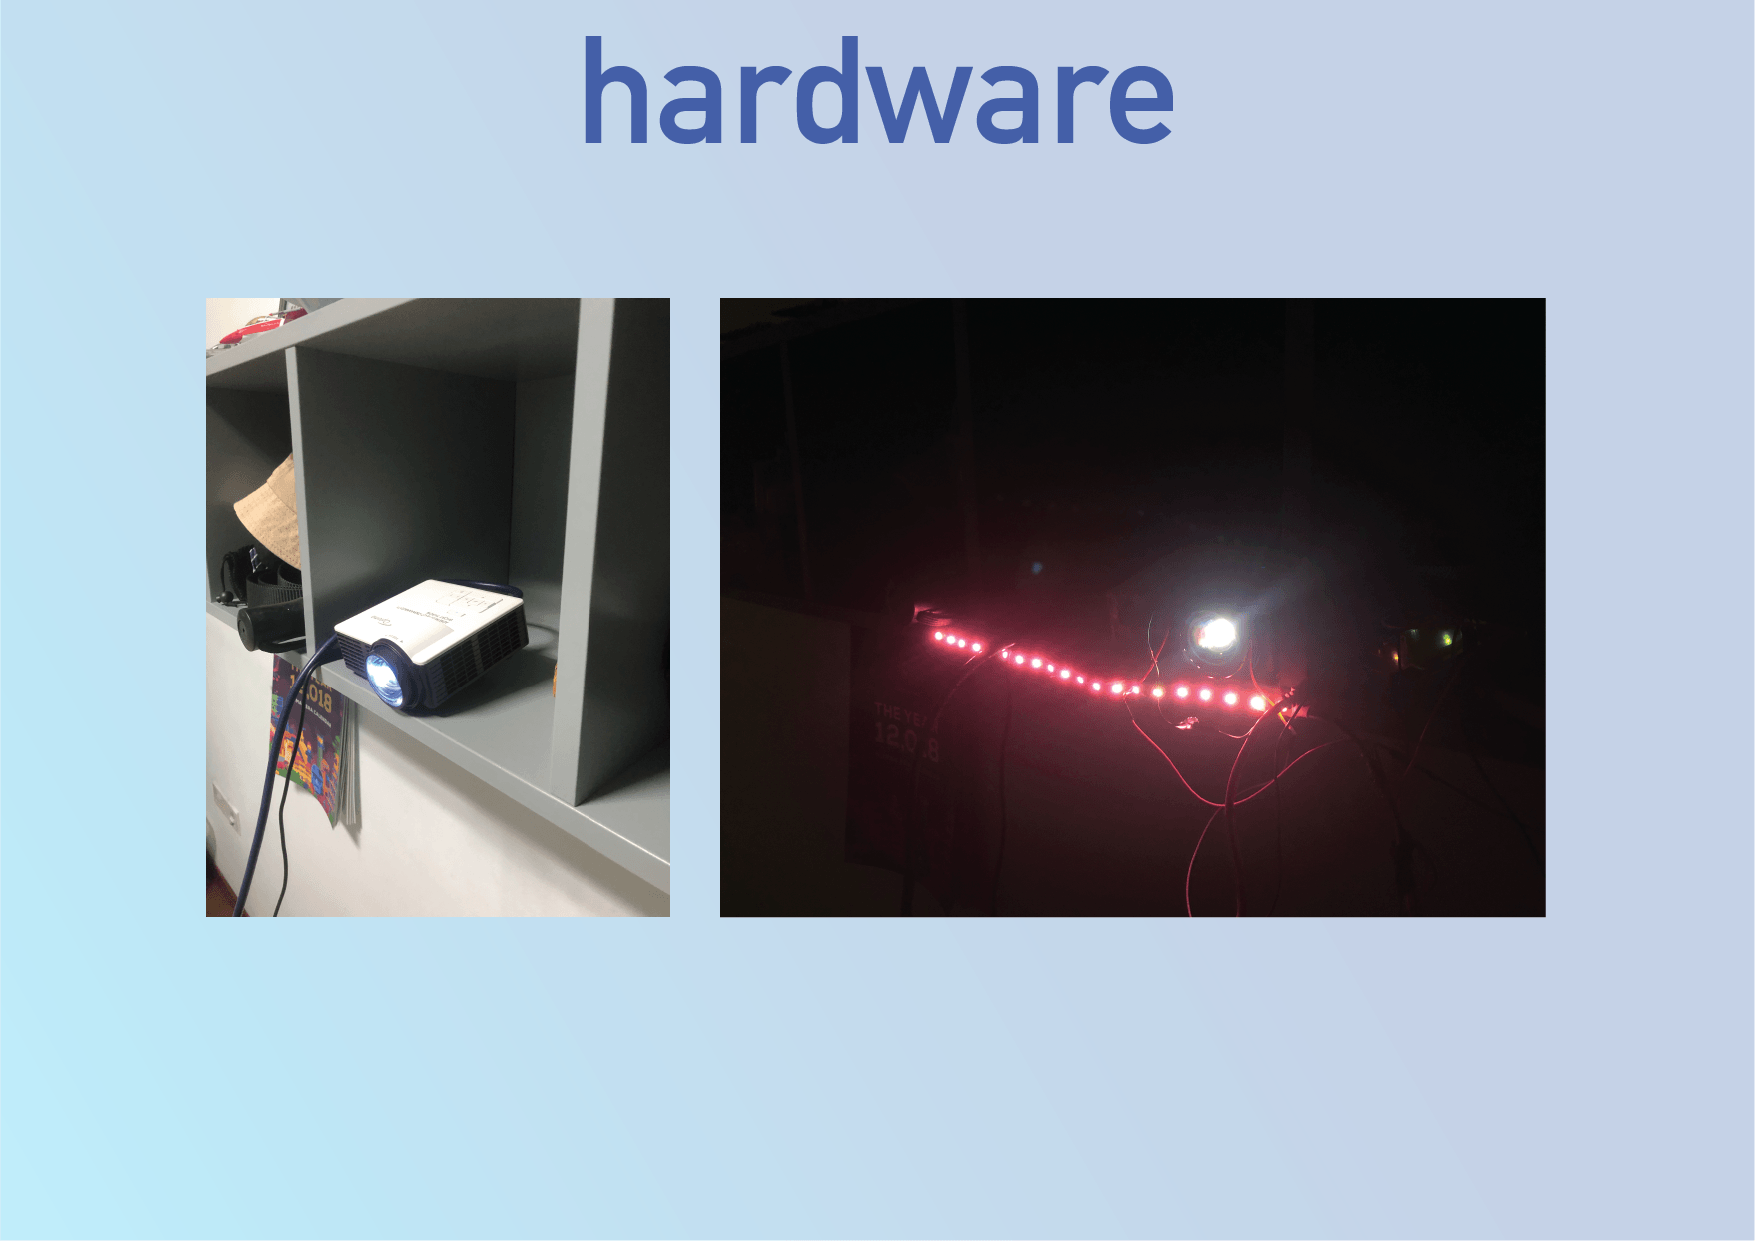
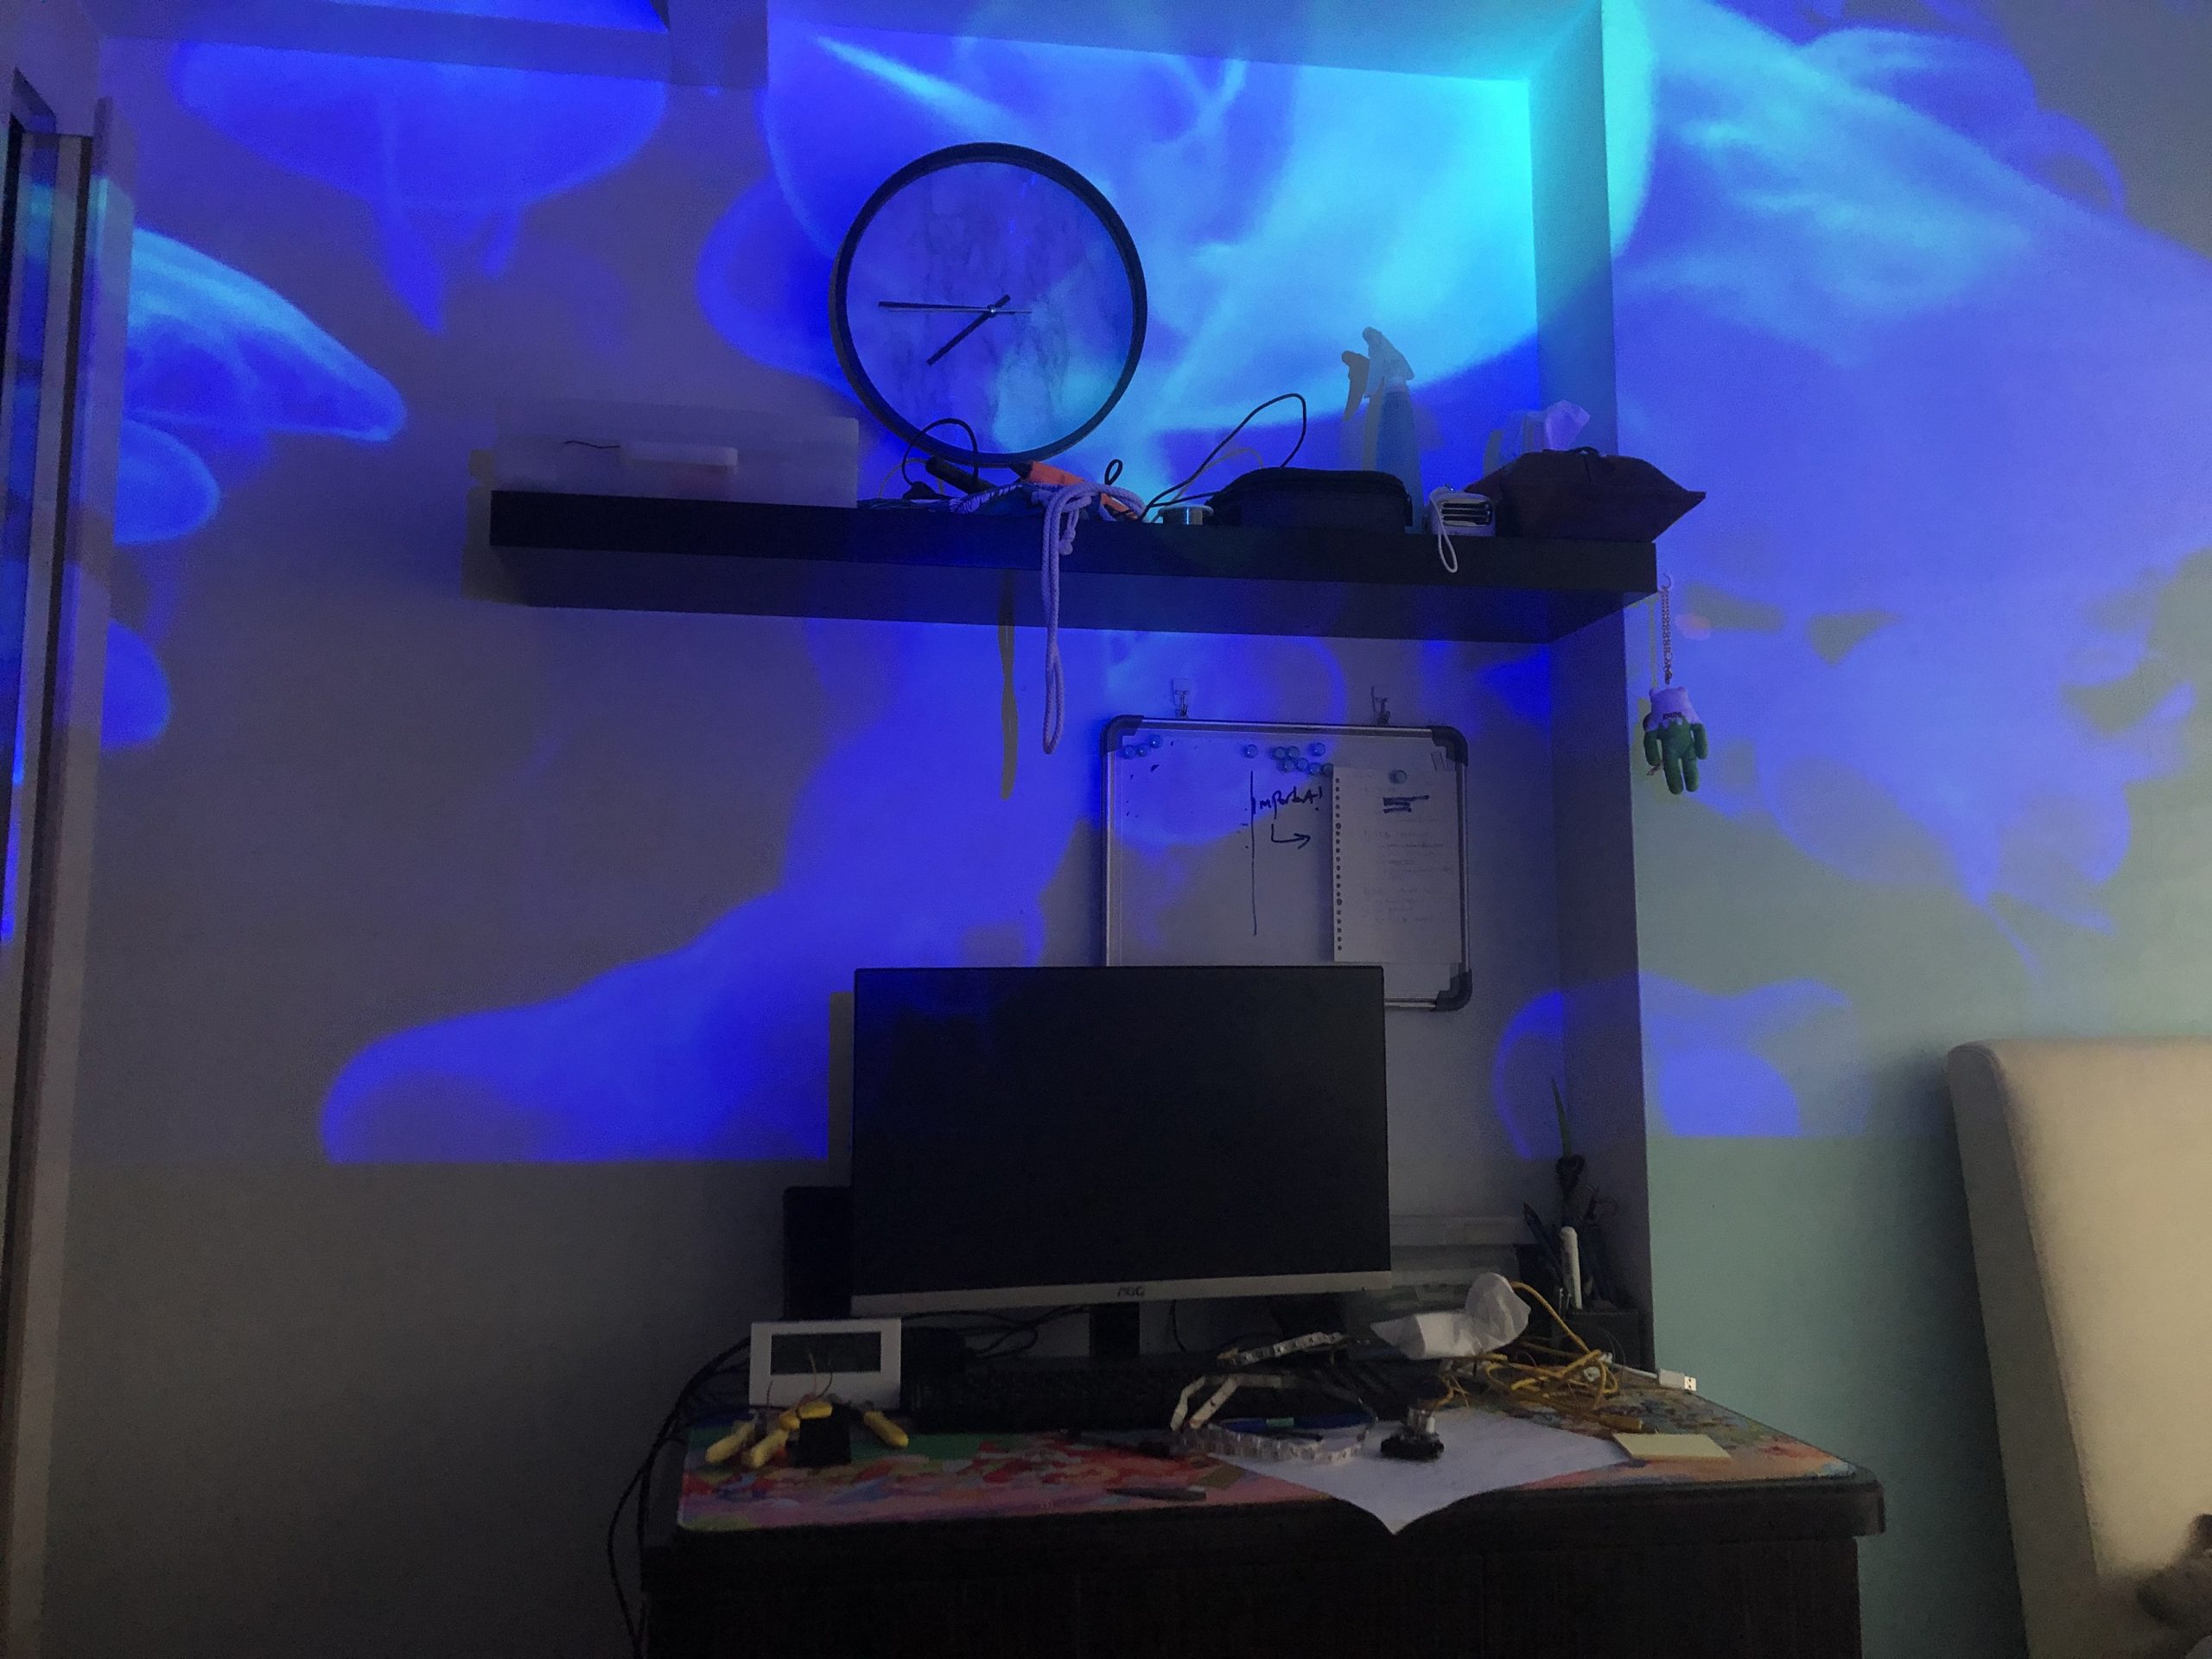
Final setup:
More to be done… This is only the main part. The motors will be on the chest piece, and I need 2 more pieces of LED strip for the shoulders.
The LED light here is for the arms, and I also need 1 more piece for the arm.
I already have the materials so I’ll continue working on it over the sem break or even, if I need to continue after sem starts.
Adafruit.io interface showing the values of pollution, temperature, and the switch position
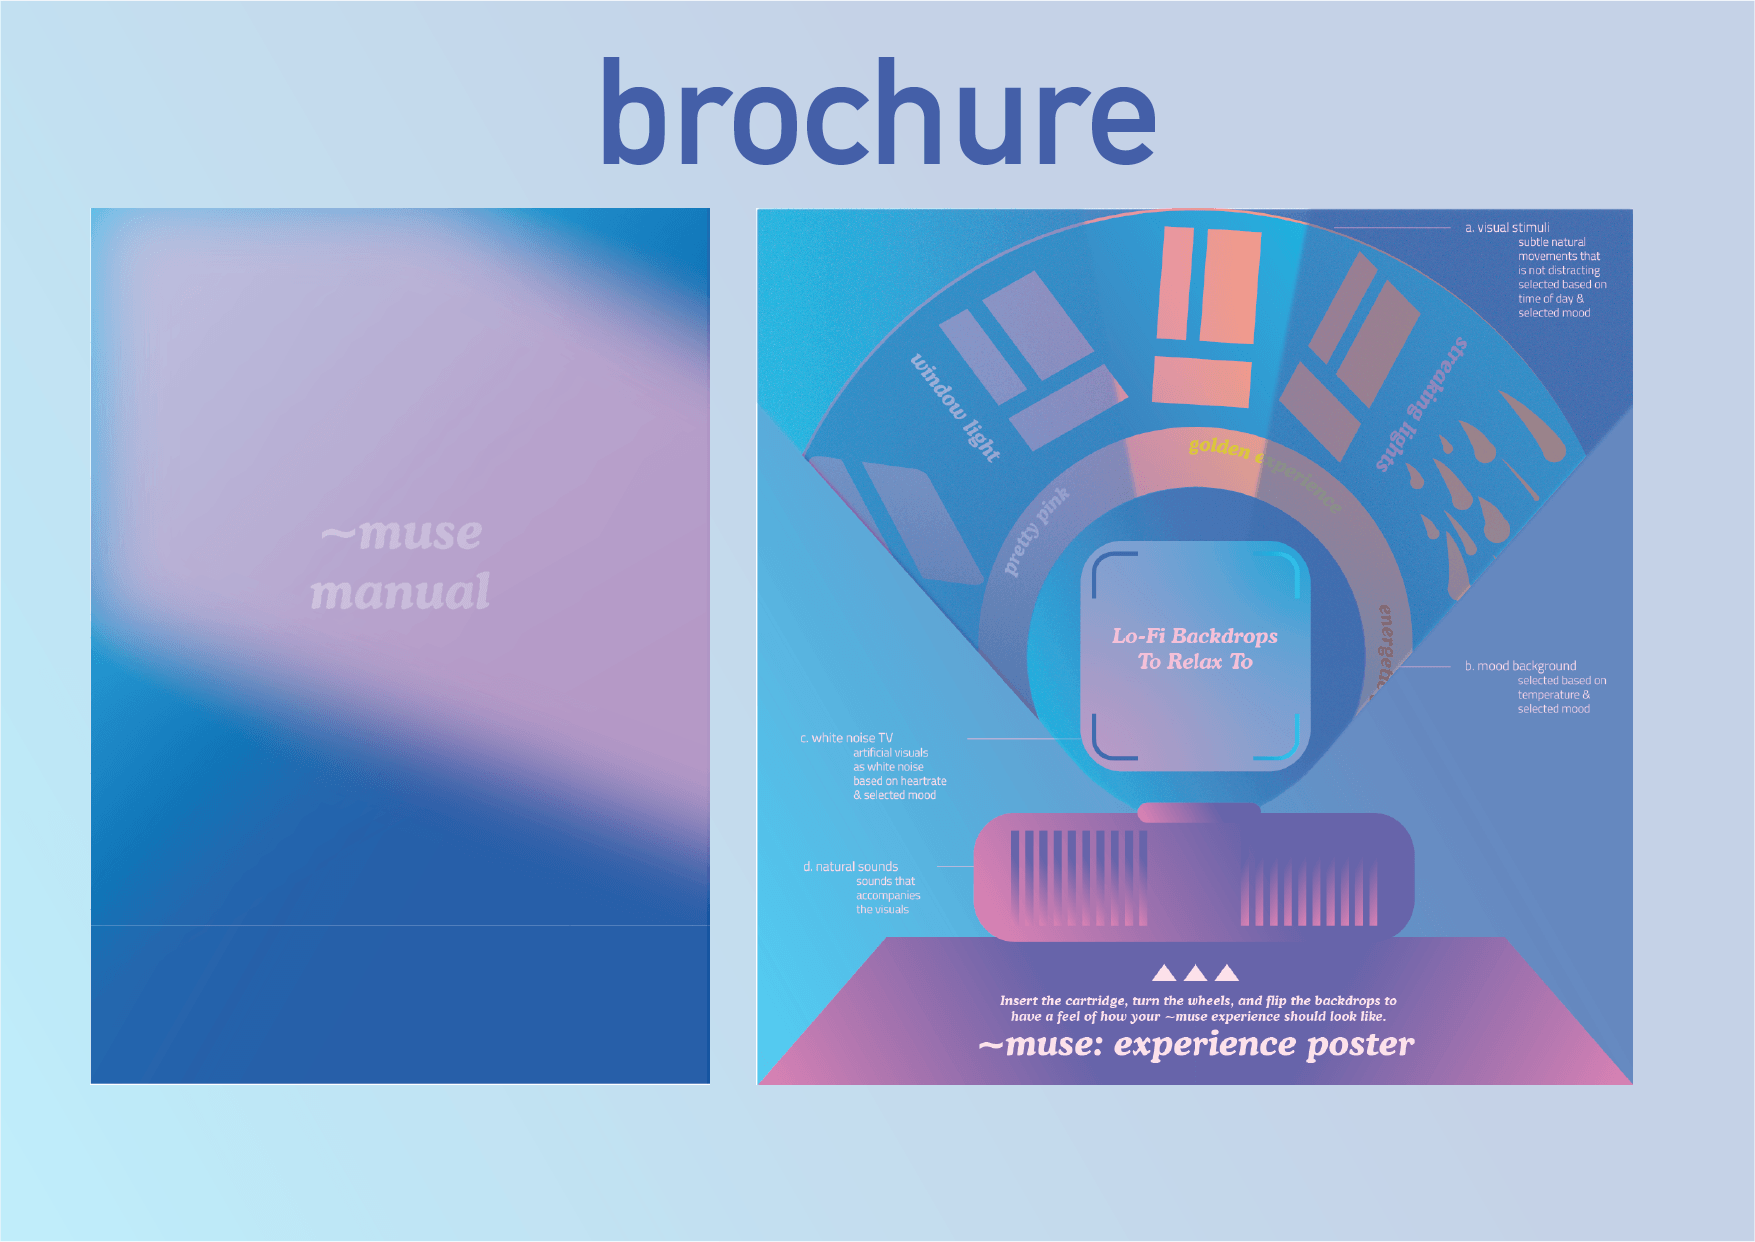
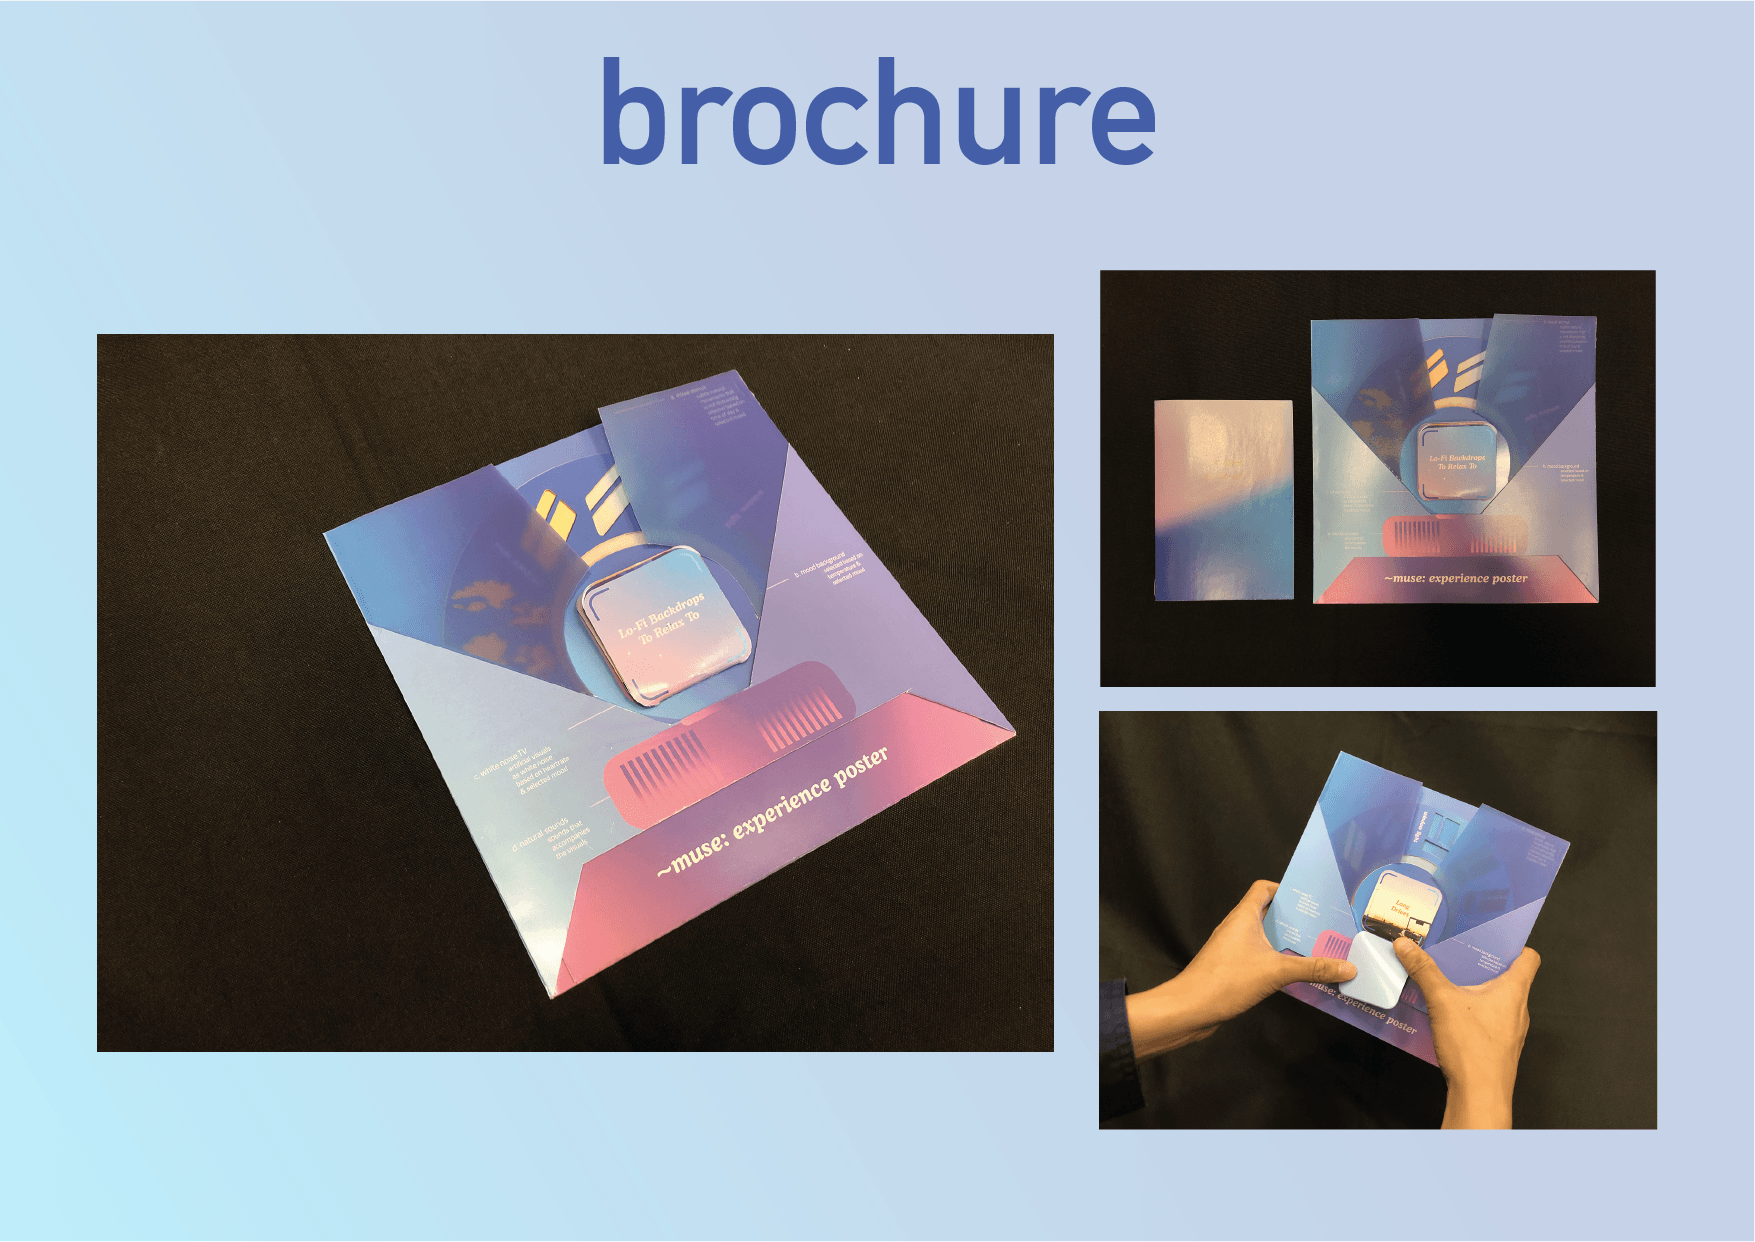
Side note! During presentation I mentioned that the name was meaningless, but I actually meant that it was quite insignificant that I don’t think I should explain it and skipped it over! I basically wanted a name that isn’t too generic and the “~” represents the idea of feelings / mood.
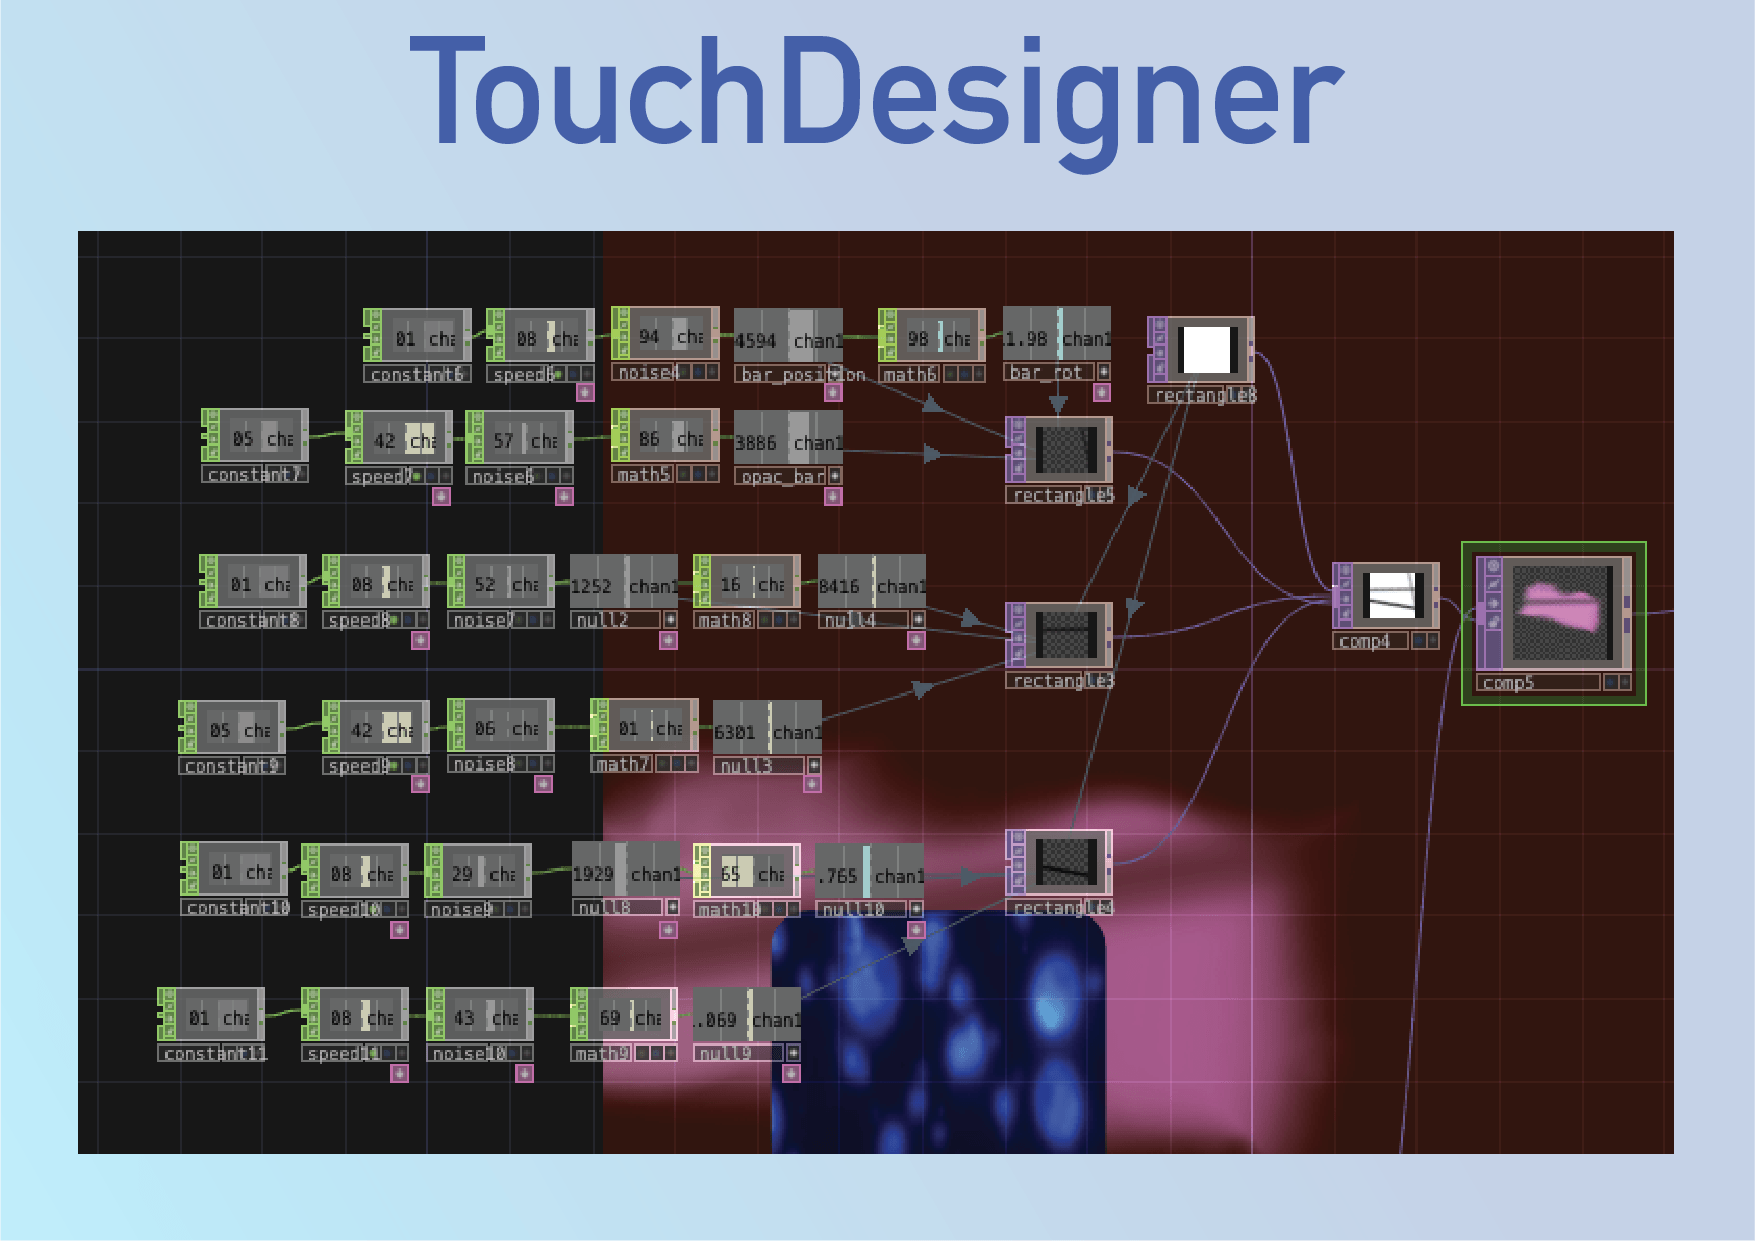
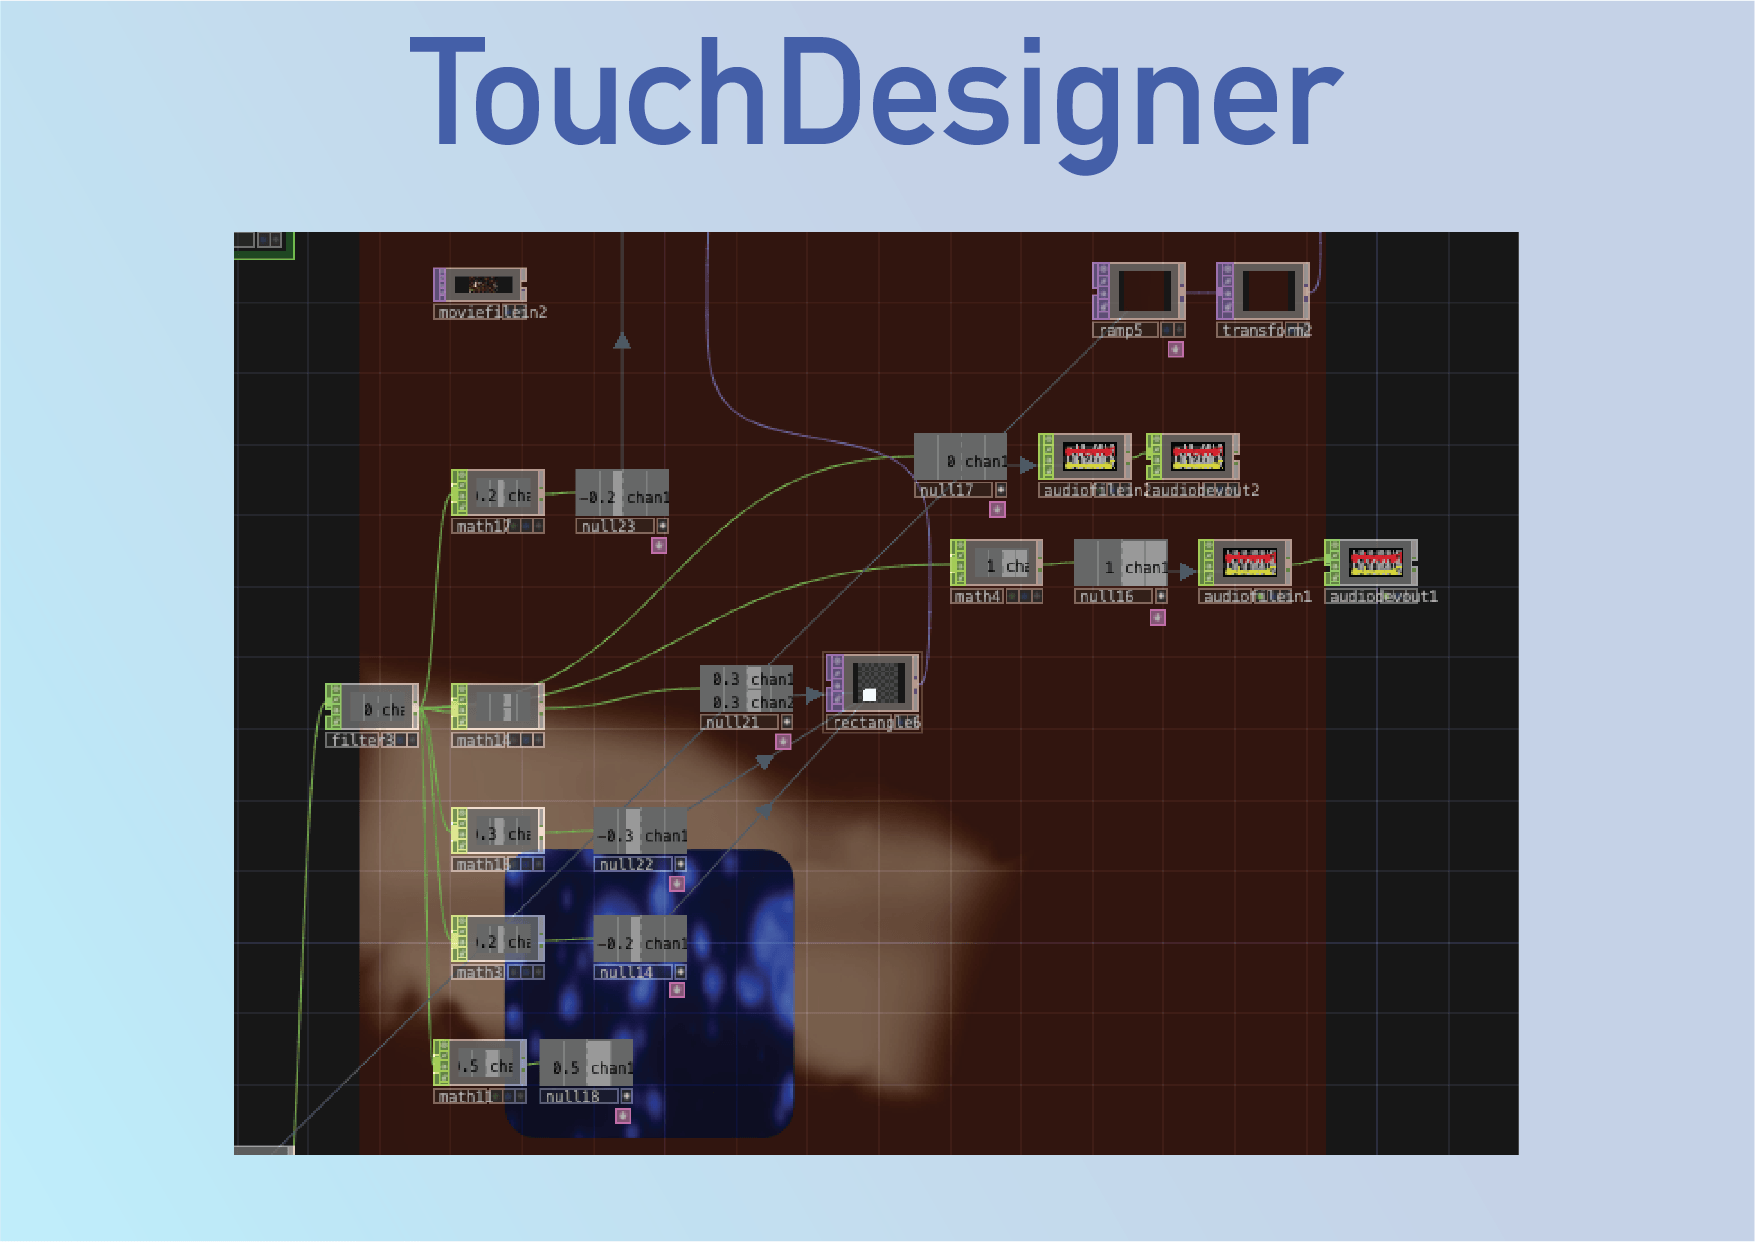
Final Video:
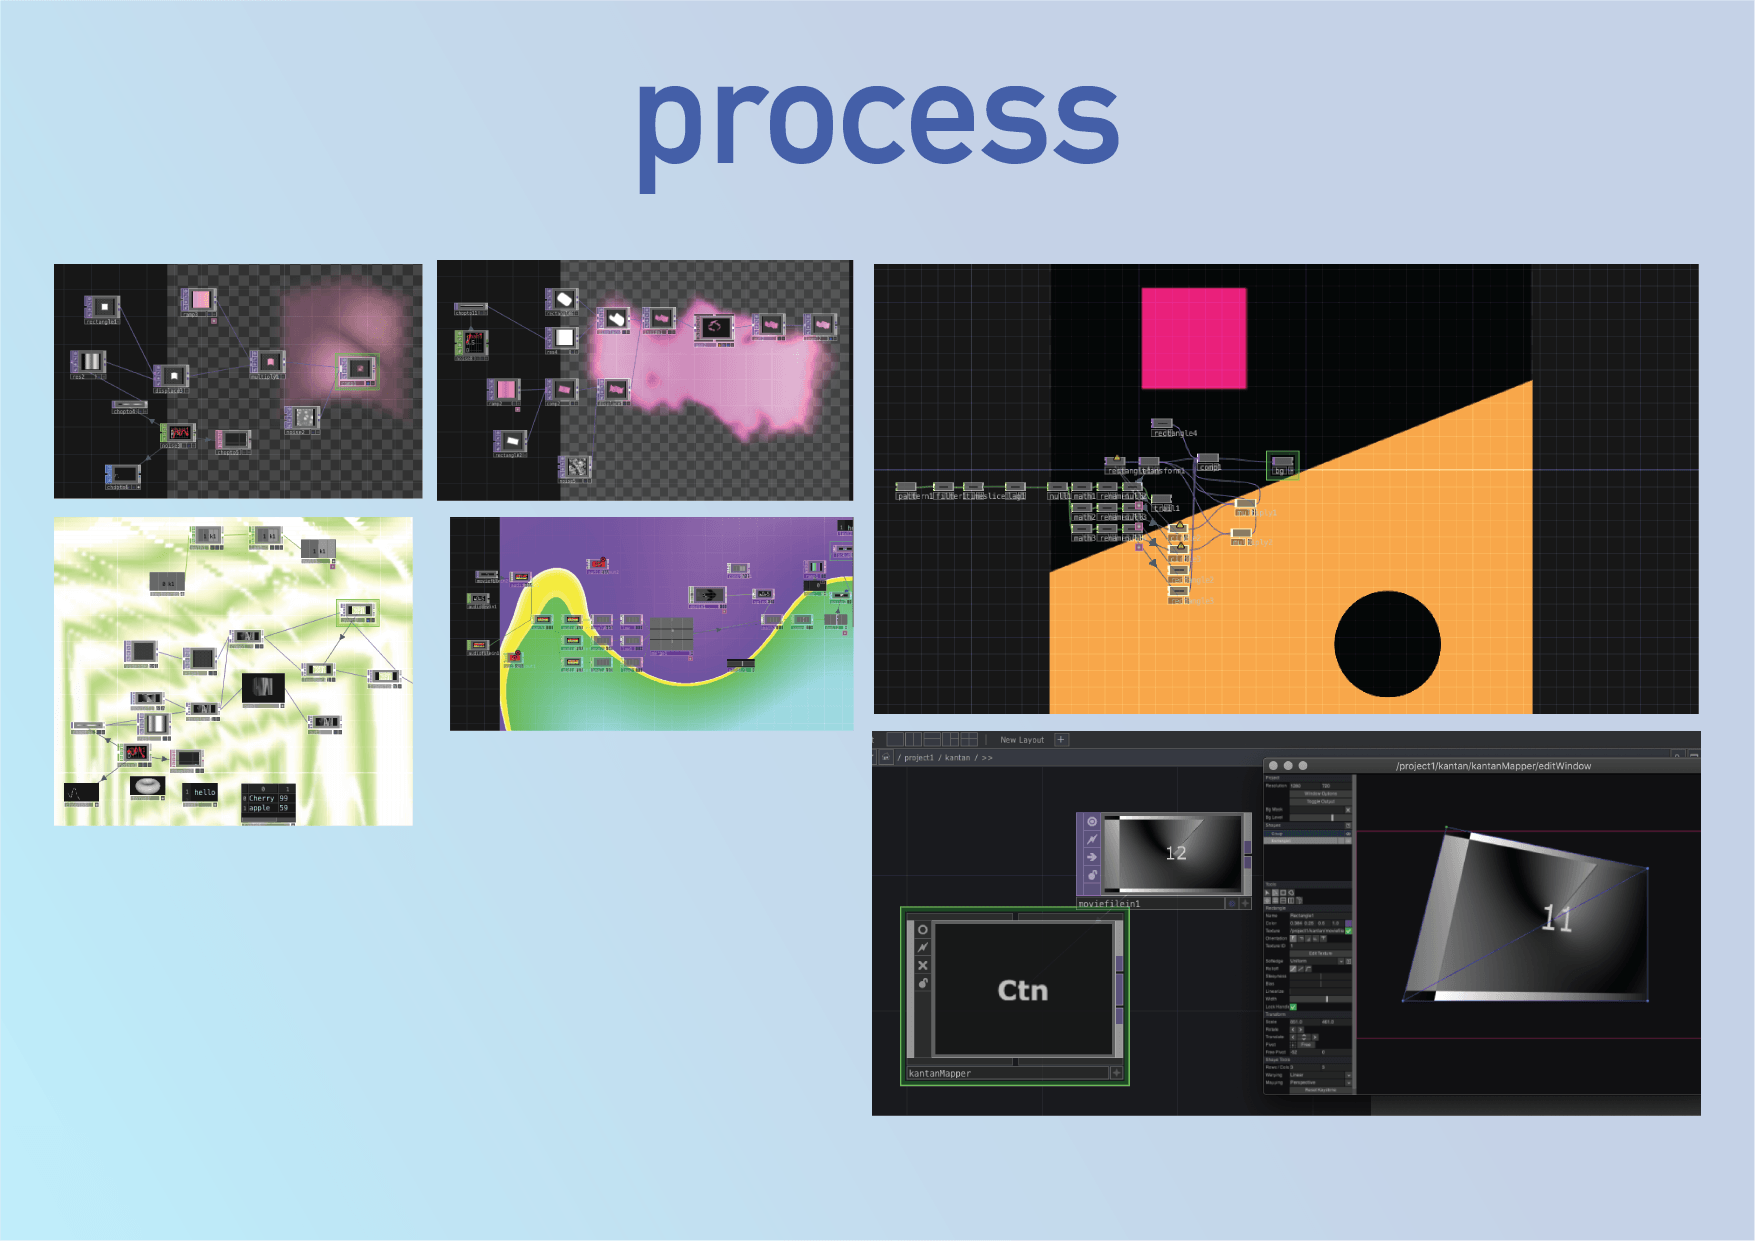
Early Prototypes:
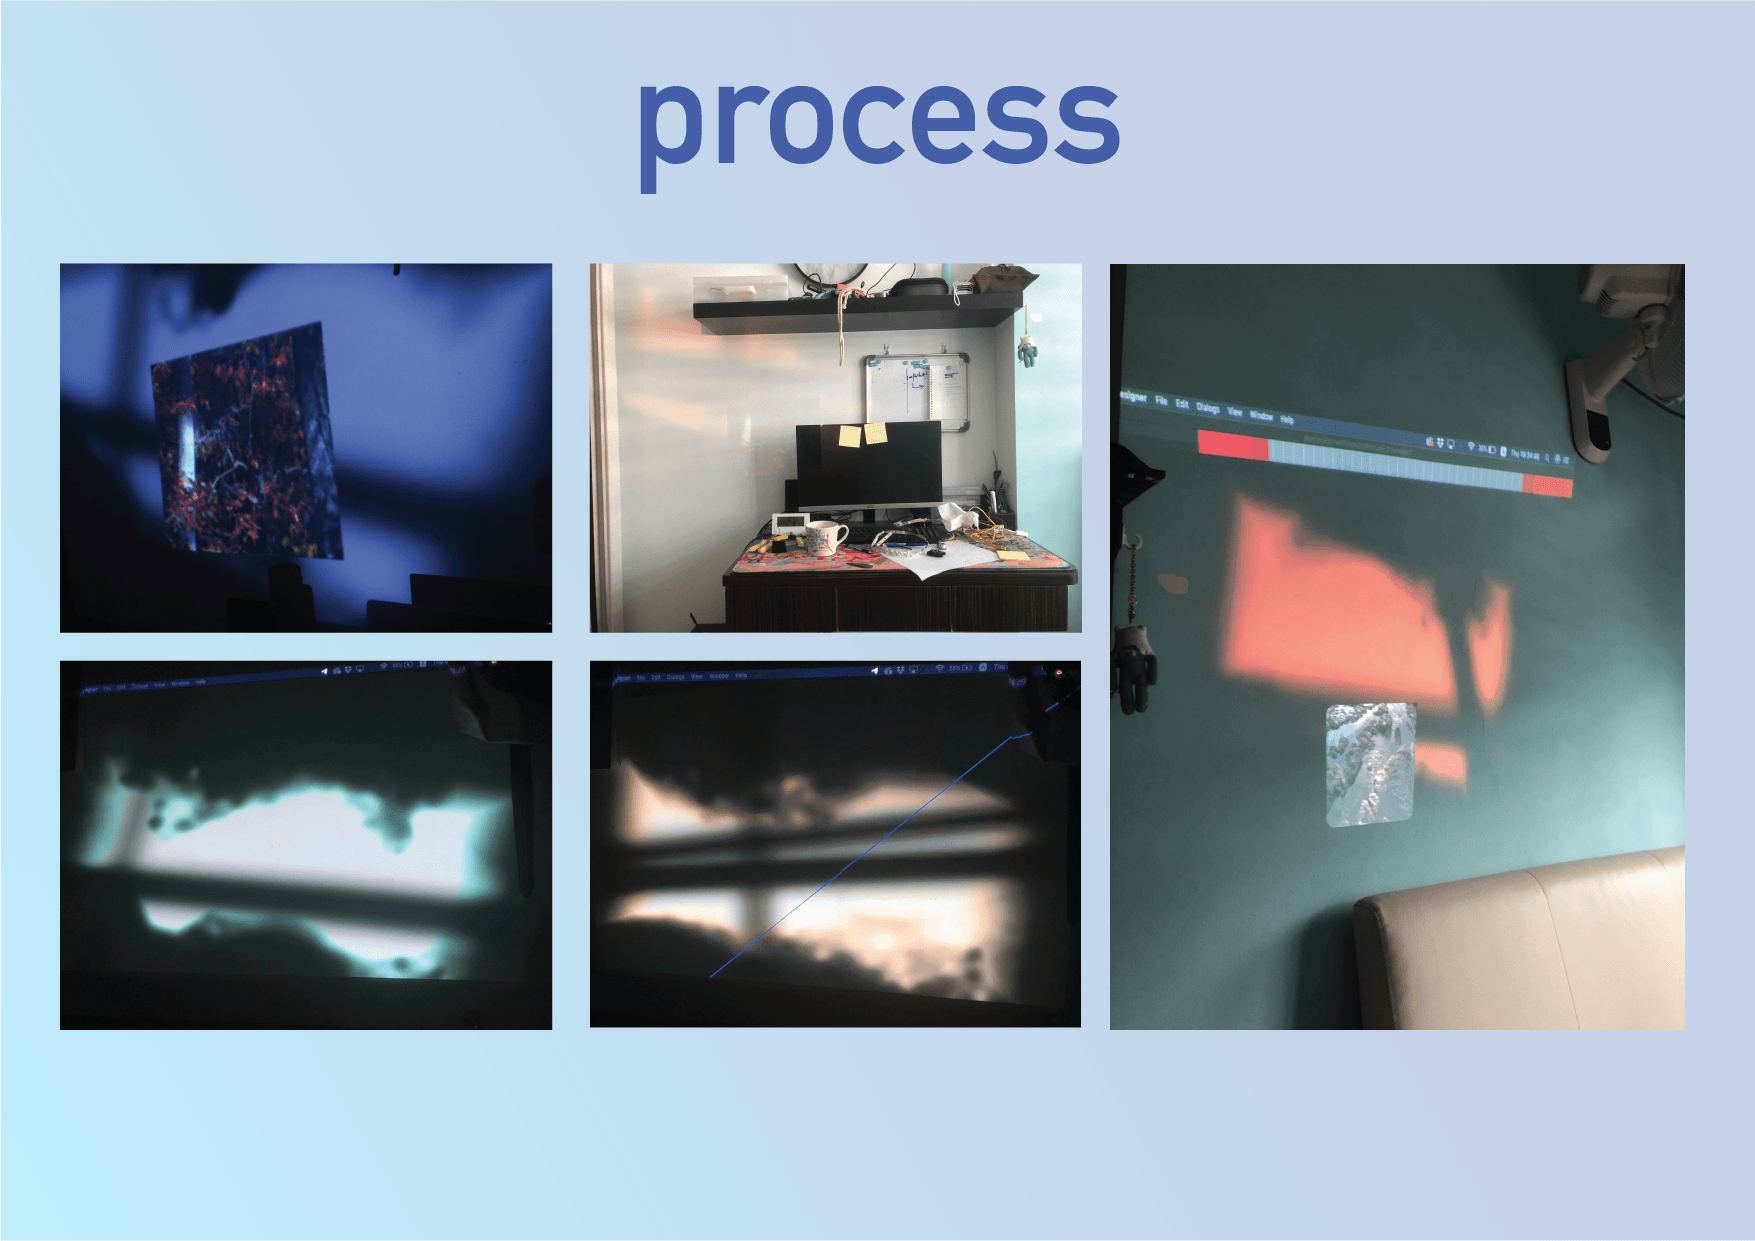
Images:
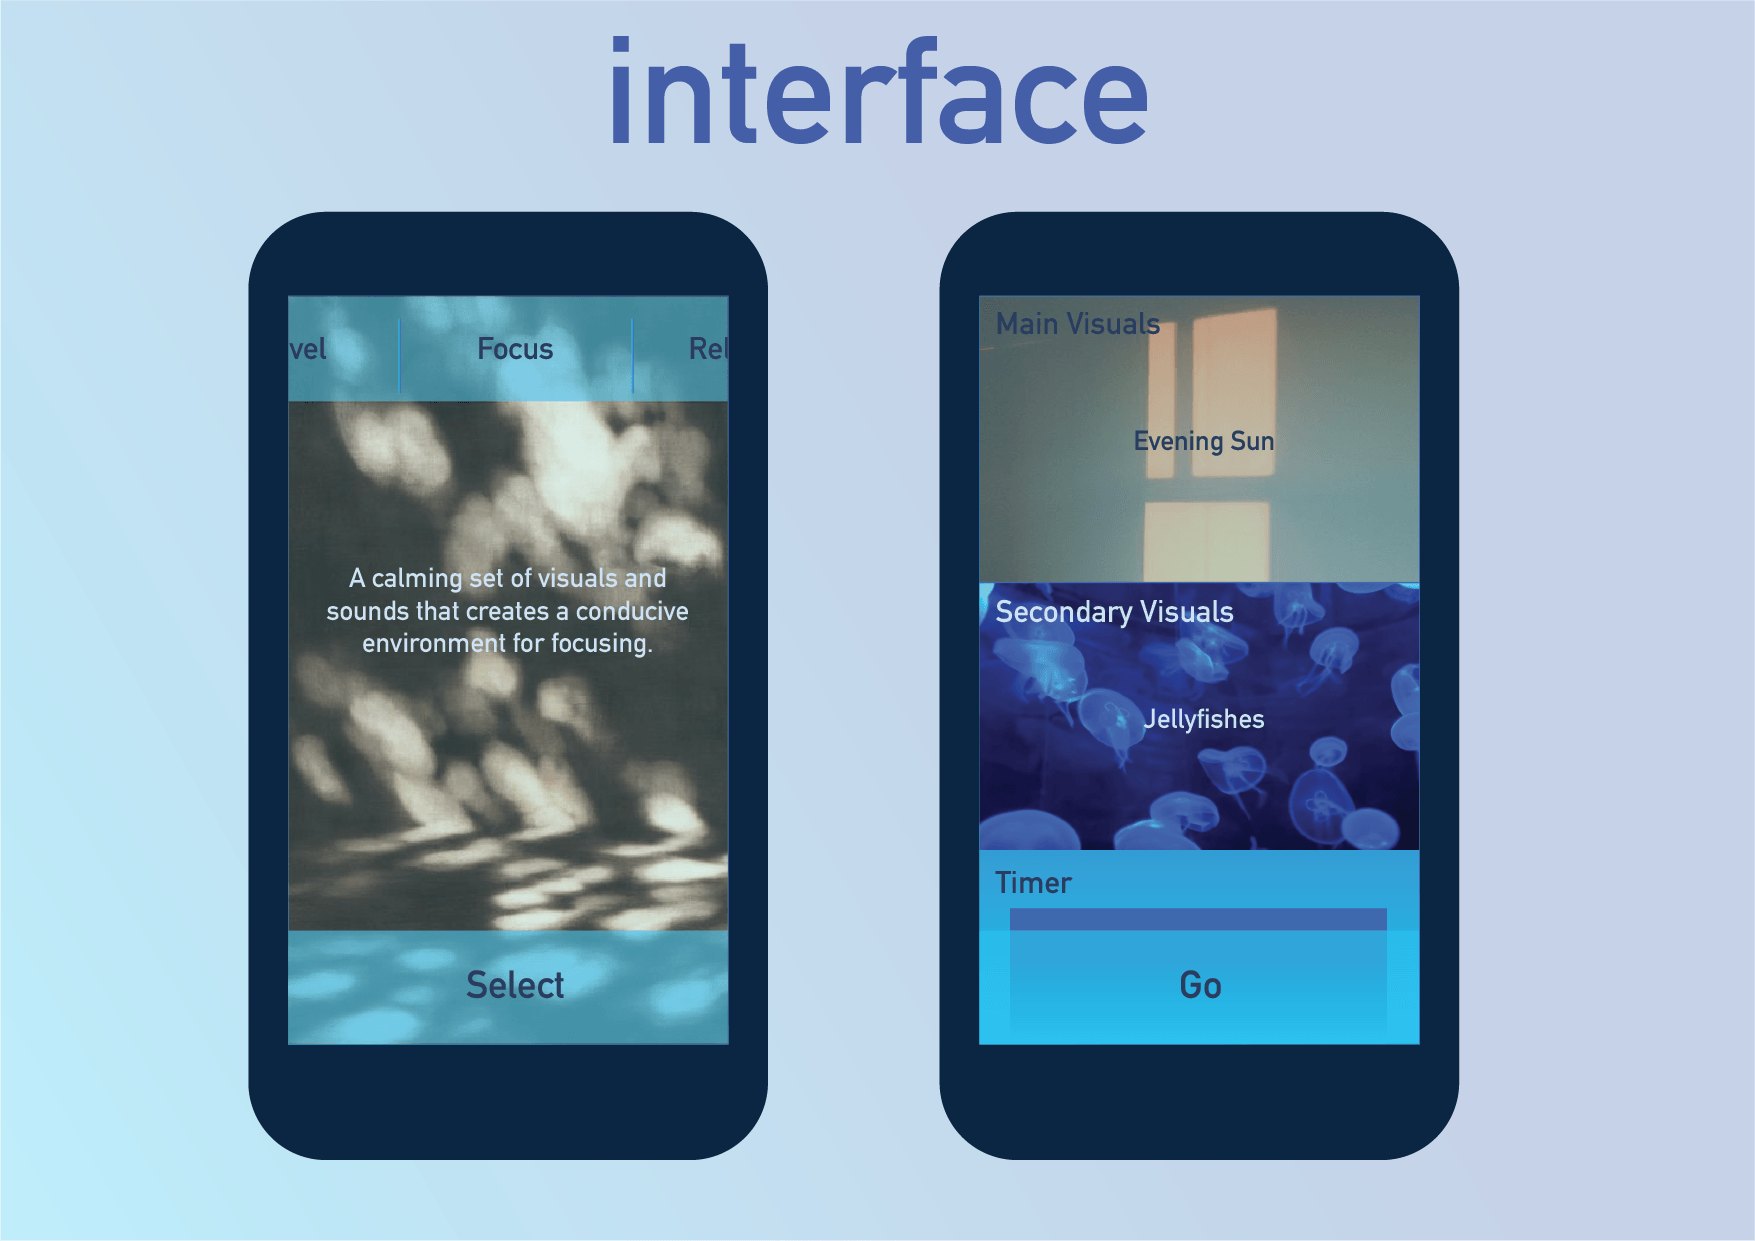
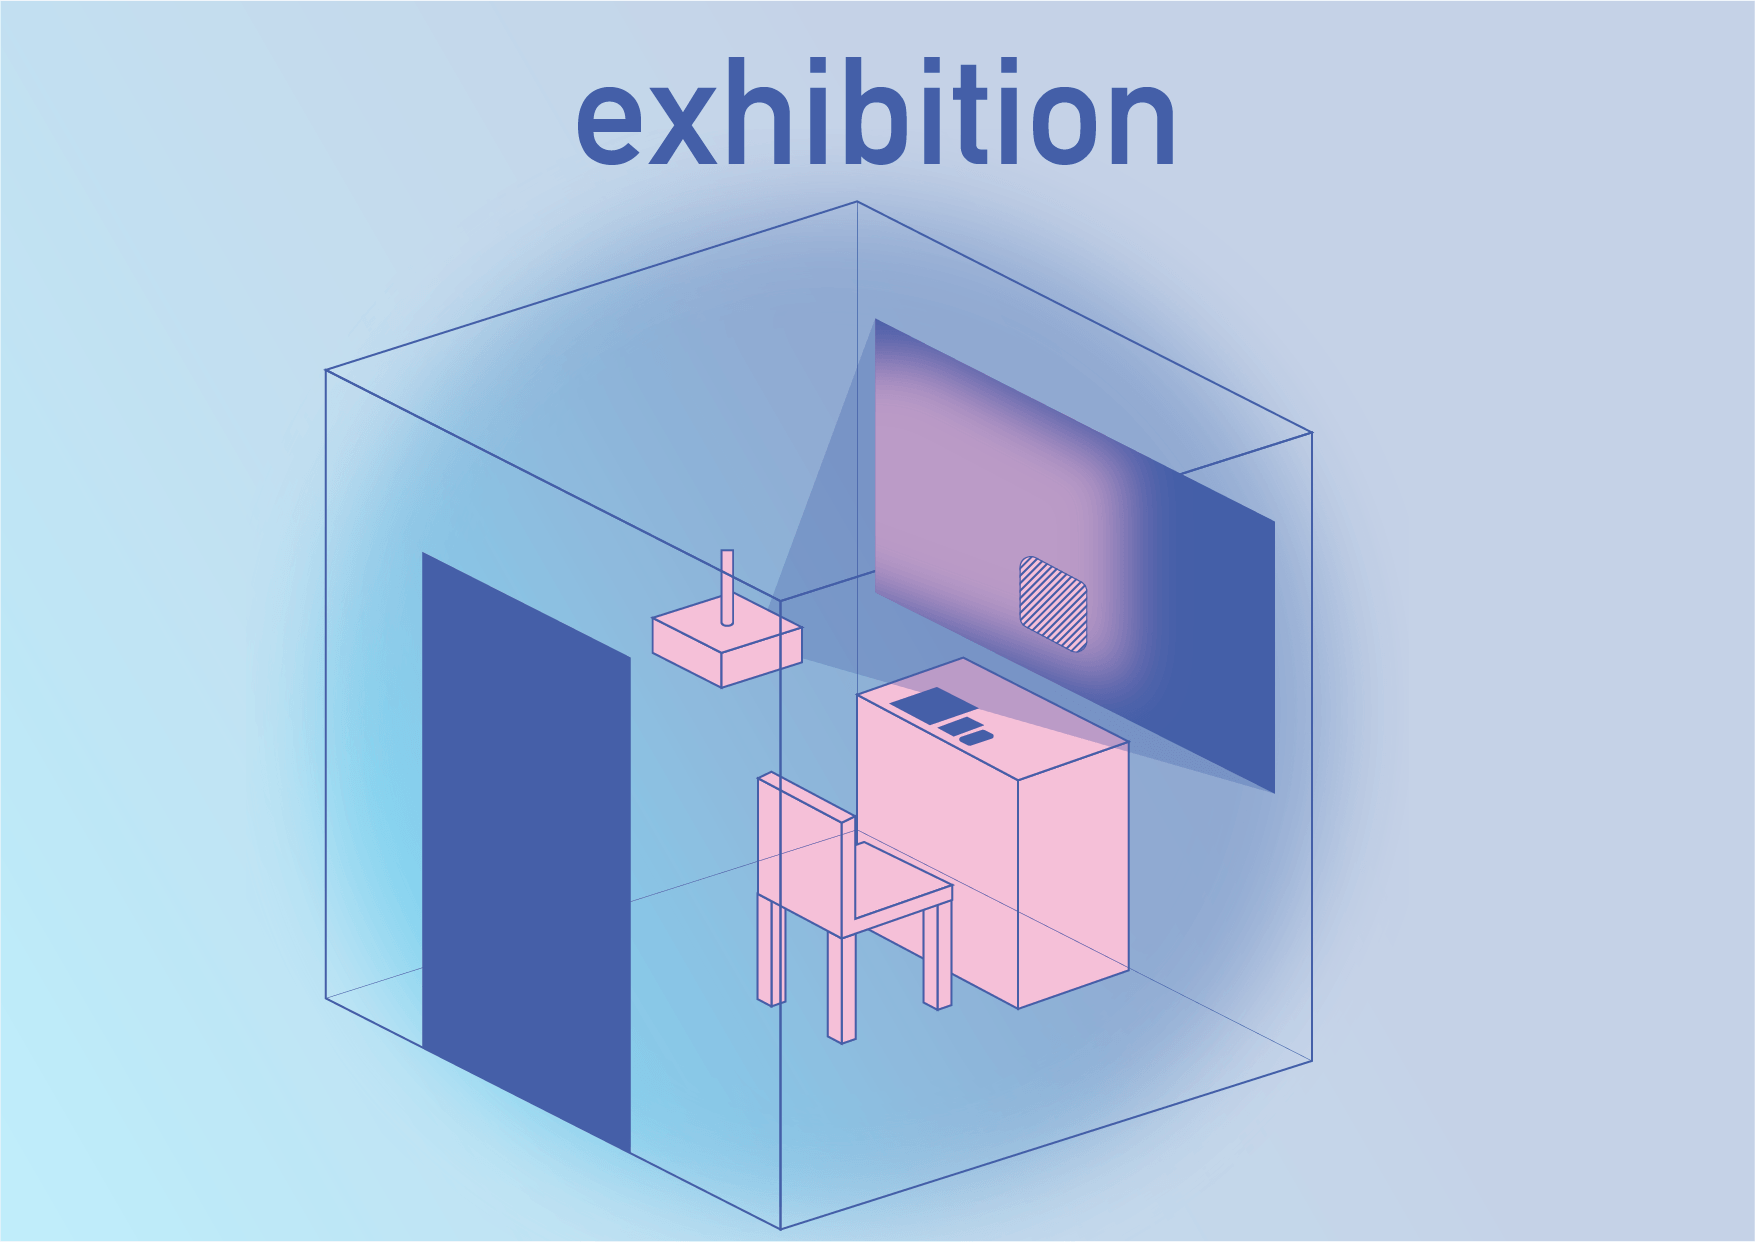
During normal focus session, the visual looks like this. Background moving visuals to create a mood.When distracted / fidgeting too much, the small visual pops out to full screen, with a change of audio to calm the user down
Abstract: You’re cordially invited to our quantum house party! Inspired by the idea of the superposition principle, party guests and objects here do not adhere to physics as we know it. In this house party, while the rooms are entangled to one another, the guests exist in different states at the same time – however when finally being observed, only one state will remain.