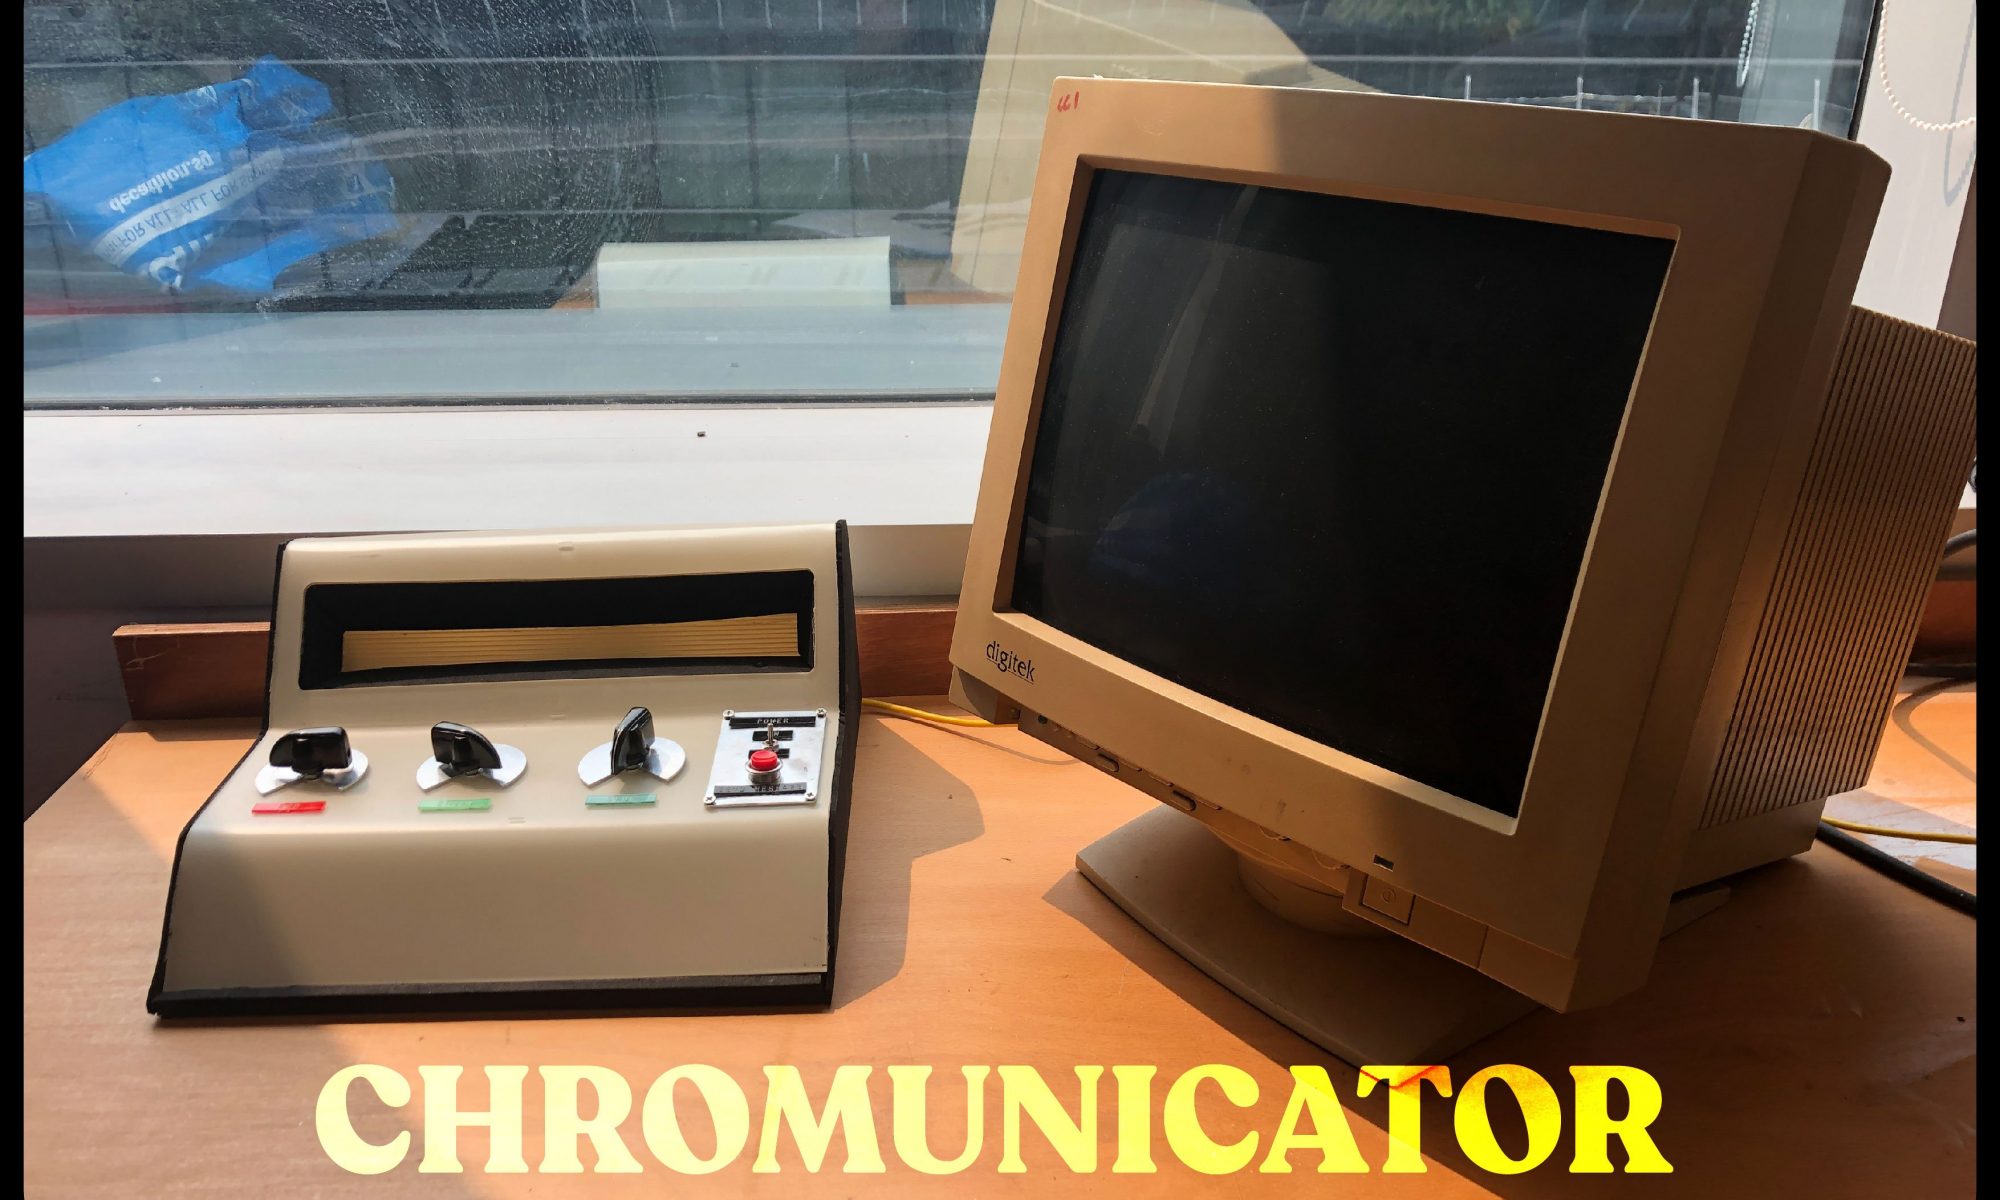
CHROMUNICATOR
Colour-to-text converter

How the device works
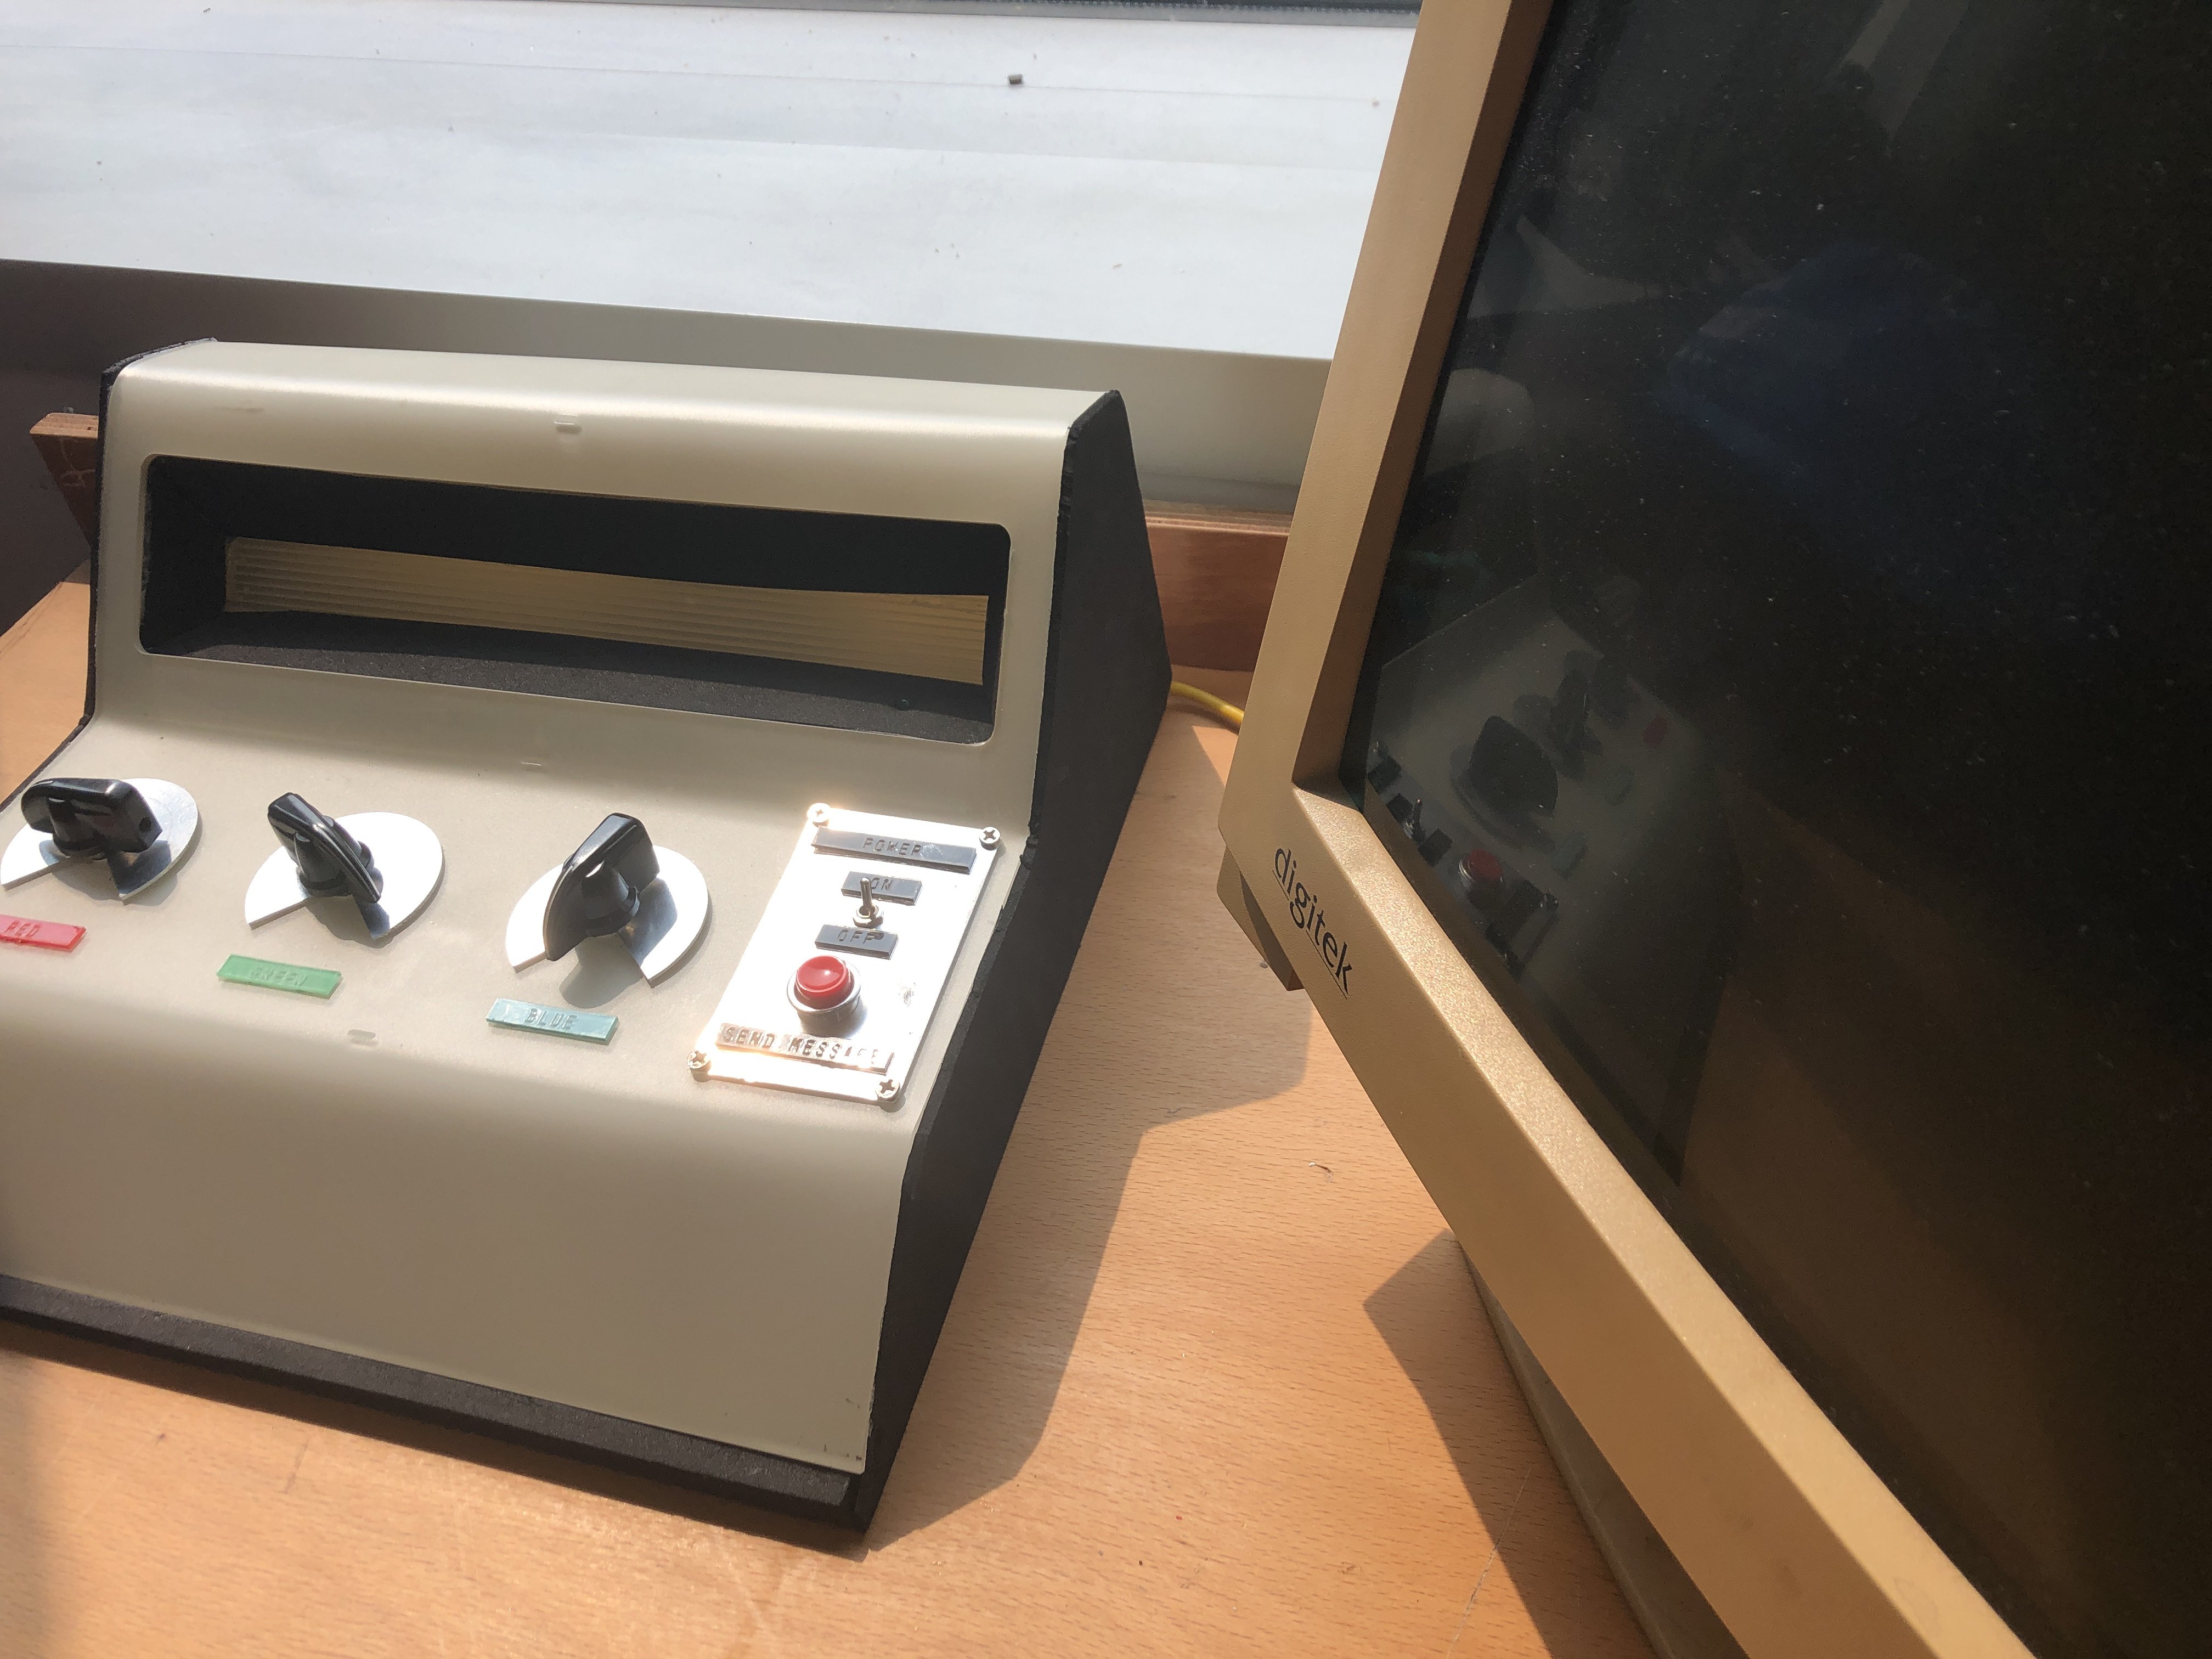
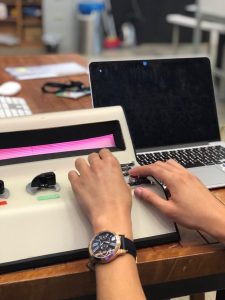
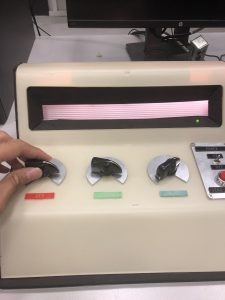
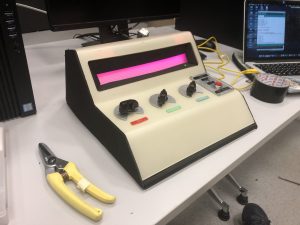
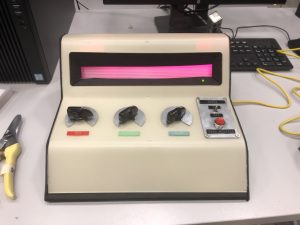
This device is an analog machine that provides full tactile and visual feedback through the use of dials, a button, a toggle switch, an LED strip, and computer screen. The device ‘converts’ coloured light into text. Users can turn the dial to alter the colours’ red, green, and blue values manually. After selecting a colour they like, they are to press the red button to ‘save’ the colour. The machine can save up to 10 colours. The users can then send the message to the computer by pushing the toggle switch down. This results in the machine entering ‘transmit’ mode, and promptly repeats the selected colours on its screen. Meanwhile, the ‘translation’ happens in real time, displaying the translated words on the computer screen. Users can then press the red button again to repeat the transmission. Users can then flick the switch back up to return to ‘record’ mode.
In a nutshell:
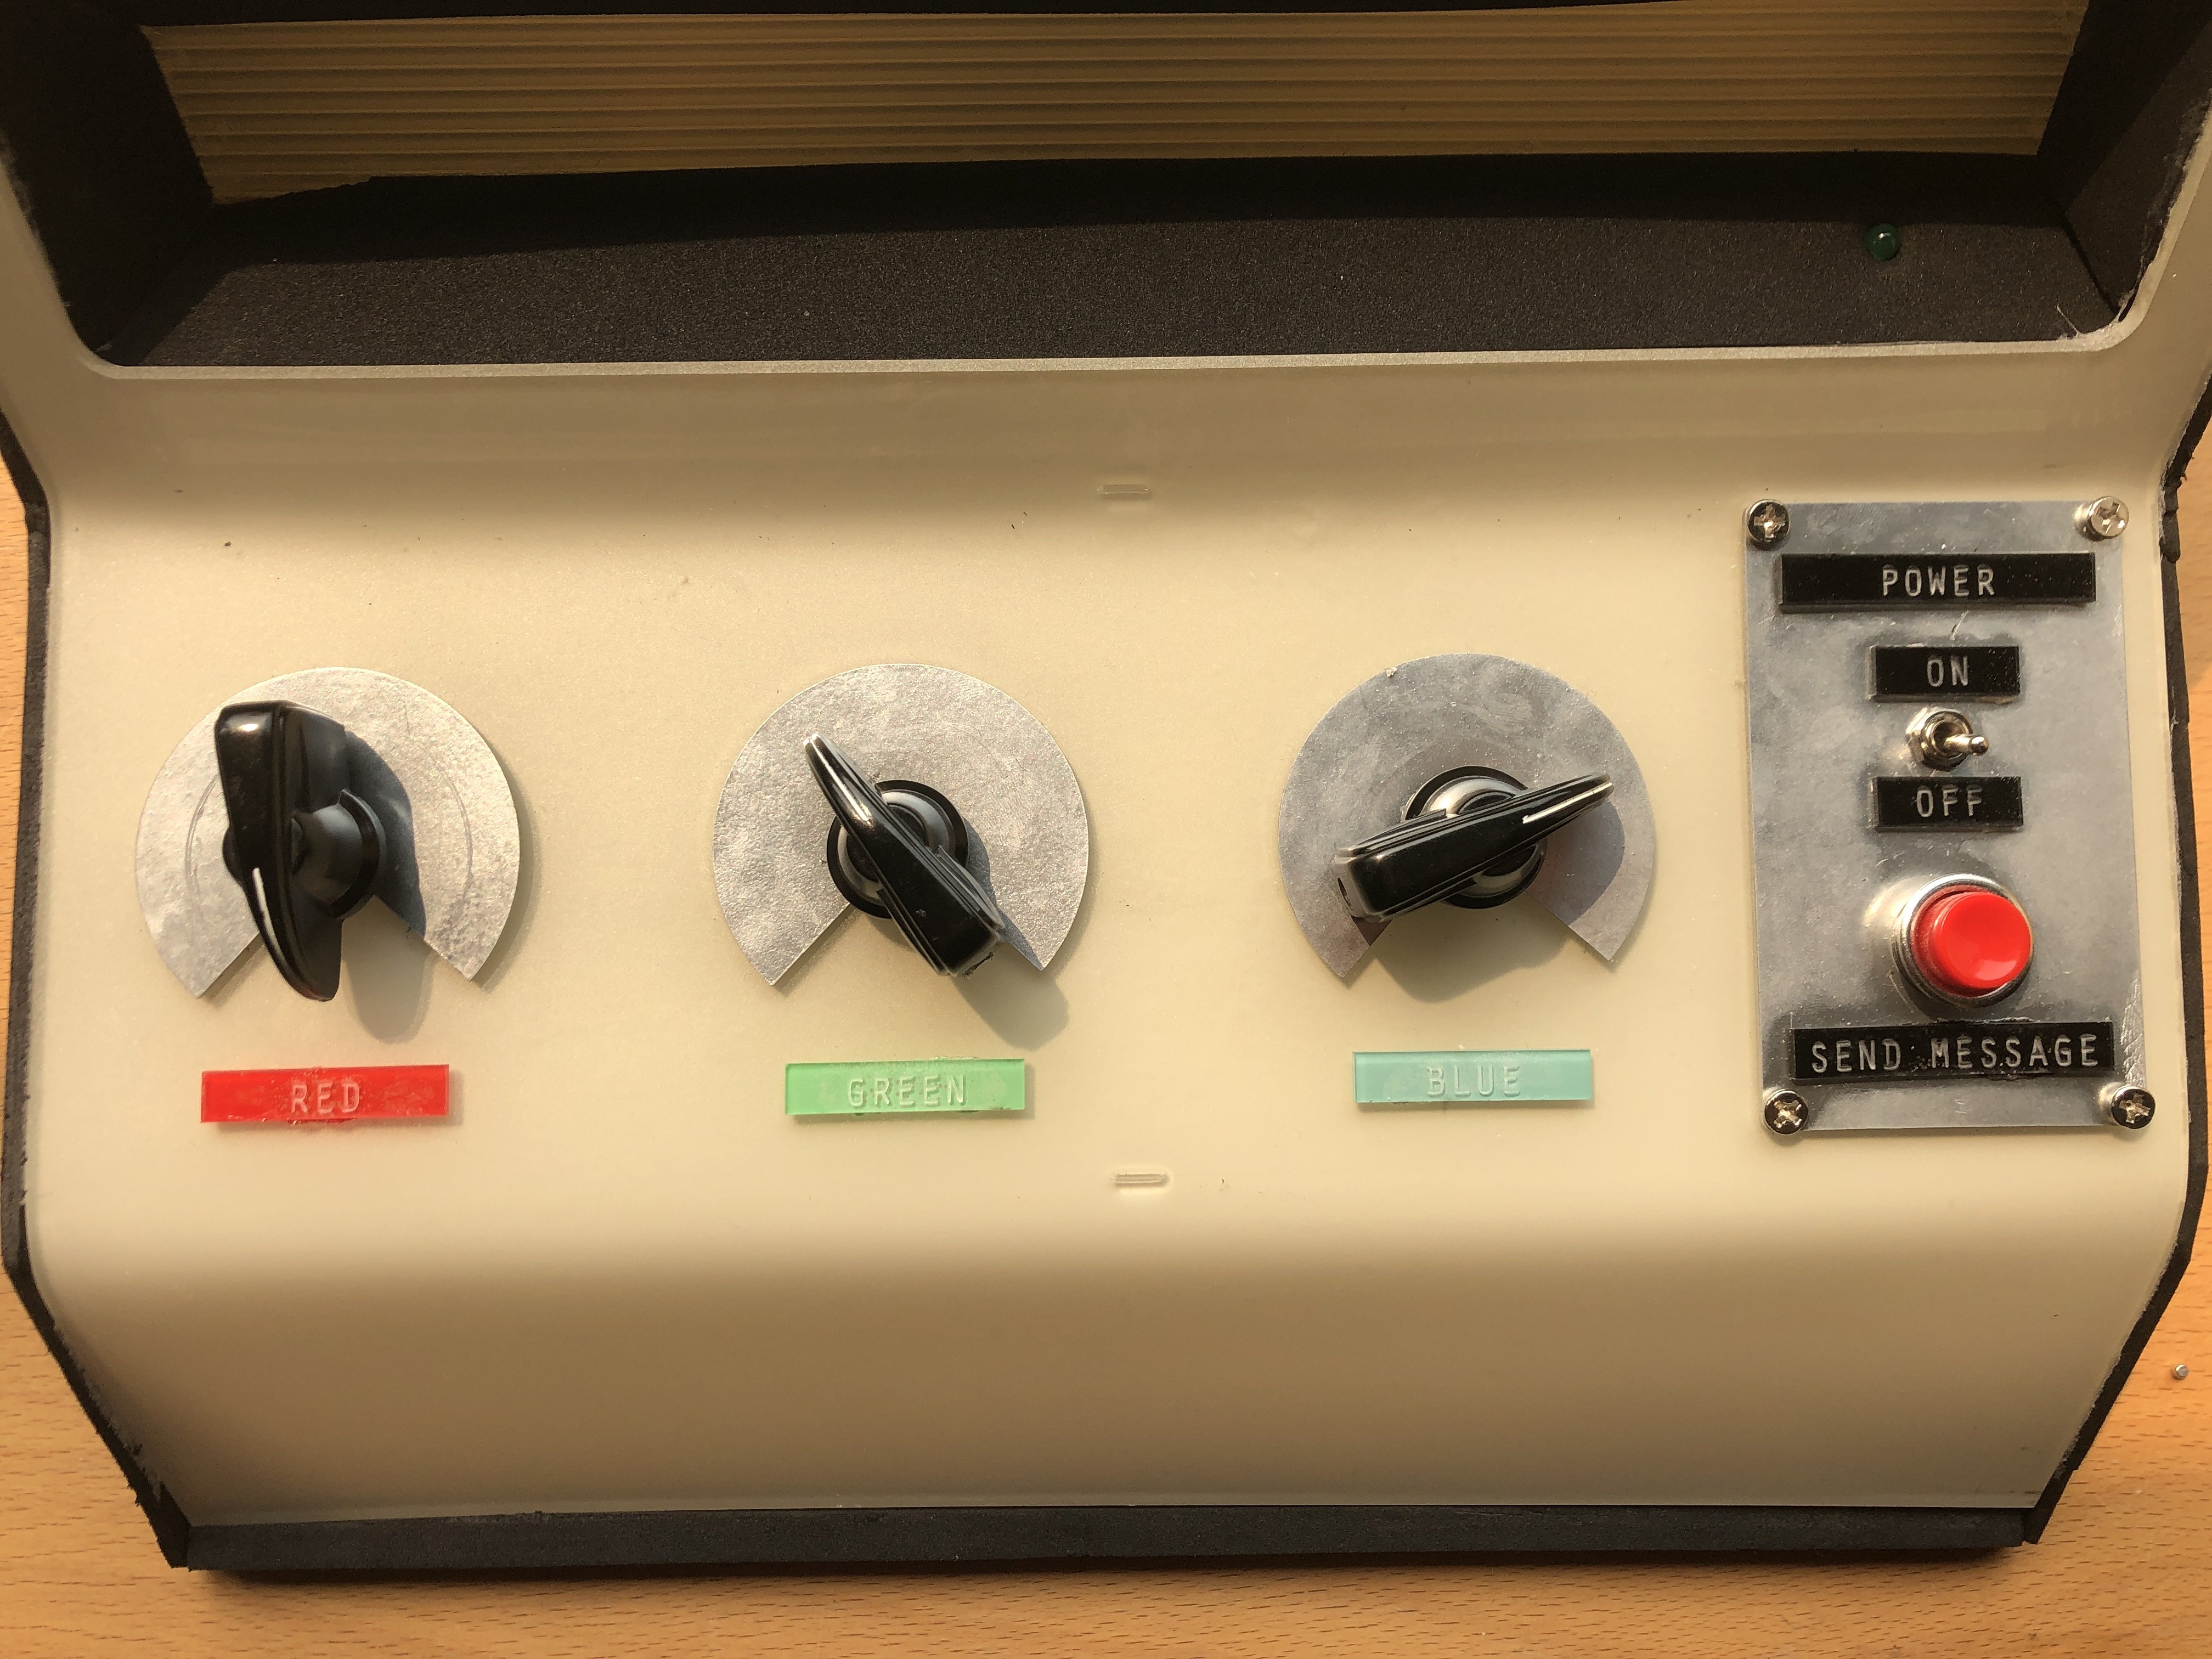
In record mode (toggle switch up)
- dials: control RGB values on the LED
- button: record (up to 10) colours
In transmit mode (toggle switch down)
- dials: does nothing
- button: repeat transmission
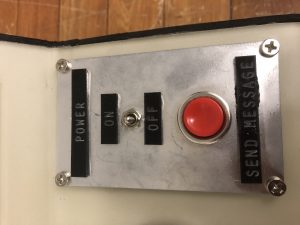
*Note: the words at the toggle switch and buttons do not mean what they mean now as the concept is changed. Switch ‘up’ should mean “input” and switch ‘down’ should mean “transmit”, and the red button should be “record”
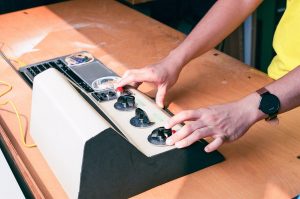
Presentation
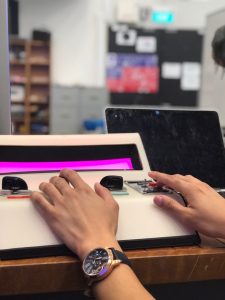
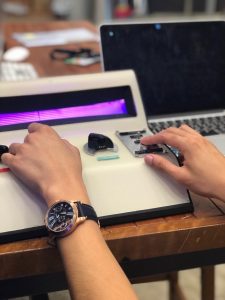
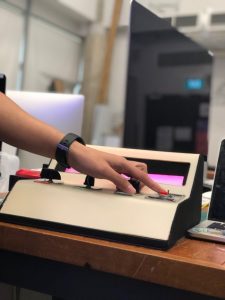
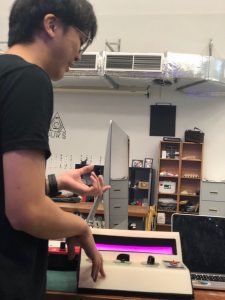
Thanks Fizah for helping me take these SUPER HIGH RES PICS!!! And Shah for playing with the model!
Why this device?
In the context of a trade show, I would use this device as an attractive ‘toy’ to attract people to come to the stall. The manual control of LED allow visitors to test the strip’s potential while also having fun.
Personally…
I wanted to make this as I was really excited to do this when I had this idea. I also wanted to improve my workflow and the way I treat school projects. I was also deeply inspired by the group last year that did the Light Viola, and also Zi Feng in the way he document and work on his assignments. After this project, I found that I have a real interest in making physically active and immersive experiences, things people can play around and fiddle with.
Process
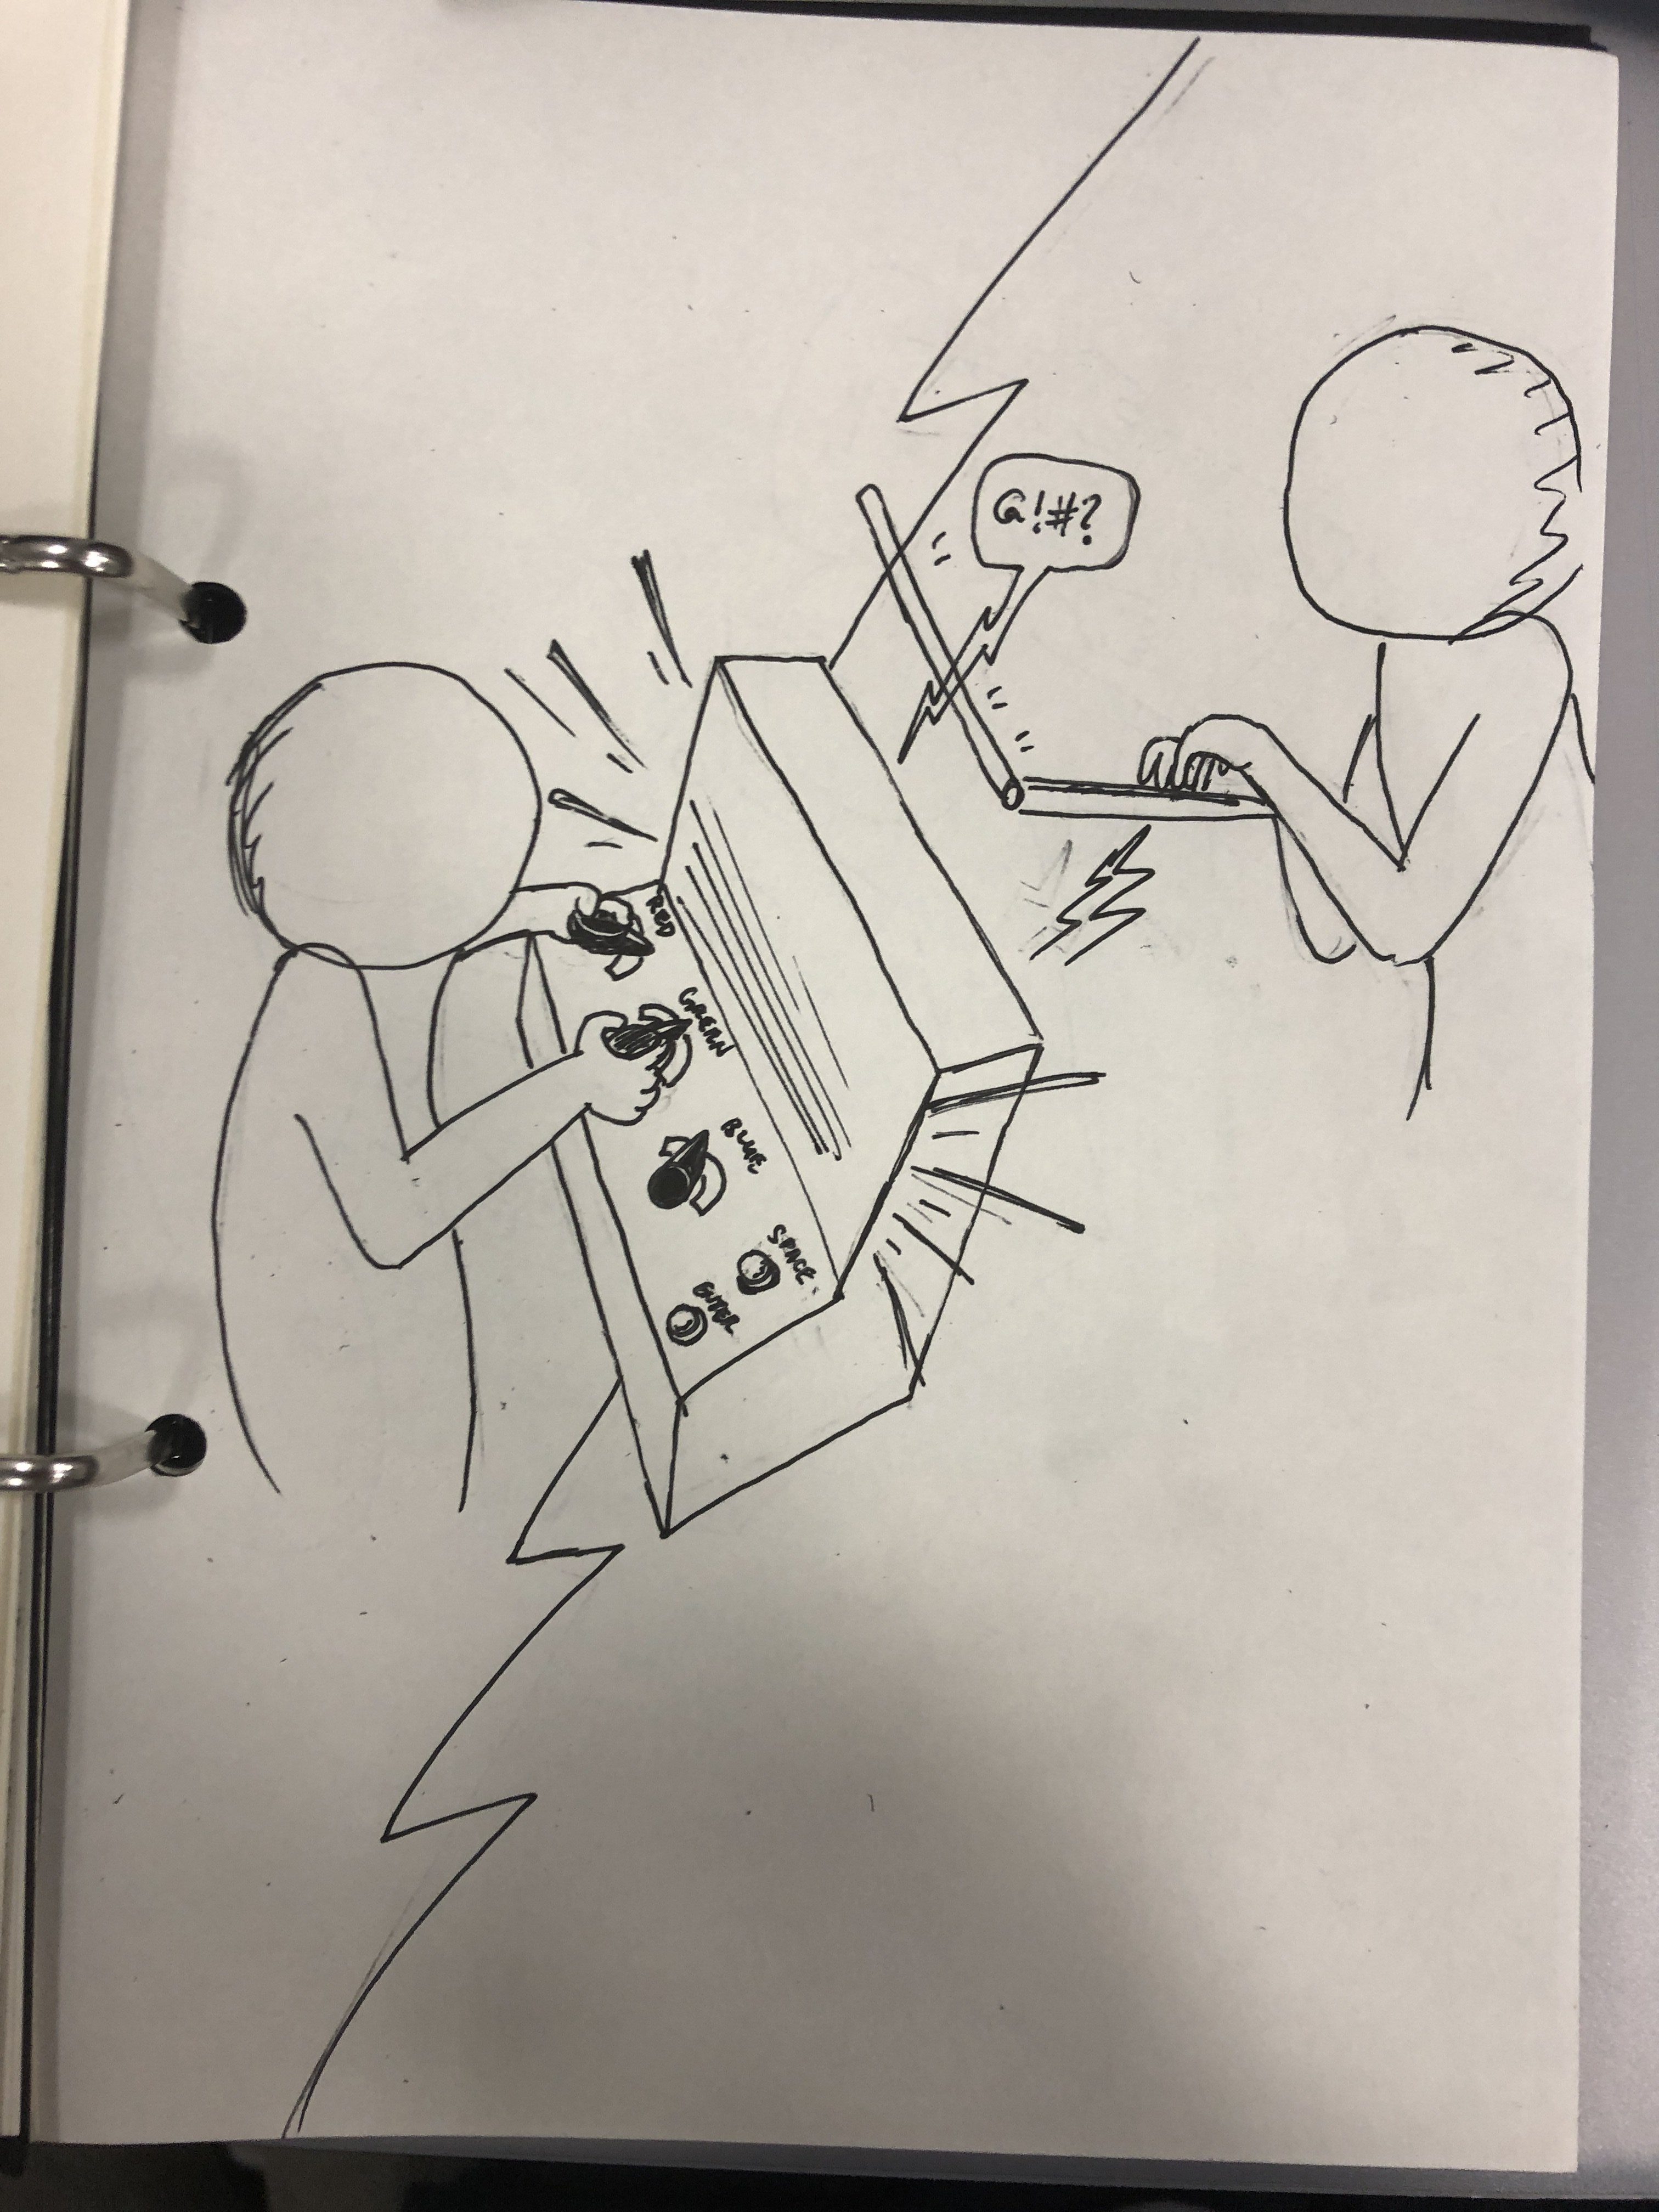
I started with simple sketches to illustrate my idea. I had a few different ideas. The one that stuck with me was the current setup with a different rule: the device remembers an input every 0.3seconds, and the button sends all the words together in a string.

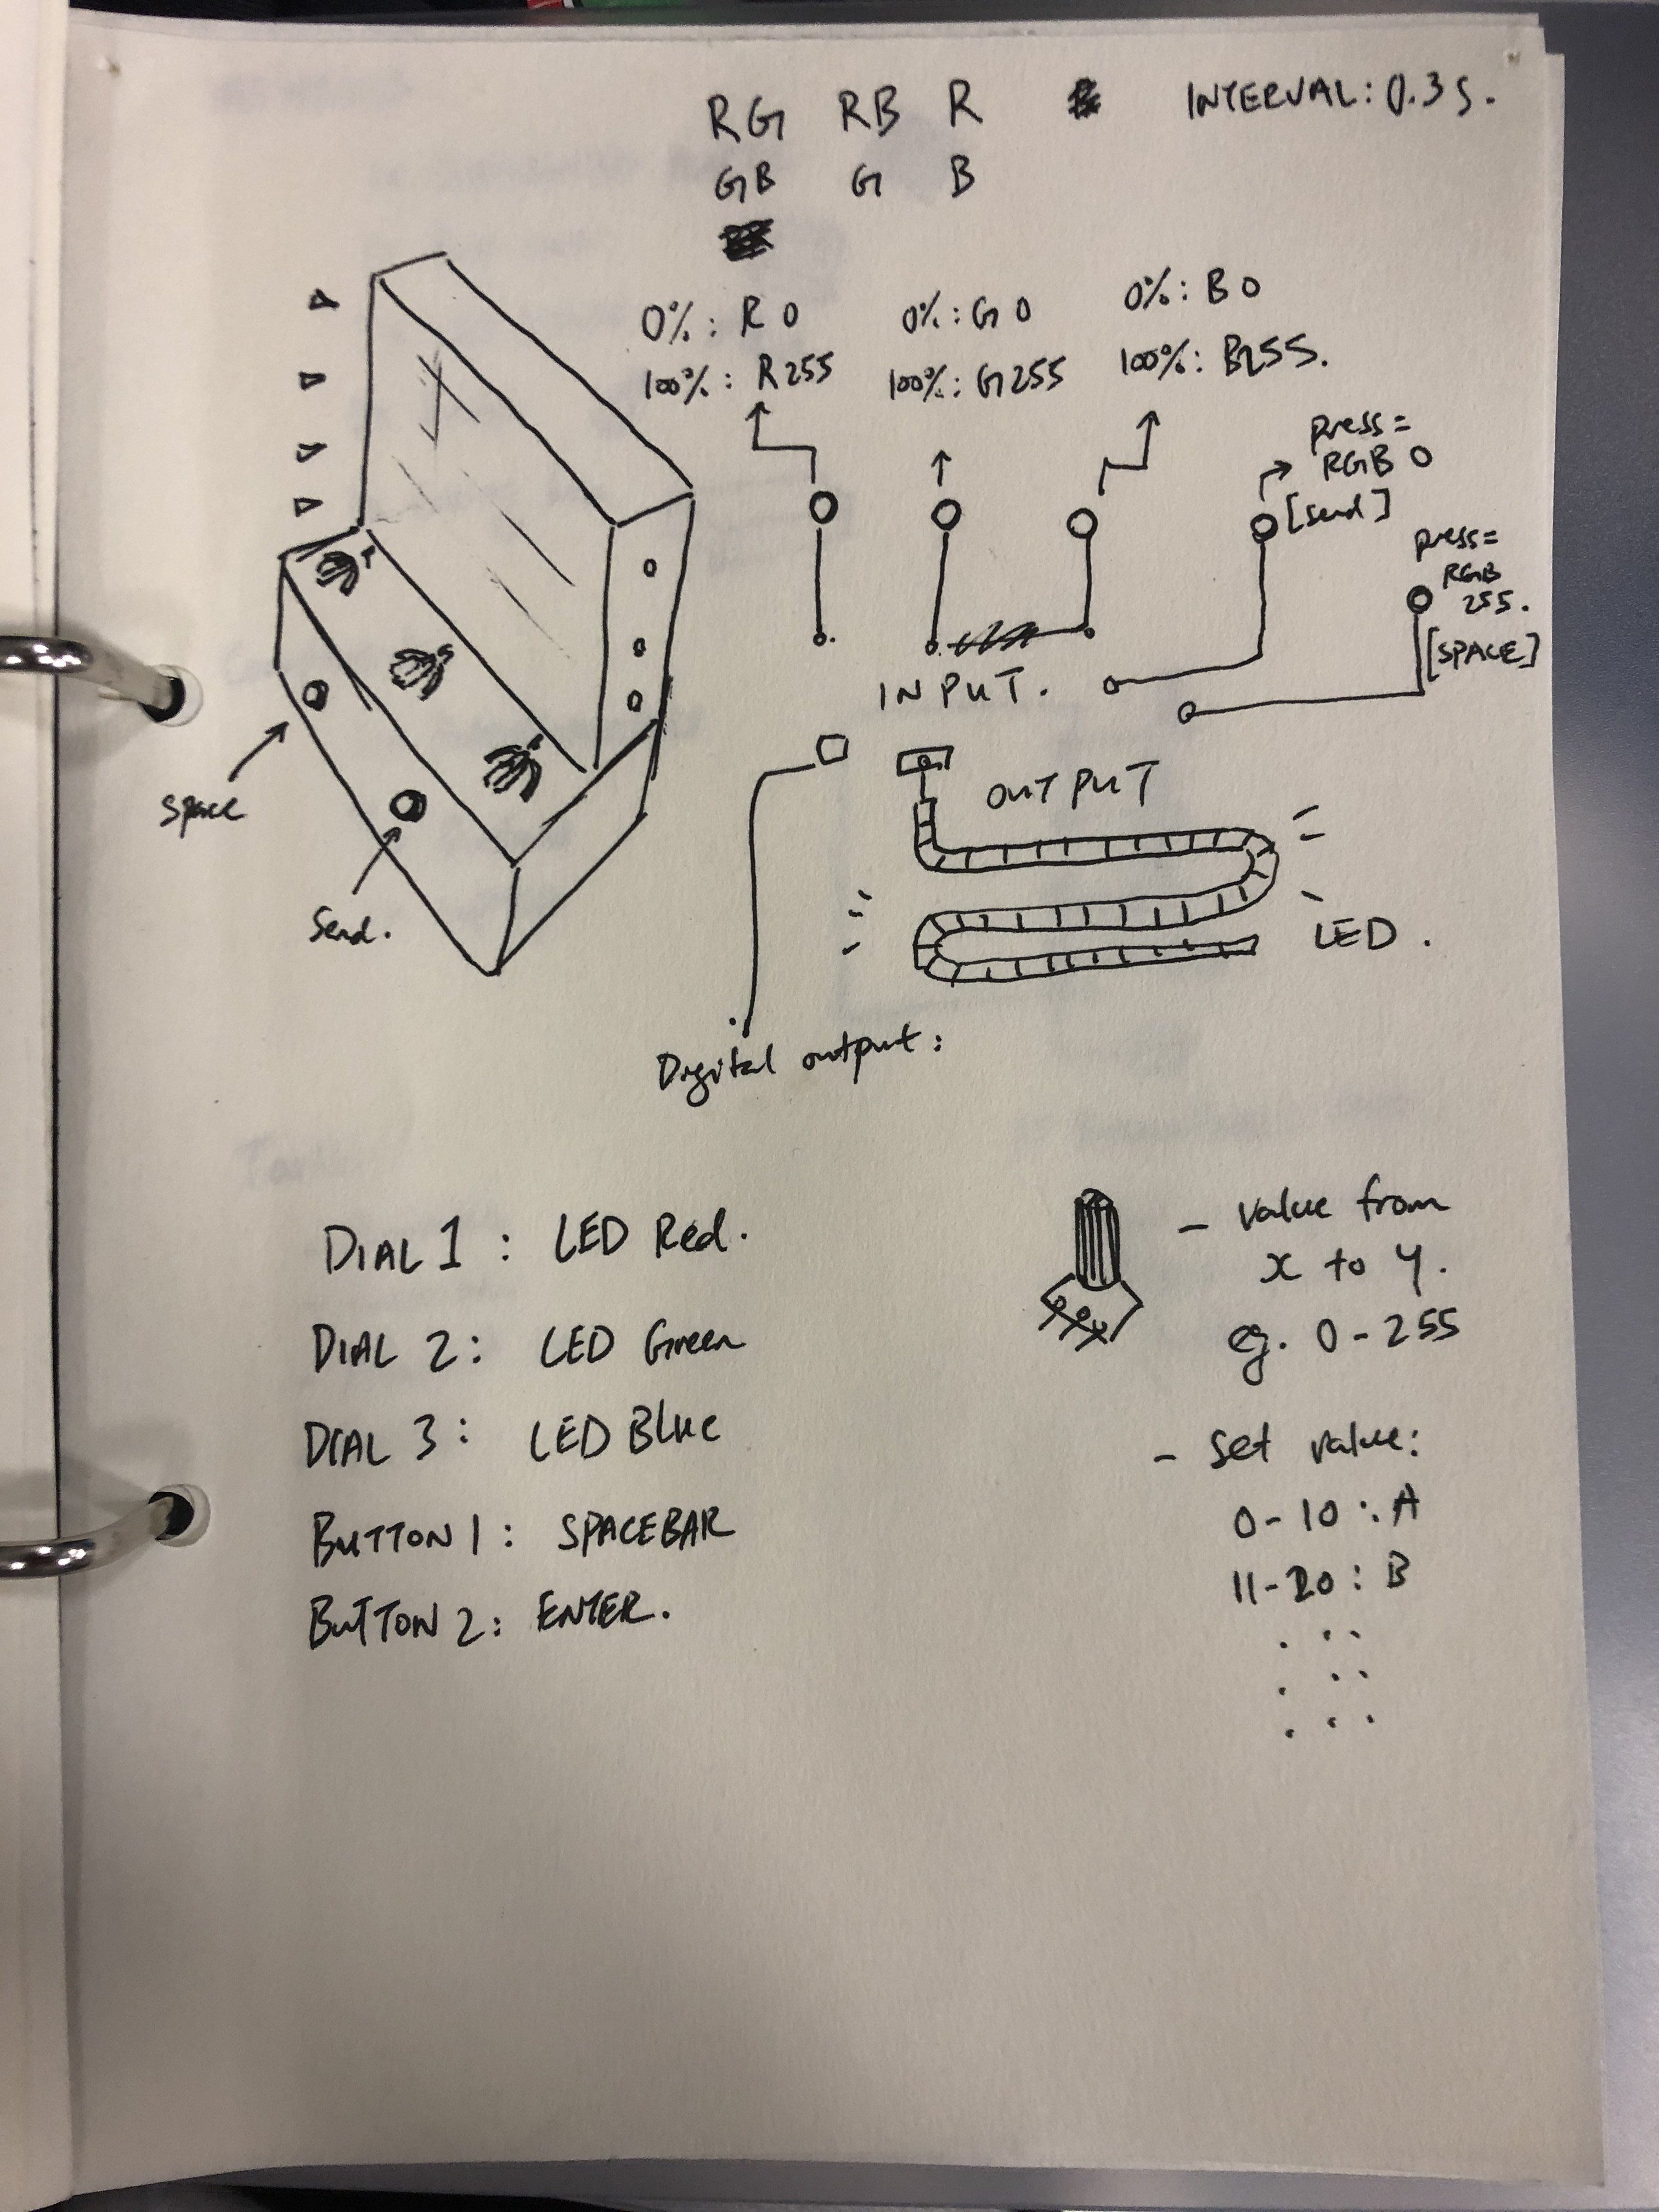
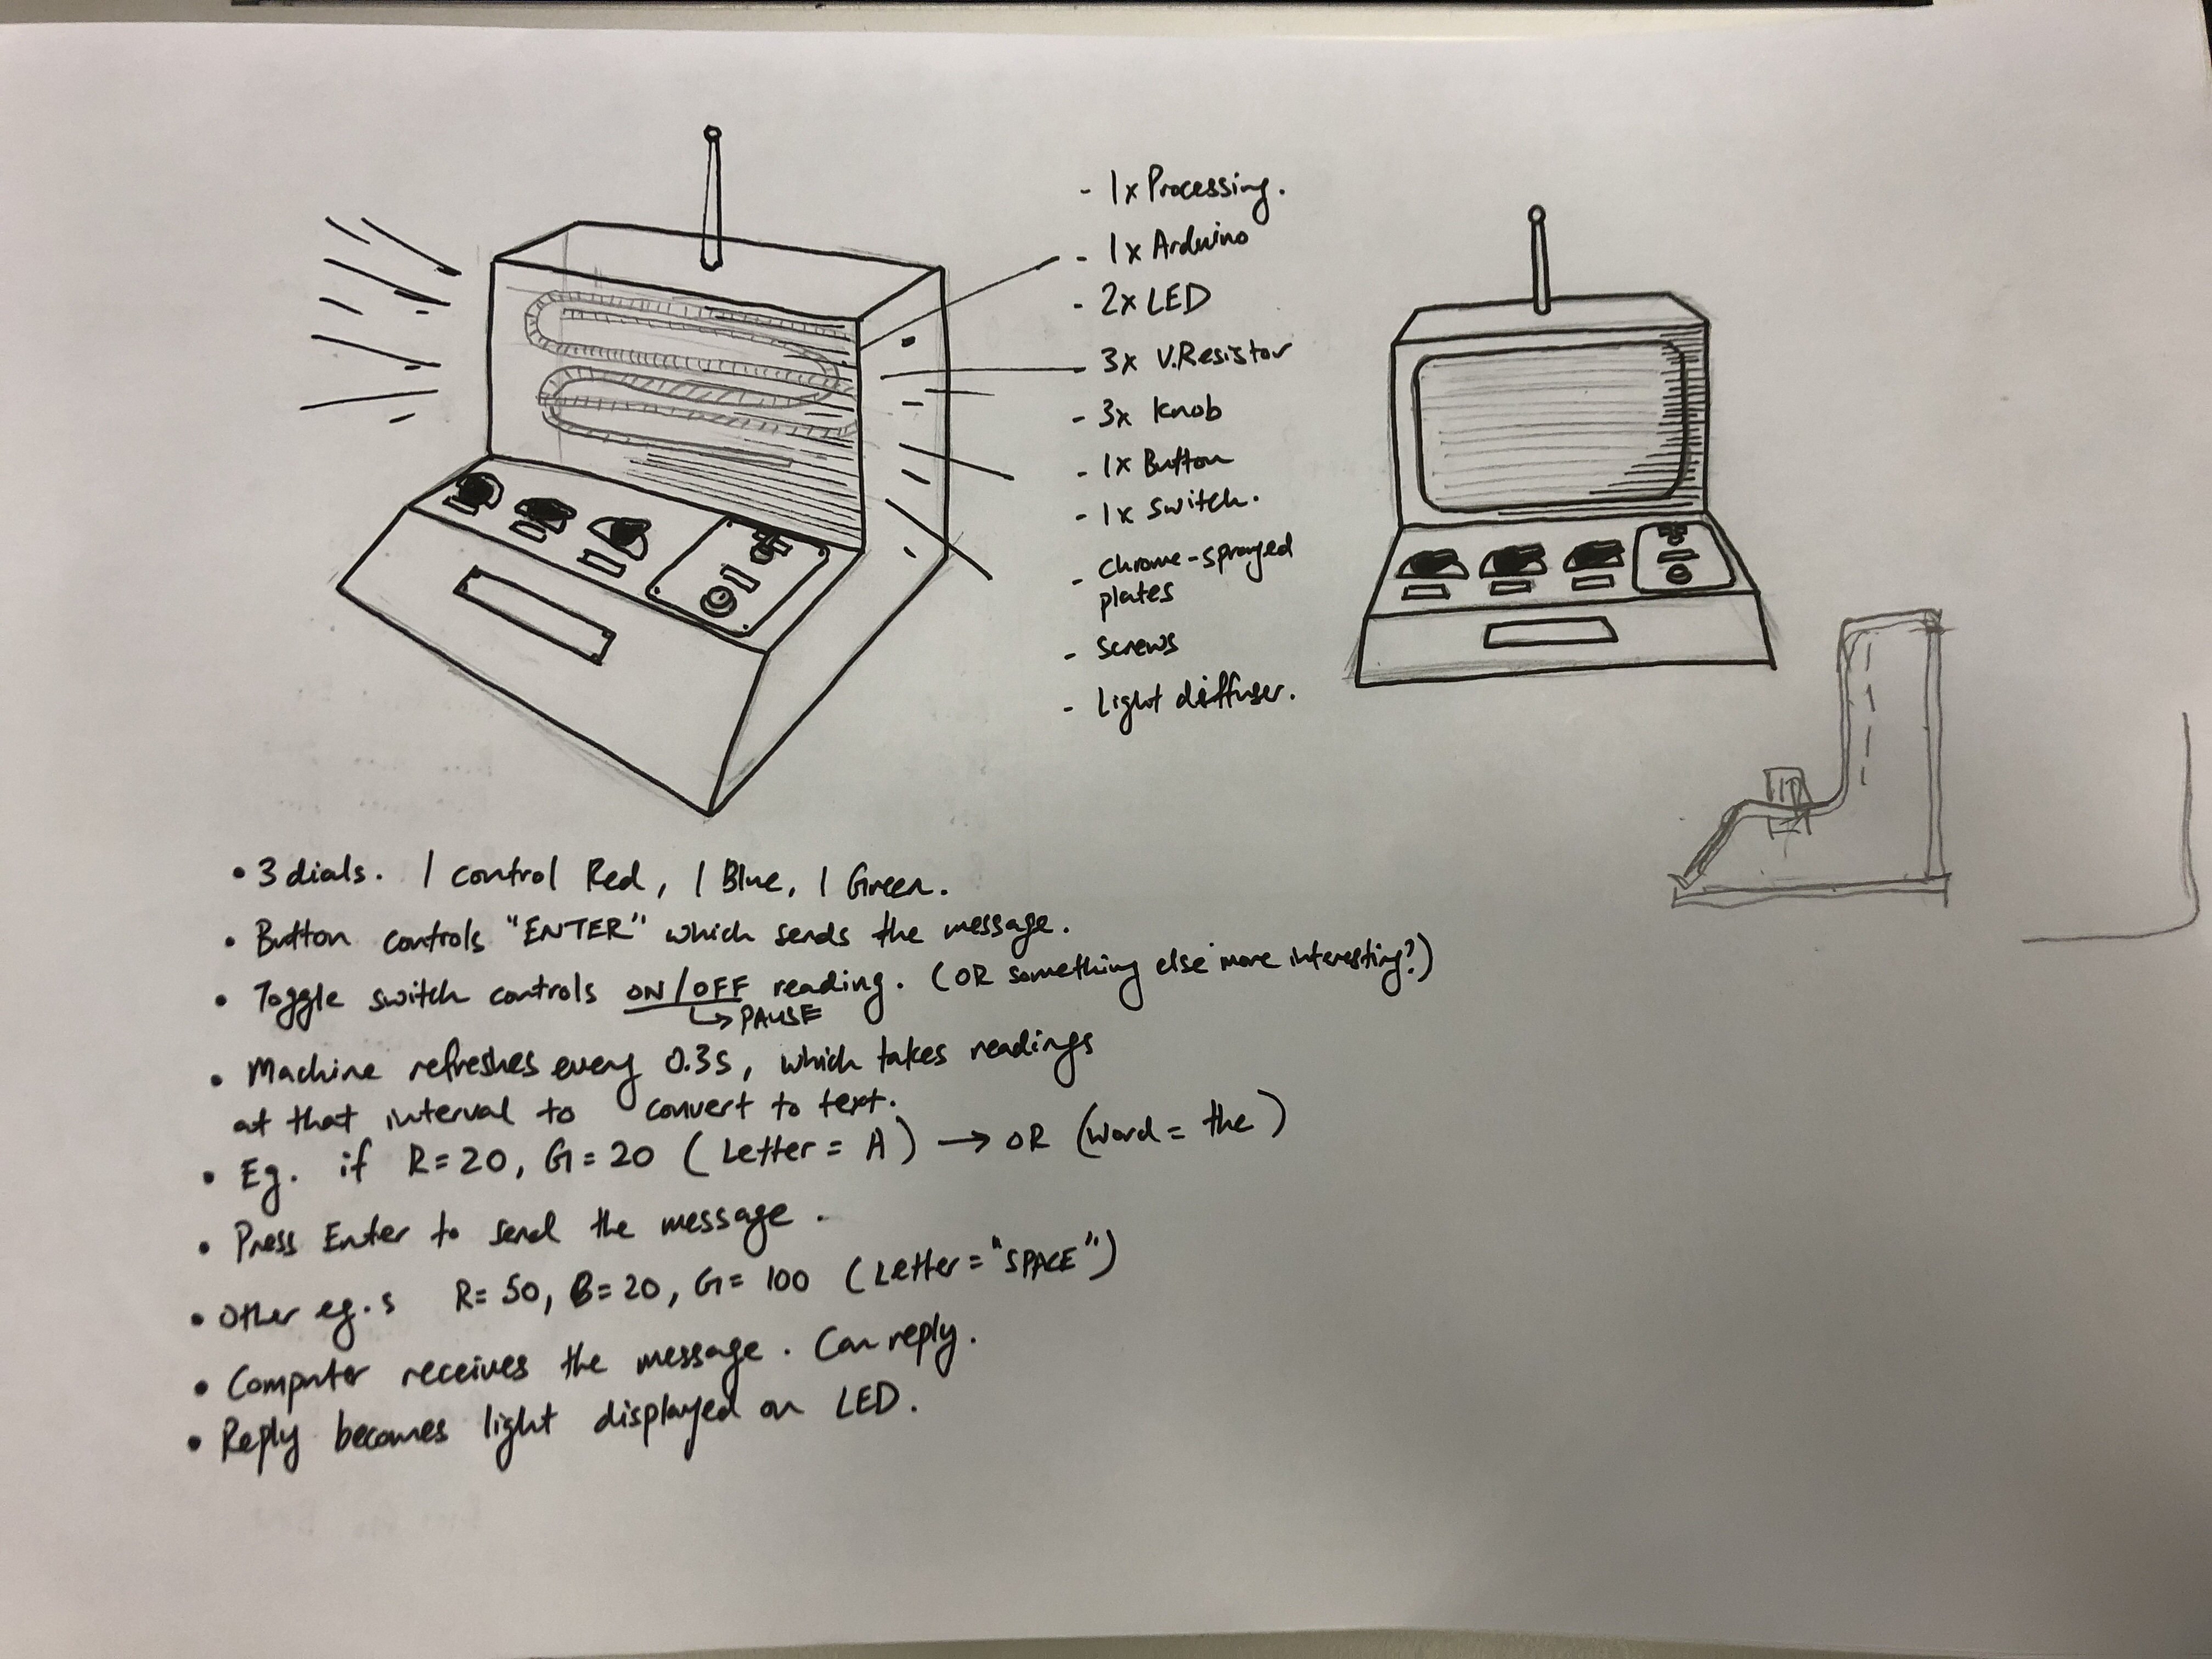
The sketch developed to this in class:
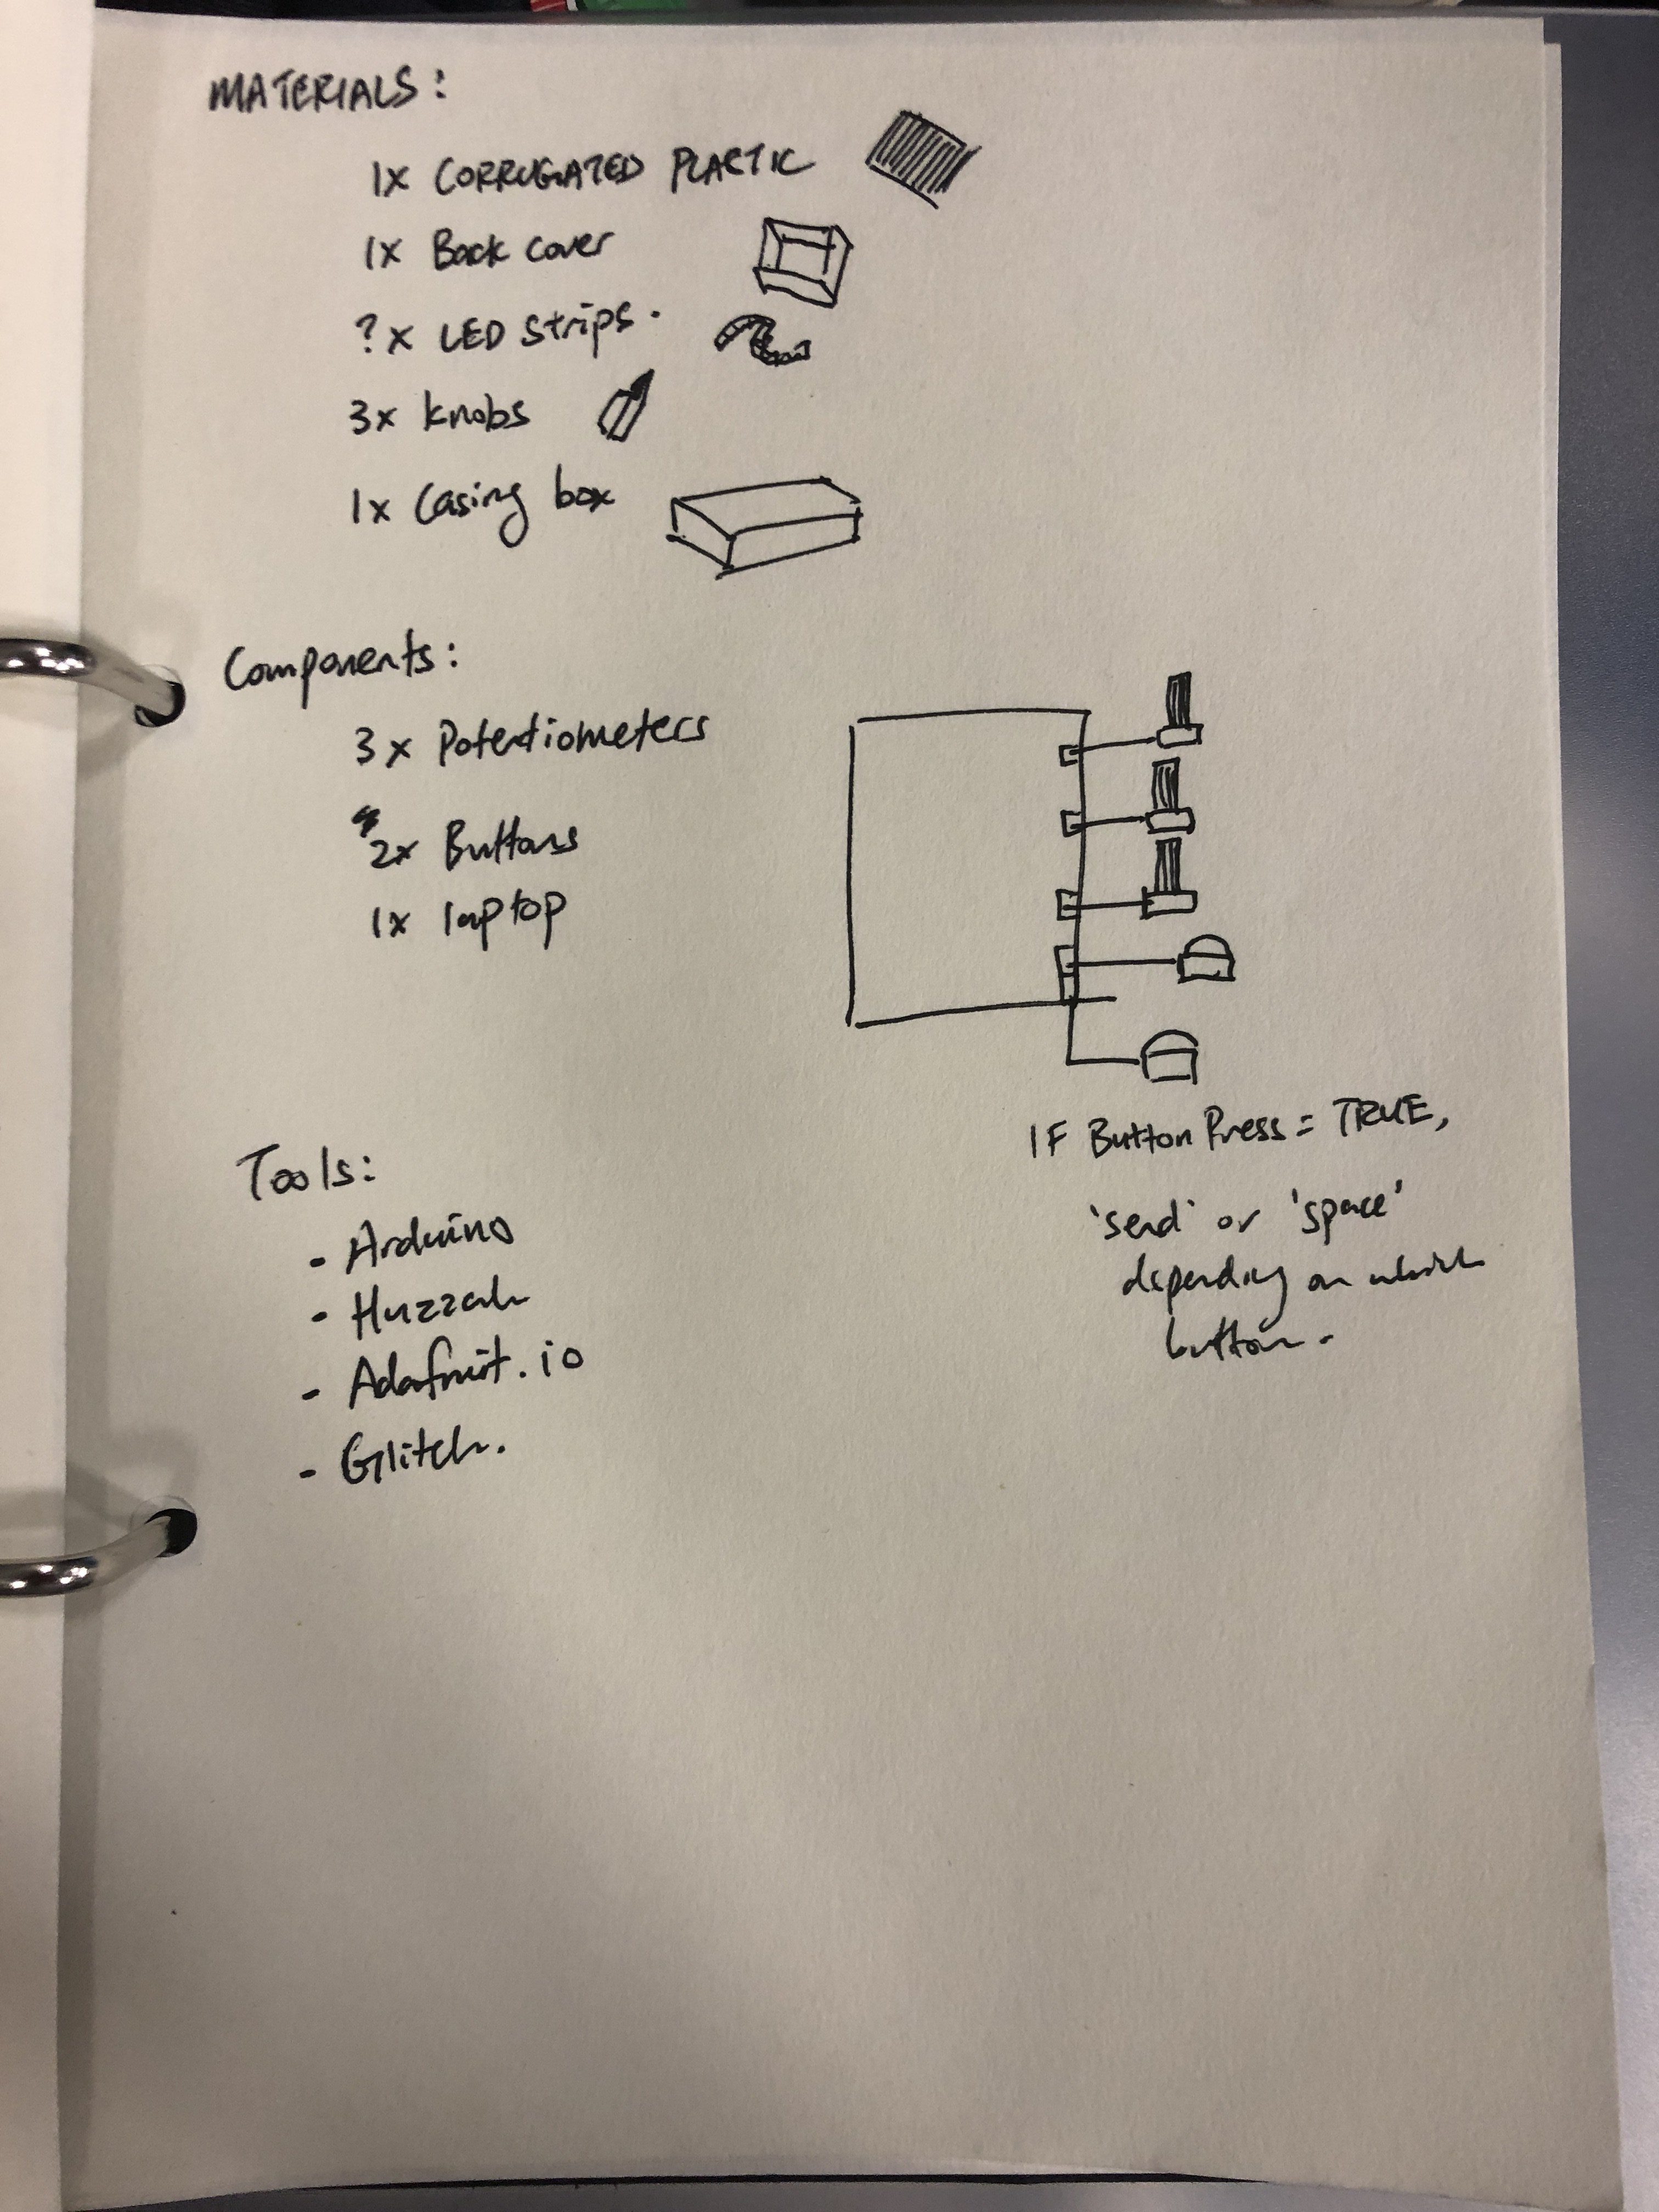
After the sketch and some consultation with Galina and Jeffrey, I went around finding scrap materials. Before this, I also went on a trip with Shah, Joey and Elizabeth to look for components and bought an LED strip (forgot what type it is), 3 knobs, 6 variable resistors, a button and a toggle switch. So with these, I pretty much knew what I wanted to do.
I went on to make the model. I found a large matt sheet of acrylic and decided that it was a good material for my casing. I lasercut it after making measurements to ensure that every component can be installed in. I then bent it using hot gun and a table (unfortunately there is no documentation of that). After that, I went to spray paint the case and the other parts using the left over spray paints I had last few sems when I was in Product Design.
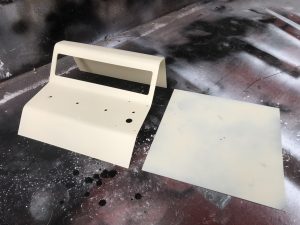
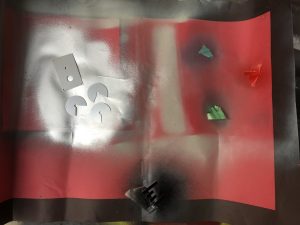
For the case, I spray painted from the back side so the front remains matte and the paint won’t be scratched. The bottom piece was sprayed black in the end to fit the aesthetics better. The other parts are sprayed in their respective colours.

This is how it looked like after installation. YAY!
So after I was satisfied with the cover, I went on to work on the code. It was a long process of editing, adding, testing.
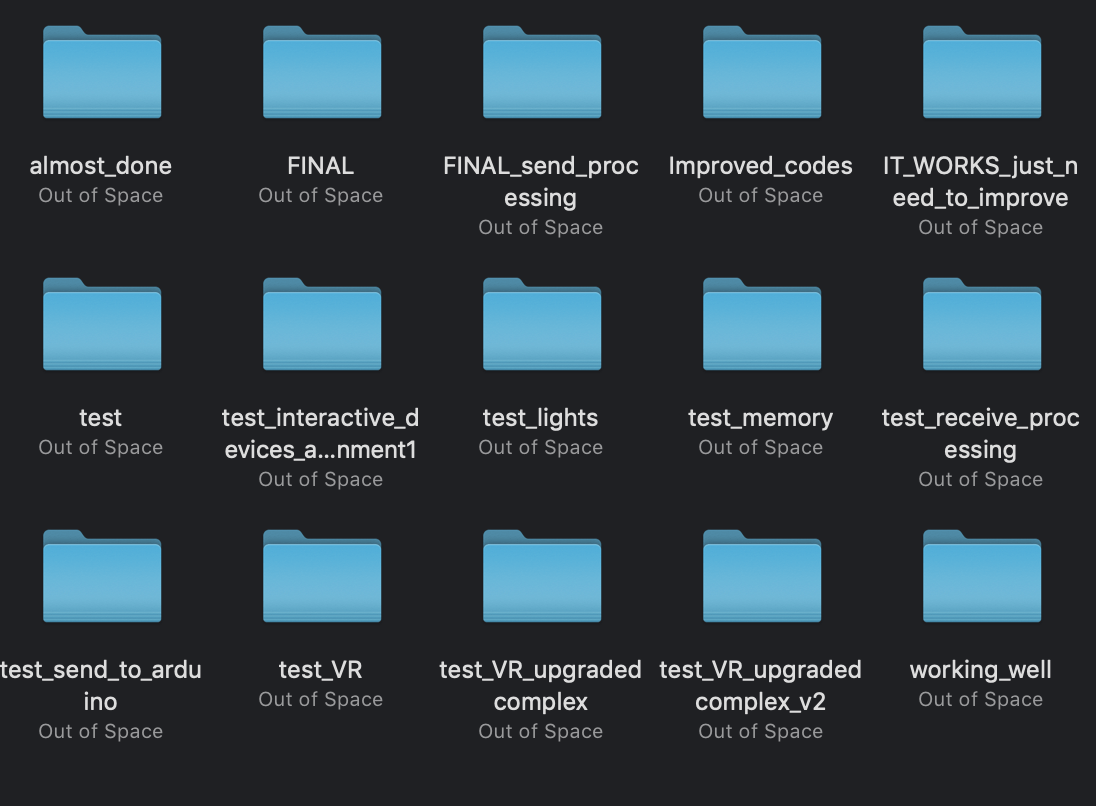
The first variant of my code is like my original idea, which works like this:
- switch is on
- input from the dials are recorded every 0.3s
- each individual inputs will form words
- the words form a sentence
- press button to send the message to the computer to be displayed

With this variant, I found that it keeps repeating the words, and that the user has to turn the knob quickly enough to create an interesting mix of words. It is too restricted in general and as such I changed to the new idea which allow users to take their time to select the colours they want and send the message as and when they wish.
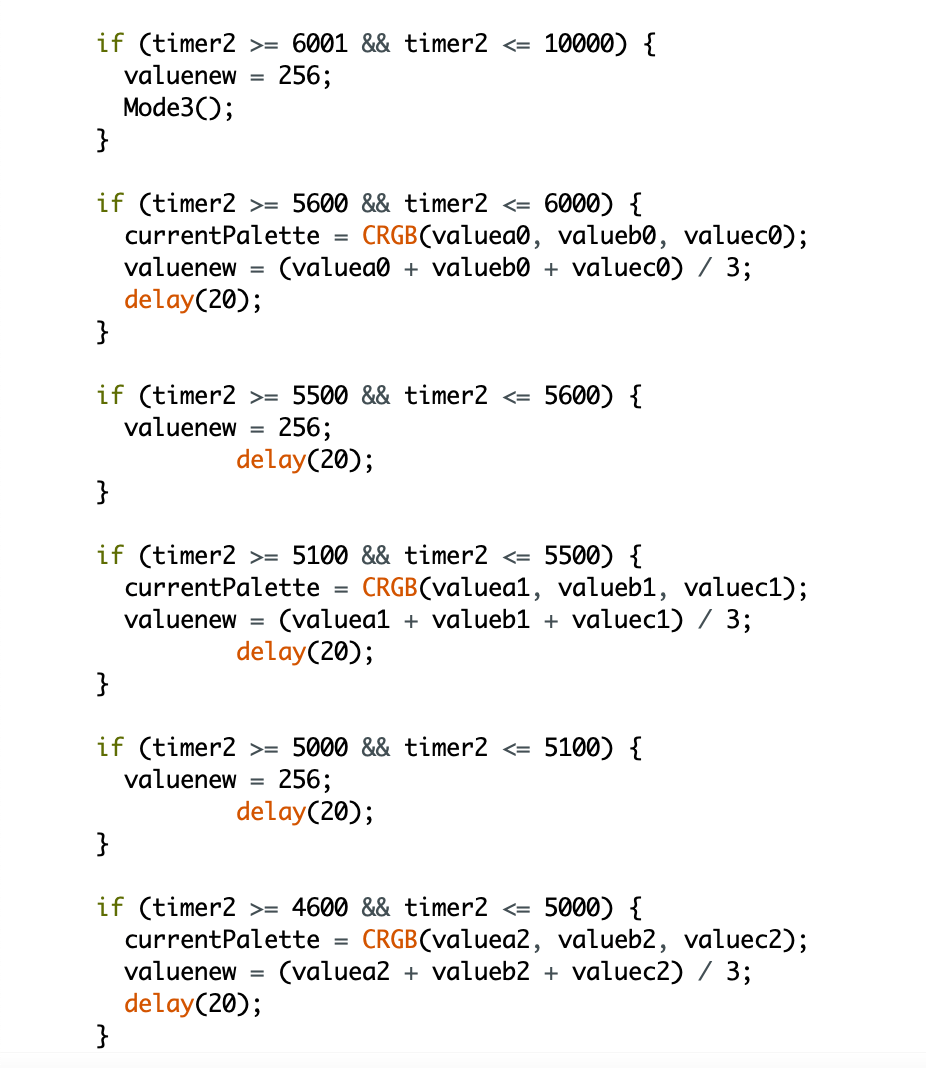
The basis of my final code is:
- Fast LED libraries which runs the LED strip
Here are some examples of how fast LED works (CRGBPalette16, CRGB)
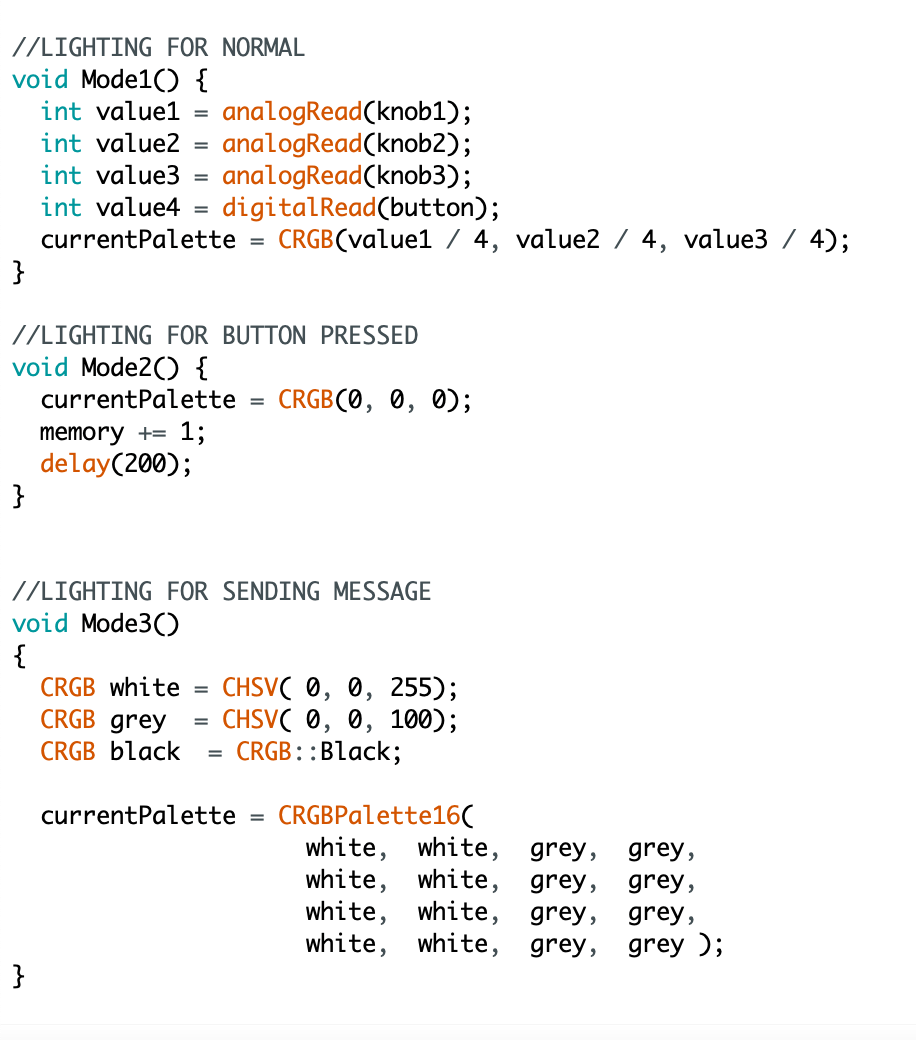
- Timers
Timers helped me a lot in controlling the variables. The code above helps me constrain the variable ‘valuenew’ (which controls what word will be printed) during the ‘transmit’ stage. How my timers work is, for instance:
int timer 1000;
int t = 10;
timer -= t;
if(timer <= 0){
timer = 1000;
}
In this example, timer will minus 10 every tick, until it becomes 0, then it will reset to 1000 and repeat. If I want to control a variable, I can make something happen when timer <= 0.

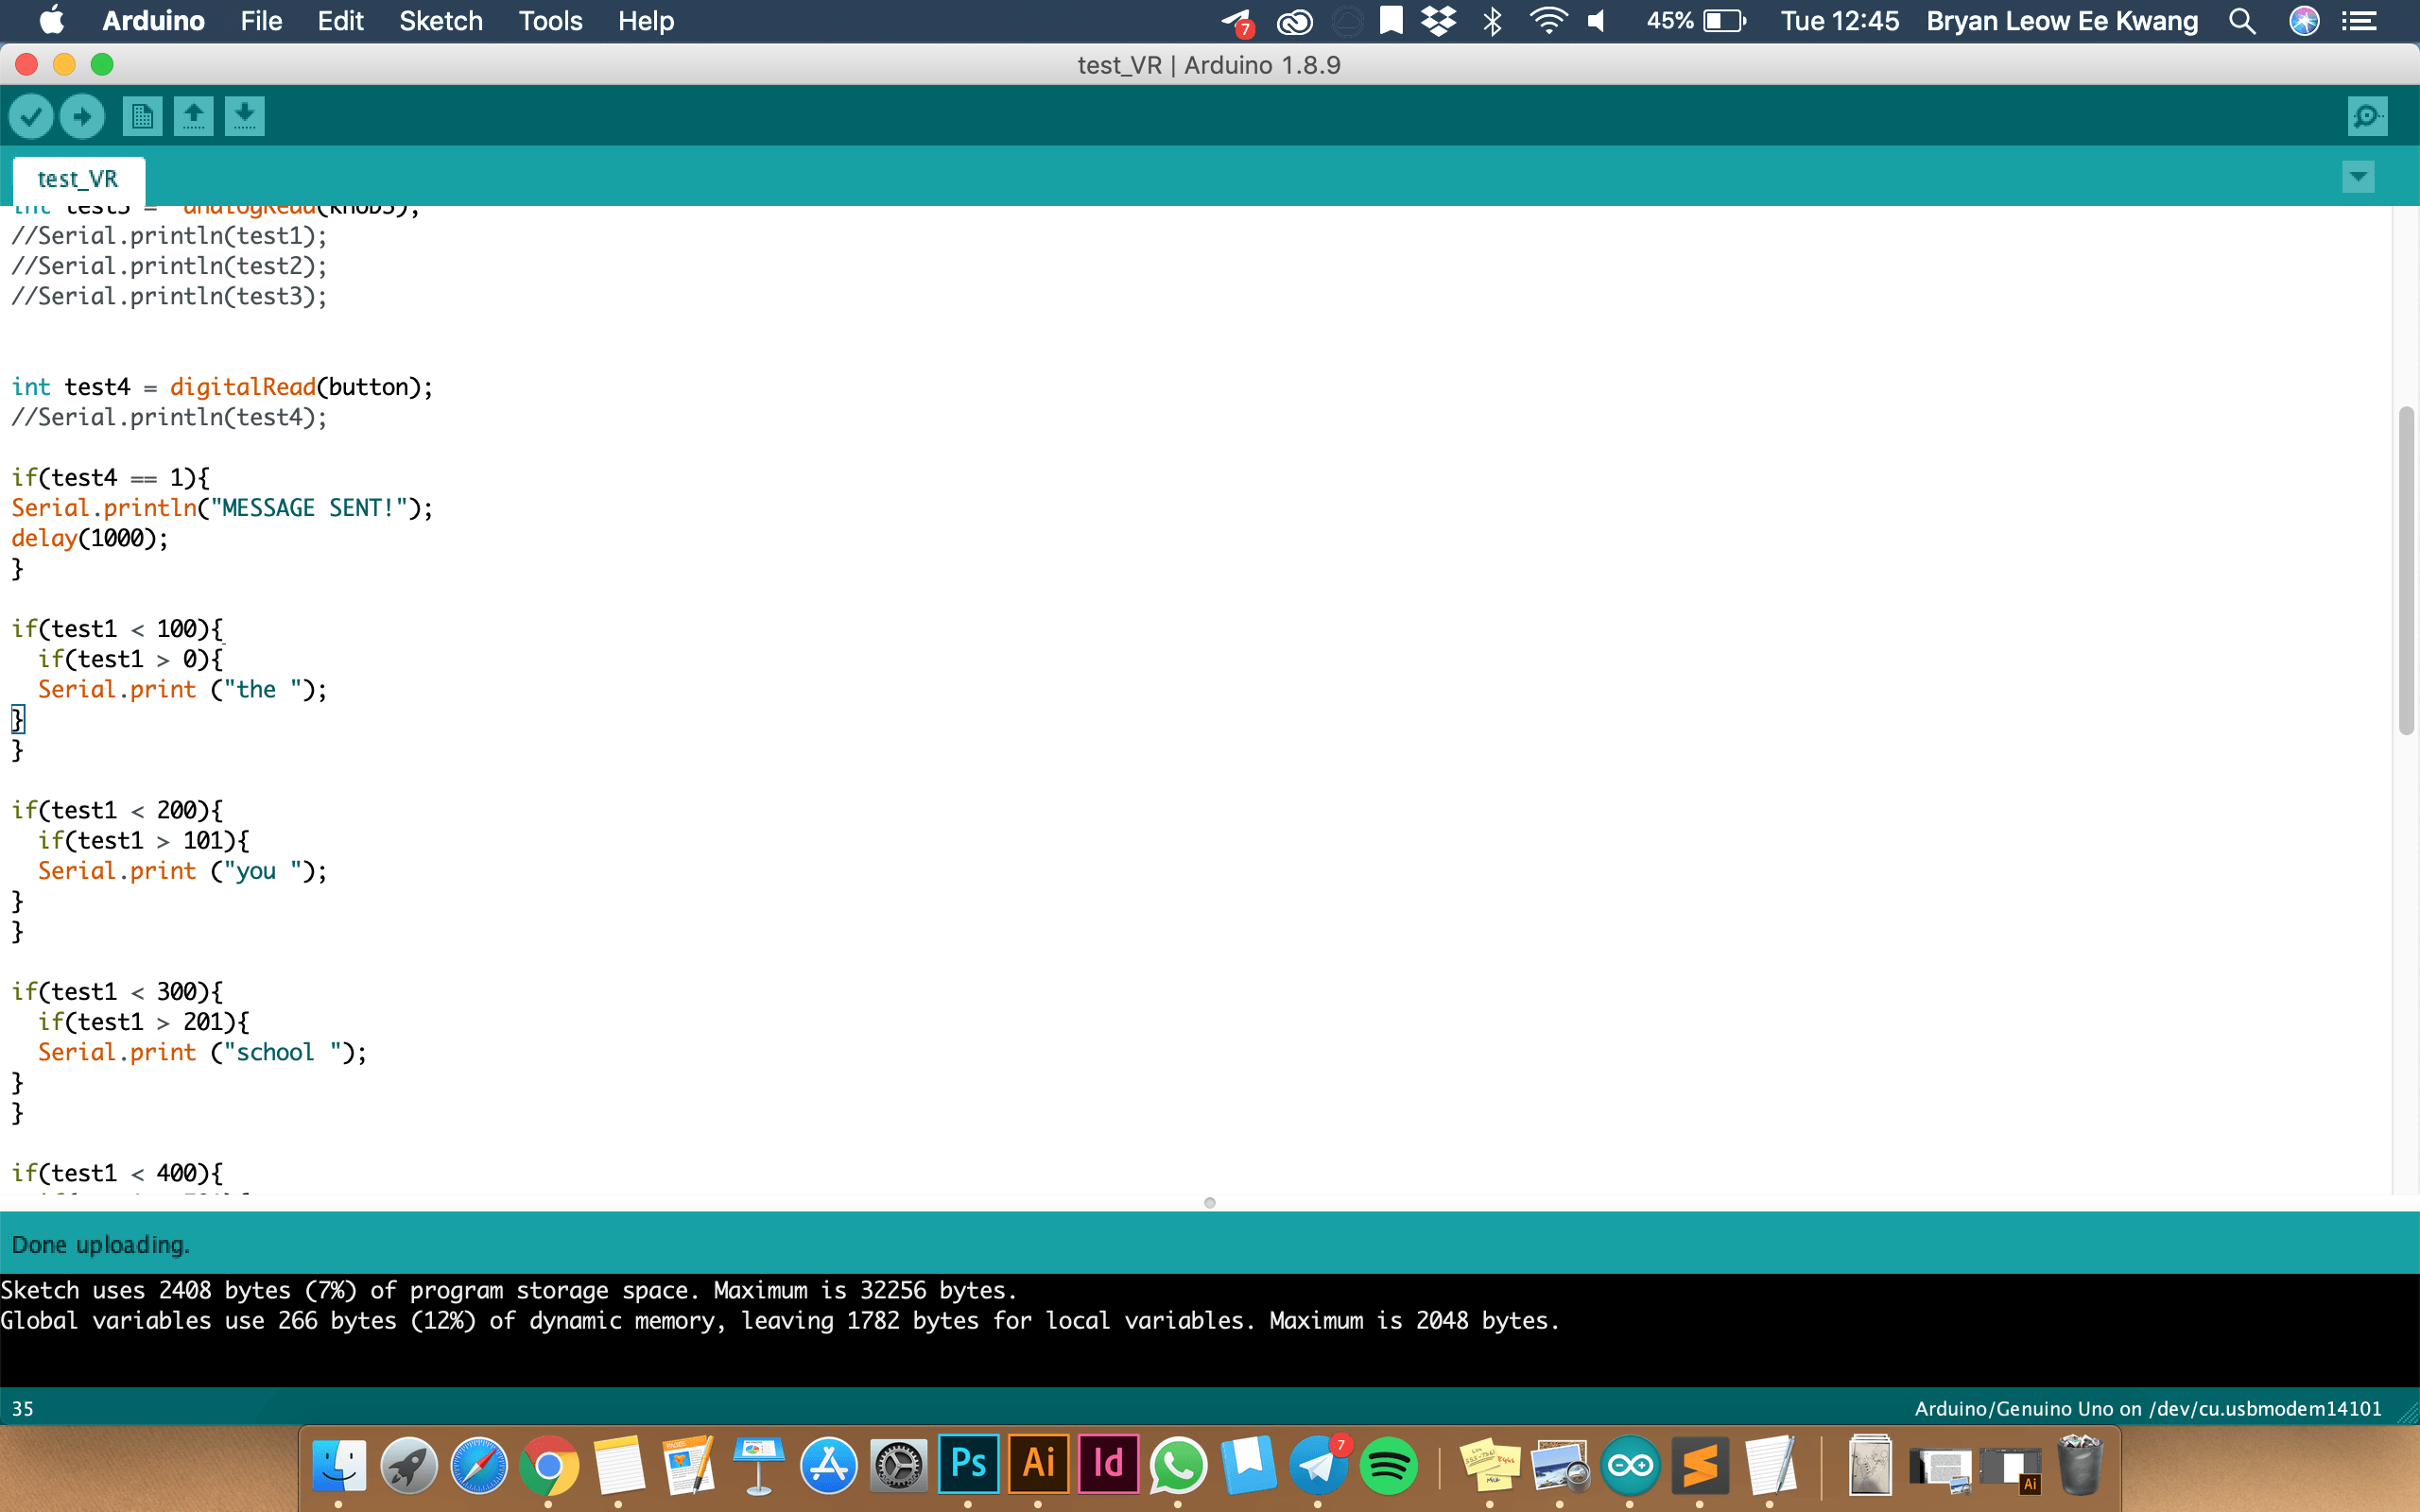
- Modes
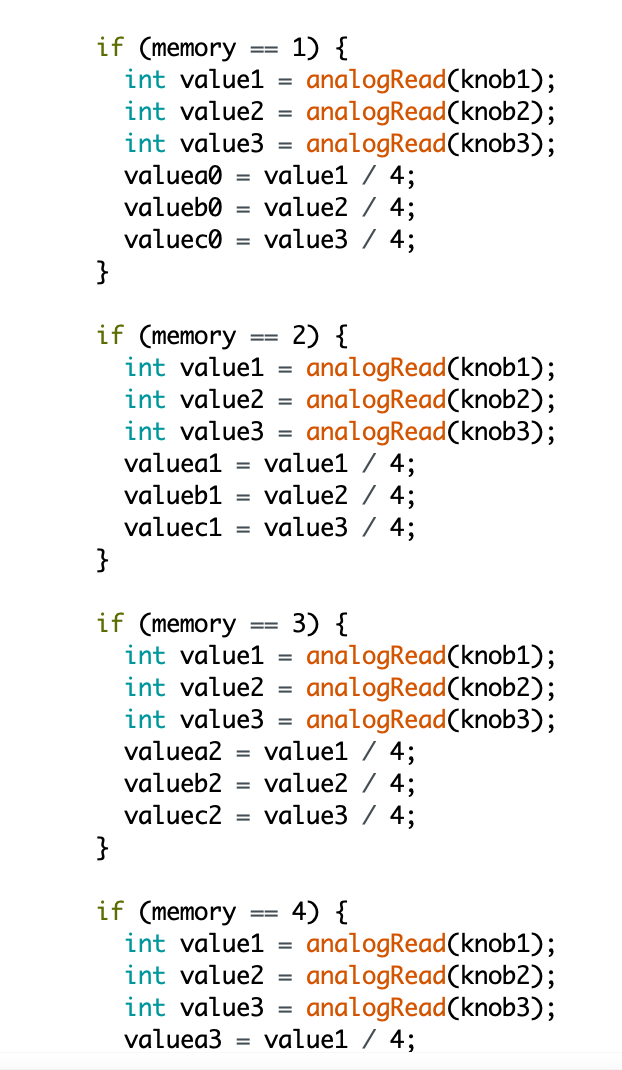
The above screenshot is an example of a mode. Each variant of ‘memory’ stores a set of instructions, and these set of instructions will play when the mode is changed.
Other ways I used mode is as such:
int buttonpress = digitalWrite(button,HIGH);
if(buttonpress = 1){
mode = 1
}
if (mode == 1){
Serial.println(“something should happen here”);
}
In this example, if button is pressed, the mode will switch to 1, which causes the serial monitor to print “something should happen here”. It’s a very versatile way of coding although it can be very clunky in a complex code.
In Processing
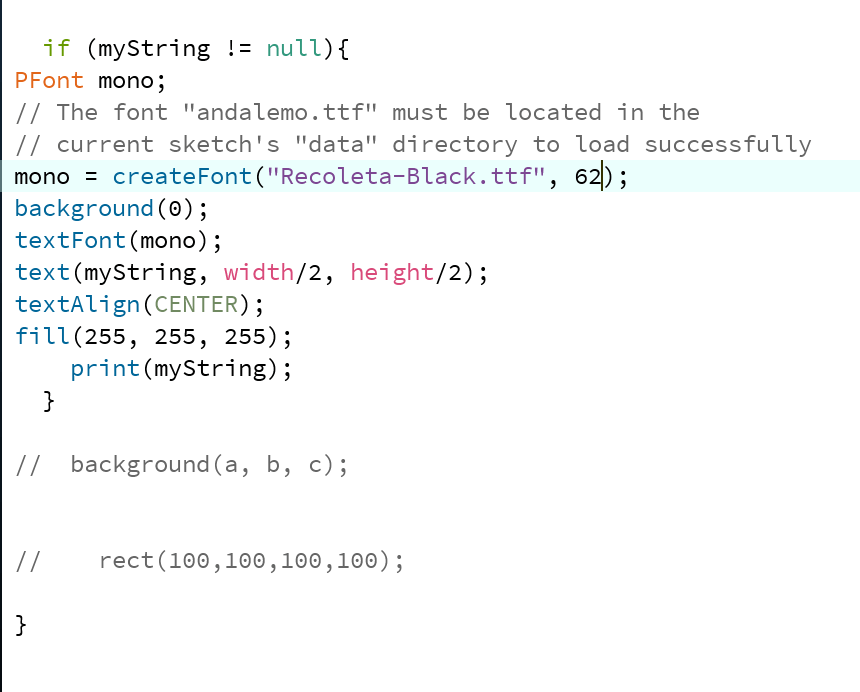
The code in Processing is very simple. It’s basically receiving inputs from the serial monitor and displaying it on the screen as texts. There is only 1 problem: if there is nothing in the serial monitor, it will print ‘null’ which causes an error “null pointer exception” which crashes the program. What I did to counter it is to only run the program if there is no ‘null’s.
Physical Model Part 2
I continued with my model while working on the code, as a way of me taking a break from constantly pulling my hairs out with codes. I went on with using foam to cover up the rest of the form as it is a versatile material for my oddly-shaped case. It also fits the aesthetics. I also used a white corrugated plastic sheet as a screen as I wanted a diffused look.


I forgot to mention wiring. So I soldered the wires onto the components and learnt the best way to solder through Zi Feng. It was amazingly easy after he shown us the magic!
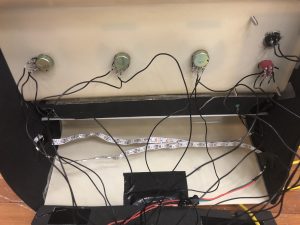
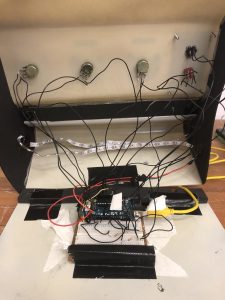
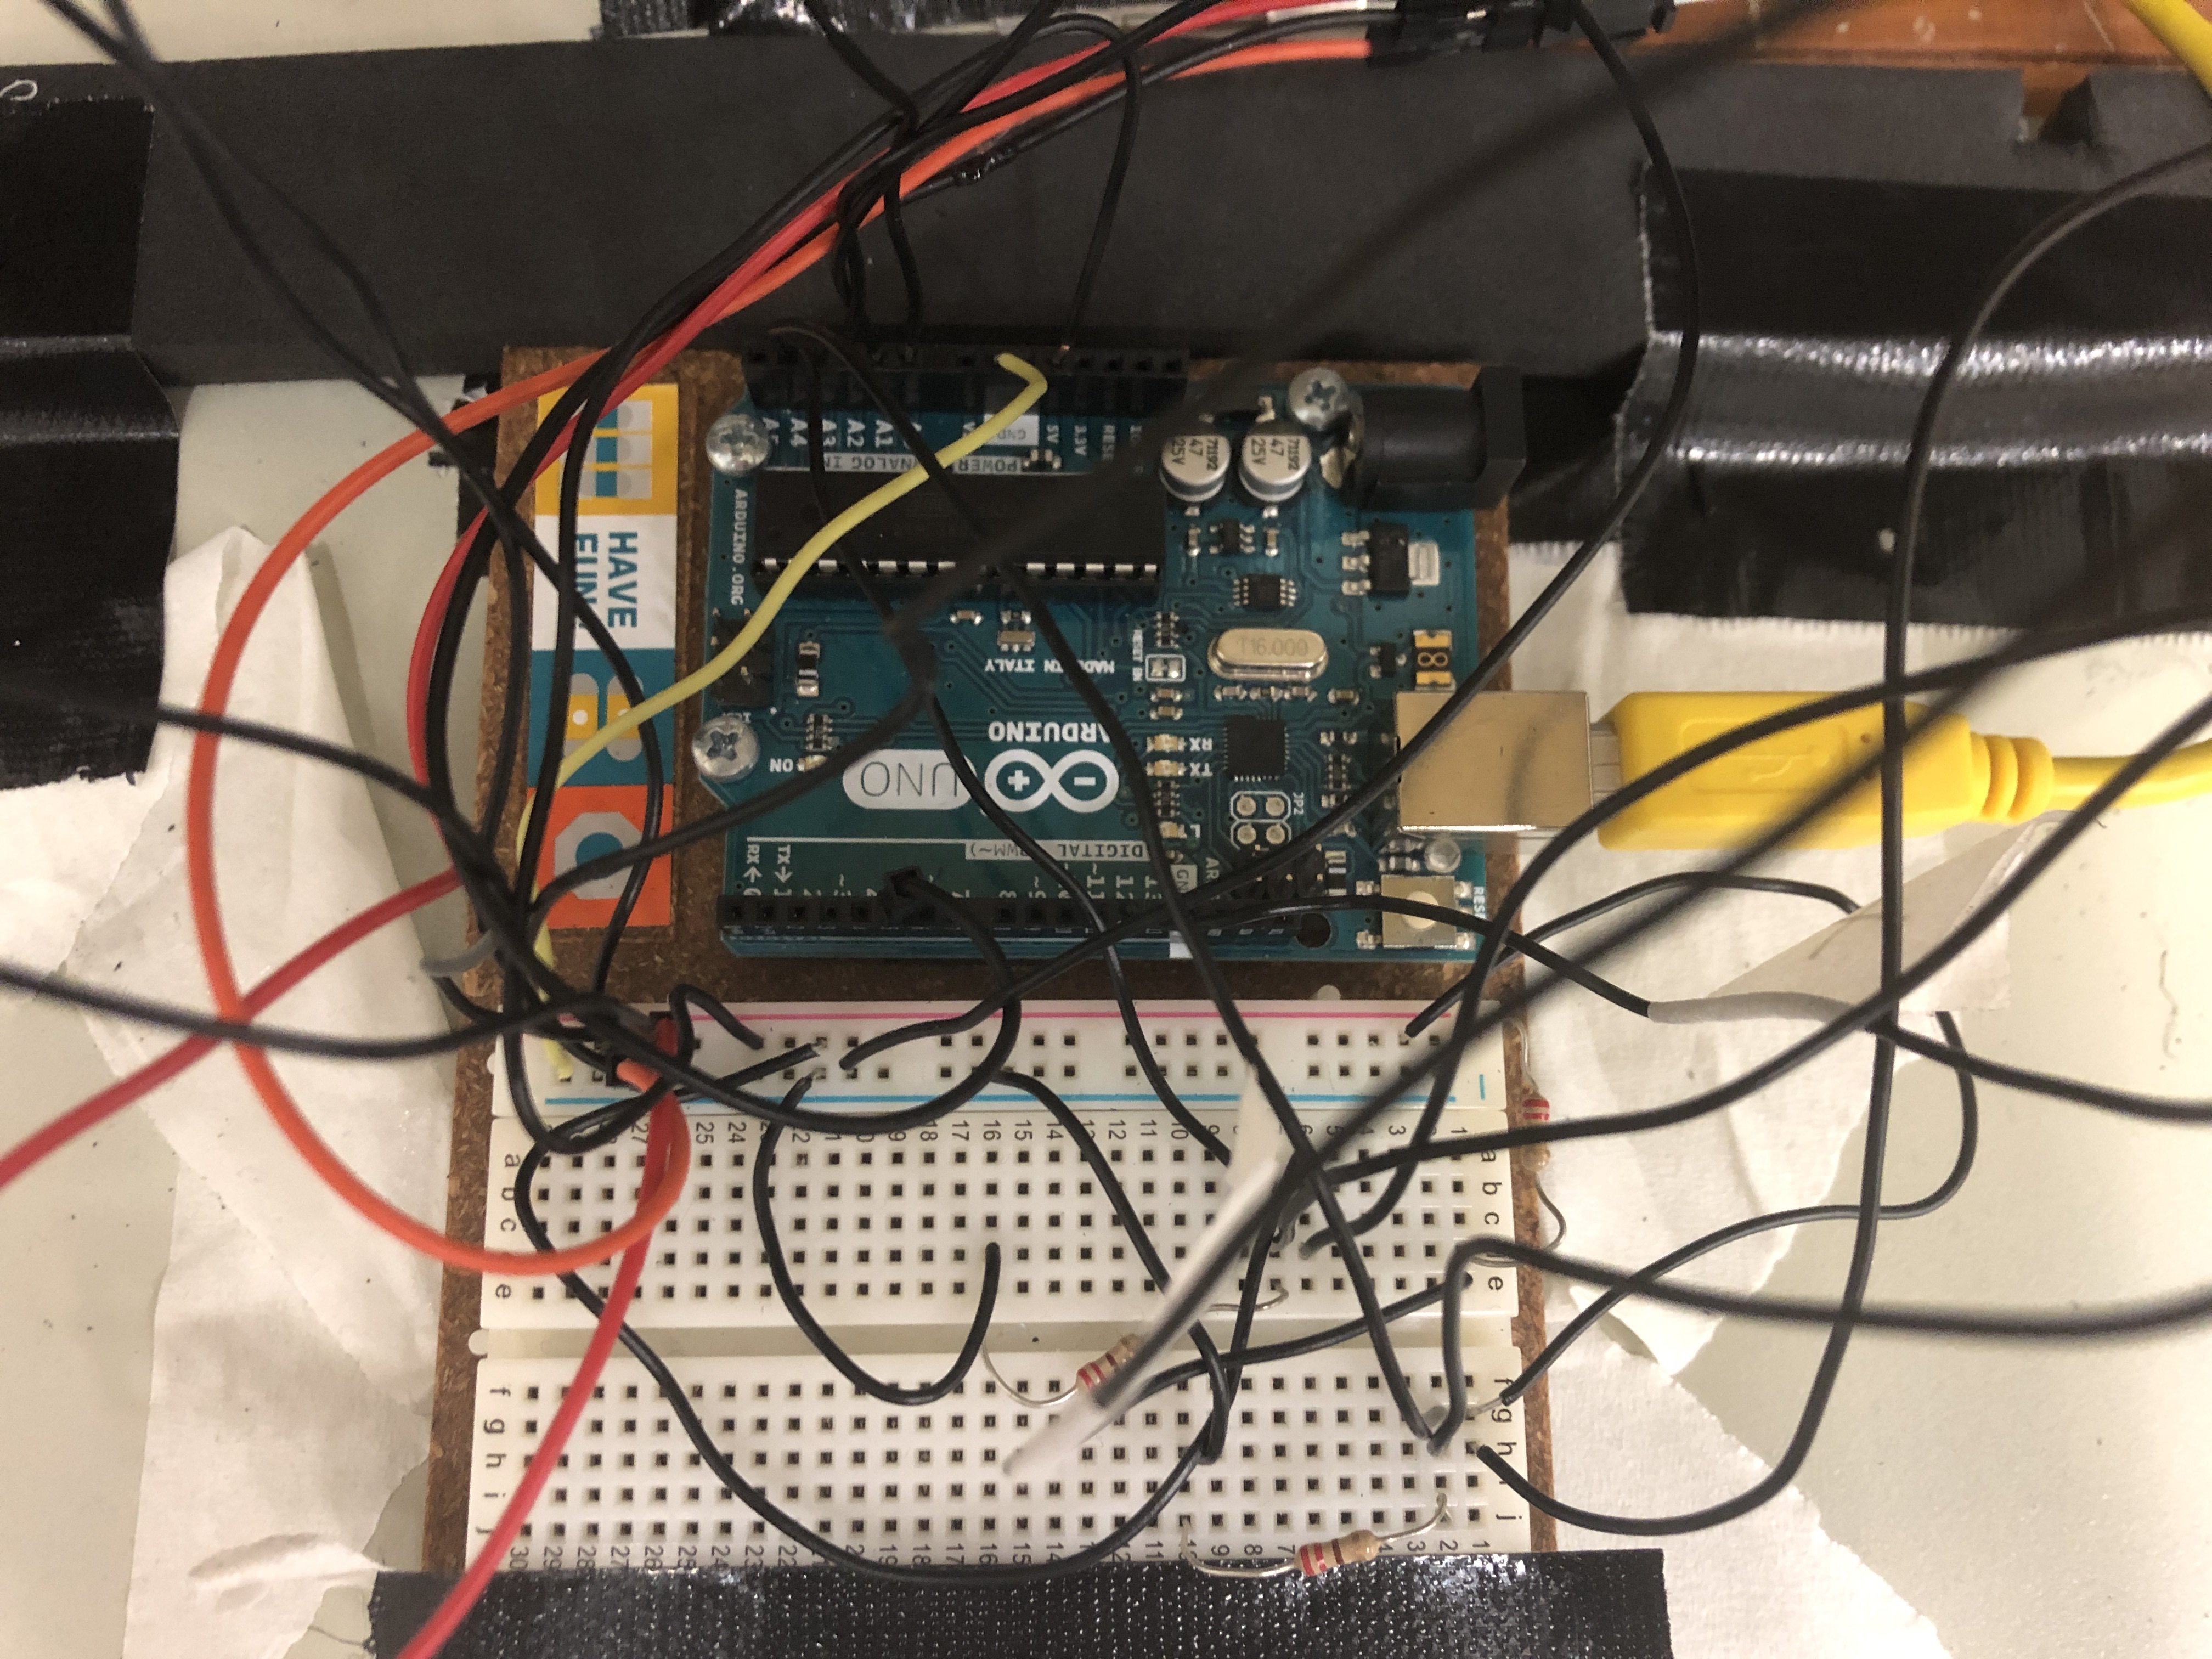
Wiring isn’t that complicated as it looks. It’s just because I used the same wire for every component. The casing really helps a lot to keep things organised.
This video was recorded in my Instagram story last weekend, when it was pretty much finalised.
Photo Documentations