
Hi everyone! Congrats on completing 2D! Despite this being the last project for this module, I’m definitely still looking forward to the works produced by this class for the next 3 years.
When we first got this brief, I was excited to start on it because I’ve always wanted to create a book with a collection of my designs and illustrations. Adding on, I love exploring new creative techniques of paper crafts and binding methods. I feel that it’s essential as a graphic design student to know the basics of printing, choosing the right paper, and ways you can further enhance your digital work.
Initial Ideas/ Experiments
I had quite a lot of inspiration for this project because we could make use our previous work (#yay) and I already had ideas to develop some of my projects further. I chose to do a continuation of previous project (Point of View) because it was my favourite out of all my 2D works. I had a lot of fun and it didn’t seem like a chore despite spending countless hours vectoring little houses/ sheep/ plants etc 😛
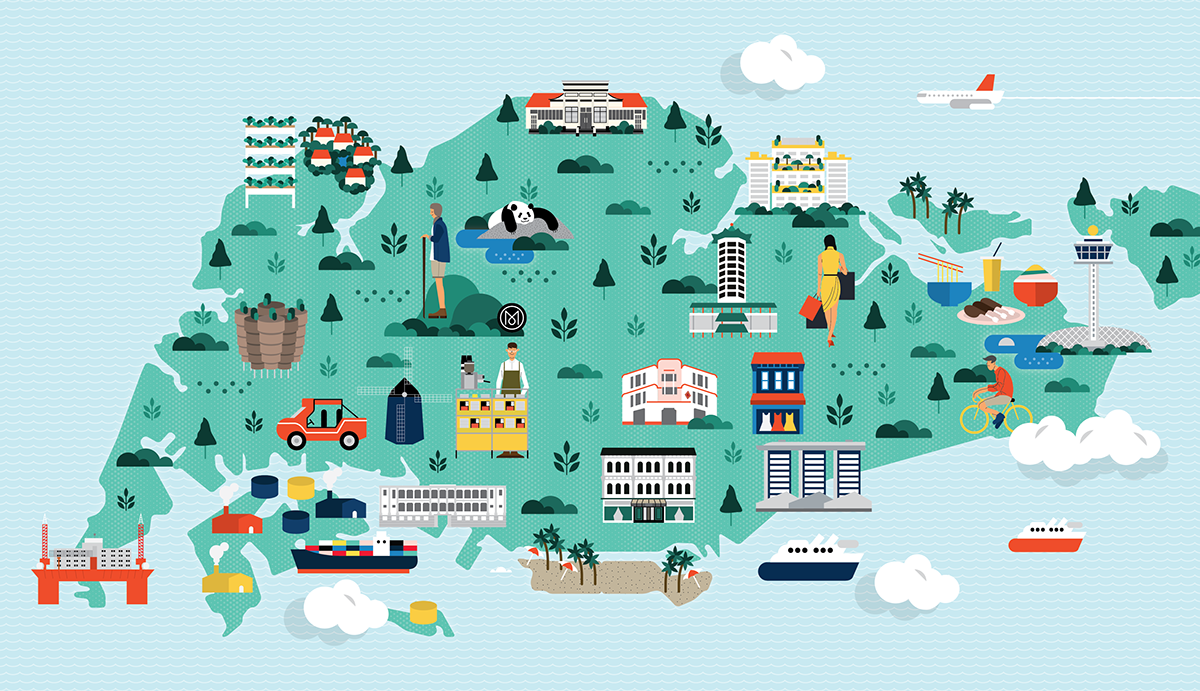
Initially, I had some ideas such as creating a set of accordion post-cards, with perforation, so that people can tear them out for fun. With this idea in mind, I thought it’ll be great if I could “connect” all the “locations” together, in a continuous format emphasizing it’s “quirkiness”. Some edits I made were changing the background to a nice blue and purple gradient sky that “flows through” the set of post cards. I also made subtle changes like adding several birds to the sky, sand from “Miami beach” to “New York” and the plane trail from “Miami beach” to “New Zealand” etc, again connecting the cards.


Adding on, I sourced for some textured papers so that I could test print my designs on, enhancing the vintage look. I also “broke down” and separated the different layers of the design and printed them on different papers (transparency, tracing paper). For example, for the NYC design, I printed the car and the sun onto a tracing paper, and on another piece, I cut out the shape of the buildings so that it can become an interactive book, however I felt that it might be a little too much. (Sadly, I didn’t take photos of this but they’re in my visual journal, Joy) 🙂
Another idea I had was to create a travel guide book for one of the cities. Some pages can contain information like the city’s history, dos and don’ts as a tourist, places to go, places to eat, places to shop and travel tips. I wanted it to be part of a travel company’s branding, and it could be a way to advertise a certain city!
Final Concept
So my final concept is a travel guide book to London. Why London? I chose London because firstly, I’ll be going on holiday there for the first time and it would be a fantastic way to “explore” the city and do early research! Also, it’s one of the cities that I’ve adored since young and hopefully, will be able to work at in the future (S&S hehe).
Formatting/ Art Direction
Since it’ll be quite illustration heavy, I decided not to go with a complicated binding technique as it will be quite distracting. Furthermore, staple bind/ saddle stitch, is more applicable for commercial productions. I had to carefully plan out my book and draw sketches to identify where everything is going to be, and I thought that adding a pocket behind for a small map and postcards would be quite a good idea – because people do need maps to explore.


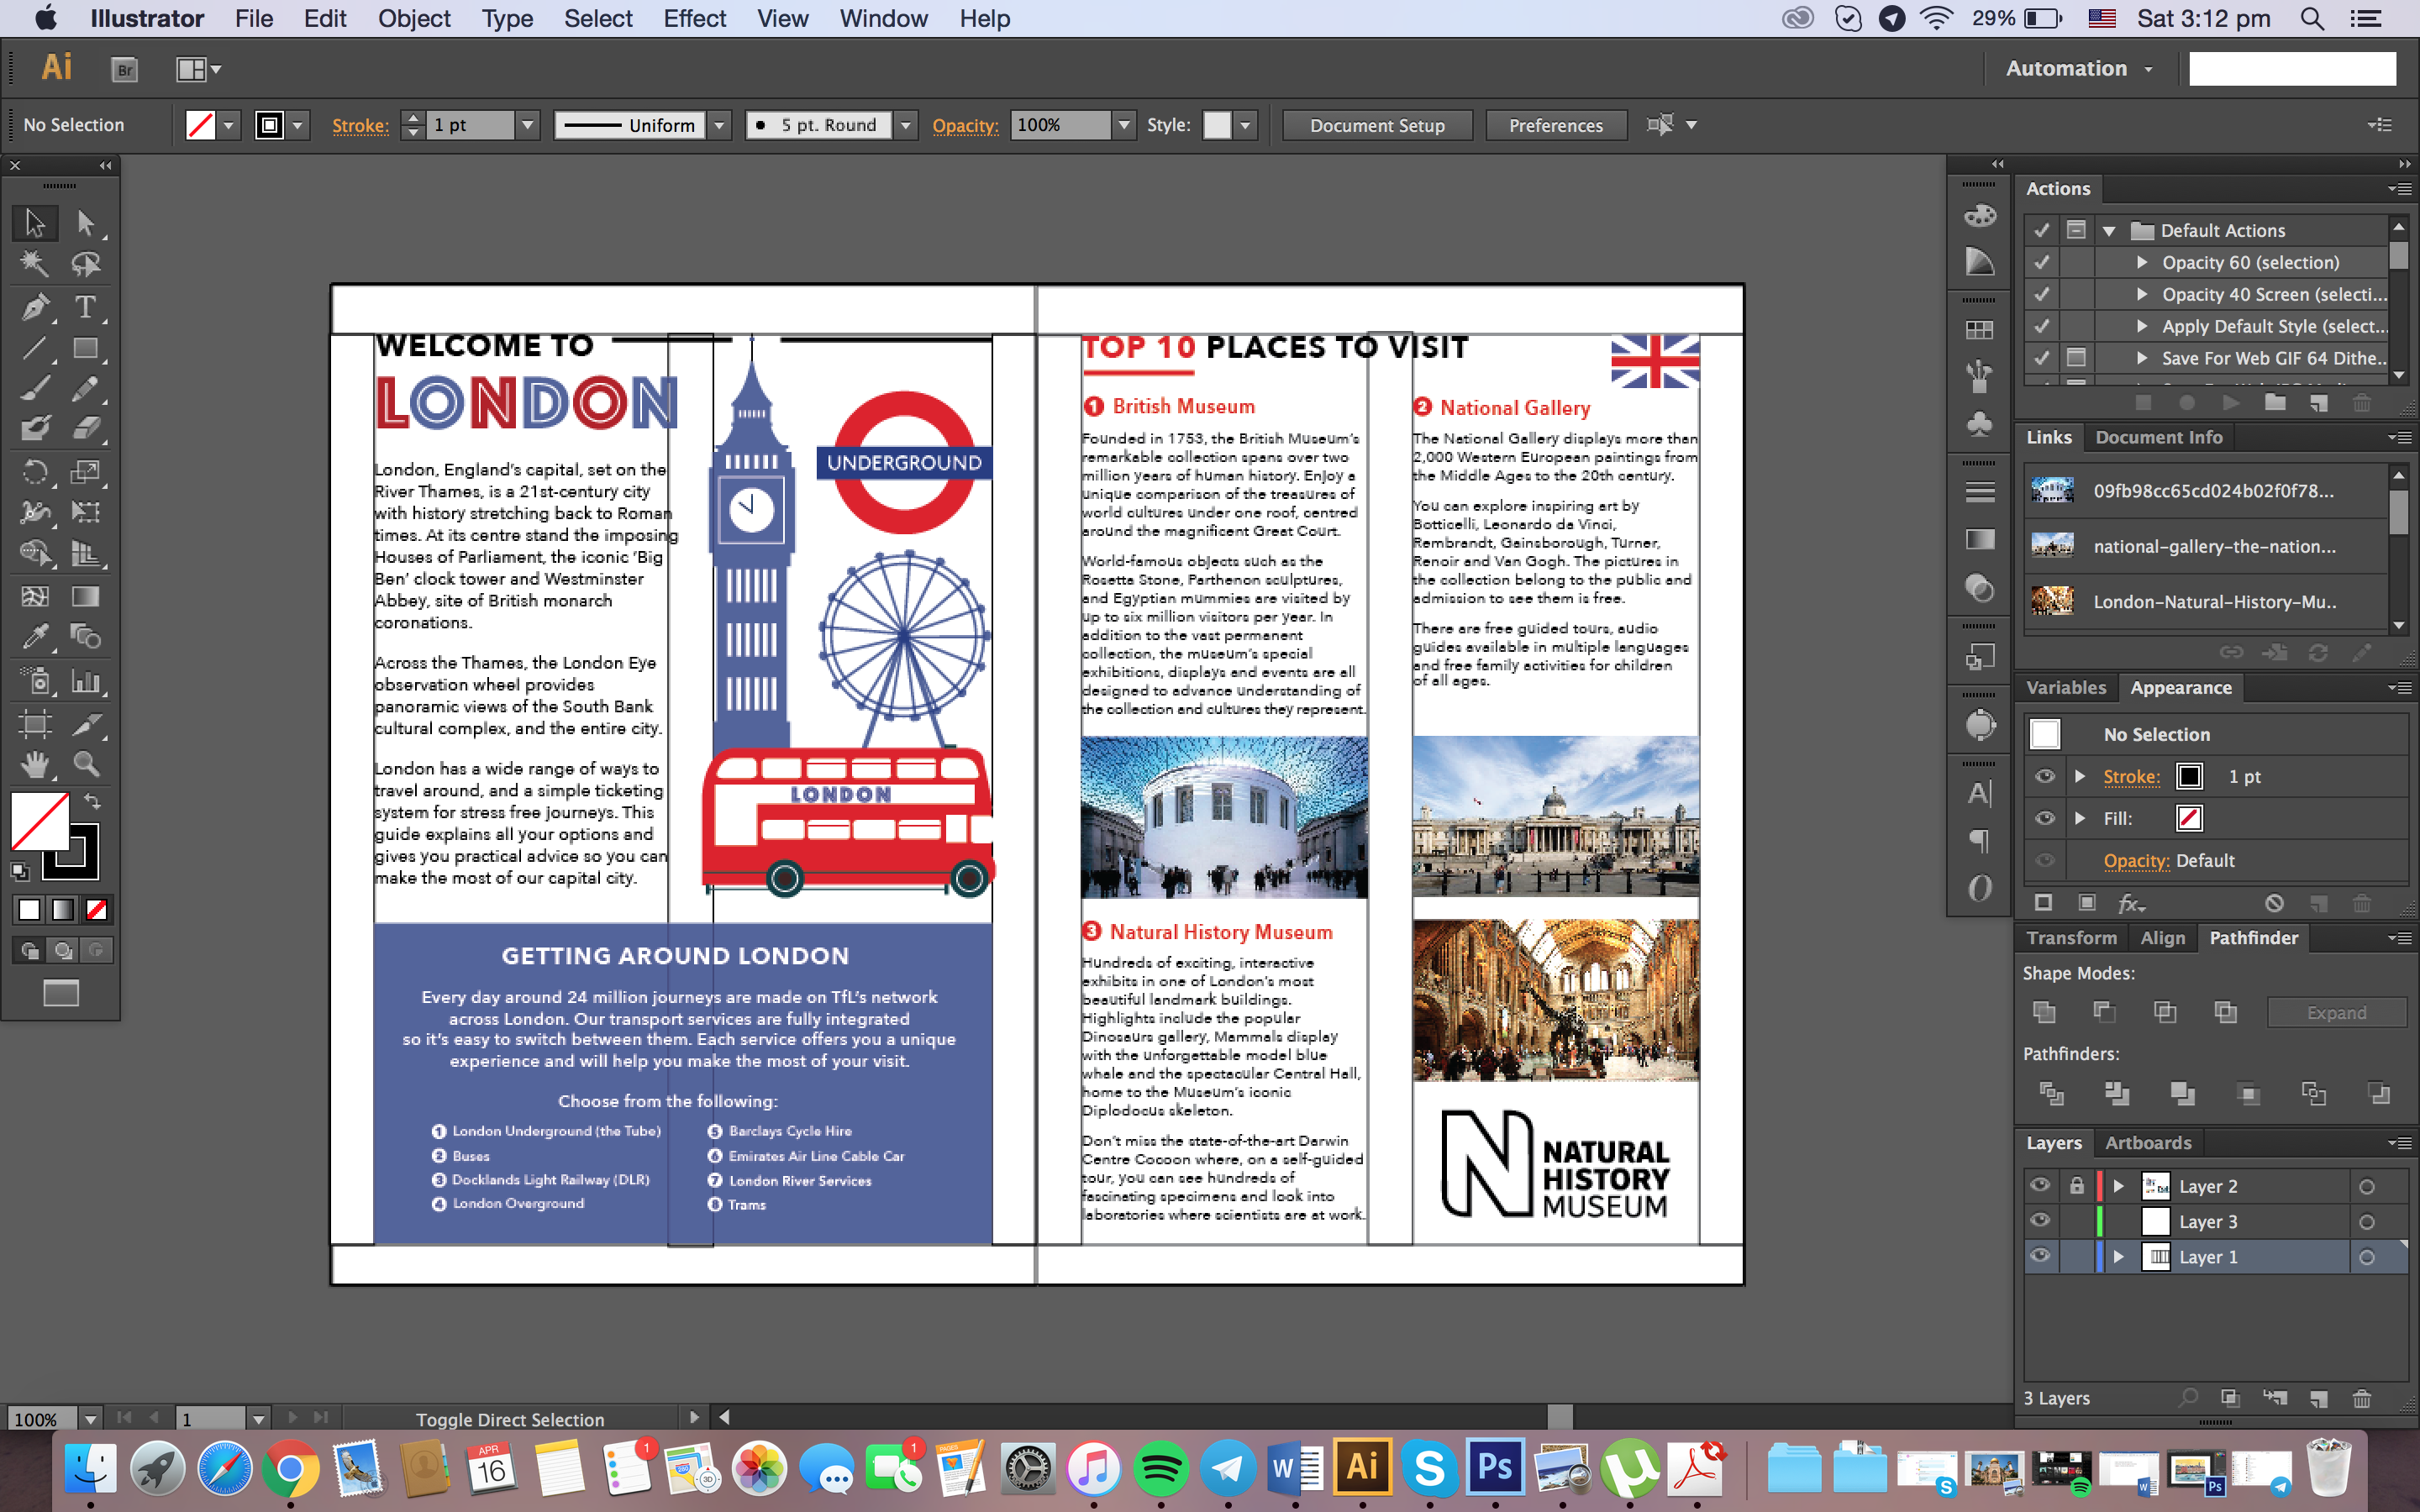
 I used adobe illustrator to illustrate and layout everything. Here’s a SS of my workspace and an unprofessional “template grid” HAHA 🙂 I thought that it’ll be easier if it was a 2 column grid, making it straightforward and easy to read. I am definitely more comfortable with illustrator and I’m AFRAID of indesign, but I think it’s something I can’t run away from being in Vis comm. 🙁 Will learn it properly over the holidays.

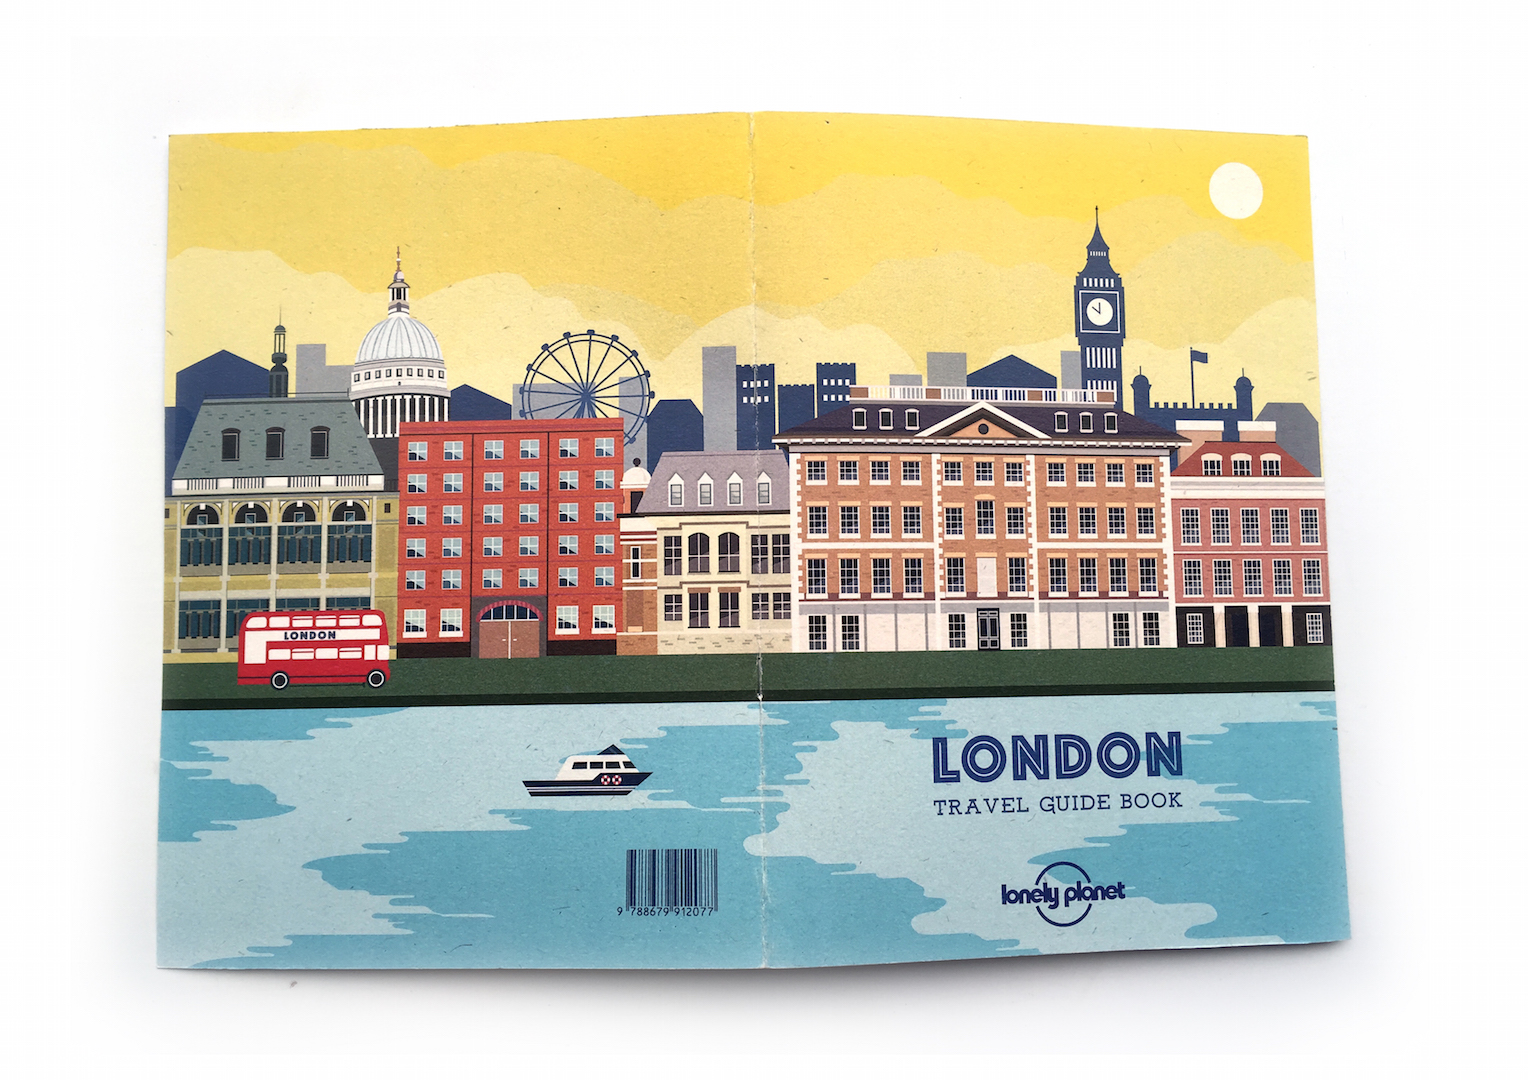
I spent most of the time working on the illustrations, especially the cover – that took me 2 days. I felt the need to keep the inside pages to 2 colours and 2 fonts – to not complicate things and so that the emphasis would be on the cover page. The content and most images were taken from http://www.visitlondon.com/ 🙂
Final Zine (Digital Spreads)
- Cover – As you can see, I extended the vectors out (“bleed”) so that there will be alot of additional space, incase cutting goes wrong OR for alignment purposes when printing on double-sides of a page.

Front

Back
2. Introduction to London/ Travel tips, Top 10 Places to Visit (1)

3. Top 10 Places to Visit (2) and (3)

4. Best Restaurants in London (1), (2) and (3)
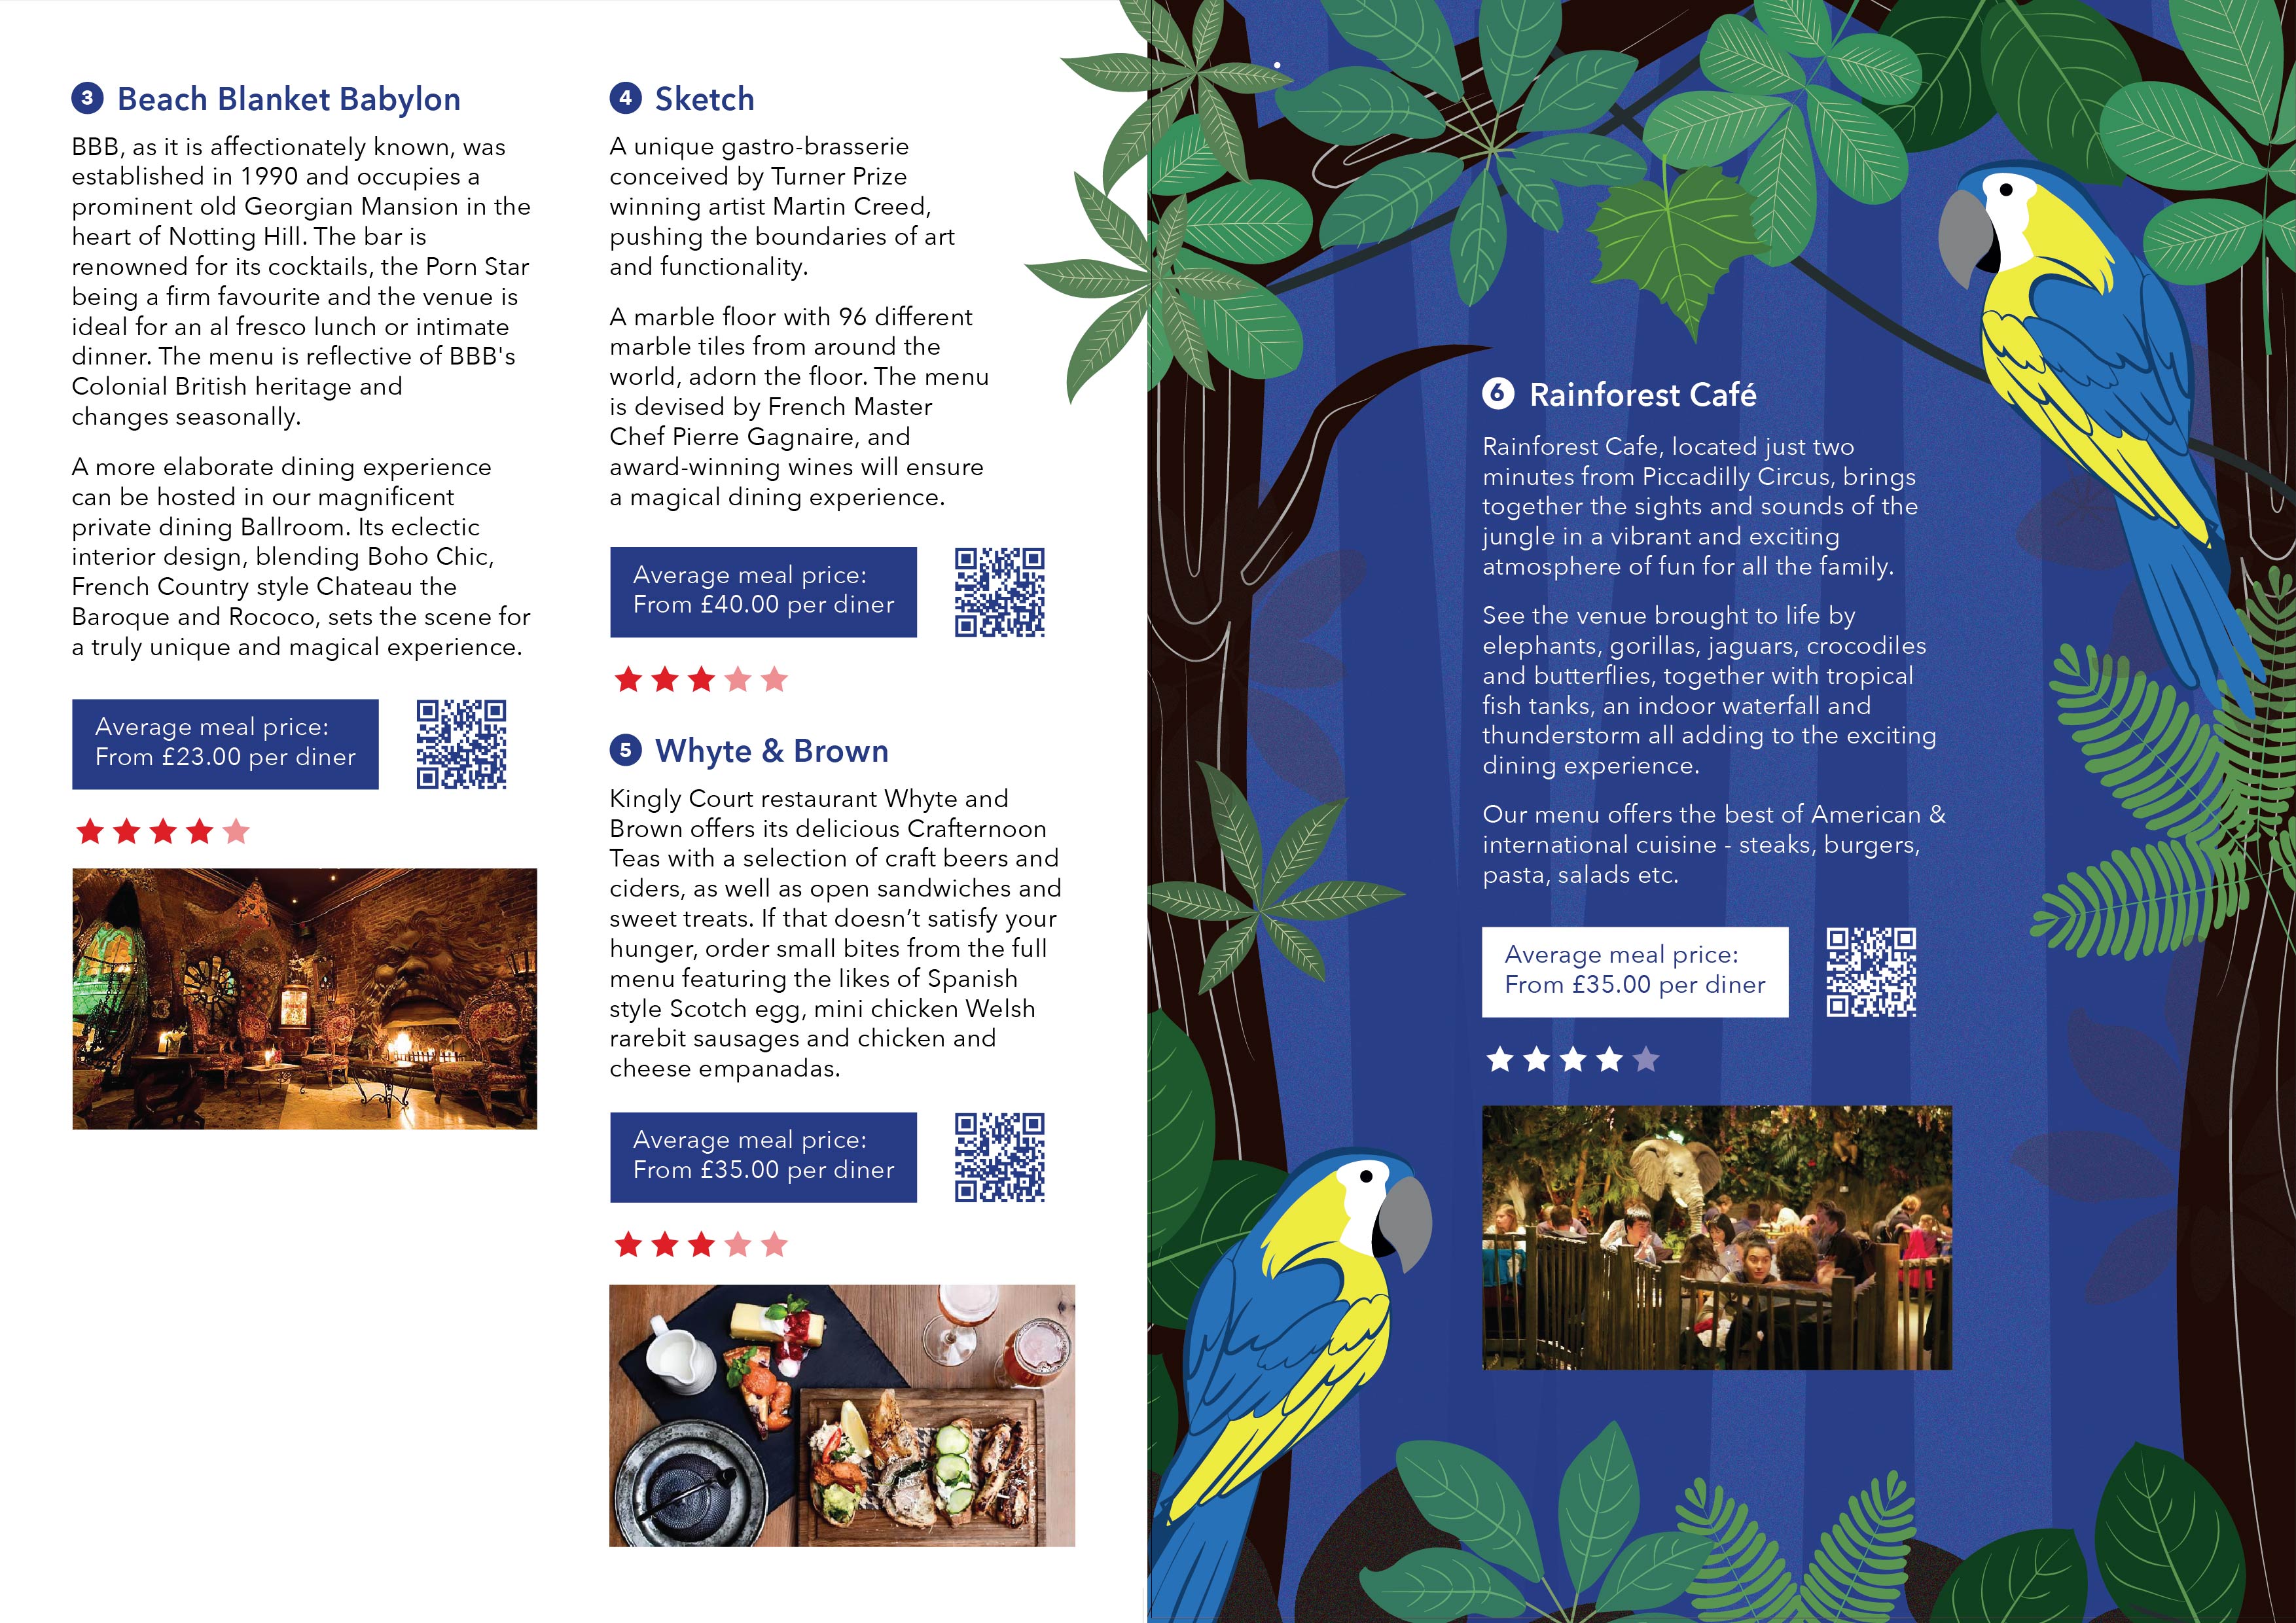
Added the star ratings and QR codes to make it more “legit”
5. Shopping in London (1) and (2)

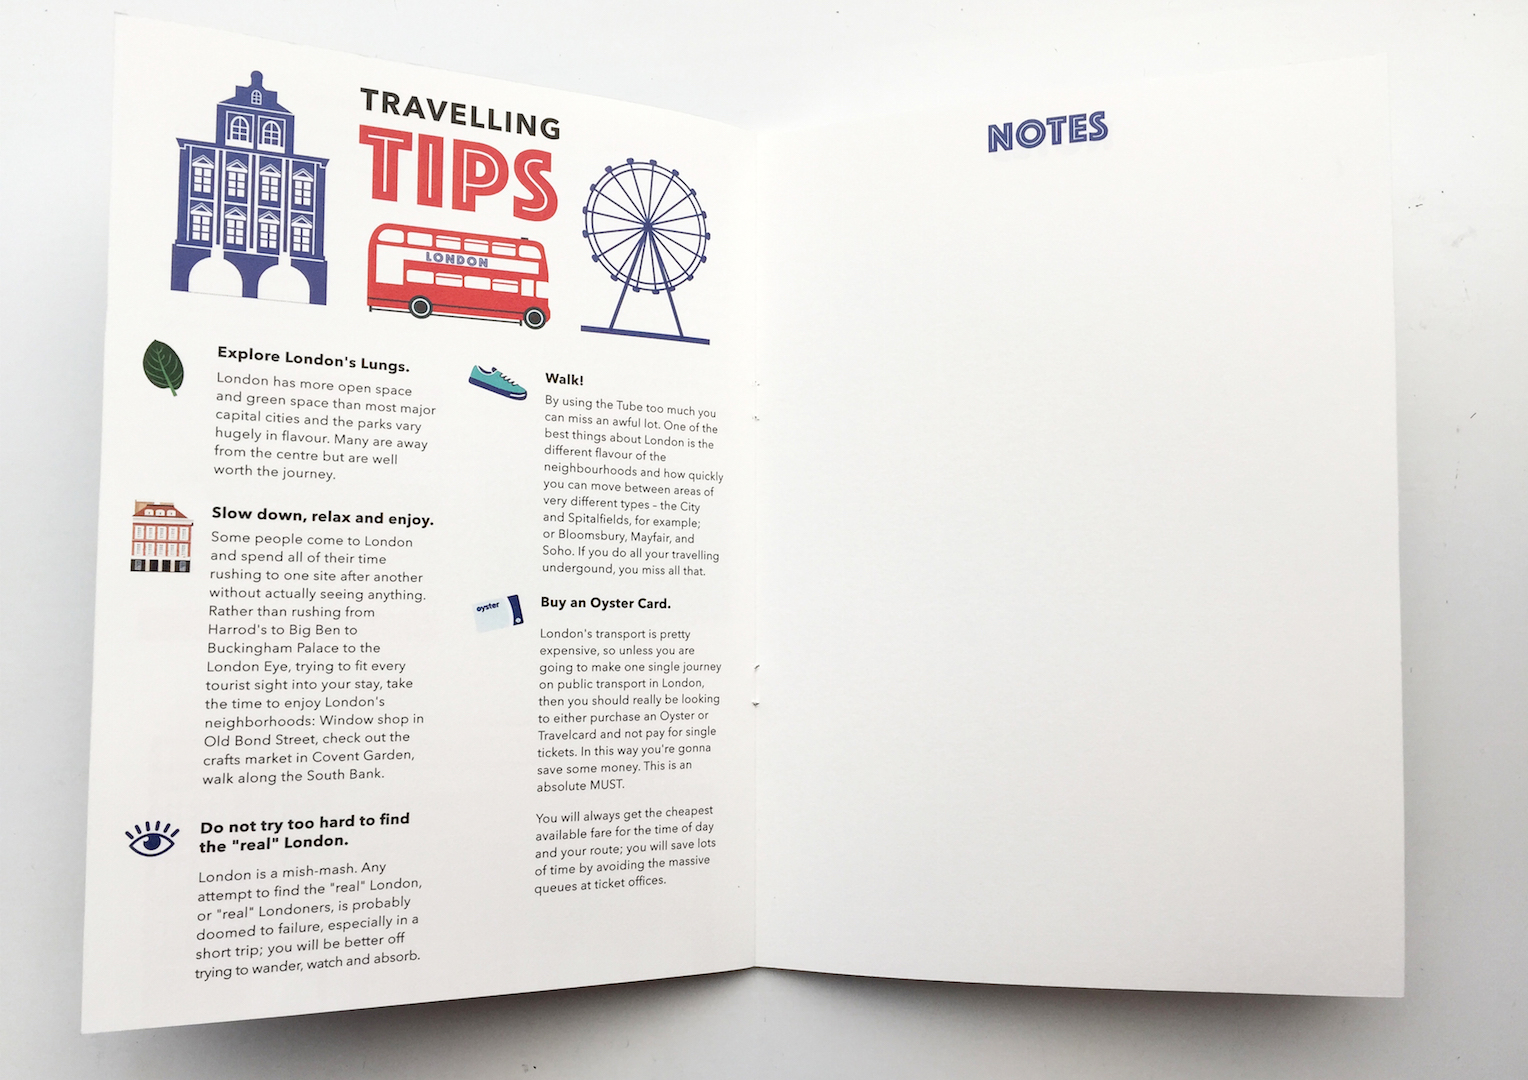
6. Travelling Tips, Notes

Had to take out the “NOTES” border in the end, for alignment purposes
7. Map

Bleed ^
To be continued…


