Week 11: Touch & Print Field Trip Reflection

The second field trip was to Touch and Print, a company specialising in transfer printing methods on a wide variety of materials. They do T-shirt printing, printing on mugs, metal, canvases, basically anything with a flat surface. We headed down as a class to Touch and Print’s office located in Bras Besah and were greeted by Leon, the coordinator of the workshop.

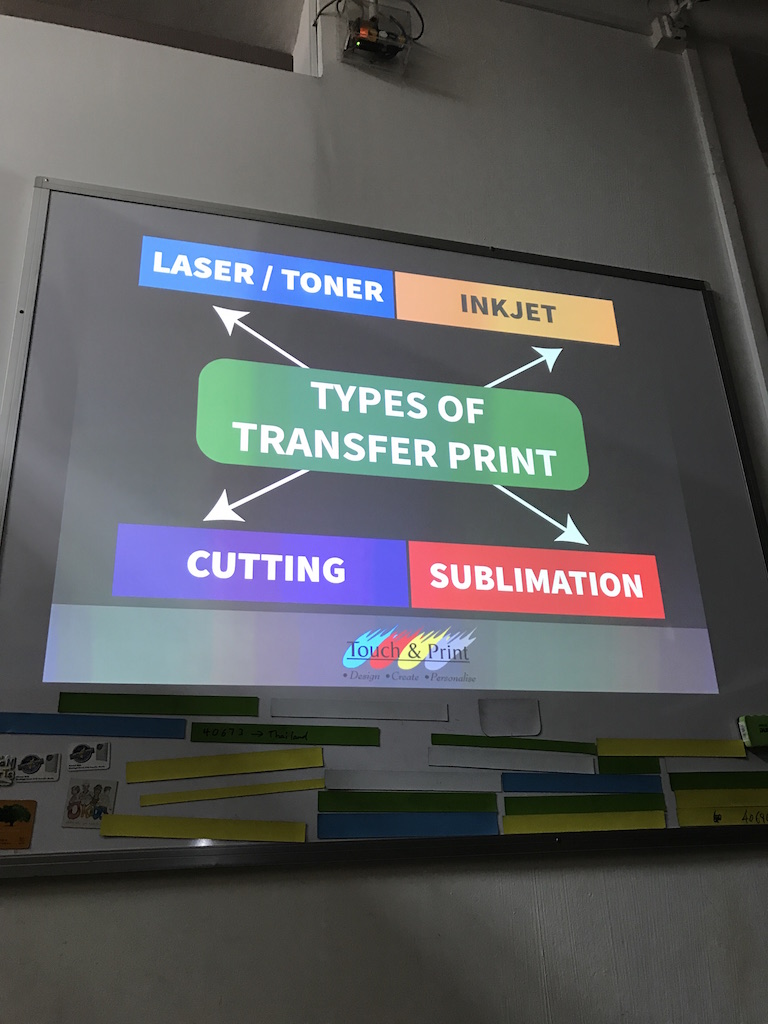
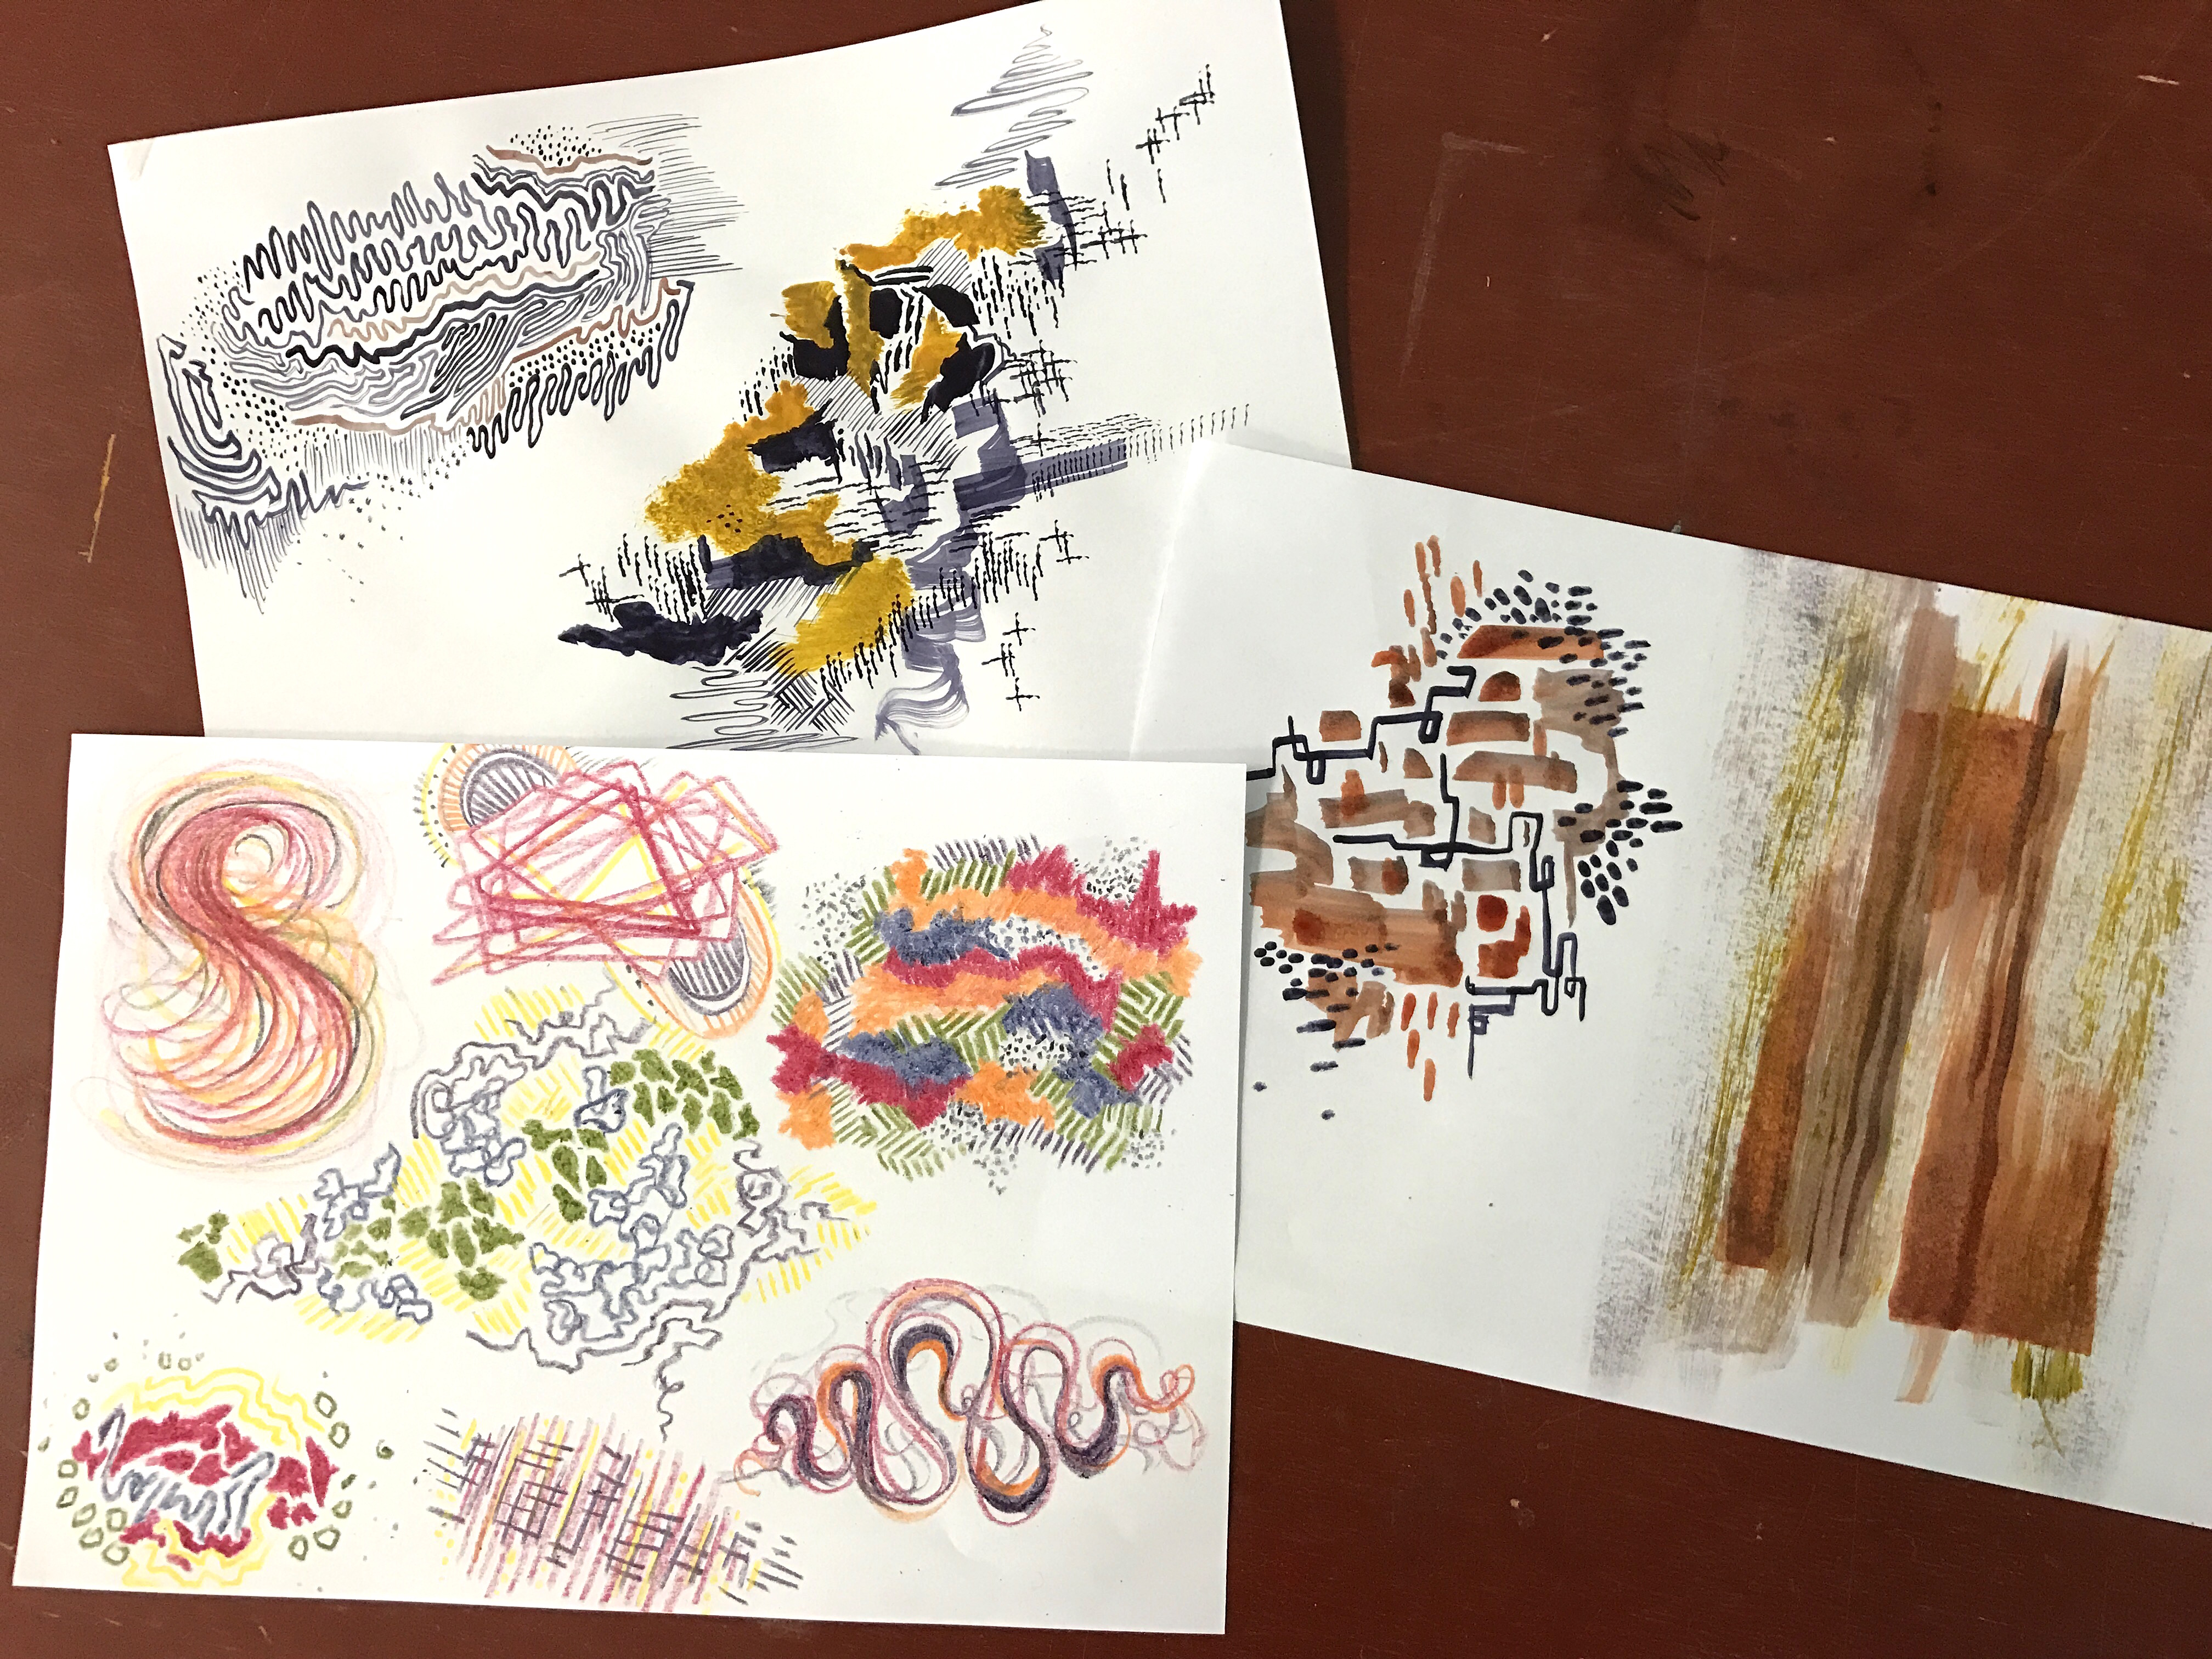
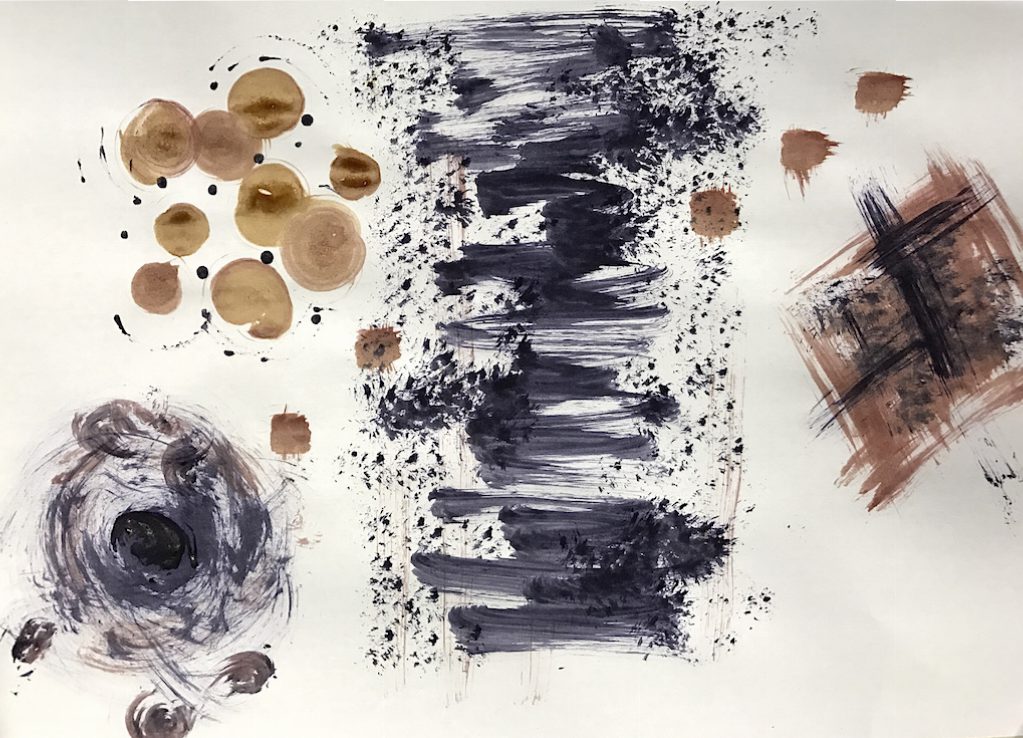
Leon started out the workshop with a lecture on heat transfer, colour printing and compositions and the types of papers they sell for transfer printing. We also had the privilege to see some of their cool works like a cardboard cut out chair design that can be made formed into other usable objects.

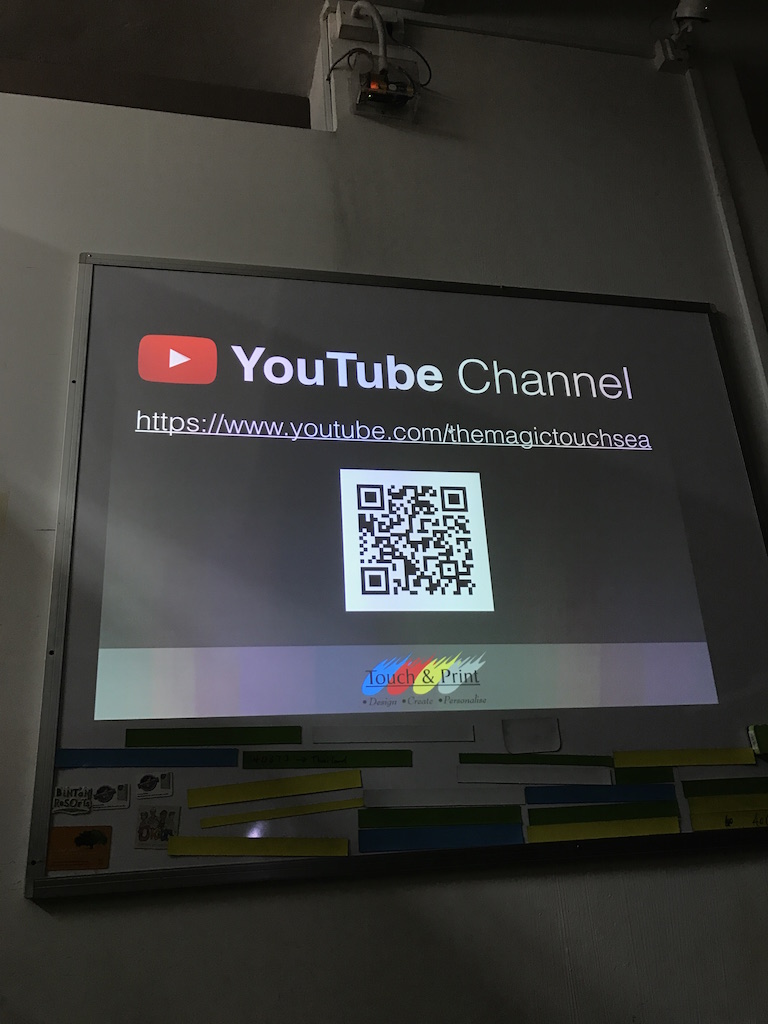
The link to their youtube channel with their heat transfer tutorials

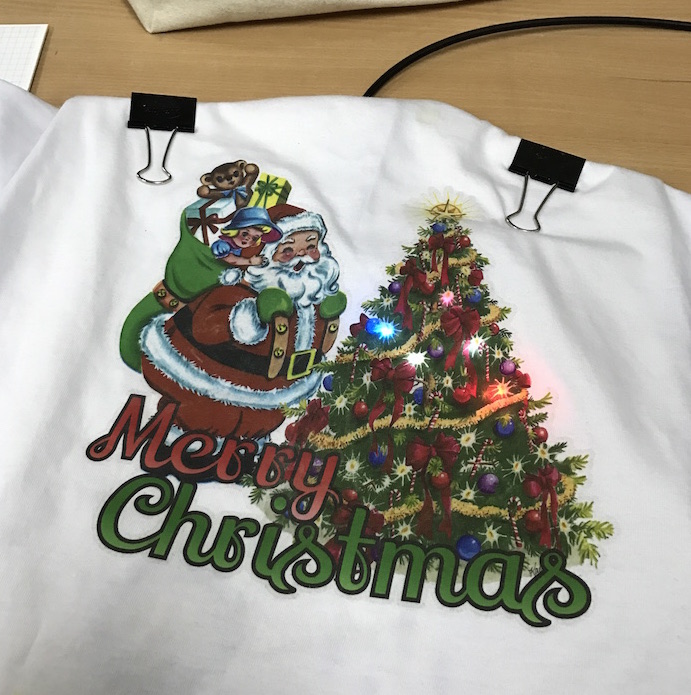
LED lights fixed onto a T-shirt


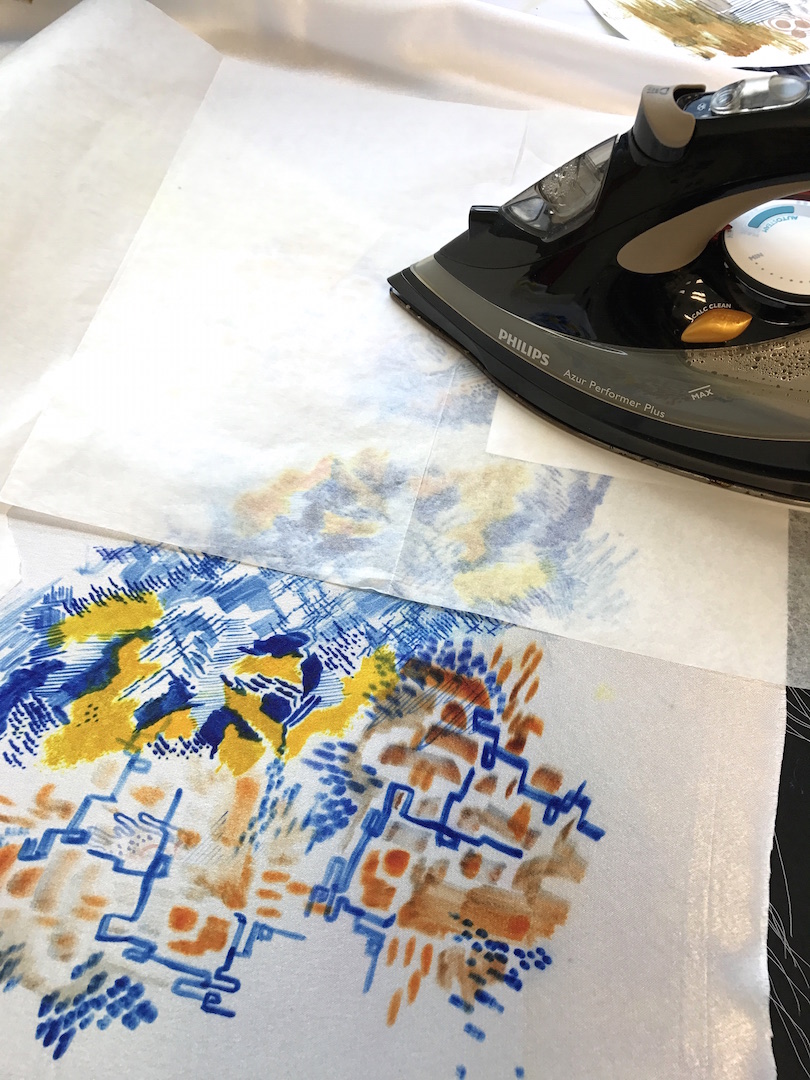
Transfer printing onto a cotton shirt:

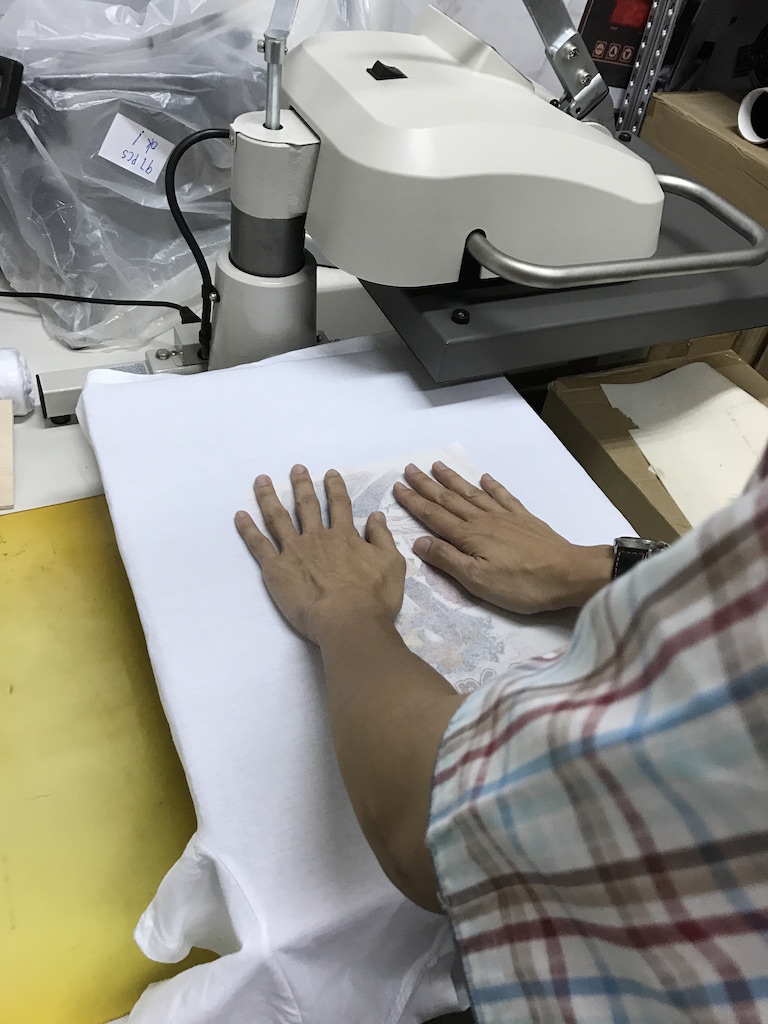
Step 1: Lay the design face down onto the cotton shirt

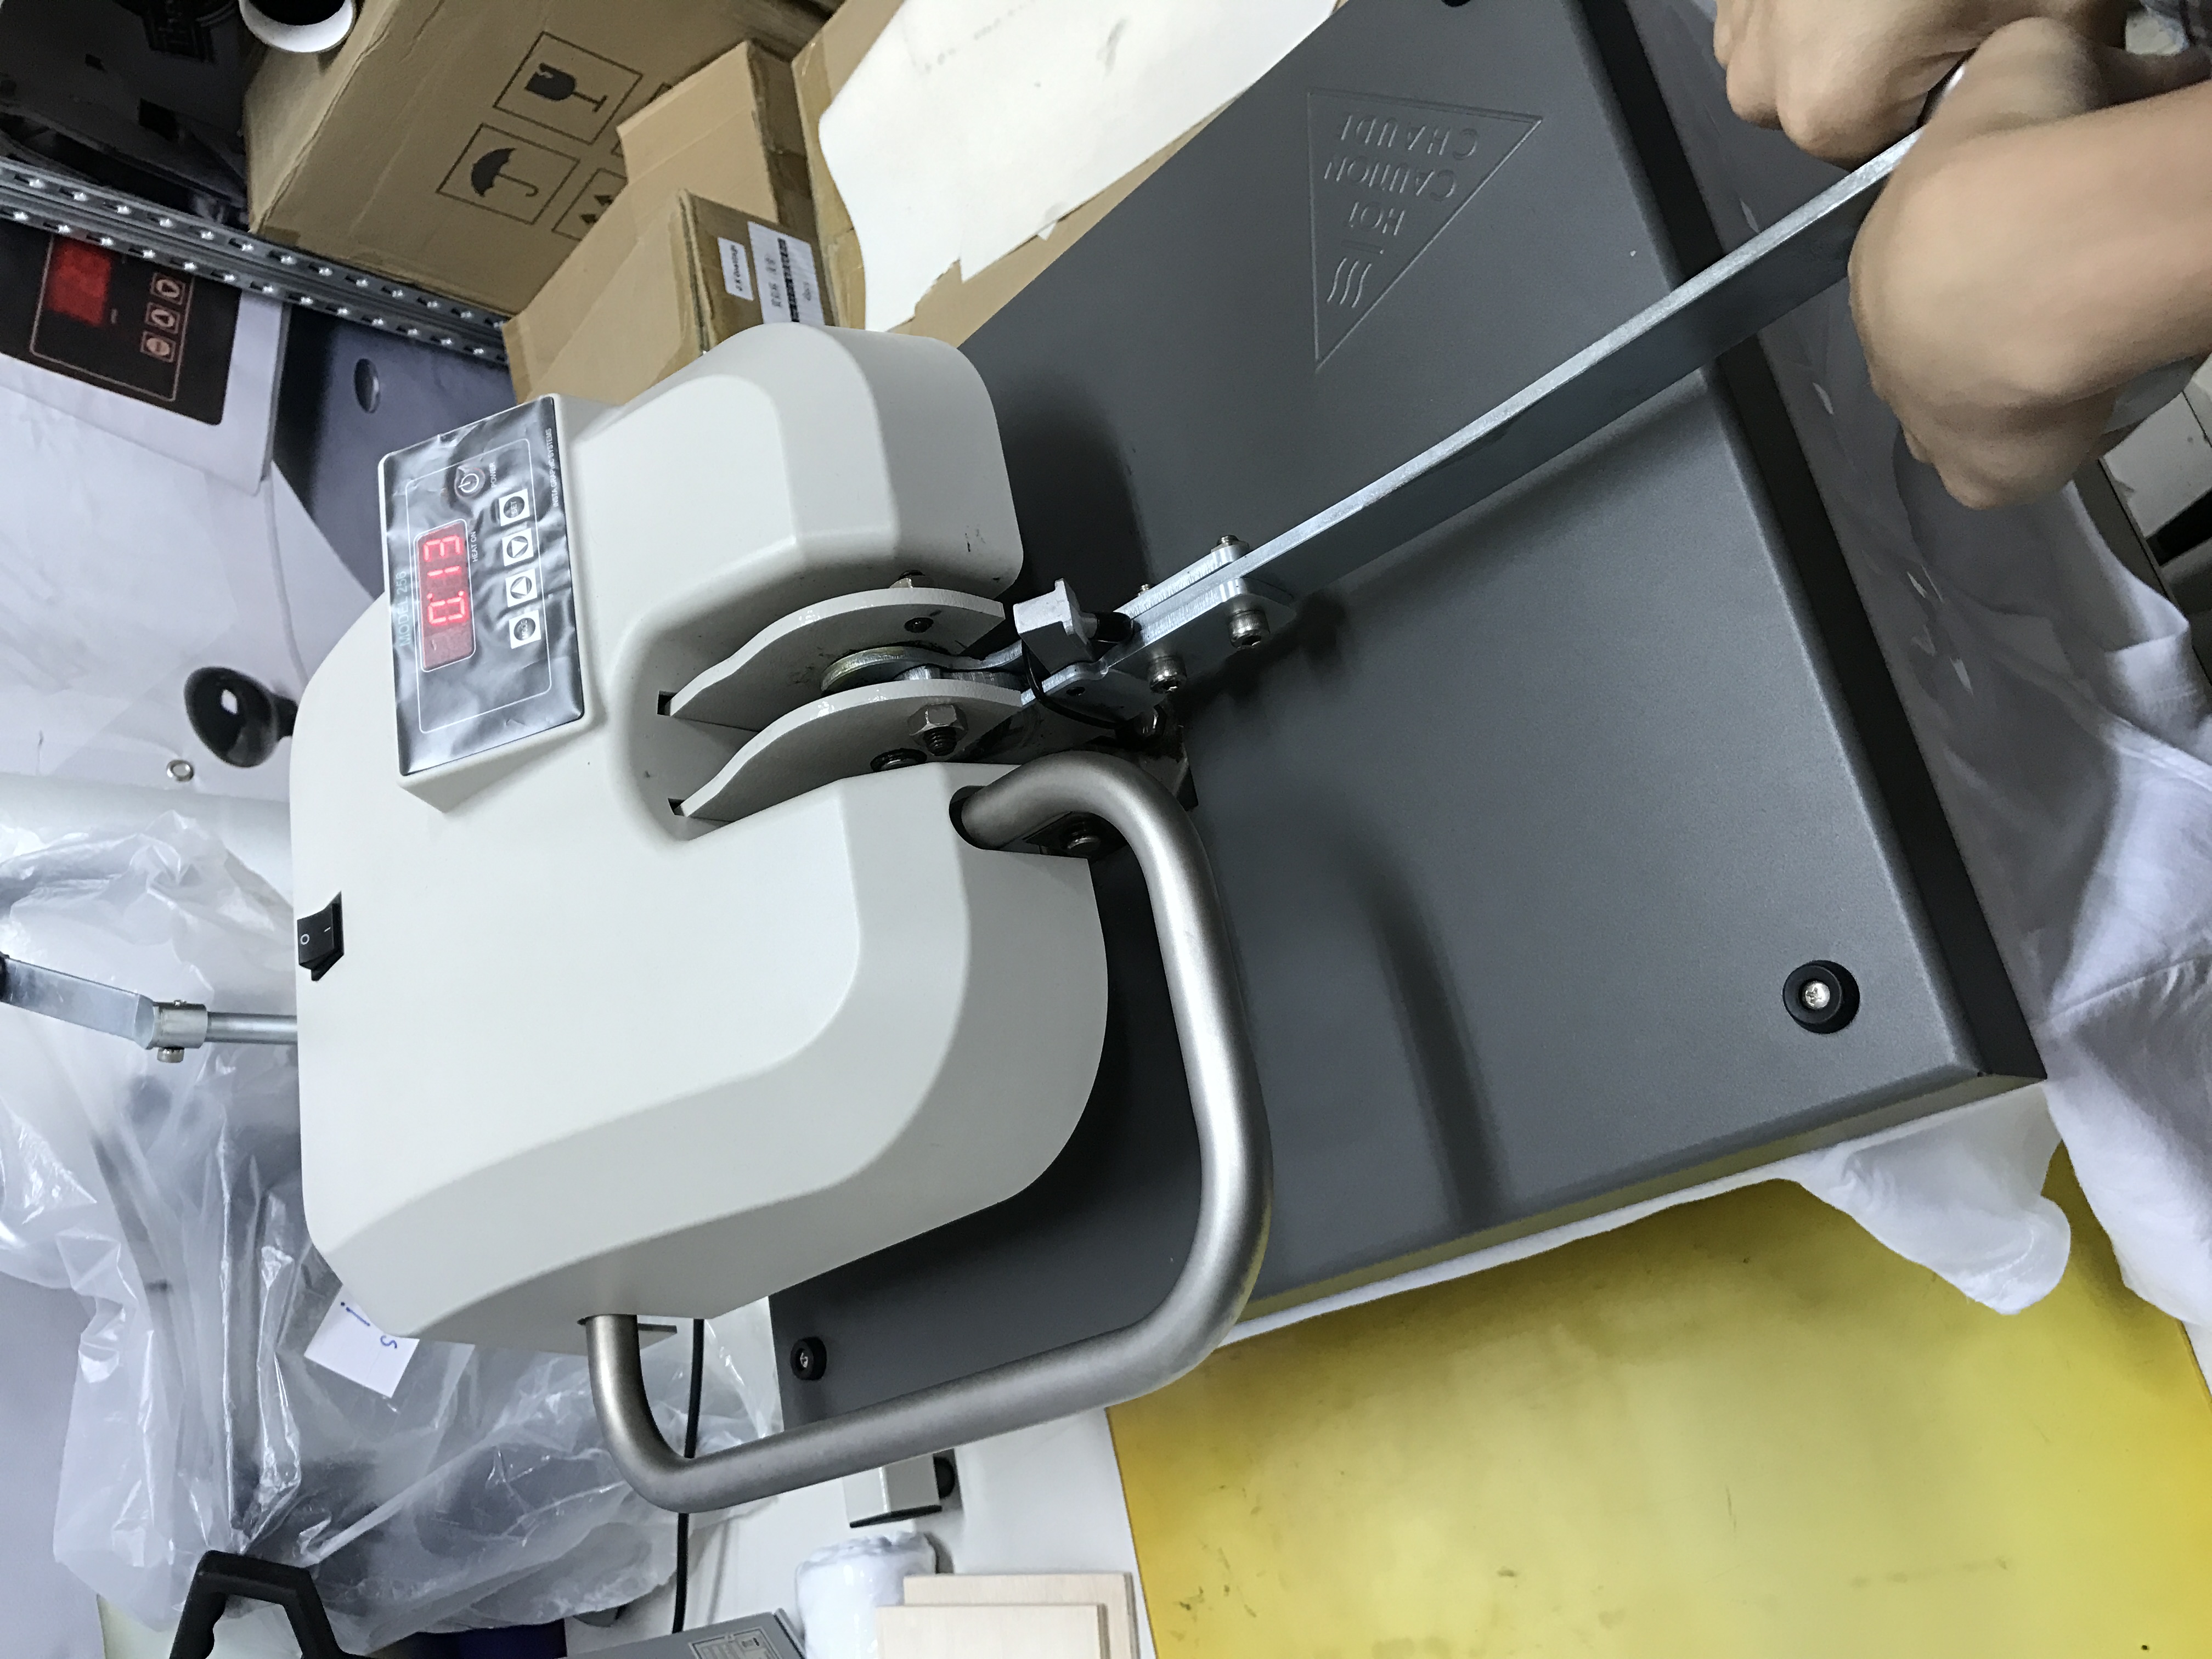
Step 2: Press down the machine and wait


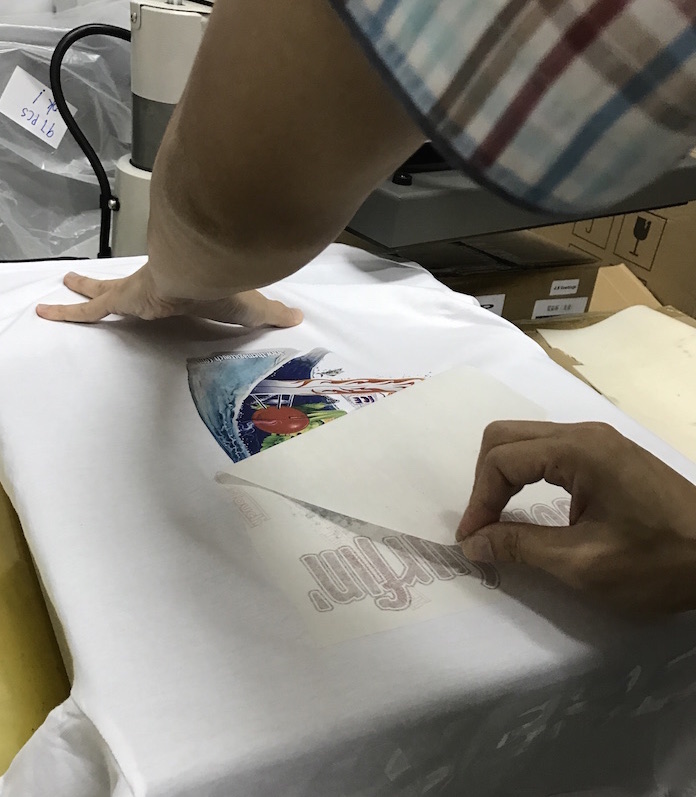
Step 3: When the timer ends, lift up the heat presser and peel the top sheet off

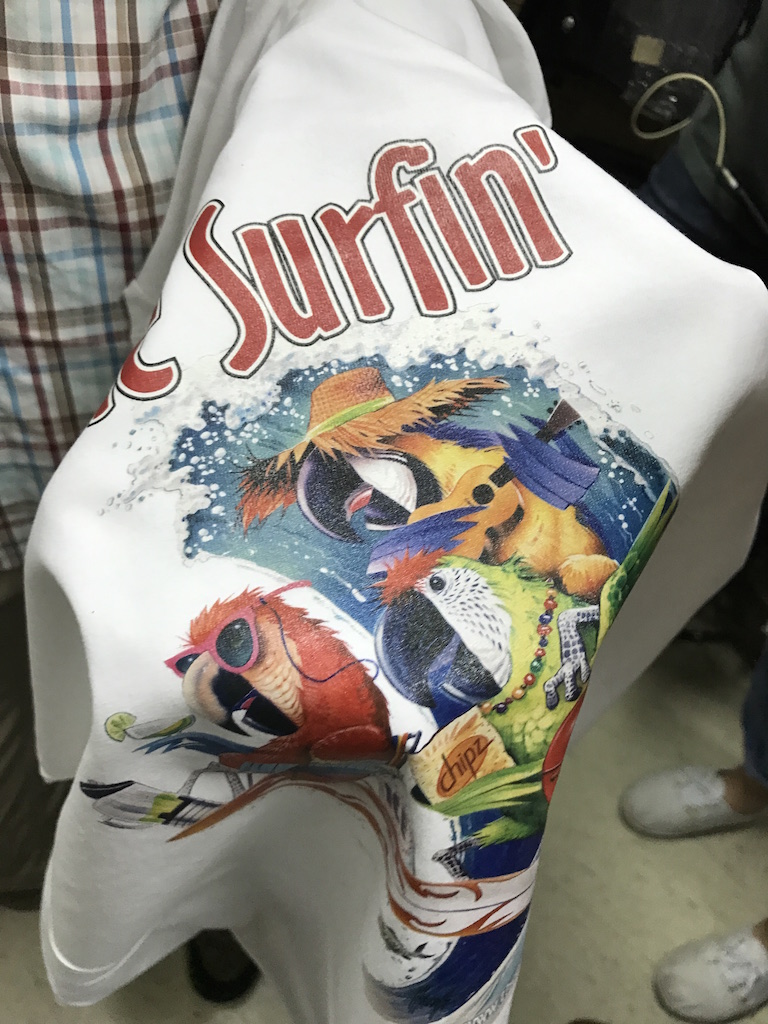
Step 4: Admire your print!!!

Reflection: This field trip was very fulfilling as we got to see how these items are printed with machines first hand. Leon was also very helpful in answering our questions! The only tedious part about printing these shirts in bulk is that you have to cut out the design out manually before printing. Other than that, it’s a simple technique to do. I like the practicality of this printing method as well.

Week 2: Transfer Printing

What is Transfer Printing: Transfer printing is the process of transferring an image/ drawing onto a fabric or other smooth surfaces, through a substrate (e.g. fabric crayons, various types of heat transfer papers). Once heat is applied, the image will transfer. It is also known as sublimation printing. Transfer printing comes in three forms, wet and dry transfer as well as digital.

DRY + WET TRANSFER

Materials needed: Paper, Crayola Fabric Crayons, Kraftcolor Transprint Ink, Shiny polyester satin, Baking paper, Iron, creativity!

How it’s done:

Step 1: Draw and paint your designs onto the paper using fabric crayons/ transprint inks.

Step 2: Face paper with design down onto the polyester satin. Place the baking paper on top of it.

Step 3: Iron and apply heat. Keep track of timing as this will affect the colours that appear on the fabric.

Original drawings

Original paintings

After ironing – Yellow becomes dull orange on paper, bright on fabric

After ironing, colours are very vibrant

Personal reflections:

My theme: Abstract art – I referenced several images online and came up with my own abstract patterns. I made sure each and every design was unique and creative, individually. I tried out many different types of strokes using the paint brush (e.g dabbing, fast strokes, small strokes, dotting etc.) trying to make it as “abstract” as possible. After transferring the prints onto the fabrics, I noticed that the crayon designs came out much brighter than the original drawn-on patterns. The inks however, came out much duller. The red inks turned burnt orange in colour. The yellows were okay, and in fact were quite bright. Perhaps my red and blue inks were slightly contaminated.

This technique was alot of fun to do, as it is the simplest and most straightforward. I guess instead of having fabric designs always printed digitally, this technique can help make it more personal. Coming up with interesting designs was a slight challenge and some prints didn’t turn out as nice as others, but I loved how they turned out in the end!

DIGITAL TRANSFER

Materials needed: CPM6.2 (For transferring on wood, mugs, metal, ceramics), TTC 3.1 (For transferring mainly on T-shirts)

How it’s done:

Step 1: Print an image onto special papers (6.2 or 3.1)

Step 2: Face paper with design down onto the T-shirt or wood.

Step 3: Use a heat presser to hold the paper down. Release the heat presser once it’s done.