Final Assignment Part 1

This series picks off a theme that I have been exploring for a while now, which is portraits of people juxtaposed in front of nature. I like the solemn and moody look of people engaging with the camera, as if a silent conversation between the audience and the subject- an intense, introspective look of an urban dweller in mother nature. The moodiness is derived from the colour grading as well, generalised into a points like purple-orange gradient, selective colour of red in shadows and a pinkish hue layered over the picture. More on how below!

Base

This is the first photograph of my series, starting off with something more positive. However because the camera captures best when objects are static I thought I could just photoshop in the other petals from the other attempts to capture the thrown petals, shown below in a step by step basis.

Left Side of Flowers
Right Side of Flowers
Last petal

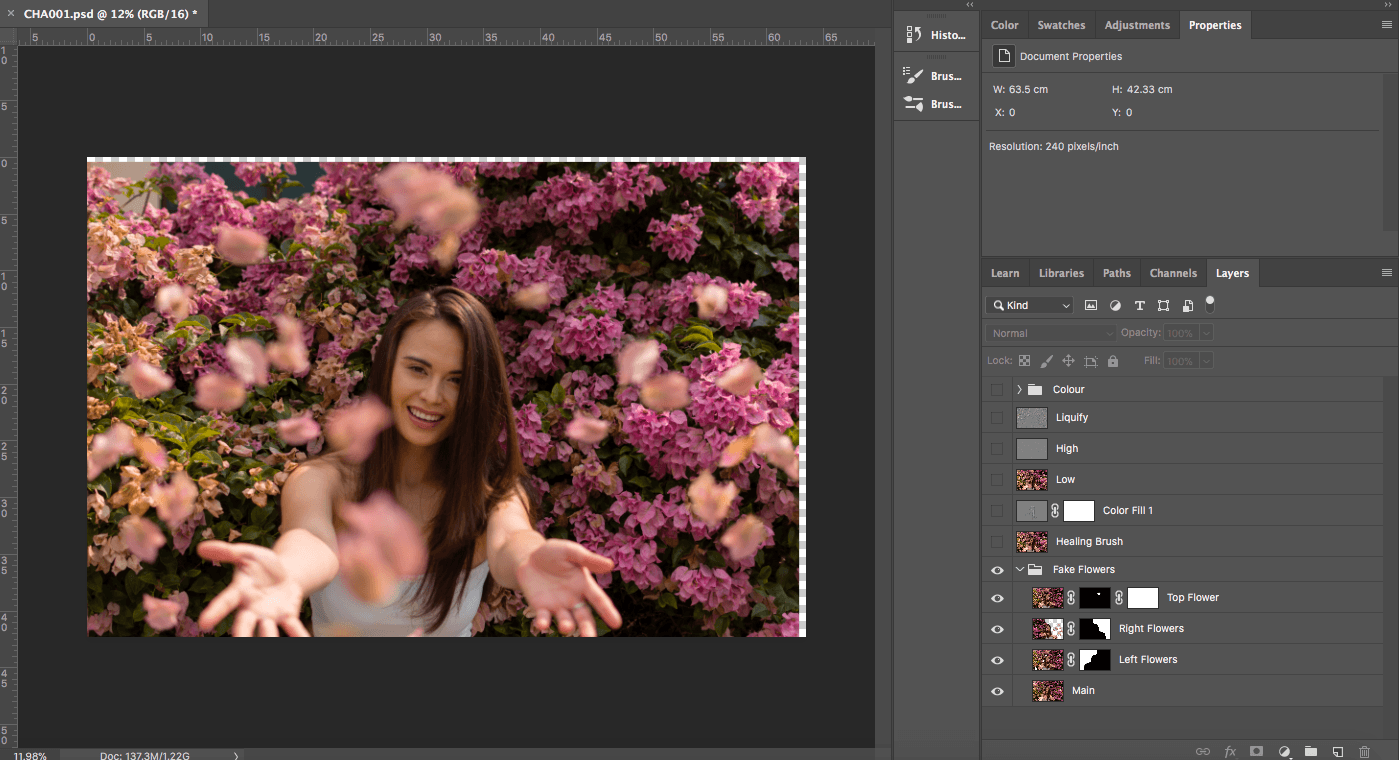
Now, I feel like the composition is slightly tilted, so I pulled it outwards to balance it slightly. I moved on to dodge and burn, where I pulled contrast to the hair and facial features, exaggerating the highlights and shadows accordingly.

Liquify and Frequency Separation

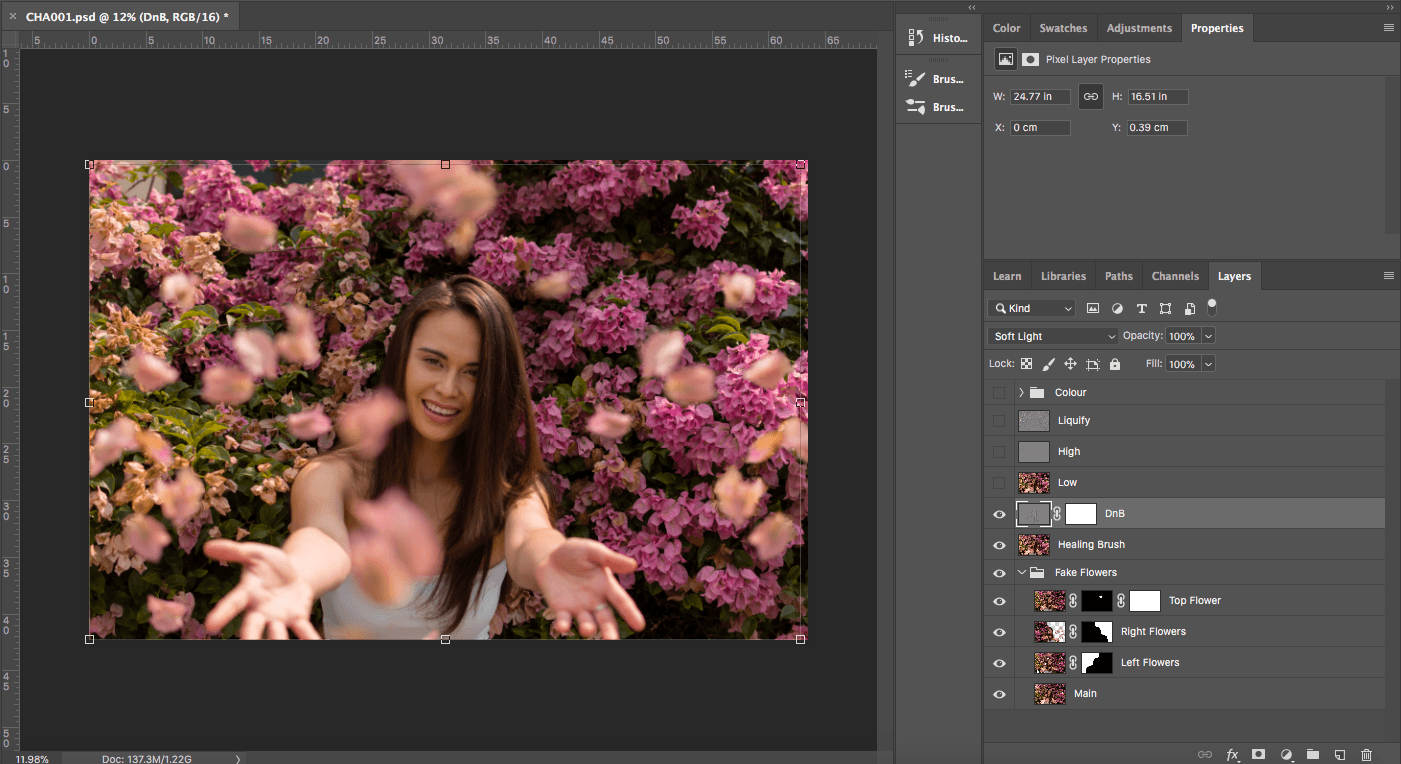
After that I cleaned up with frequency separation to clear up tiny pores or rougher textures. And because of the angle, liquified a few exaggerated parts.

Colour Grading

gif
Final for pic 1

Before
Healing brush and DnB

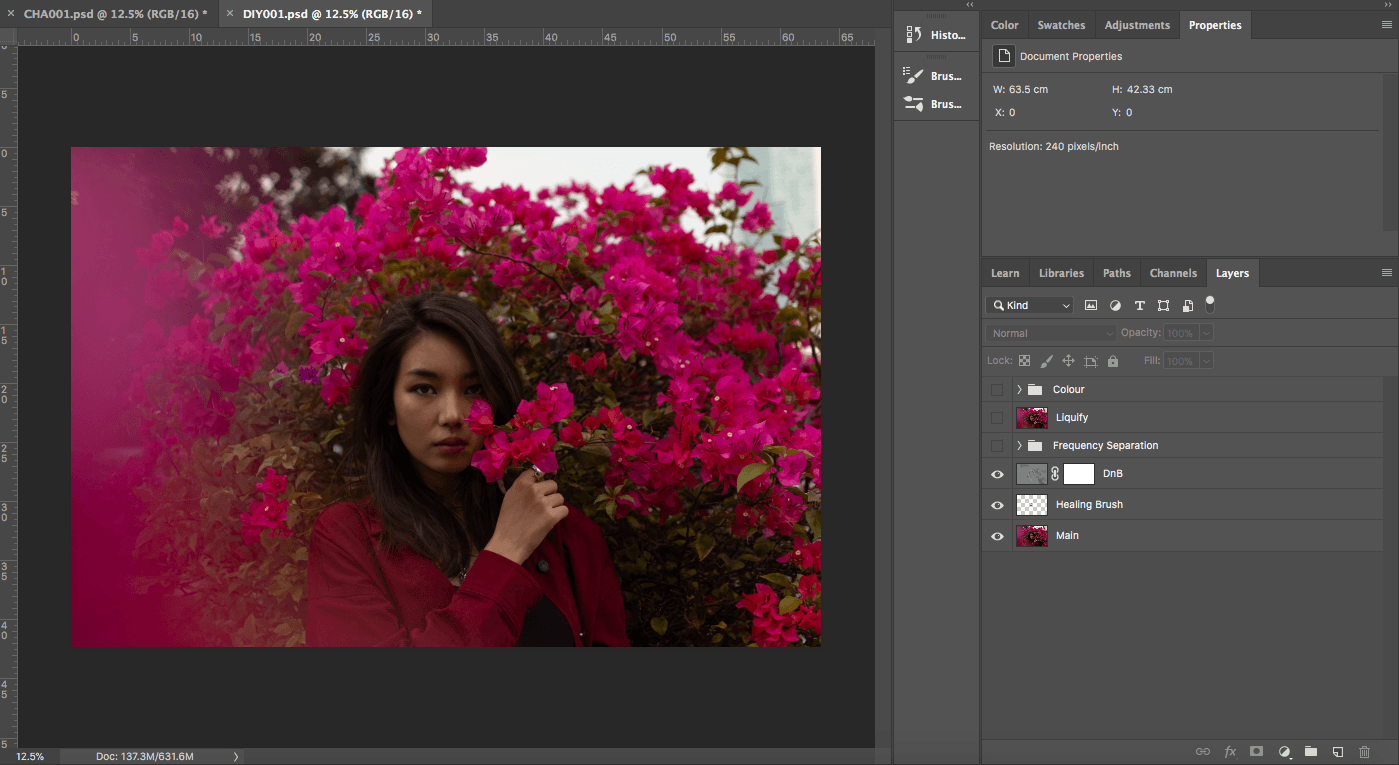
Same goes for the previous picture, I used healing brush and DnB as the base layer of editing, making the models even more perfect than they already were. Using healing brush to clear off any rougher texture from teh camera and DnB to create a stronger tonal and 3-D appearance on camera.

Next is frequency separation and liquifying, but this was done minimally as the model has really clean skin. The bulk of the work of FS was done on the jacket, wanting to give it an ironed look as if a clothing campaign.

Last but not least, the colour grading. The colour grading for this is similar to the previous picture as I wanted to give it an overarching autumn-ish colour theme. This one compared to the previous picture has a stronger introspective look, hence I adjusted for a stronger purple and red hue within the shadow, attempting a balance between the red and green grading.

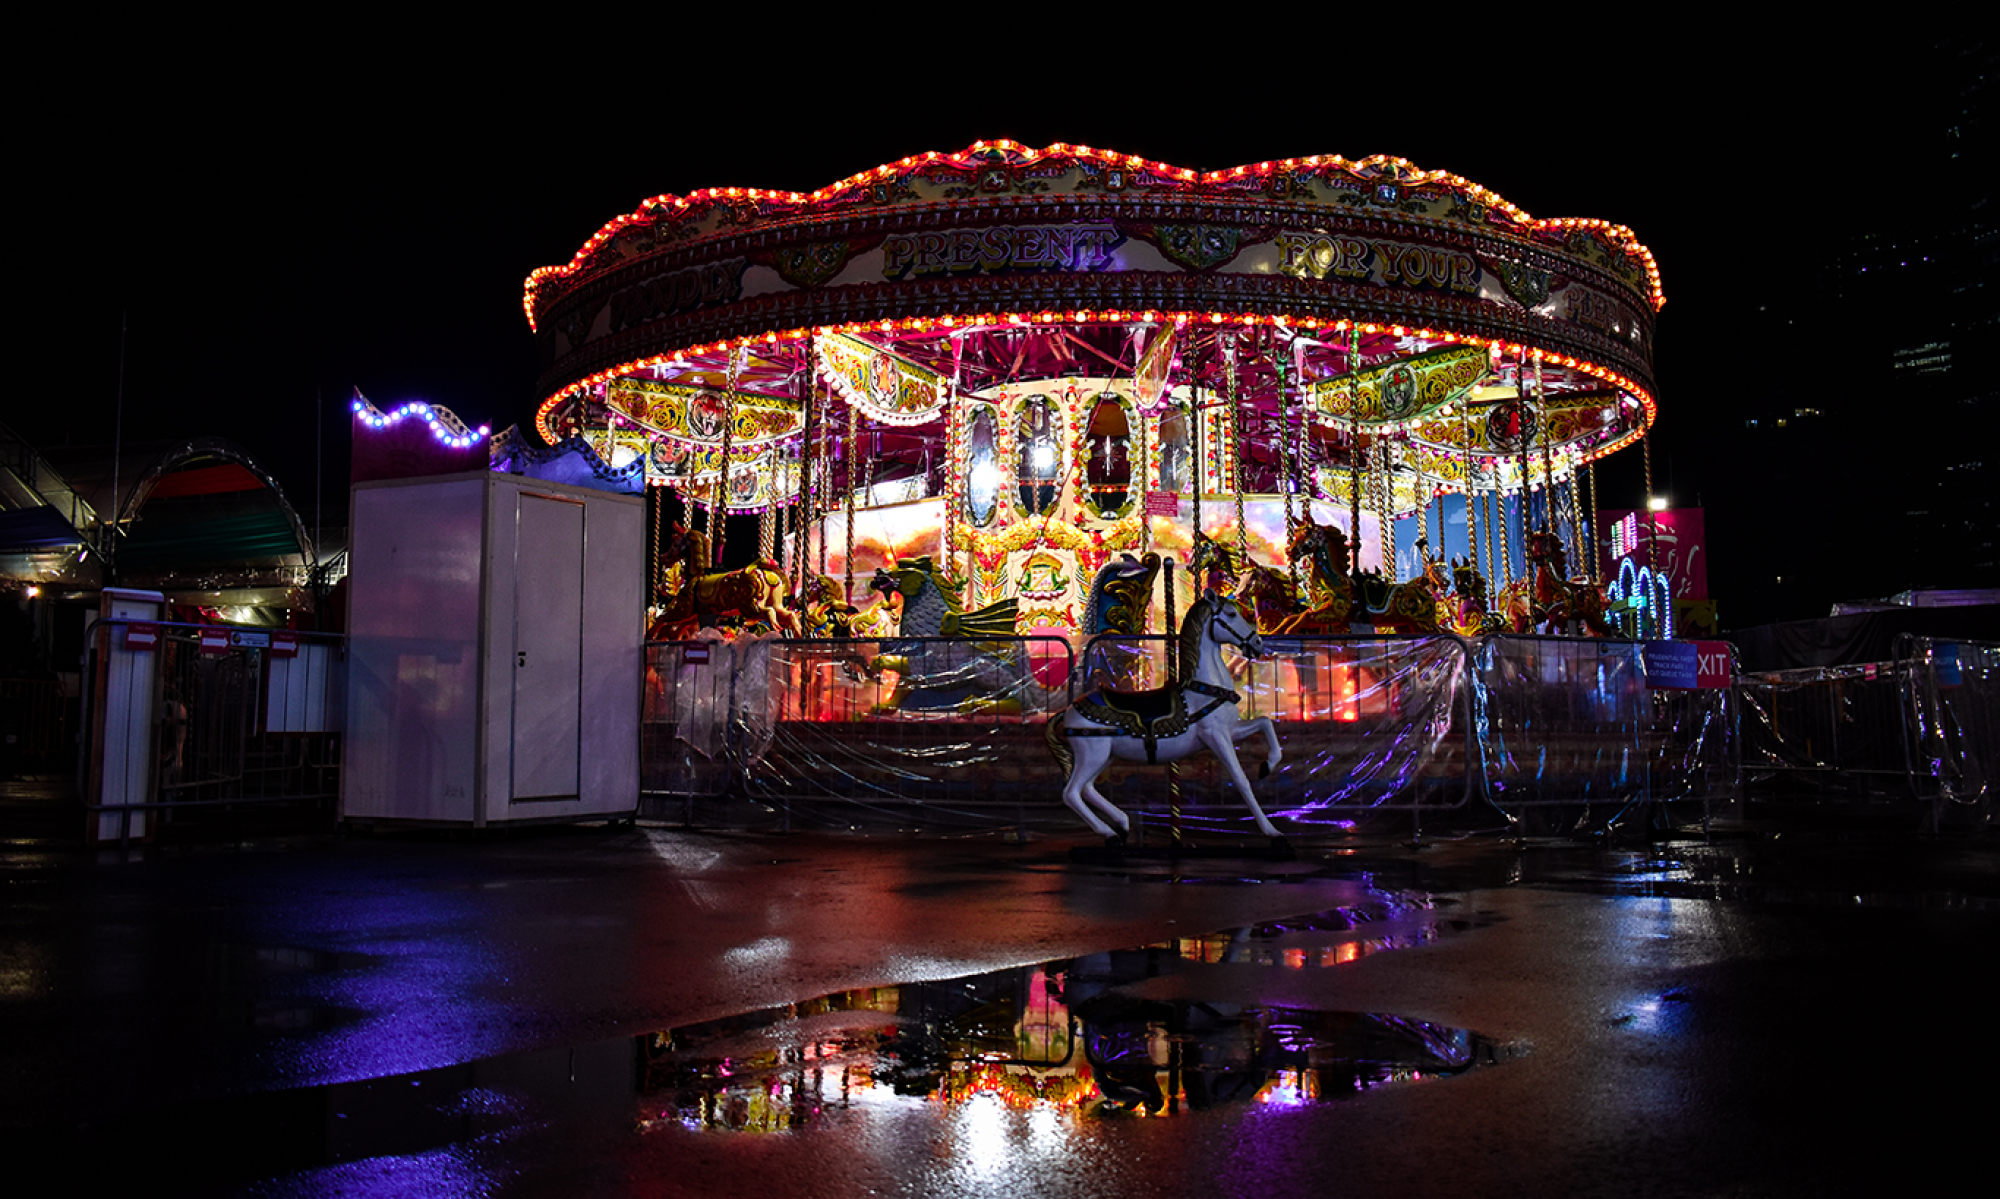
The last picture for this half of submission would be the one as follows,


The first few steps of the correction is similar to the first few, starting with minor edits with healing brush I then moved on to DnB. However because of the conditions where we took the pictures, where it was raining, there were much more mud and dirt that had to be cleaned with FS. (Same goes for the T-shirt) Colour grading wise I lowered the intensity of the purple-orange hue and increased the white in shadows with colour balance.

thank you for browsing.

field trip part 2

Products 1.

This microwave seems to be designed for less of aesthetic appreciation rather towards functional design. It has a clean sleek design with little number of buttons, user friendly for all. Compared to the design below, it has lesser of an emotional trait.

Product 2.

This design is much more emotive in nature, having Japanese paper lamp influence that emotes a quiet and soft environment. Function wise, it is specific for dim room lighting as it is not as bright as a generic lamp.

Digital Photography Assignment 2: Landscape

https://drive.google.com/open?id=1o7lOAqRAuH4ZJwfKBMs-rPXFDZwg422X

After
Before
changes

 In assignment 2 we focused towards landscape style photography and editing with colour grading, on top of the previous lessons on cleaning up an image. I chose this golden hour shot of my friend Theo right beside a carpark in Little India. My style of photography and editing tends to be moody and drizzled with warm tones. I love to make the subject matters look they are in their own world of introspection and I found this image to be quite useful in terms of that. I would aim to accentuate the colours of the architecture outside as well, bringing out the smooth tones of the golden hour. The main colours I focused on were purple, orange and pink.

Firstly, I began by editing out any parts of the image that had any visually hindering details, such as dark corners of the feet.


I started the next process by masking out everything individually. I saw this process as a taxing one as the image can be split up into many layers: the indoor architecture, the outdoor architecture, Theo’s dress and skirt, as well as her body.

Colour Grading Outside

The reason of my grading was to increase the warm tones within the sky and how it lands on the red tiled rooftop of Little India. I believe that the golden hour ray at that point of time was merely bright but not sufficiently warm enough, so I added some pastel golden hues as well as increasing its contrast, to give it a stronger aerial perspective. This included the interior of the carpark as well, albeit the colour being much orange already. I wanted to add that pink hue that gives it a fantasy like structure. An issue I had was the density of the shadow within the indoor architecture, I wanted something much more wholesome and gives a strong contrast to the outdoor. I did so with layering of gradient map, switching between the light and dark tones, specifically orange and purple.

Indoor Grading
Overall Environment Colour Grading


Next segment would be colour grading Theo herself, being the main subject, she should stand out from the environment. Hence, I asked if she could lift her legs up and actually form this hook shape, which made the image structurally interesting. It gives an additional albeit subtle different of introspection. (in my perspective) Colour grading wise, I lifted the tones with selective colour as well as a little bit of exposure to the blouse, as i realised only exposure could give it that additional jazz unlike selective colour, gradient map or level toggle. The masking of Theo was really difficult as I found the hair to be difficult to manoeuvre.

Just a little notes on my selection of toggles and layers.

I primarily used only a few adjustments to treat the image, mainly selective colour, gradient map, black and white as well as levels. With a few exception layers that needed some exposure adjustments as I didn’t want to compromise the entire colour grading for the segment without raising white tone across. I used selective colour to raise brightness of most areas as it focuses on the coloured tone and act on it. I used selective colour and black and white to layer colours over the segment, after which lowering its opacity. I would use gradient map to drop colours into the shadow, to give density into the shadows like the indoors.

Final