
https://drive.google.com/open?id=1o7lOAqRAuH4ZJwfKBMs-rPXFDZwg422X

As you can tell by now I didn’t follow the assigned boundary of the assignment for my first attempt of the task, which stated that lighting adjustment wasn’t encouraged and frequency separation kinda had to be used. Thankfully we had another attempt to go at it.
The original photograph was actually shot at Little India, right in front of a sugarcane stall, so my friend Dustin had to lie down to fully utilise the sugarcane as composition accessory. I felt that the denim paired well with the brown tones as it gives a strong, rugged appearance to the concept. I shot this with a 35mm 1.8 on a D5600, low aperture to focused solely on the face.
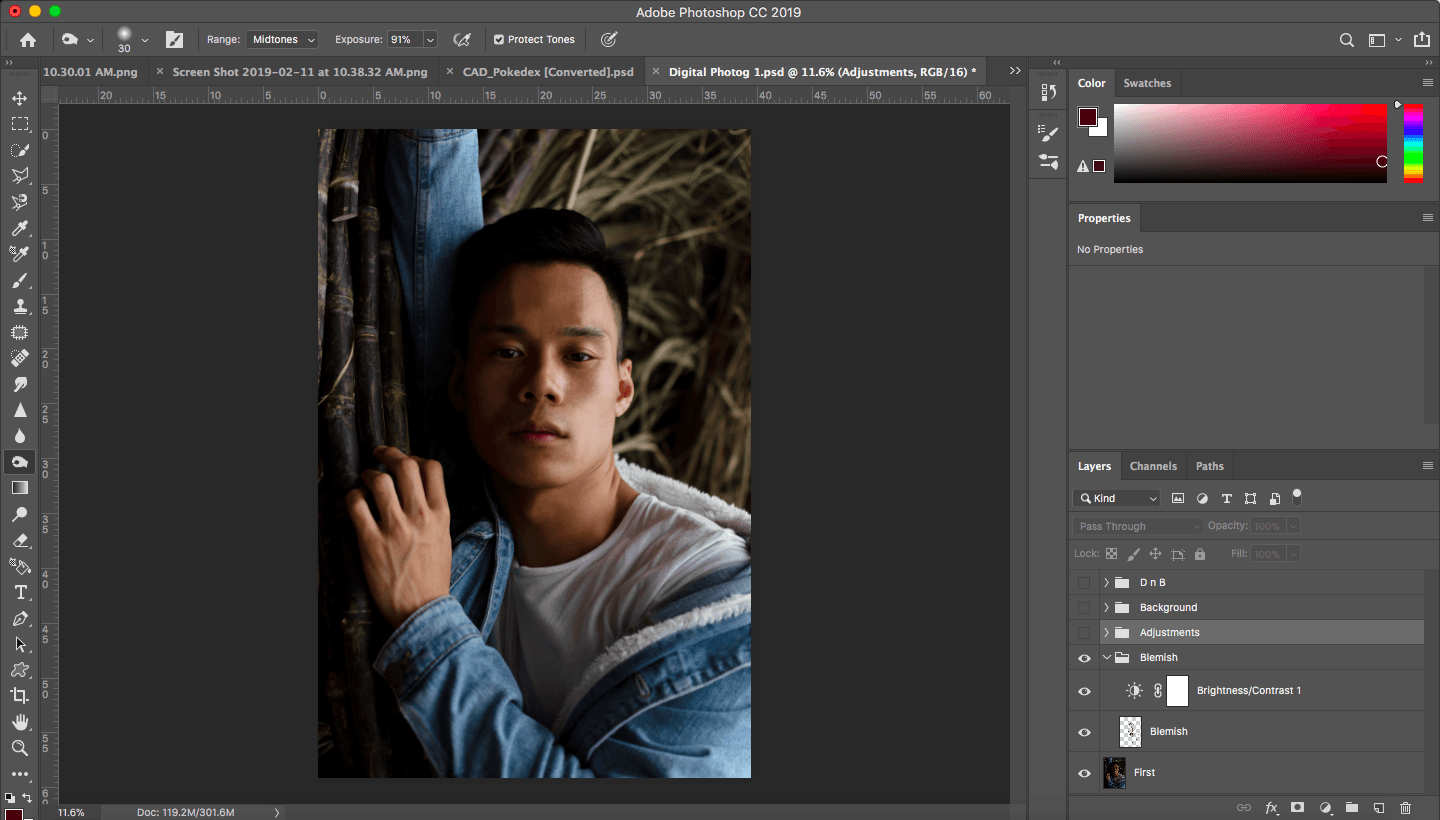
Clone Stamp
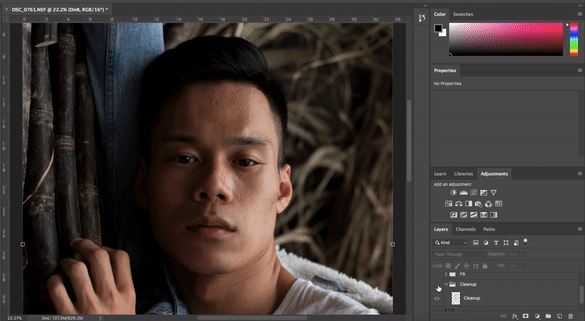


This segment consists mainly of using the healing brush and clone stamp to clear off the minor freckles and discolourations that would be a bit of a hassle in the later process of frequency separation.
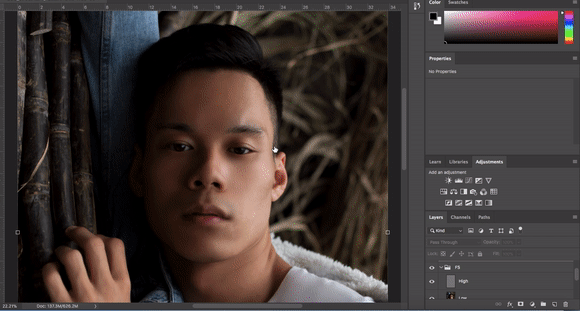
Frequency Separation


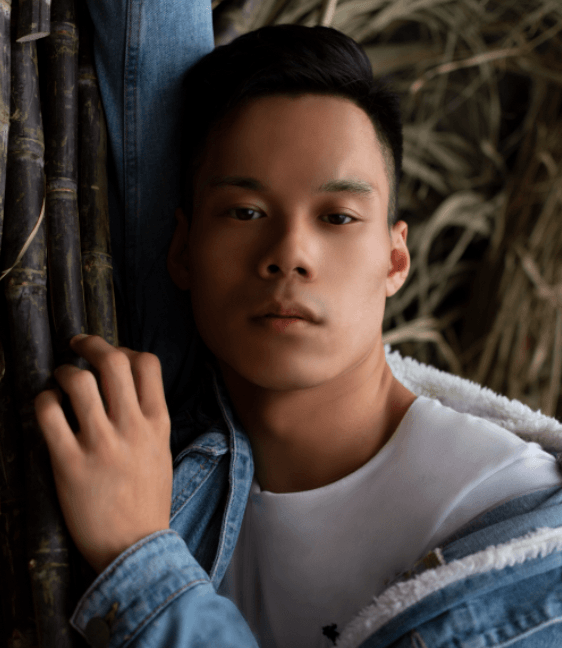
This part was where most of the work came in, whereby I separated the image into two layers, mainly low frequency which is the colours and tonal values, whereas the high frequency consisted mainly of the textures. This segment helps to contour the face as well as remove any bigger patches of discolouration, without taking away the natural skin texture.
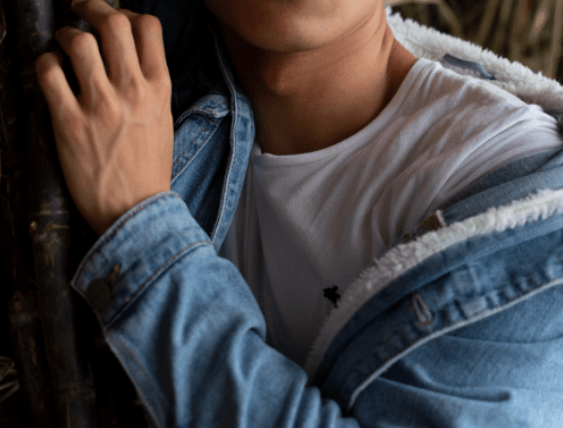

With the help of Bryan, I even took the FS to the clothing as well, removing the noticeable crease with the white T-shirt and denim jacket. The veins on the arms are also lightened without taking it away entirely.
Dodge and Burn


This segment calls for the brightening and darkening of certain areas using a 50% gray layer. I brightened up the light eyebags and lightened the white T-shirt t give a stronger dimension.
Liquify
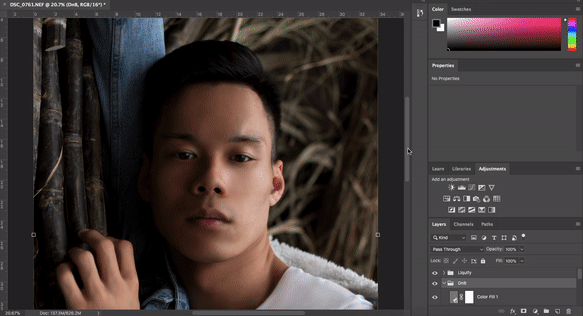


As Bryan had mention in class, liquify serves to make an already perfect face even more perfect without compromising the original quality of the model. This segment I used liquify to lift up my friends eyelids on the left as he tends to have a lower eyelid when he gets tired, pulling the lids to match the other eye. Also, I pushed the nostrils to be of the same size, as well as lift up the jaw a little bit since he was lying down and vulnerable to gravity. Some parts of his hair was also liquified to volumise it as well as shift a little bit of the hairline. I also went through one last round of sharpening using the high pass filter.