
As we revisited the narrative of Pandora’s box, we combined the usage of modules from the last assignment with our new found knowledge of various design themes. The new Pandora’s box becomes an ice tray that encases our carefully designed modules, creating our individual ice moulds.
By the blessings of Pandora, I was given the theme of “Inscription, Intersection and Array”. Inscription, becomes the concavity of the surface, a micro-perspective of inscribed carvings focused onto a small module. Intersection happens when two axis crosses one another, especially when one crosses into the surface area. Array is a pattern occurring along a curved axis, easily arranged as a modular pattern.
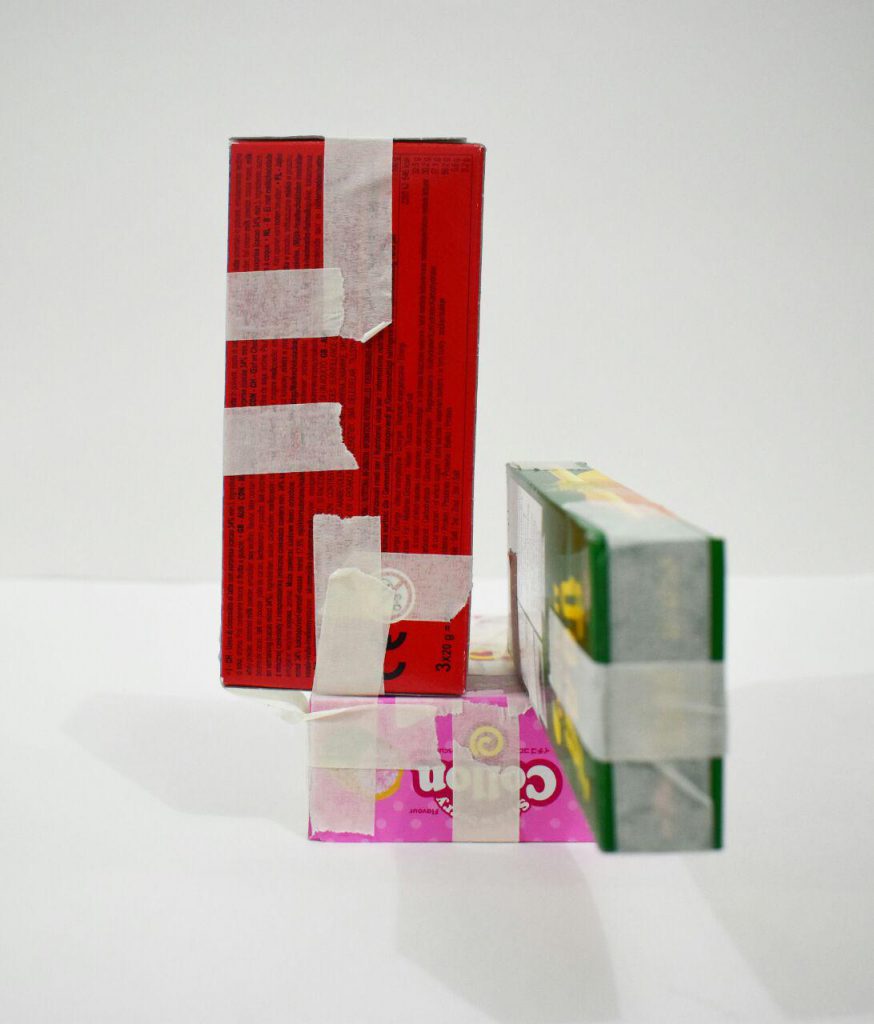
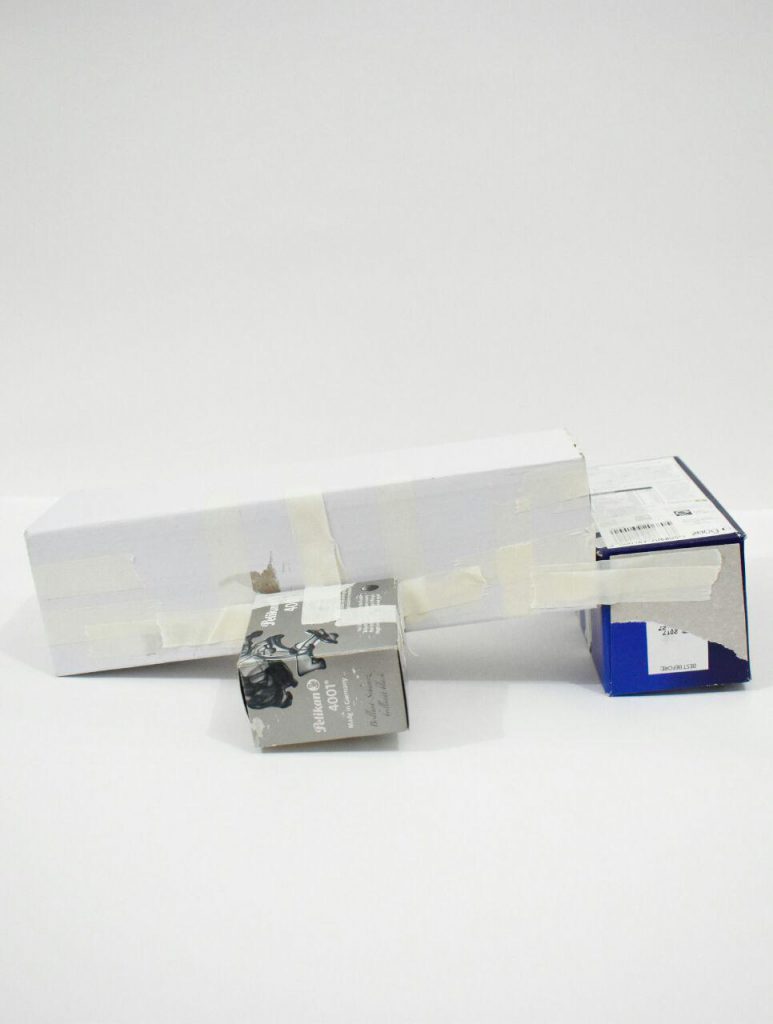
We explored with clay due to its malleability, creating the first drafts shown below.
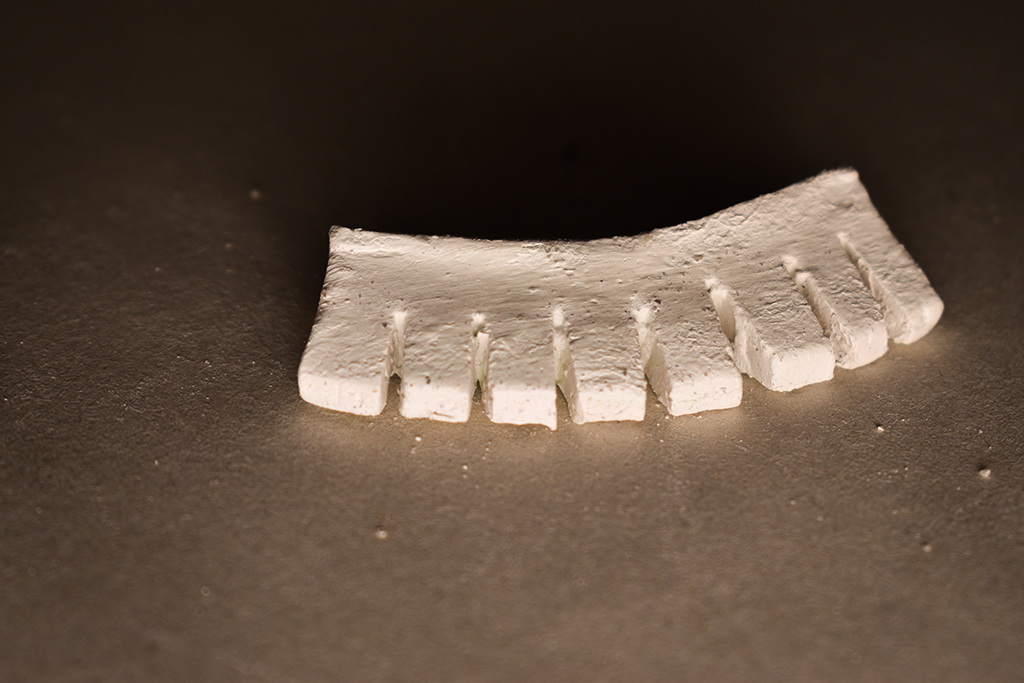
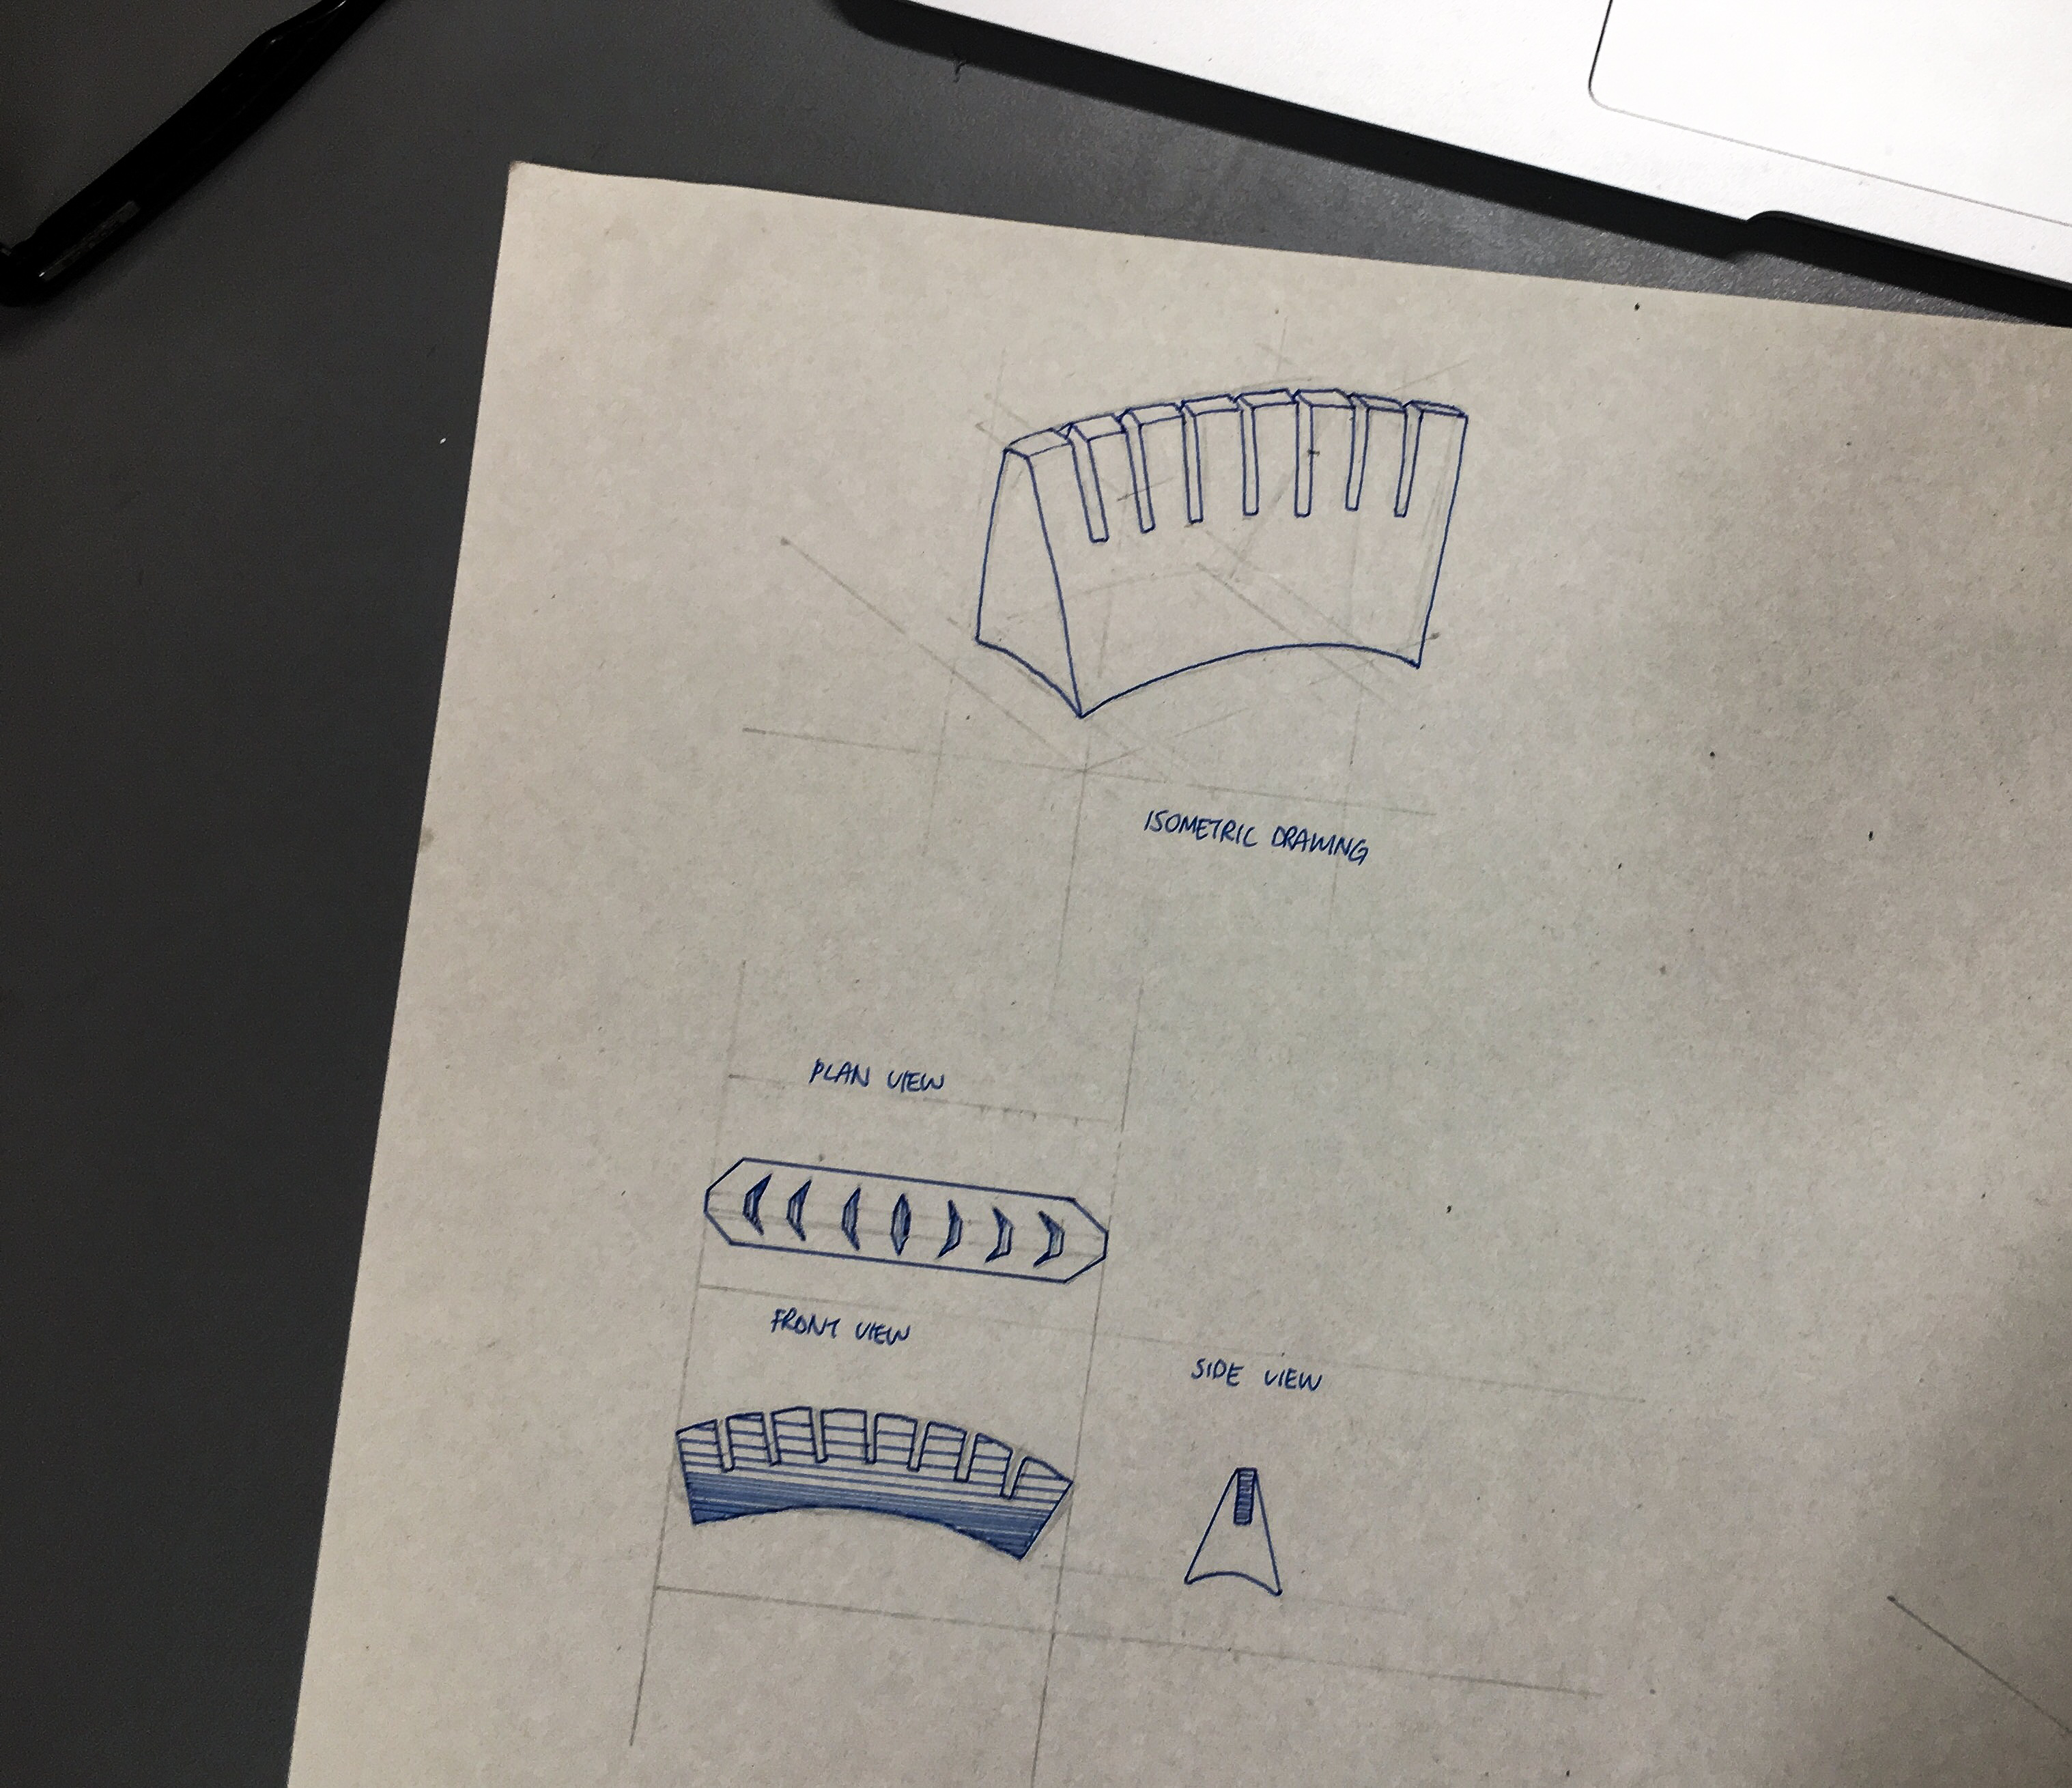
The first module pays homage to the themes of inscription and array only. It resembles a melted Toblerone in a sunny day bent at an angle. The ridges are concavities that can be inscriptions if placed at a wider angle or numbers. The array is presented by the protruding ridges slanted along the curved base. The theme of intersection was deliberately missed out as I found the module to be awkwardly structured if inserted with another form.
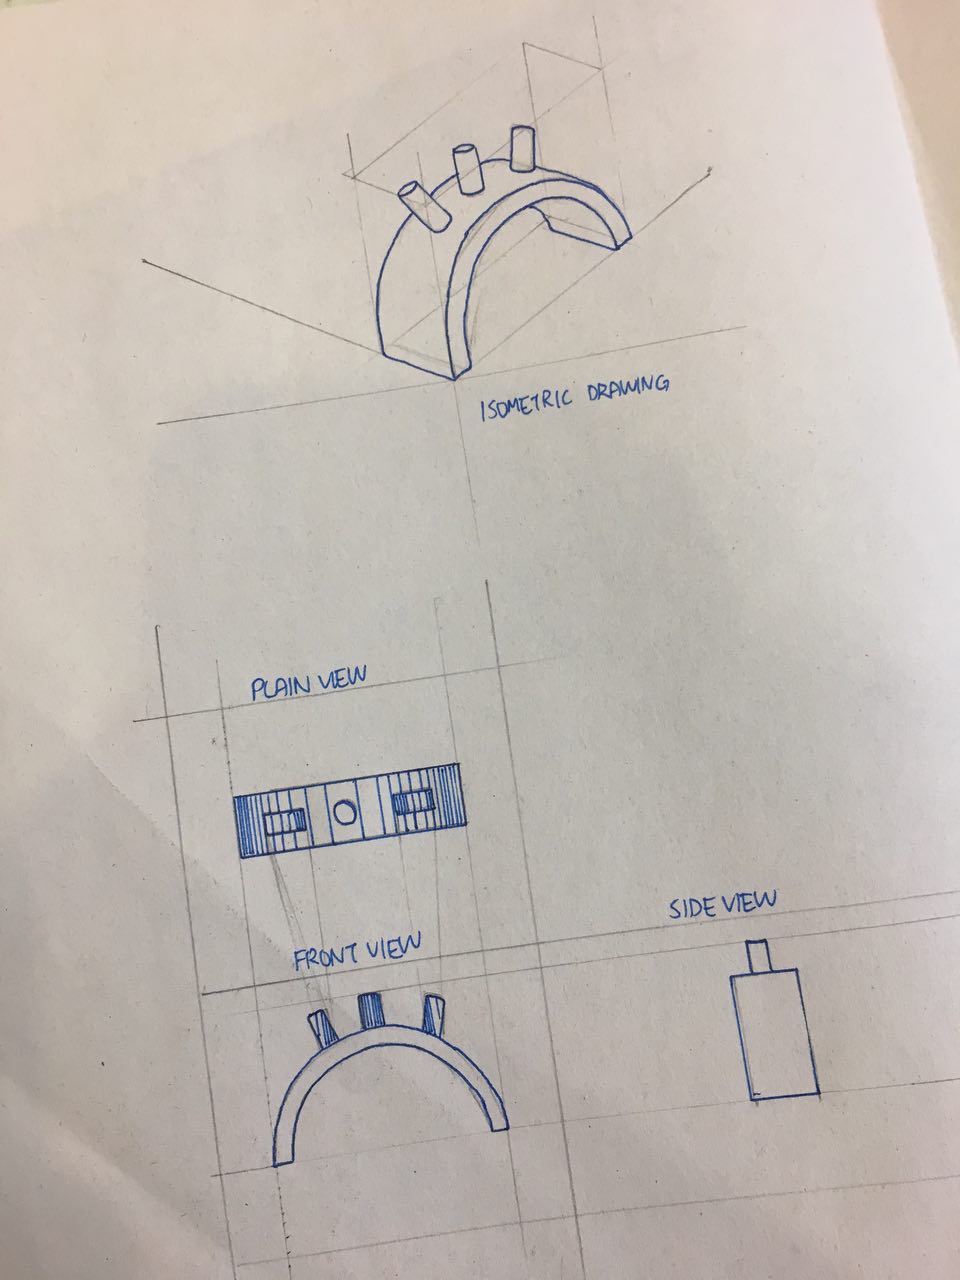
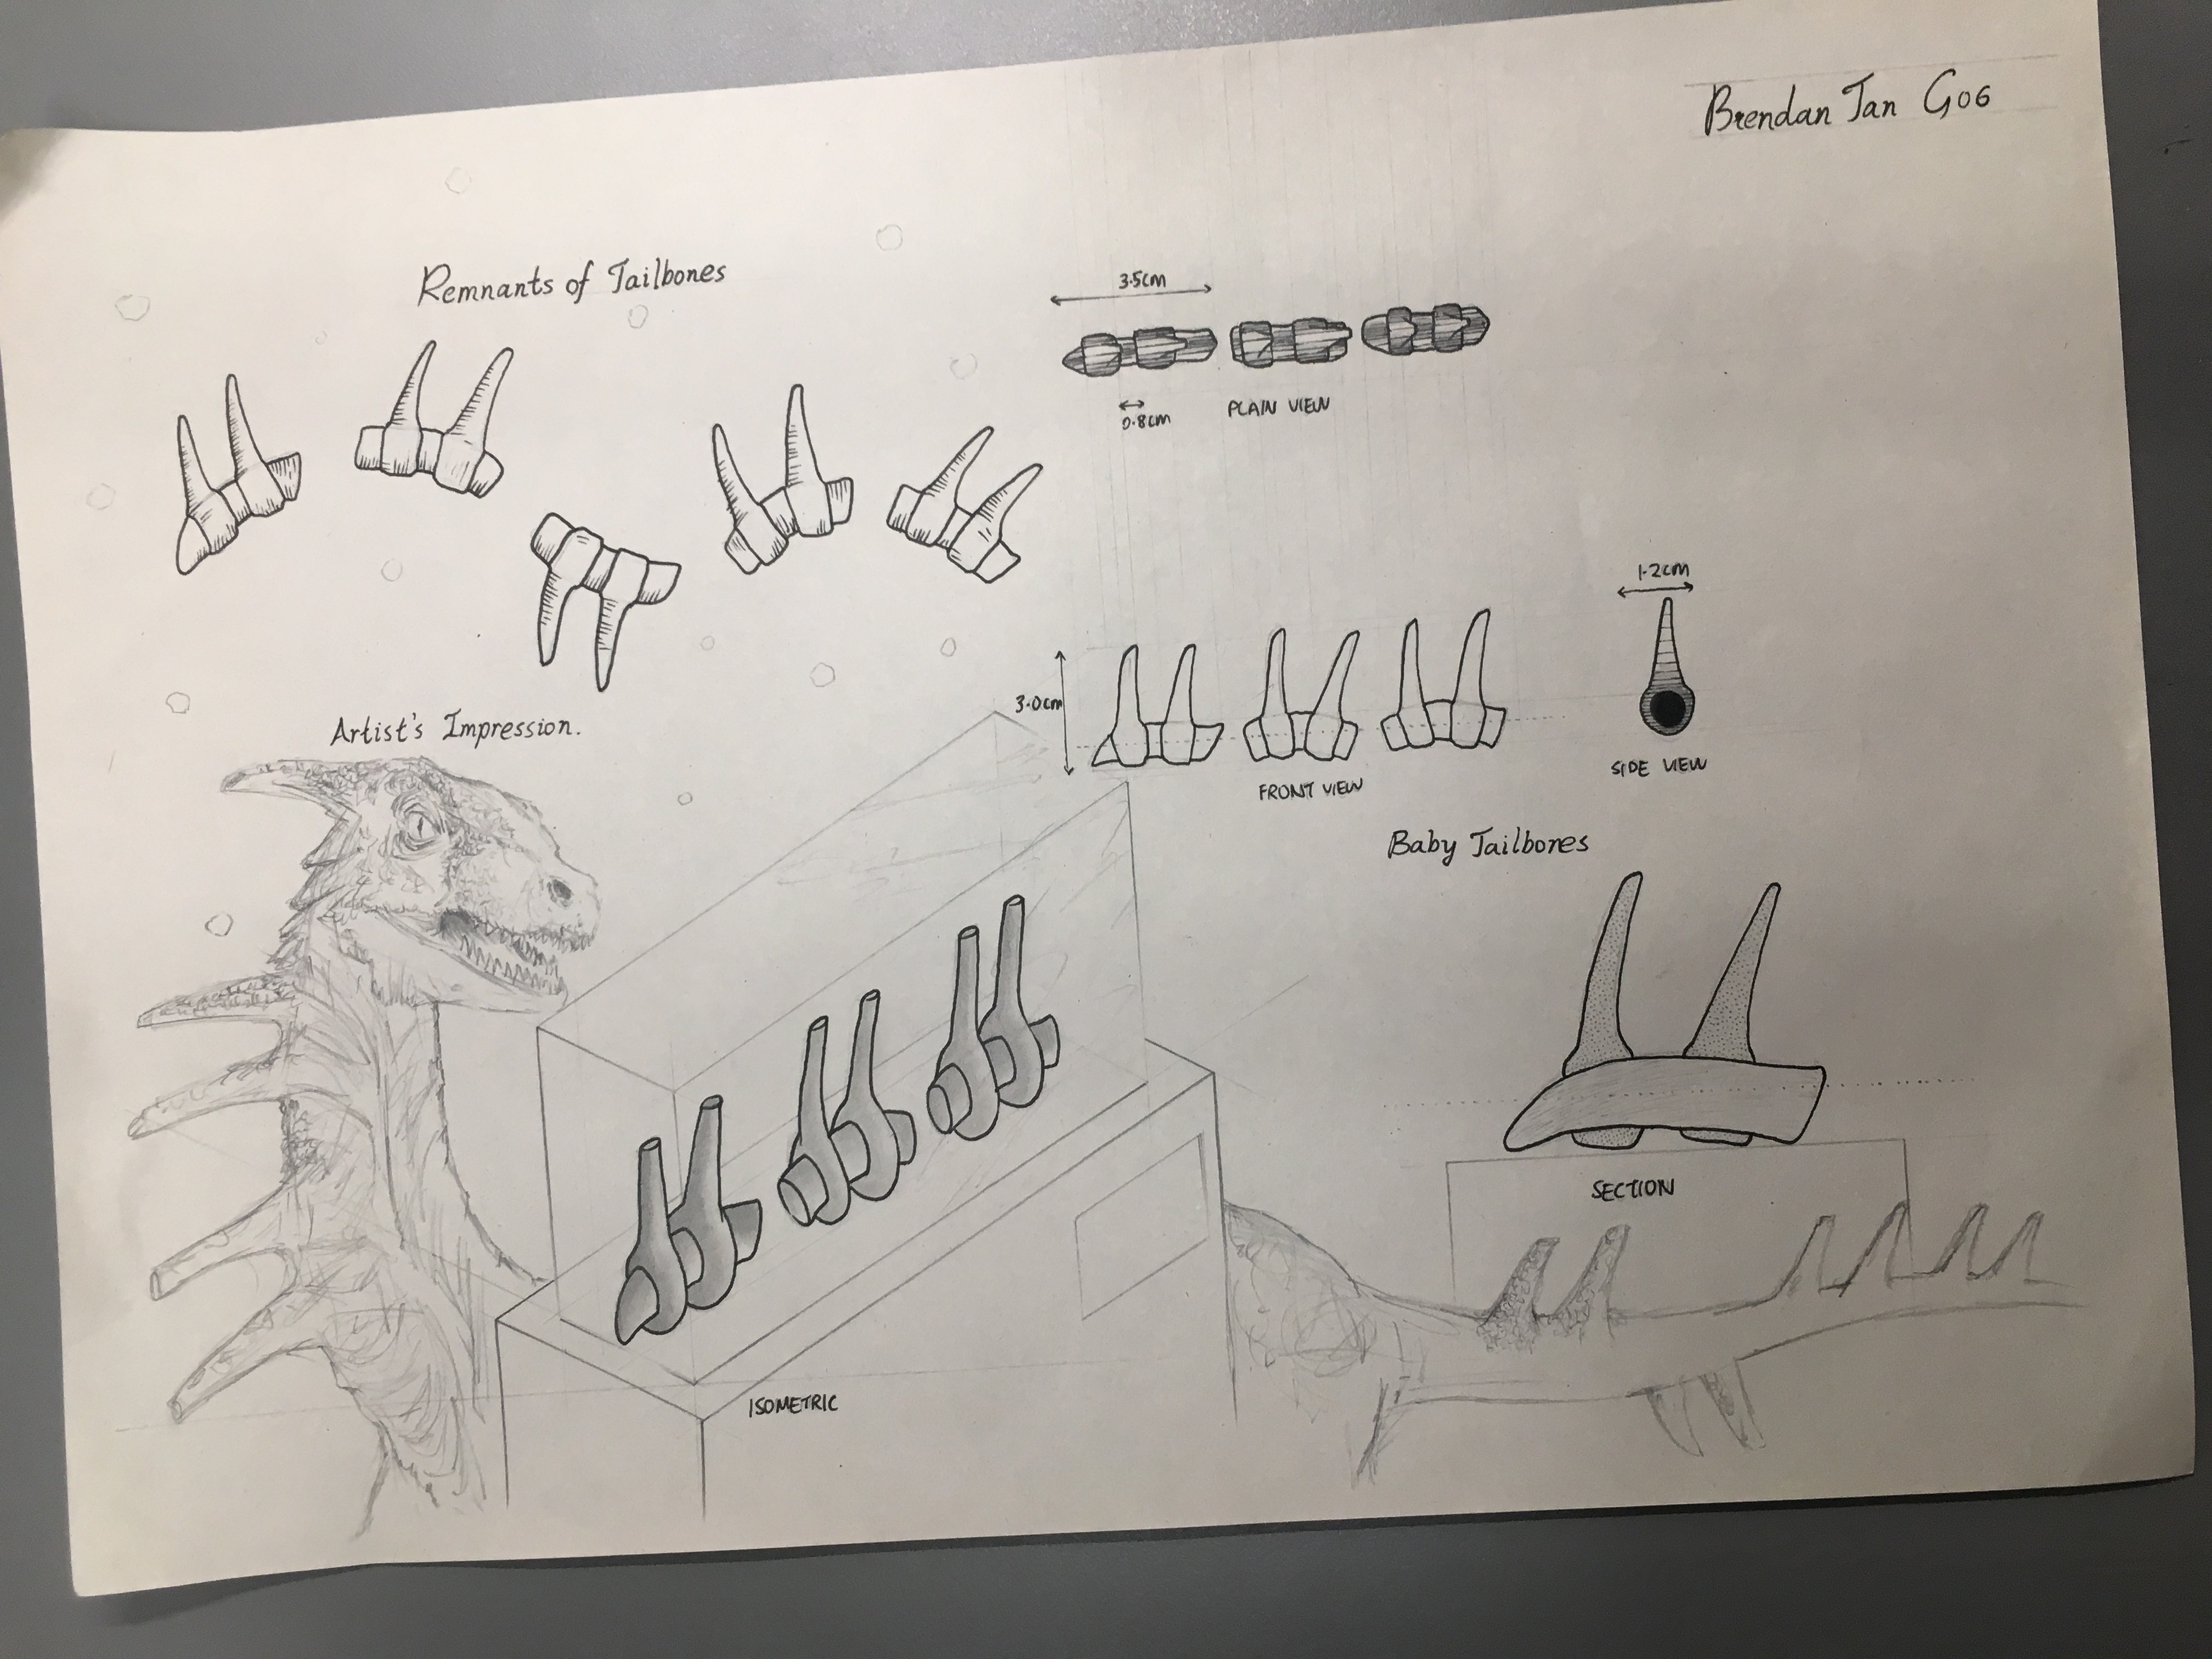
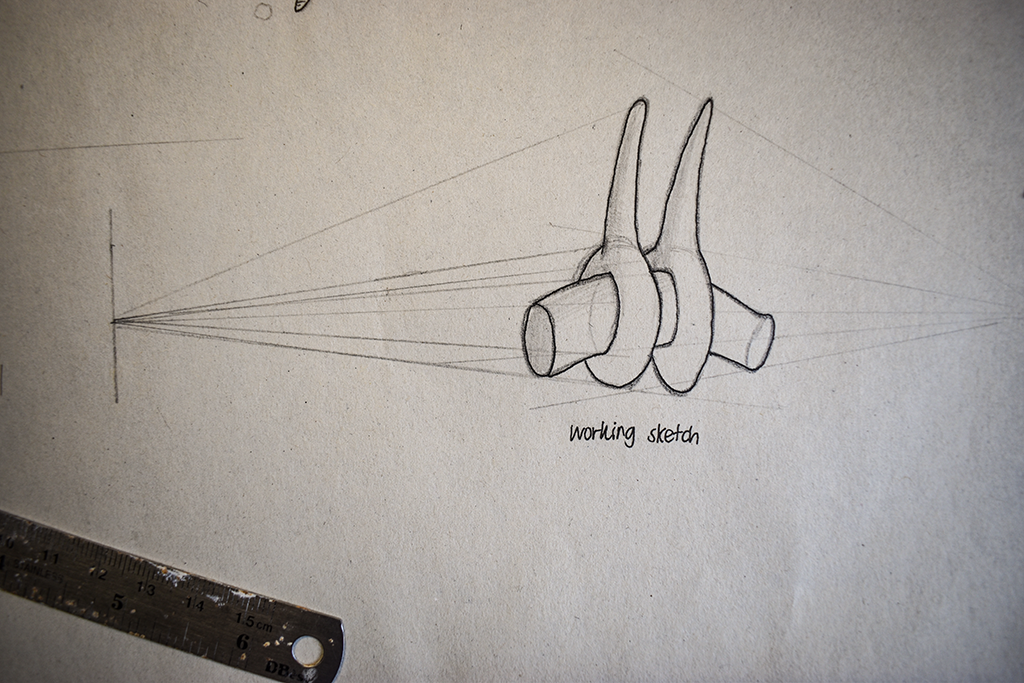
Unfortunately, the second module did not survive the trip home and it scattered into millions of tiny pieces. The above drawing depicts the various drawings of the second module. It is a thin arch with tiny cylindrical pointing out at three different points. It fulfils the themes of array and inscription, very similar to the first module.
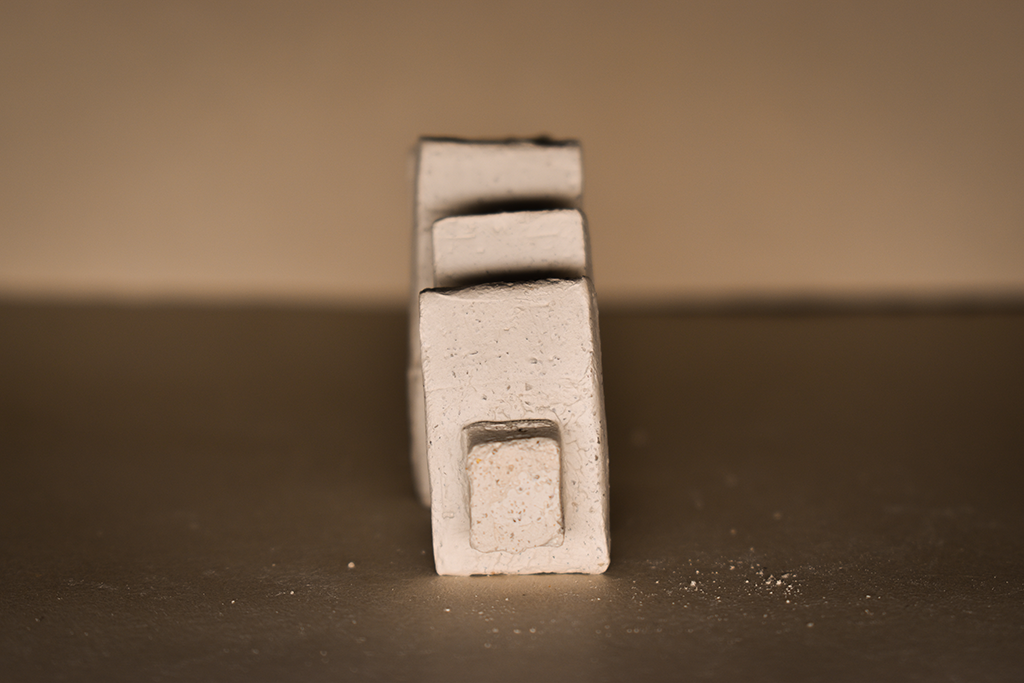
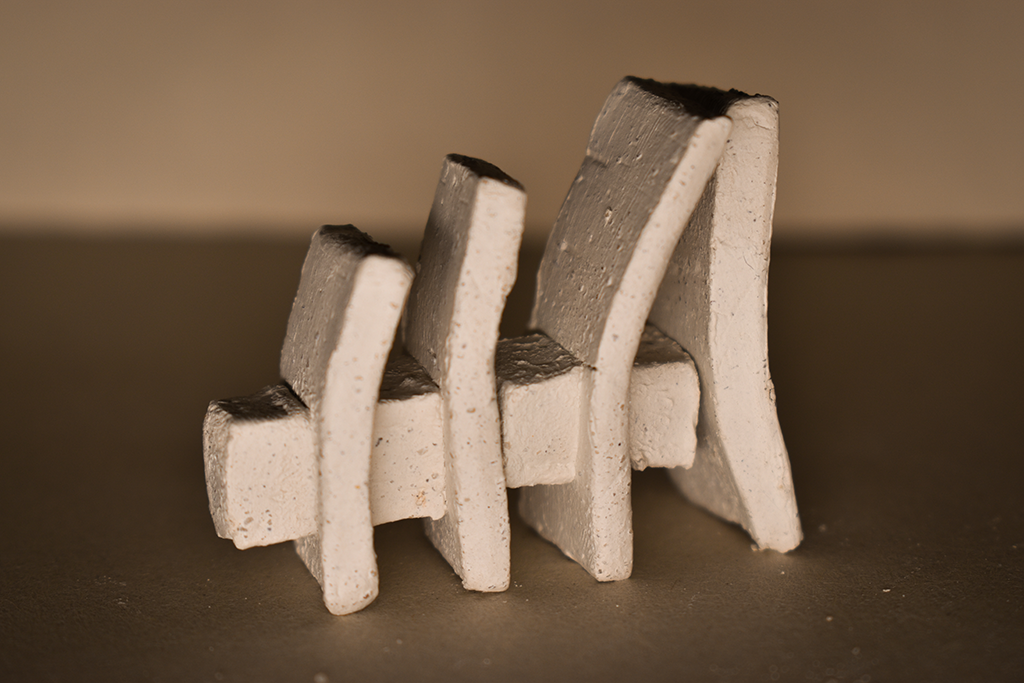
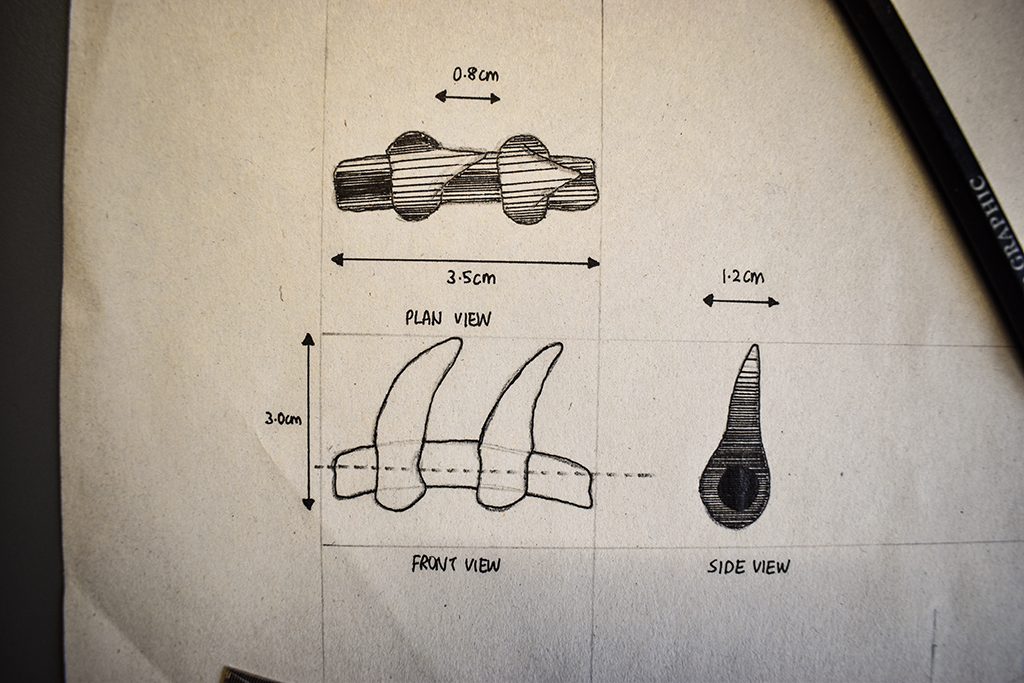
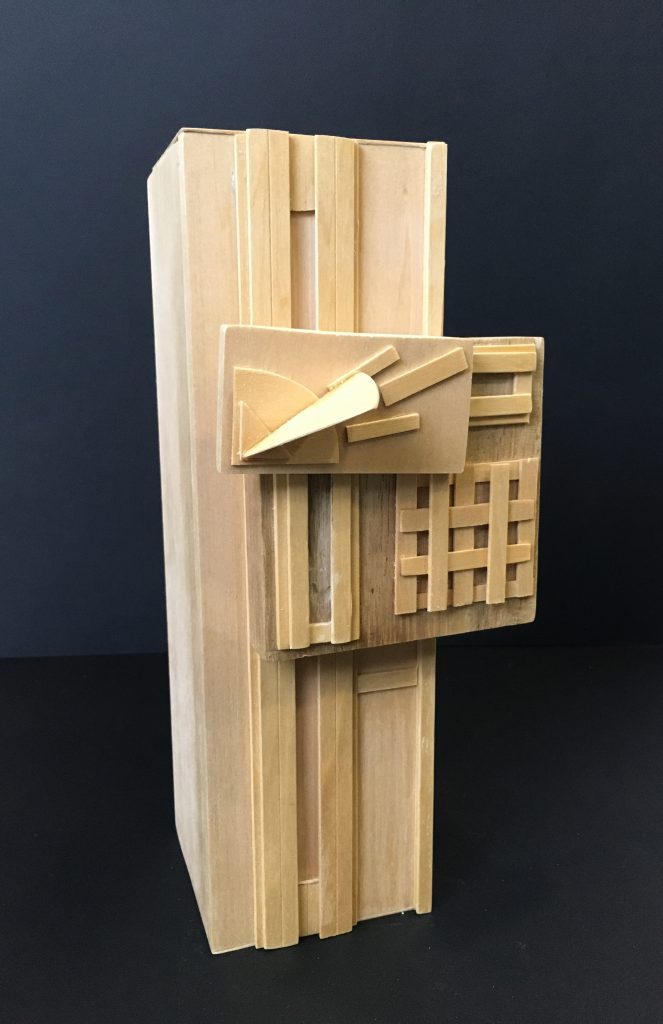
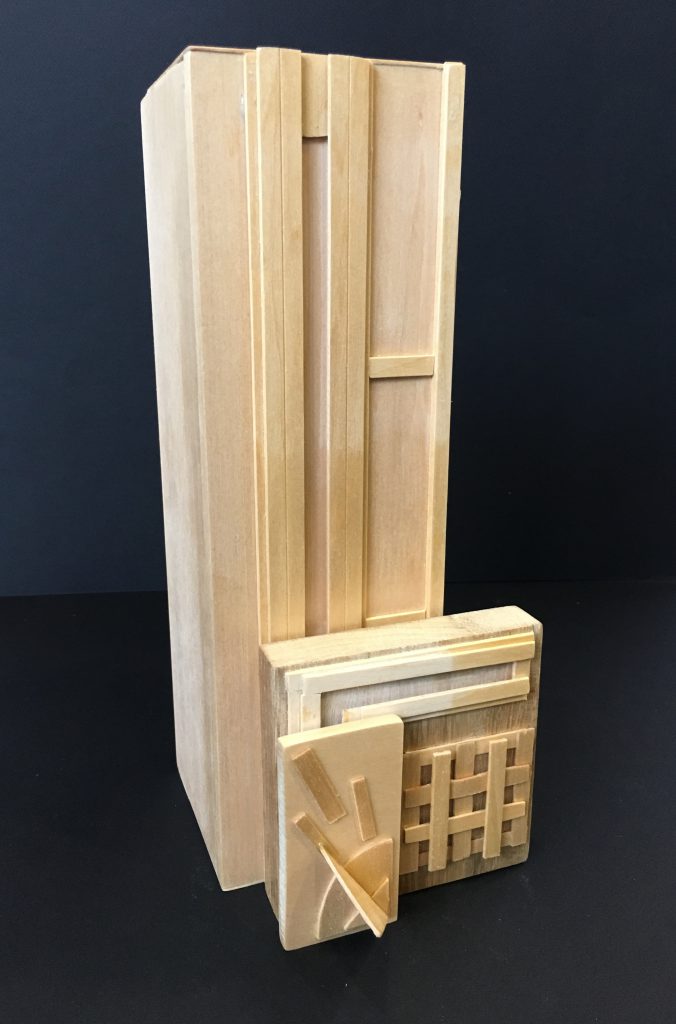
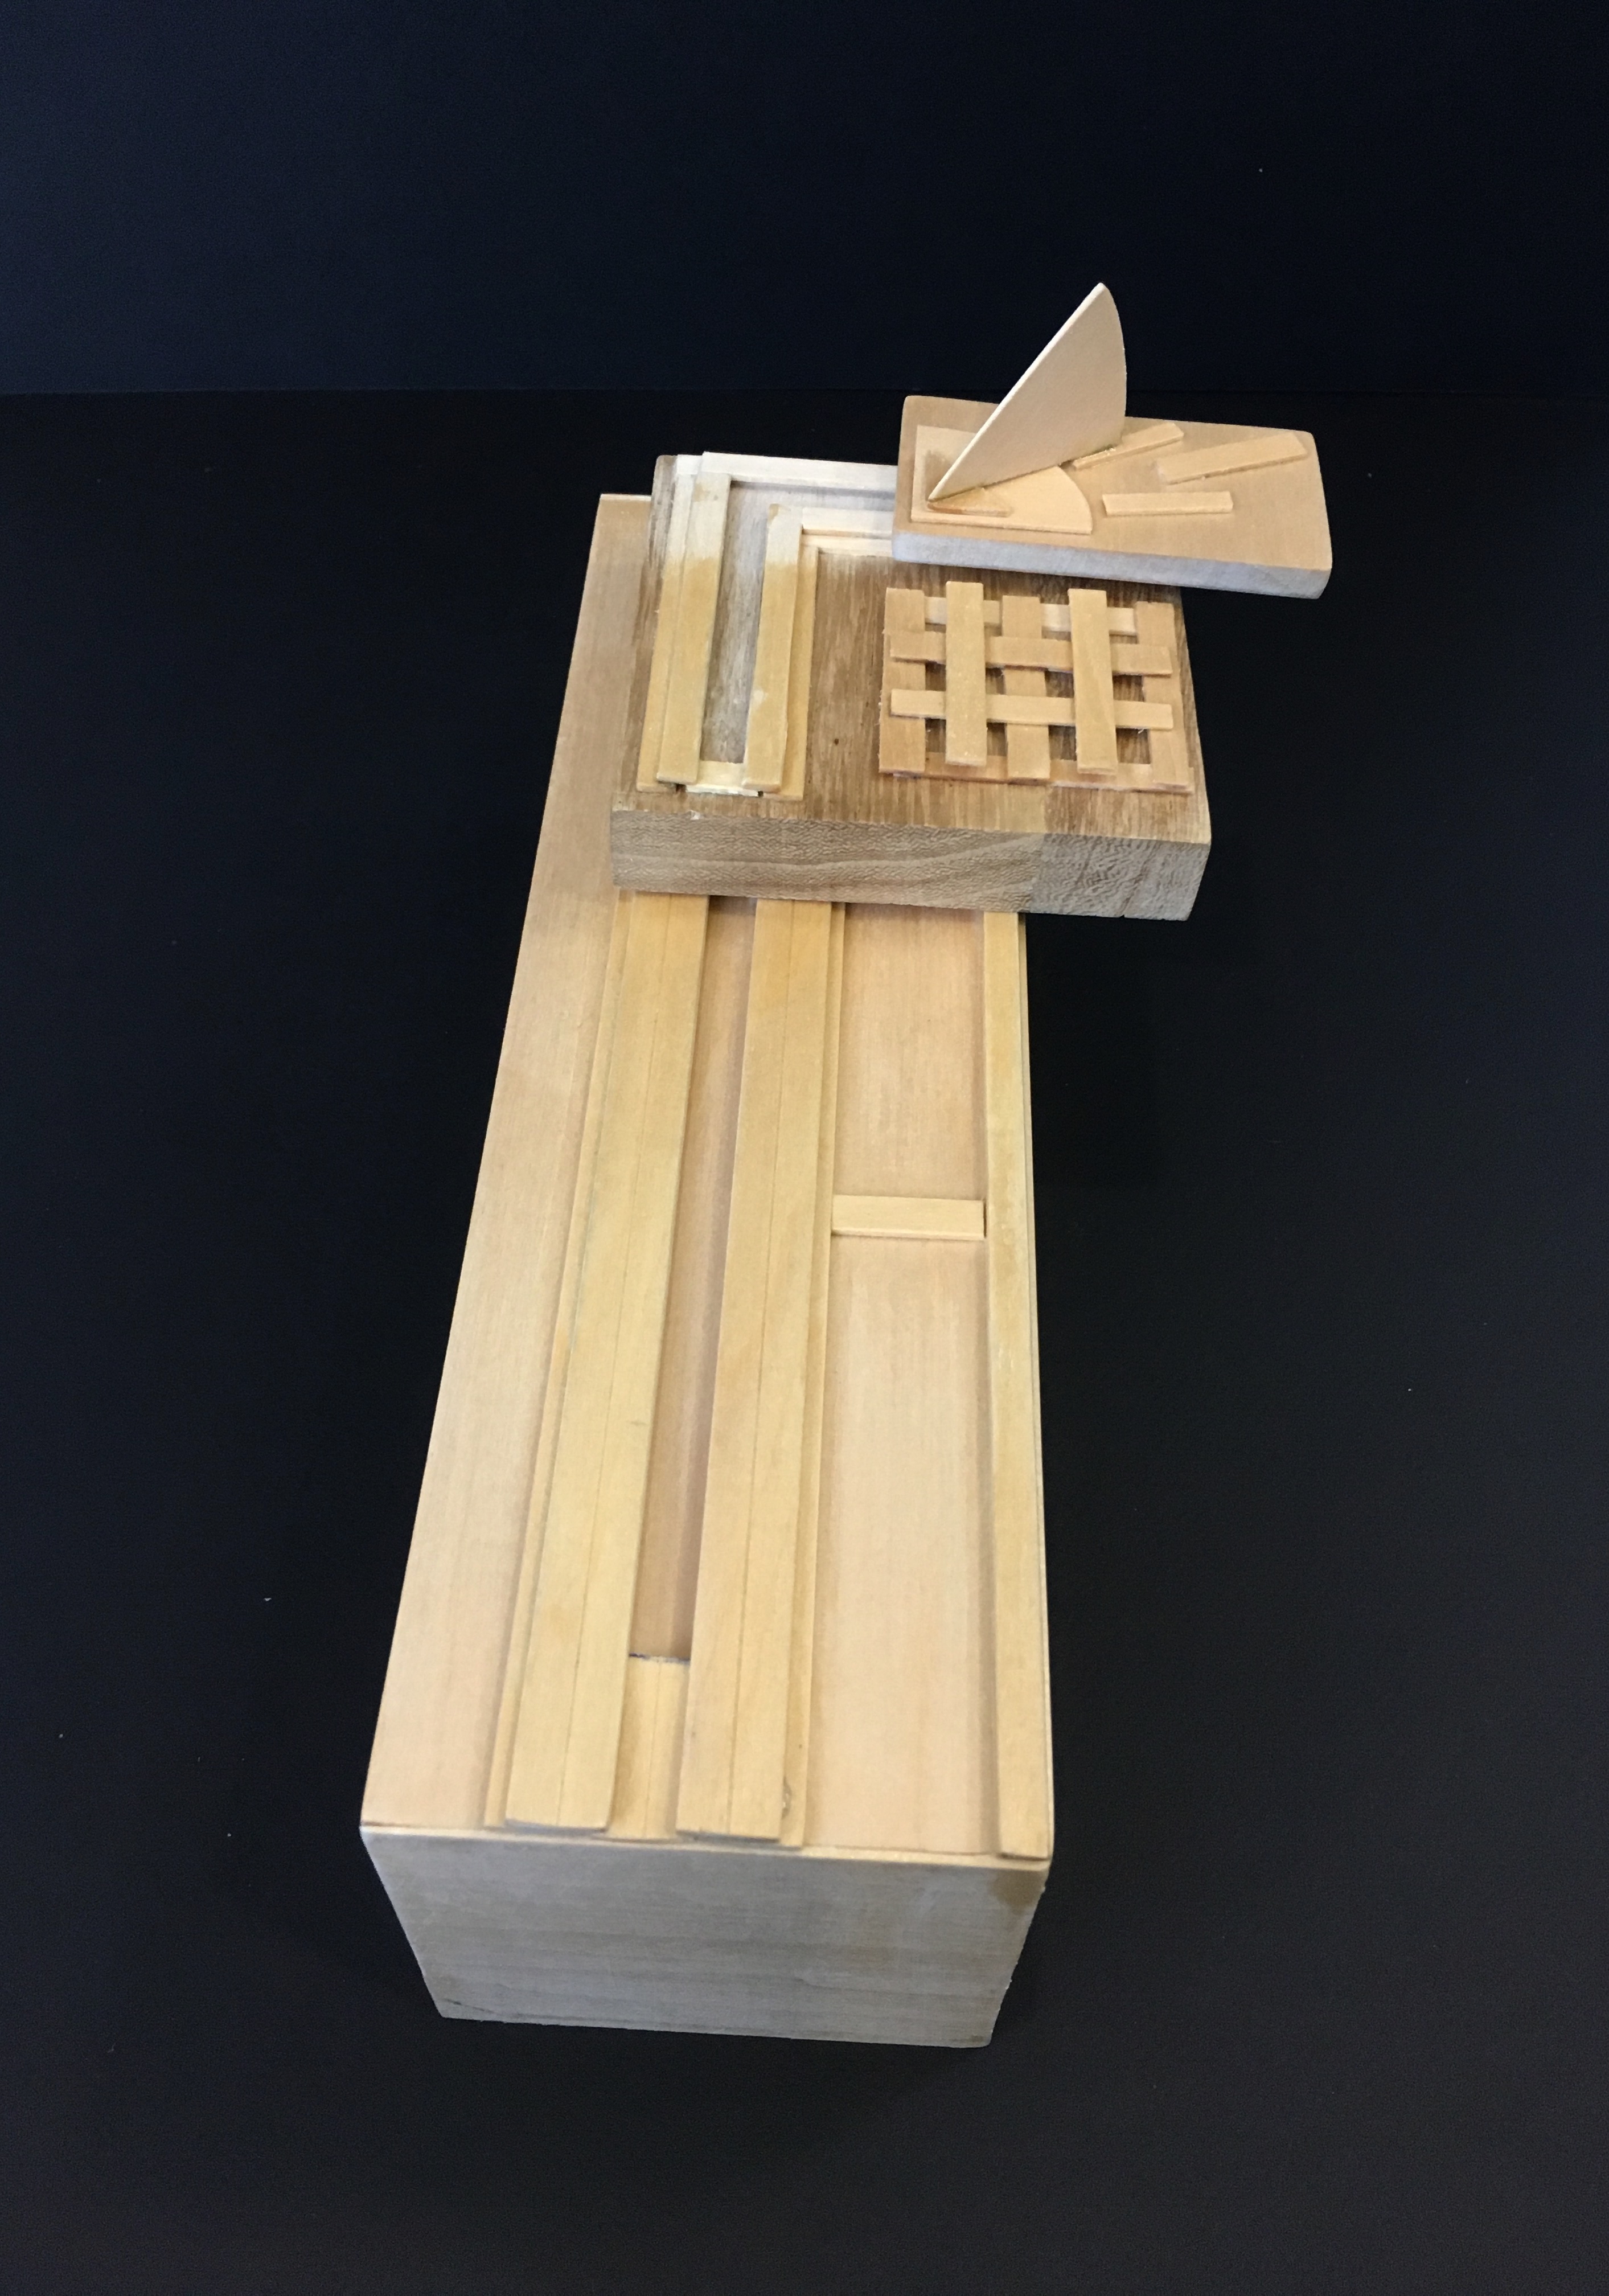
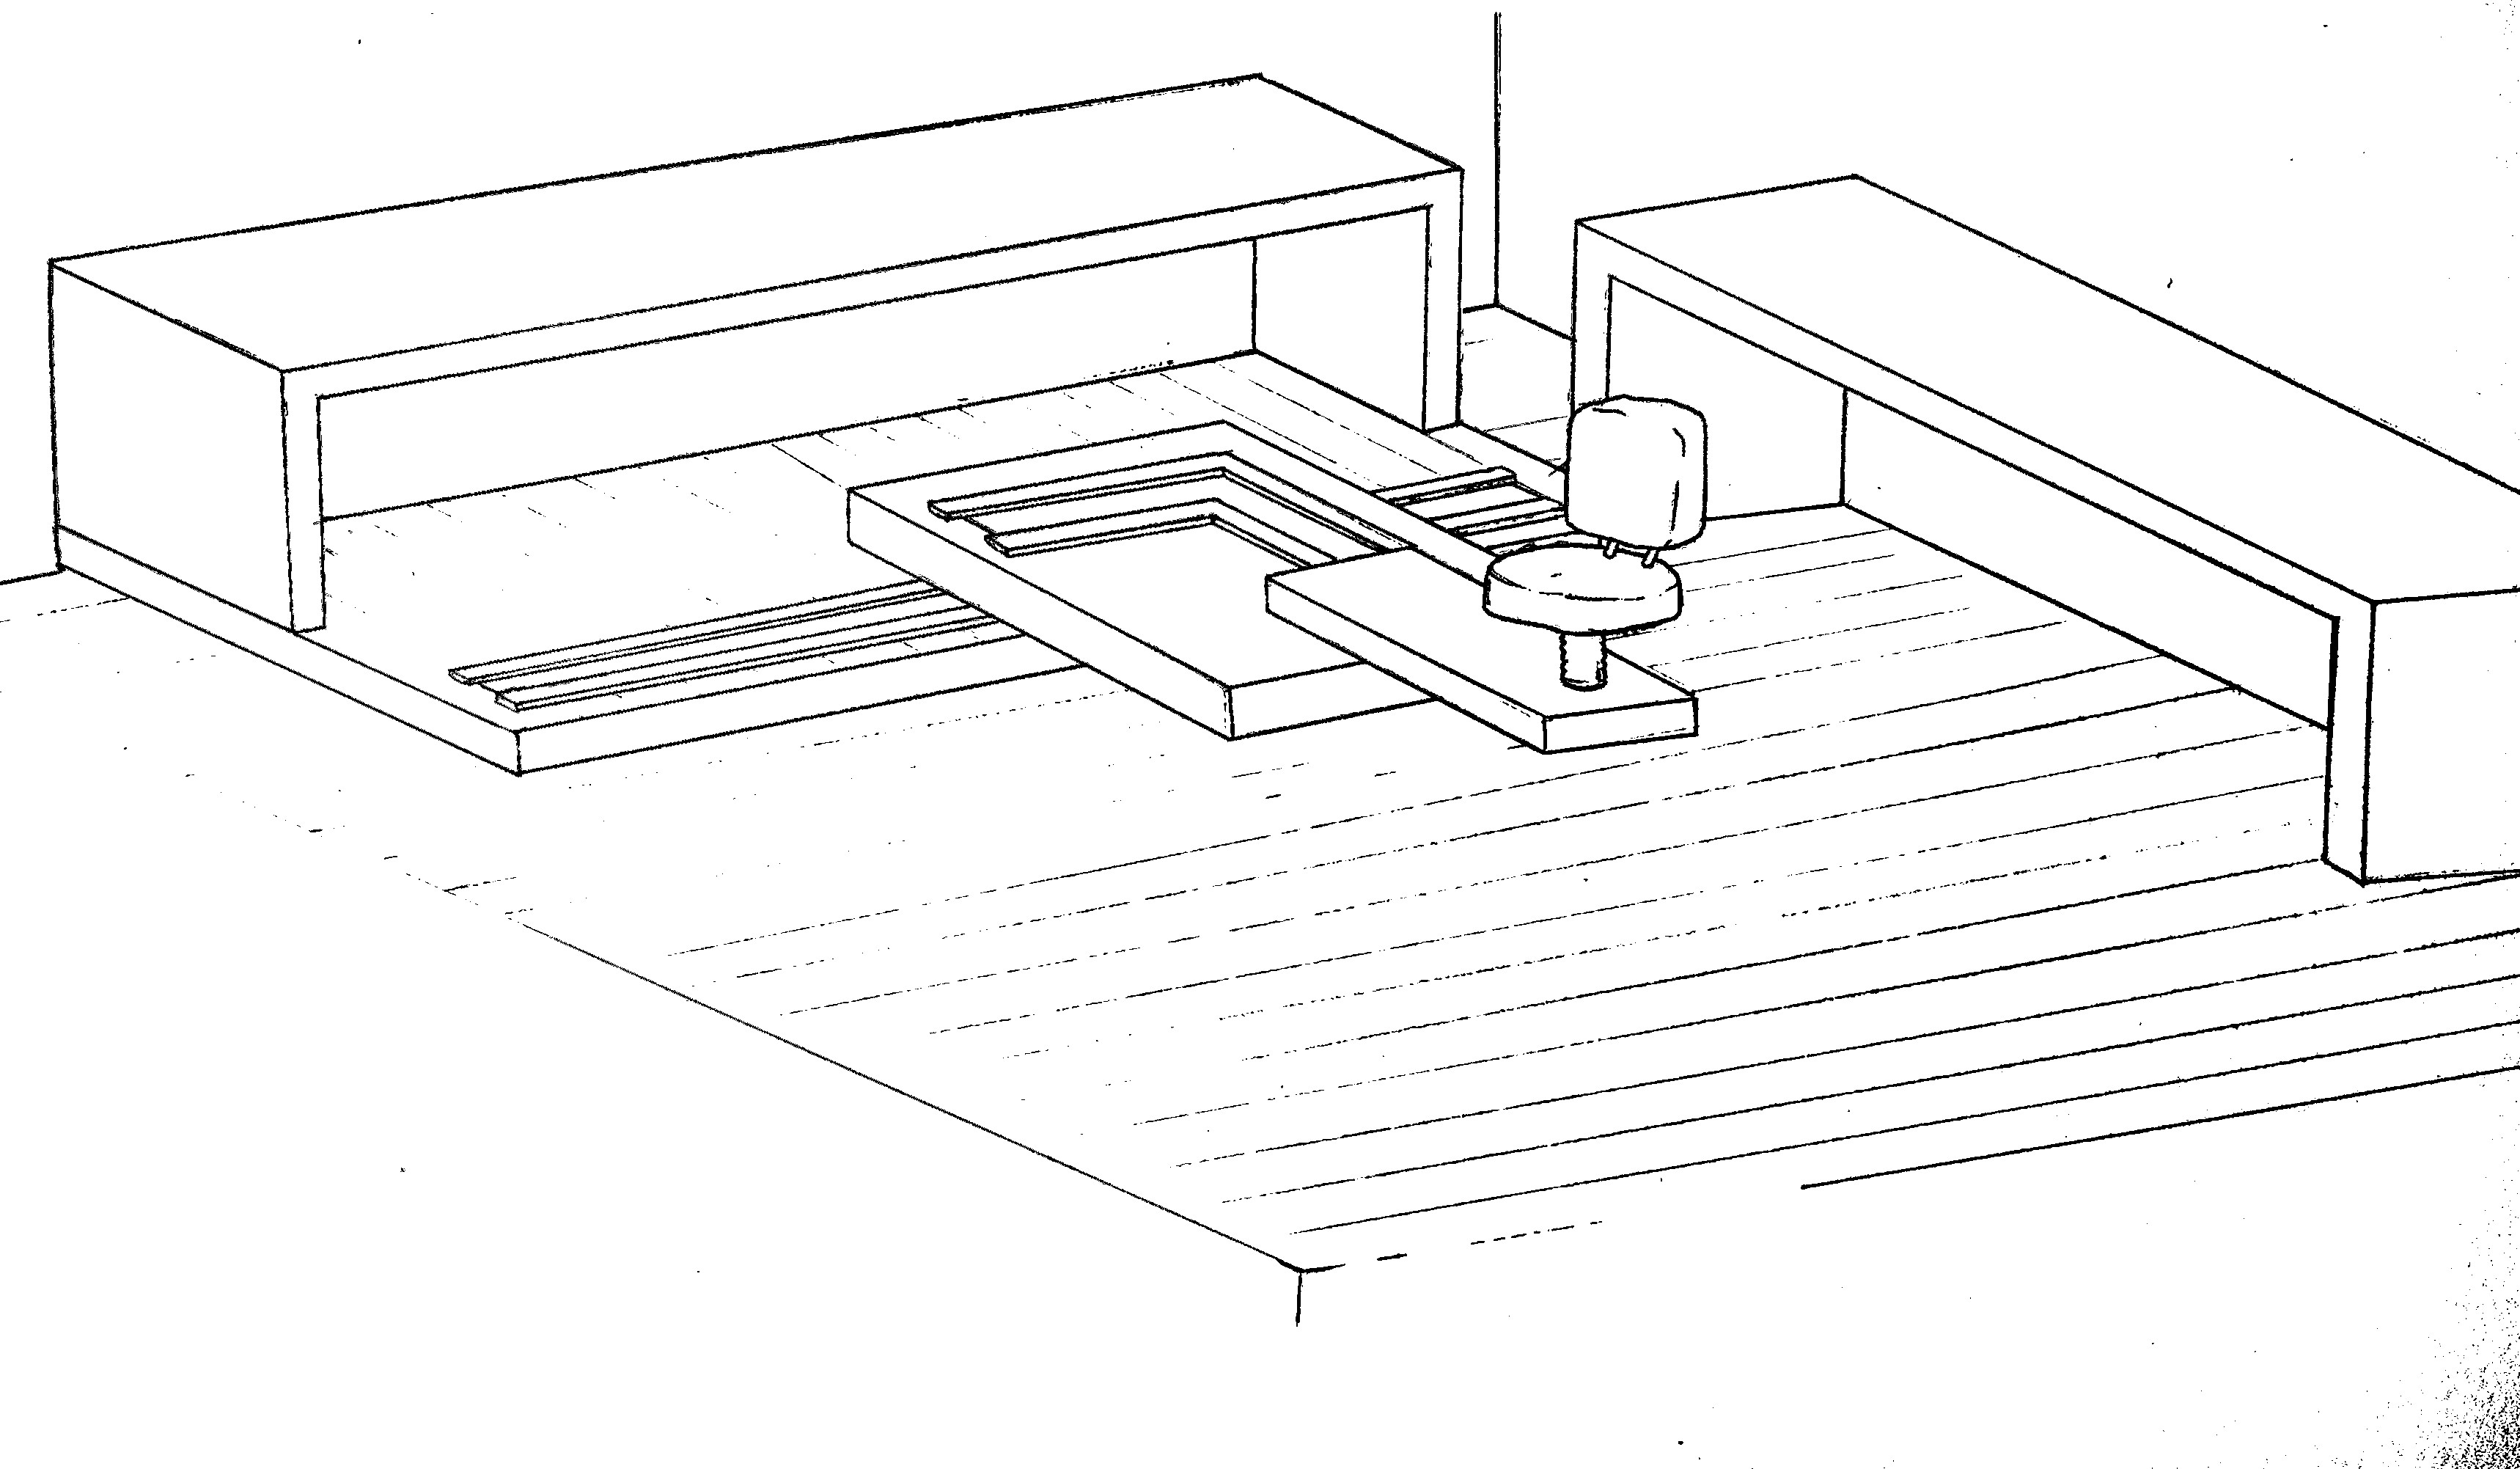
The Third module features an arrangement of rectilinear forms placed parallel to one another, curving at the tip. There is a thicker block intersecting through the four panels. I found visual favour in this module as it was arranged parallel to one another, symmetrical when placed at the front, as if four gigantic walls penetrated by a huge pillar. It also extends perfectly into the themes of intersection, inscription and array.
Exploration of materials and forms
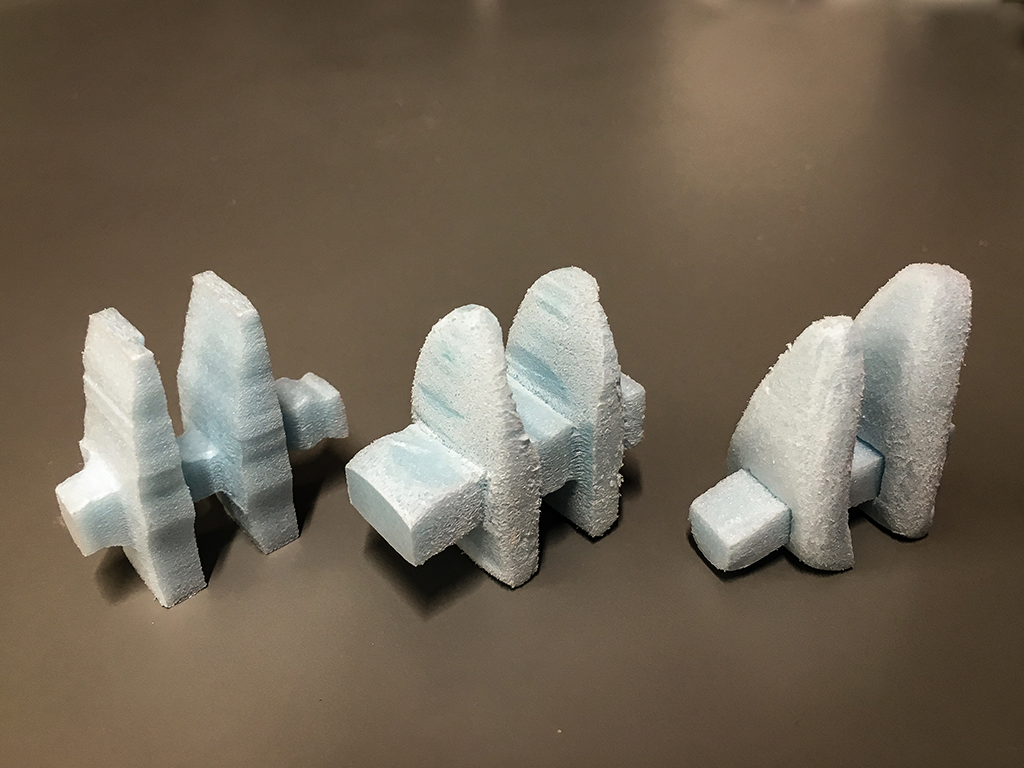
Using blue foam, I experimented with different forms that the rectilinear forms could possibly evolve into, for visual purposes as well as how well it fits into the themes of inscription, intersection and array. I found that a curved form is more suitable for the theme of array as it is more organic and curvilinear.
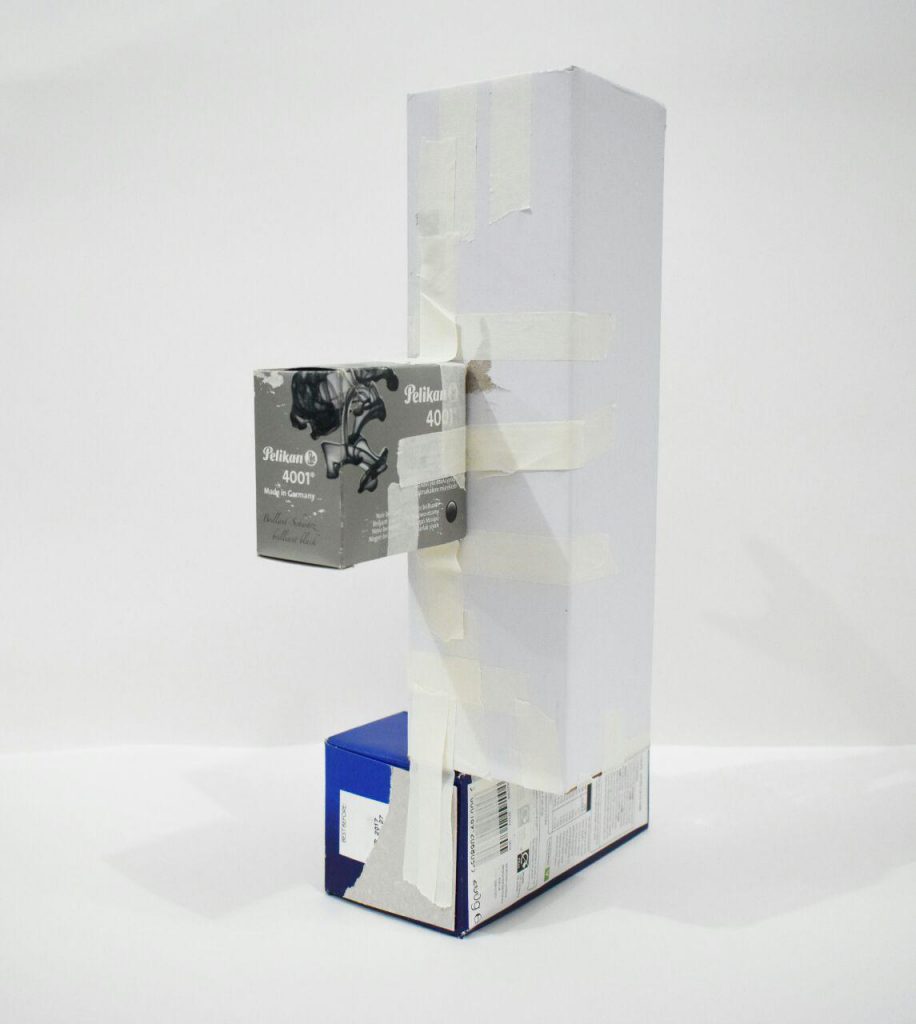
I made my first round of modules using clay as I found clay to be more suitable to create the curved form than blue foam, since blue foam is more time-consuming in achieving a organic form.
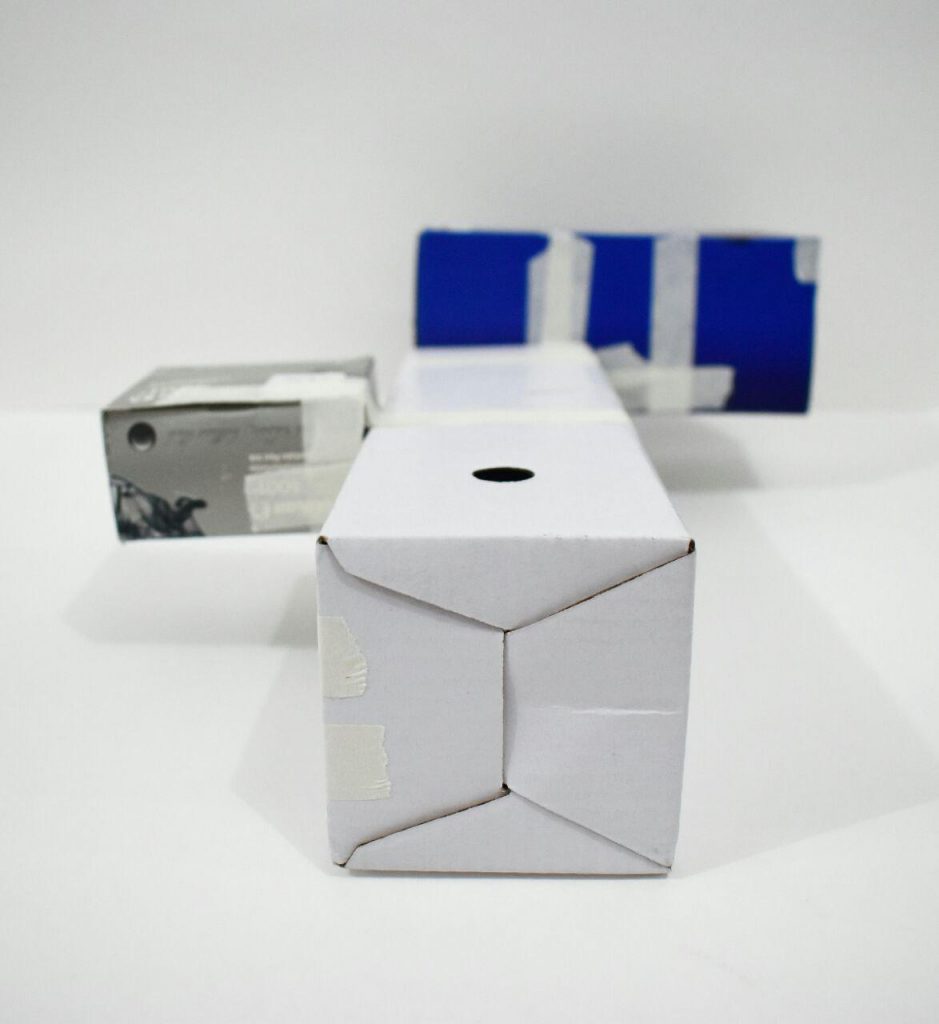
However, problems surfaced as I realised that such a complex form would not be ideal for the context of an ice tray. In a theoretical situation, the area of intersection between the pillar to the curved form would interrupt the ice tray’s ability to mould into the design that I envision.
Hence, it was back to the drawing board.
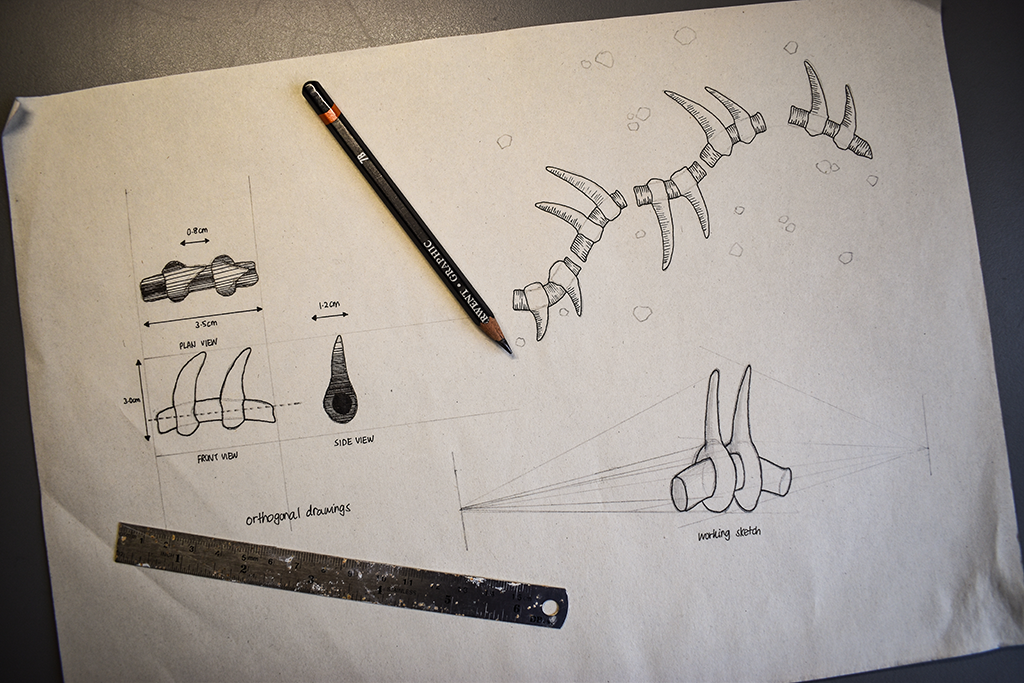
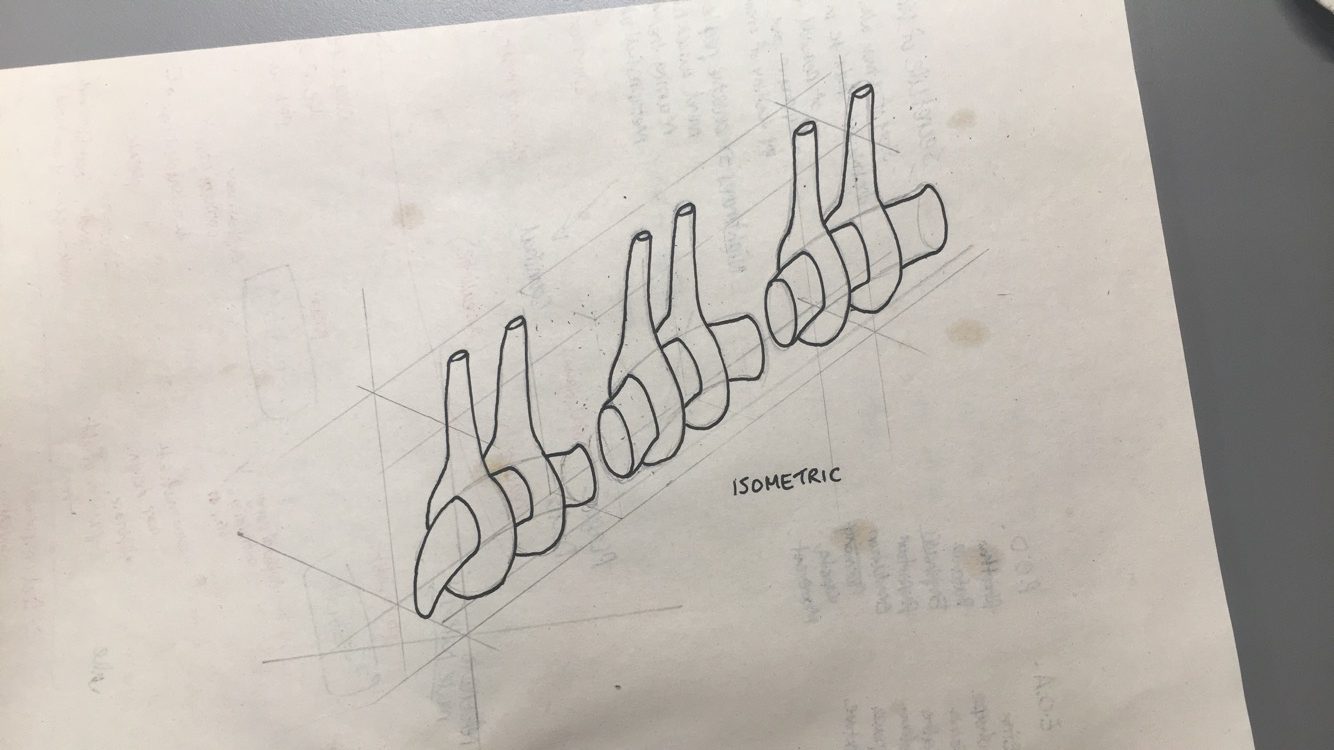
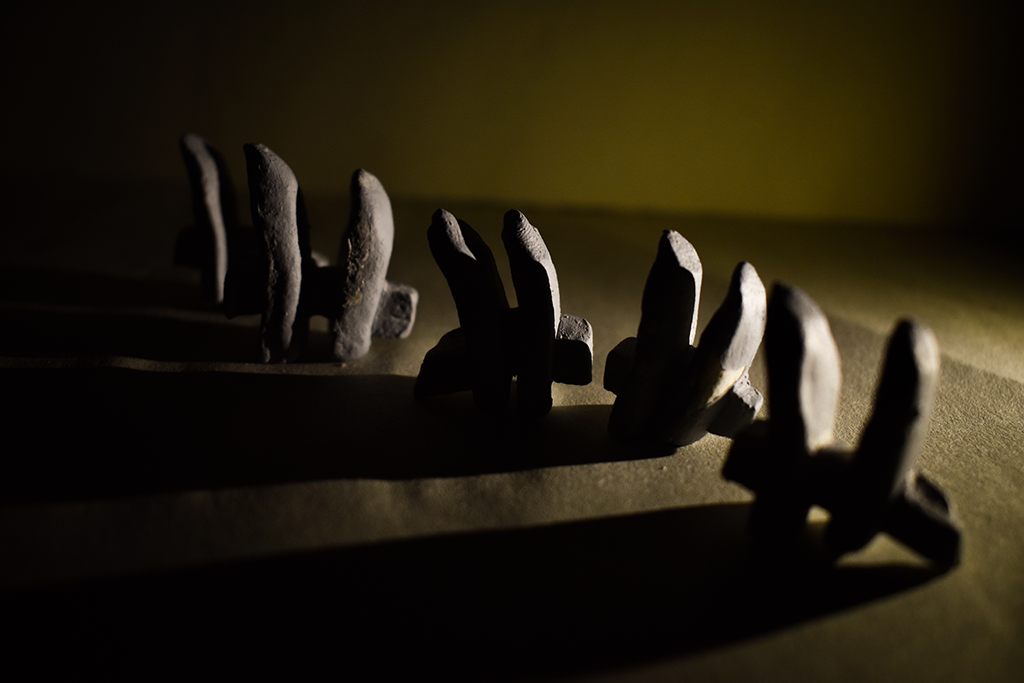
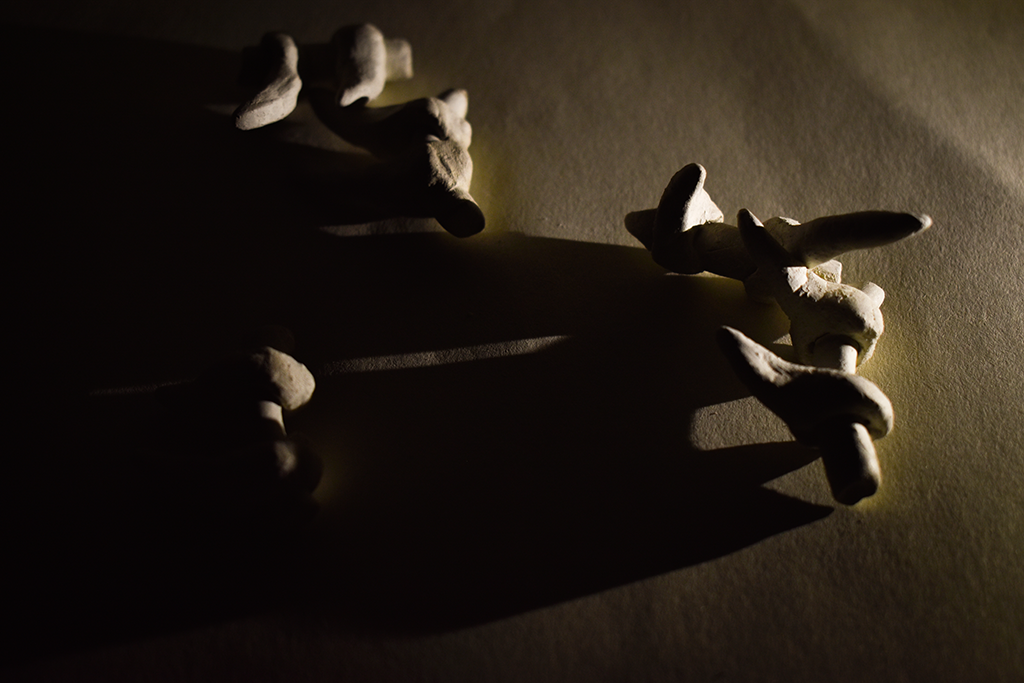
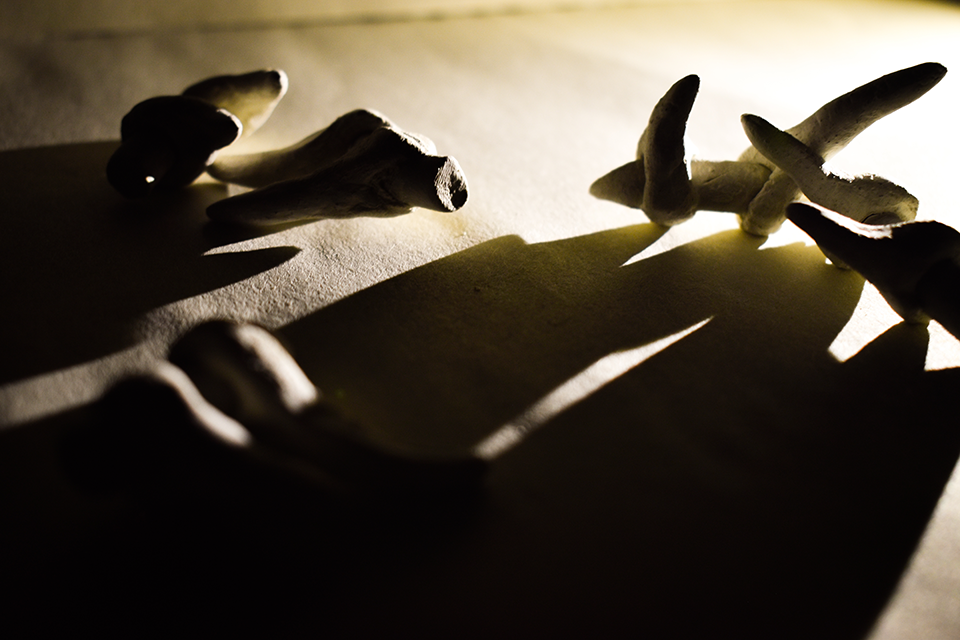
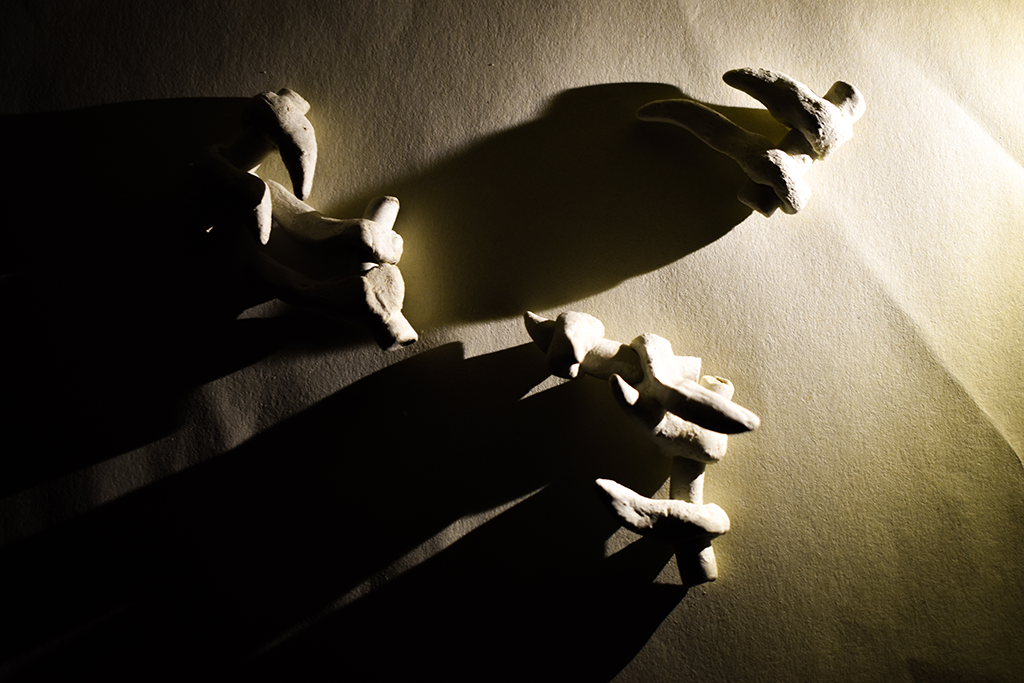
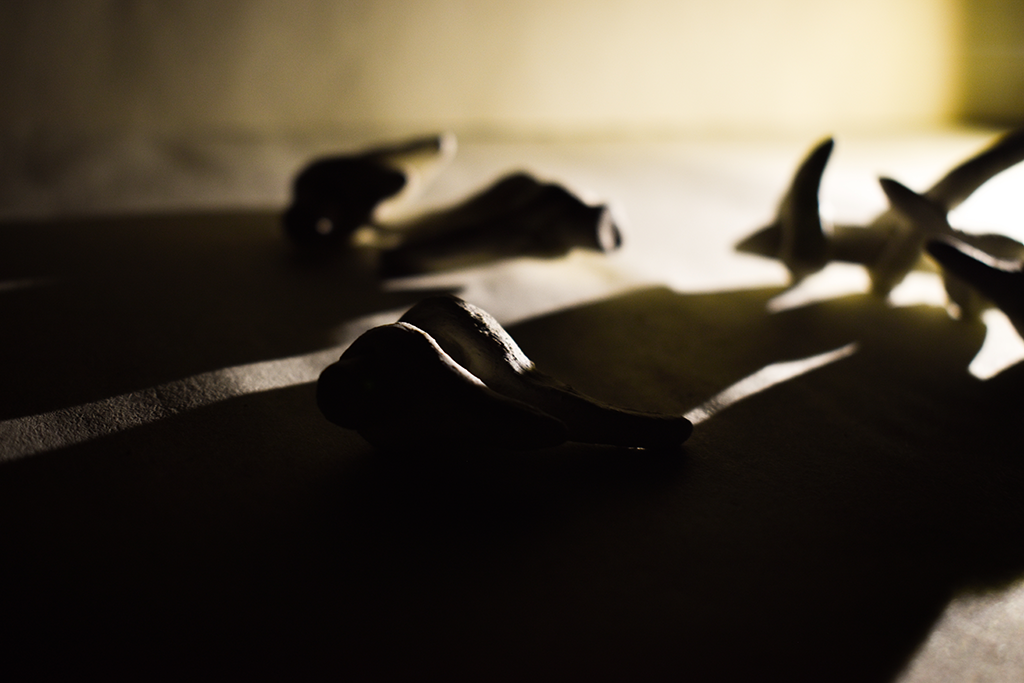
I read up on how the silicon would be used to make the ice tray. Hence, I decided to go for a peaking conical shape in exchange for the rectilinear walls, this would allow the final ice cube to be taken out quite easily. There is still a strong theme of intersection, inscription and array. With an in depth exploration of forms, I realised that there is a resemblance of the form to a spinal structure, and this led to my decision to make the modules resemble a Nautilus spiral or a fossil spine, adding on a narrative to the ice tray.

Making the Modules
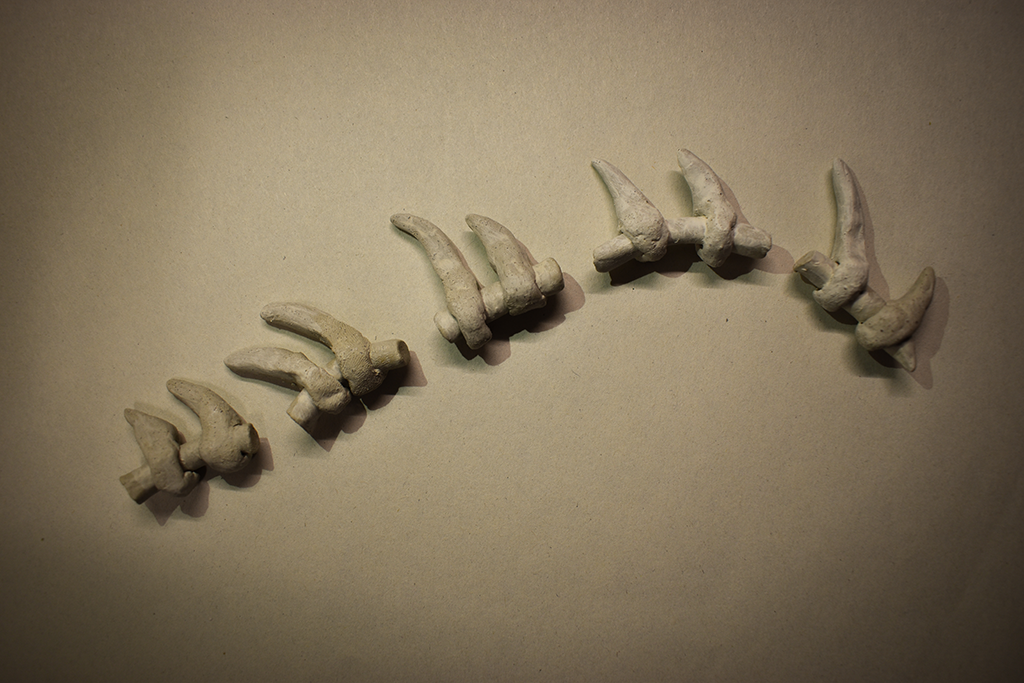
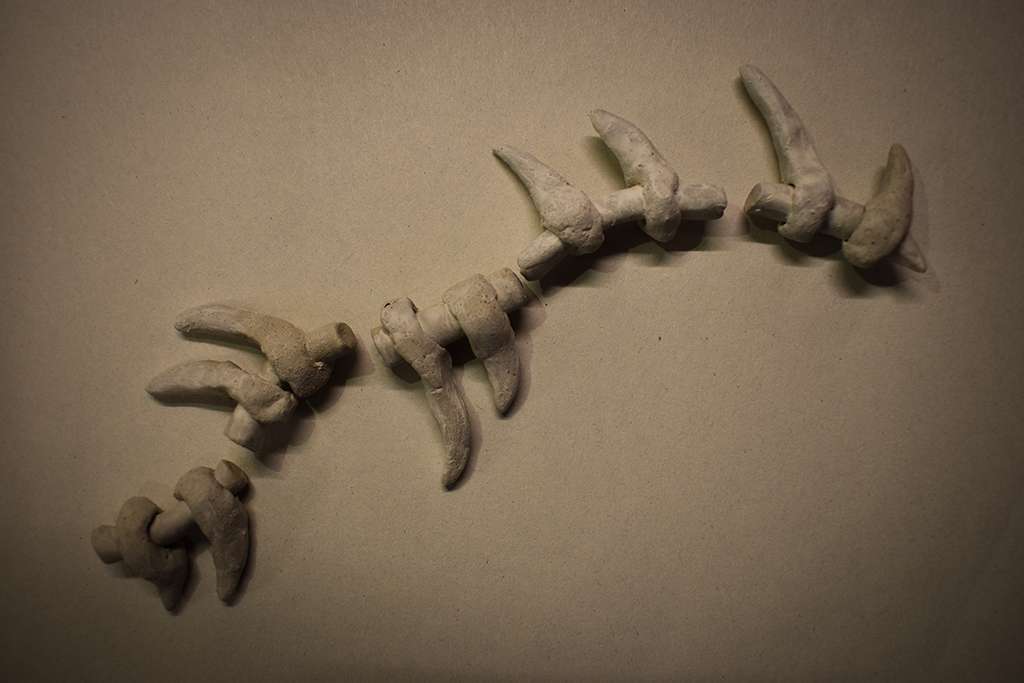
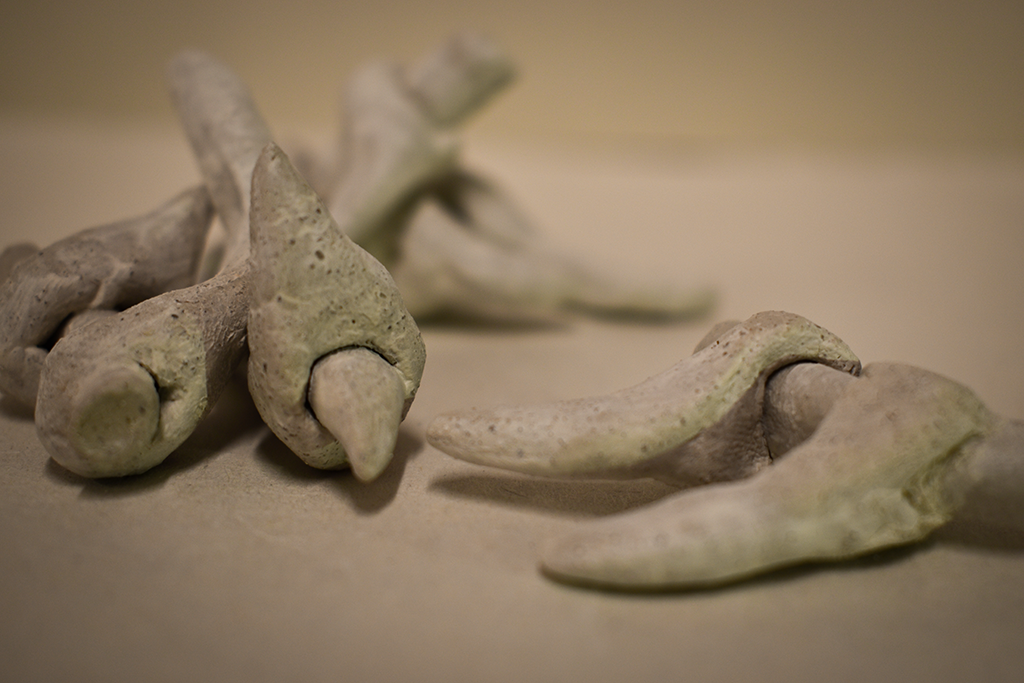
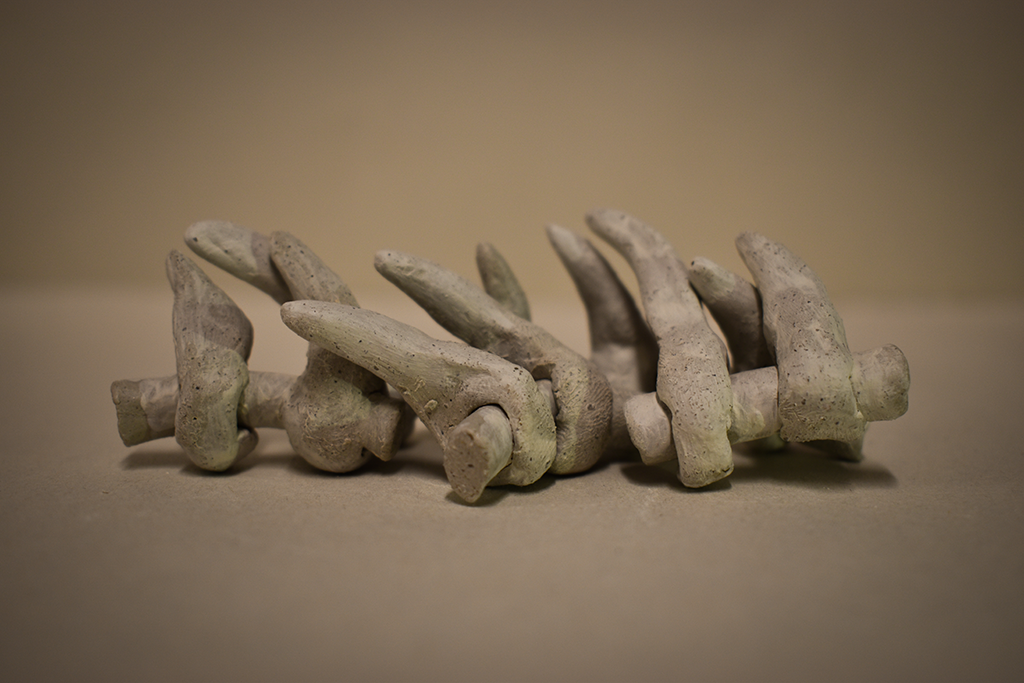
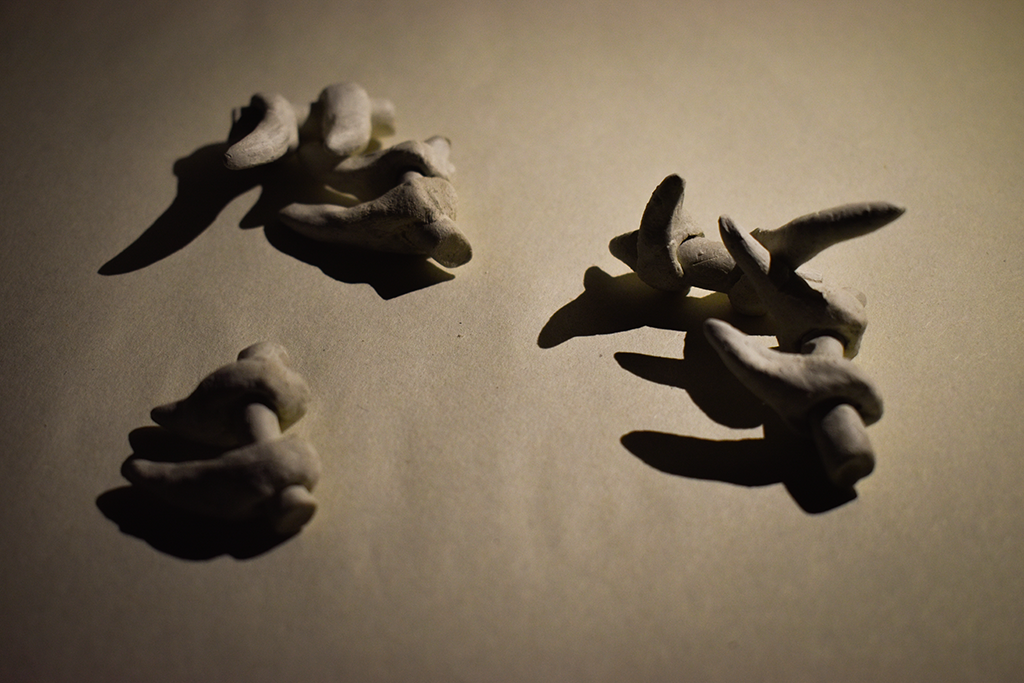
Using clay, I made the modules that would eventually be used for the moulding of the silicon ice tray. The arrangement of the clay modules were a difficult process to finalise as one of the reasons why I chose not to make the modules out of mould was to achieve different length amongst the modules, creating an organic quality in comparison to something man-made and tessellating.
Making the Silicon Tray
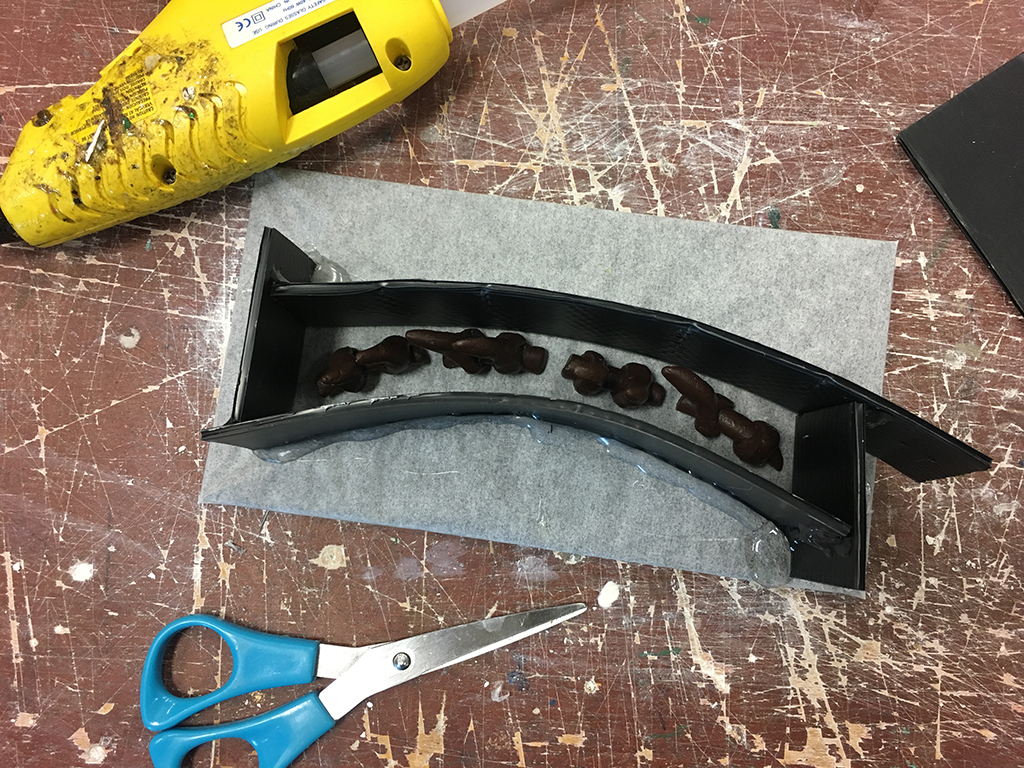
As mentioned above, there would be a need to design a structure that would be easily taken out when the silicon solidifies, making the ice tray serve its purpose. Hence, I arranged the clay modules upright by shaving the bottom, allowing it to stand within the tray.
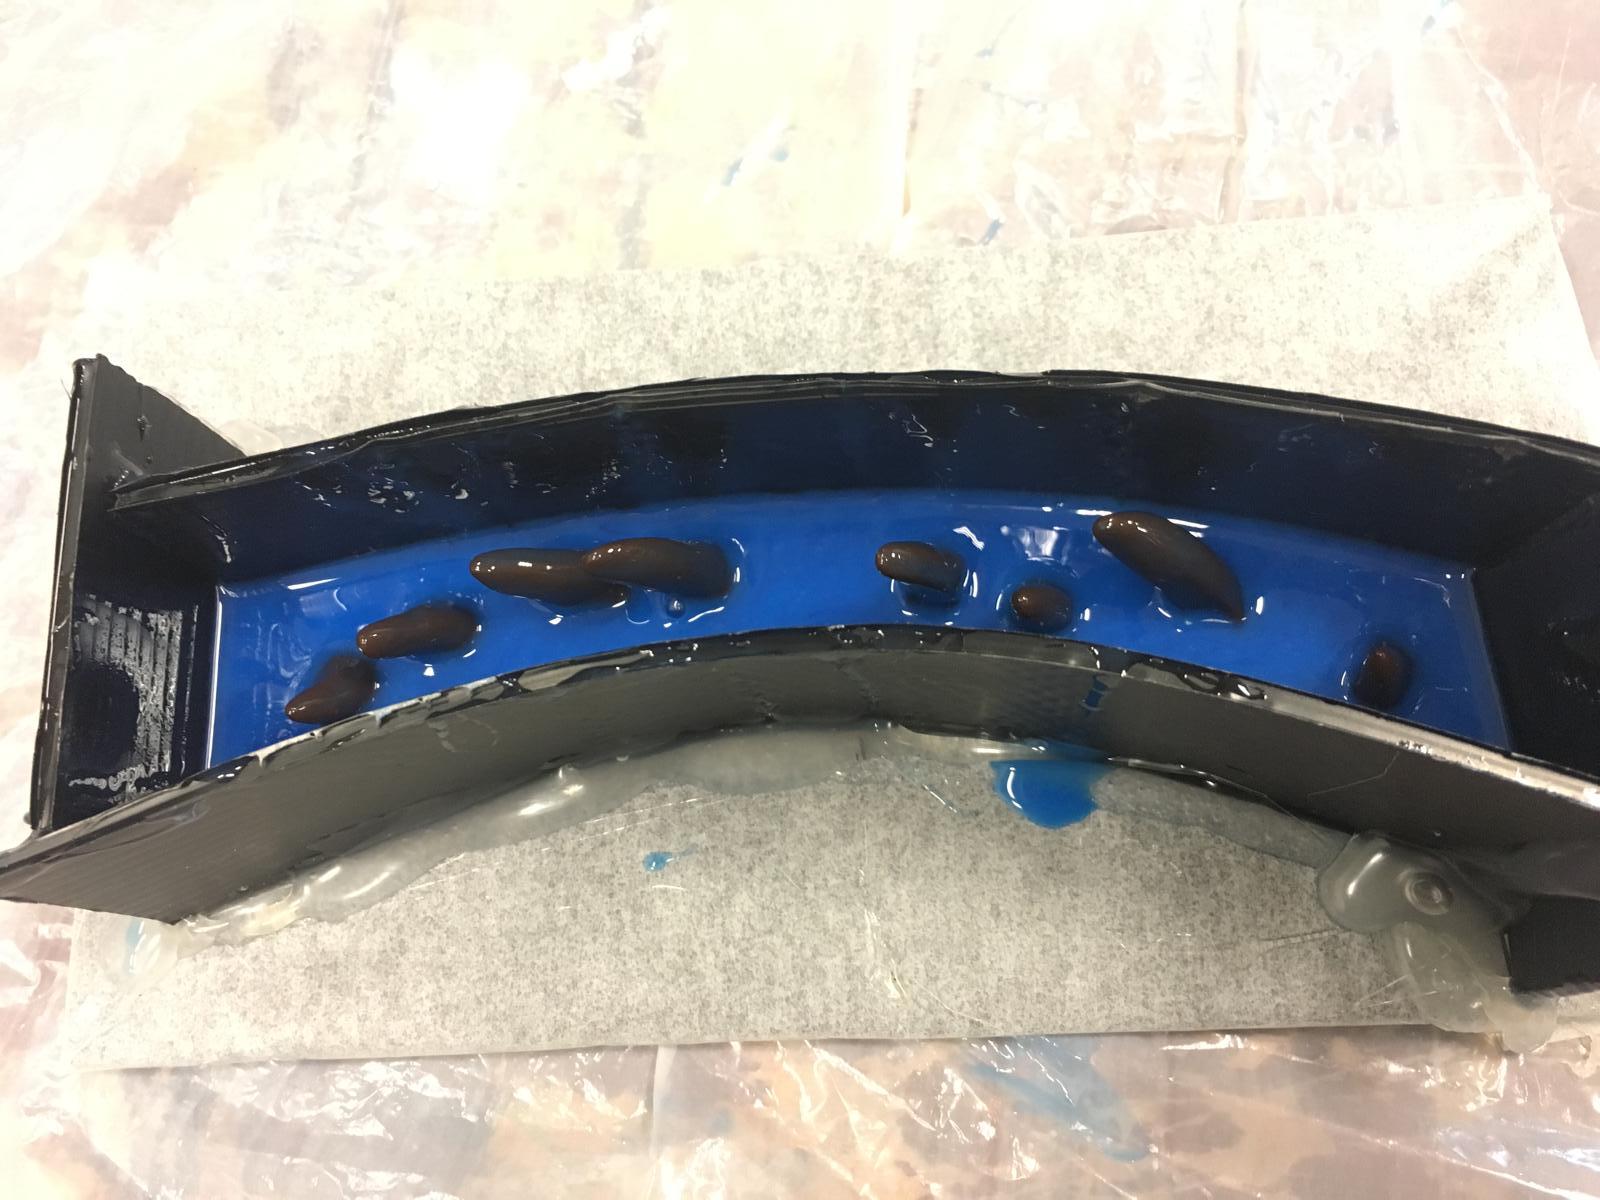
I decided to curve the silicon casing for two reasons: One, to reduce the wastage of silicon as it was a precious resource. And two, to create a more organic form compared to a rectangular tray, fitting with the theme of my narrative.
Final Product
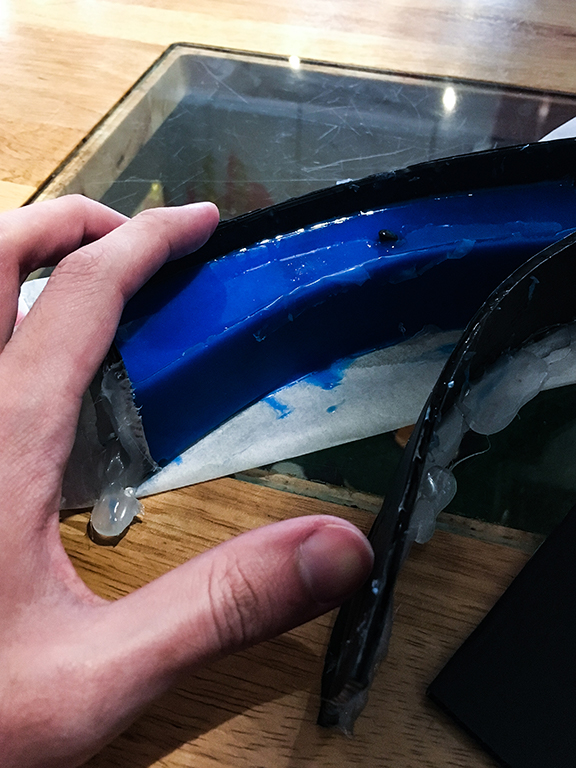


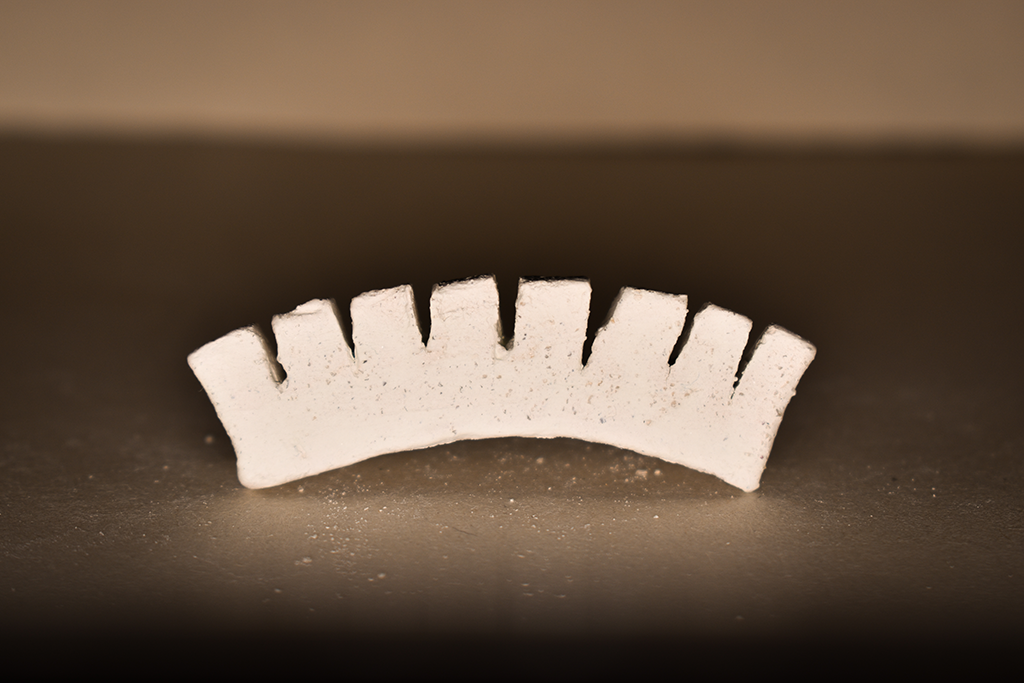
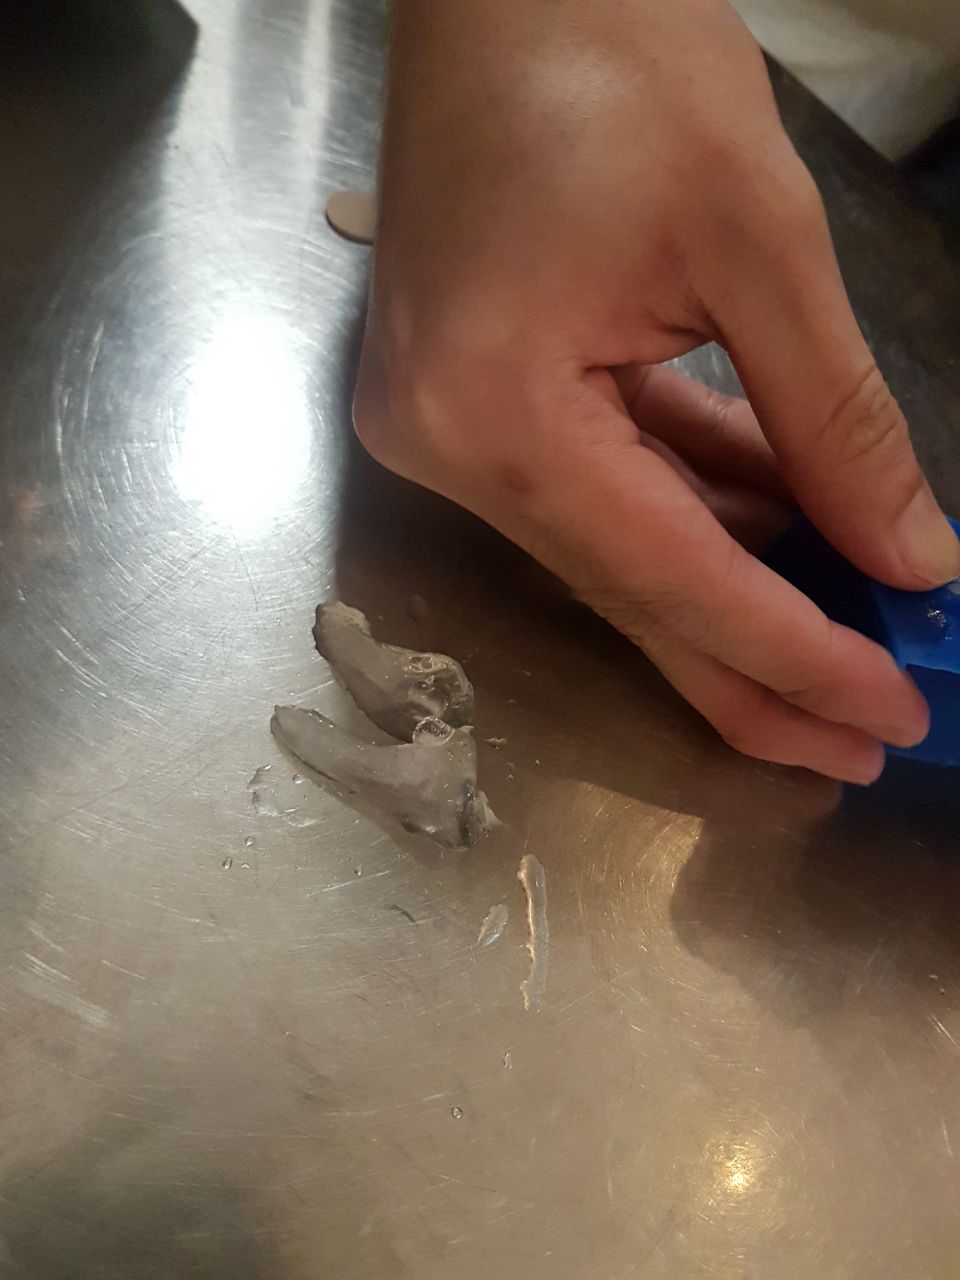
It was a difficult process removing the ice as my module was curvilinear in nature, thus it broke easily. It took a few attempts of freezing the ice to have a module that was not broken, attempts are shown below.
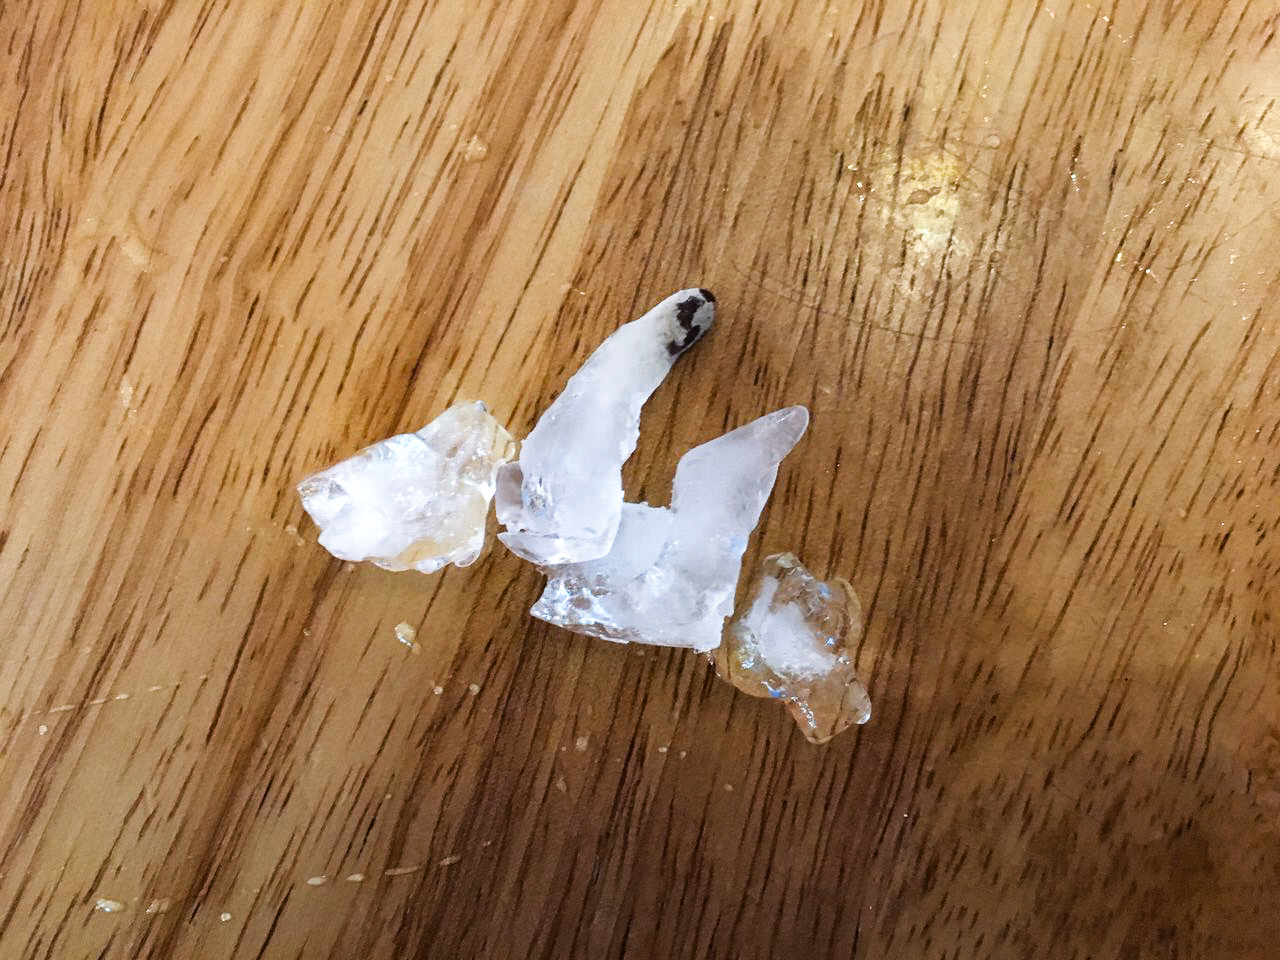
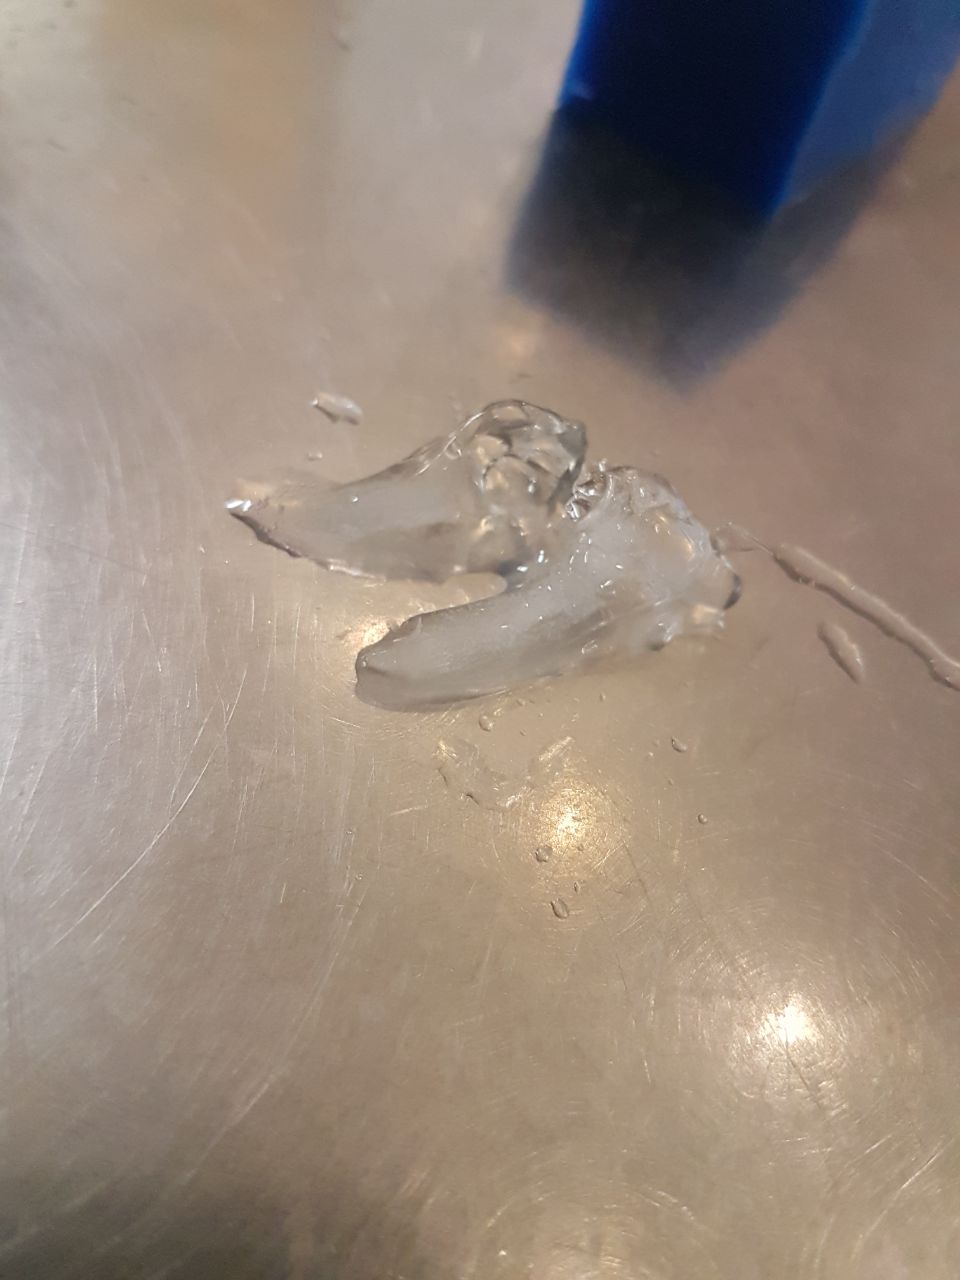
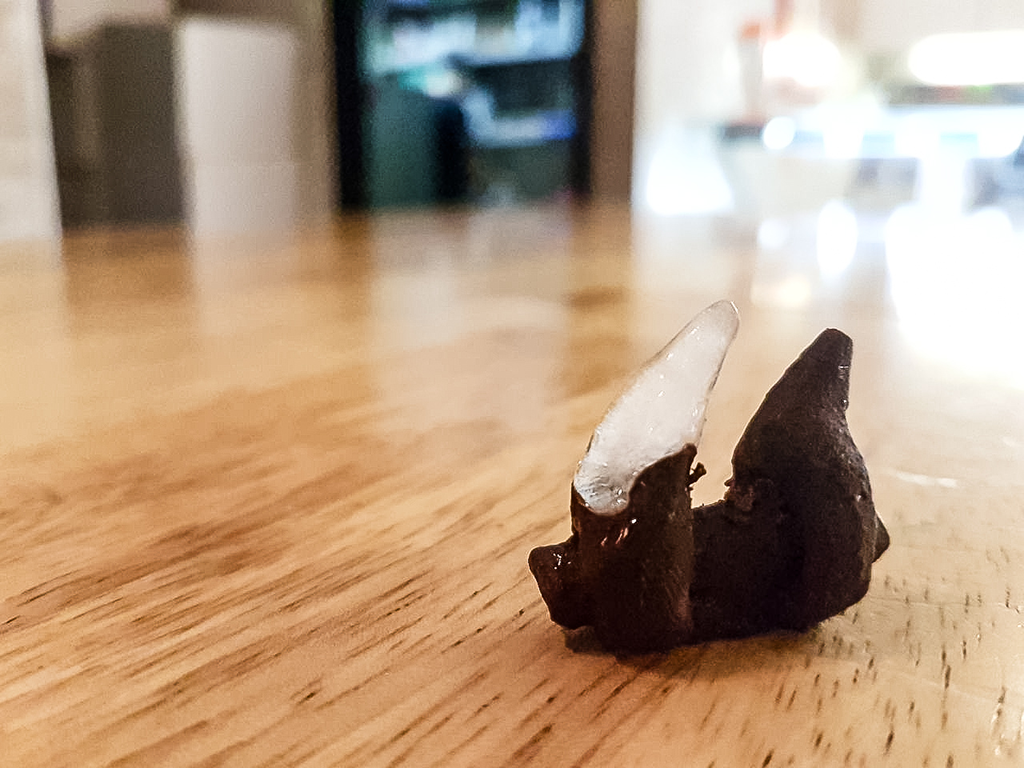
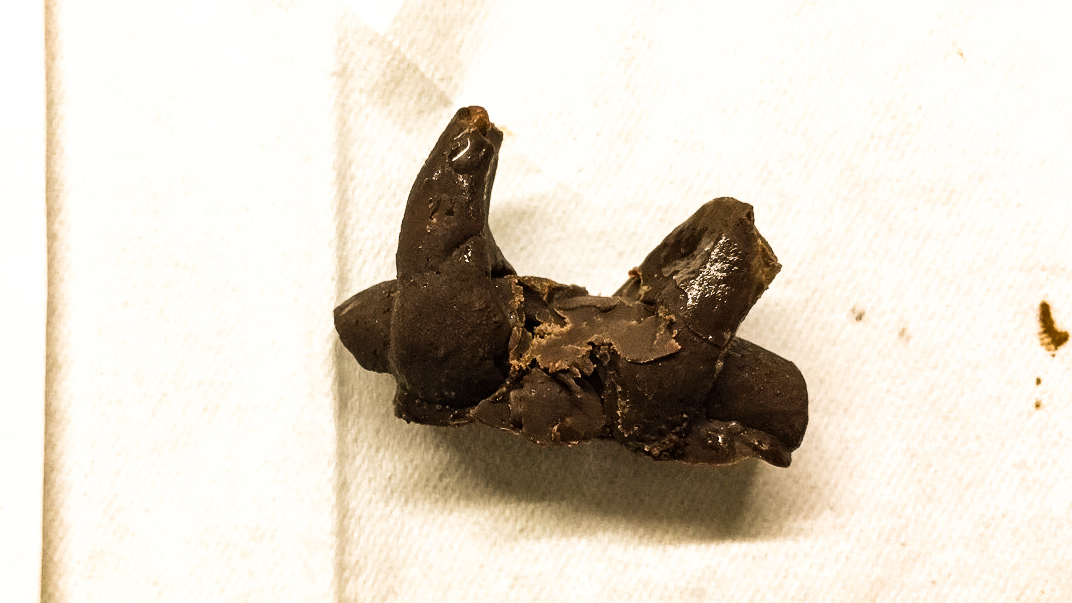
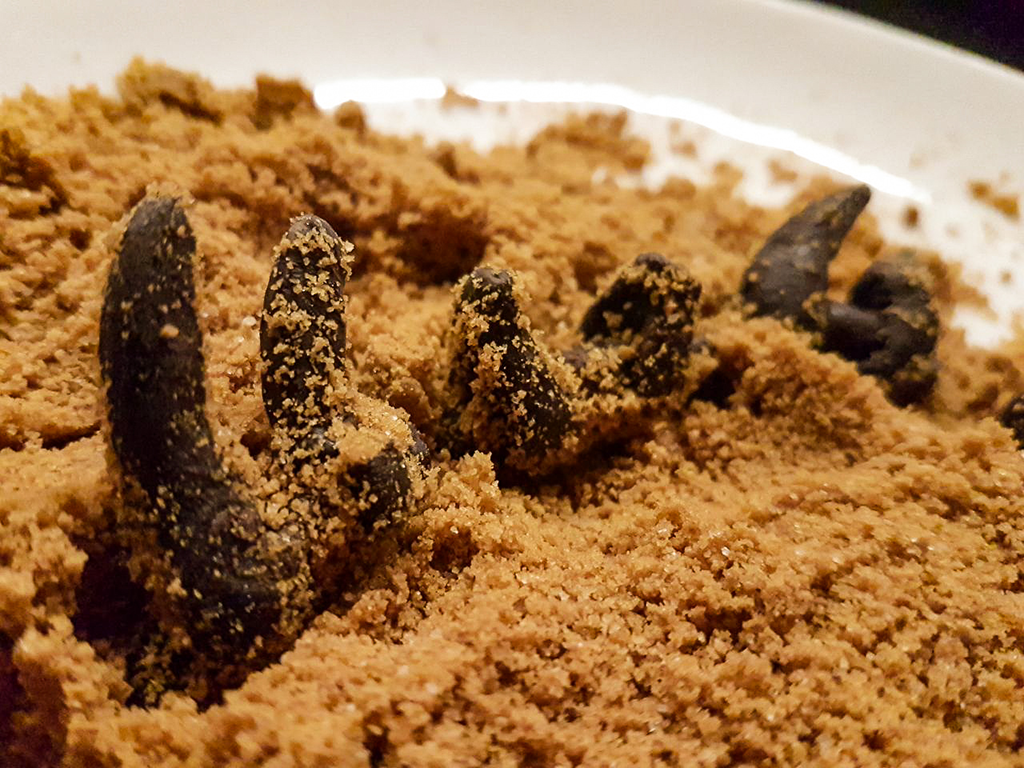
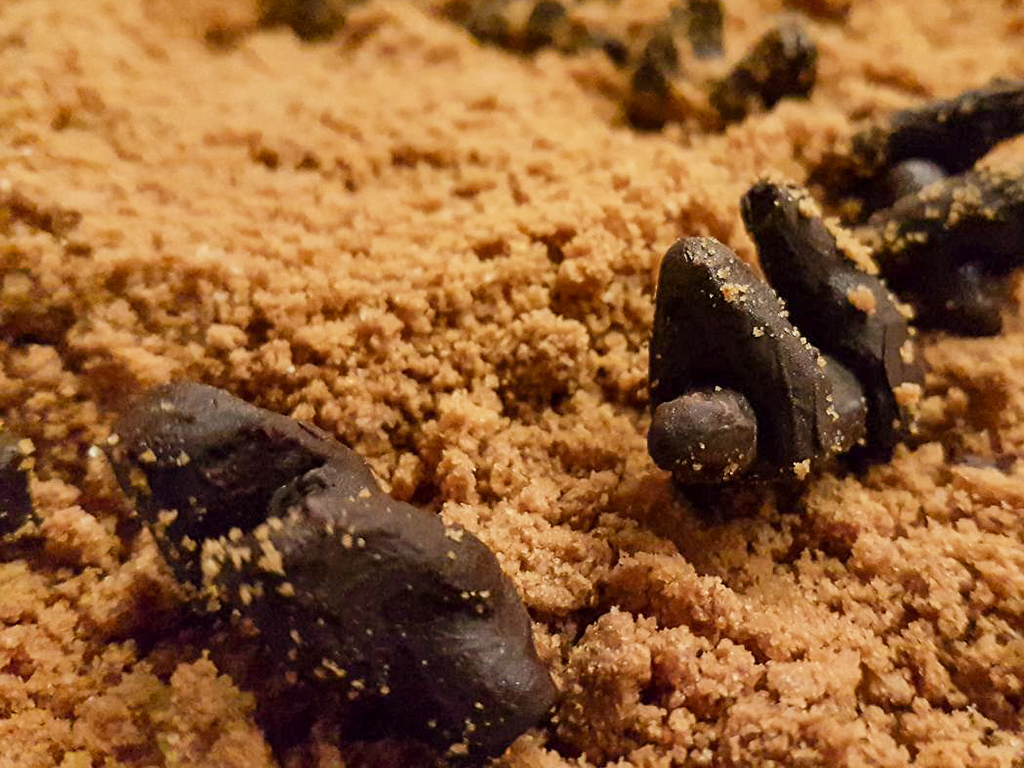
However, picking up the final product did not feel right as the ice was translucent and did not express the aesthetic quality that I had yearned for since the idea of nautilus fossils dawned on me. This led me on to the idea of using molten chocolate to form the cast within the silicon. This was a justifiable action as the final product is, I believe, quite similar to real fossils in terms of appearance. It was also an interesting throwback to Gaia’s Ikebana plus Pandora’s box.
Final Final Product


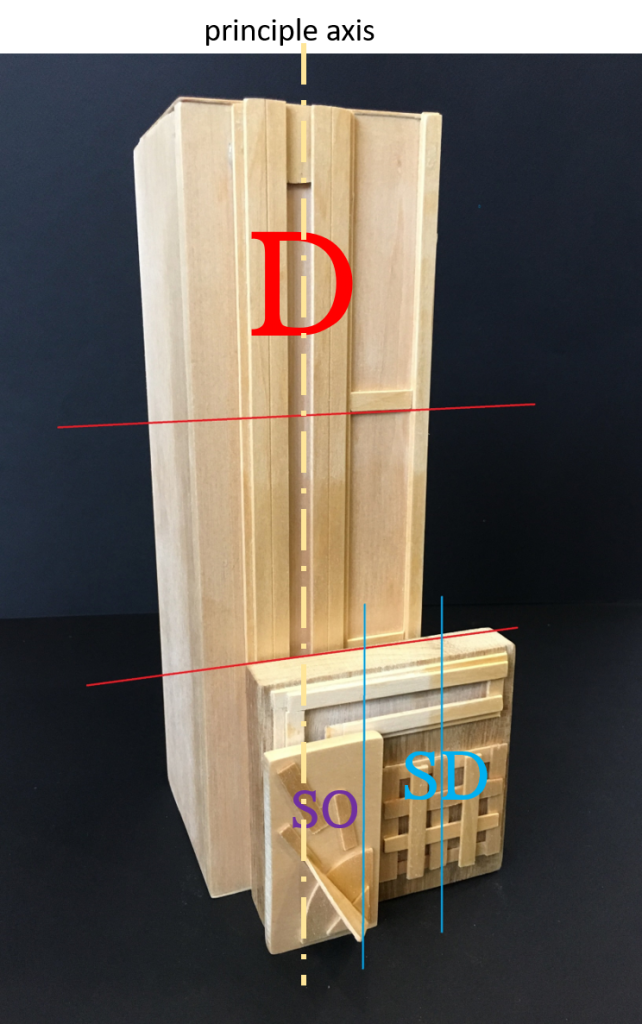
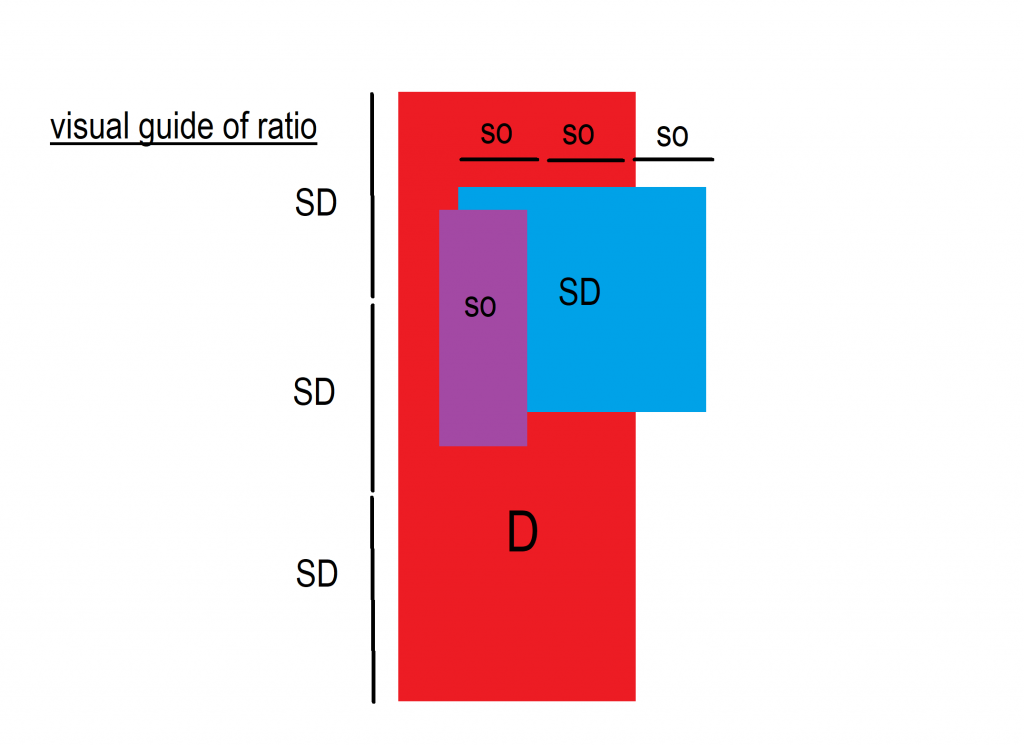
 GIF 1. SO block rotating at one point
 GIF 2. SO moving on SD
 GIF 3. SD moving up and down along D


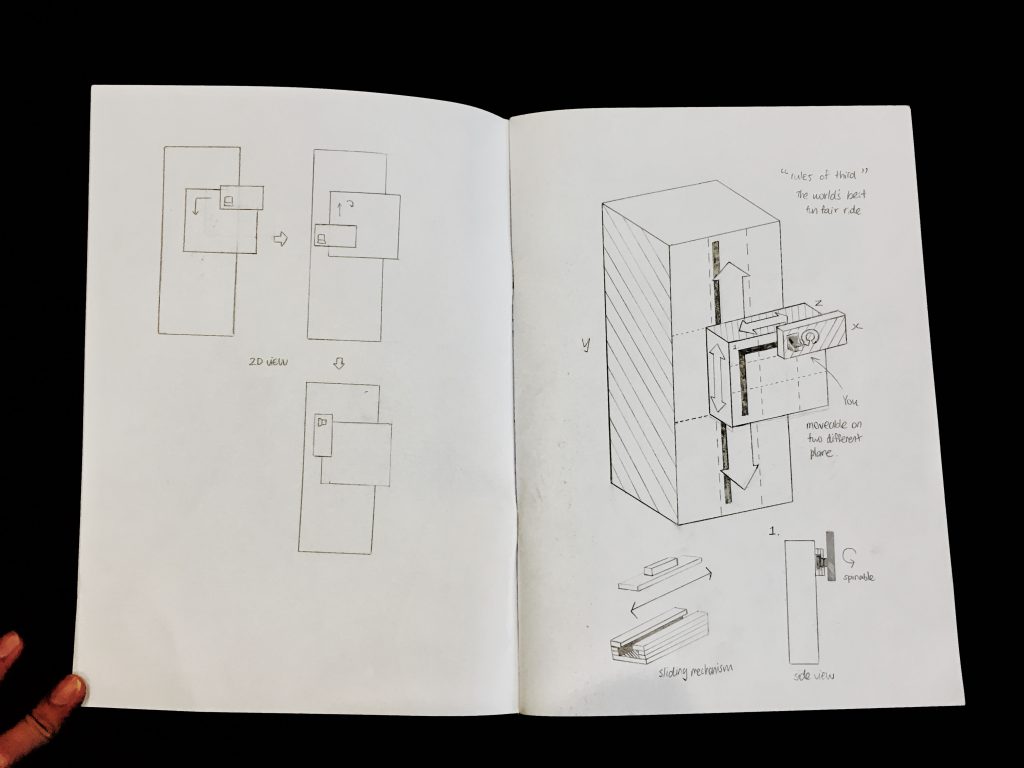
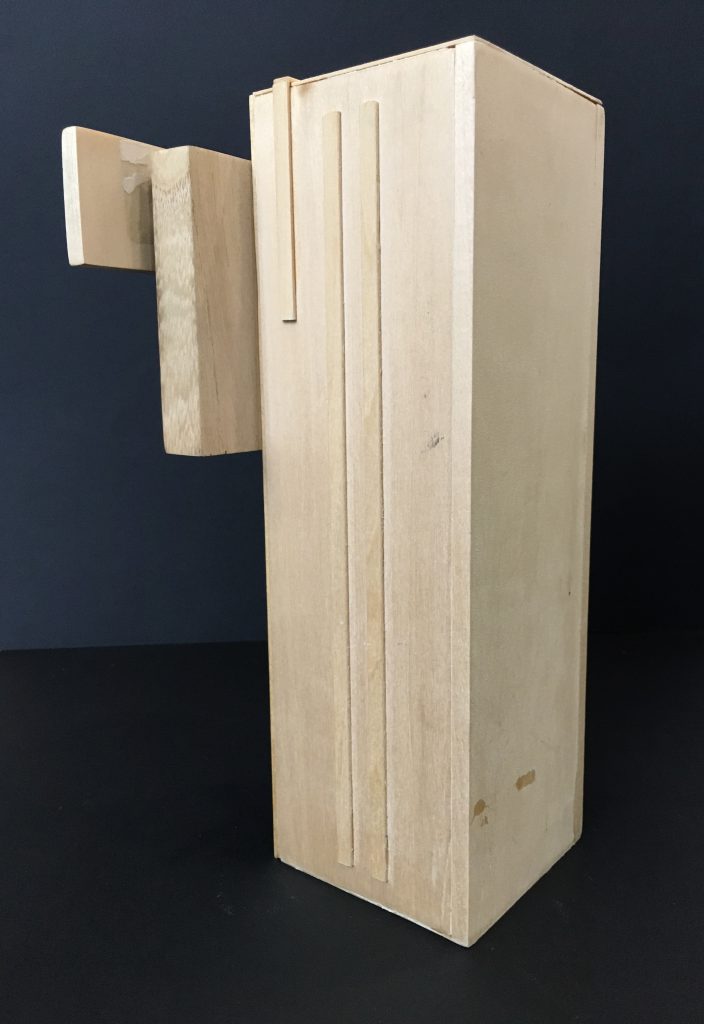 Side View
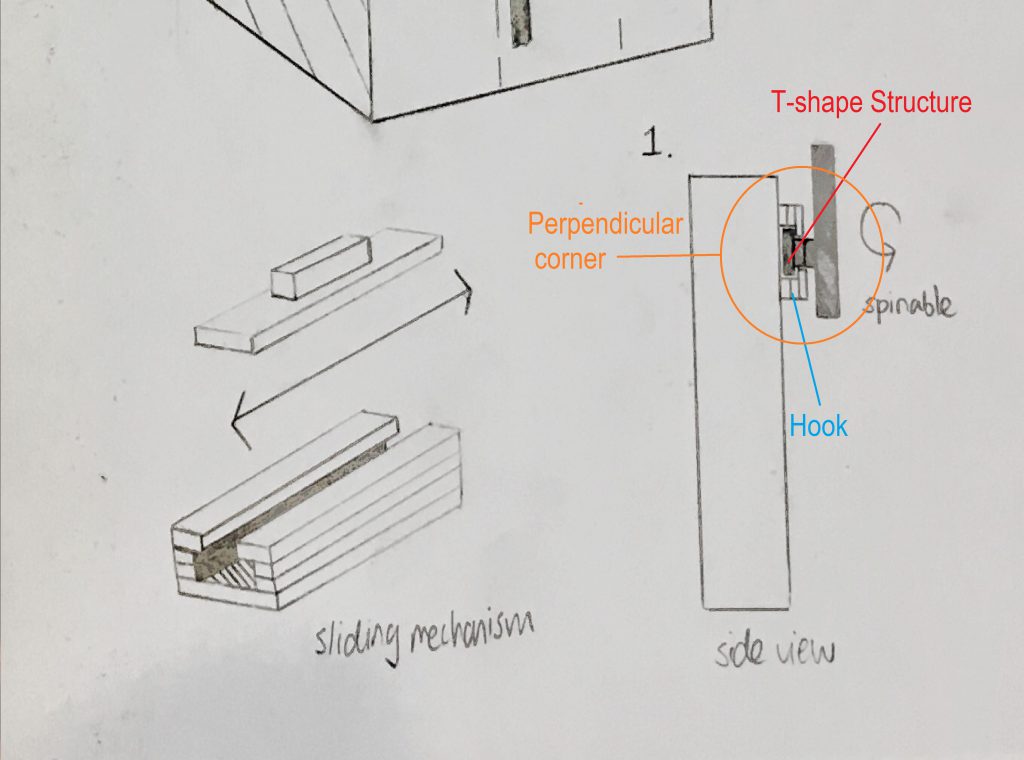 Close up on Sketch
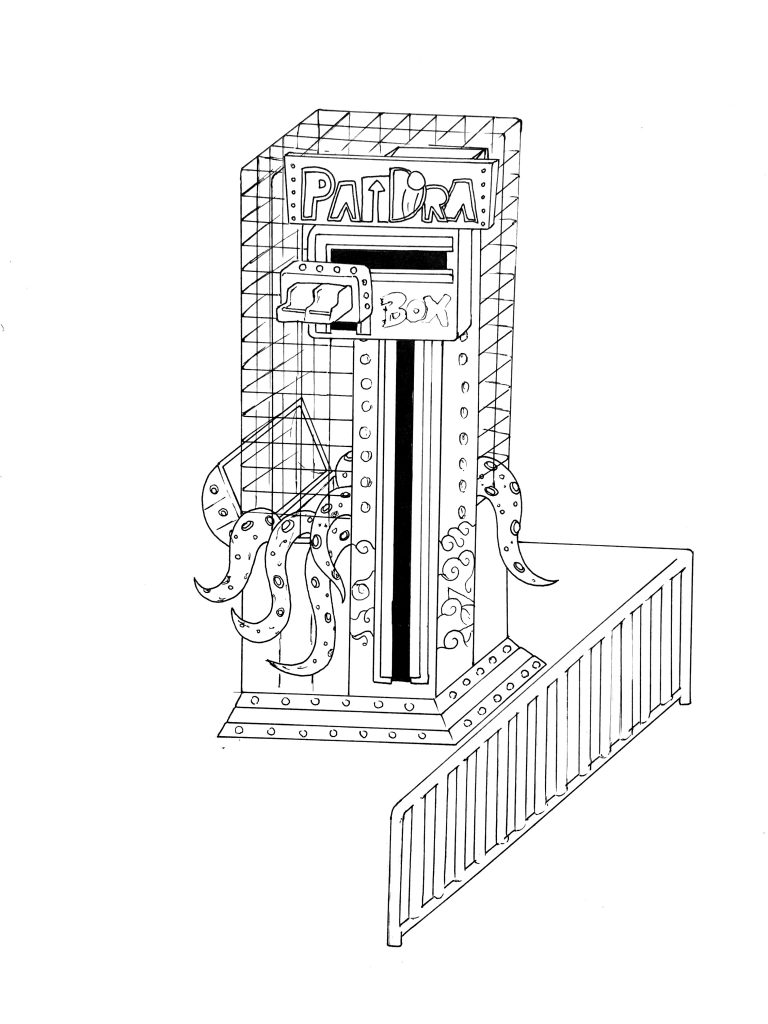
 Side View
 Side View