
Week 6: Knitting
Honestly for knitting it was a technique I really wanted to like, however it was very difficult for me to get the hang of it! I grew up watching my mum knitting and was always very fascinated by it, however upon trying it myself I realised that it’s actually not that easy haha
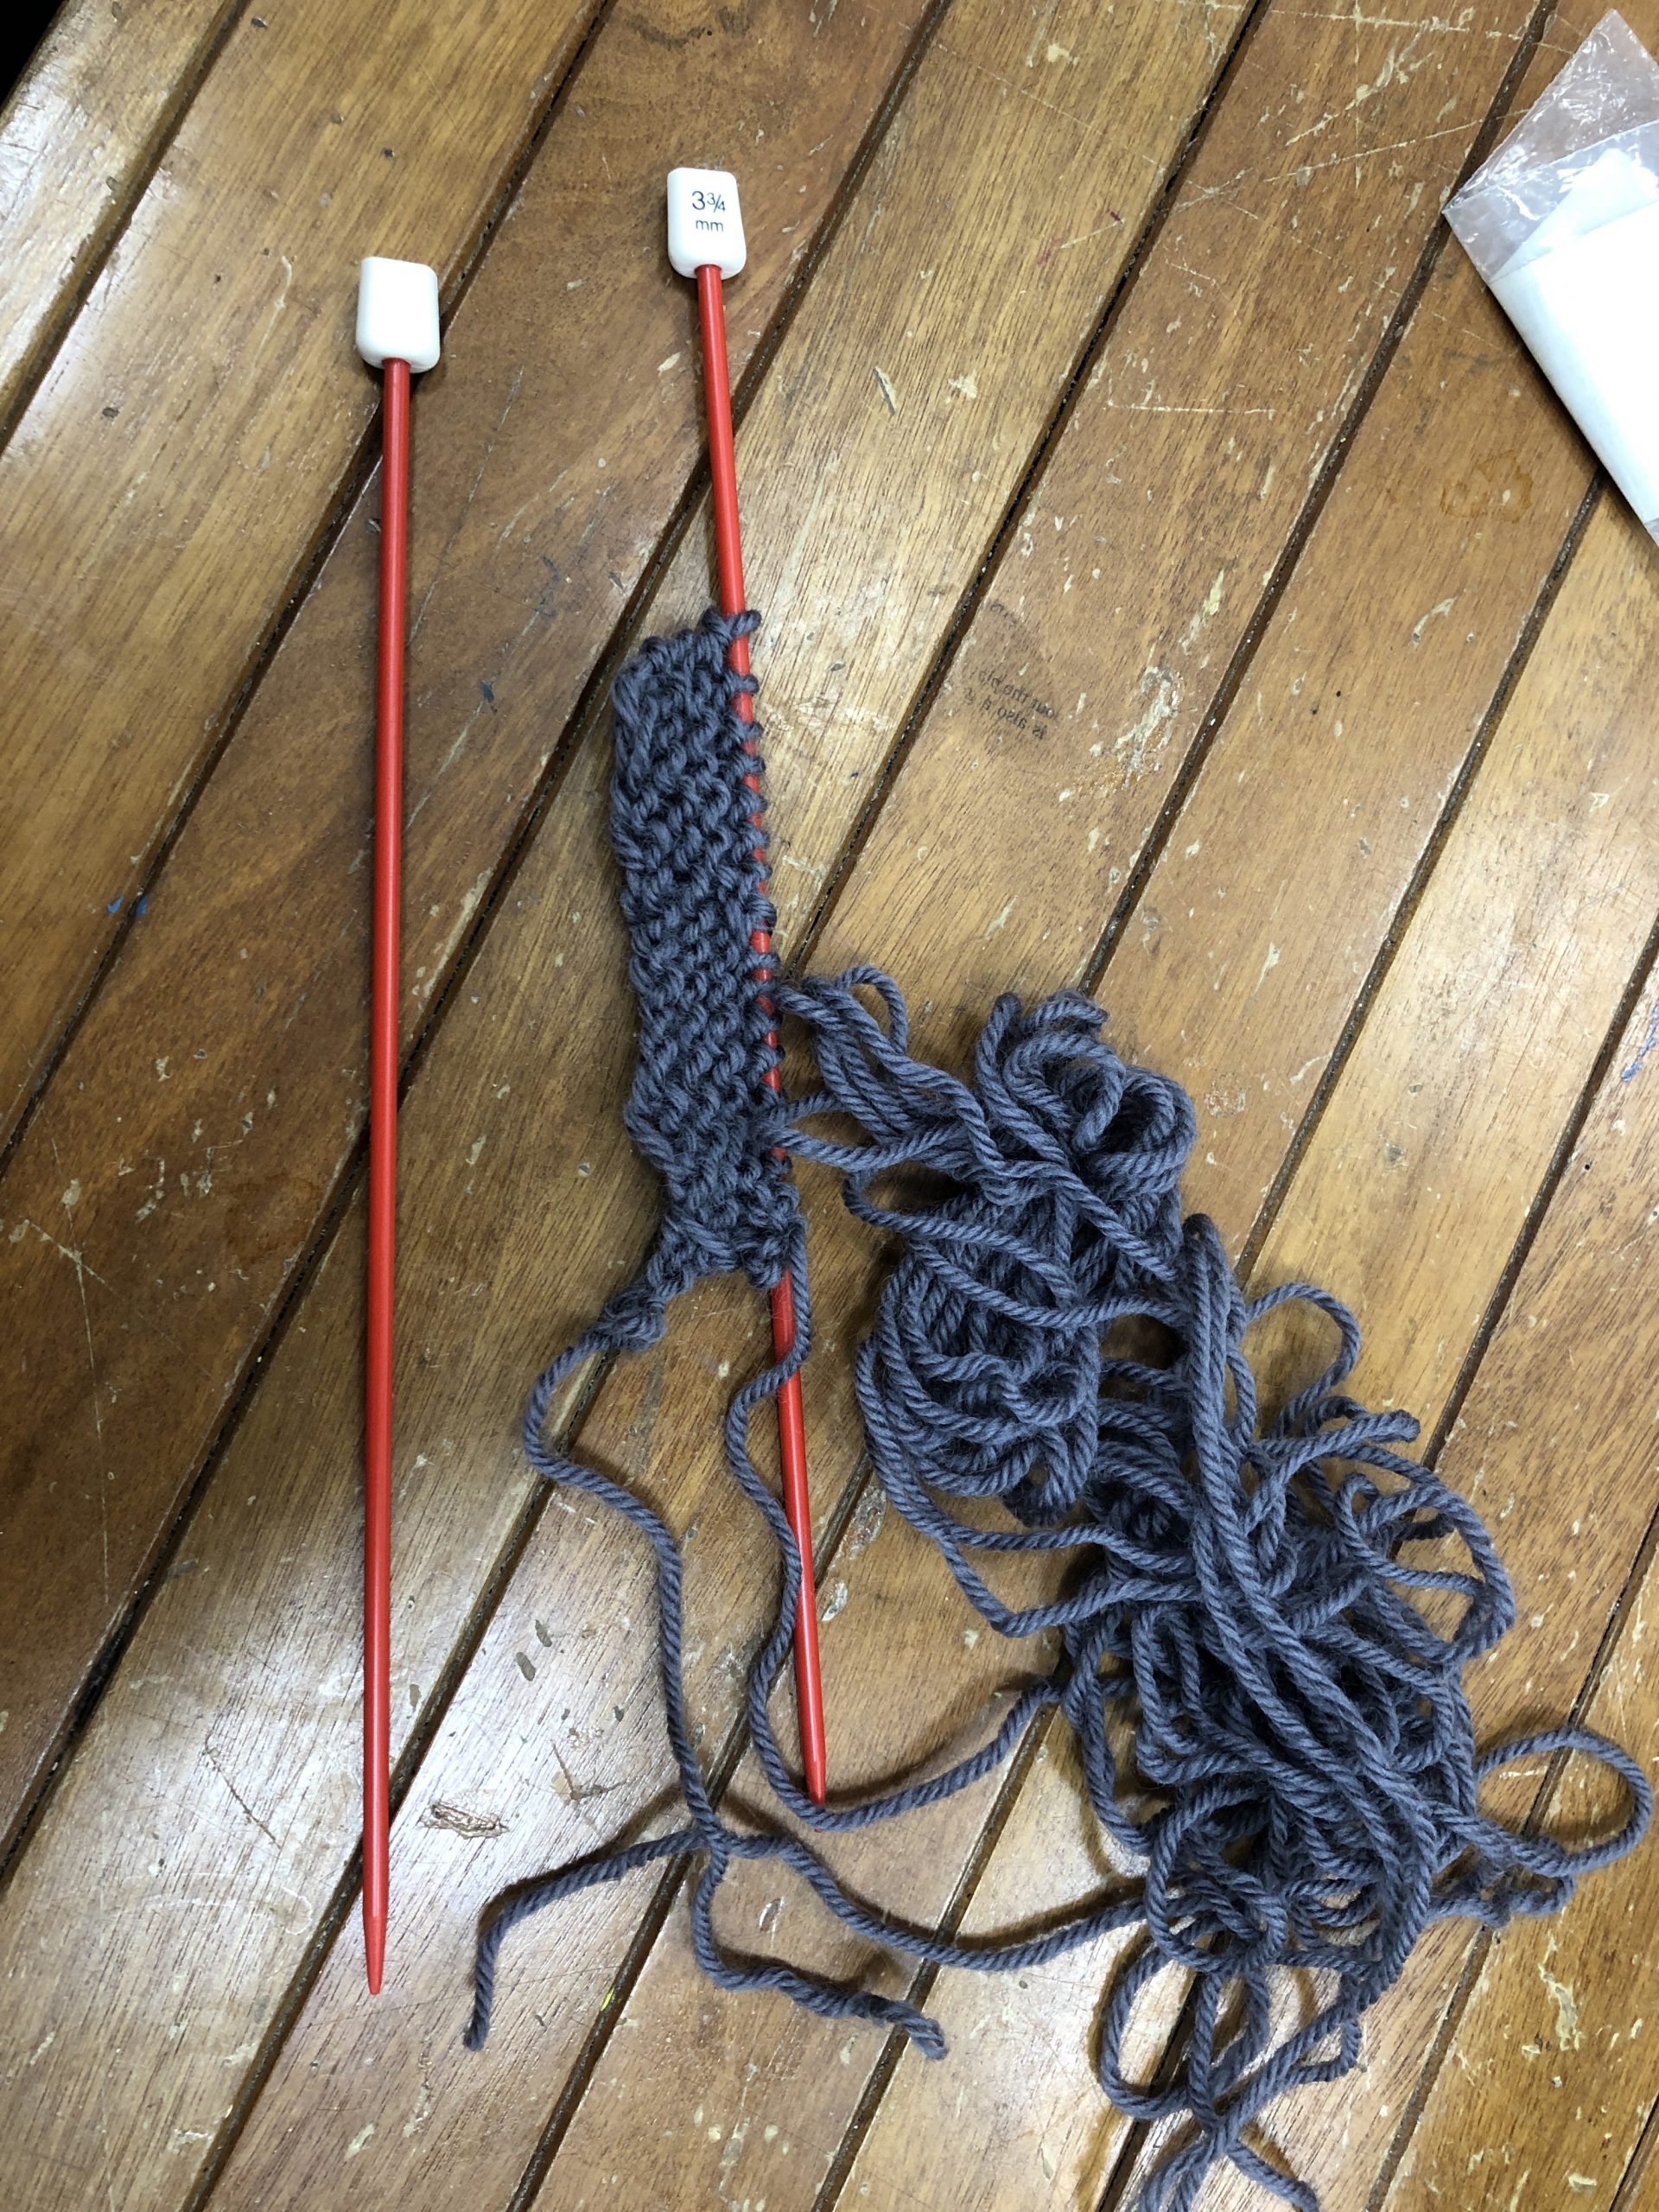
I tried a basic knitting and purling to create a piece of “fabric” but it was very confusing as I kept losing track of my progress, hence had to restart many times and wasn’t able to make a lot of progress by the end of the class. I also think it’s due to the thickness of the yarn as I was using one that was quite thin.
I don’t think I will be using this technique for my final!
Week 8: Vacuum Forming and Thermochromic Printing
For this week we tried our hand at vacuum forming as well as thermochromic printing!
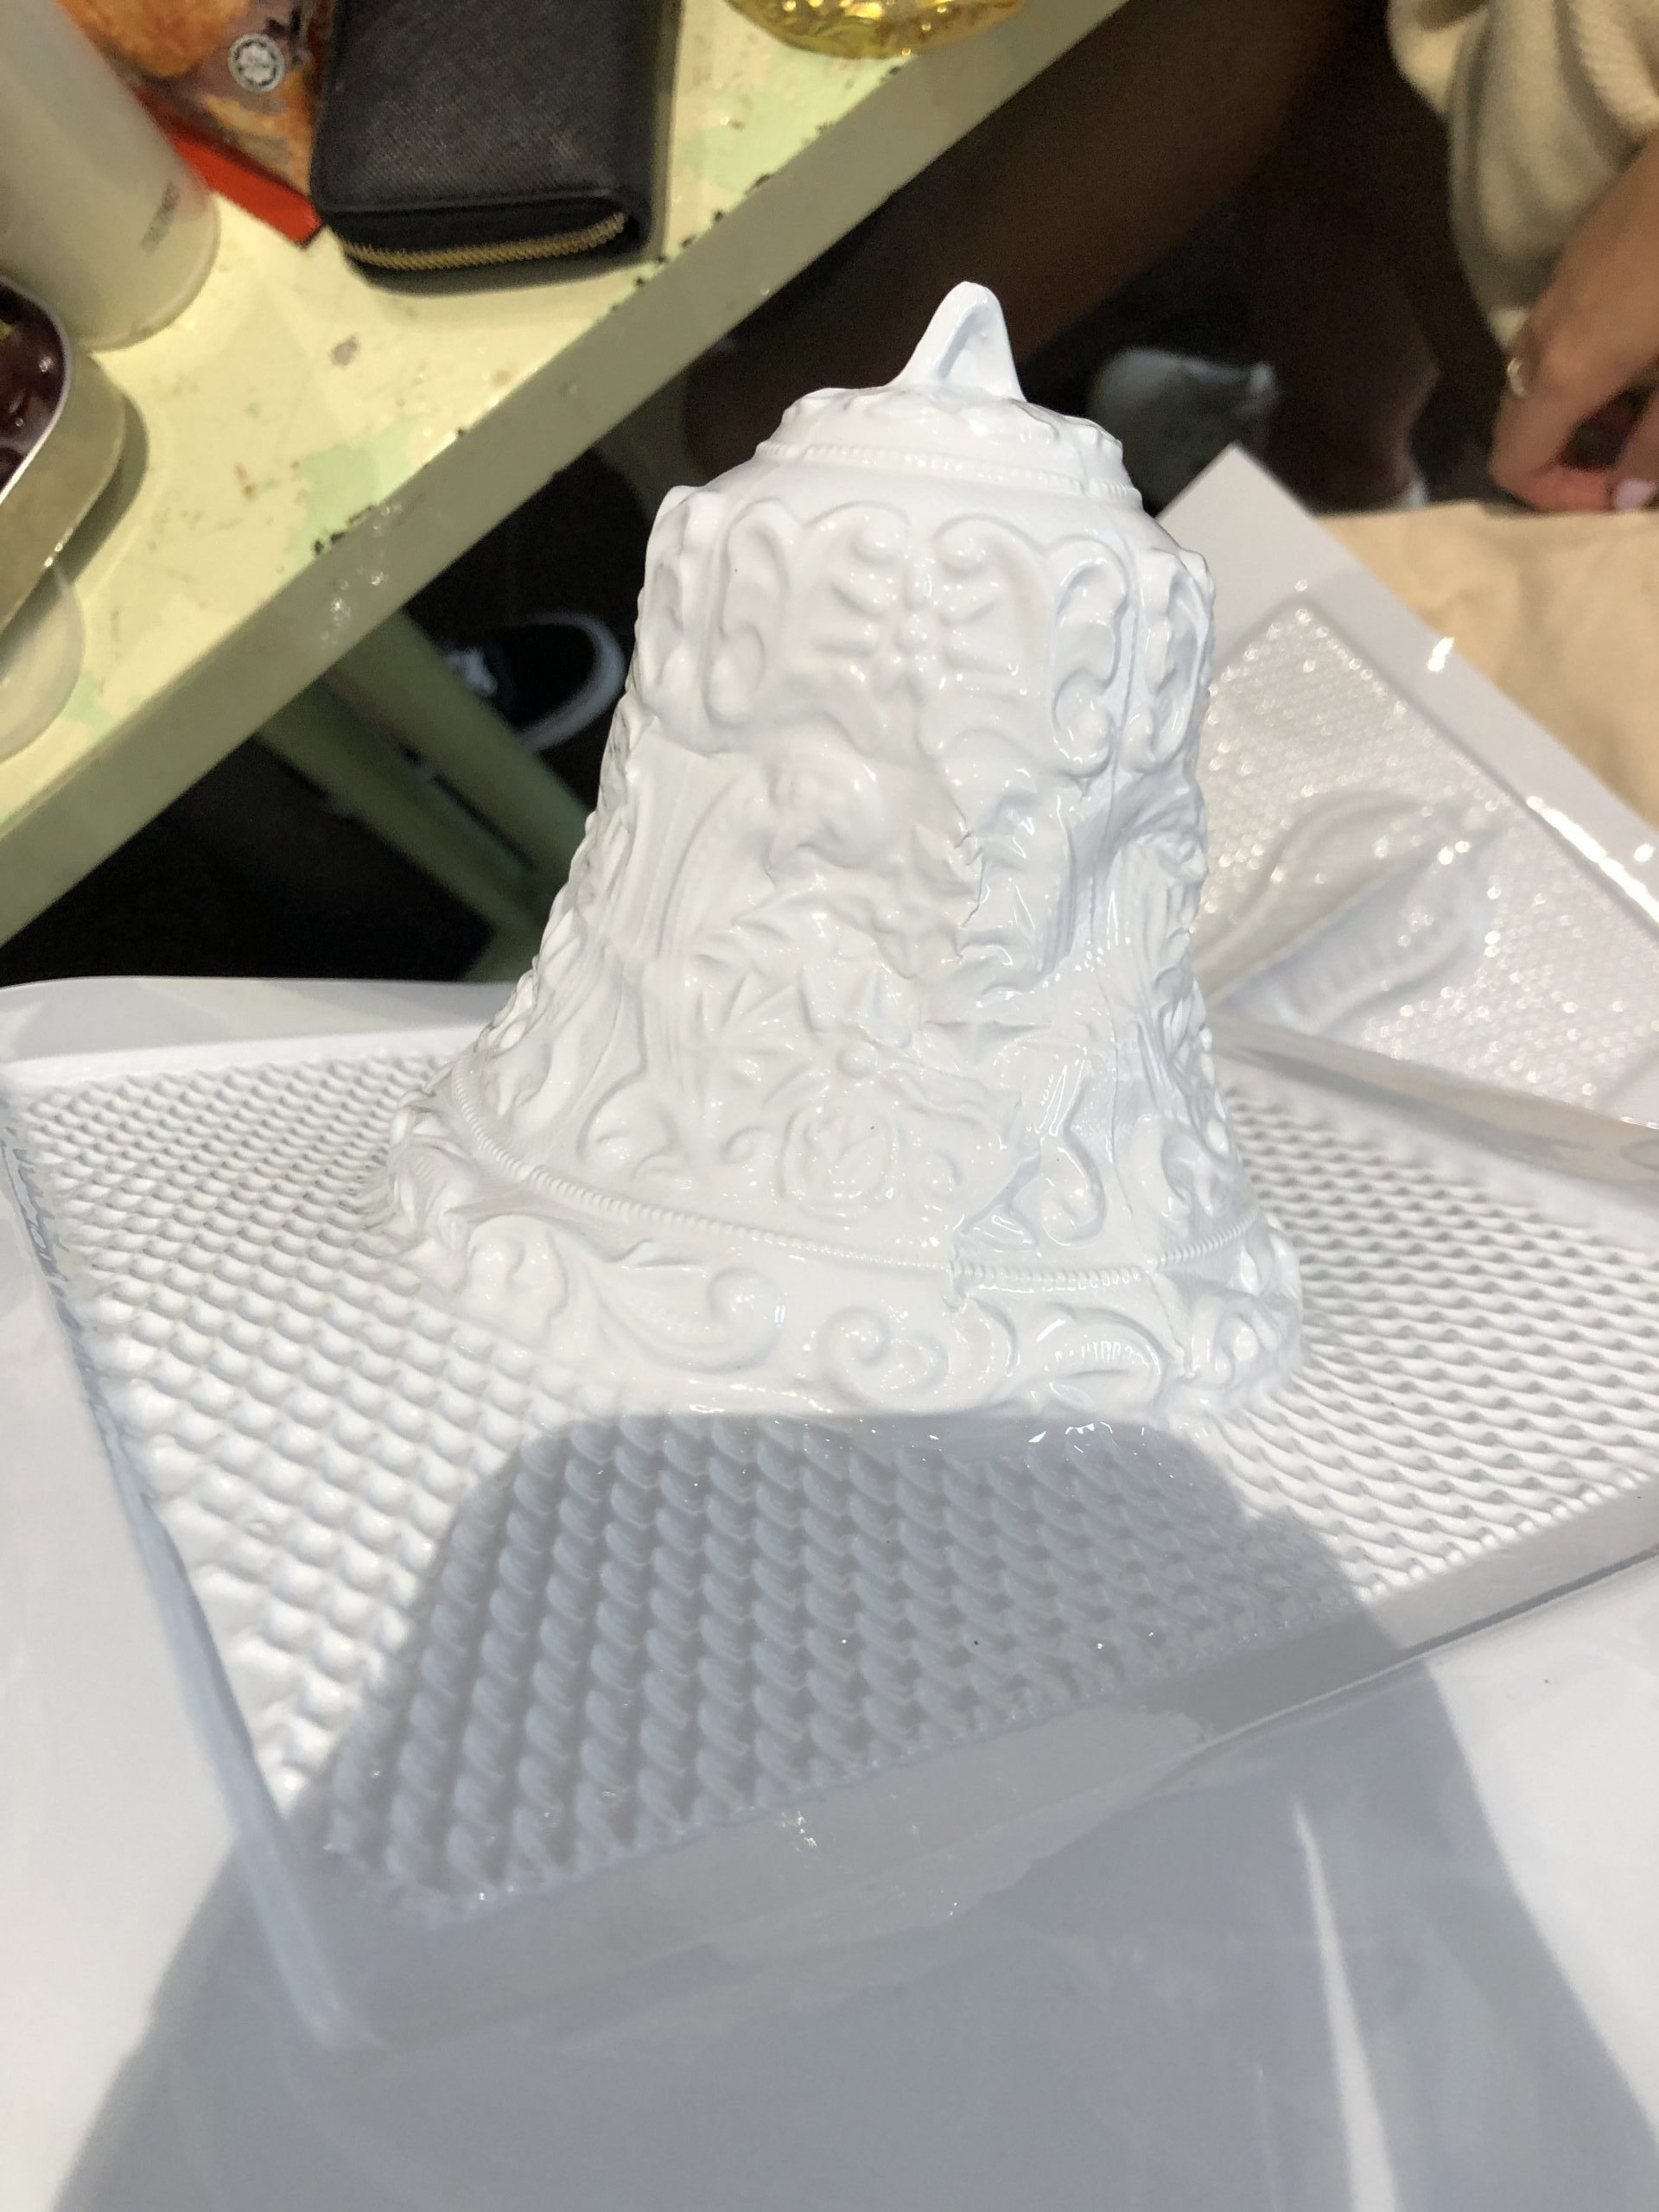
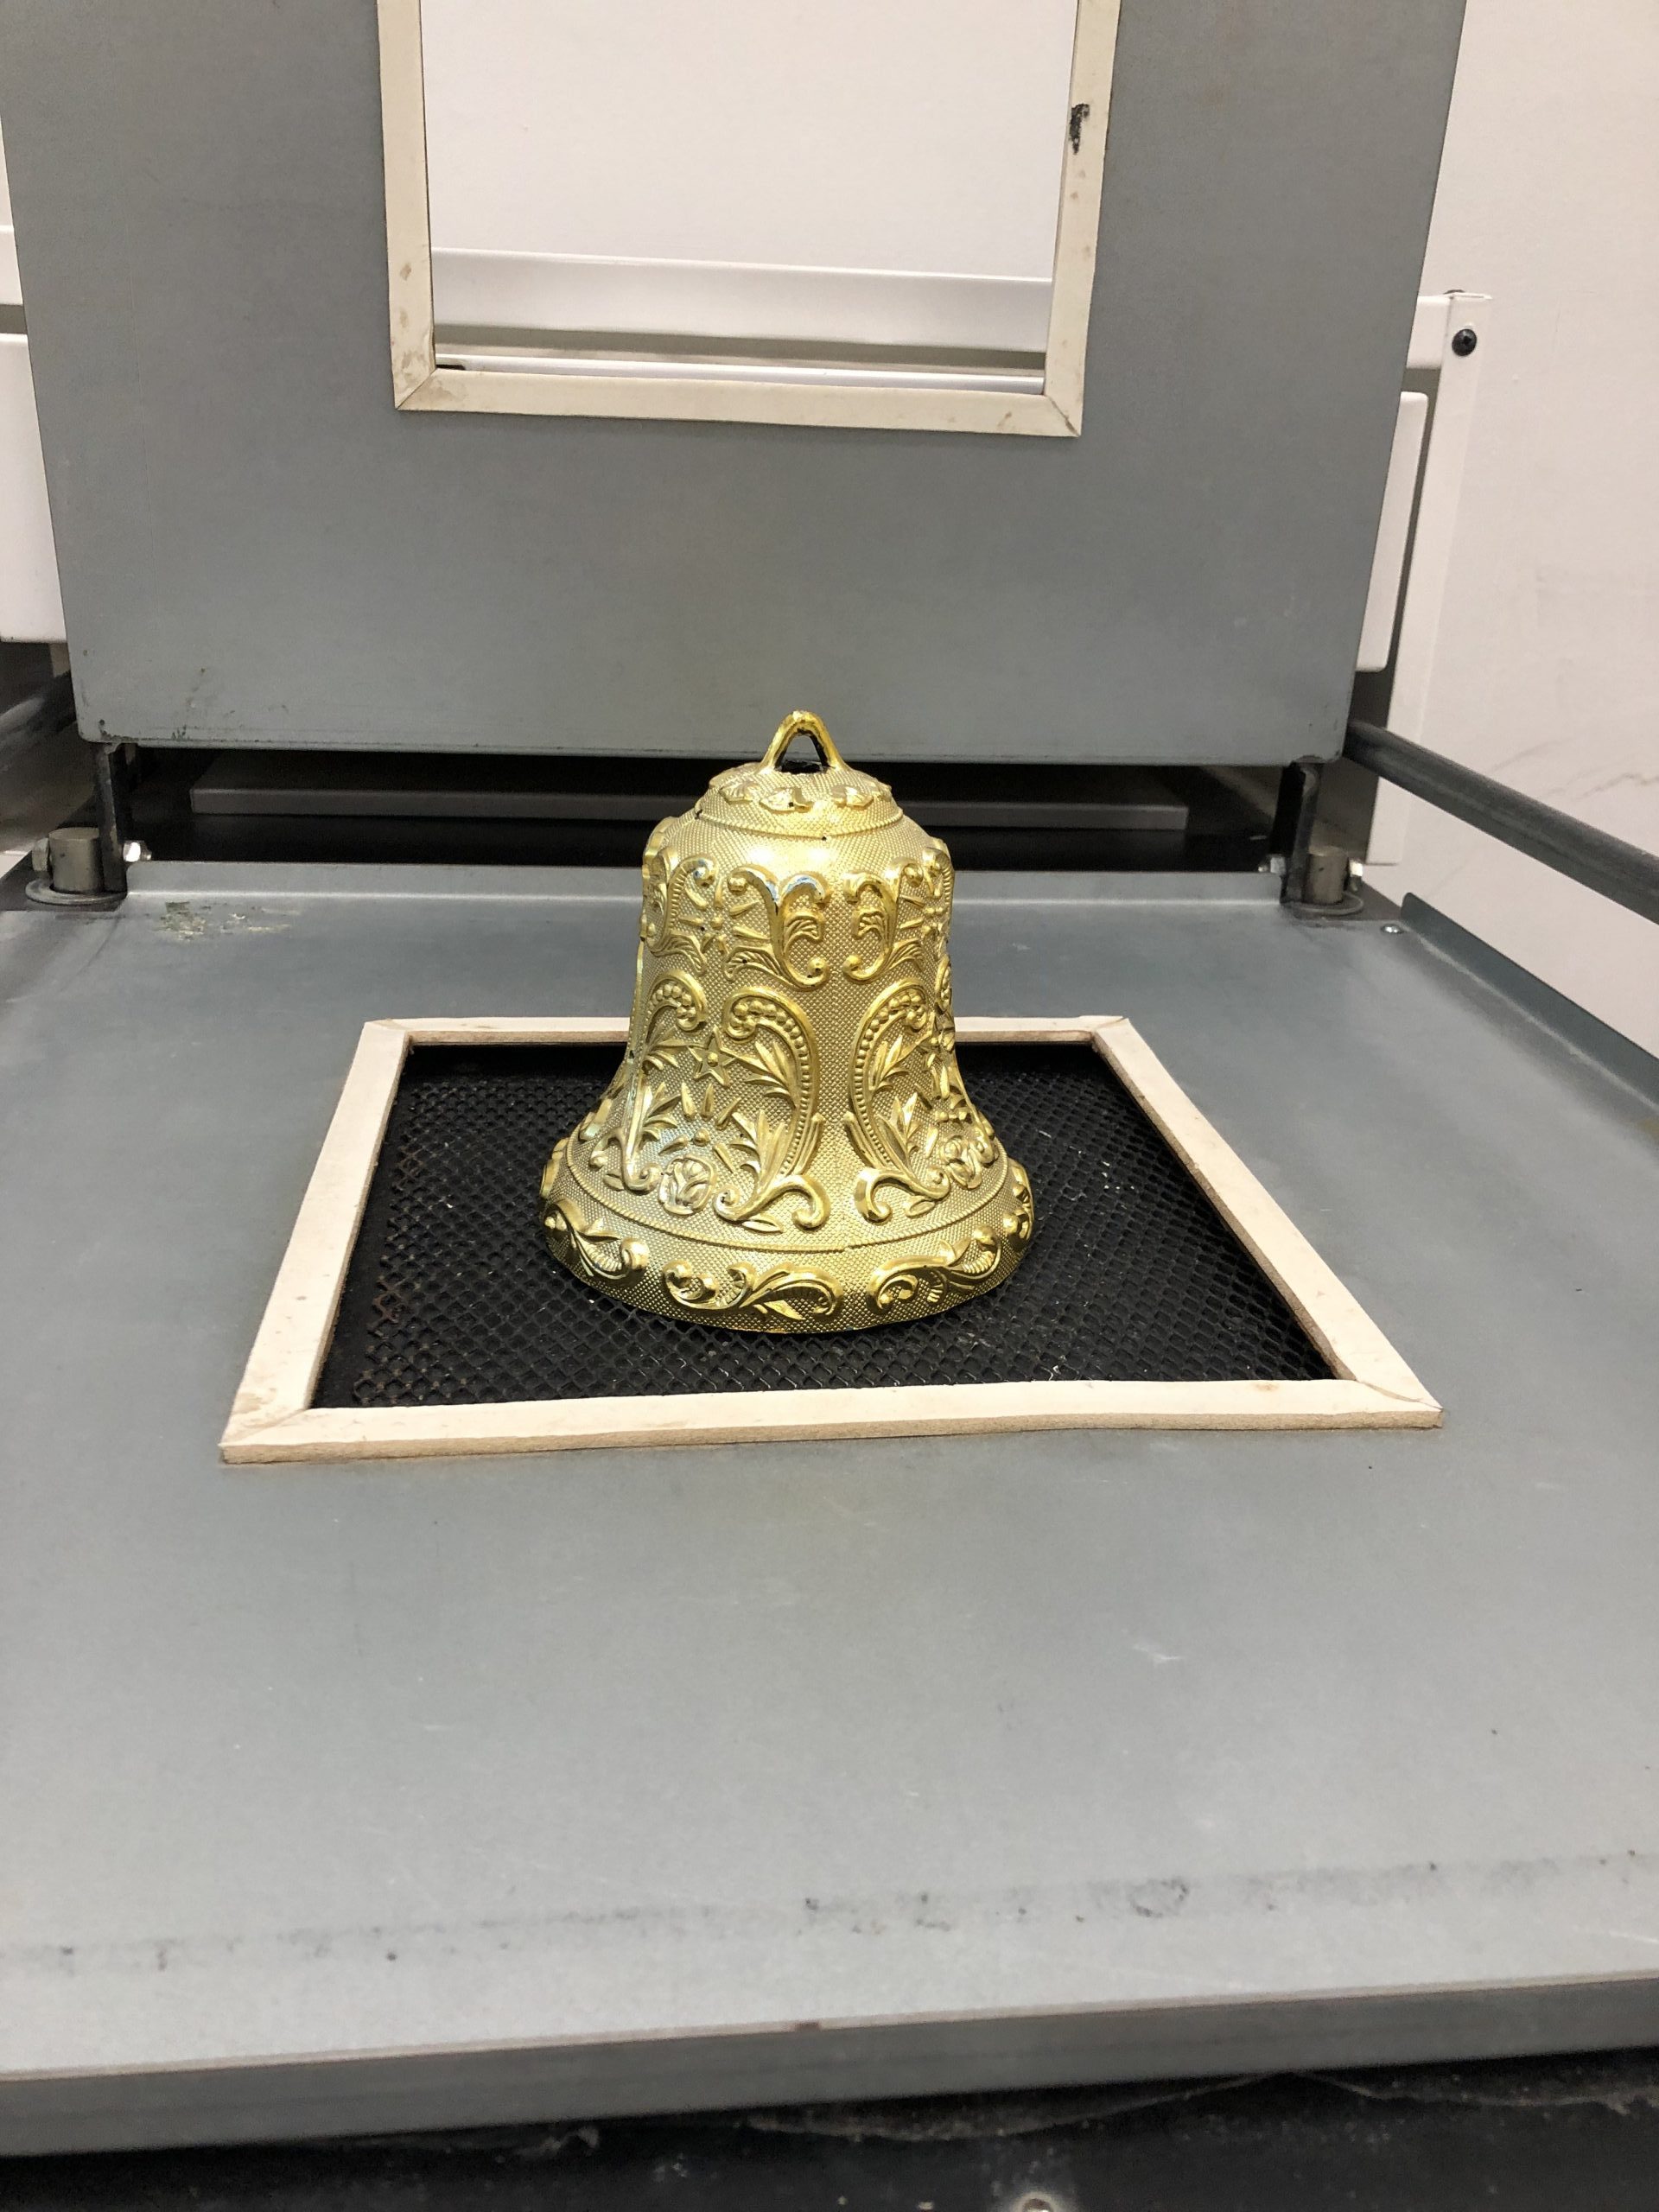
For vaccum forming, I decided to try with some materials which are more unconventional, so I went hunting for some interesting things I could try.
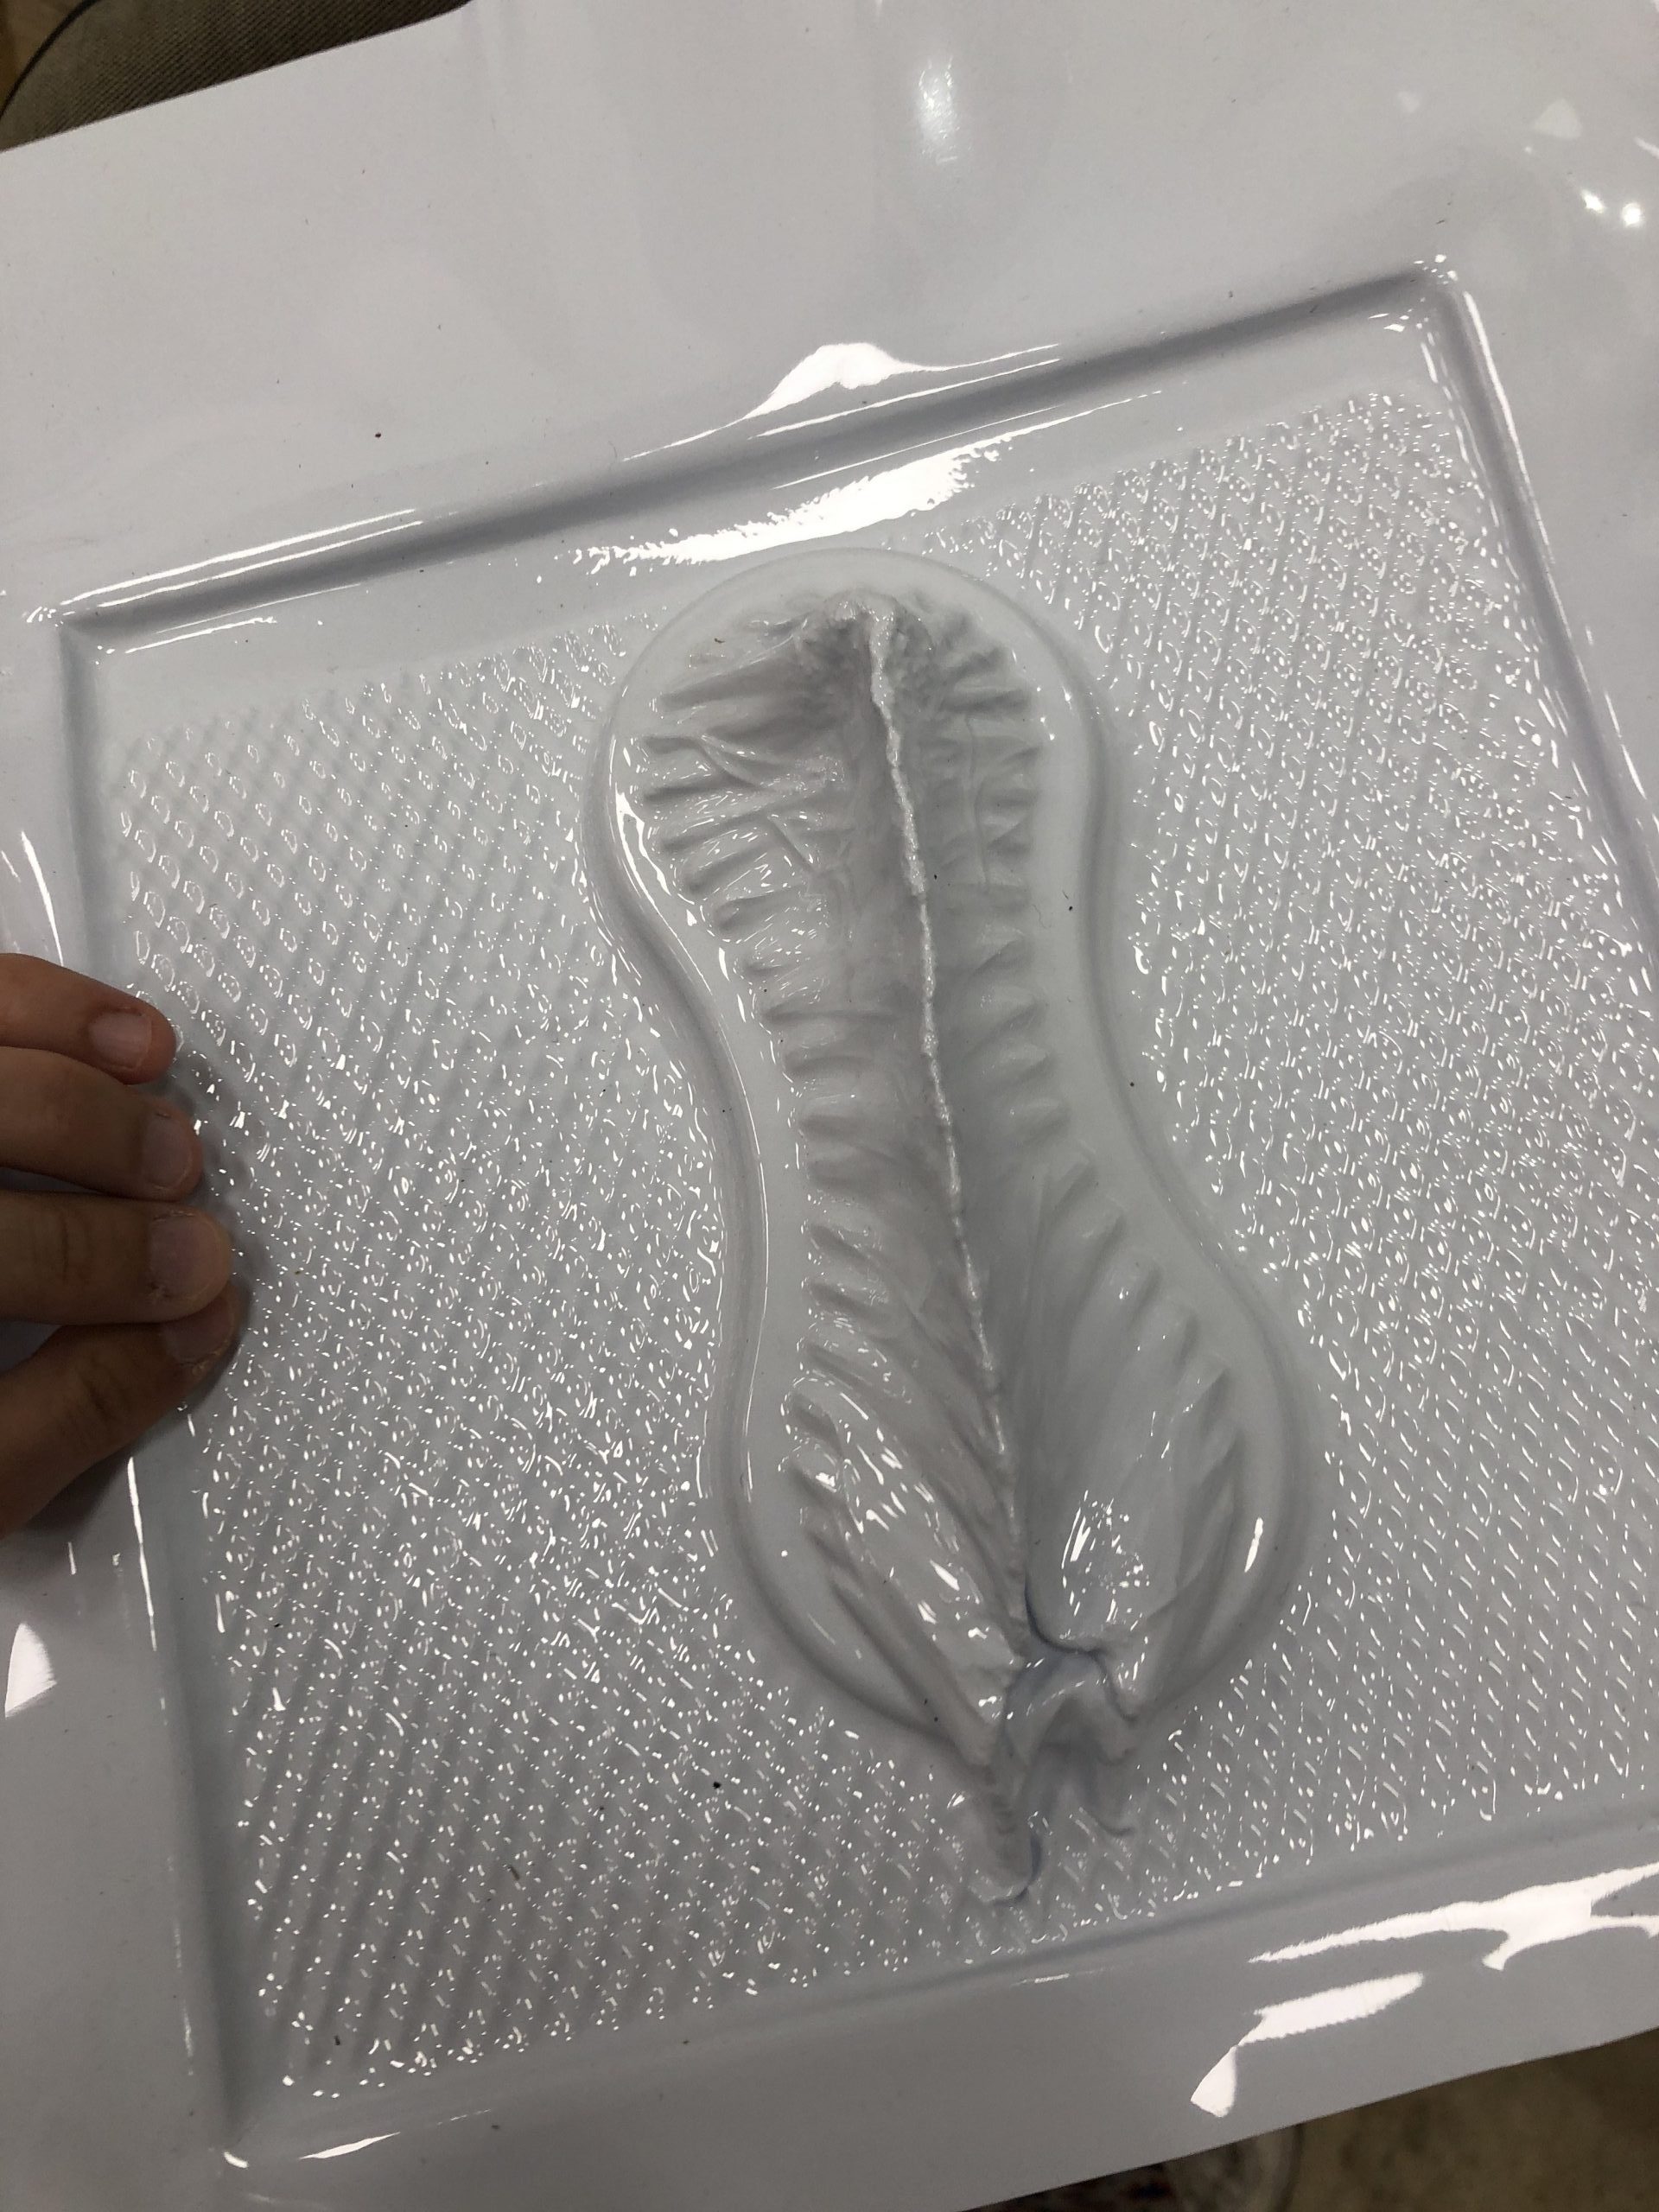
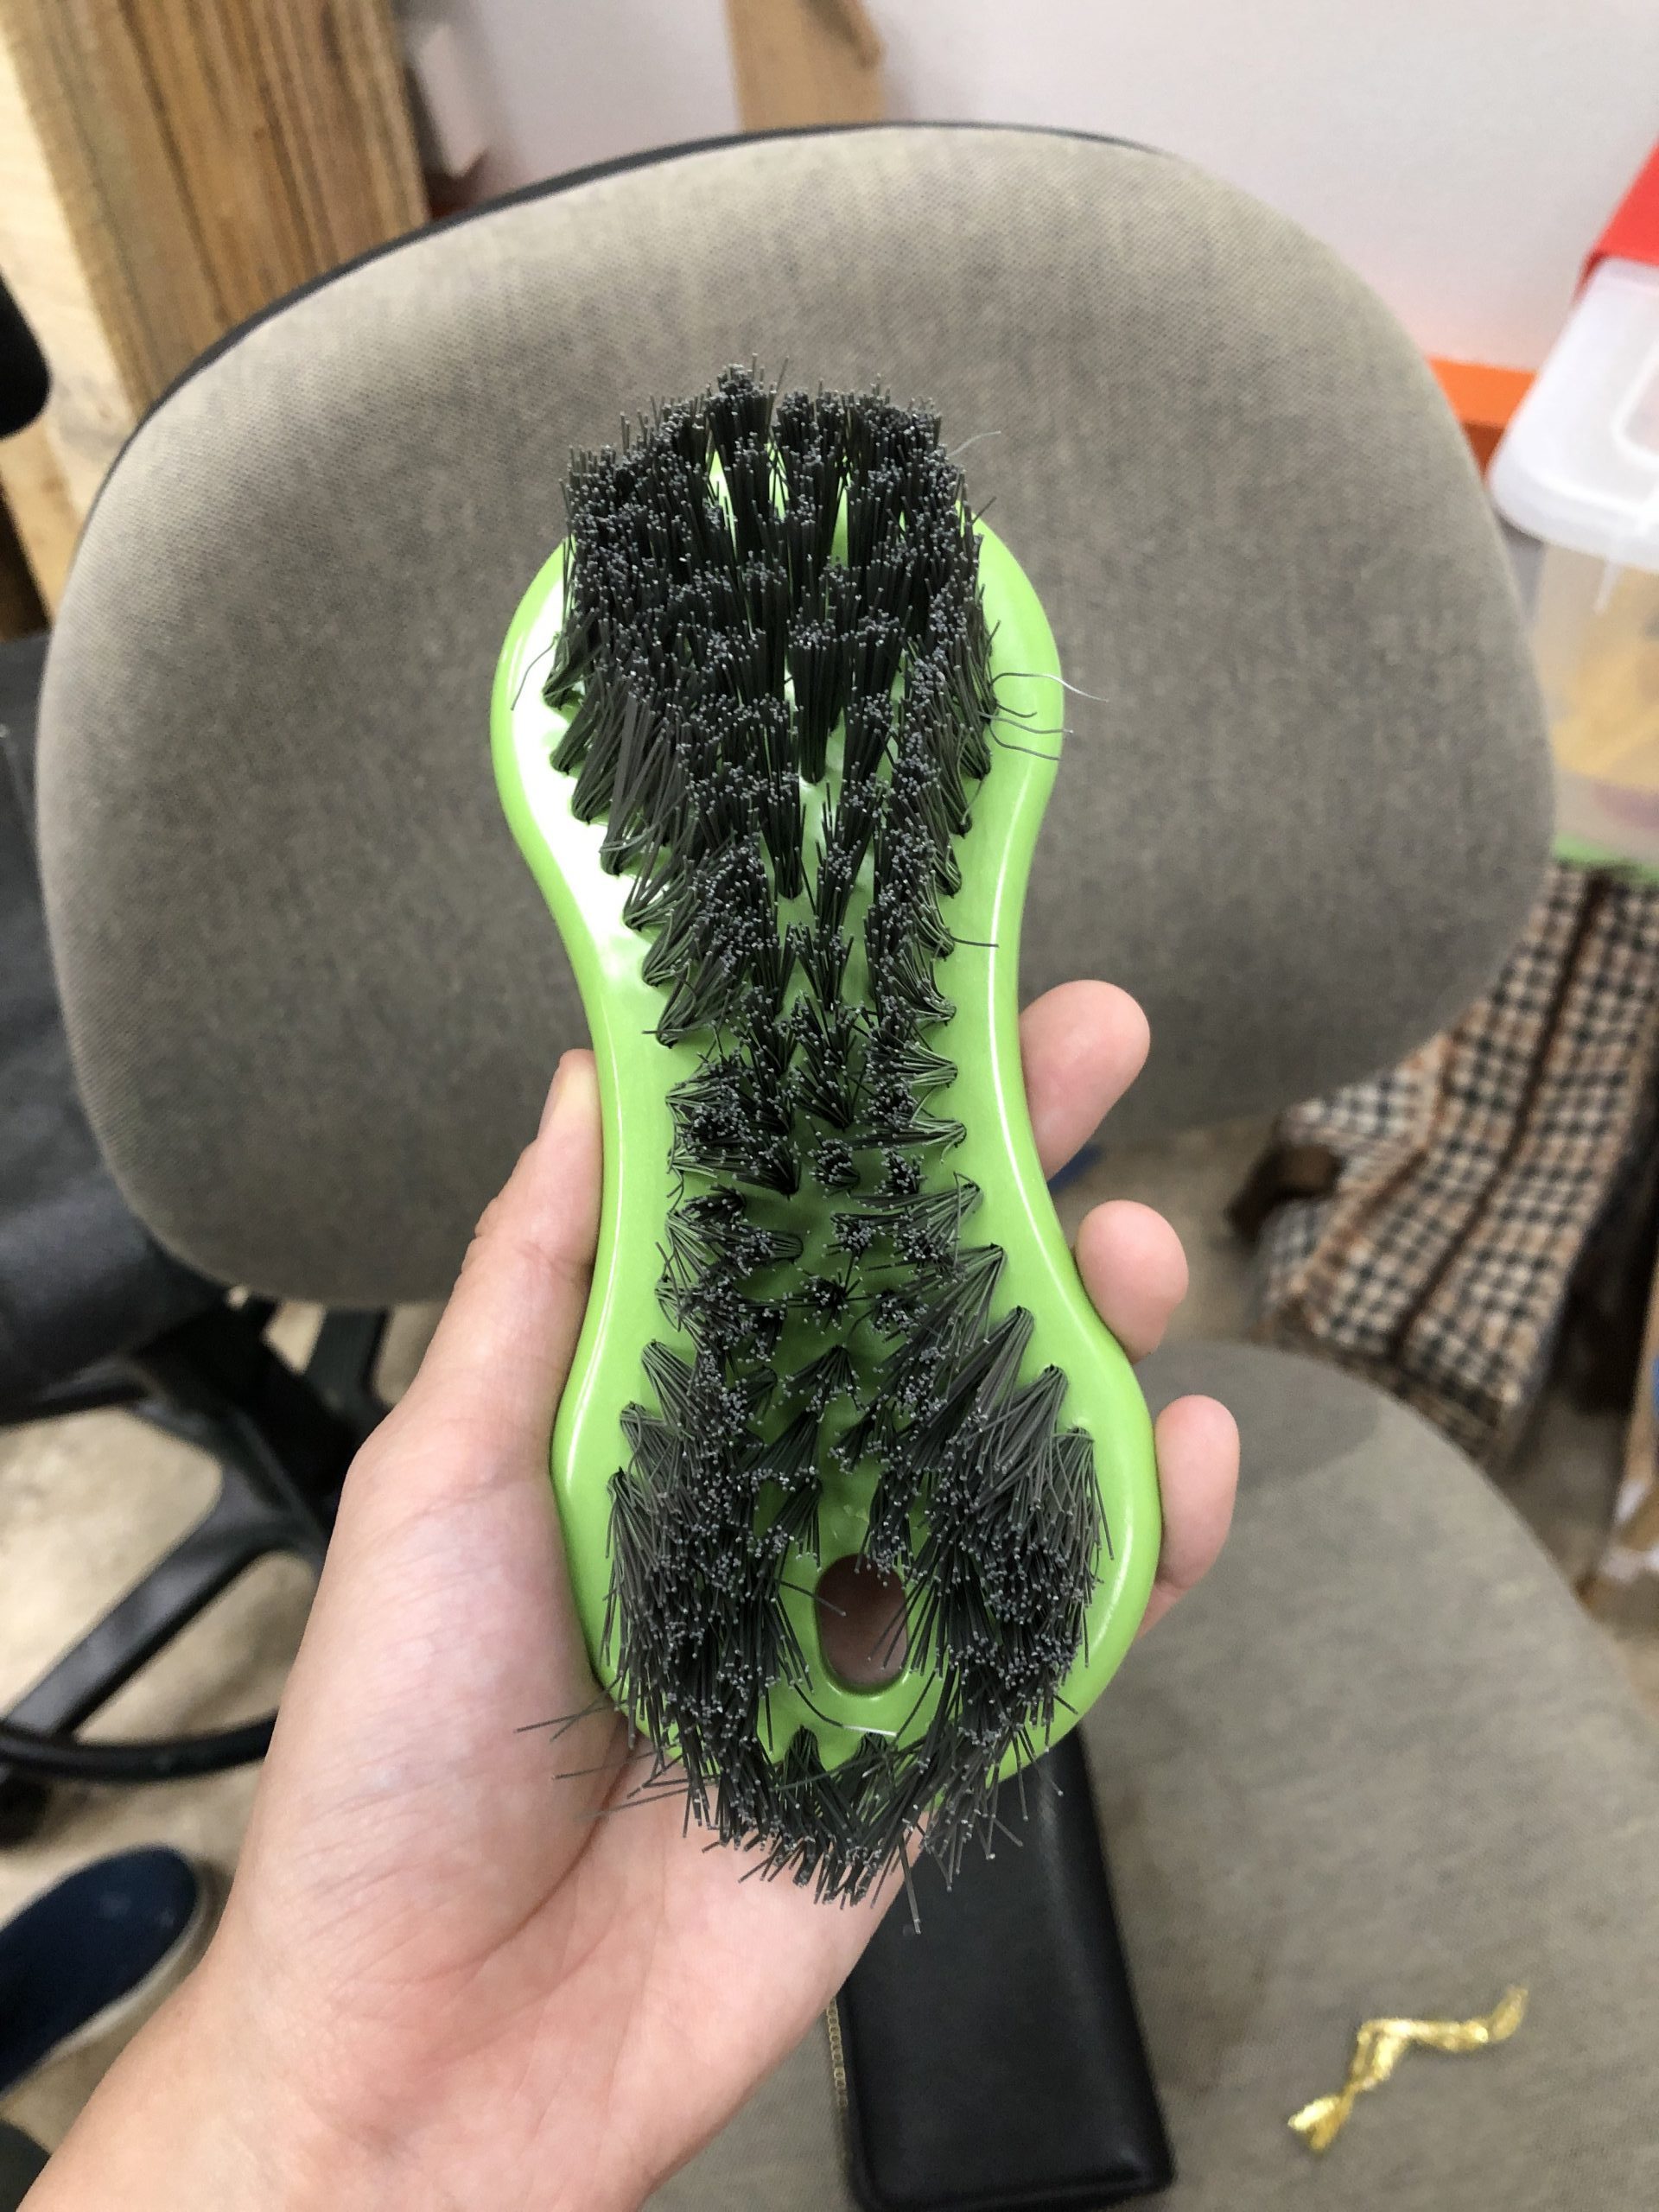
The most unexpected one was the brush, I was expecting the plastic to vacuum form over the individual bristles but instead the entire brush turned into a mohawk kind of thing in the middle HAHA!
The bell was a little hard to remove due to the designs on it which were protruding, so I had to turn it inside out to take it out of the PVC
Week 5: Manipulating fabric
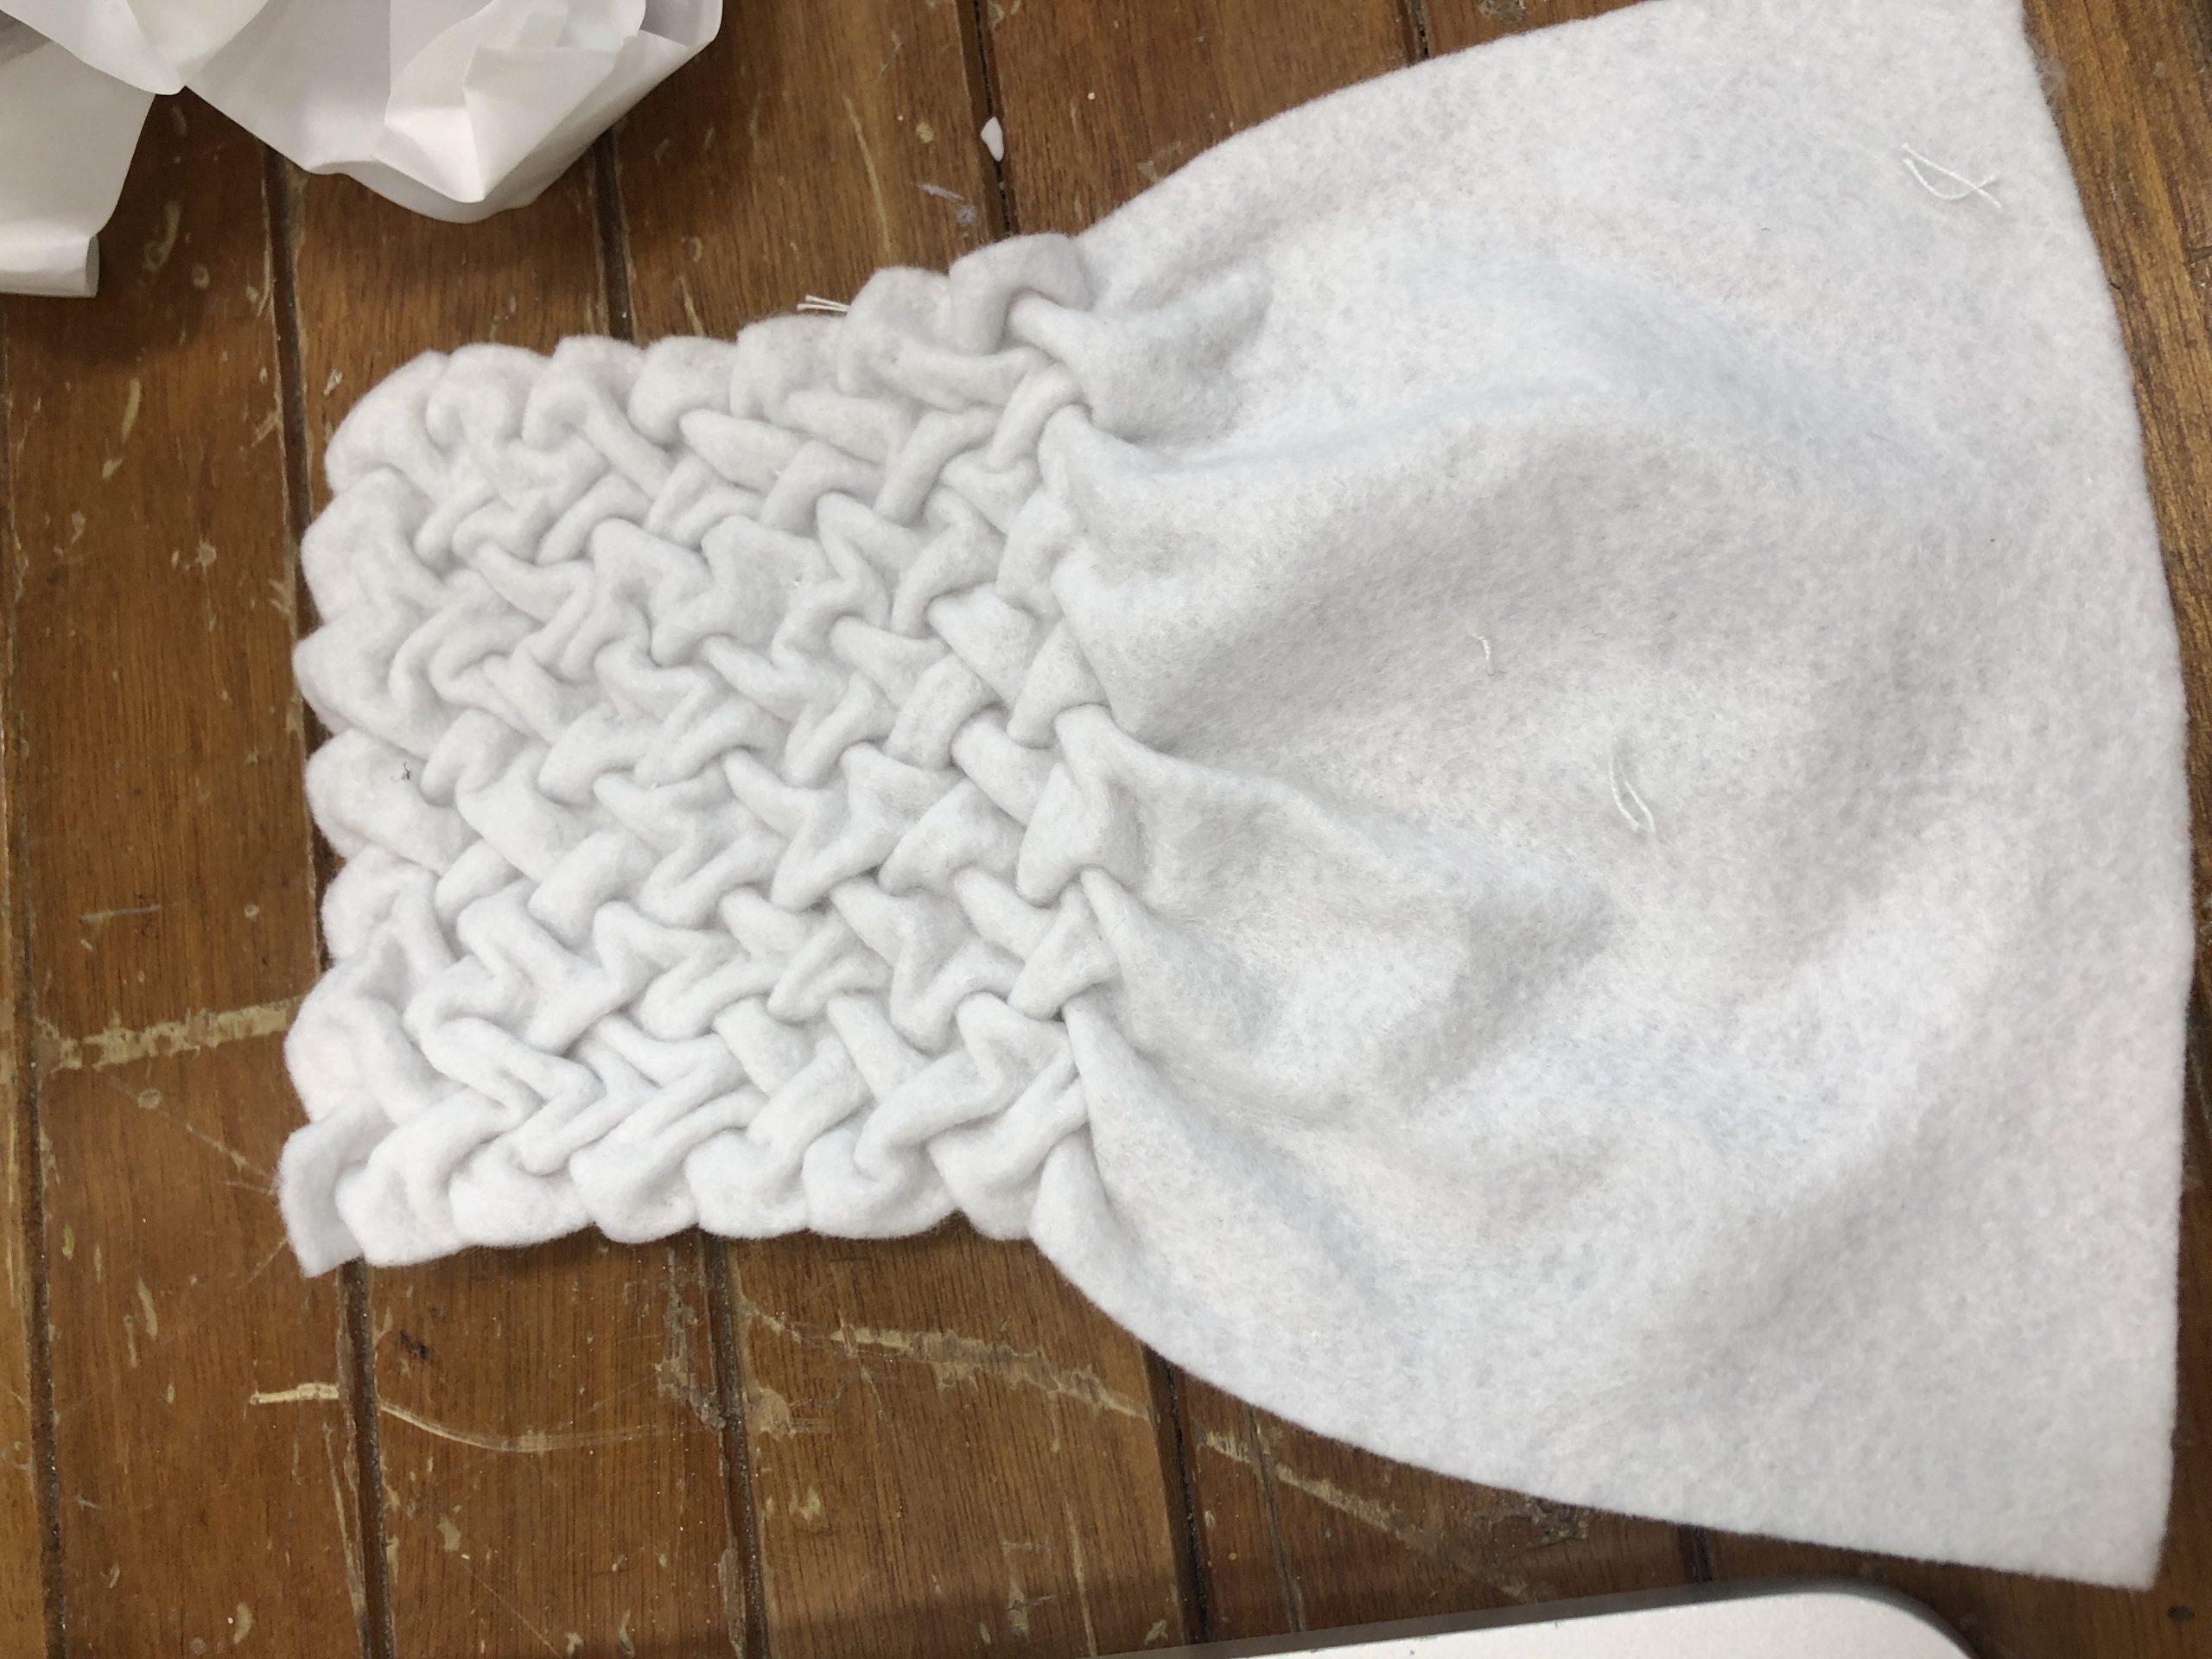
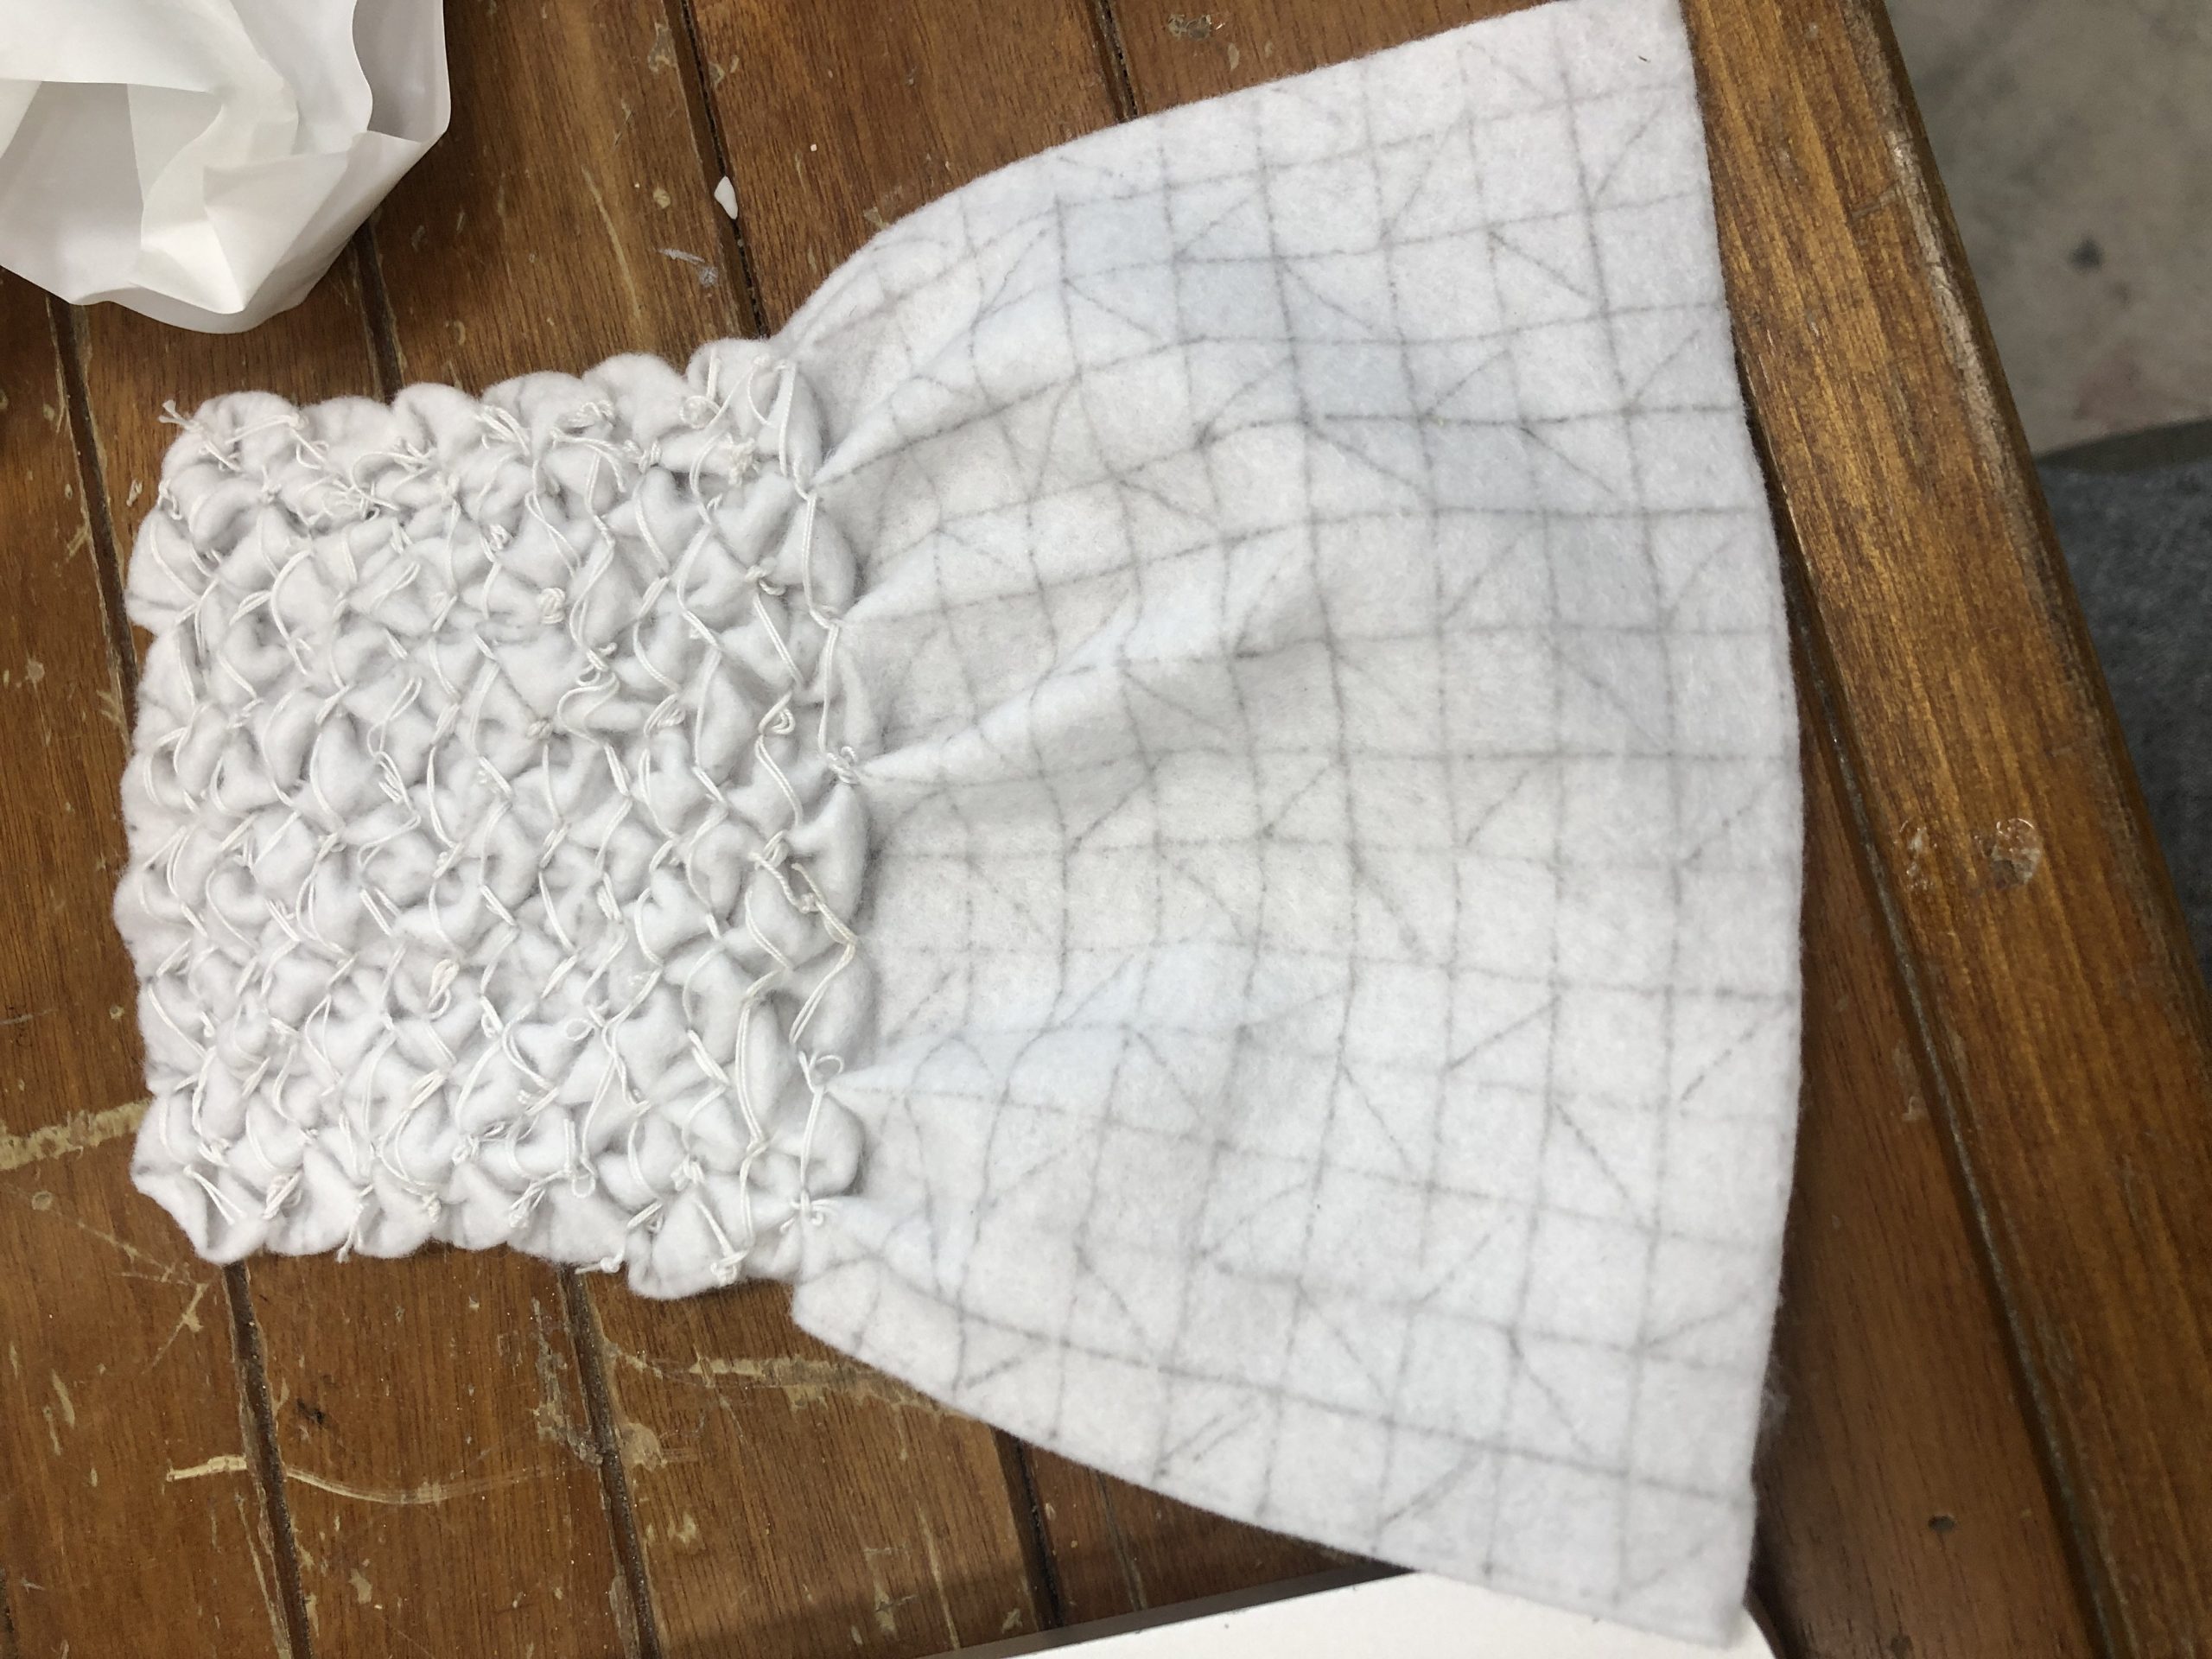
For this lesson we learnt about fabric manipulation, namely shirring and sewing with elastic thread, to create patterned creases in the fabric! I decided to try using a thicker material to see what effect it would create hence I went with felt and the result it quite interesting!
Although this was time consuming as it’s my first time ever sewing something with needle and thread, I was pleasantly surprised at the result! It took a lot of tries but I’m glad that I was able to create something with a consistent pattern.
Week 4: Felting
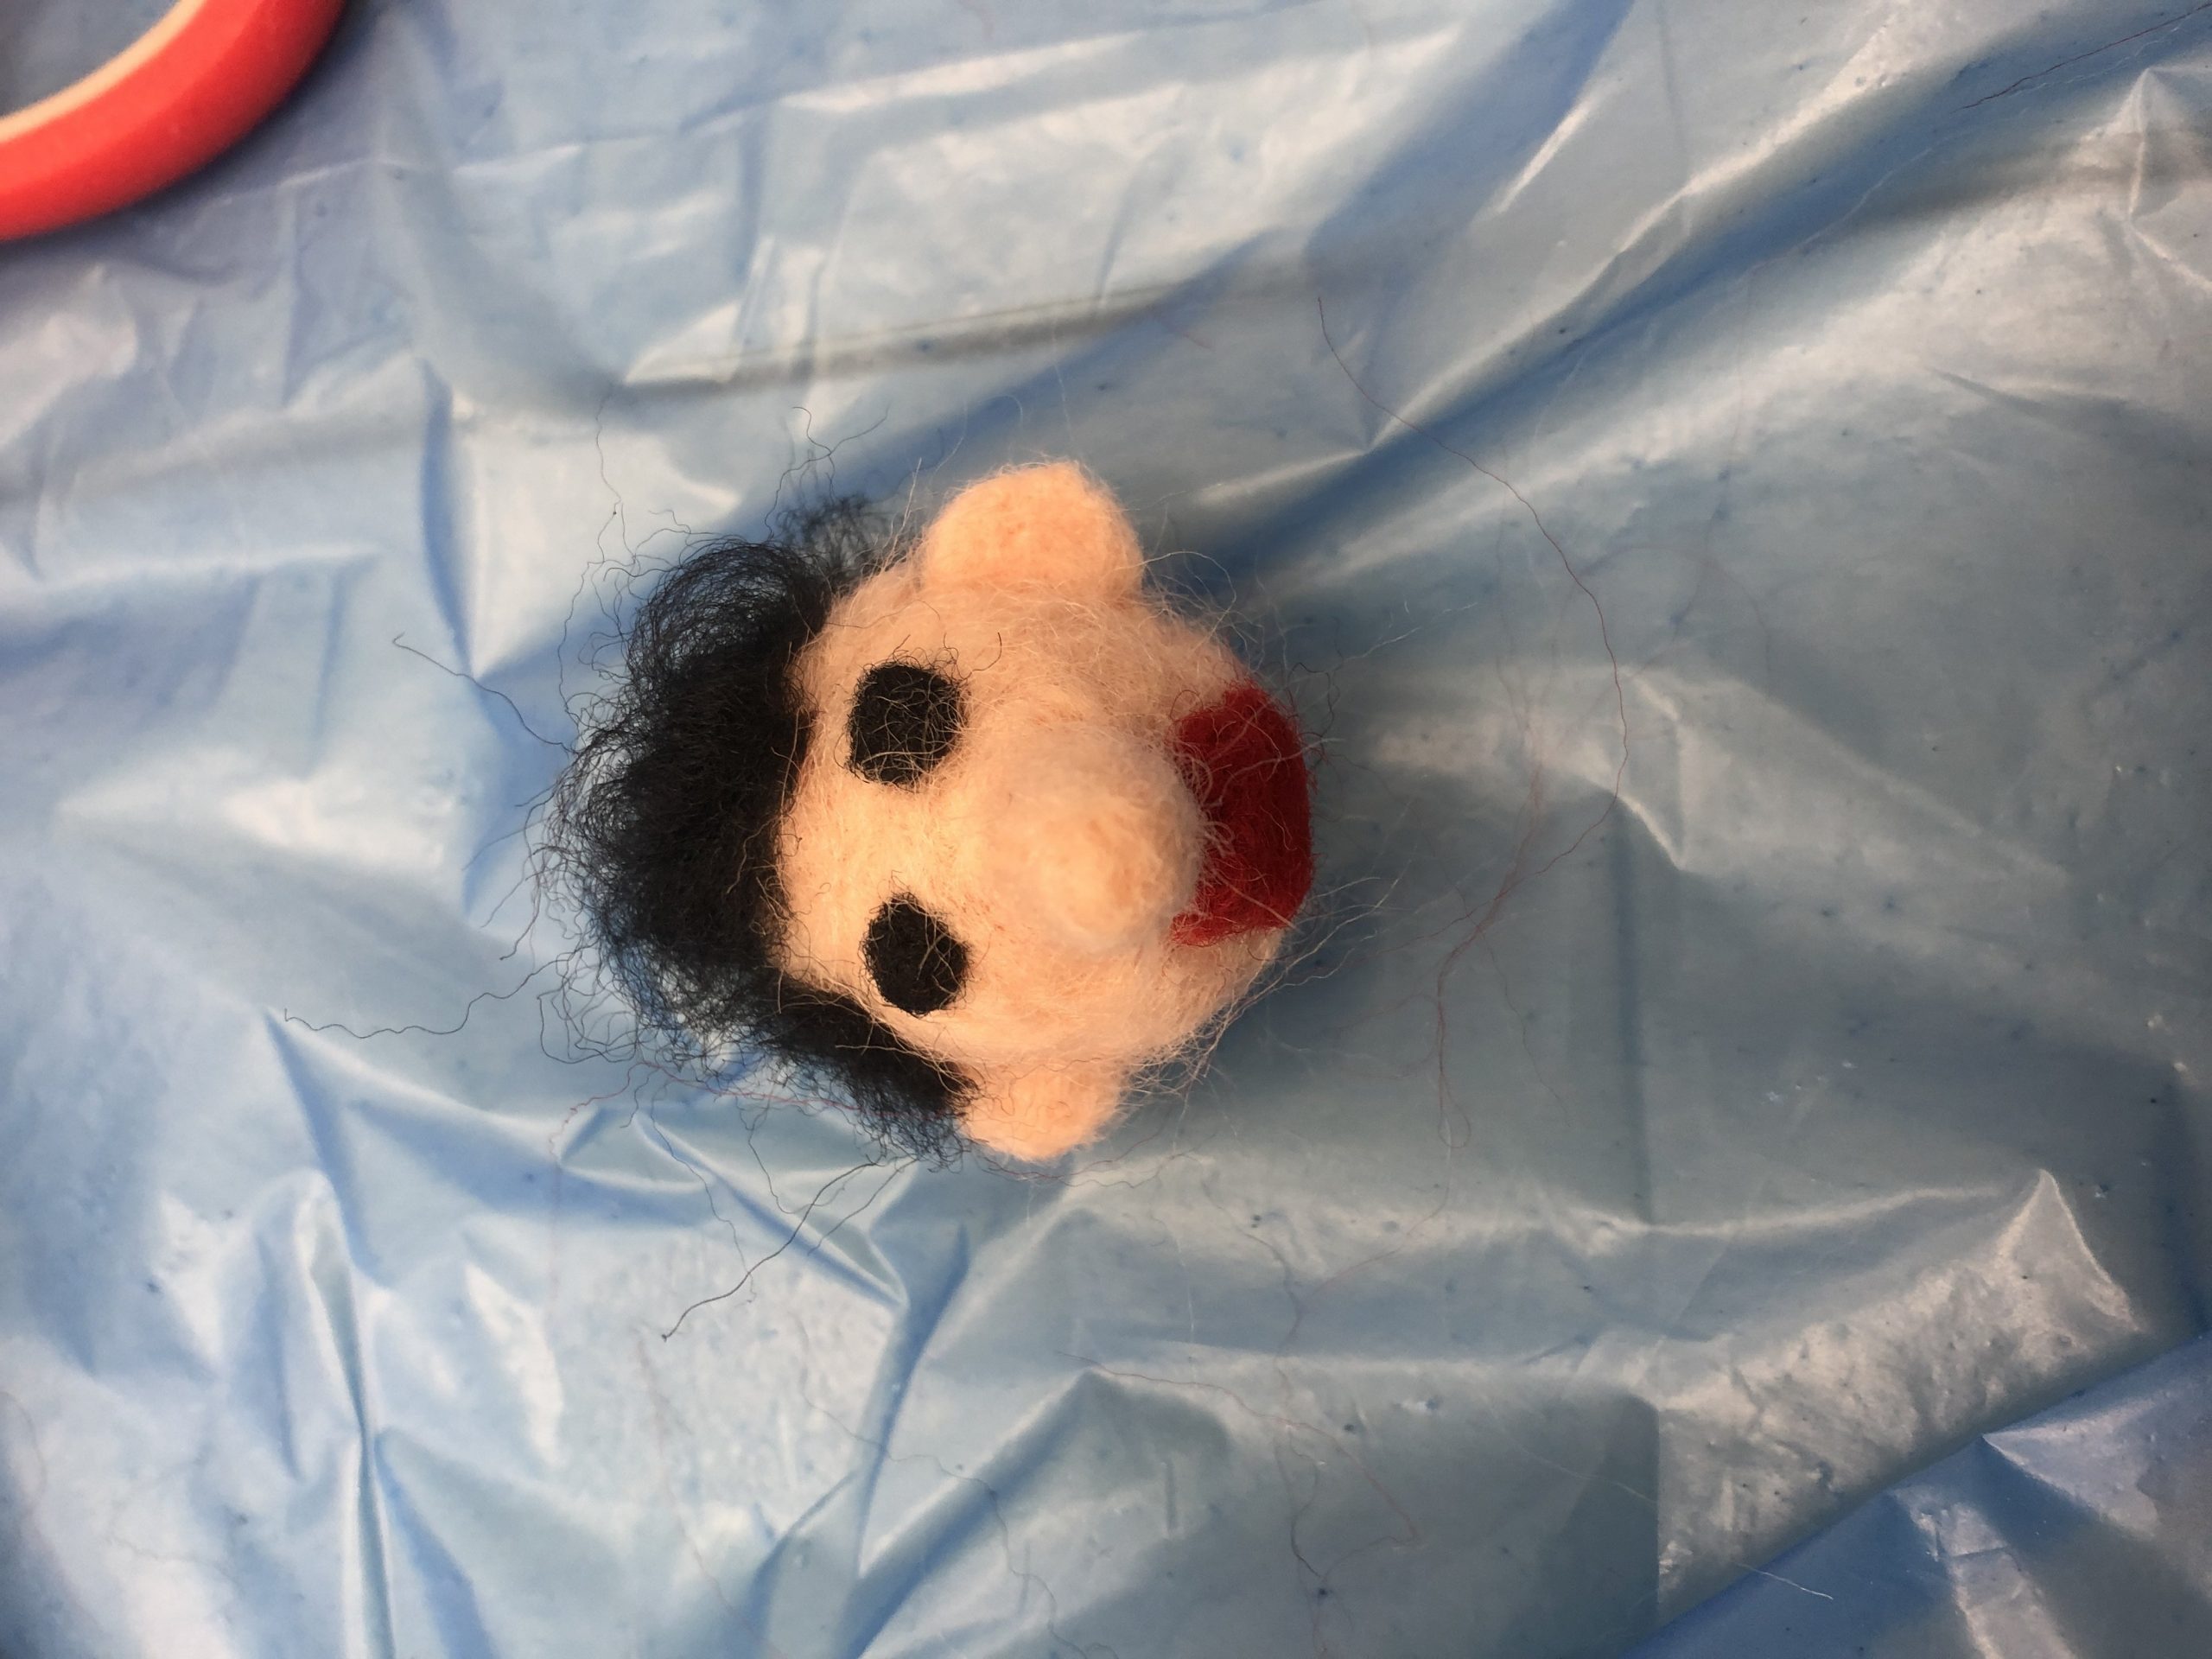
This was another fun and enjoyable week! It is my first time learning about felting so I didn’t really know what to expect but ended up having a lot of fun! I started off with a beige coloured ball of felt and decided to make a head, then the body of a doll…
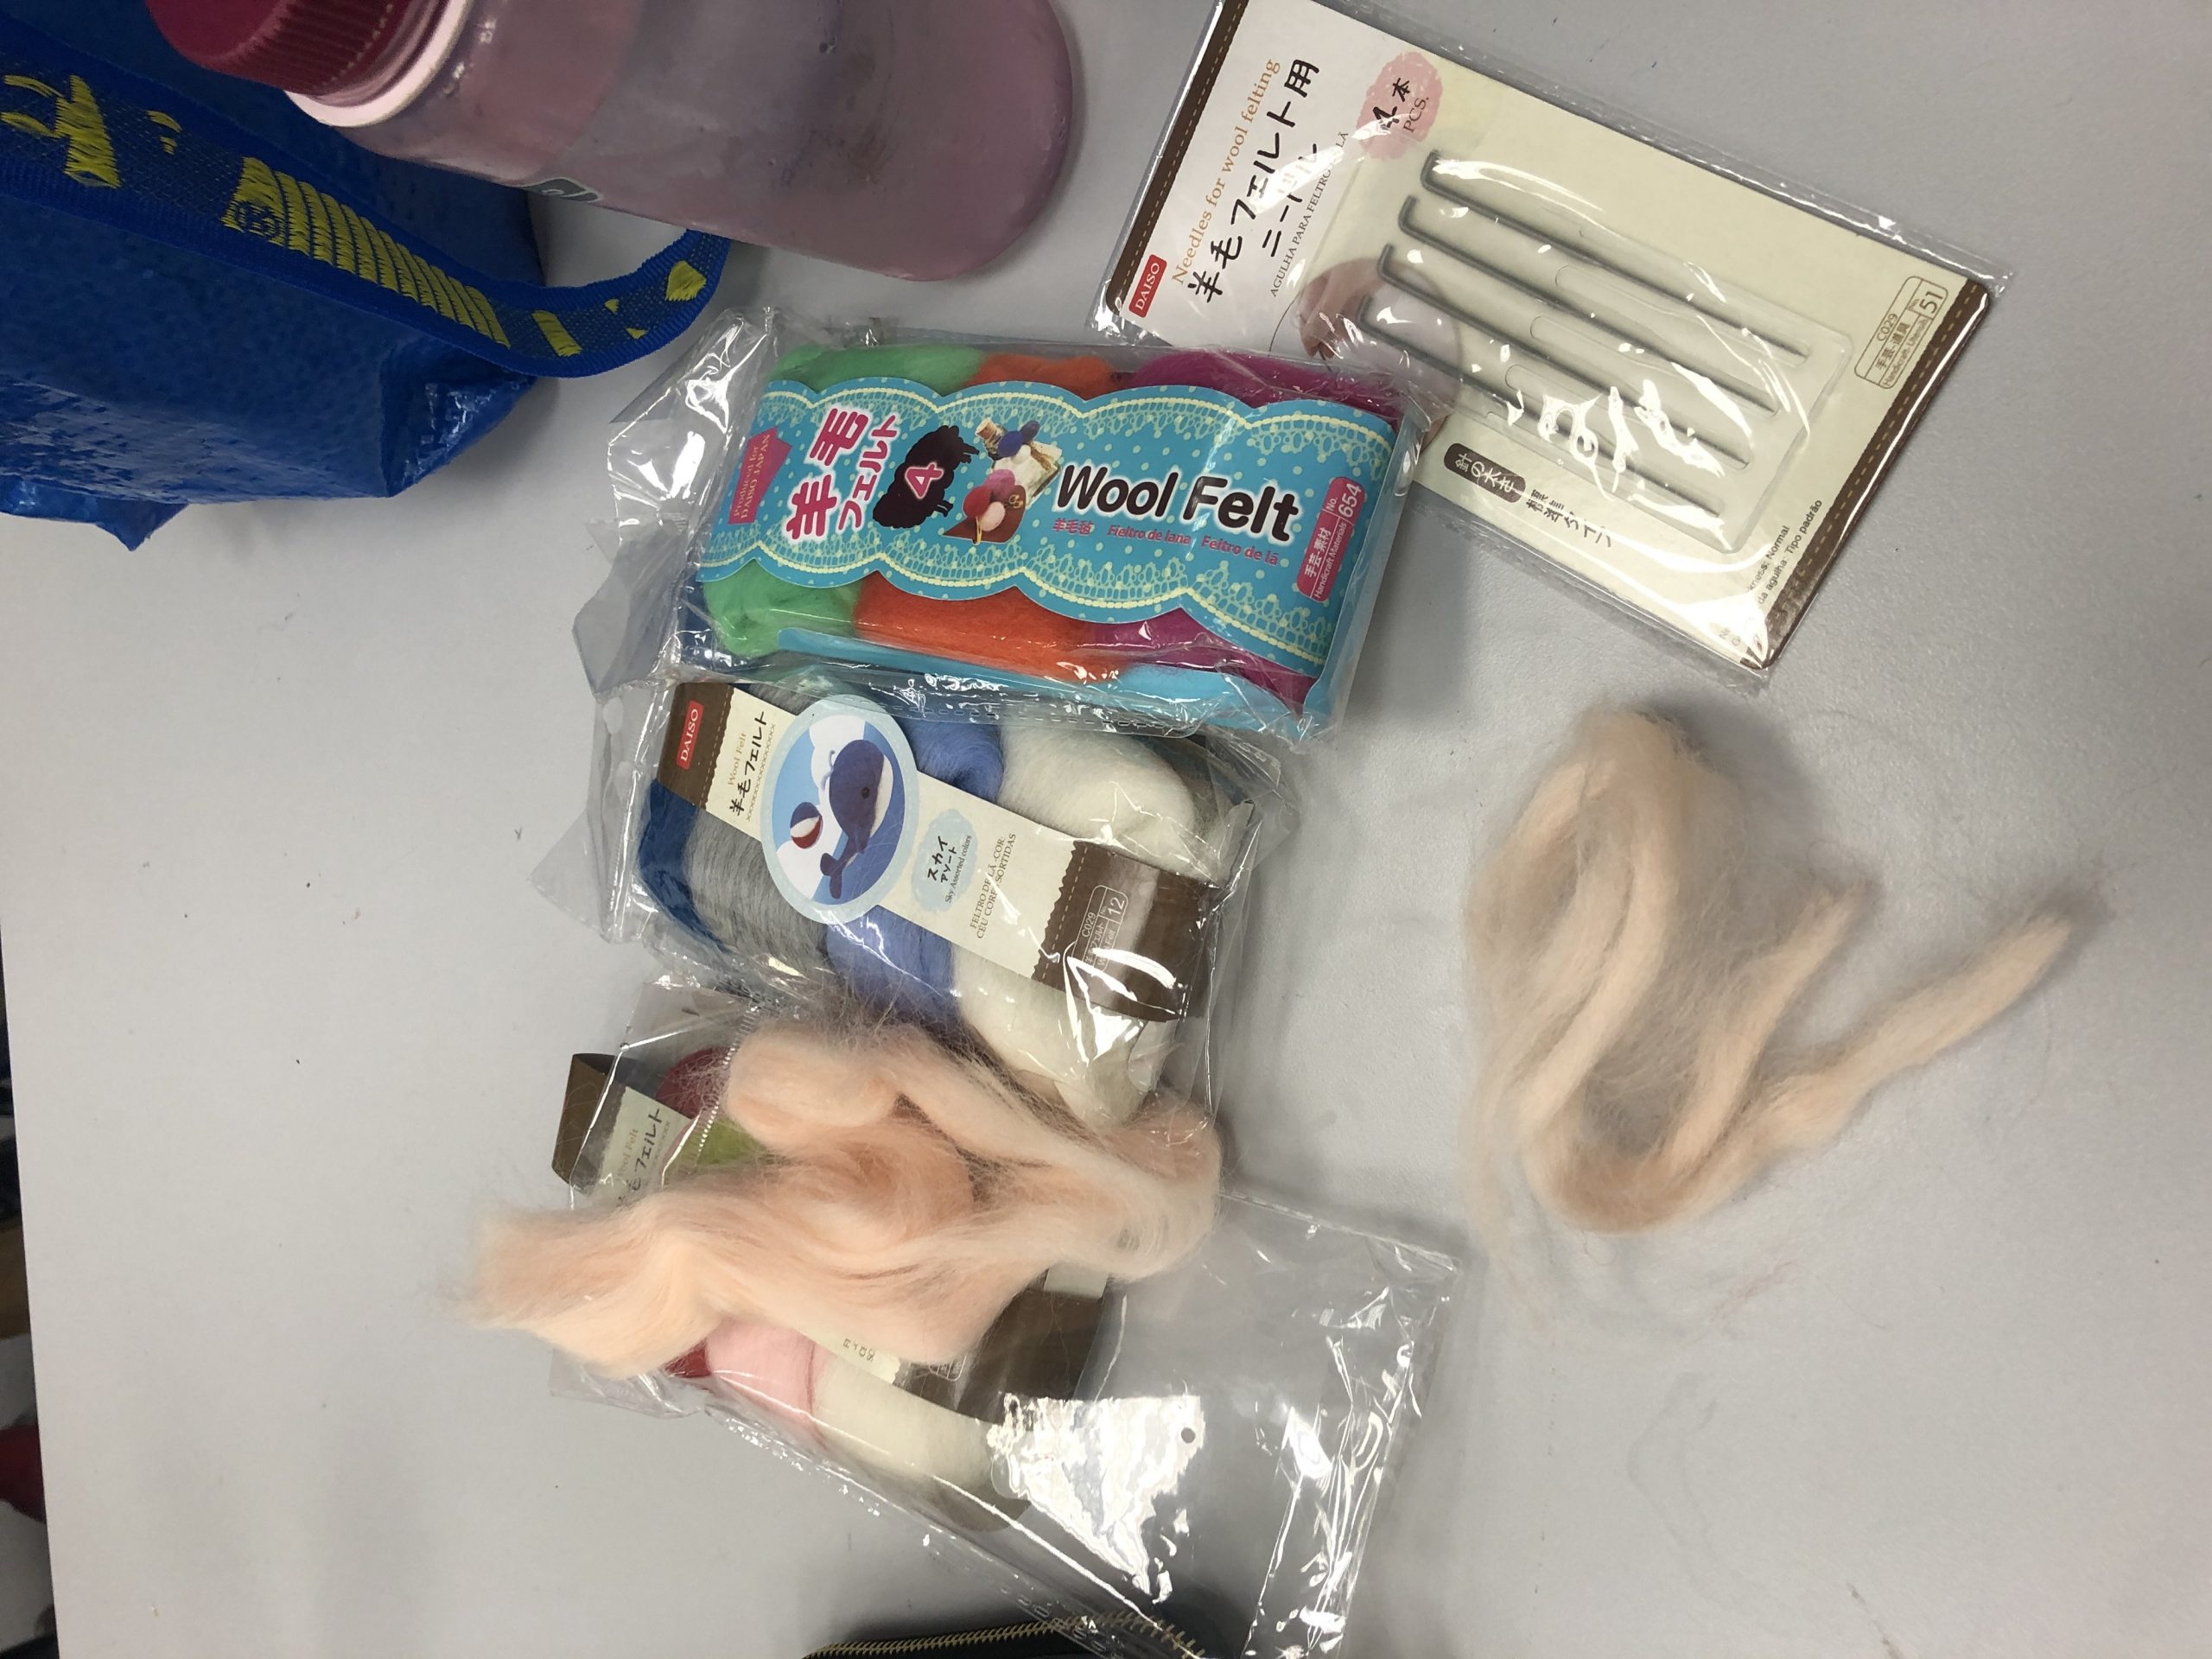
Materials for felting
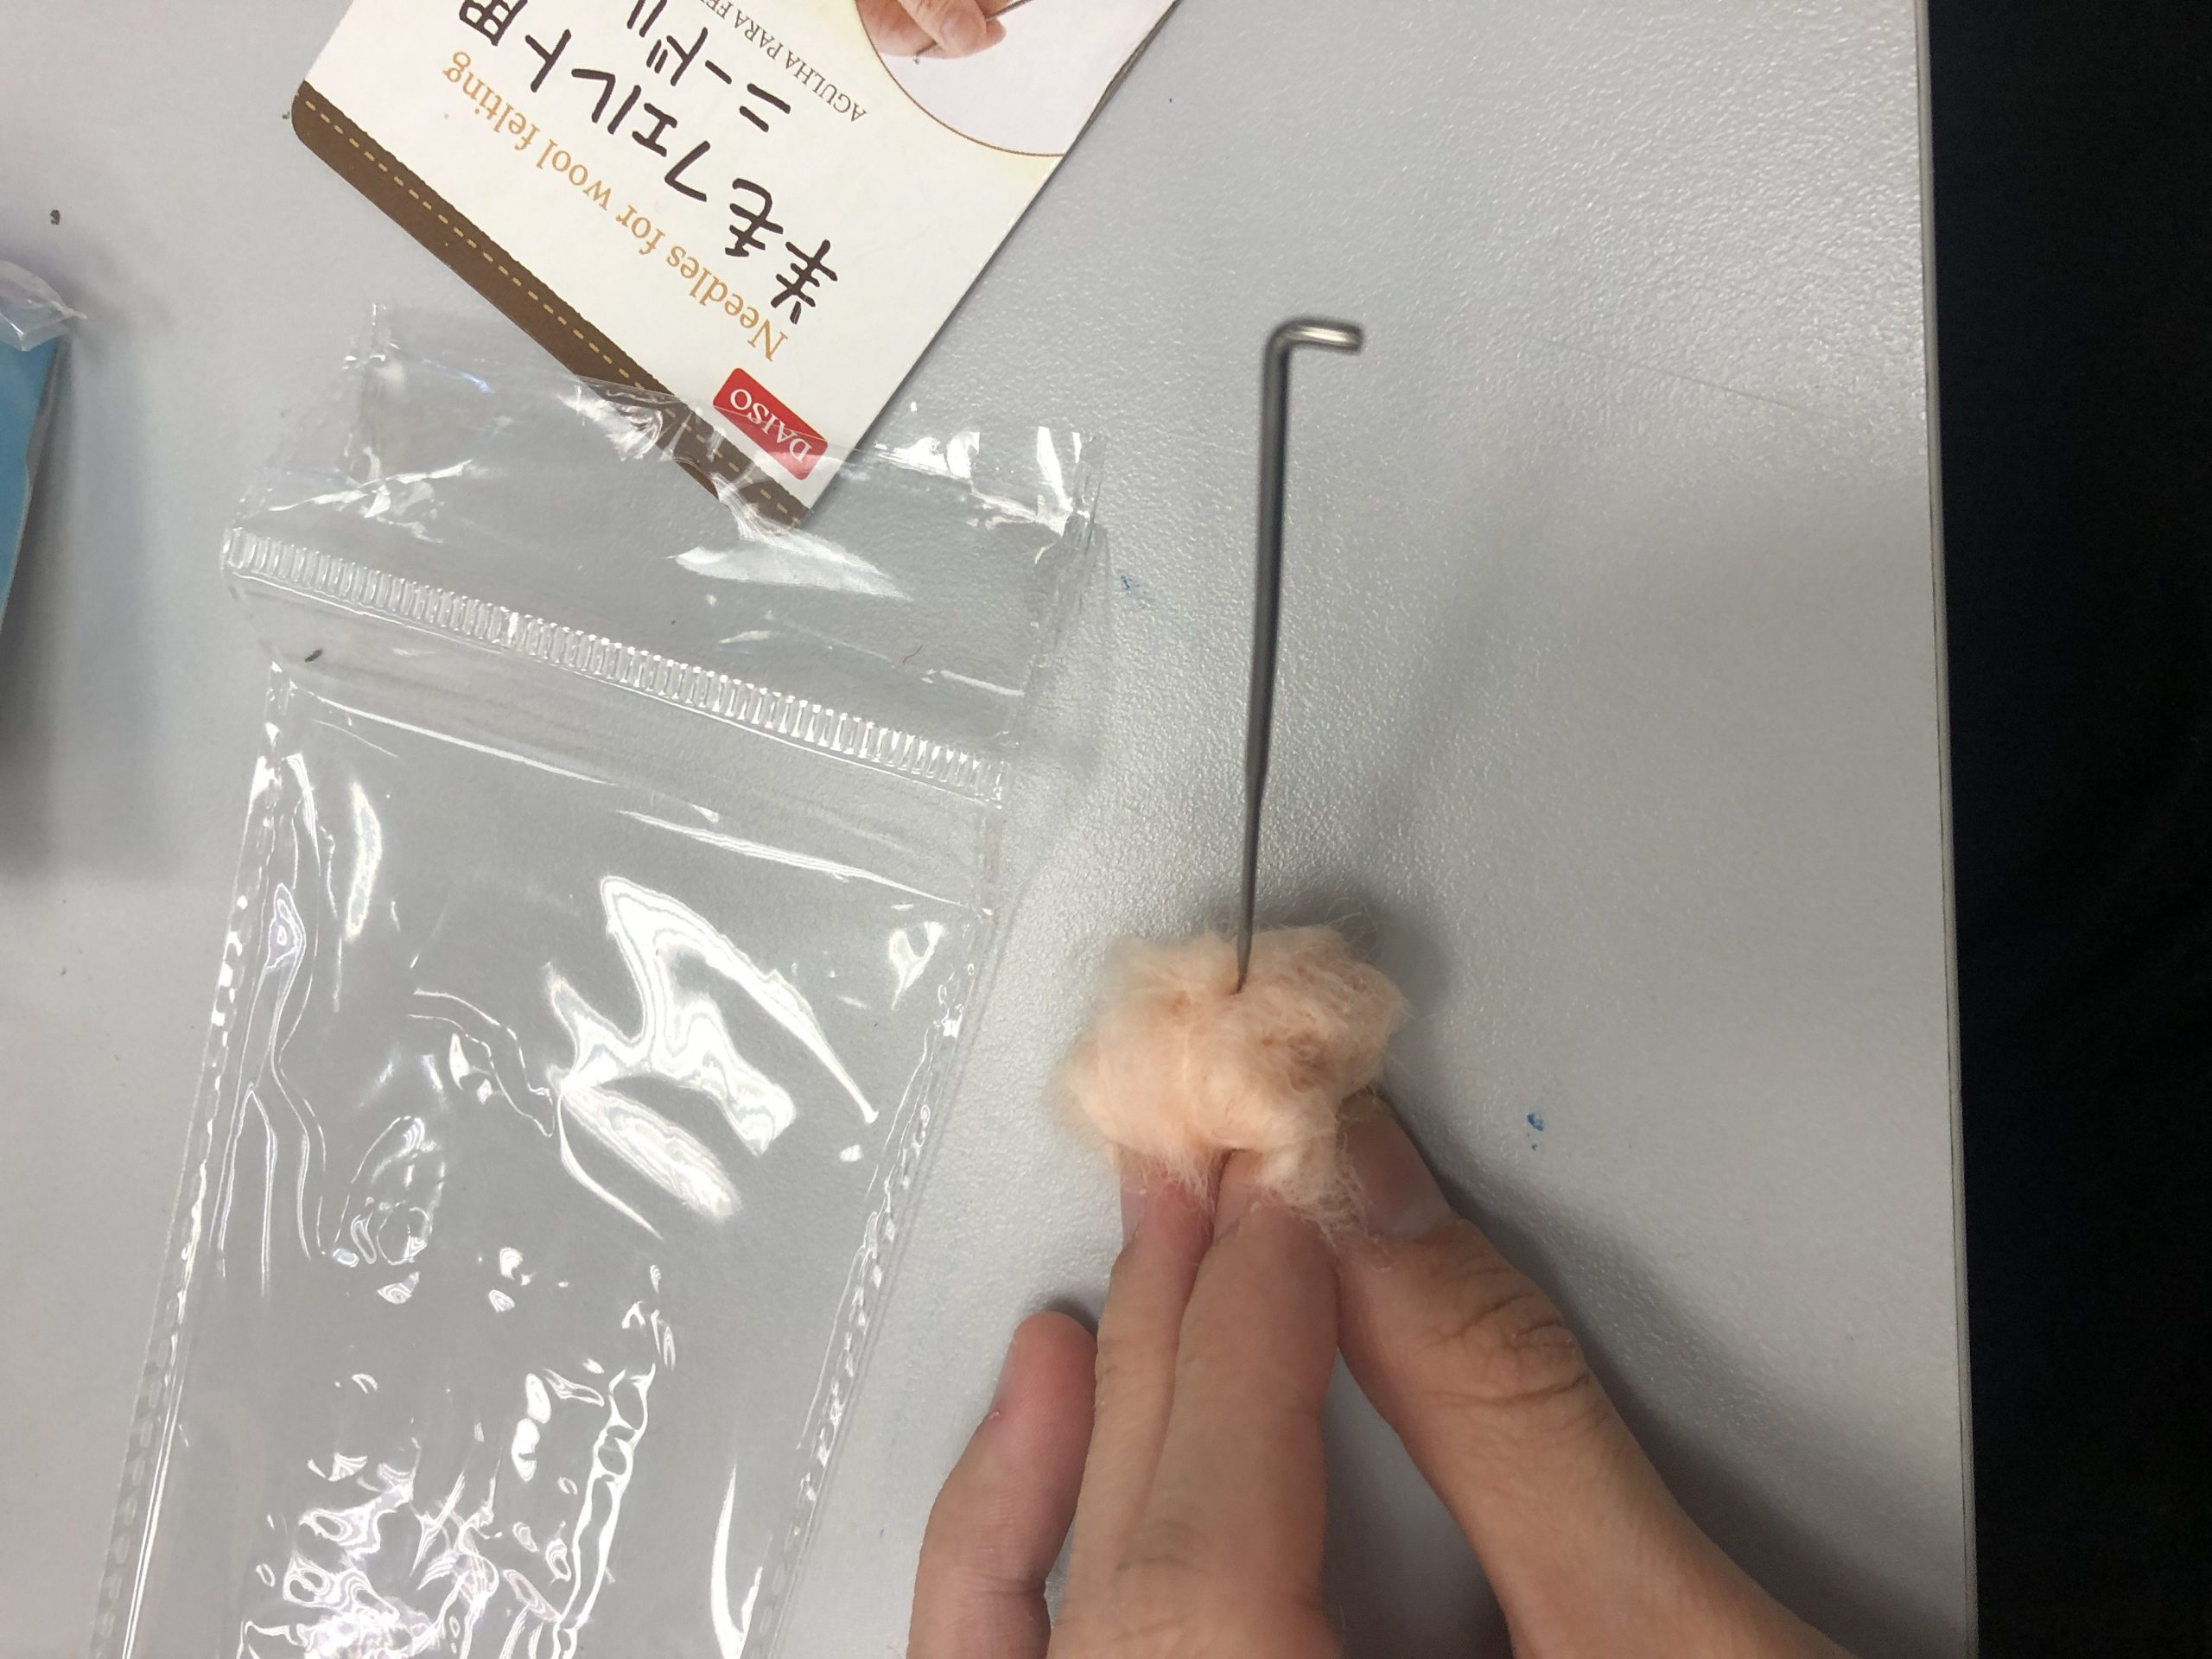
Dry felting a head
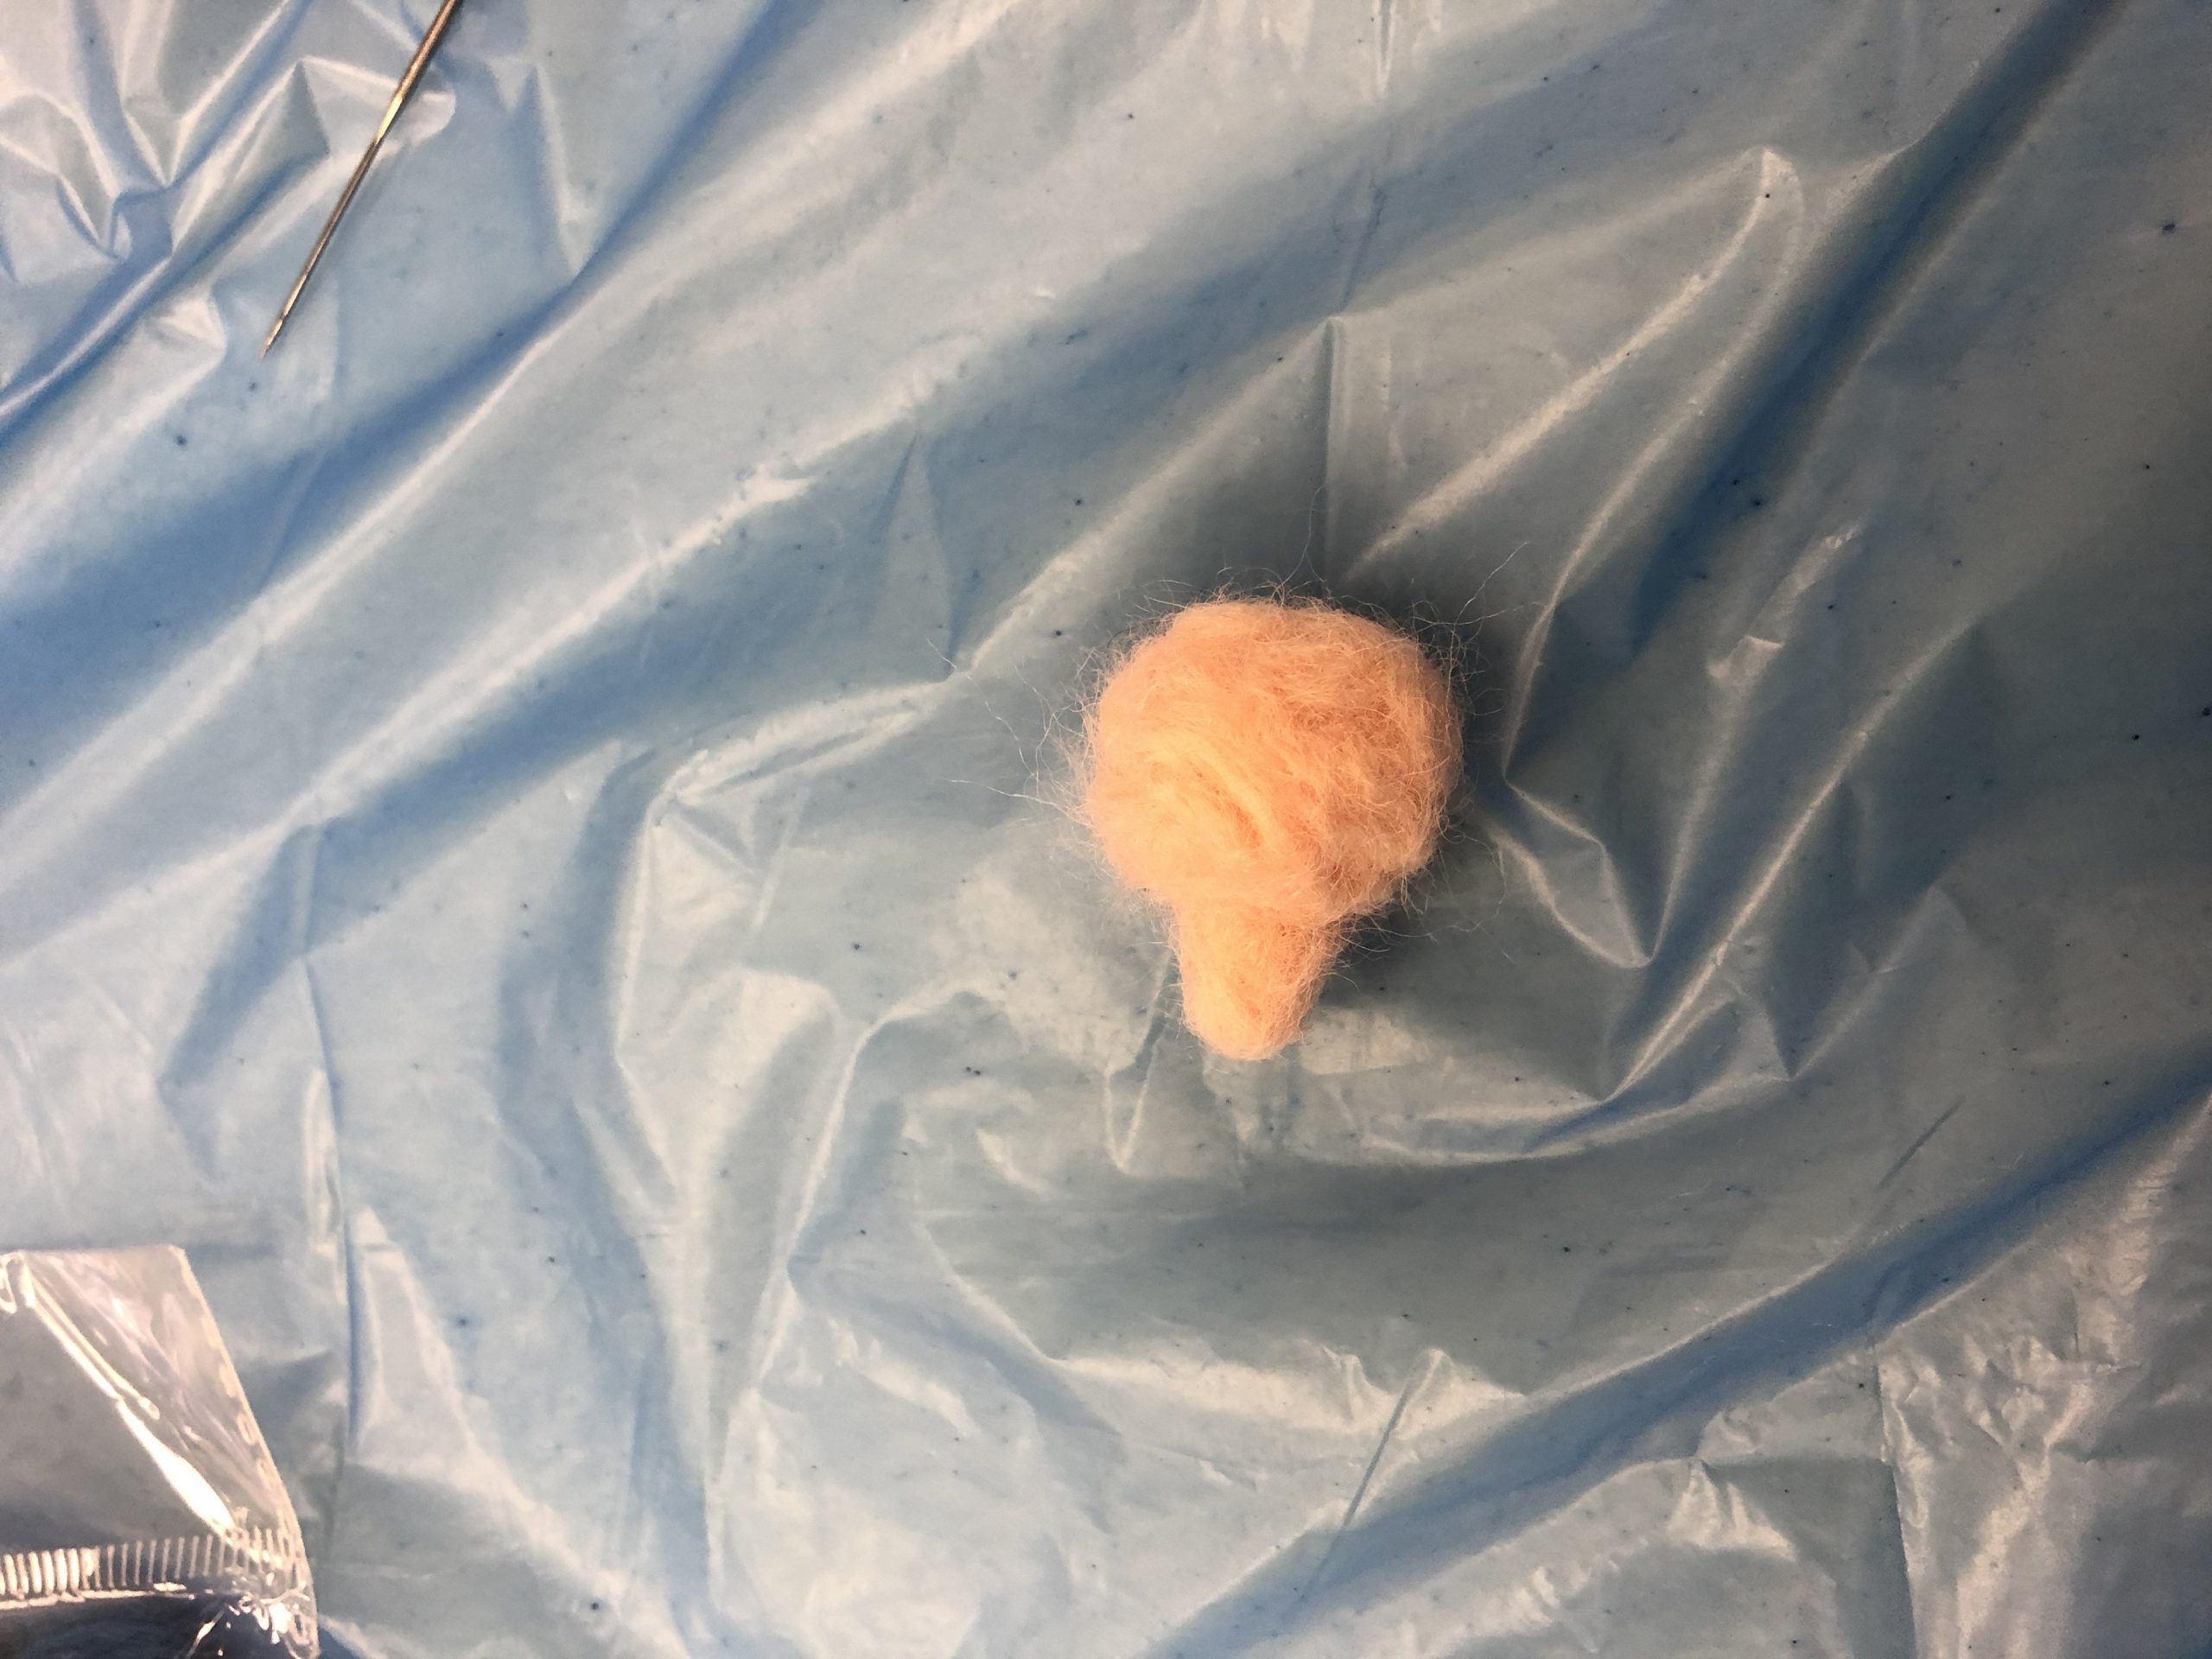
The head somewhat completed
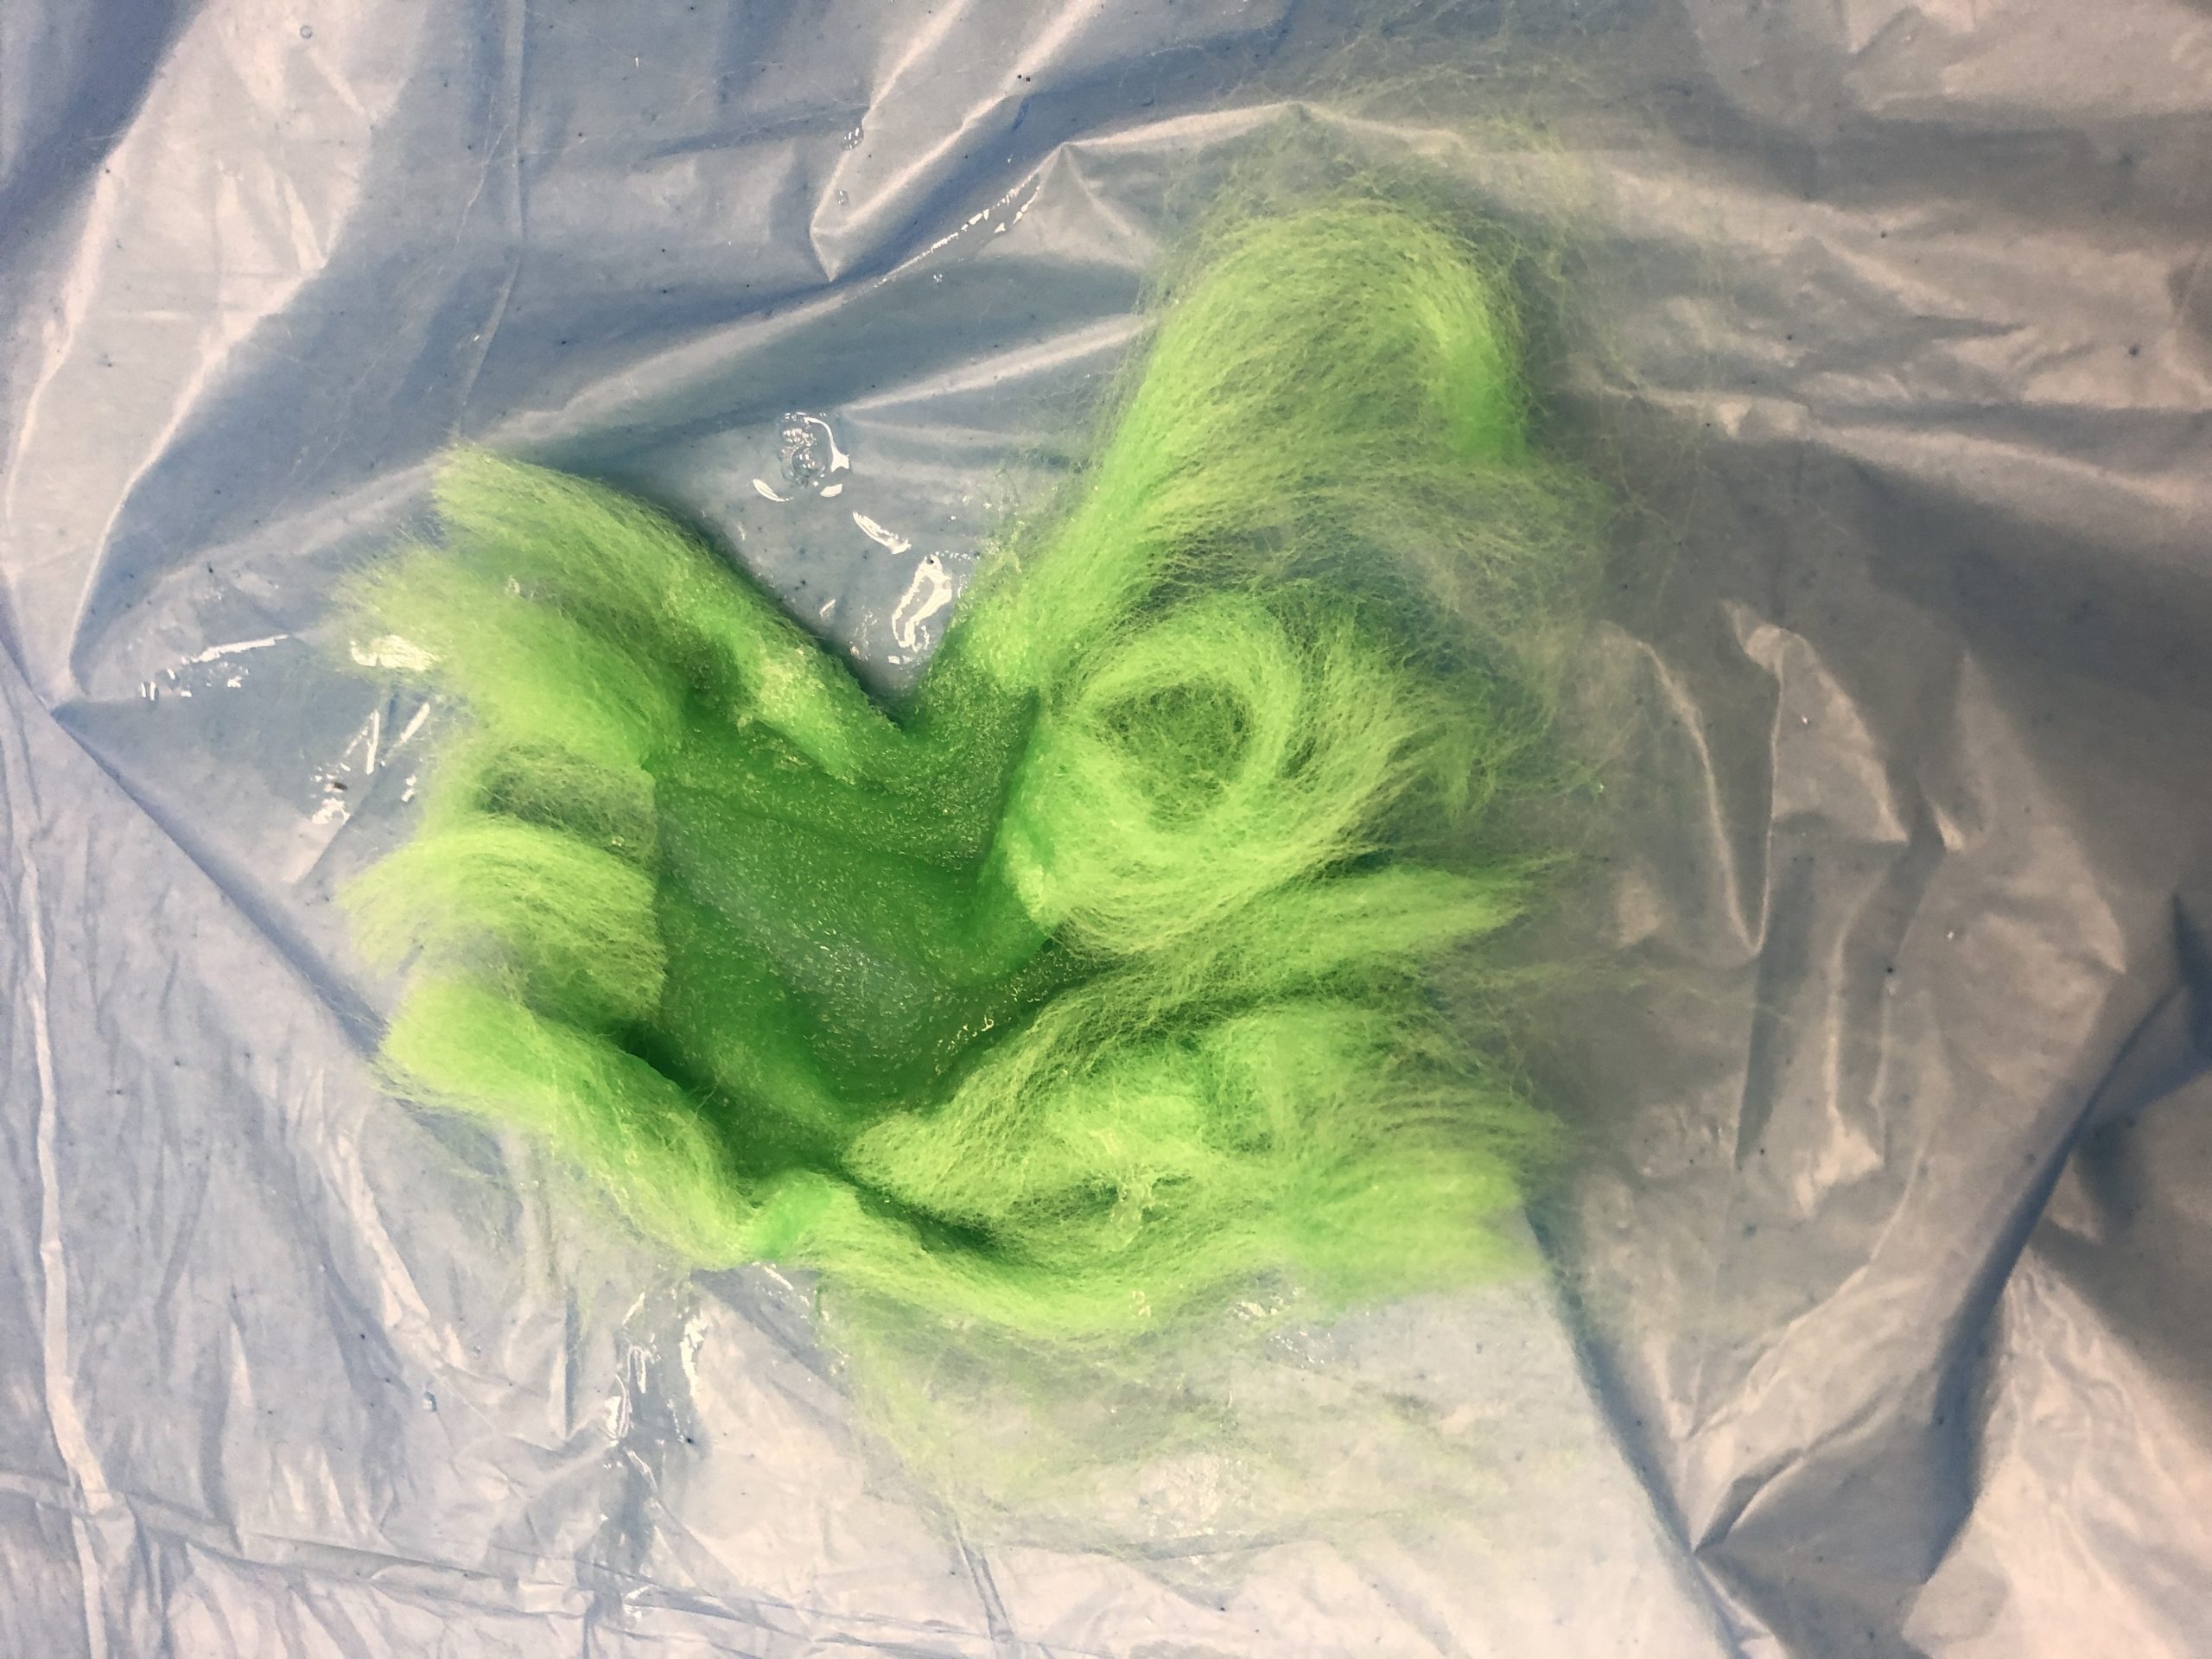
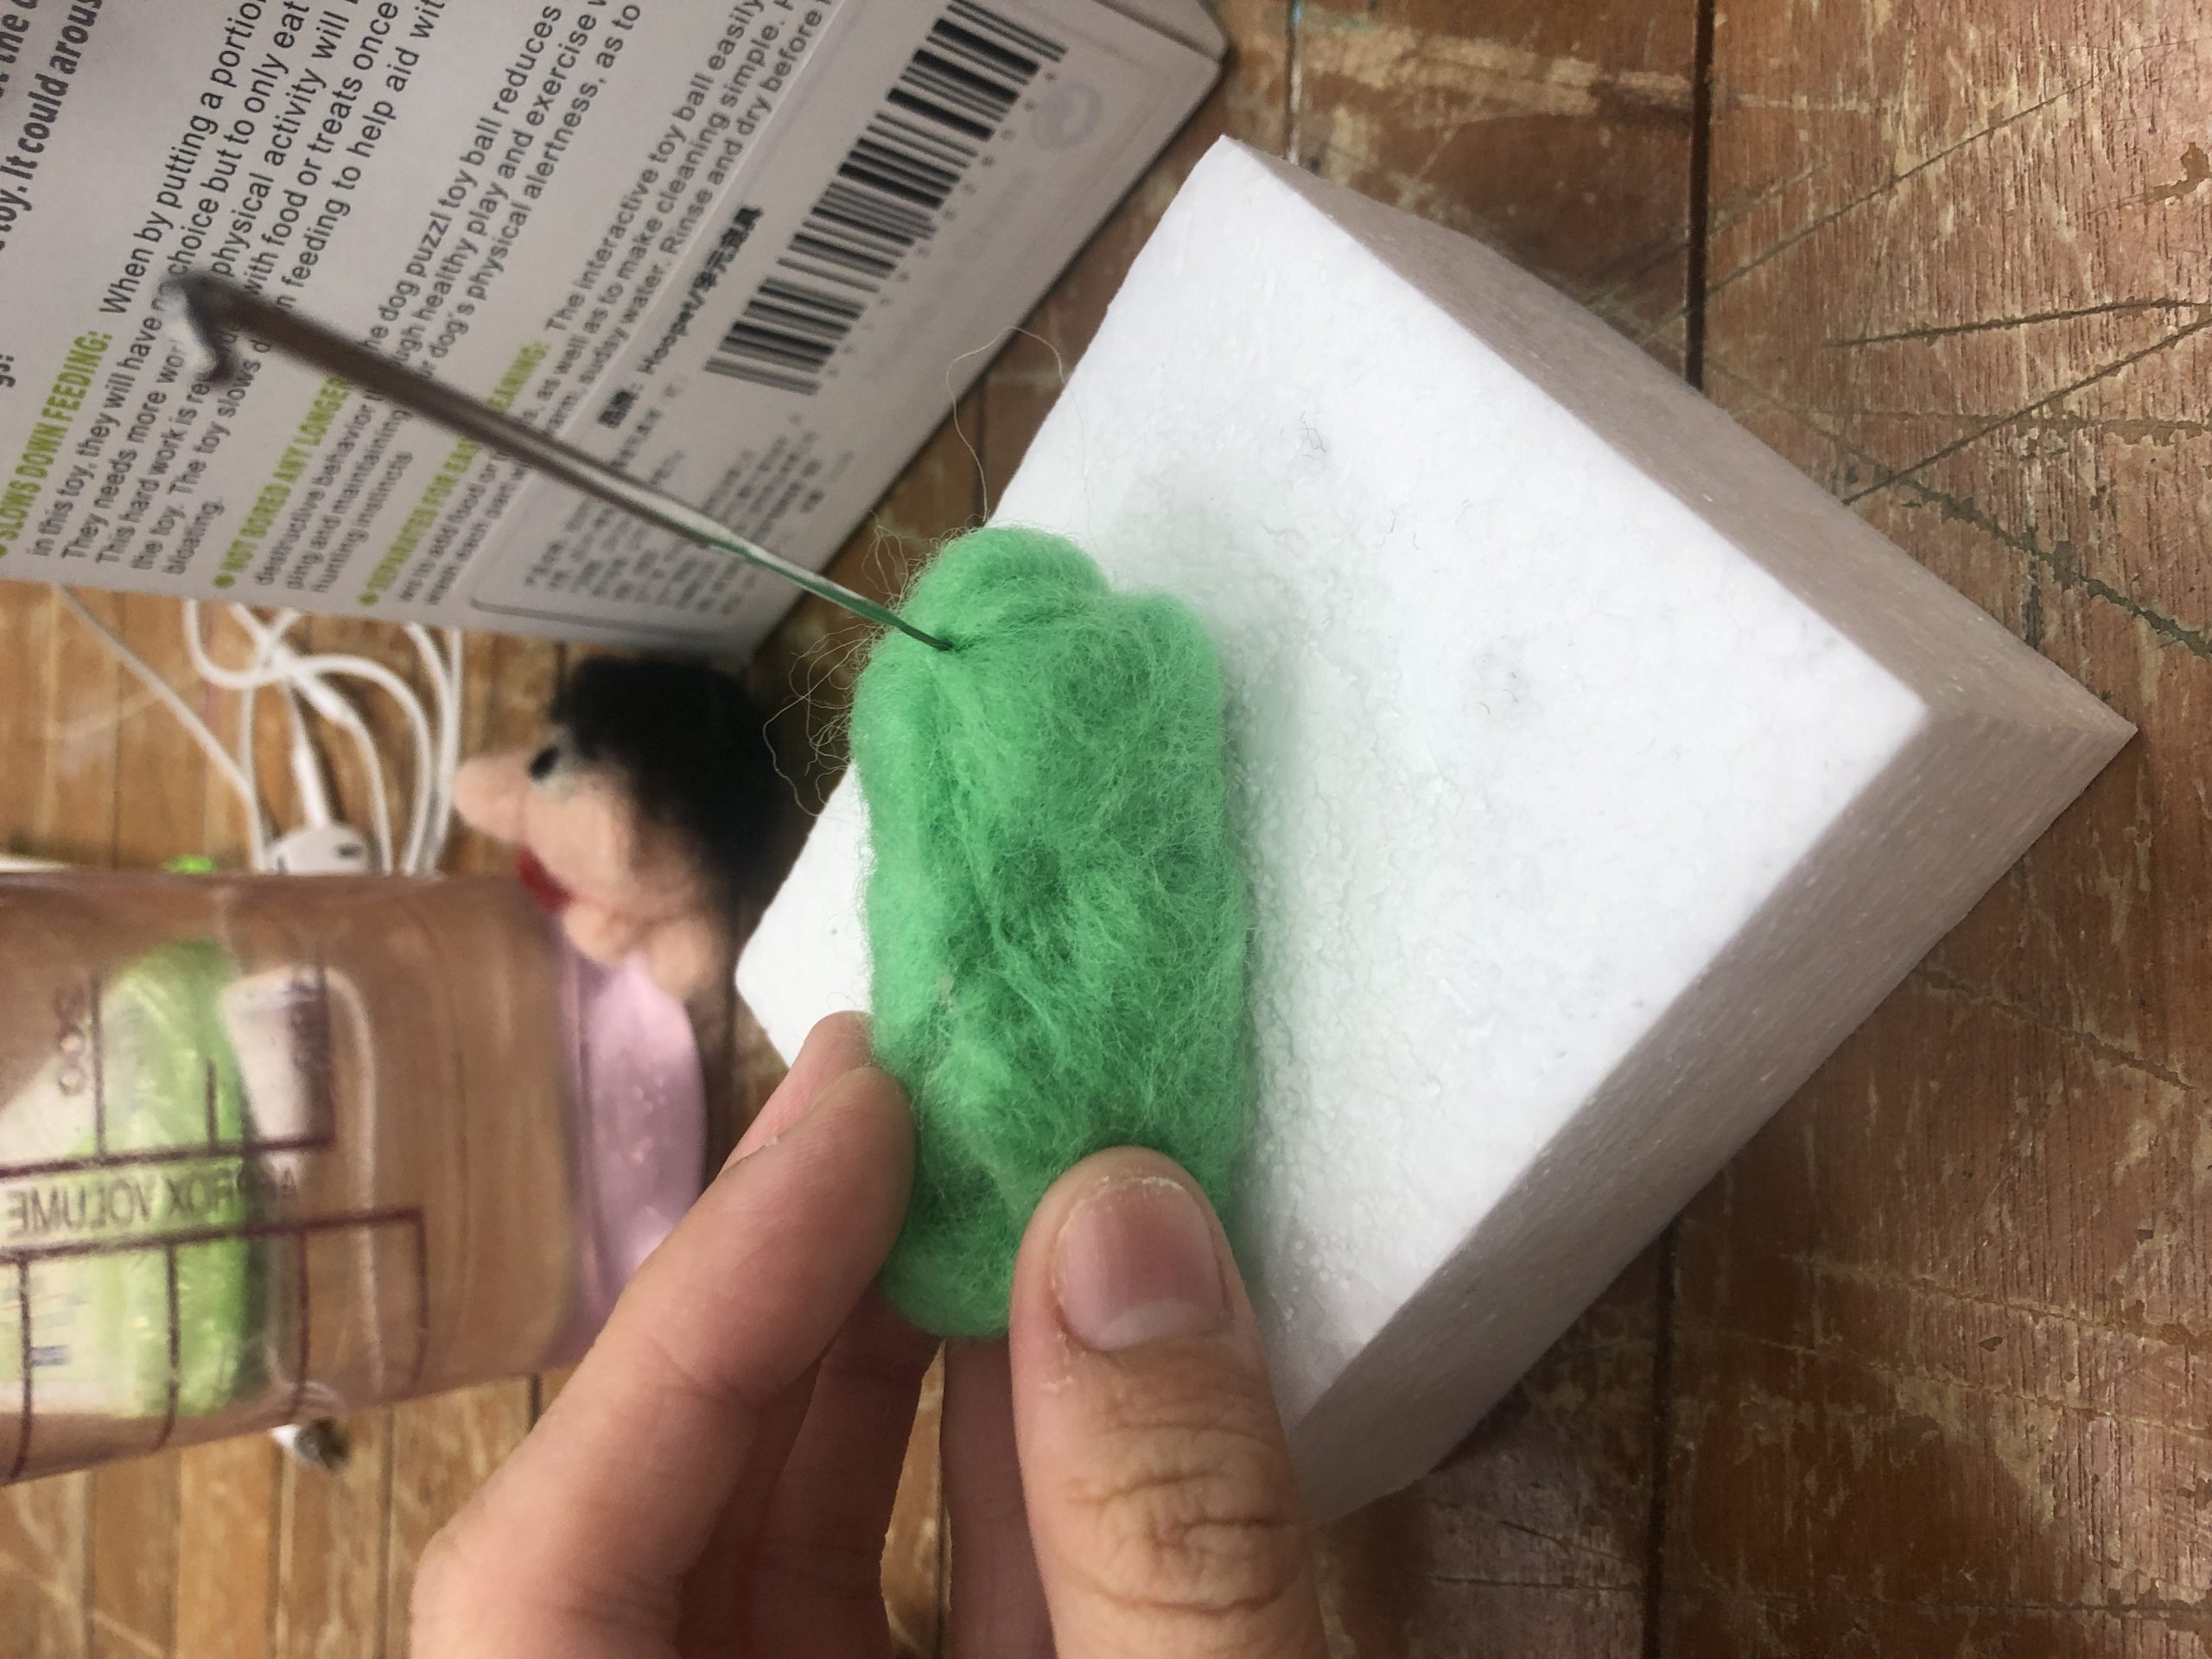
Since the body is bulky, it will take too long to do through dry felting hence I am using wet felting method
After wet felting, can still use a needle to further enhance the shape
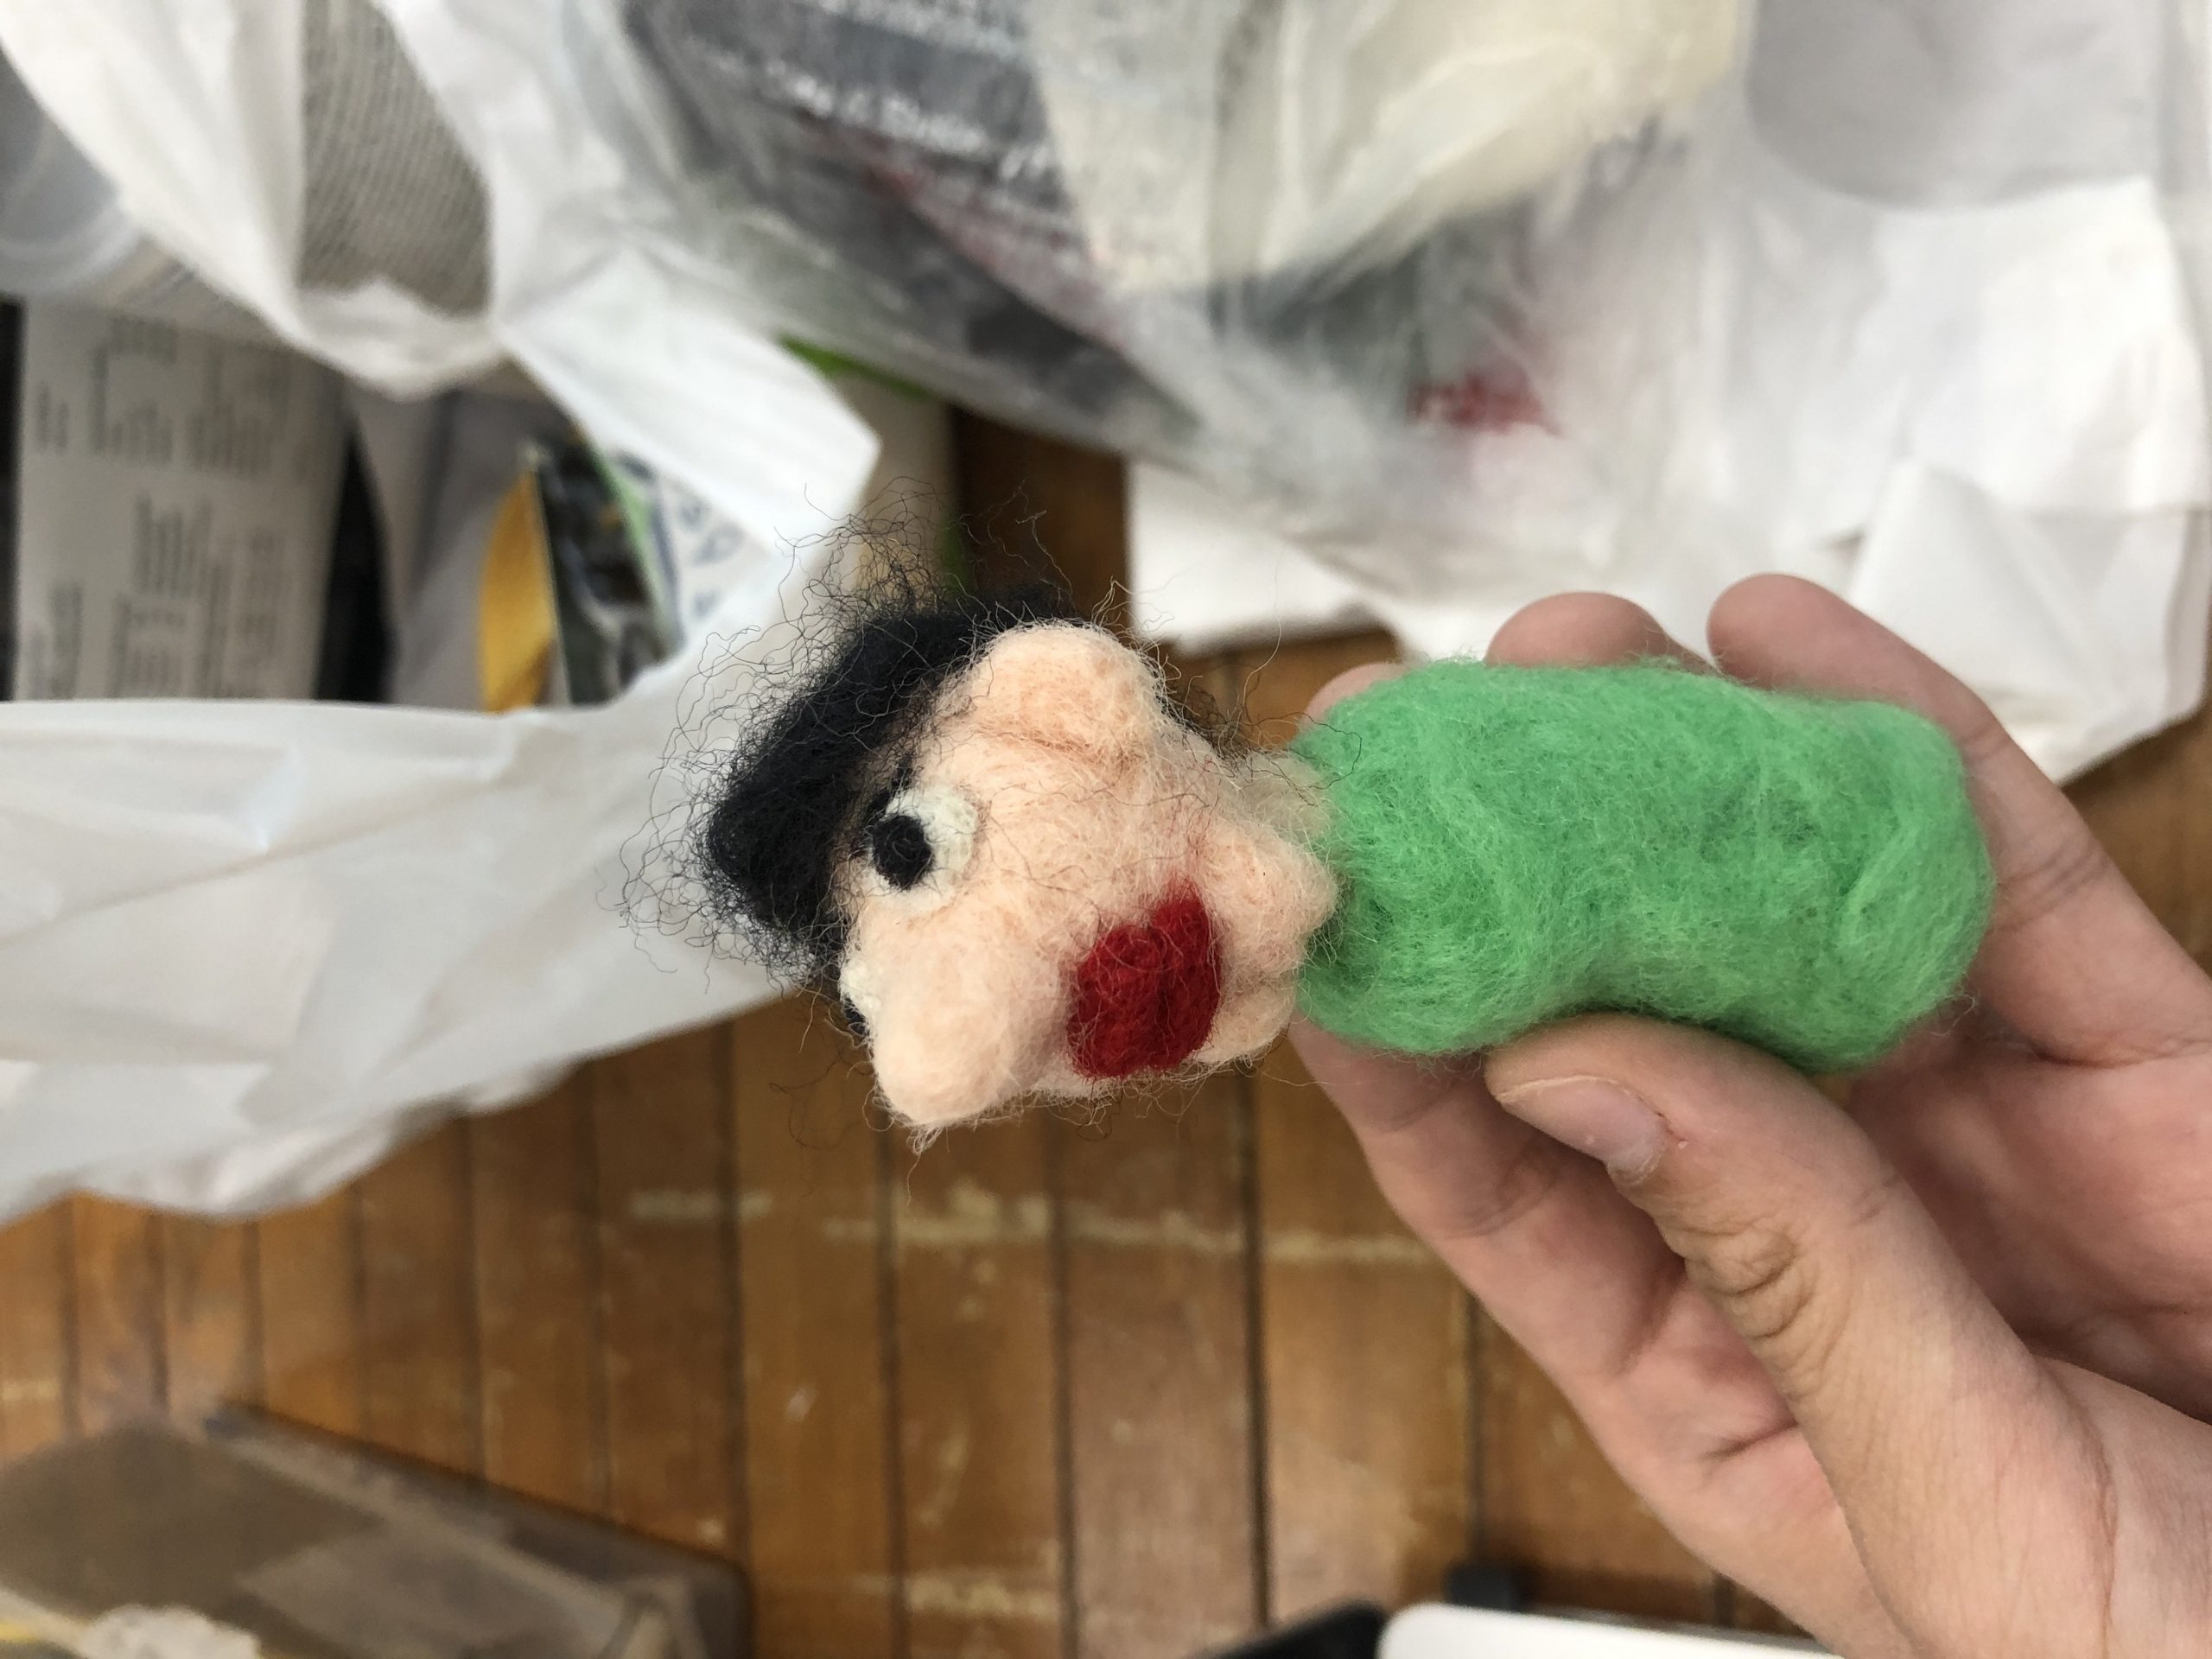
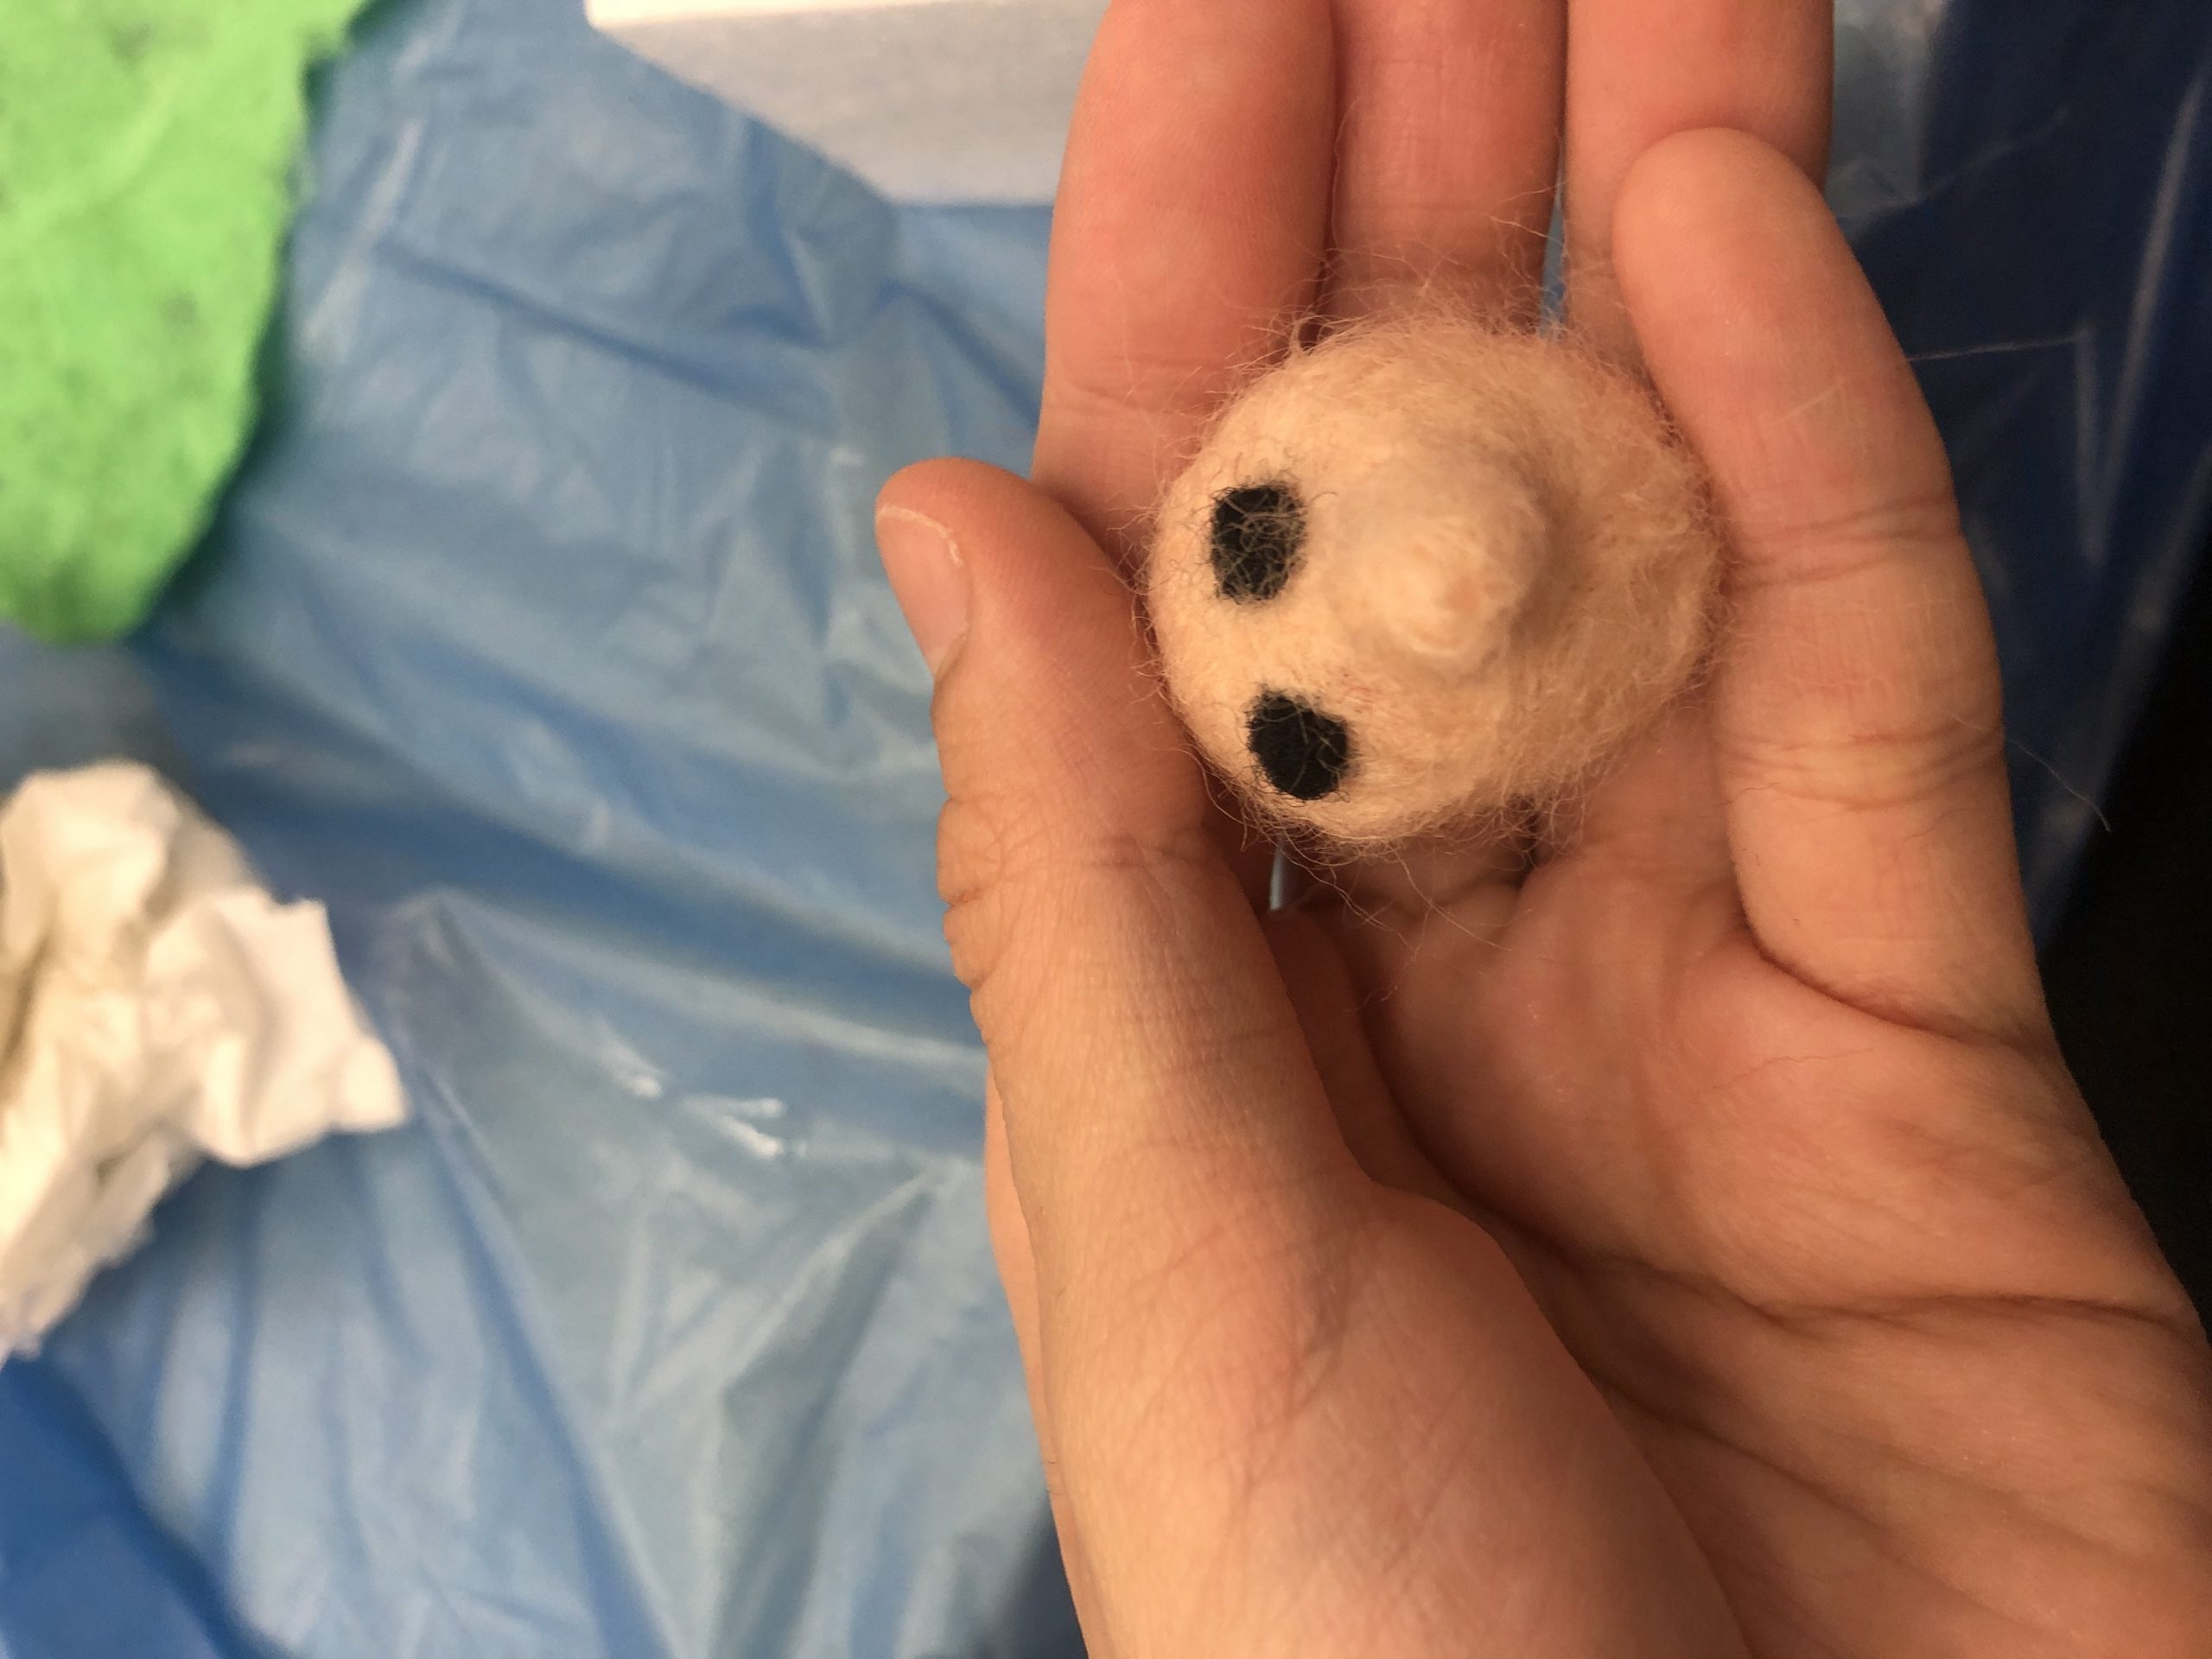
Head attached onto body through felting, have also changed the eyes to make it look less demonic
Week 3: Plastic fusing
This was the most fun week for me! In this lesson we use cut outs from plastic bags and iron them together to fuse the plastic pieces creating a single surface. I decided to have a little fun this week and use plastic to create some funny faces.
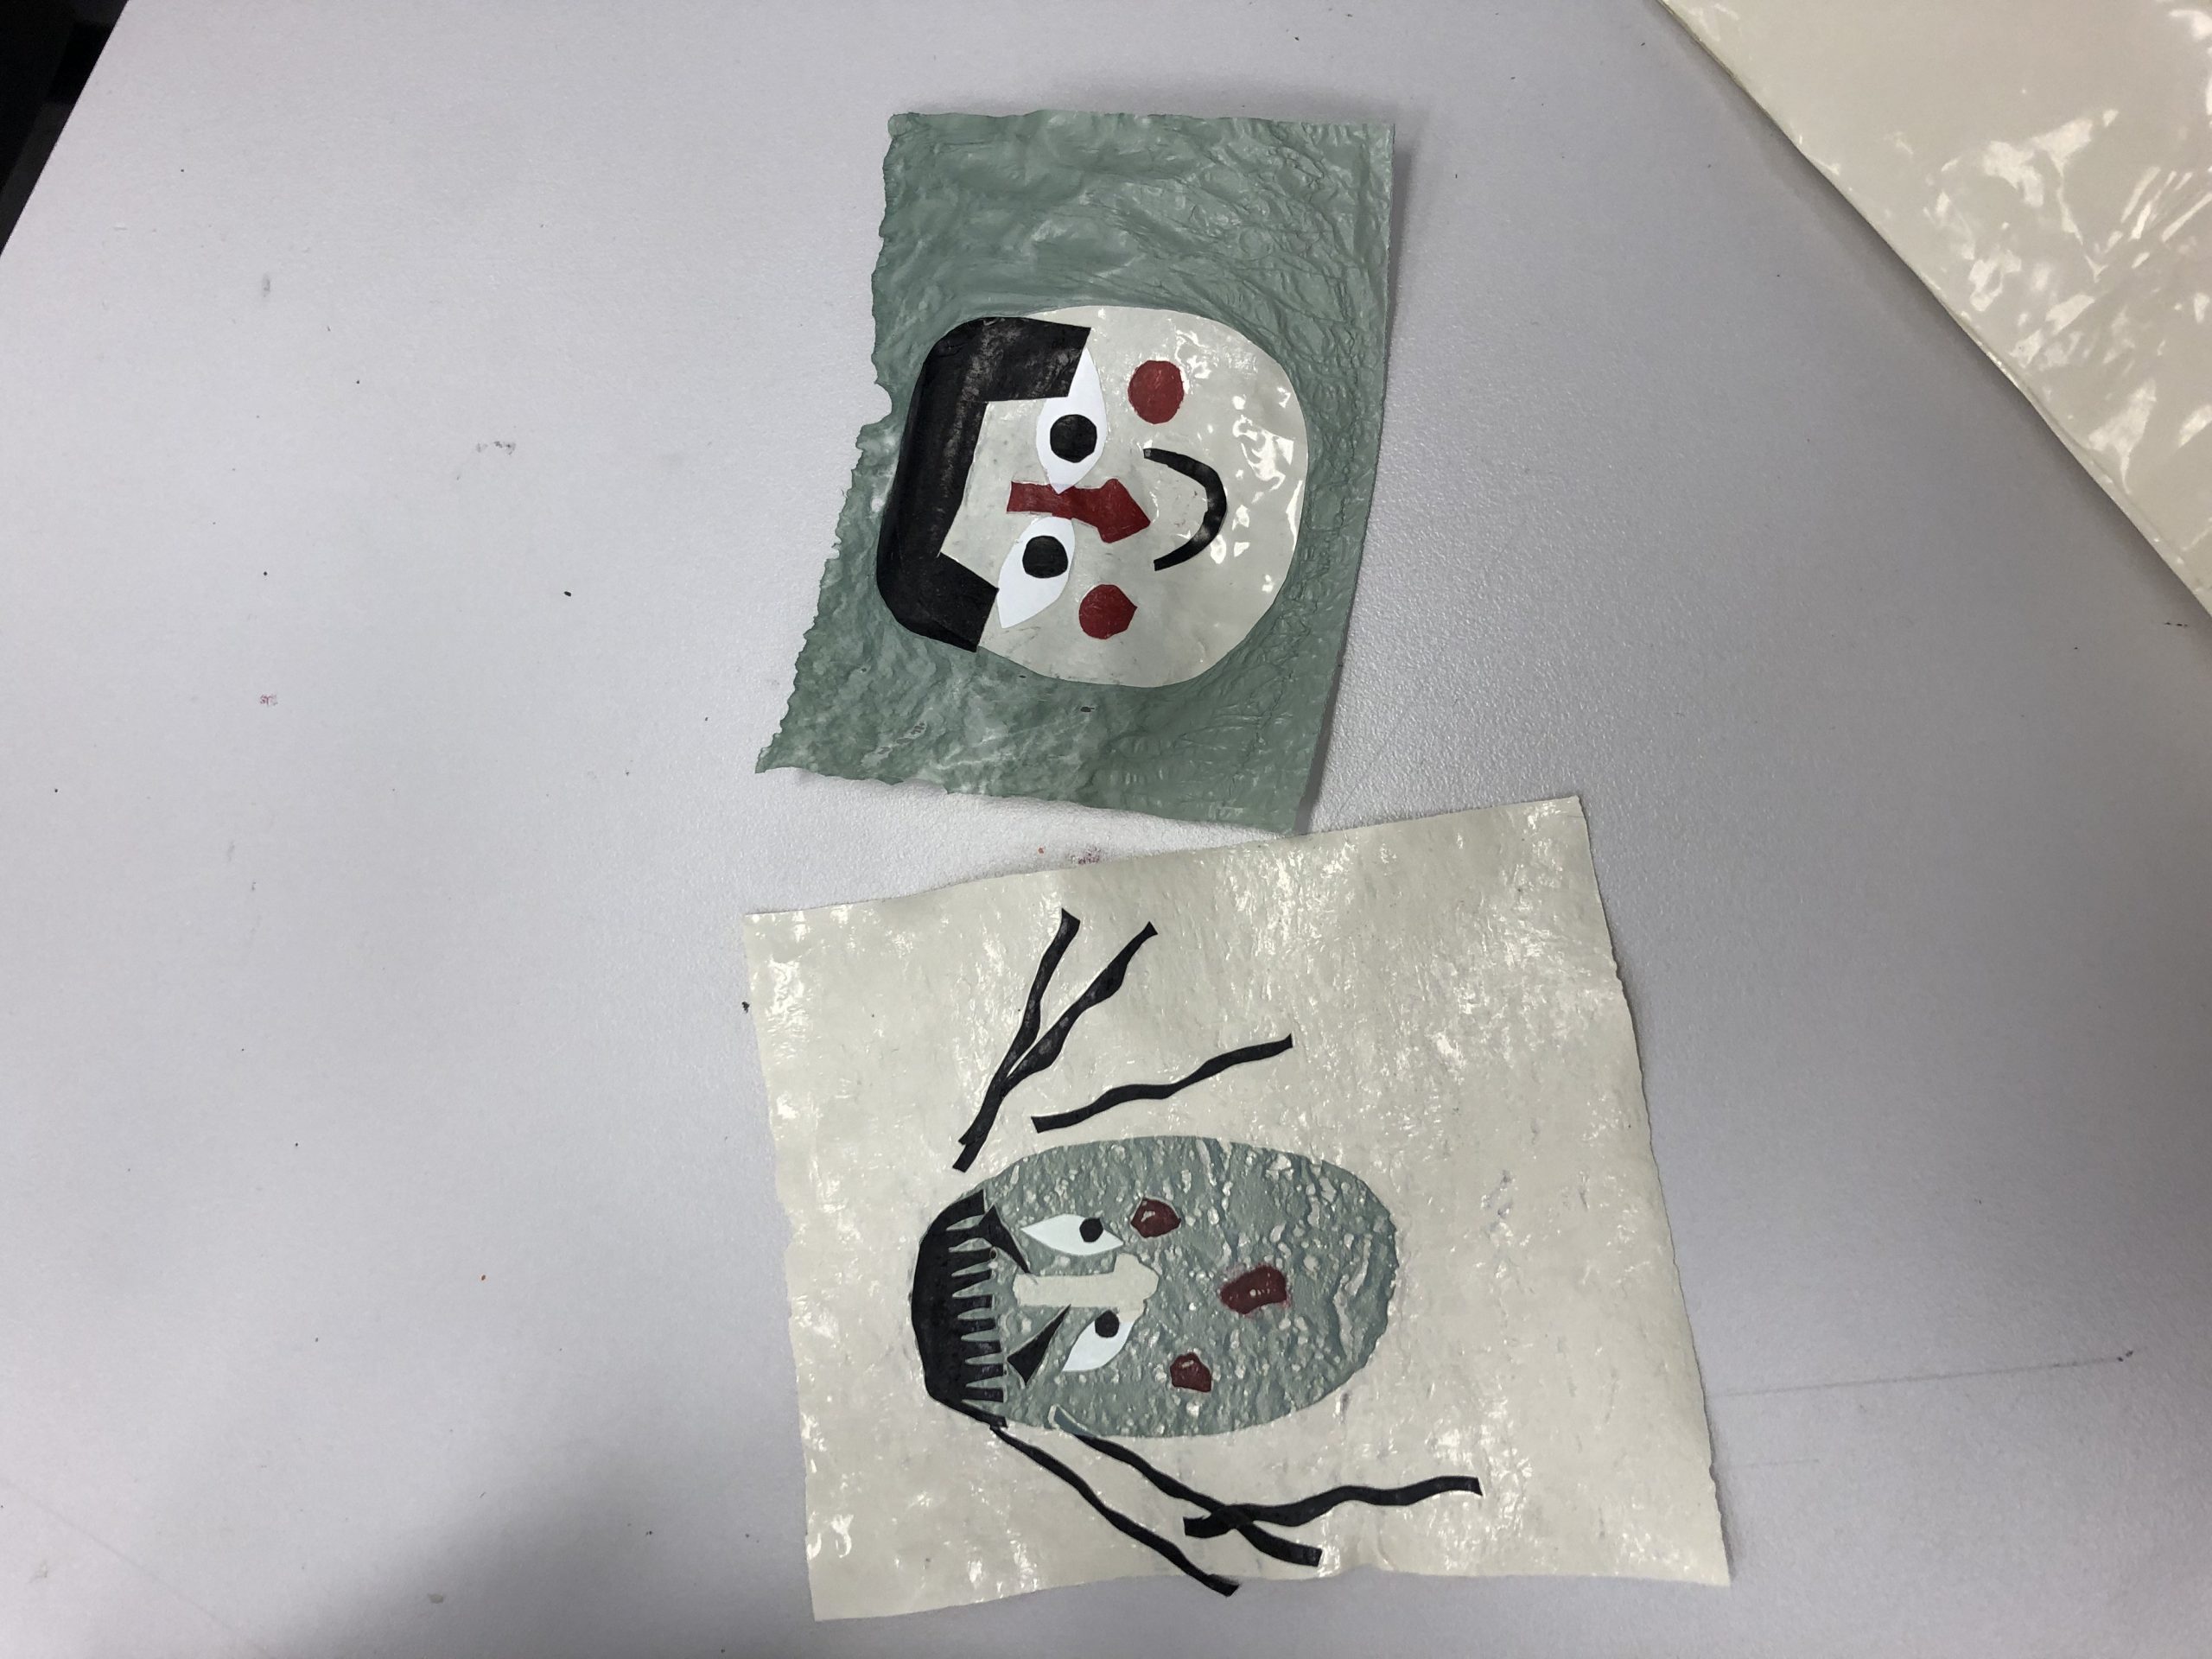
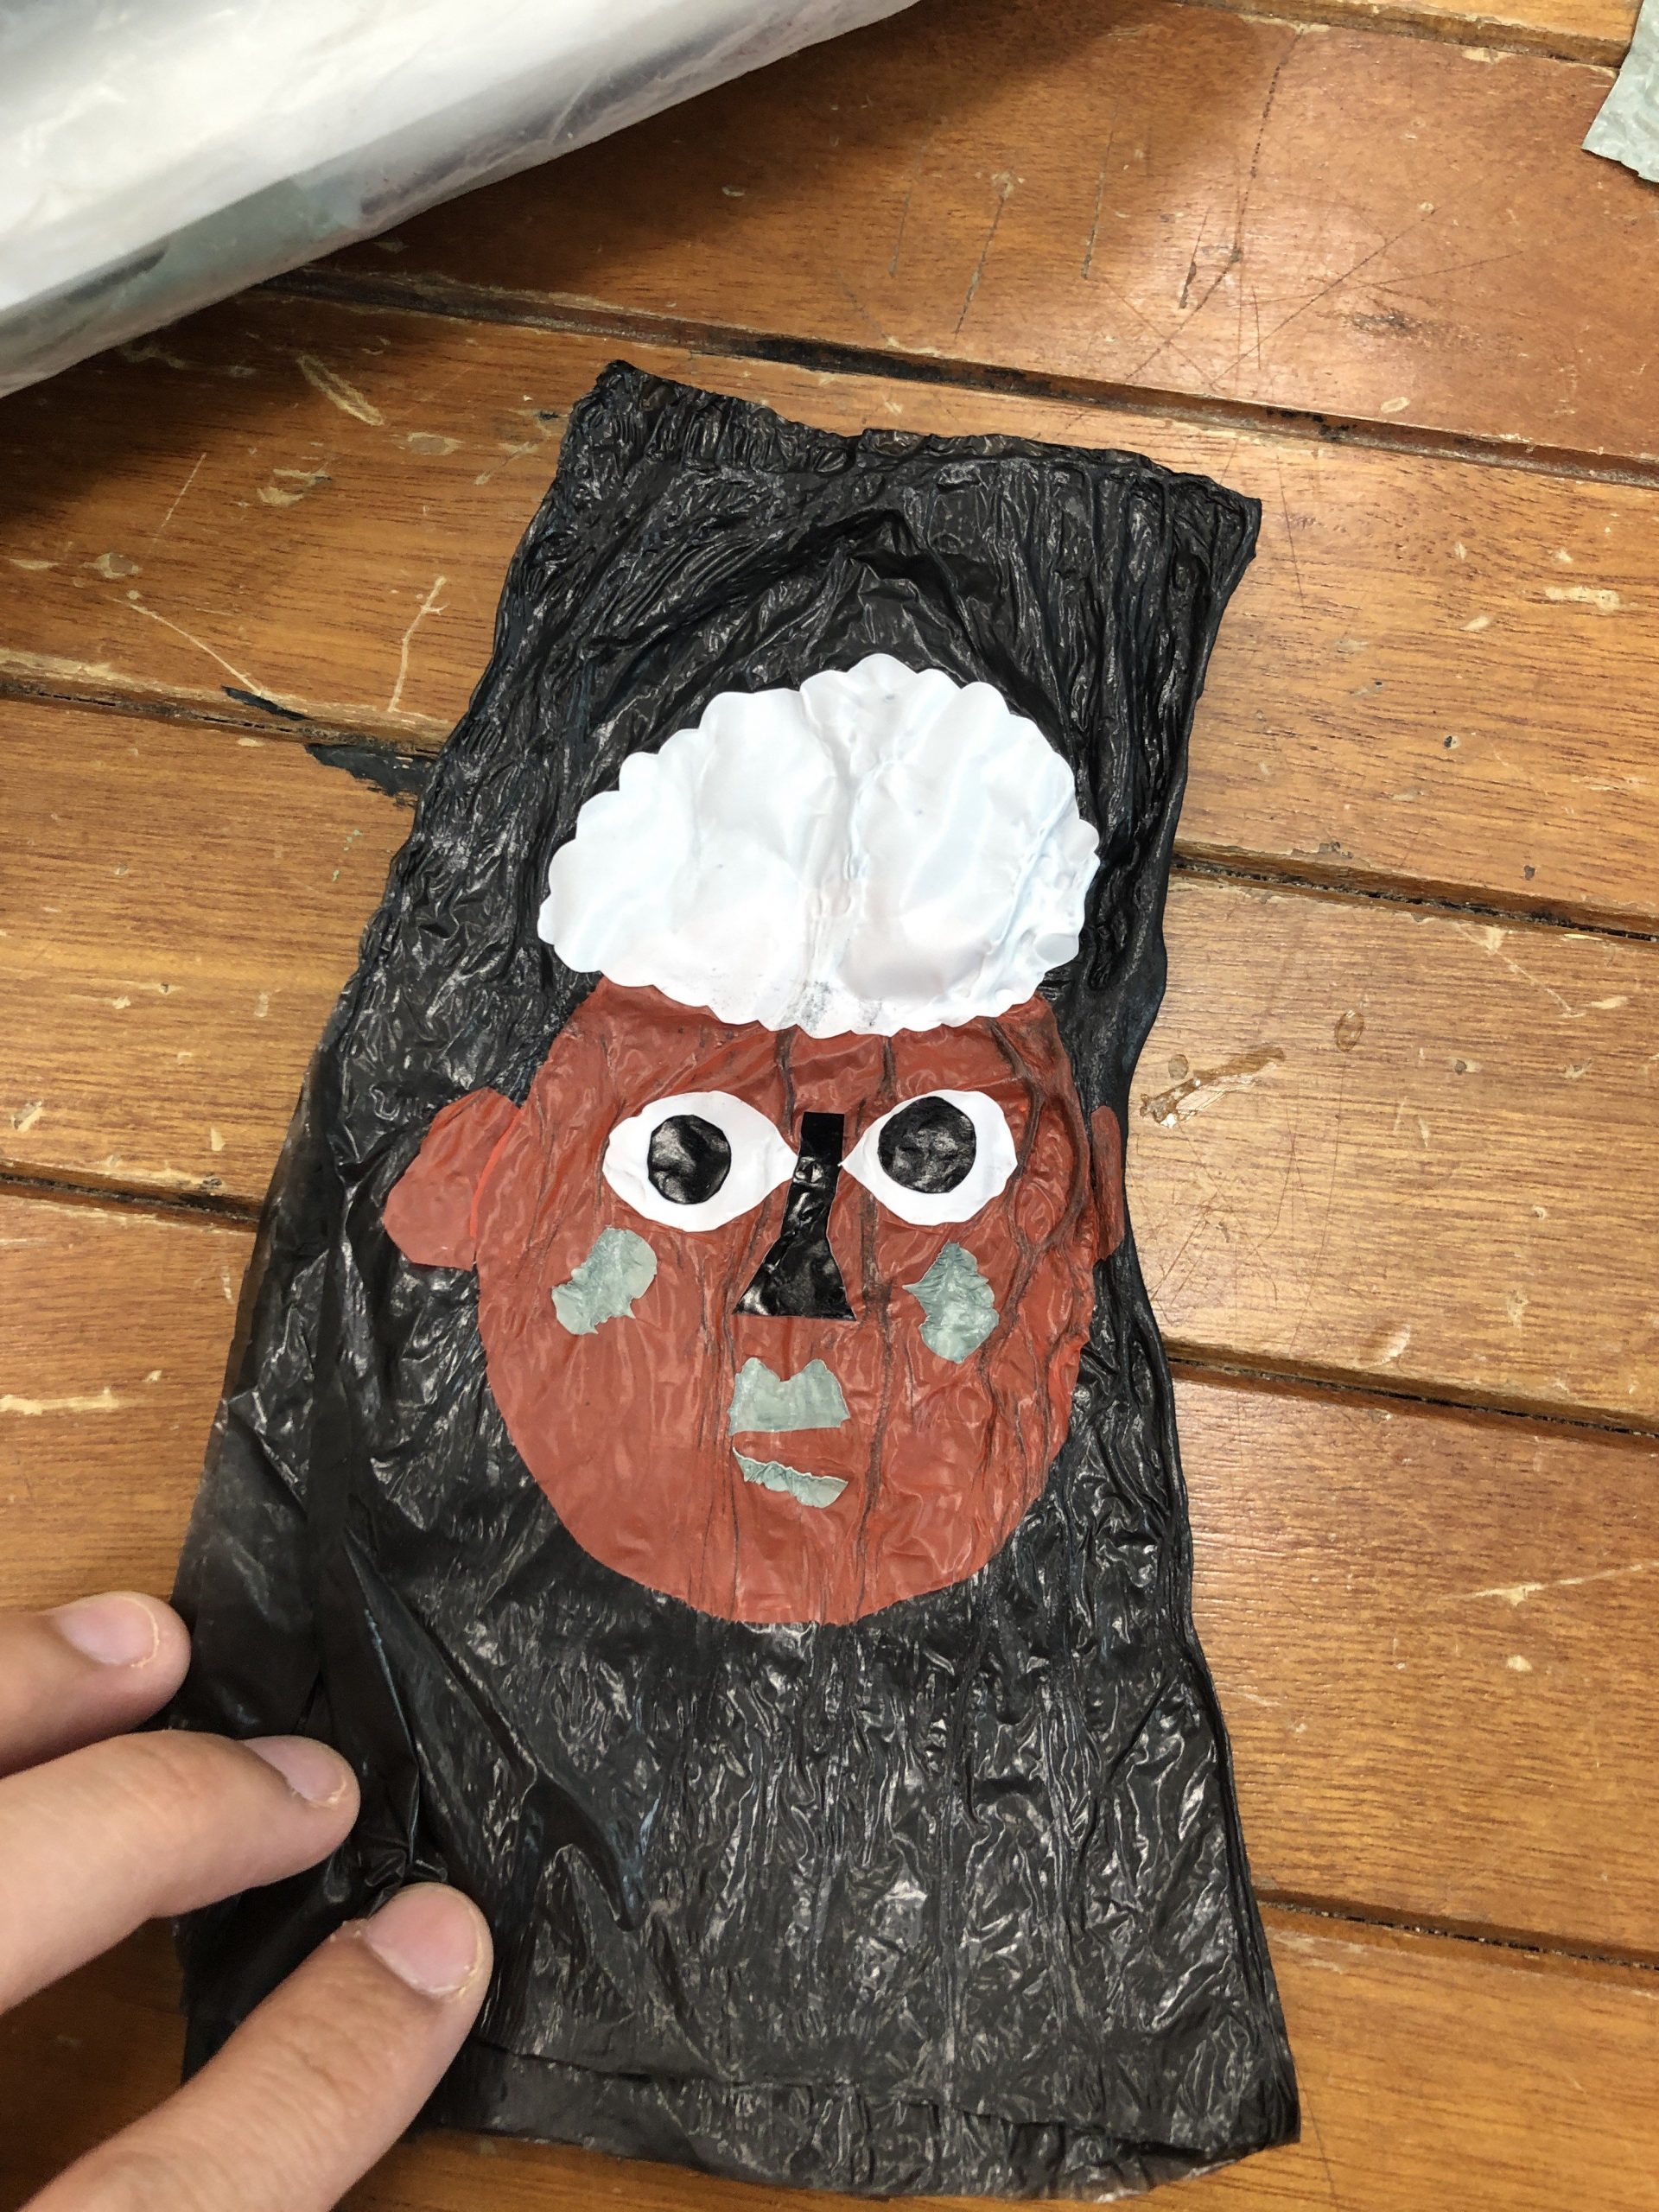
The 3rd face I created, for this I used black trash bag for the background and as it is quite thin it caused some shrinkage hence it was not very successful
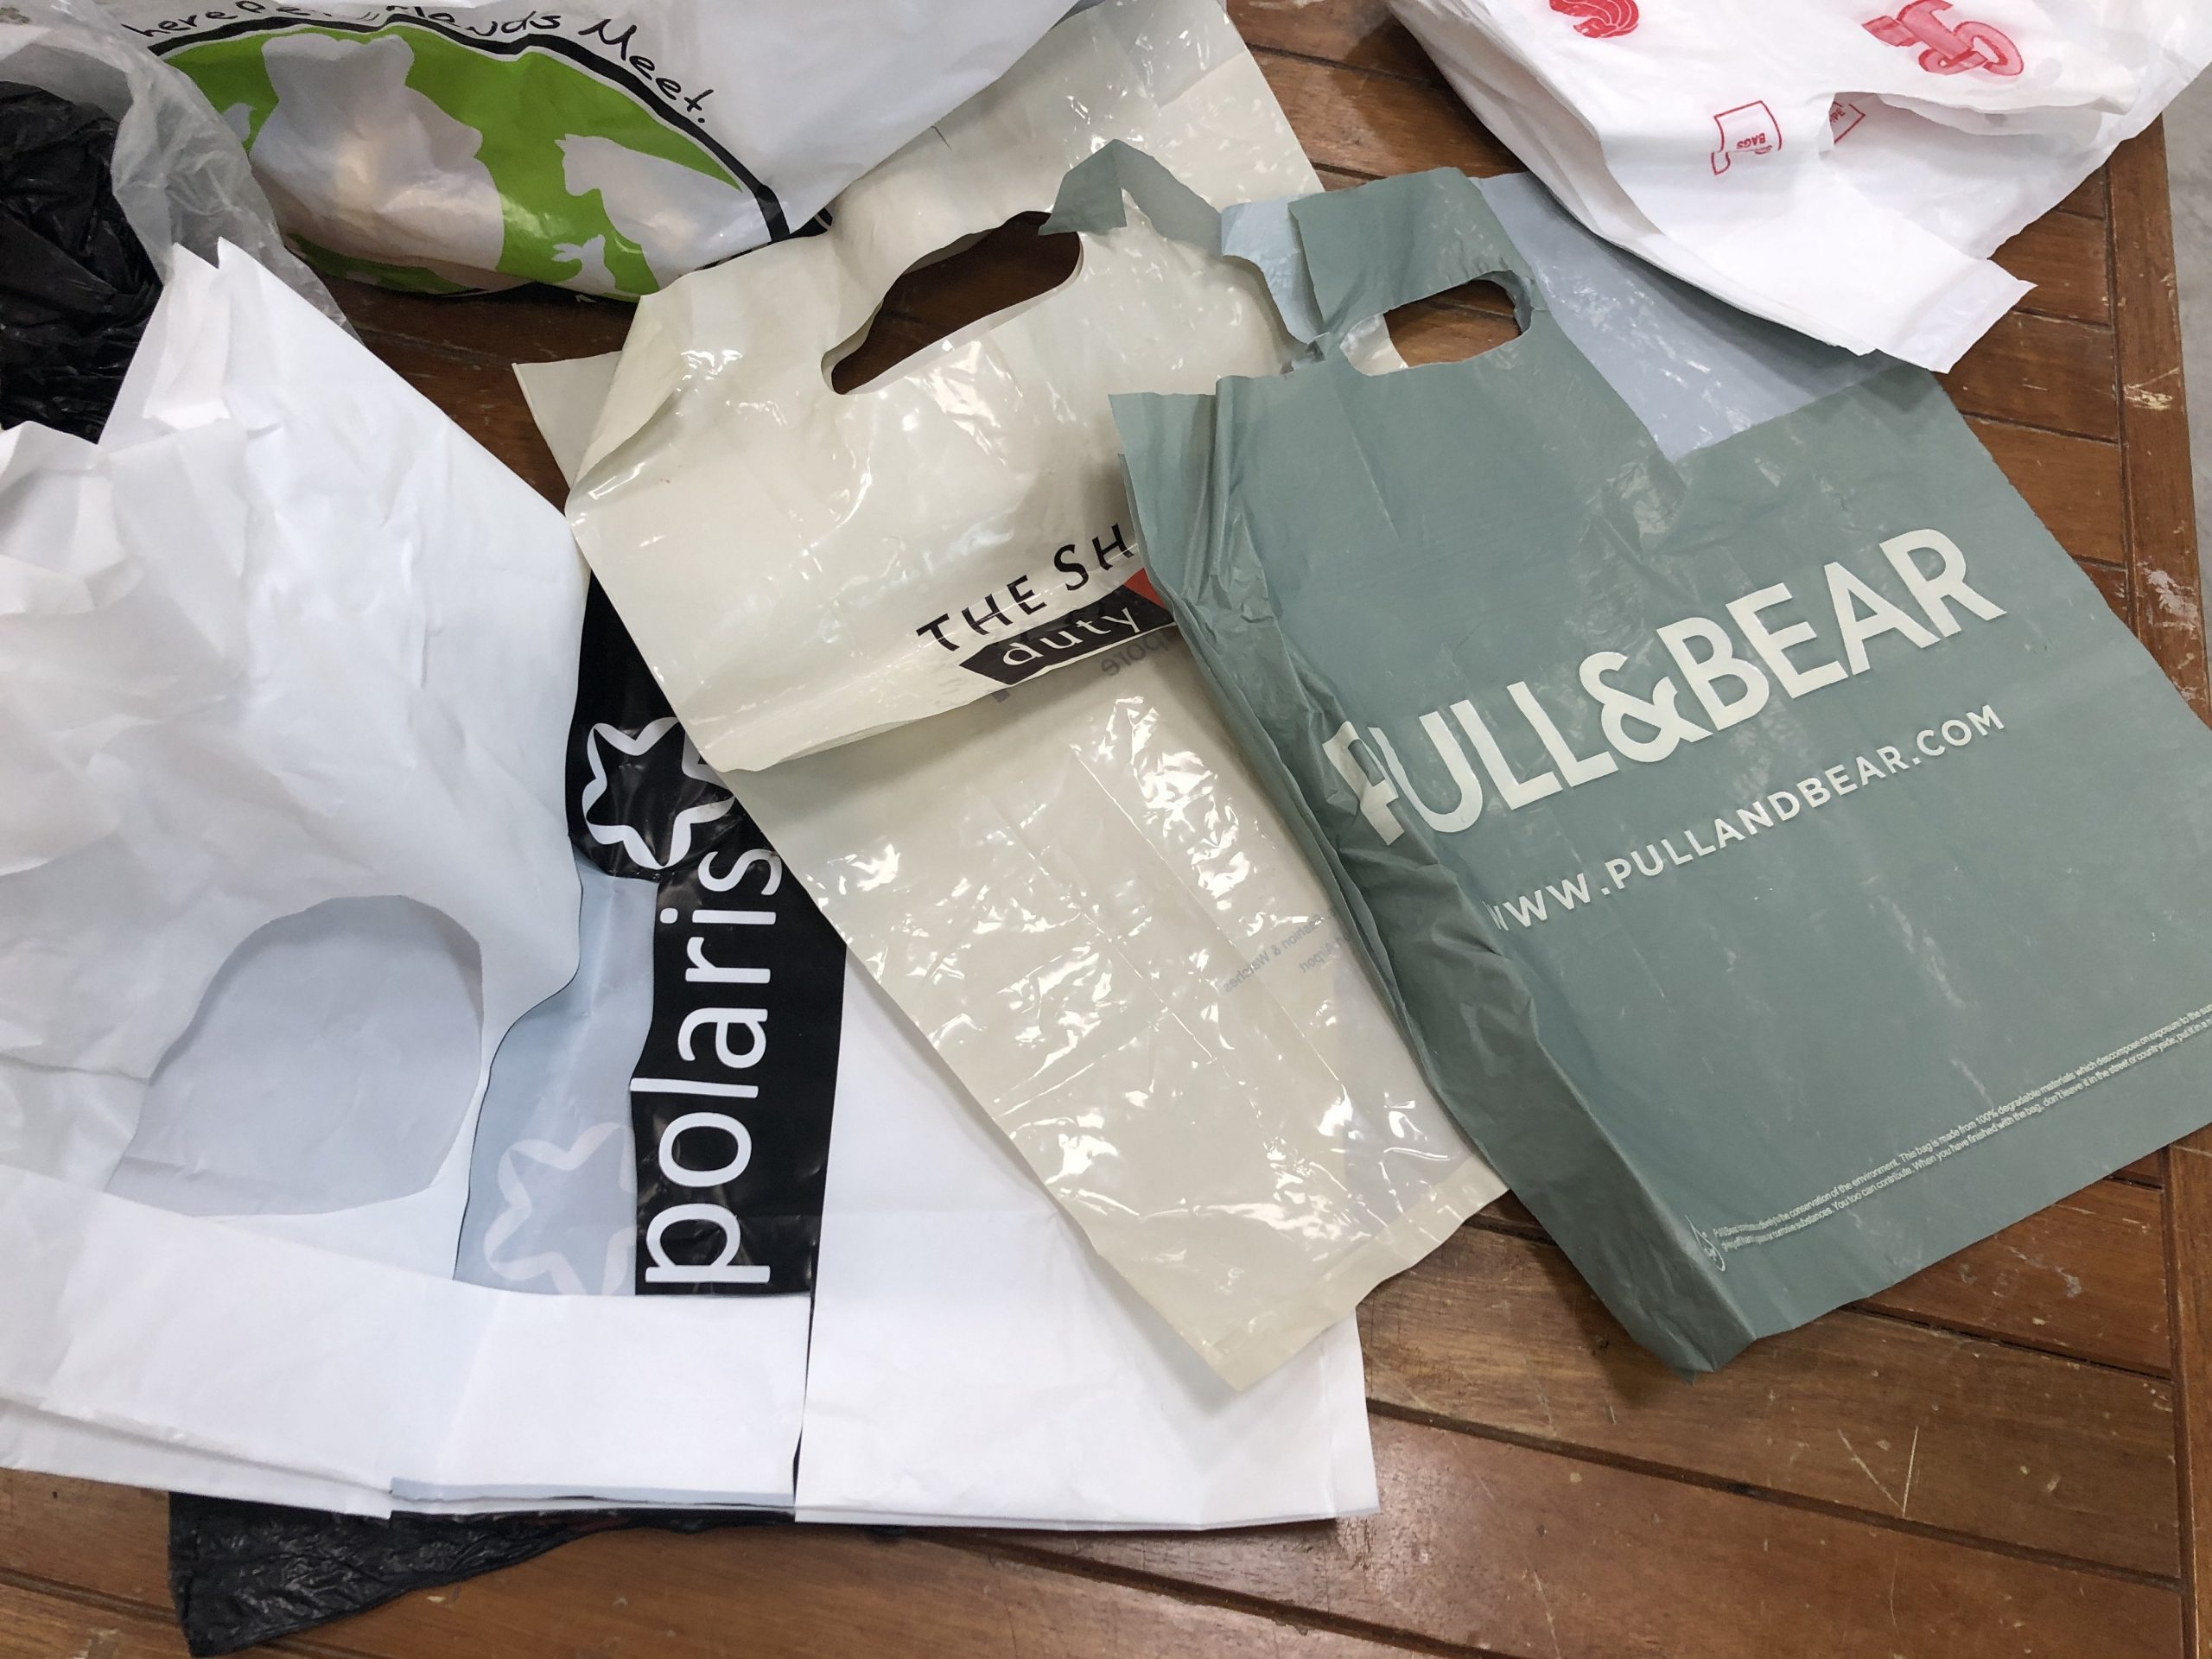
The bags which I brought
I think this is definitely one of the more fun methods for me! As I love how the faces turn out, it is really different from when you lay it out as plastic pieces. The only thing is that when the bits of plastic are small it is hard to manipulate them and thinner plastics may melt and warp.
Week 1 & 2: Transfer Printing
For my 1st lesson which was on week 2, we were trying out transfer printing!
I was introduced to 2 different methods in class by Ms Galina. The first is dry transfer using crayon drawings which can be iron onto the fabric.
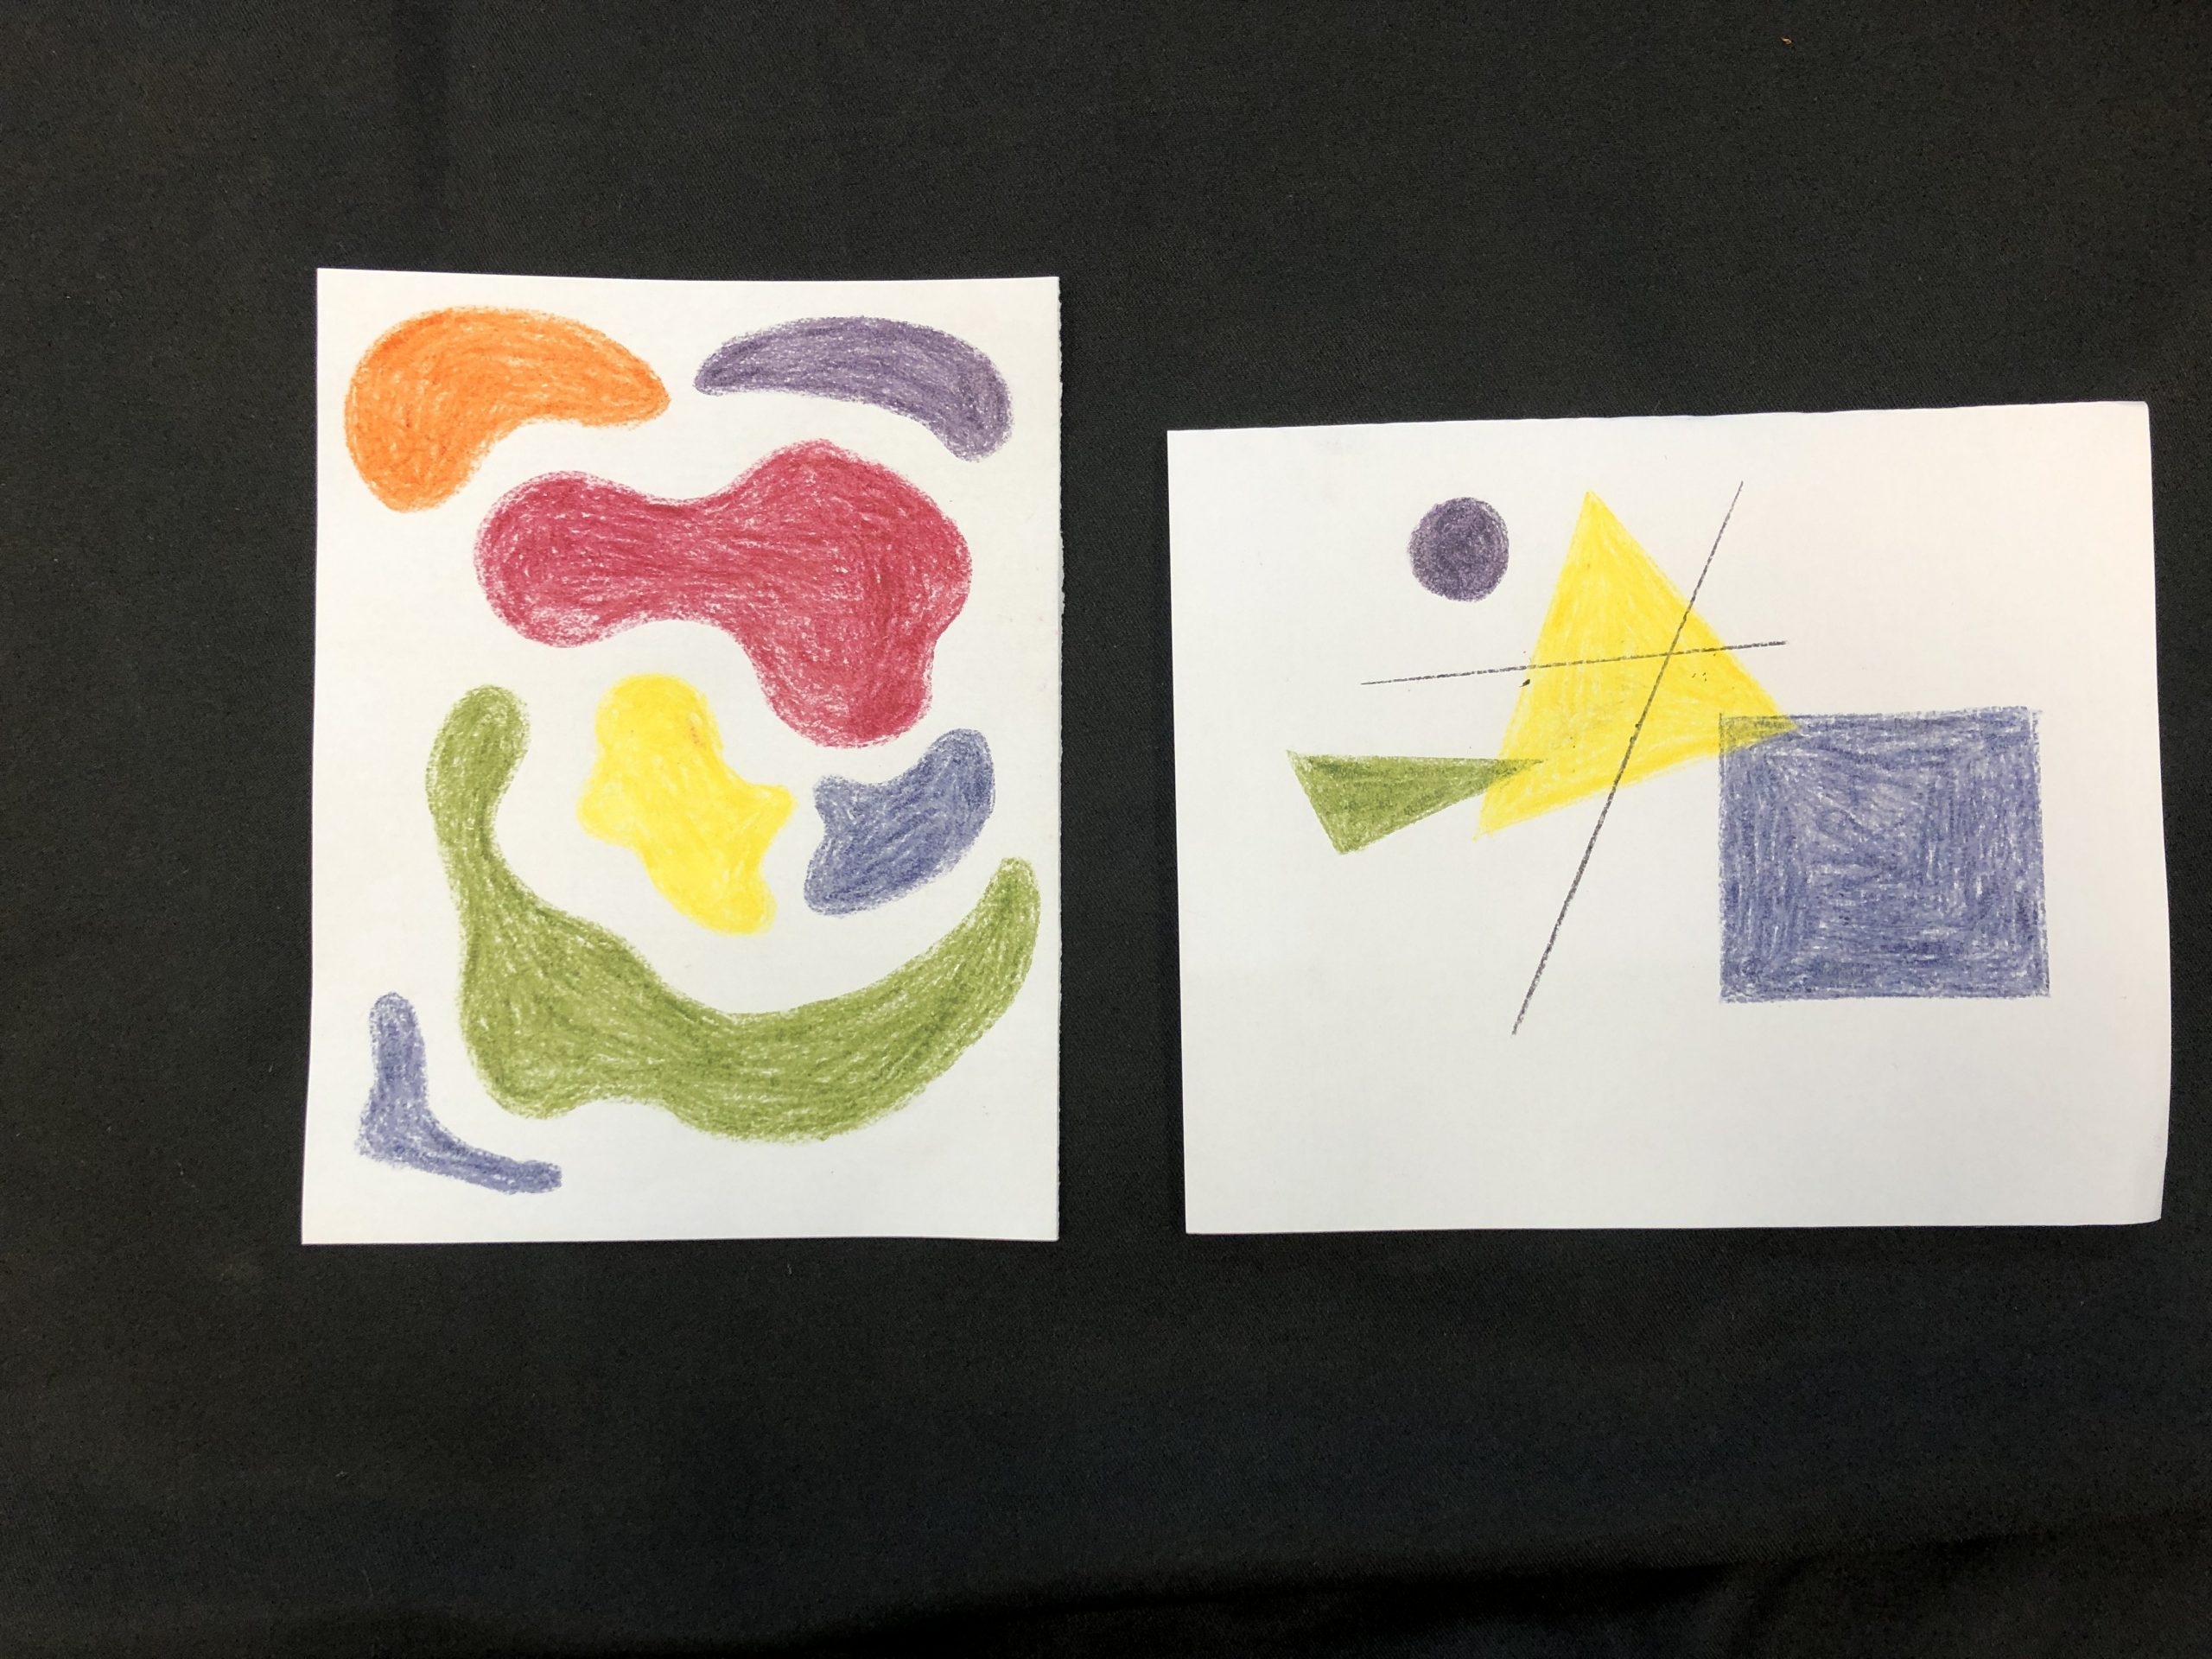
Paper Drawings with Crayon
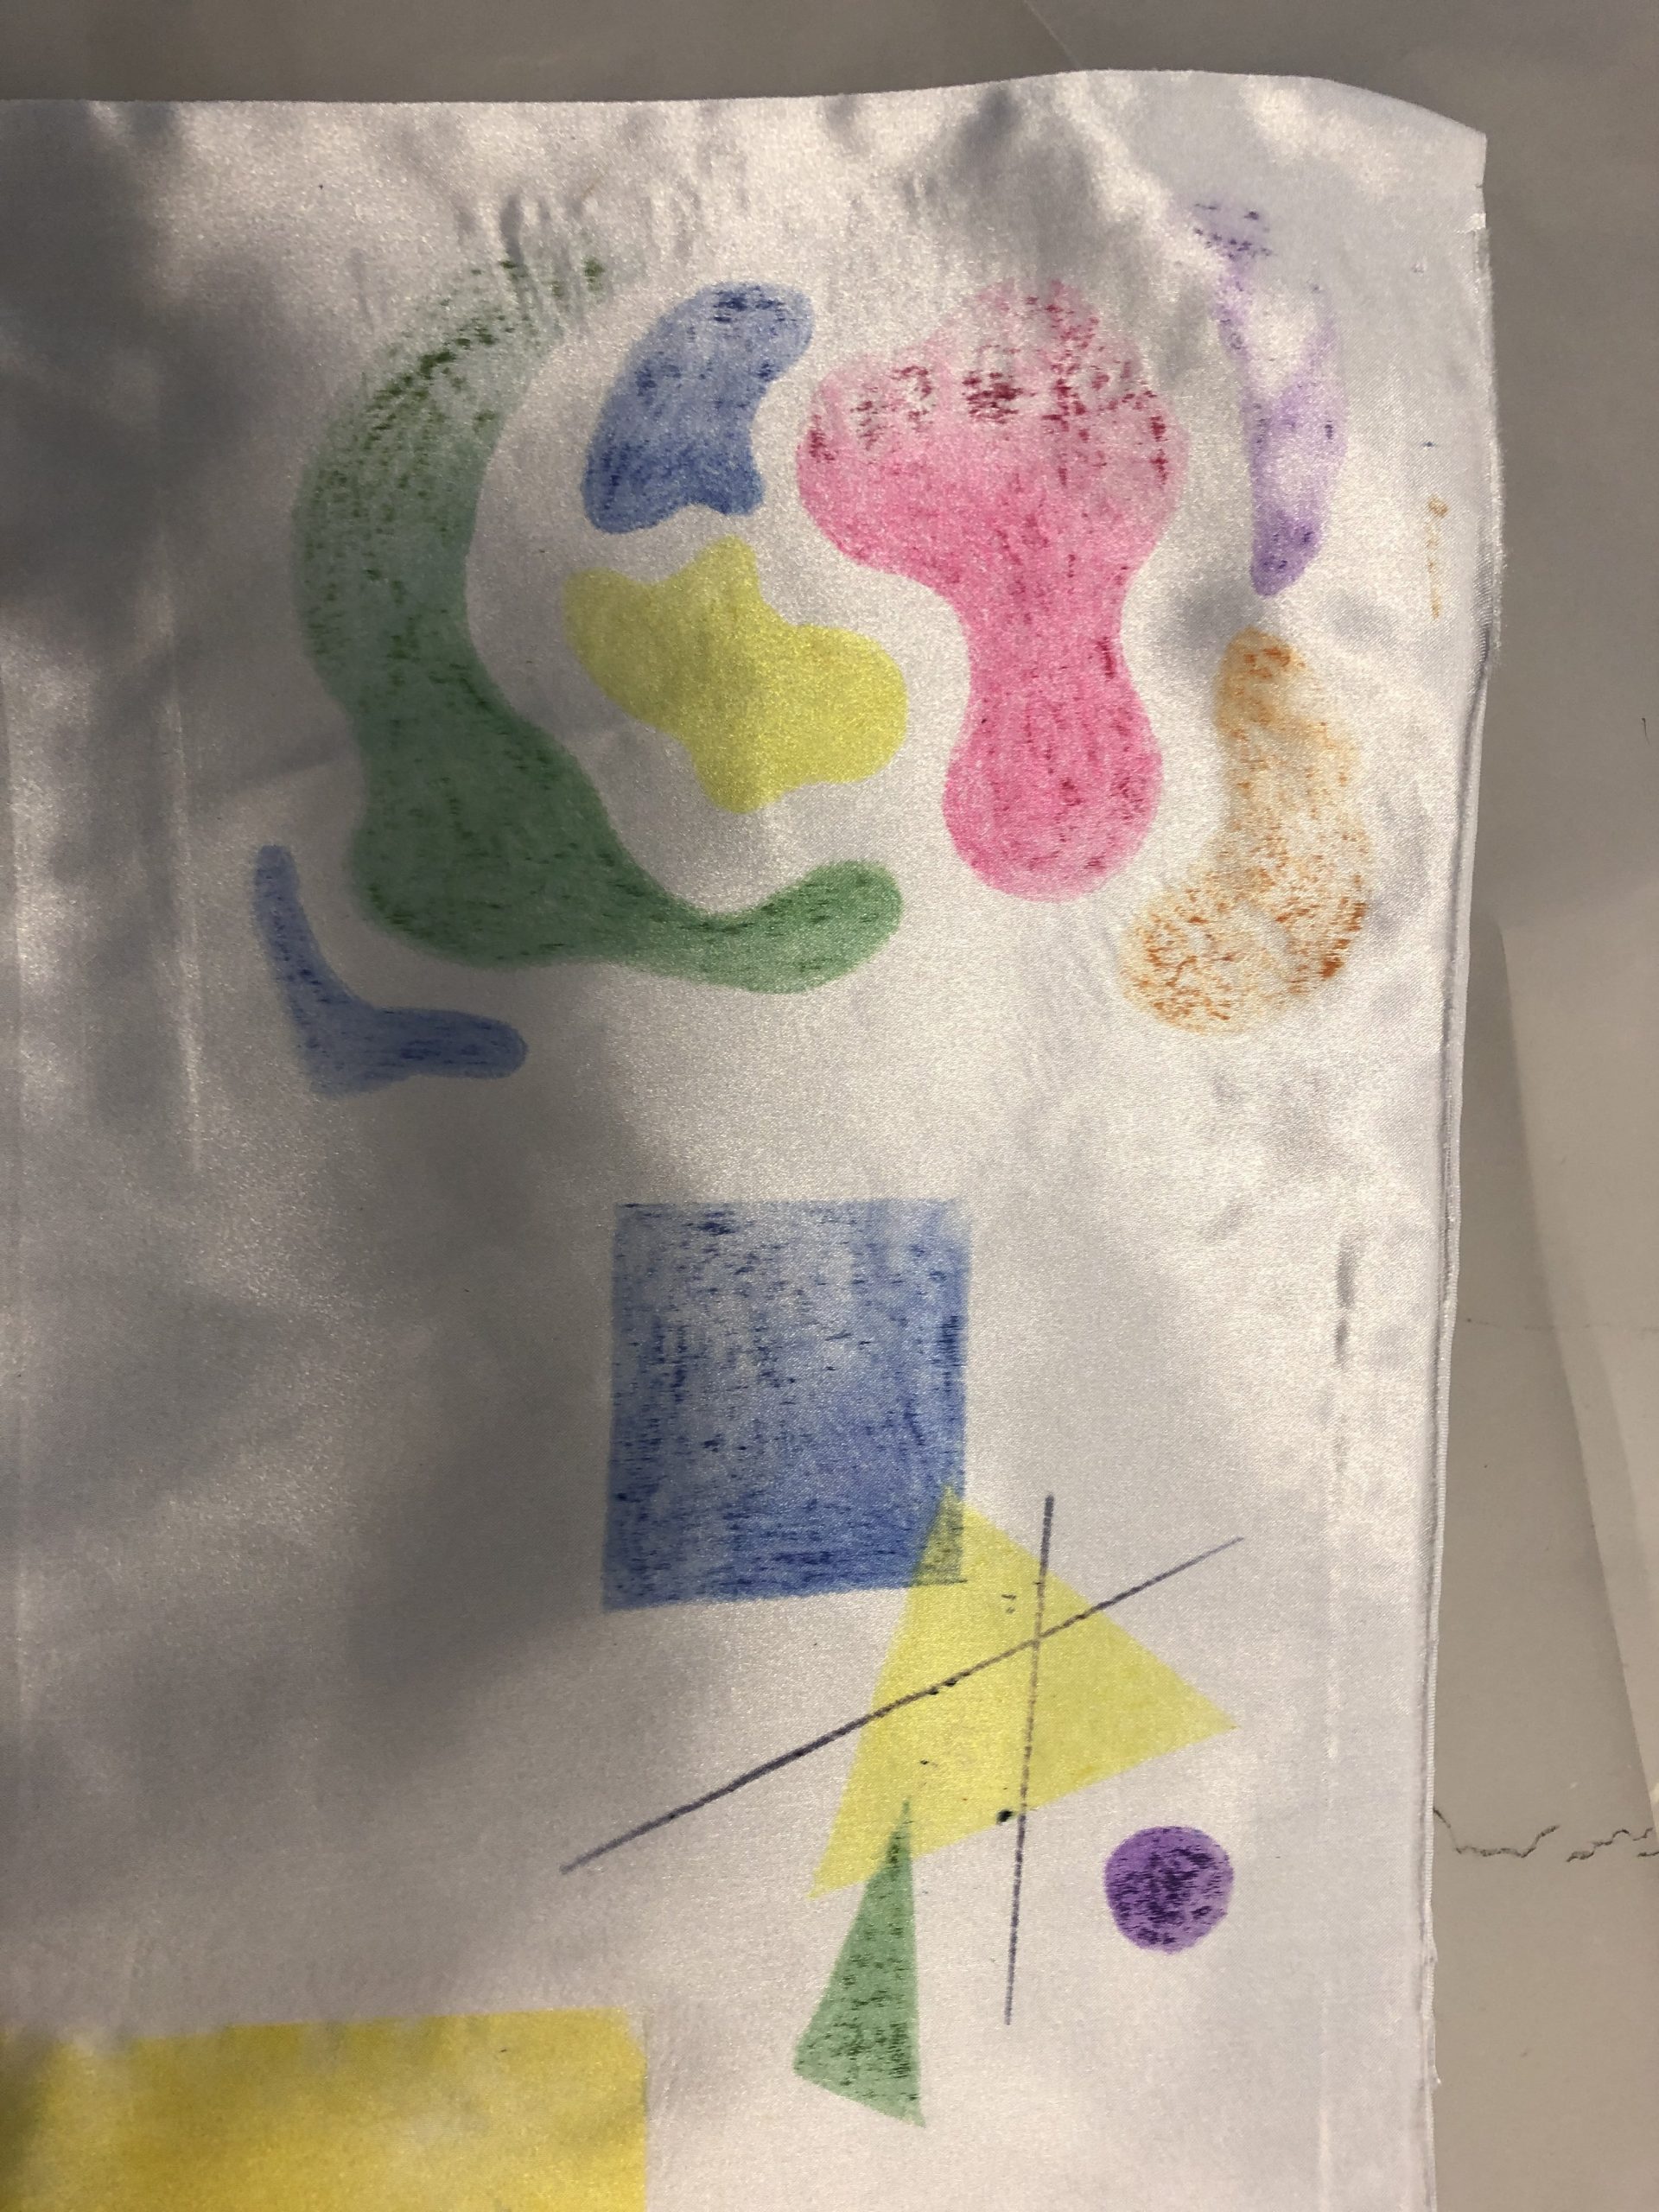
Result after ironing onto fabric
I really enjoy this method, however the crayon does not really transfer evenly onto the fabric so it is patchy at some parts, perhaps due to the amount of crayon I coloured or the texture of the fabric. However I still enjoyed this method as it allows me to use more graphic elements as I am the only controlling the drawing and I can control the crayon more easily.
The next method we did was the wet transfer method. This involved using a wet transfer ink and painting it onto the paper, and then similar to the dry transfer crayon method, iron it onto fabric.
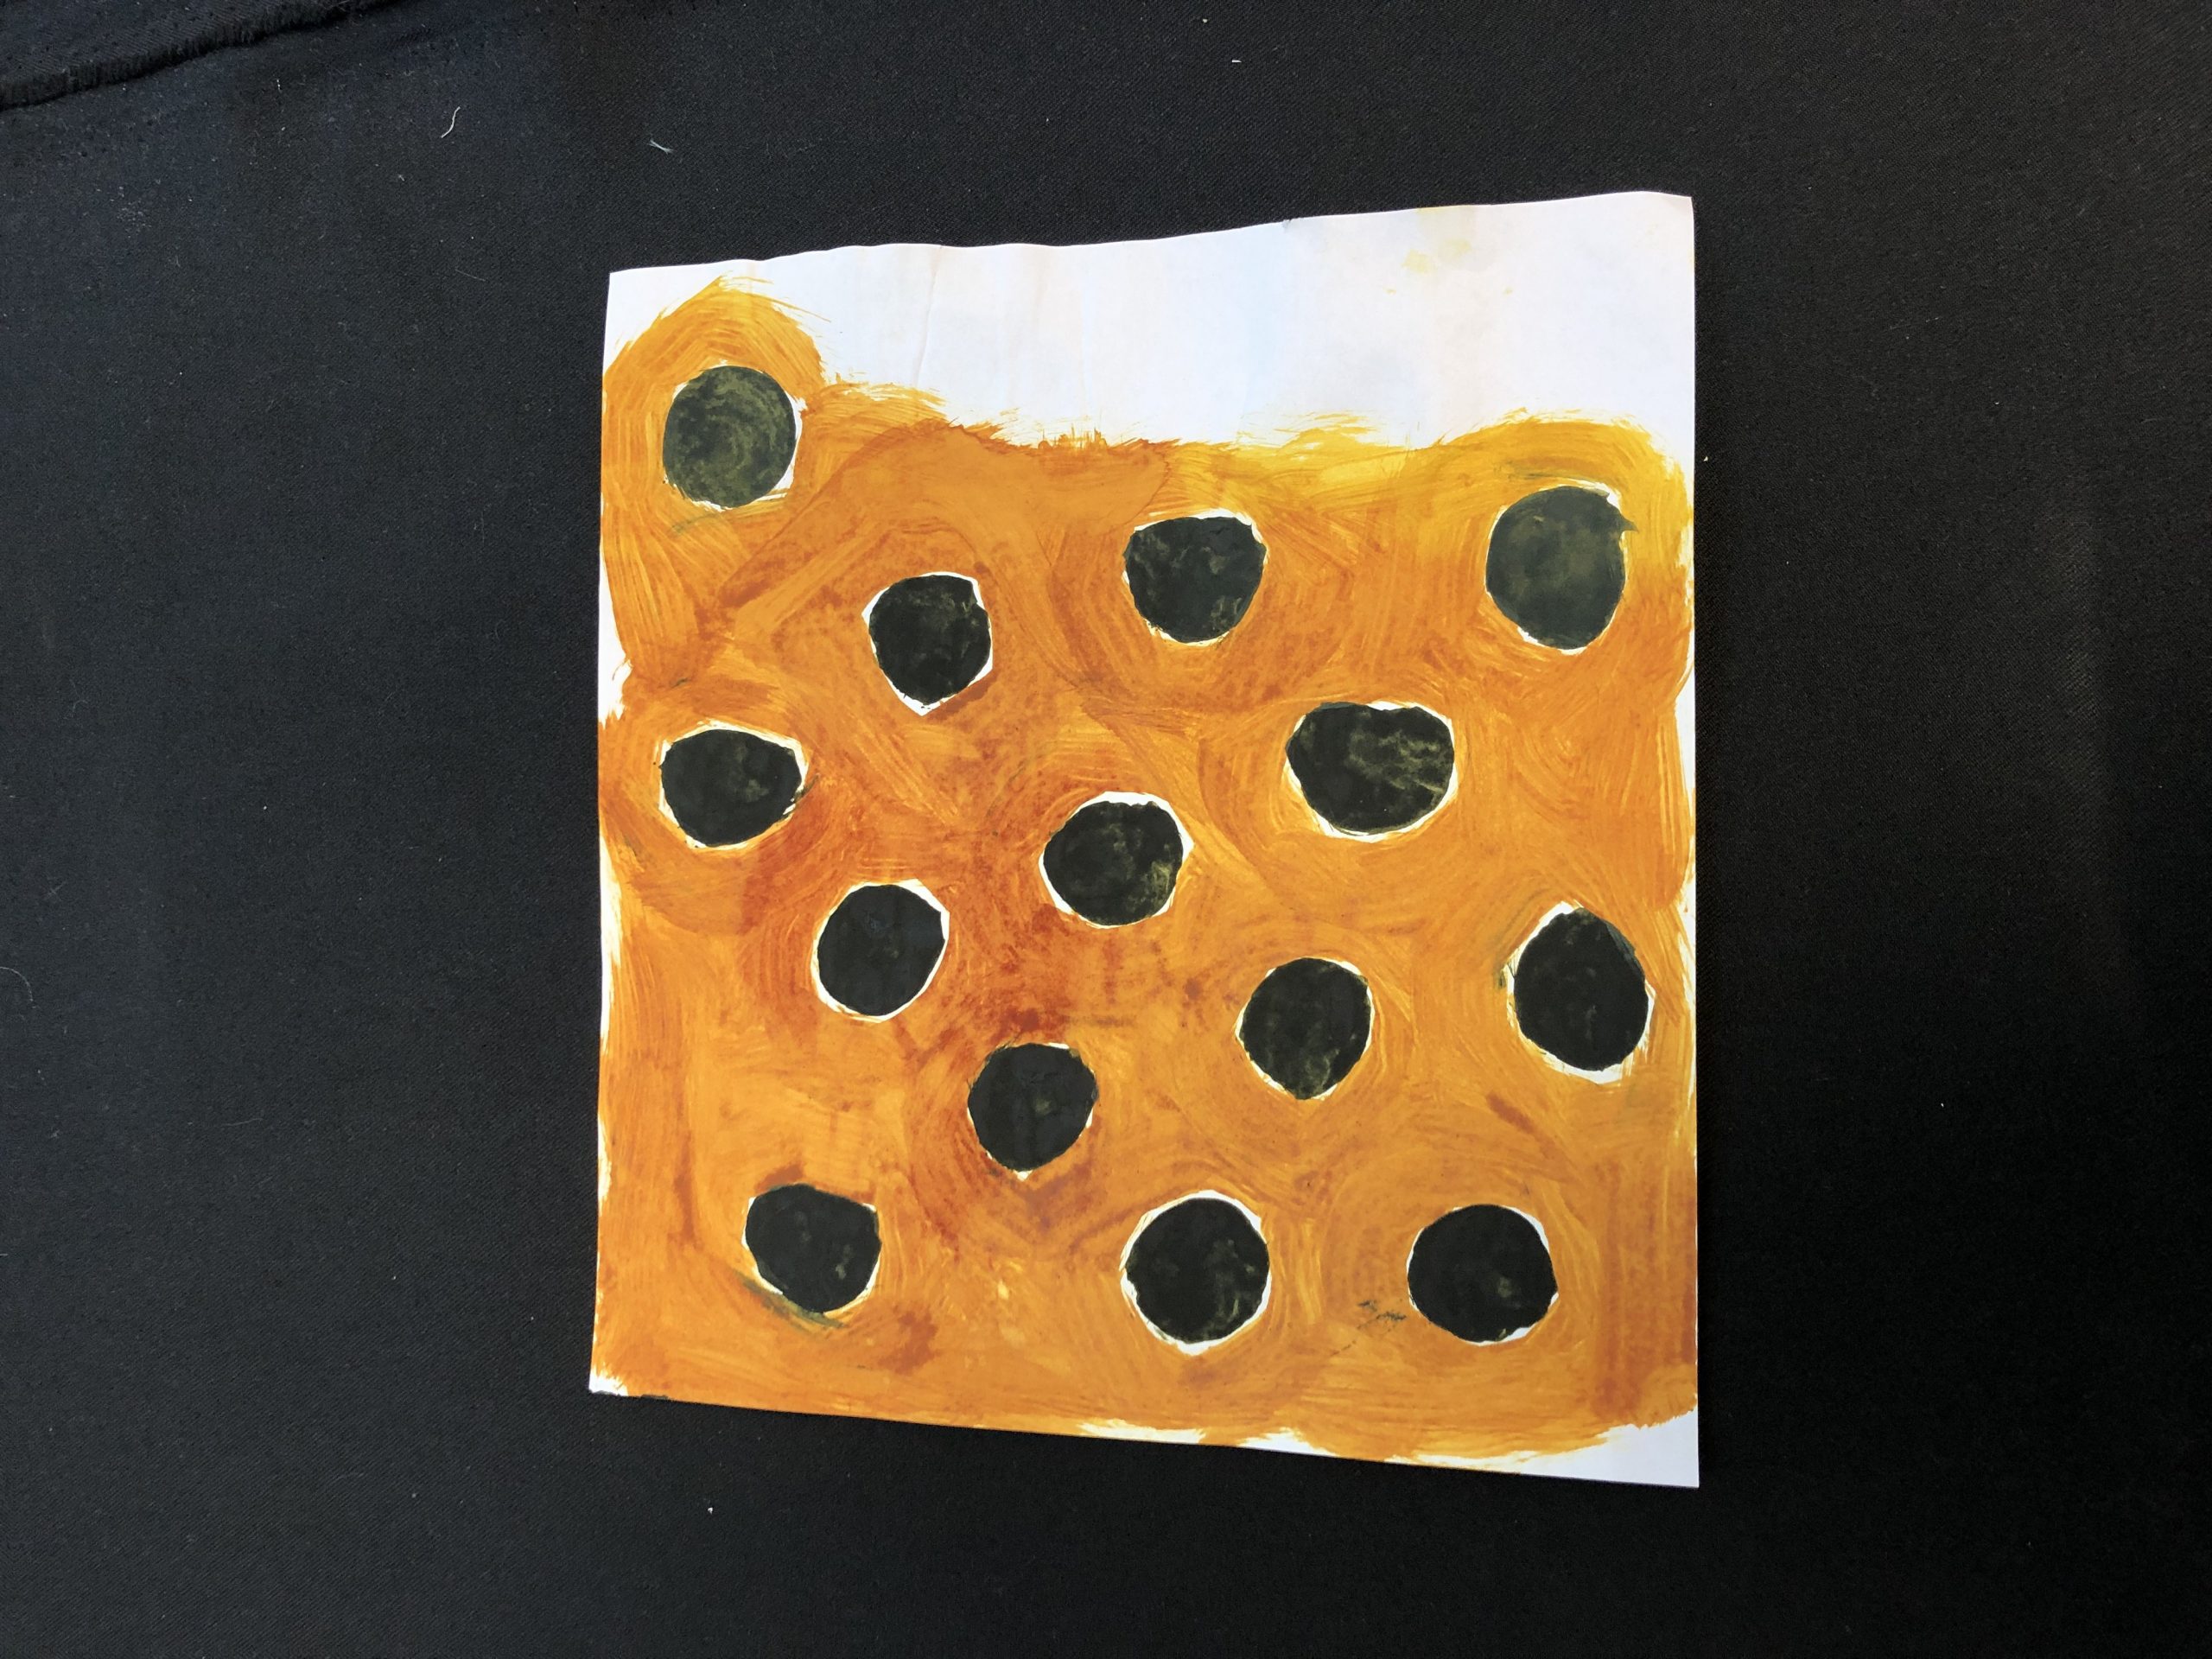
Wet transfer ink on paper
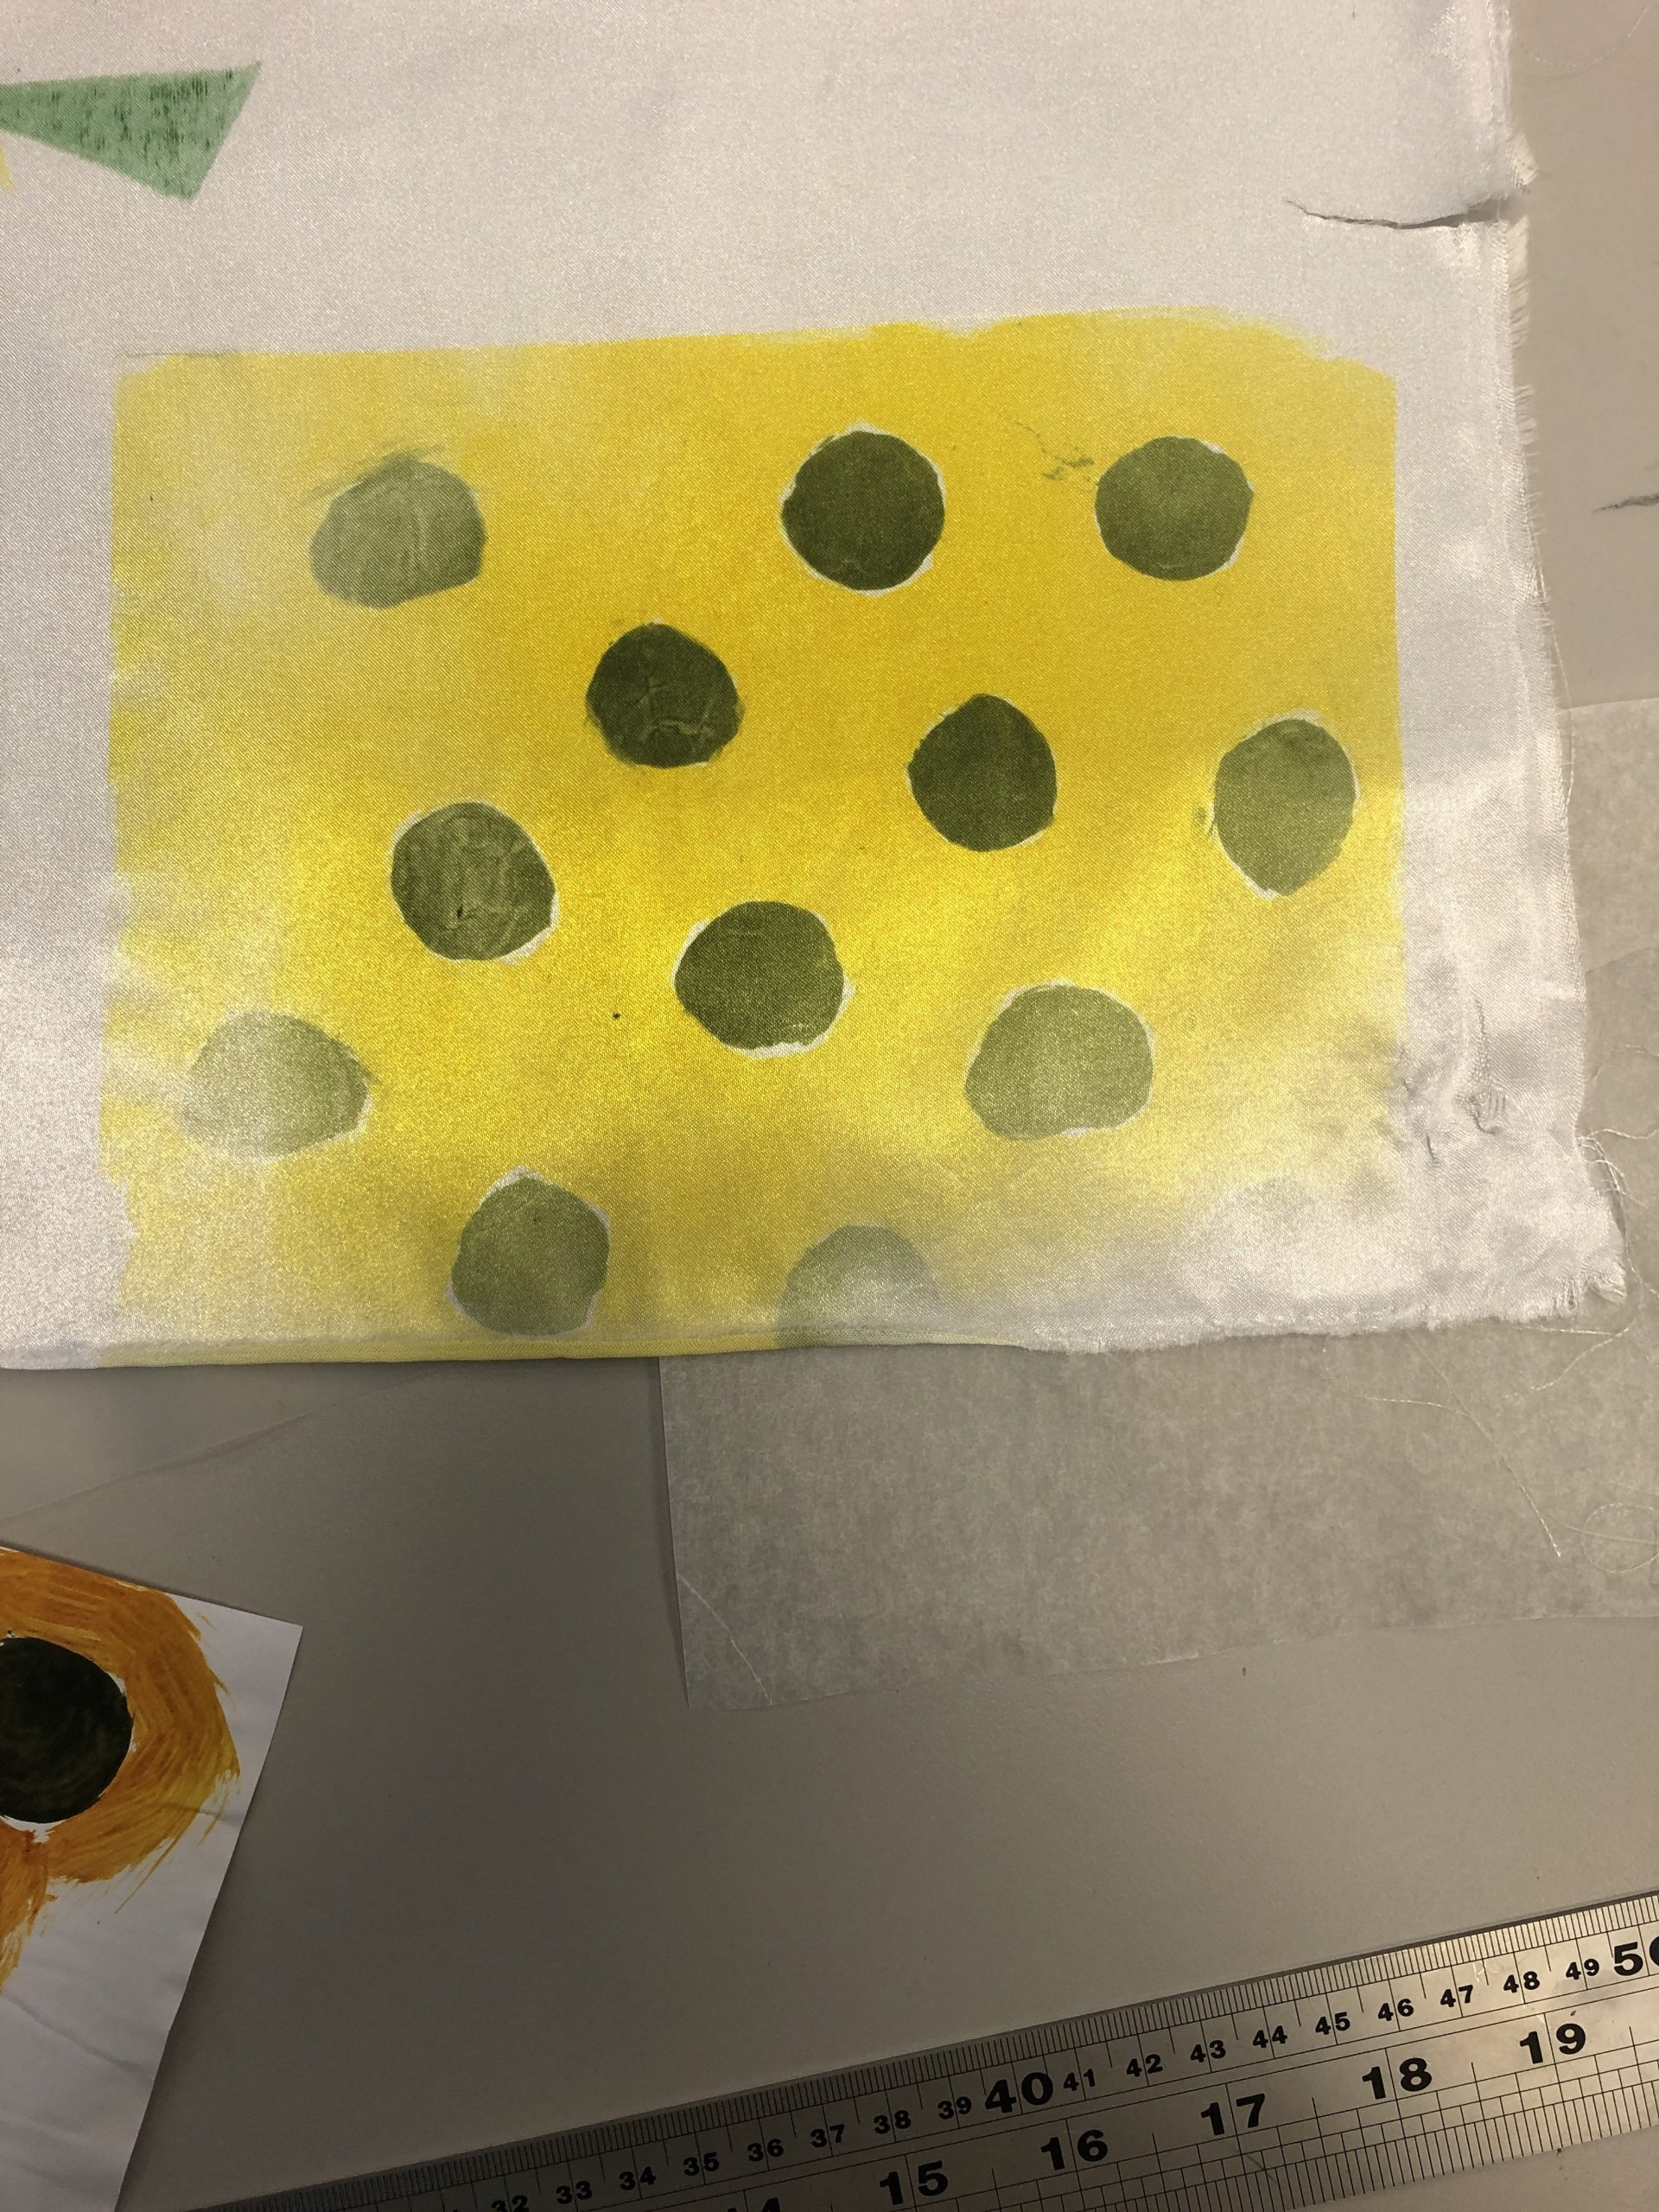
Result on fabric
The good thing about this method is that the texture does come out more even, however as we are limited to the colours that are available in class, I prefer the dry transfer method!
I was sadly unable to do more exploration this week as I had to rush both transfer methods during 1 class!
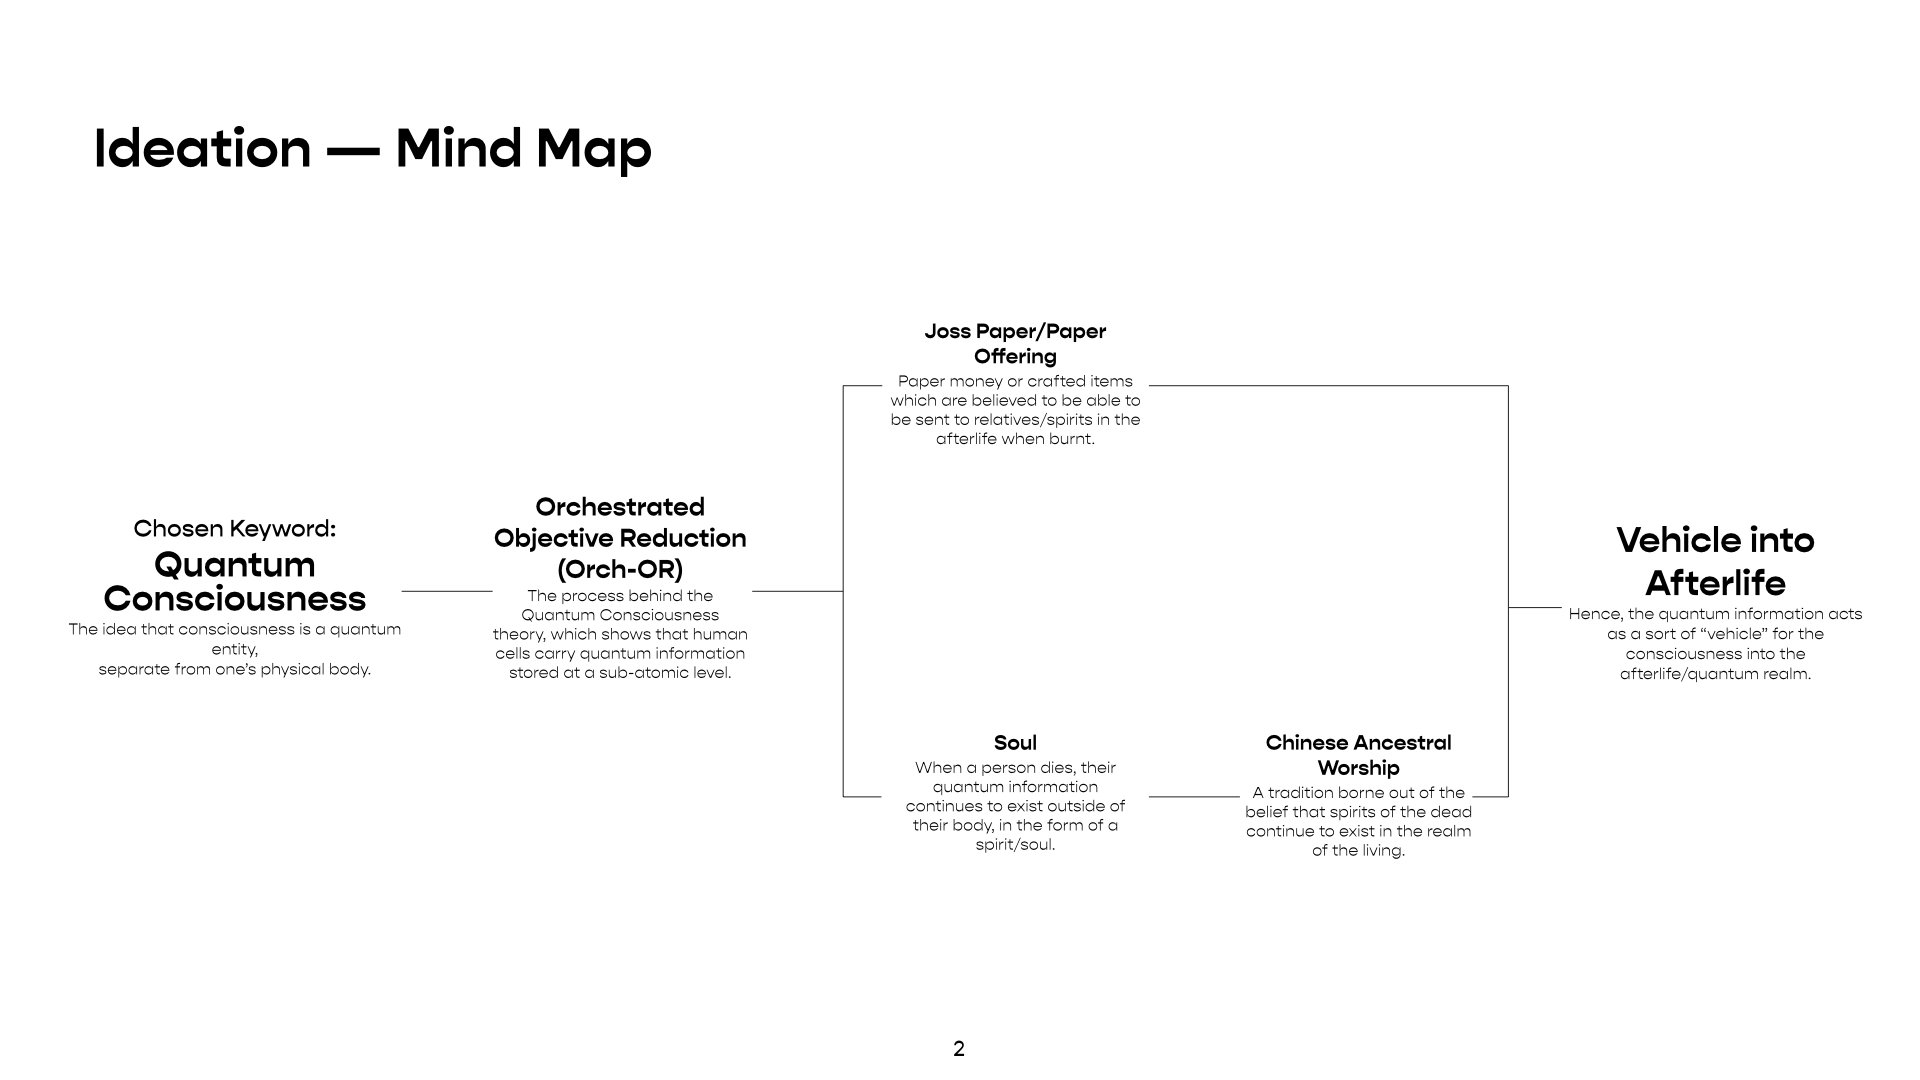
Project 3


Project 2 Ideation, Process & Final


Final:

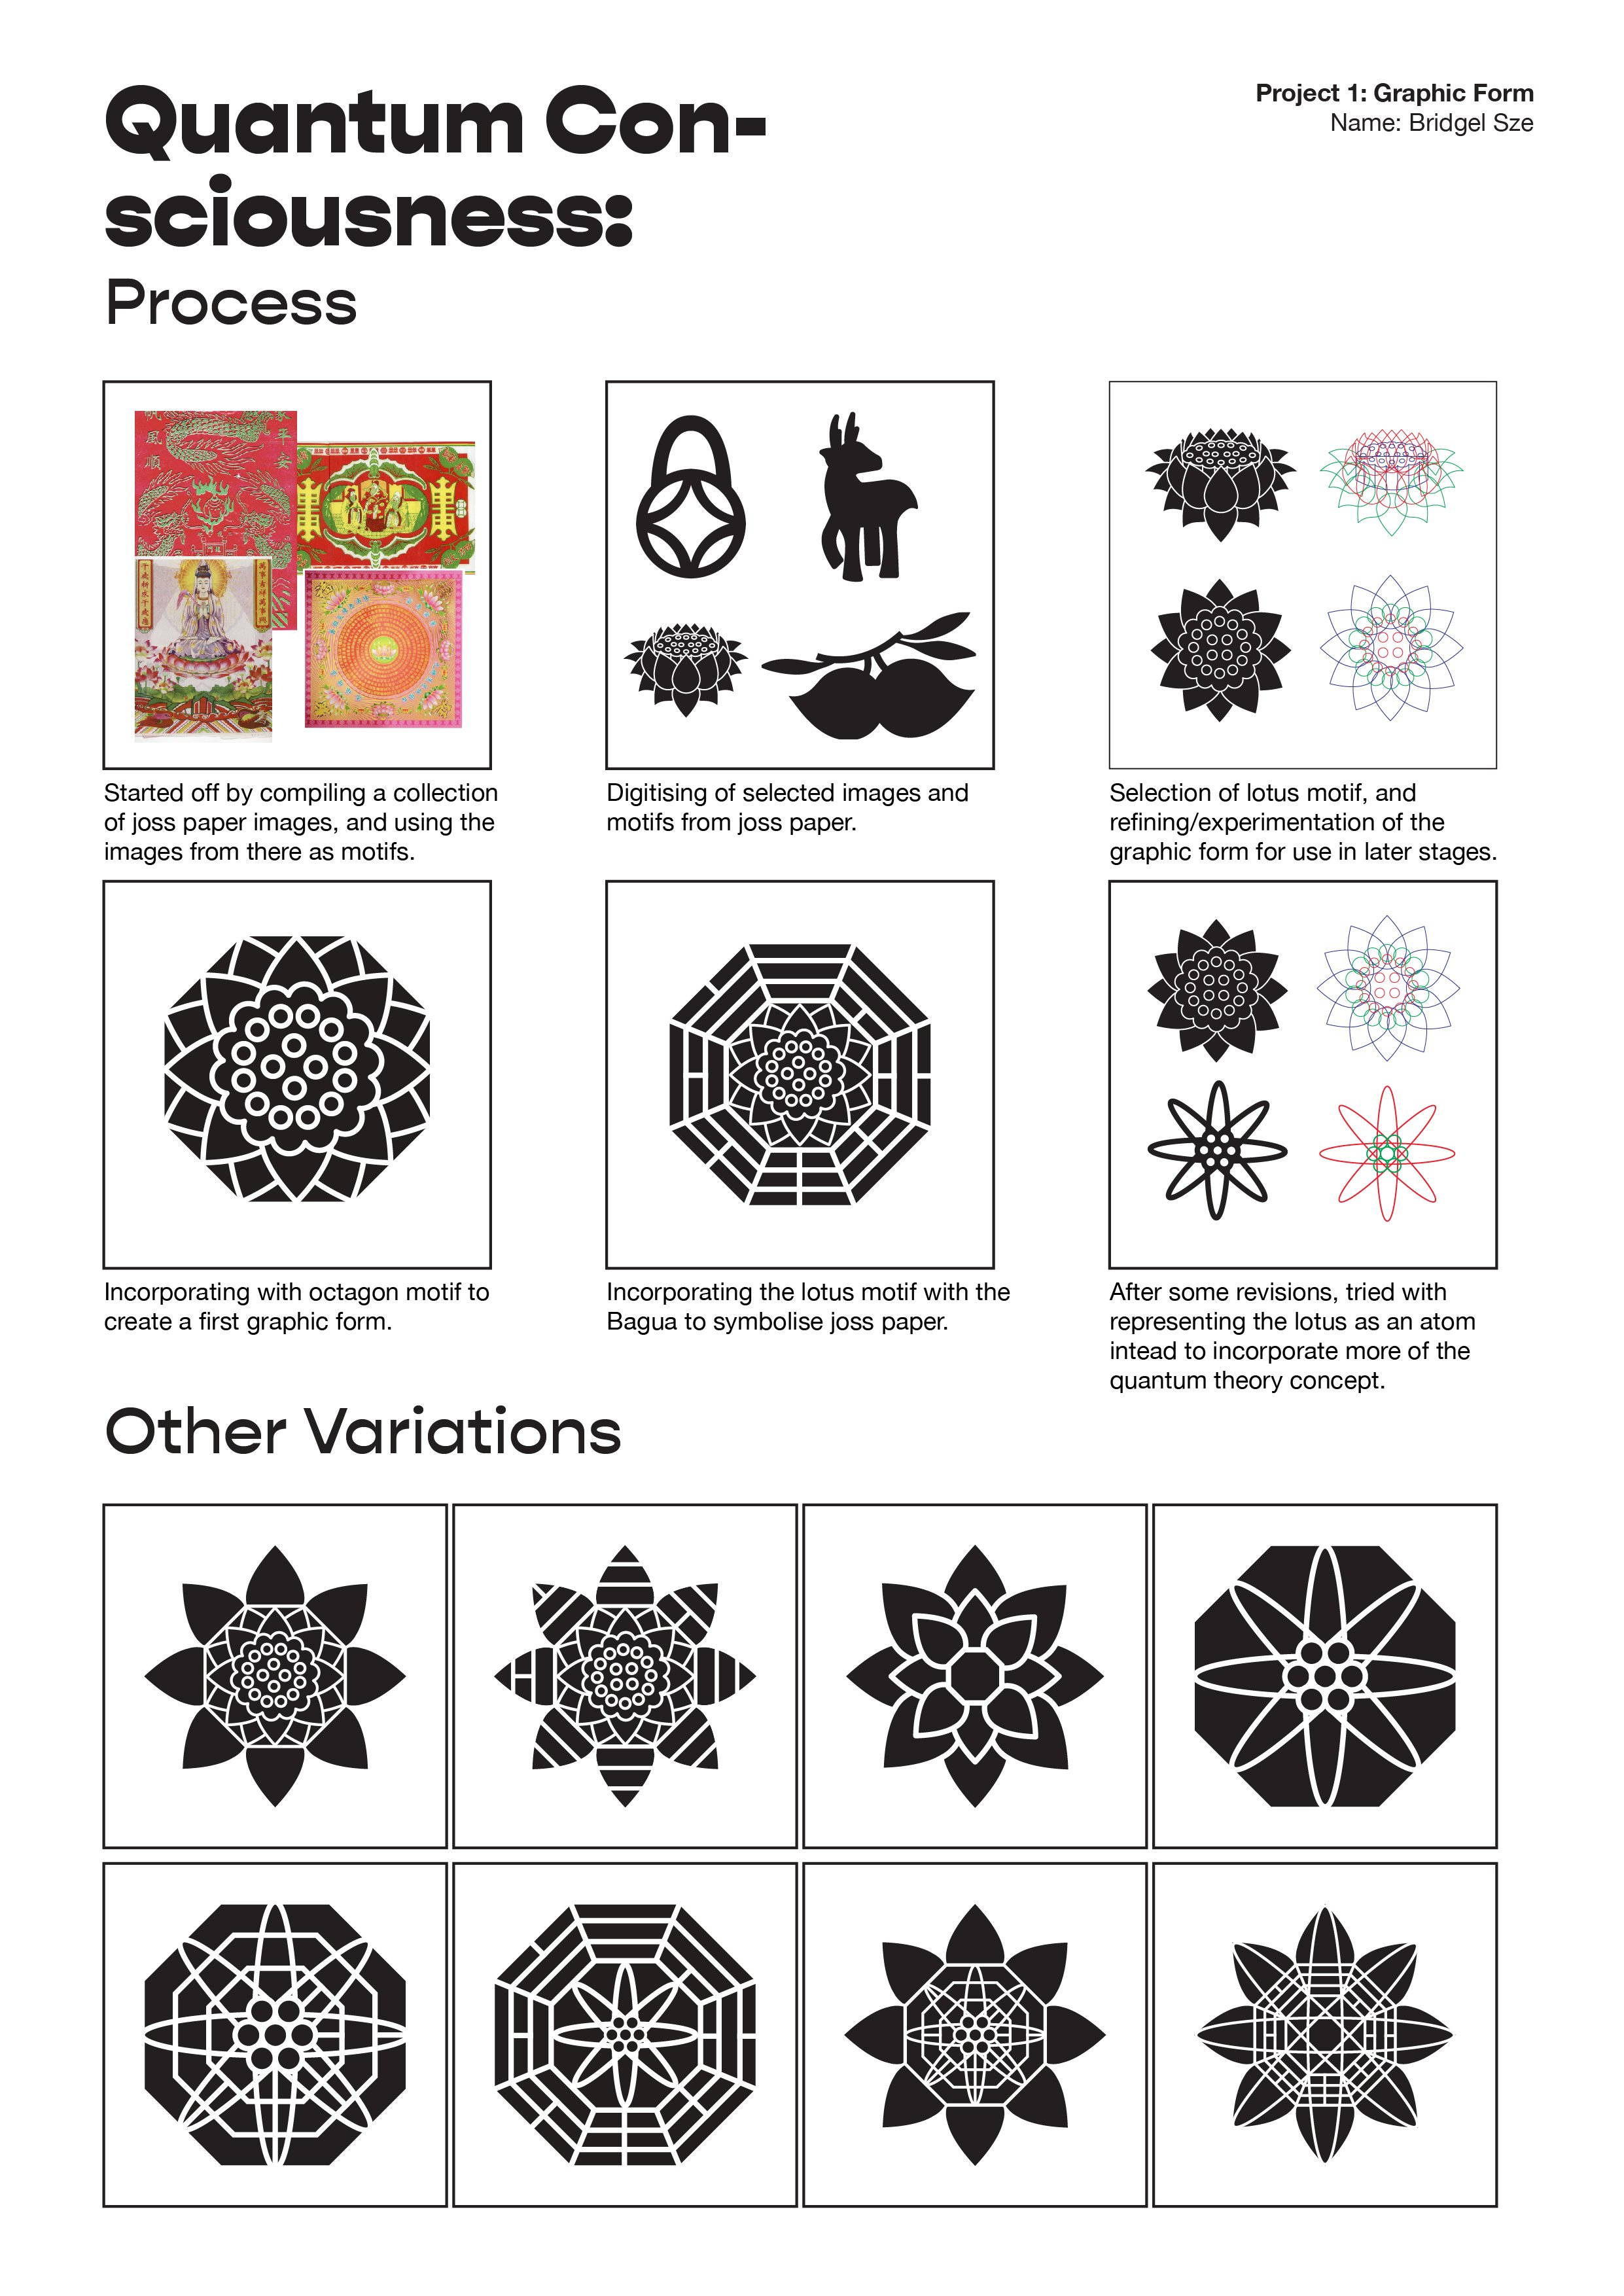
Project 1 Graphic Form: Process & Final


Final Submission Template: