I finally managed to obtain the pictures of me making my costume so I will feature them in this post alongside some of the images from our rehearsal and my thoughts on it.
Costume-making
Process and Electronics


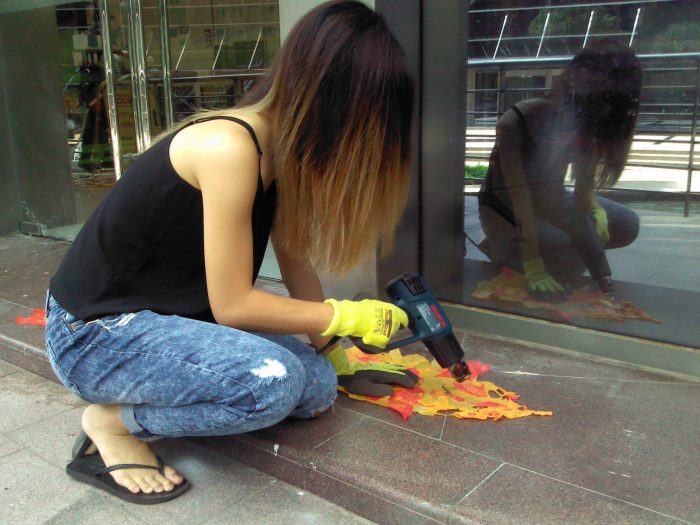
For my costume, I started out with cutting the plastic and arranging them according to the different shades of yellow, orange and red. Previously, I tested it out with yellow and orange pieces but felt the overall look did not feel strong enough so I decided to add more red. I thought the red would remind of blood and flesh and add some nice contrast to the yellows. I made sure to crumple them after I cut them to ensure a more textured surface when I melt them together. Next, I laid a layer of baking sheet over the plastic pieces before ironing on it. I arranged the yellows, oranges and red evenly to create more variation in the shades before melting them together. Prof Galina advised me to hold the iron on for a while longer so that the plastic would contract more and have more creases to created a more textured effect that I hoped to achieve.

Usually, after ironing the pieces together, they still look quite rough as seen by the obvious outlines that separate each piece. I wanted a more cohesive look where the colors look like they have melted into each other. Despite crumpling many times and holding the iron on for a much longer time, the plastic did not melt into each other and its original form did not change much. I decided to try the heat gun on the large plastic pieces to see if I could melt them further.


Due to safety precautions, I had to use the heat gun outside. I blew it directly at the plastic pieces, especially in between the plastics of different colors to make them melt into each other as well as the holes. The heat from the heatgun would further melt the holes and expand them.
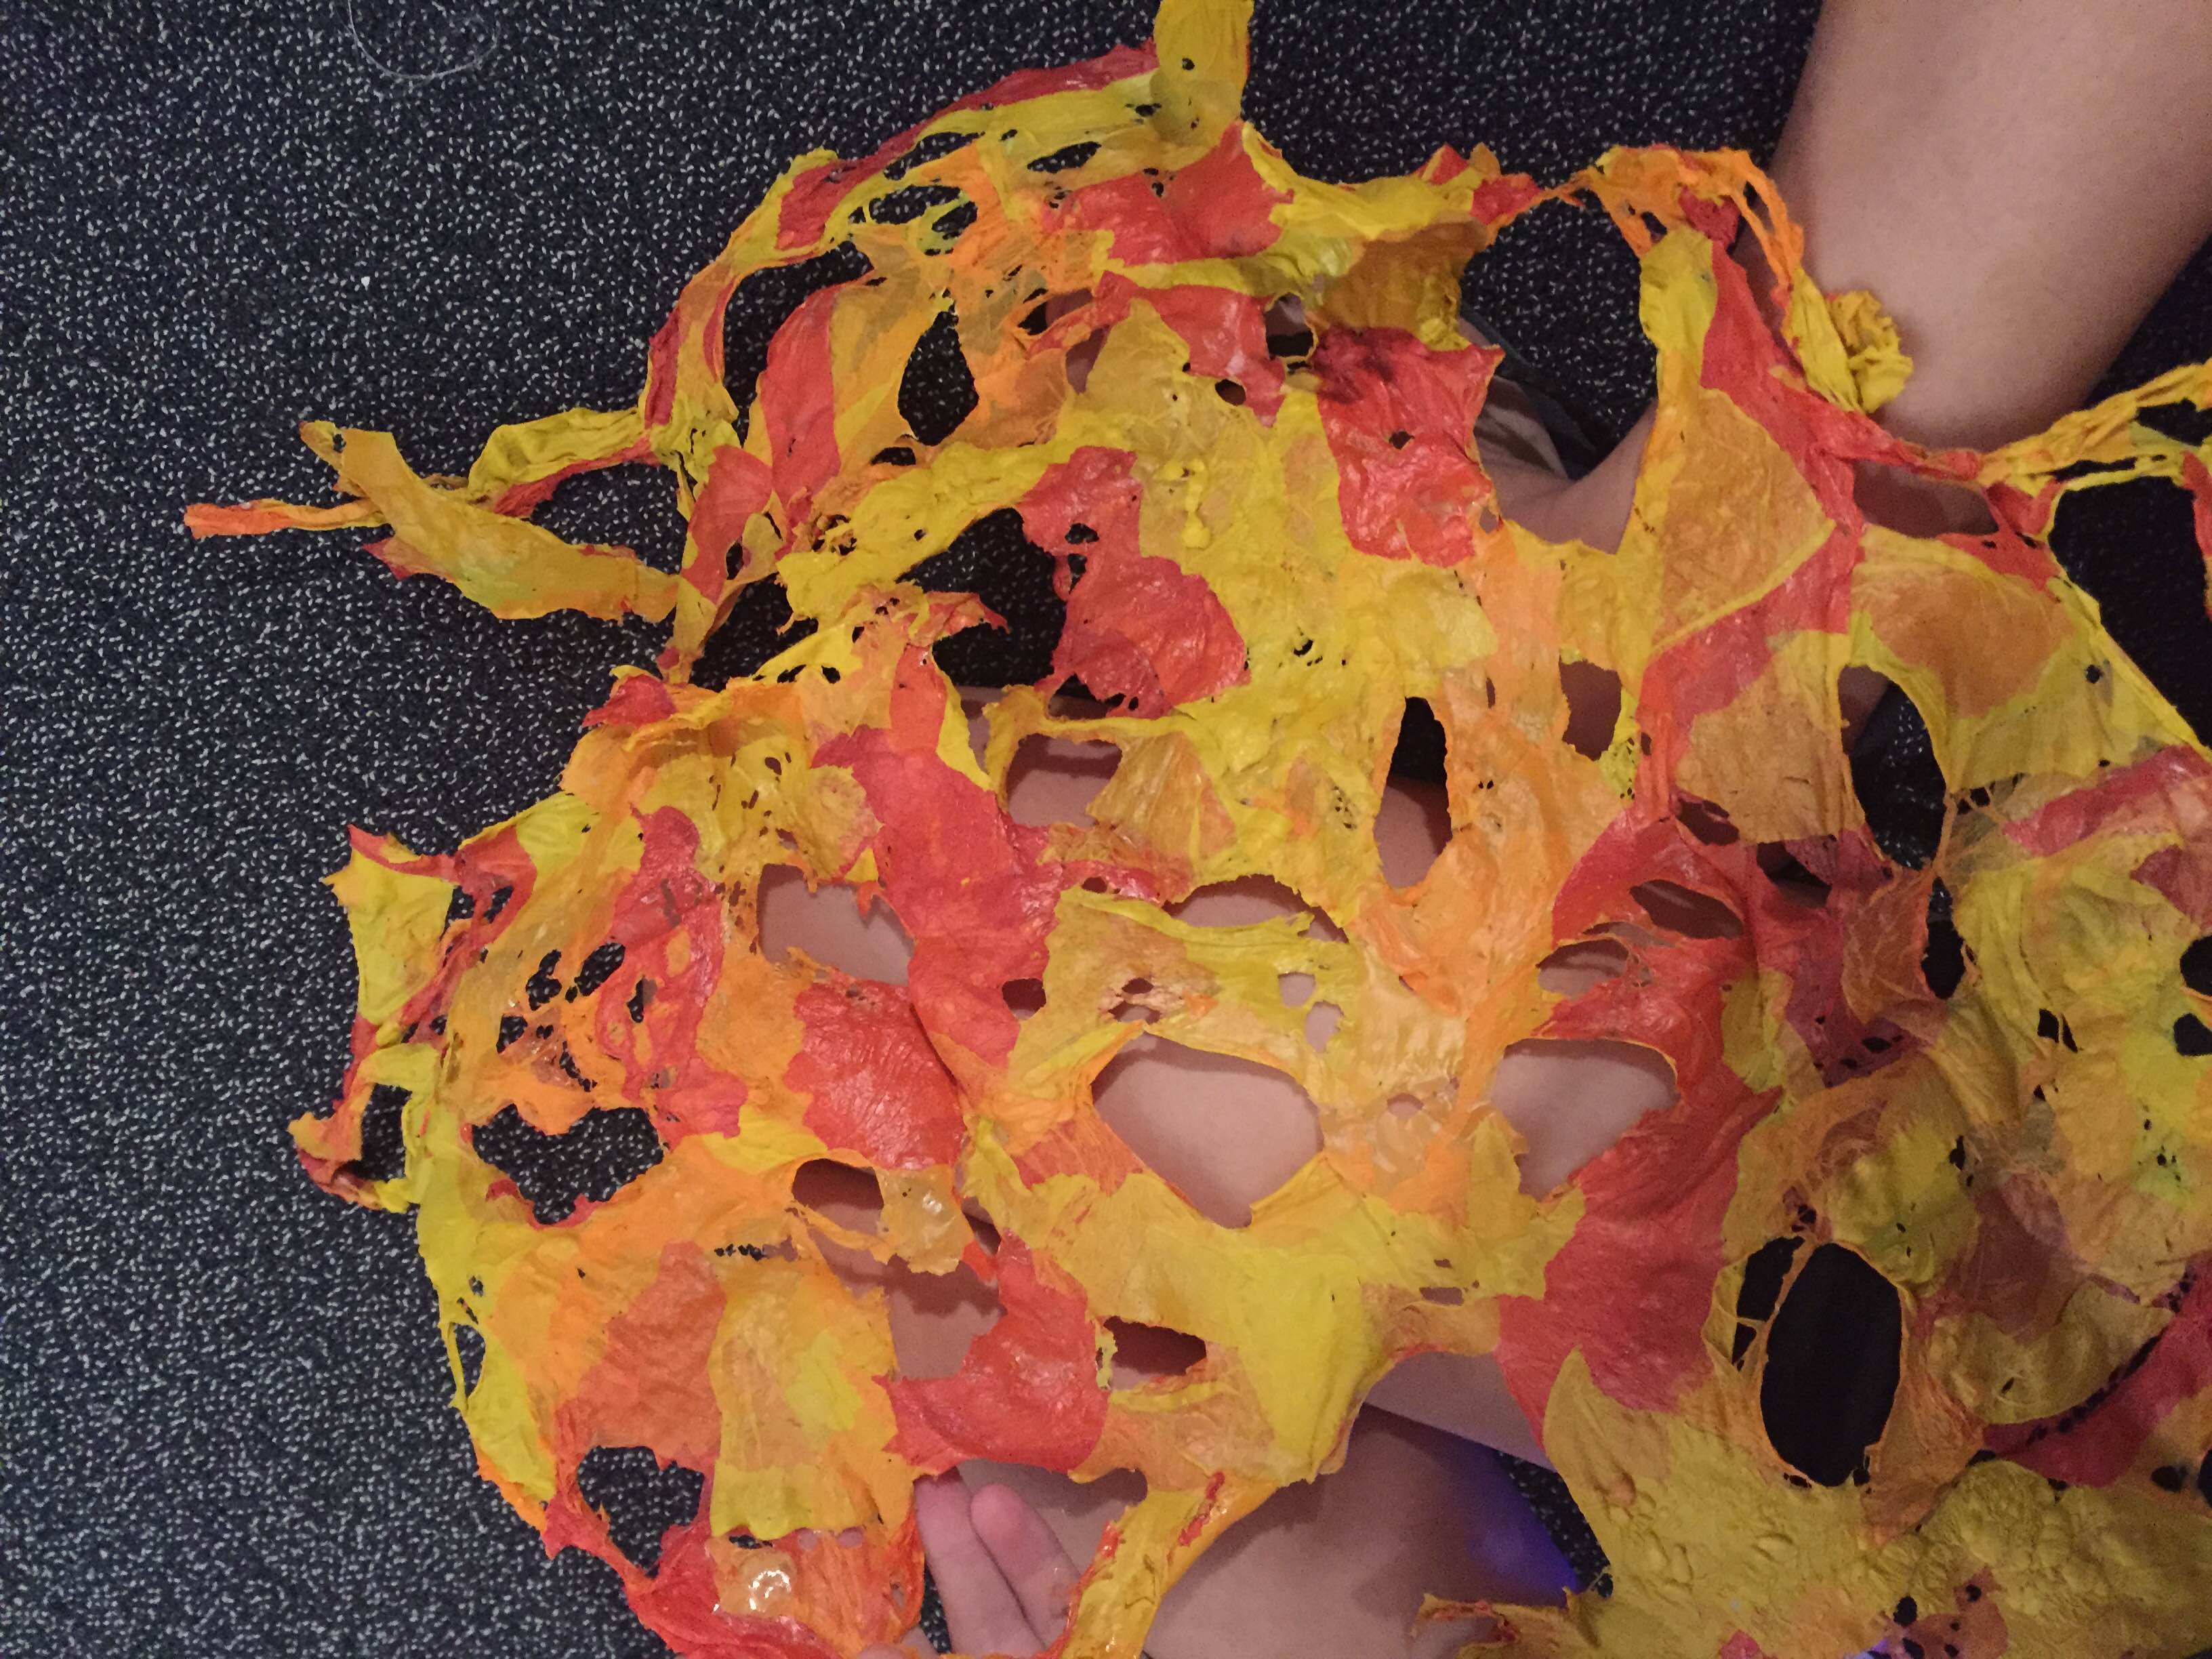
Final look of skirt piece
I was quite satisfied with the final result. It looked a lot more like melted flesh now as the heat made the plastic much more crinkly and helped to blend the different colors together, reducing the sight of the cut marks from cutting the plastics up. It also helped that the colors became more saturated and the form hardened, allowing me to mould the shape of the skirt such that it looked more like a form with its own life. The piece looked more organic now which brings back the animalistic origins of my costume idea.
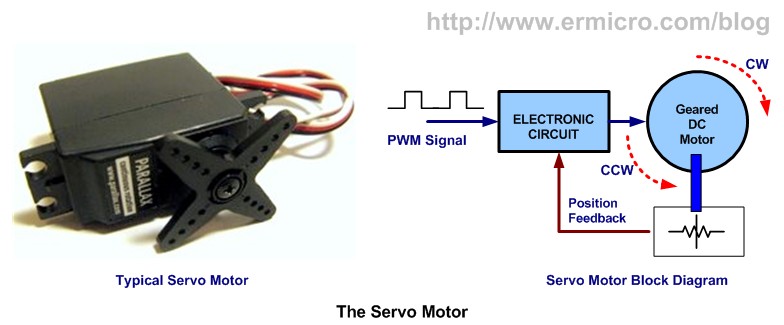
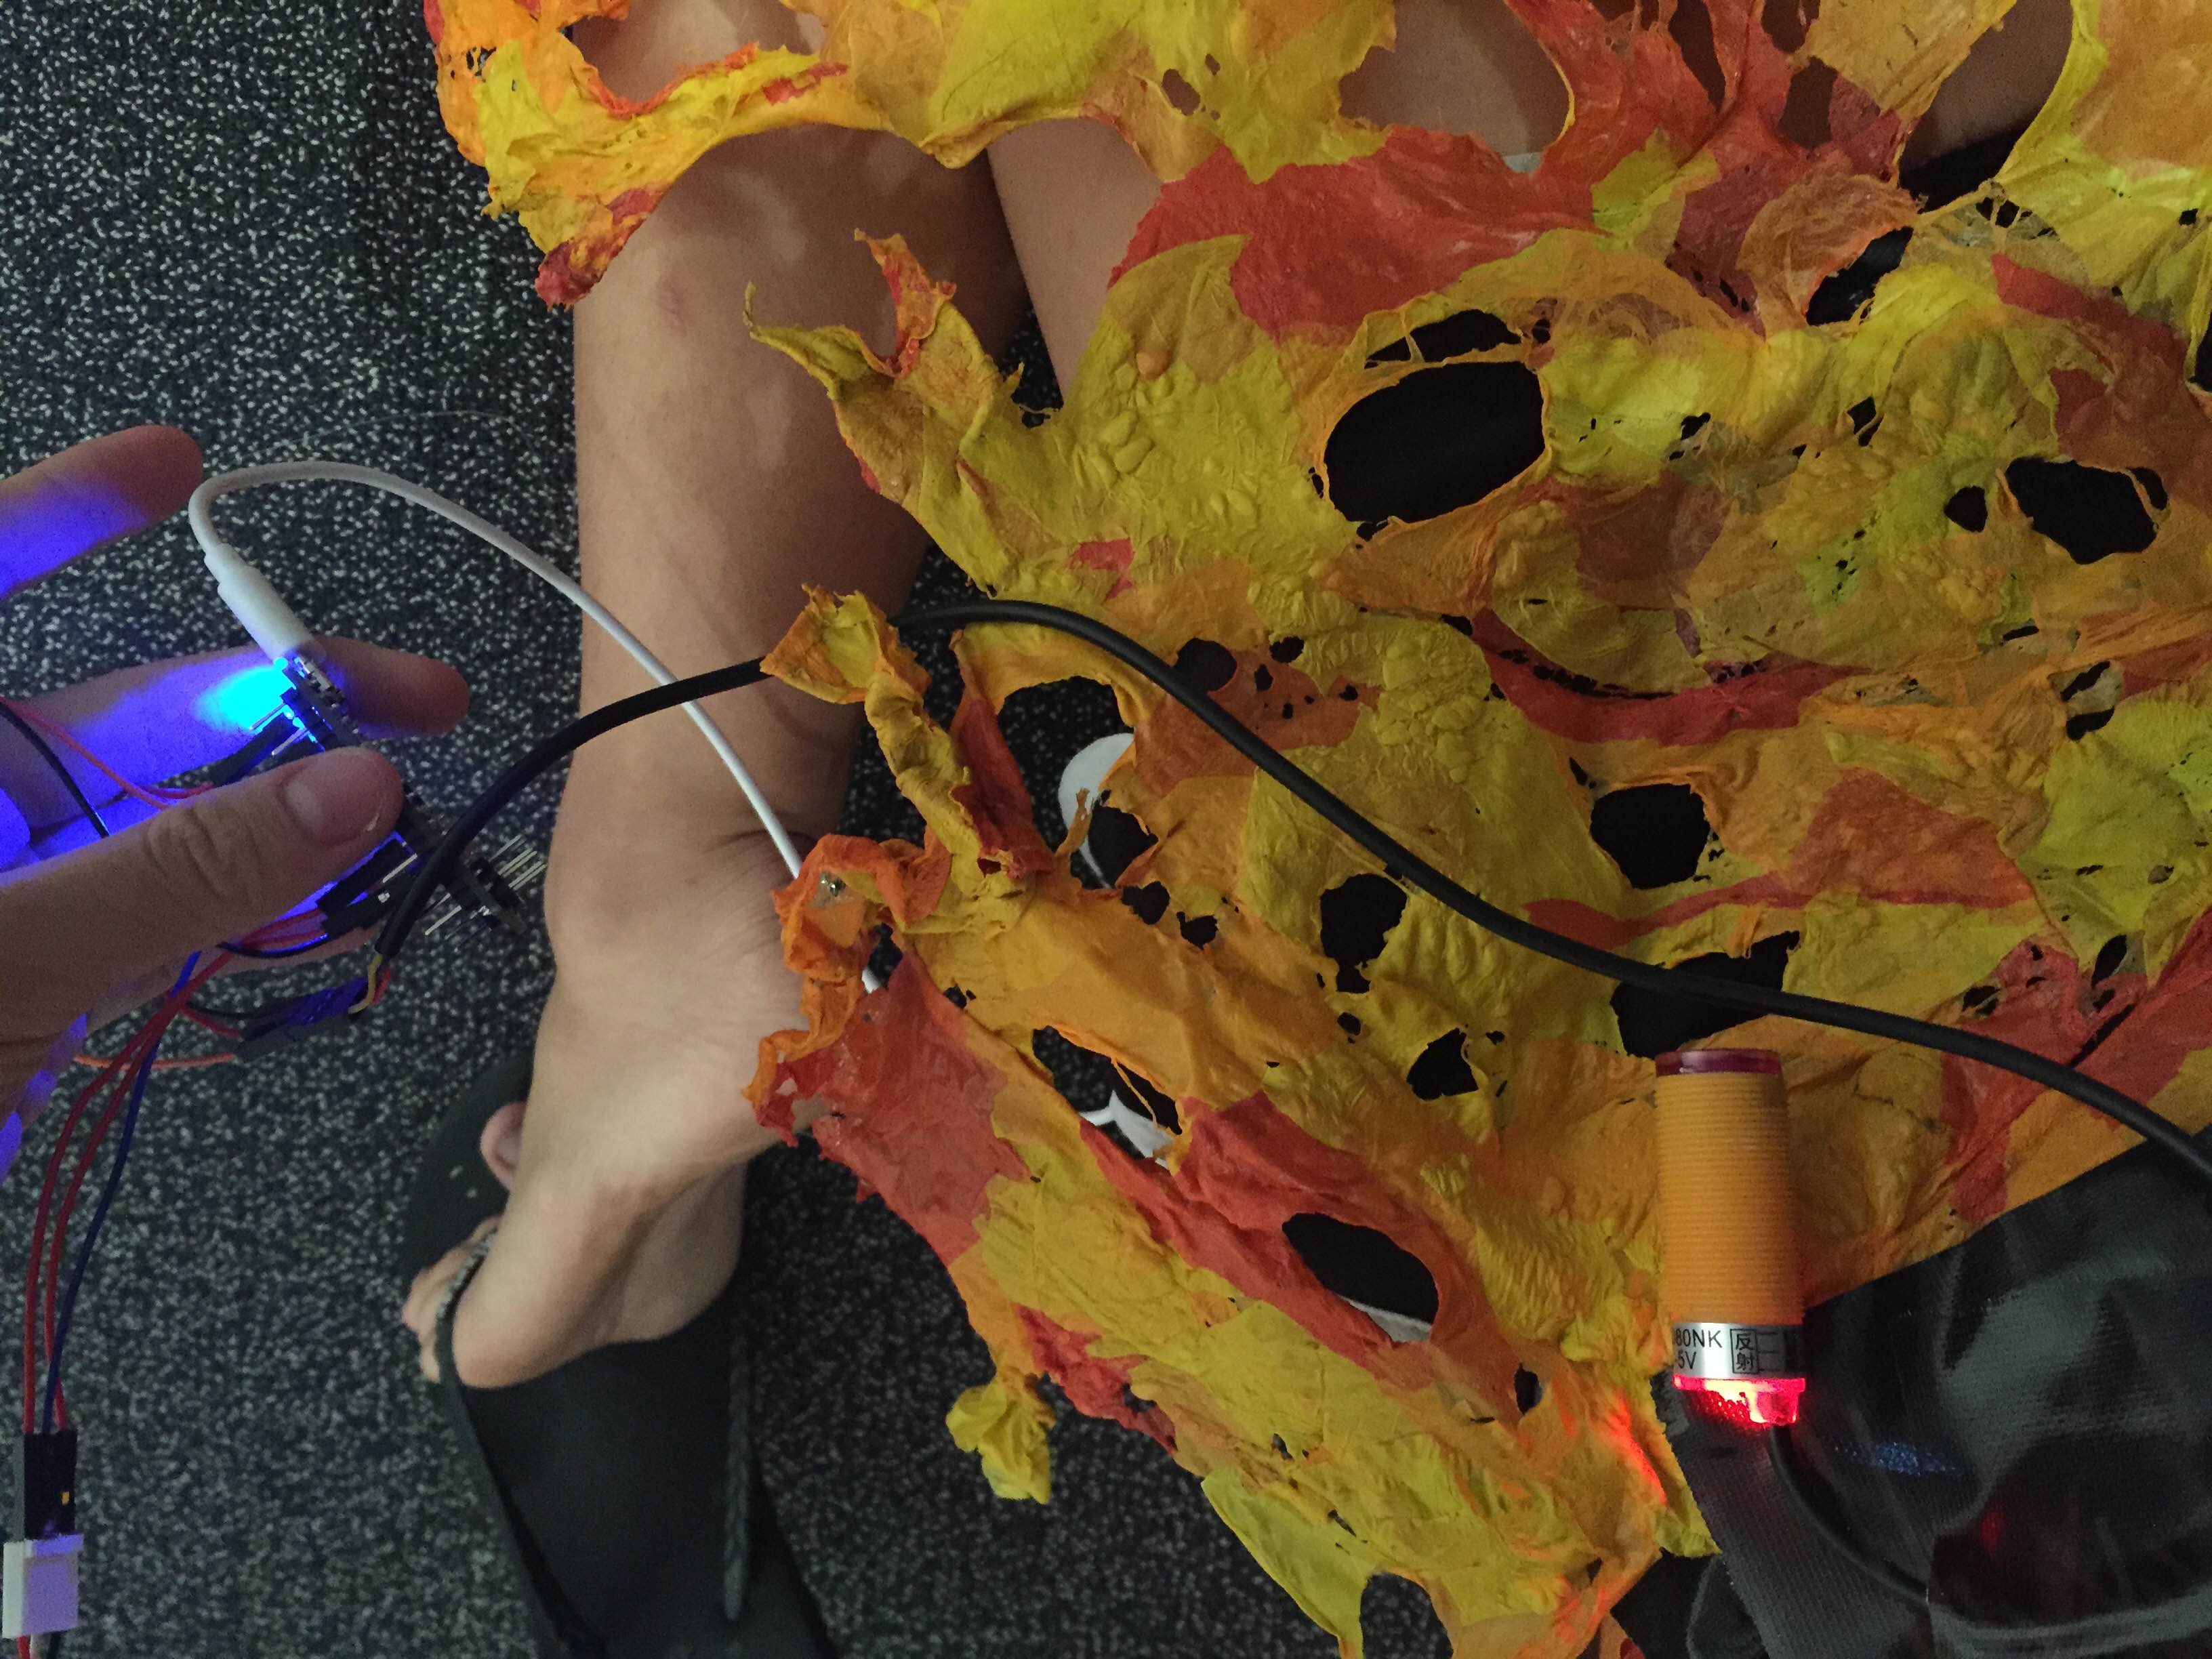
Servo motor and how it works
After constructing my individual skirt pieces, I proceeded to work with installating the servo motor. I decided on this piece of electronic as I wanted to work with movement and Prof Naga suggested using the servo motor which is able to rotate things. I also purchased a lilypad to connect the motor to and learnt about the different wires and how they work.

Above is a diagram of how motor connects to the circuit board. However, in my case I used a Lilypad board which allowed me to connect it to a sensor as well. I used an infra-red sensor which will control when I want the motor to activate.

Screenshot of Arduino program
Naga taught me how to customise the movements of the motor where 90 meant stop and 180 meant one full circle. Thus, I could program the motor to move and stop according to my plan.
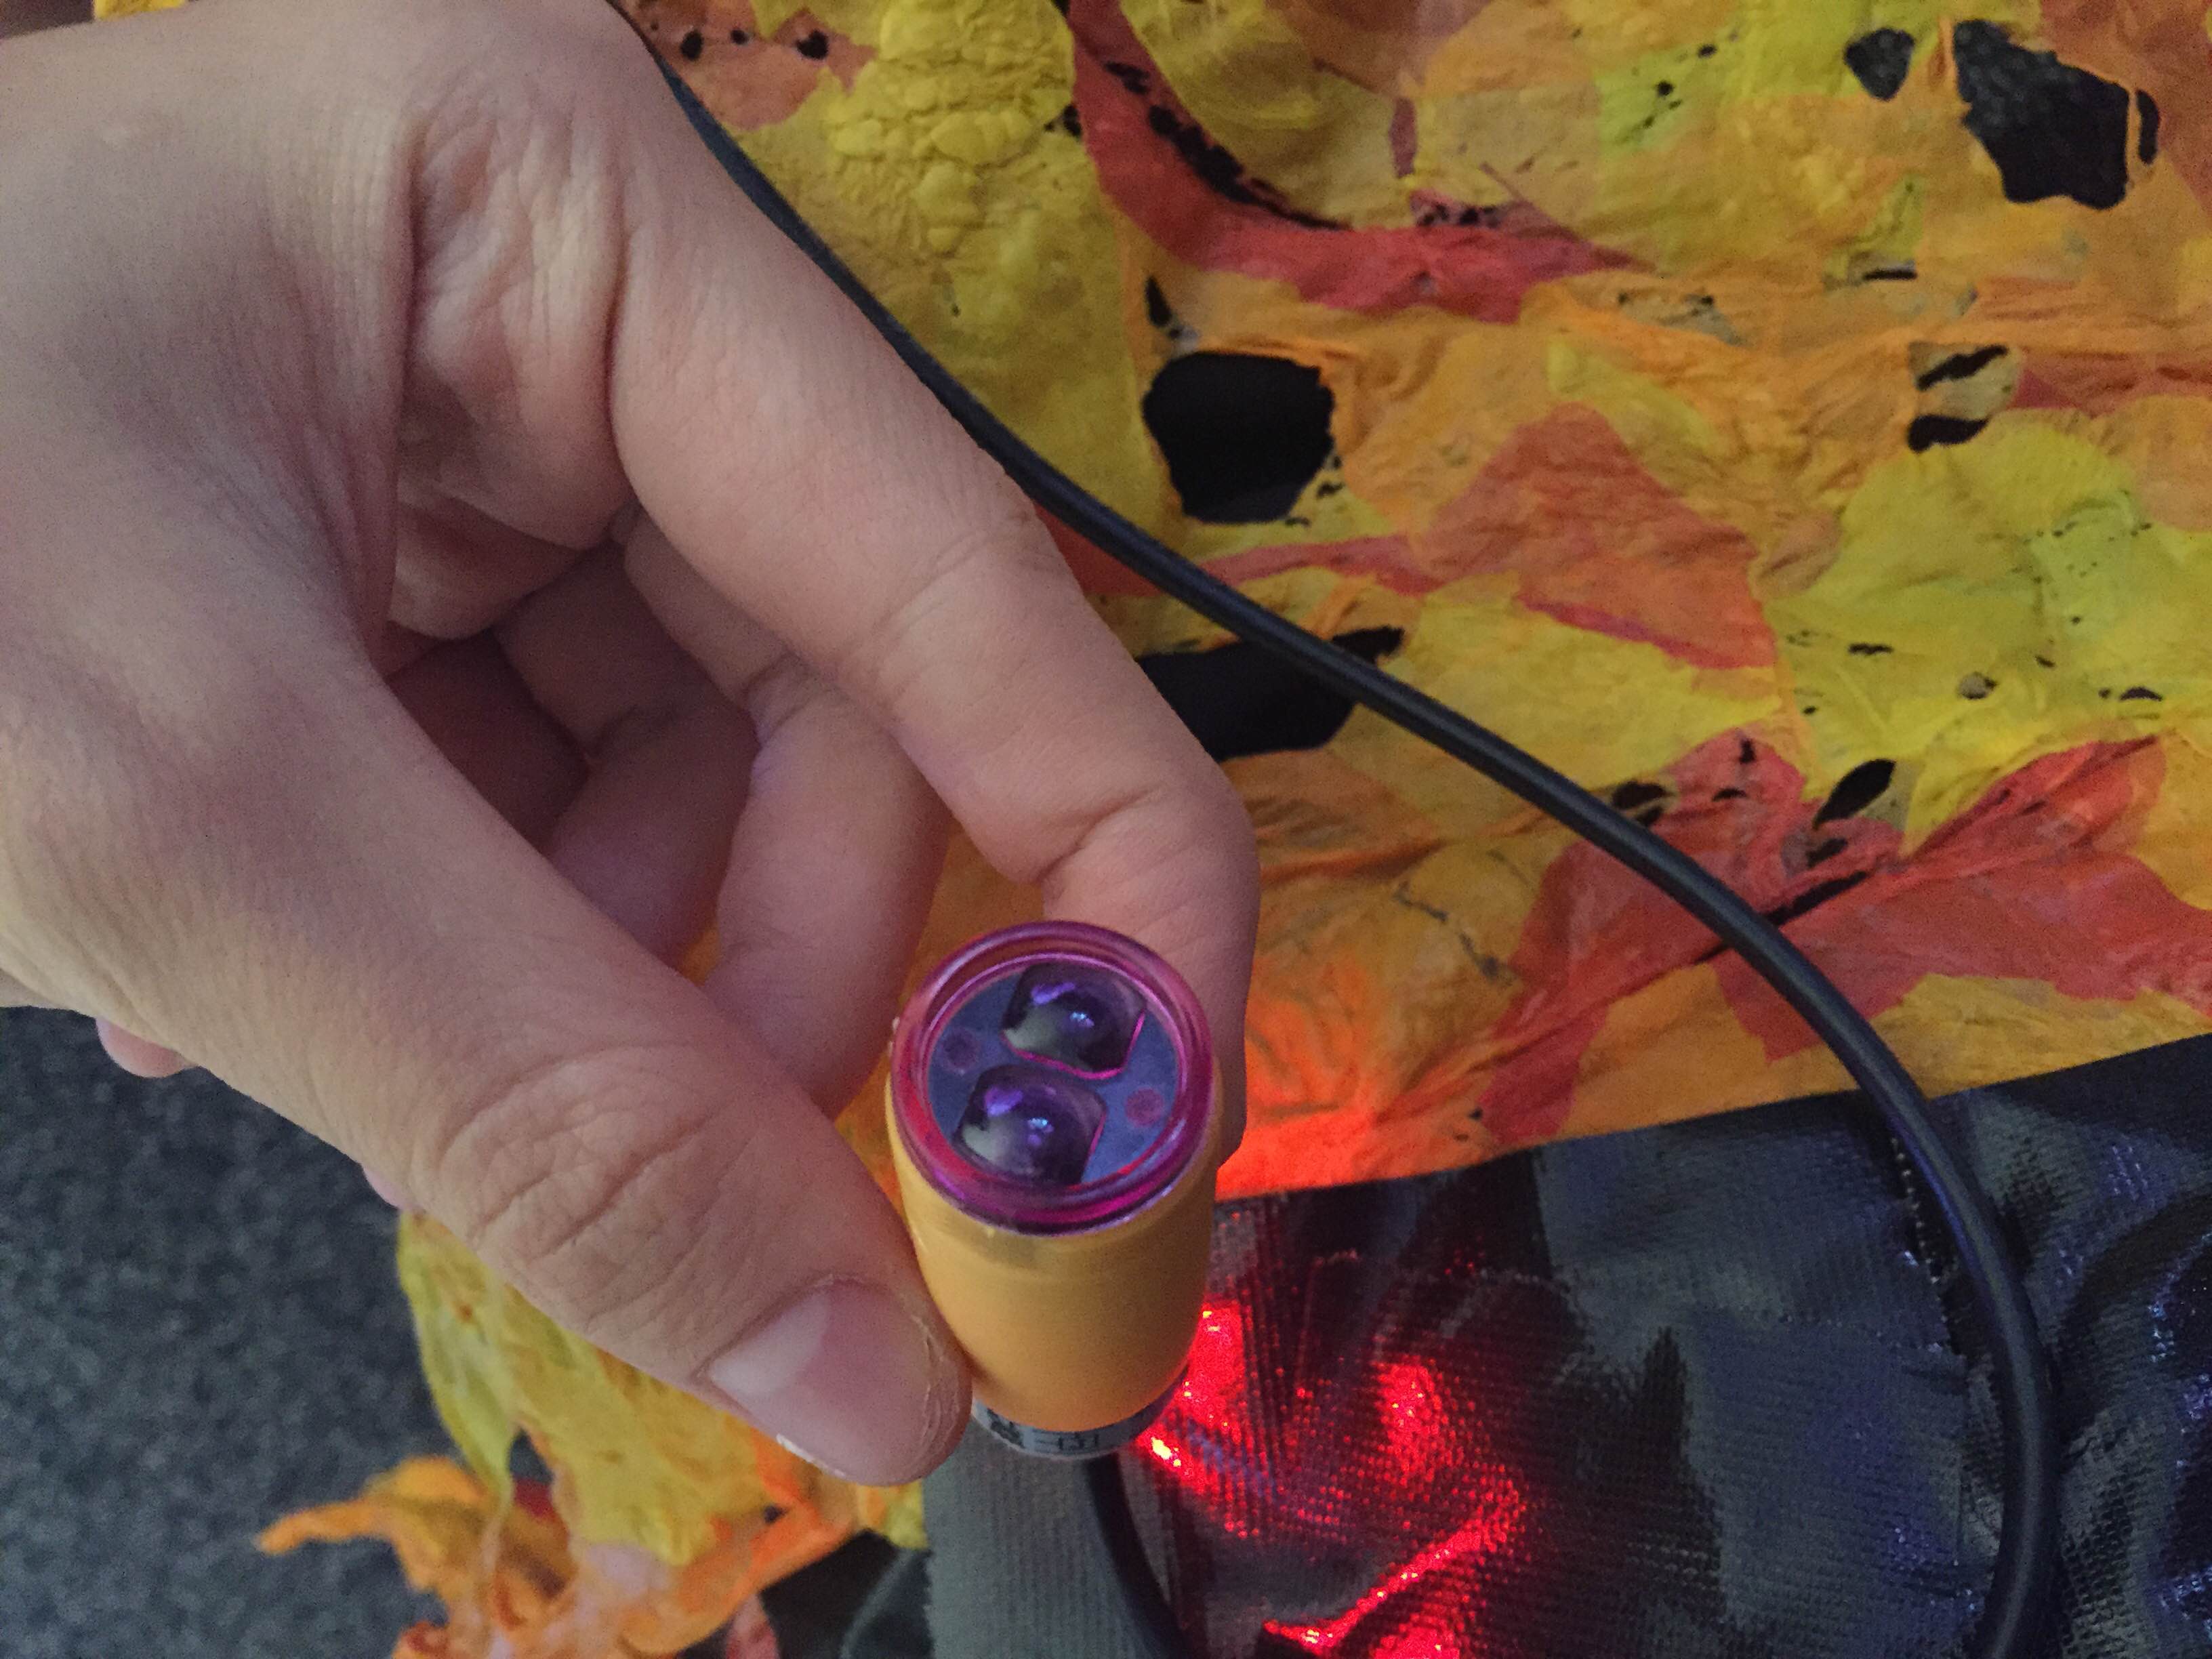
I was glad that the colors of the sensor were similar to my costume so blending it in was quite easy. I attached it near the middle of my body so it would activate as I danced.
One of the challenges of the electronics was the wires. I found that the wires would detach by accident when I moved so for the final performance, I would need to ensure that the wires are attached tightly together. I might use tape to ensure that.
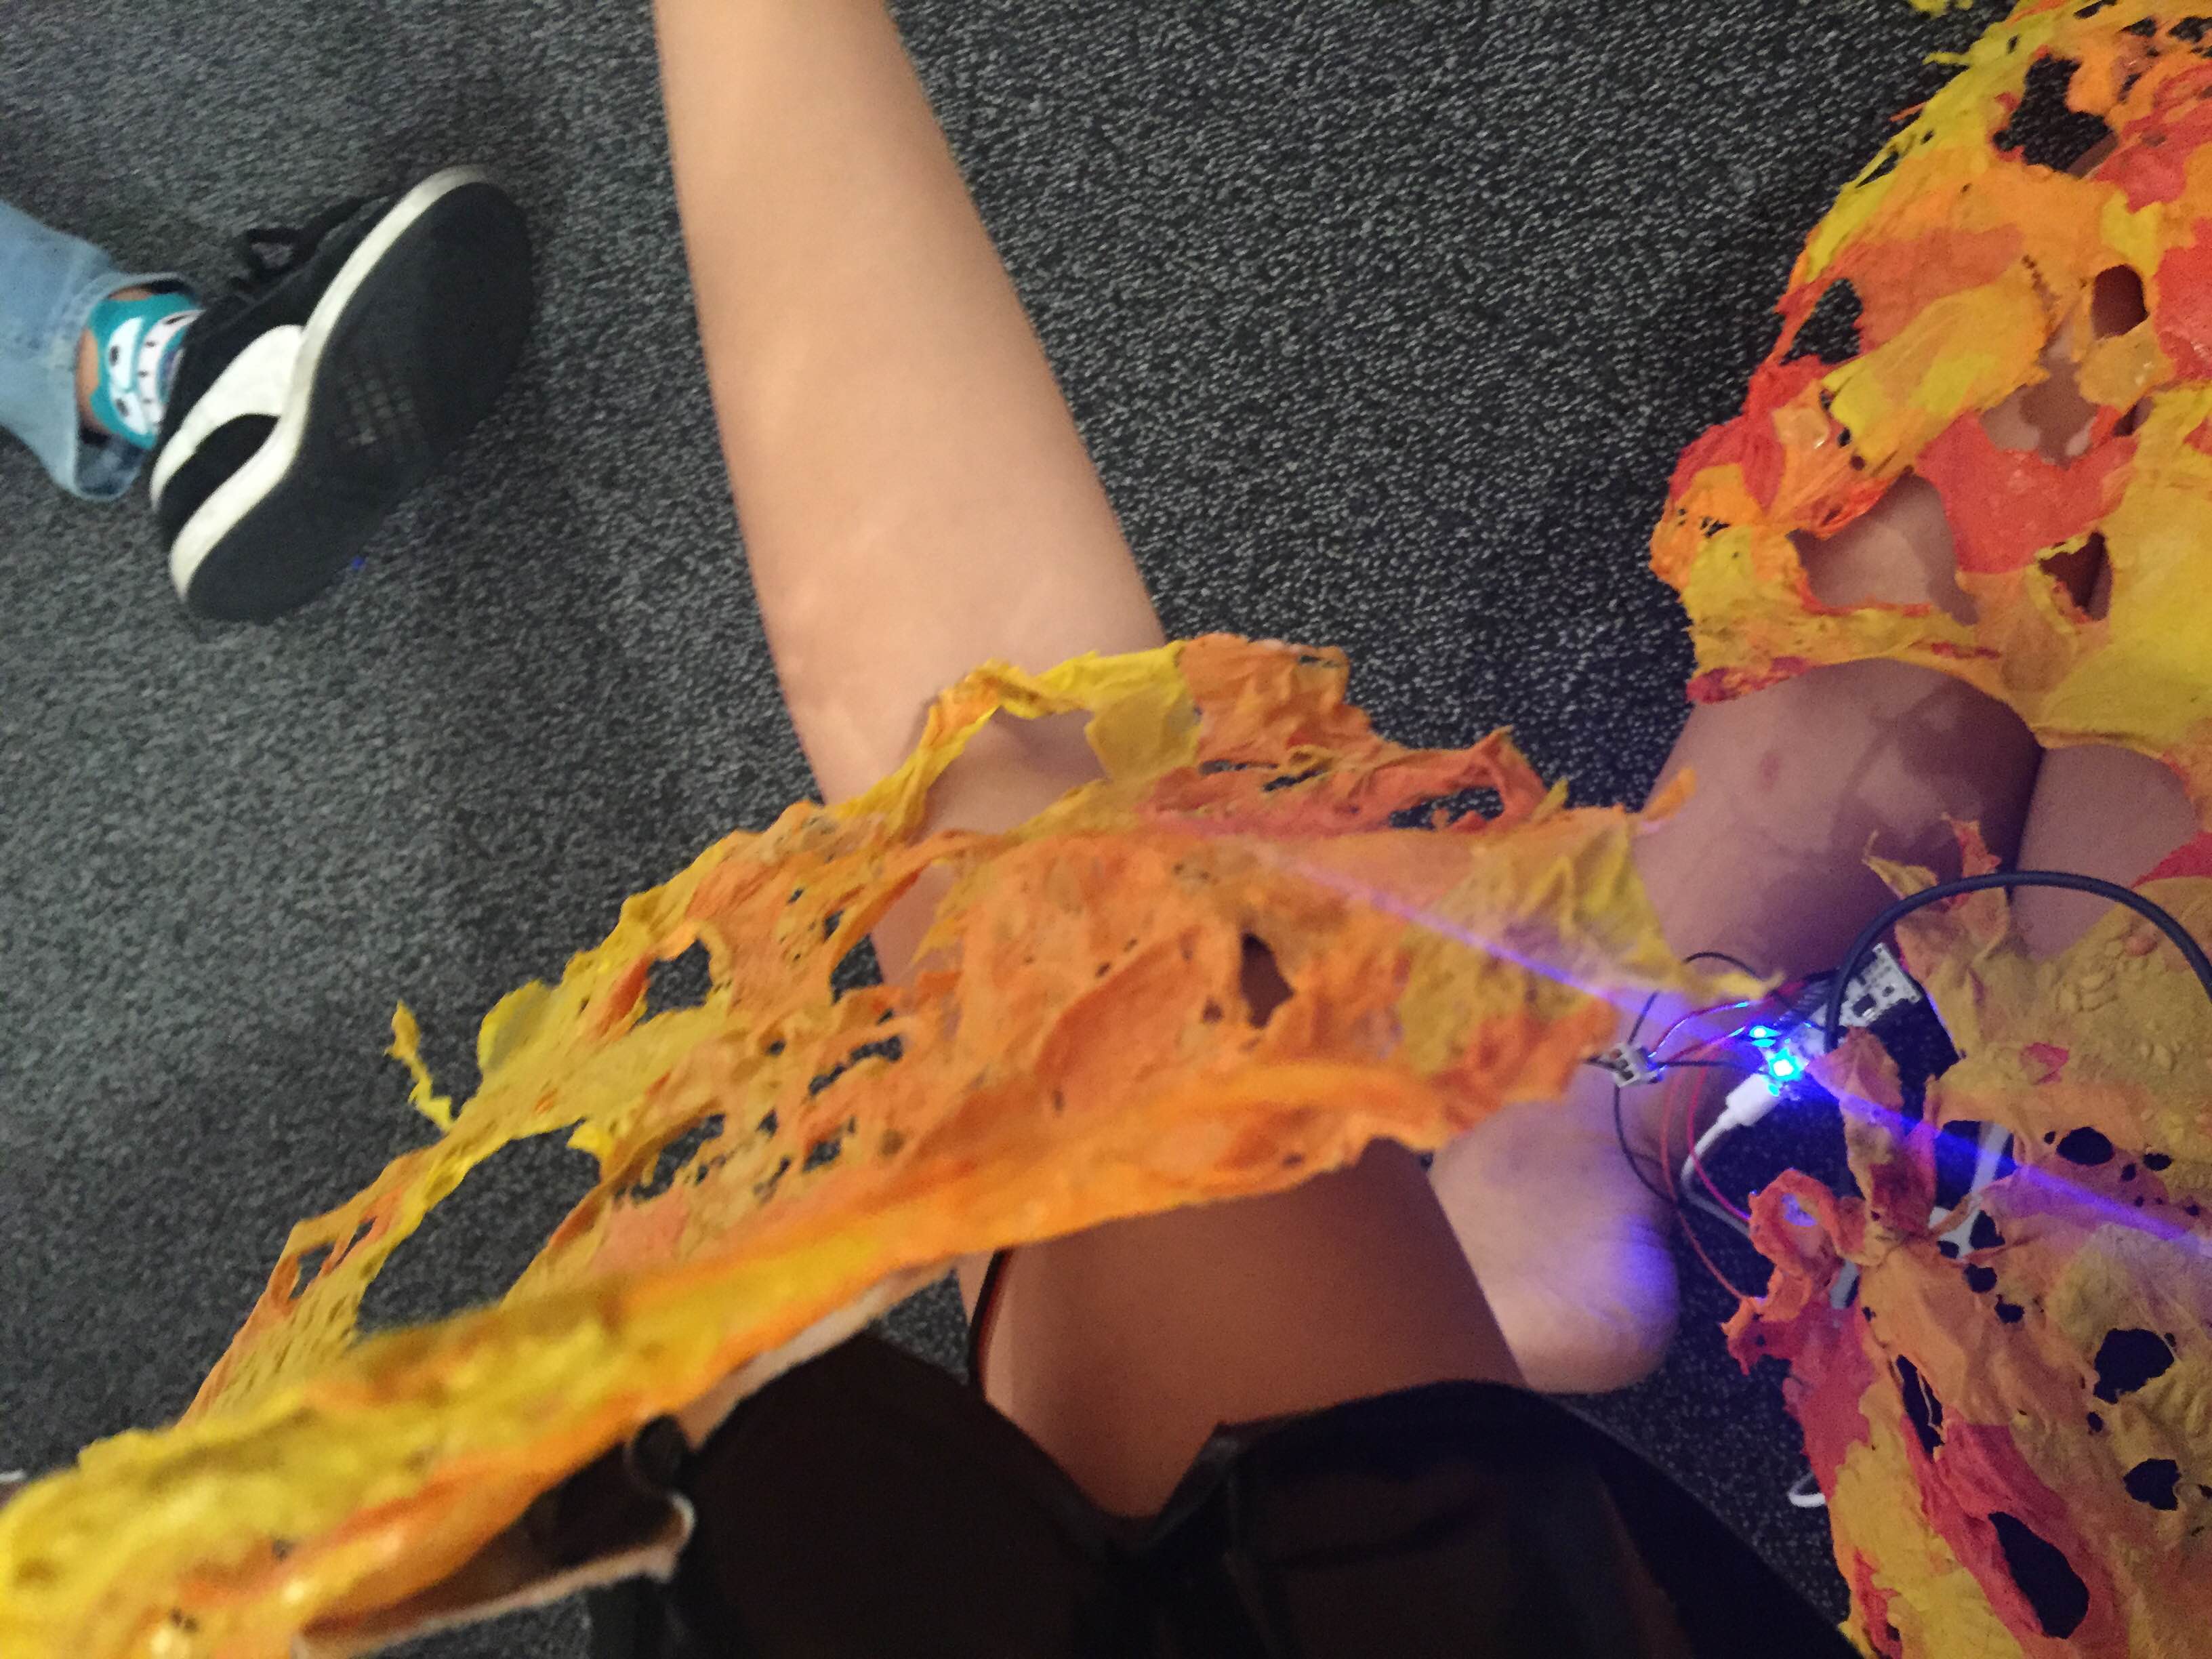
I placed the piece with the motor on my shoulder so the piece would rotate like a shoulder pad like a weapon when the infra-red sensor senses movement. This ties in to my role as a predator and how I “sting” when I sense my prey.
The Rehearsal
Process and Thoughts

The rehearsal proved to be very new and challenging to me as someone without dance background. Angelina started with some quick warm-ups to stretch our bodies. It was not easy doing these warm-ups in such a small room but it allowed me to get used to the space better and think of how to work within it.
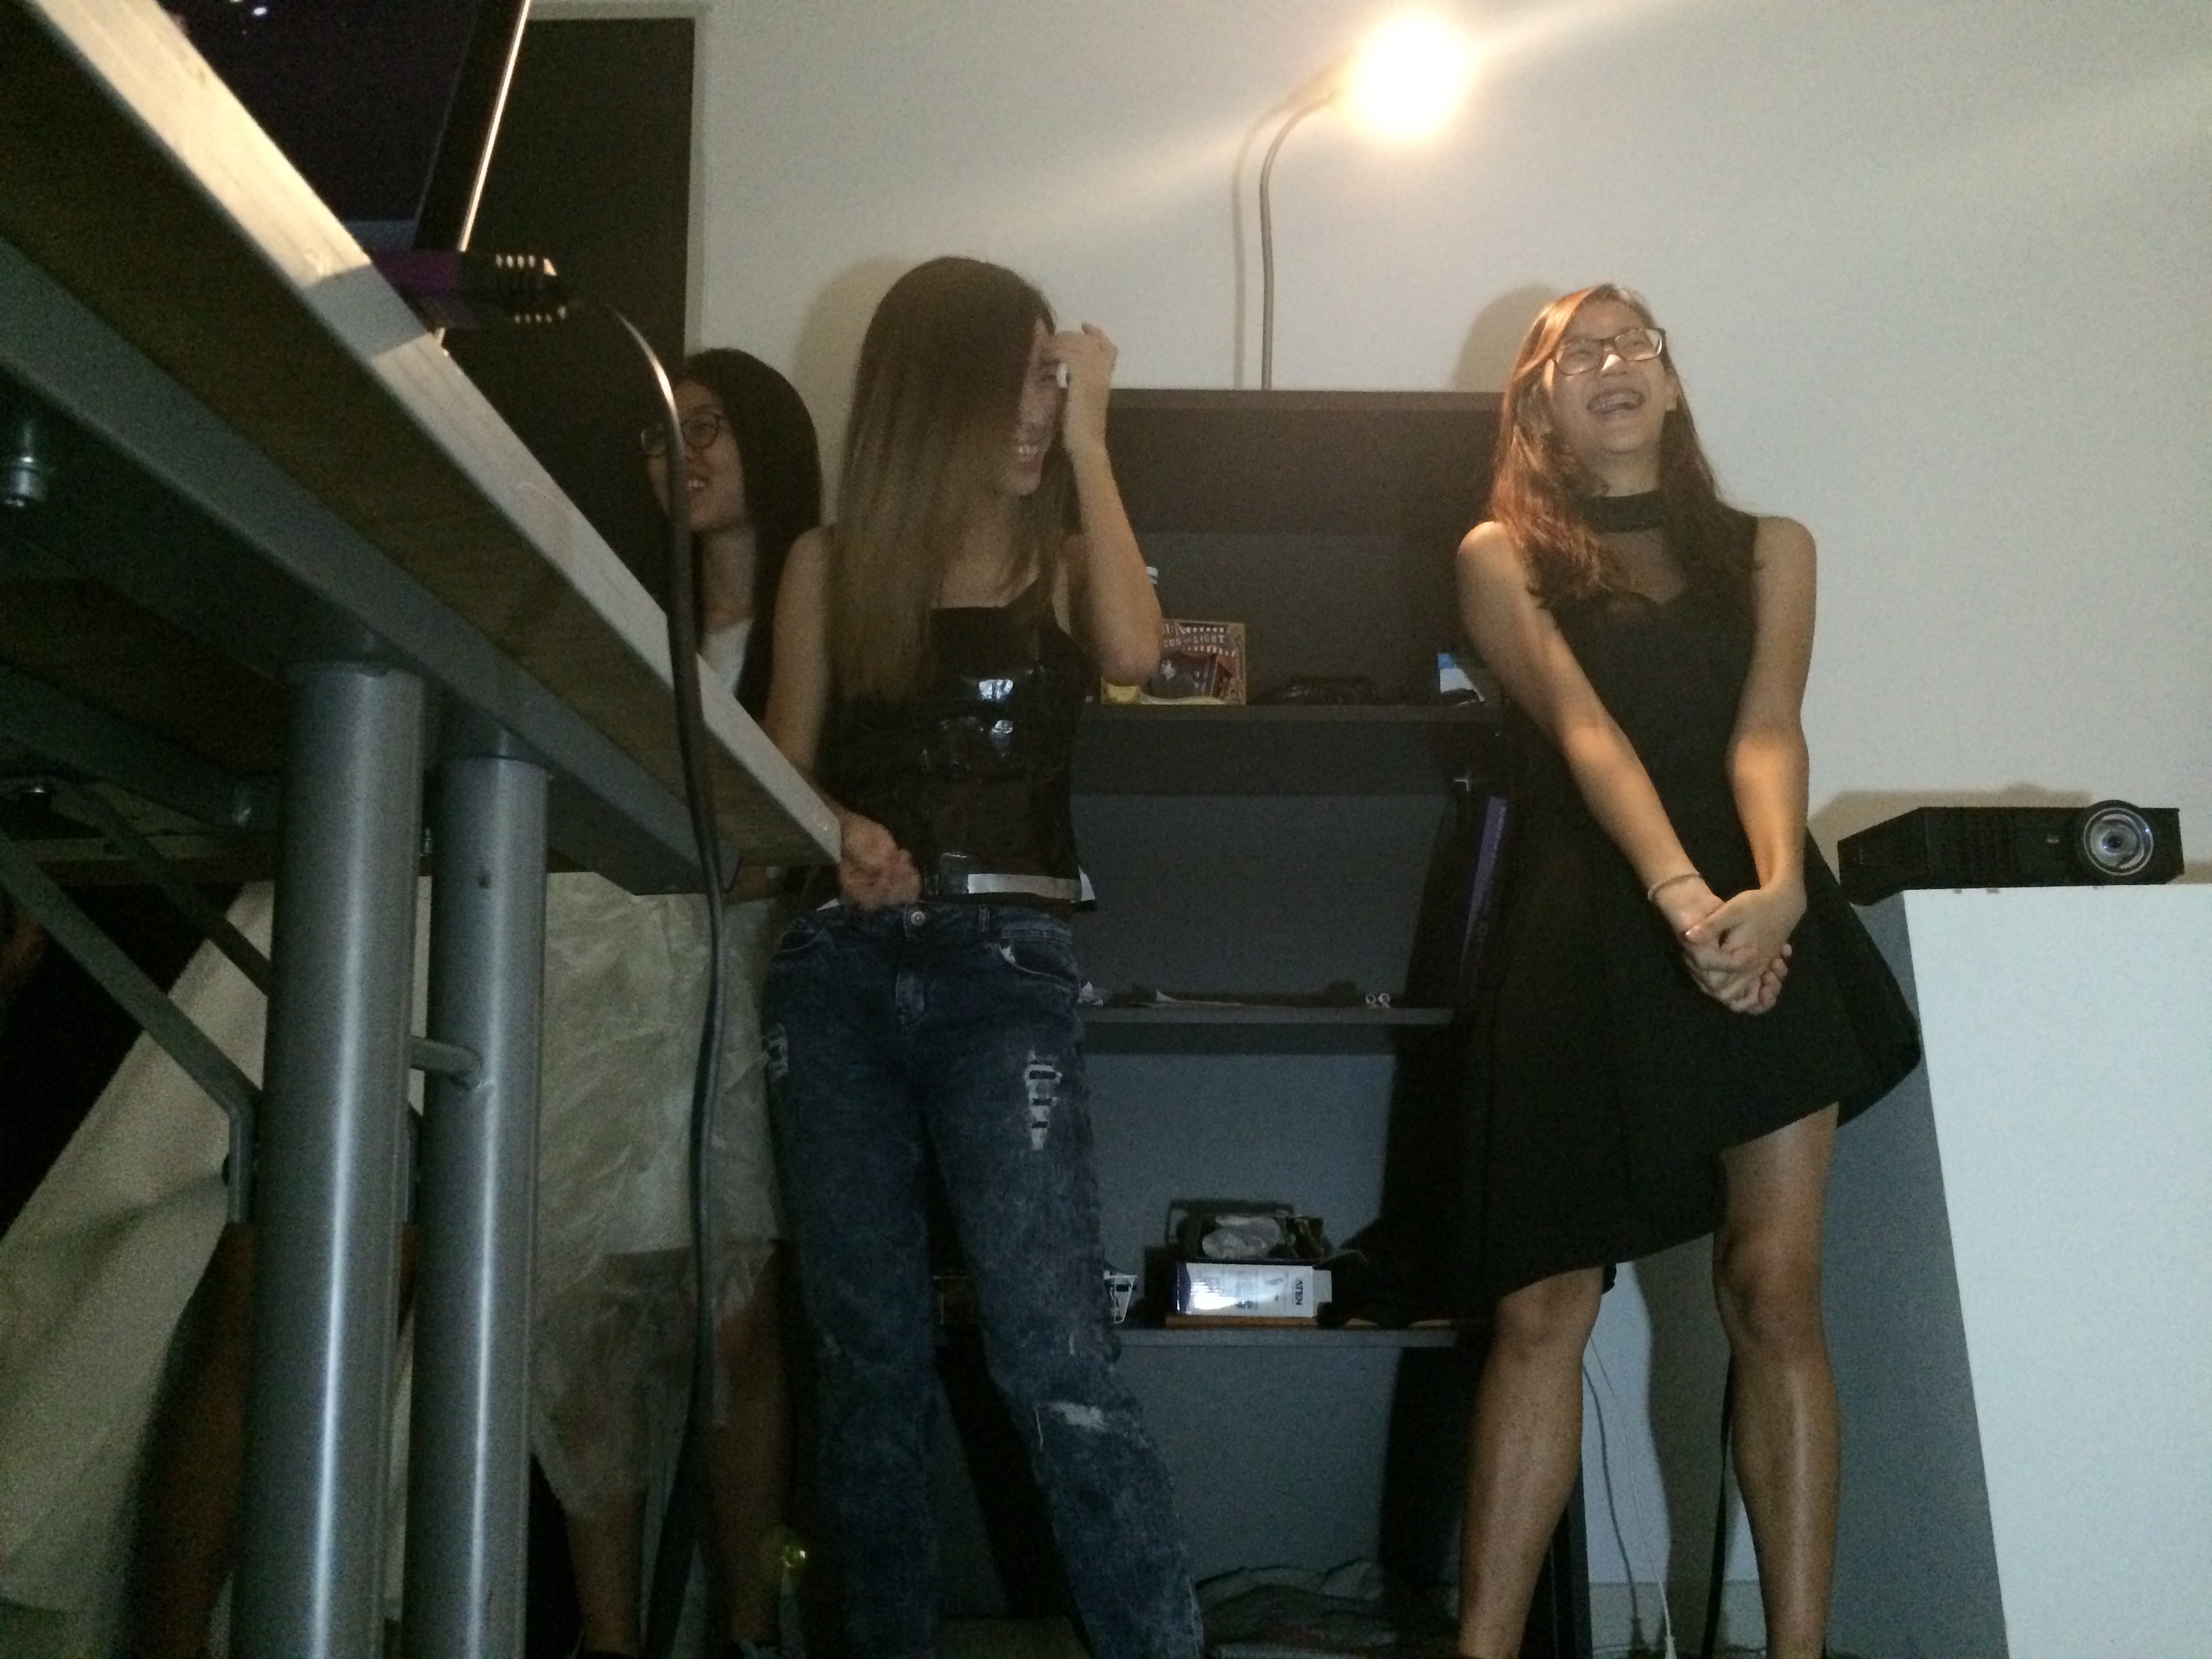
Initially, watching the rest perform their individual movements was quite entertaining as I had no idea what to expect since each one was so different. However, I like that each one was different as their movements really helped to build their character.

I like that Angeline suggested us Gladys and I to be a part of Feli’s performance as I thought her movement worked better as a group formation. It reinforced the strength of the warrior and the coordination made it look even more powerful.


Angelina’s suggestion of making use of the space around us proved to be valuable as it brought more drama to our movements especially when Gladys and I pushed our bodies against the wall before jumping forward to the next movement. I like the variation between the dramatic movements and the calm start, showing many sides to a warrior. Looking at the photos, I also like how the lighting created large shadows that looked much larger, heightening the drama.
It was hard trying to avoid looking at the screen since we were suppose to be in sync with Angeline yet committed to our own movements.
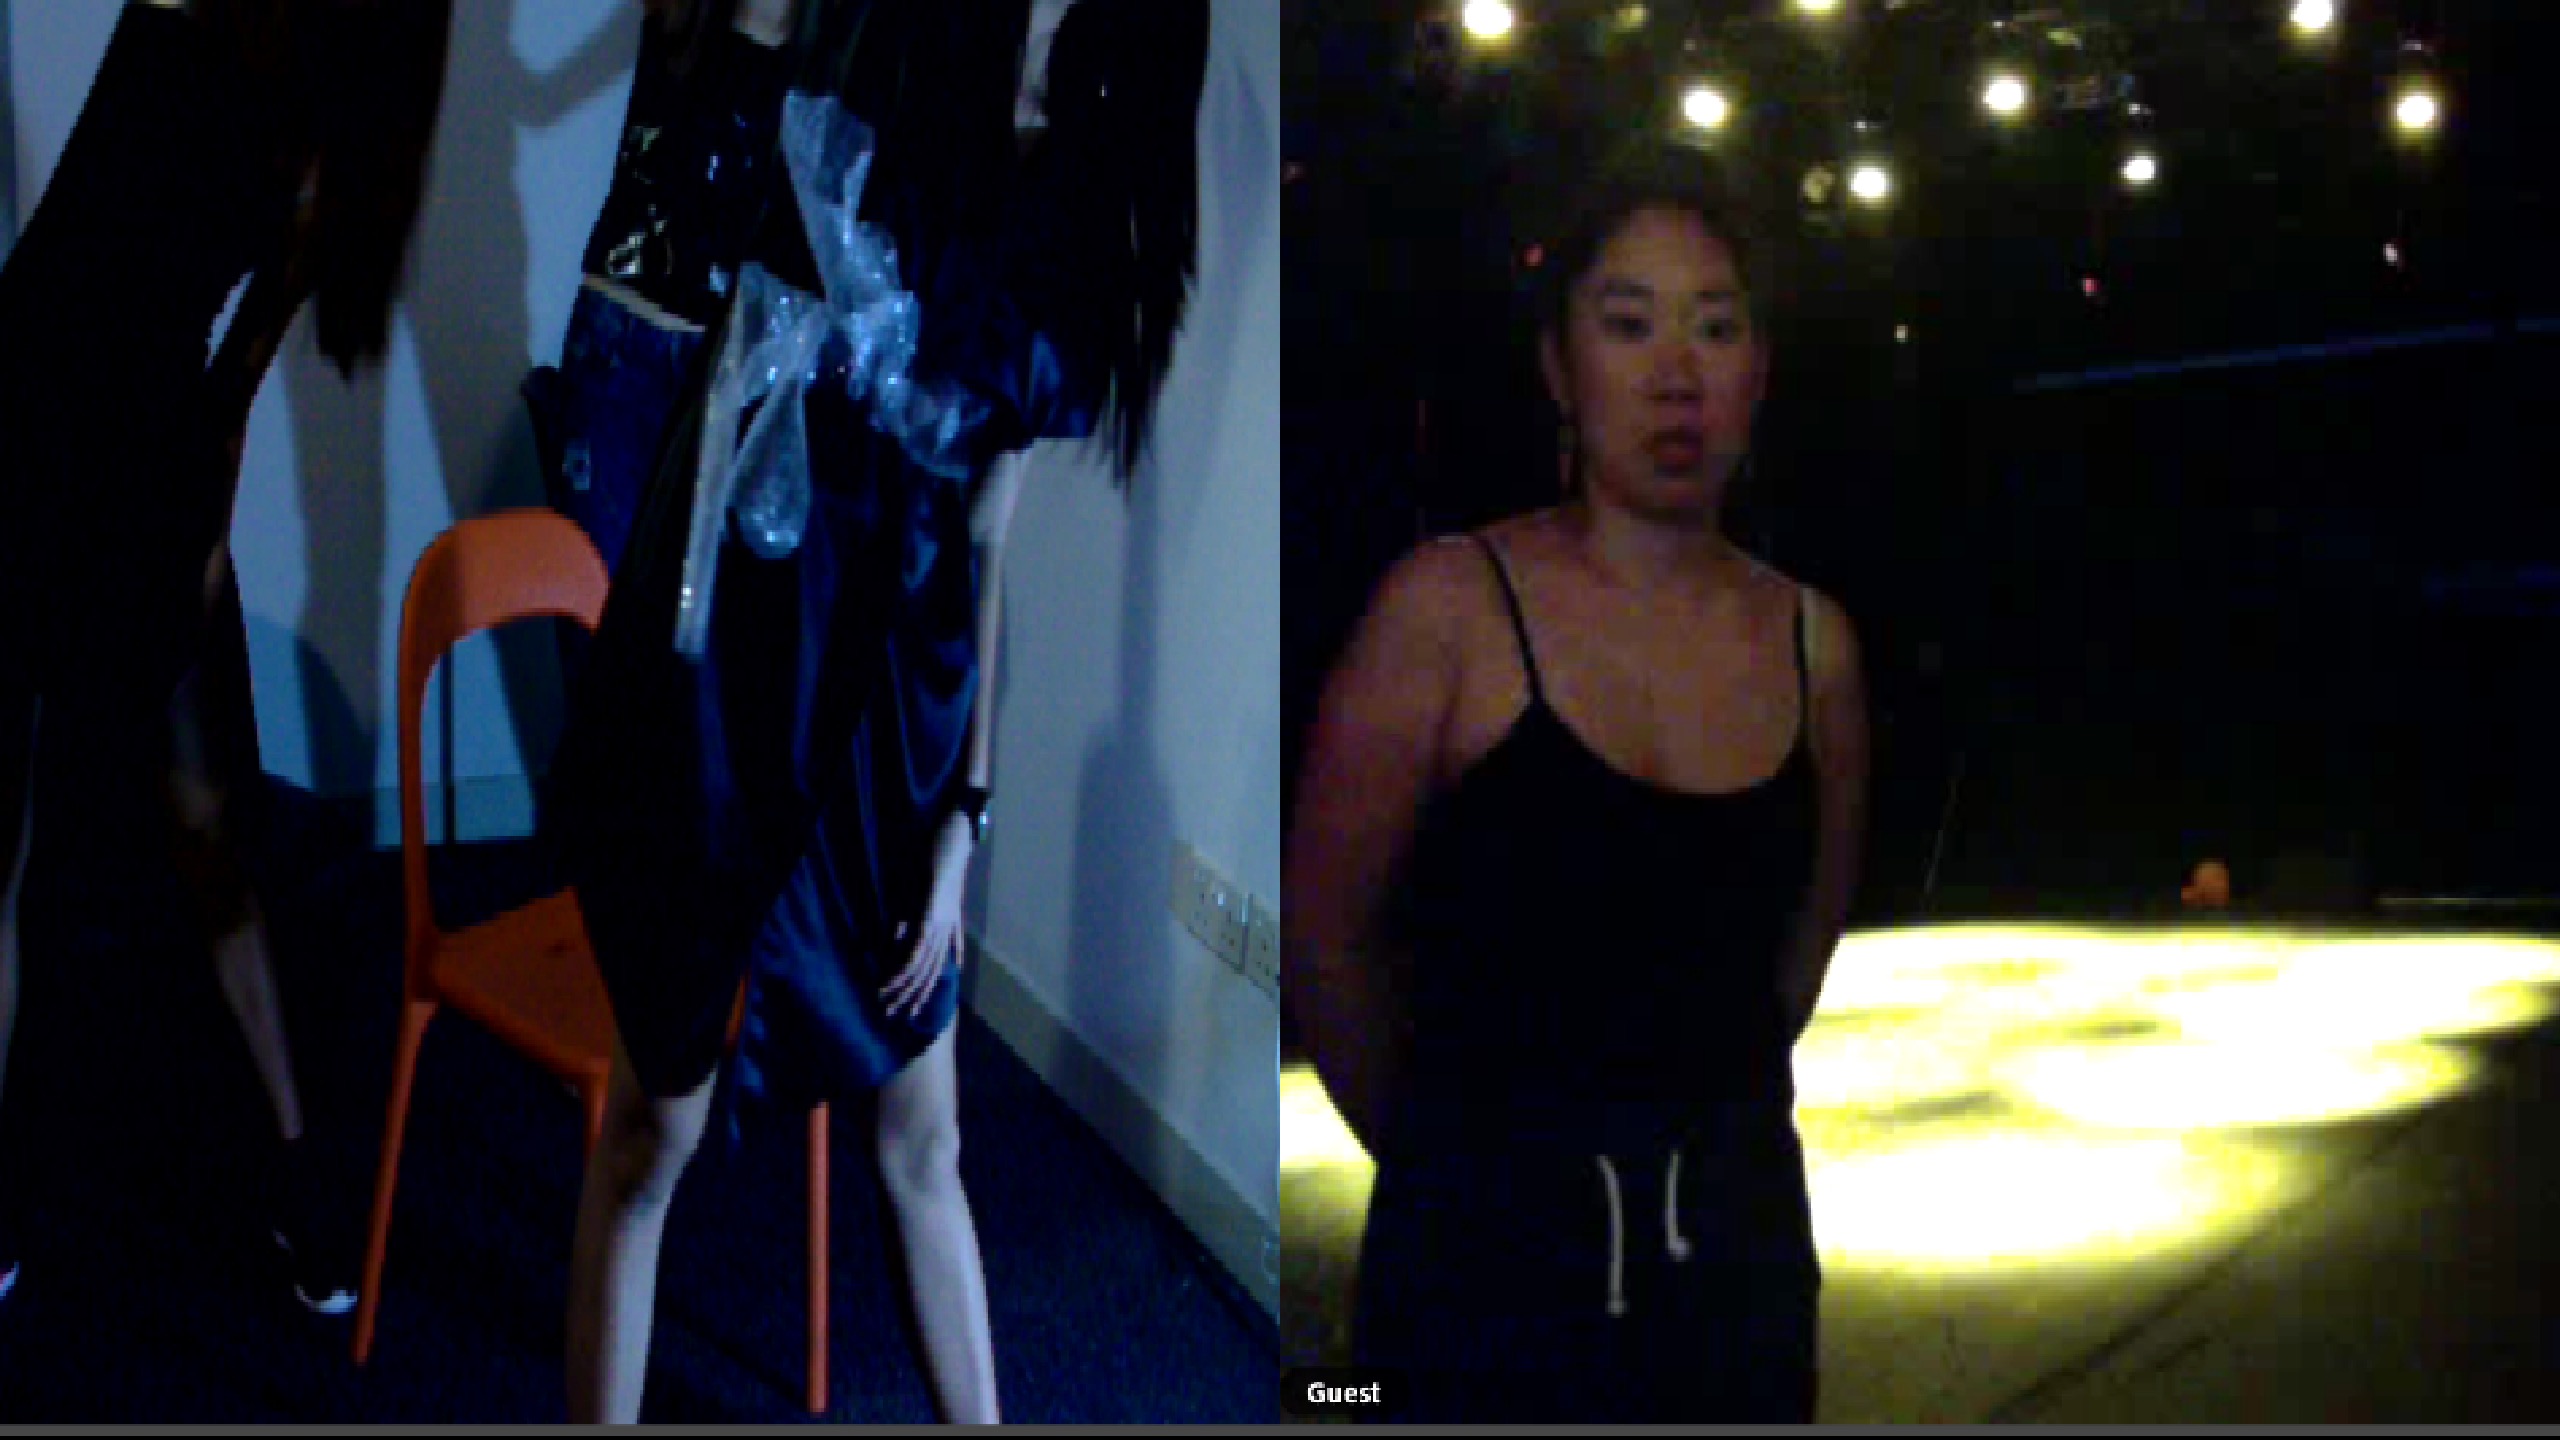
Another challenge we face was positioning our bodies such that the scale would fit into the frame and coordinate with Angeline’s movements. It was difficult considering the angle and the fact that our group of 3 took up quite a lot of space on screen as compared to Angeline who was by herself.
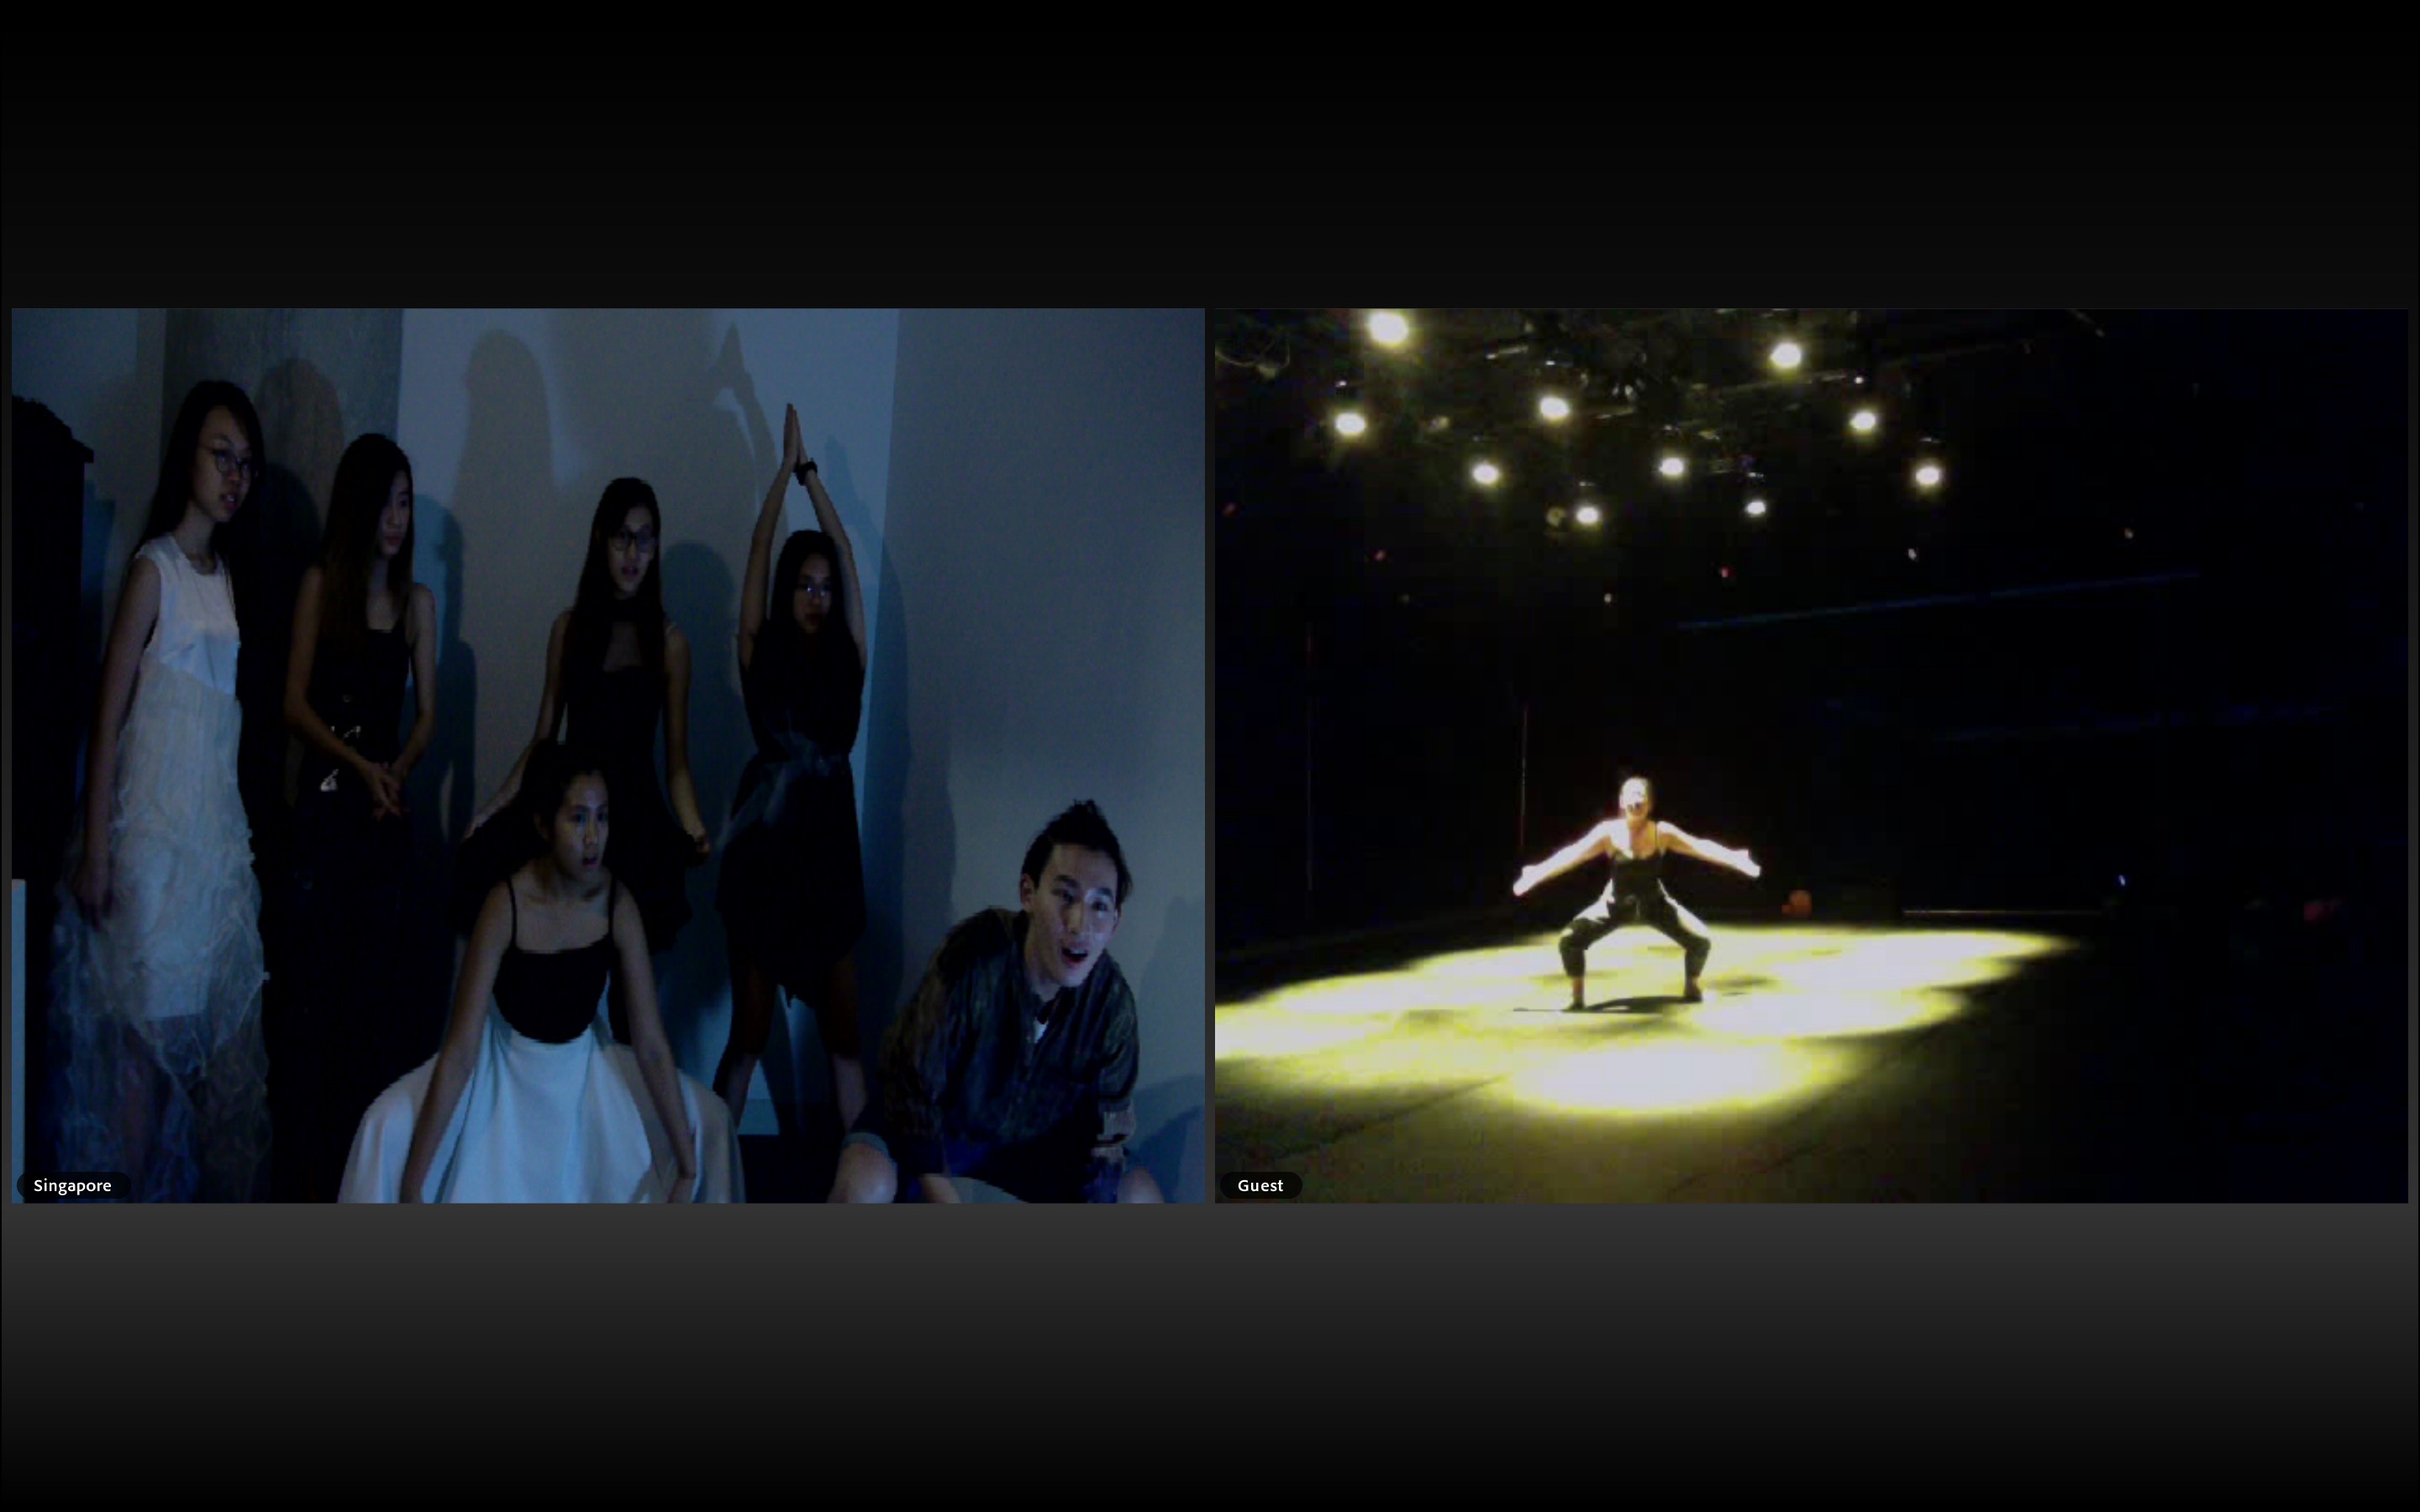
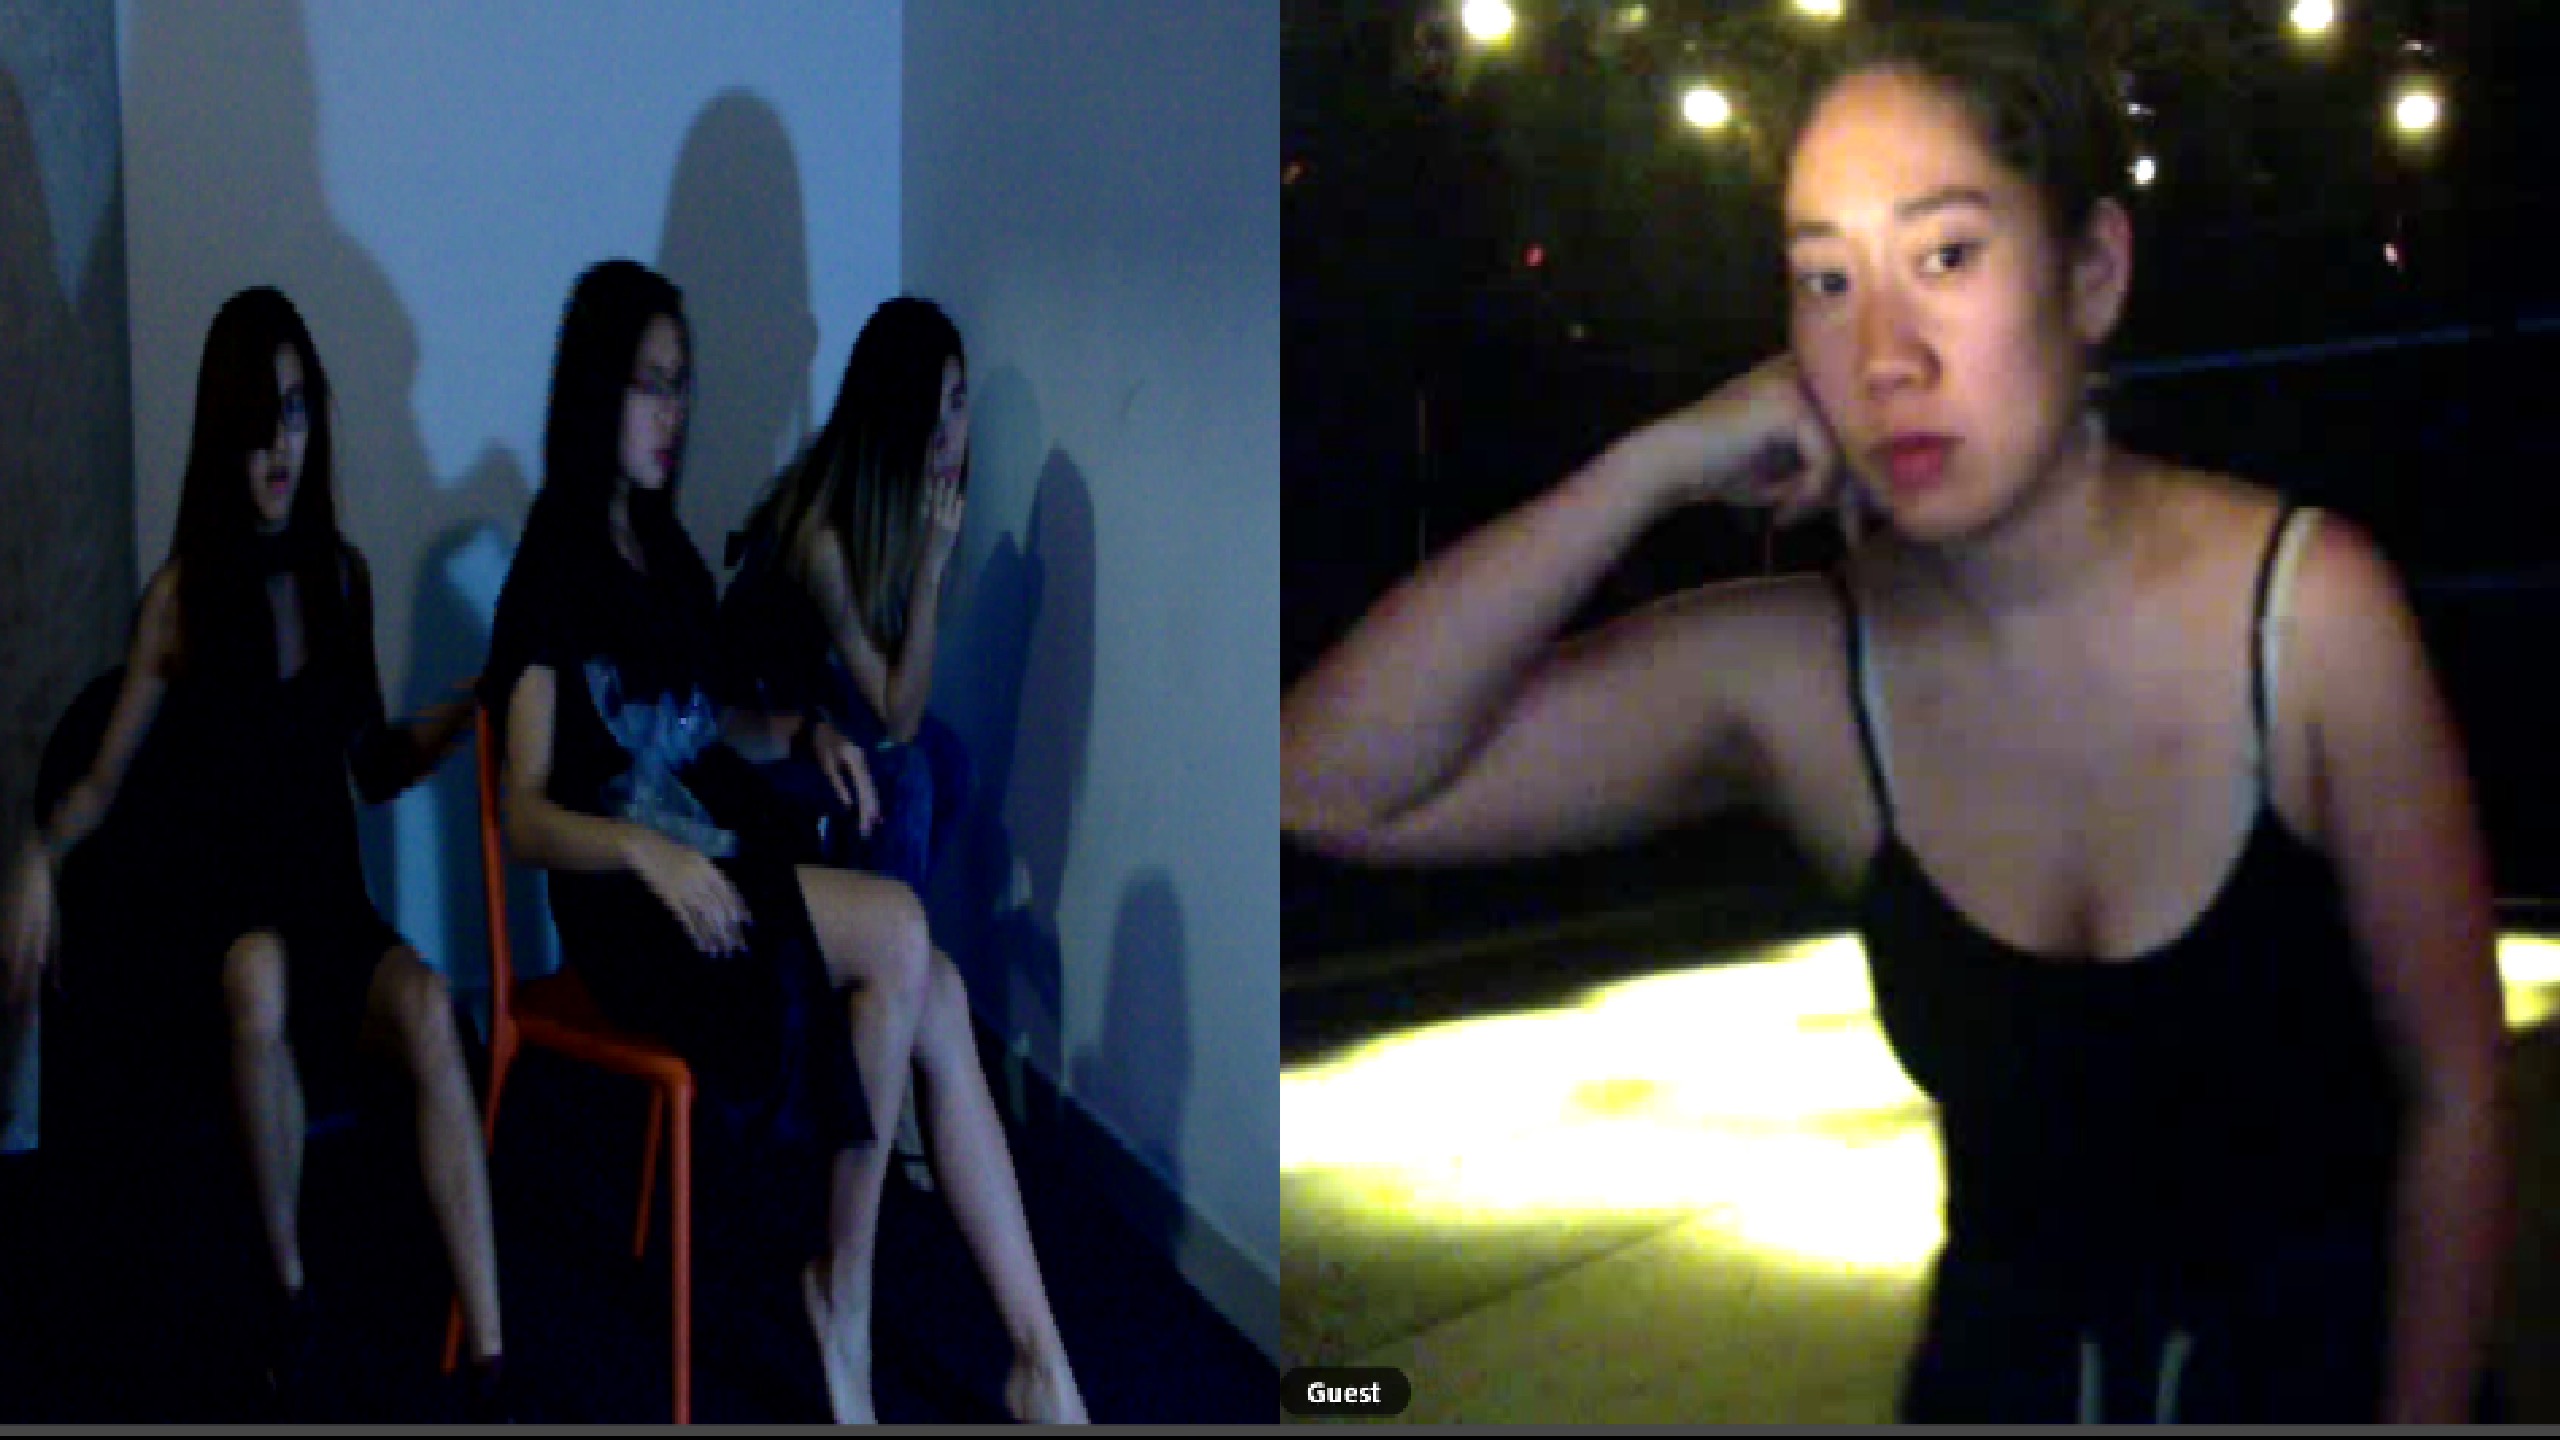
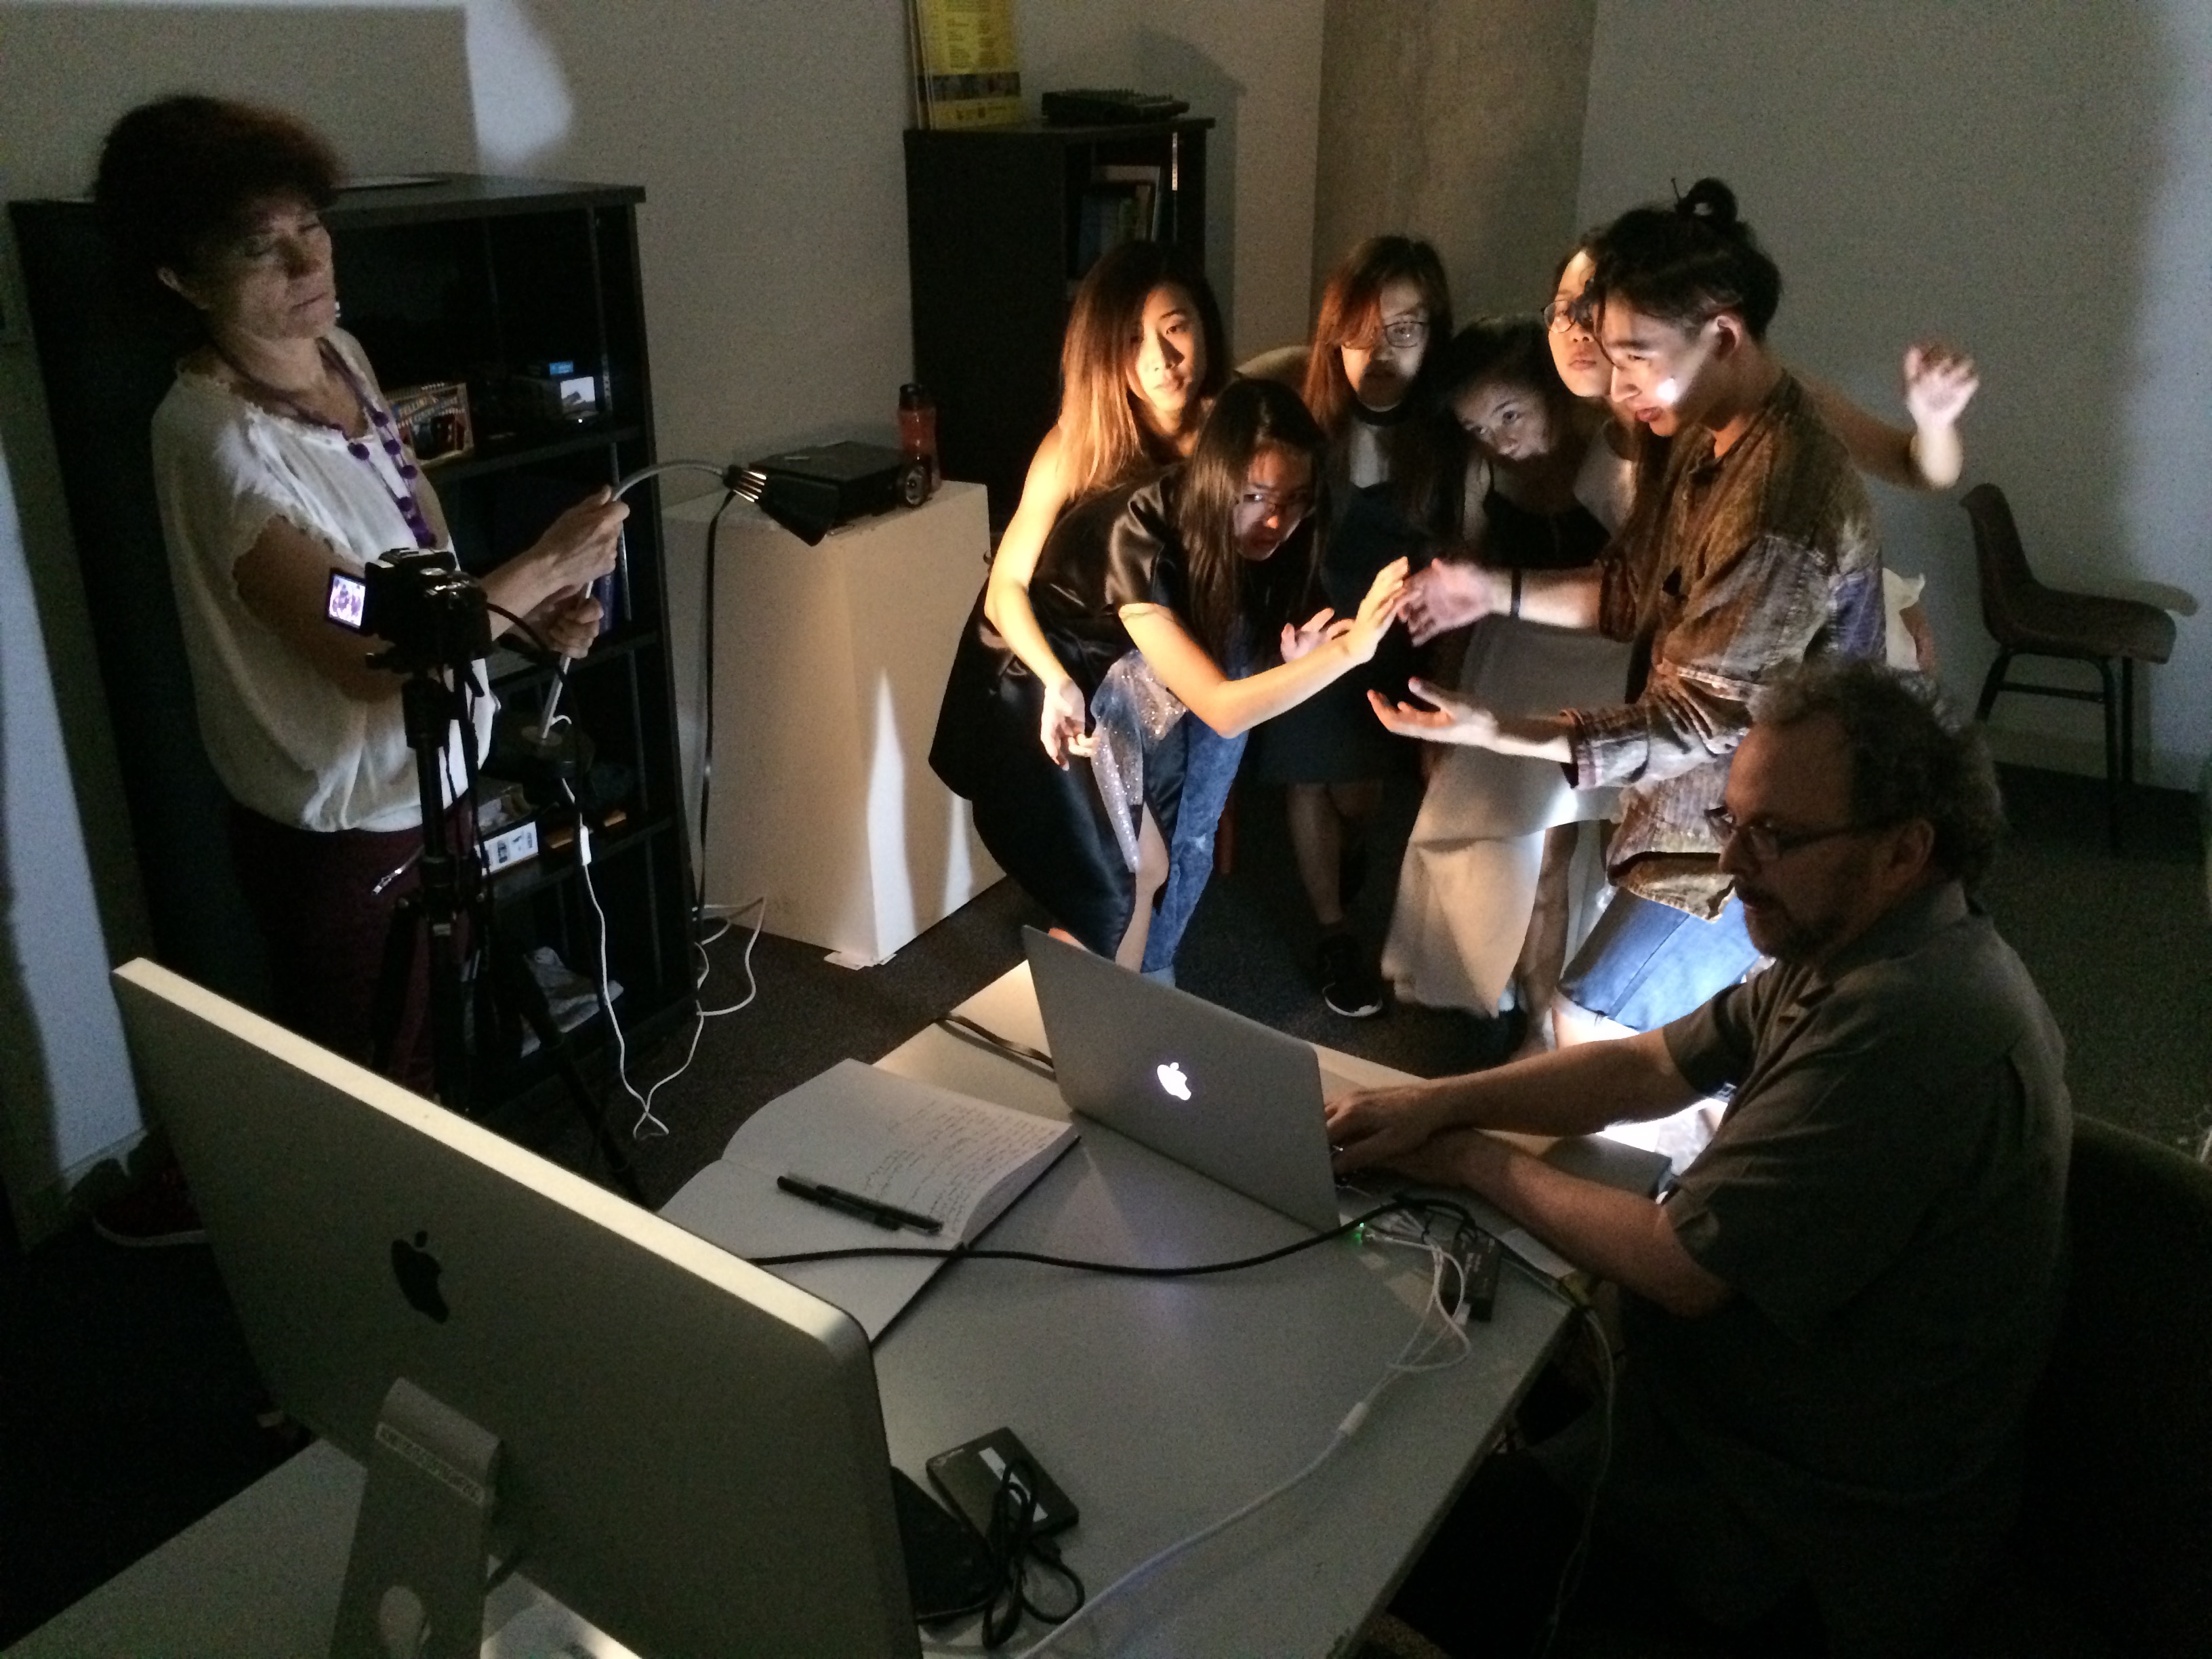
The next part of the performance in which we perform together was very interesting as it involved a huge group of us performing in a small space while Angeline performed by herself in a much larger space. It involved a lot of practice and coordination as we tried to blend our movements with Angeline such that it seemed like we were performing together while being on two different screens. This probably encapsulates the very idea behind our Touch performance. The idea of connecting across two different screens to form a new kind of connection unique from physical connection.
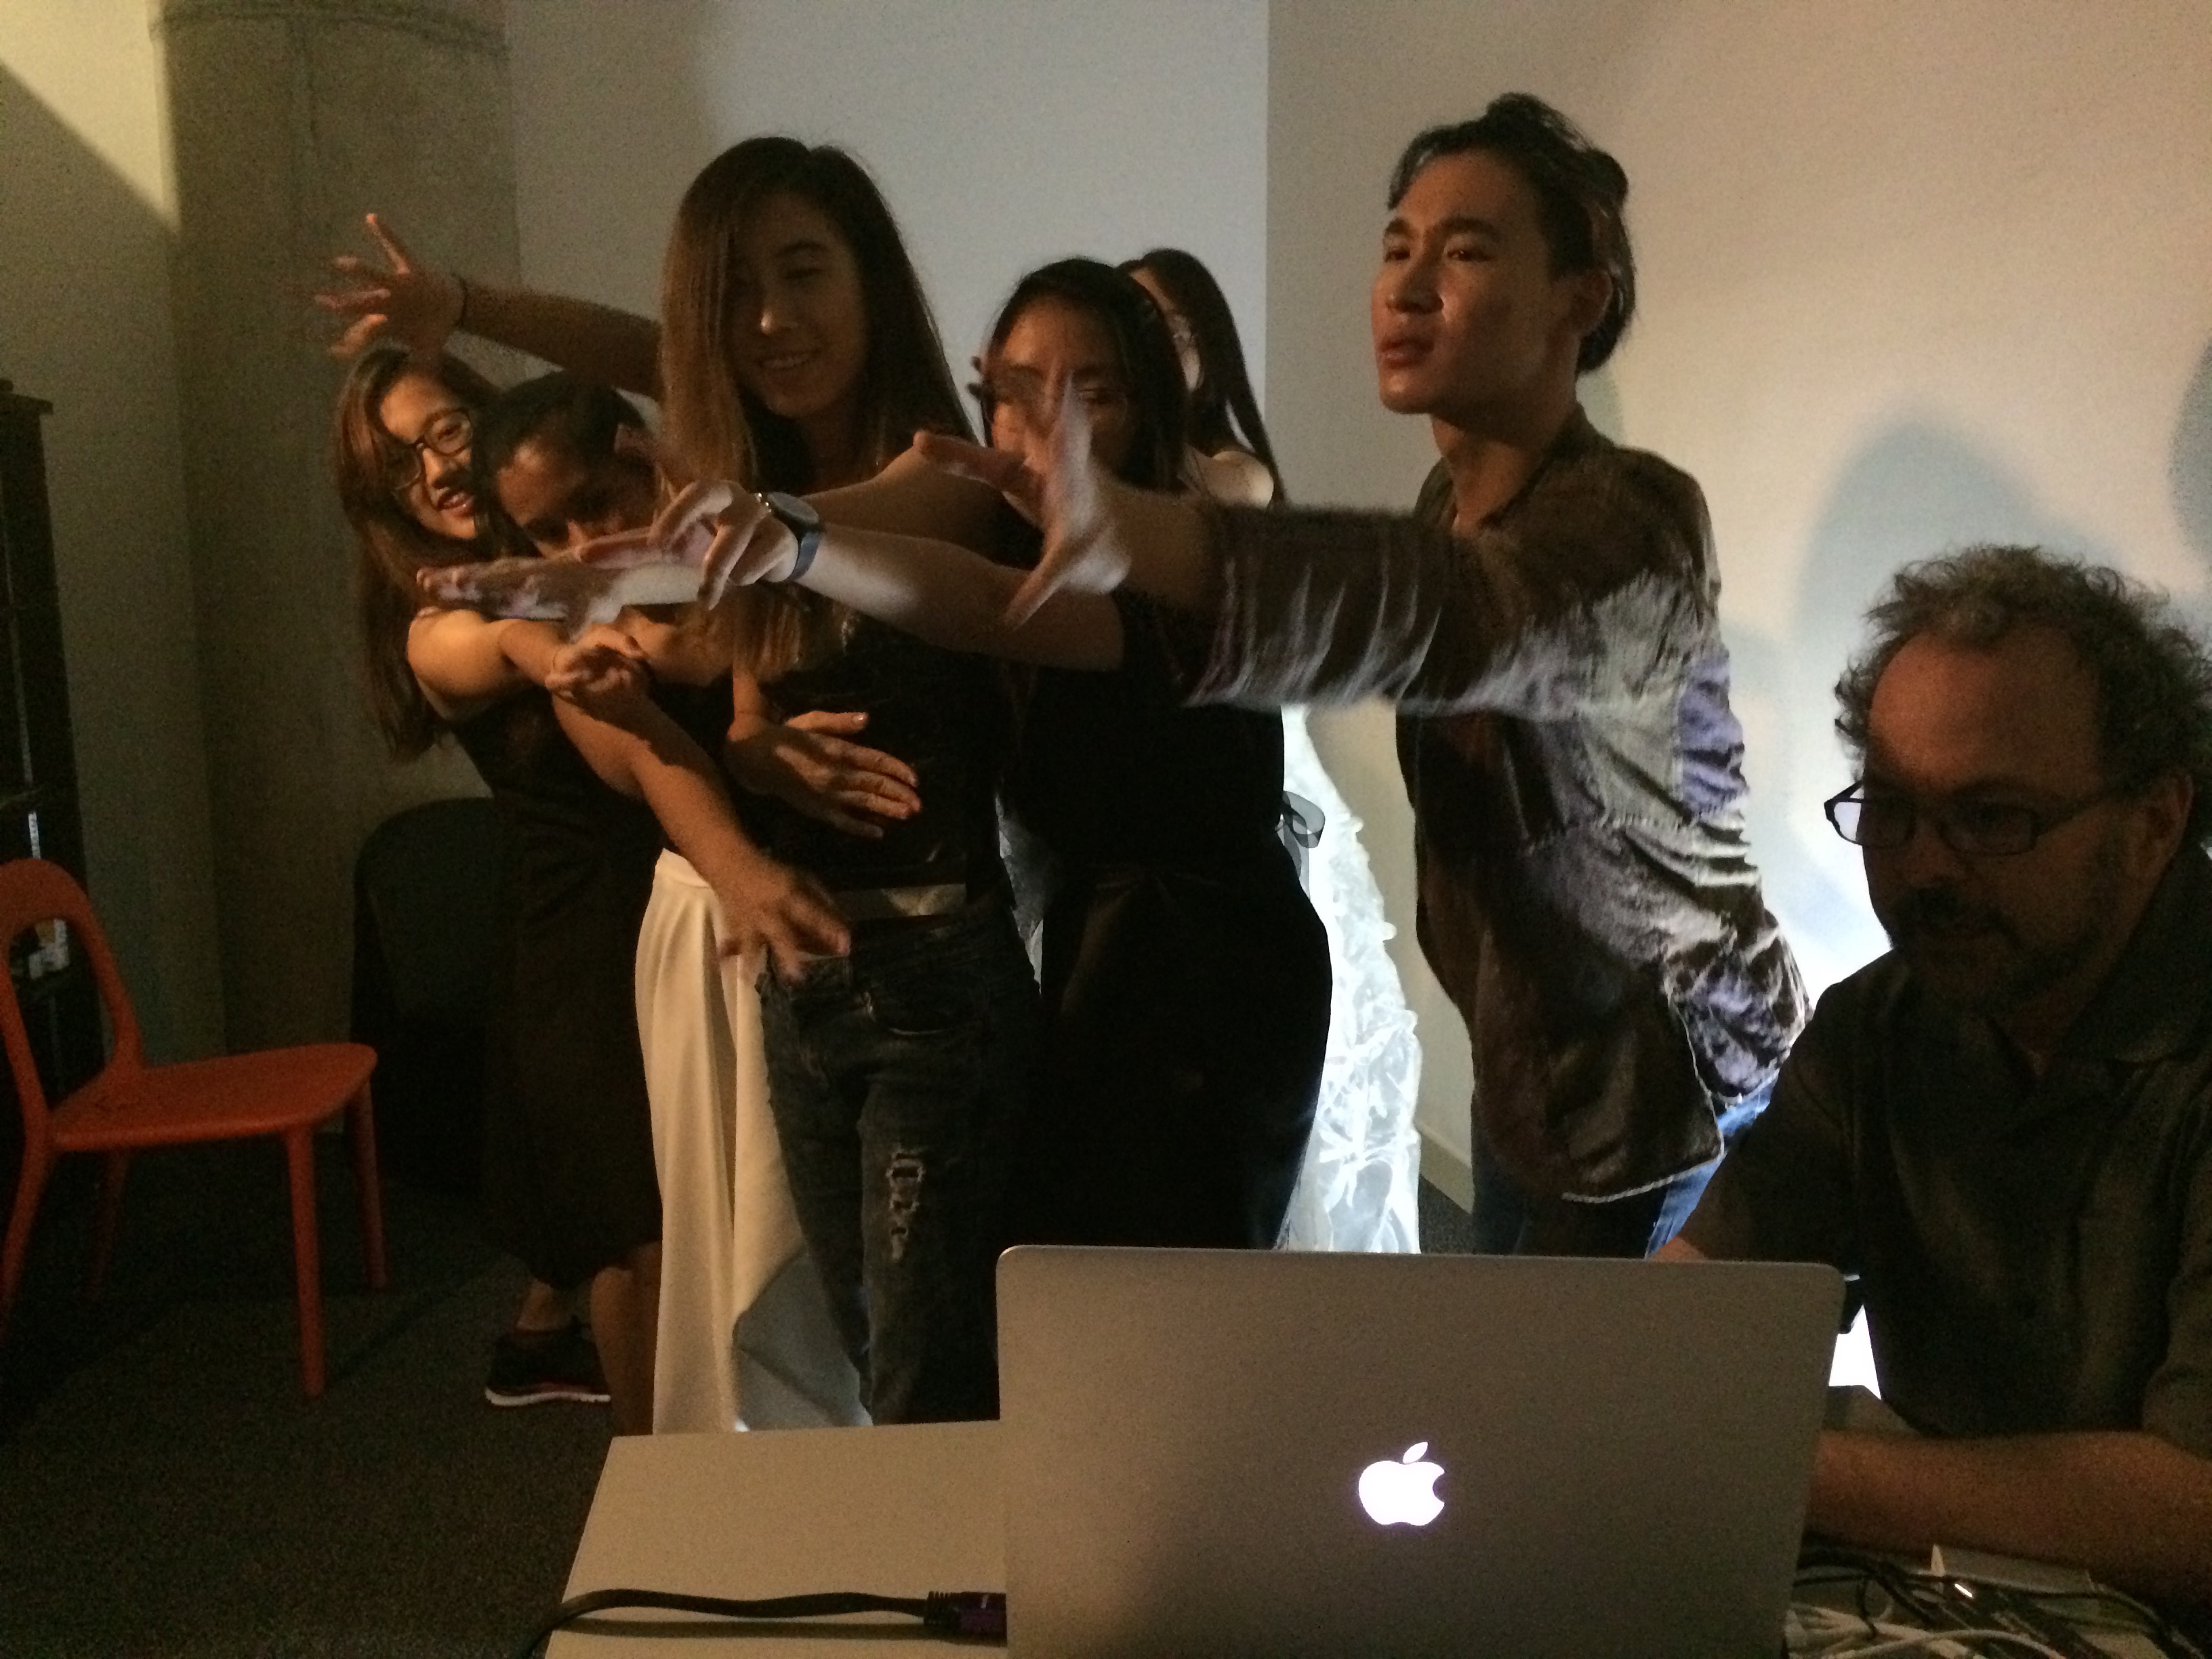
One of the ideas we tried was to have our hands reach out while Angeline moved to position herself “among” us. It was really interesting as we could not see her in real life but on the screen, it looked like she was among us and moving in sync with us.
The lighting proved to be an important factor as well as it determined how much of the space and the performers would be shown on screen. We had the lighting adjusted such that it was focused on us and less on the room such that on screen, it seemed as if we were performing in a wide black space. I think this helped to connect our performance with Angeline’s one better since she was performing in a space like that. It also brought an element of intimacy as the black space made the focus of the performance on us and created this unique environment that allowed for such a unique connection.
This is an excellent, detailed account of the whole process of the construction of your costume/wearable to its use in the dance rehearsal. It is illuminating to see how the behind the scenes work is done to create a techno-costume and then see how it is used for live performance. Also, very interesting analysis of your impression of the telematic space and how you felt the spaces merging together through networked media.