Banner


Media Art Nexus / Panorama Banner


3840 x 480 pixels

LED 15m by 2m
North Spine Plaza Media Art Nexus
NTU Singapore
16 November 2017


Panorama Banner at the Media Wall


Application examples of the pattern swatches

Food Monster Wallpaper Design for a Korean Restaurant

  • More swatches and their application examples here

Swatch Book Soft Copy


Earlier process documentation

Concept: An informative guide to bring out the best of Everton park, its quaint charm and how it boasts a mix of old and new businesses. The purpose of the guide is to entice people to come visit Everton Park, showing readers what they can check out there, do there and also some facts about the place so that they will have a better understanding of the place as well.

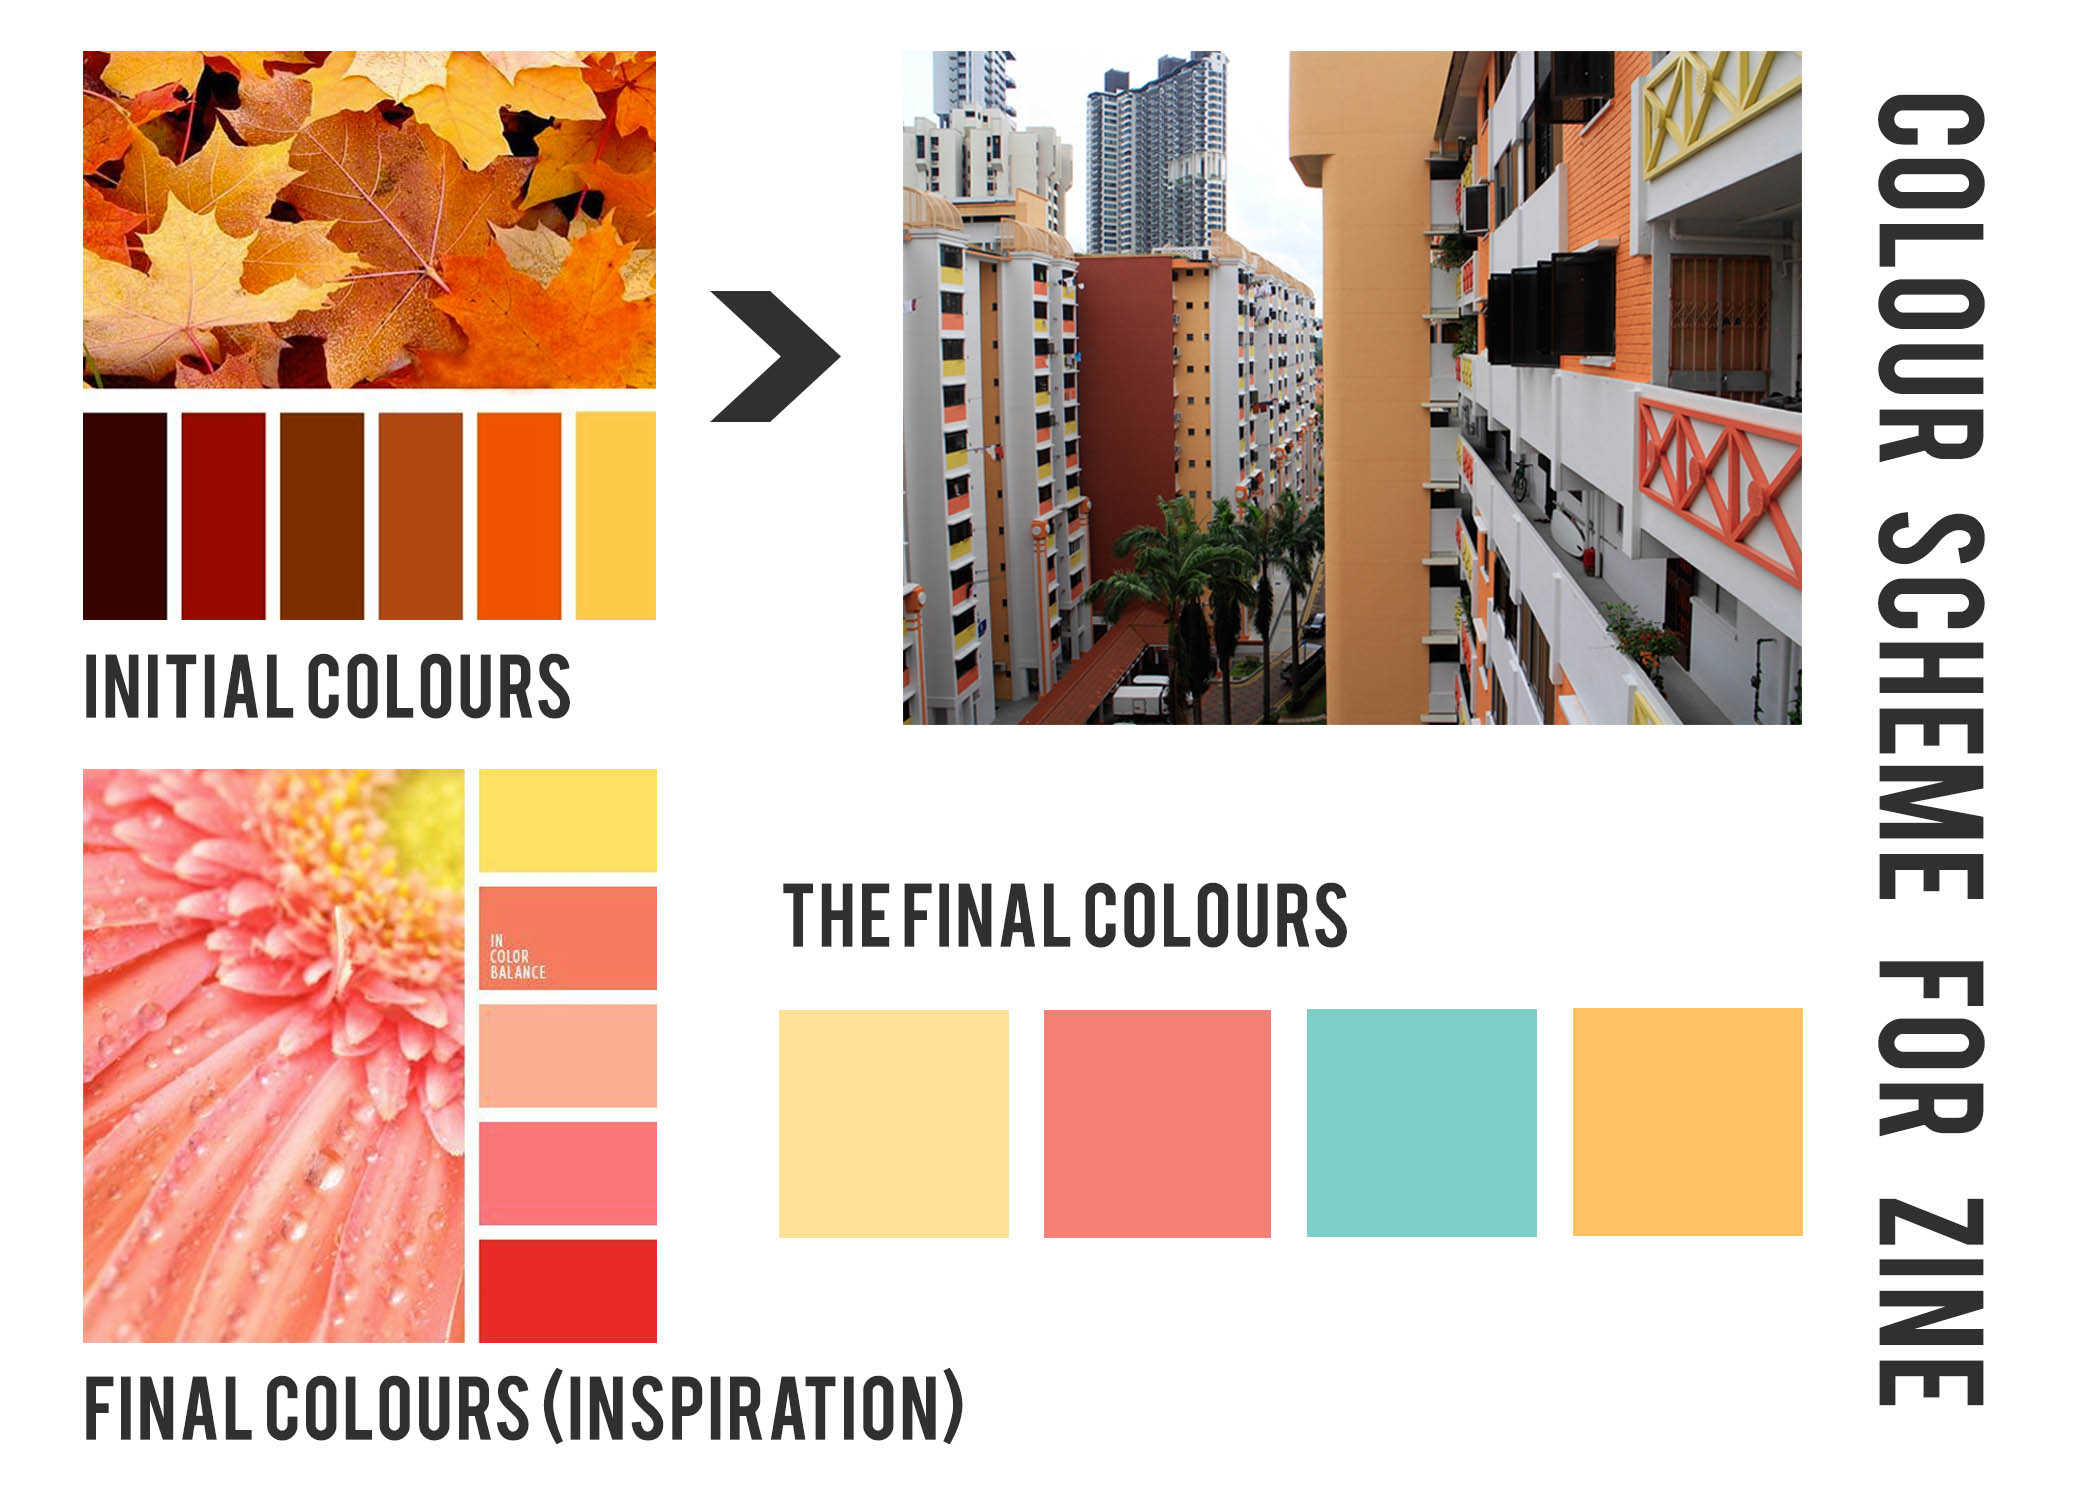
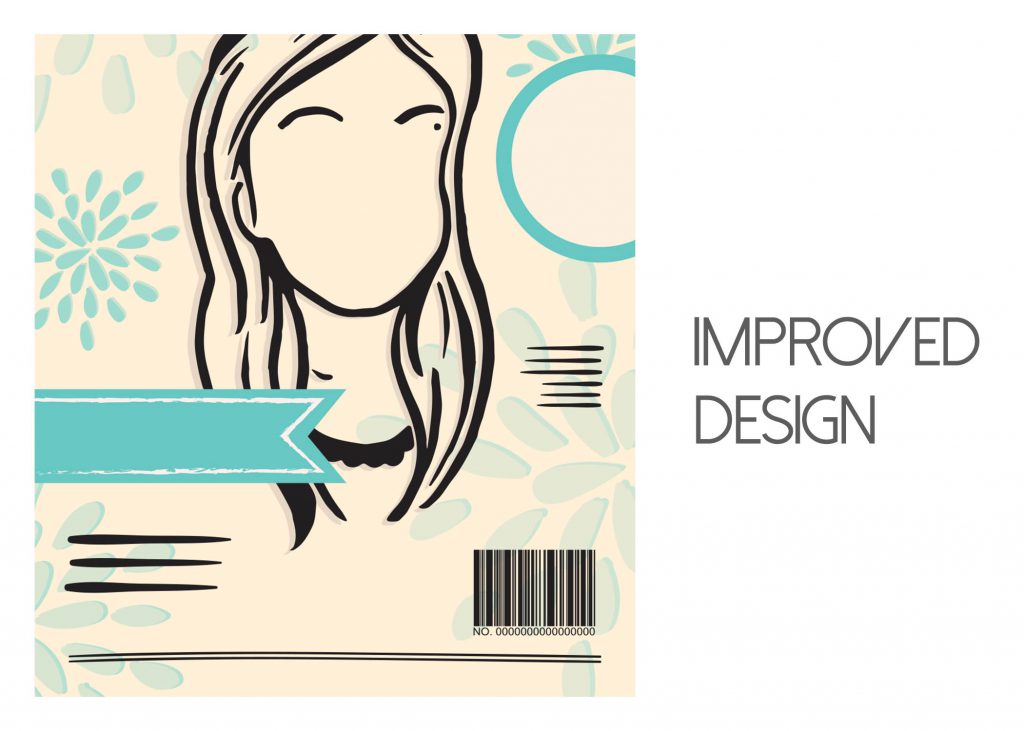
Art direction: Overall I took on a consistent pastel colour scheme for the zine and the original colours were inspired by the architecture colours of Everton Park. However, the original colours of the architecture seemed a little too bright and a bit of mismatch as a publication look thus I took to playing around with the intensity and colour harmonies and went for a more pastel and warm colour scheme eventually. (see image below)

Apart from the use of a consistent colour scheme throughout the zine, you will notice later on that I have also used speech bubbles on most of the pages and spreads for some of the headers and subheaders to bring out the personal touch even further.

Content – I felt that the mix of old and new businesses in this quaint neighbourhood, Everton Park was definitely one of it’s unique charm and I wanted to feature it in my zine so I brainstormed a little and listed down a few things that could be worth including in the zine prior:

  • Ji Xiang Ang Ku Kueh Confectionery
  • The various cafes
  • Unique stores
  • Anecdotes from the residents (for that personal touch)

Curation – I decided to go from broad to narrow after consults and finalising the content I wanted to have in the zine. As for imagery to complement the content, I decided to go for a mix of digital photographs to retain the textures of the food features and used illustrations for the rest.

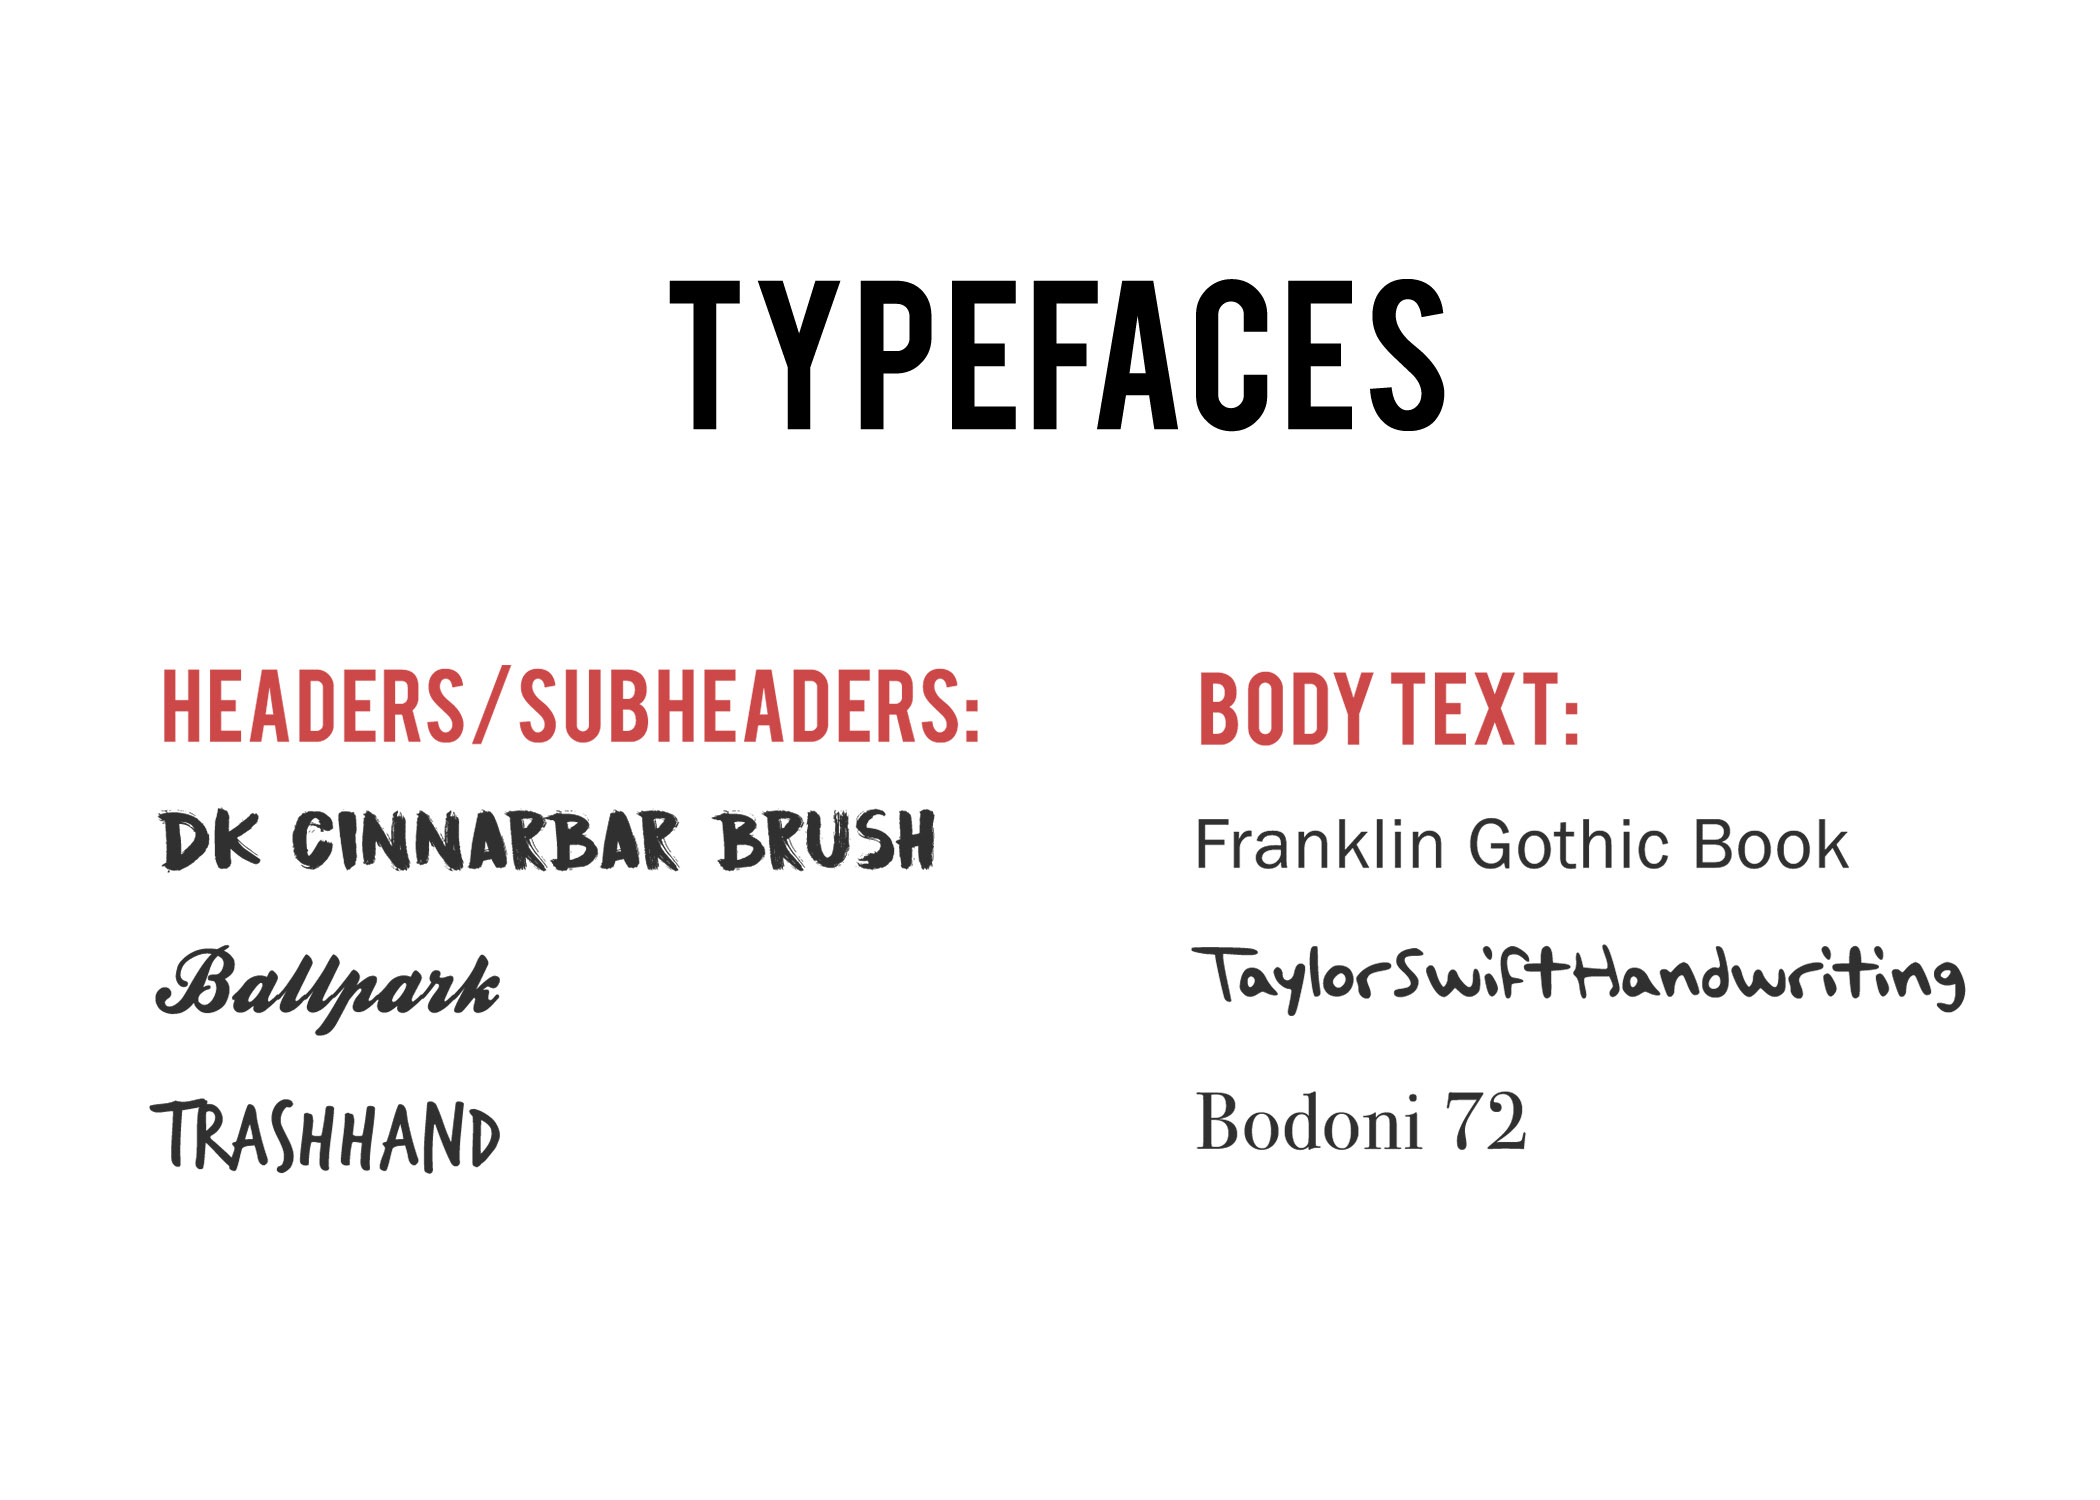
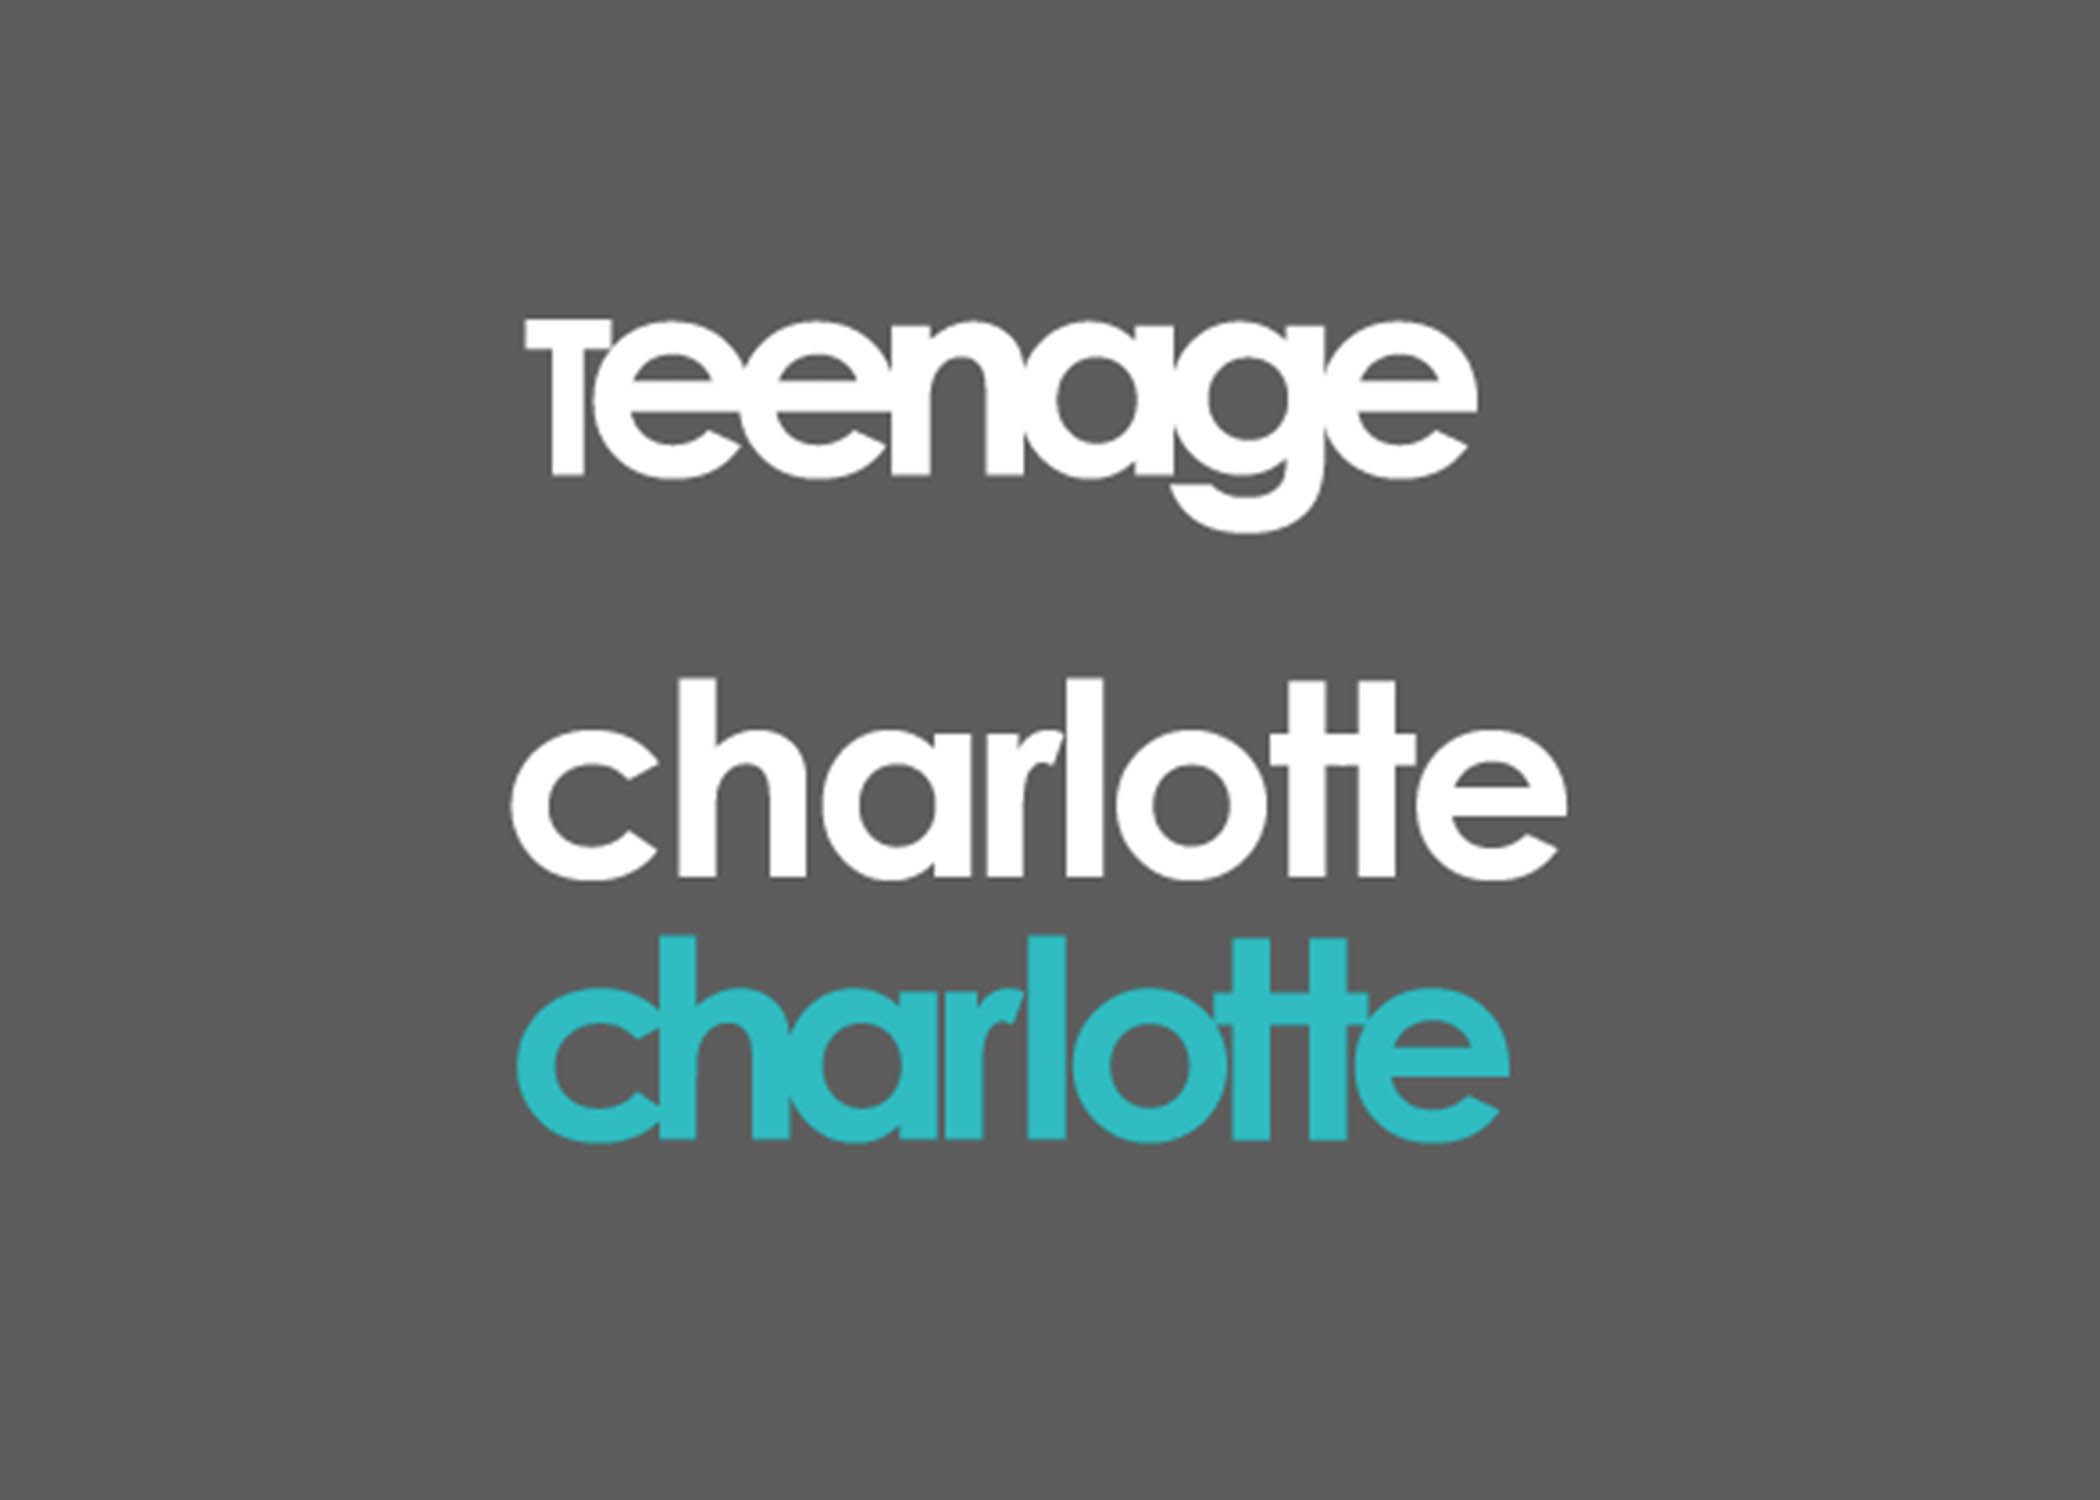
Typeface – For the typefaces used, I was going for those that were more nostalgic/handwritten to complement the warm colour scheme of the zine.


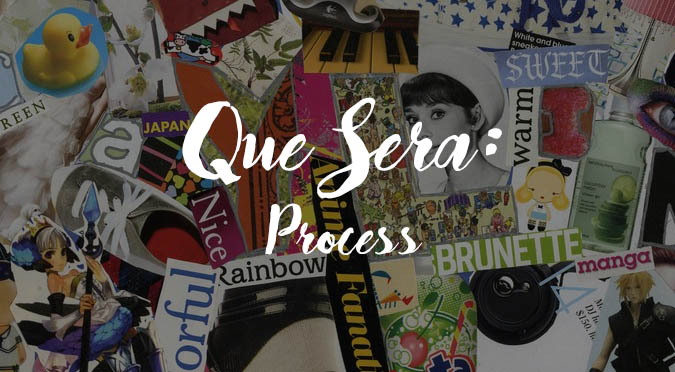
Inspiration (aka Moodboard)

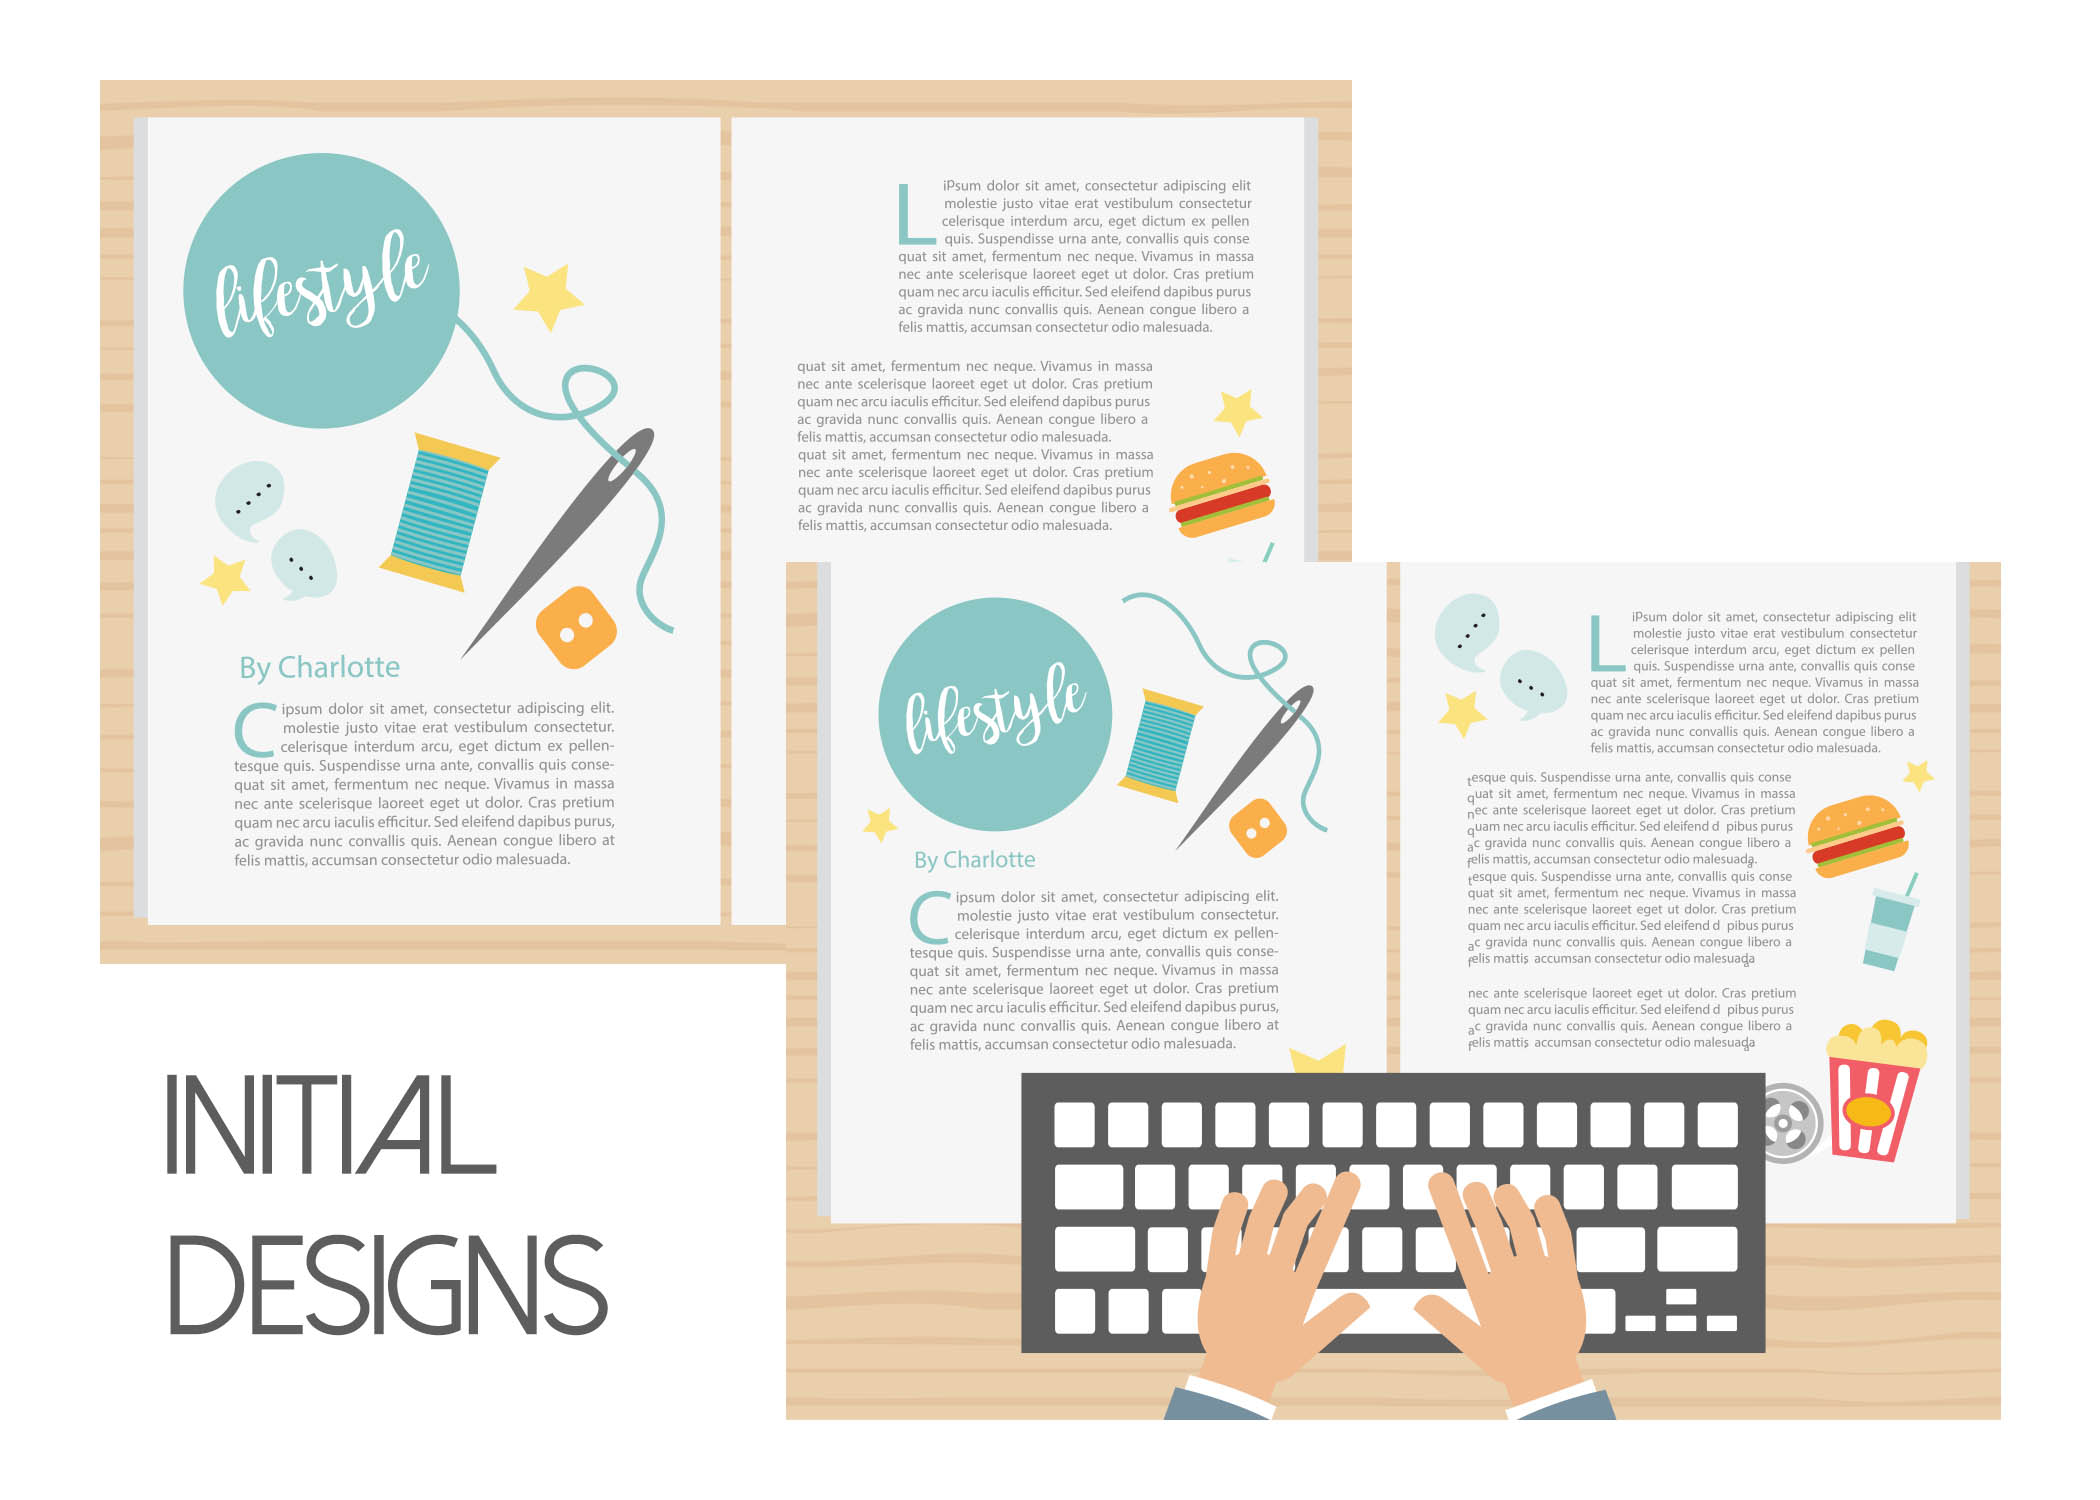
These were some of the inspirations i got from pinterest to help with the designing of my covers and design layout of the pages and spreads:

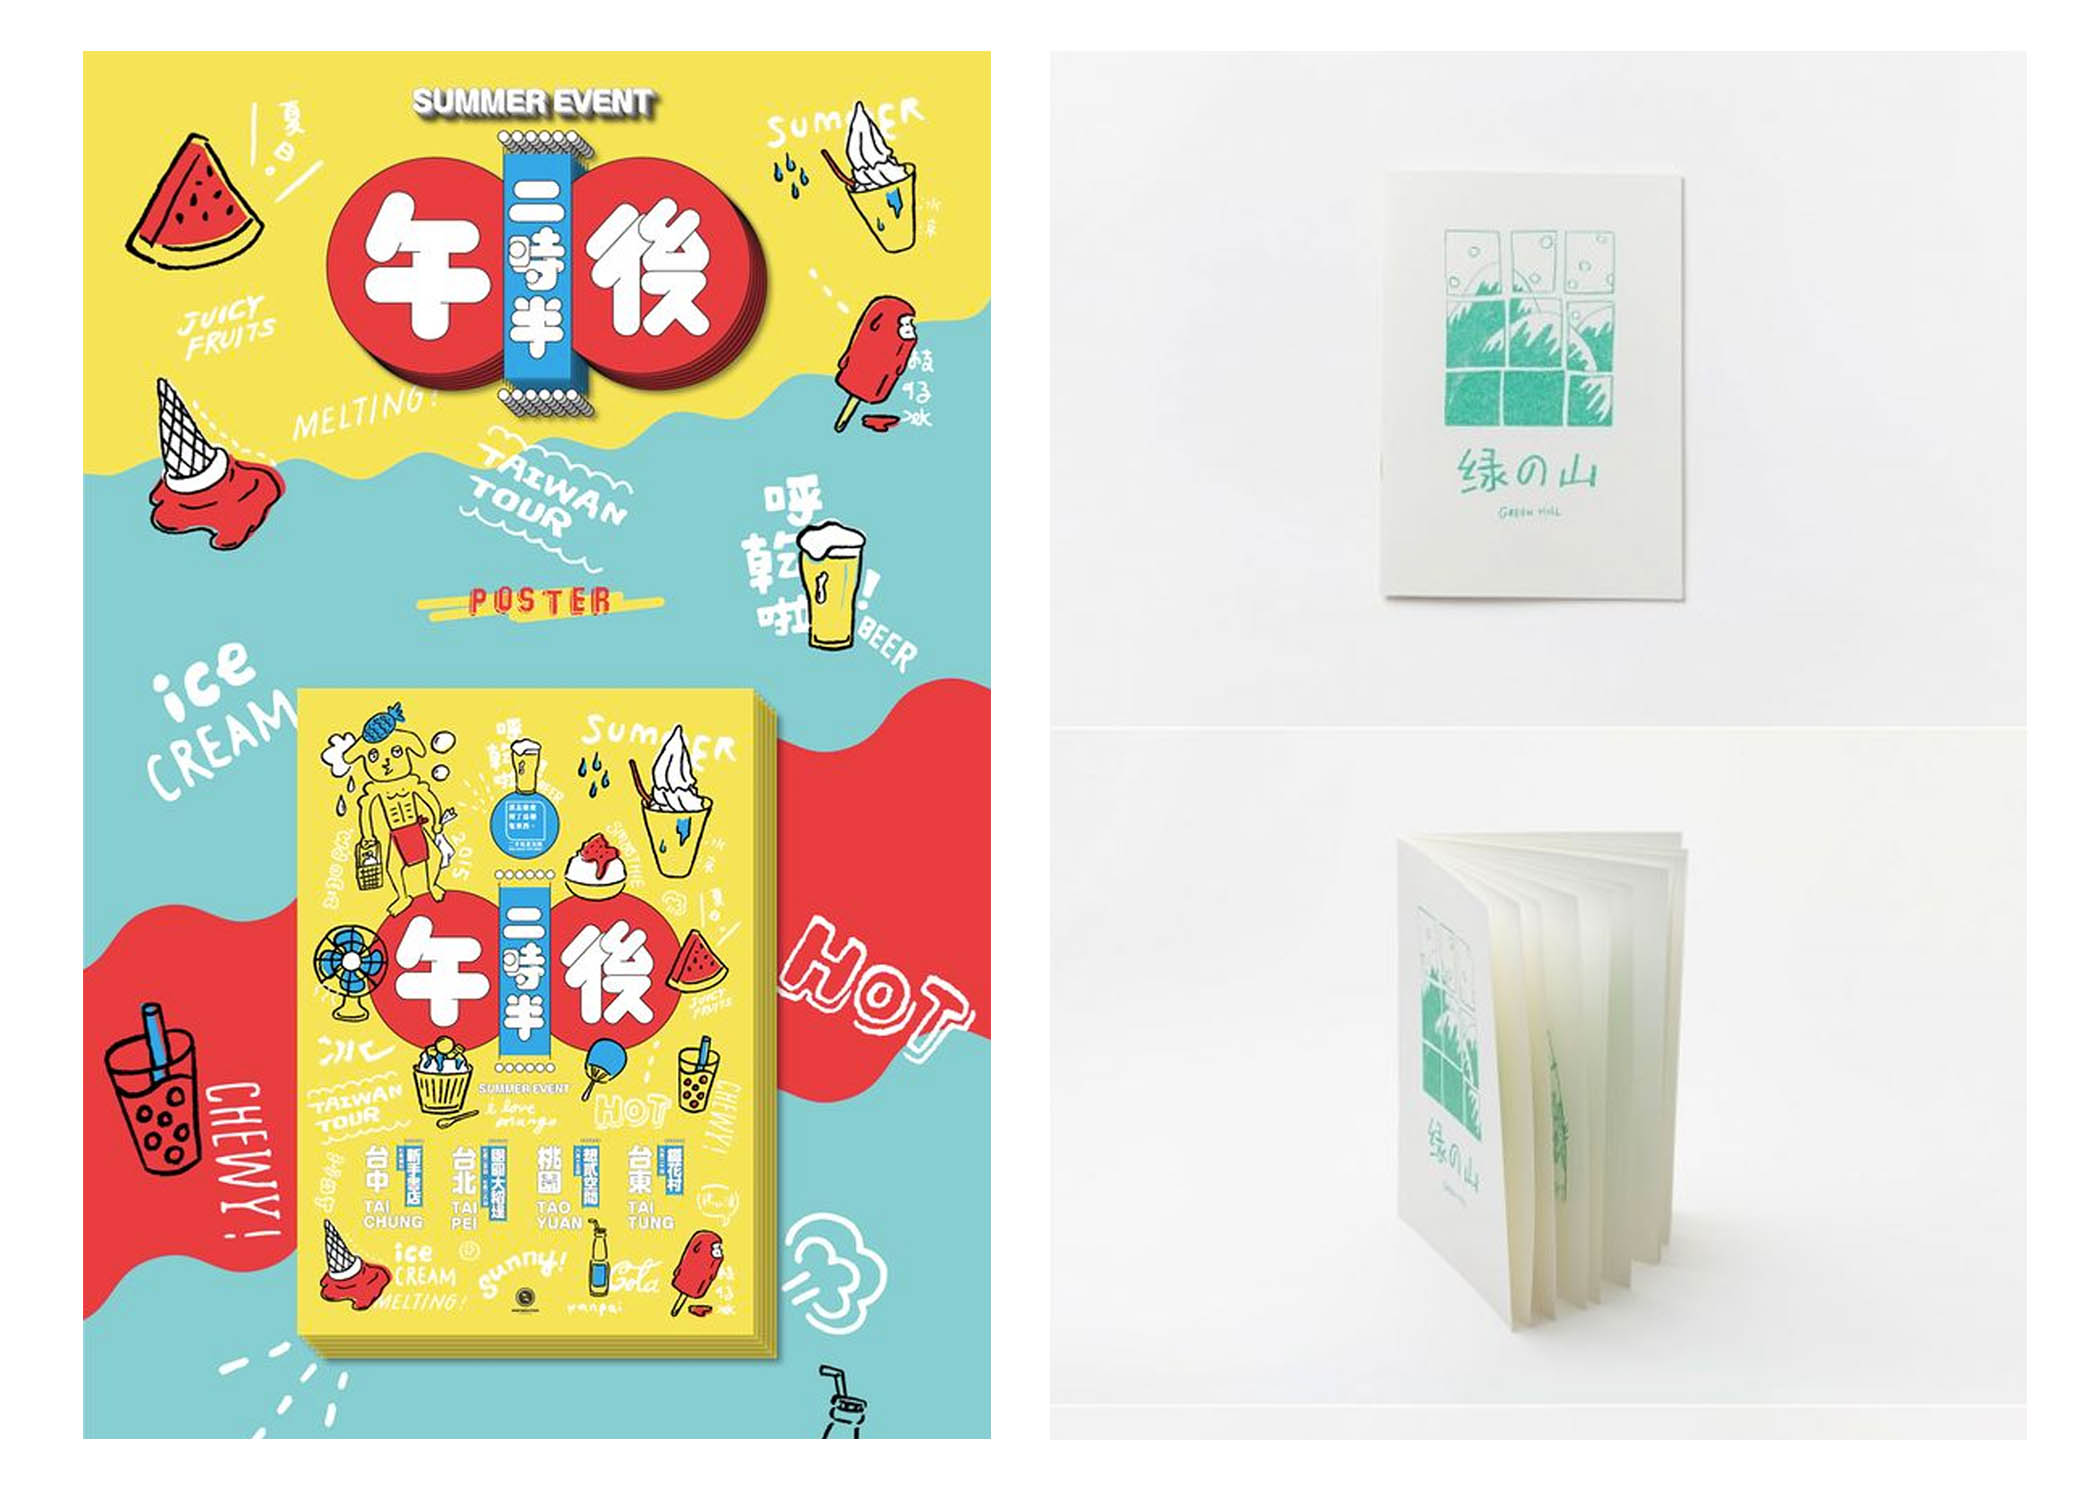
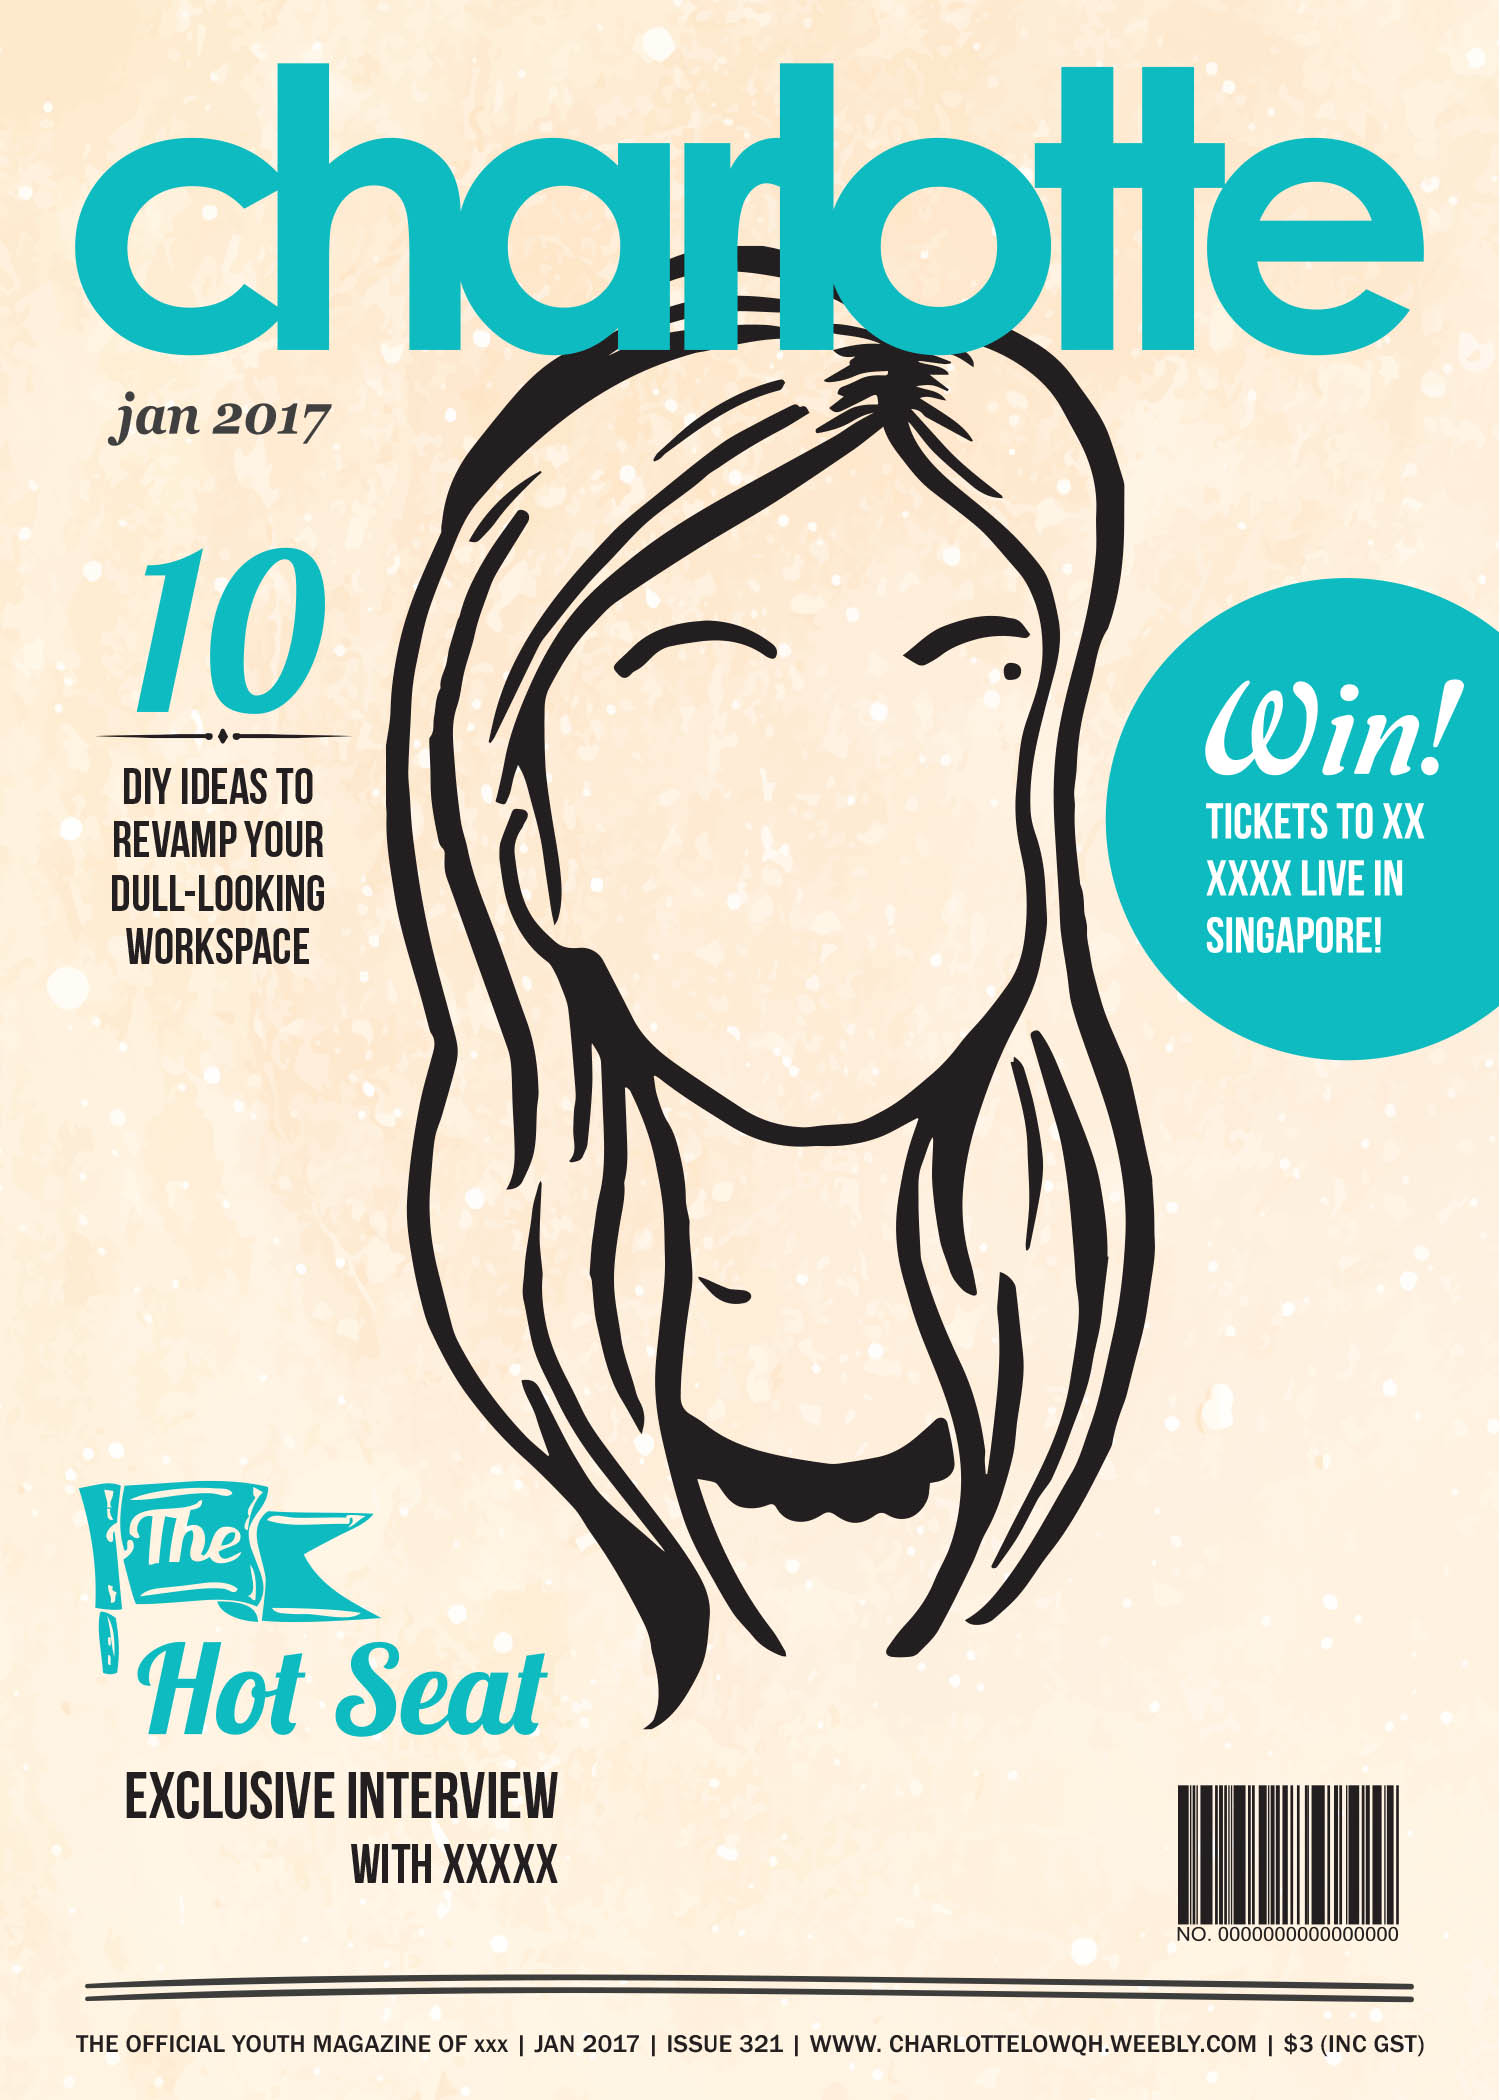
The above are some examples of illustration styles I wanted to try out in my zine and the image on the right was an early inspiration I had for the cover design – something simple and minimalistic. Riding on that idea, I came up with a cover design as seen later on in the next section.

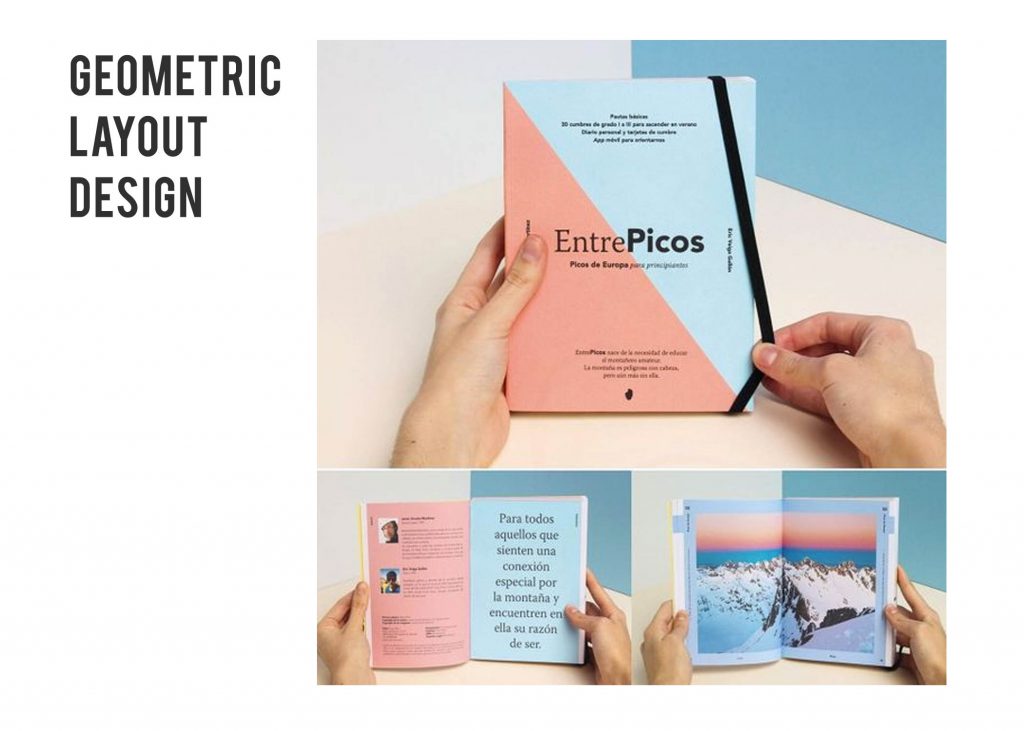
As for the above inspiration, it was for the layout design in particular the background. Since I was going for a illustrative look I felt that the background should be left simple and I happened to chance upon this inspiration – geometric looking borders and dual-colour background fills which you can see appearing in my zine later on.

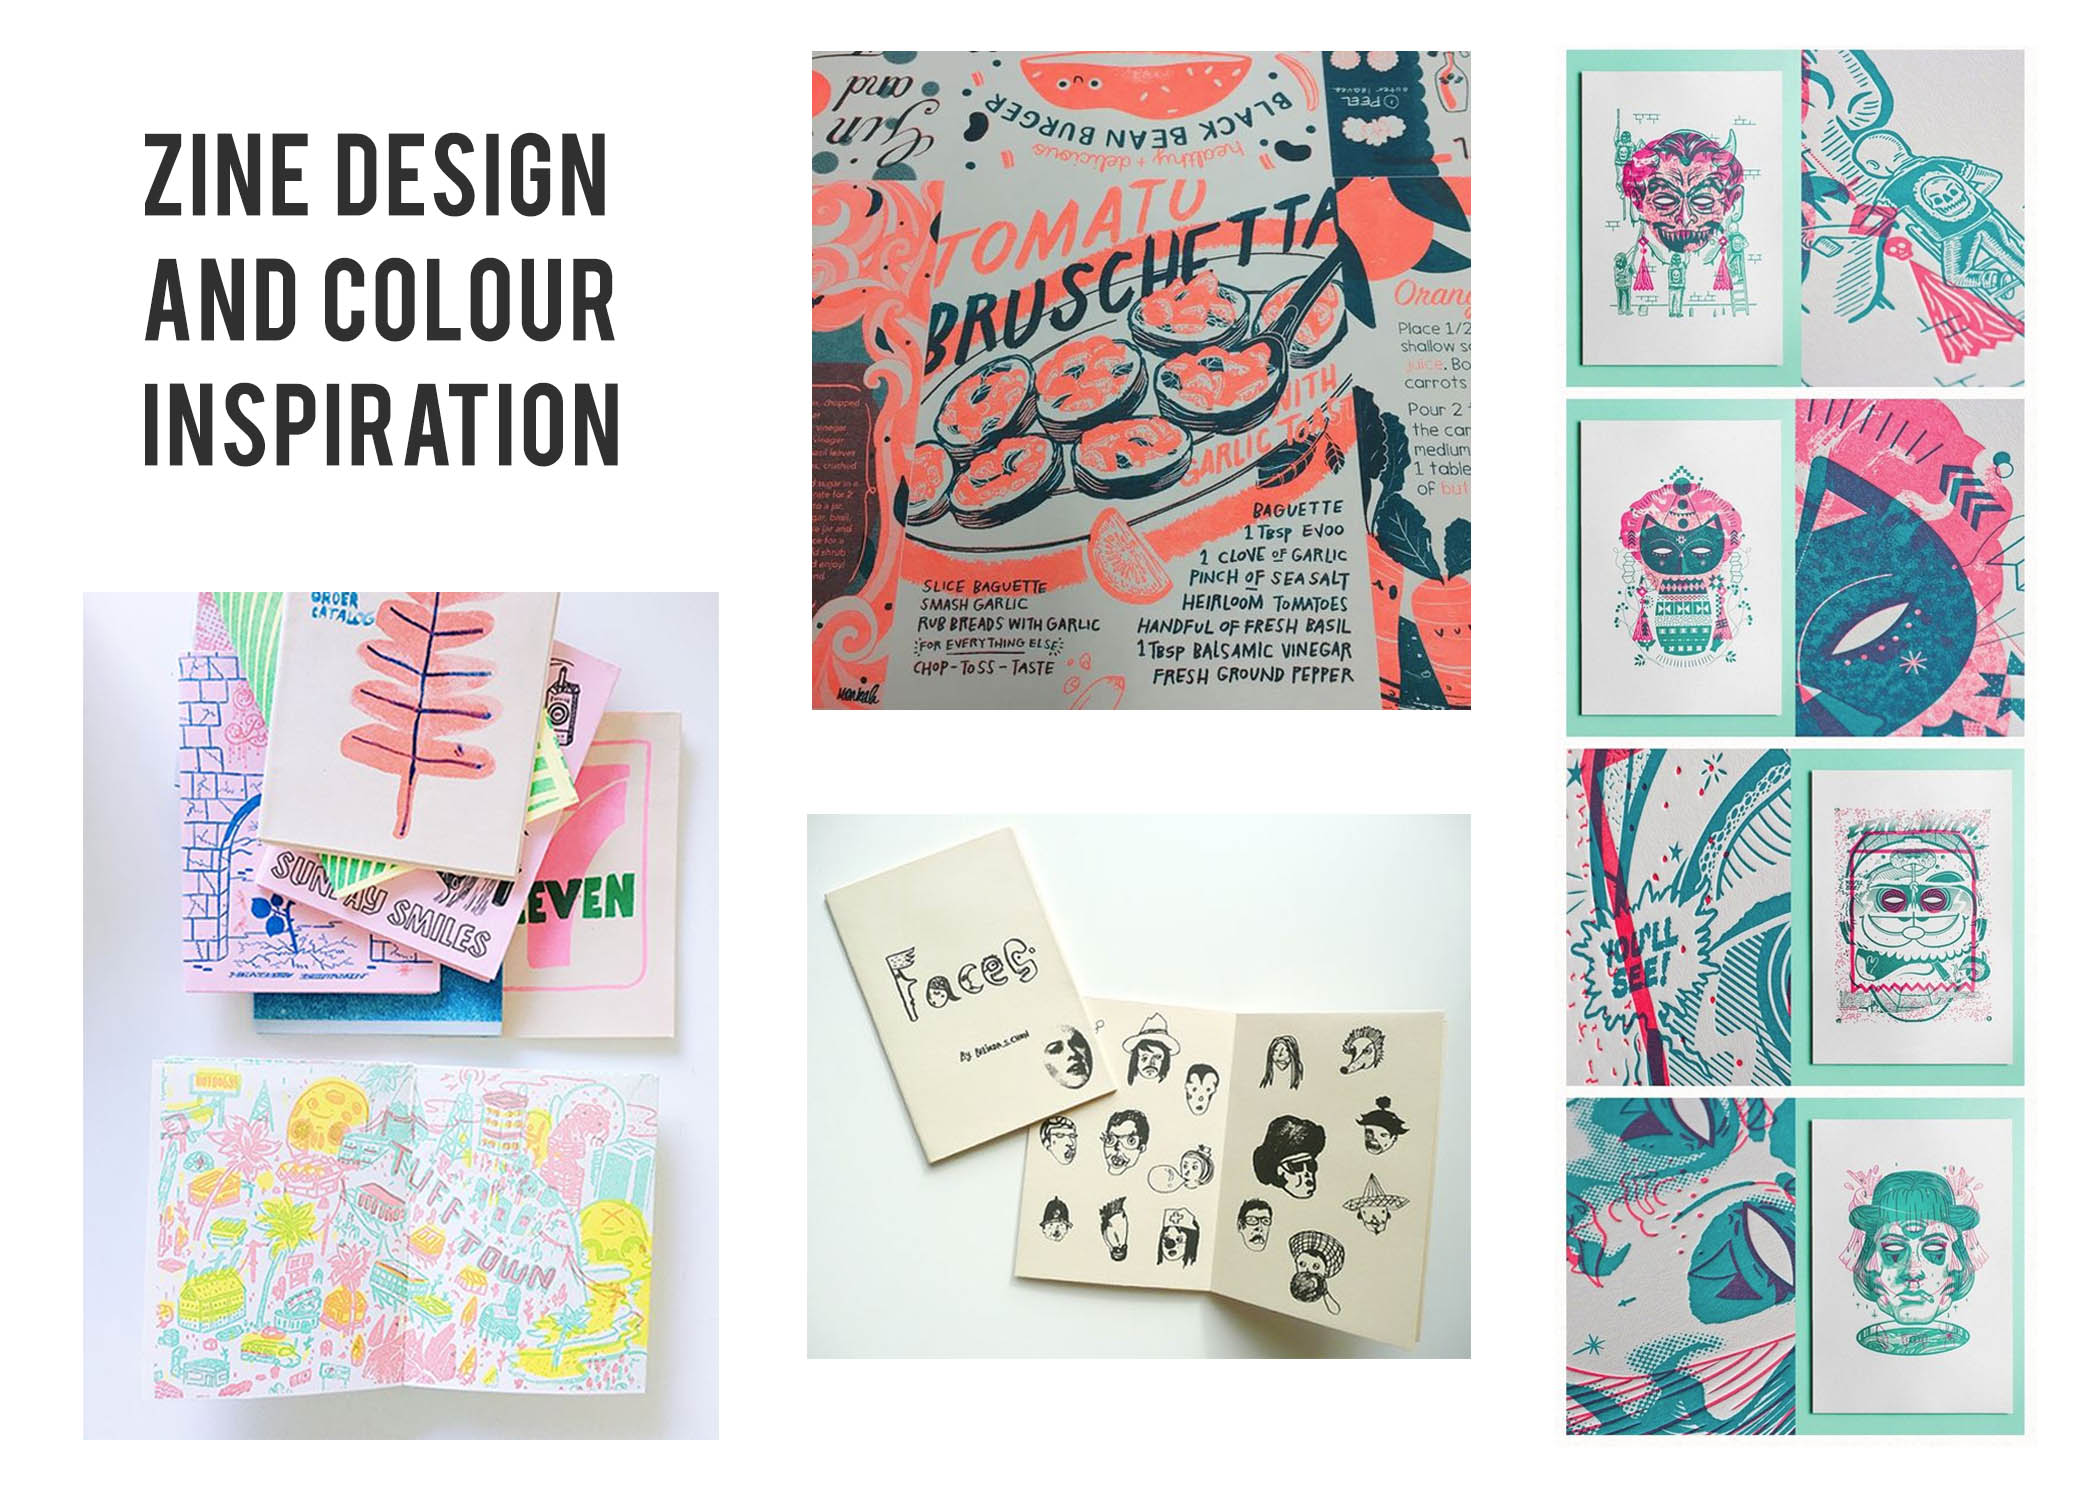
Some more inspirations for the colour and design. I initially wanted to go for a risograph feel you can see but after hearing how it costs a bomb, maybe not. But I really like the neon colours and the very comic/sketchy feel of it. Next section will be the digital look of my zine.


Flow of Zine (What each page/spread features)

  • The Front Cover (right) and Back Cover (left)

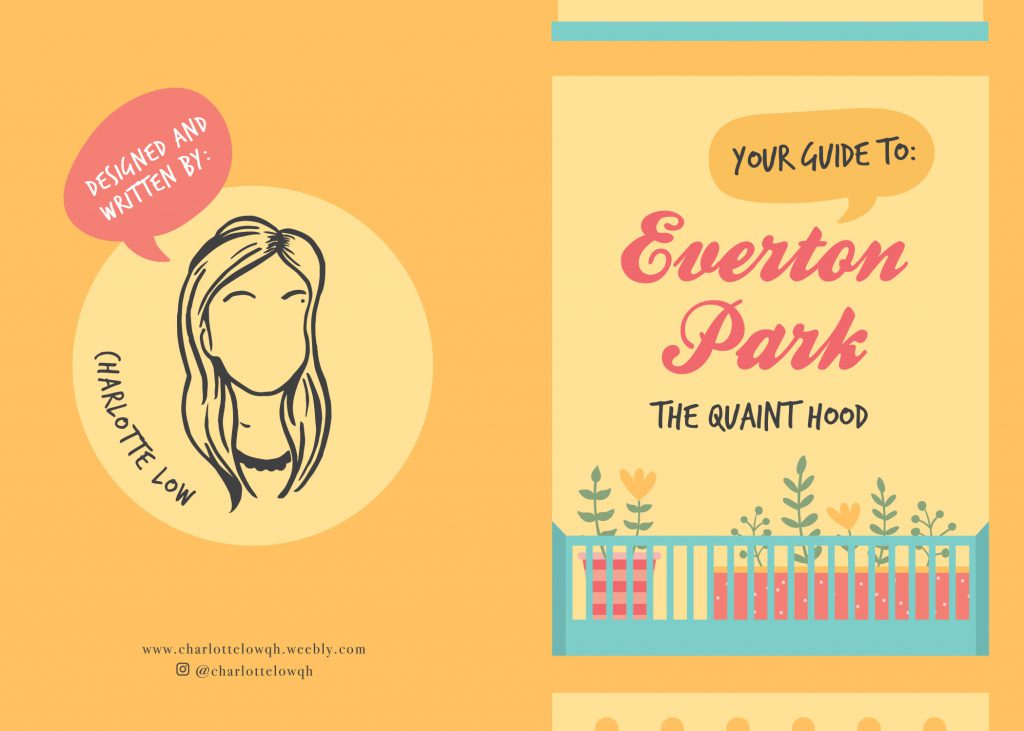
For the front and back cover design I initially intended to have it look like a cropped/framed view of one of the HDB block floor in the front with the hint of potted plants and all with the back cover a back view of the block like what you would see – the hanging of laundry, balcony etc. but eventually felt that by having such a design the architecture thing would be too overwhelming as you can tell that on the subsequent pages there’ll be hints of the HDB block again. Plus, doing up the details would’ve been too time consuming and having too many objects to look at takes away the main focus on the covers – the credits and title of the zine.

Thus I only kept the idea same for the front cover, suggesting more levels of the HDB block in the design instead of going with my original look which made the design look more like a frame/border surrounding the potted plants. As for the back cover, I decided to go with just a simple look, the credits: my social media handles and something like a logo design? (i’m not sure what that looks like but i’m very sure i’ve been excessively using that silhouette of mine since last semester’s final project for 2d; i think it’s becoming like an identity of sorts hahaha).

  • Now diving into the contents of the zine. When you flip the cover, the first 2 pages you see forms a spread layout with the contents presented as an infographic.

Going with the idea of having the content flow from broad to narrow, the first spread featured an overview of Everton Park, what the place has to offer in a quirky fun infographic form using phrases, quotes and numbers and making use of the box grids from the architecture silhouette of the HDB block. You would have probably realised that this is an expansion of my earlier infographic for Part 1 of this project (visit the link at the bottom of the post to read more). In addition There’s also a small part which provides readers with directions on how to get to the place by MRT and what they should look out for in order to find the place after.

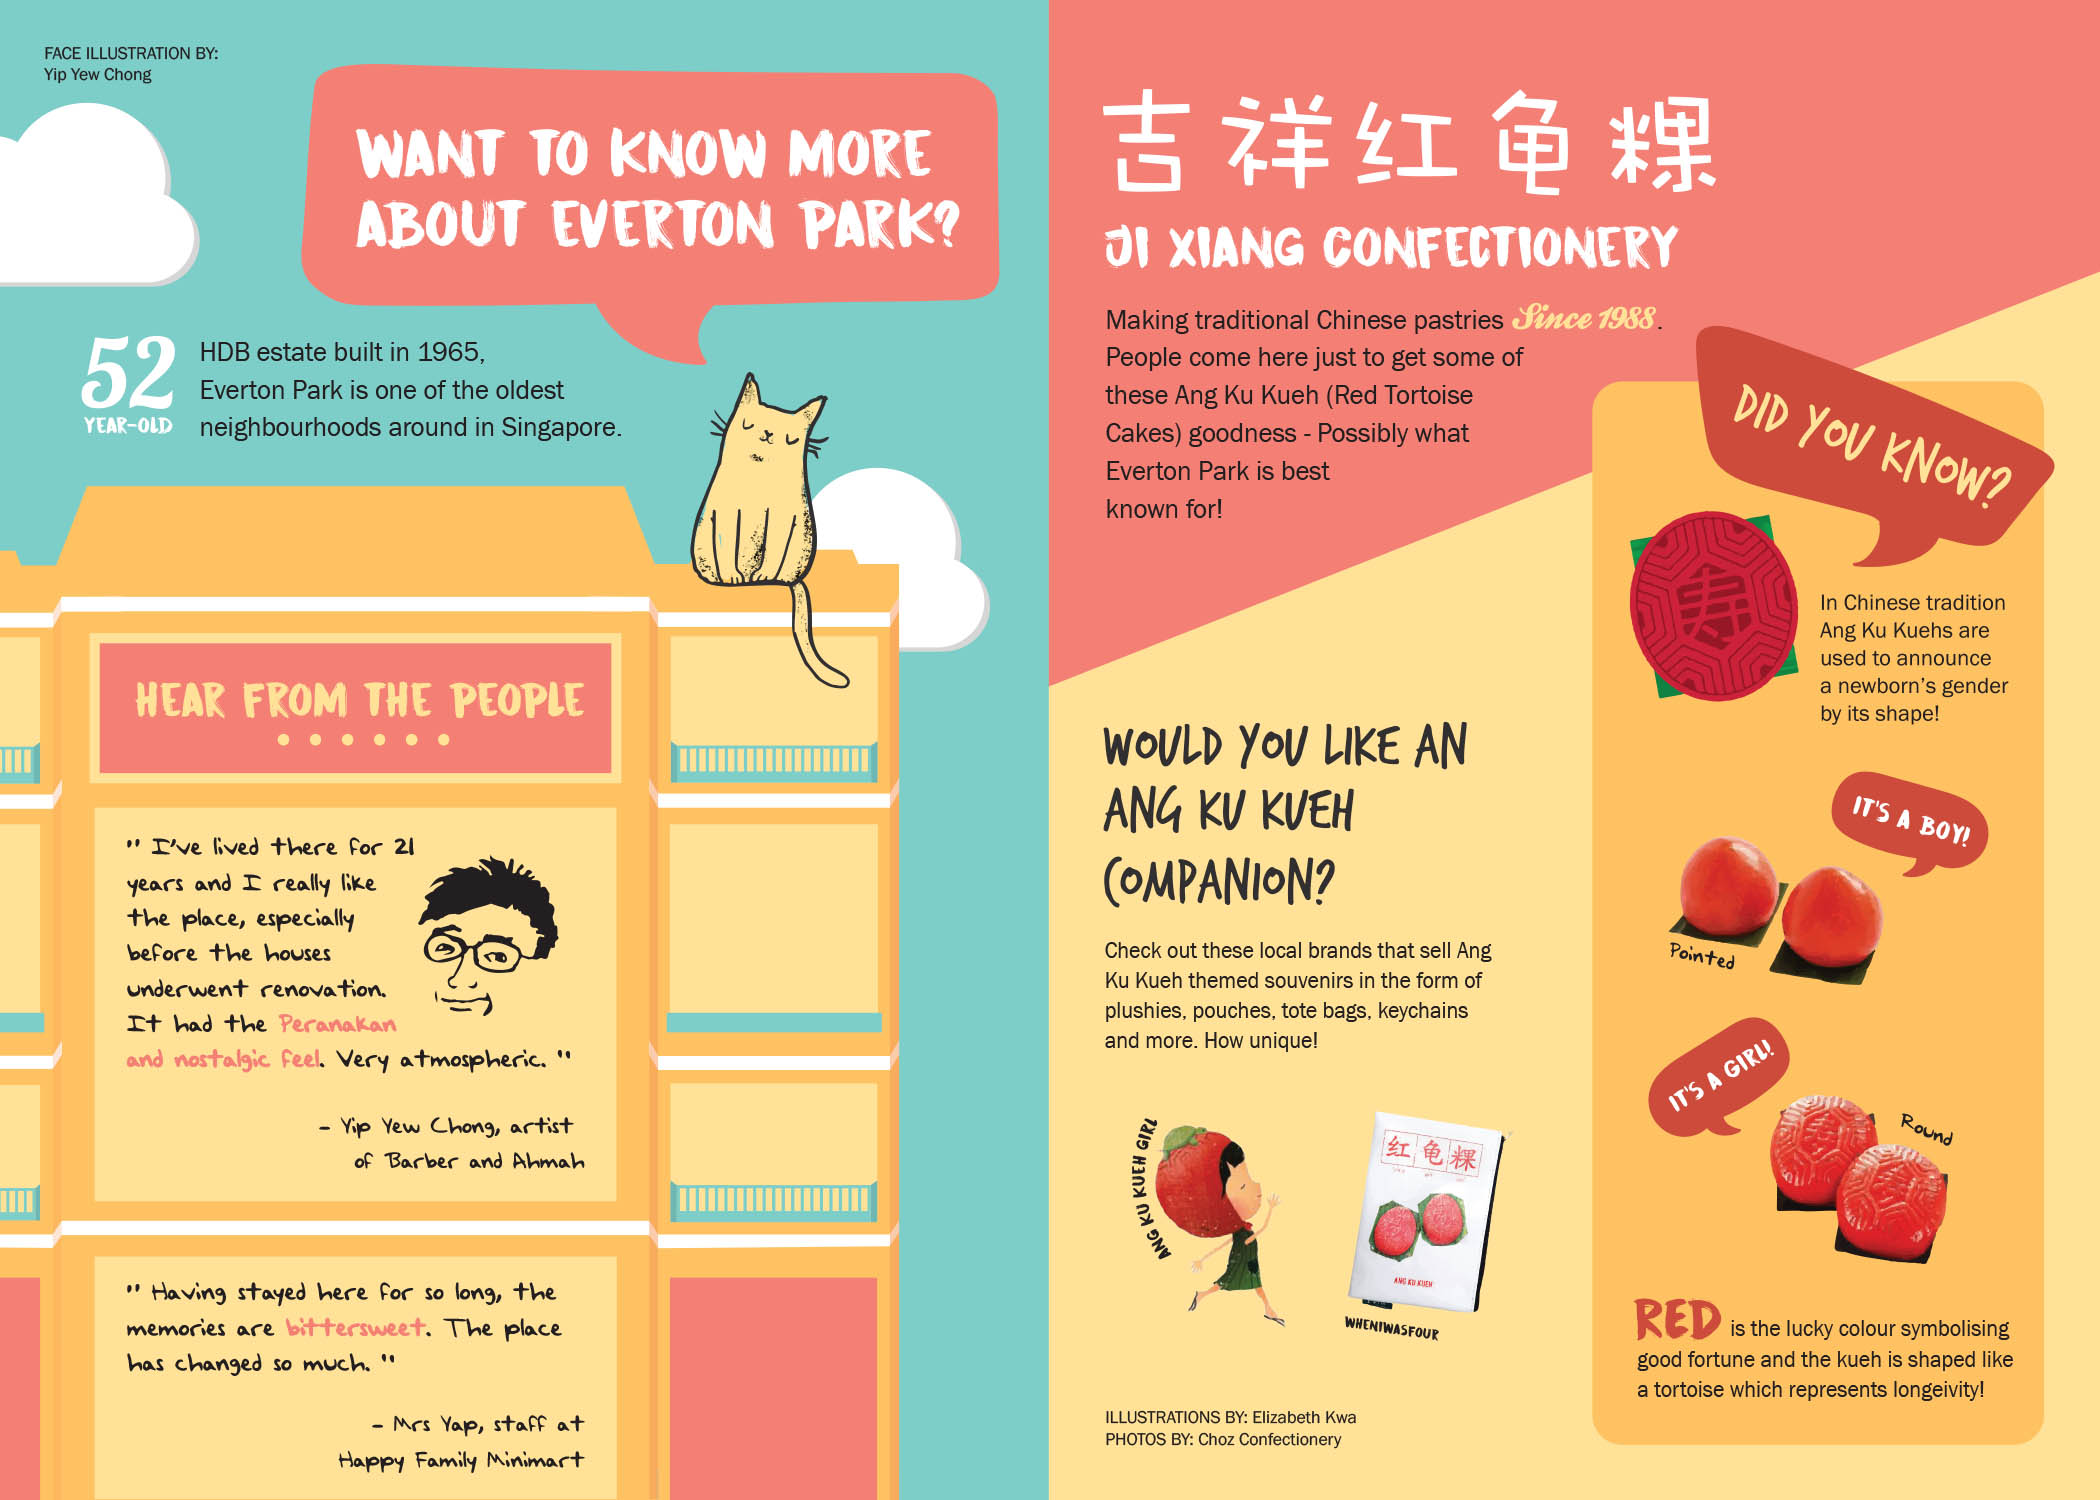
  • The next spread. Instead of having a second spread, I decided to make them as pages. Continuing the flow of content, from an overview I started narrowing down firstly to a brief history of Everton Park for the page on the left and Ang Ku Kueh for the page on the right.

For the left page, I felt it would be pretty nice to start off with a brief history of Everton Park as with all other publications or anything whenever there’s a subject involved, there would be background information about it in the beginning. As the year it was established and how old the HDB estate was was pretty much all the historical information I could gather online about the place, I decided to pair it up with some anecdotes from the residents who have lived there, store owners and those who are living there to make it more personal and a little nostalgic. One of the interviewees I managed to get an anecdote from was Mr Yip Yew Chong, the local artist whom I have constantly mentioned throughout my past few posts because of the 2 wall murals he has painted just round Everton Park – They look super gorgeous!!

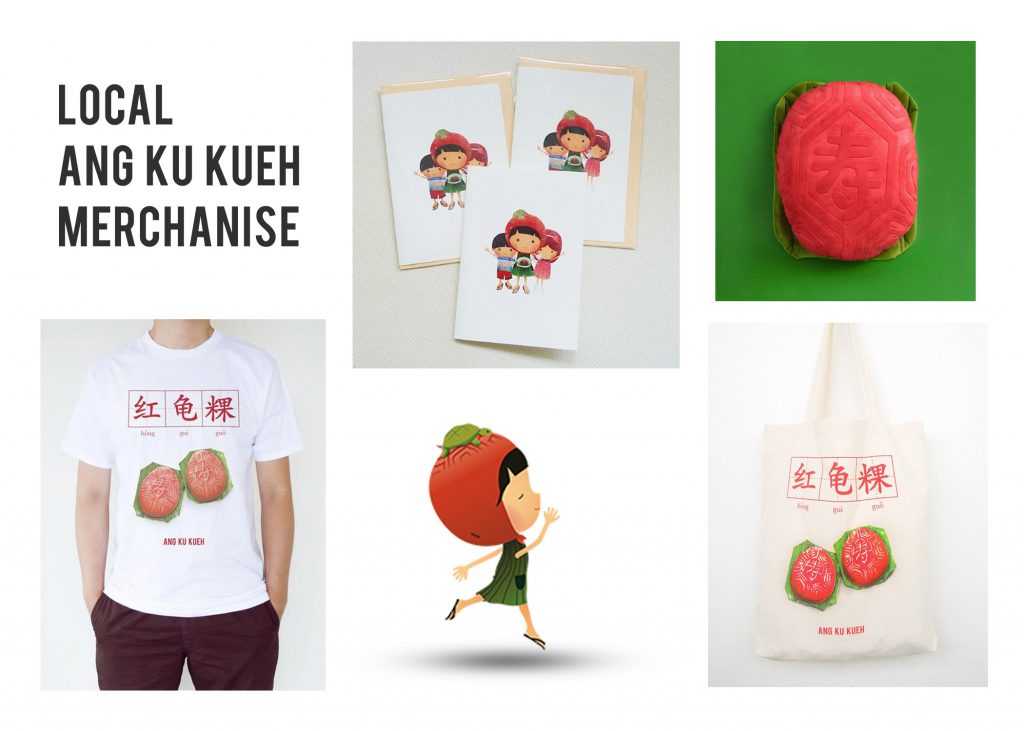
Whereas for the right page, I decided to do a feature solely on Ang Ku Kueh. Why Ang Ku Kueh you may ask, it is because of an observation I gathered. I realised when mentioning Everton Park to others, first thing they would mention about the place would be that it is home to the famous Ang Ku Kueh confectionery, Ji Xiang Confectionery that has been around for close to 30 years to date (since 1988). And rather than having a full boring page of information just dedicated to the store like an interview feature of quotes by the store owners, reviews and what flavours they have to offer etc. I thought it would be more fun to have it as a thematic feature page with Ang Ku Kueh as the theme. So I started with a brief description of the confectionery followed by fun facts and Ang Ku Kueh related content after. How I came up with the fun fact idea was from online research I chanced upon on Ang Ku Kueh. Turns out the Ang Ku Kuehs that you receive at a baby’s full month comes in different shapes and it is determined by the newborn’s gender! For baby boys, the Ang Ku Kuehs you get are in a simple pointed shape whereas for the baby girls, the couple will give out the normal round ones with the intricate mould design that you will usually see when you buy the confectionery. Thought it would be an interesting fun fact to know! I personally was fascinated by it! For the remaining space, I featured some Ang Ku Kueh themed merchandises like keychains, totes, plushies from local designers and their brands like Ang Ku Kueh Girl, wheniwasfour etc.

  • The final spread and the last content for the whole zine features 5 cafes to check out at Everton Park. As simple as it looks, it is really just a quick food guide to follow up on the previous page’s theme of food.

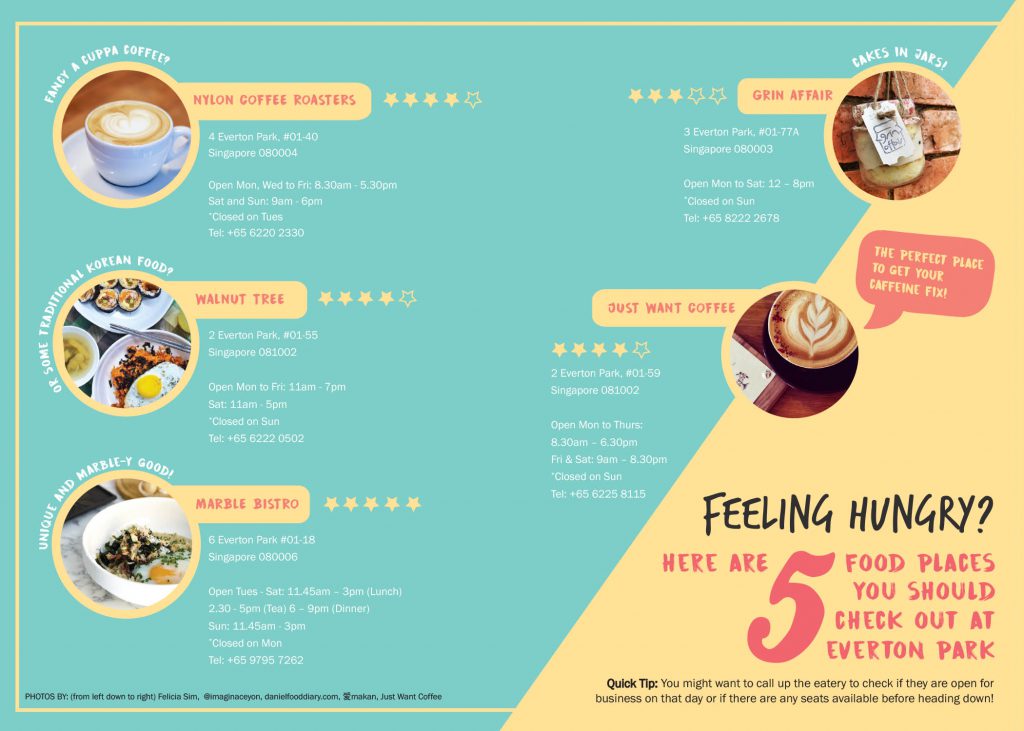
Curation of the content on this page wise is really just the address of the place, its opening hours, and ratings shown through the commonly used stars symbol. I had intended to add descriptions of what each cafe has to offer but to prevent the page from looking too wordy and making the information hard to digest, I settled for simple and short phrases to describe the food place and it surrounds the circle-cropped image for each cafe. As to how I decided on these 5 cafes to feature: Uniqueness (e.g. different country’s cuisine how they prepare their food) and of course, the ratings! This definitely required some researching… and ah, spot the speech bubble that I mentioned early on under art direction too!

Change(s) in idea/execution 

Actually there weren’t much changes in ideas and execution along the way. Overall it was more of change in the order of content (going for a old to new/broad to specific), which content goes onto which page and also playing around with the design layout.

If there were any major changes it would be for this page as during group consults, most of my classmates and Joy brought up the issue of not knowing where to look (the visual hierarchy was missing). The “Did You Know” seemed like the header for both the fun-fact and the “Ang Ku Kueh Companion” bit.  Eventually I went ahead with a classmates’ suggestion of colour blocking since I had this consistent geometric background thing going on as my background and it worked! Thanks Yi Ling 🙂

Challenges

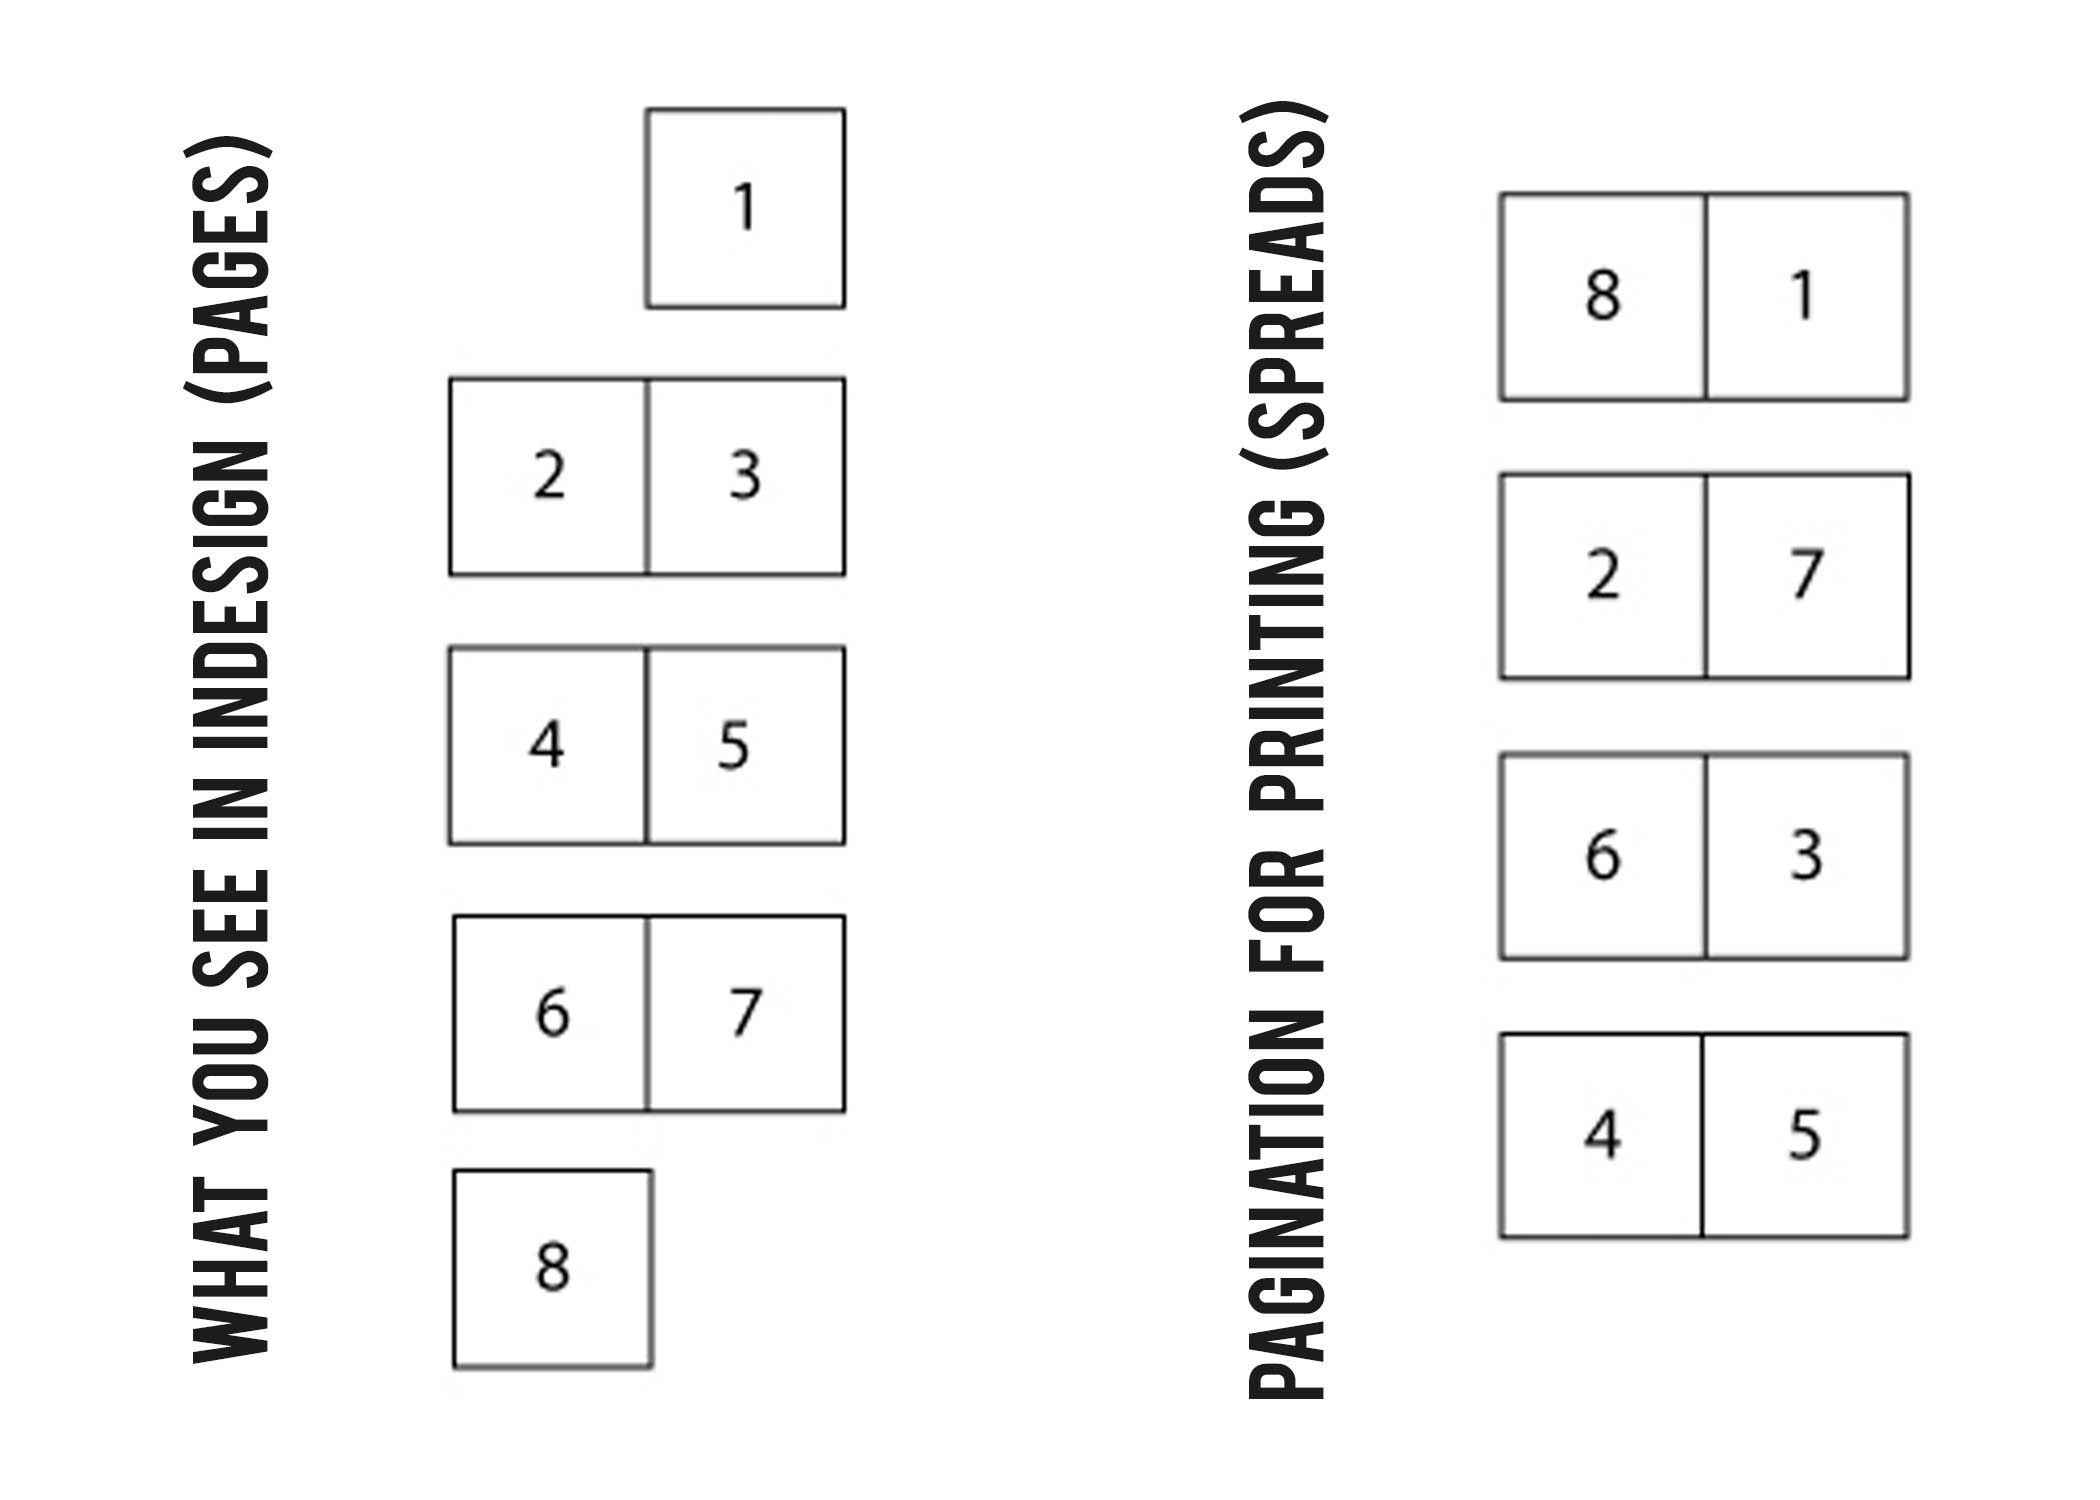
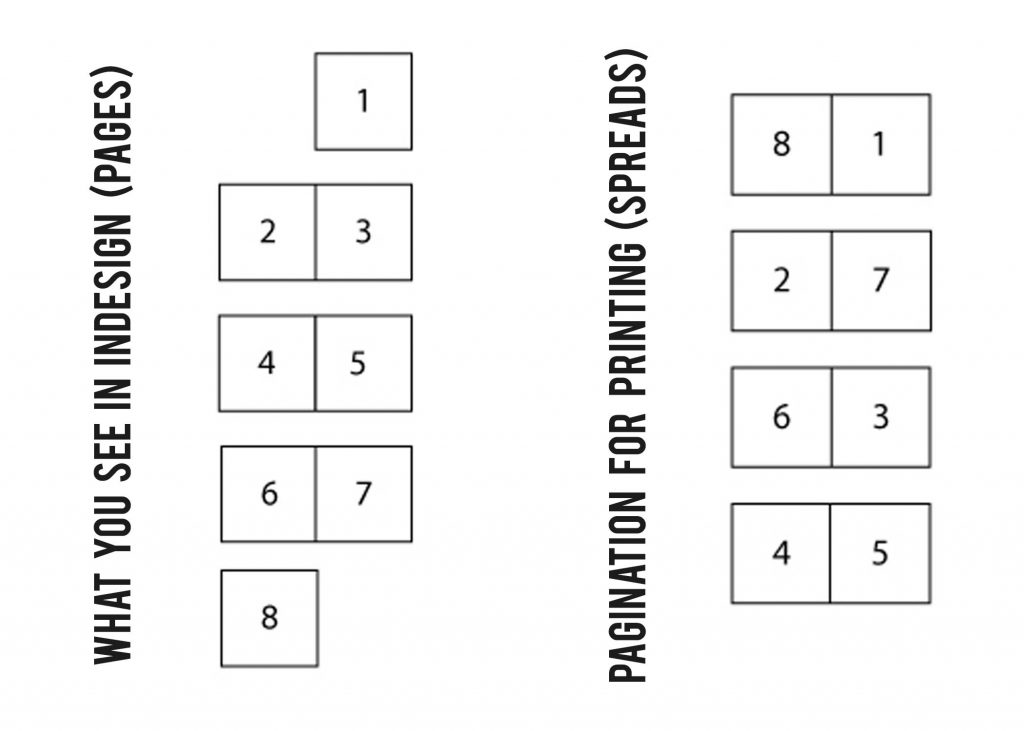
One of the challenges faced was definitely printing the zine. Having printed a publication before in polytechnic, I thought printing wouldn’t be a problem at all.  As mentioned during the inDesign workshop, some printing shops are able to help you settle printing just by saving in pages but some you had to save in spreads and with spreads came proper visualisation of the pagination like which page match would match with which.

A visual aid for better visualisation – Basically what you see in inDesign vs the layout you’re supposed to have when you export as spreads to achieve the correct pagination:

A HUGE HUGE PITY: Firstly, I think I’ve wasted quite a bit of money as I couldn’t get the printing right in terms of alignment (the bulk of it) and pagination (initially) and because of these continuous errors, I eventually got so focused on getting them right that I overlooked if all my content was printed out properly. Only till presentation day and after the silent round-table peer critique did I realise that an image on my first spread got cut off after reading my classmates comments AHHH. Internal panic but I guess I had to acknowledge that, if not the zine would’ve been perfect. The printing shop was super nice to actually help manually align the pages for me so that when printing on double sides, the alignment wouldn’t be off. Lesson learnt!

Enjoyable moments, etc.

Pretty sure that majority would’ve found this particular part of the zine project rather dreadful but as much as inDesign was a “pain” I believe to many, I really enjoyed the process! And especially when you print the zine, that feeling when you see your own fruit of labour… :”) Personally I really enjoy designing, editorial design so this project felt like my way to destress except since we were given a tight deadline it felt rather pressing at times when you get art blocks.

All in all, I really enjoyed 2d so much, those sweet post-it messages of feedback my classmates for every critique session, and being under Joy for the past 2 semesters have been so fruitful. I’ve learnt so much. Thank you Joy for being so encouraging and nice!!

I’m bummed, my utmost favourite foundation module is officially over 🙁

And finally, here you go! The links to Part 1 my of Zine: Neighbourhood Explorer (Infographic): 
Research: https://oss.adm.ntu.edu.sg/char0066/neighbourhood-explorer-zine-research/
Final: https://oss.adm.ntu.edu.sg/char0066/neighbourhood-explorer-infographic/

Finally the compositions have come together!  So for this project I finally veered away from traditional (okay maybe not, a little towards the end) and went full on illustration style. Since it was a project to introduce our future jobs through 4 different typographic compositions, I figured taking a personal approach would be nice; sharing my story.

final

CONCEPT & MESSAGE

Concept of my project: Growing up, the different job aspirations I had.

The main subject matter for inspiration and spur of the job aspirations for this project was magazines. Magazines I grew up reading. 

Teenage when I was much younger. Actually I still do now only because I really love their editorial style and I’ve always dreamed of joining their publication if I were to ever go into an editorial job in the future. The first publication I’d want to work for. Also, more recently frankie, because of its content (art, design, photography, craft..) Both are lifestyle magazines.

teenage

Message of my project: Growing up, my perceptions and sensitivity towards things change. I paid attention to specific parts of a magazine which led me to the different job aspirations as shown in the four different compositions.


EXECUTION

#1 My name is Charlotte and I’m a Cover Designer.

cover-final

For the first composition, it’s inspired by that one time as I read my very first magazine, Teenage. I was immediately drawn to the magazine cover. You know how sometimes when browsing books in the library and deciding which ones to borrow? The factors for consideration were usually the synopsis, and book cover (though yes, never judge a book by it’s cover but you can’t lie. appearance matters yeah) So I thought to myself, one day I want to design the covers of magazines and this publication’s in particular.

Through feedback and suggestions received during past consultations, here’s what I ended up with. The final improved version. Used the simple vector shapes, a silhouette of myself that I came up with for the final 2D I project last sem (Ego In Different Settings) to depict/mimic the cover of a magazine. Teenage in particular.

#2 My name is Charlotte and I’m a Lifestyle Writer

lifestyle-final

The story behind this composition: Back in poly days for final year we had to take this online journalism whereby we wrote for a school publication, e-magazine (online). So we wrote lifestyle articles. I enjoyed the various categories a lifestyle magazine was made up of – film, reviews, music, entertainment, DIY & craft even. At this point, I felt like I paid more attention to the content in magazines, which what led on to this particular job aspiration I had.

So based on the conventional look of a keyboard; the characters on each key, I replaced them with the characters of my name taking the form of a byline with illustration of the various categories in a lifestyle magazine at the top row.

Following Joy’s suggestion on creating several stains on the keyboard or making the characters on the keys look faded so that the composition doesn’t look so flat, has more added meaning like I’ve been hard at work with this dream job of mine… I went with the latter suggestion. Chanced upon the technique online to create a ‘distressed’ look to objects on photoshop. It gave the effect of fading I guess which eventually worked well! (see below)

lifestyle-process

Step 1

lifestyle-process02

Step 2

That’s how I achieved the faded look on the keys and the site where I learnt how to: https://gomedia.com/zine/tutorials/distressing-techniques-in-adobe-illustrator/

#3 My name is Charlotte and I’m a Graphic Designer.

graphic-final

So after Teenage underwent a revamp in terms of the layout of their spreads, type of paper used for printing, style of publication a few years back I realised they started to have illustrations in their spreads which caught my eye. And ah, I also chanced upon frankie magazine where they had a lot of illustration based layout aesthetics and I started noticing those which led me to this job aspiration I had.

Following the suggested idea of having my name incorporated into a logo design, that’s (above) the final outcome of this composition! The idea behind my logo design is a combination of the things I love and see myself as – A nature loving artsy wallflower. Which explains the little nature looking illustrations, leafs replacing parts of my name, splashes in as the background.

Felt that I could’ve done better with the logo design especially with the colours. It looked alright on screen but when printed it came off way too light. Sizing was a bit funny too. During critique Joy suggested that the composition might have worked better if the logo came off as a half-done/unfinished one giving of a work-in-progress feel and I thought that was a really nice suggestion!

#4 My name is Charlotte and I’m an Editorial Designer

editorial-final

Final composition! I still feel amused at myself for coming up with the composition idea. This was the hardest to do too for me in terms of coming up with a design for it and how I could incorporate my name within.

As mentioned in the process post, I wanted the composition to resemble a back cover of the magazine, tying back to my whole concept and my realisation that cover design is covered under the job scope of an Editorial Designer too. I guess looking back now, present day I still really would love to explore the editorial side of a magazine publication one day. Especially working for the publication I grew up reading – Teenage.

So for a back cover, looking at past magazines I own I realised they are all if not mostly ads. Advertorials mostly of various sorts – food, products, lifestyle related basically. I had no idea. What kind of ad should I come up with? Joy suggested I could promote my “future publication/design company” hahaha. It was a really good suggestion but I thought it’d be nice to have something lifestyle. Name… name.. name. Not sure how or where to begin with this composition, I then searched the meaning of my name, the first meaning to pop-up was that my name’s some sort of a dessert that can be in cake form?! Okay so a food ad it is!!

The meaning I saw:

charlotte
ˈʃɑːlət
noun1. a pudding made of stewed fruit with a casing or covering of bread, sponge cake, biscuits, or breadcrumbs.

Embedded my name within a cake slice using the warp/clipping function (http://www.vectordiary.com/illustrator/warp-text-inside-a-heart-shape-tutorial/), felt it kind resembled the glaze/marbling of a cake? Similarly, I used lines to mimic the text of the ad so as to avoid the problem of typefaces and too many fonts used.

Feedback gotten on this during critique was that since the characters of my name were mostly longish, I could’ve used it to create the shape/outline of the cake or have it incorporated into the layers of the cake rather than having it warped into the top layer of the cake as it didn’t came off clear that it was made up of my name until I mentioned it.

Oh right, I also had the compositions printed on different paper types.

The “front” and “back cover” on thicker gsm paper – 230/gsm art paper partially glossy whereas the lifestyle writer and graphic designer compositions were printed on 160/gsm matte paper.

Not sure if they were obvious during presentation and yikes I forgot to mention this then.


CURATION

curation

For curation, I wanted to place my compositions as such that it looked like a magazine and I went in that order for presenting my compositions as well.

  • Front Cover
  • Spreads
  • Back Cover

And as mentioned from the start, I still couldn’t veer away from traditional. Couldn’t stop my itchy hands from doing a little bit of tactility haha. So since there wasn’t any restrictions on how we should do up the labels so long we had them for each composition, I purposely cut out characters from past magazines I owned, pasting together in collage style to spell out each of my future jobs to link back my whole theme/concept of magazines.

CHALLENGES & OVERALL THOUGHTS

All in all, this project wasn’t as easy as I imagined it to be at the start. The possibilities were endless and I struggled most at the start when conceptualising but slowly, the compositions came together so all’s good! First time going full illustration for 2D too! Something I’ve always wanted to try since I’ve worked mostly on traditional for the 2D projects last semester, especially the last one.

Can’t wait to get started on the next project since it explores the areas which I’m really intrigued in and wanna go into – Editorial and Publishing 😉 Plus exploring and working on a neighbourhood to put together a zine sounds like a really cool idea, hopefully everything goes well!!


Update time! Had to bid my favourite traditional approach goodbye this time round because of my concept. Bye paper cutting and layering techniques…☹️ Will be sharing more about individual and group consults we had for the project.

INDIVIDUAL CONSULTATION

The week after getting our project briefs we were already down for first consultation, individual first. Having a concept and message in mind for the project, we had to share them with Joy and bounce off some ideas. I roughly had one in mind already, going along the lines of growing up and how I had different job aspirations at different points in my life. However I was unable to establish a message for my concept and Joy gave me a few suggestions. Eventually went ahead with the message of how growing up, my perceptions and sensitivity towards things change. I paid attention to specific parts of a magazine which led me to the different job aspirations that would be shown in the four different compositions.

The jobs I decided on were:

  1. Cover Designer
  2. Lifestyle Writer
  3. Graphic Designer
  4. Editorial Designer

FIRST GROUP CONSULTATION

For the first group consultation in the following week, we had to come up with 2 done compositions and I did up those for Cover Designer and Lifestyle Writer.

More on each individual composition’s conceptualisation will be explained in the final post

Cover Designer

cover-initial

For the cover designer composition there was too many typefaces involved for the first cut as I tried to replicate the different features of a cover. I manage to resolve the problem by representing the text as lines and the features as simple shapes resembling the headlines etc.

Lifestyle Writer – for this I came up with 3 different designs, two of which were similar.

 I came up with the second design as based on the same job aspiration as I suddenly had an inspiration to have my curation to be in a magazine form: magazine spread. But the problem once again, clutter and too many typefaces going on at once.There was no focus. Here’s what they looked like initially.

lifestylewriter

Joy said I was taking a step forward going into the second project already because the next project involves layouts etc. Was asked to keep this as reference for our next project instead ?

lifestyle-01

The design i eventually went with.

The final one I went with after suggestions from the group is the one just above (the one with a close-up on the hands and keyboard).

FINAL GROUP CONSULTATION

Final week of consults before submission week! By then, we were supposed to have 3/4 of our compositions test printed (if doing digital) or done up (if doing traditional). The additional composition I came up with for the consult was the one on being a Graphic Designer.

graphicdesigner-initial

Suggestions were given by Joy and friends to play around with scaling to create more focus and perhaps have my name incorporated into a logo form to further to bring out the job essence as it would be something you’ll associate with a Graphic Designer’s job scope. Rather than having my name appear/stretch across various items that a Graphic Designer usually would use and work with (printer, pantone swatches, notebook-pencil, post-its etc.)

As for the revisions on the first two compositions as suggested in the previous week… for Cover Designer, it worked well after changing the text and features to lines and simple vector forms.

cover-improved

But new problem. As I was trying to replicate the title style of the magazine referenced (there’s a meaning behind it, more explanation in the final post!) the kerning suited the title of that magazine but not my name. My name started to look a little different and off because of the kerning. The ‘r’ , ‘l’ and ‘o’ looked like joined alphabets – ‘l’ and ‘o’ was starting to look like a ‘b’. So the suggestion to increase the kerning further was given by Joy for the final composition if not that was pretty much good to go!

How I tried to replicate the style of the magazine title:

As small as this may seem, I sure felt like a million bucks when I managed to figure out the similar if not exact same font and character style they used for their magazine’s title. Oh, the magazine I’m referencing is Teenage Magazine, the very first publication I bought with my own savings.

cover-designer-typography

Playing with kerning and using the font Century Gothic

As for the Lifestyle Writer composition sticking with the composition where it’s the close-up of supposedly “my hands” typing on the keyboard, Joy mentioned that the design looked a little… flat.

lifestyle-01-draft

She thus suggested that I could make the characters on the keyboard slightly faded or add some stains to the keyboard so that the composition doesn’t look too static. The final look to be revealed in the final post!

For the final composition, Editorial Designer was still a work in progress. I was still unsure on how to go about it still but already had a visualisation that I’d want it to resemble a back cover of the magazine, tying back to my whole idea of my job aspirations being influenced by magazines and also my late silly realisation that a Cover Designer job doesn’t exist but such a job scope is covered under that of an Editorial Designer whereby they will oversee the appearance and layout of a magazine.

More to be shared in the final post!