
Family Dinner
Detailed description
“Family Dinner” is a dark object that aims to facilitate emotions of isolation, loneliness and guilt. Our installation requires two participants. The first participant (the elderly) is dining alone. The recording starts when the spoon is lifted, triggering a change in light value that the photocell reads. This sends a signal through Arduino, to processing, for the computer to play the recording. The recording consists of four phone calls, with the first three being the recurring question – are you coming home for dinner?
The second participant is required to press a different button each time to give a response. When a button is pressed, it sends a “High” signal to Arduino and through processing, a particular recording will play. Each response is a different excuse given by the child character in different phases of their life – from student to army recruit to working adult.
The sound of a clock ticking in the background acts as an indication of the passing of time and also serves as a space for contemplation between each set of question and response.
After three phone calls, the fourth rings on and the call is not picked up. As the call doesn’t go through, a dial tone plays and the LED light is manually dimmed and turned on on either side. With the change of lighting, the elderly participant (who was only able to see his own reflection at the start) is now able to see the person on the other side. Whereas the child participant switched from being able to see the elderly character at the start to only being able to see his reflection. This change allows the child participant to reflect on their own behaviour in their life outside of the installation while the elderly character gets a reveal of who was on the other side triggering the responses.
At the beginning, the elderly character was only able to see their reflection – heightening their sense of loneliness. Meanwhile, the child character is able to watch the elderly’s reaction and reply the questions accordingly, allowing them to observe the loneliness felt by the elderly, amplifying their guilt.
The lightning change also acts as a conclusion point, indicating to either participant that the experience is over.
Overall, we chose our props deliberately from our table to the table cloth and cutlery to set up the context immerse the participants in the Everyday life of an elderly person.
The sets of clothing are chosen to evoke the different phases of life for the child character.
Ideation
More details of our ideation process and reflections can be found here
During our ideation process, we hit a wall as we were too focused in our dark object rather than the interaction and concept itself. After taking a step back and brain-storming again, we eventually decided to focus first on the emotions we wanted our audience to feel, and then work from there. The two distinct emotions we wanted to convey or enhance in our participants were ISOLATION and GUILT
Eventually, we decided on a dining setting in an elderly person’s home, requiring two participants to interact simultaneously.
Our concept revolves around the relationship between a parent and child as the child continuously creates excuses not to spend time with their parent.
We felt strongly for this concept as we thought that this relationship was one many would be able to relate to.
Through this interaction, perhaps our participants would be driven to reflect on their own relationship with their parents and bring to light the hidden feelings of isolation experienced by their parents and thus enhancing the feelings of guilt.
Body Storming
More information of our body-storming outcomes and reflections can be found here
Some of the key take-aways from our body storming exercise was that:
1. Our initial idea only required an active participation from the elderly character while the child character was left only to passively watch. This may result in a loss of interest for the child character during the interaction.
2. There was no clear conclusion to our installation which would signal to the participants that the interaction was over. This would be confusing for the participants and if we were to approach them to inform them that the interaction was over, it would be abrupt and unnatural.
3. The set up for the installation had to be strong enough to allow the participants to bridge the gaps in the concepts and context in order to fully understand and be immersed in the interaction.
Through the body storming session, we were also given a wonderful suggestion to allow some sort of reveal that could possibly act as a conclusion.
Audio recordings
For our concept, we wanted to evoke a sense of time passing between each question, leading us to include an audio of a ticking clock in the background. Additionally, each response/excuse provided correlates to a certain phase in the child character’s life: from a student, to an army recruit, to a working adult. This is then reflected in the audio recordings:
During our play-test, we ran through the initial audio clip which included 15 second intervals between each question. This proved to be too long and rather confusing for participants as they were unsure if the questions were going to continue after each round.
Therefore, we updated the audio clips to 1o-second intervals which worked better during our trial runs, allowing the participants time to react, time to listen to the responses and time to reflect with the background noise before the next question was asked.
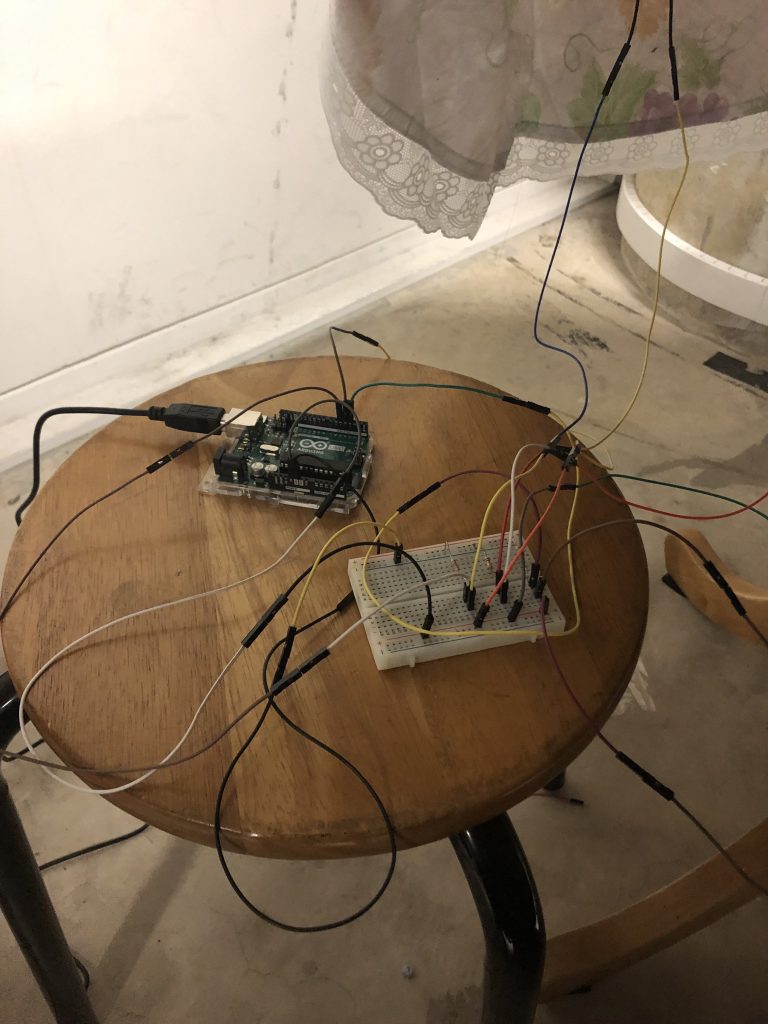
Coding
The coding for the elderly side involves values from the photocell to trigger our audio recordings to play via processing
When the photocell detects a value over a certain threshold (which we coordinated to fit the different lighting conditions in our installation), it triggers our recording on our computers via processing, which we then connected via bluetooth to the wireless speaker placed behind the participant.


For the child’s side of the interaction, we went through various versions of the idea, deciding initially to use a photocell or pressure sensor under each uniform, requiring the participant to remove the uniforms to trigger a response. However, this was not intuitive enough as the participants may be hesitant or unsure if they should touch the props laid out on the table.
Therefore, we settled on using buttons that were more direct in terms of interactivity. As we were using 3 different buttons or inputs to trigger 3 different audios or outputs, we had to figure out how to edit the codes to enable this.
This led us to include a portion of code at the start:

Circuit Set up


photographs of our circuits. (left: buttons, right: photocell)
Set-up
Props
We knew from the start that we wanted our installation to be as realistic as possible in order to immerse the participants in the context. Therefore, we set out to choose props that we were able to visualise in the home of an elderly person. This led us to a used wooden round table with interesting legs on which we could secure our Arduino components.


Bowl image from here
Other props include a gaudy floral table cloth and table ware that we personally associate with an elderly person’s home.

 The one-way mirror was extremely crucial to our installation as we required the various participants to only be able to see themselves or the other party at specific timings. Thanks to Serena and Lei, we were able to obtain the foil to adhere to an acrylic sheet we bought to create the mirror.


During this process, we struggled quite a bit due to the lack of clear instructions and our own folly. This resulted in air bubbles that were trapped between the foil and the acrylic which was rather unsightly. However, after much rectifying with penknives and squeegees, we were able to get rid of most of the bubbles.
 As we wanted our installation space to be as neat as possible while still being able to mount the mirror, we decided to purchase 4 of these wall brackets to secure the mirror to the table. These would then be hidden under the table cloth.

The installation of these brackets were unfortunately not an easy feat as we encountered difficulties with the drill (we snapped a drill bit – oops) and not being able to fully penetrate into the wood with our screws. In this instance, the table cloth allowed us some leeway to hide some of our mistakes.  During our body storming session, one of the concerns raised was that the participants would not press the buttons in the “correct” chronological order. A suggestion that was brought up was that we could use buttons that would light up accordingly. However, we decided to go against that idea as the lights from the buttons might interfere with the one-way mirror and give away the fact that there was someone on the other end.
We decided to include instructions that would guide the participant in the order that they should press the buttons.


In order to keep the finishing of our installation as neat as possible, we drilled holes into the table top to conceal the wires connecting the buttons to the breadboard. 

Holes were also cut into the table cloth for the buttons to come through. The uniforms were then folded and placed before the corresponding buttons.


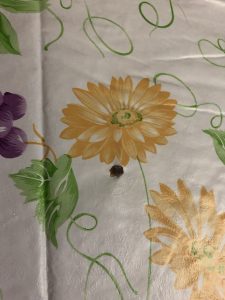
Similar steps were done for the photocell on the facing side. The spoon was then laid on the photocell.
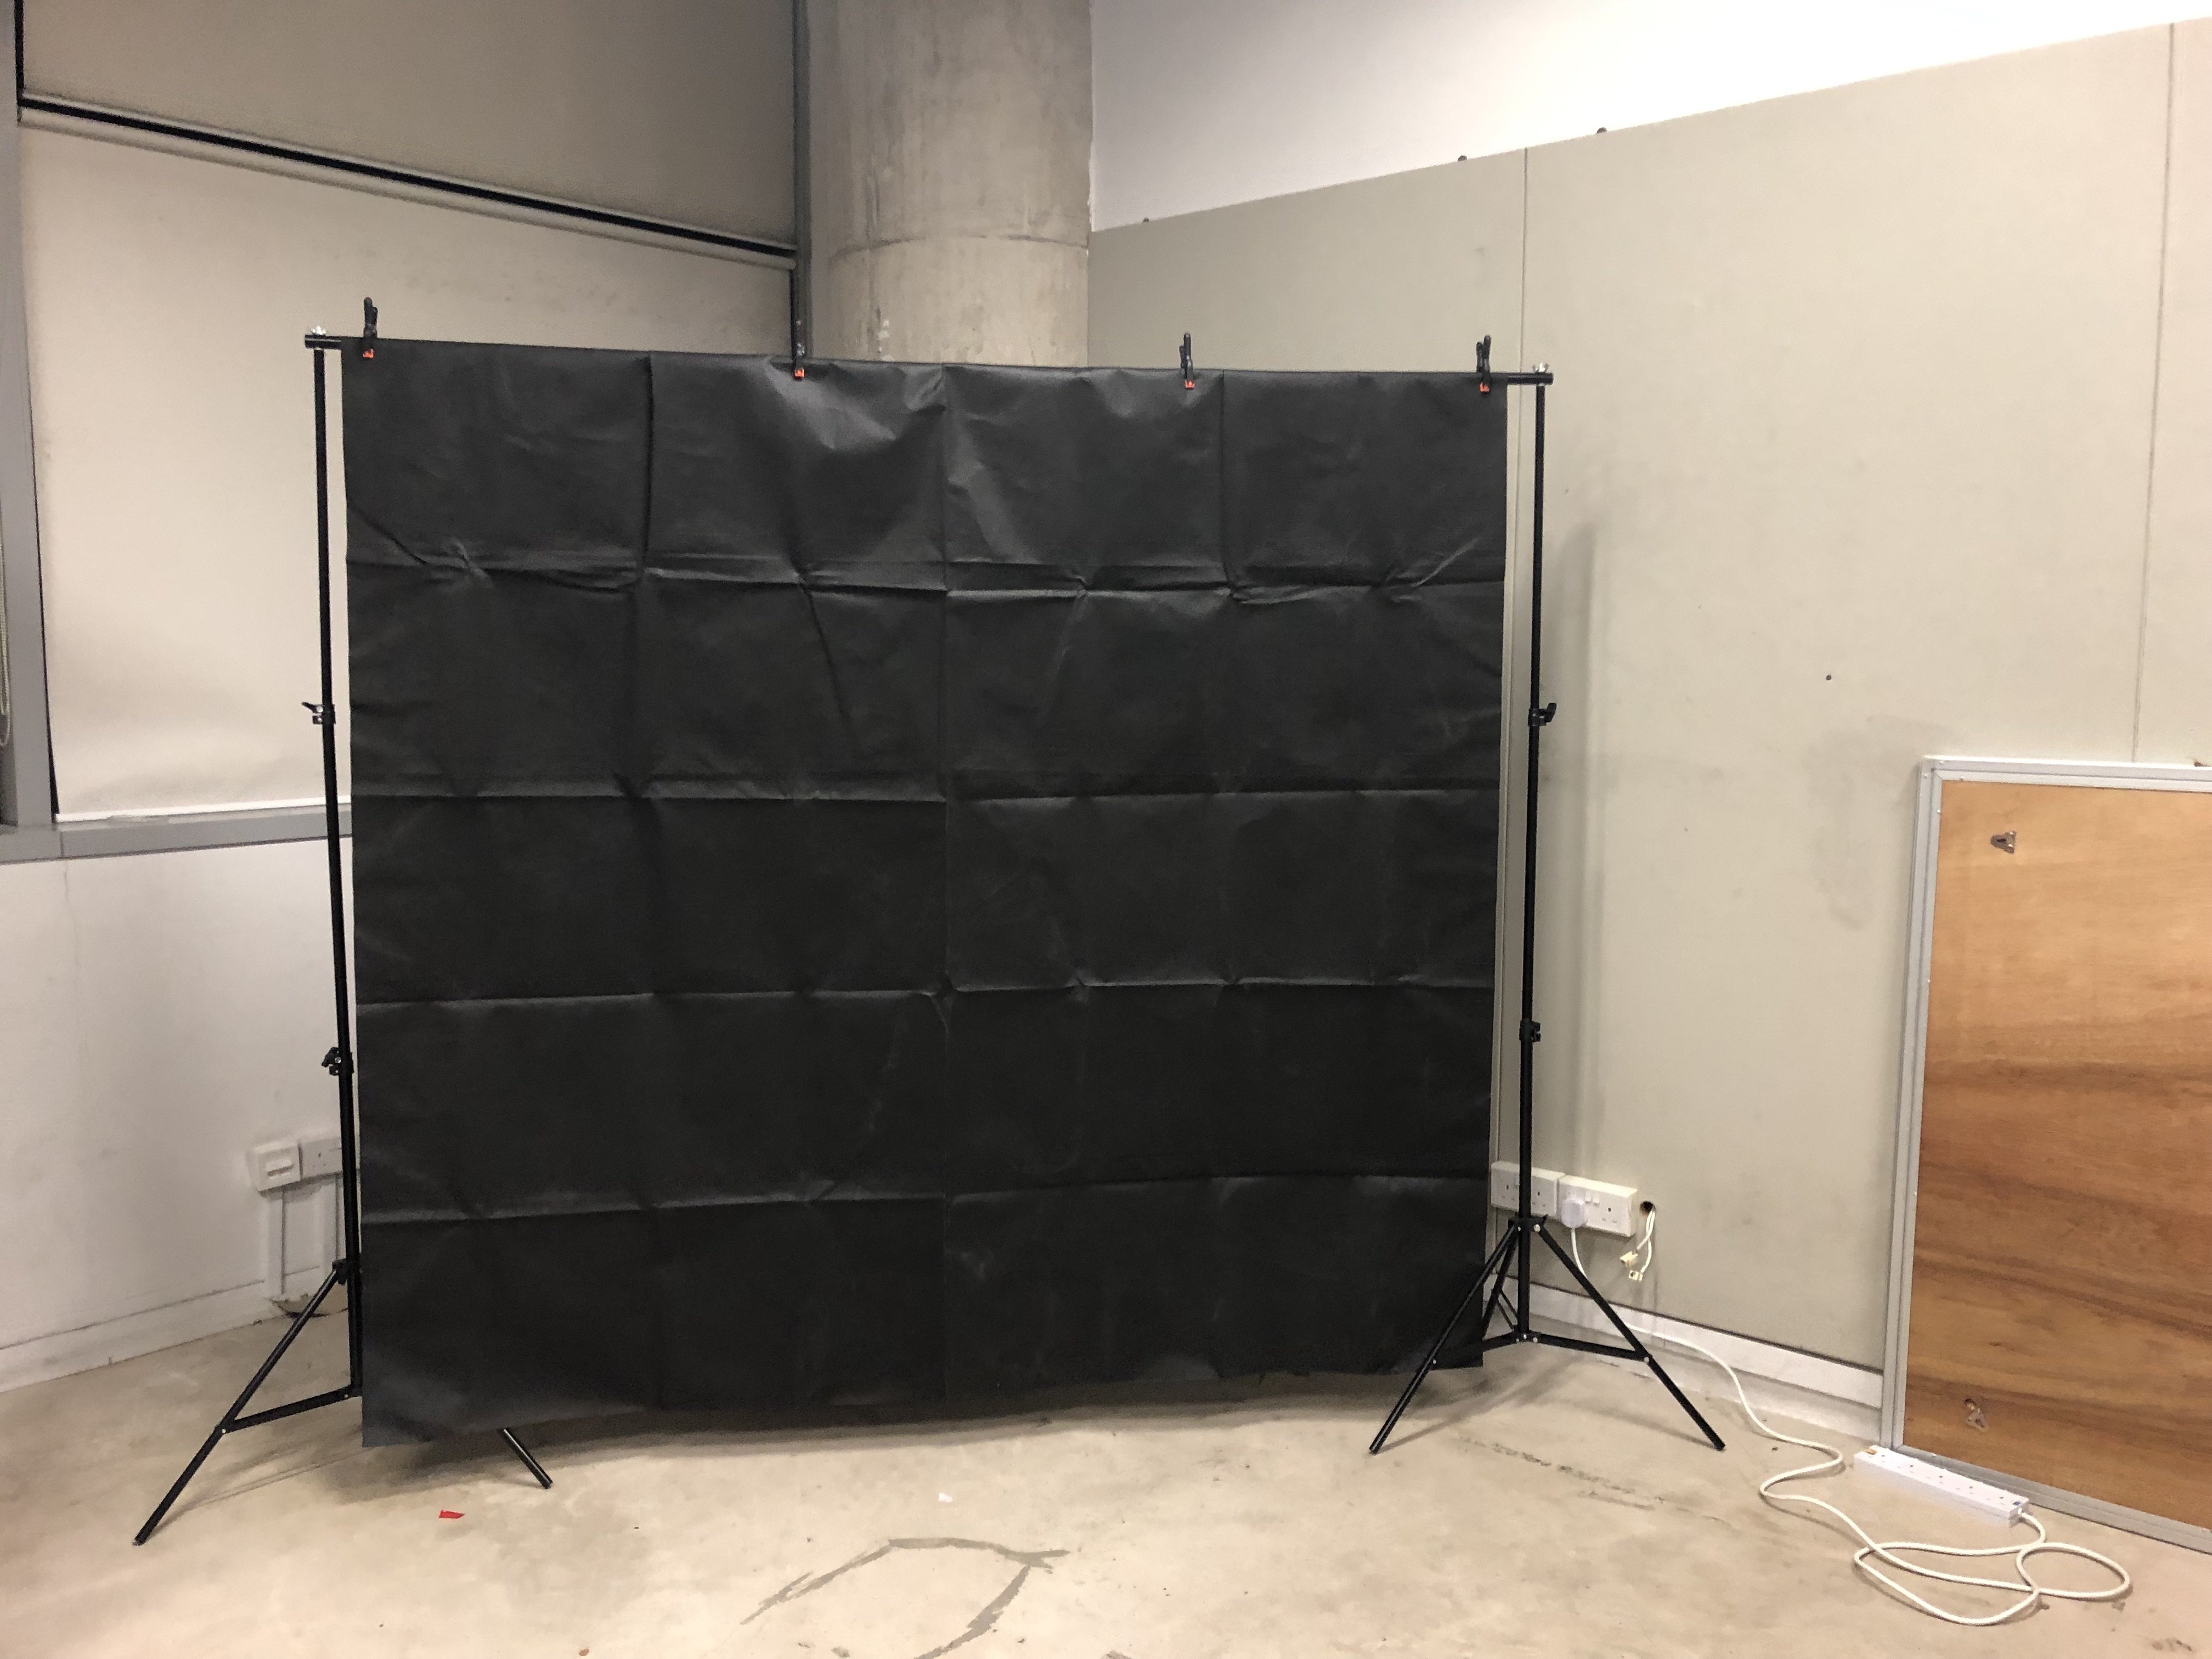

backdrop stand rented from here
We decided to rent a backdrop for our installation as we wanted to cordon an area of the classroom off and create a space in which the participants could be fully emerged into the desired setting without the distraction of an outside light source or events happening outside of the installation space. The avoidance of lighting interference was extremely crucial as the one way mirror is easily affected by different amounts and directions of light which may have resulted in an undesired reveal at the wrong timing.
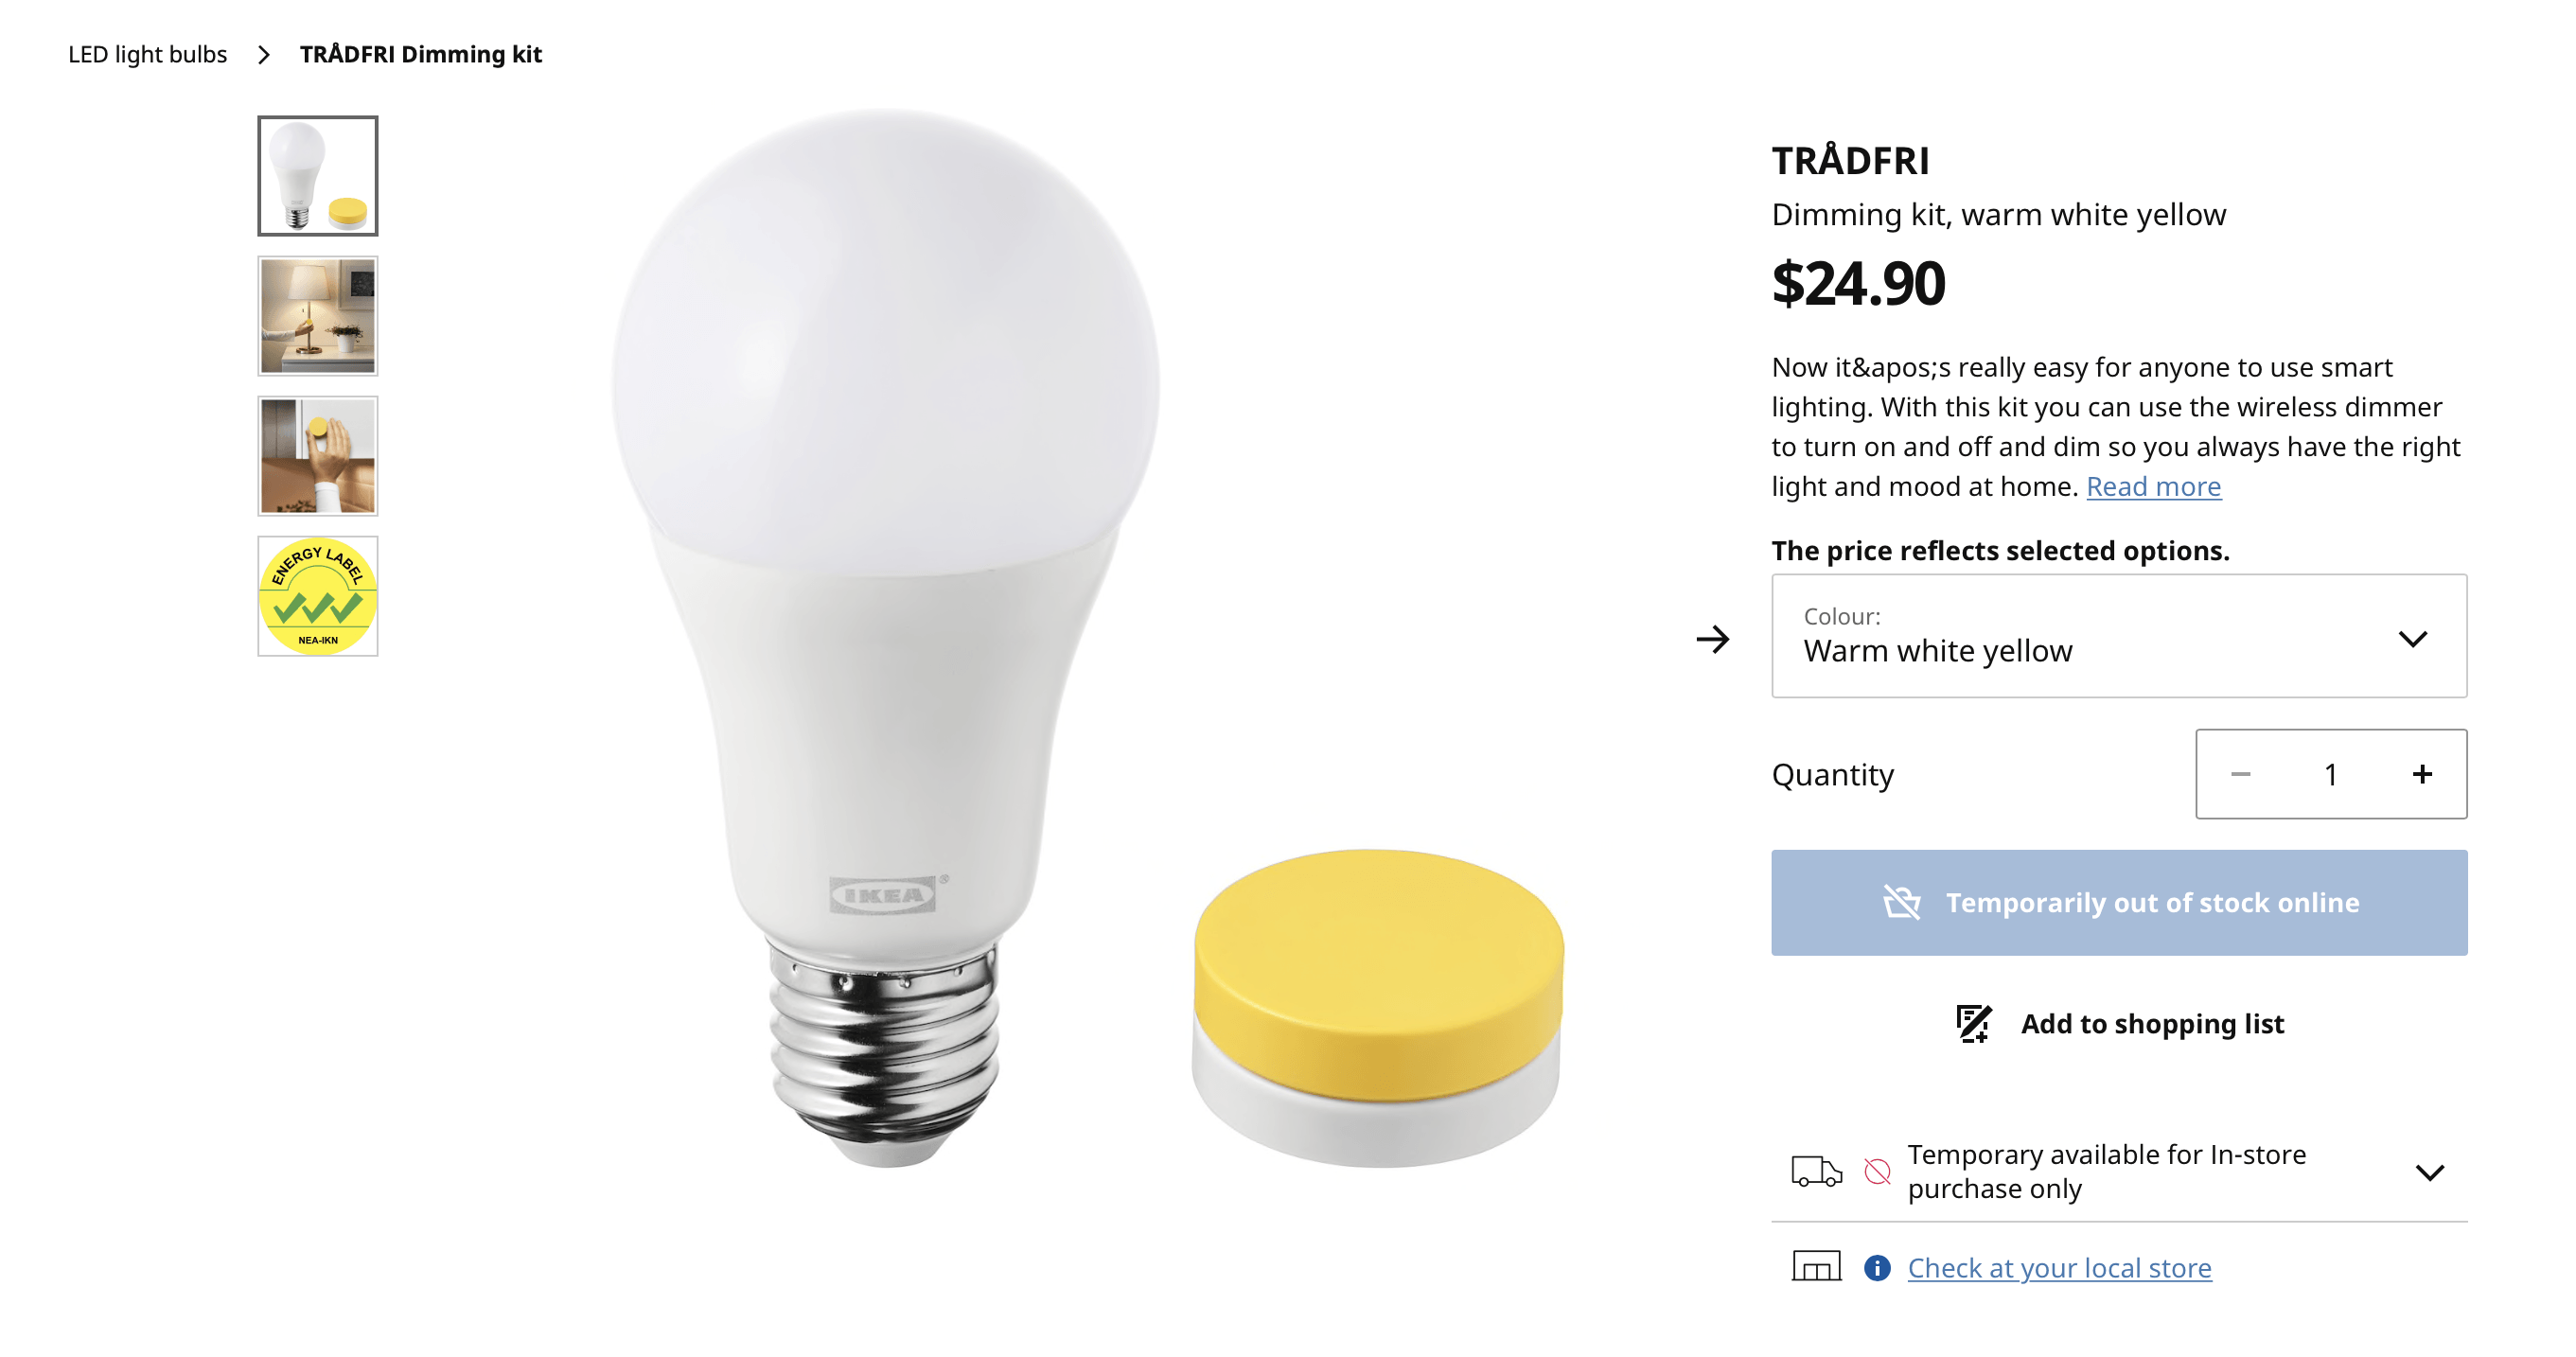
dimming kit from here
As for our lighting, we had initially planned on purchasing this dimming kit from Ikea with which we could remotely control the light intensity. We had planned on installing them in lamps behind or on the dining table. However, after a trip to Ikea, we realised how out of budget this would have been as the kit was unavailable and therefore we would have to purchase the separate components (bulb, dimmer, transformer, wires) individually.
Additionally, the lighting from a lamp placed behind or on the table would have been harder to control in terms of directing the light source at the participants’ faces. The initial idea might have resulted in the participants being backlit or only lit from a certain angle.
Therefore we decided to switch to an LED light strip with a dimming dial. With this, we were able to attach the light strip to the bottom of the mirror and on the table itself, directing upwards onto the participants’ faces.
Set up with Arduino components

One of our key concerns were that the excessive amount of wires in our set up would cause an accident that would injure the participants or damage our set up. Therefore we put in a considerable amount of effort in securing all of the components and loose wires from the Arduino and the LED lights to the underside of the table and table legs.


We also secured the wiring for the power sources and labelled them so as not to confuse us during the interactions.
User Tests
After our set up, we conducted multiple user tests with participants outside of our class. Through this, we wanted to try out different measurements of lights from external sources, whether our set-up was intuitive enough for participants to grasp and clear enough in terms of setting the context for them to understand our message.
User Test #1
In this first user test, we did not include written instructions, but verbal ones. From this, we decided that including written instructions would be a better form of communicating them than to verbally explain, which would be disruptive to the interaction.
User Test #2
User Test #3
With these user tests, we were able to observe the reactions of our participants as well as gauge the timings in which our interactions would require and time the audio responses and the timing of the light change and reveal.
The feedback we obtained from our participants were that the reveal at the end served as a valid conclusion for our interaction while the interaction on the child character’s part was enough to keep their interest while involving them in the process. They participants also felt that the context was set through our props and the key emotions of guilt and isolation were effectively conveyed.
User Test #4 (Presentation)
Here are the footages from our presentation/crit:
Notes from note-taker:
– Jasmine and Sze wee seated across the table
– they look and touch the things in front of them, the spoon, bowl and uniform,
– Sze Wee digs in to the rice and looks confuse if he can eat it or not
– Jasmine just keeps looking at the button
– they both look down on the table, Sze Wee picks up the chopsticks
– Jasmine seems to follow the order of button (1,2;3)
– Sze Wee just keeps eating
– Jasmine looks at Sze Wee but he seems to be absorbed in himself
– Sze Wee looks across Jasmine to check if she sees him but Jasmine leaves quickly without noticing the light
– Sze Wee say he only can see his reflection and he follows the instructions which is to pick up the spoon and eat then he can see through the mirror
– Jasmine sees the uniform and sees him eating alone so she seem that it felt sad, and she realise that the light allowed Sze Wee to see her but Jasmine could say her own reflection
Reflection
I am personally extremely happy with the end result of this interactive project as I feel that we achieved what we had set out to do and the participants were able to grasp our message and feel the emotions we intended for them to feel. Also, I learnt a lot about the importance of trial and error while creating an interactive project, and updating with different suggestions and feedback
You must be logged in to post a comment.