ETCHING (DEVORE)
MATERIALS
- Velvet
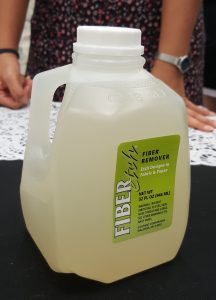
- Fibre Etch solution
- Silkscreen or applicator
TECHNIQUE
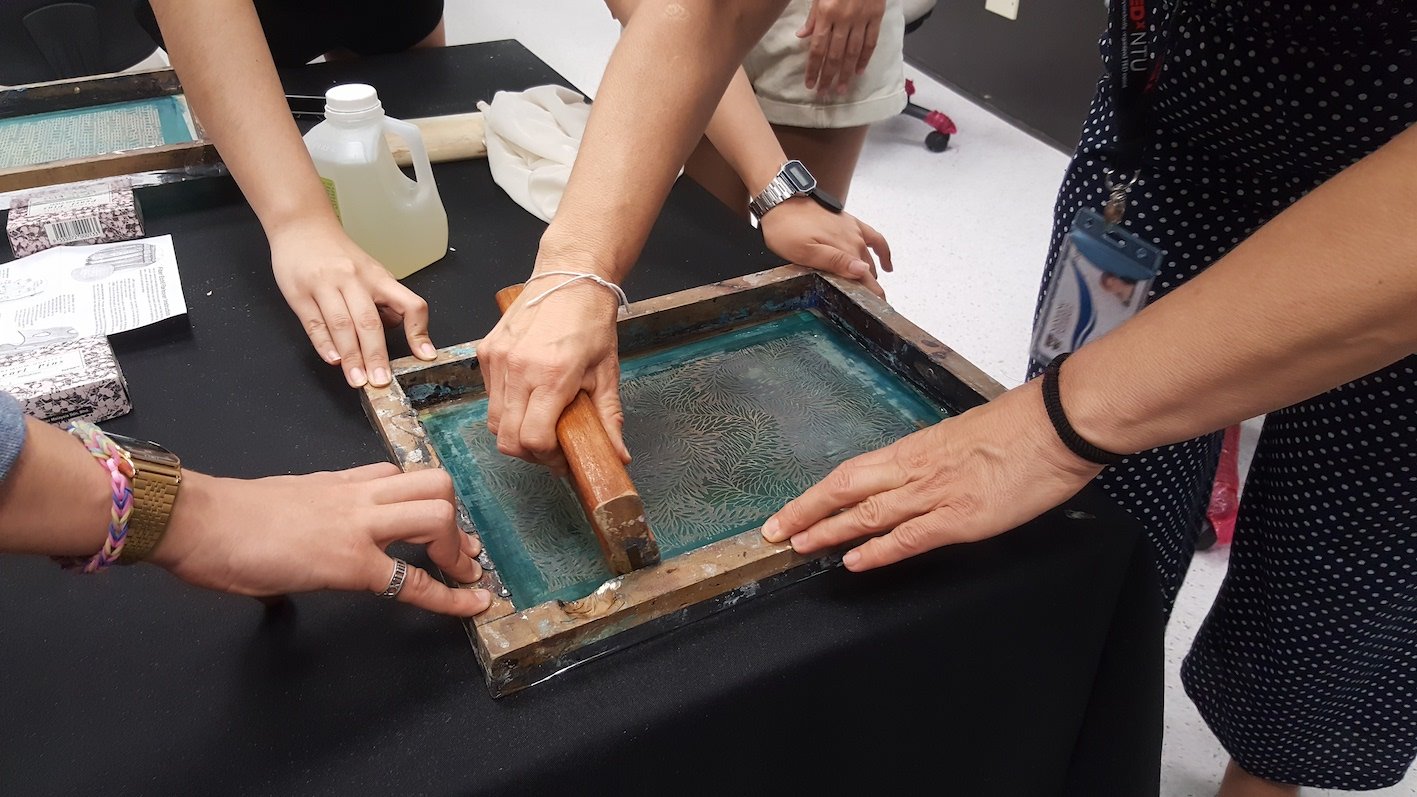
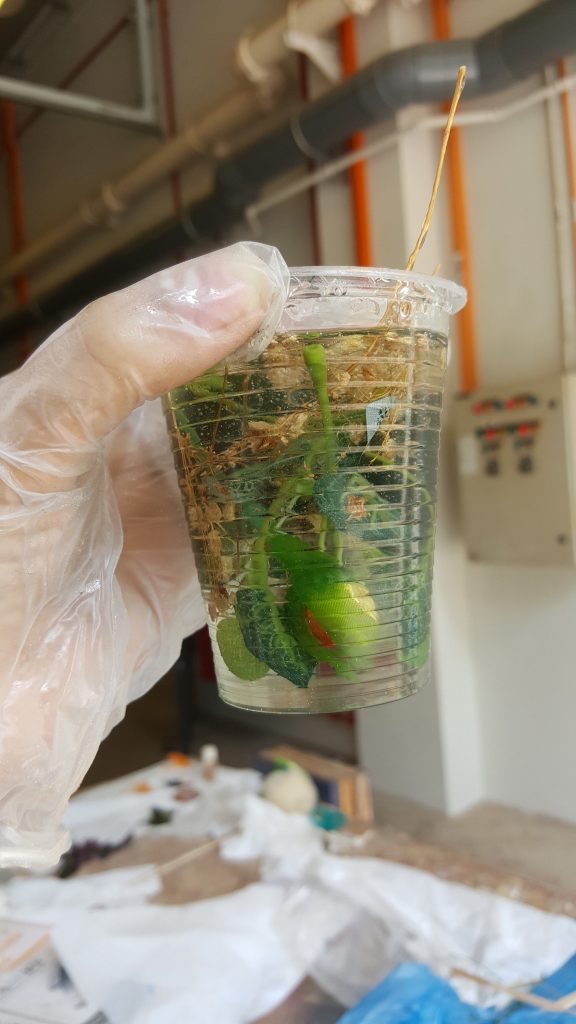
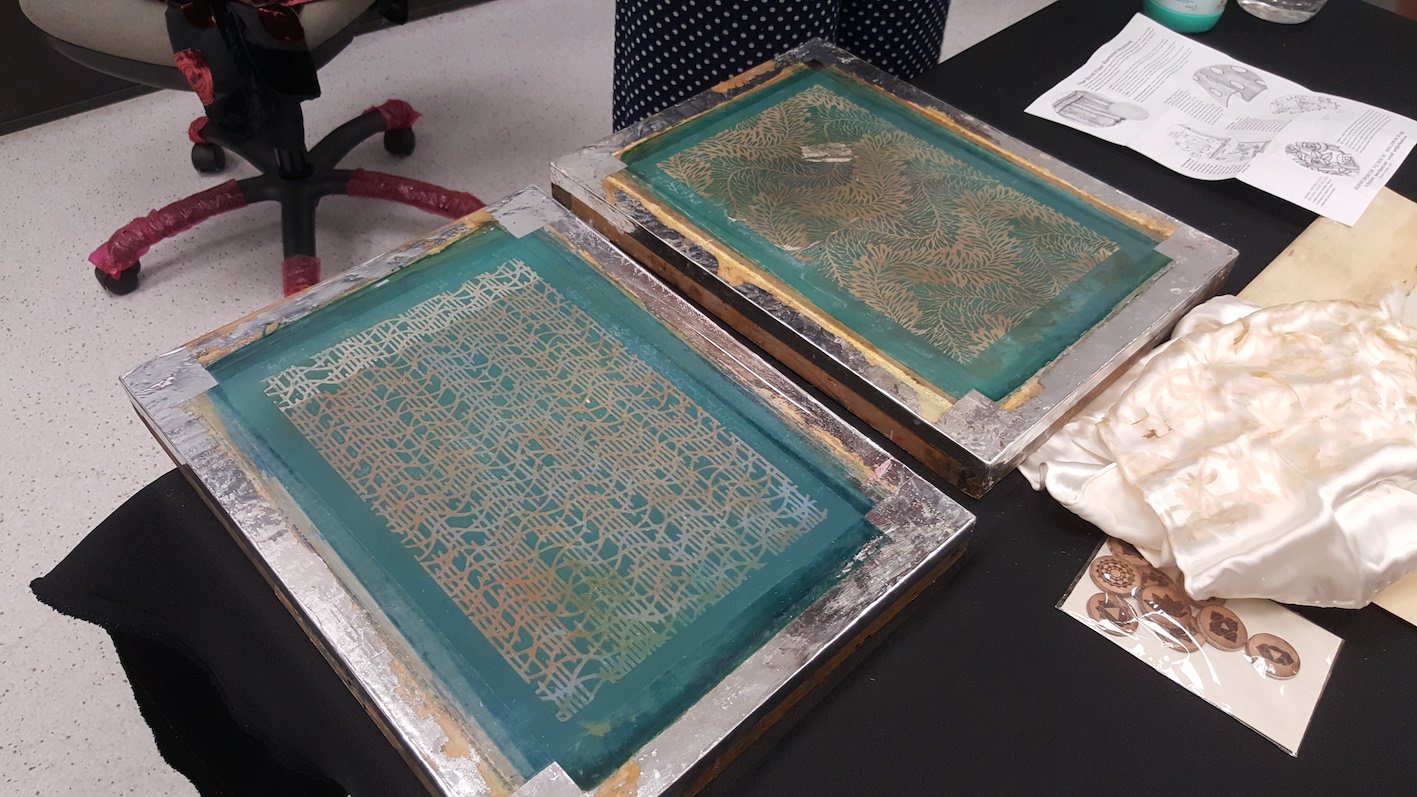
- Apply the fibre etch onto the velvet by using desired technique. In class, we used a silkscreen.
- Wait for it to dry.
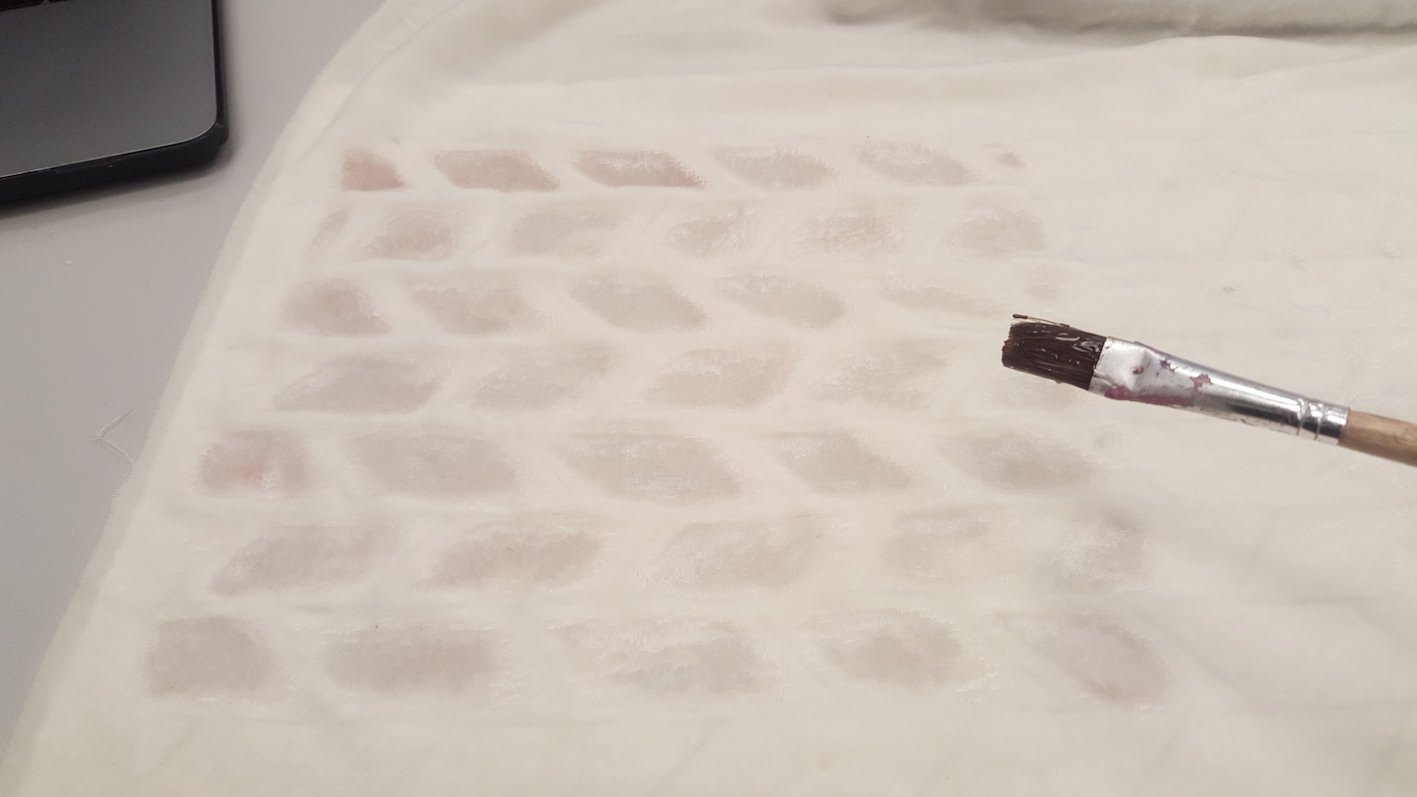
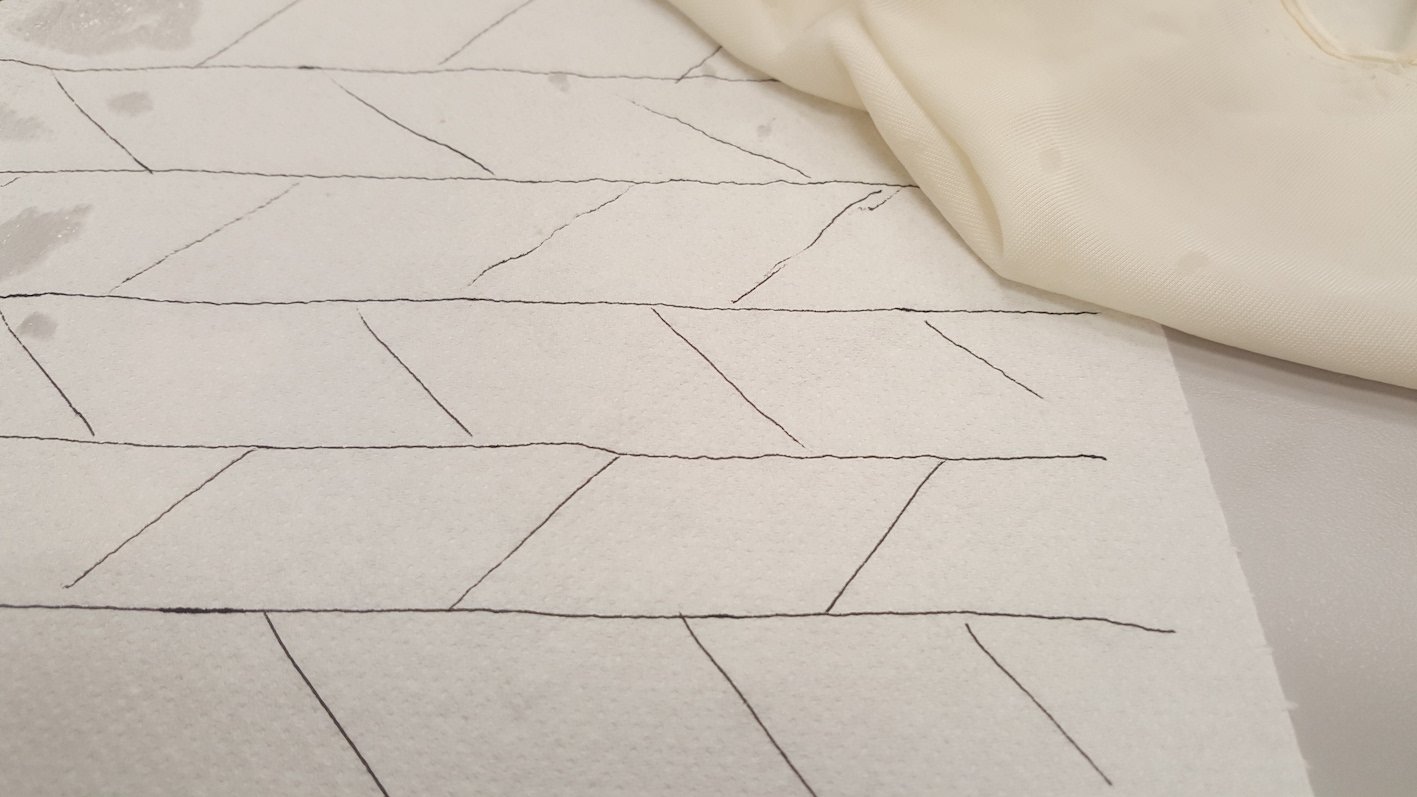
- Iron the velvet to a brown or burnt colour.
- Brush off the brown parts.
EXPERIMENTATION
The first few attempts were unsuccessful as I couldn’t really get the fibres to come off completely. I think the design was a little too intricate and the silkscreen wasn’t as successful in transferring the fibre etch onto the velvet.
Next, I tried painting the fibre etch directly onto the material, and I made sure to be generous in the application.
This time it worked out much better, and the fibres came very easily off, giving a satisfying result.
REFLECTION
I felt that it was harder than expected. The steps seems simple and the logic makes easy sense, however in practicality there are more things to consider, such as how much etching solution is needed, whether the design is fully covered with the fibre etch, and how burnt they need to be heated to.
In all the cases, the results are affected differently. However, I enjoyed the final result of the more successful trial that I did. It was very satisfying to have the burnt parts come off so easily.
BLEACHING
MATERIALS
- Bleach
- Dark cotton material

TECHNIQUE
Essentially, apply the bleach onto the material. However, there are a few ways in which you can do this. It includes spraying, painting directly, and using techniques similar to tie-dye. This will create beautiful organic patterns on the material you bleach.
EXPERIMENTATION
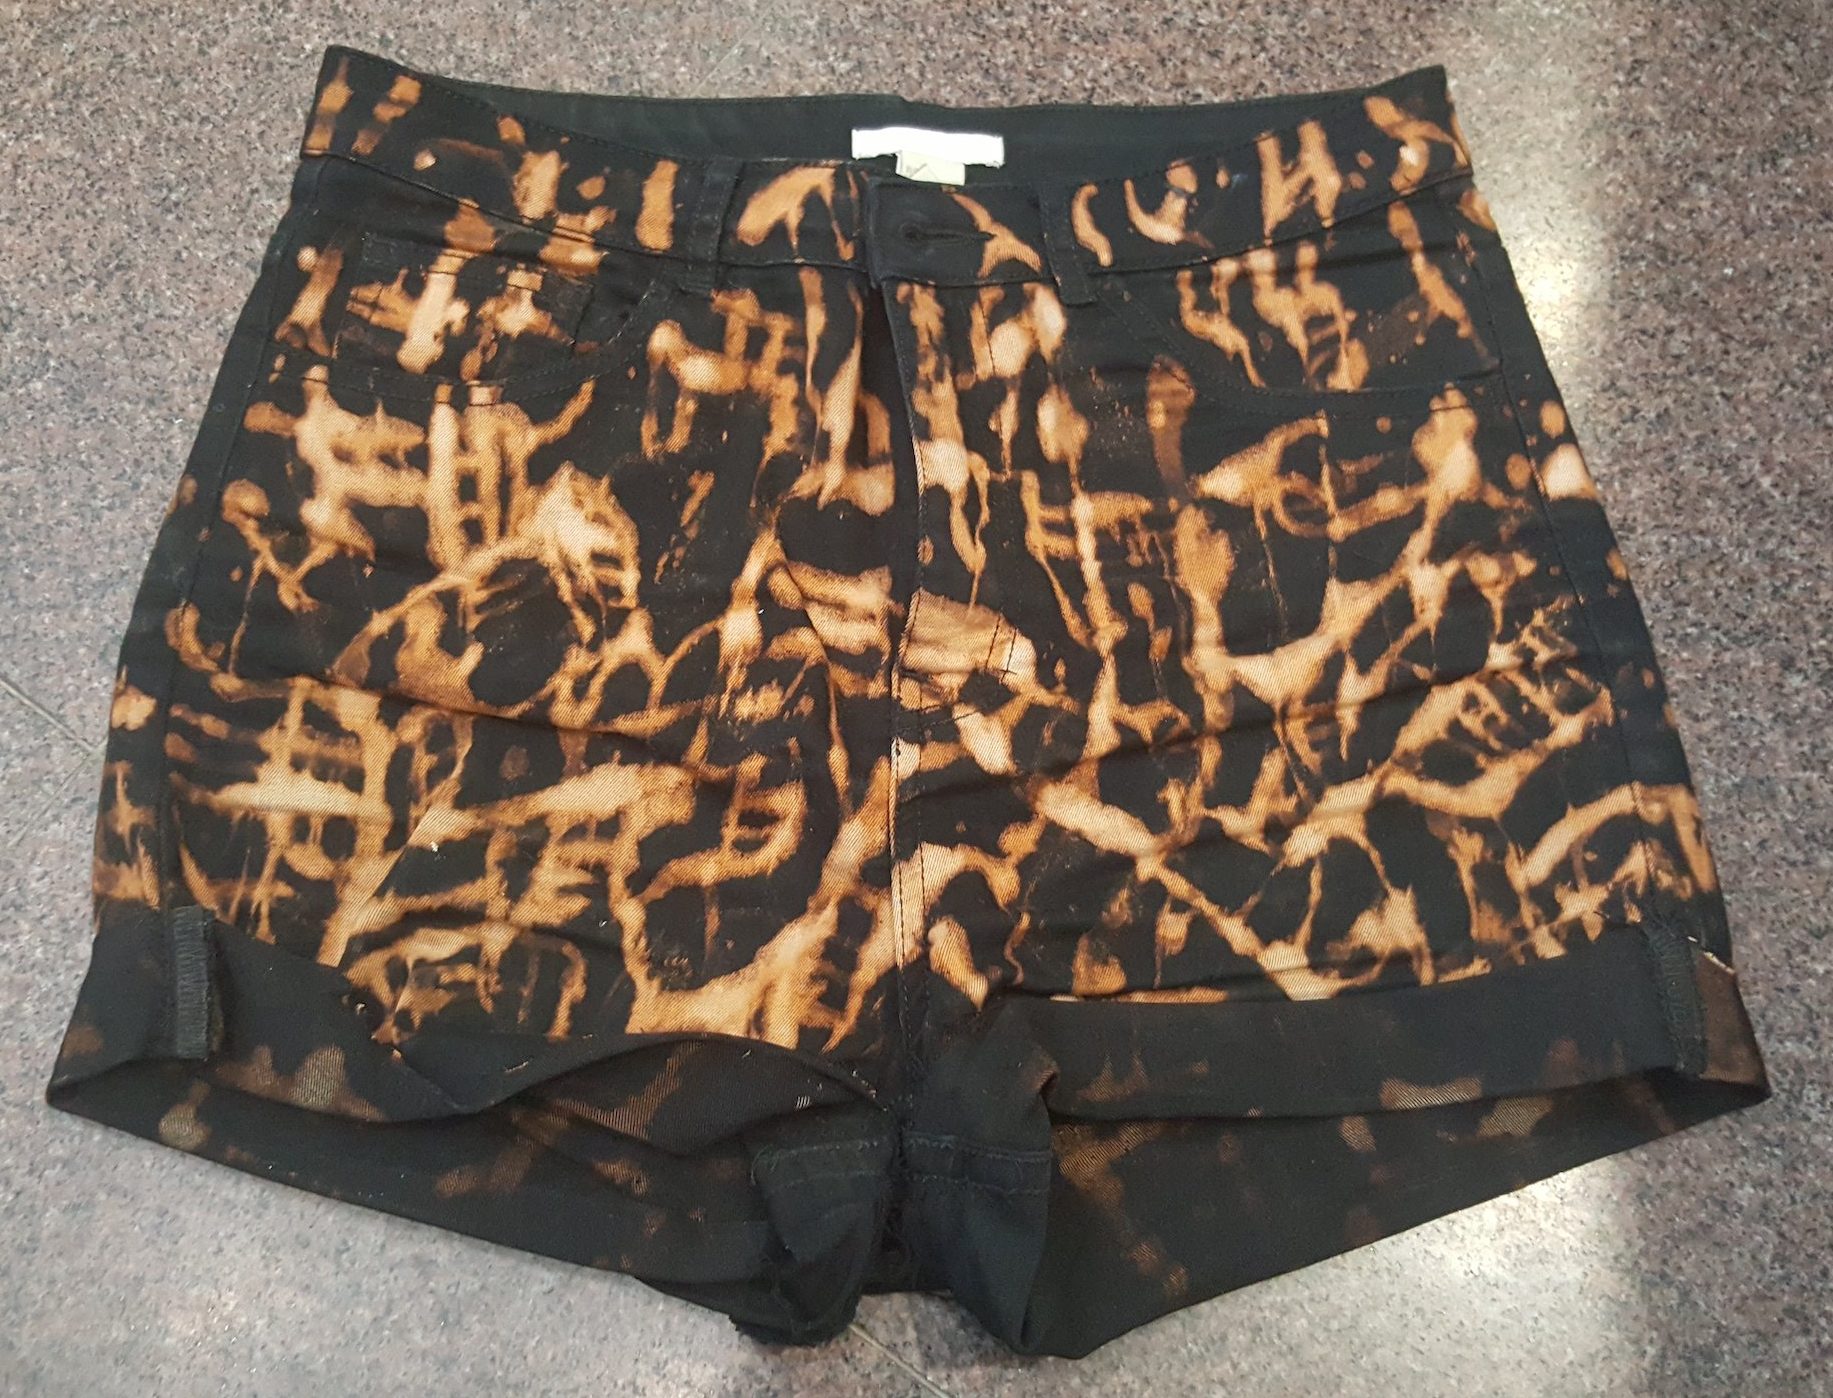
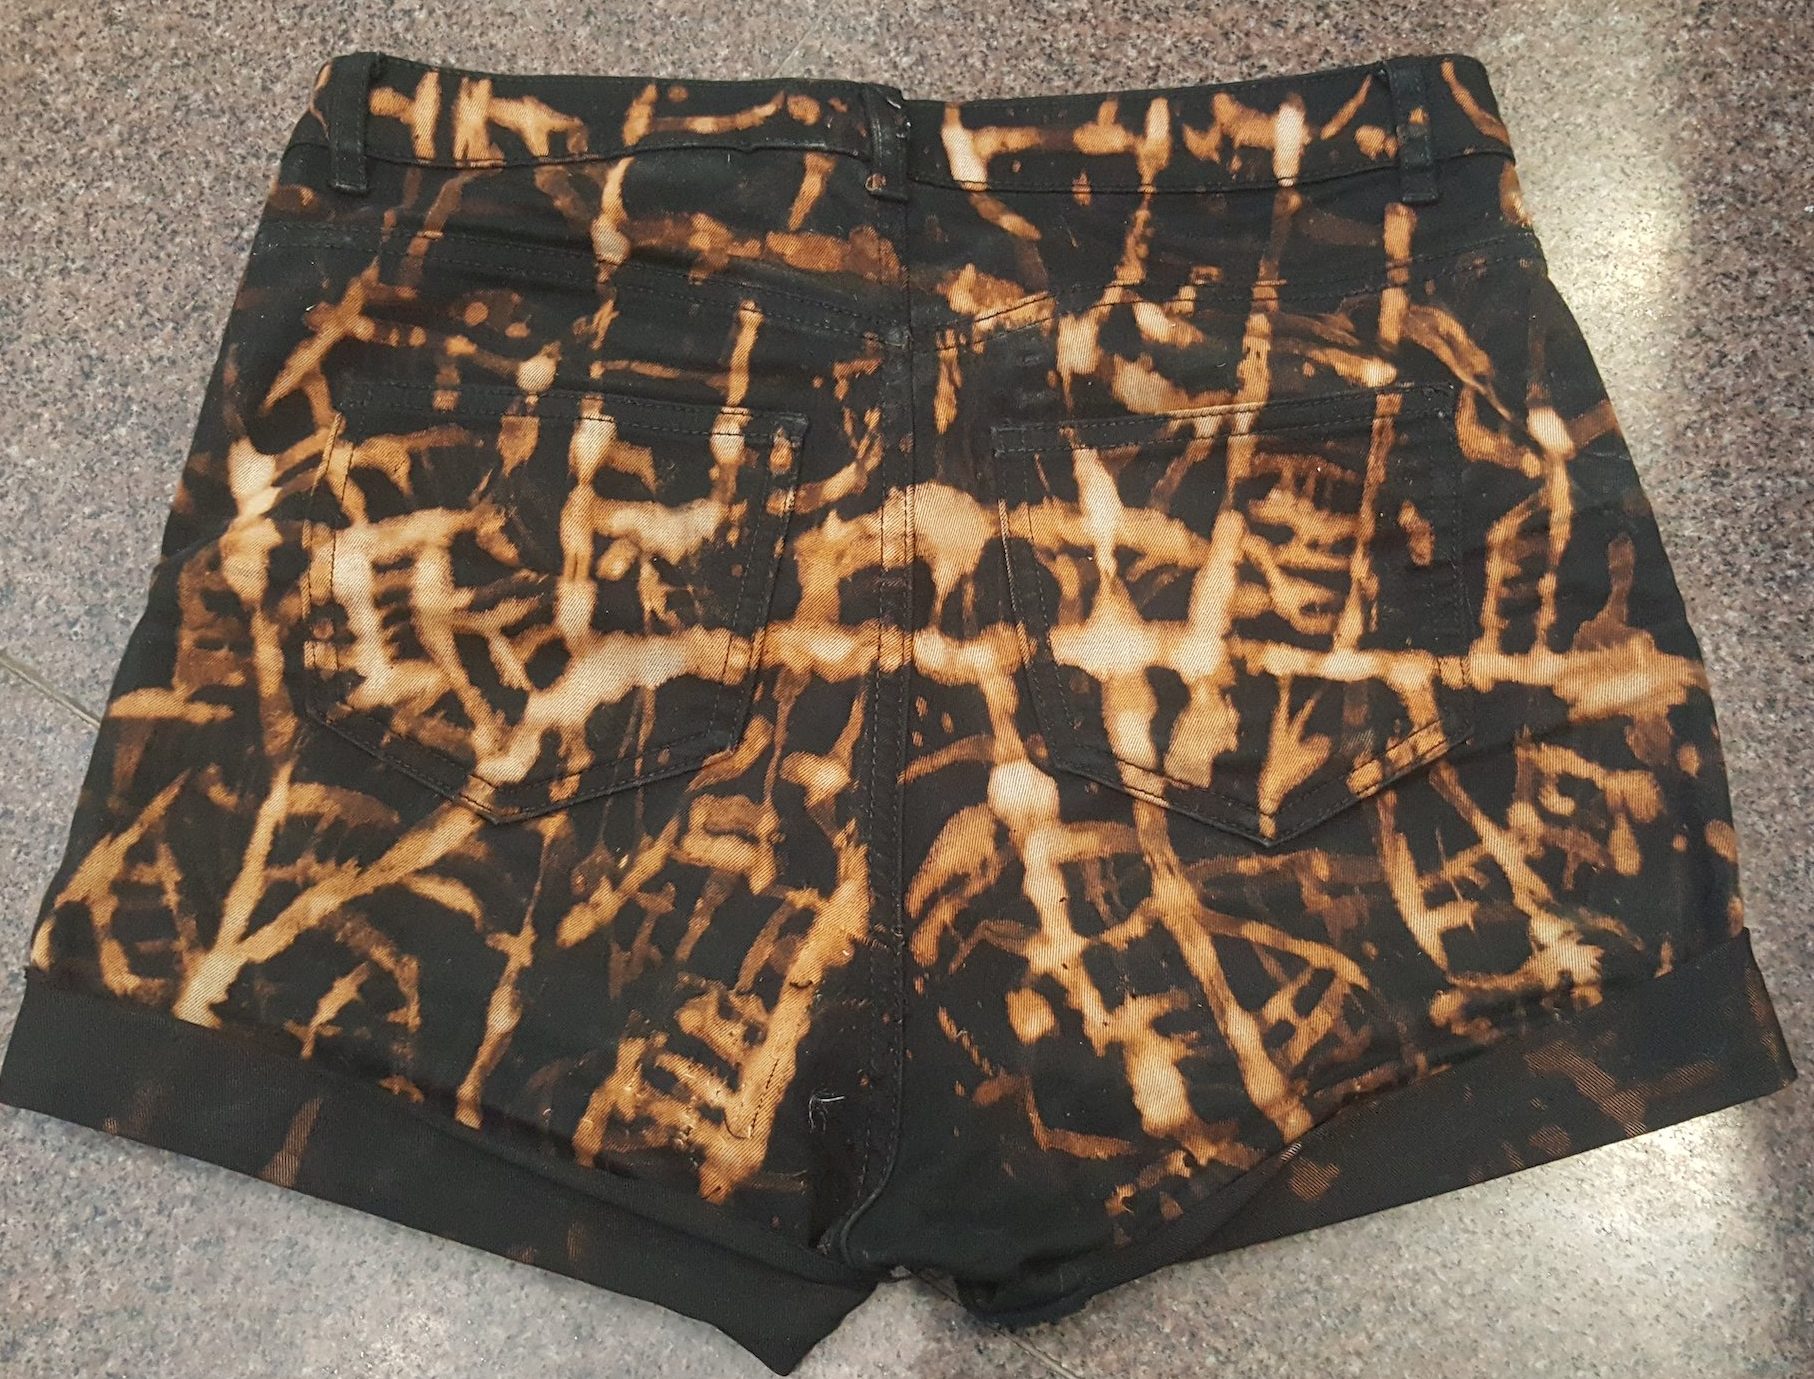
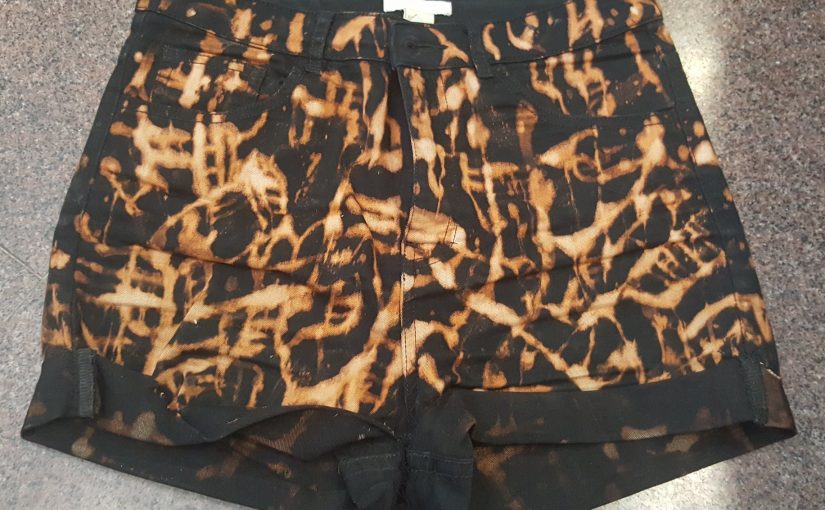
Inspired by the beautiful streets at night, I tried to replicate the glowing streets by using bleach on my pants. I thought that this was an appropriate method since the quality of how the material is bleached gives a gradient effect from white to orange, which suits my intention of replicating a light effect.
REFLECTION
Artists die young. I inhaled quite a lot of bleach, and that must be unhealthy. But hey, anything for art, right?
Overall, I feel that bleaching is a versatile technique. It is unpredictable, and it is irreversible, but those qualities also play a part in helping us create one of a kind works.