Category Archives: My Work

Research – DADA

While researching about Dadaism, I didn’t expect myself to be so intrigued by this art style. At my first glance of Hannah Hoch’s works, they just look like a bunch of cut outs being pasted together. I do think that the composition of the pieces look nice despite the offset in proportions, but that was just it. It was until I read what the Dada movement is about that I realised that, “OH. The meaning behind is actually meaningful!!”

So, what is Dada?

Silly as it sounds, it is a rebellious art movement that ‘mocks’ the norm and invokes thoughts about society. It started at around 1916 as a reaction to violence and deaths of World War 1 and the patriotism of people that led to the war. The artworks are not meant to be aesthetically pleasing but to get people to question about the nationalism and societal structures. It was goofy and sarcastic and playful movement although it was a form of protest. By throwing aside rationality, Dada artists experimented different ways and materials to express their creativty! The artists usually includes topics about technology and uses cutouts from print media to showcase the increasing connection with the modern life.

The artists themselves question their purpose as artists and that constitutes as art. This led to the spontaneous process of using untraditional materials to mix and match to create artworks. They will gather different pieces of papers/photographs or other materials and arrange them. There also other various forms of Dadaism through sculptures and performance art but we shall leave that for now hahaha.

Photomontage & Collage

For collages, artists used a wide range of materials, from a subway ticket to a piece of handkerchief, they paste the fragments to create a chaotic but neat image.

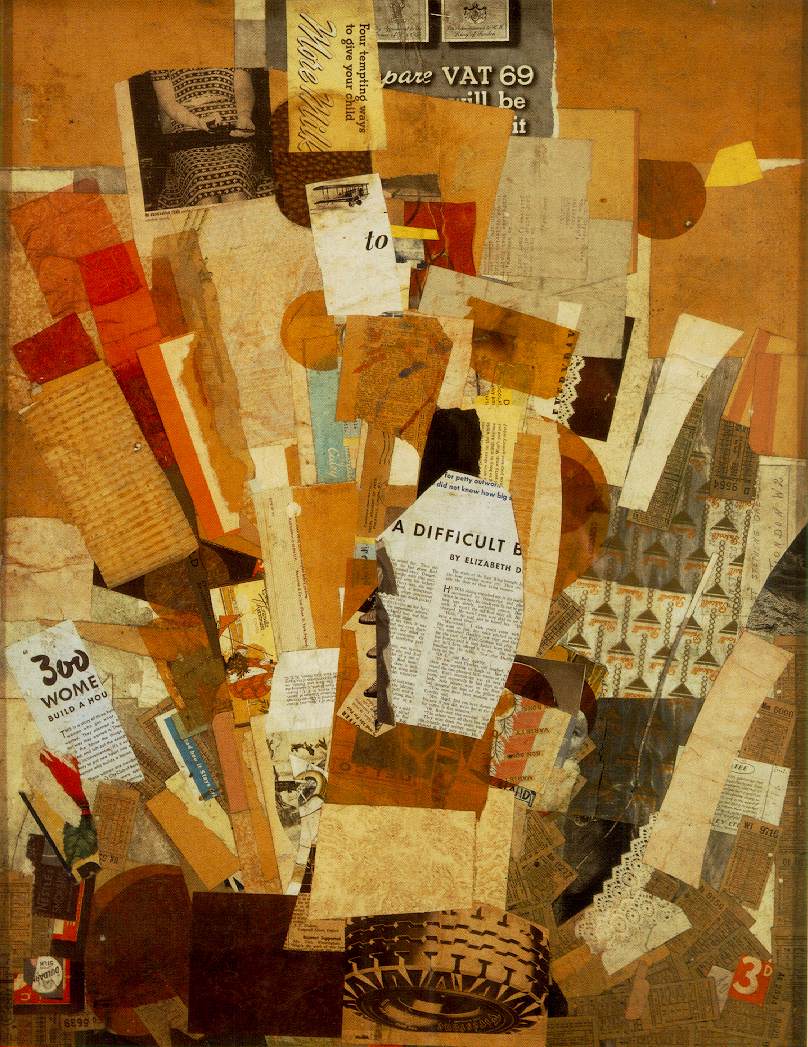
(Kurt Schwitters – Difficult, 1942-43)

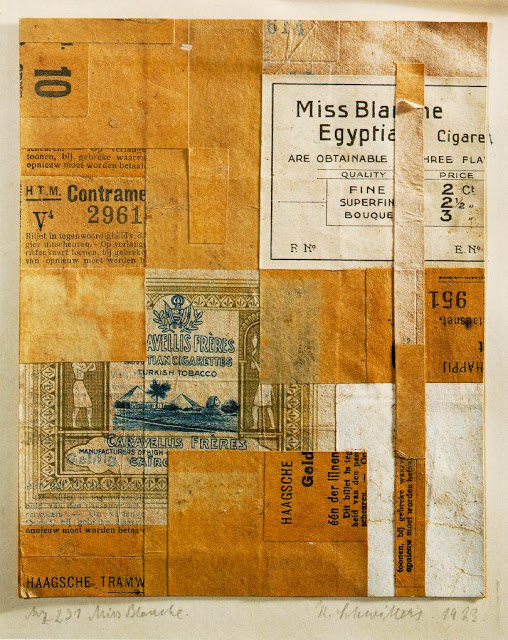
(Kurt Schwitters – Merz 231 Miss Blanche, 1923)

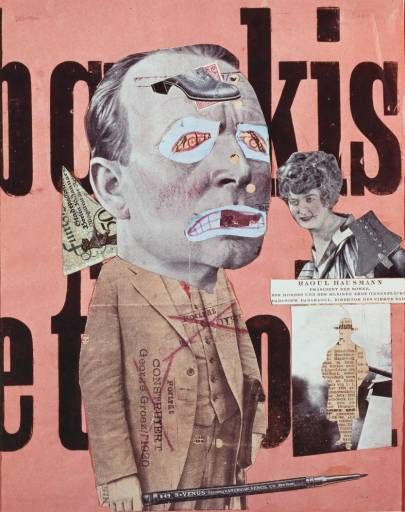
For photomontages, it is a collage of pasted items of existing photographs from the press or photographic reproductions. This form of Dada is more commonly practiced by artists as it effectively shocked the public when they see photos of important figures that they were used to seeing, being edited in a nonsensical way. The fact that they used printed media to create artworks, and arrange the pieces unthinkingly challenges the concise traditional art form of painting.

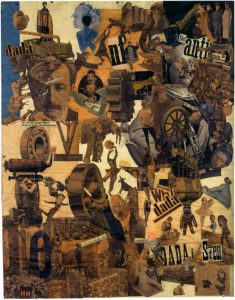
 (Hannah Höch – Cut with the Kitchen Knife through the Beer-Belly of the Weimar Republic, 1919)
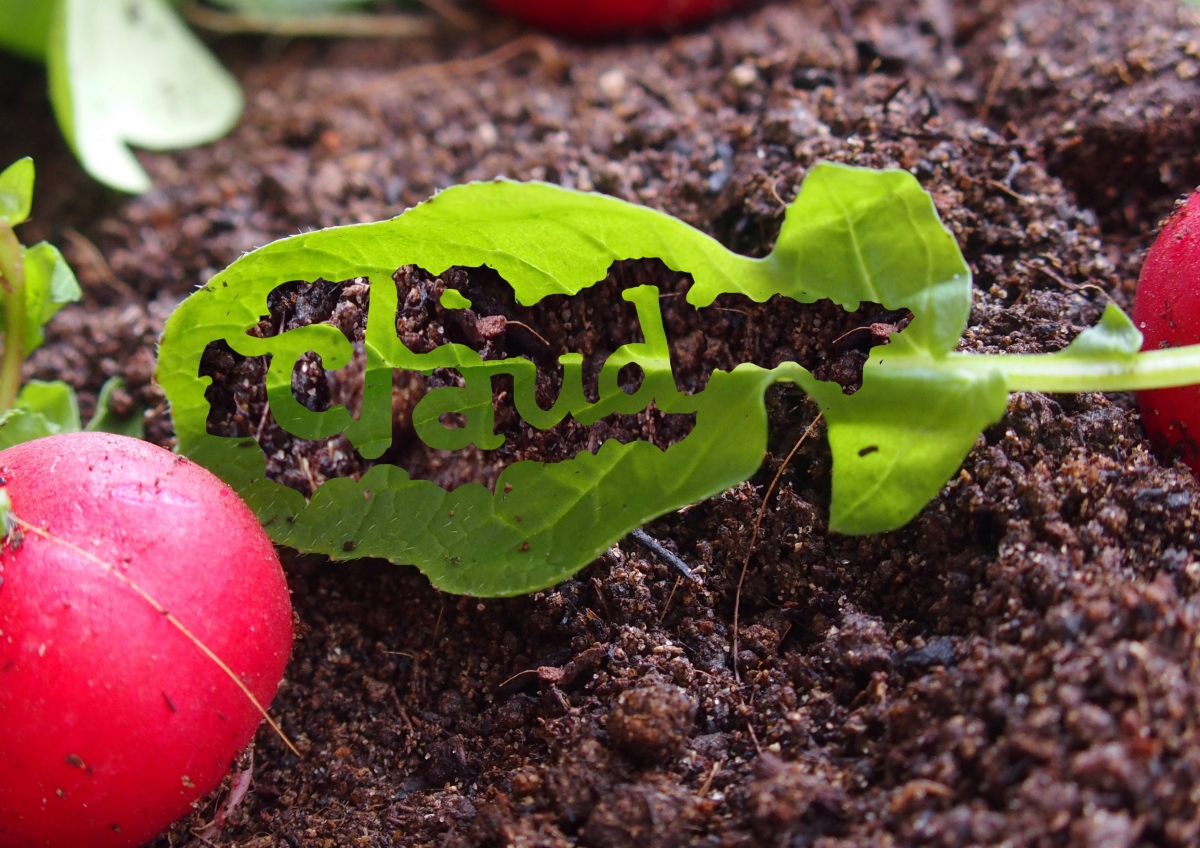
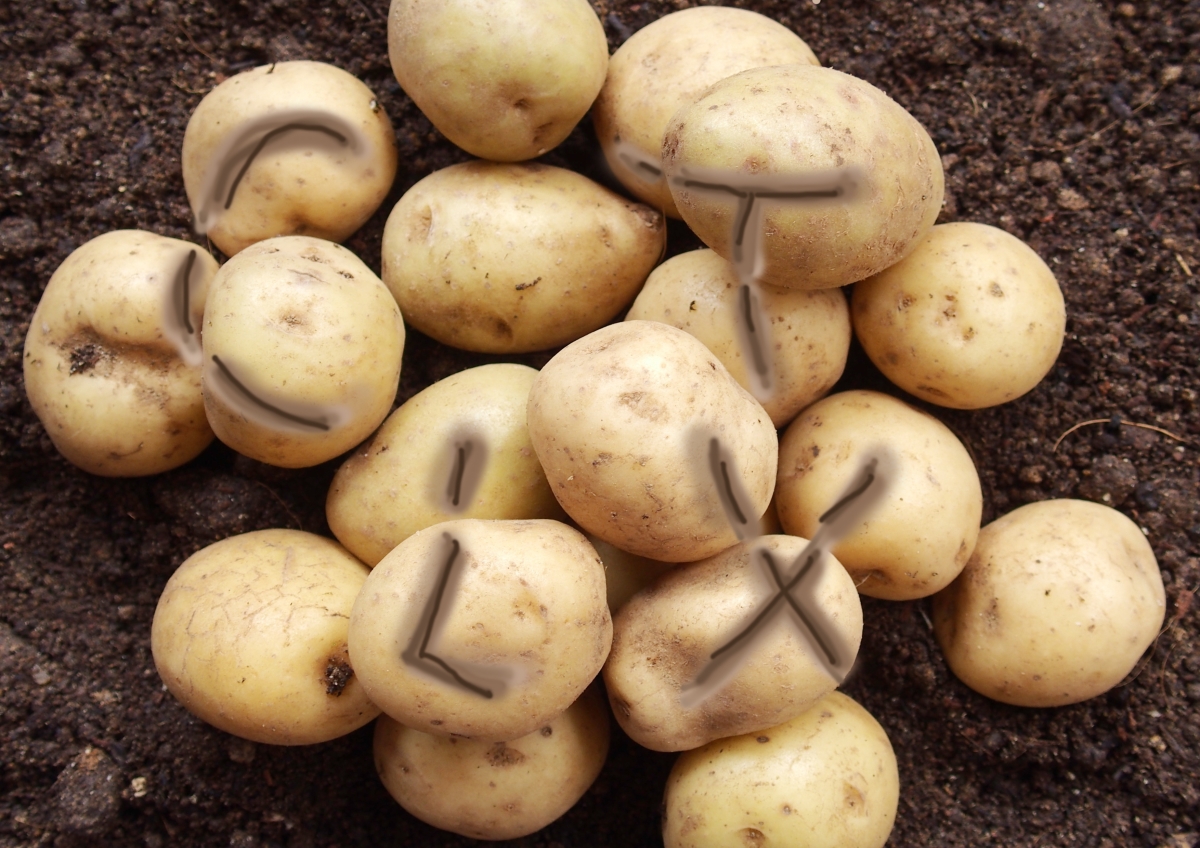
Typographies

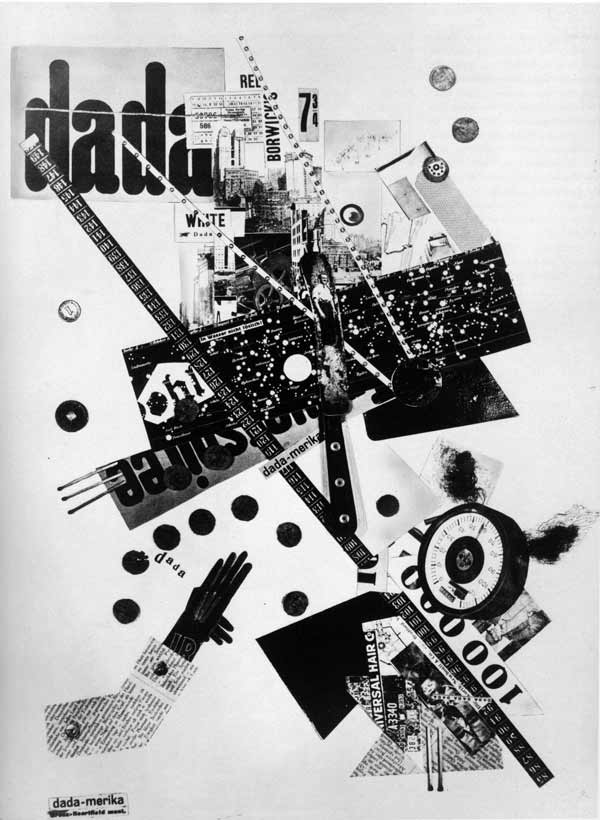
“They would use as many different fonts as they wanted, would punctuate in unconventional ways, loved to drop random letters or symbols throughout their pages.  They would also print both horizontally and vertically on the same paper, composing indifferently in any direction.”

Artist played with different composition styles with texts to create a visually popping effect, sending hidden messages about politics or social problems. There was a close relation between text and images, using a variety of lettering formats and line dimensions.

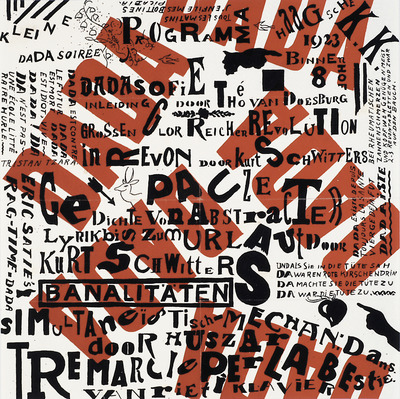
(Kurt Schwitters & Theo van Doesburg – Poster design, 1922)
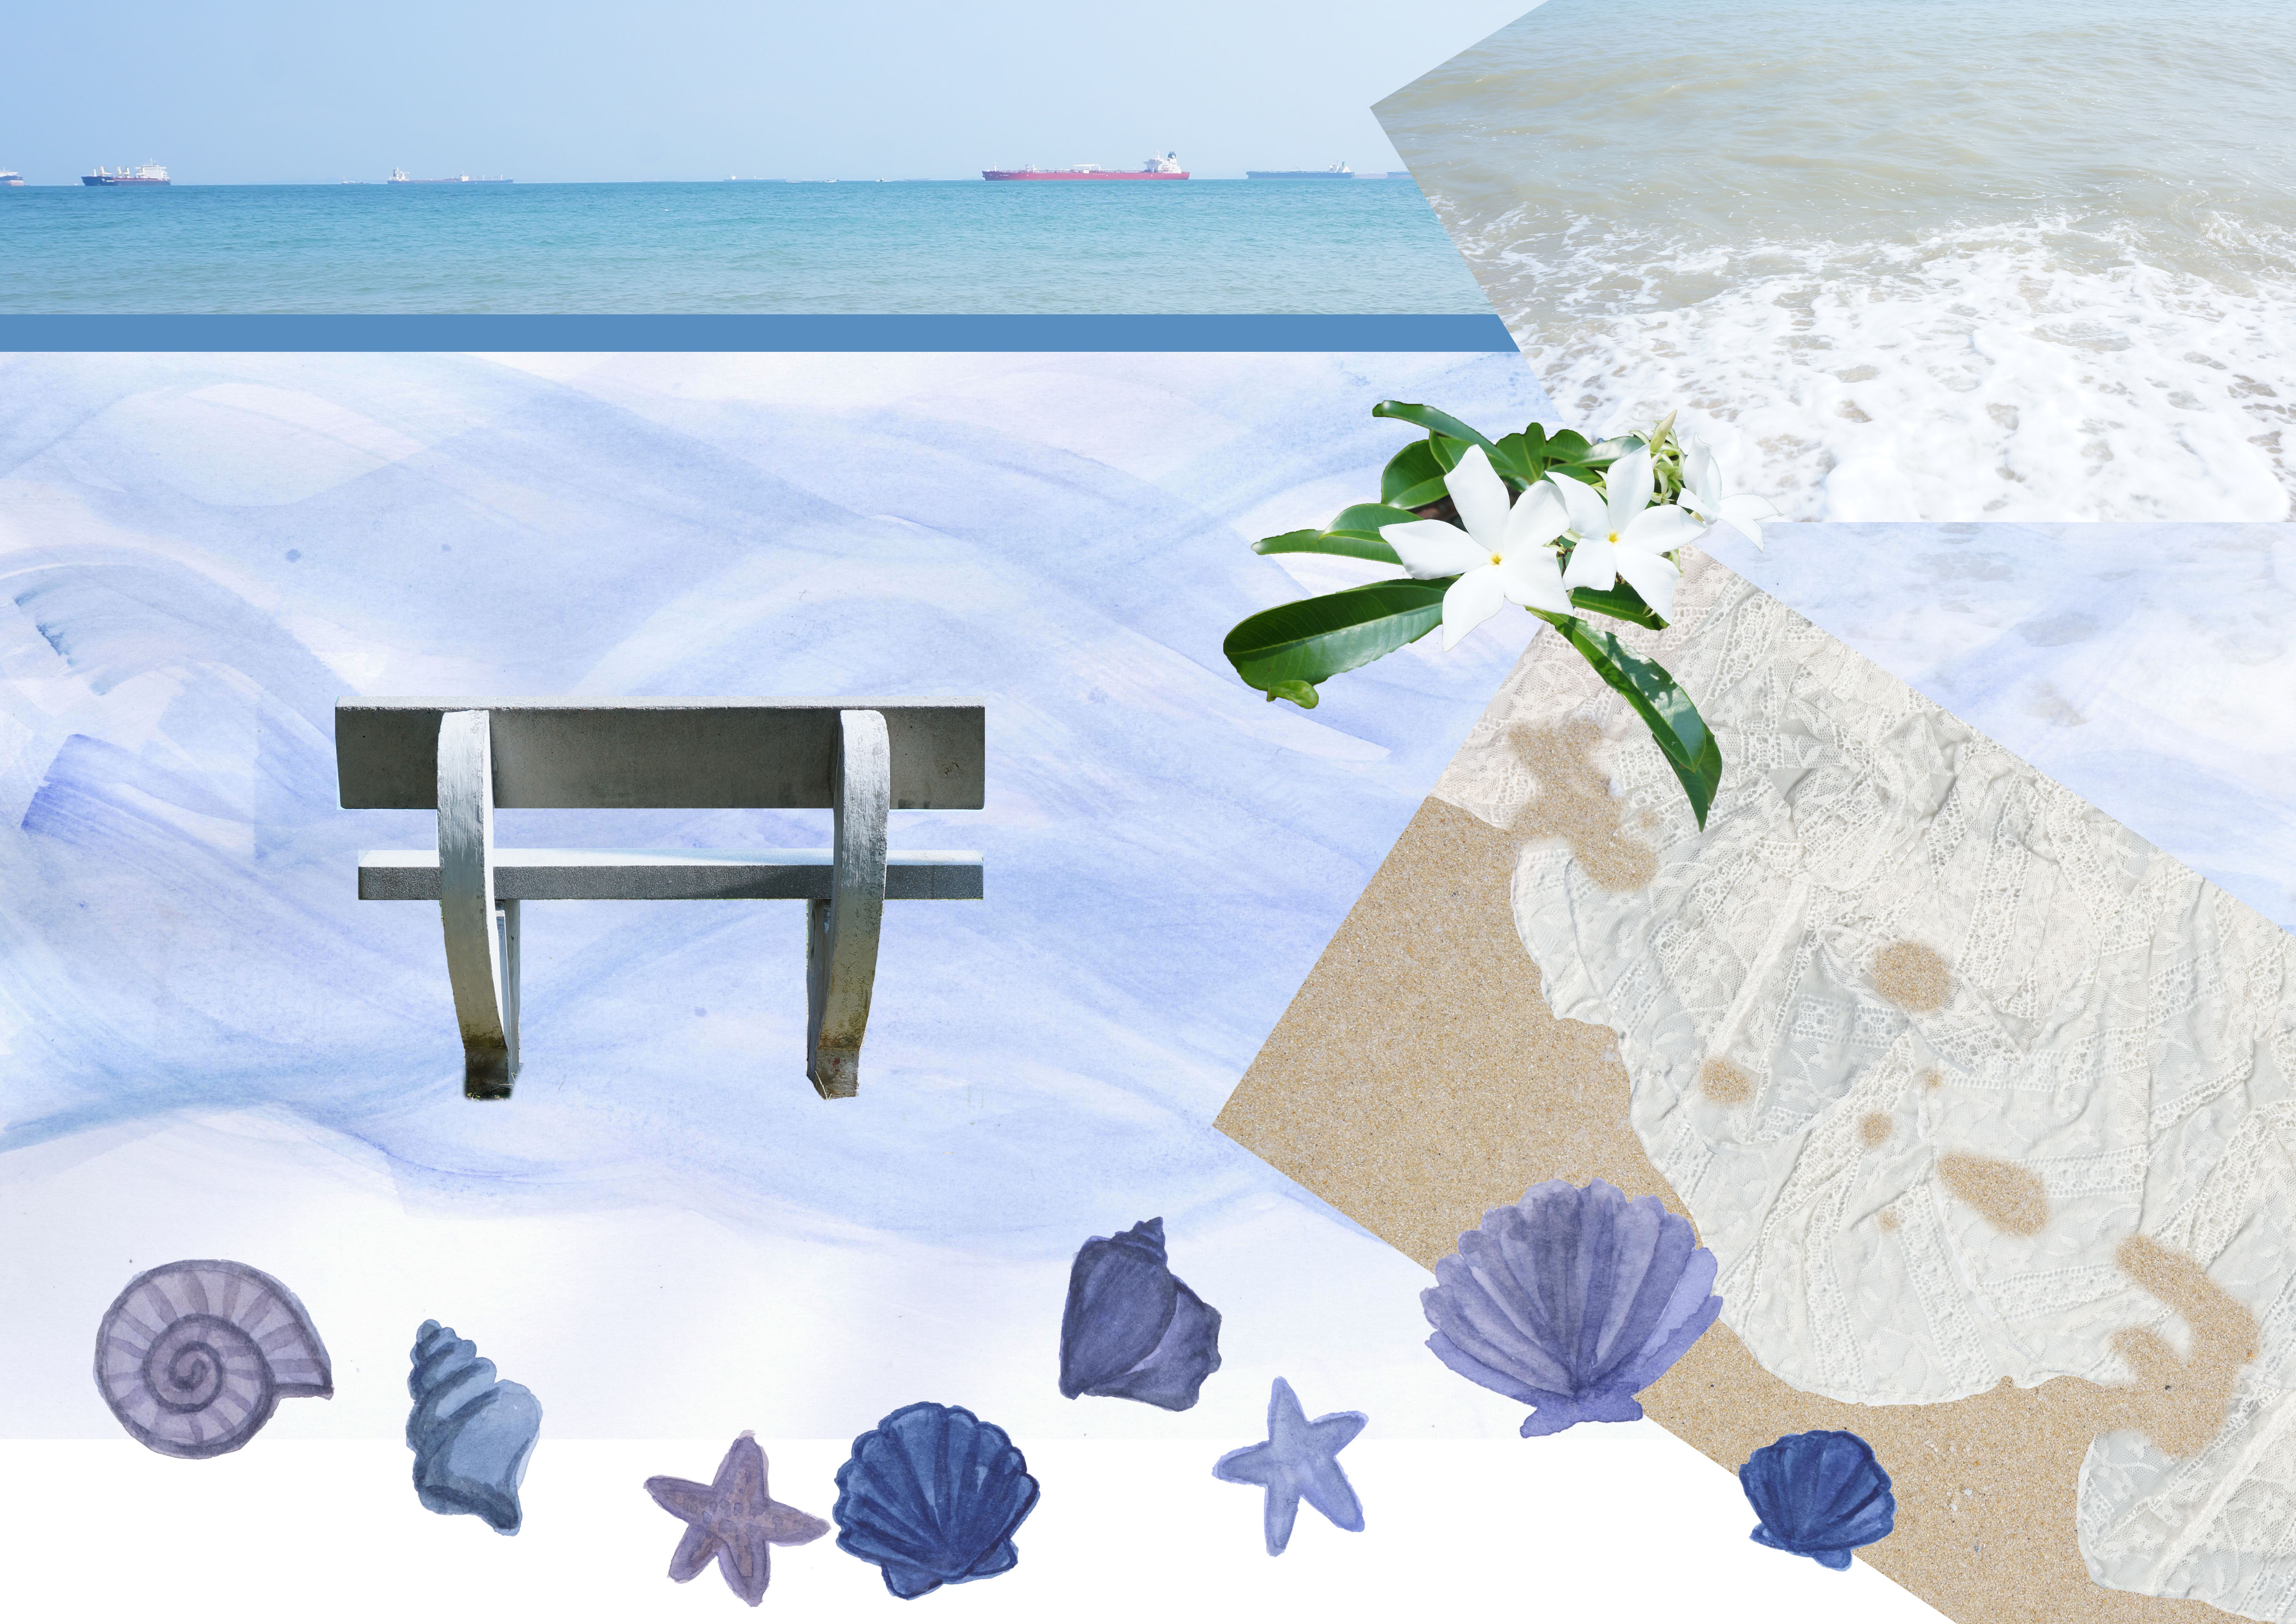
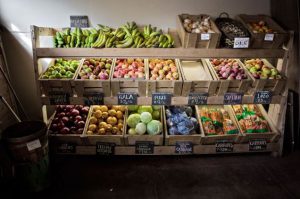
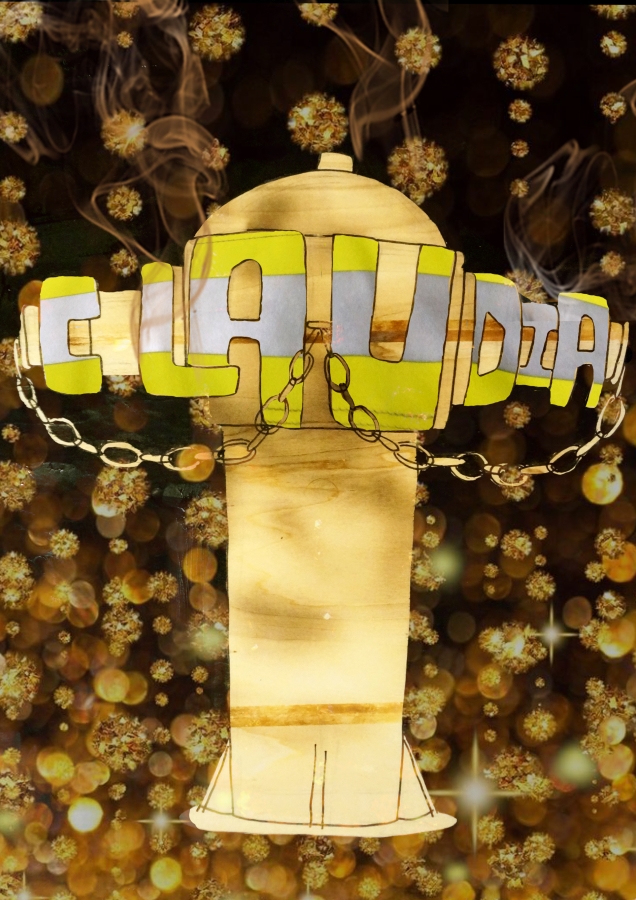
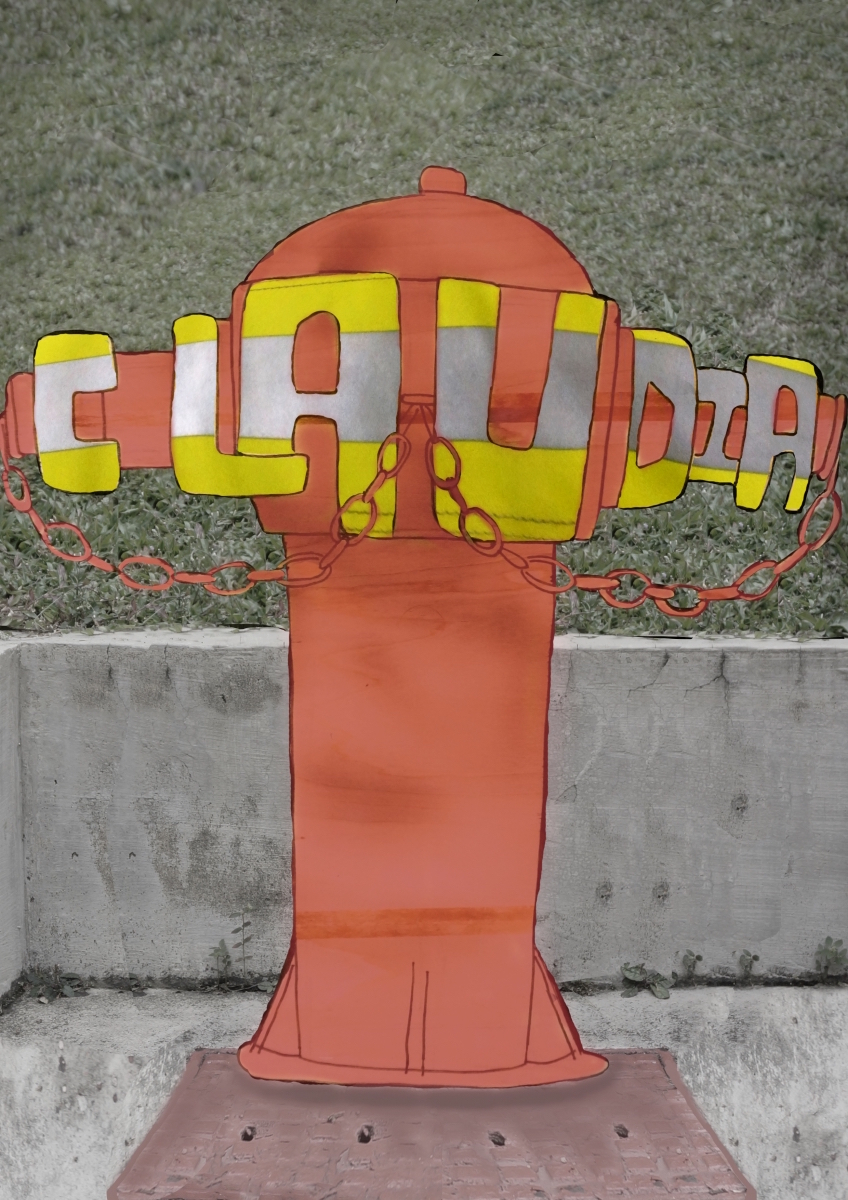
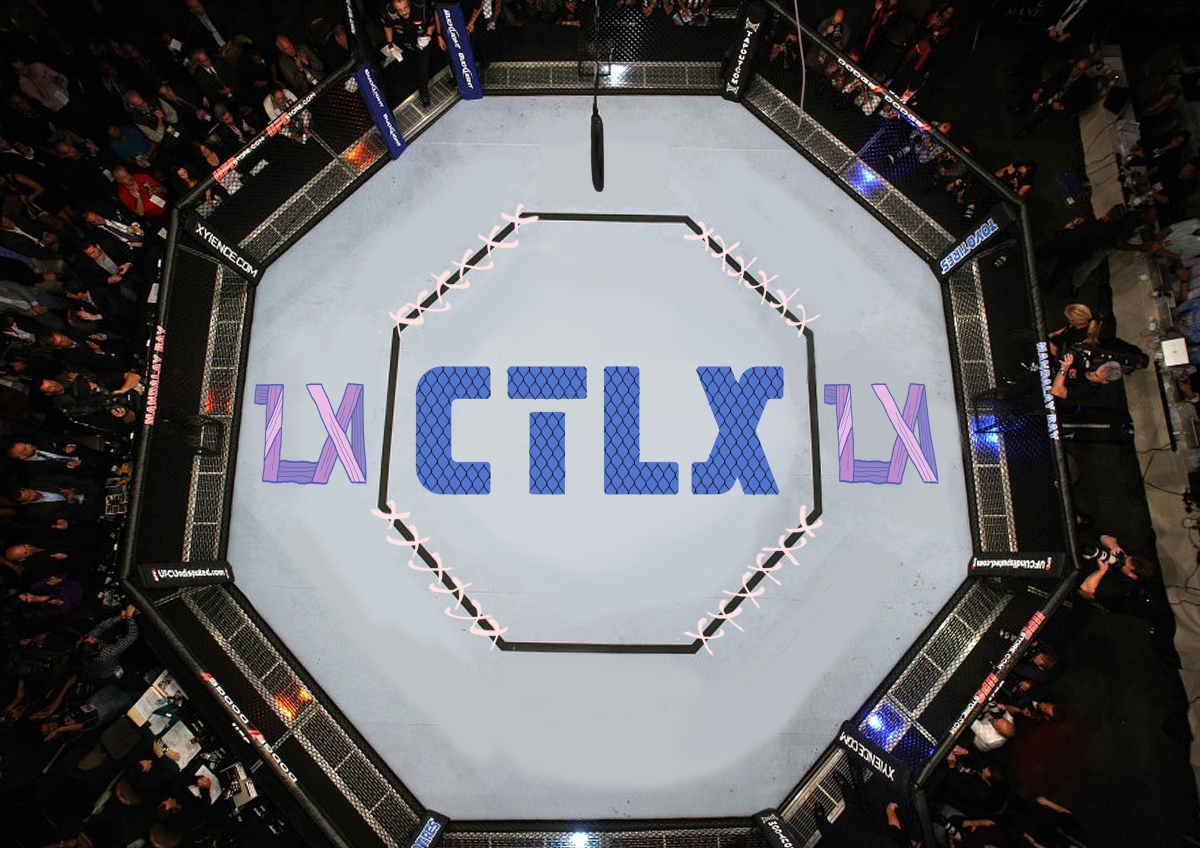
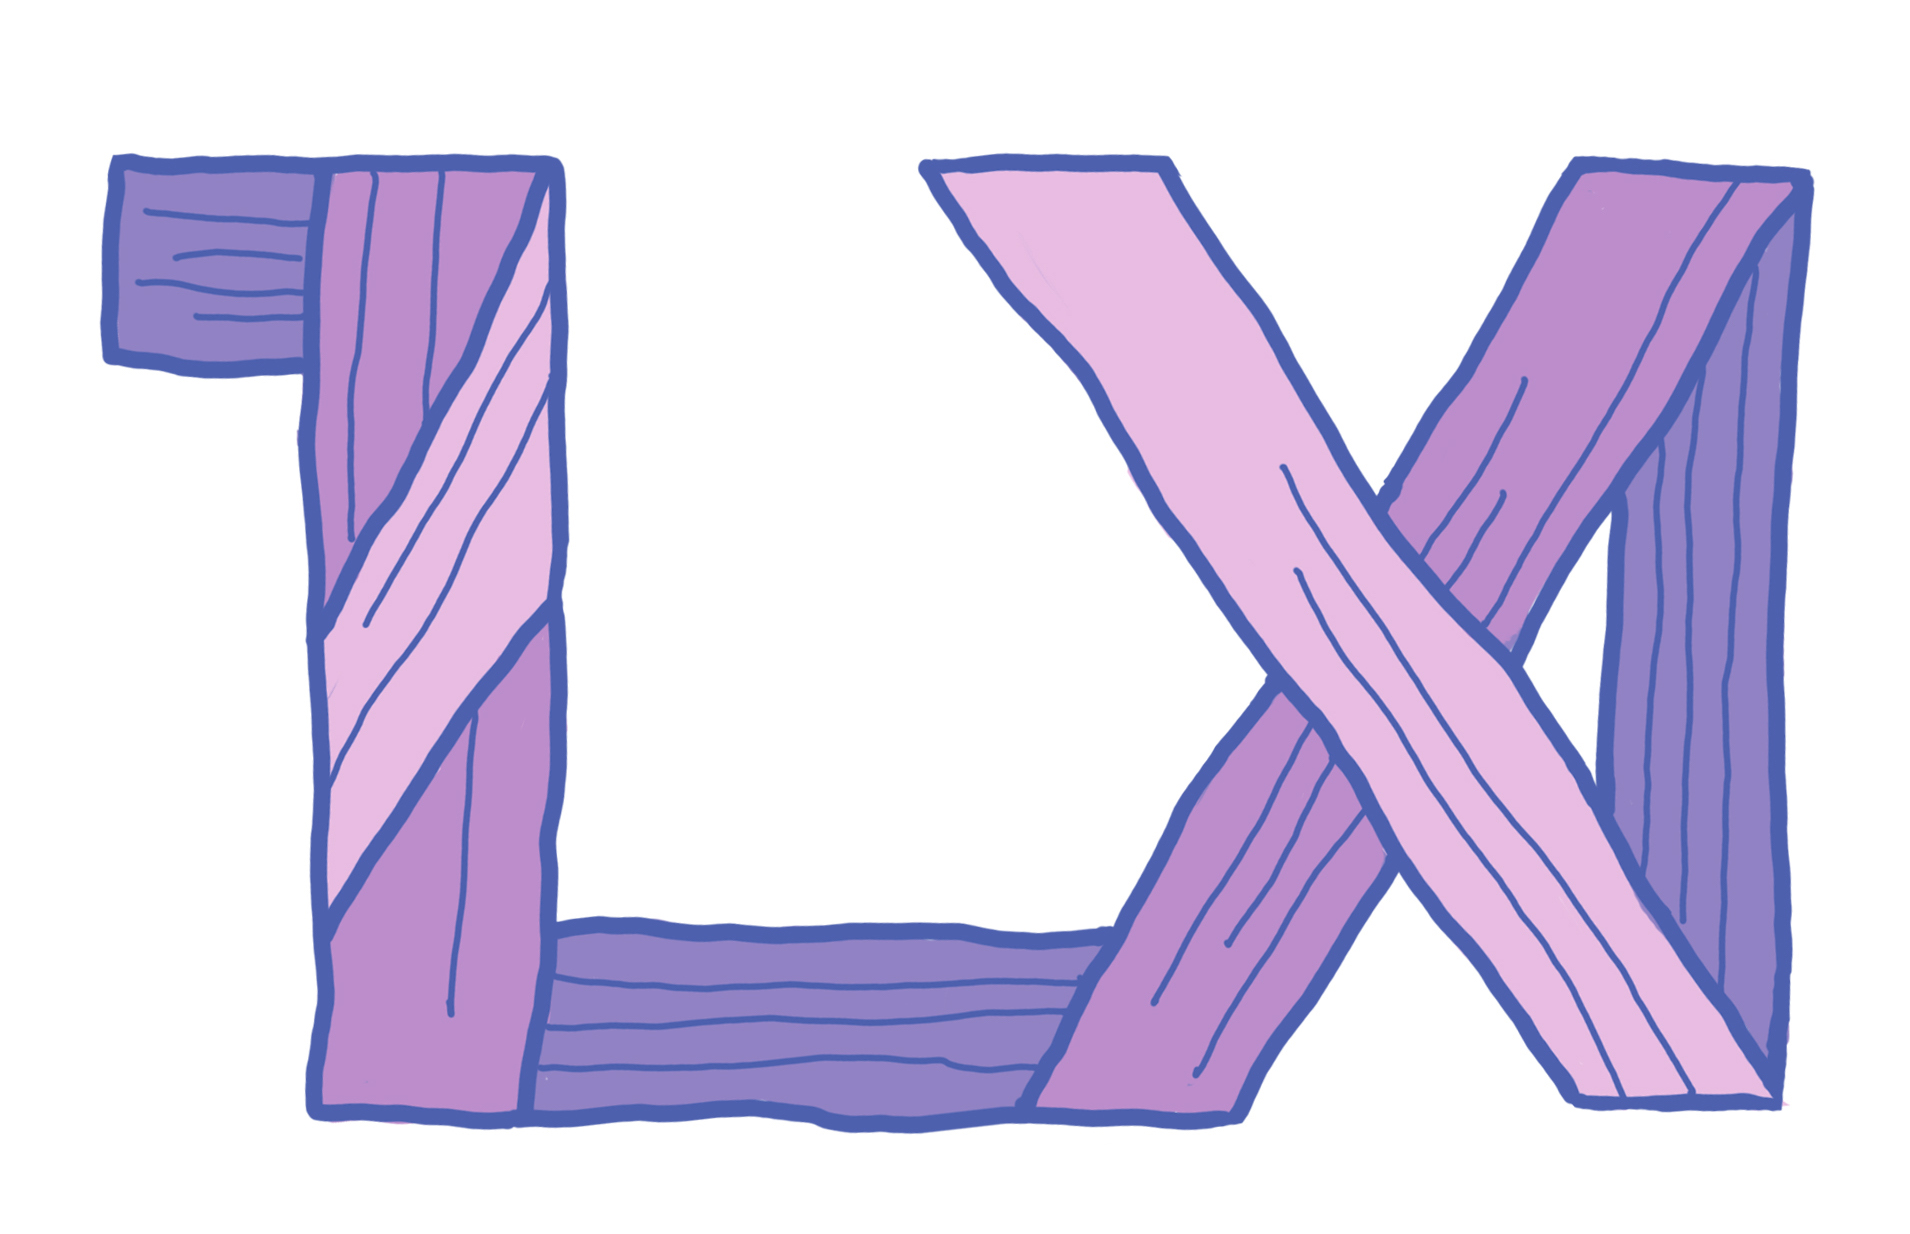
Modern Take

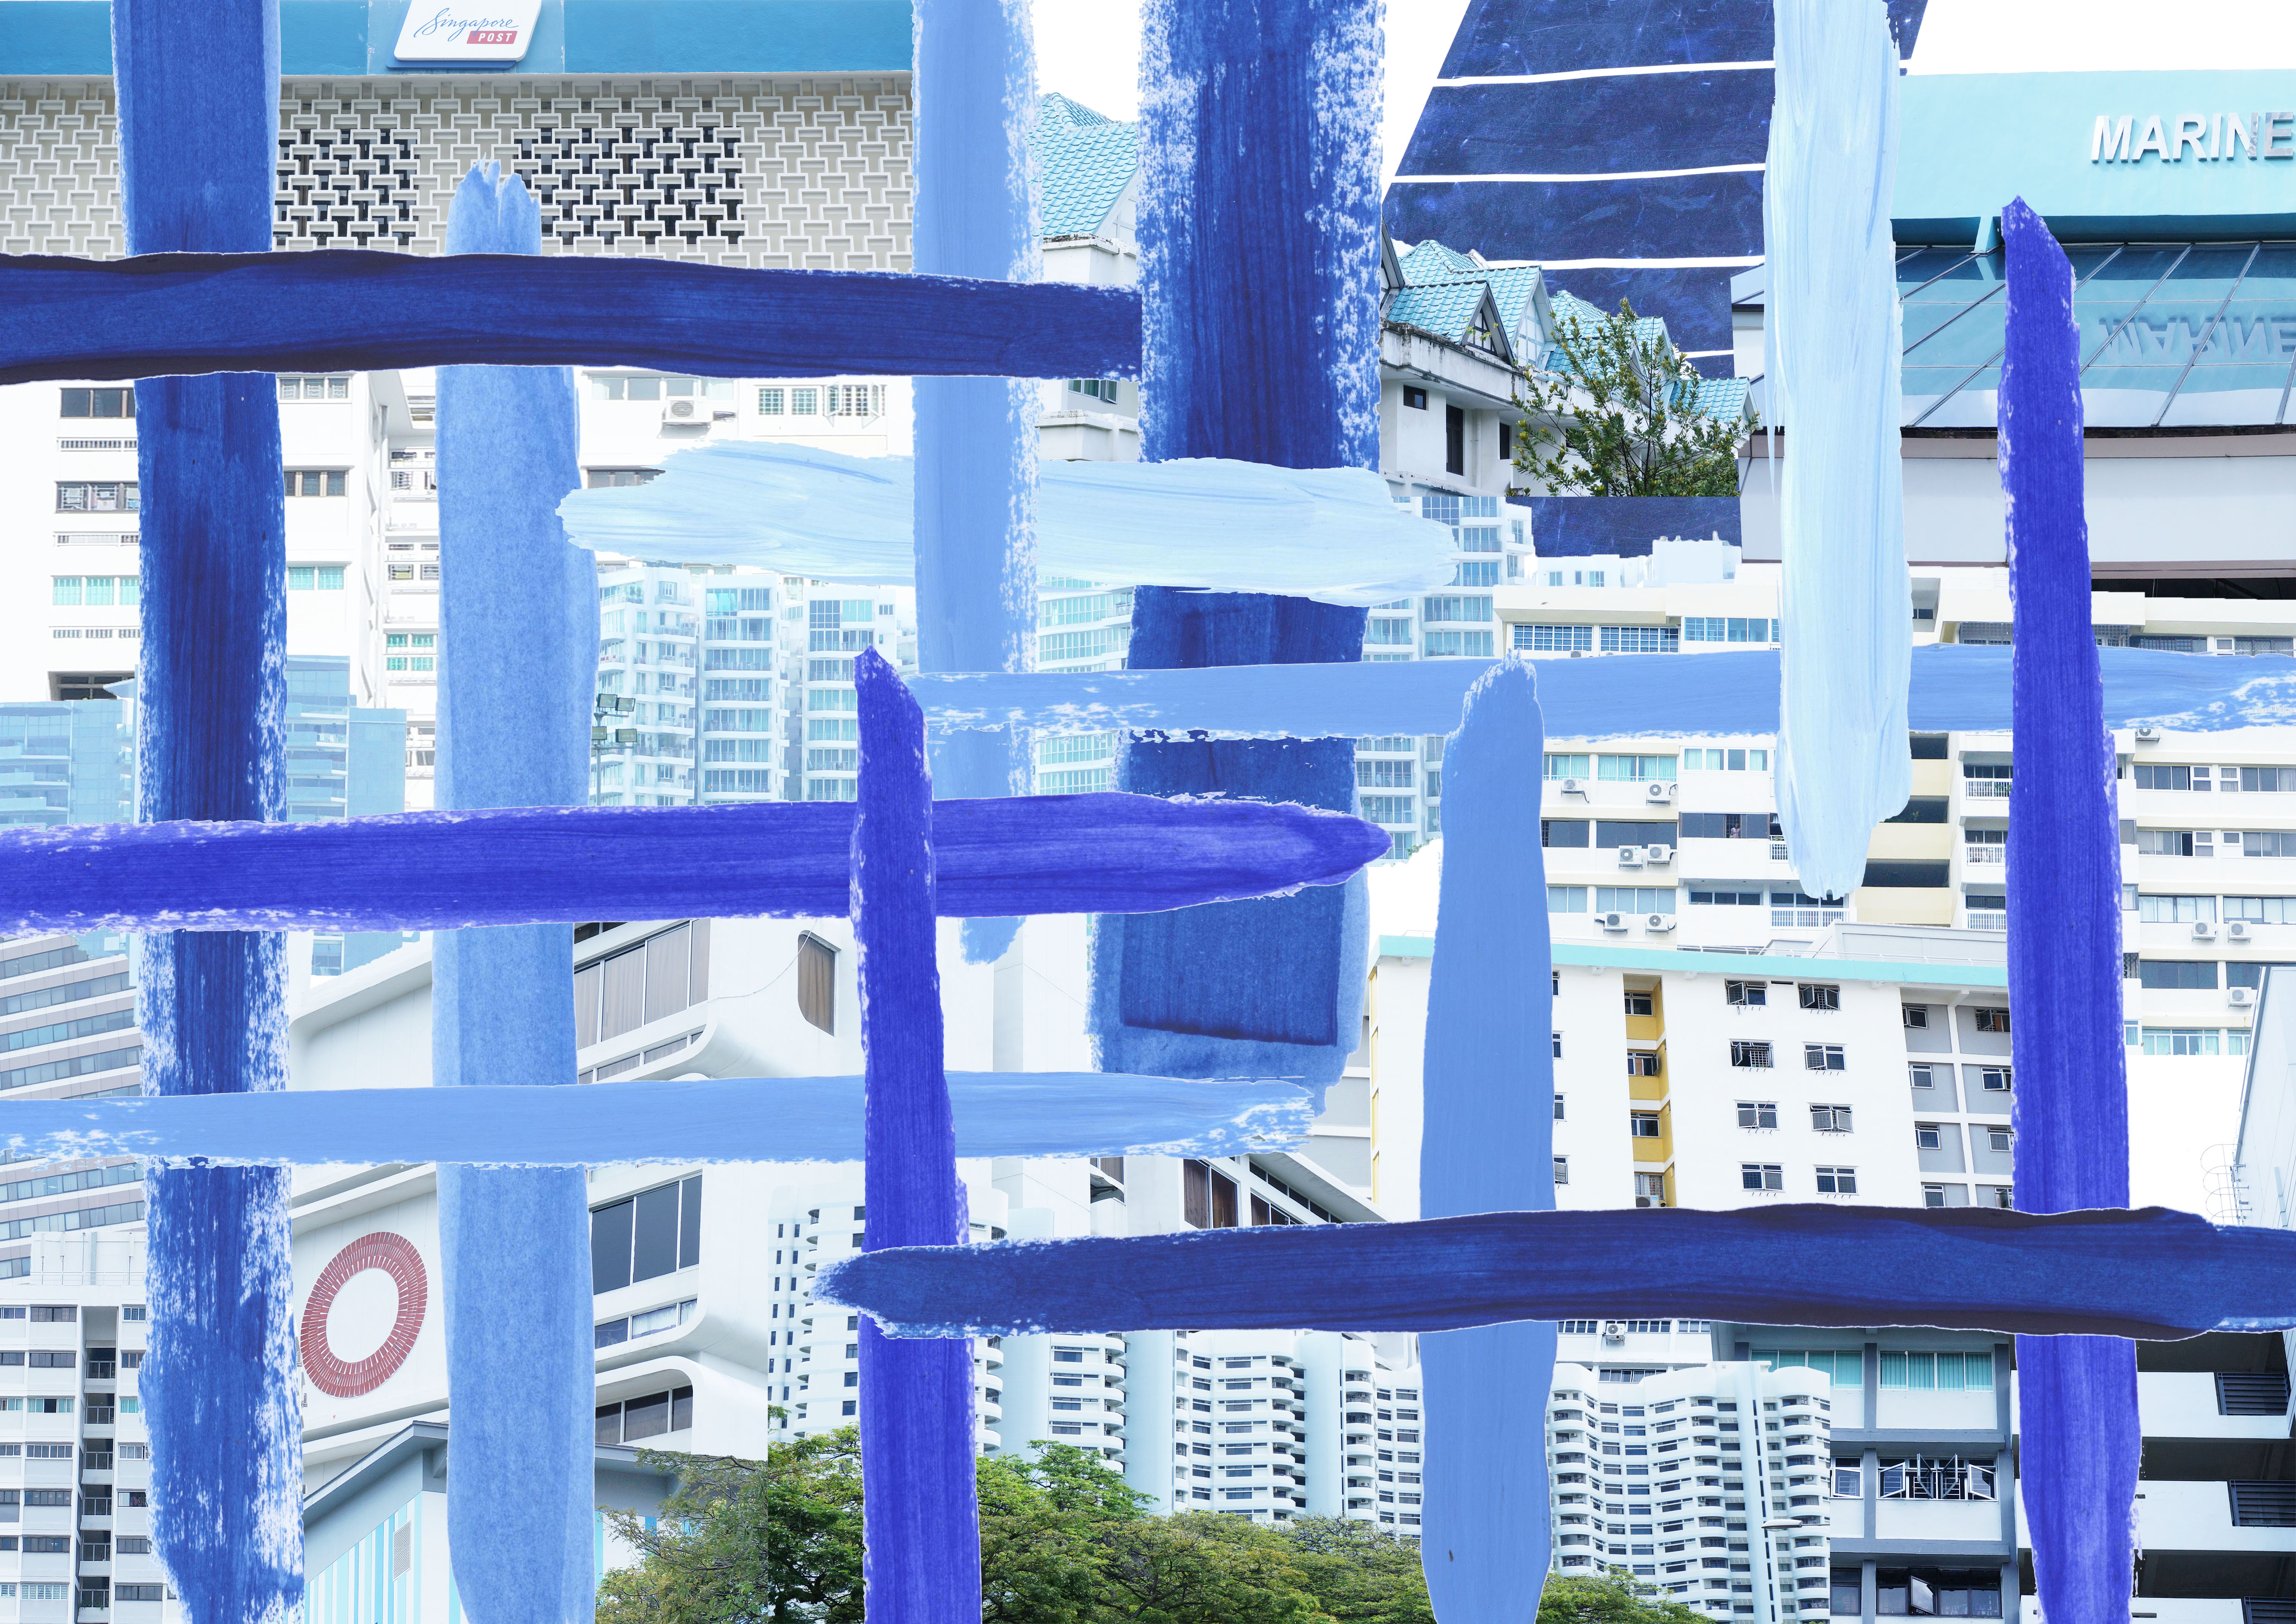
Dadaism is still pretty relevant today as many artists use it as an art style to incorporate into their works. It certainly helps to deliver a visually-popping effect and depending on the composition, creates whimsical moods or jarring effects with the intense contrast.

Here are some examples!


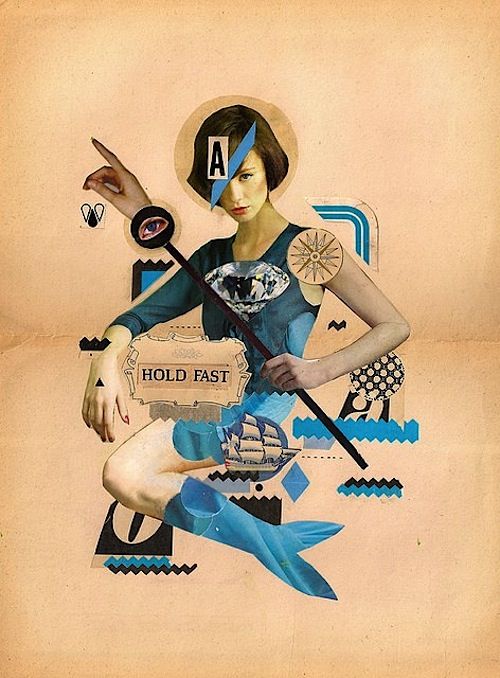
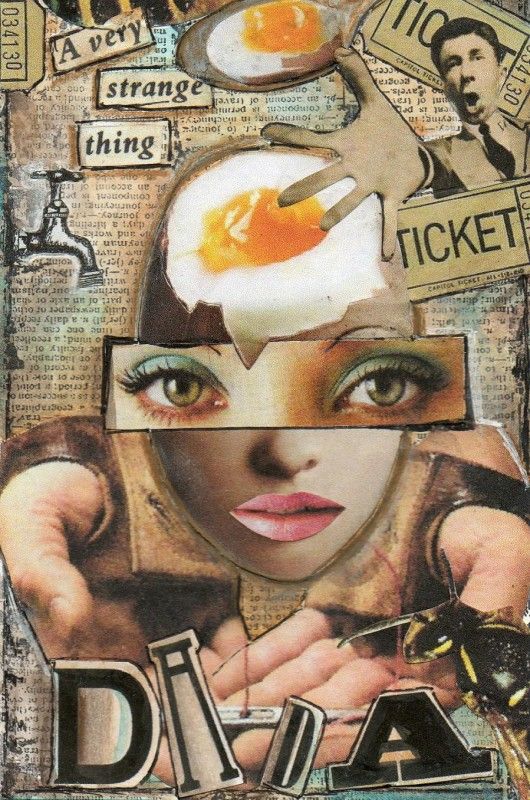
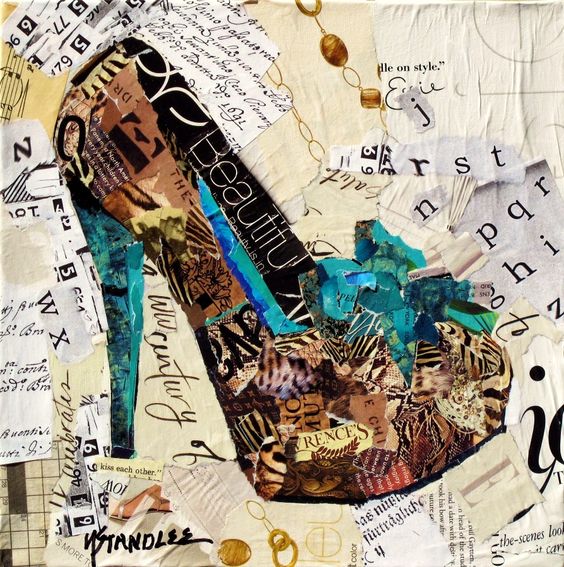
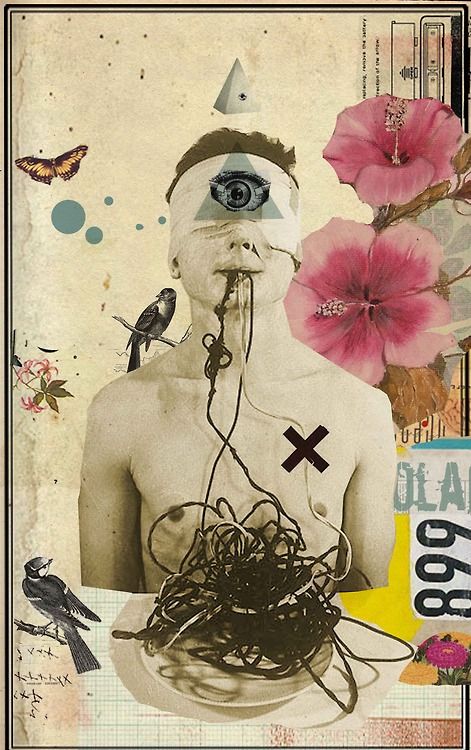
It certainly looks like a fun style to explore in my future works! Hope this post helps give you a little more insight of what this unique and empowering art movement is about!

Project 2: Zine Final Outcome!

Hello, here’s the full layout of my zine about Marine Parade!

(cover pages: front & back)

page 2 & 3

page 4 & 5

page 6 & 7


Reflection:

When I started out in this project, I was really quite excited as it seem like while trying to present and encourage people to discover more about Singapore, I myself was opening my eyes to a side of Singapore I never knew as well! I felt like I learnt a lot from my exploration adventures. I used to feel that because Singapore was so small, that was nothing else to do. But being on this zine journey made me realised there is still a bigger world out there. I am stoked to visit more unfamiliar places in the future, especially after reading my classmates’ zines! ╰(*´︶`*)╯

Now for the zine process.

I honestly felt that my idea was not bad. The fact that I wanted to stick to a colour theme and venture on exploring the ‘texture’ side was sort of stepping out of my comfort zone as I was used to drawing (but with not much technical skills lol).

Which was why it was really disappointing that I could not complete my zine in the best way possible. It was still far from what I wanted it to be. There were so many other layout methods that I could have approached e.g. own typography. I should also include textual information on introducing my ideas and explaining the uniqueness of each layer/page, as people who don’t read my OSS won’t know my concept behind the zine.

It was regretful that I was rushed to do the zine although we were given a lot of time and it was unfulfilling to showcase works that were not my best. I could not share my zine properly with my peers. It was even worse that I could not have it printed professionally and my zine was printed in such a bad format, I had to end up resizing it down to nearly an A6 size after cutting away the edges. (。•́︿•̀。)

Given another chance and better time management, I will show a better zine.

Even so, thank you for reading my post and I hoped that you still enjoyed it. ◡̈⃝


2D Project 1 – Que Sera Sera (Progress + Finals)

¡Hola a todos! (trying to put my Spanish to good use HAHA) For this 2D project – Que Sera Sera, we were assigned to use our names to create typographies in relation to four occupations that we chose for ourselves. Most of my stuffs are in my journal so I will briefly go through the inspirational process behind each design and the final outcomes!


fonts-copy

This was the first job that came to my mind because I really did aspire to be a farmer 😀

When I think of farmers, it is a lot about being ‘hands-on’ and ‘natural’ state. Which is why for most of my typography designs for farmer, I decided to use real organic materials to create my name.

162bb08d2575a9151d5fa23c503d7373 9c7f0ae64ee42f312ea8e94bd3e13852 c5560f1bdaf0be05359209b5cc689c1e  

The colours used also needs to be bright and vibrant!

I bought vegetables with long roots, different shapes/sizes, to experiment. And to better recreate the ‘farm’ scene, I bought soil too to create the fields background  and it was really fun experimenting with the different vegetables and tweaking their shapes to fit the letters.

Here are some of design experimentation : for example for turnip’s leaves, I used the side of the leave as the background to write my name (Claud). I also tried to make it look as though the markings on different potatoes dd up to form my initials (CTLX).


optimized-leaf-cut  optimized-potato

But here’s the final outcome!

I chose this as it looks most organic. It is simple and shows my name in a natural state. It is appropriate as it shows how farmers work in the fields and this is a sight that they encounter in their daily chores.

optimized-roots

I arranged the roots in a way to spell CLAUDIA. The original picture was a little messy as I could not totally control the shape of the roots, so I used photoshop to touch up on it by leaving out only the roots the spell out my name and emphasising the size and colours of it, and darkening the soil to make the roots more pop.


fontsInitially I wanted to be a baker. But as I explored around with various sketch designs and inspirations, I felt that being a café owner gives me more space to experiment with various styles! I want to create the vintage warm feels of a café and I went to research more on the interior – food, interior design, layout, & exterior – ‘architecture’ aspects.

Interior

298a7573dfb78f6ce66853fc71172e8c dddd4702fb3f9839c2d7a18cd98f9405

i drew different sketches involving around menu designs, display cases, using a variety of food/drinks to form my name

p2051006 p2051017

Exterior

0e58f77ac6134754da850cb6d822a124 87cfec7cd8145a9cdd24b583bbddcb5d 1366_2000

I think it was clearer in conveying the message that I’m a café owner by focusing on the exterior design of cafés as the use of food and menu items can also be found in restaurants.

It really appealed to me when I saw how many café’s glass windows have writings on them. They  are either the shop name, menu items, or just illustrations for decoration purposes. I want to use the glass window part as I feel like most cafés in general have huge windows to create that inviting warm feeling as light pours in. It also creates an interaction for passers-by to be curious and walk inside the café (or at least that’s how I always end up being attracted to enter one hahaha)

I experimented with various backgrounds and fonts to write my name but I felt that it is too literal. I came across some simple illustrations styles on pinterest and I thought that it would work really well as designs on the glass.

dsc09001  38e8623c5cdbb308a5571830efb29389

optimized-cafe

I tried to imitate the interior of the café as my background by printing out an actual image of it (thus solving the reflective light issue) and use illustrations of things that you (hopefully) find in my café hee.

fonts-copy-2

Creating typographies with the theme of ‘firefighter’ took me some time as there are so many things that can be linked to them e.g. the fire hydrant, outfit, fire

4a2c17e9fec110f6e5ec97fa3f00d4956d7ec115445640b5fbe7c473b42d2b8doptimized-dsc090161d19f900c268c27ae7df00cd3628a9d4

I played around with different narrative illustrations around objects that are linked to firemen, but when I came across this picture, I was really inspired because it uses the negative space that was created by the ‘fire’ – burnt part, leaving on the silhouette of the firefighter ‘unburnt’, conveying the message of the firefighter’s job.

il_570xn-876040567_qydw

optimized-dsc09645

I burnt a plank of wood and after drawing on the illustration of a fire hydrant with my name being the top part of it, I painted the surrounding areas black with paint.

After uploading on to my computer, I did some editing by putting the neon reflective band found at the freighter’s outfits over my name to highlight it. I also added some golden smokes and sparkles after being inspired by the picture below, and to create the image of fire but glorifying it in a way.

double-exposure-faces-blended-into-plumes-of-ink-in-water-by-chris-slabber-7  optimized-fireman

It ended up looking a little tacky, and unlike my finals for farmer and café owner, the background does not look realistic, making my works inconsistent. Therefore, I replaced the black background with an actual site of a fire hydrant that I found near my hall and here’s the final outcome!
optimized-hydrant

Although the original one by just photoshopping the actual environment, the colours does not bring out the image of the wooden fire hydrant. Therefore I darken the surroundings and also added a red tint over the wooden plank to make it resemble the fire hydrant more.

fonts-copy-3

I struggled to think of the last occupation the most. I thought of being a carpenter, veterinarian, detective, etc. But these are either to similar to the others jobs that i chose in terms of craftsmanship/industry, or areas that I’m too unfamiliar with. It occurred to me that I should use what I have experience in, to better translate the typography.

So… during the long break before we started uni, I signed up for various kickboxing and muay thai classes. (ARE YOU SURPRISED? HAHAHA) Which is why I decided to combine both and ended up choosing to be a MMA  fighter as my fourth occupation!

kickboxing-moves-450x257

(obviously still no toned muscles like this lady)

To best portray the MMA idea, the first thing that I thought of was to use the octagon arena ring in UFC matches. There were also many other ideas – incorporating the different fighting styles to form my name in a narrative way, the different equipments used, exercises regimes, motivational quotes styles, etc etc.

In my final outcome, I still felt that the best idea is to use the octagon arena as the background base and further enhance the picture with other ‘fighting’ elements.

optimized-ufc2

I put my initials (CTLX) as the arena name and use metal mesh fence as an overlay to further showcase the metal fence that is unique to UFC arena cages. It still looks quite plain so I also drew on crosses over the lines to look like the laces on boxing gloves.

Since the arena are also often filled with sponsors’ names, I wanted to include my name too as it also makes the arena look less plain. I did so by writing LX in a way that looks like it is formed by hand wraps.
7937519_f520lx

Although I was tempted to create different versions of my name and paste it around the arena, I was scared that it will look too messy. It then occured to me that champion belts have the smaller gold-plates, one at each side of the main plate. Hence I just sticked with 2 of the other names.

45db39fbd5c482ecdf1a67a9394bf666

I like how all my works have the realistic feel to them as they show the environment of my workplace. I hope you will appreciate them too, thanks! (◍•ᴗ•◍)

3D: Checking out SEM + modular construction

For project 3, we were assigned to find a ‘shape’ from a SEM image, and constructing a structure from it!

I chose the SEM of pu’er tea! It looks interesting with both a long & narrow strip, and round blobs attached to the sides.

picture1pic2

shapes that I had picked out from the first picture

     optimized-dsc_0236 optimized-dsc_0237-2

Coming up with possible structure designs and considering what materials can I use

In the end I went with the nest-looking design, as its cup shape seems to be more relatable to ‘tea’.

I had already planned to use cotton buds to represent the blobs. So there’s that. But in order to construct the bent loopy ‘strings’ to create the nest, I need to find something flexible and is long and narrow. Here’s some of the materials that I used:

dsc_0284

Got a styrofoam ball so that the strings can wrapped around it while being covered in craft glue. When it dries, removing it from the styrofoam ball will thus form a hardened round shape.

optimized-dsc_0301

The raffia strings were difficult to work with as it’s made entirely out of plastic, thus being unable to glue down to the spherical ball. The twine was fine to work with but the structure looked too stiff, not exactly portraying the texture that I envisioned my structure to be.
optimized-dsc_0298-2

I ended up finding this raffia string that is made out paper! It was able to adhere well to the styrofoam ball and giving the sleek looking texture that I wanted, woohoo!

dsc_0265-min

What it looks like on the ball. I also plucked up a few strings to make it look messier (nest)

After removing the ball and trimming the edges down. I hot-glued the cotton buds on to random parts of the strings from different angles. Here is the finished product!! (o˘◡˘o)

dsc_0271 dsc_0273 dsc_0272

I like how bright my sculpture looks and I guess it may be more likely to draw people in to look closely at it? Hahaha. In the end it looks more like a bowl/cover than a nest, but the overall shape still looks nice and gives off the ‘messy’ structure that I wanted.

The method of using the styrofoam ball was also really fun as it was my first time trying it out, but it actually helped made the strings super stiff and secure, but not compromising the original texture of the strings. Now that I think about it, it’s interesting how we can create a sculpture just by deriving a shape/pattern from another object.

That’s all, bye!

(in case anyone was wondering what happened to the twine version, hahaha)

optimized-dsc_0302

불타오르네, FIYAHHHHHHH OH EH OH

For our second 3D project, it’s string sculptures!

My string sculpture goes by the theme of ‘Fire’. During the thinking process, I was inspired by Lydia’s Water-themed string sculpture.


(FIRST DRAFT)

For my first draft, I cut a few random lines in a piece of paper so that I could fold the different edges to build up the figure, similar to the shape of a bonfire. I also used red, orange, and yellow strings to convey the meaning.

dsc_0084

At this stage, the idea of including strings in my design was simply to piece the different strips together, instead of incorporating it into my design. I also had no prior planning on the locations of the holes and direction of where my strings were going.

Which was why in my second draft, I scratched the idea of cutting the paper/plastic sheet and did more research in ways that I can present strings as a shape form.


(SECOND DRAFT)

dsc_0124

I used a harder black vanguard paper for stronger structure support. I also pre-poked the holes so that I would have a clearer idea throughout the creation process on where should the strings go.

All the strings from the circle converged into the centre hole in the line. The strings from the square joining up to all the holes in the line, with each side of the square joining up differently from changing angles. This formed a cone shape that was surrounded with ‘slanted walls’.

However, the overall piece looked very complicated and messy. It was also very time consuming to make sure all the strings were tied tightly, which was especially difficult since multiple strings were condensed in one hole. There were also two sides of the square being incomplete because it was too difficult to keep track of which string should go in which direction… 🙁


(THIRD DRAFT)

dsc_0121

The cone shape made from the strings looked pretty neat, so I thought, why not make two circles and twist the strings in a way to form two cones!

dsc_0147

This the final look! I also attached strings from lines on both side, forming a rectangular wall that intertwined with the cones, because I thought that the sculpture will look too dull if it was simply just the cones in a single colour.

However, Peter also mentioned that although the structure looked nice and proper, it did not reflect the original idea that I had.

dsc_0141


(FINAL DRAFT)
dsc_0220

And so, for my final piece, I decided to incorporate the new learnt skills of making a cone and at the same time, conveying the theme of ‘Fire’ too!

I made two circles, but this time, I used two coloured strings – red and yellow, and attached them in different directions, to form two different types of cones, forming a free-flowing conical shape, much alike to a burning fire.

I also added lines at the side, but instead of being straight, they were slightly wavy, making the ‘walls’ look more interesting. They were also made using light and dark blue strings to imitate the blue flames.

I really like how the overall piece turned out because it is a lot more vibrant, and also showcase the skills that I had learnt from the stringing process.

dsc_0225dsc_0224

When looking from different angles, the combination of the multi-coloured and the variations in the angles of the strings gives a fresh interesting trippy-looking perspective. It’s also pretty cool how the colours of the strings were reflected on the plastic sheet too.

Overall this project was like journey of discovery and experimentation, finding out what fits the aesthetics of the work yet sticking to what I want to convey as well. I learnt how to utilise space and my materials too. And most importantly, I am proud of my final piece and enjoyed how fun the process was even though it was difficult to approach and manage.