For the first exercise of this class, I decided to try my hand at making a cinemagraph. During the first lesson, I had successfully created a simple sequence using a clip from the movie A Single Man.
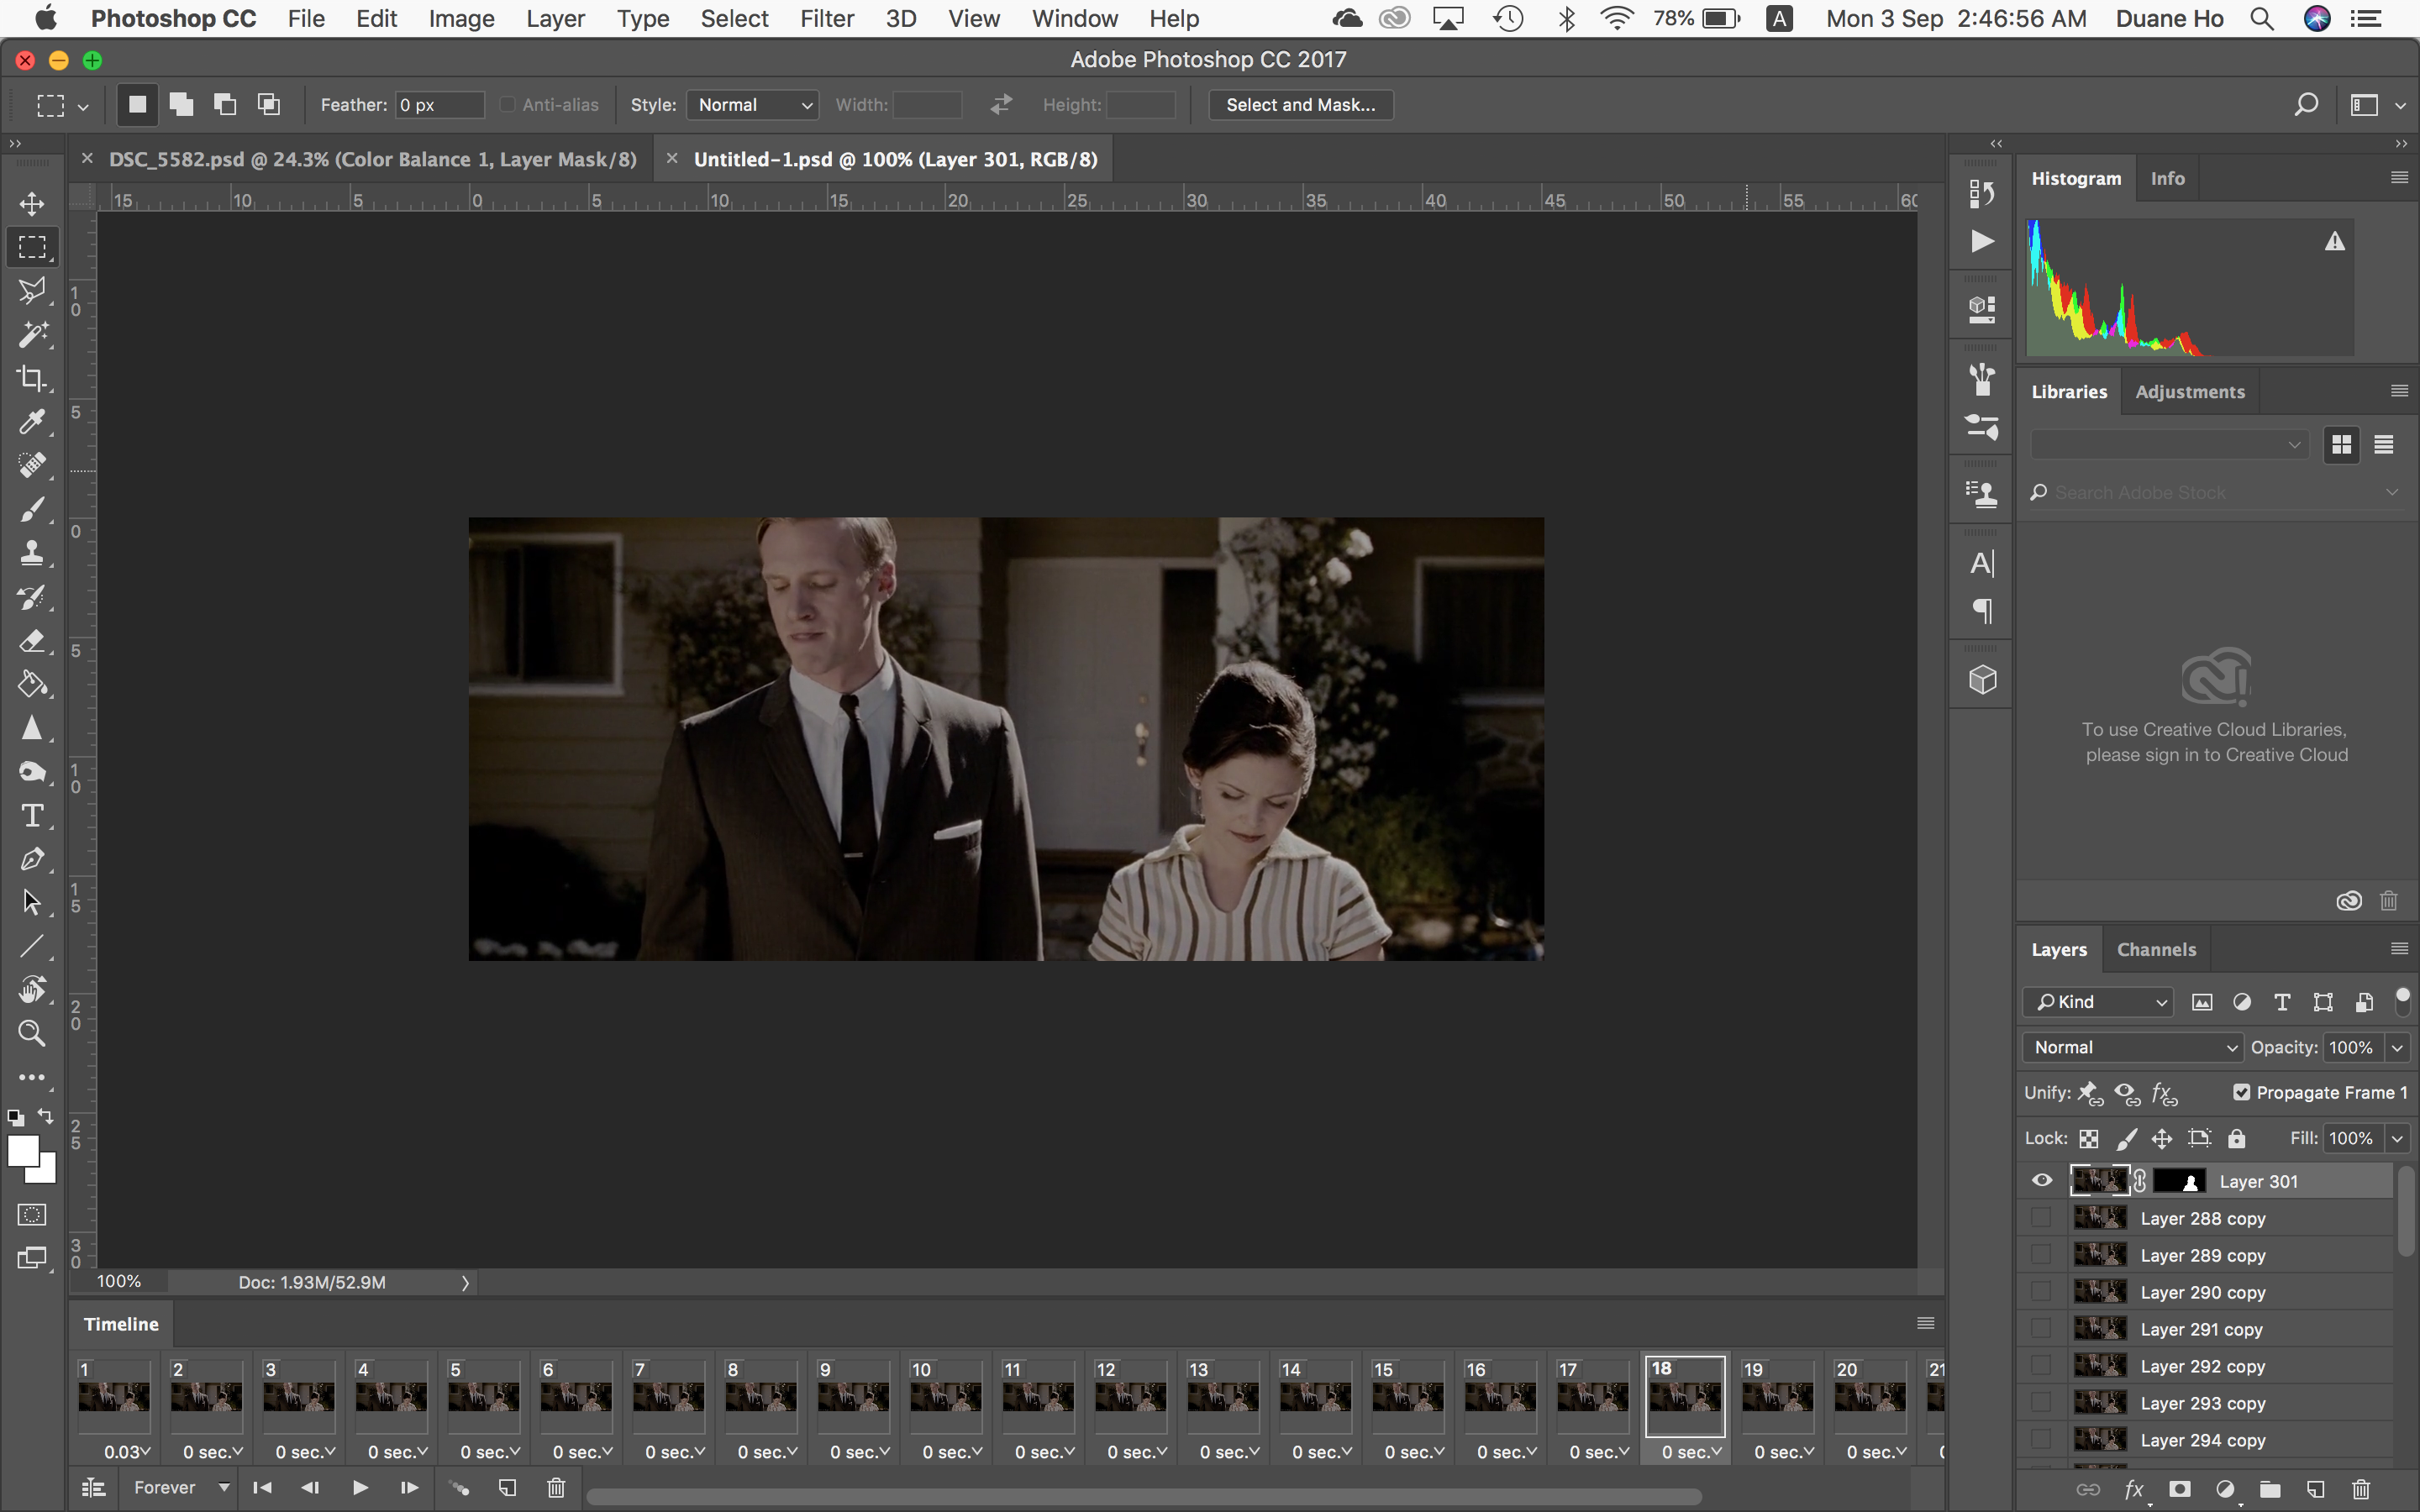
By creating a simple mask, I was able to isolate movement to only a single part of the image. After the first export, I realized that my GIF was a tad ‘jerky’ because, after the last frame, the sequence immediately jumped back to the first.
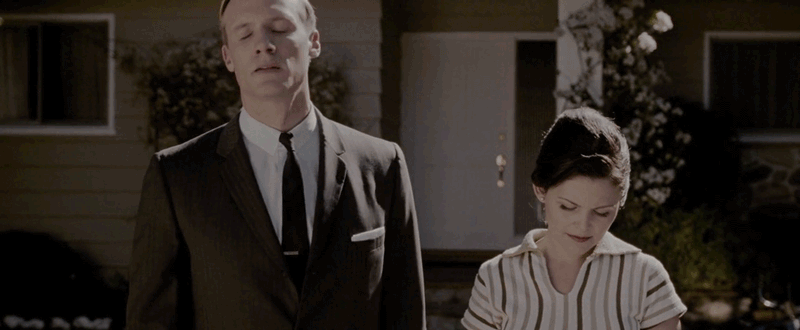
As such, I decided to ‘loop’ the GIF by adding reverse frames such that the action became seamless:
Taking what I had learned from the first class, I decided to make another GIF, this time using my own video footage. I wanted my next cinemagraph to be more subtle and contain much less movement but still draw the viewer in. Initially, I began by importing a whole sequence as frames into Photoshop. This resulted in many frames just for the simple movement of my subject blinking her eyes.
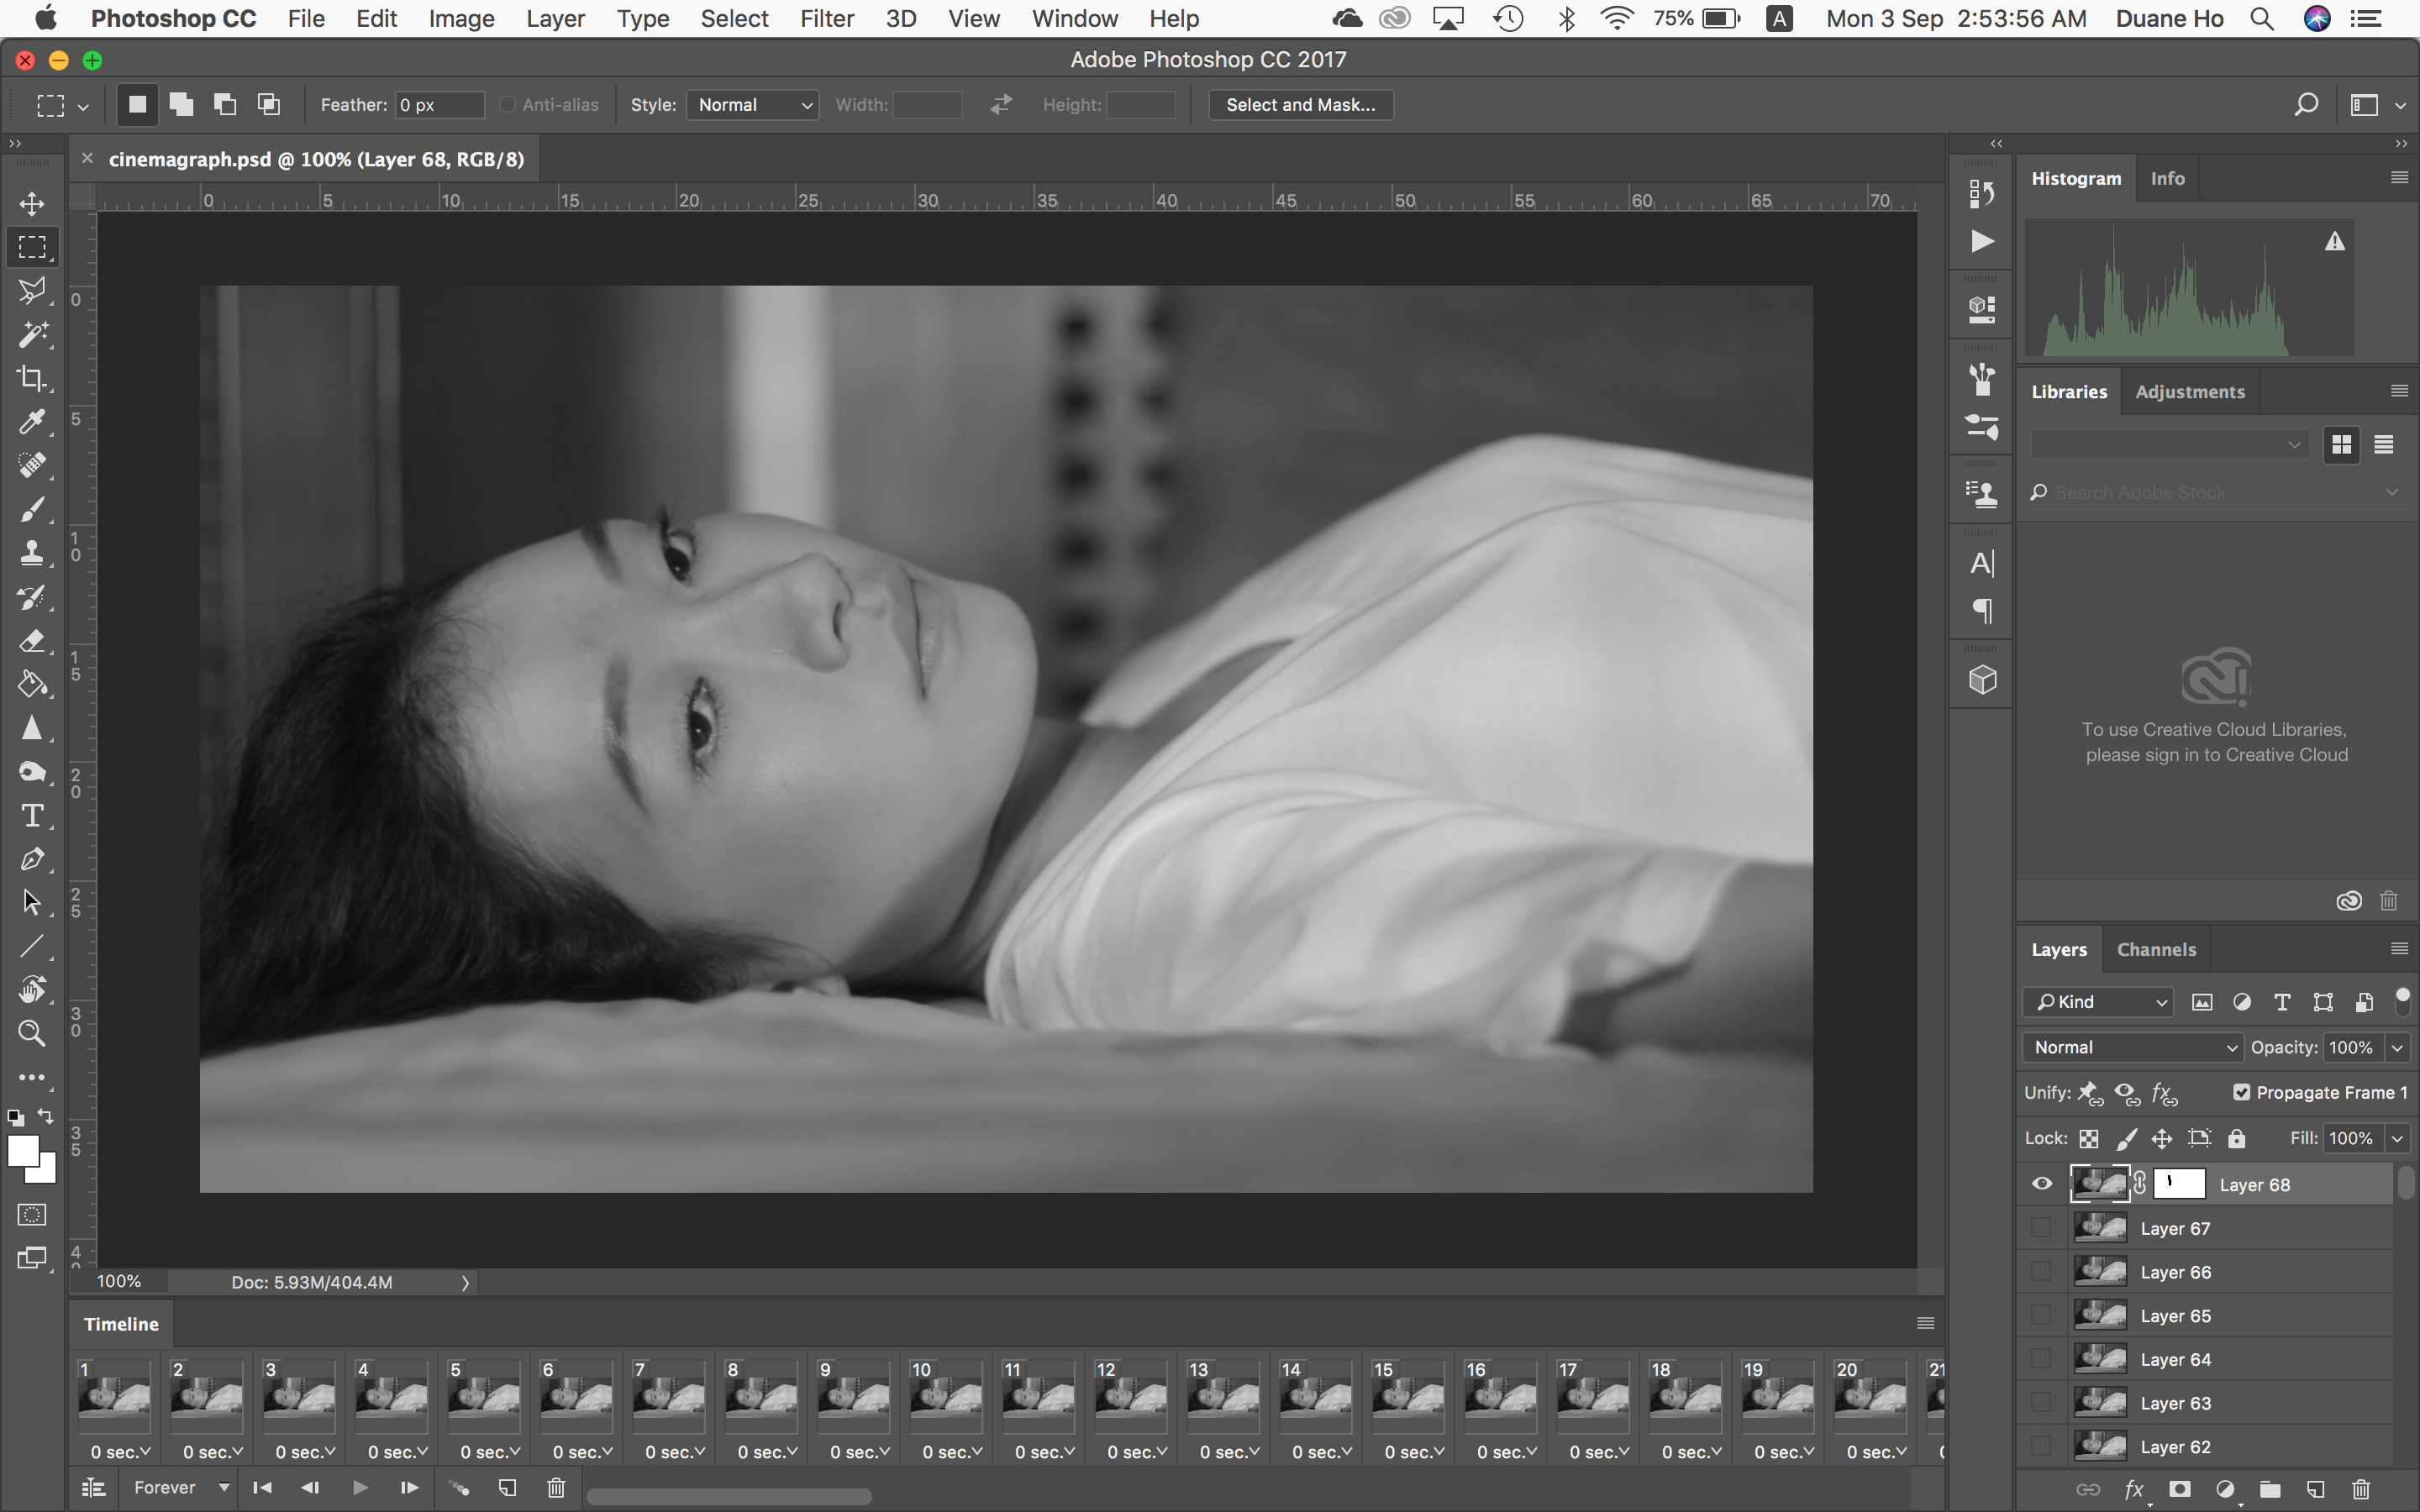
After showing this in class, Prof Elke reminded me that since there was no movement at the beginning of the sequence, I could just use one frame and increase its duration. This would make the whole GIF much cleaner and also reduce unnecessary file sizes.

Breaking up the sequence with an 8-second pause, I was able to loop the GIF and make the pacing somewhat believable as well:
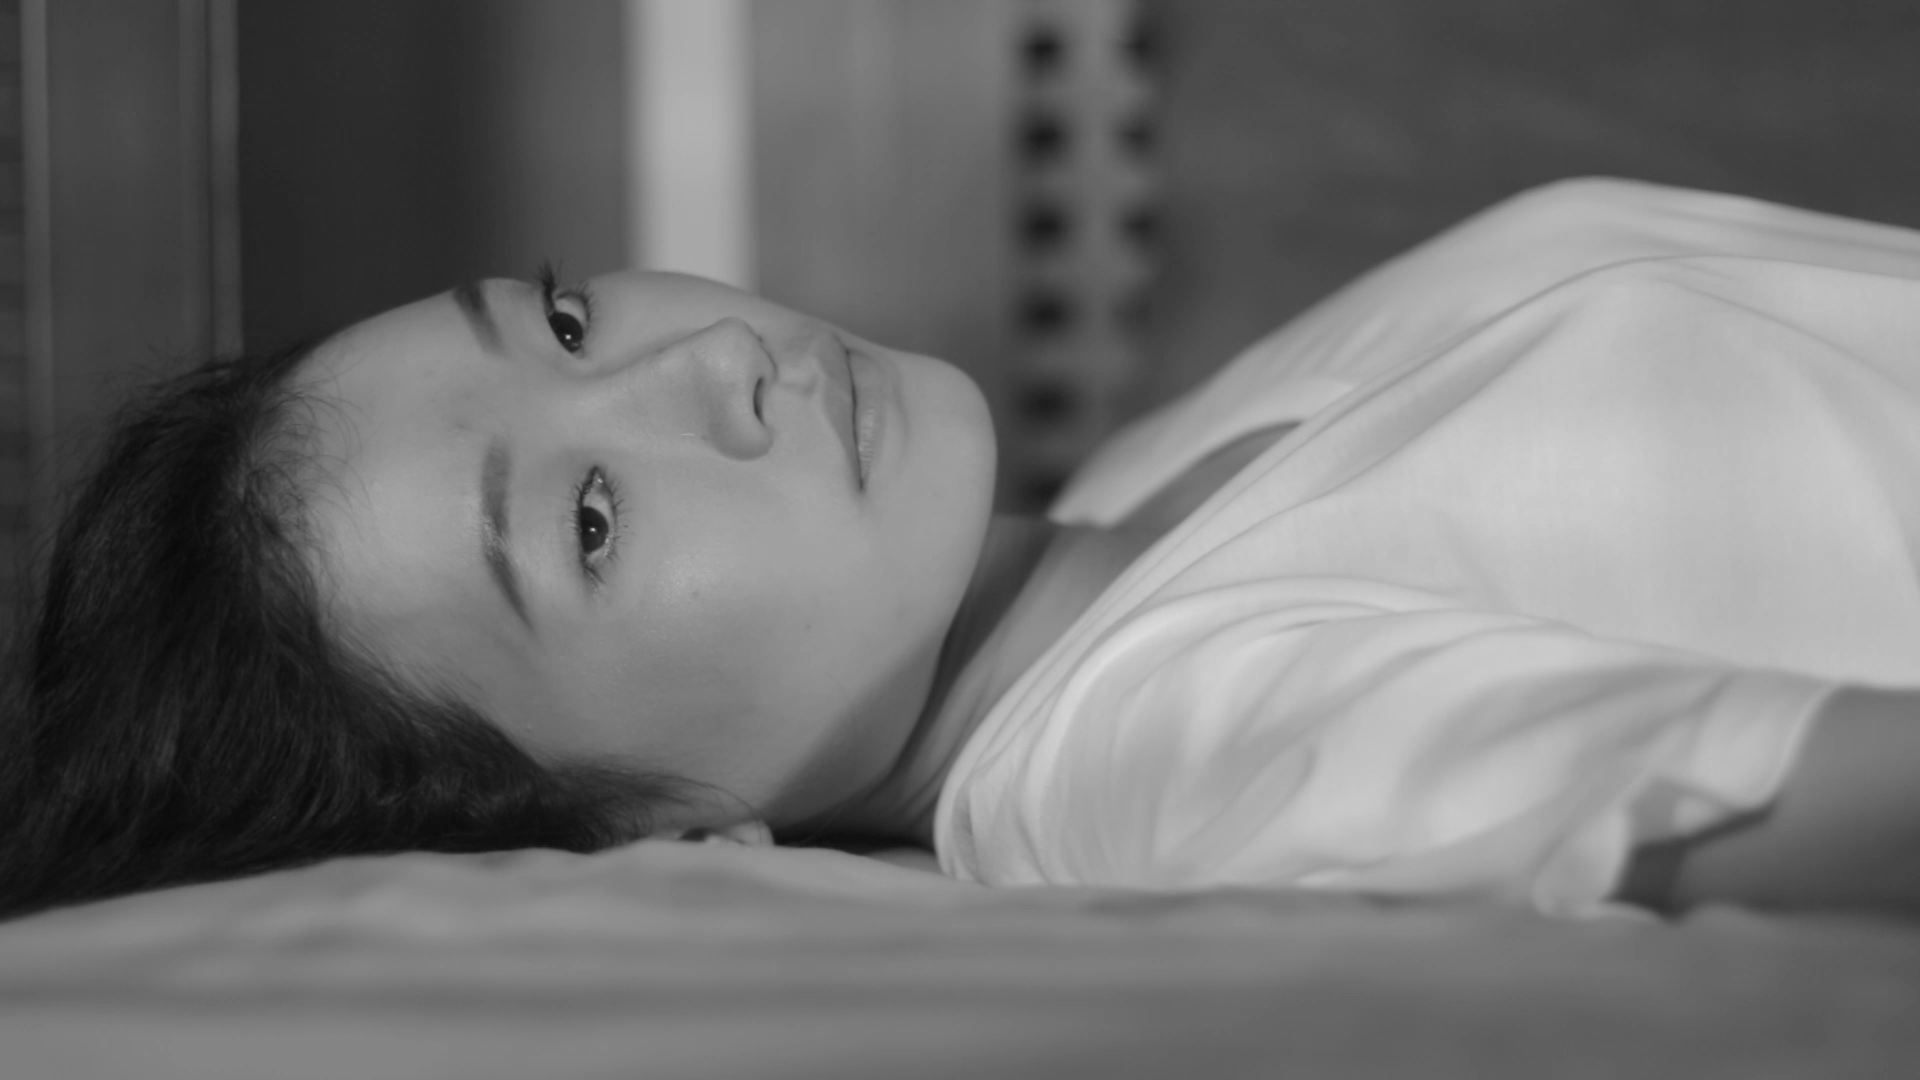
In conclusion for this exercise, I experienced firsthand how moving image can create an interesting response as compared to a still image. In the example above, the simple blink of an eye added life into what would have been a static shot. In the original project, this girl was the protagonist and she spent her days waiting for her husband to come home and yearned for his attention. This feeling and emotion was thus amplified by taking this shot from the film and deliberately making viewers wait for something to ‘happen’.
Great! Thank you for adding life to your images. The fine-tuning with pausing and looping works very well.