This revised version is a continuation of the original edit! Link to original post:
–
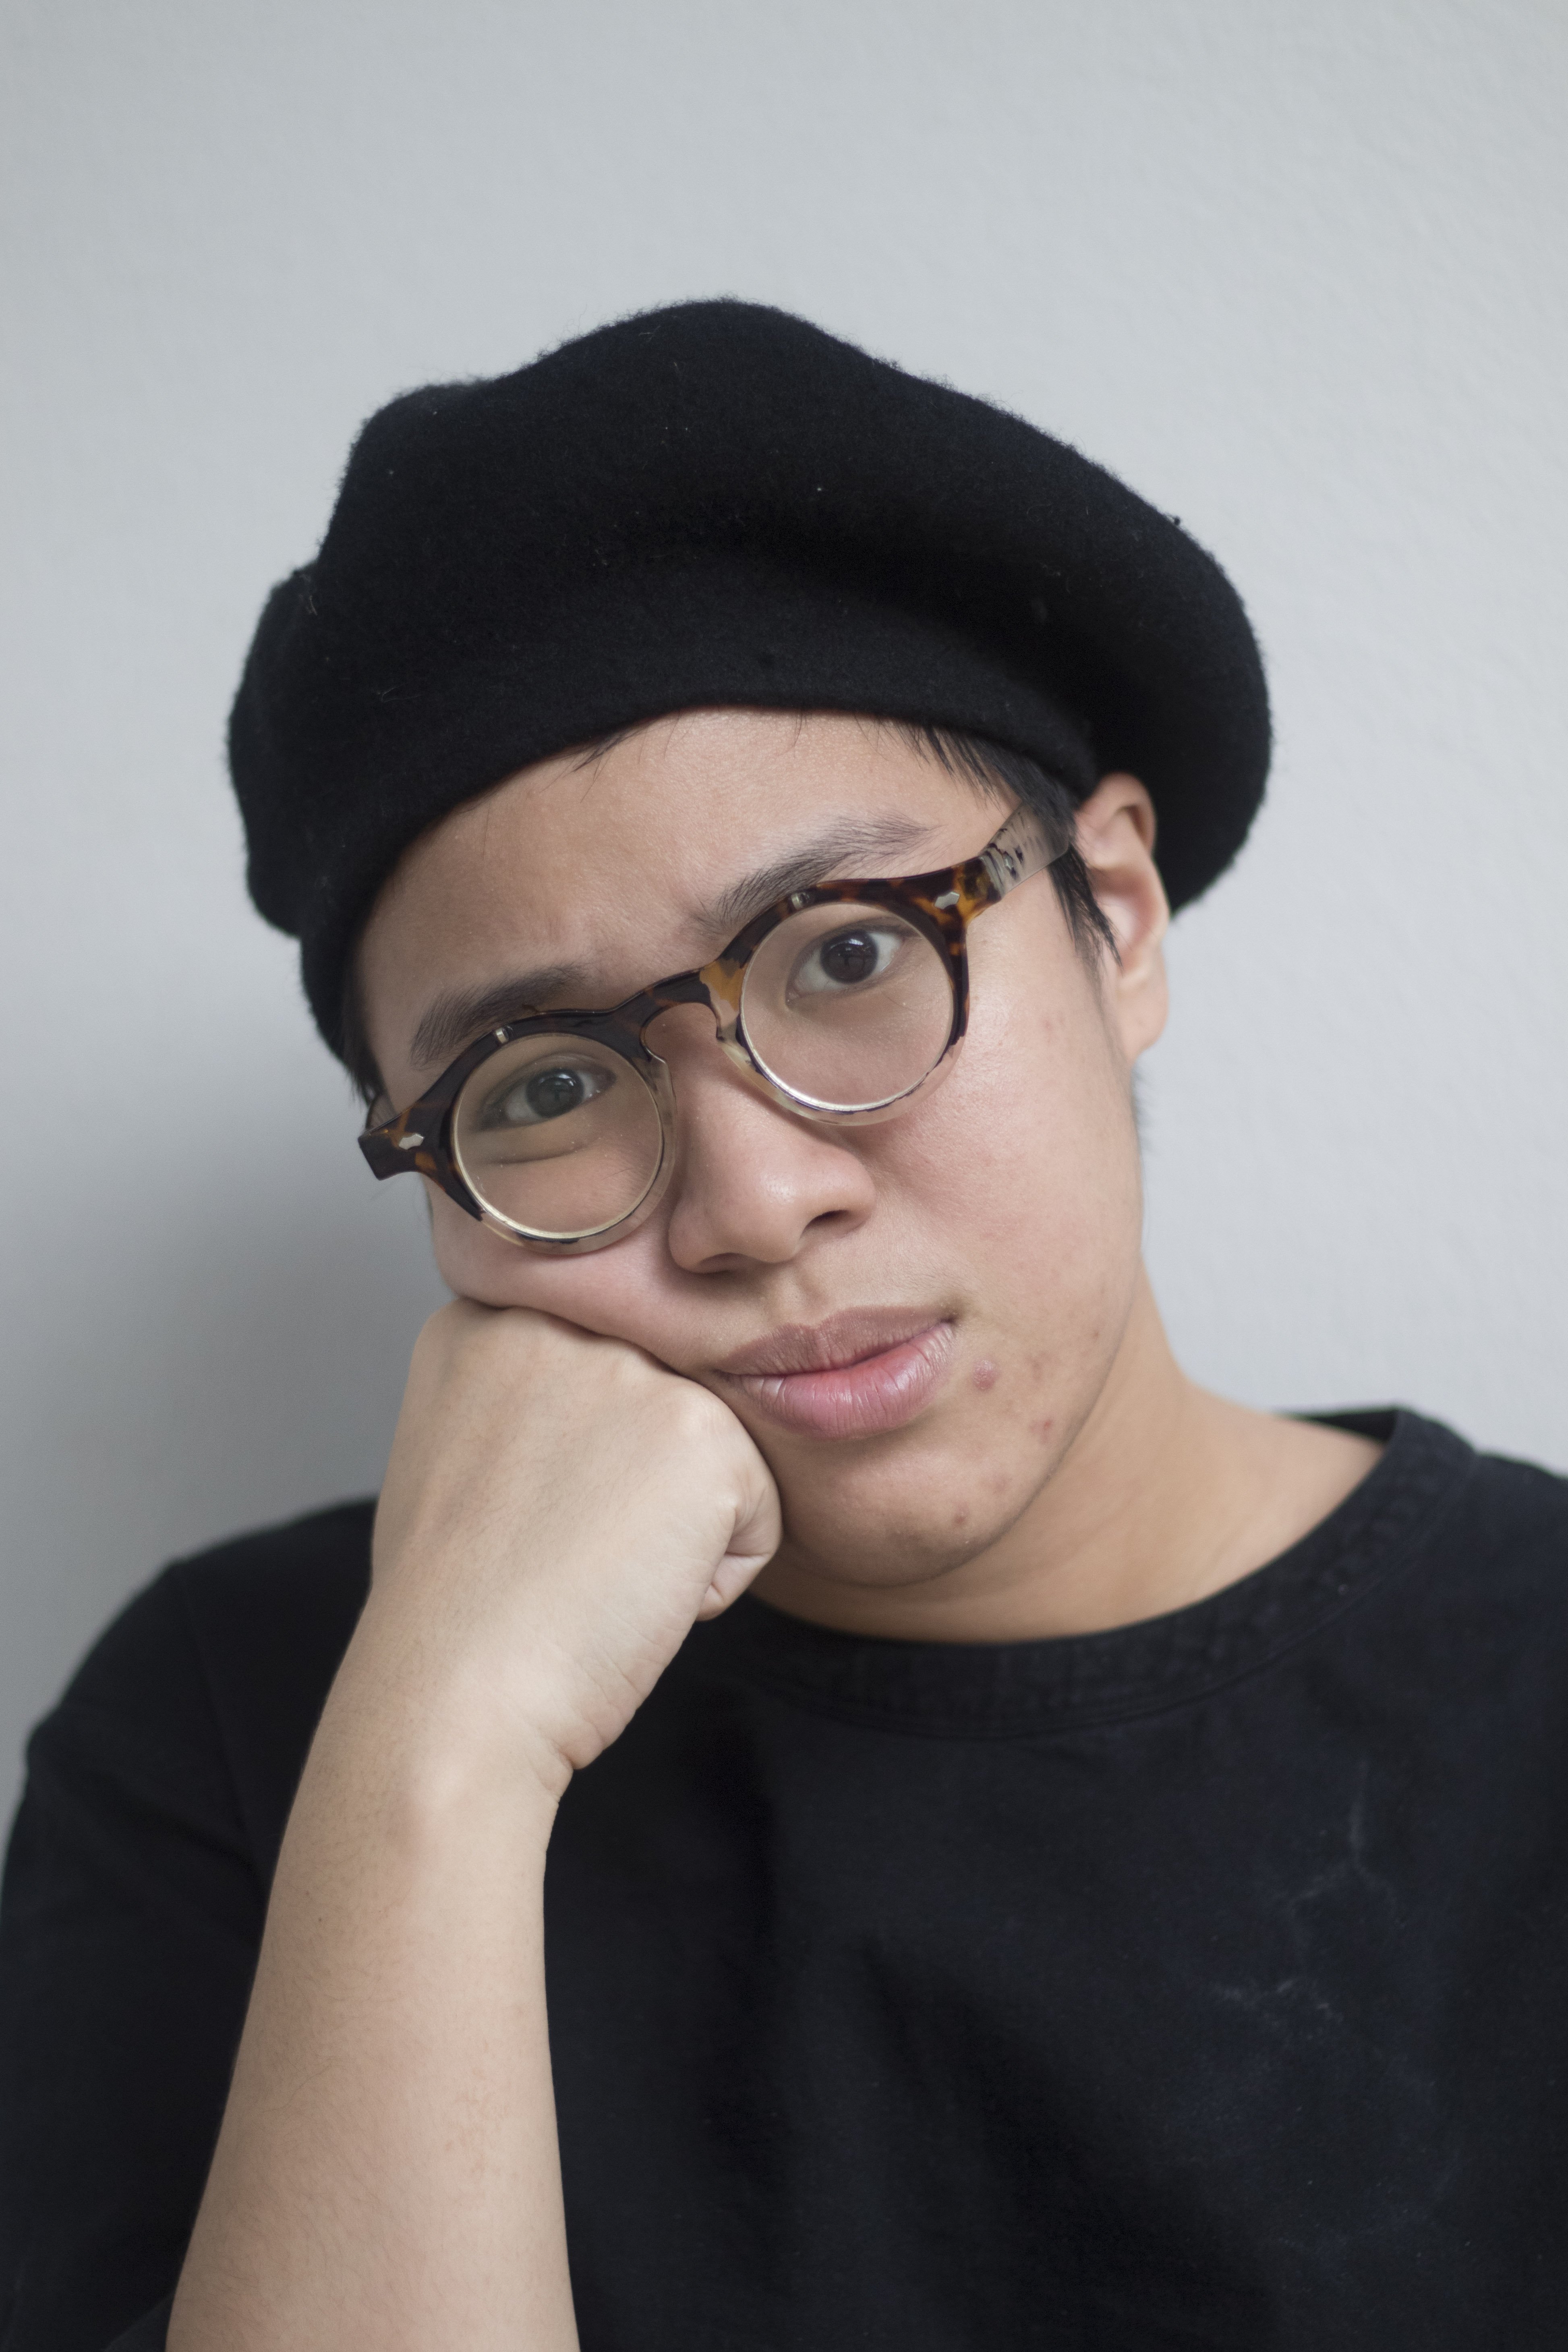
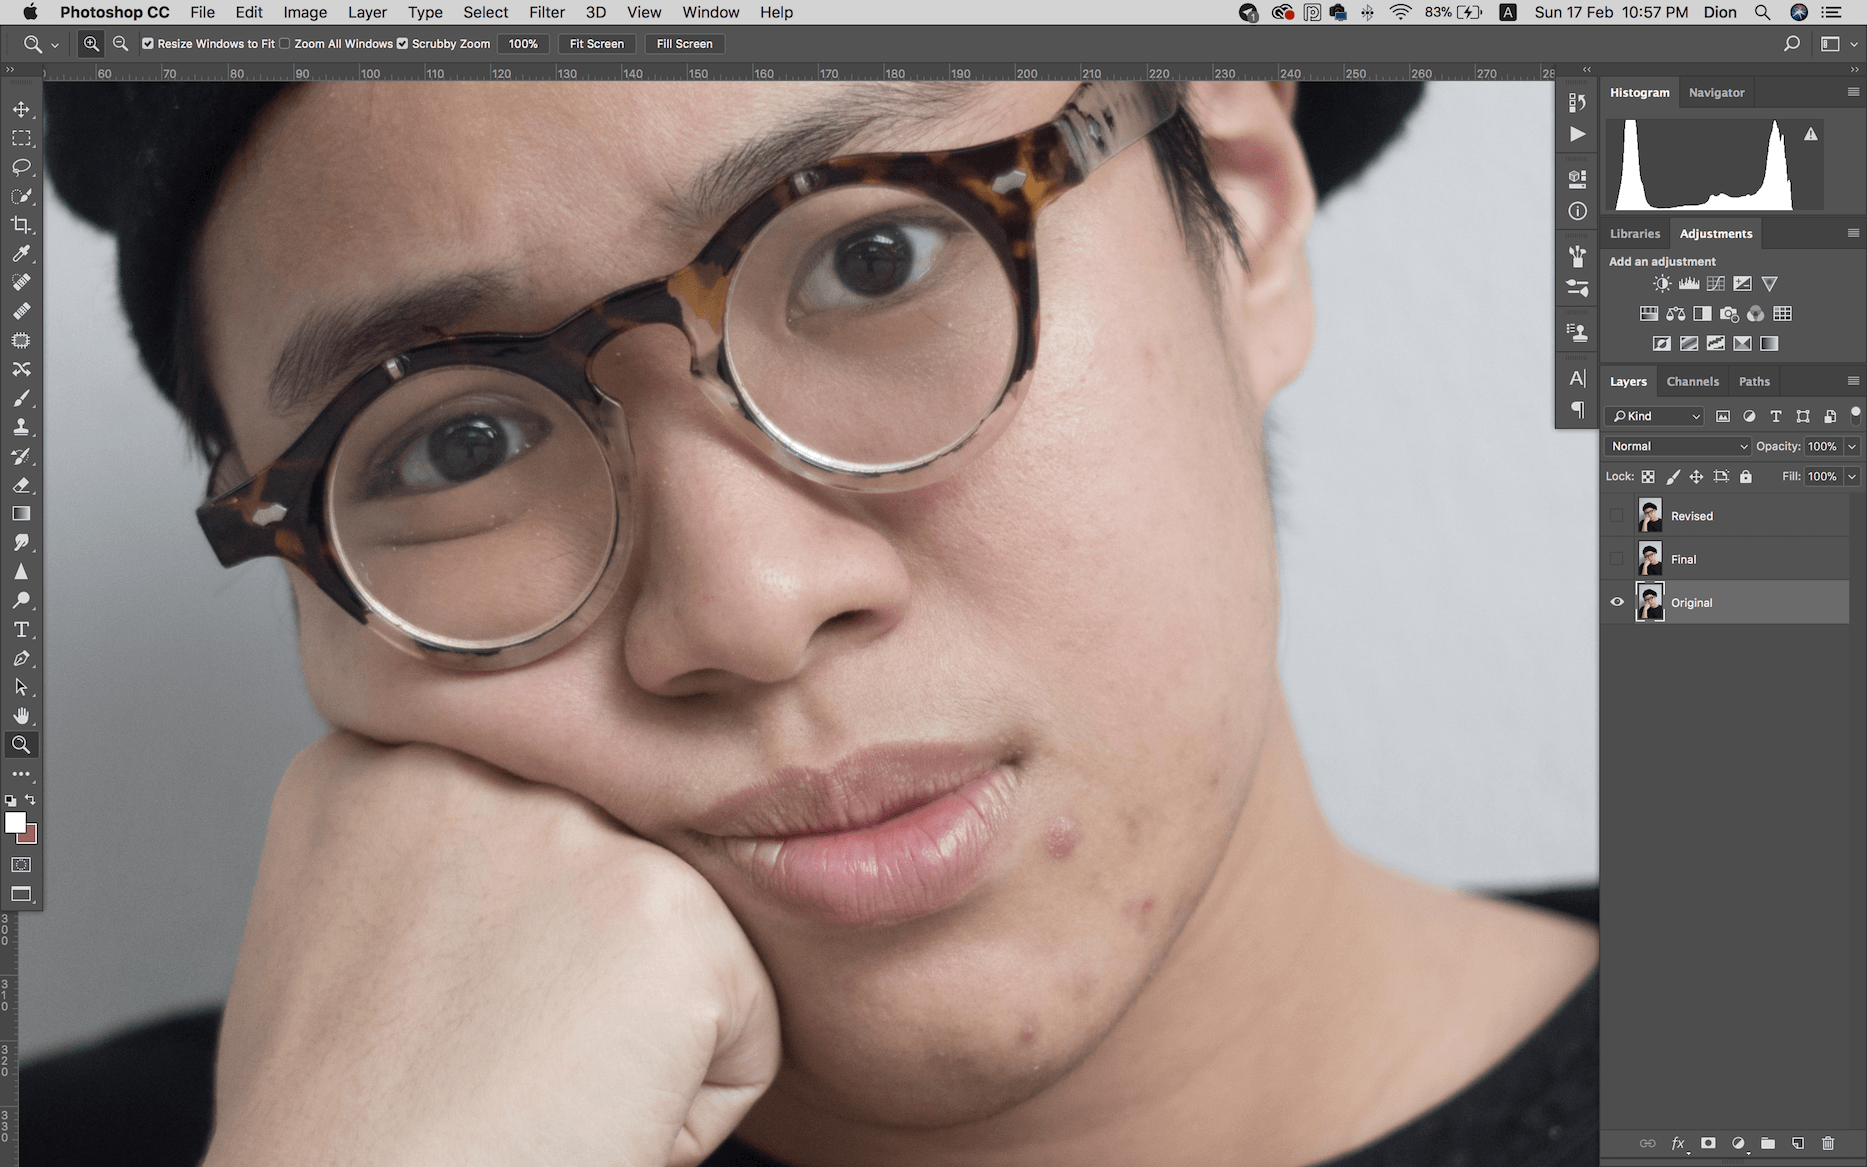
Original
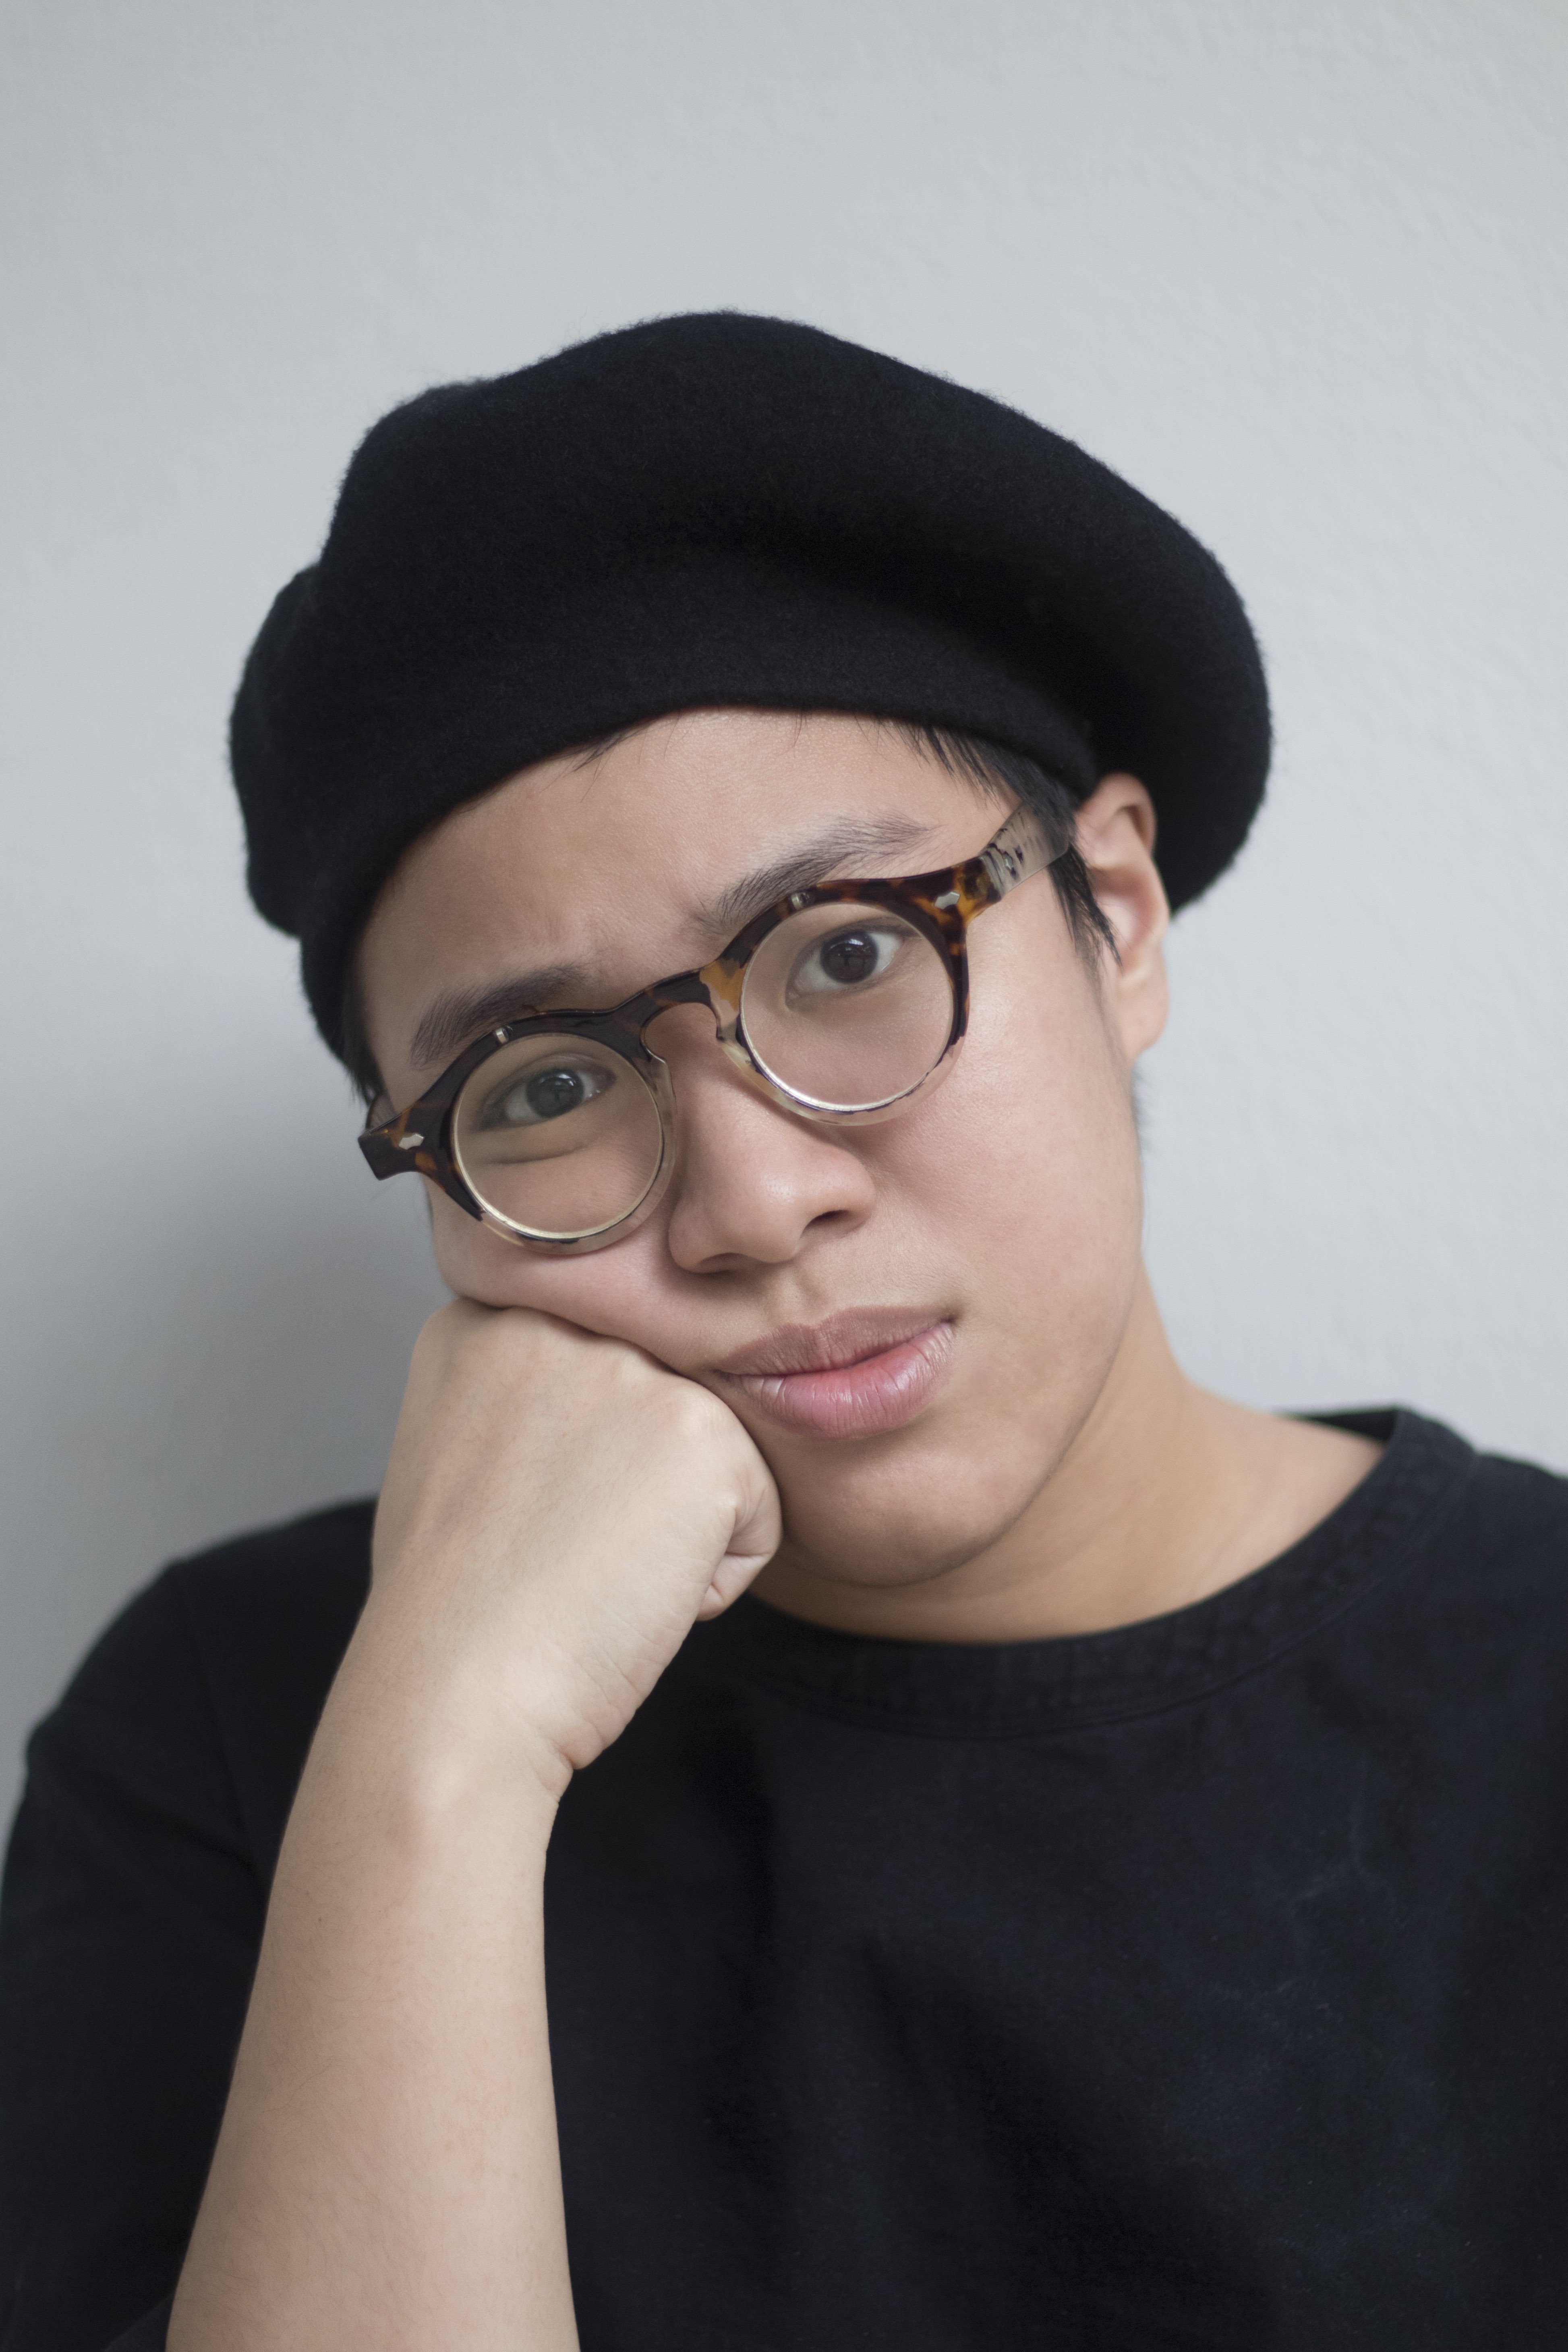
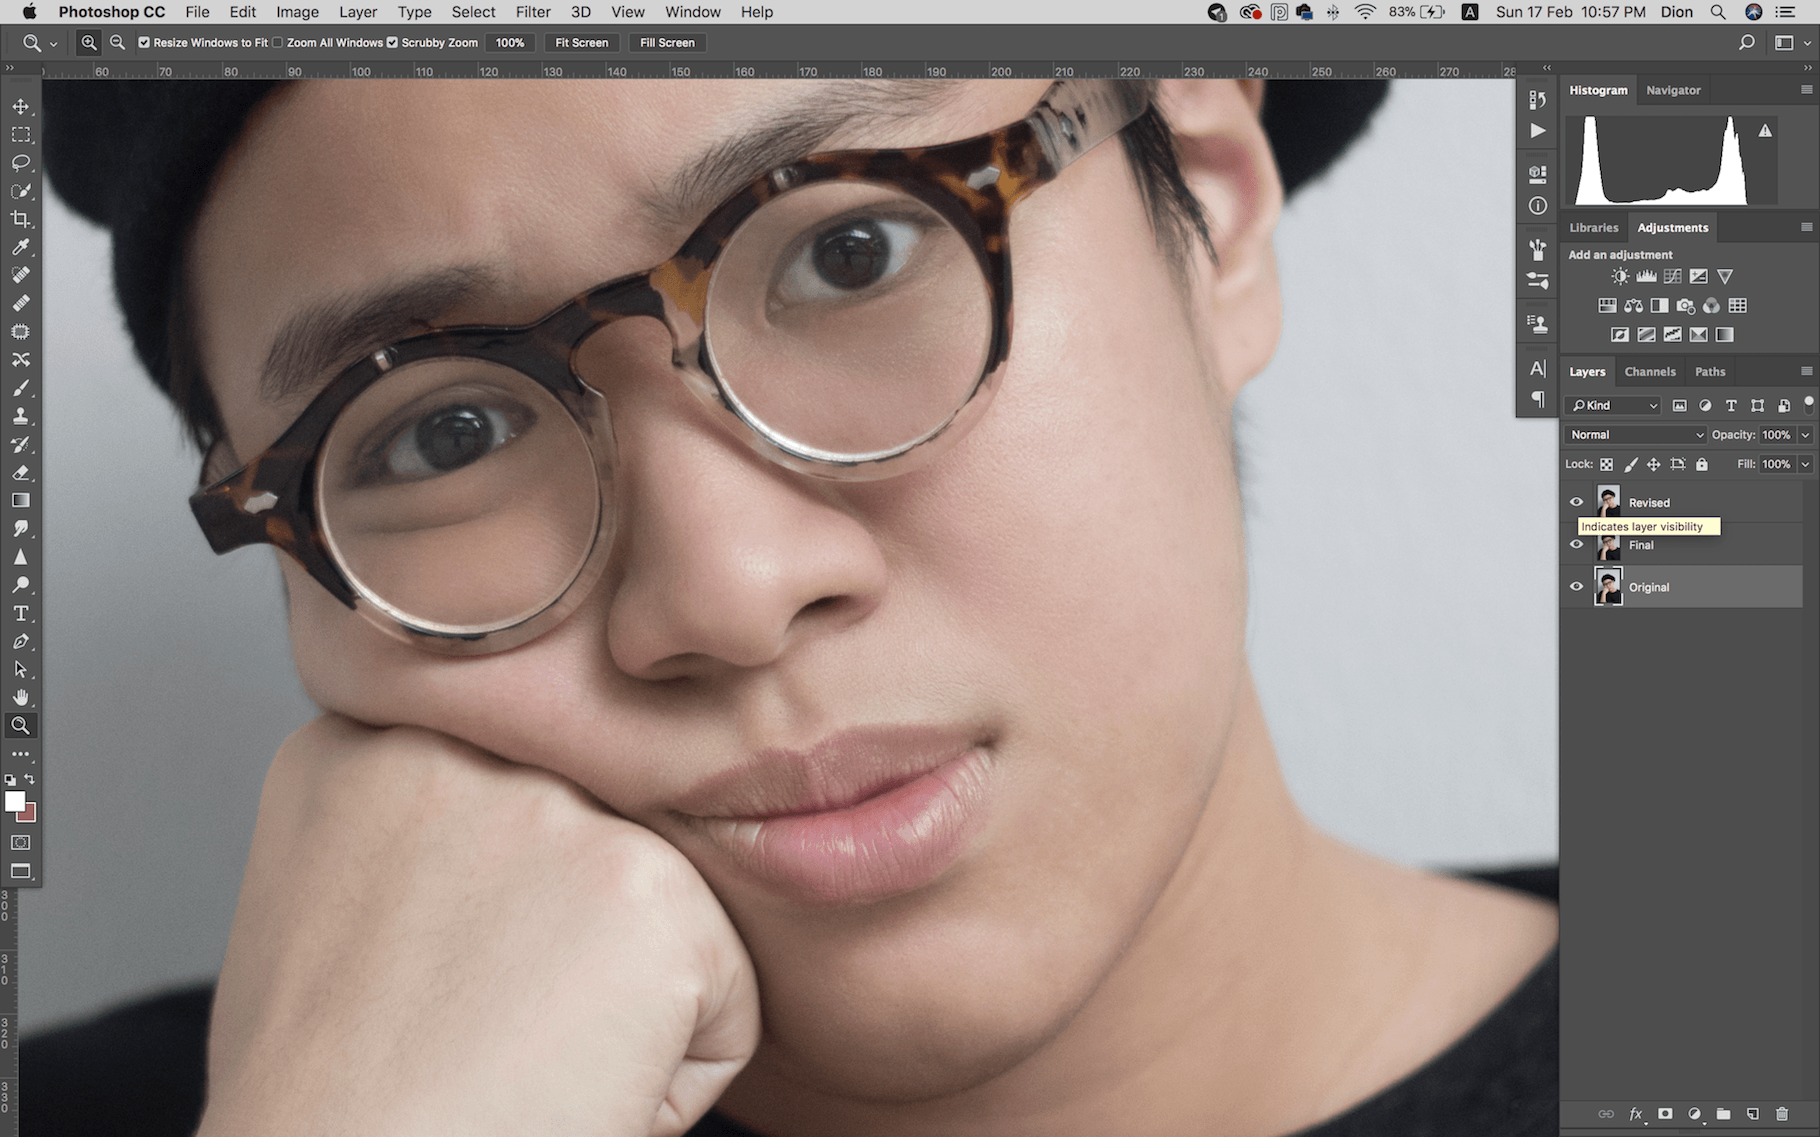
First Edit:
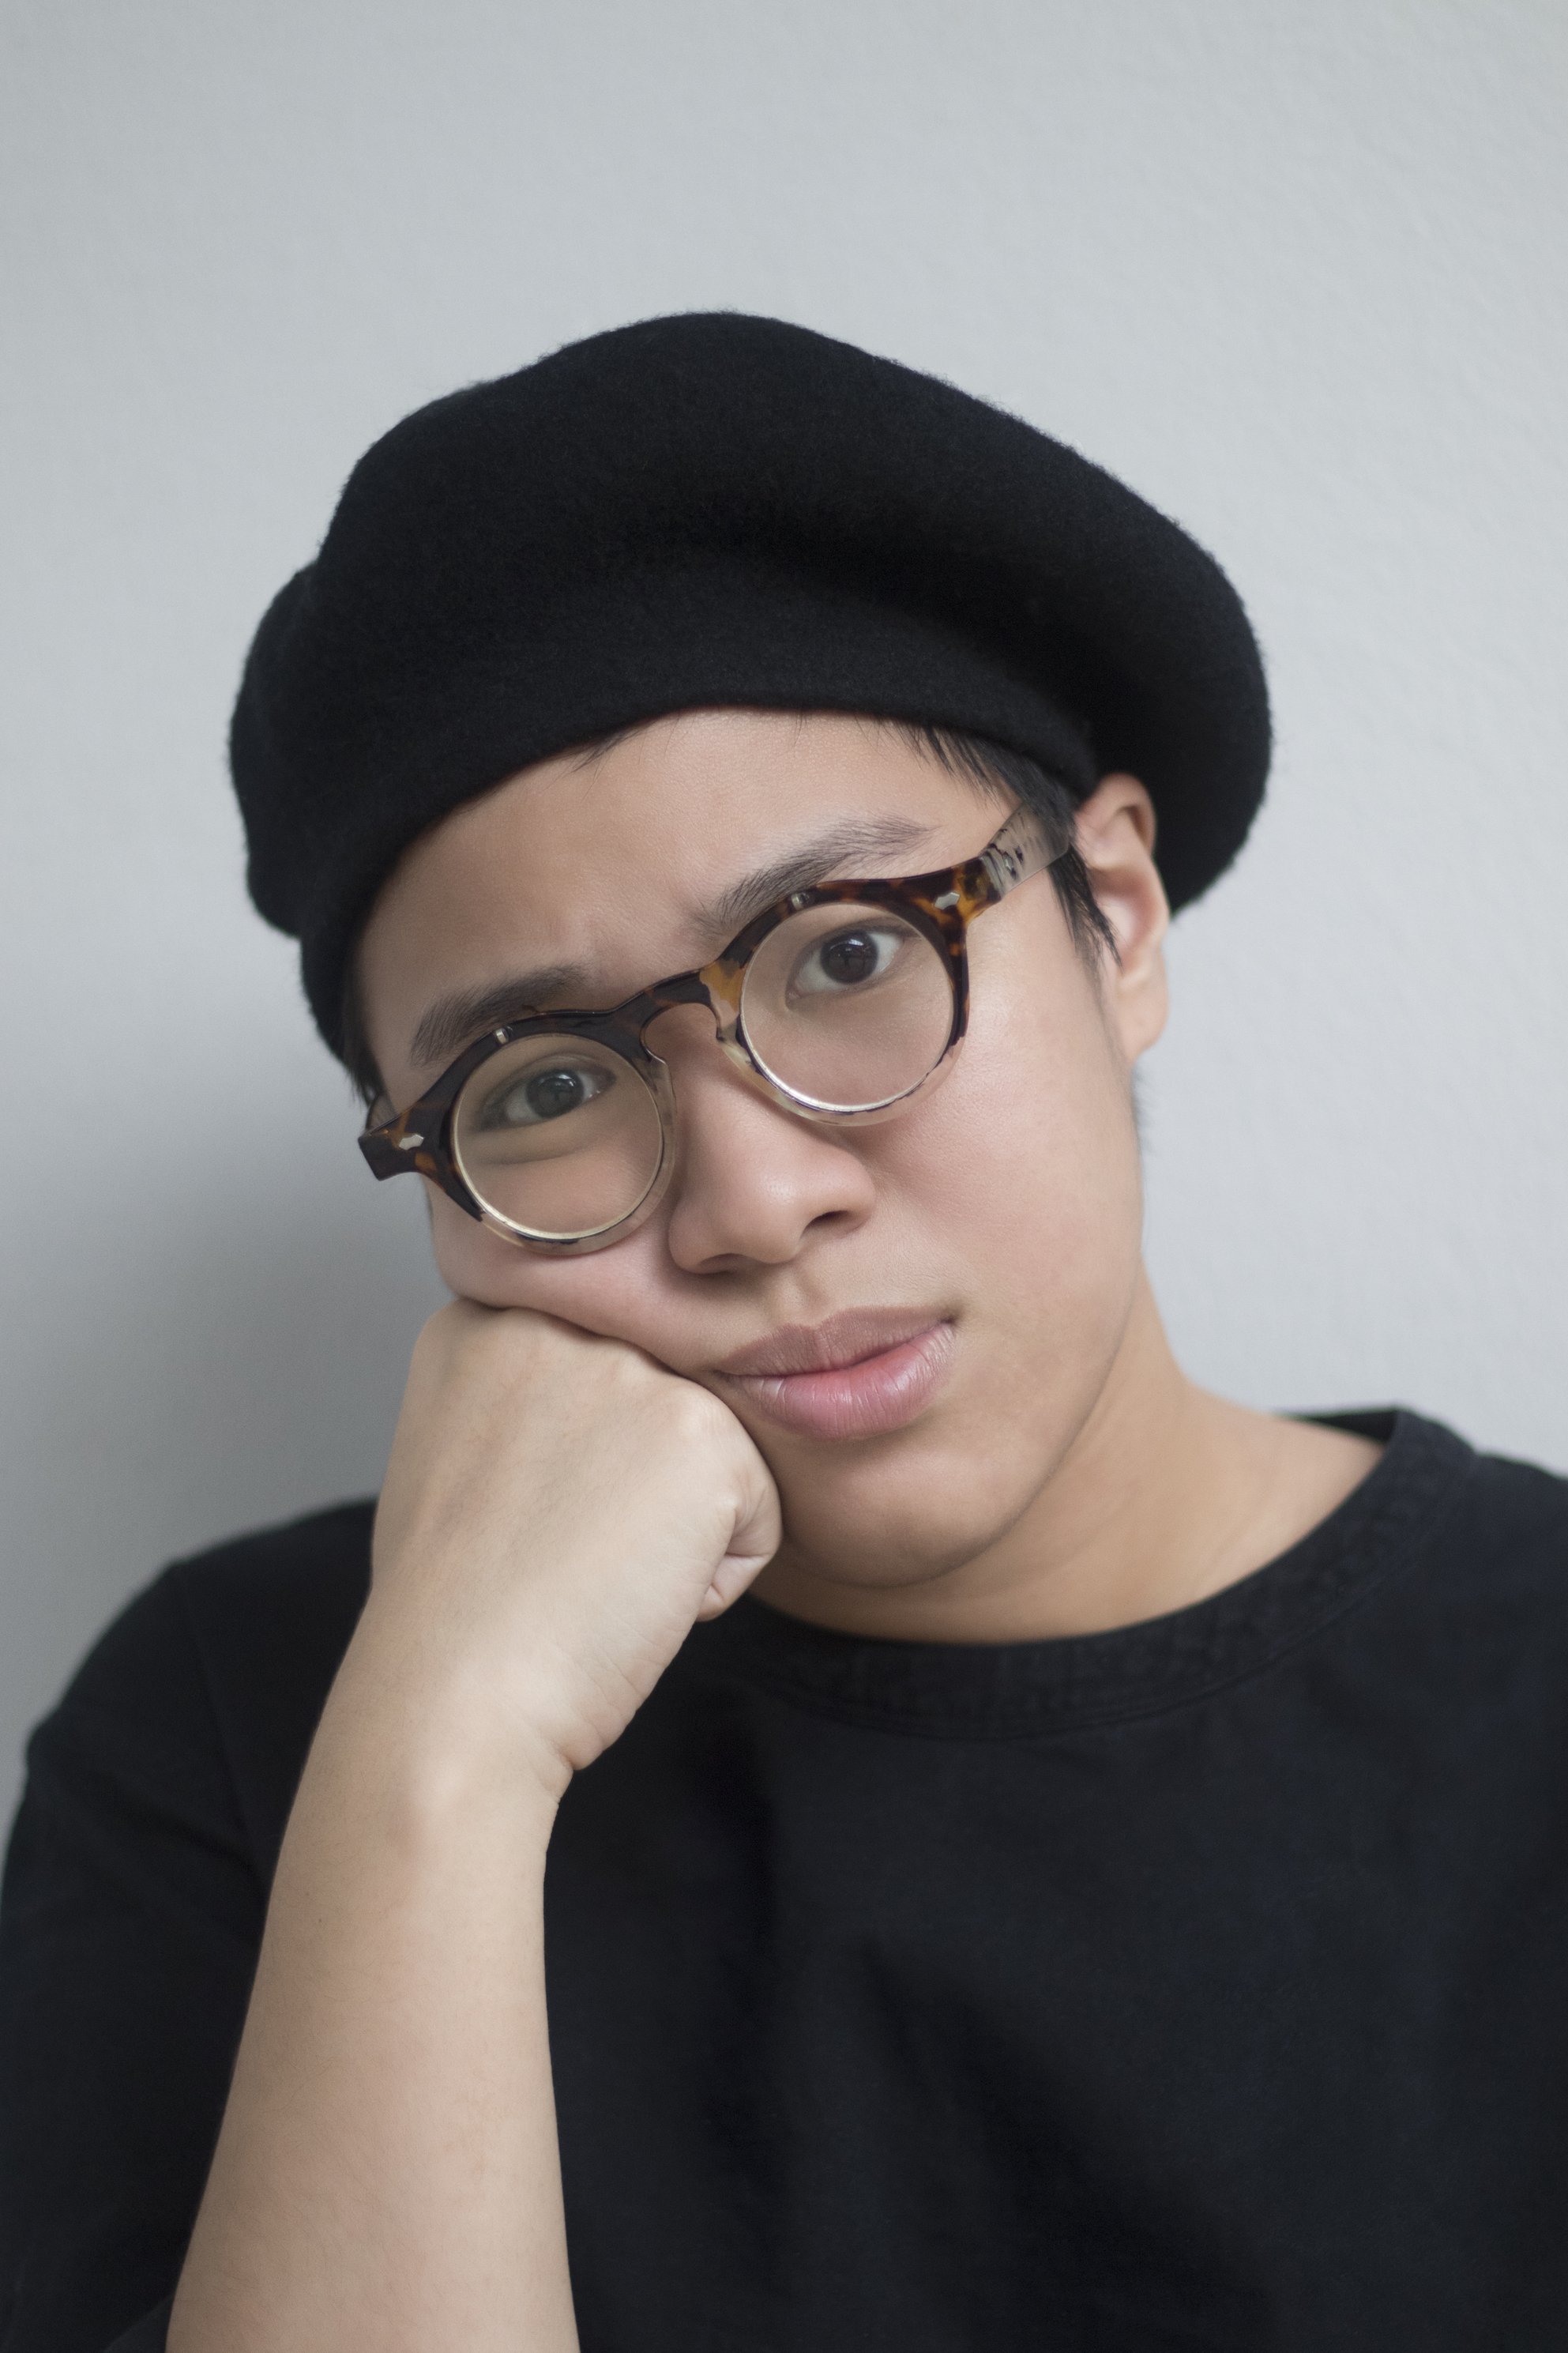
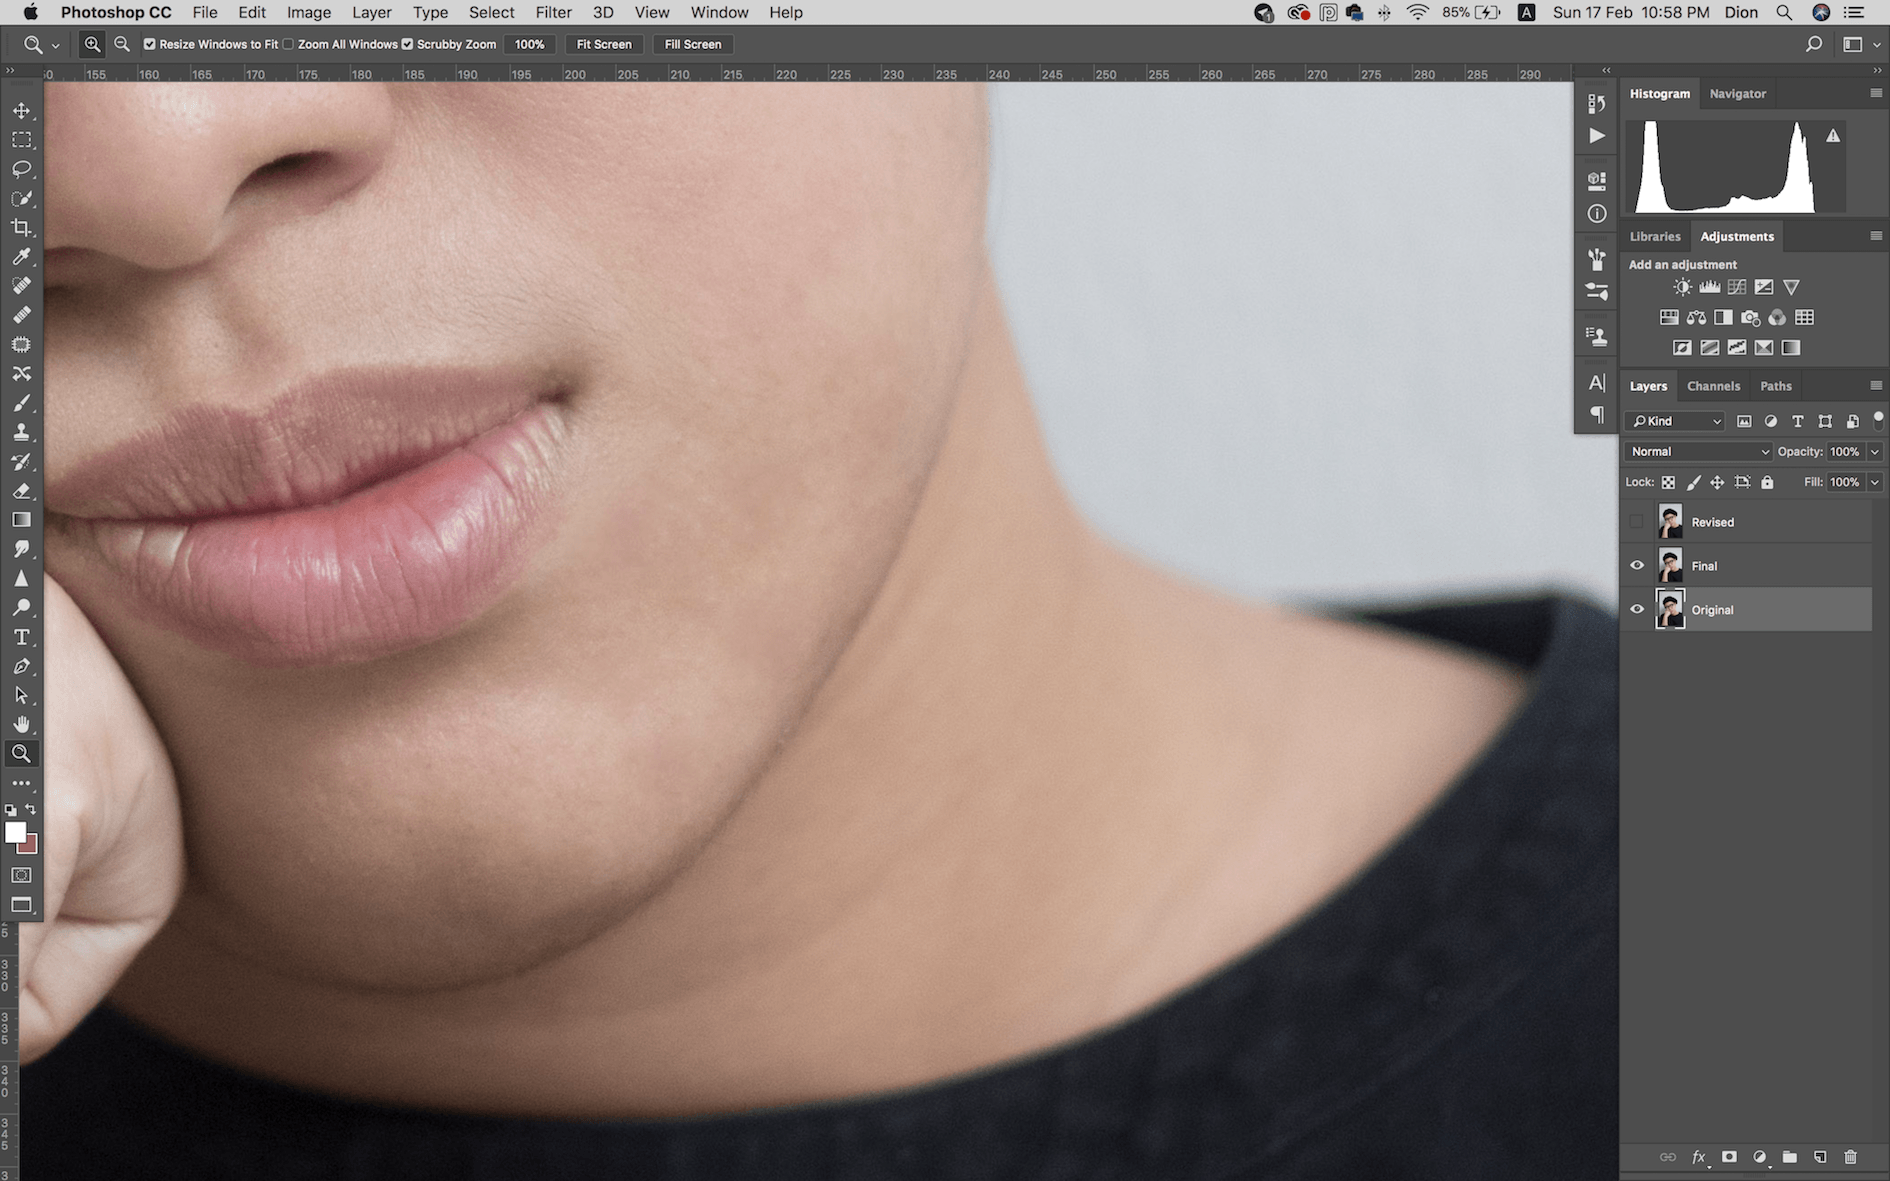
Final Revision:
REVISION
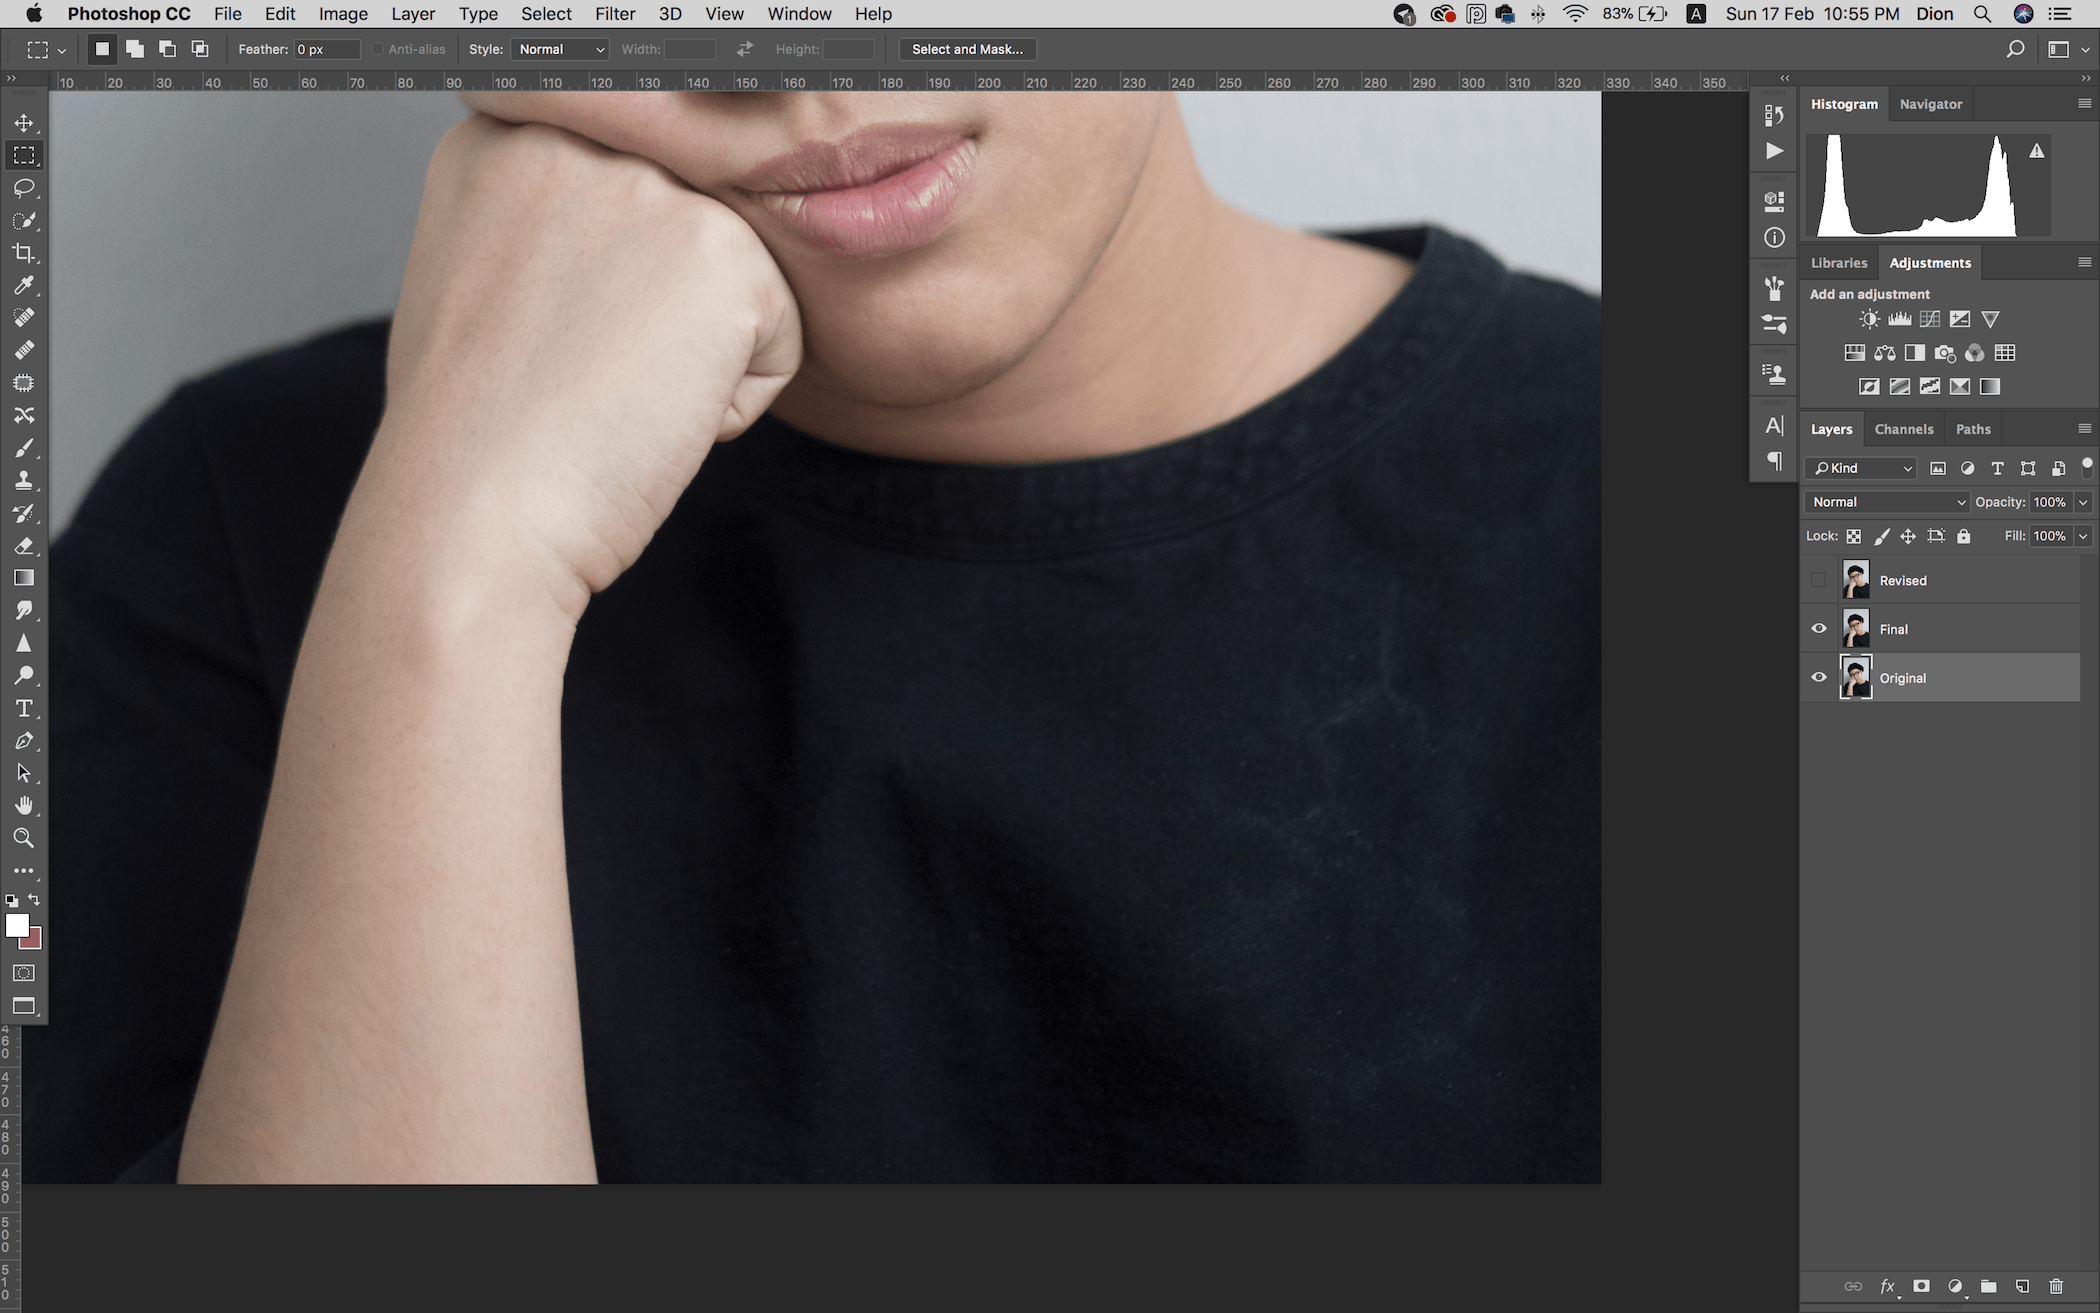
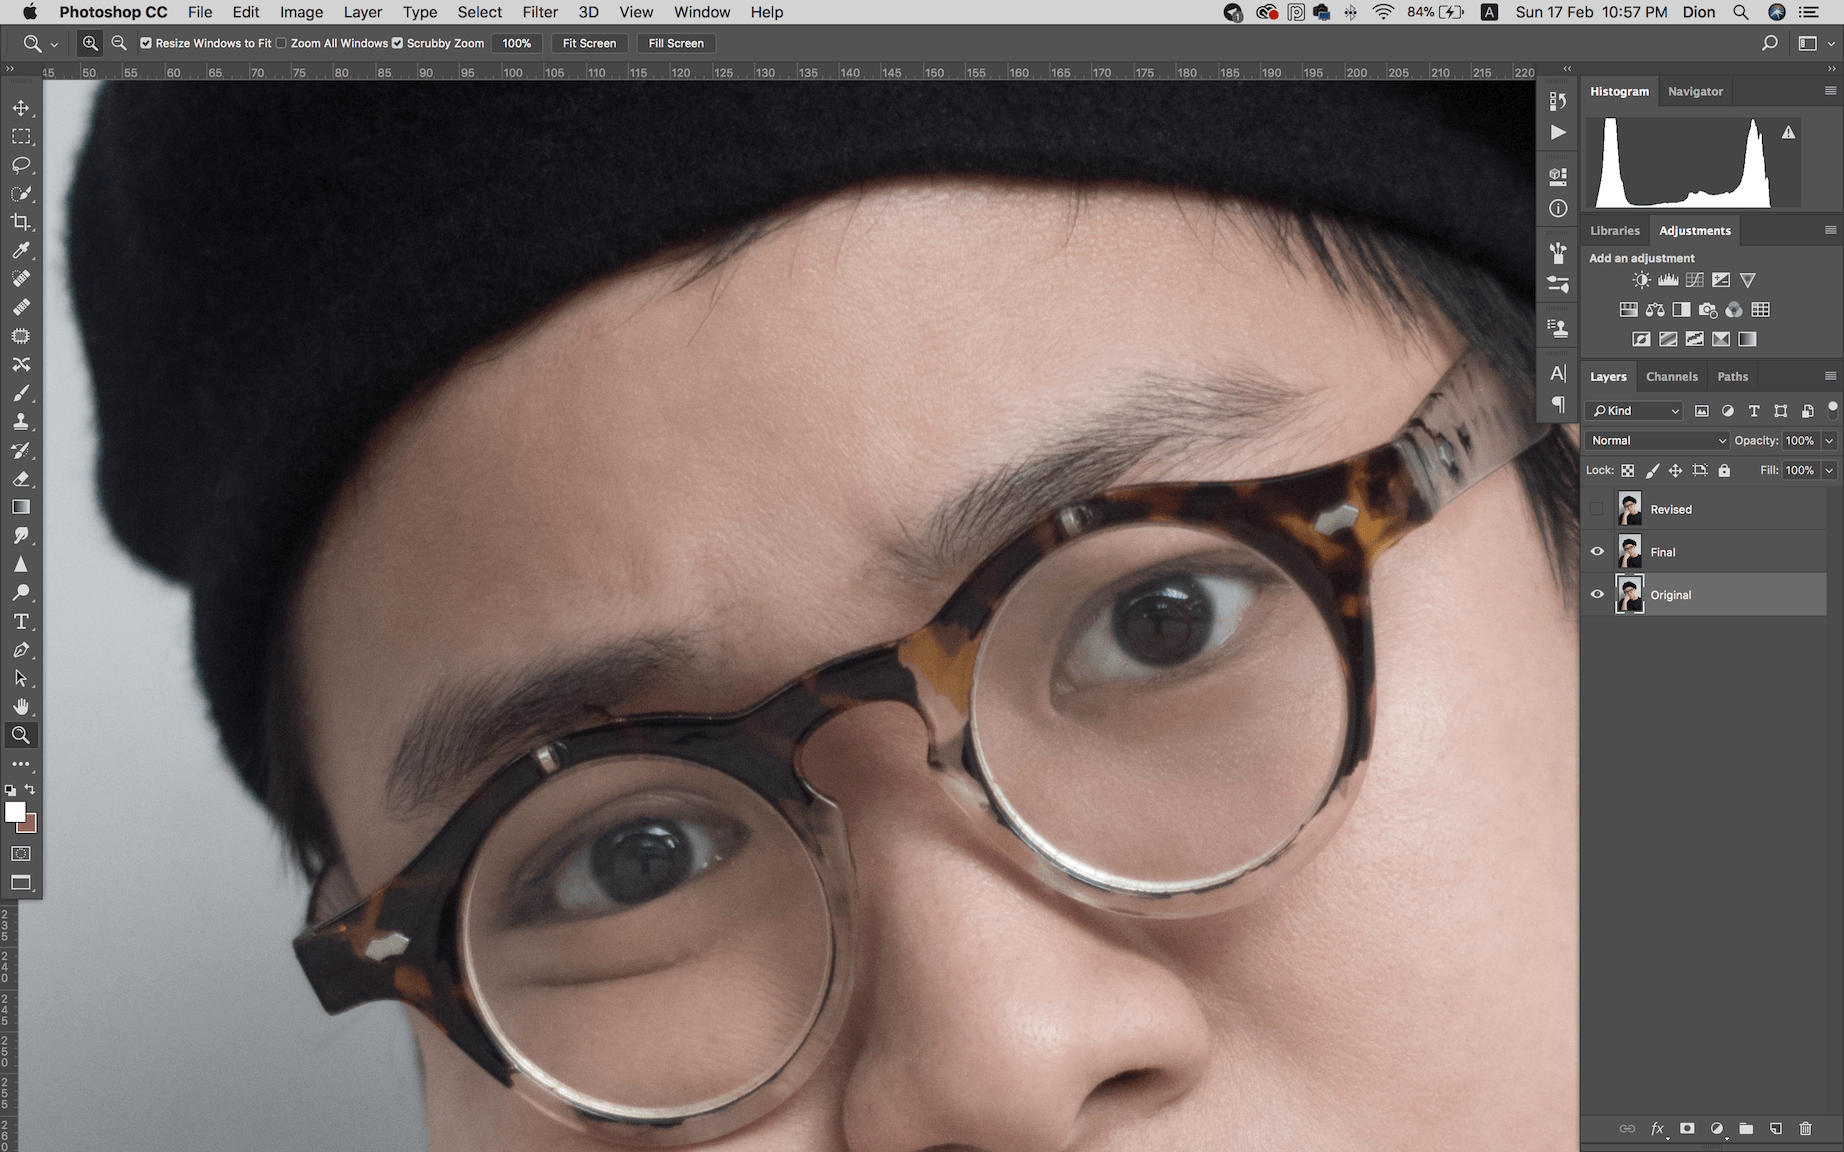
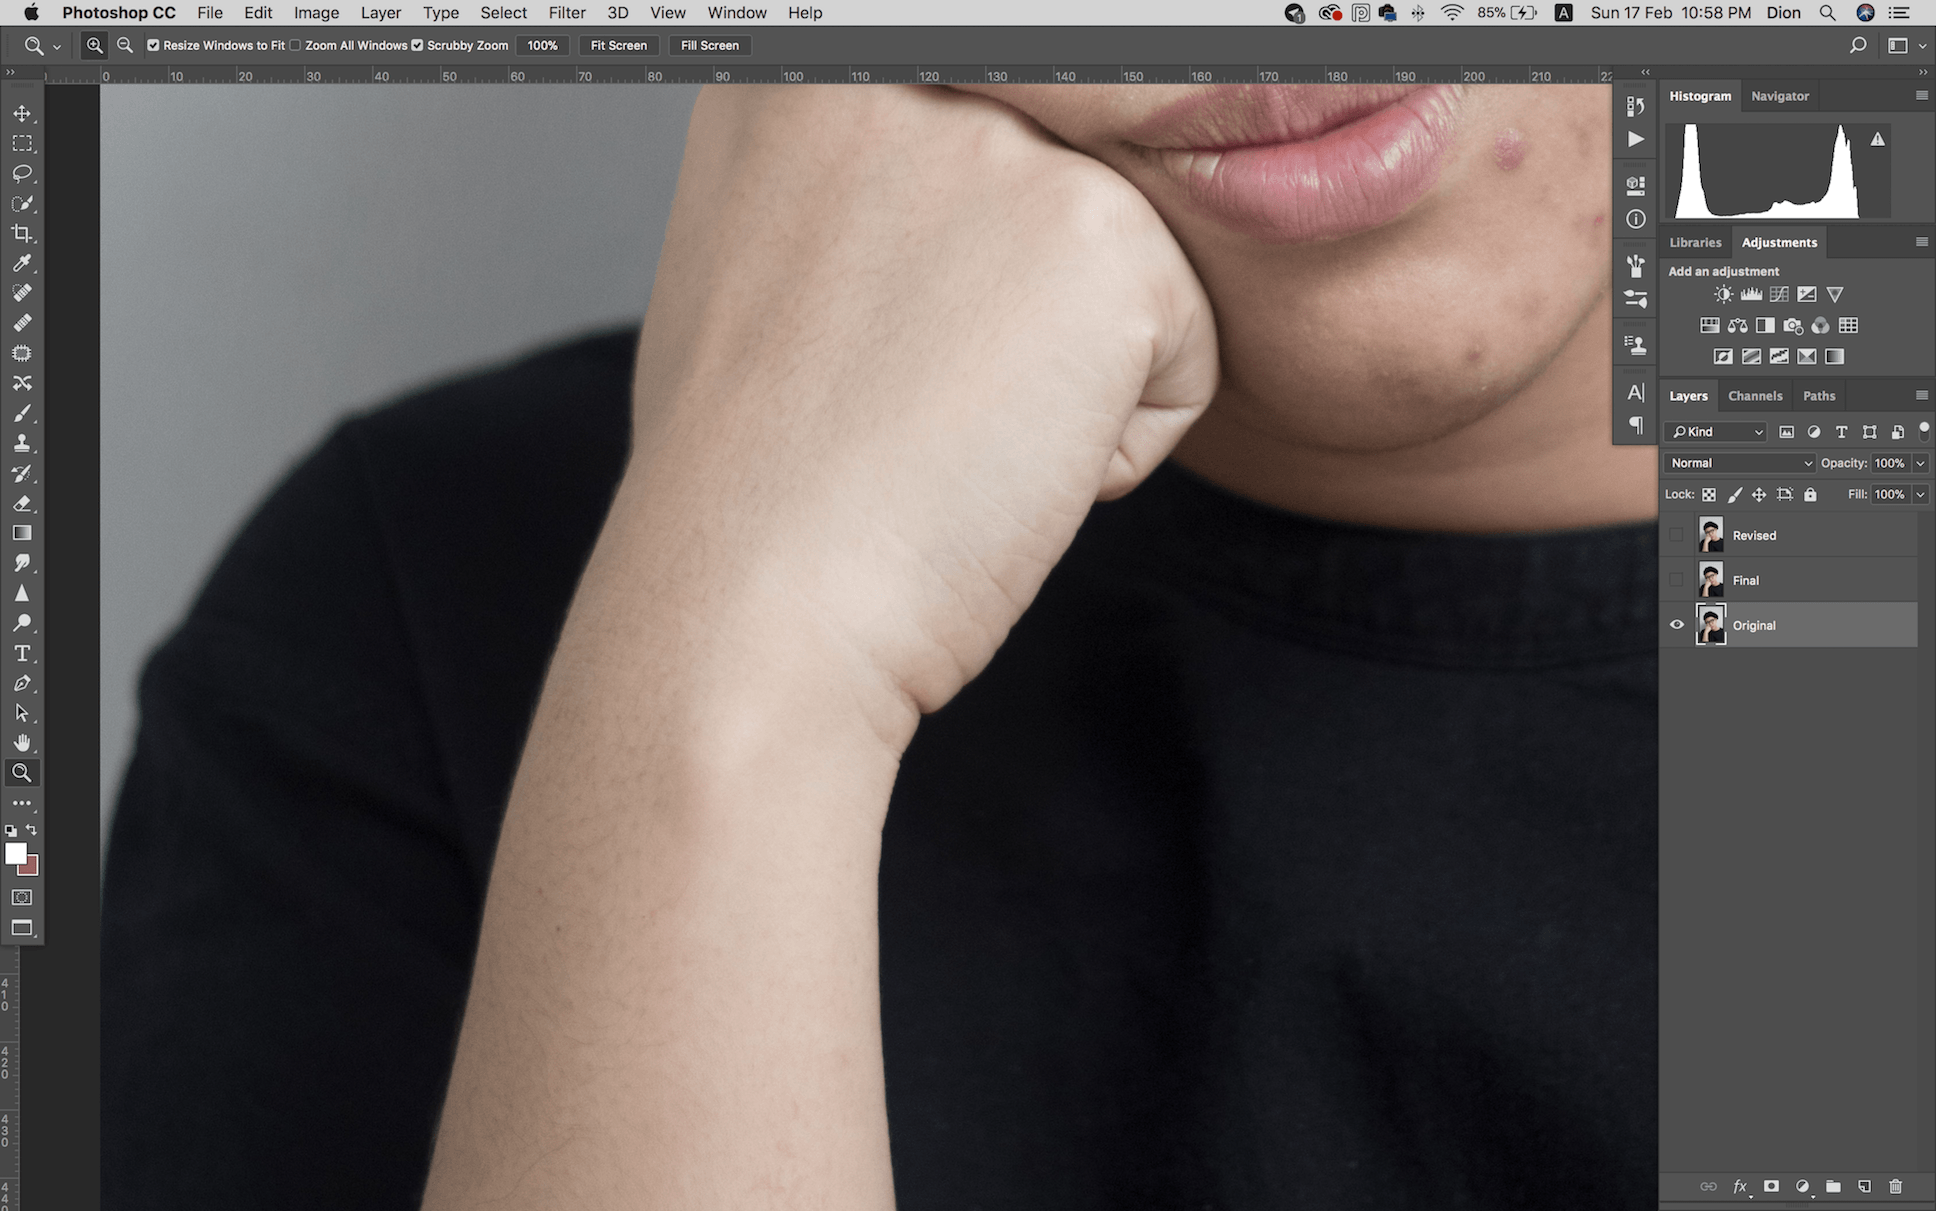
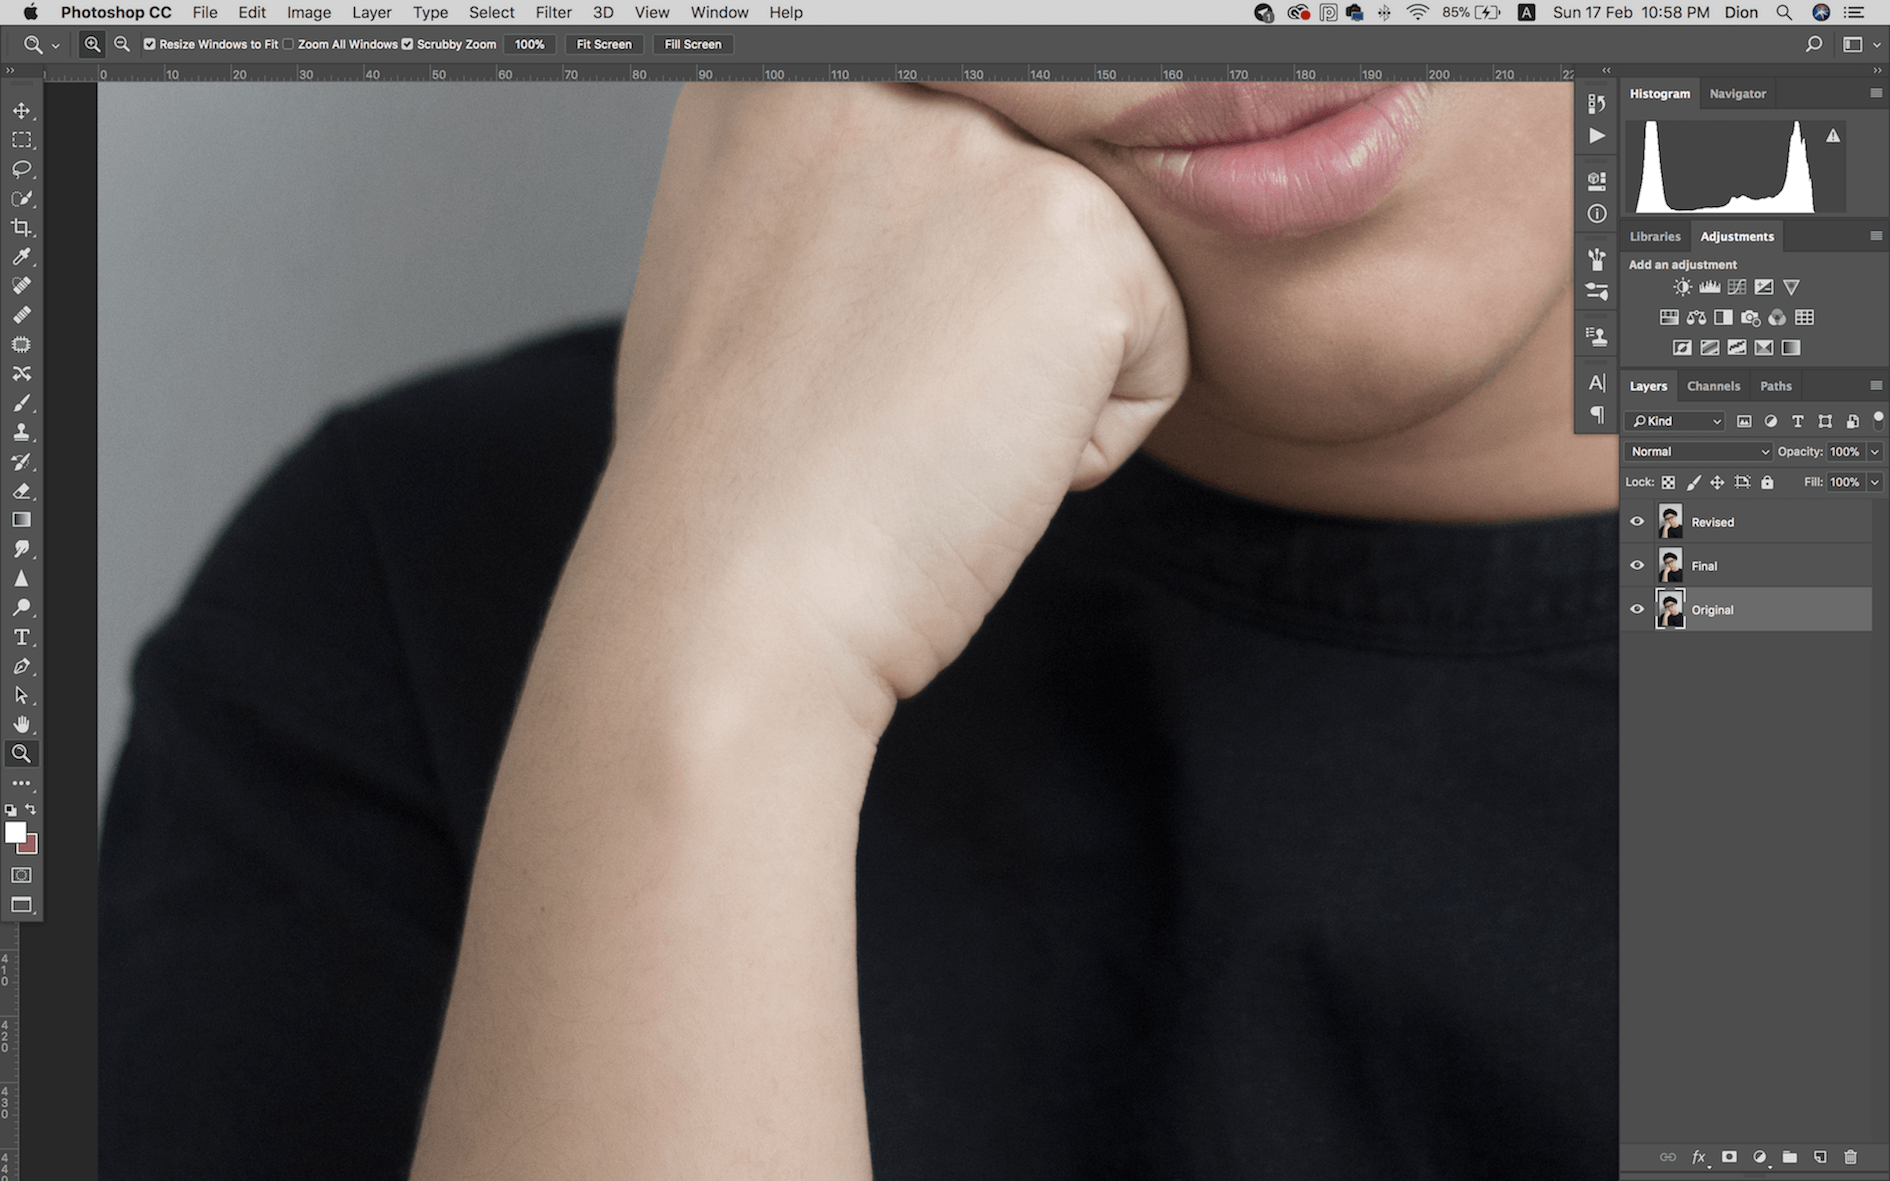
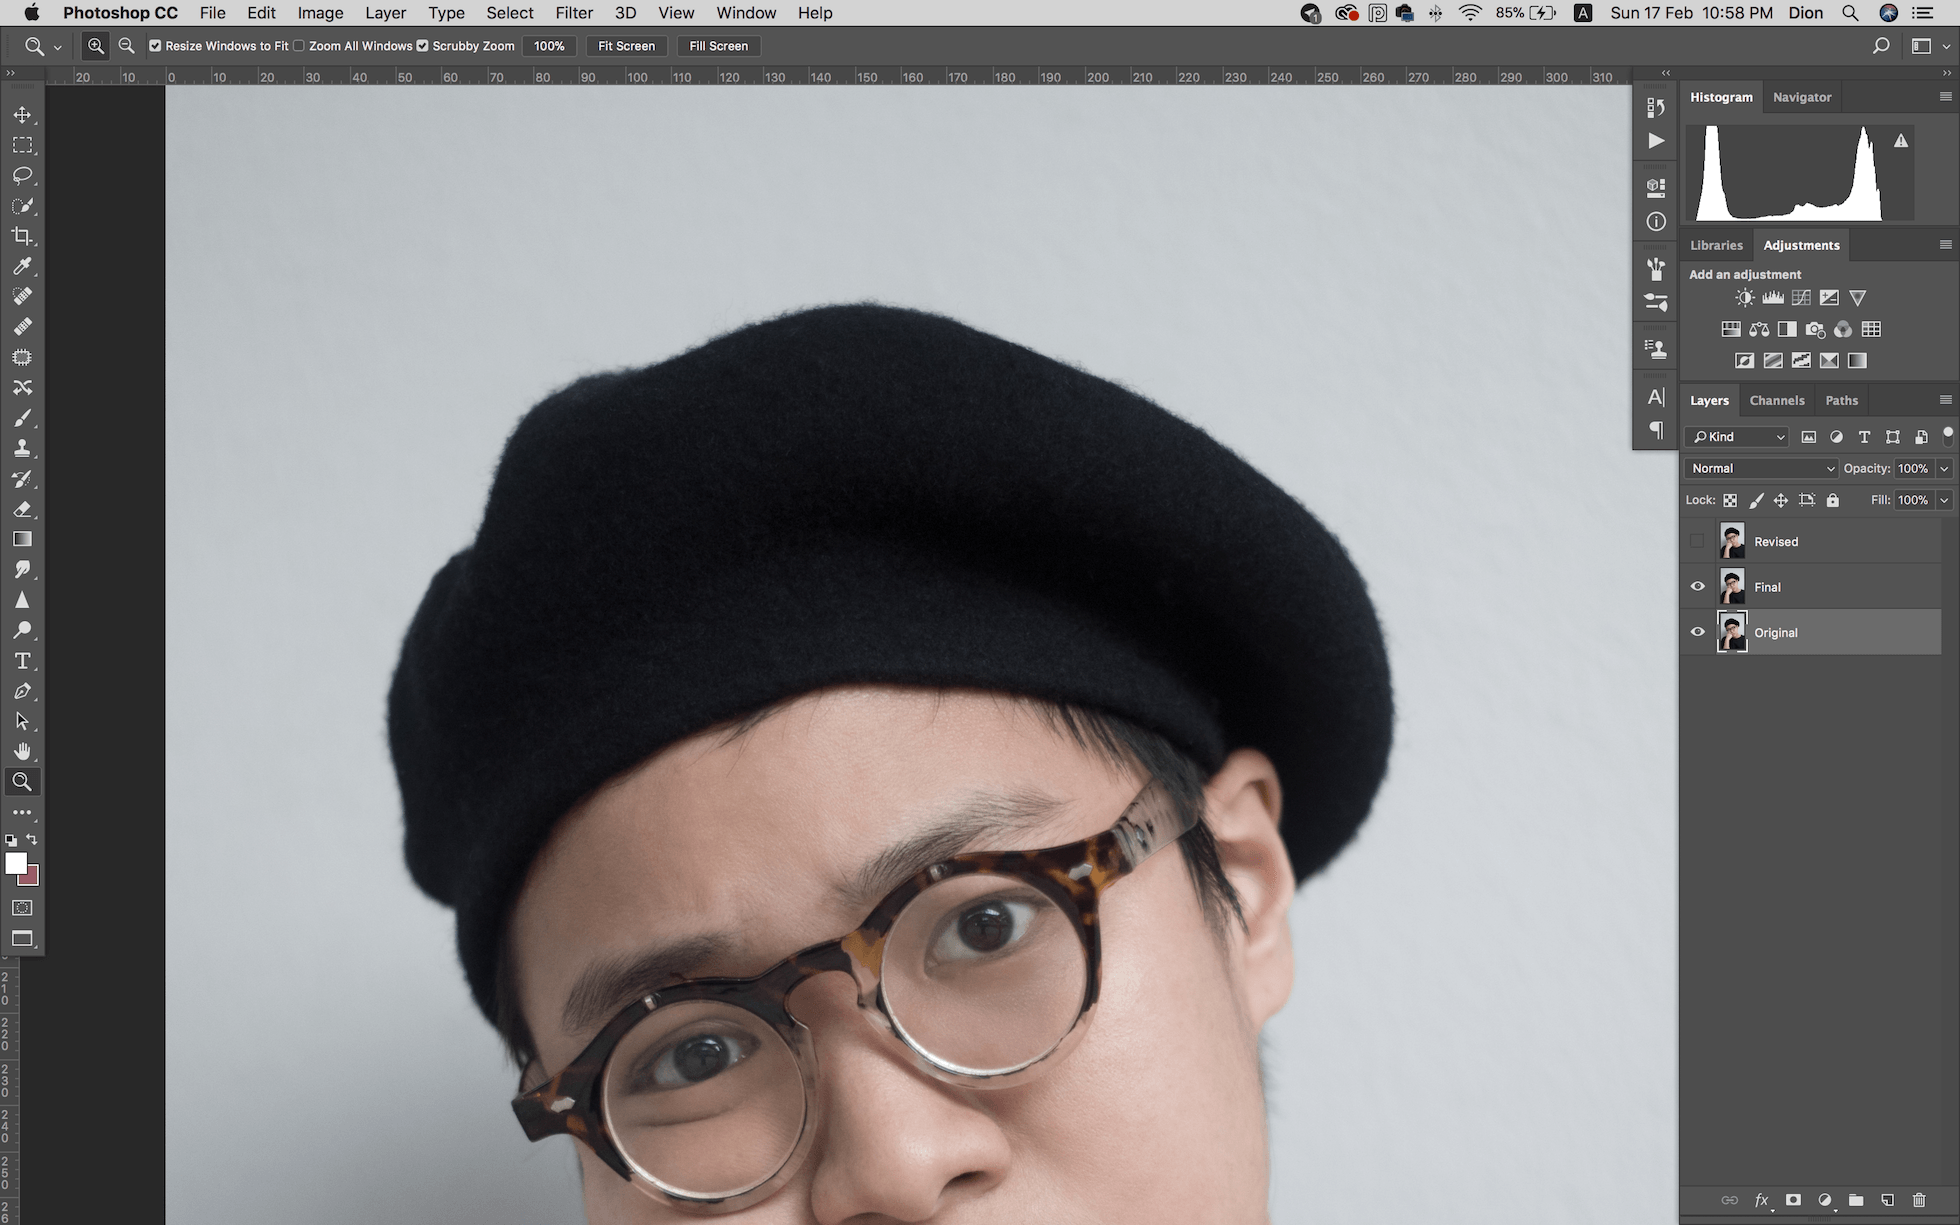
All screenshots are arranged as original > first edit > final edit.
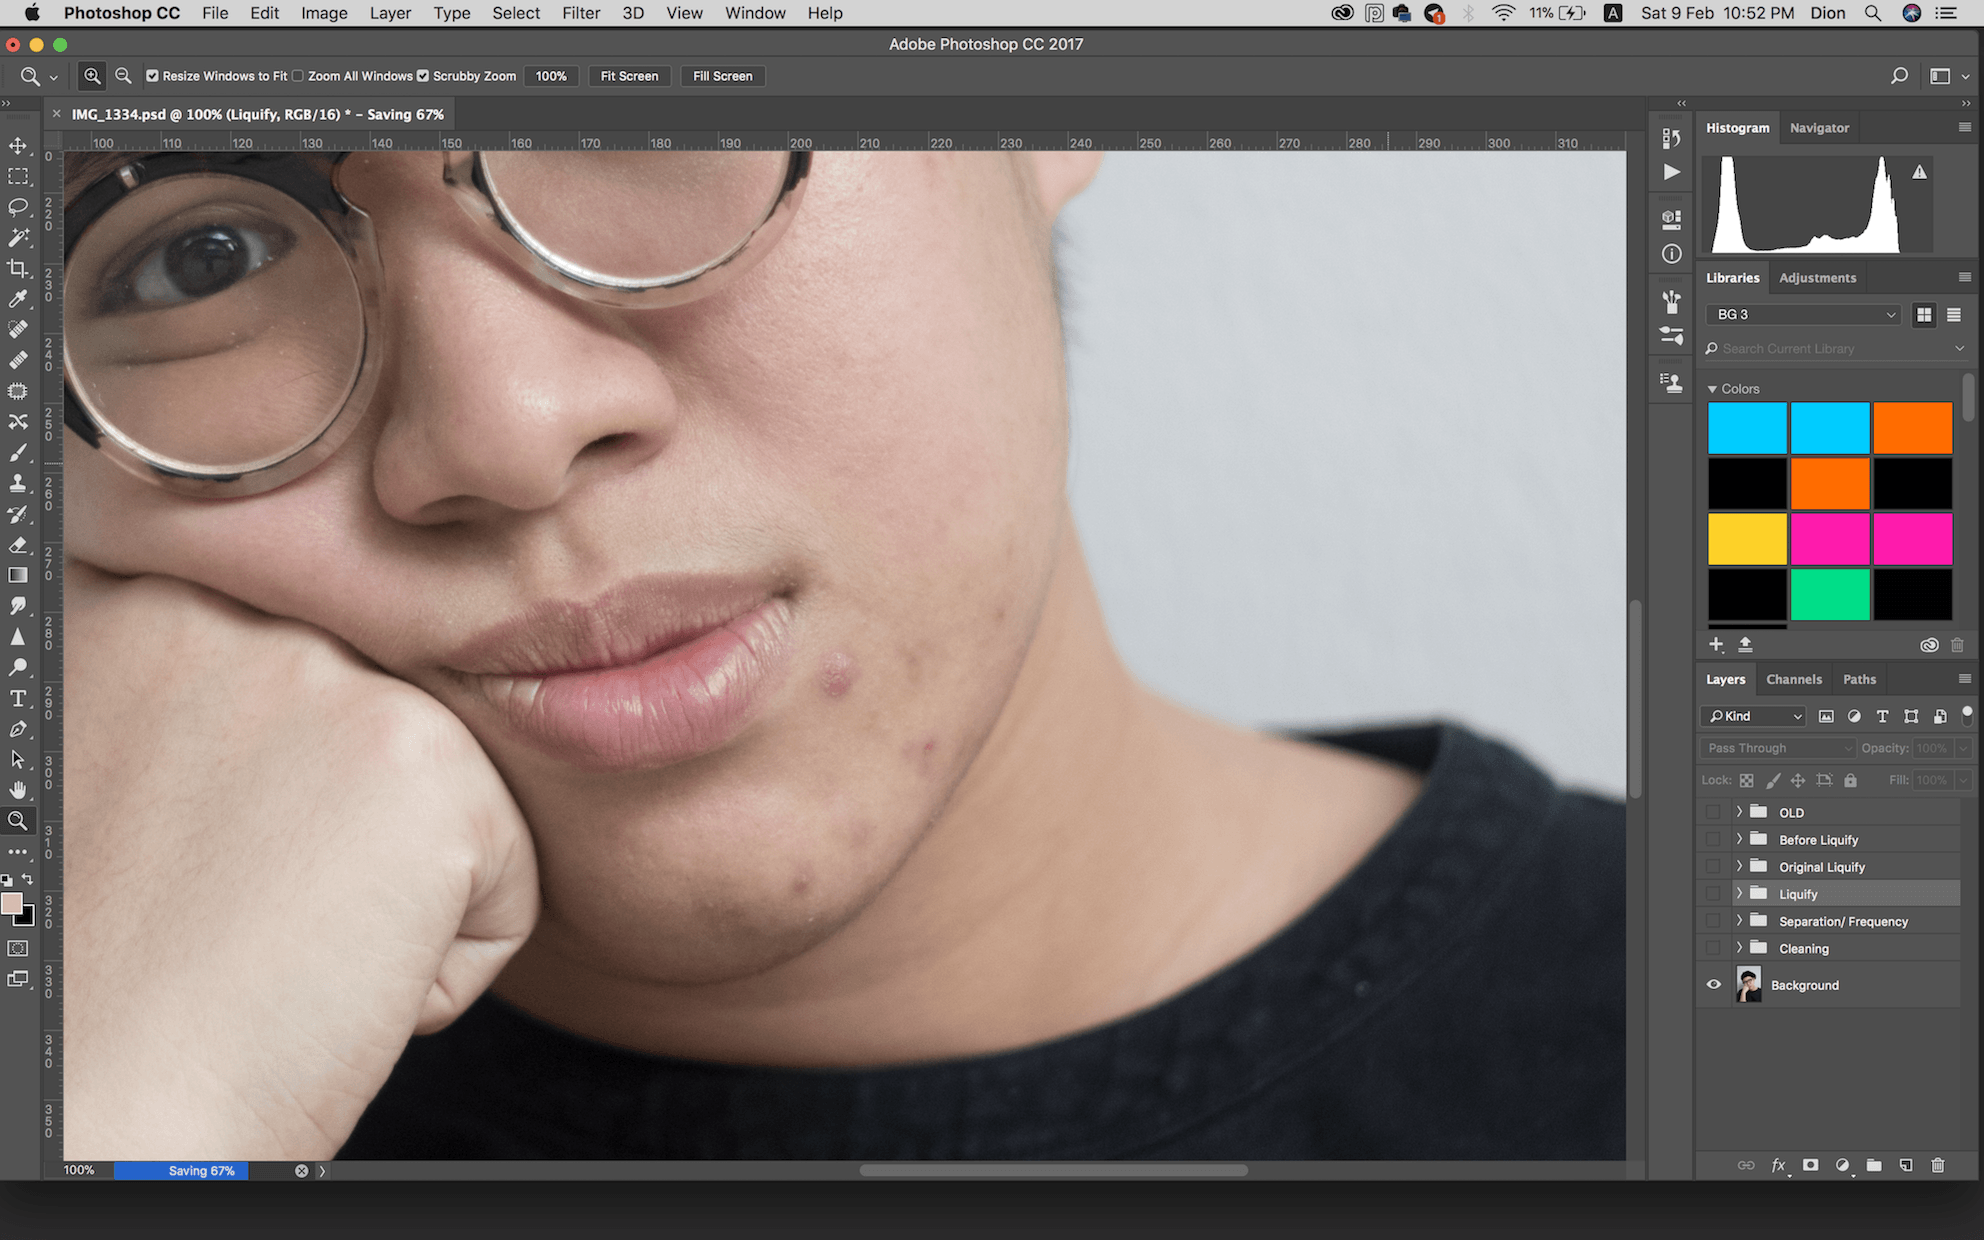
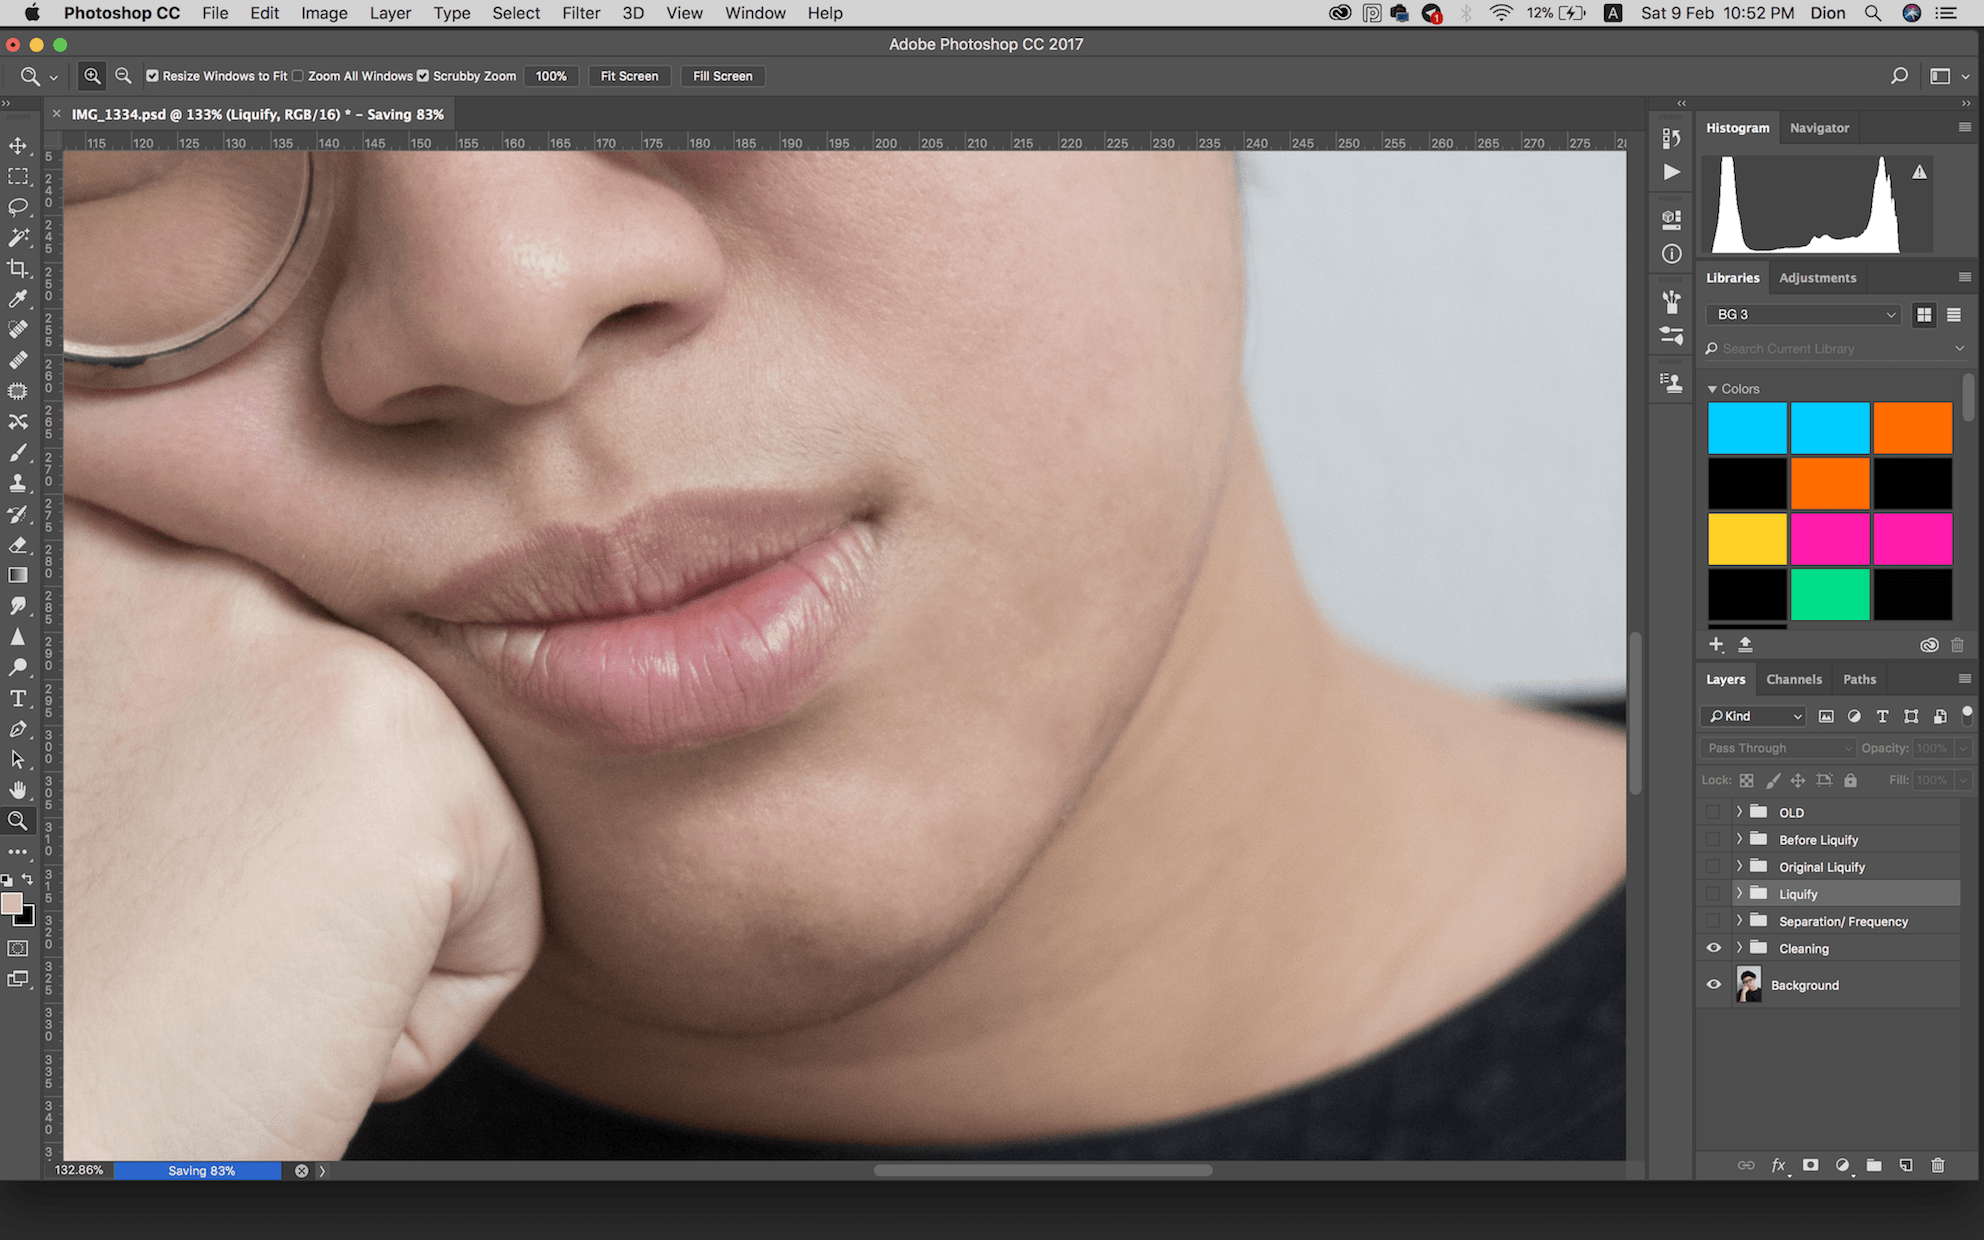
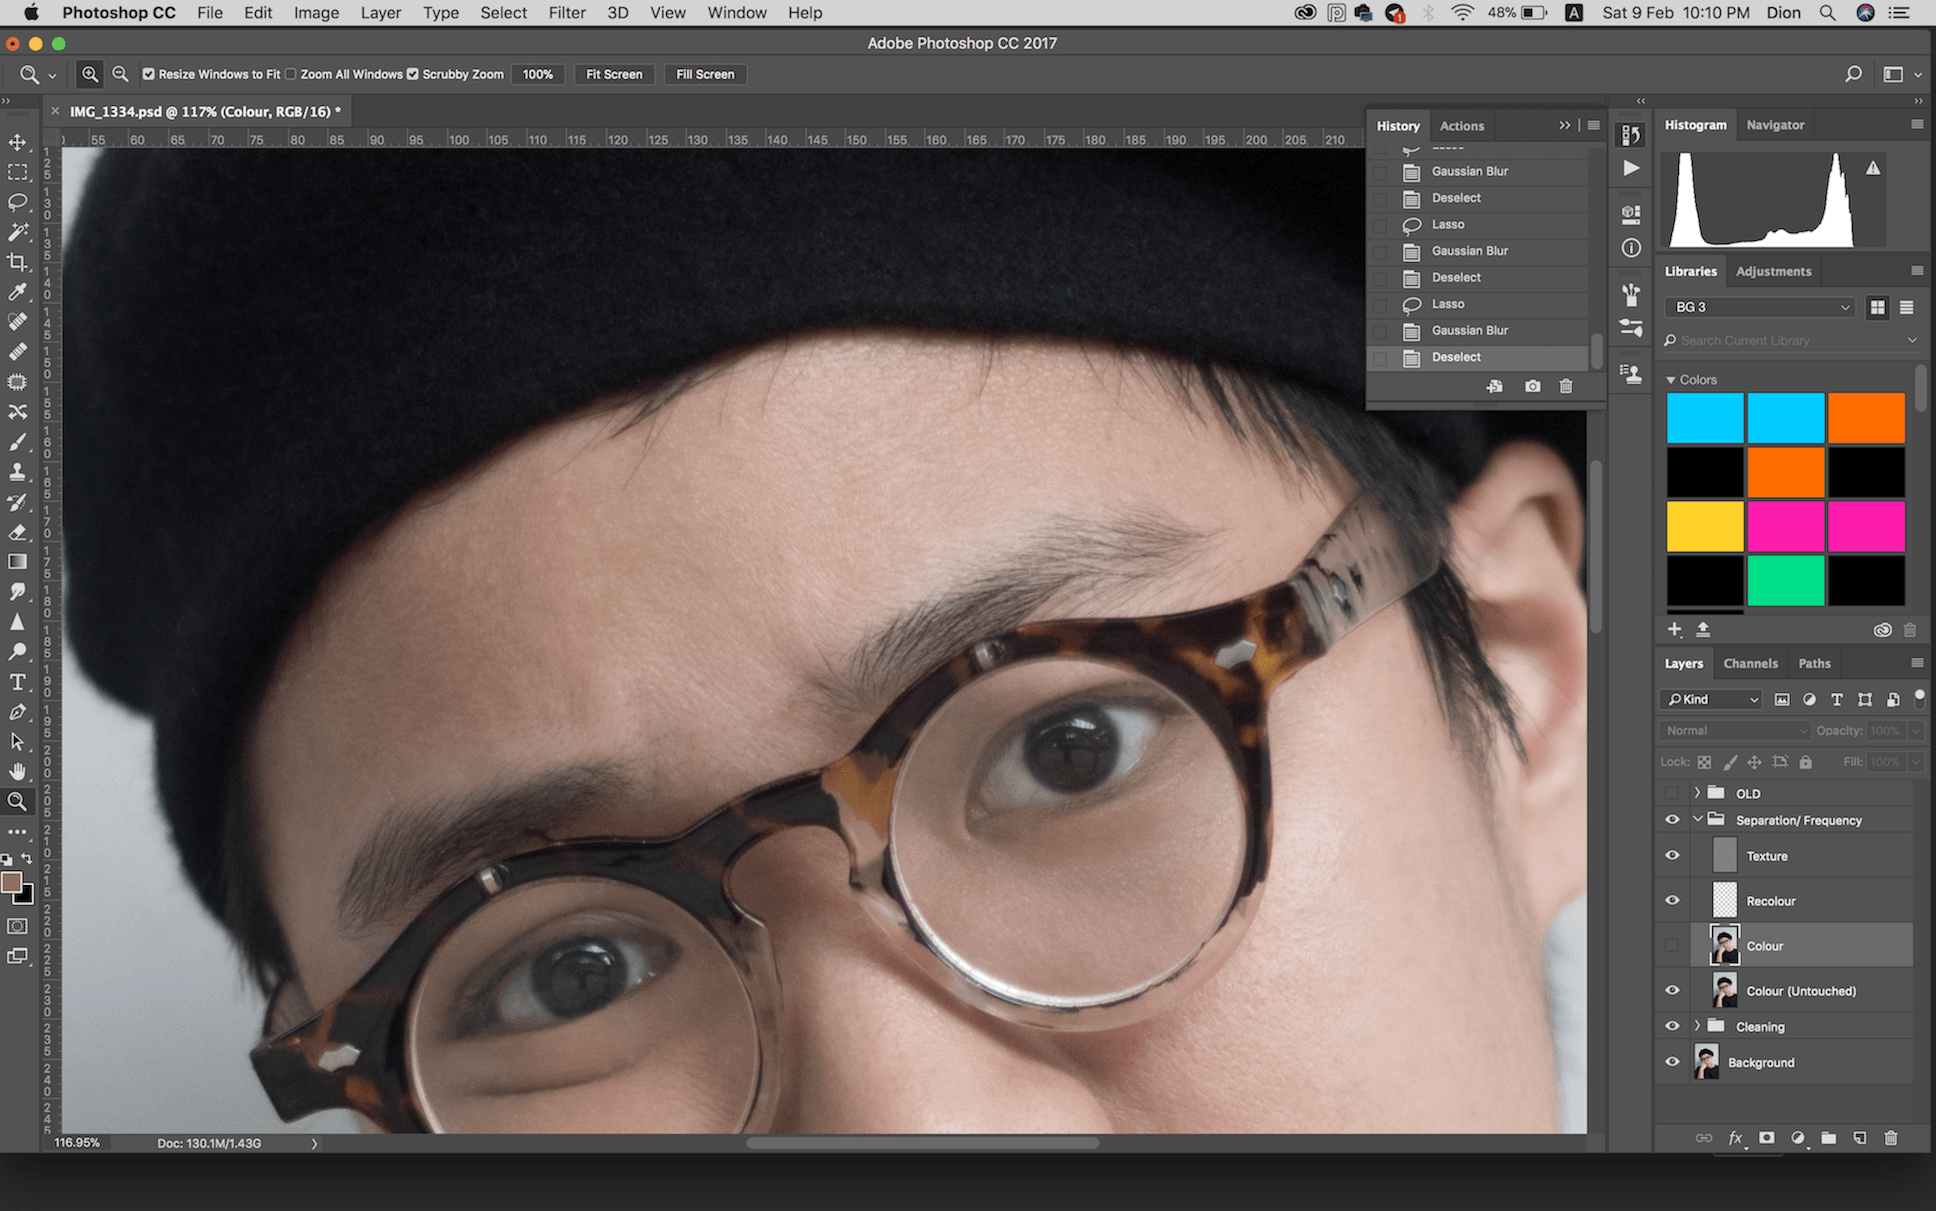
- Skin
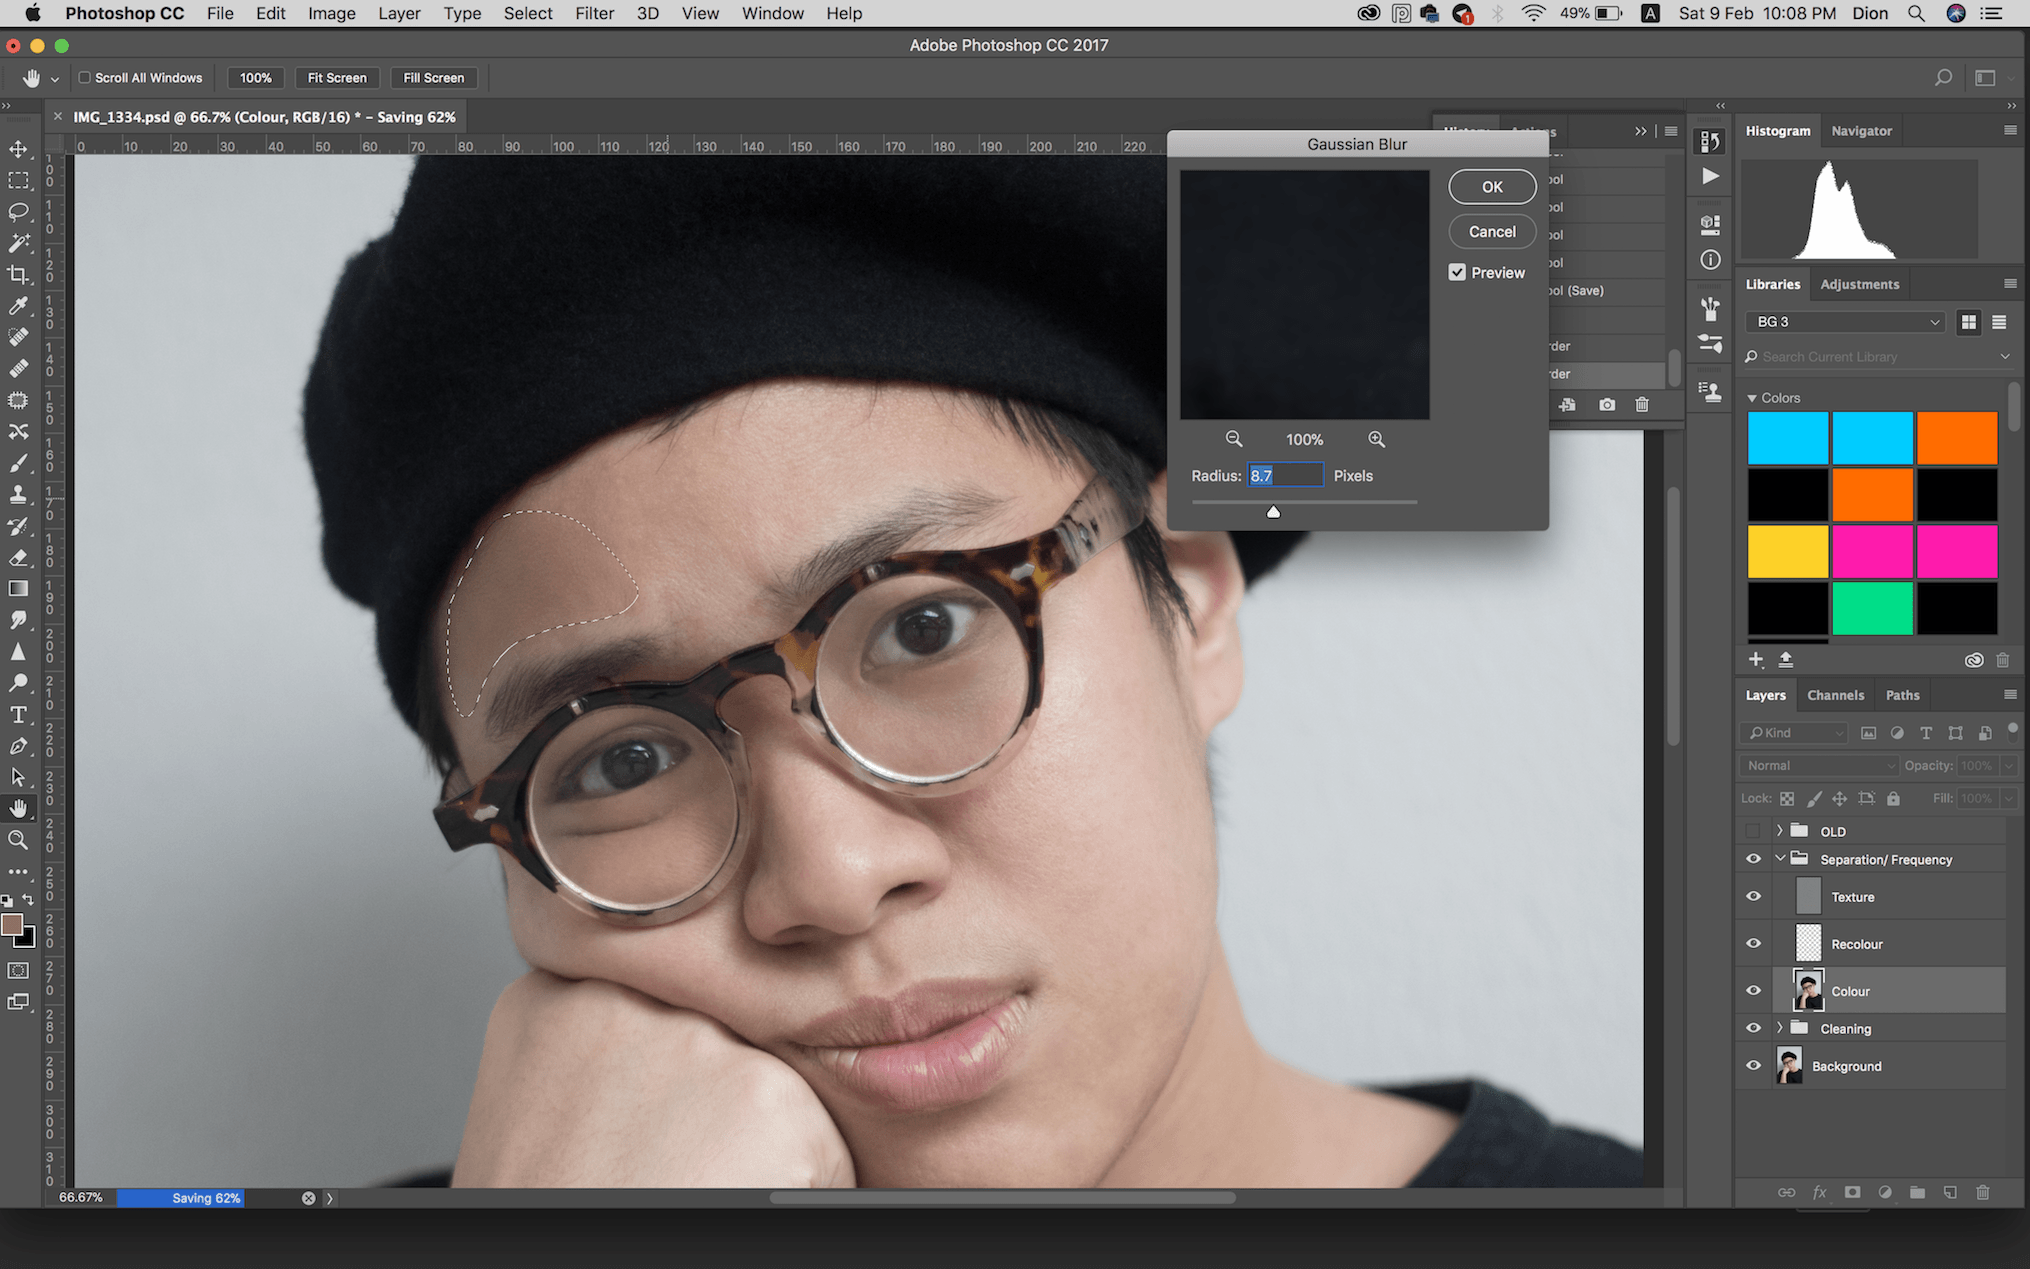
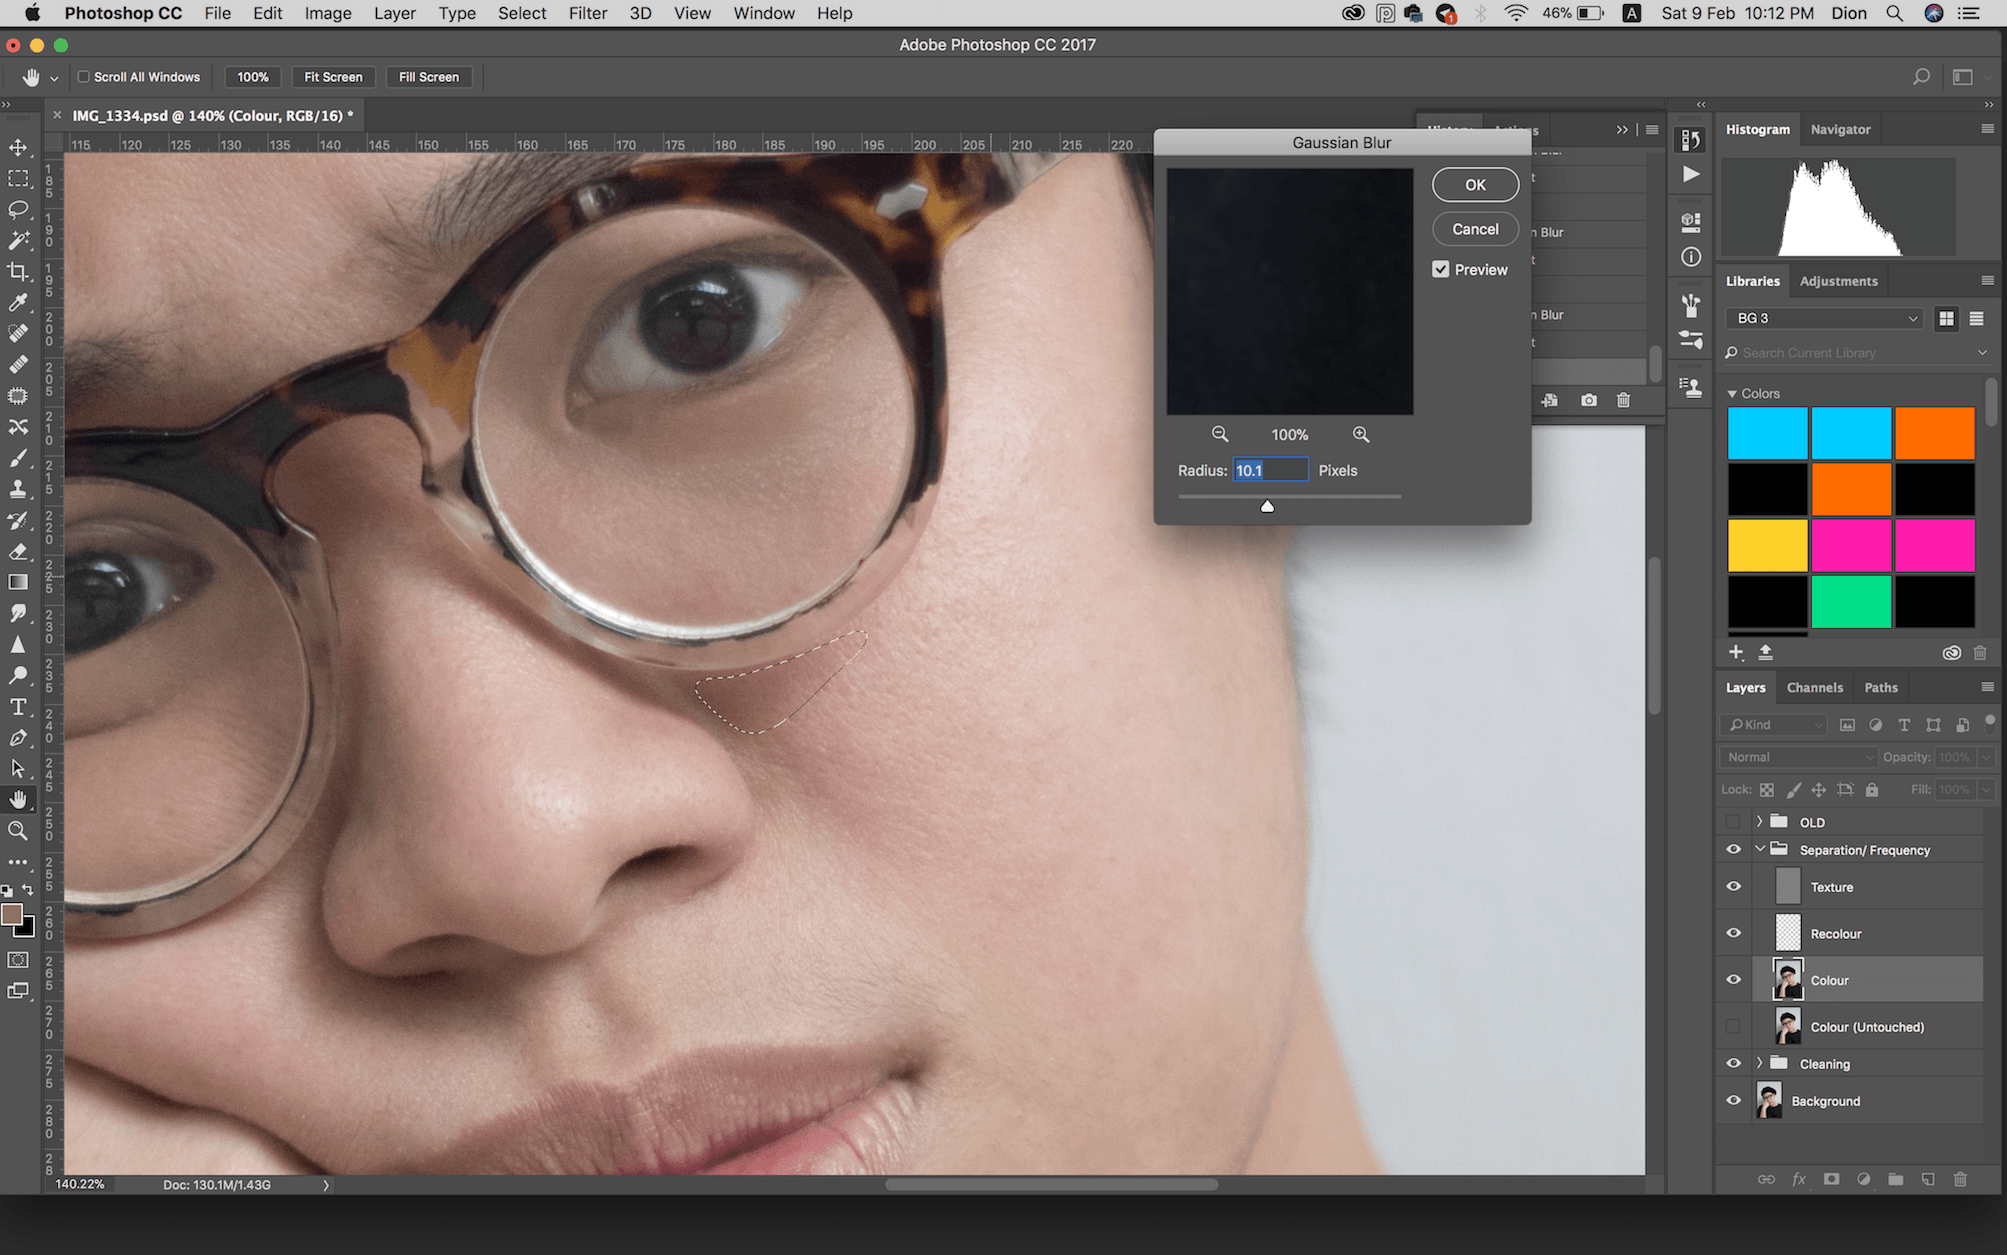
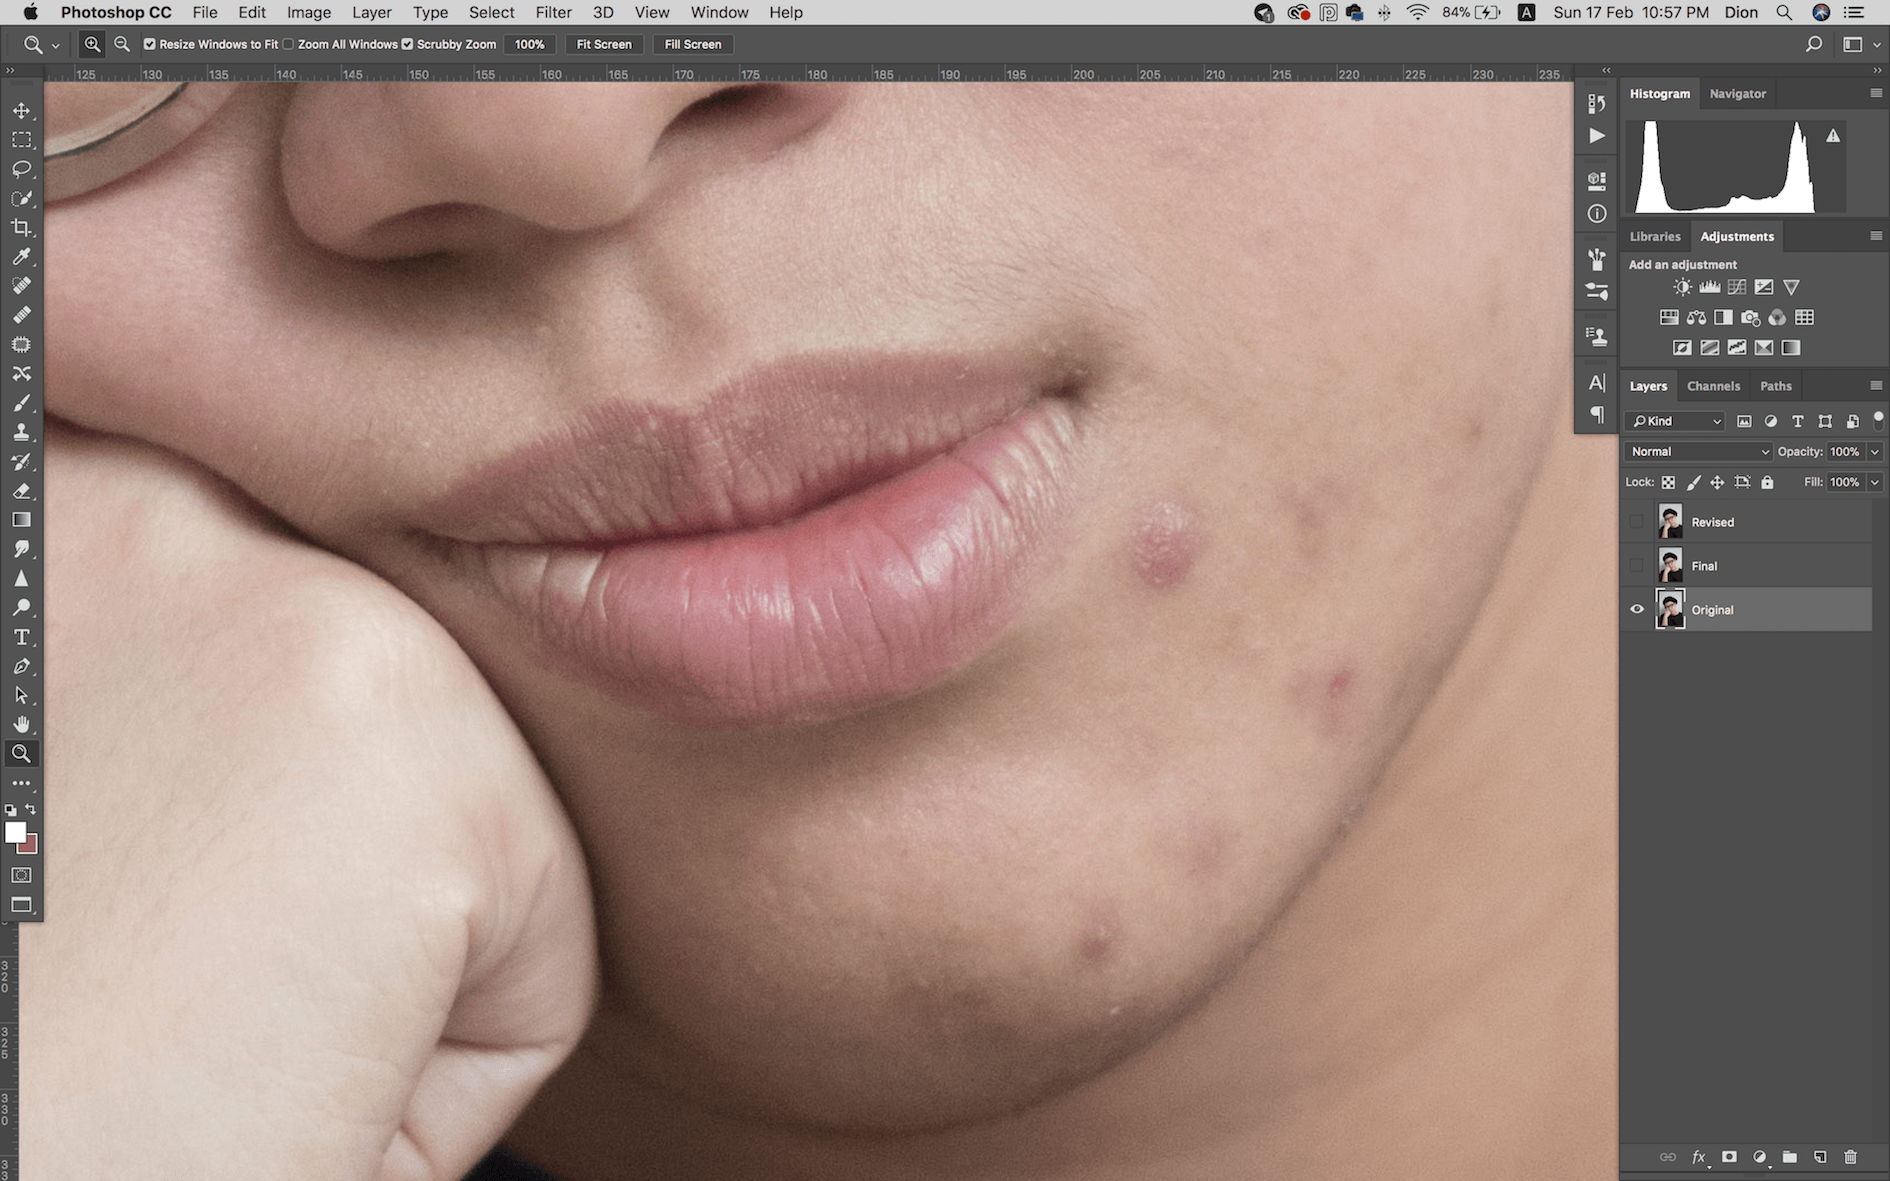
I went back to recolour the red patches/ uneven skin tones more, on her nose, cheek and chin. I also built up more on the lasso tool + gaussian blur all around the image, as I had previously only done like… +4.8 gaussian blur or something.
Here’s a general look of her face:

Close up of clearing up her big spots & uneven skin tone, an lightening of her moustache with dodge and burn:


- Lips
I realised I’d previously skipped out on her dry lips entirely. I dodged & burned the lines on her lips so they’d appear less crusty. However I decided to leave their colour as they are instead of recolouring them to be more red.


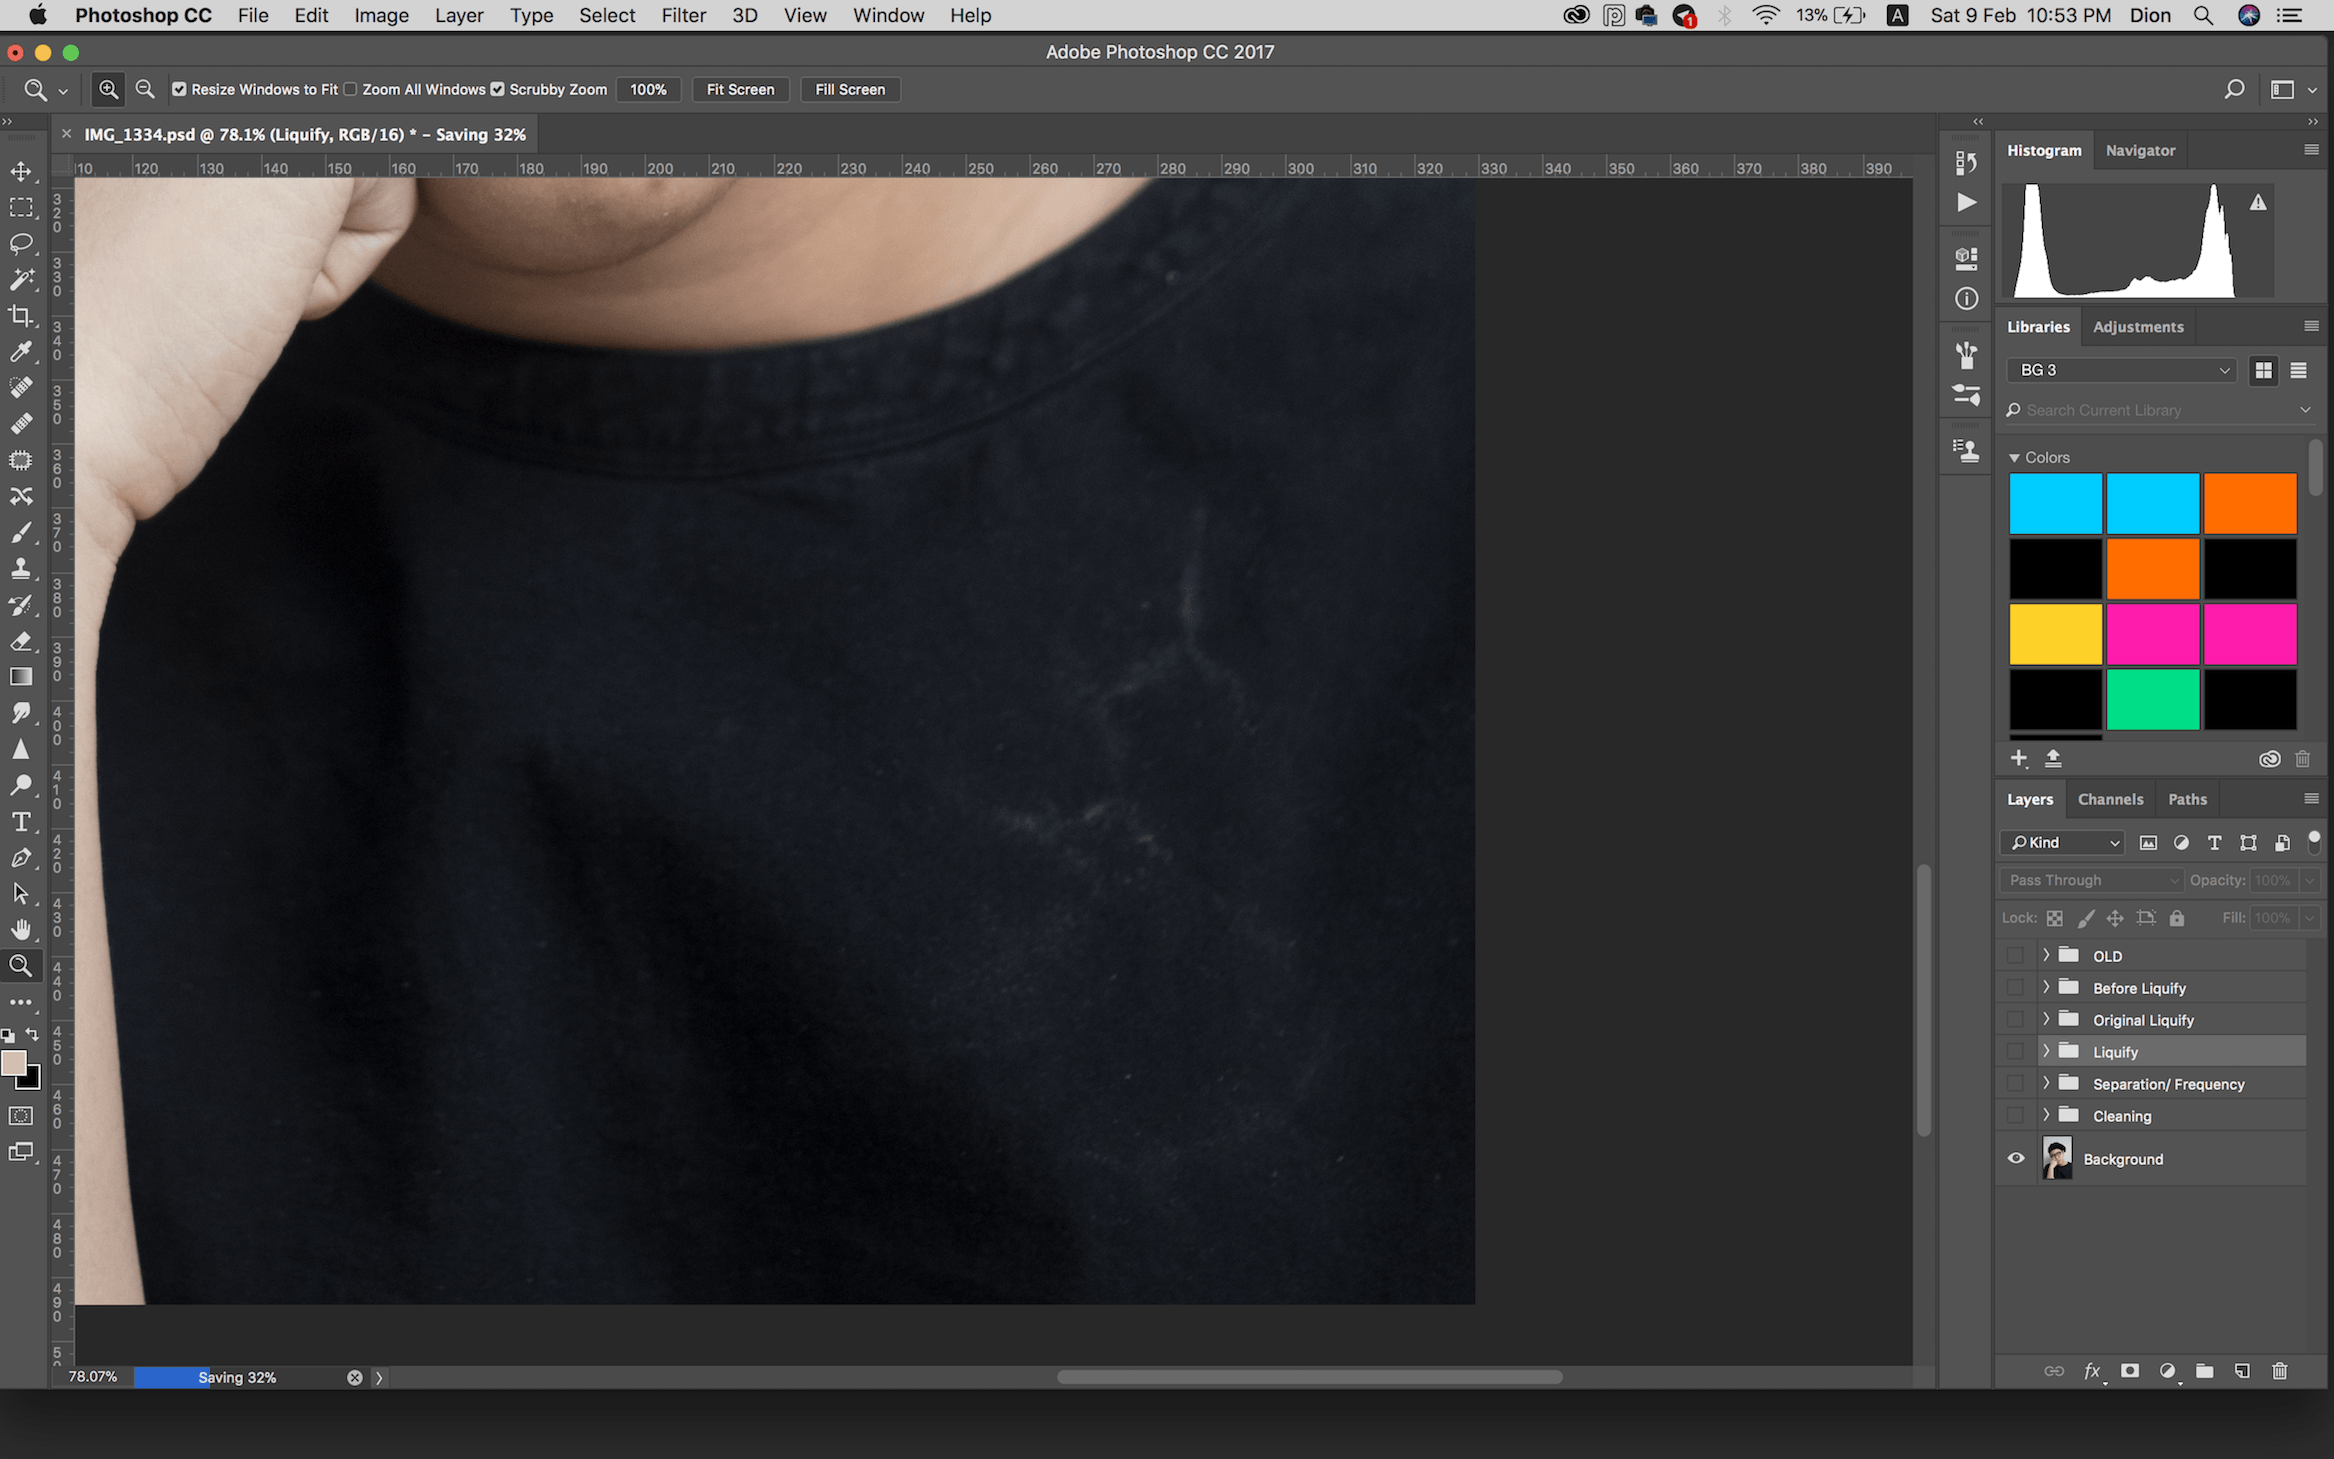
- Sweater Stain
I previously decided to only dark the stains instead of removing the whole thing, but since I’m back to revise I decided why not just try to remove it as much as possible haaaa. Not high-fashion looking (wasn’t meant to be) but at least she’s got a clean sweater now.
Spot healed, recoloured, dodged and burned with a gaussian blur on top.


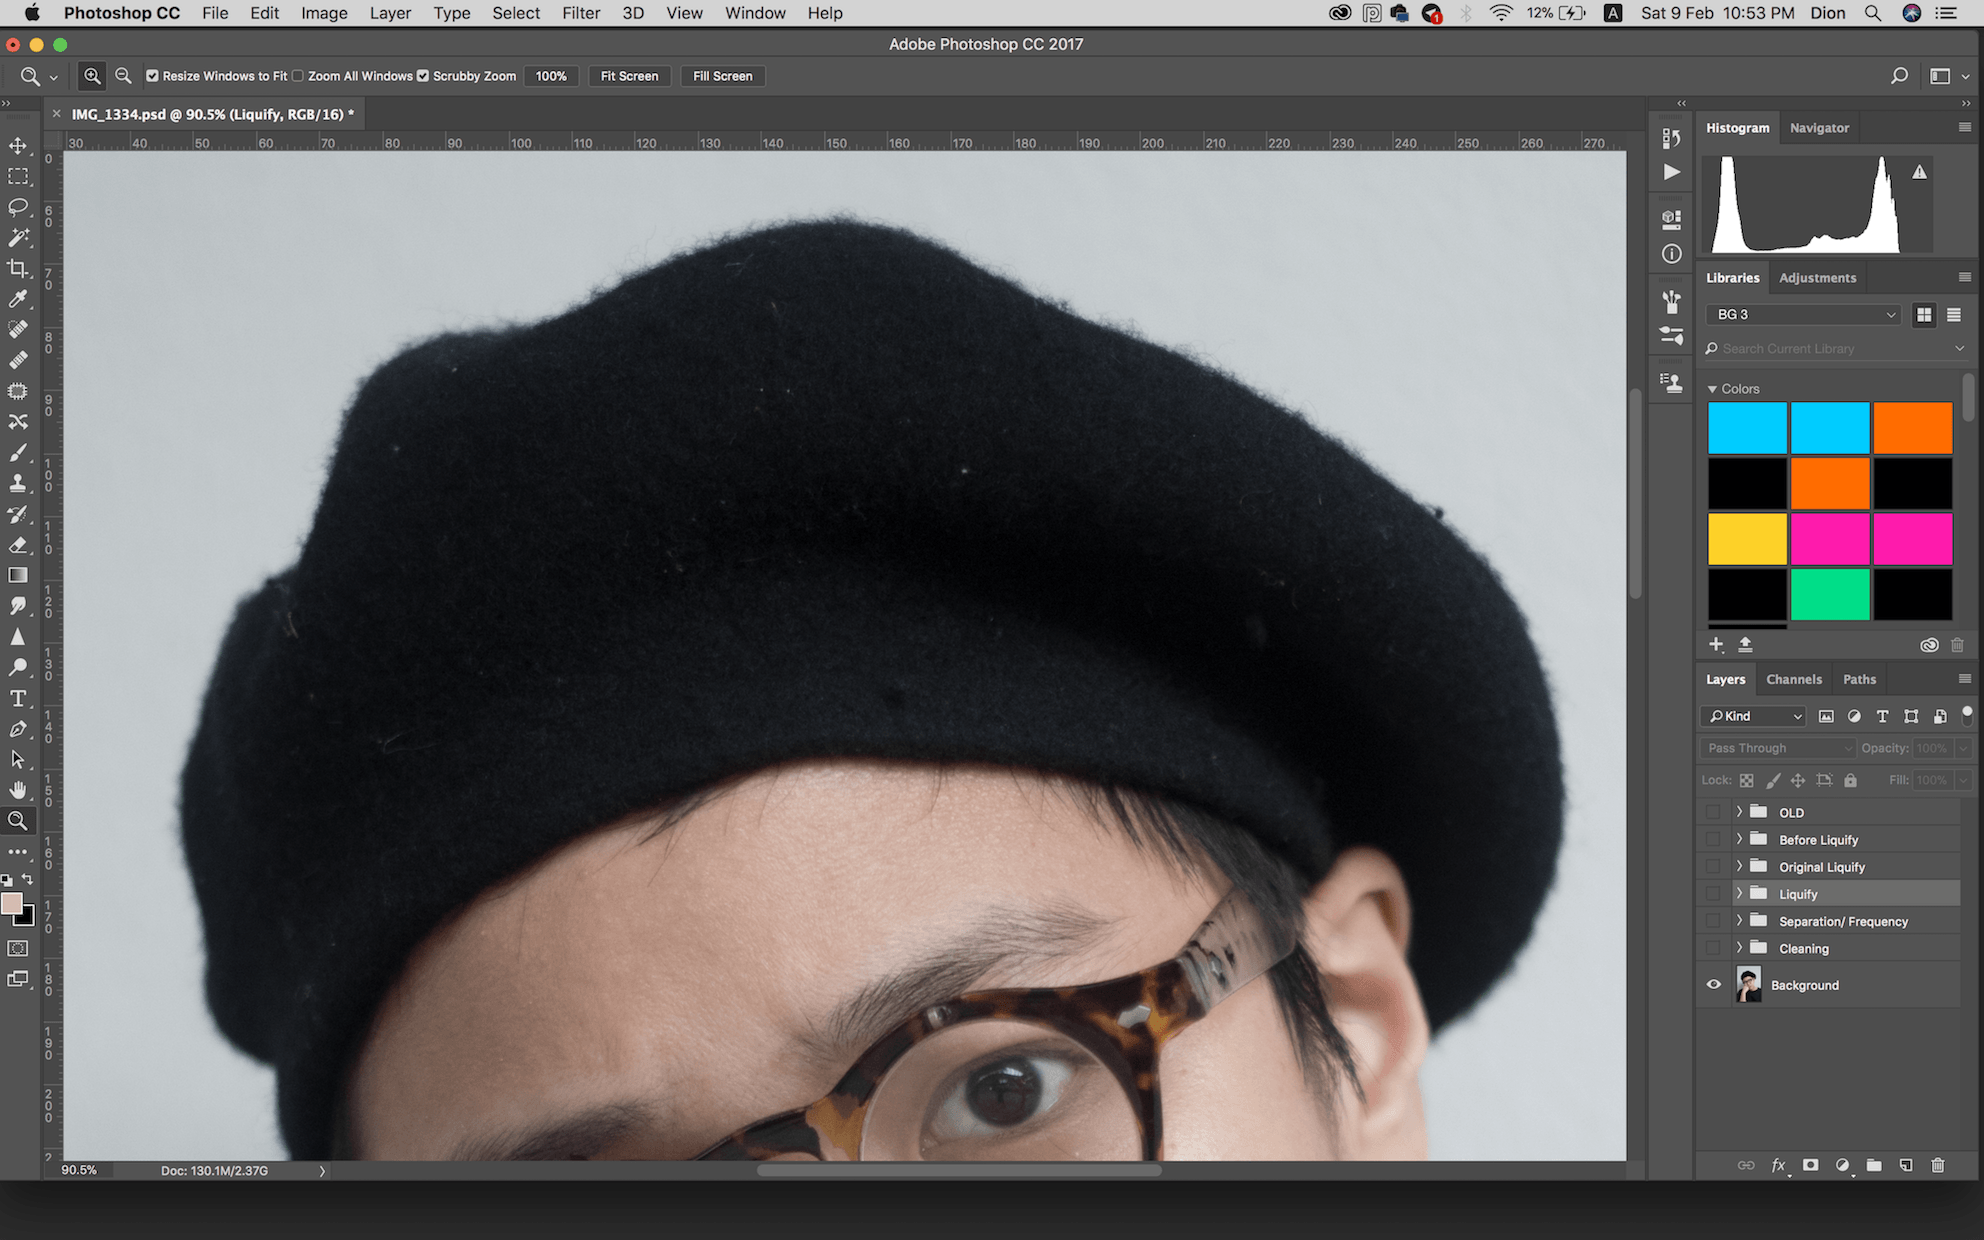
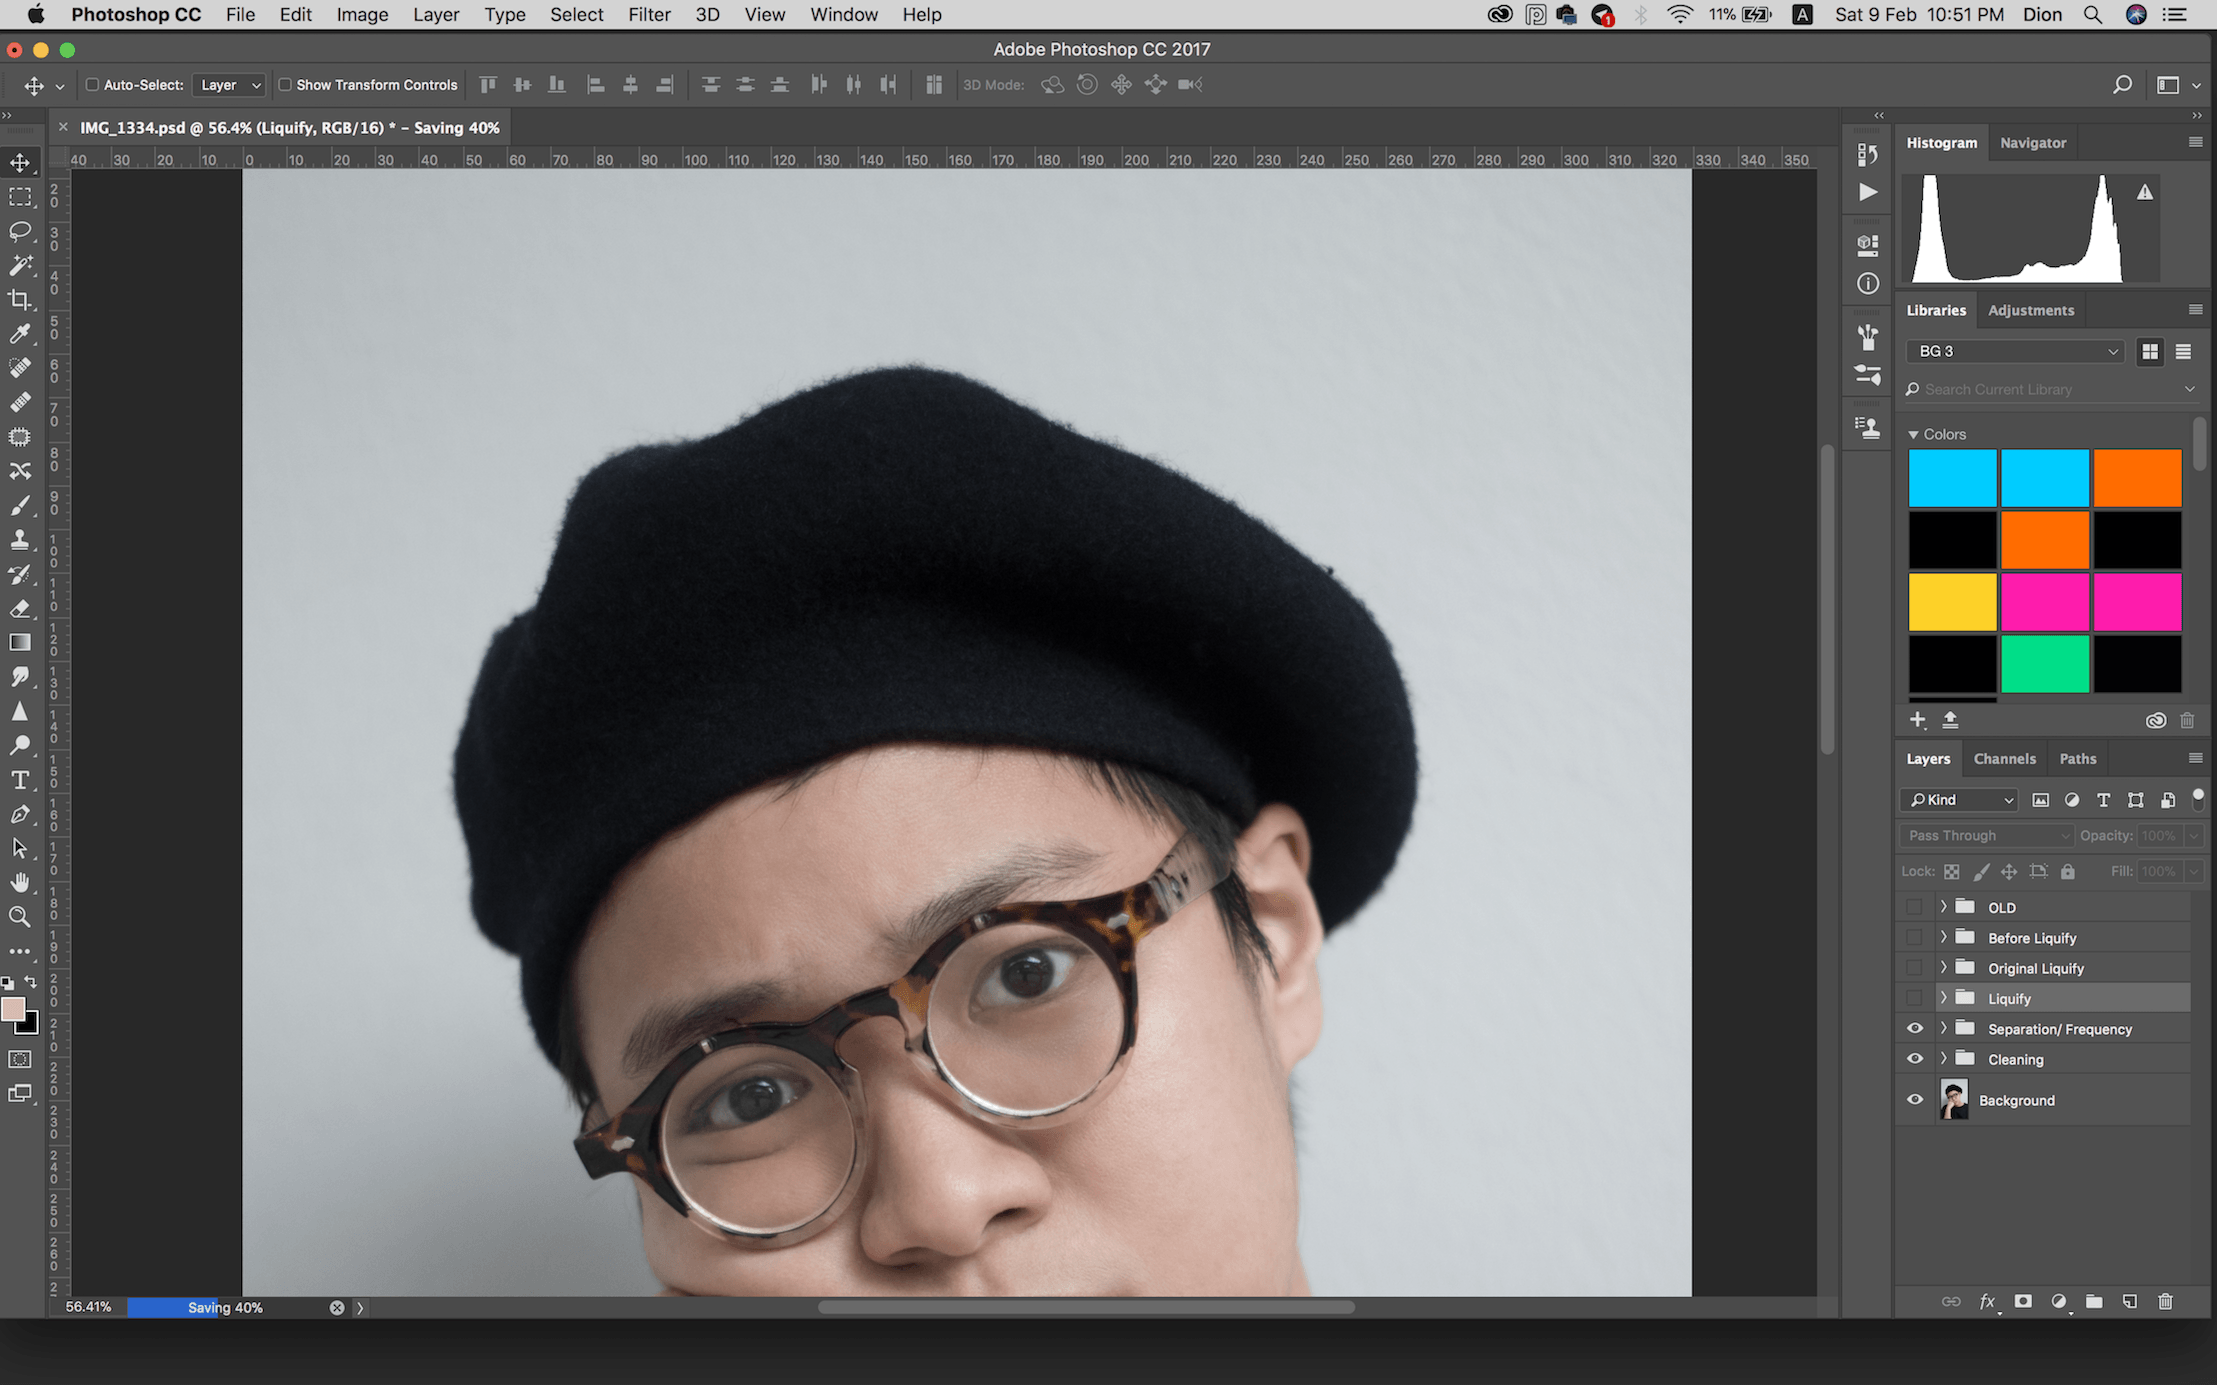
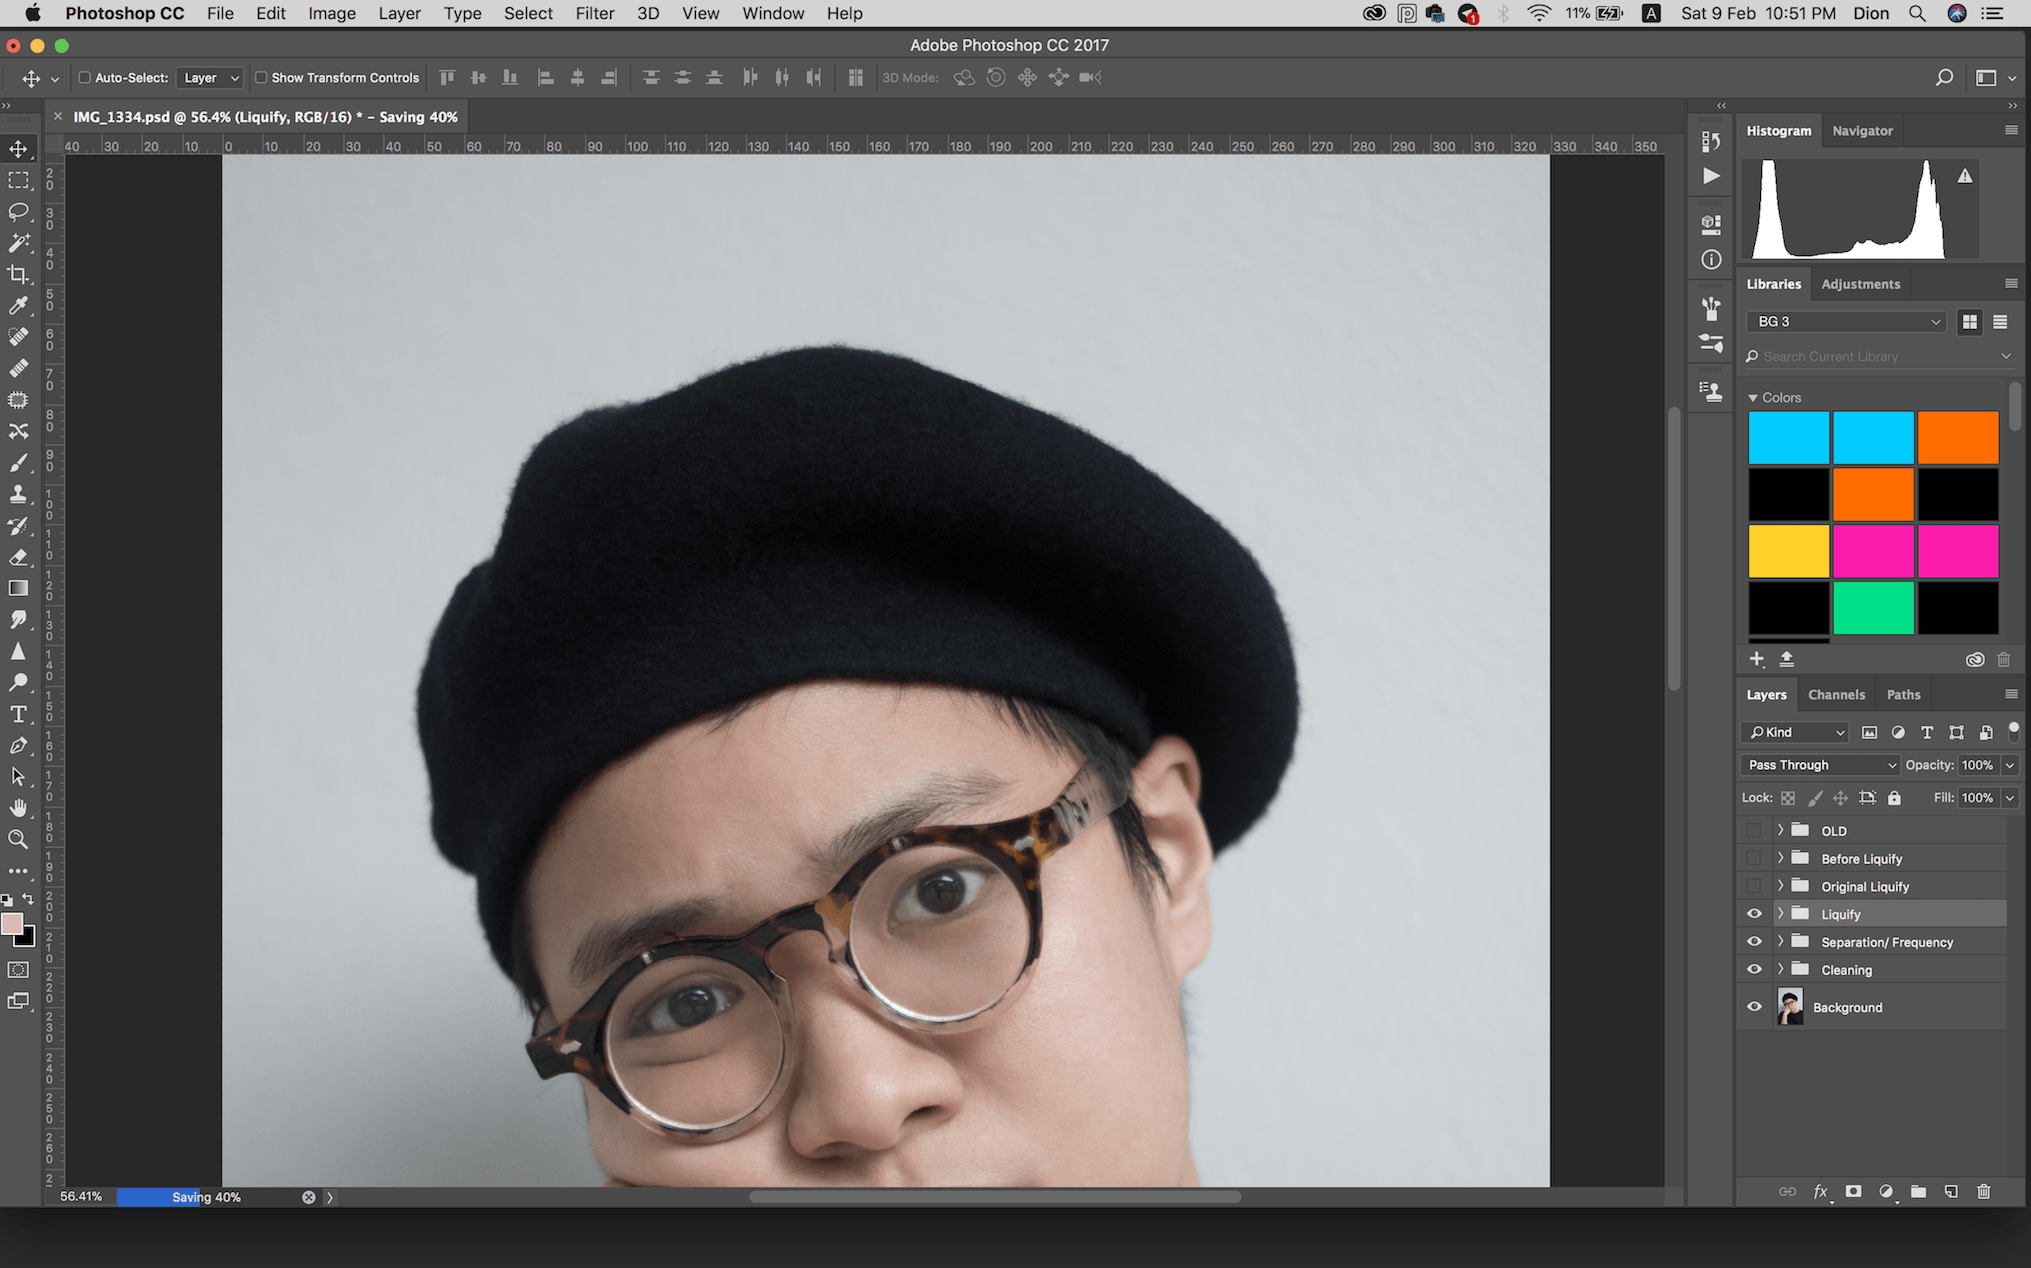
- Hair
Pretty sure I only removed one strand of hair previously, and left the rest as they are. This time I just lightened the bits of hair sticking out of her beret with the dodge and burn technique. Still chose not to remove everything because I don’t think an overly-neat hairdo would match the image as a whole, or she would look bald.
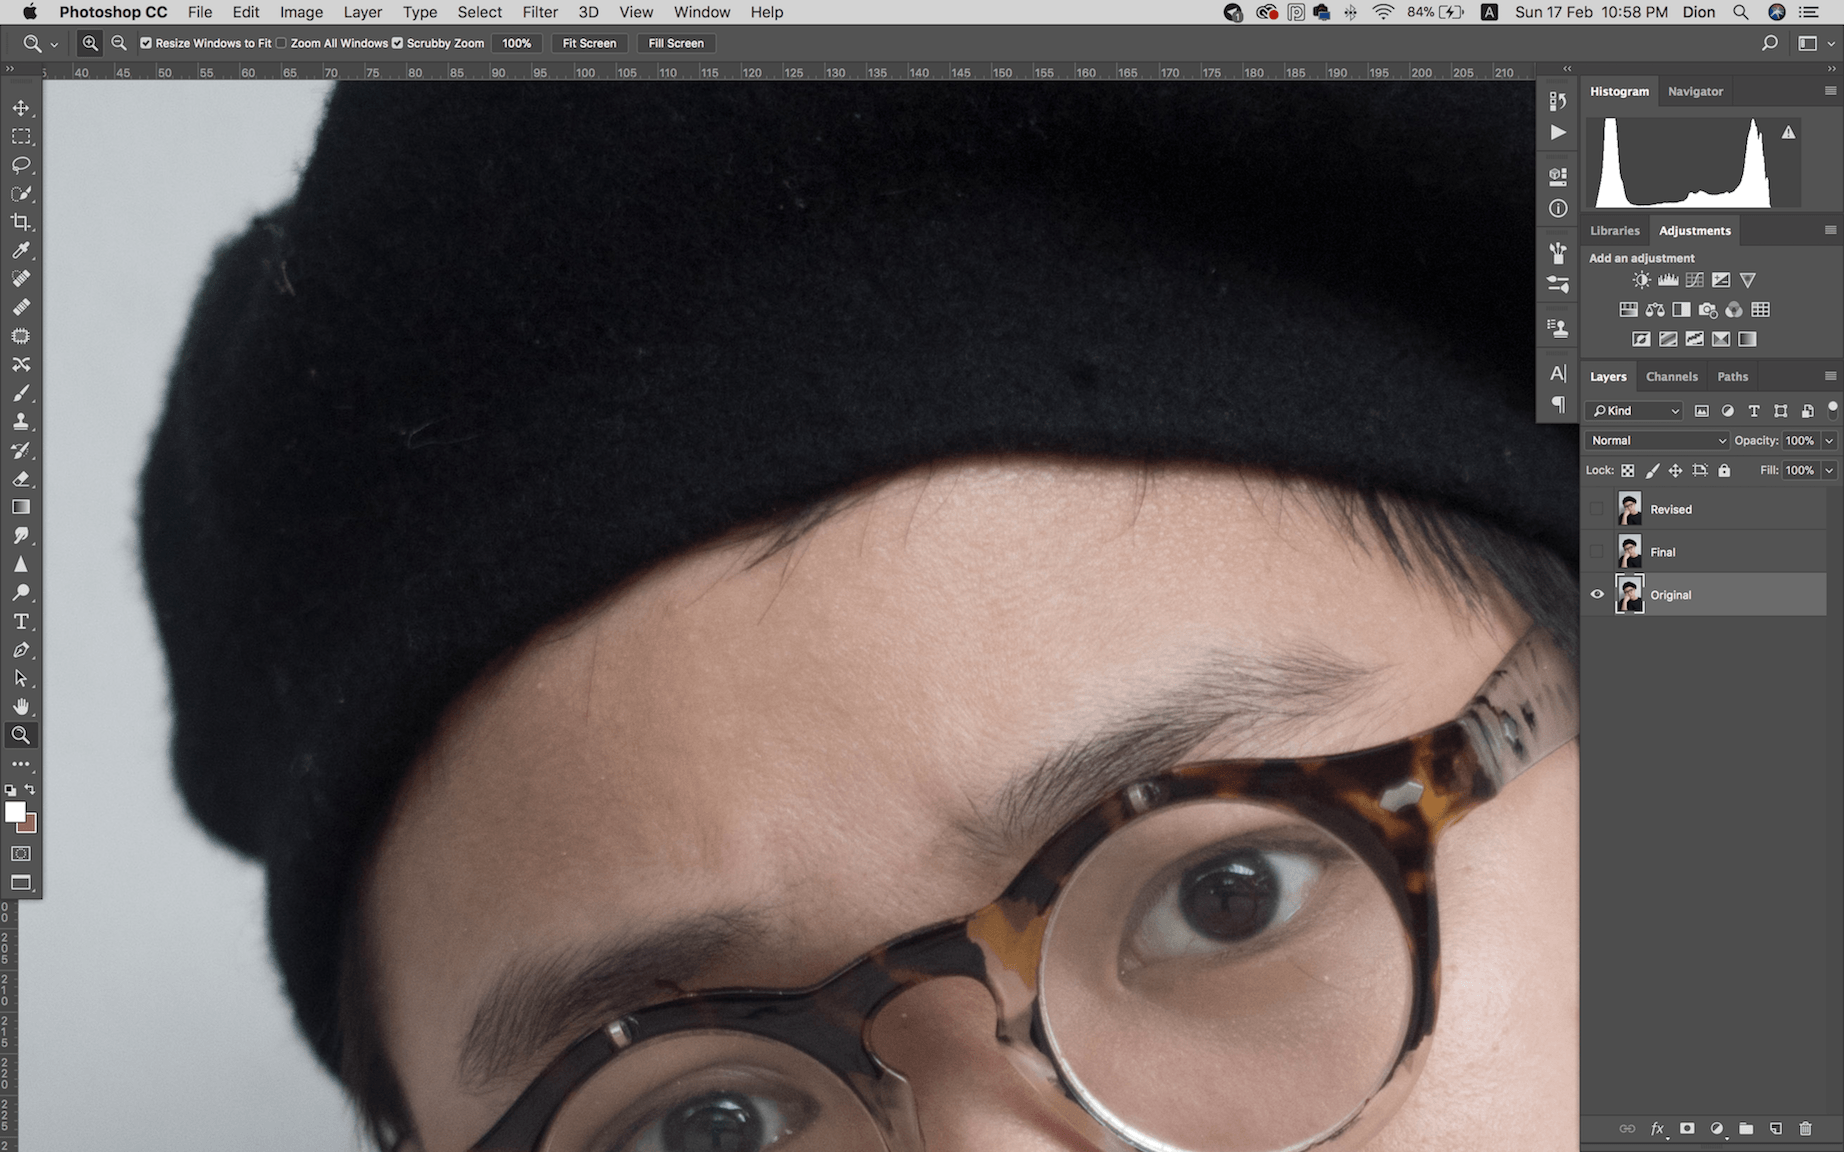


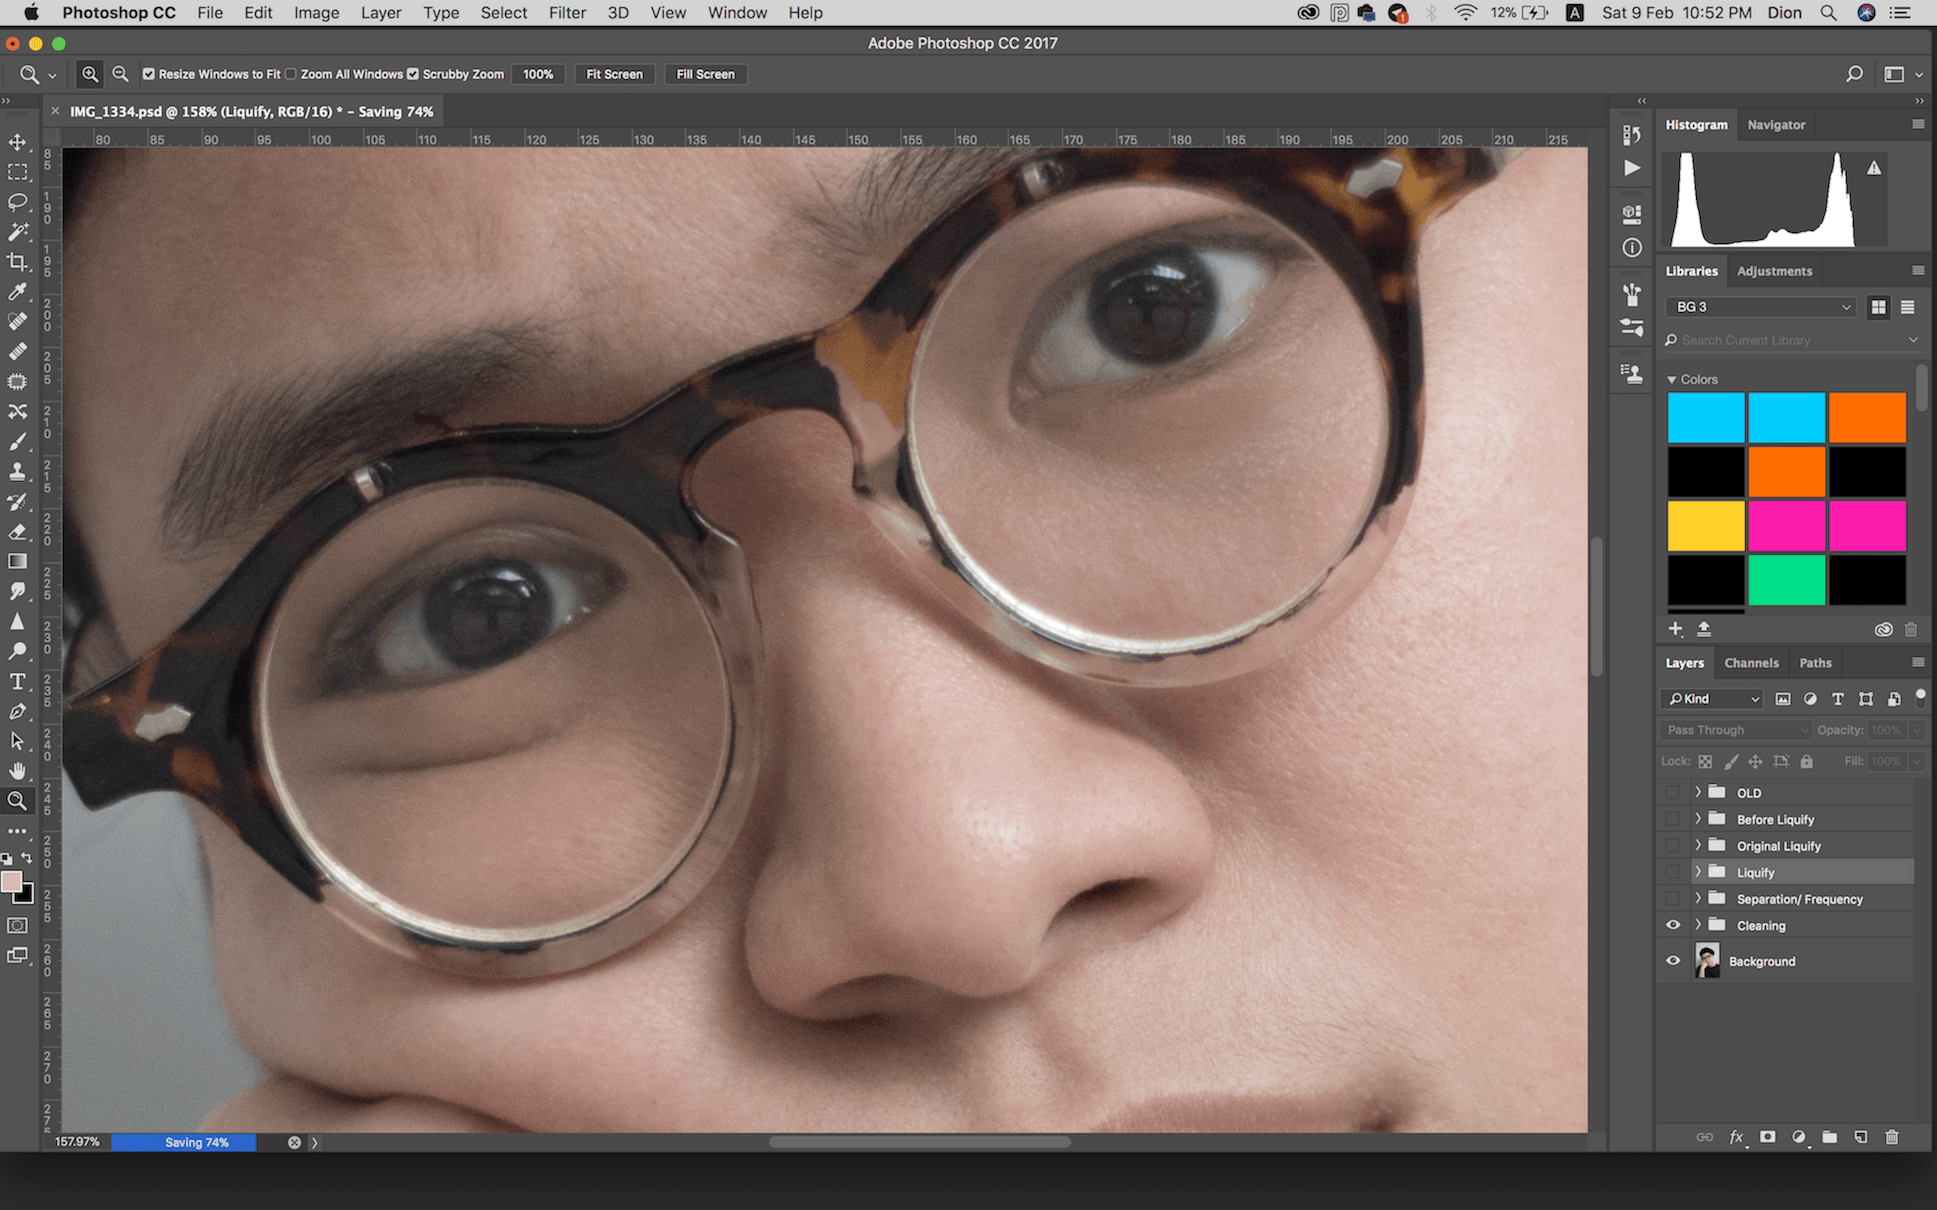
- Eyes
Lightened her undereyes with dodge and burn.
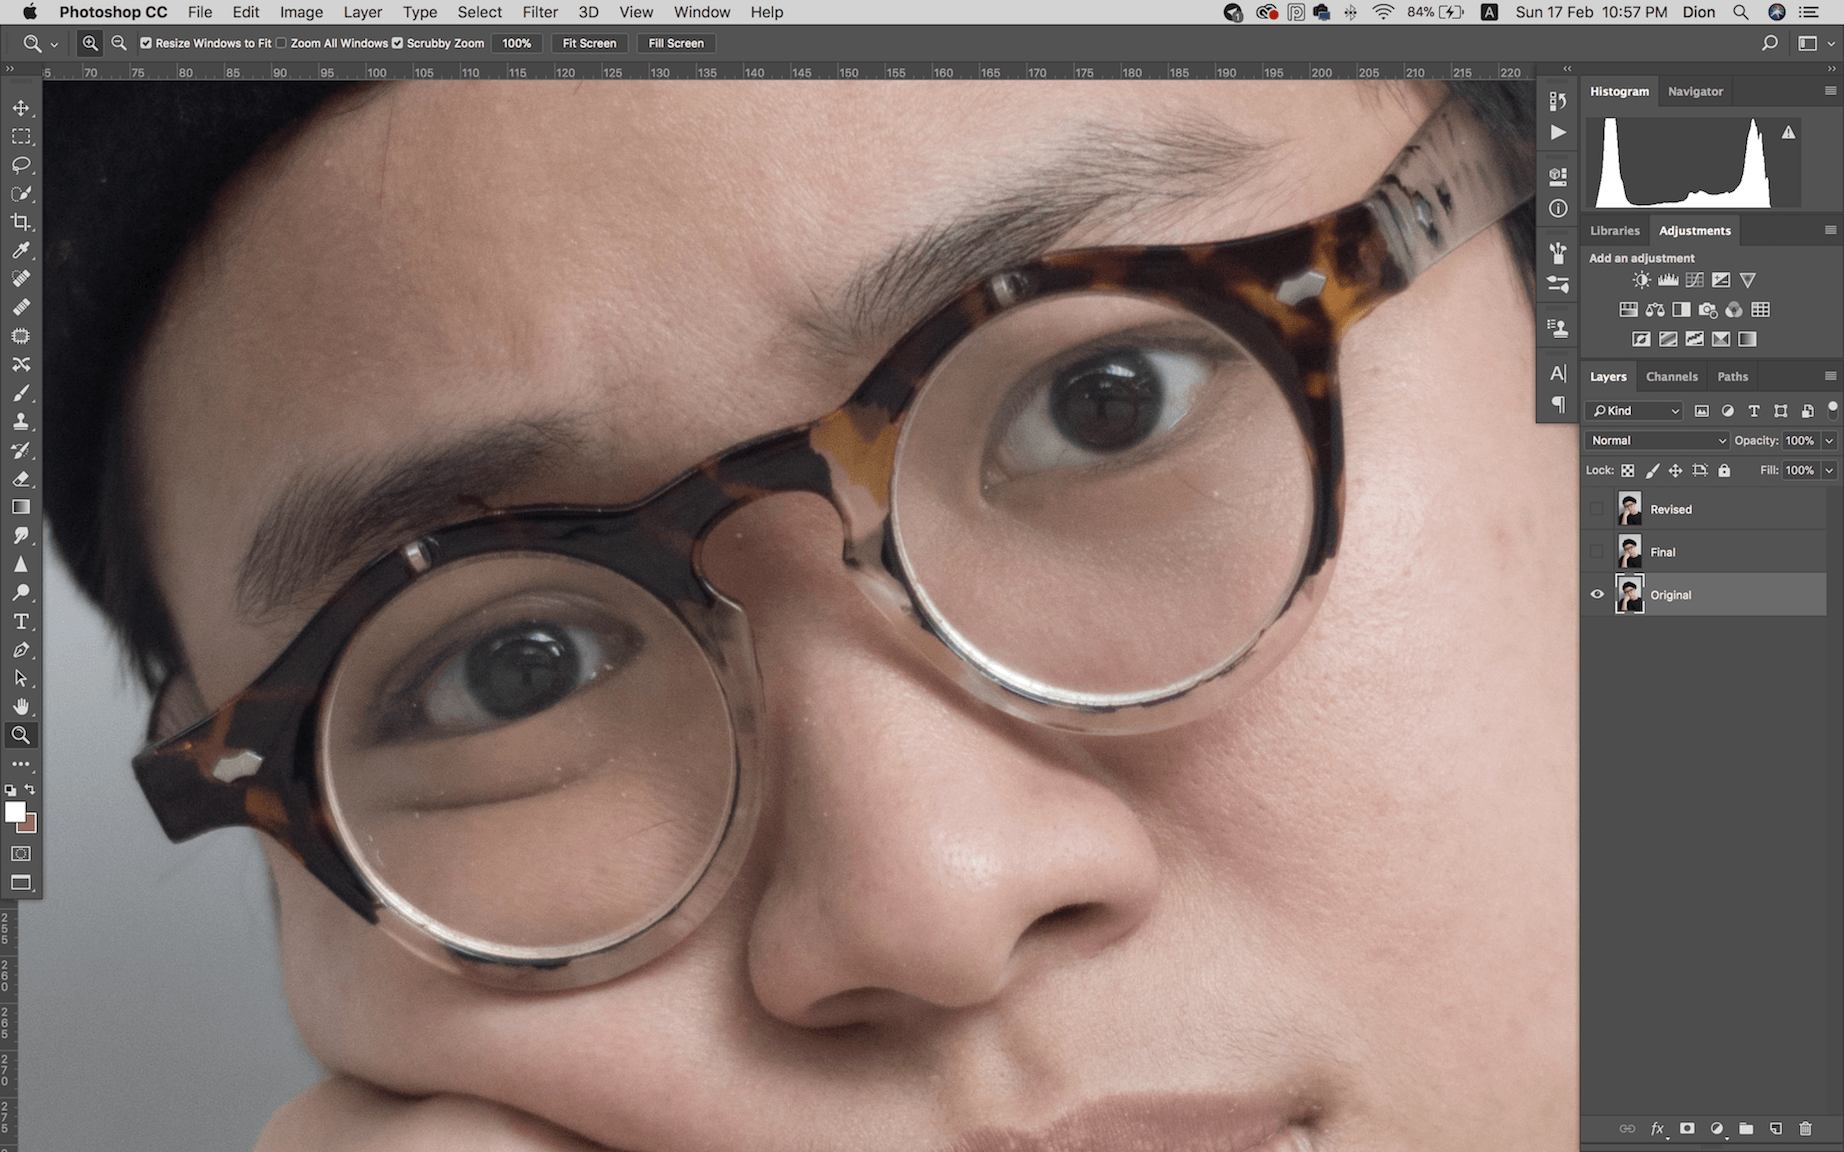
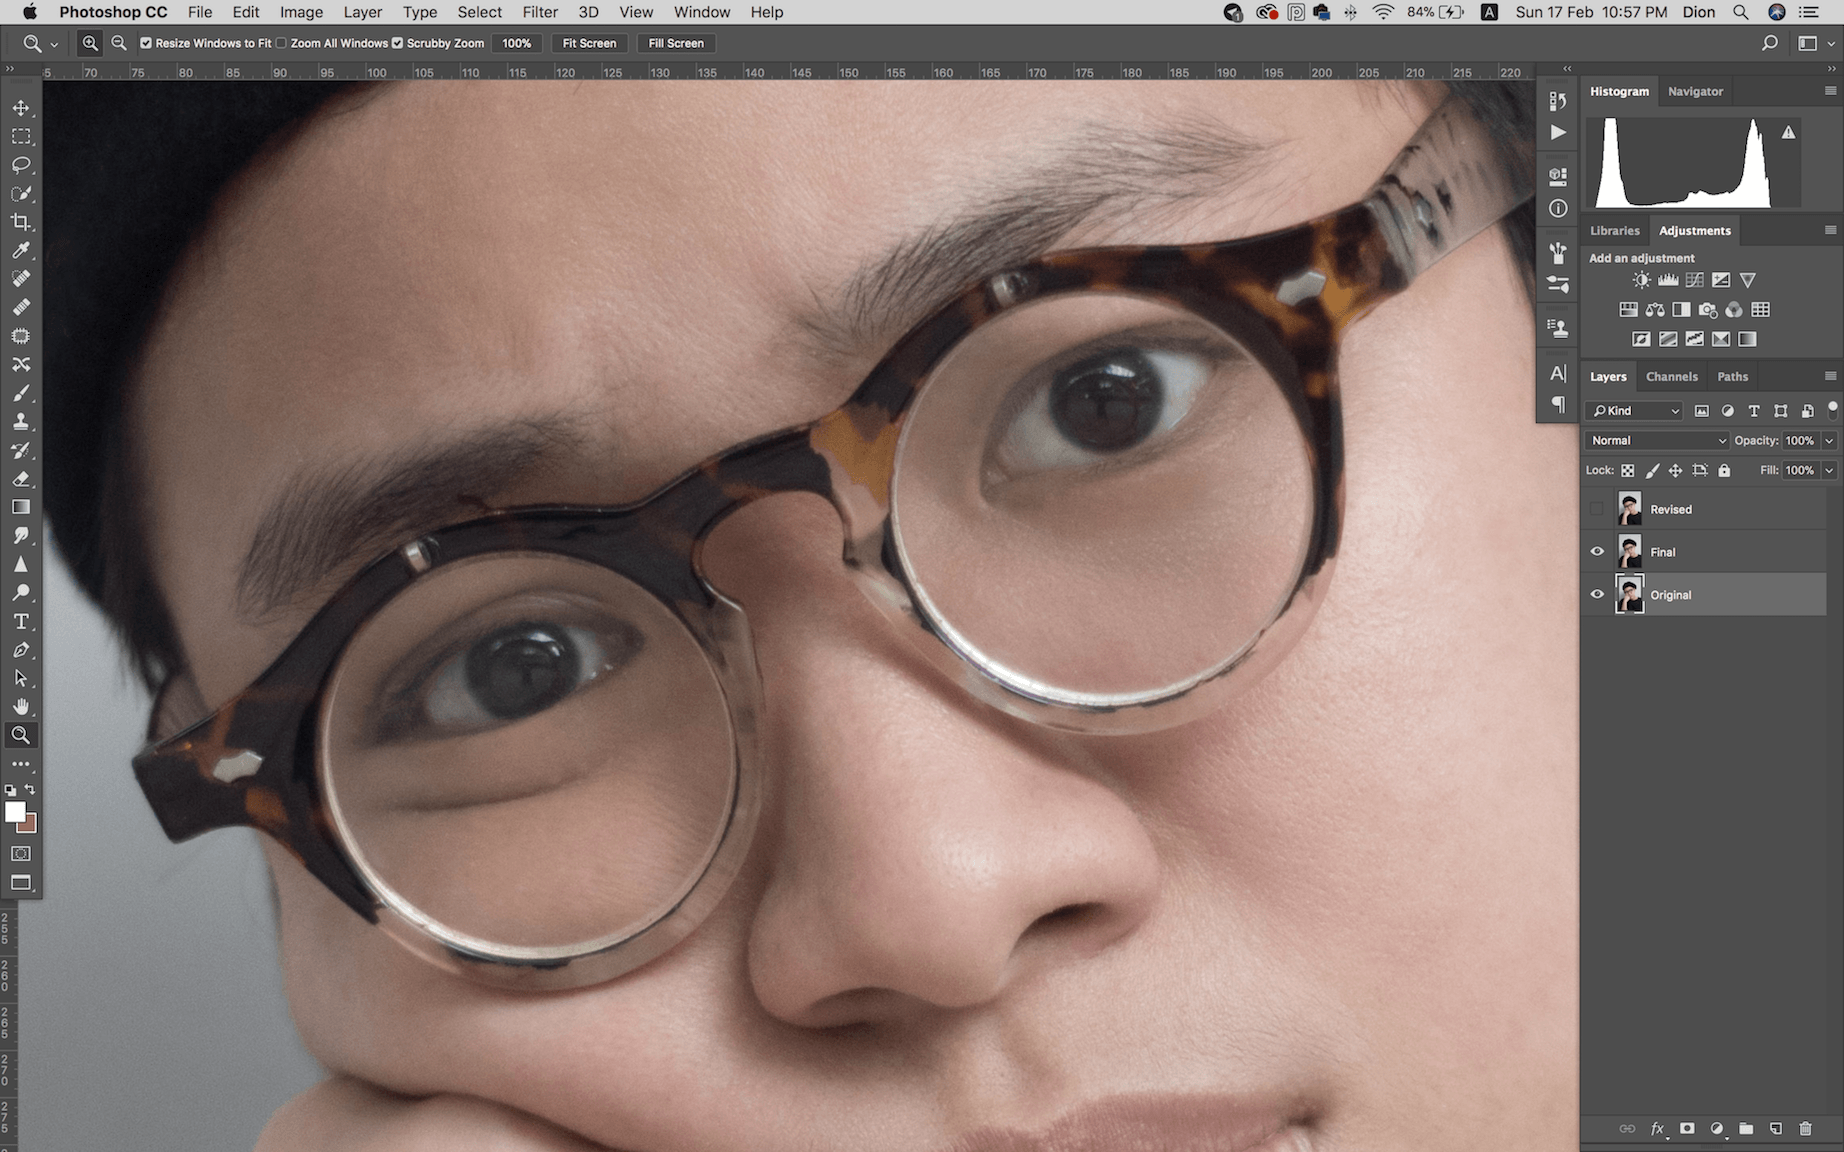

- Brows
Aaaand on top of skipping out on her lips, I also totally forgot about her brows the last time! Didn’t groom them to be on fleek, but cleaned them up a little bit by lightening some of the hair on the edges/ corners with dodge and burn.


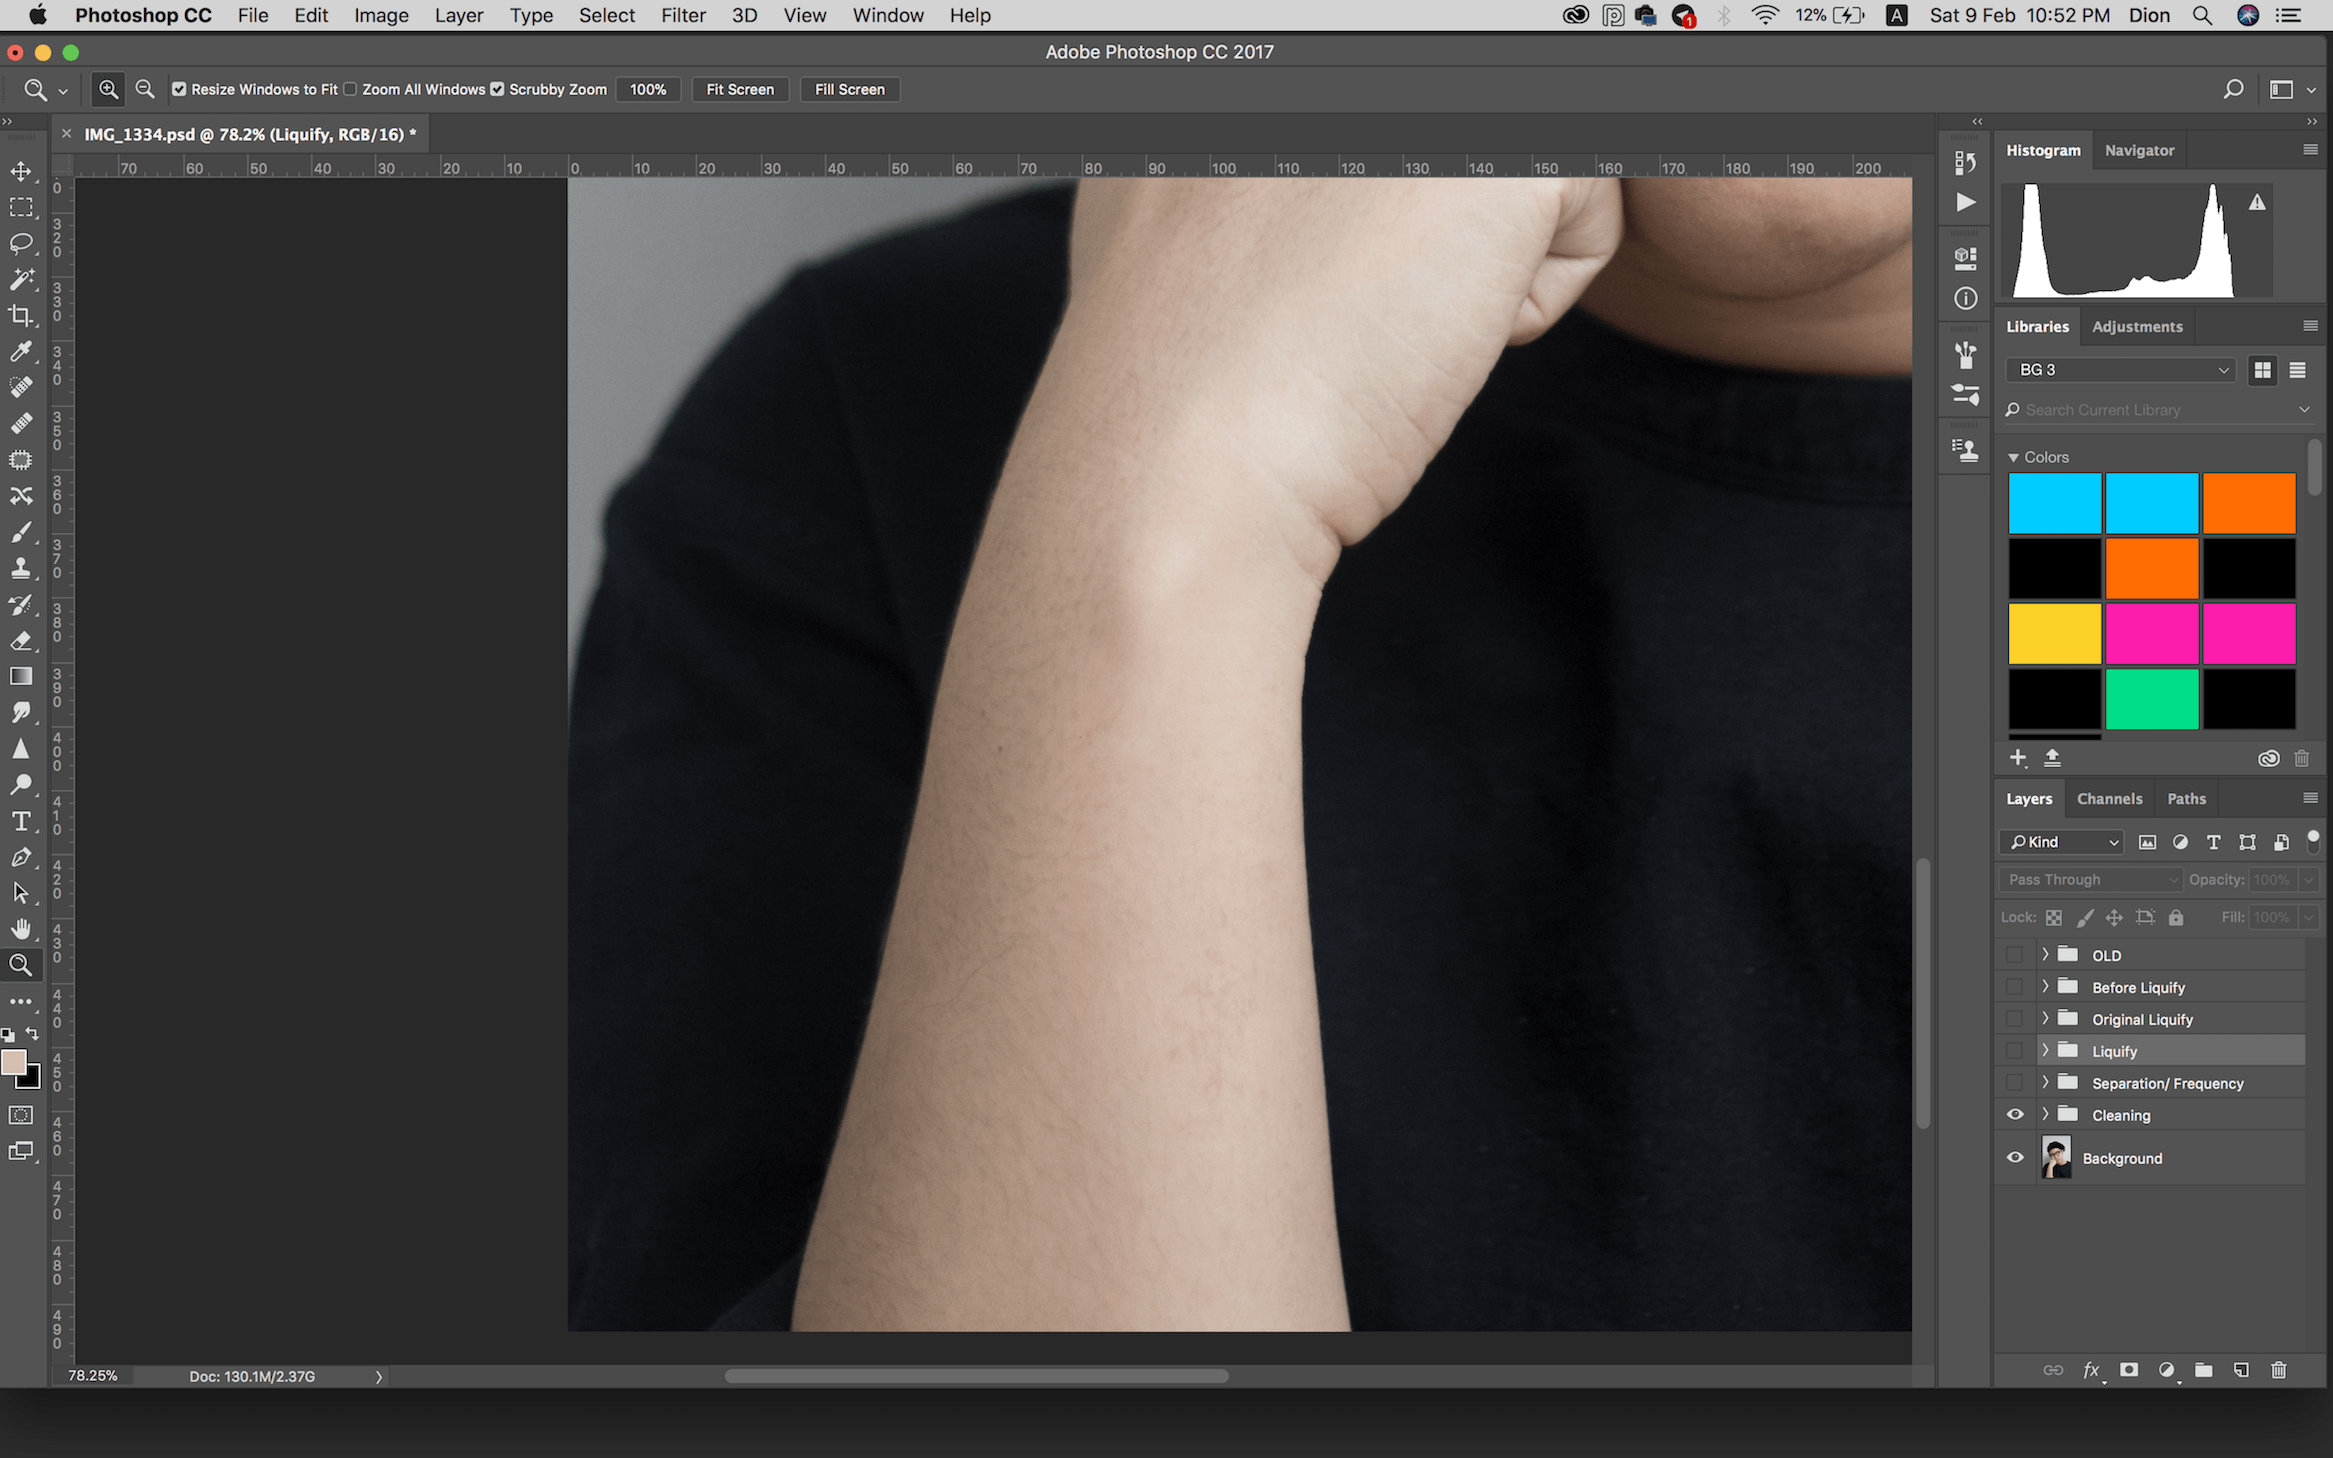
- Arm
Further smoothened out her arm (hence lightened arm hair) with just the lasso tool + gaussian blur.

- Beret
I redid her beret entirely since I wanted to revise everything before finalising with a liquify. Just a slightly smoother (and not perfect) shape than before, and also slightly lightened frays of wool around the edges with dodge and burn and sometimes spot heal (for that one big ball of wool on the right above her ear…).


- Grain
Lastly I added a little gaussian grain to finish up the image!