Need to Knit

Things you need:

  1. Knitting needles
  2.  Yarn
  3. Patience

How I started the knit life.

Password: knit

Heads up.

Im addicted to knitting.

I knit EVERYWHERE.

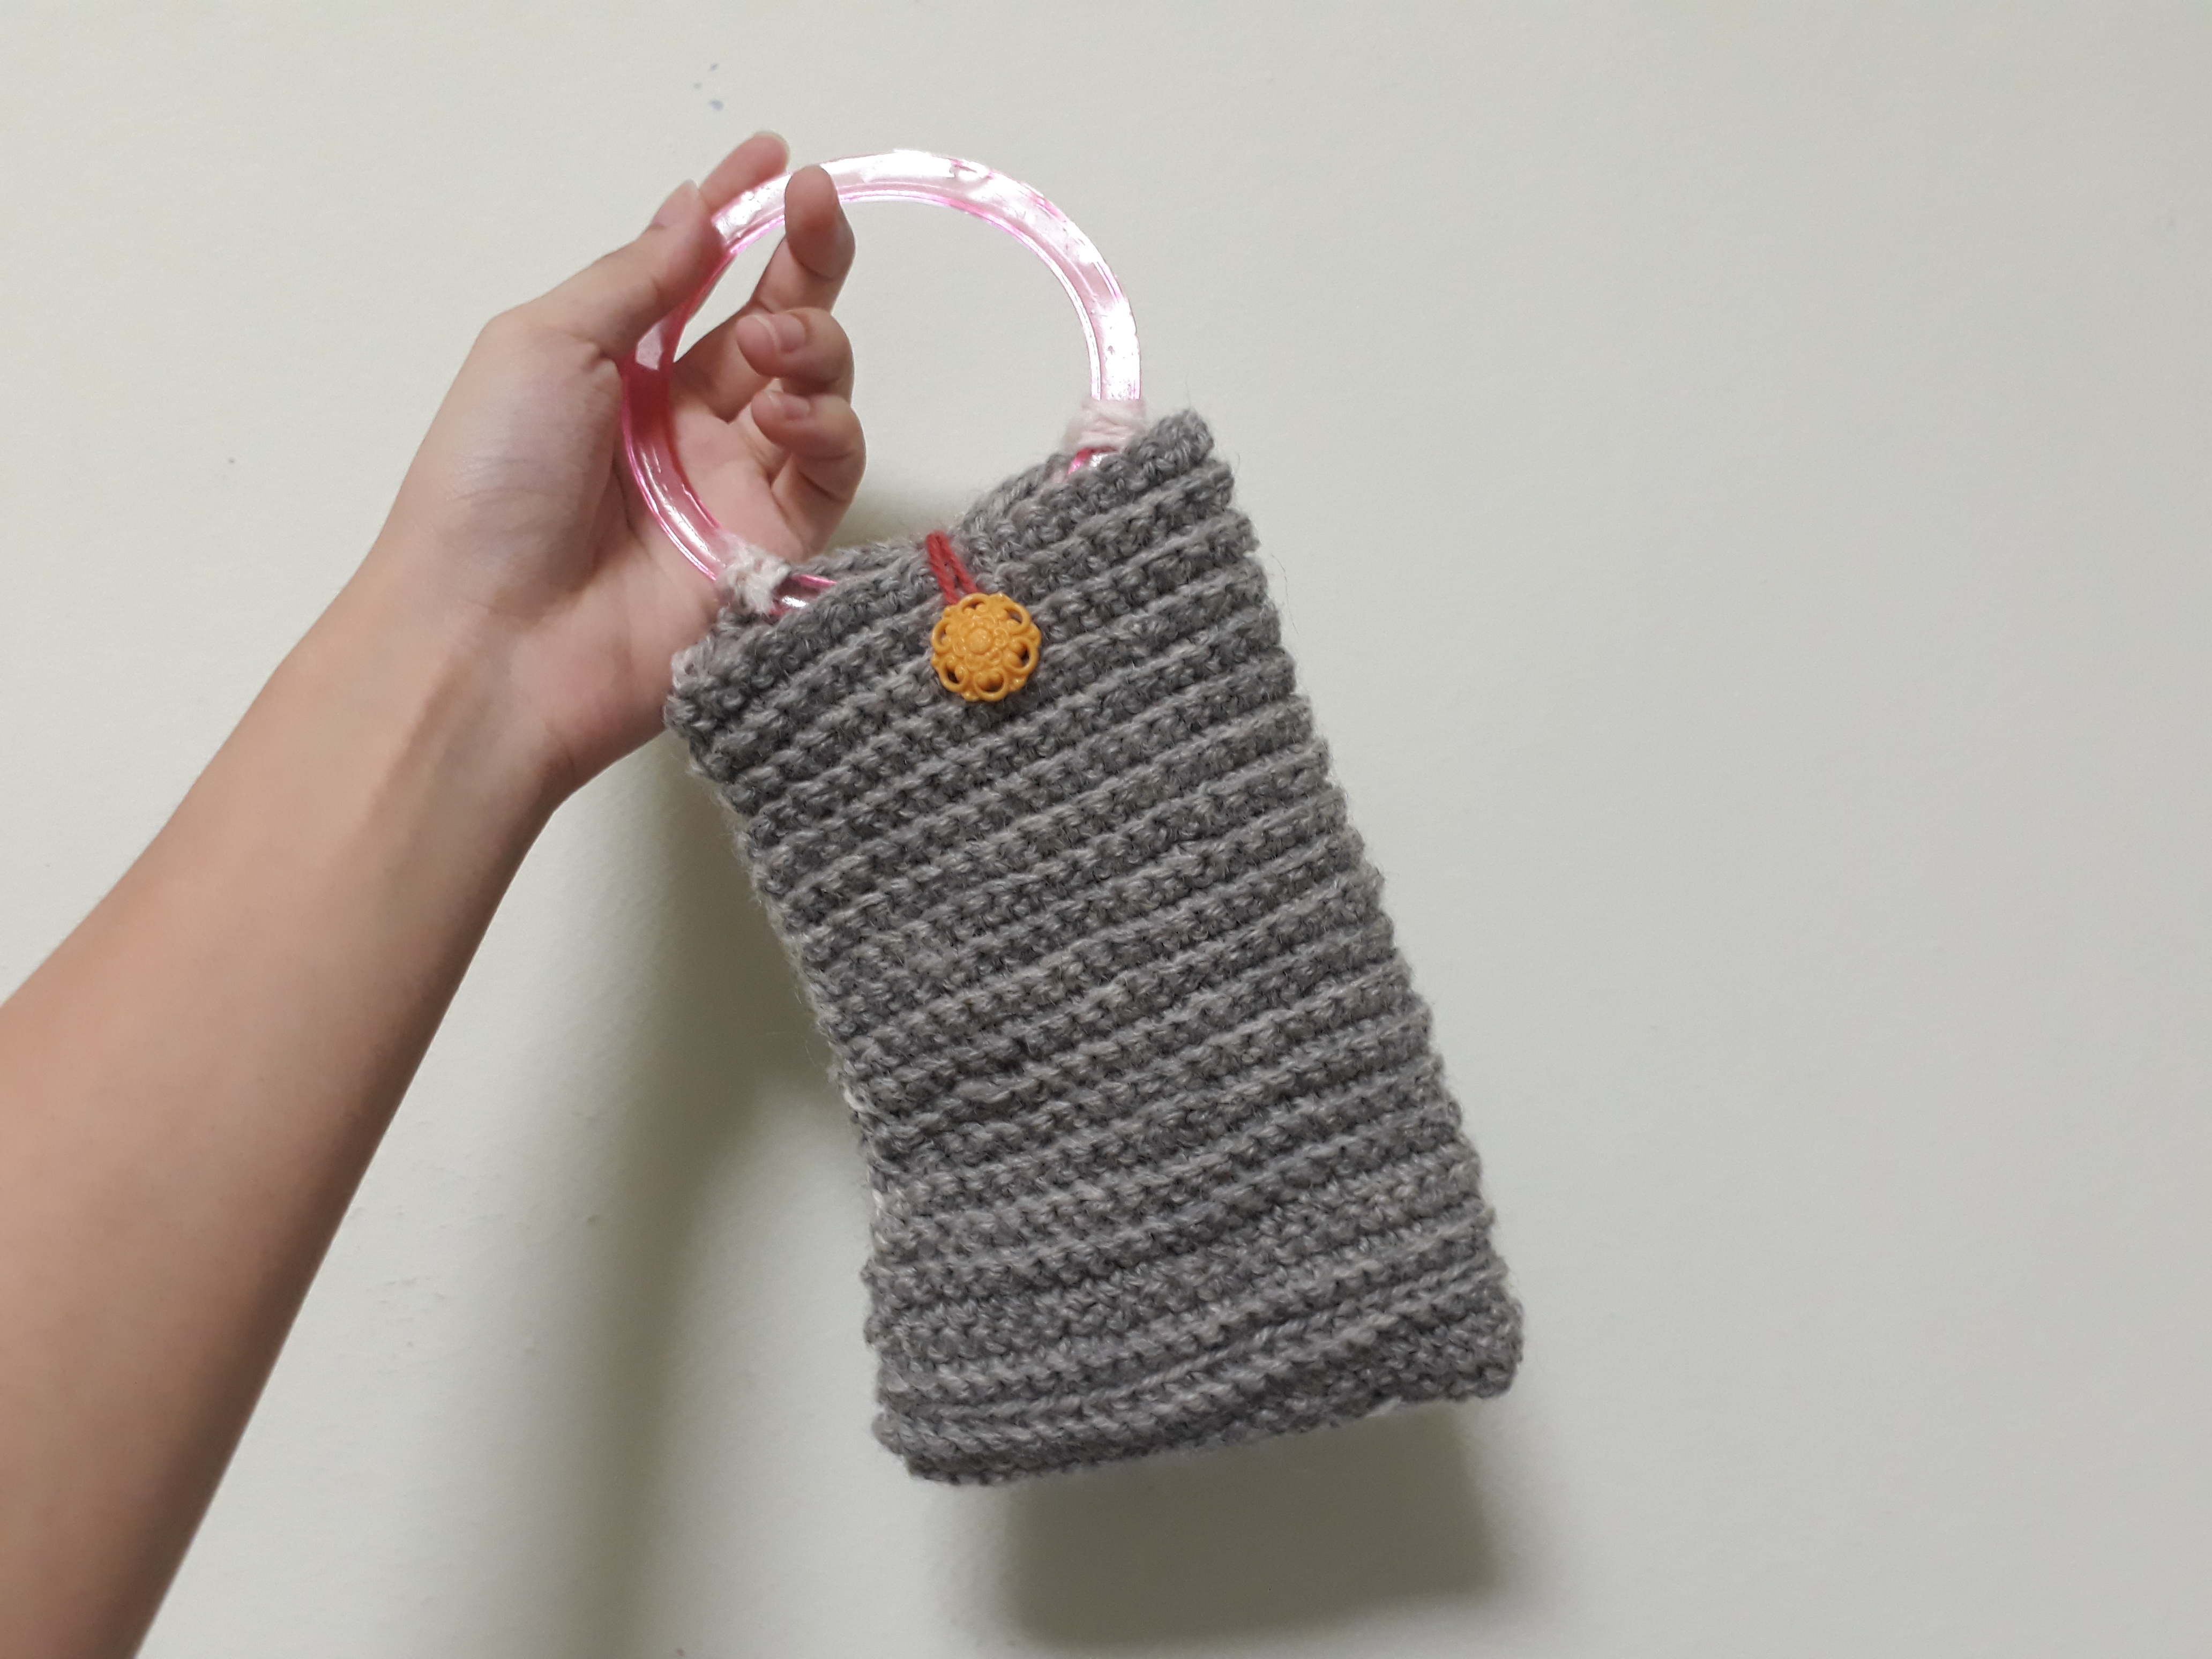
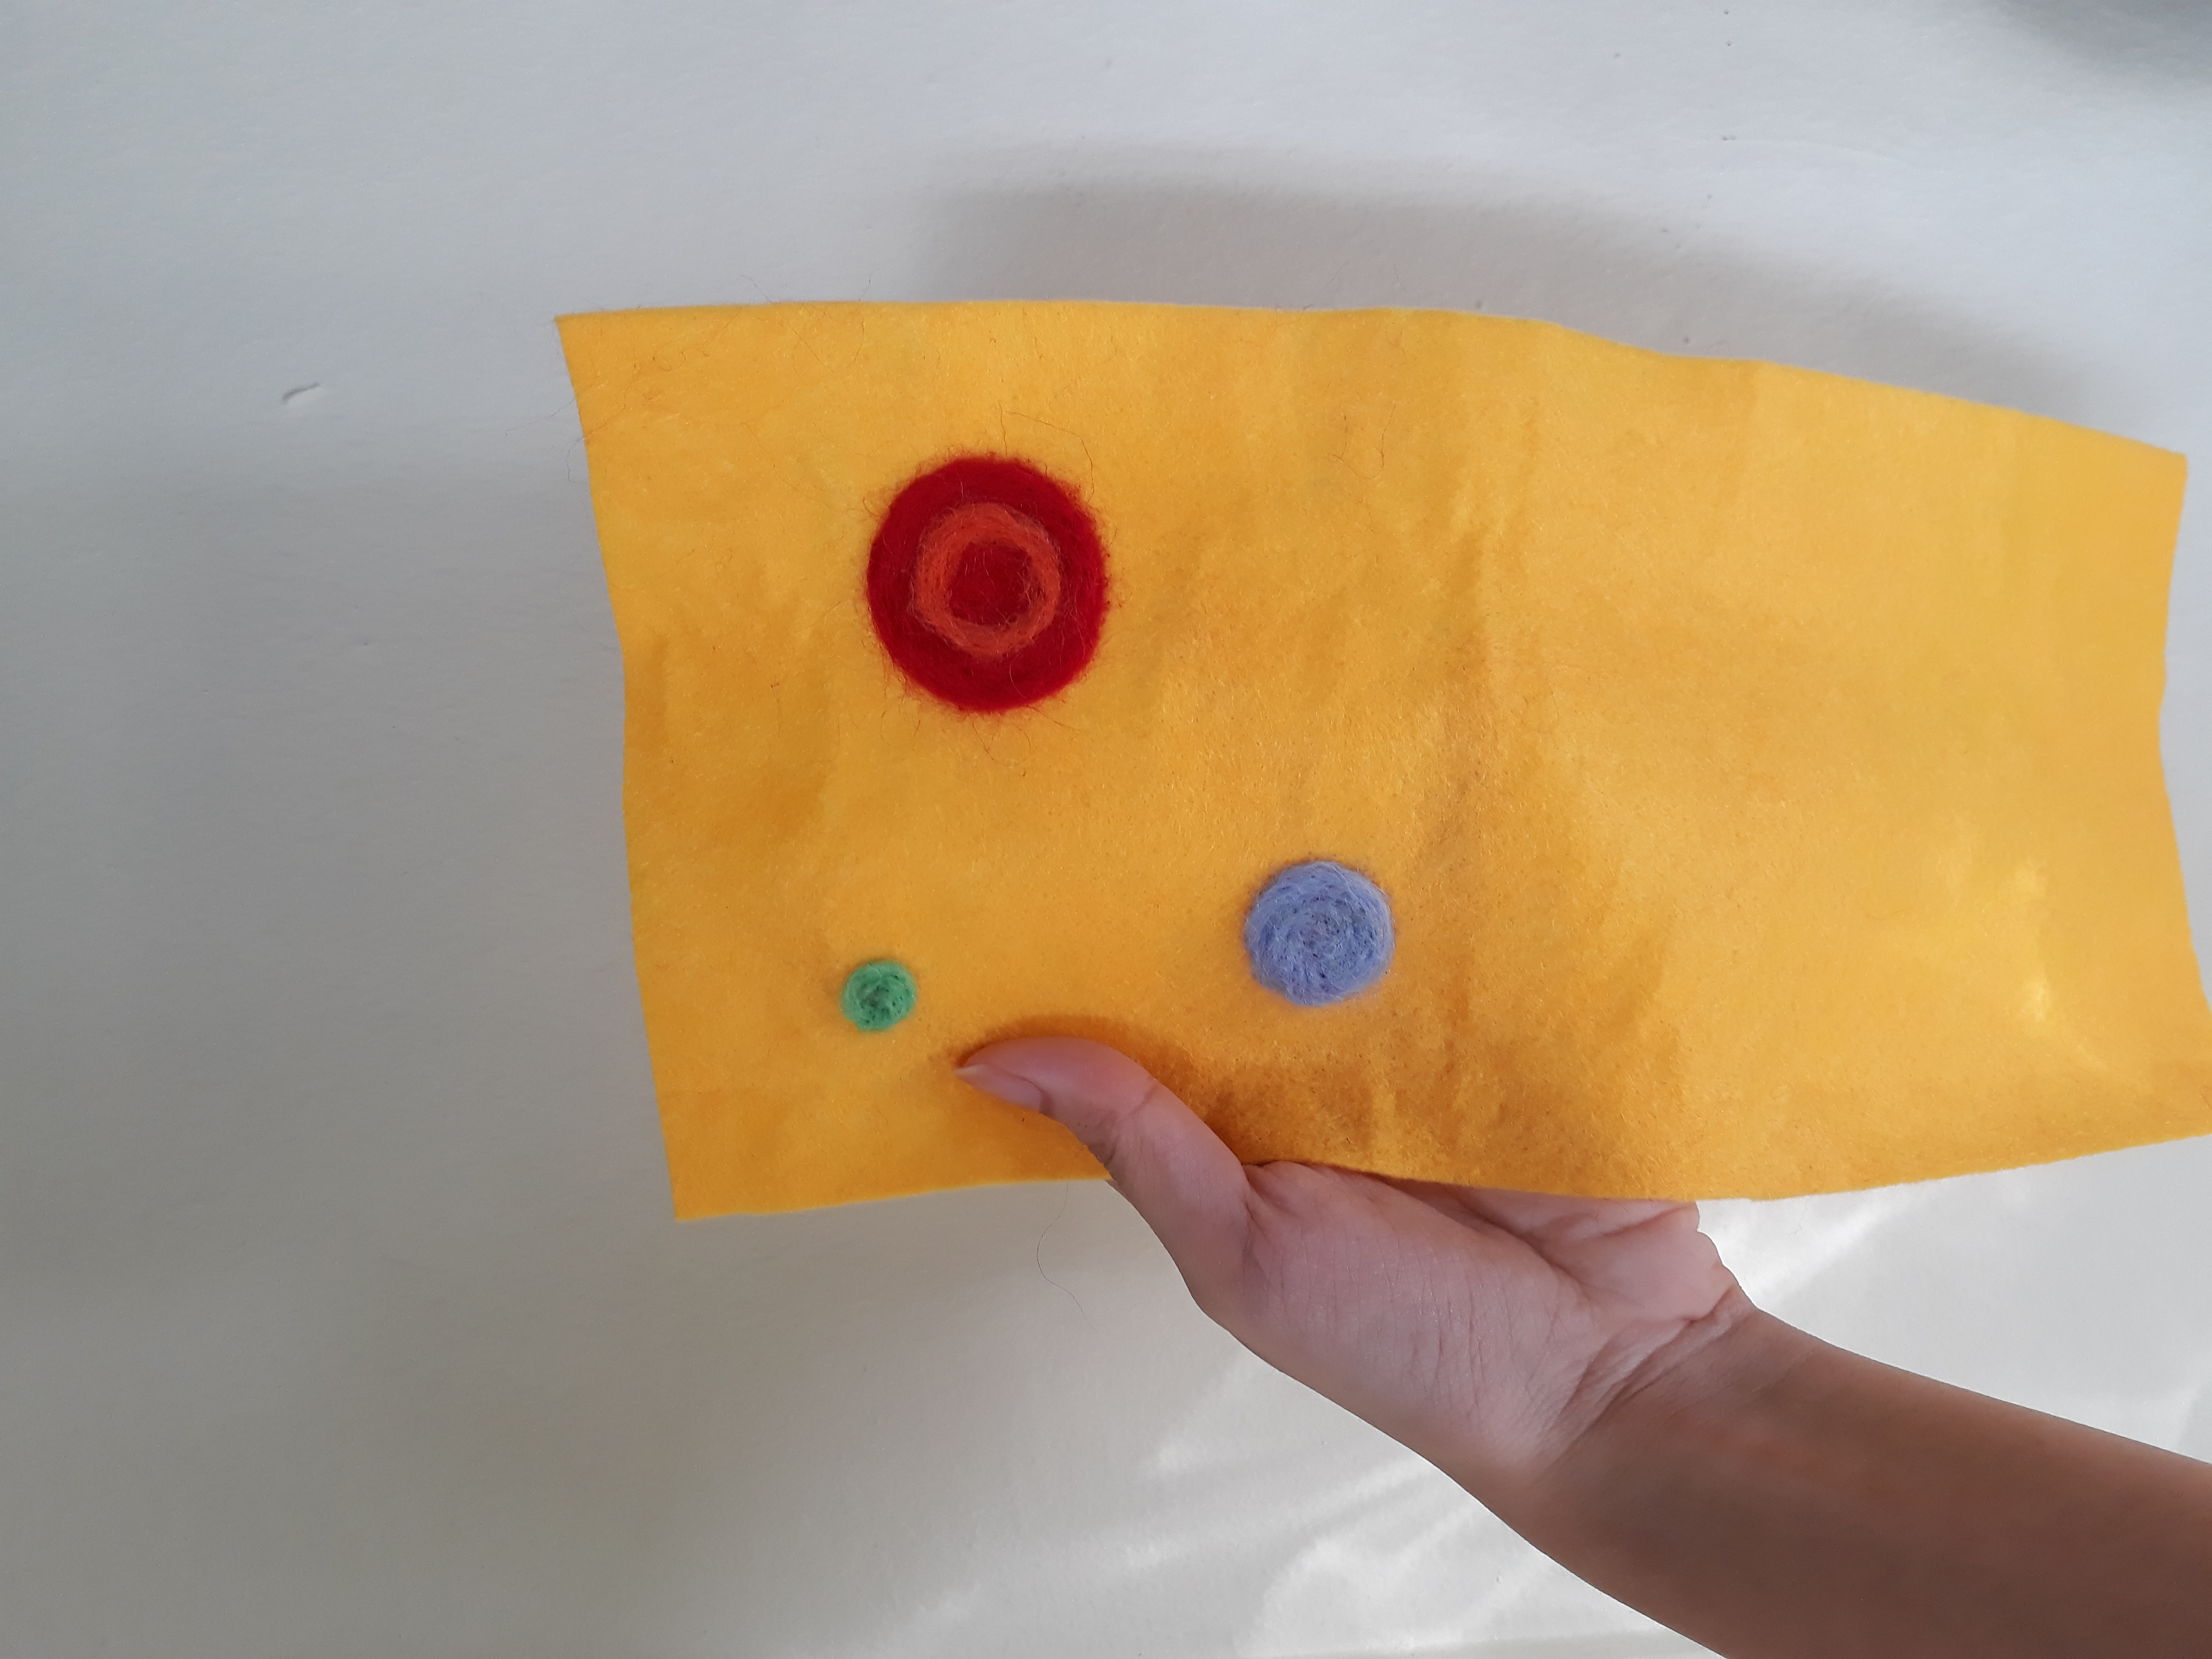
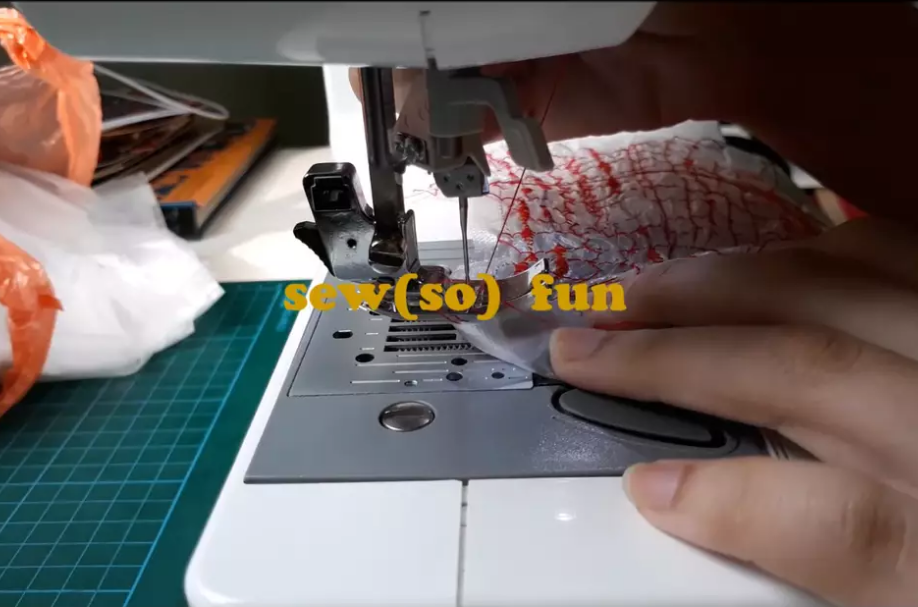
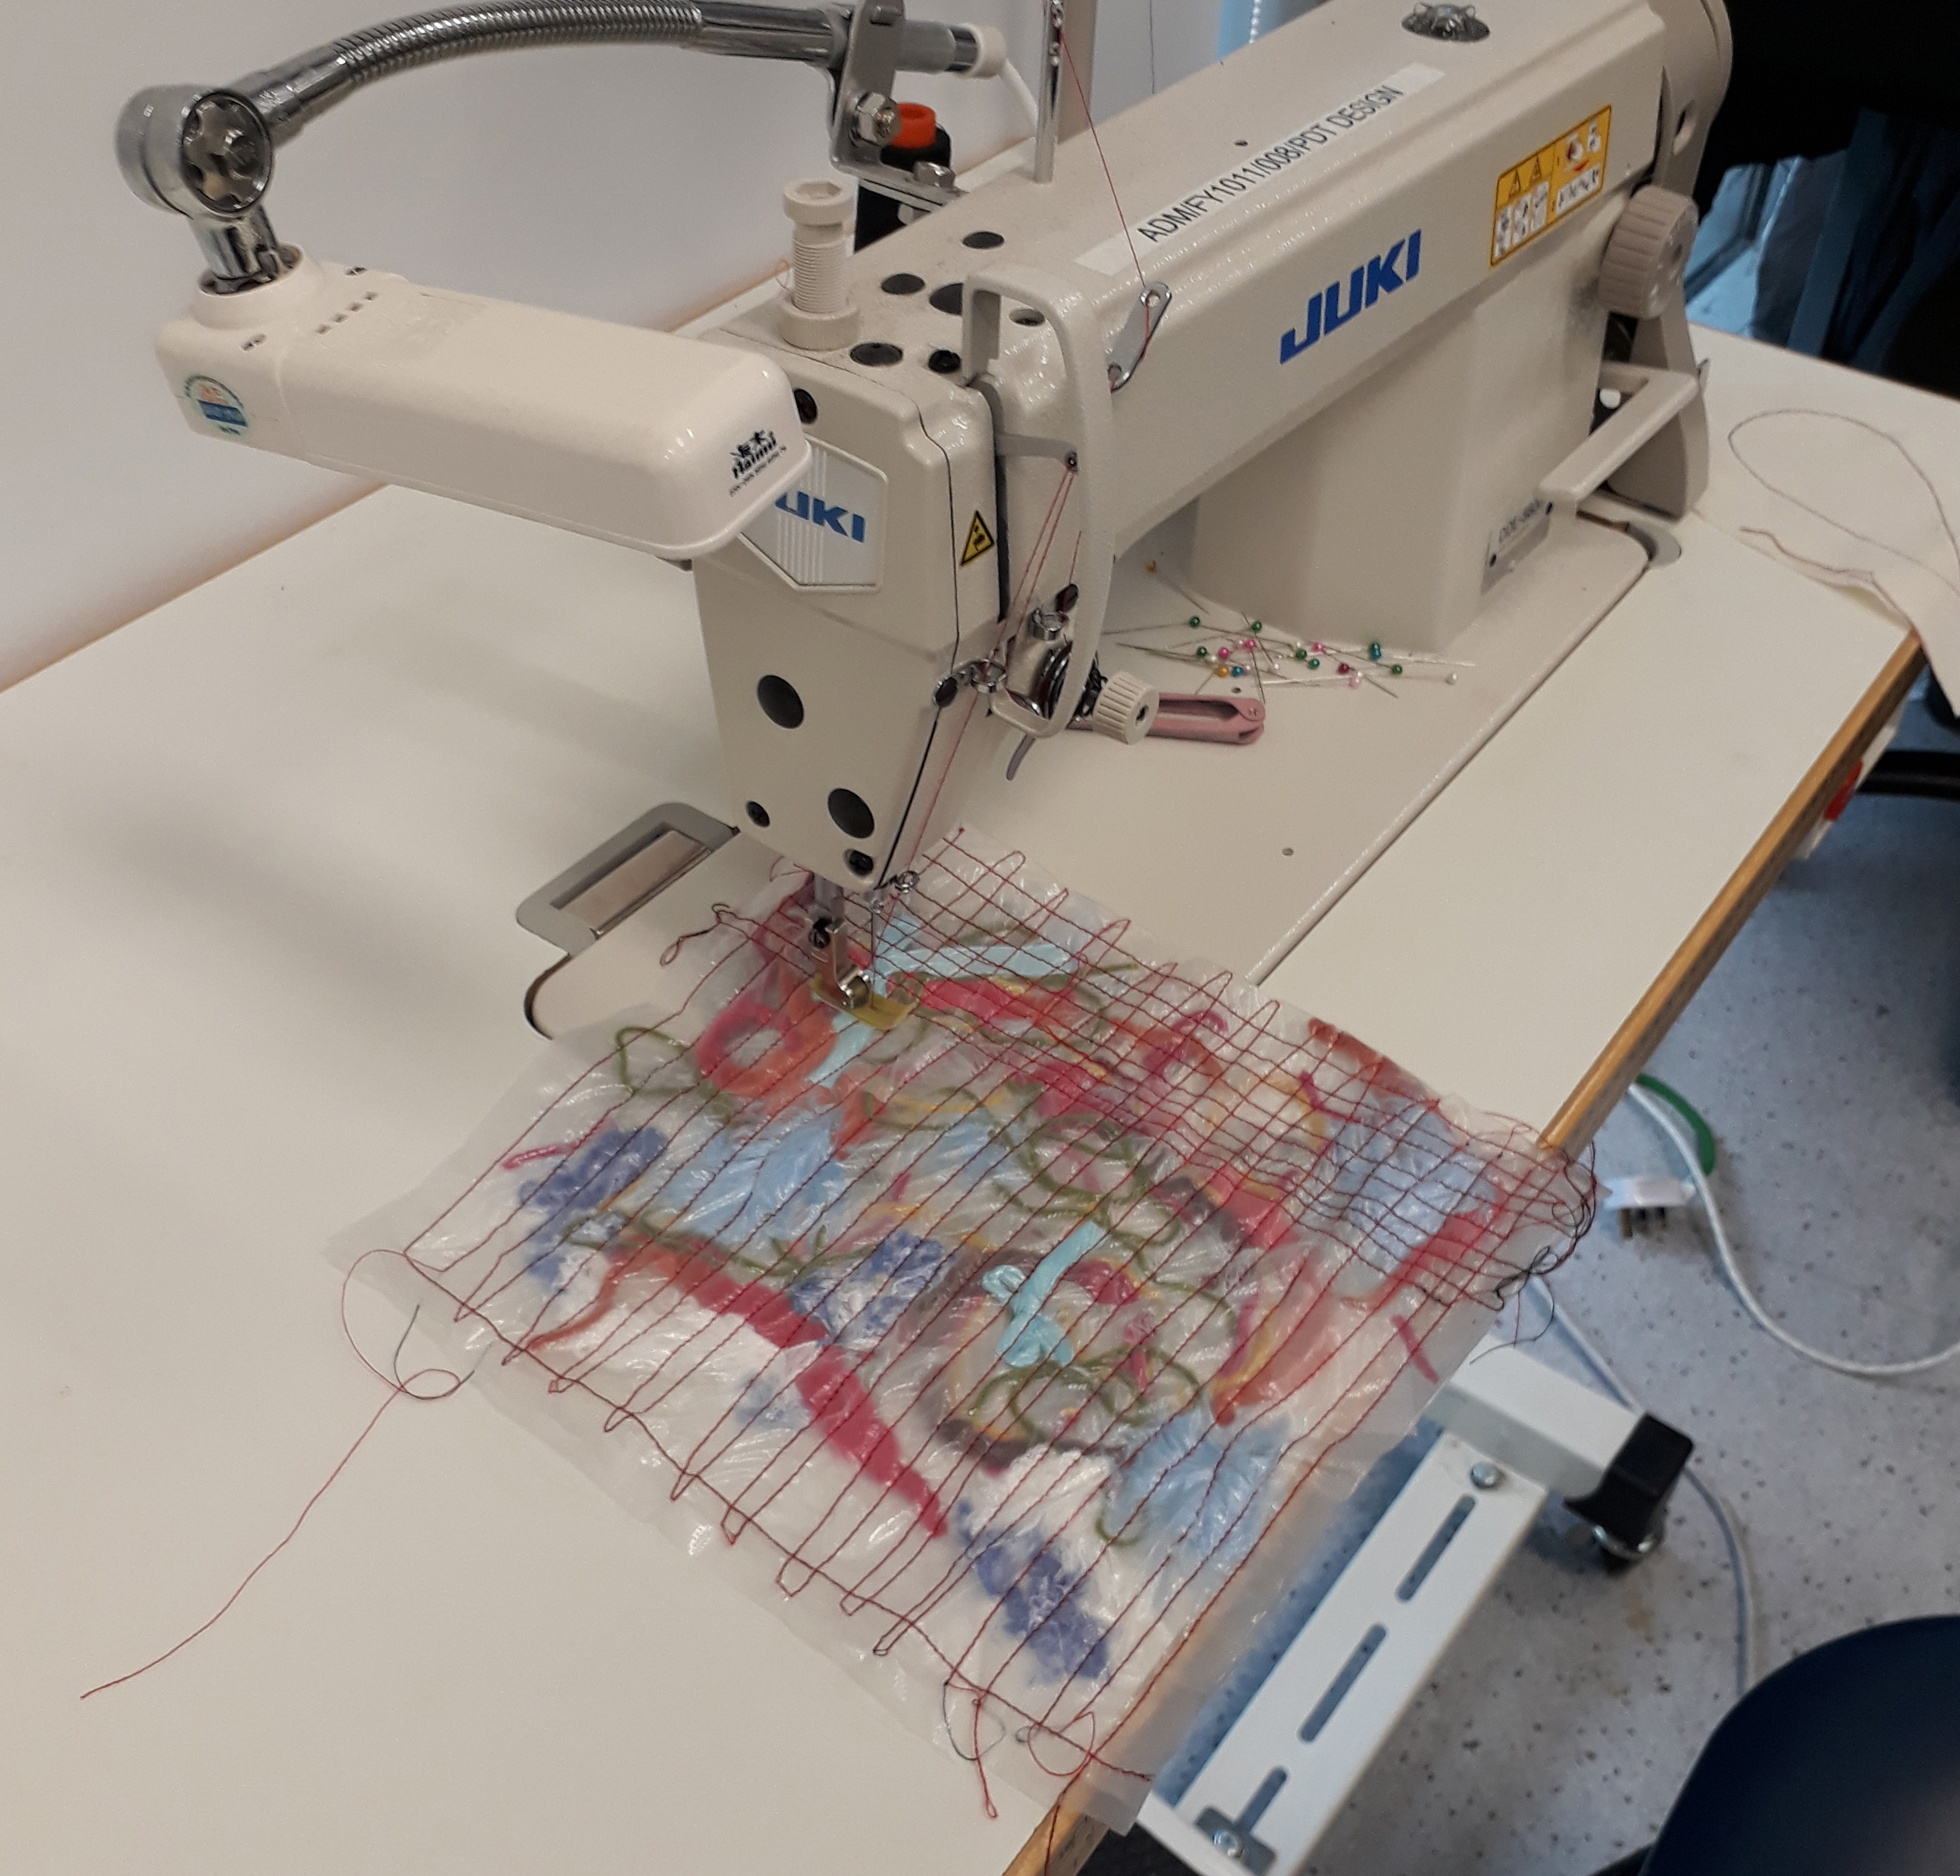
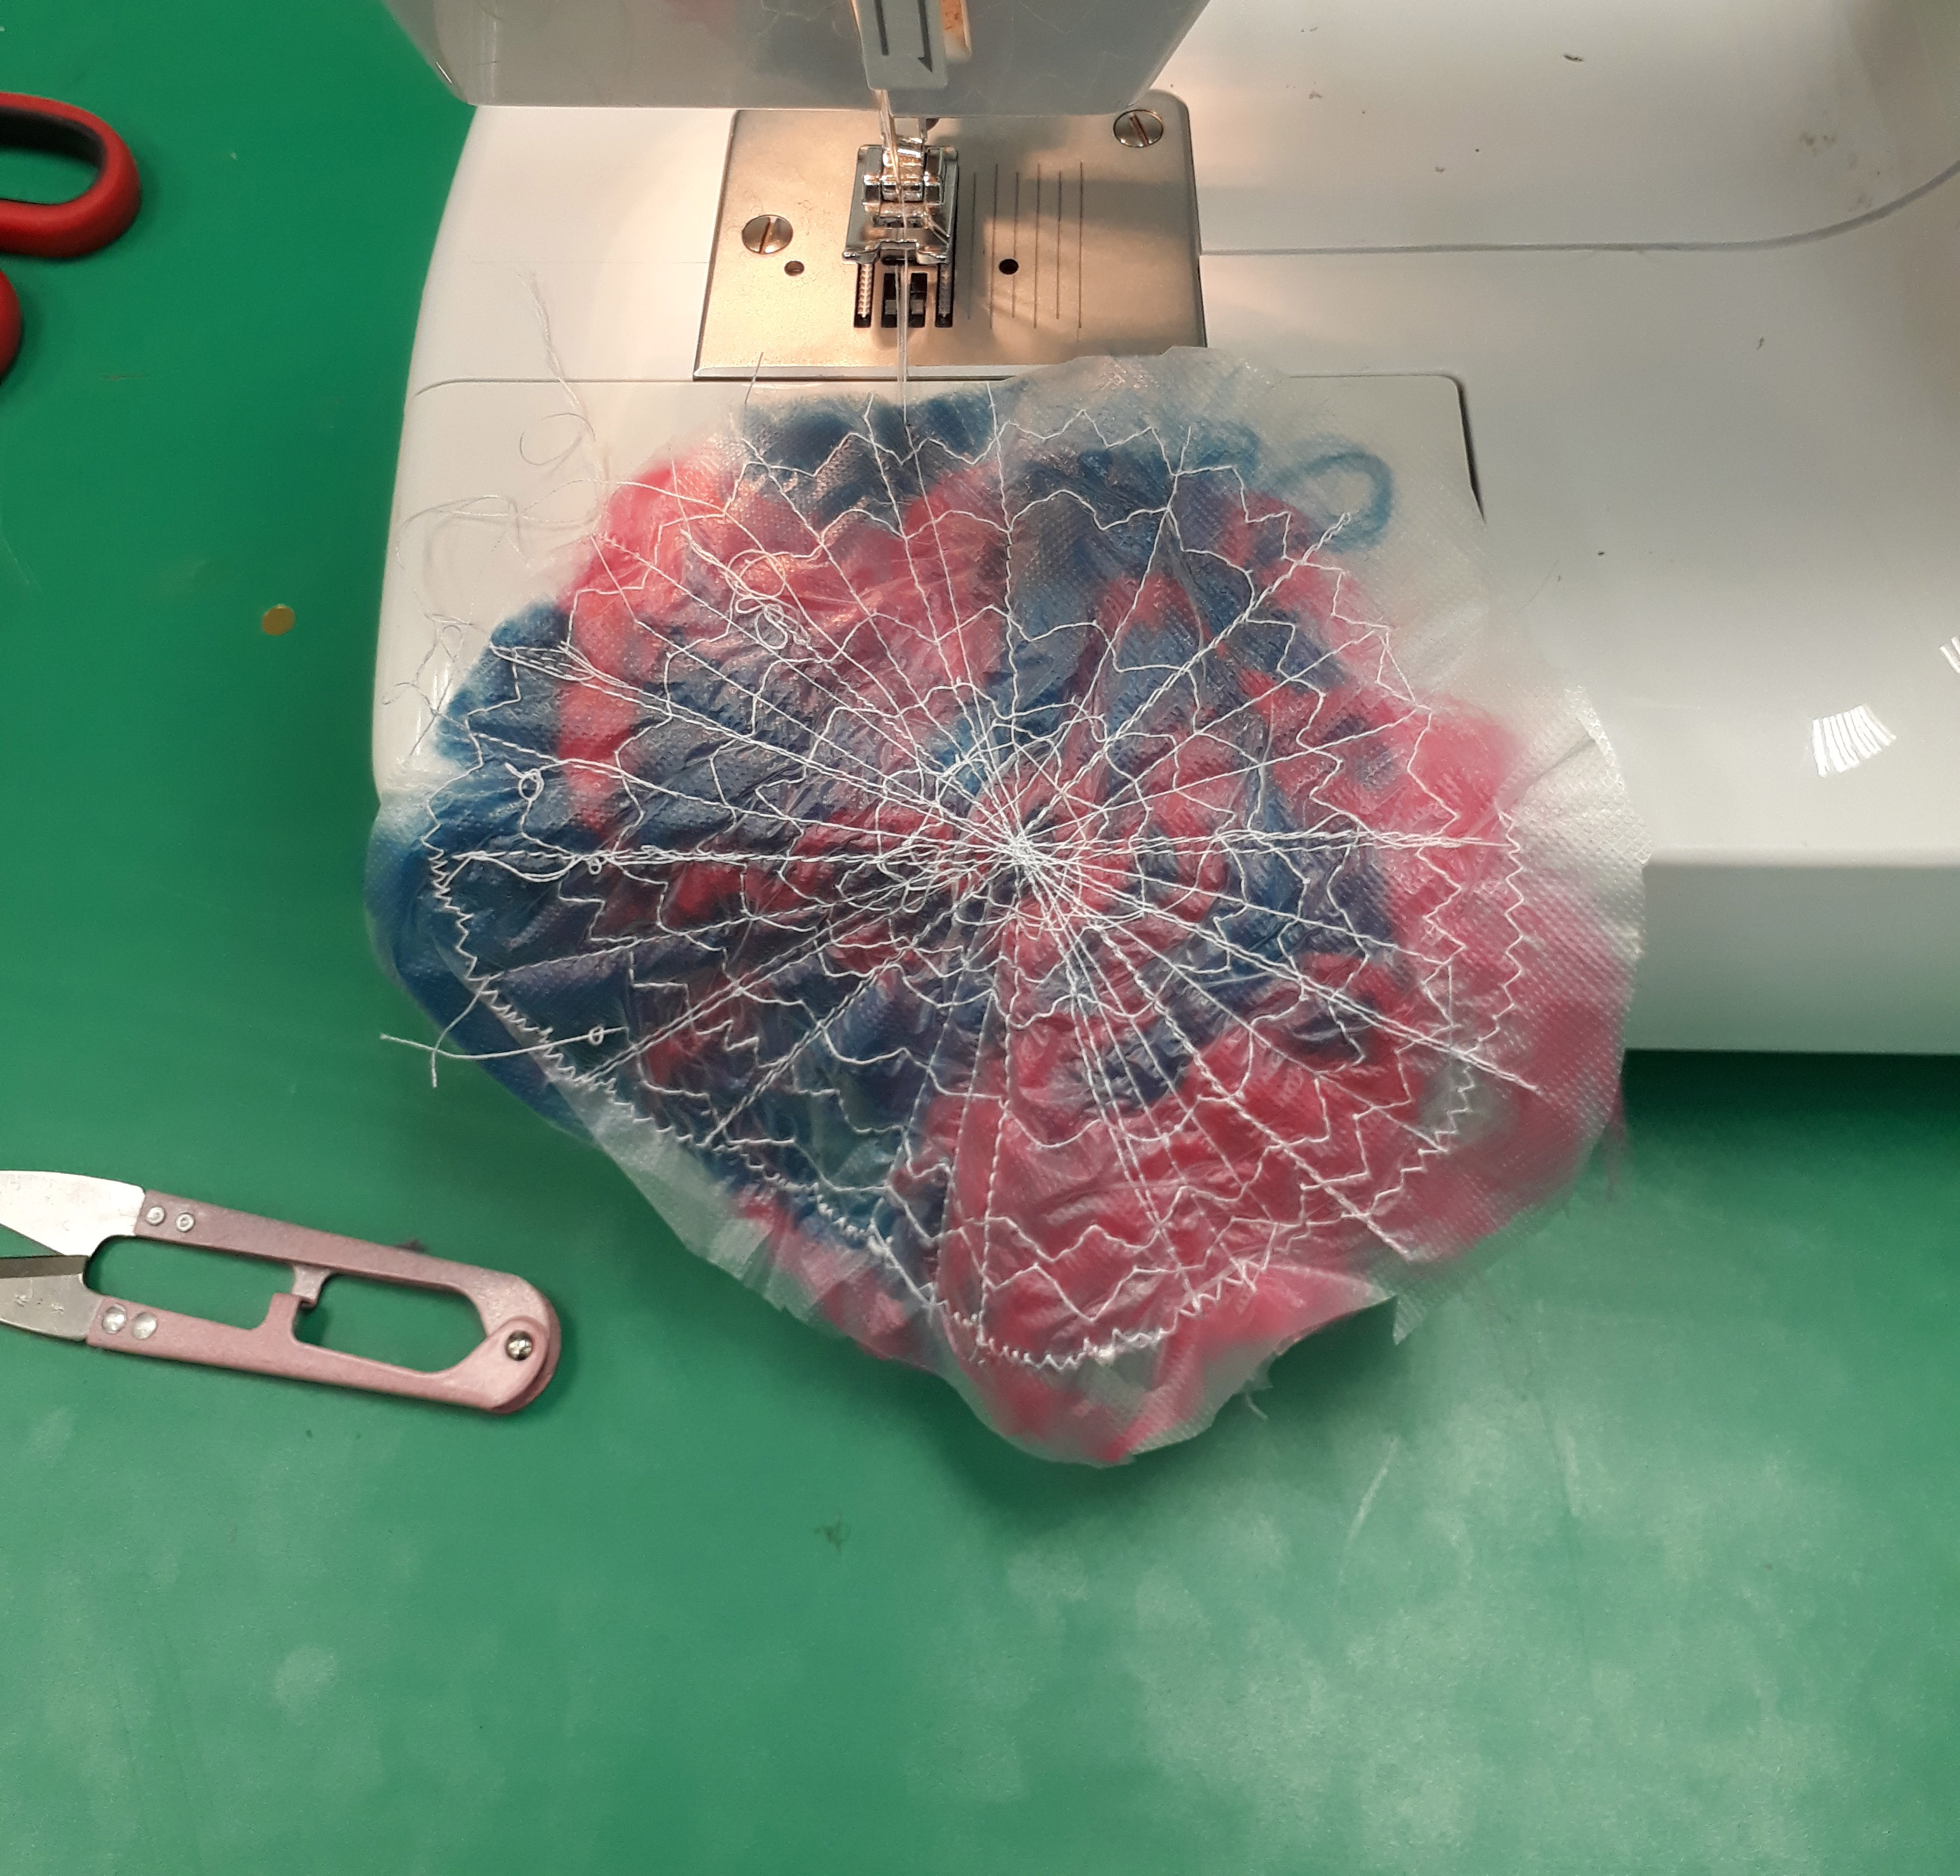
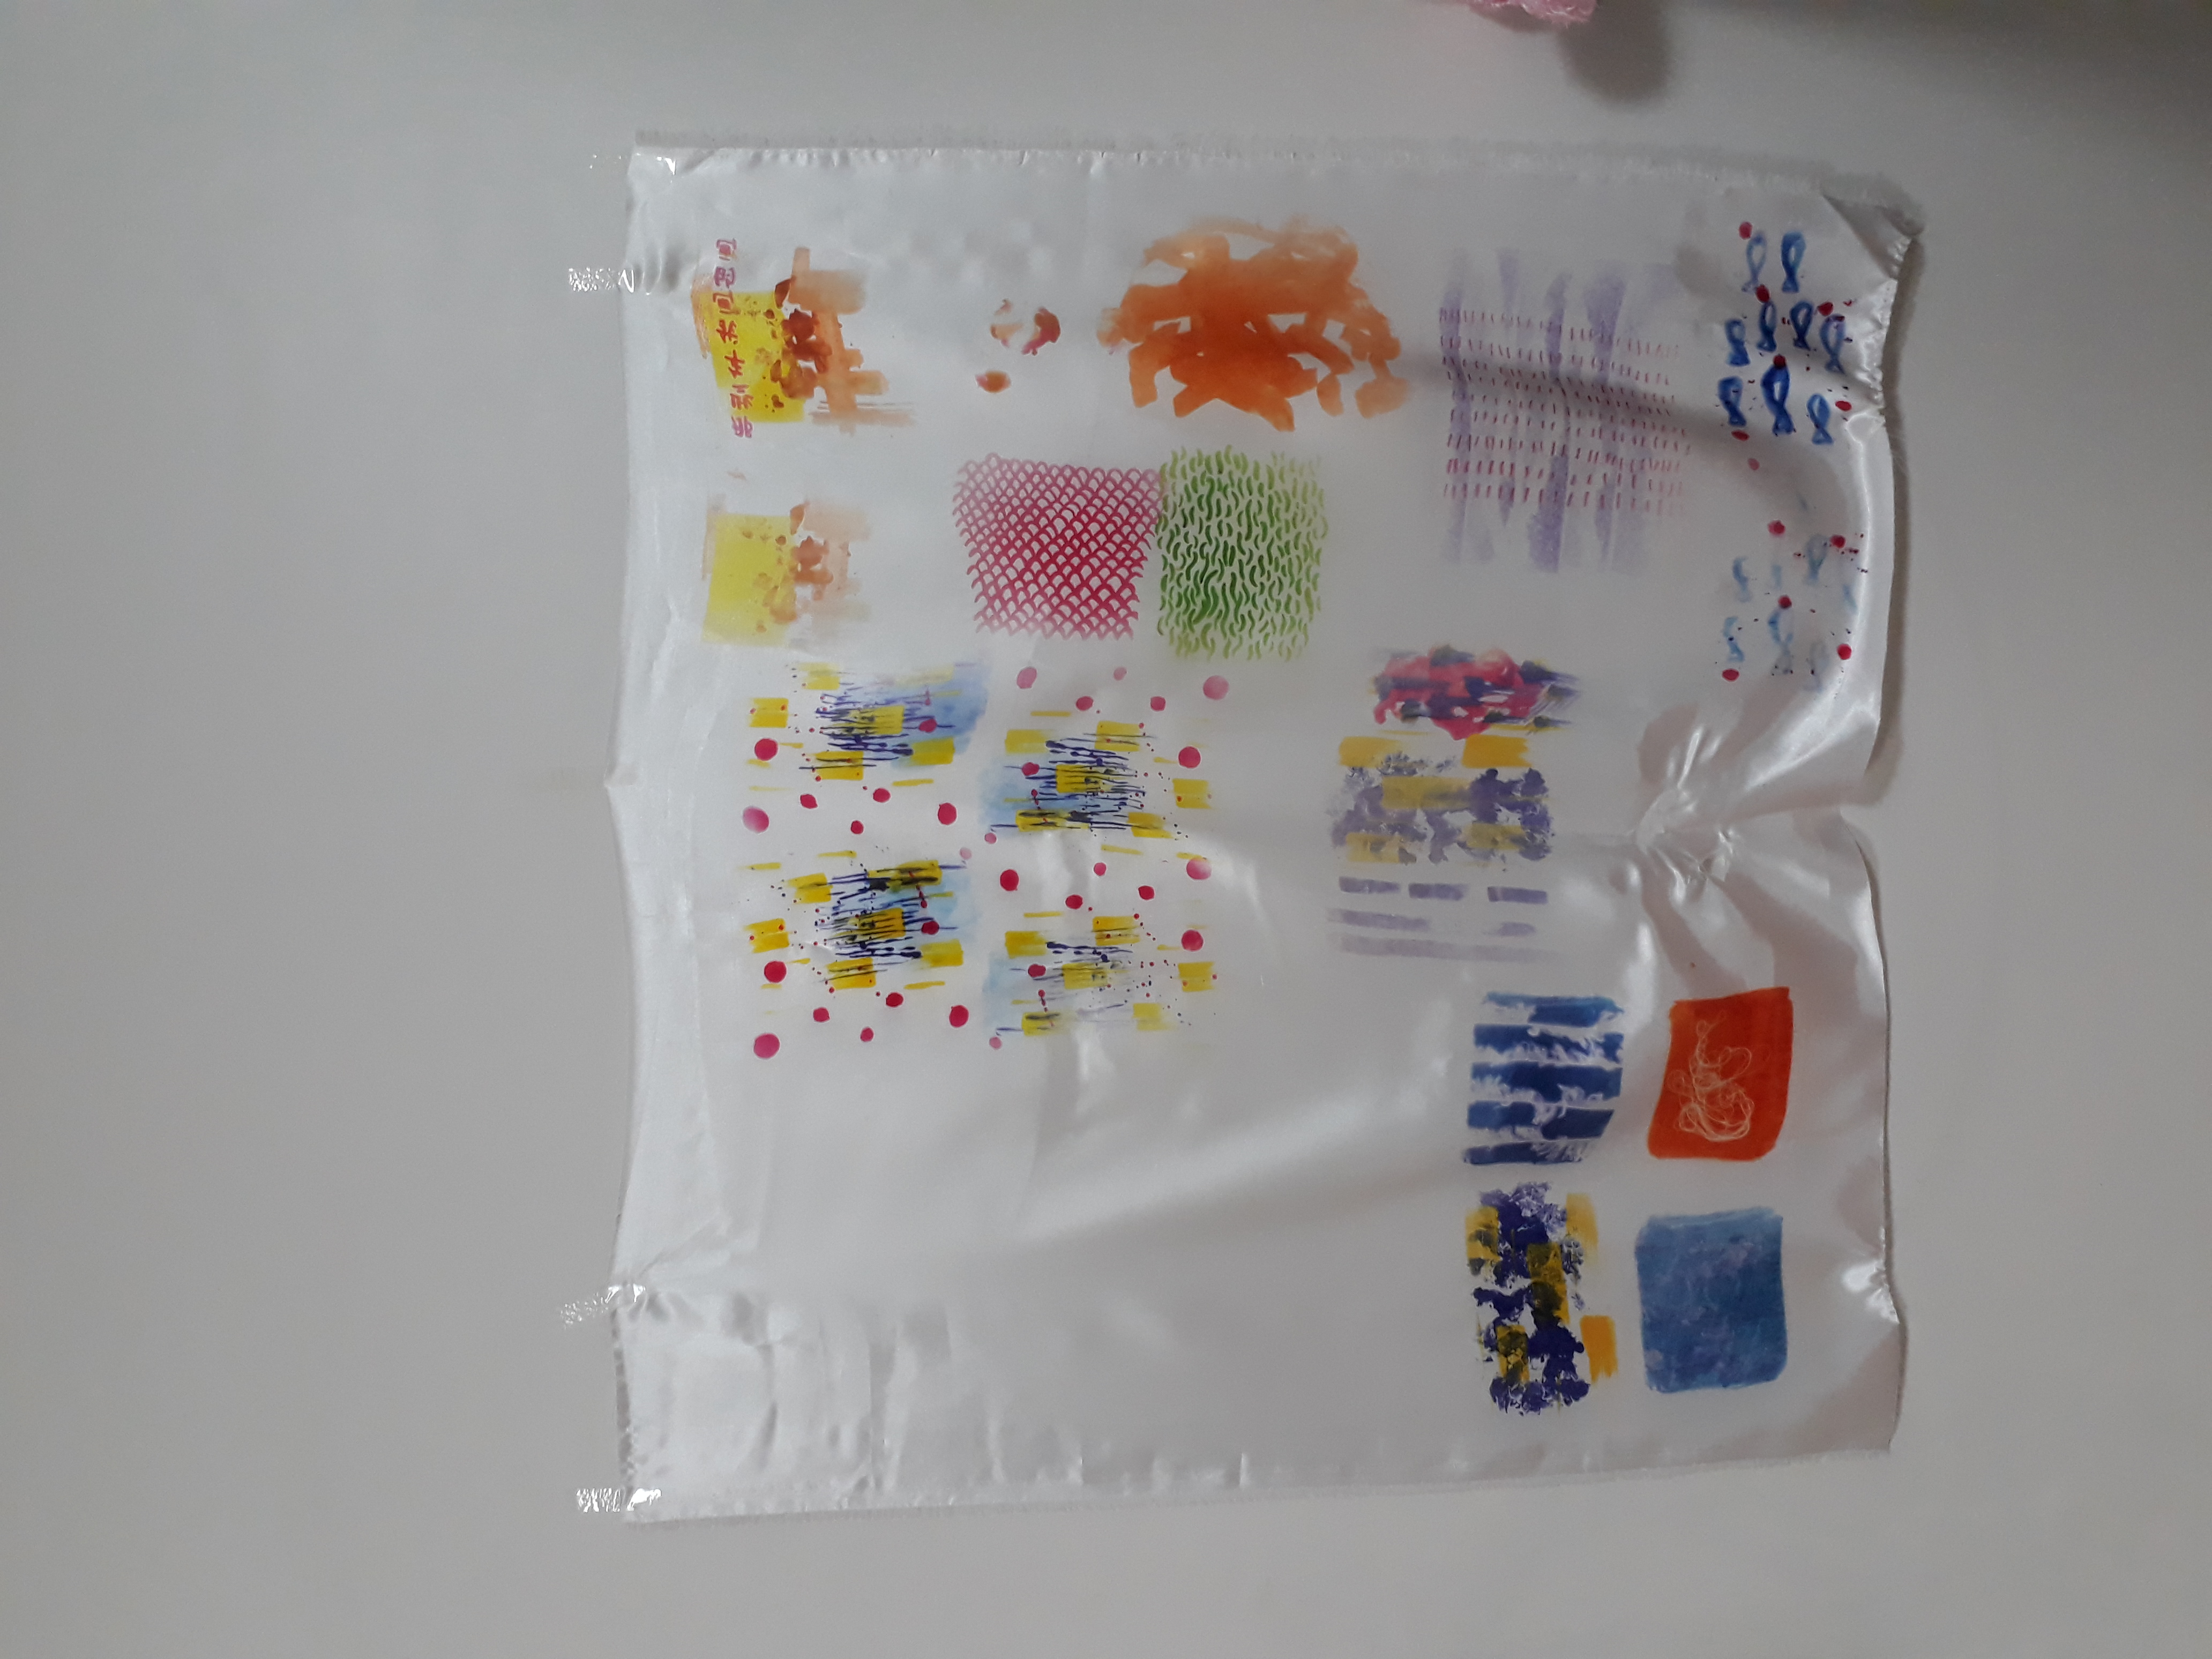
Nothing much to say about how knitting works: just have two sticks and a ball of yarn and you are good to go. I was testing our how would knitting in fashion look like if I did it HAHAH. So here’s a few testers I did.


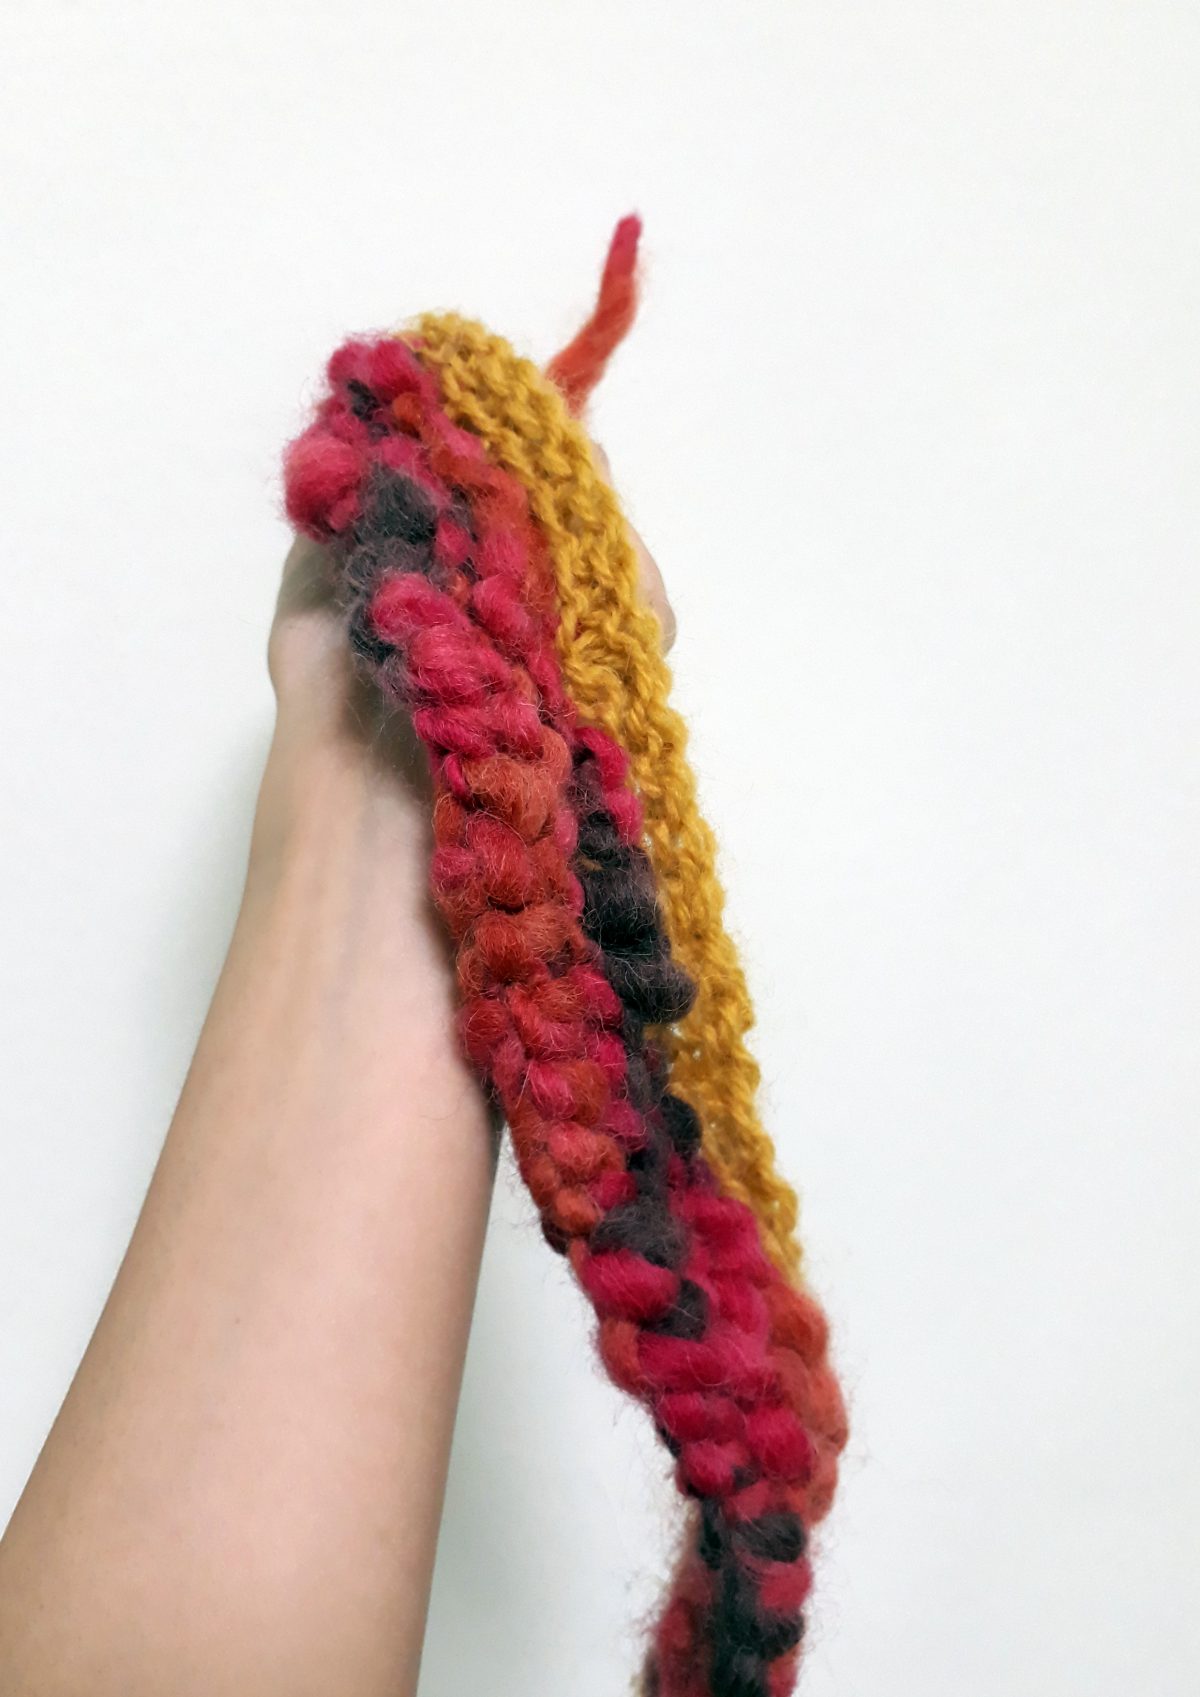
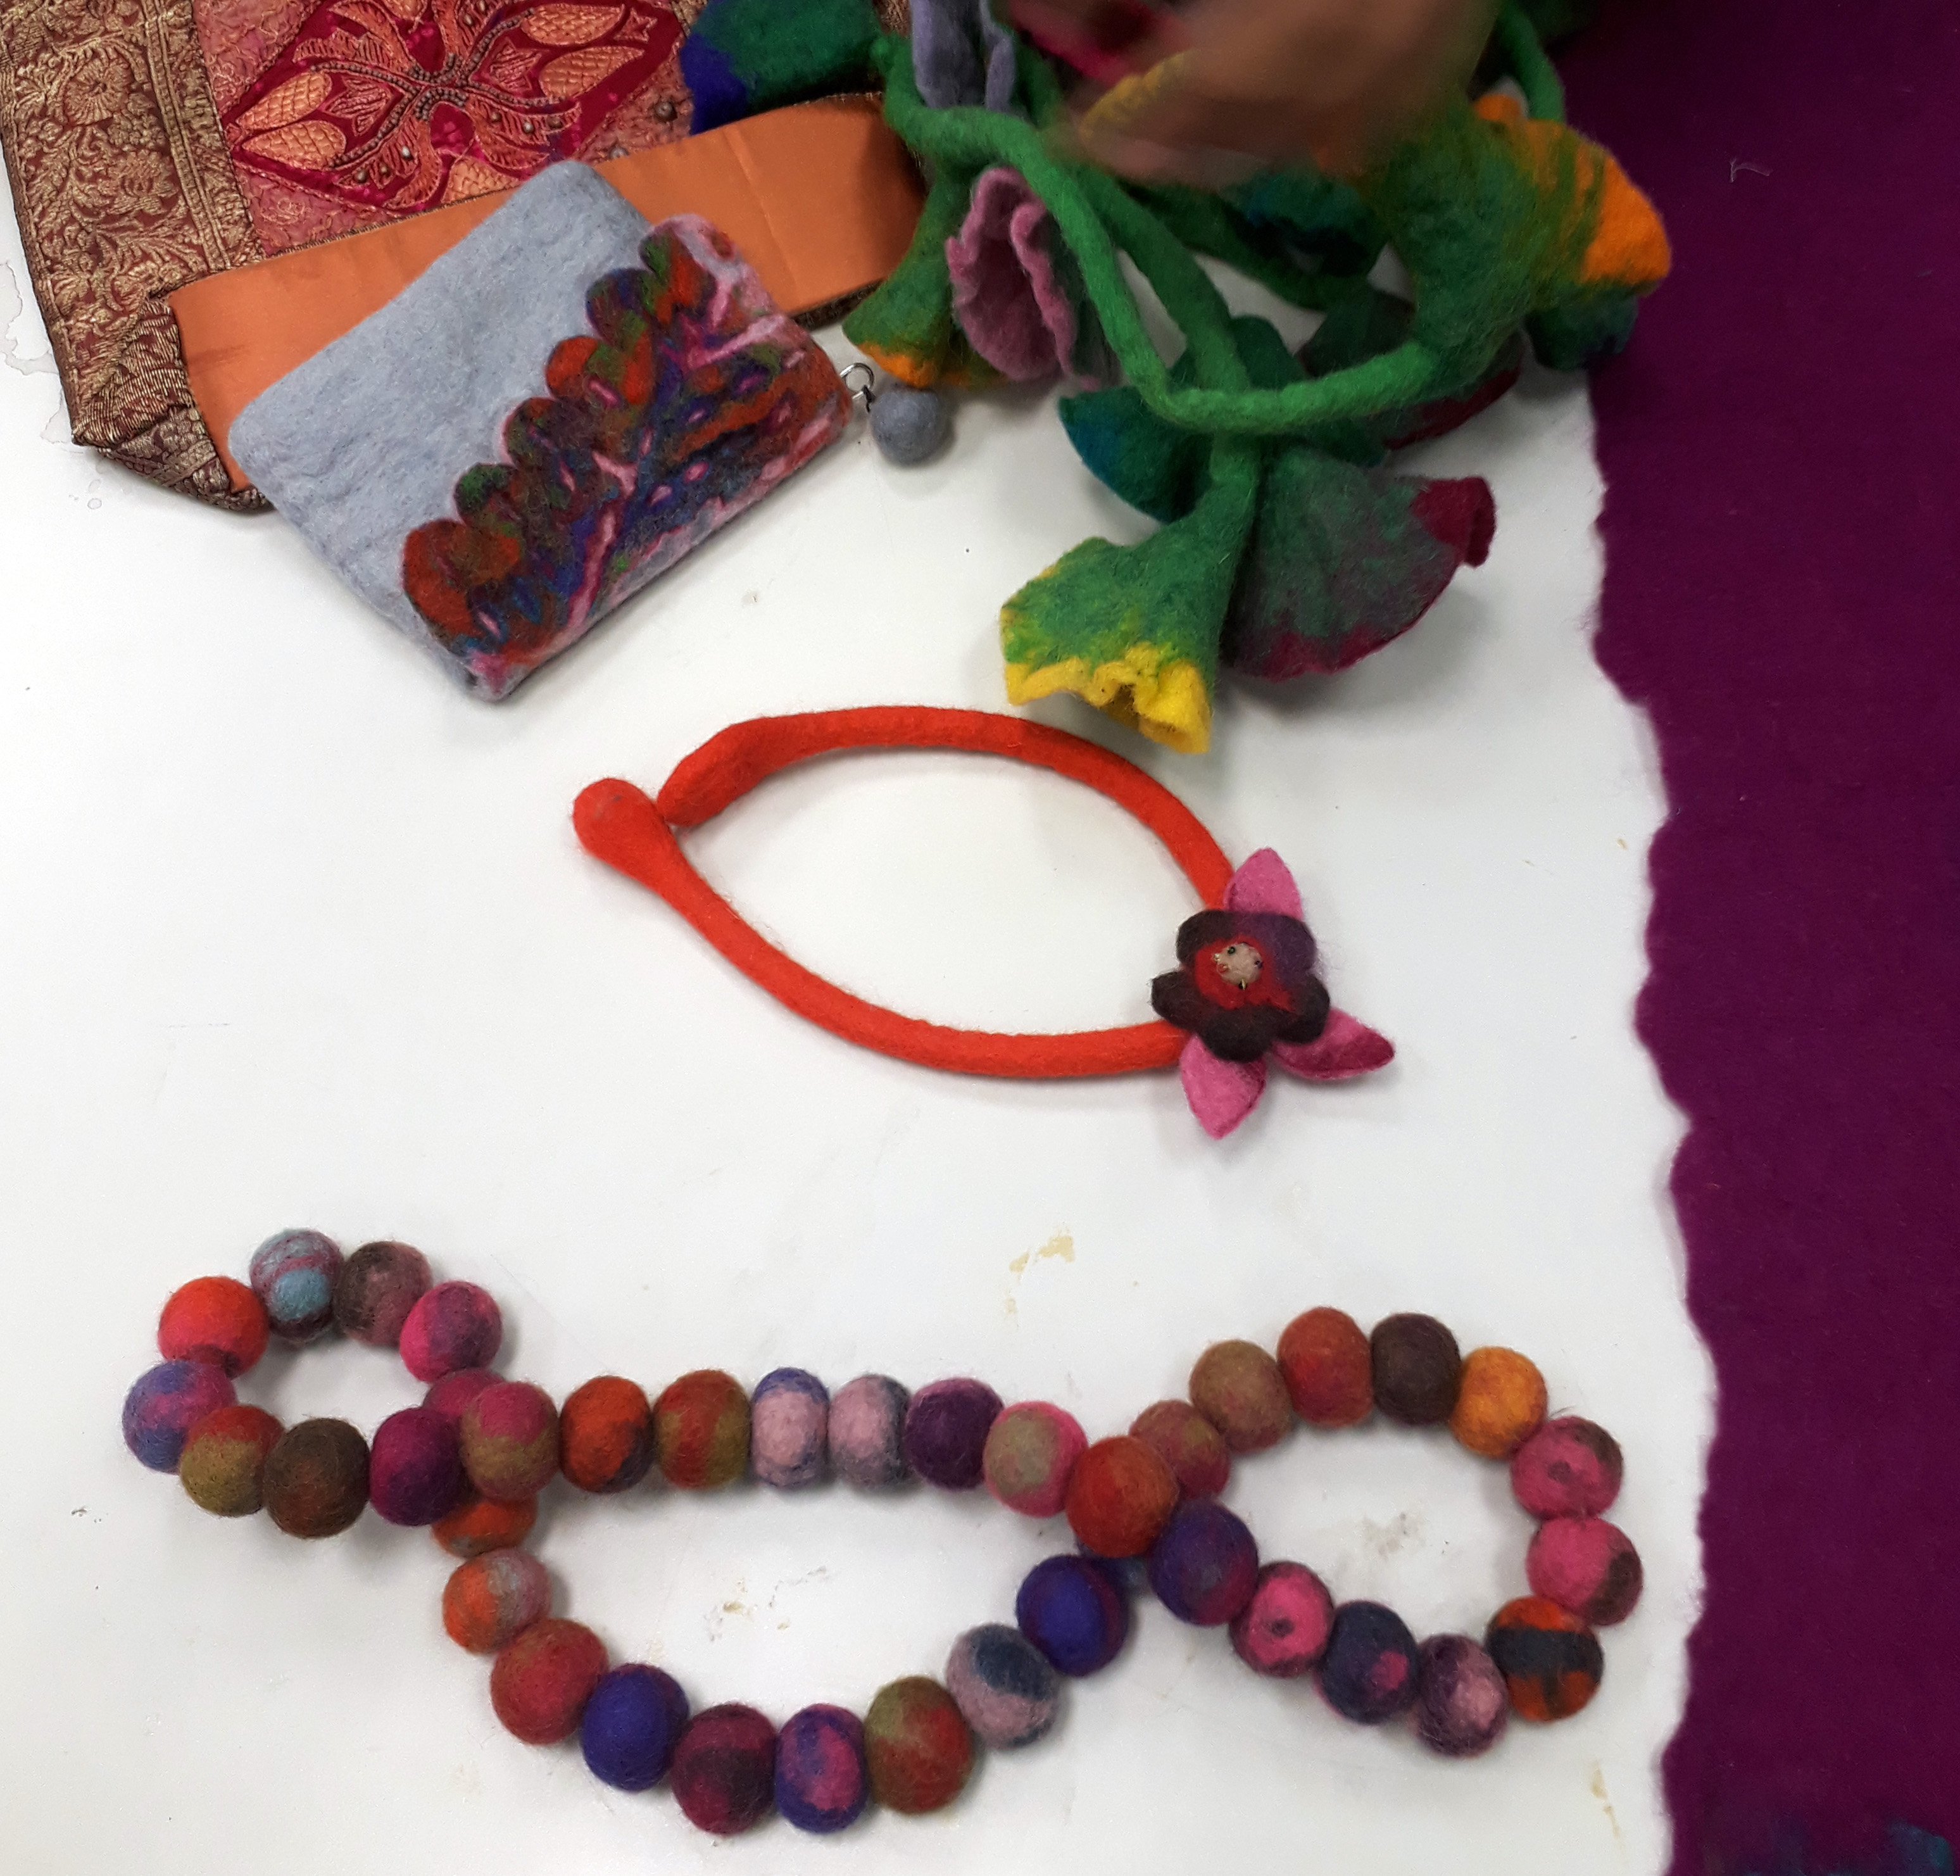
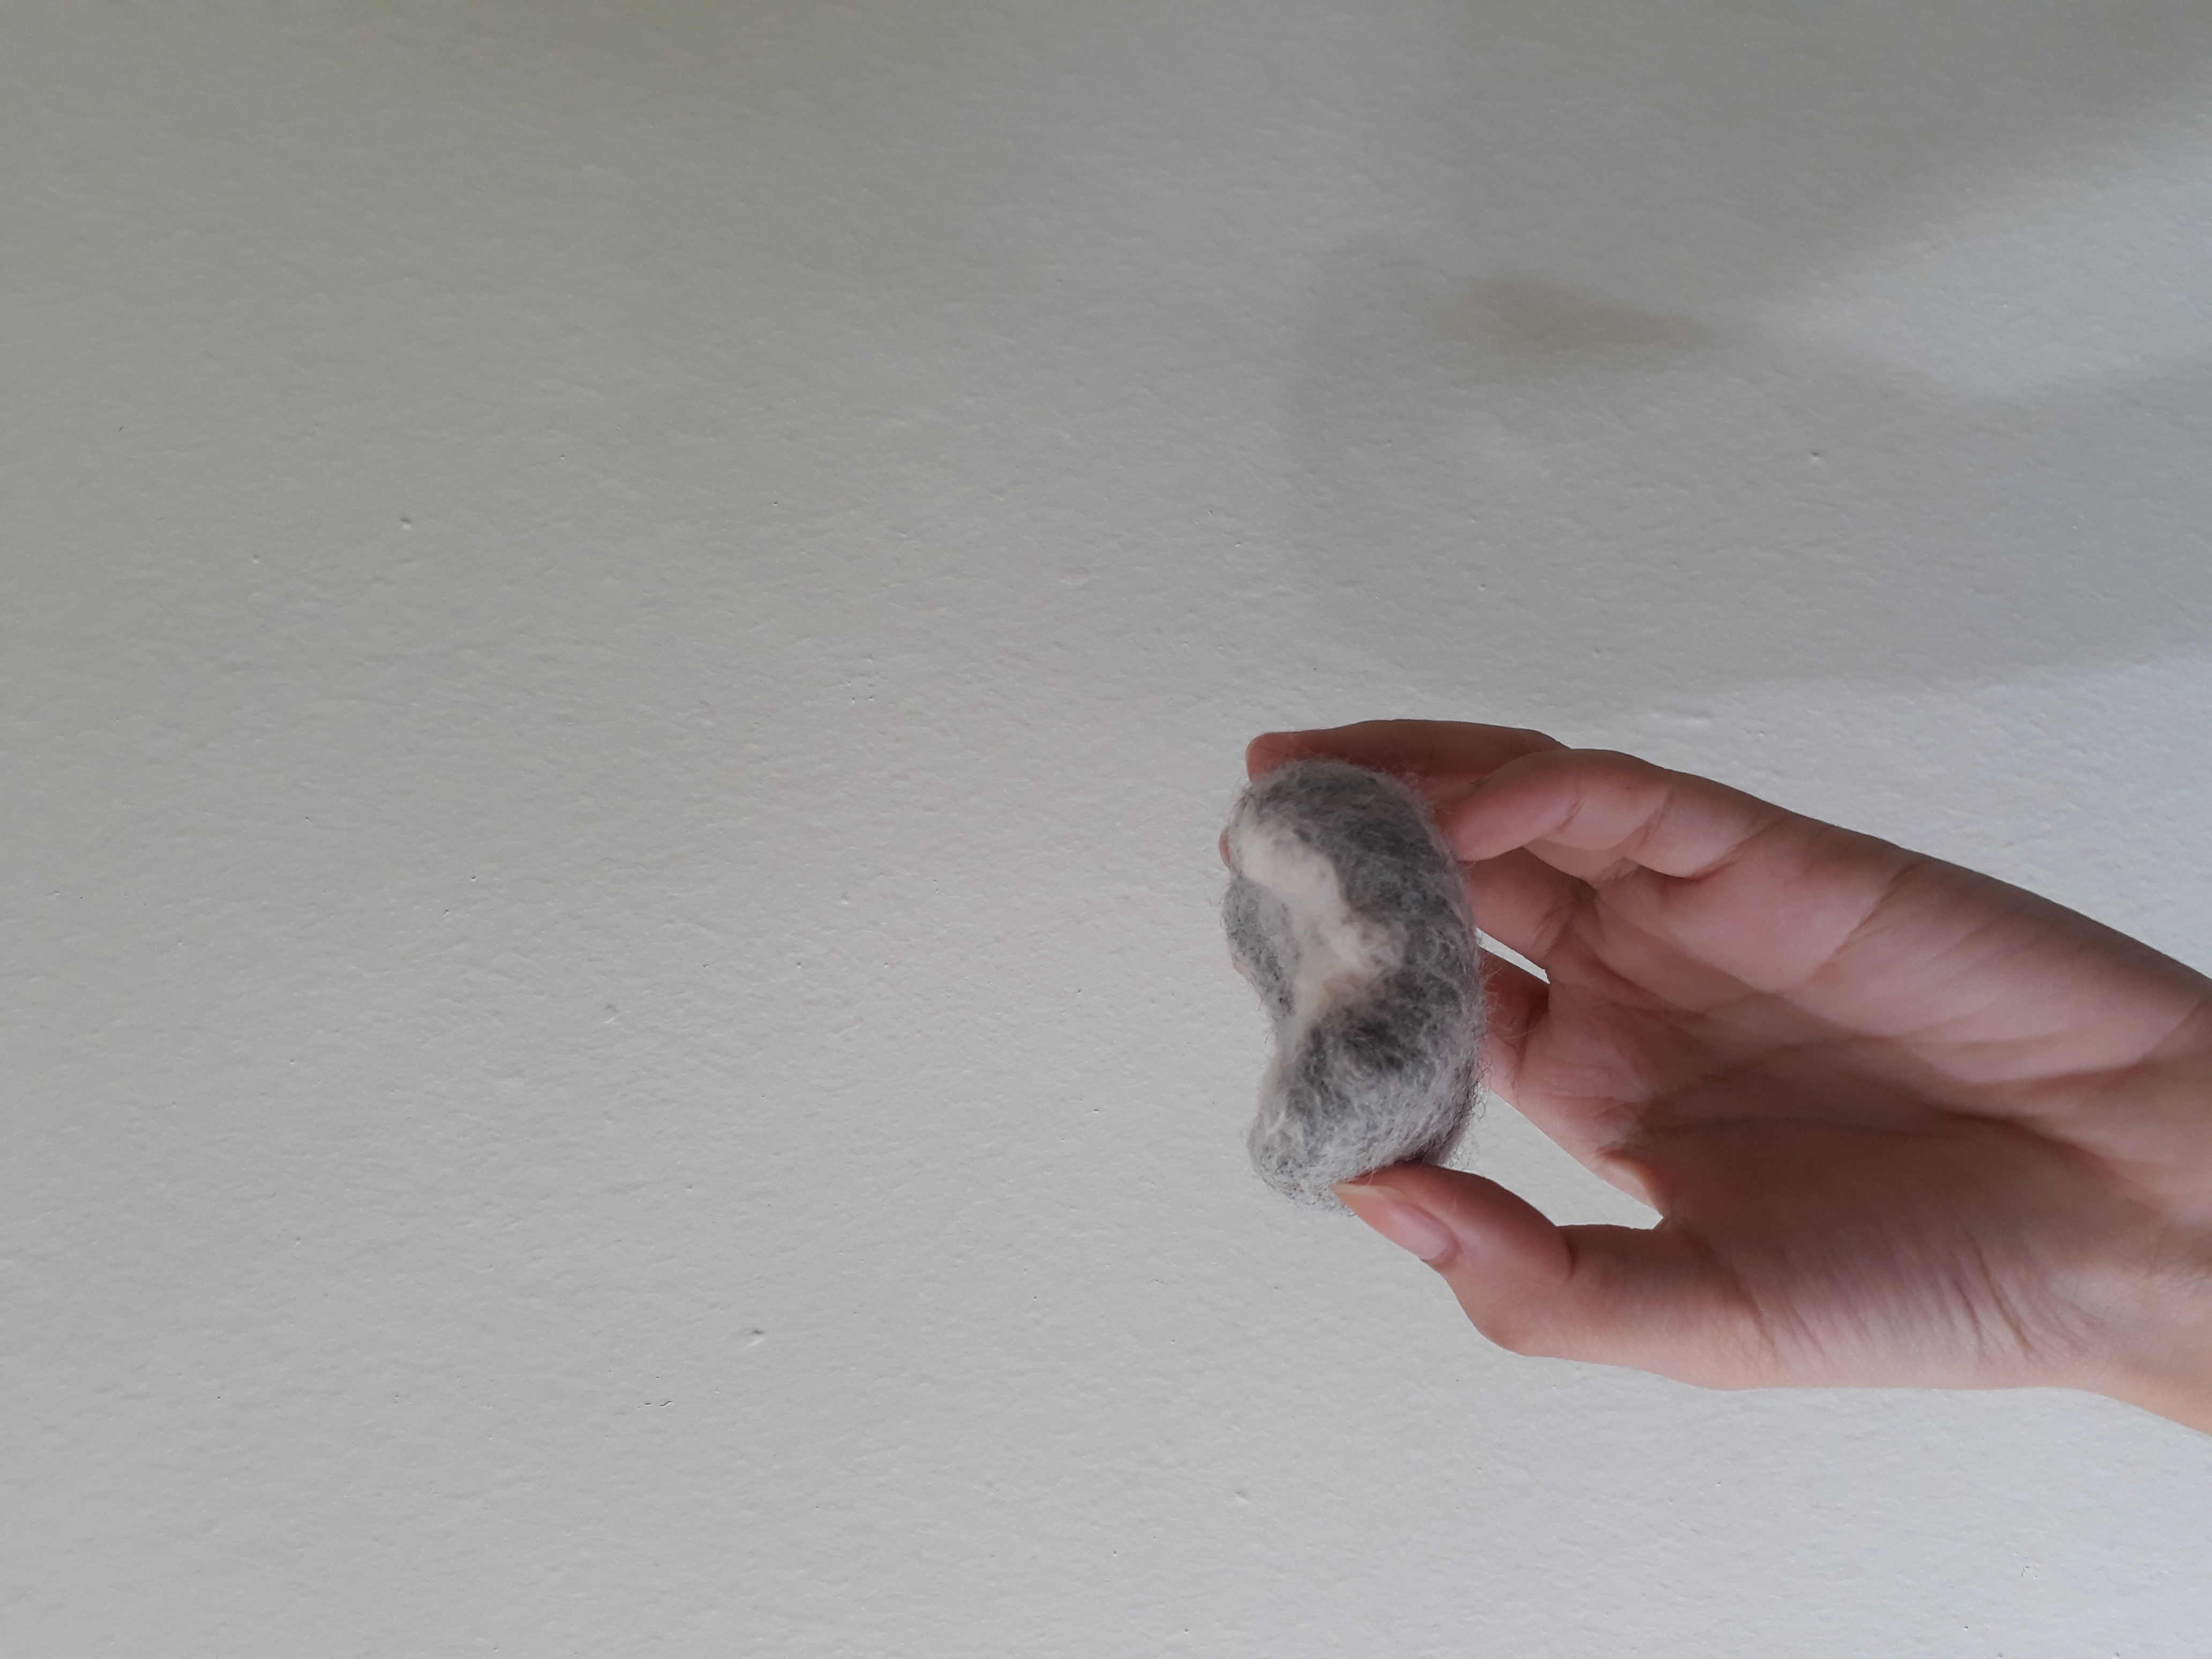
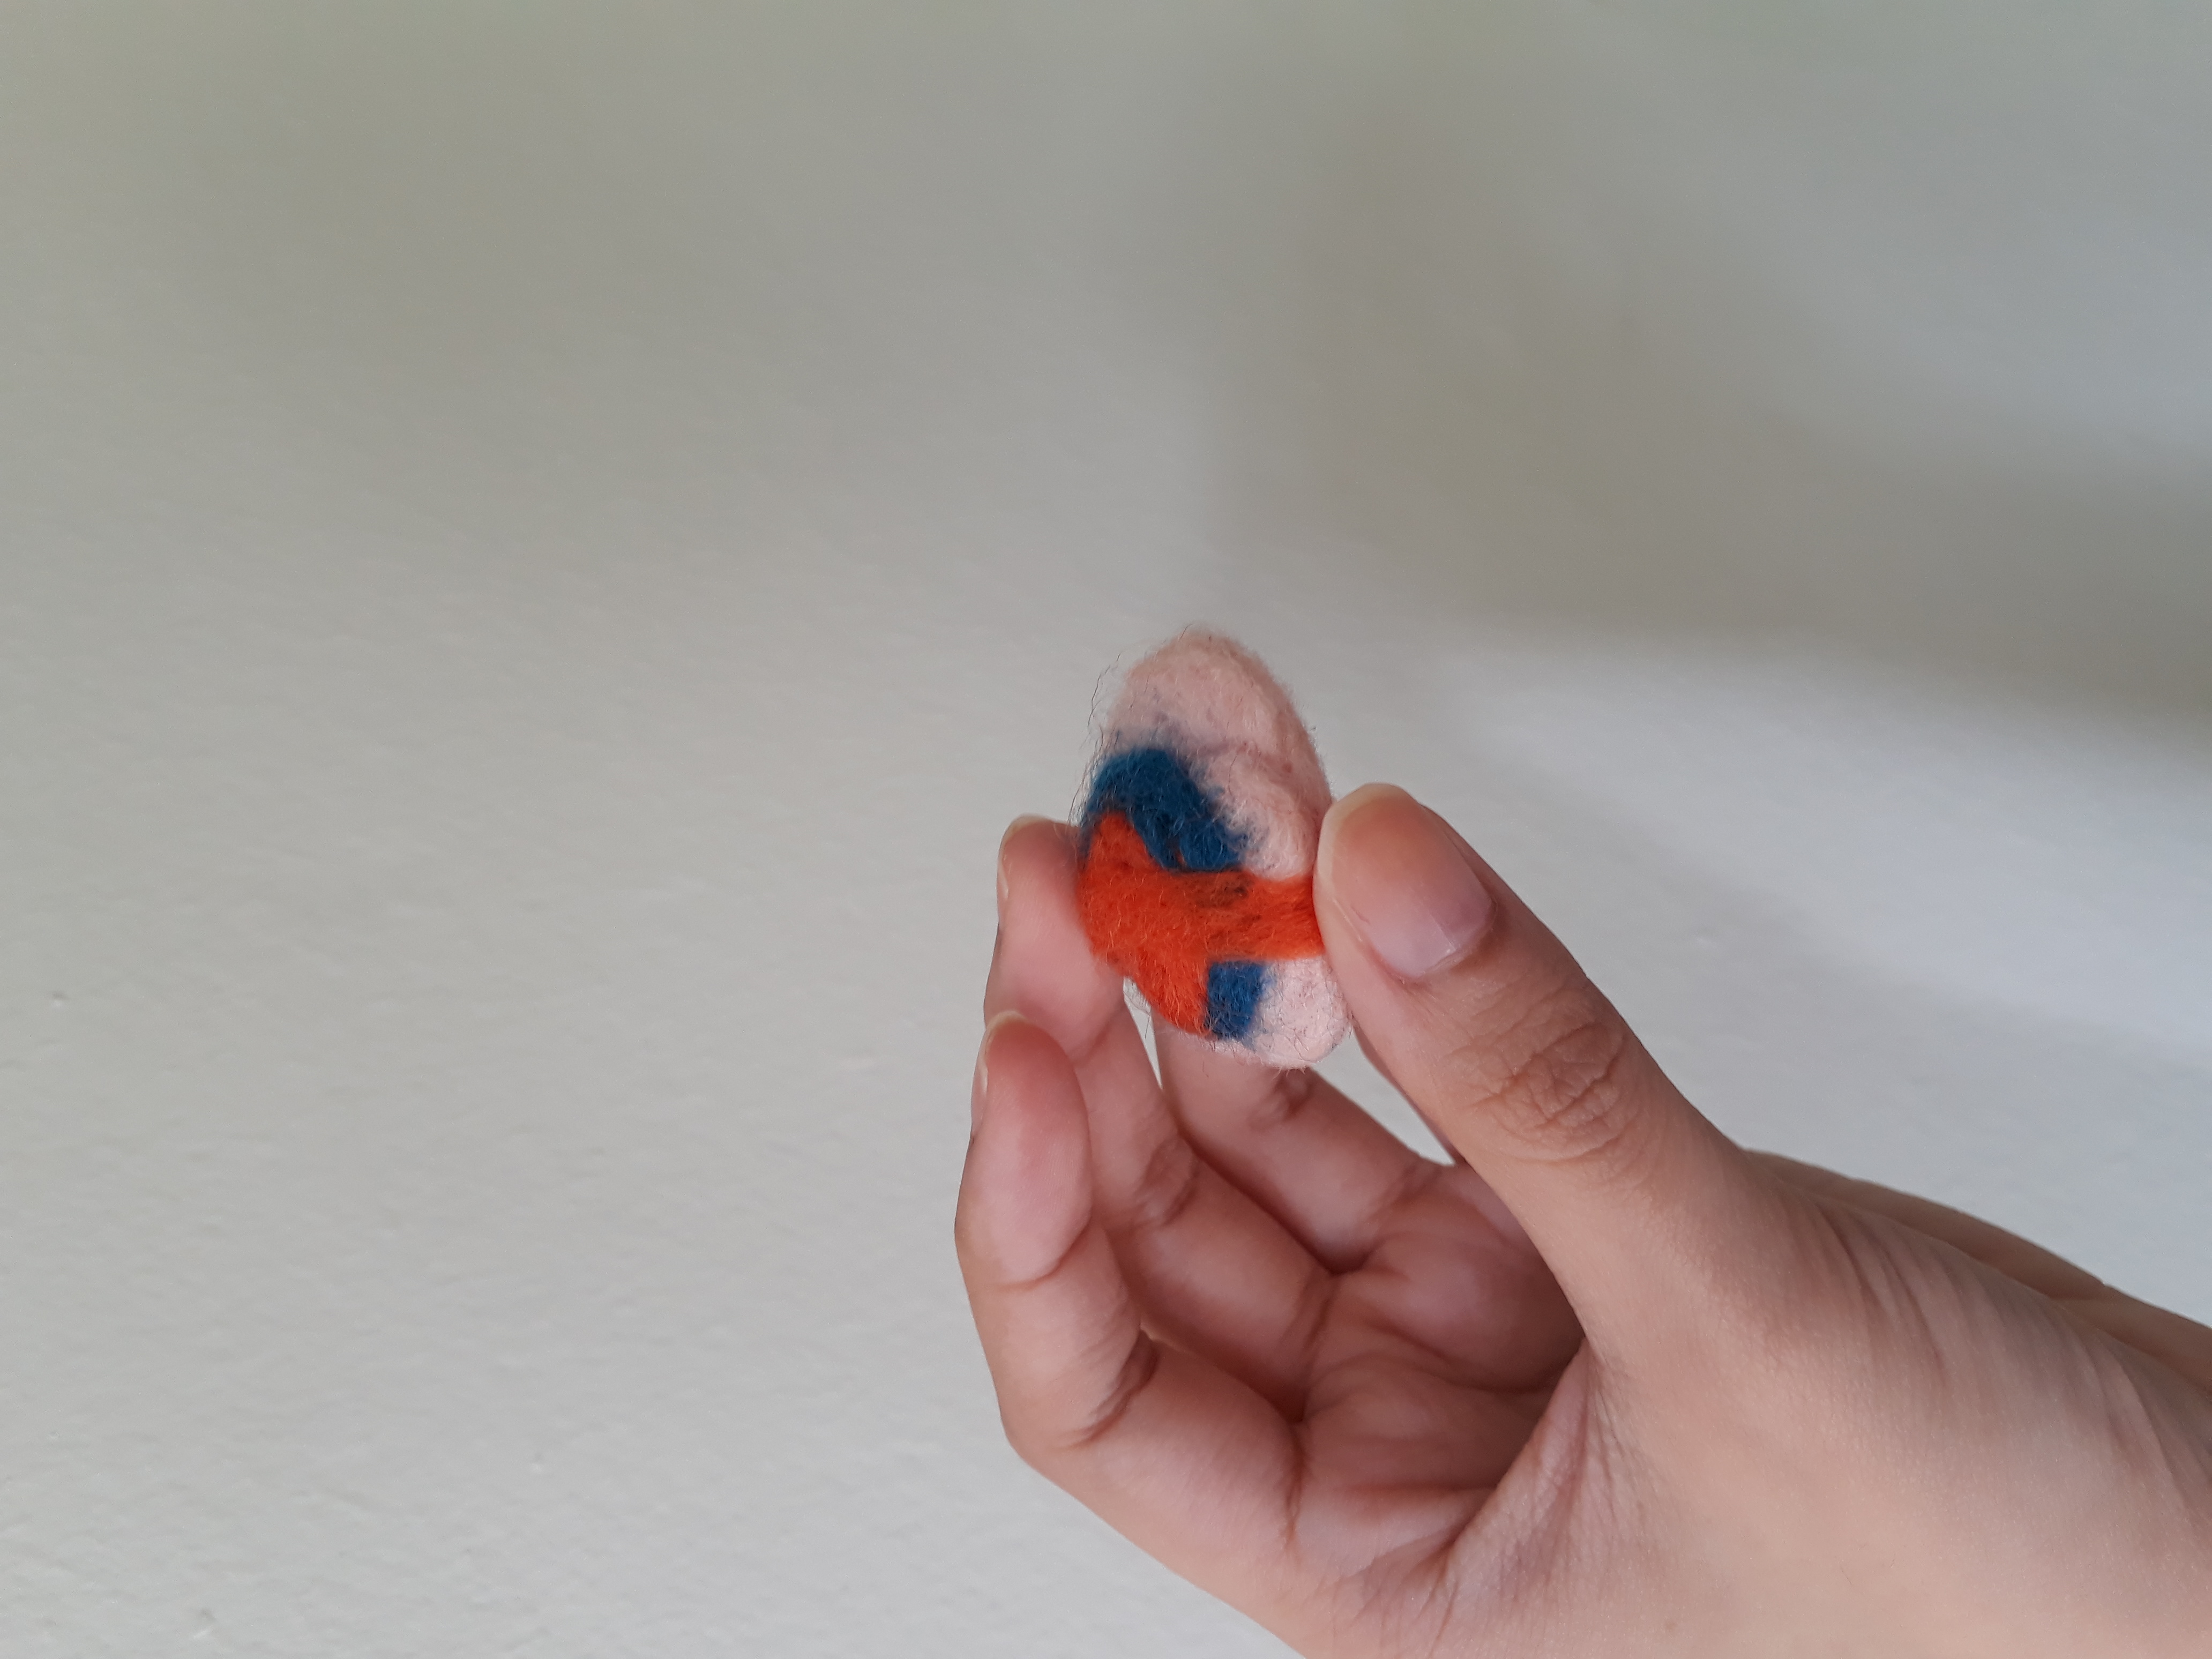
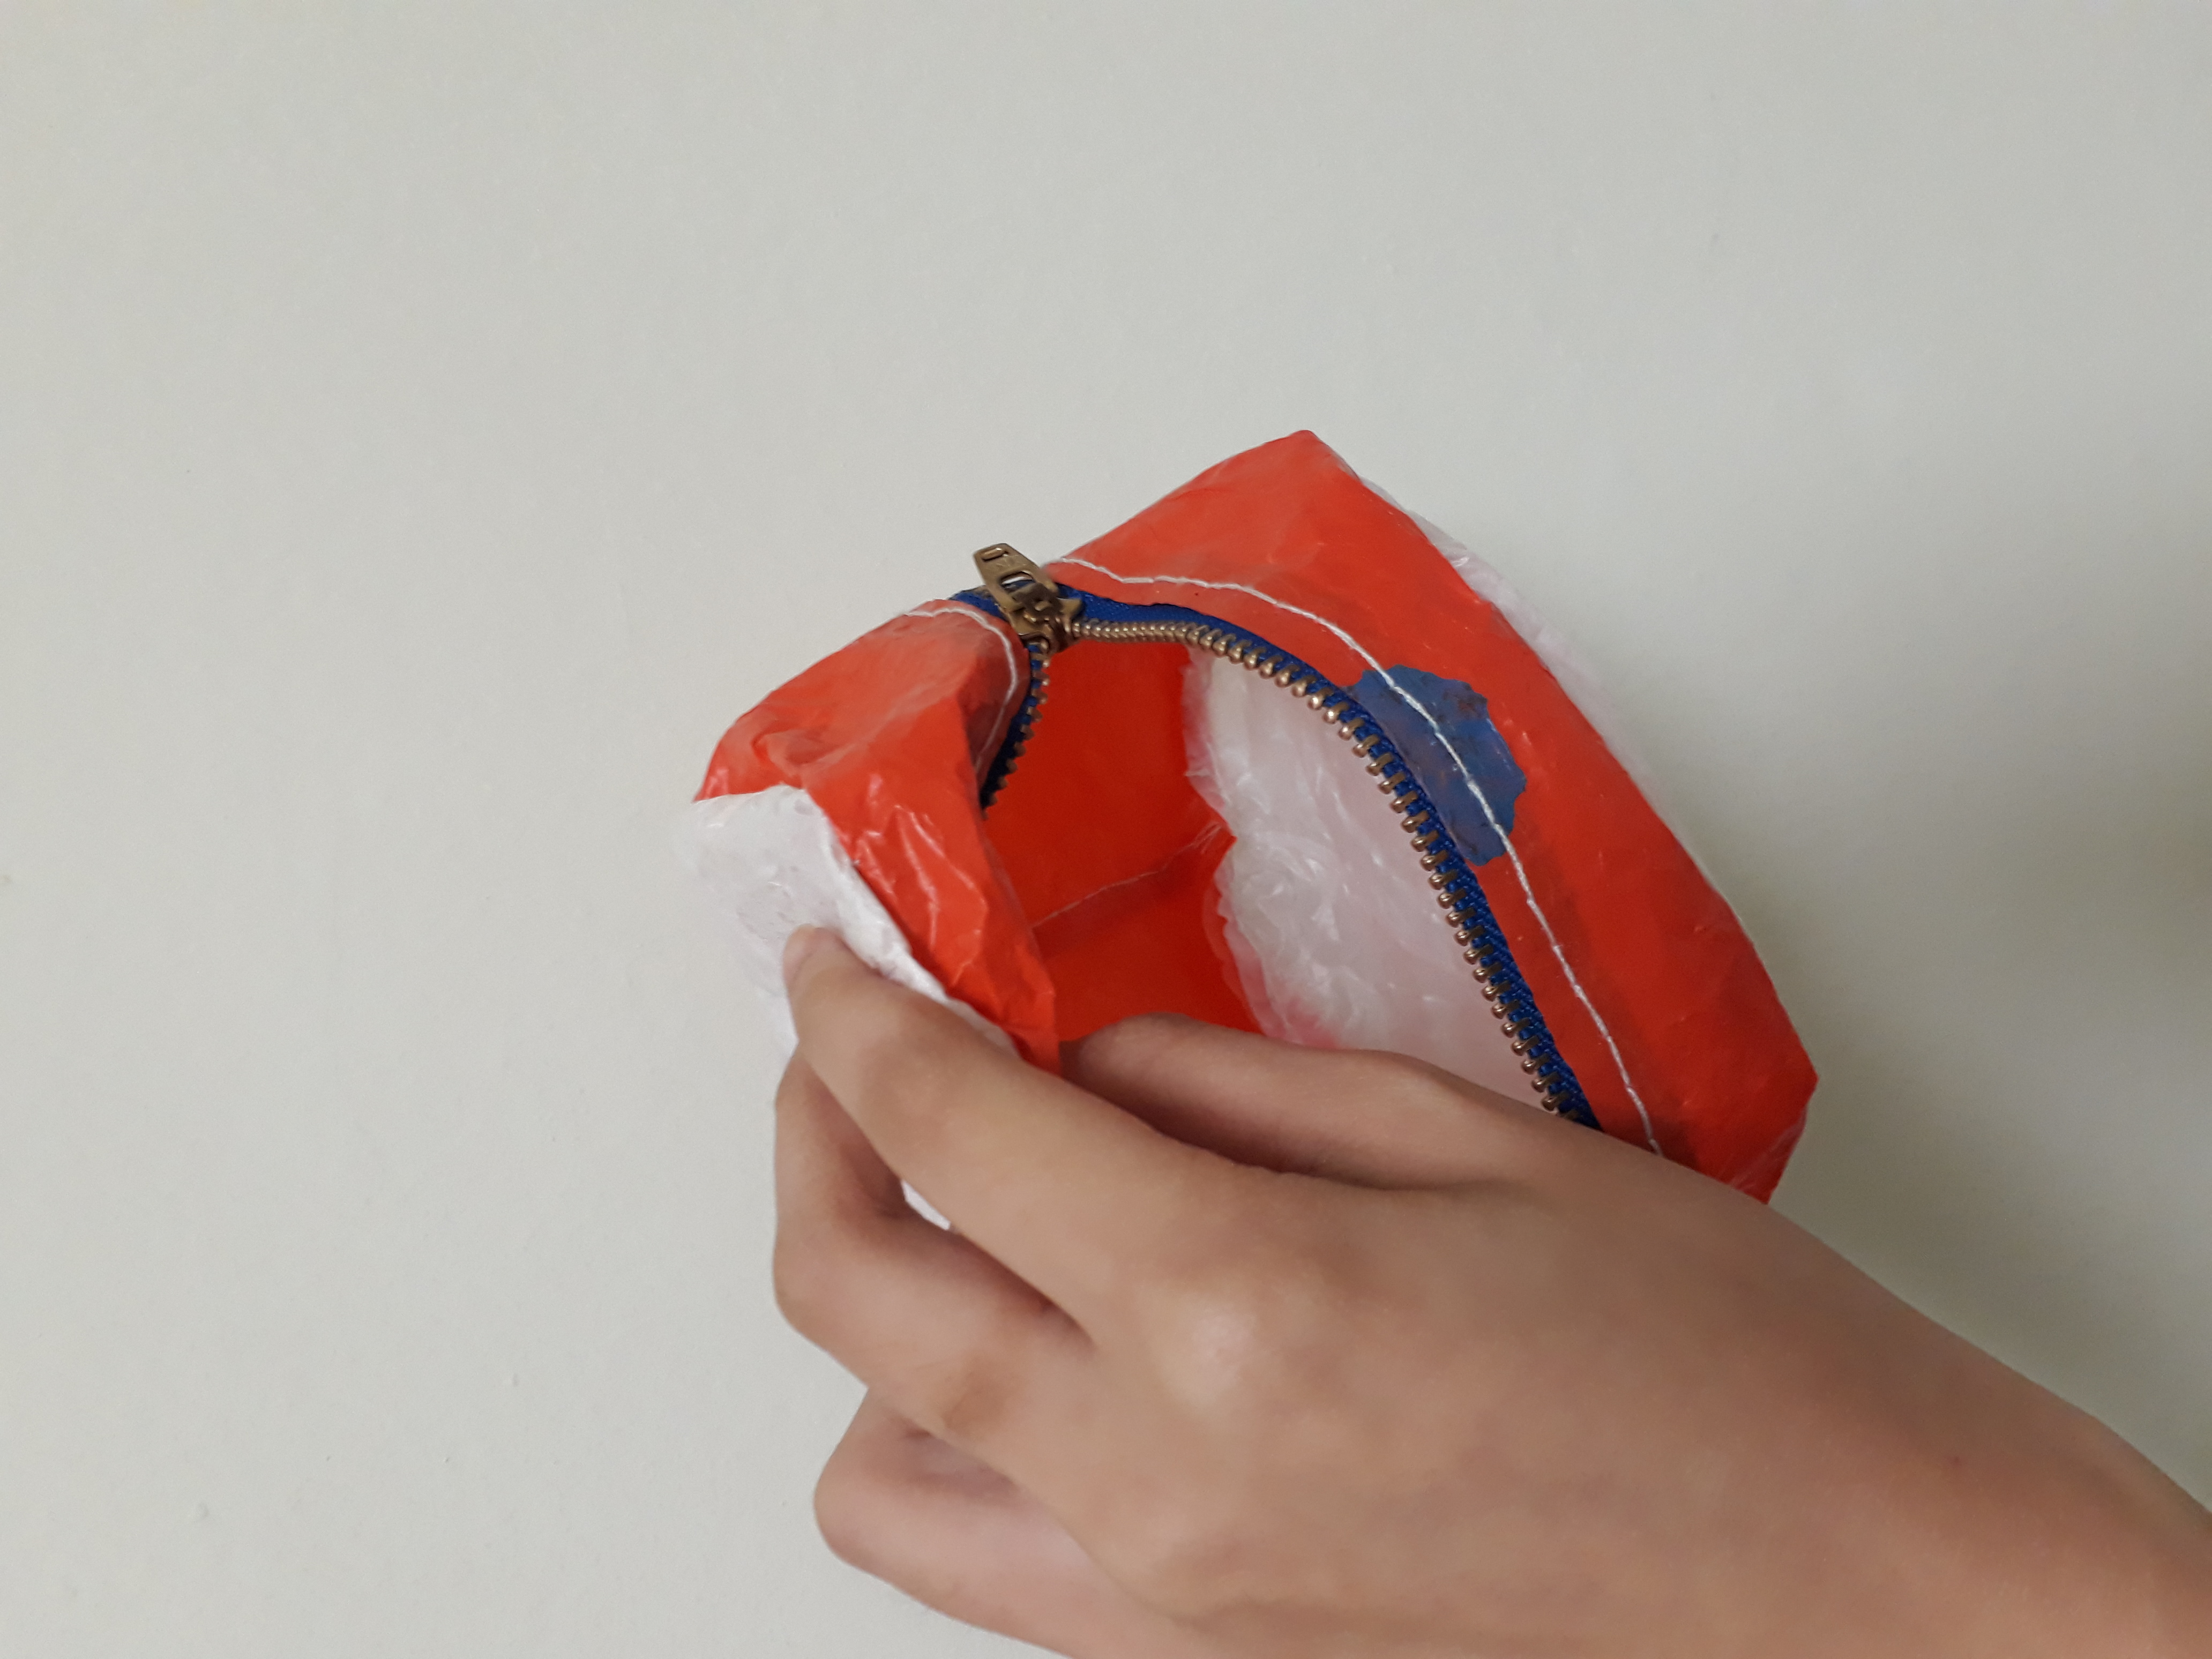
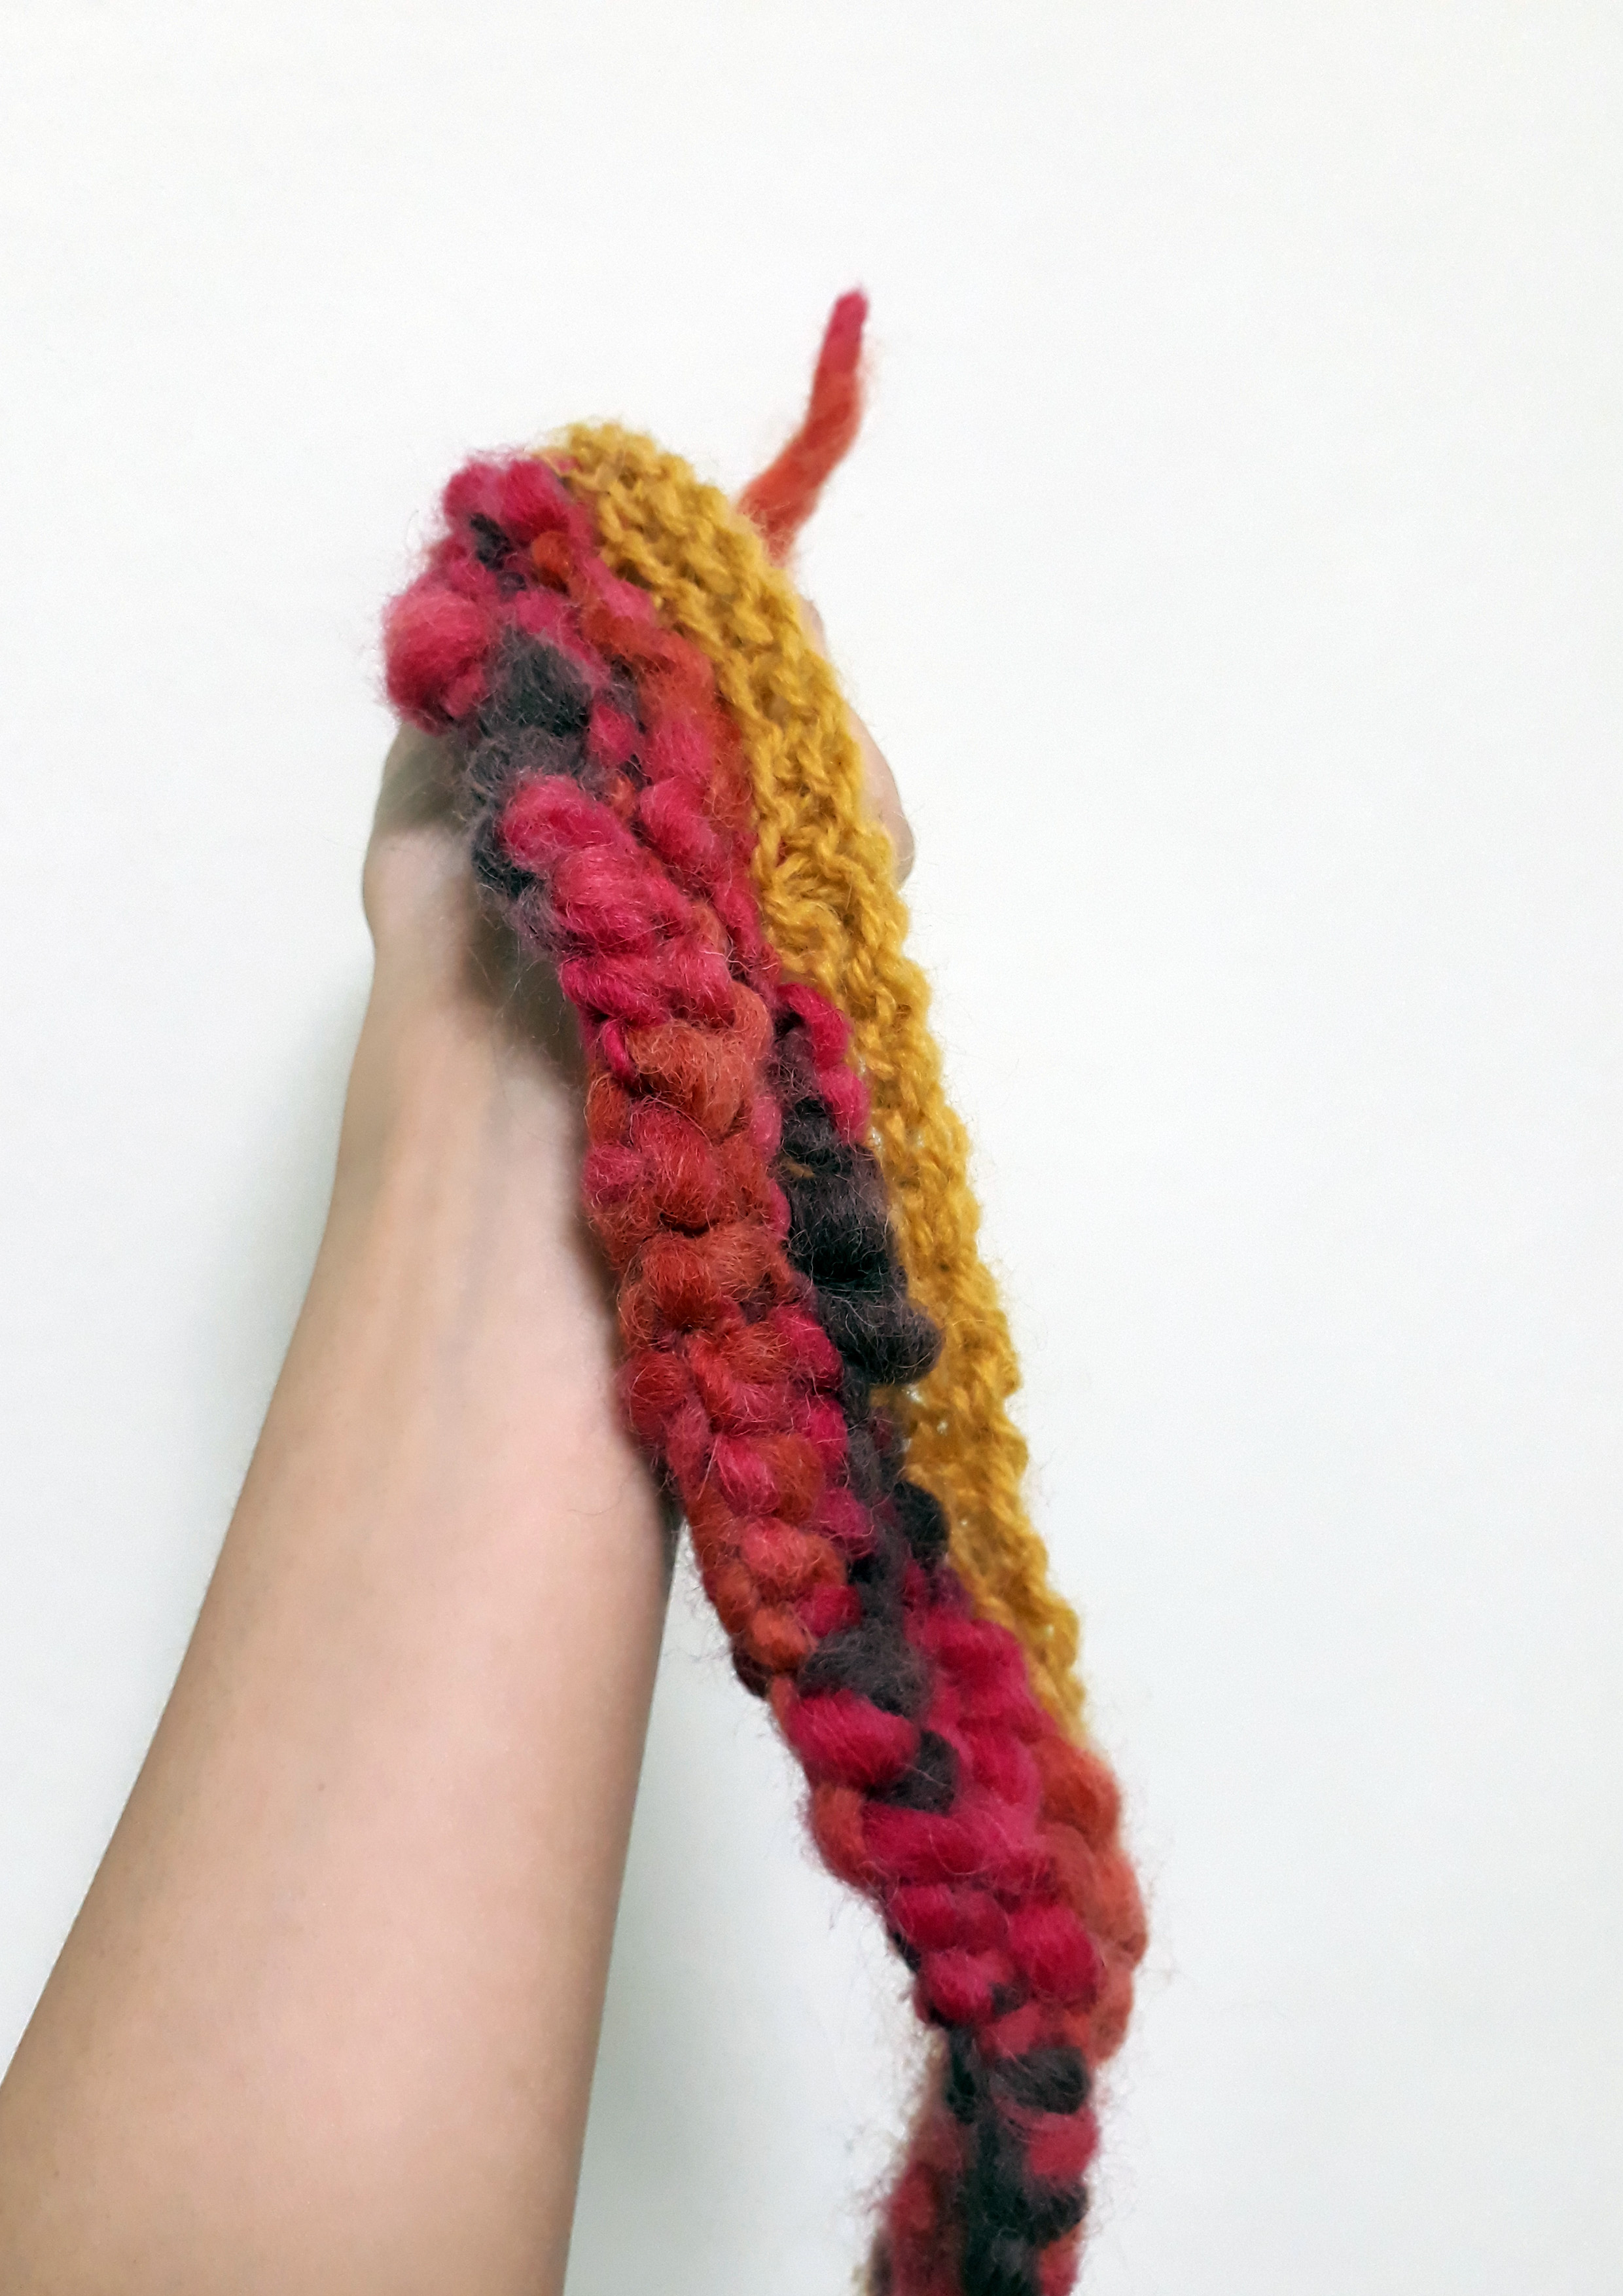
 I tried to make a hairband thingy. This was the very first piece I did in class. (I think) and I tried to knit tighter and a mixture of yarn thickness.

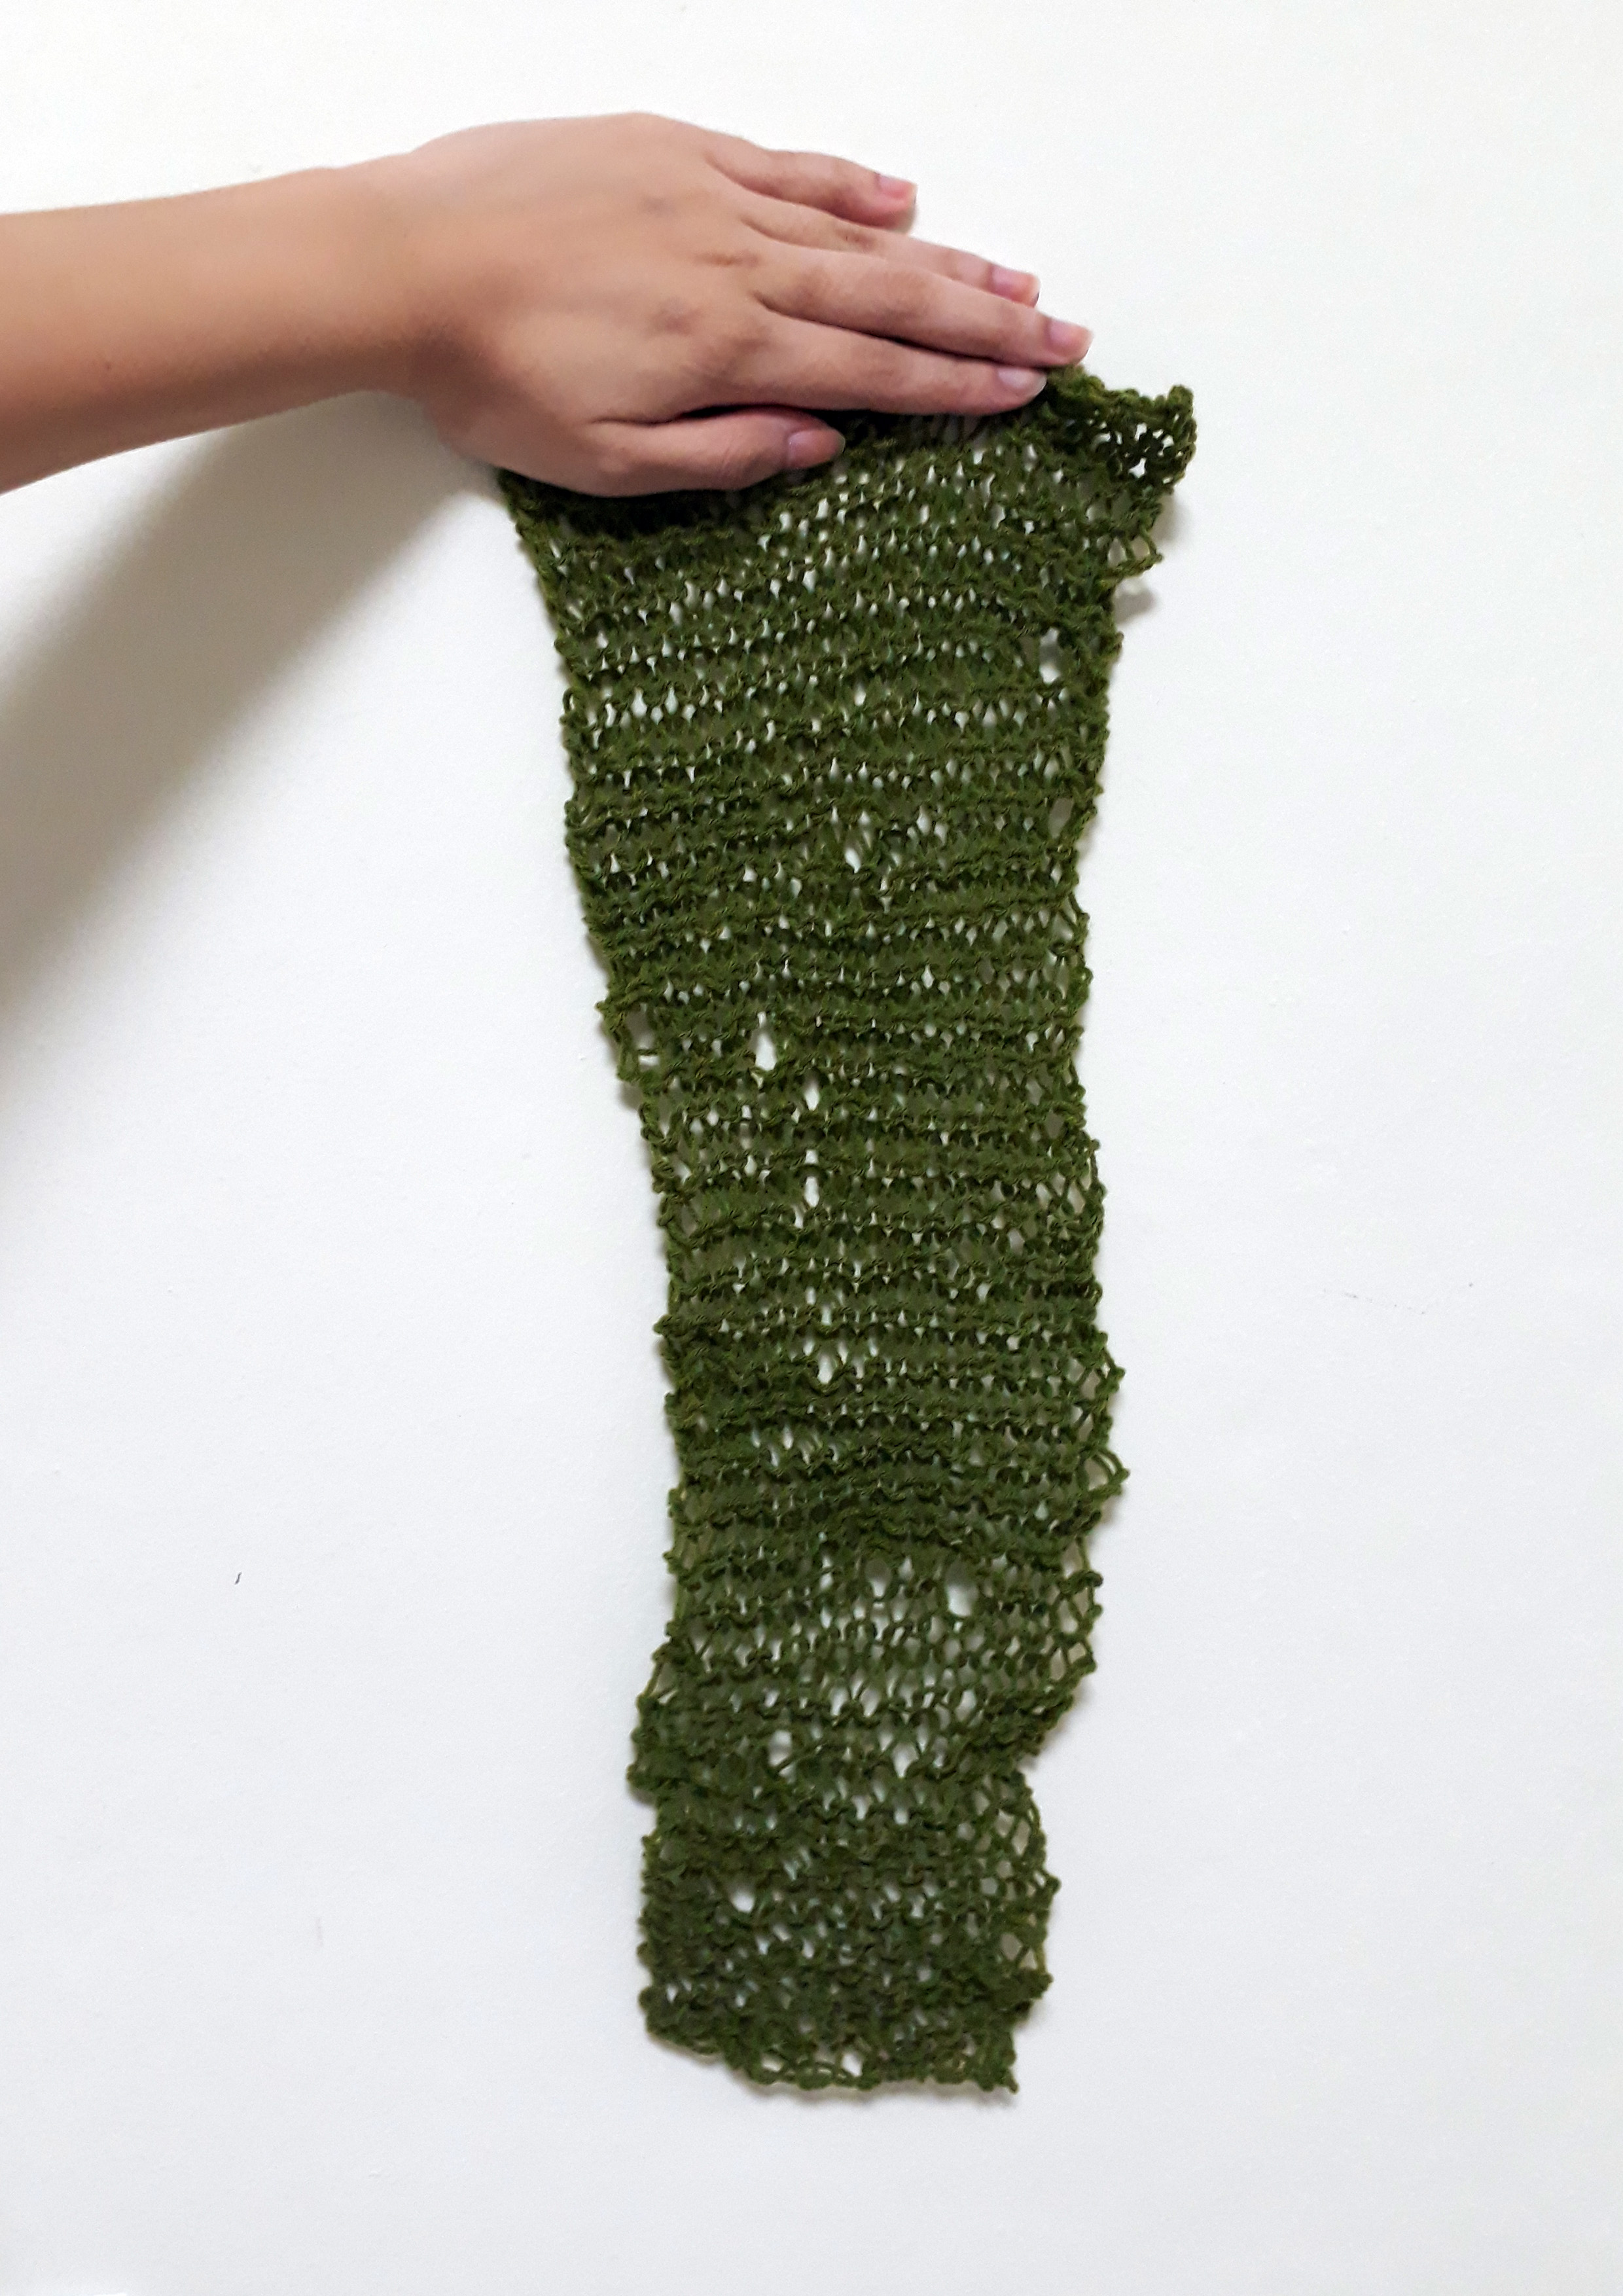
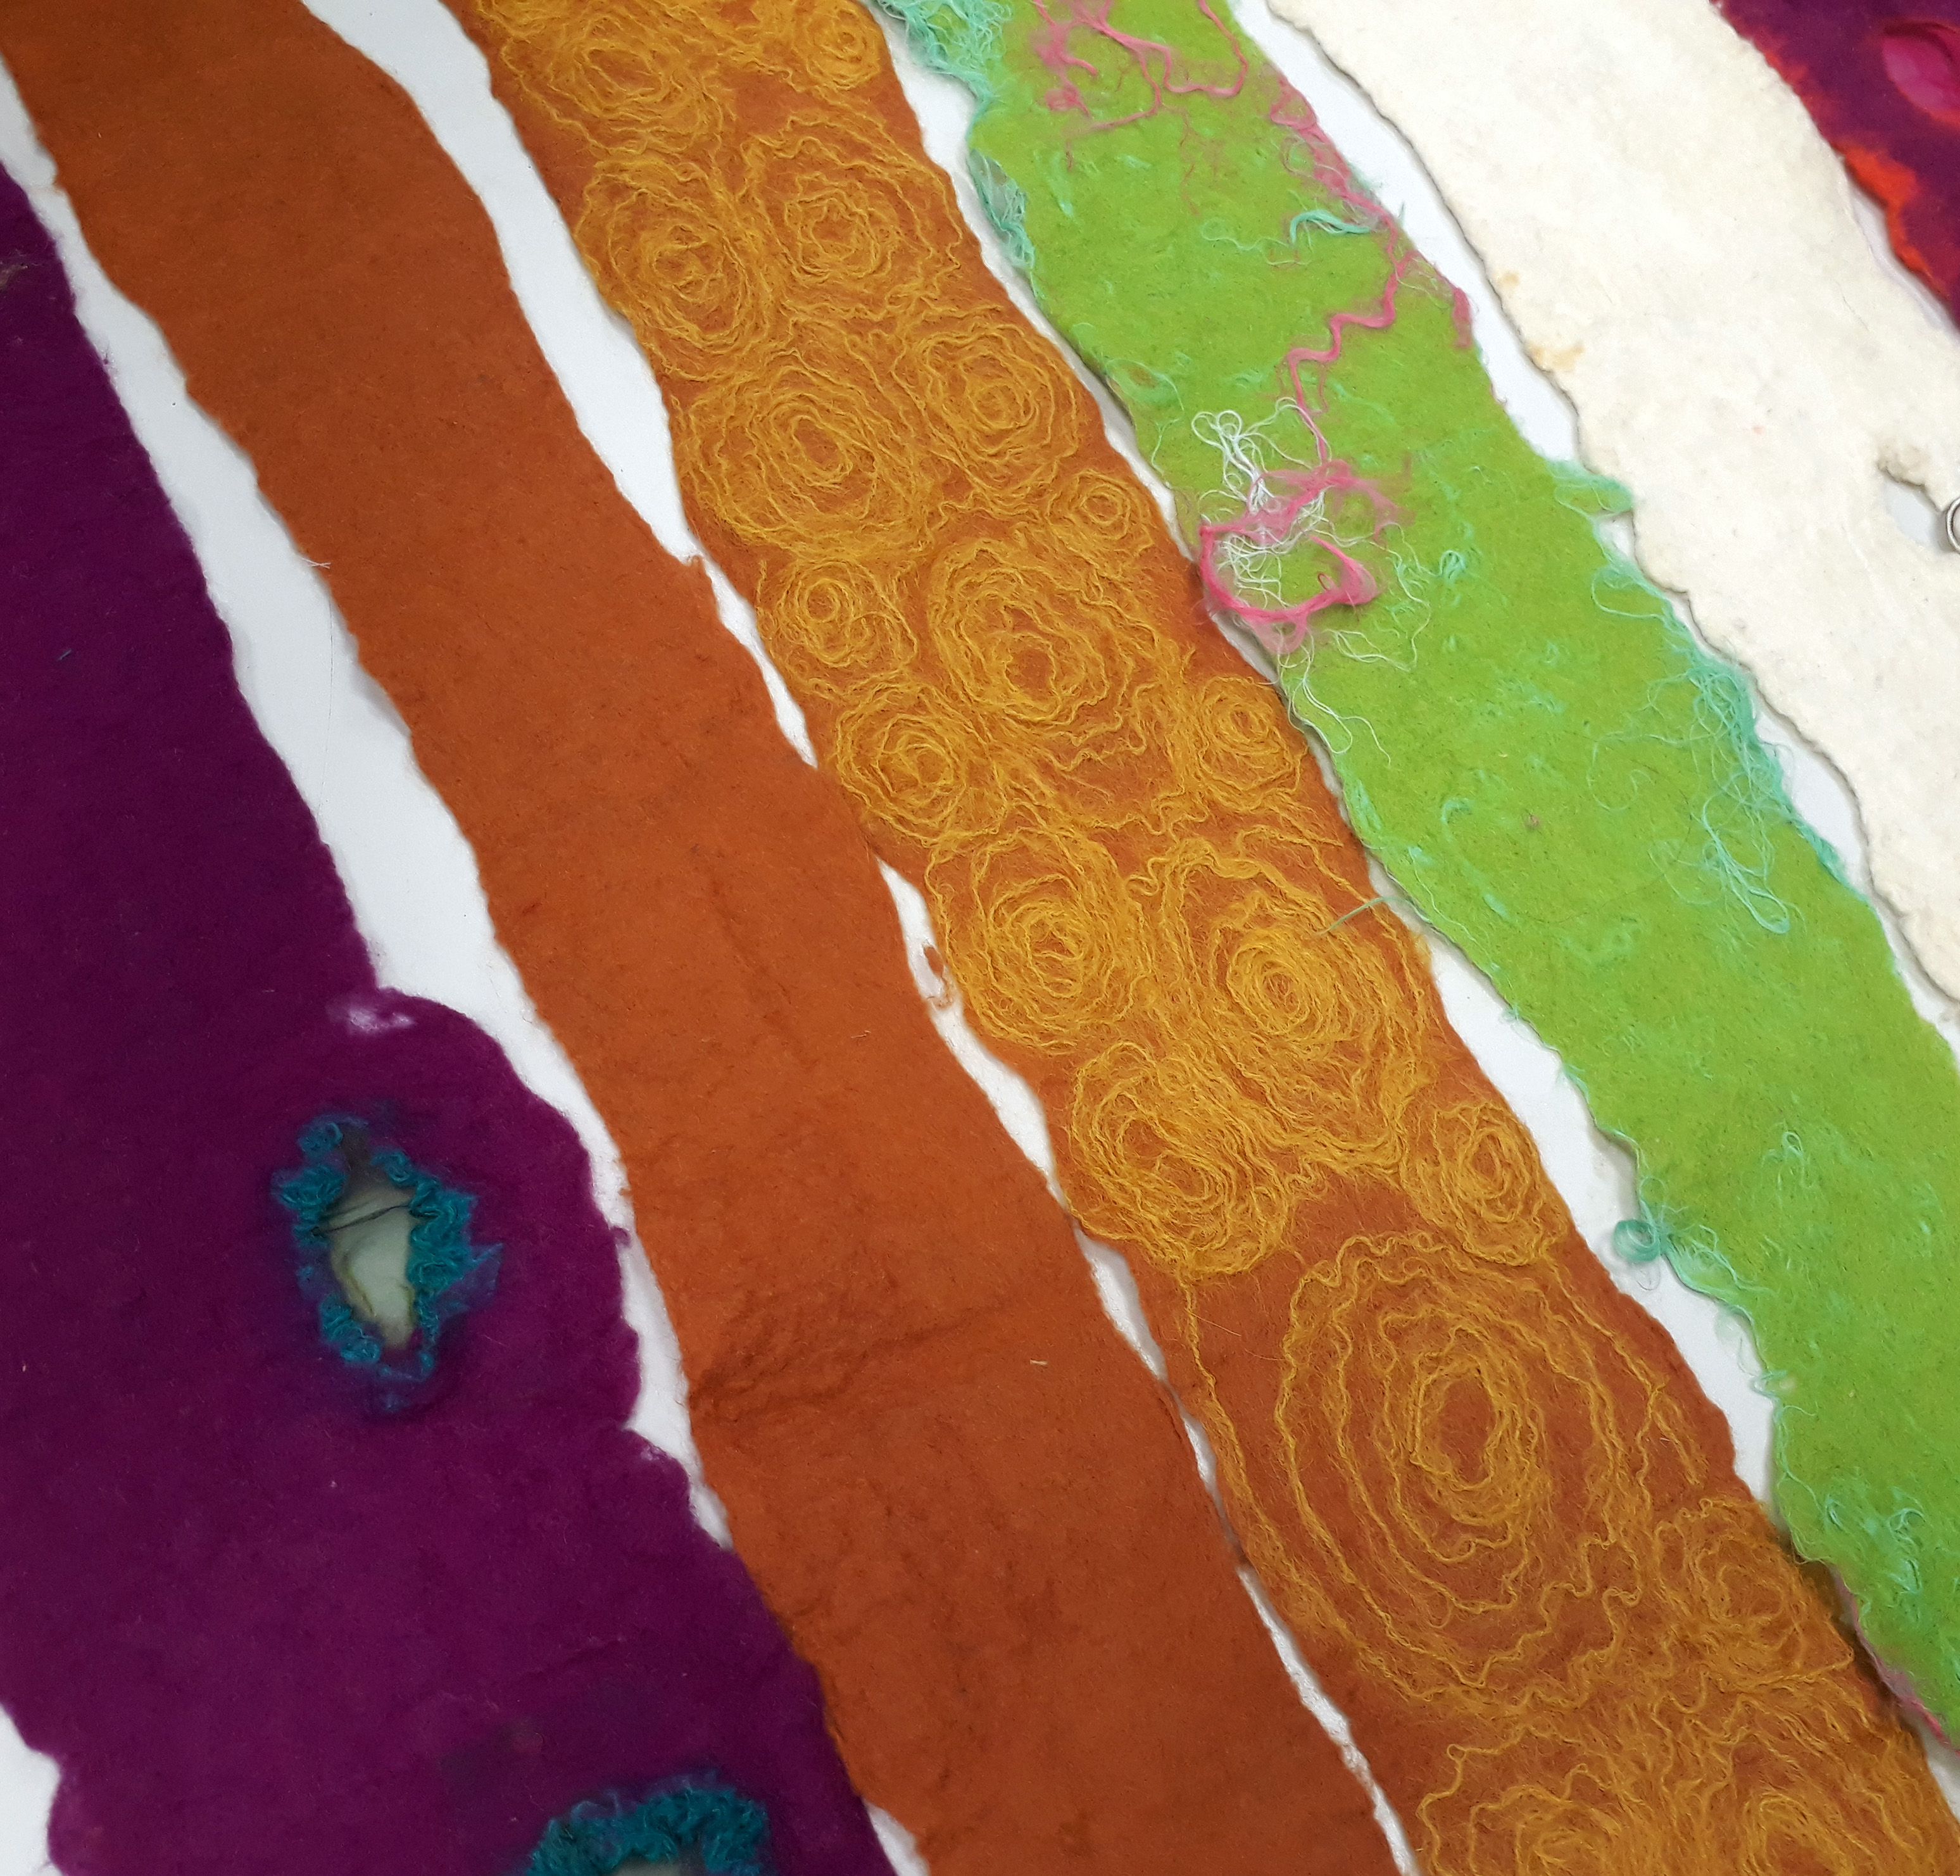
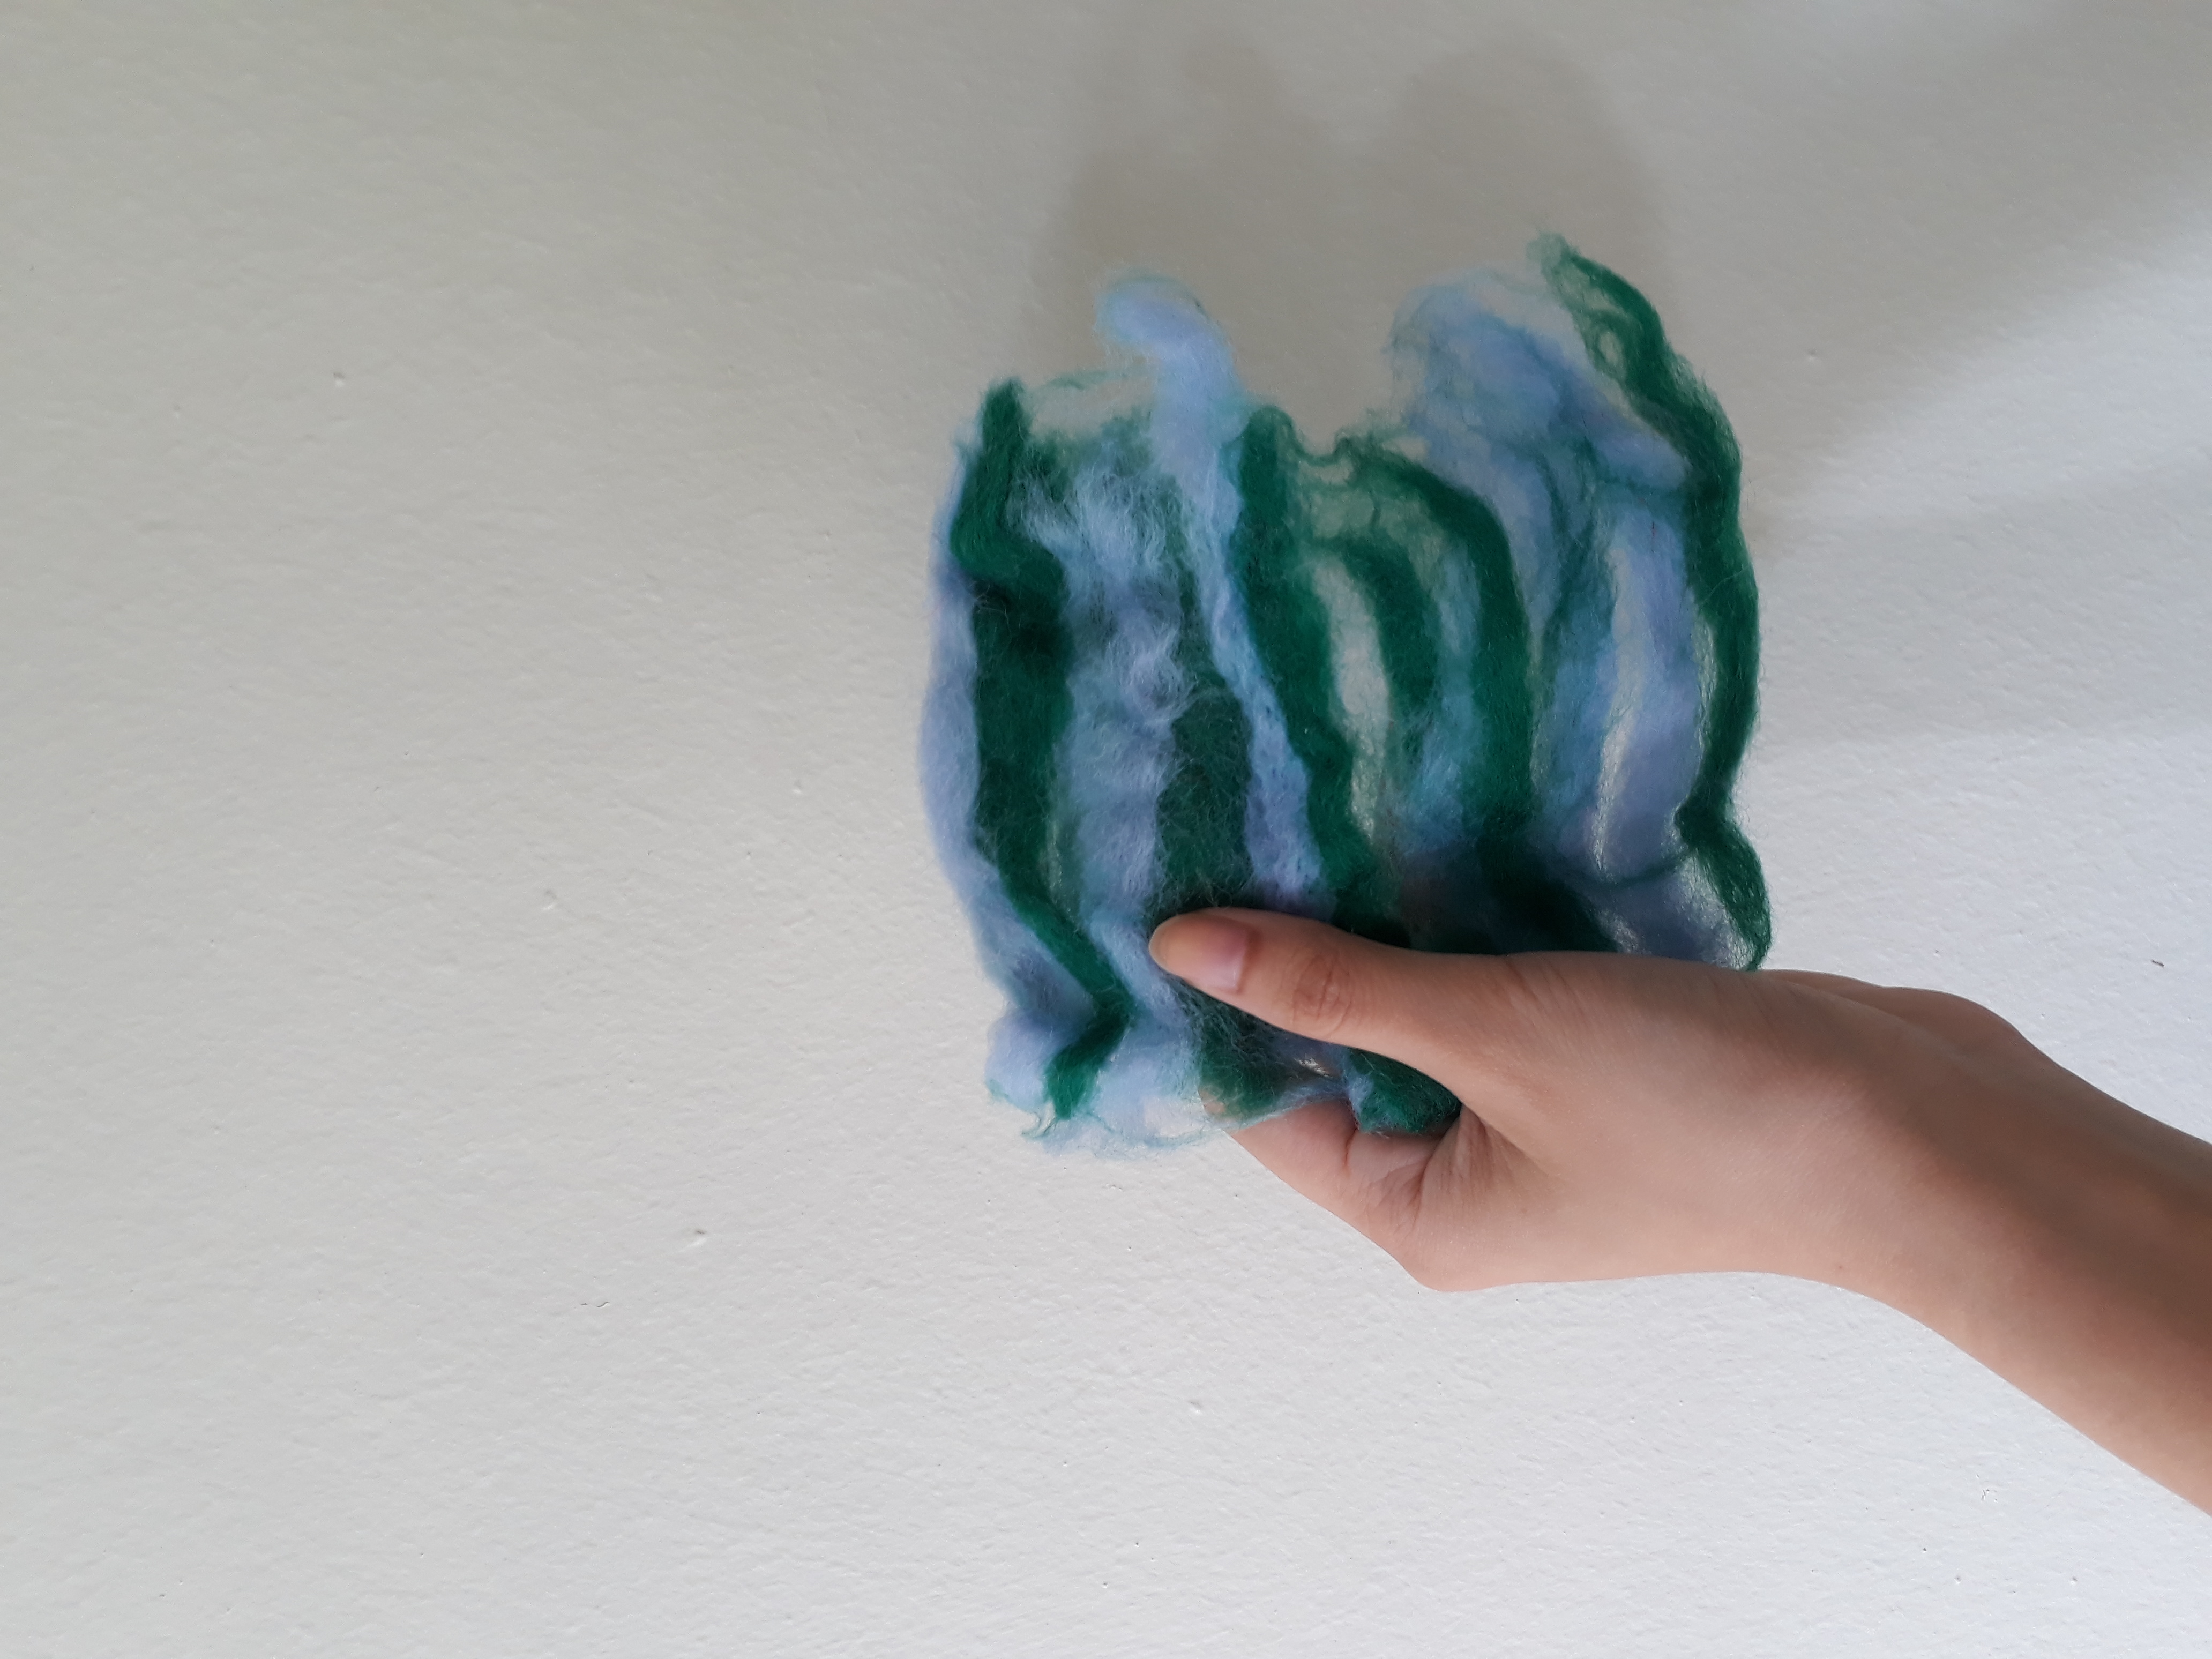
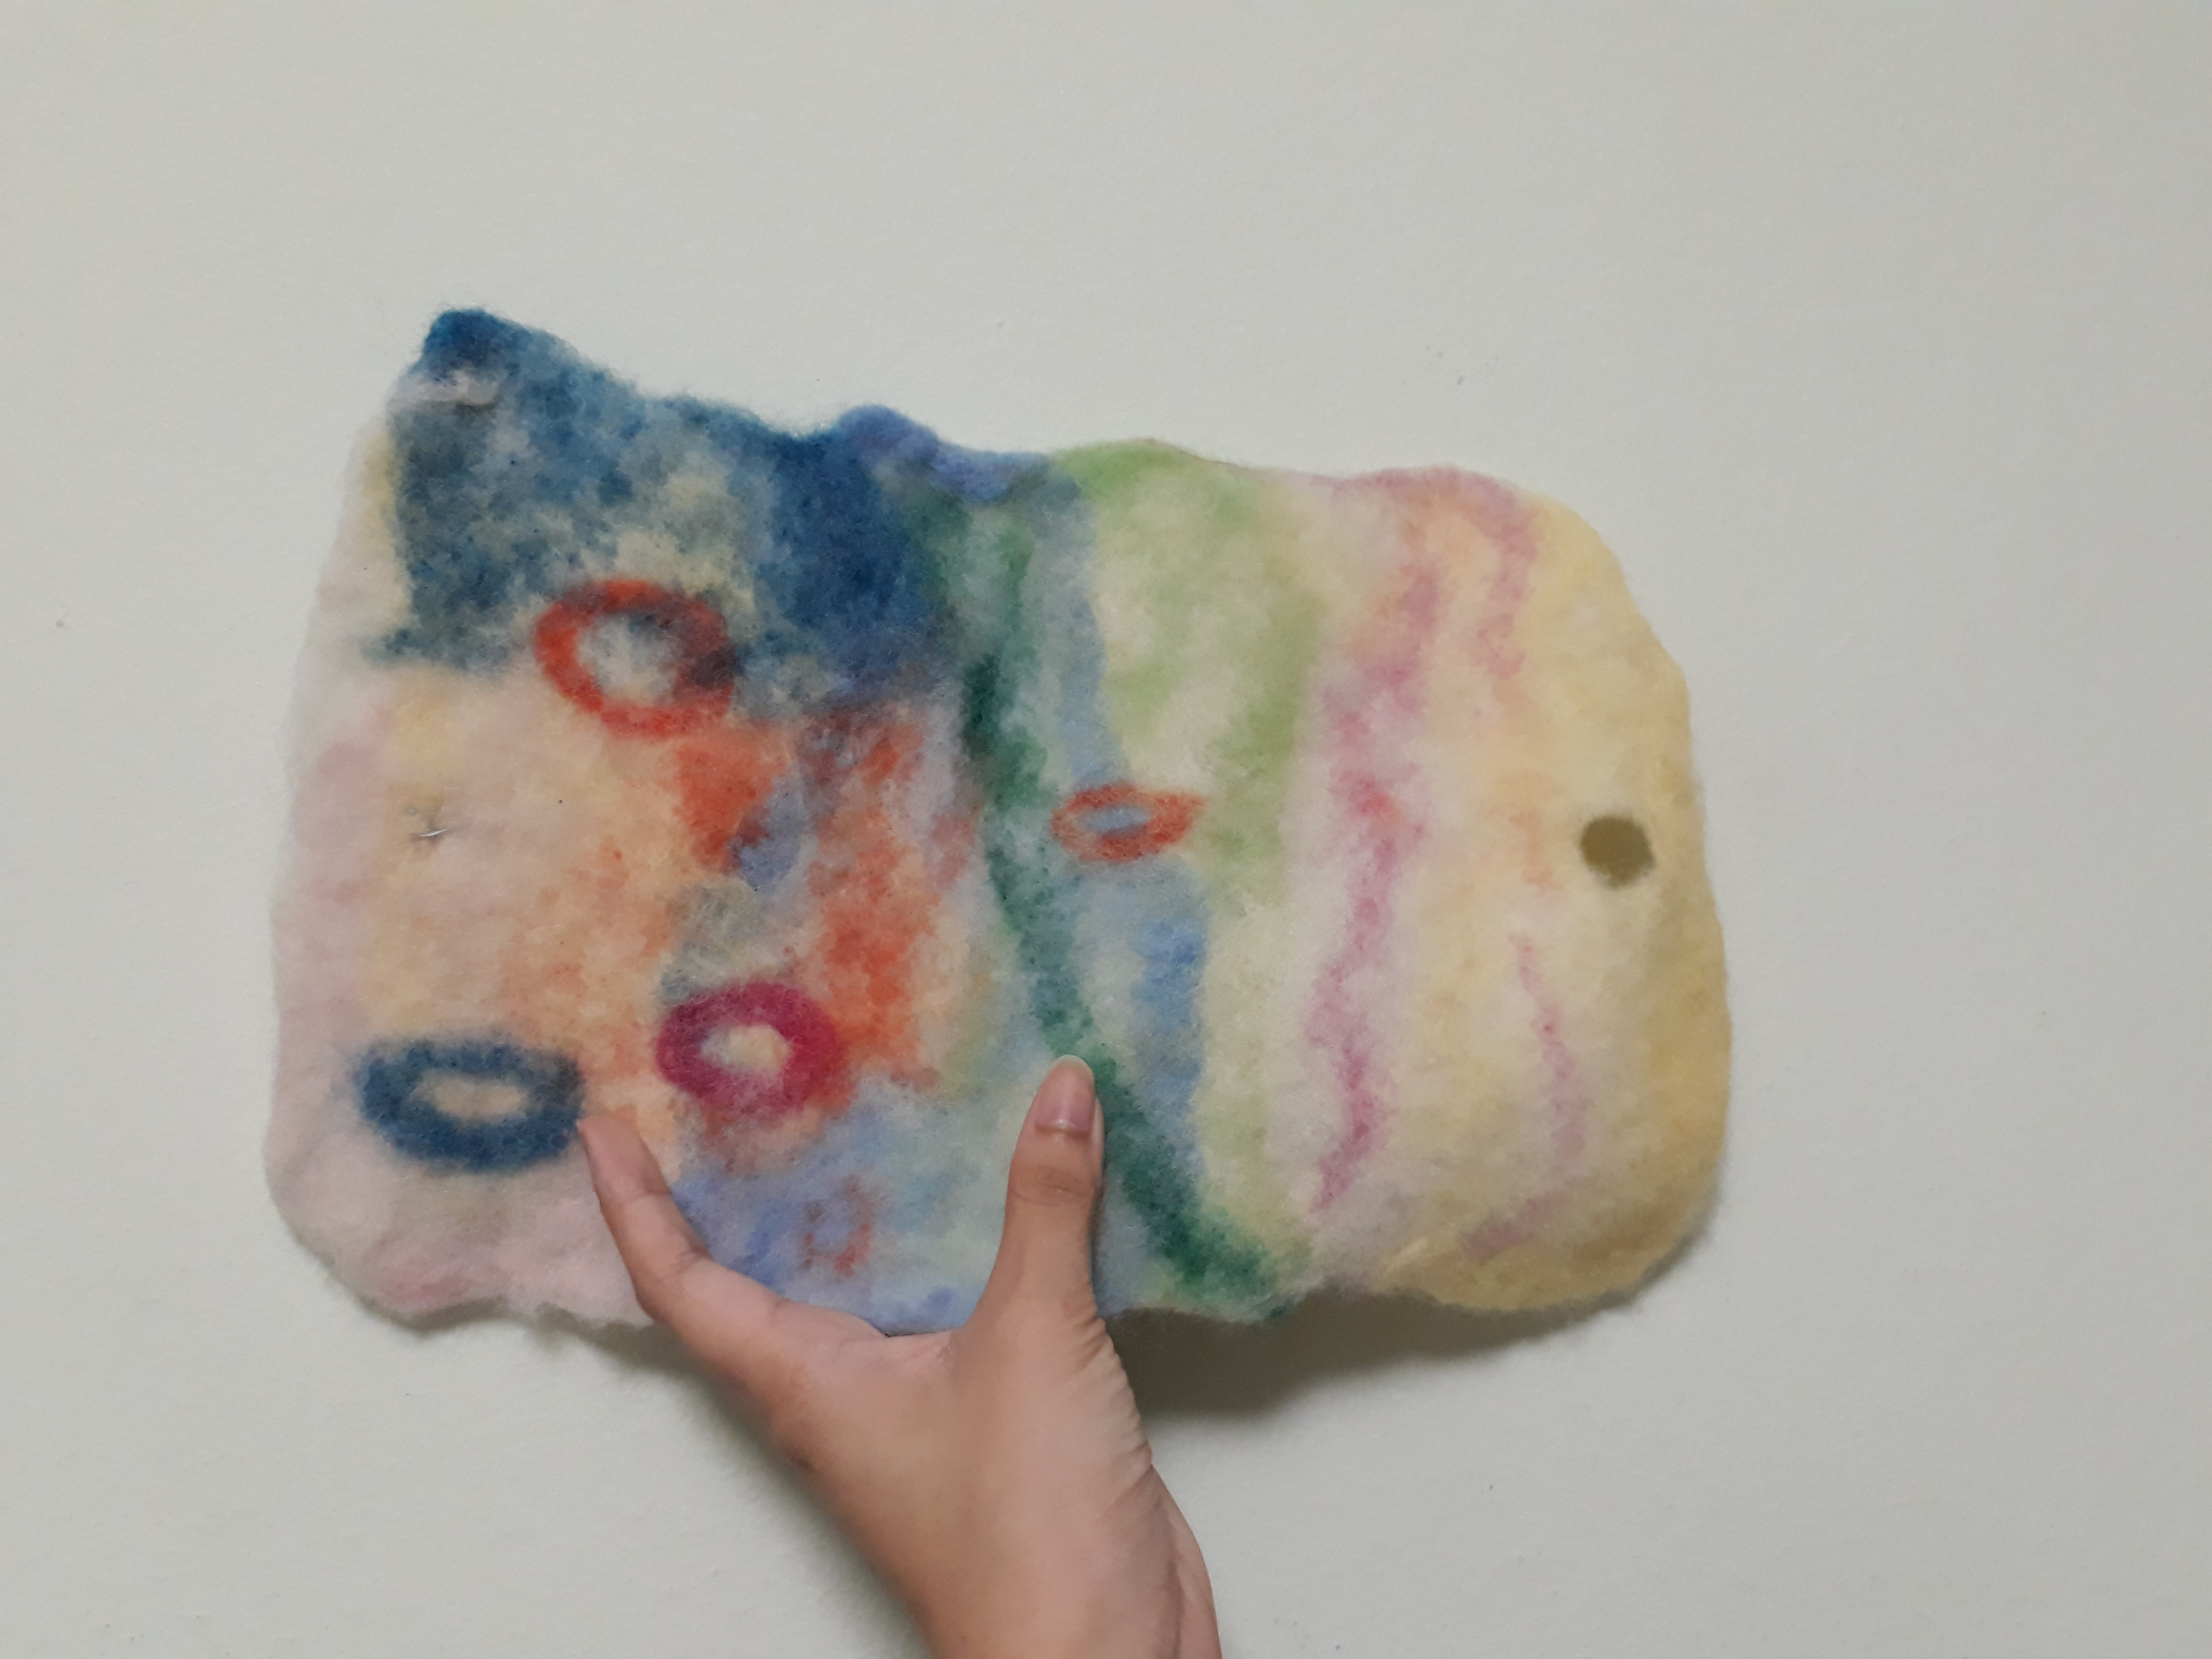
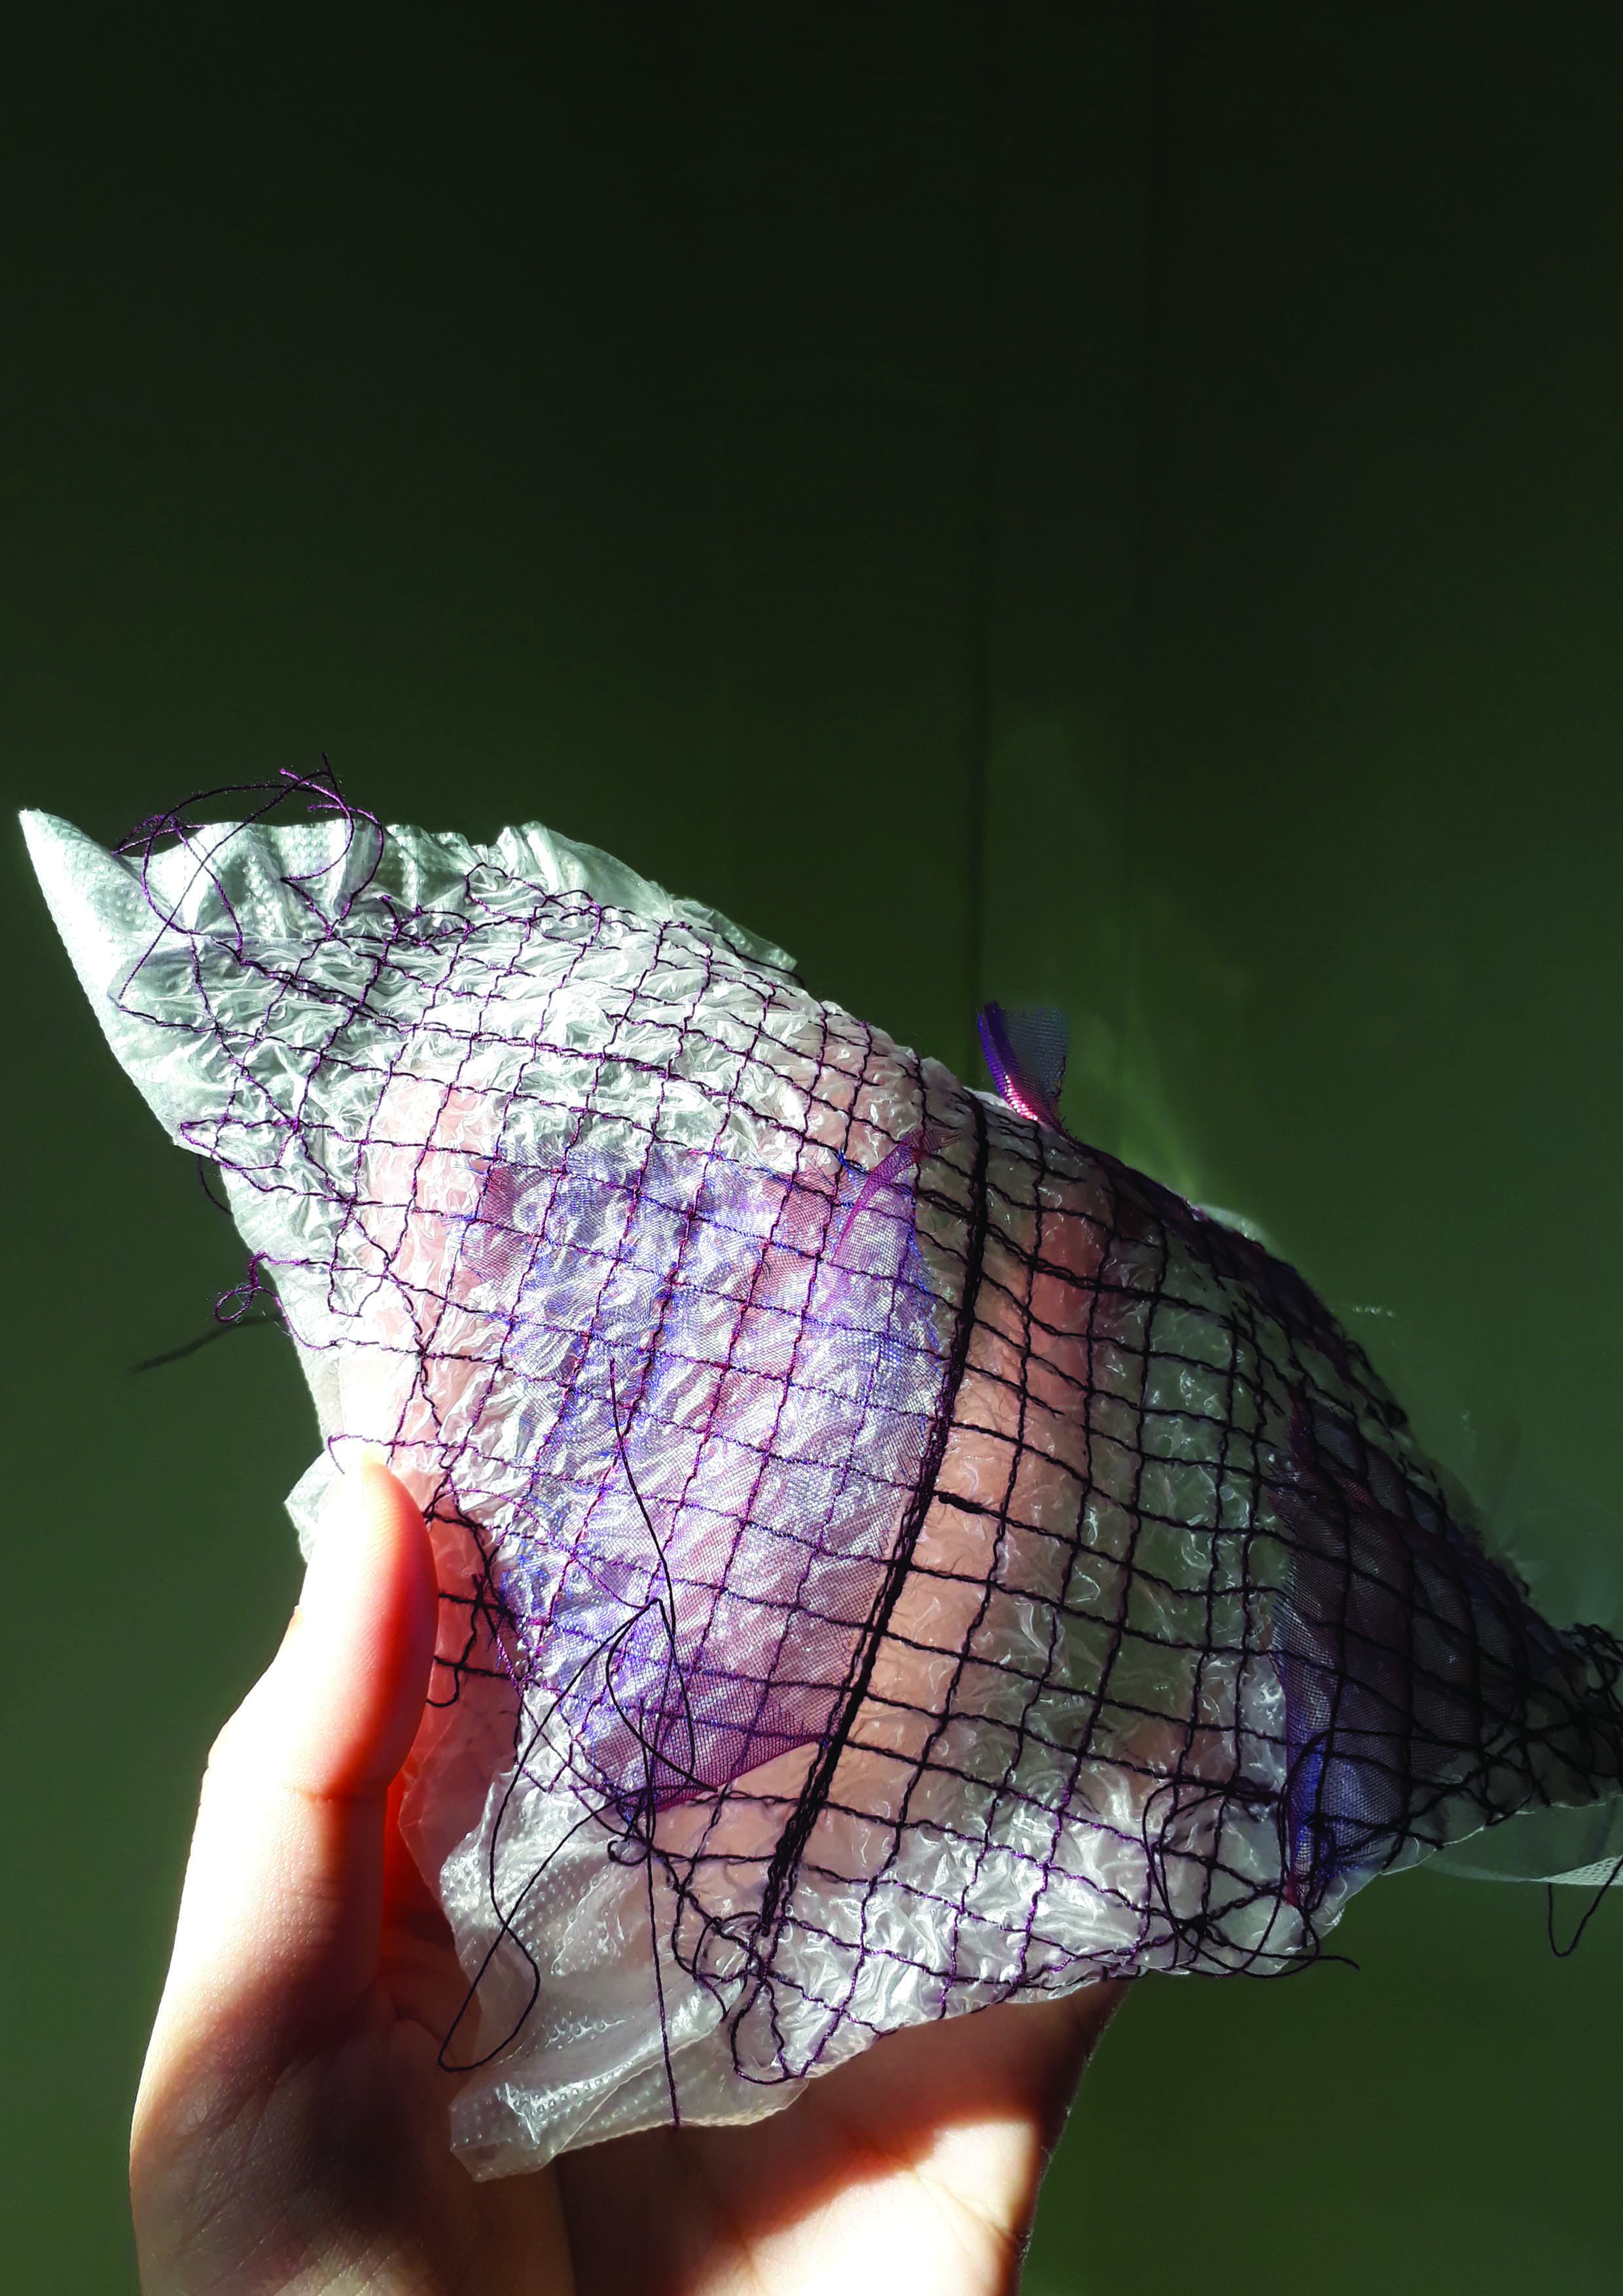
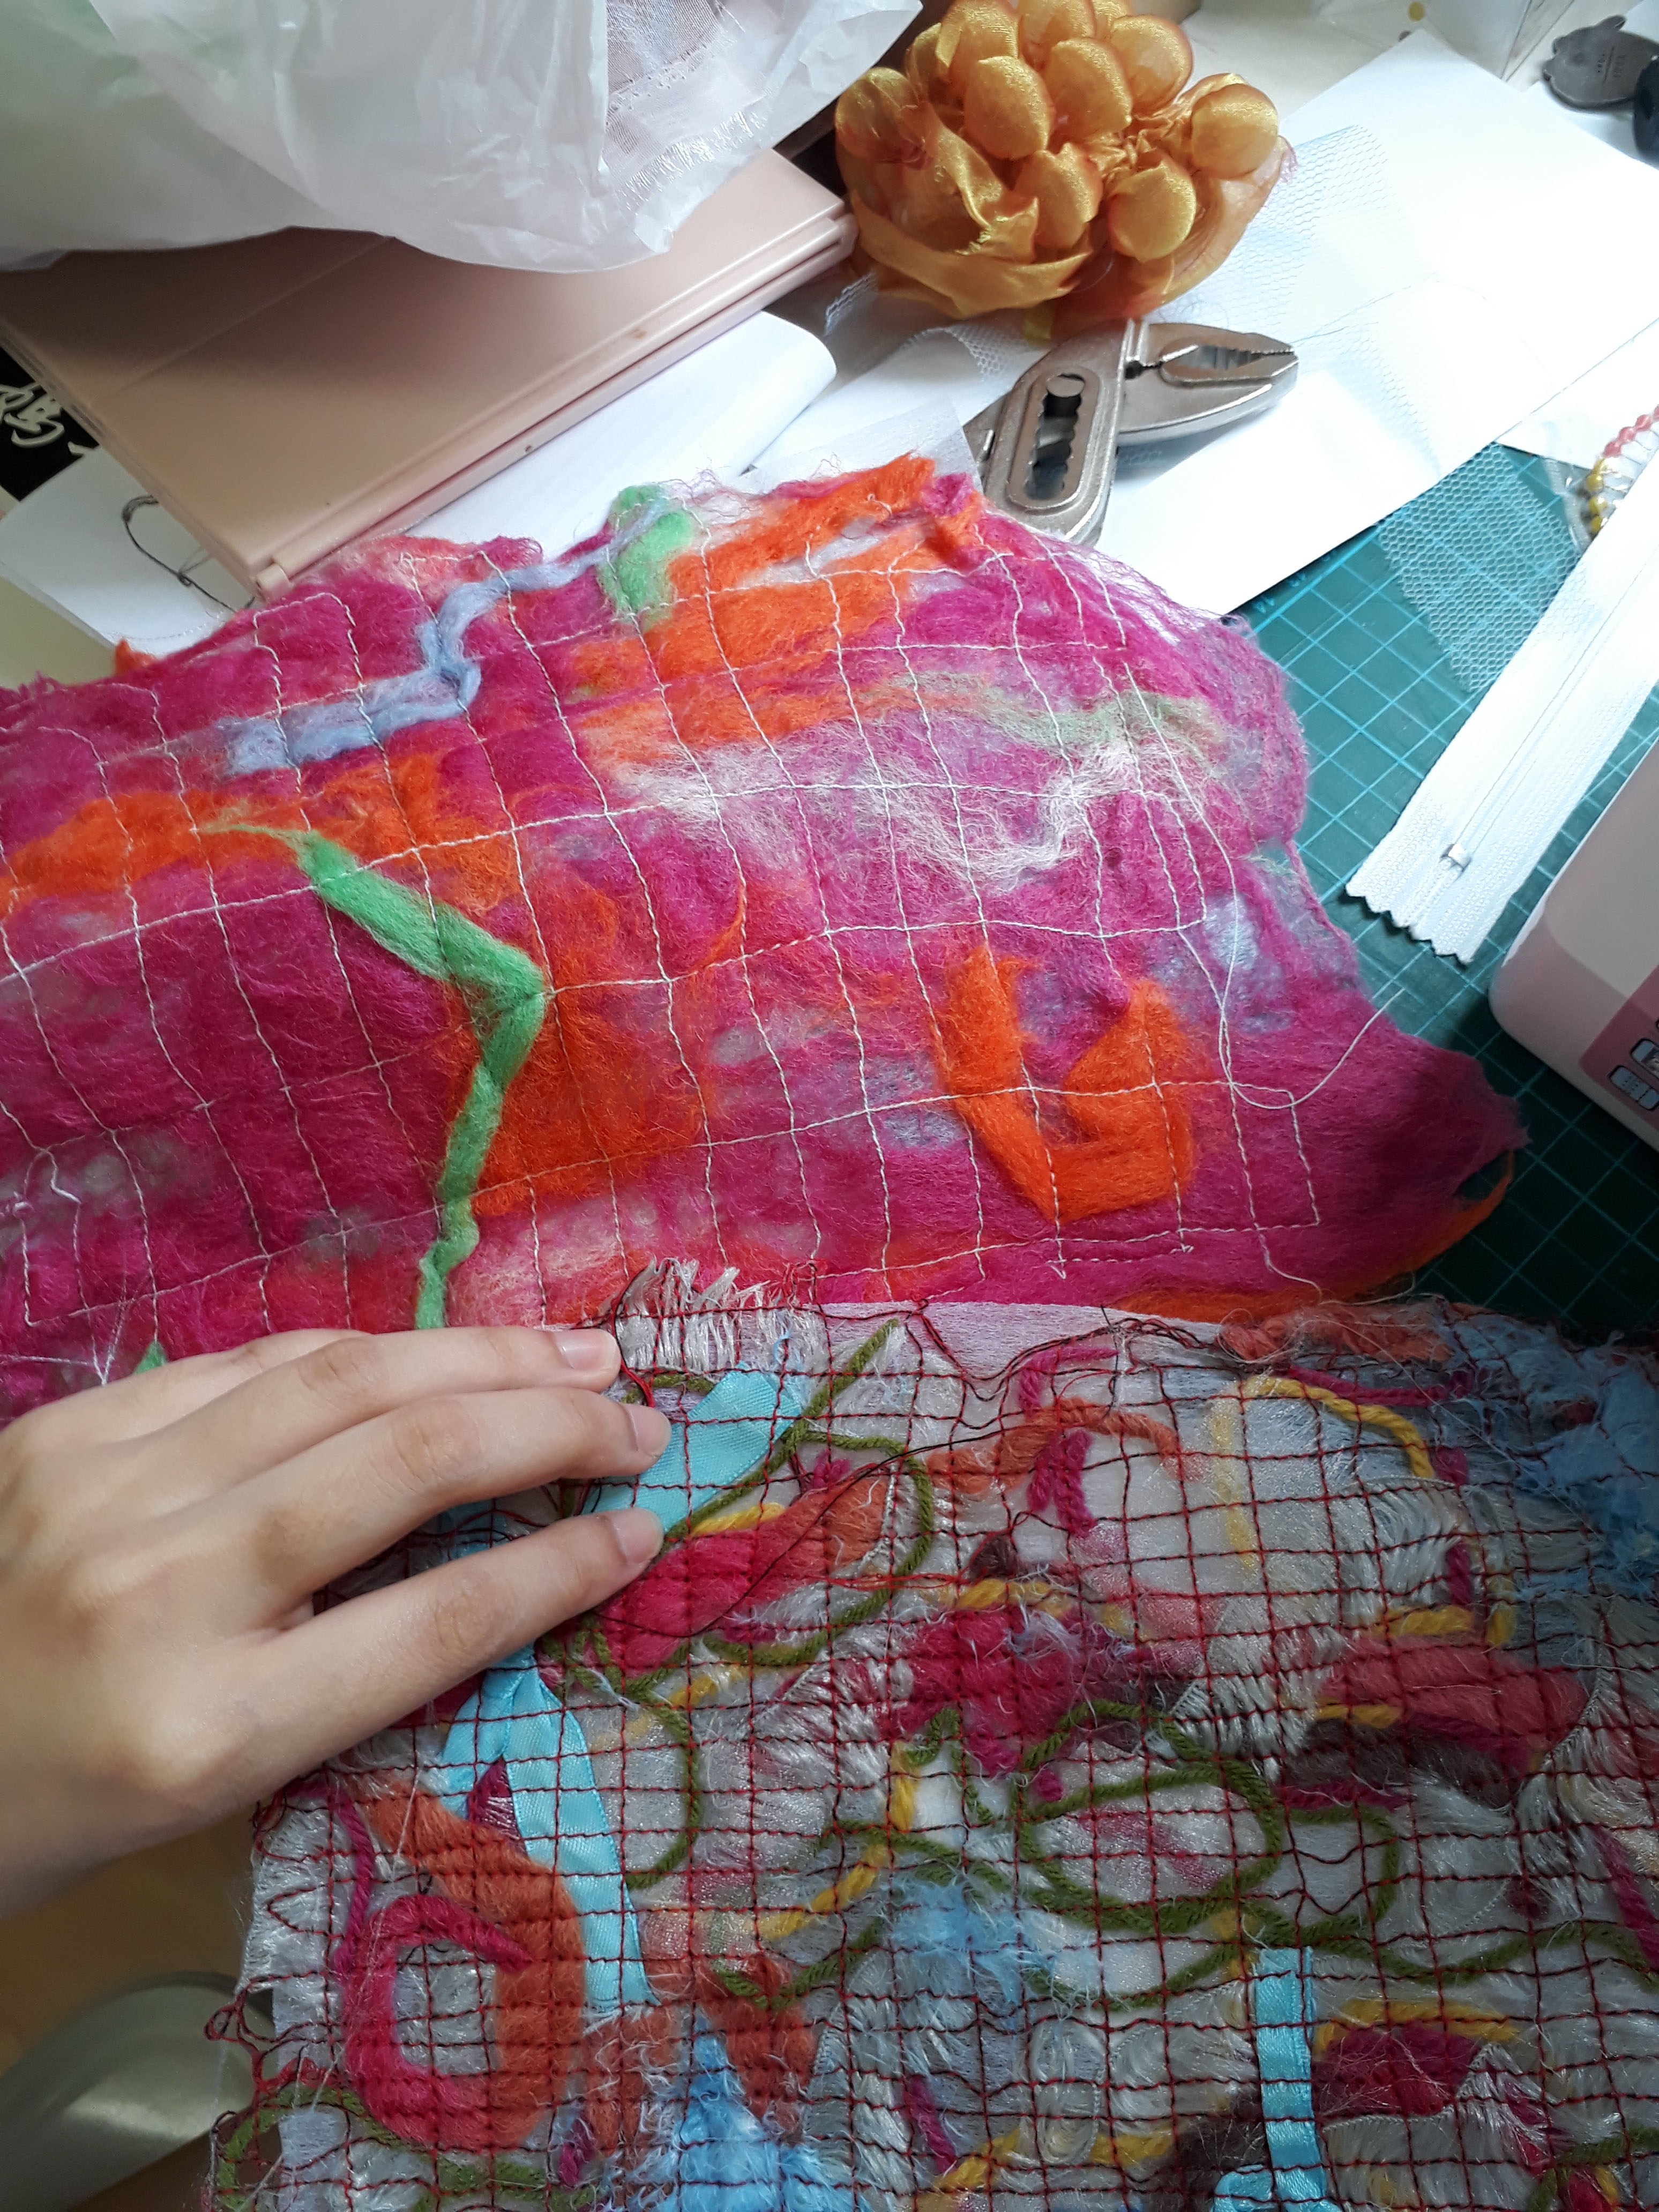
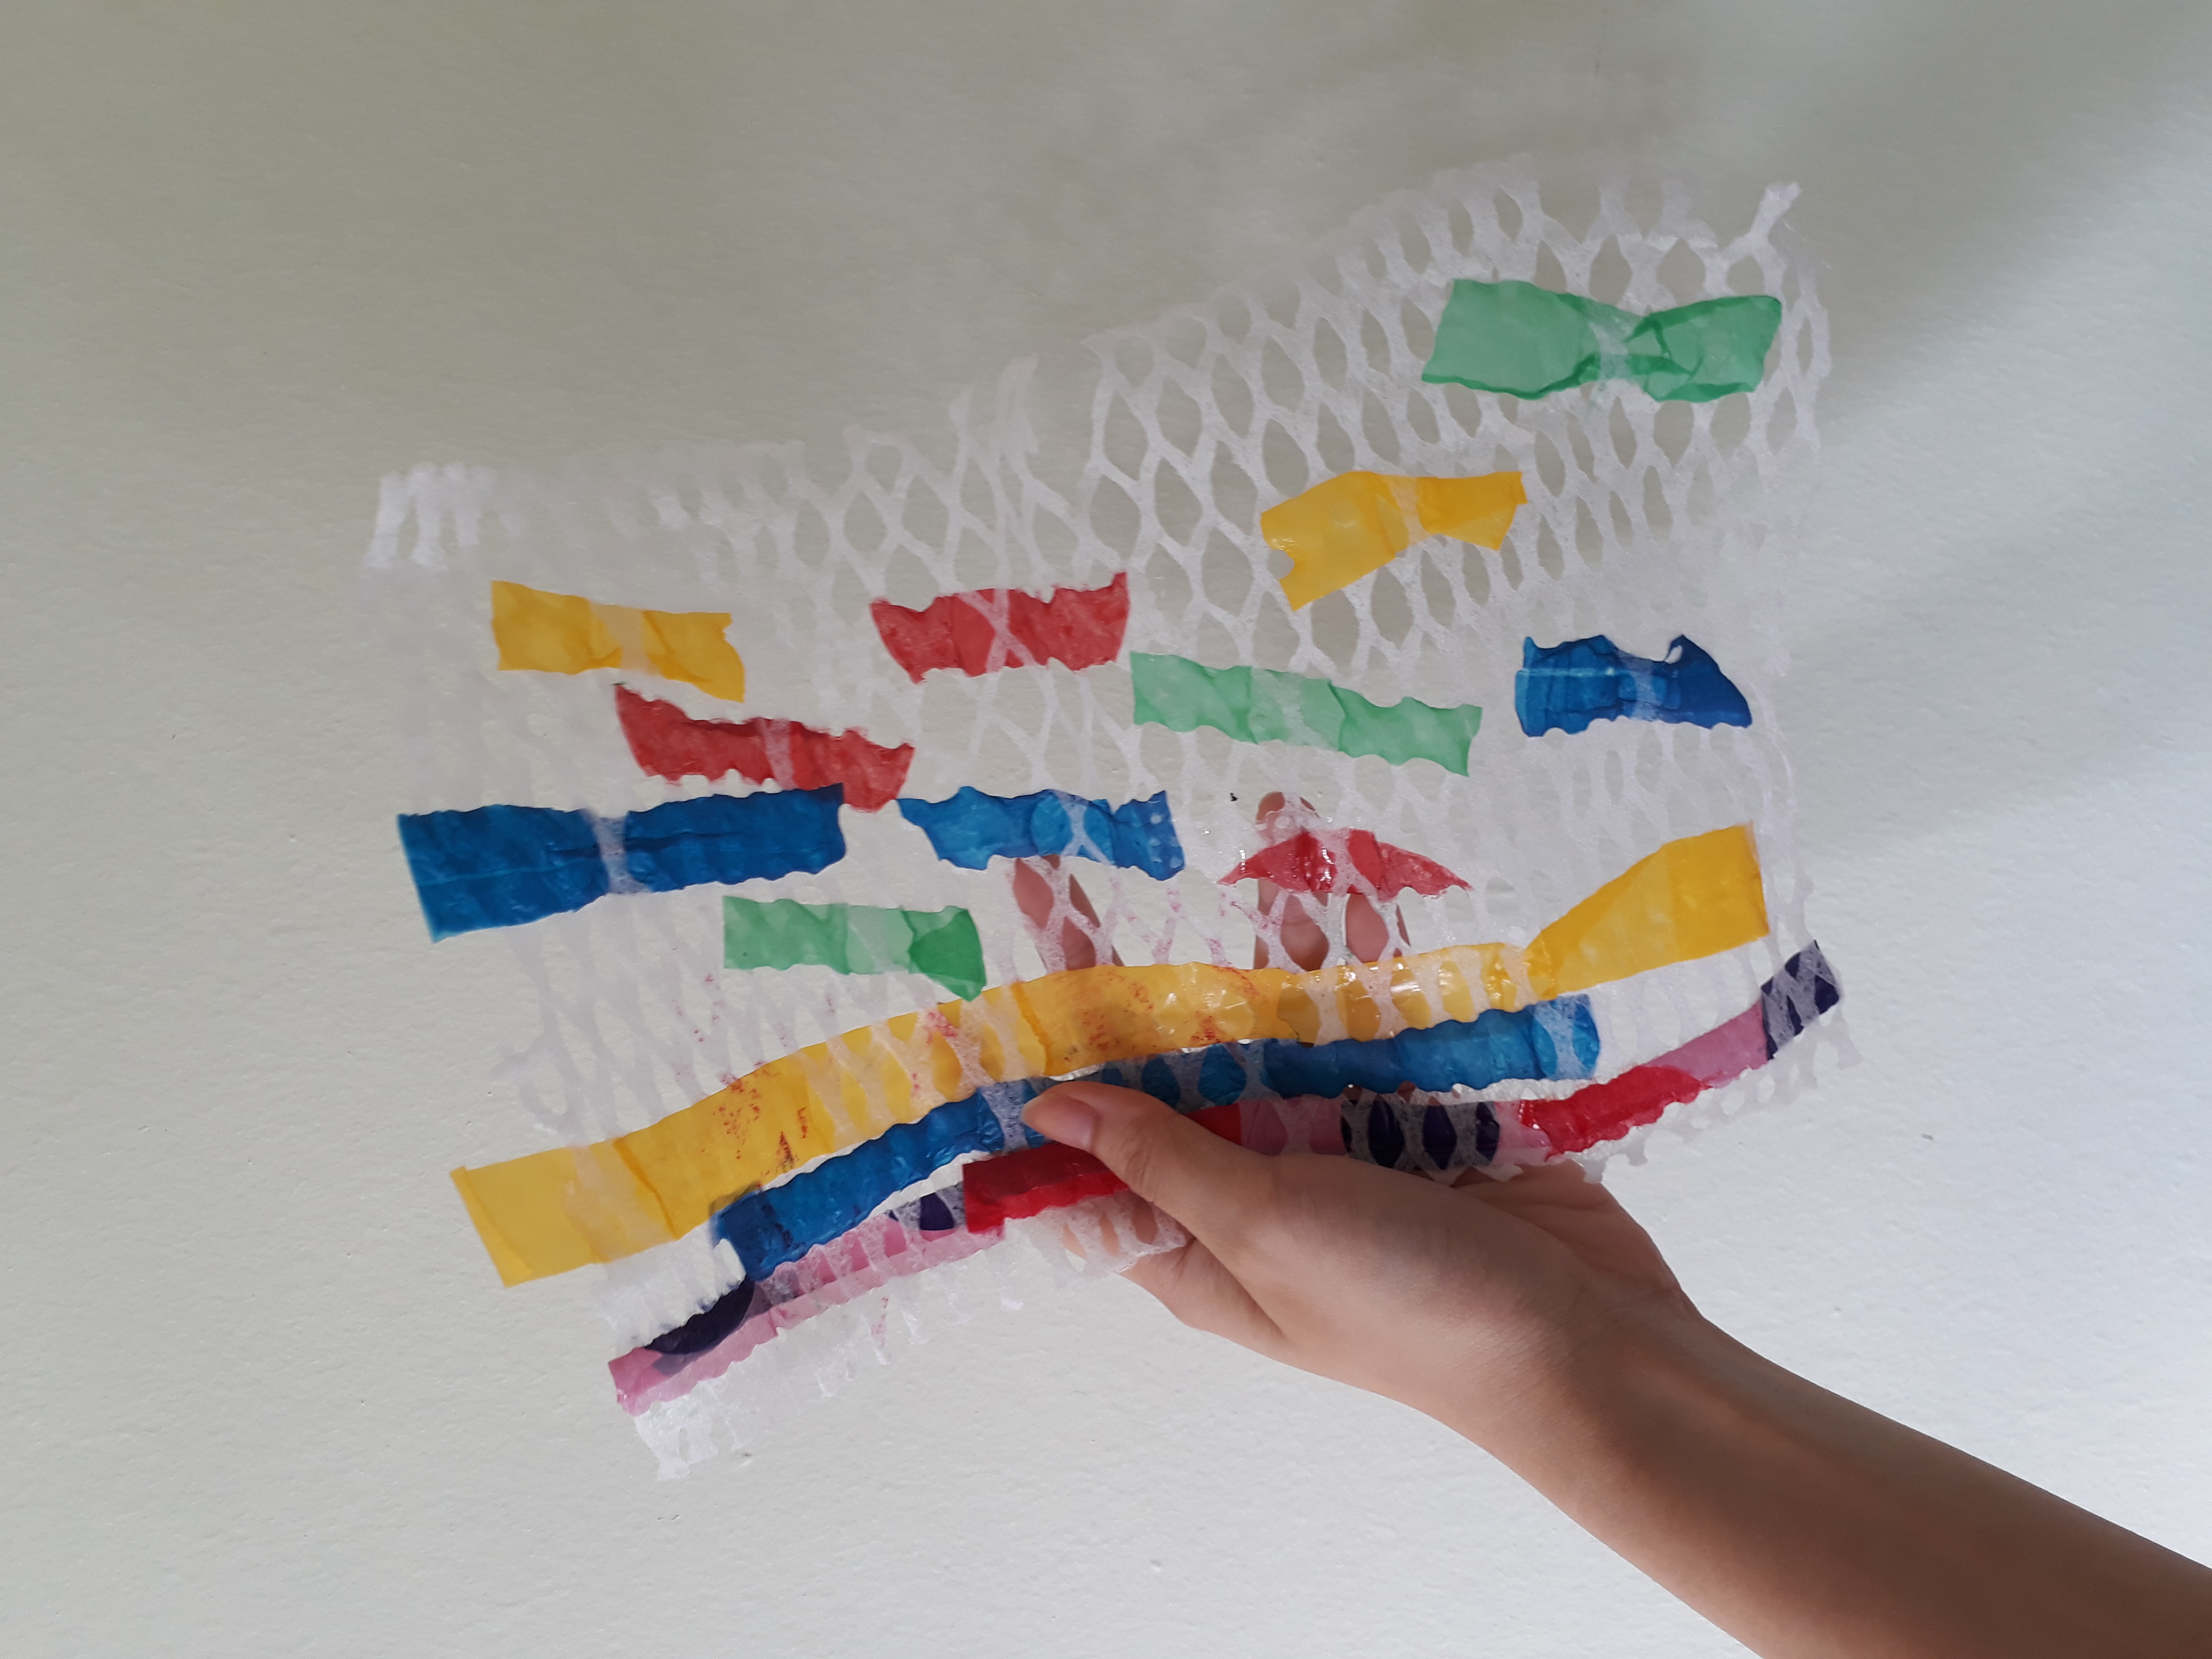
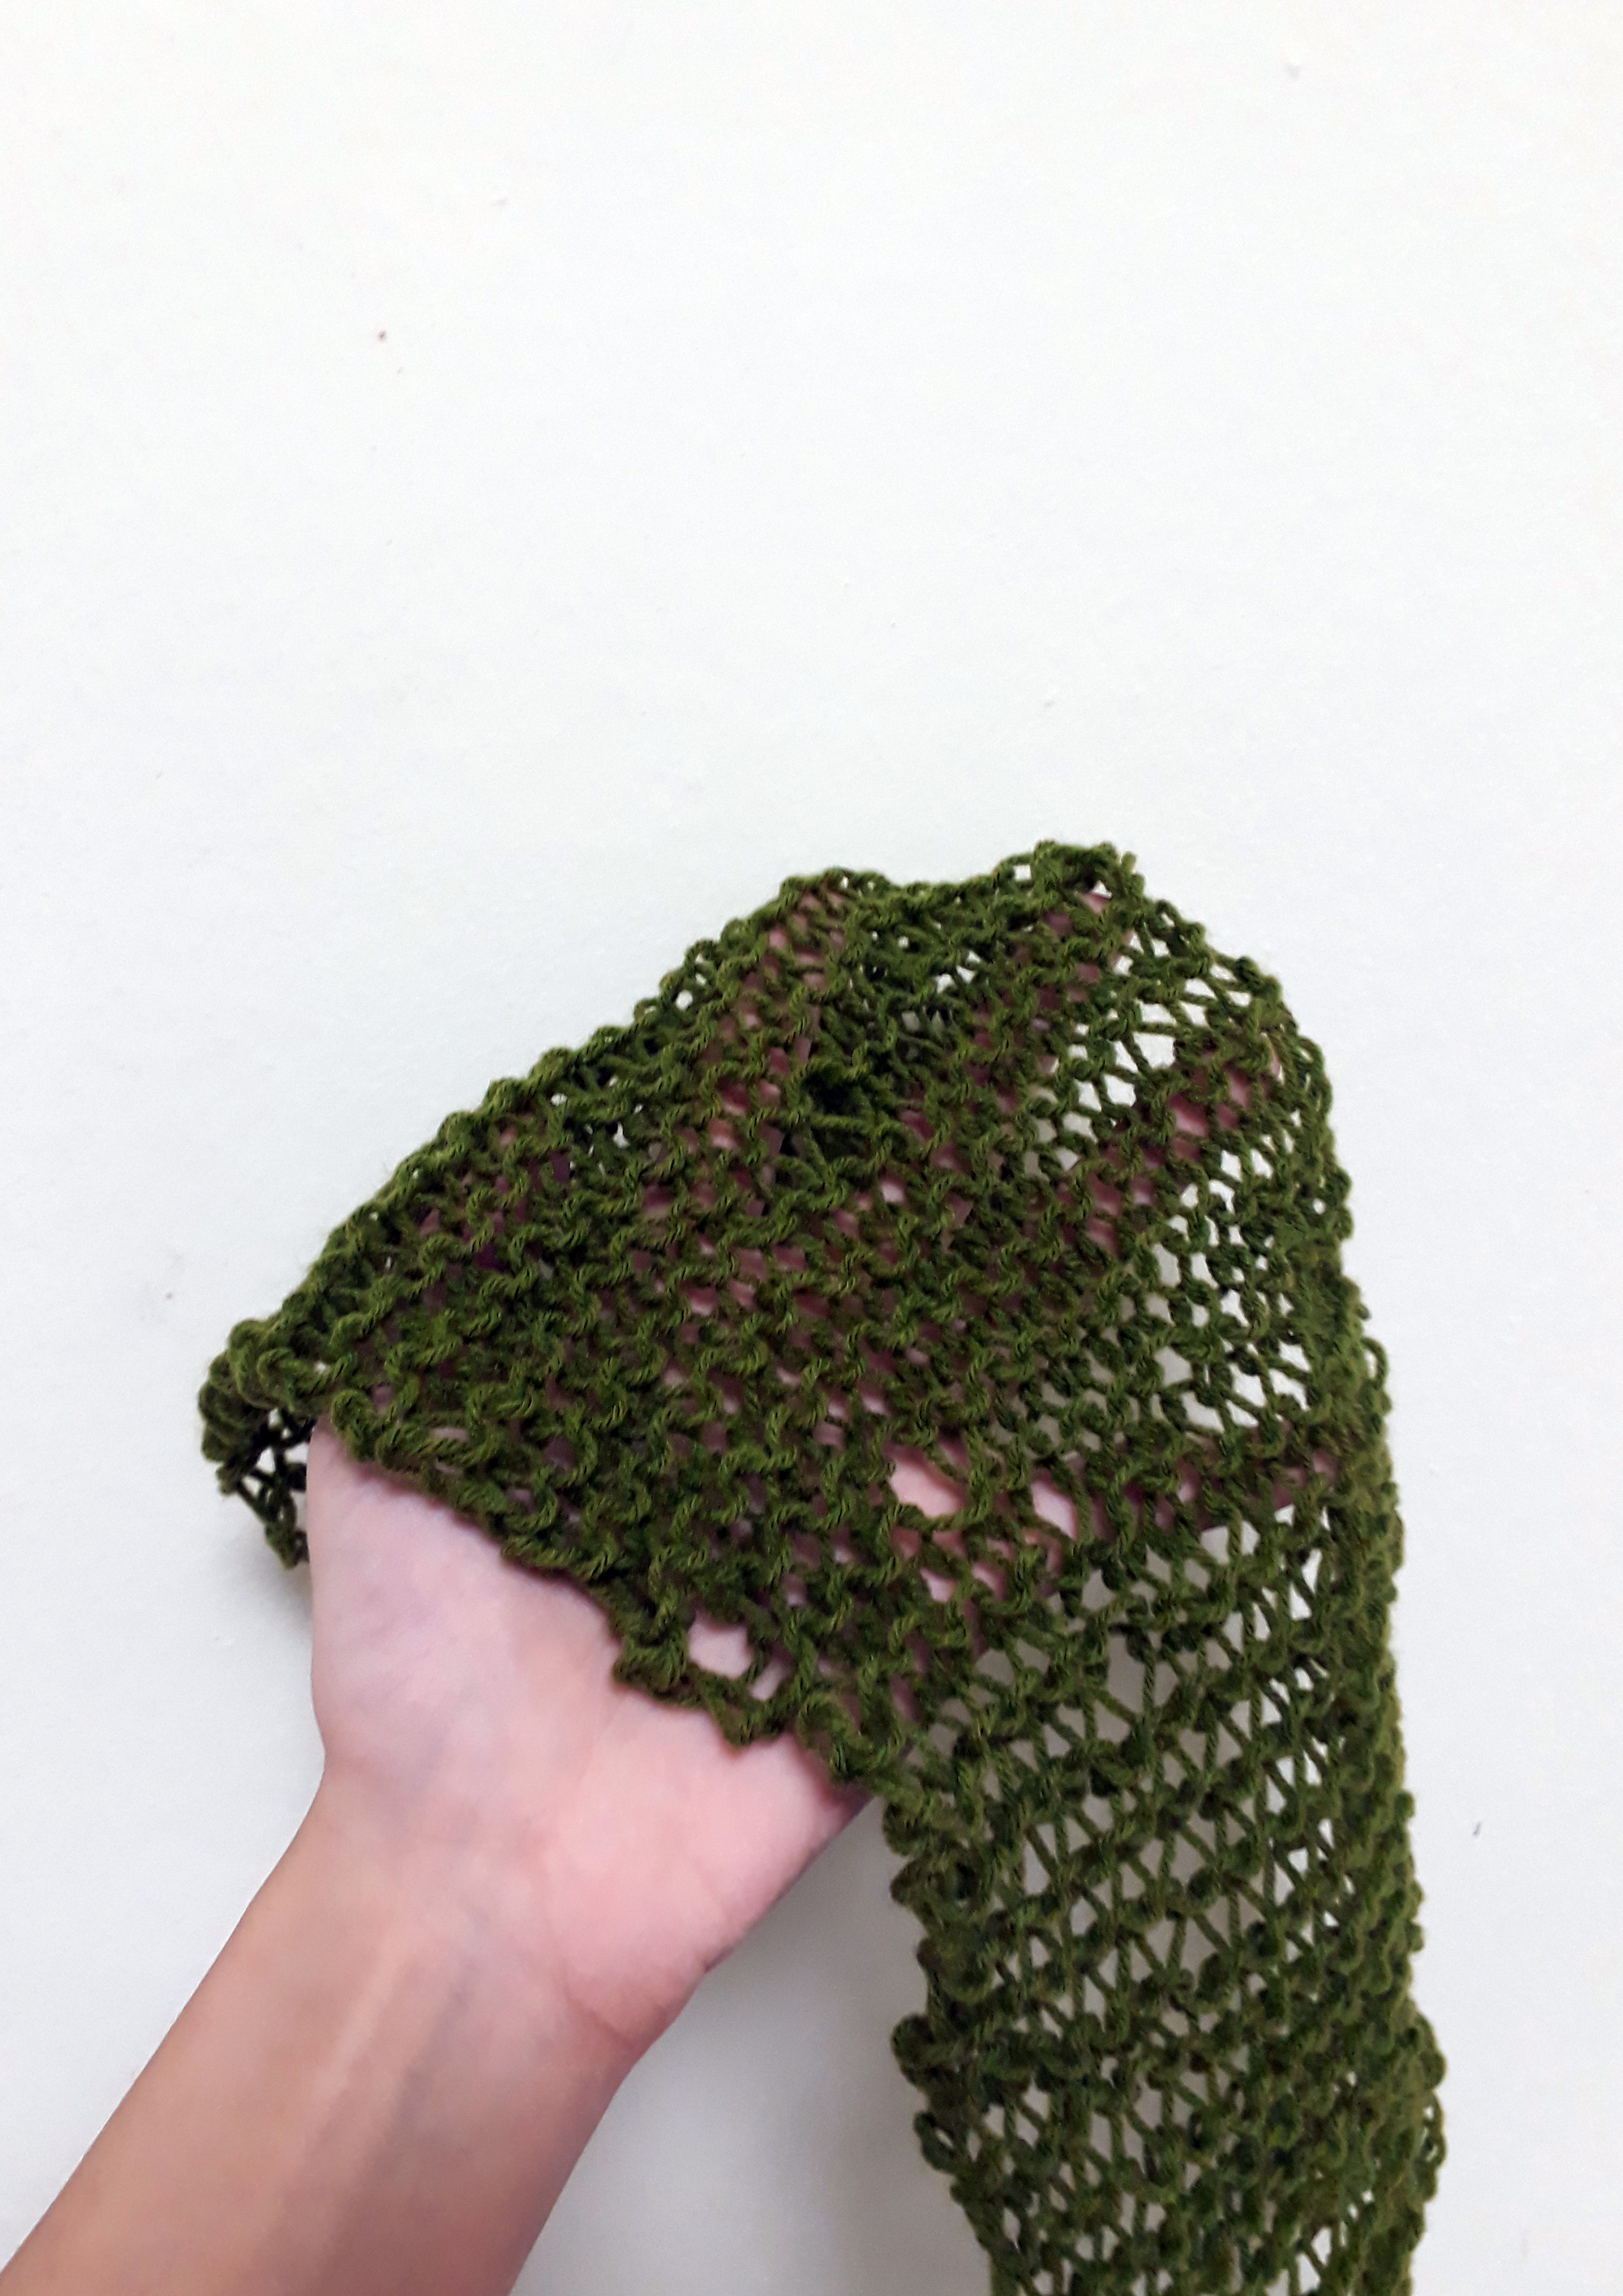
Then I did it in looser knits and created a mesh like cloth like texture. WOW that is a mouthful. (Although I typed it out…)

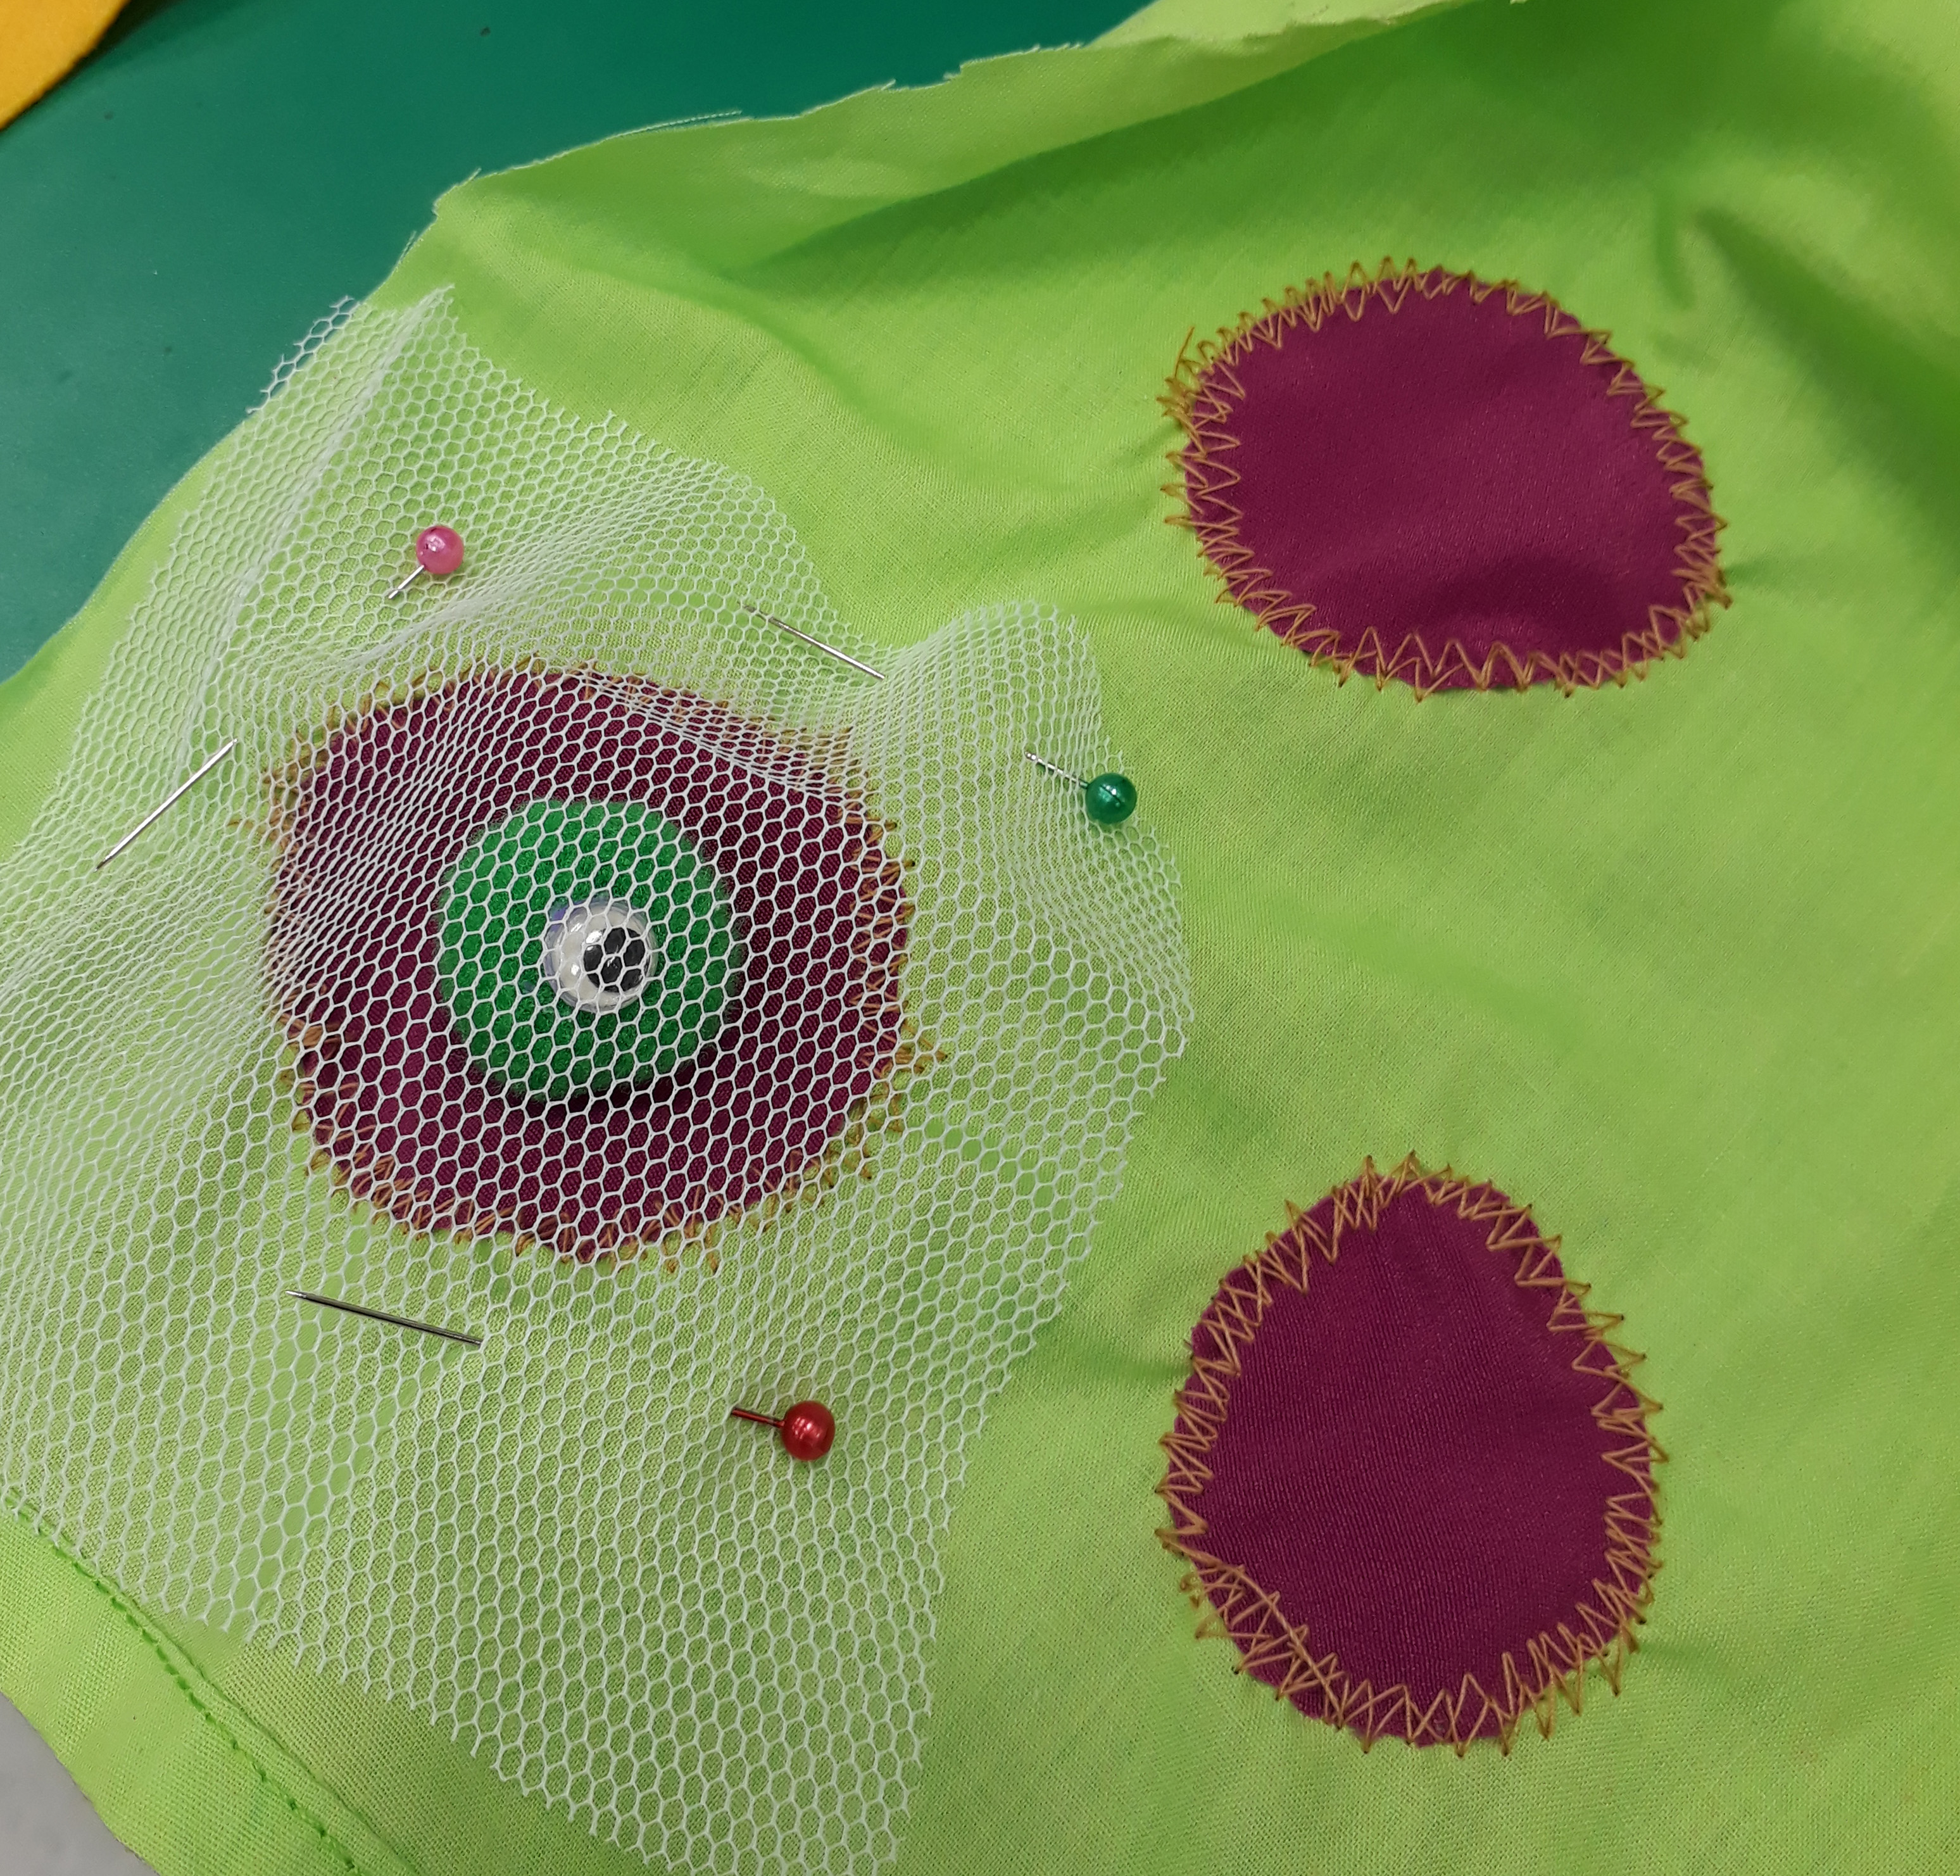
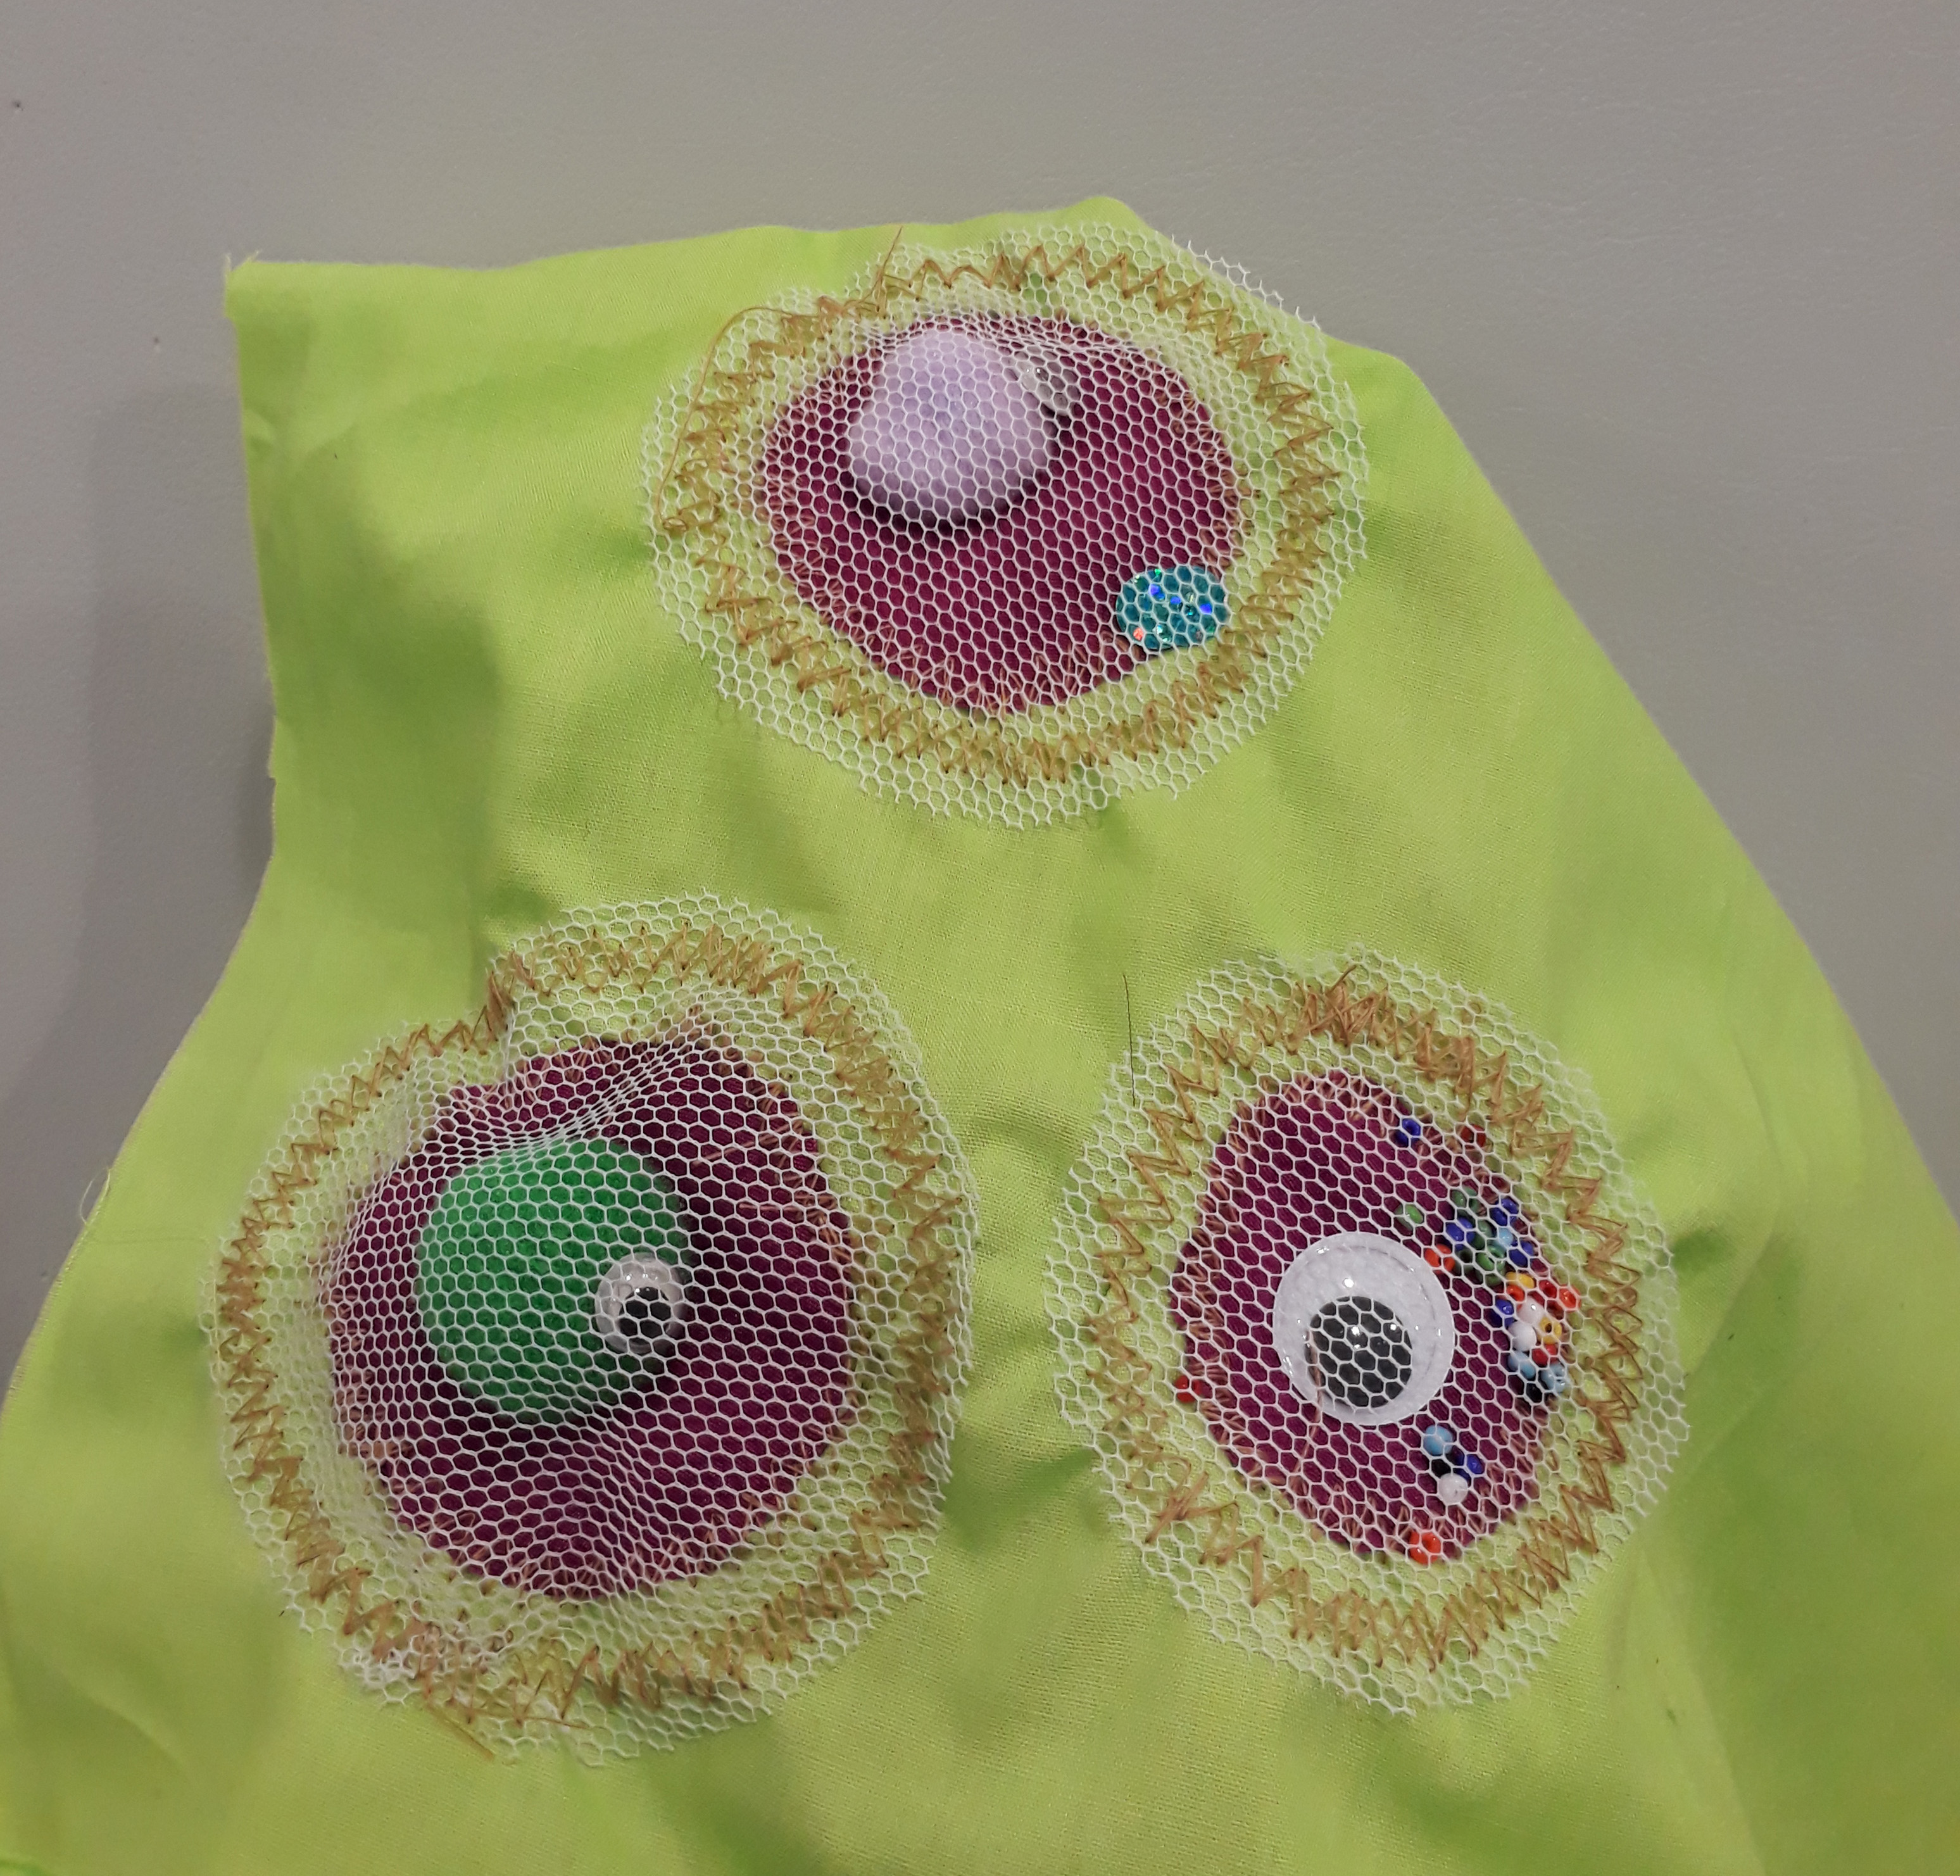
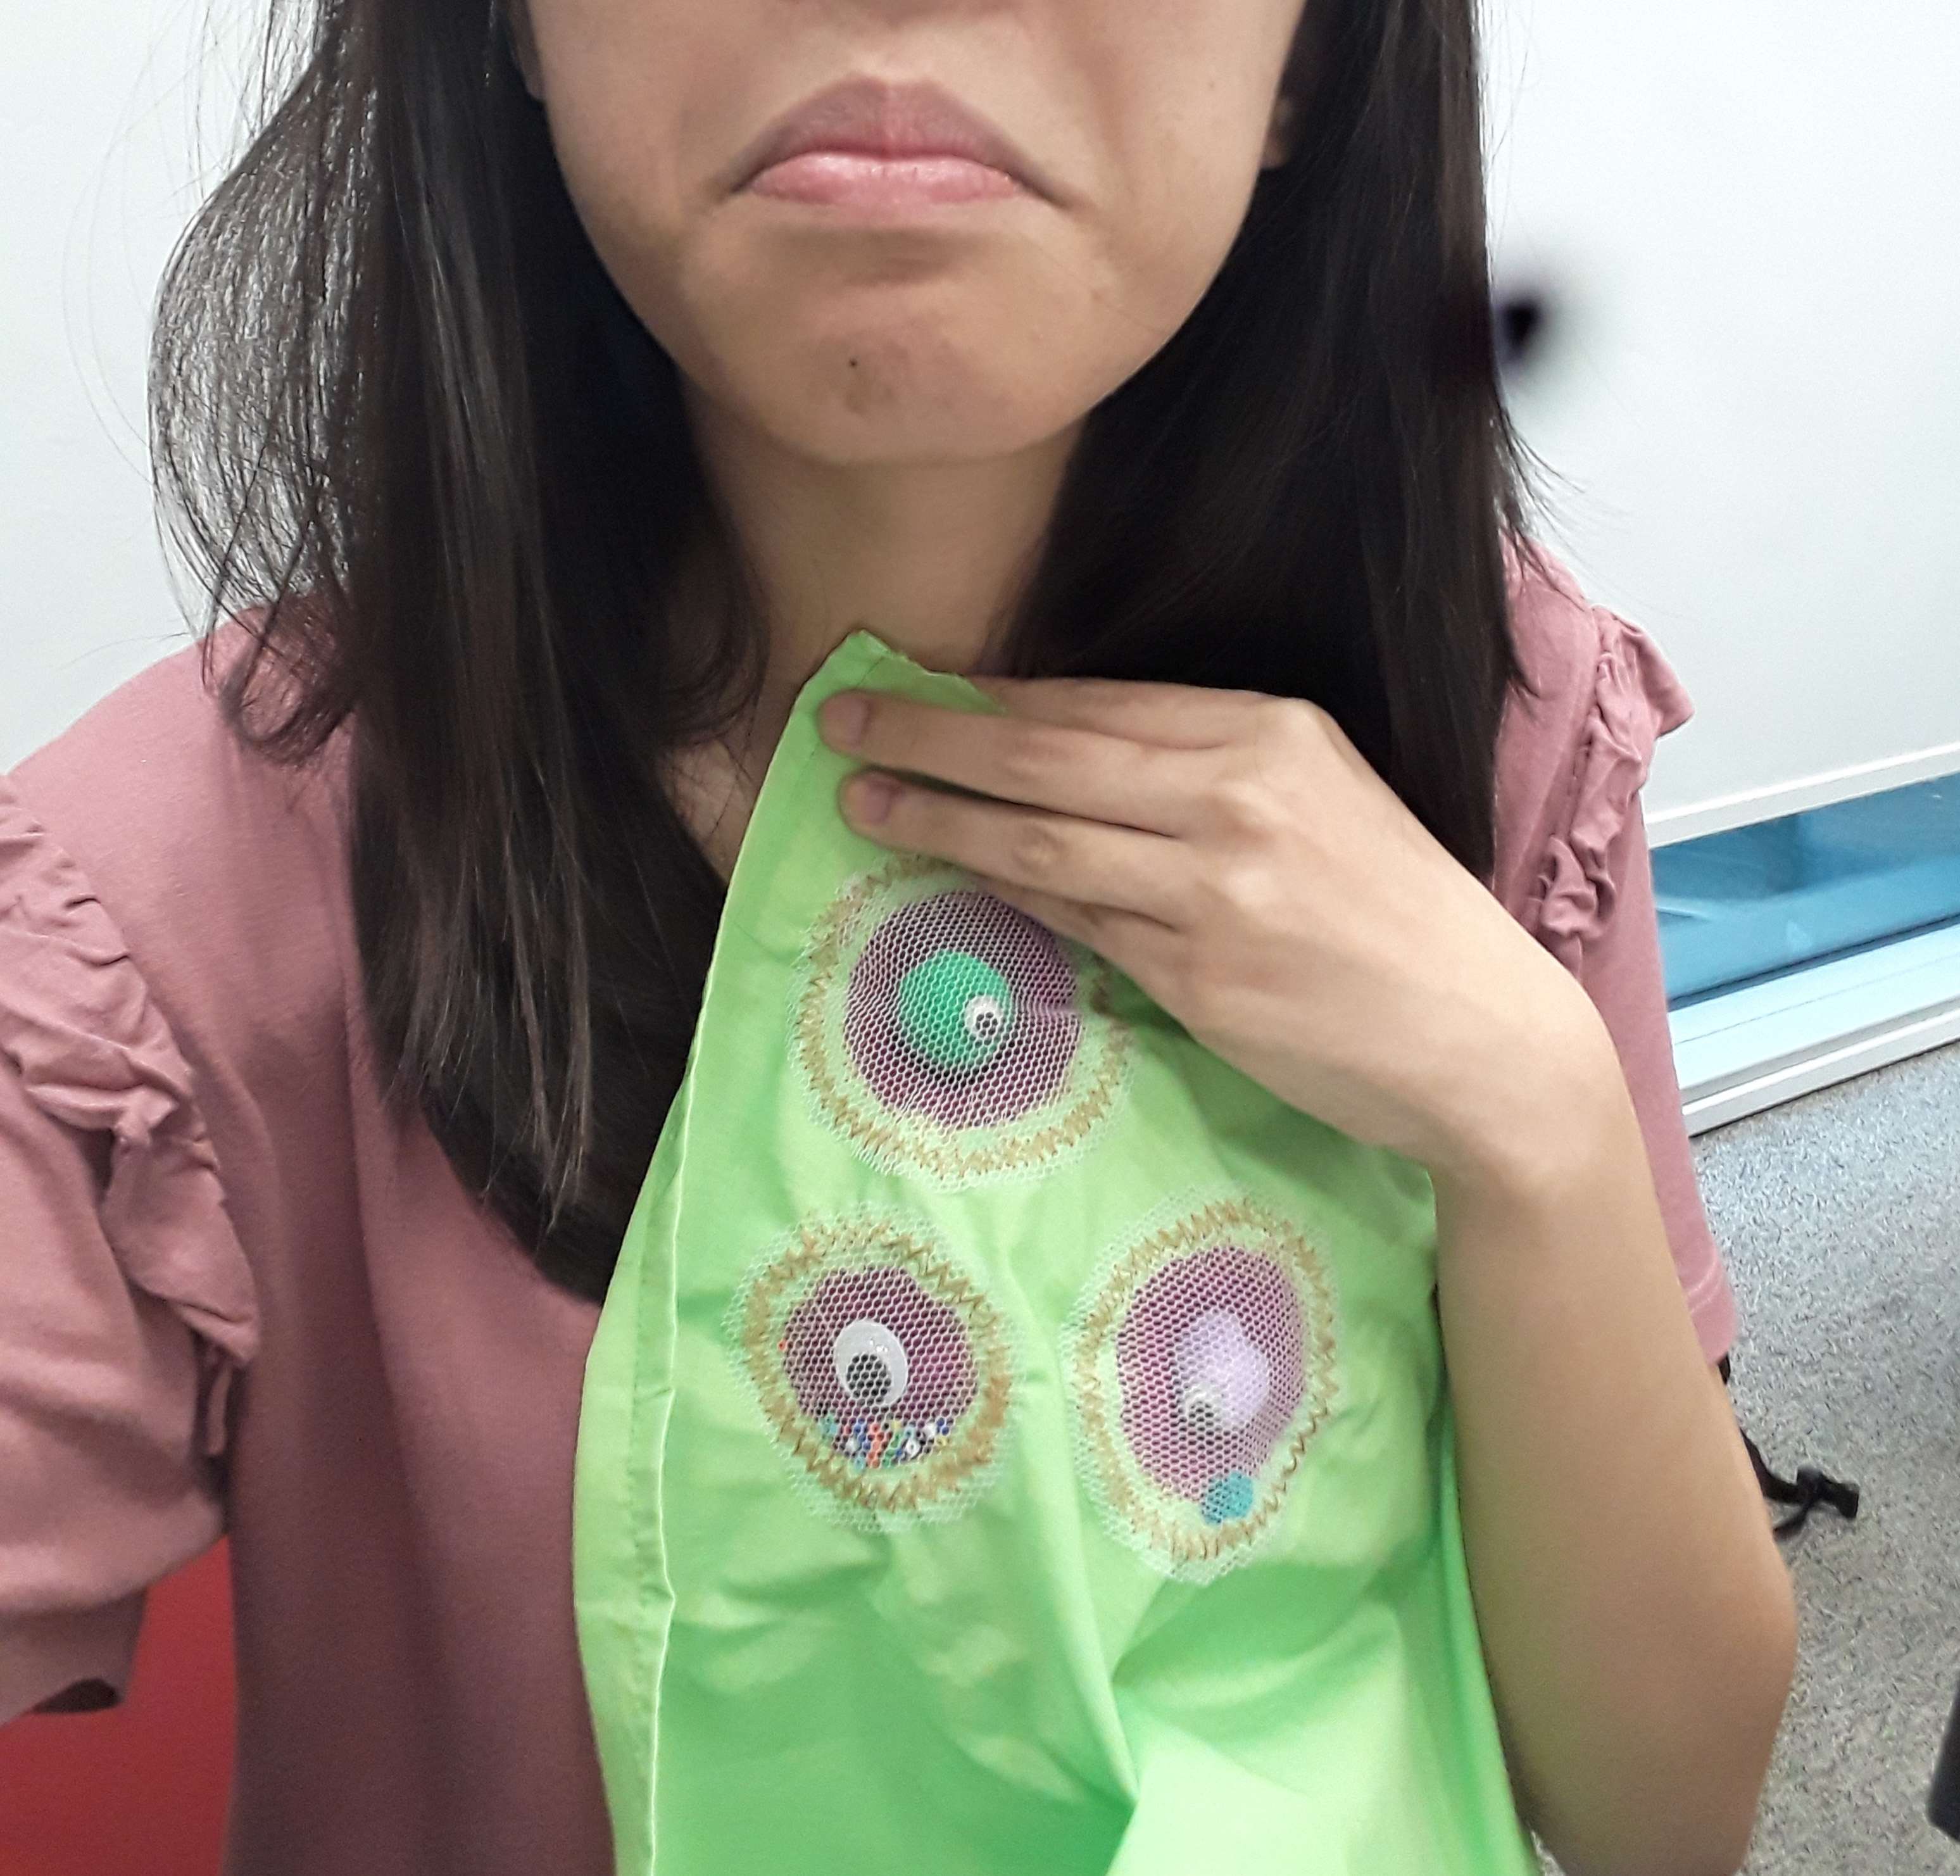
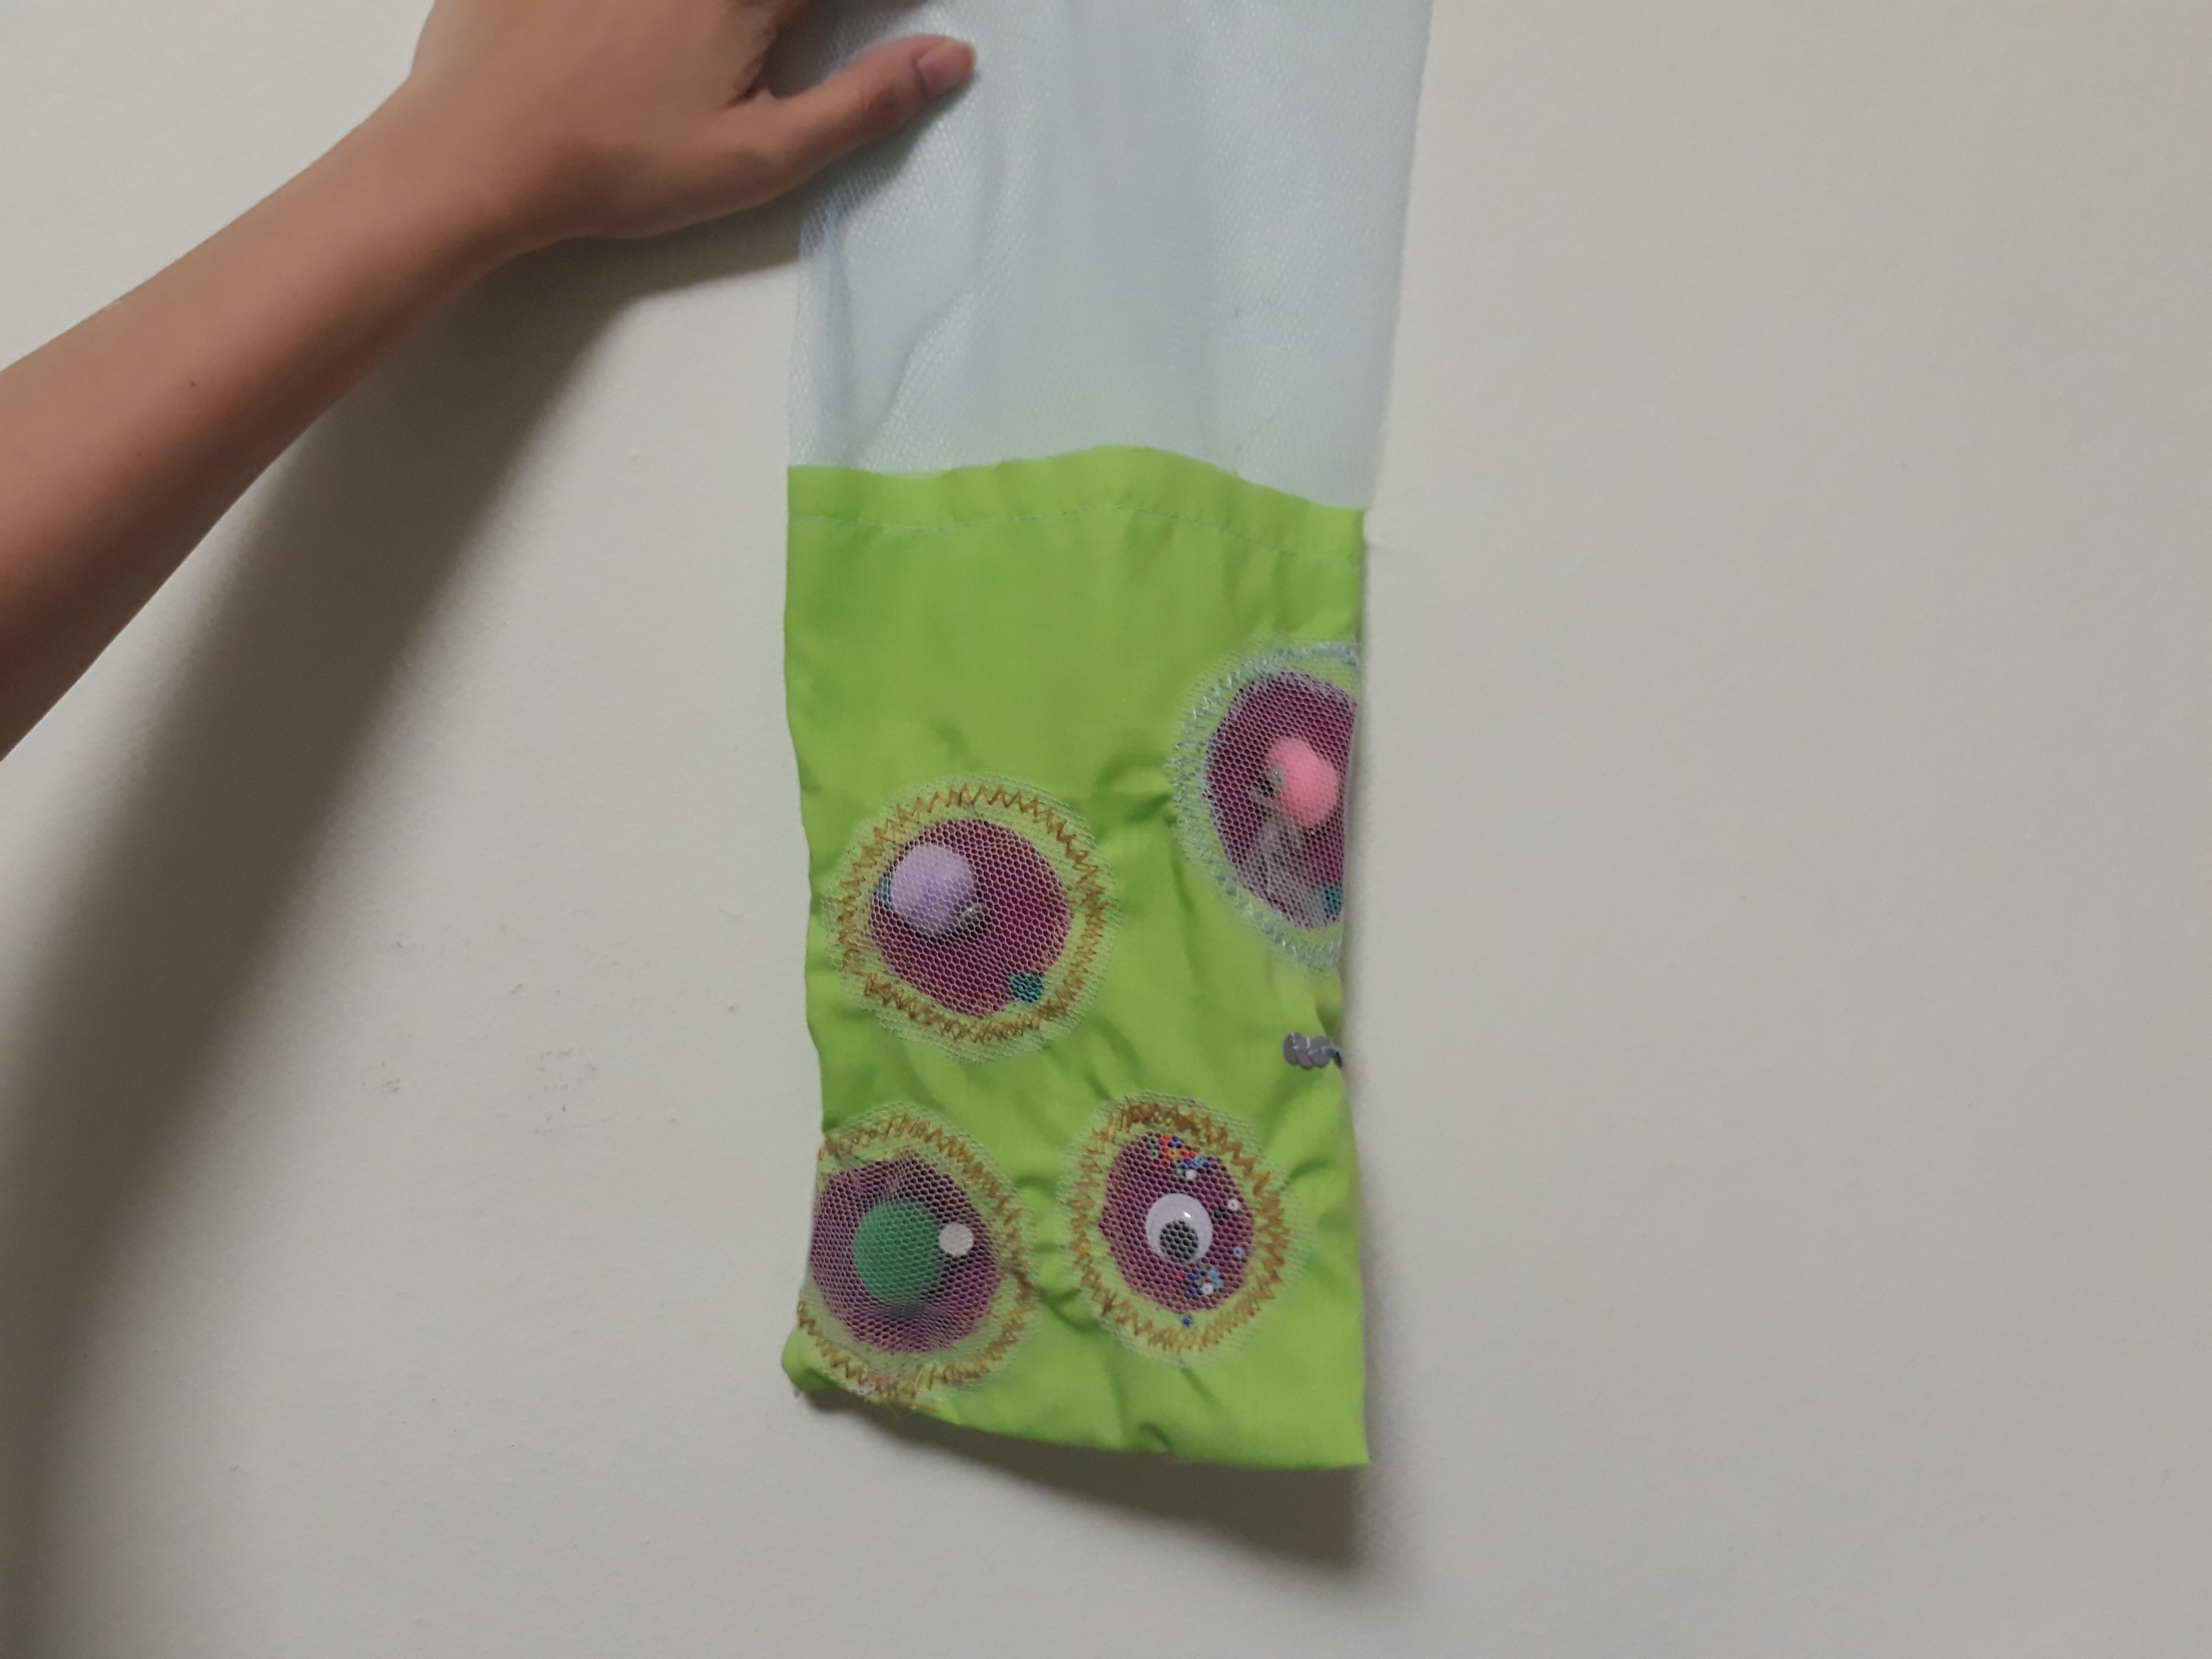
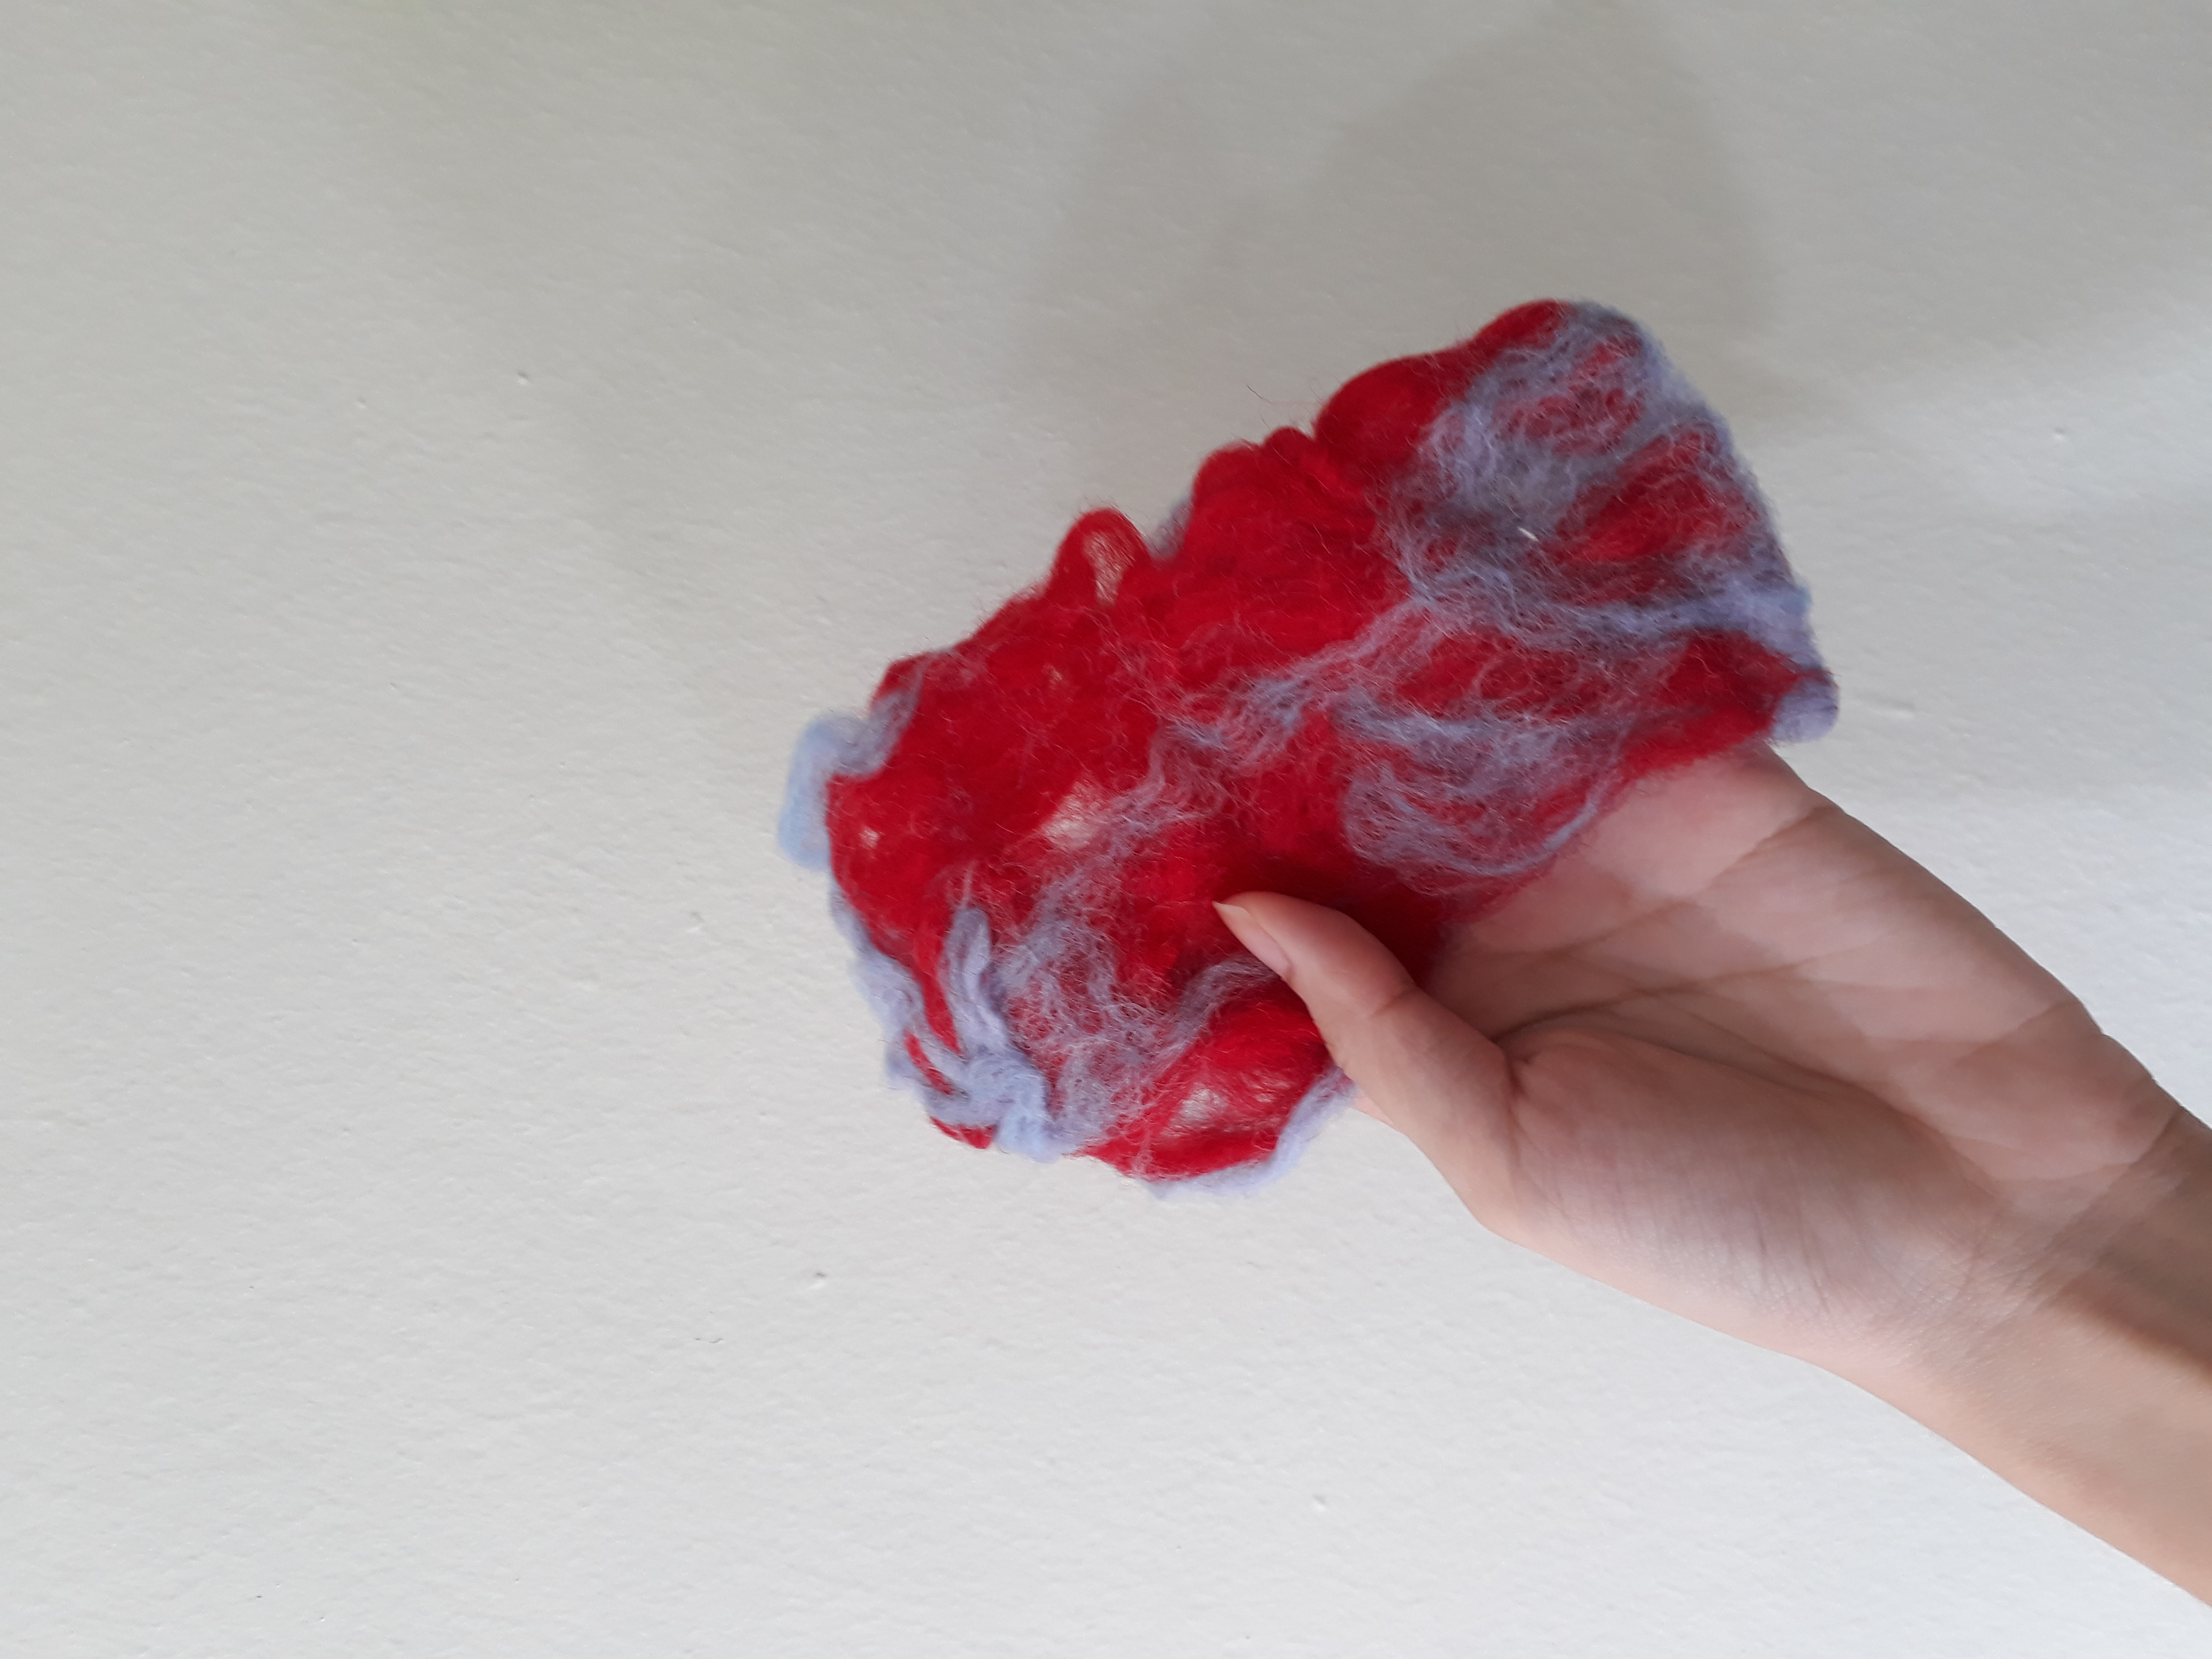
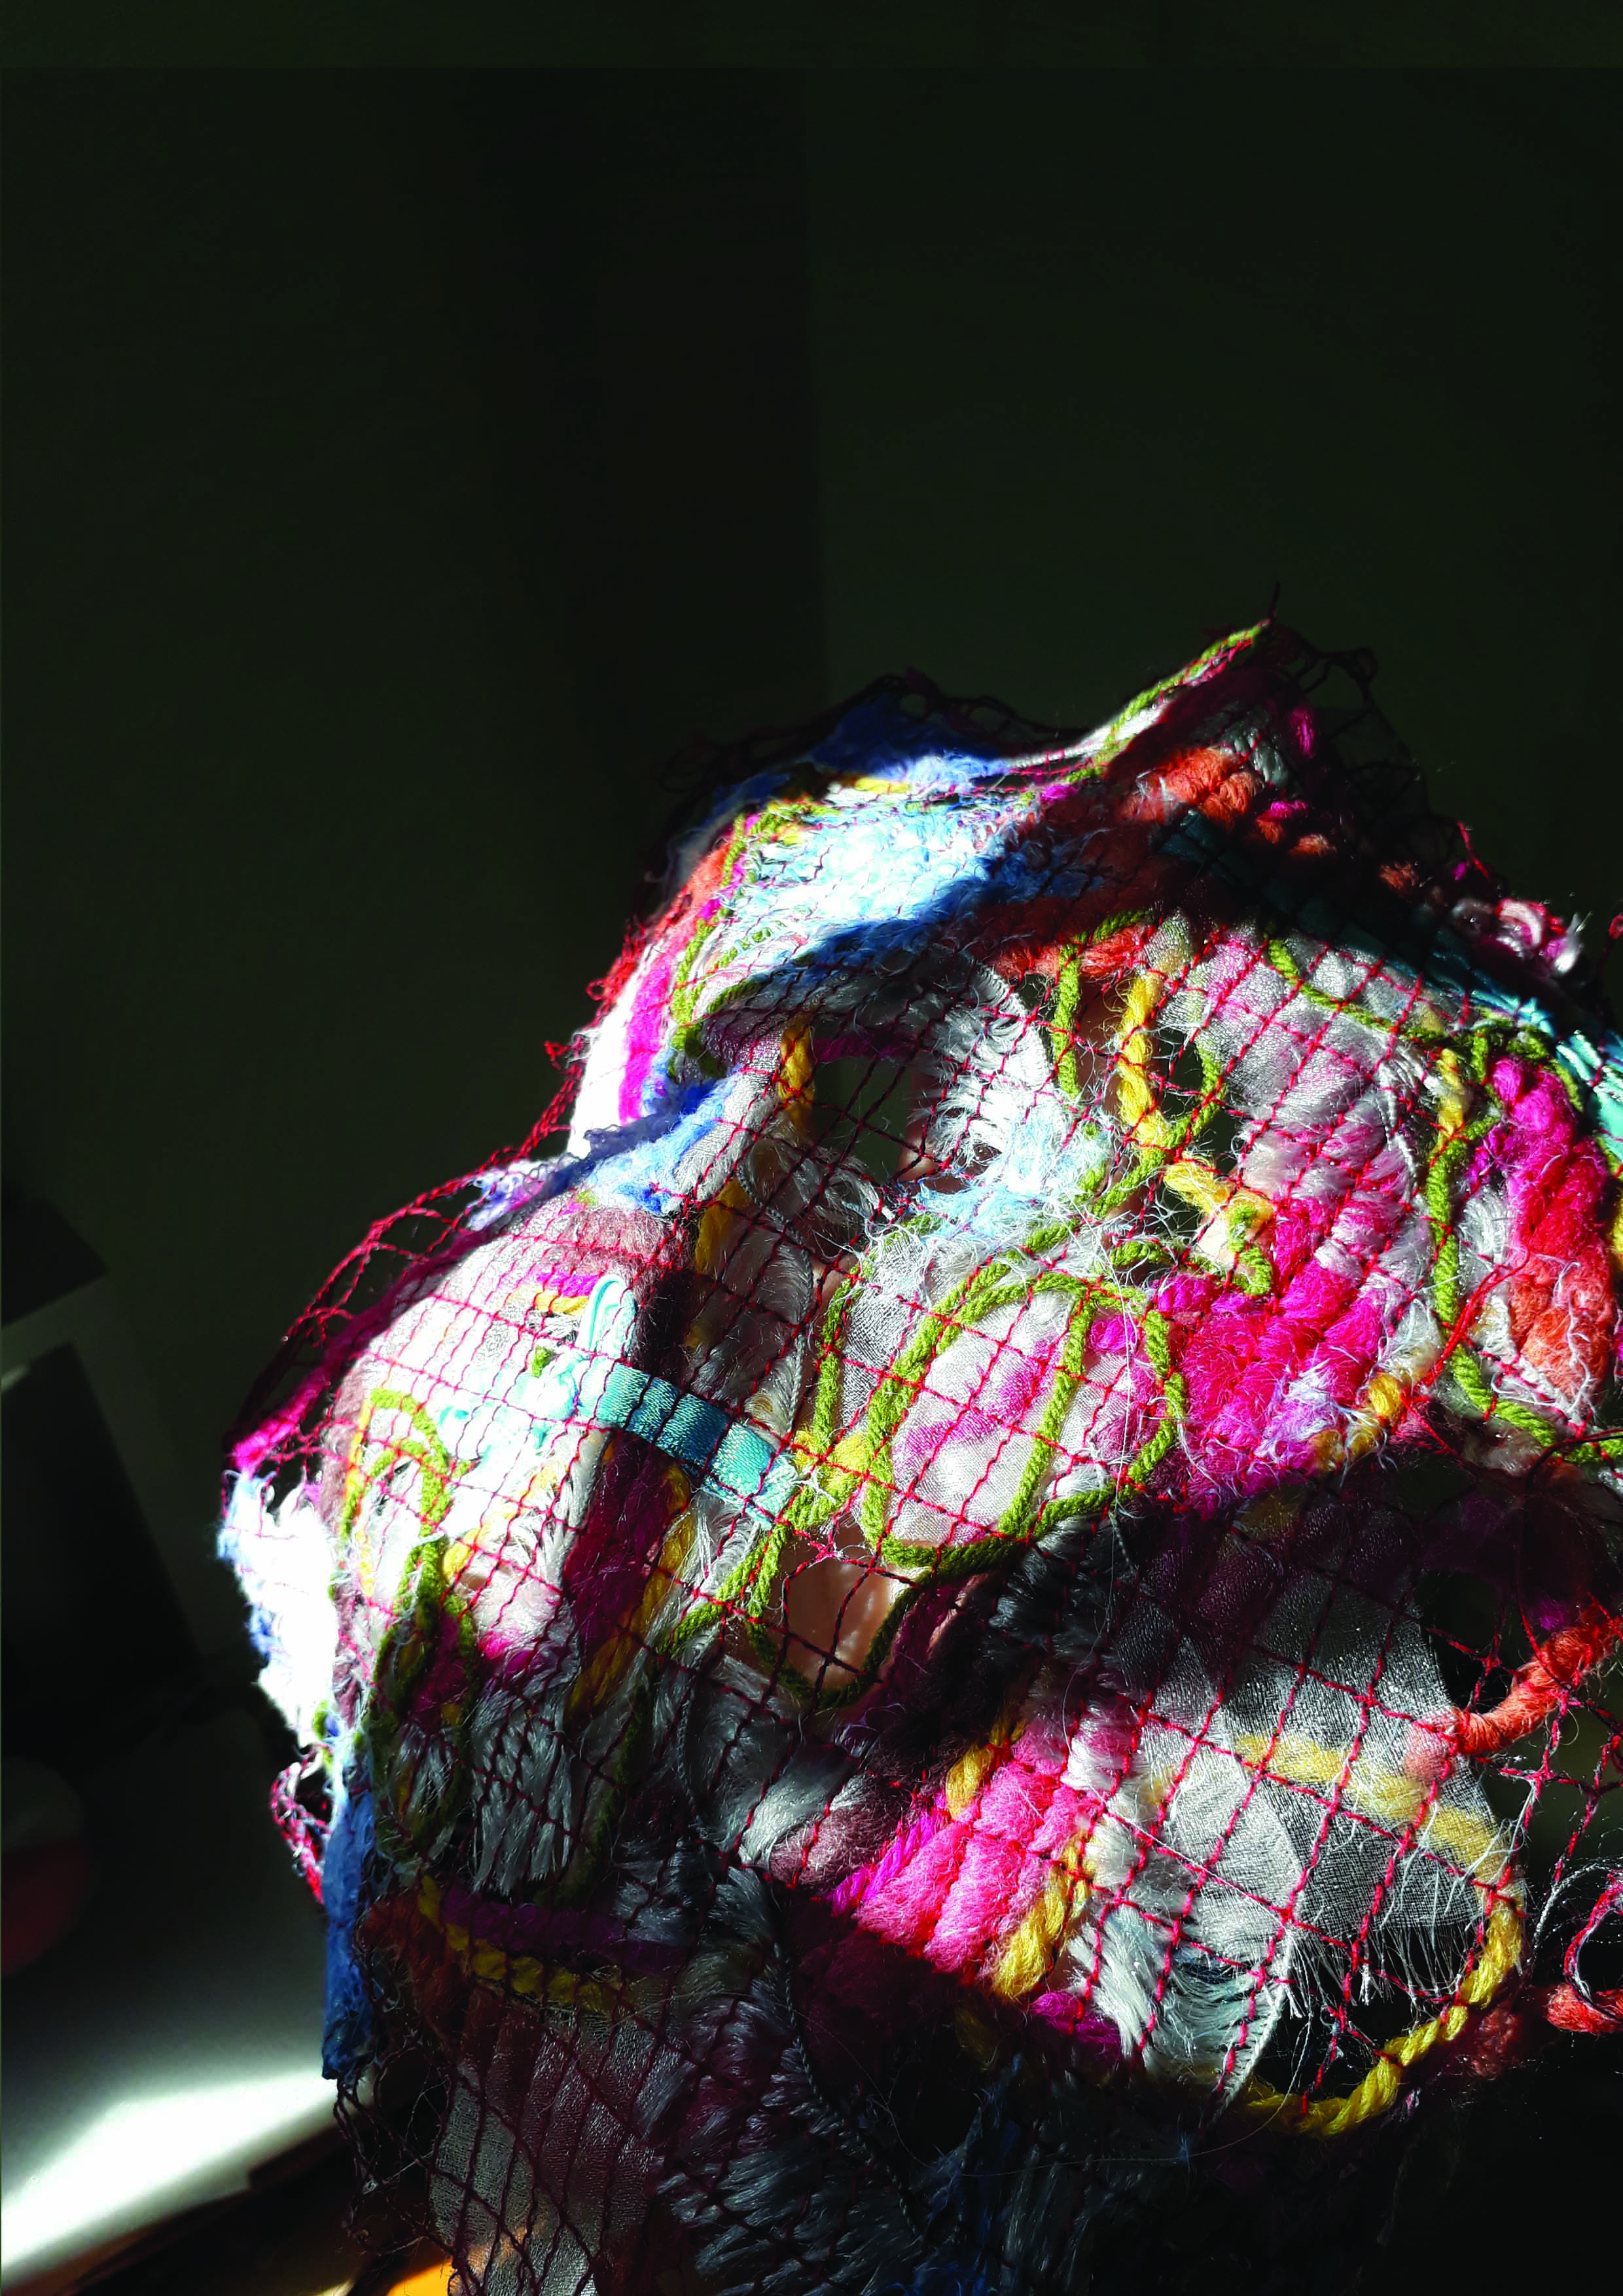
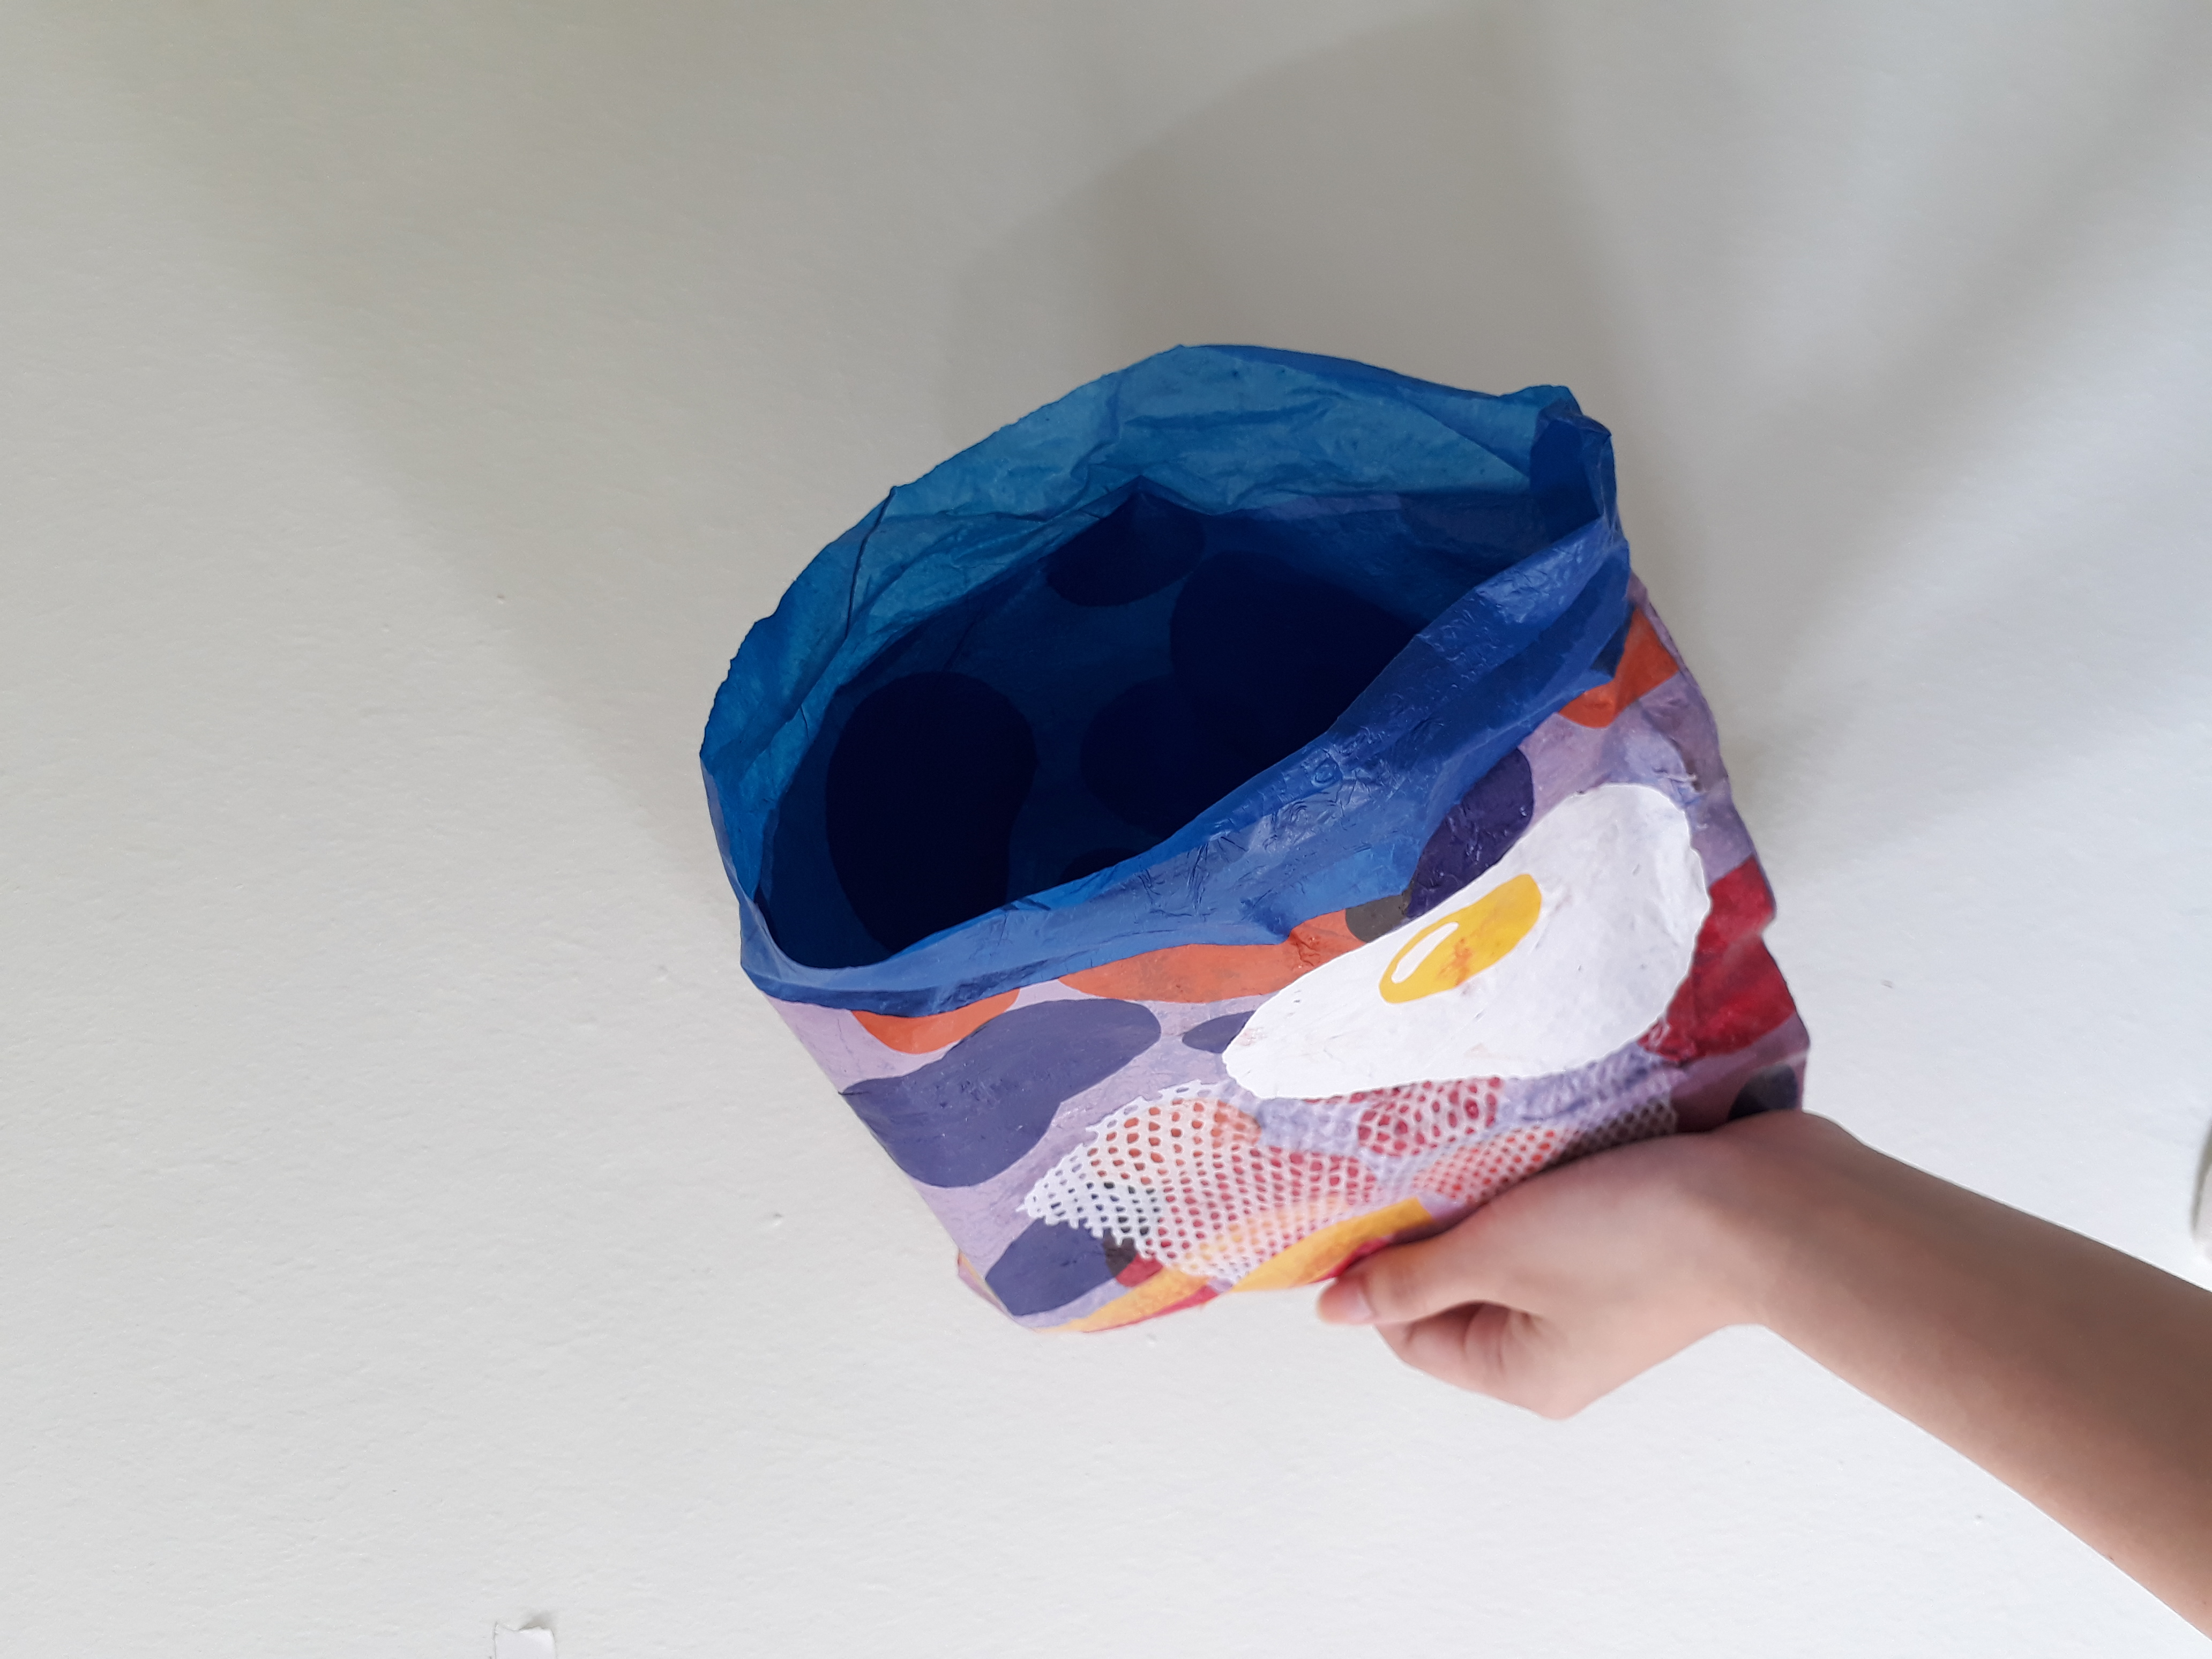
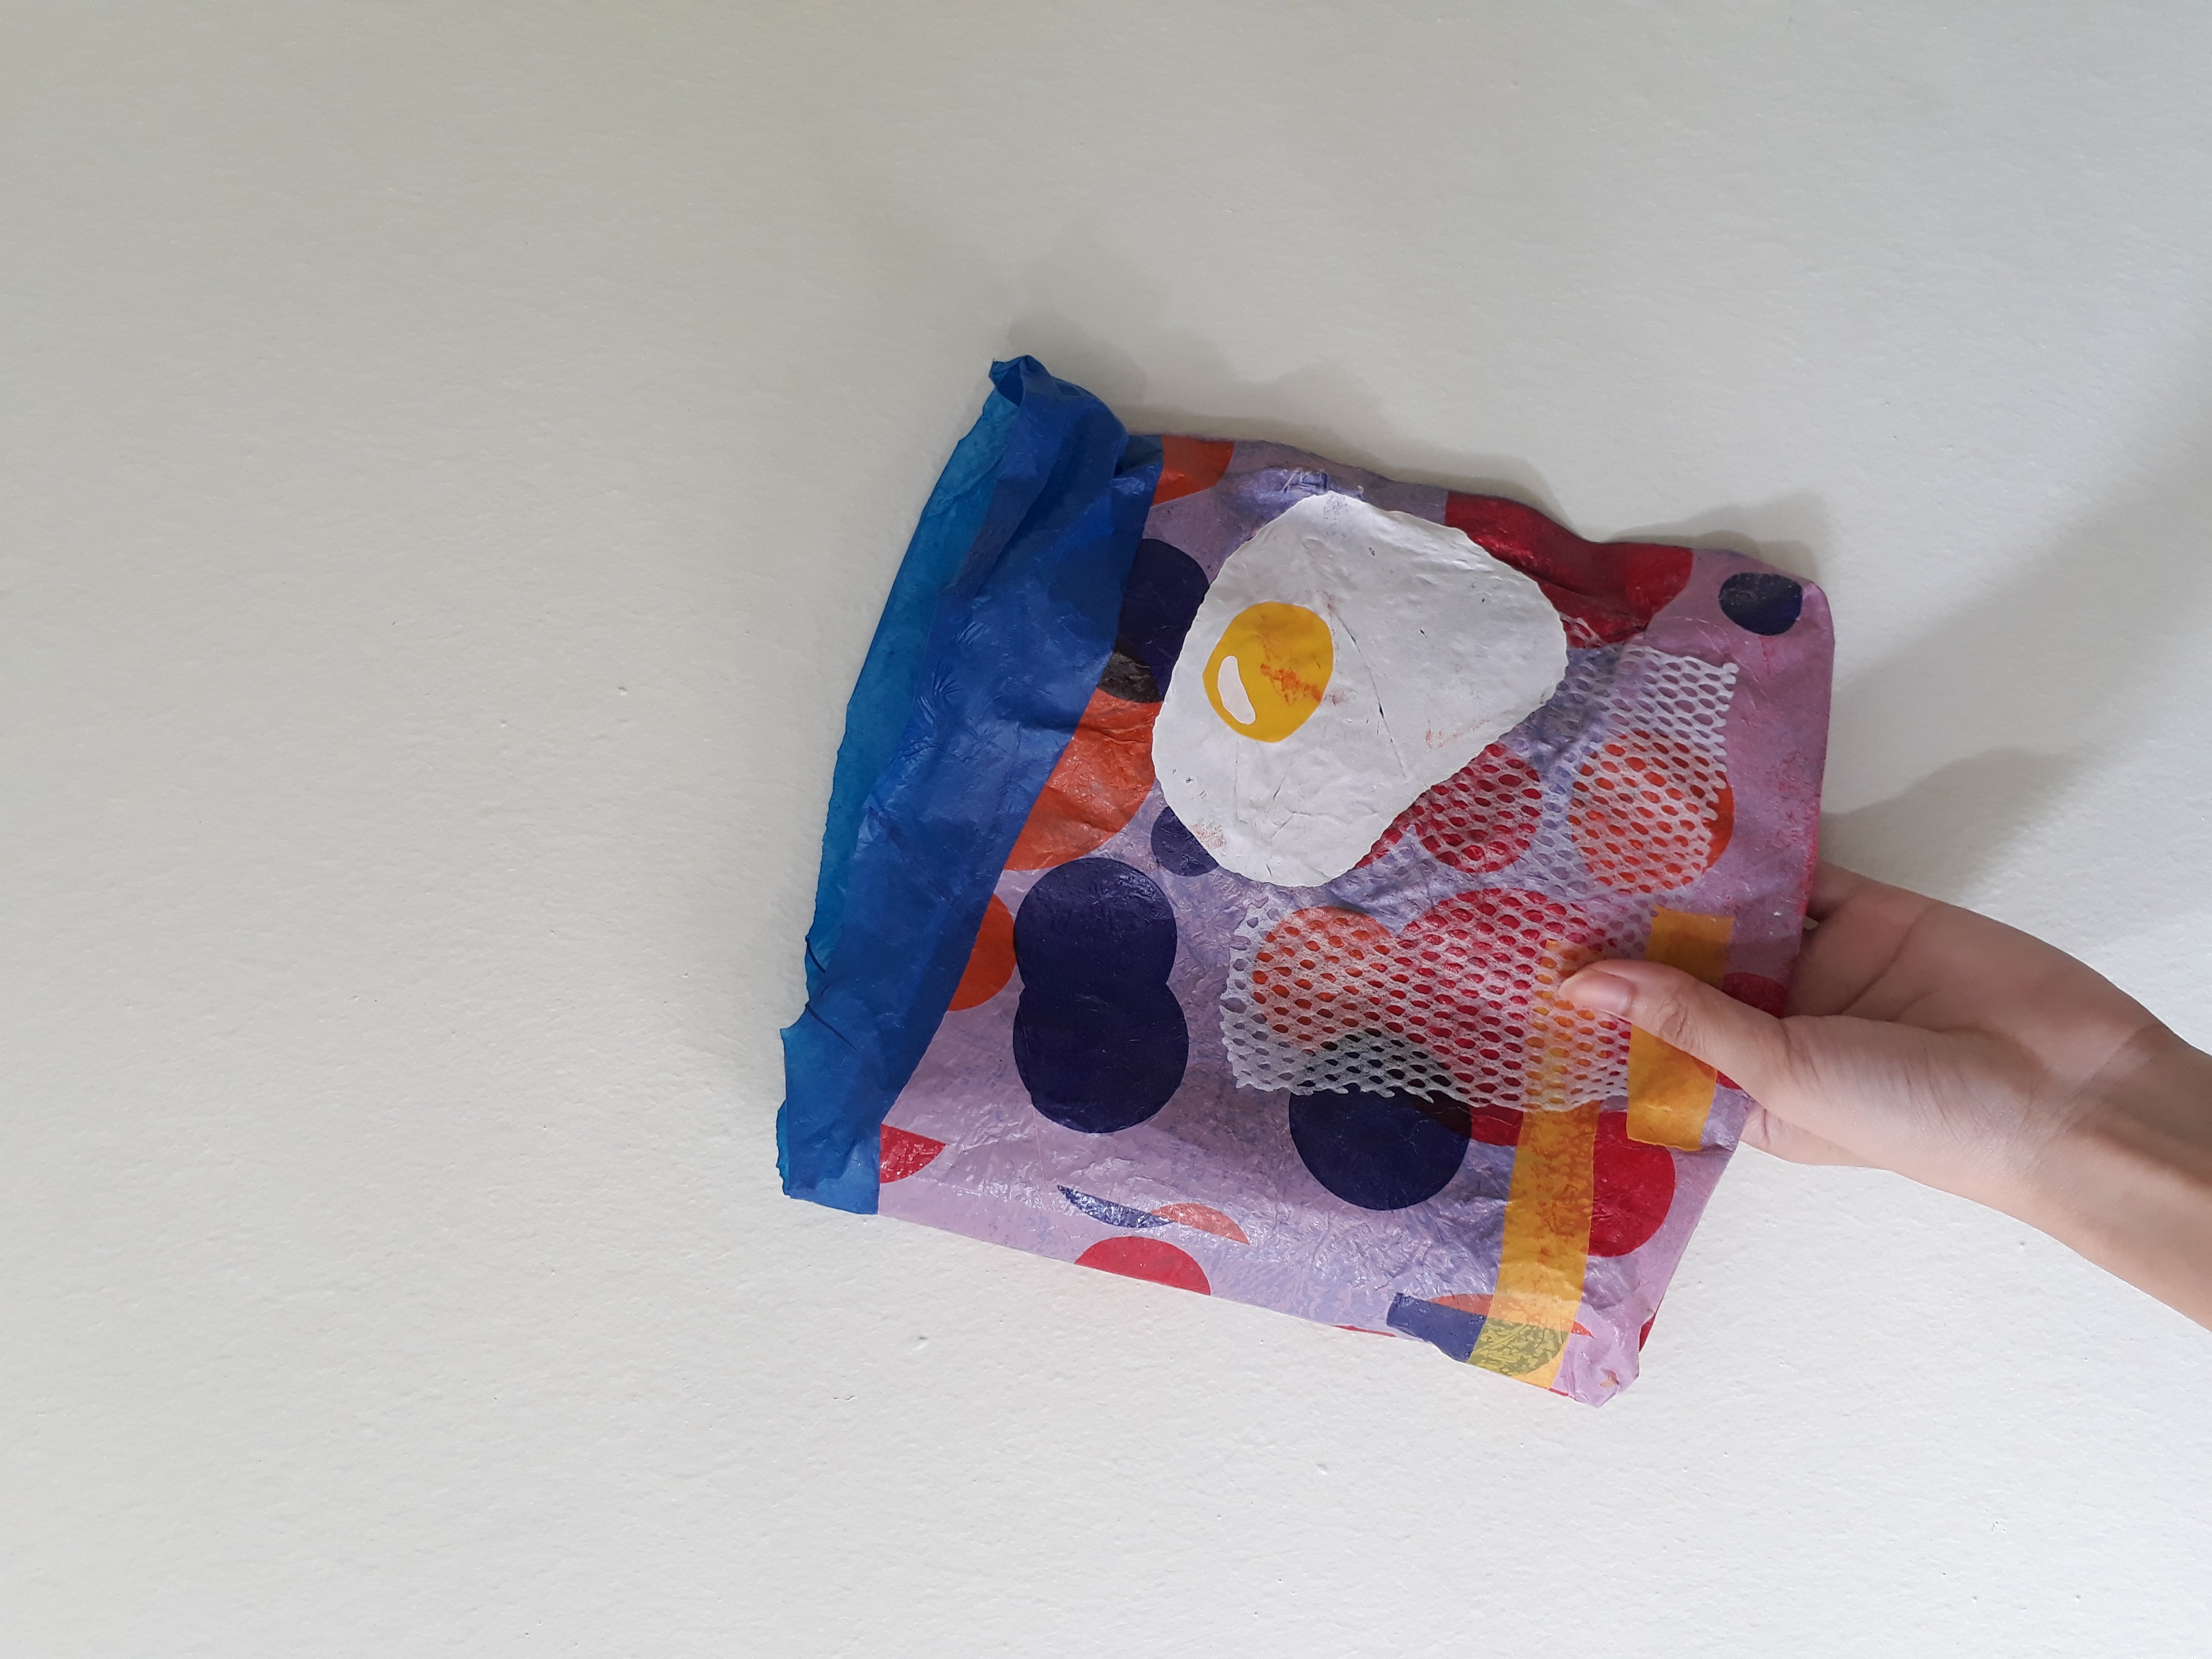
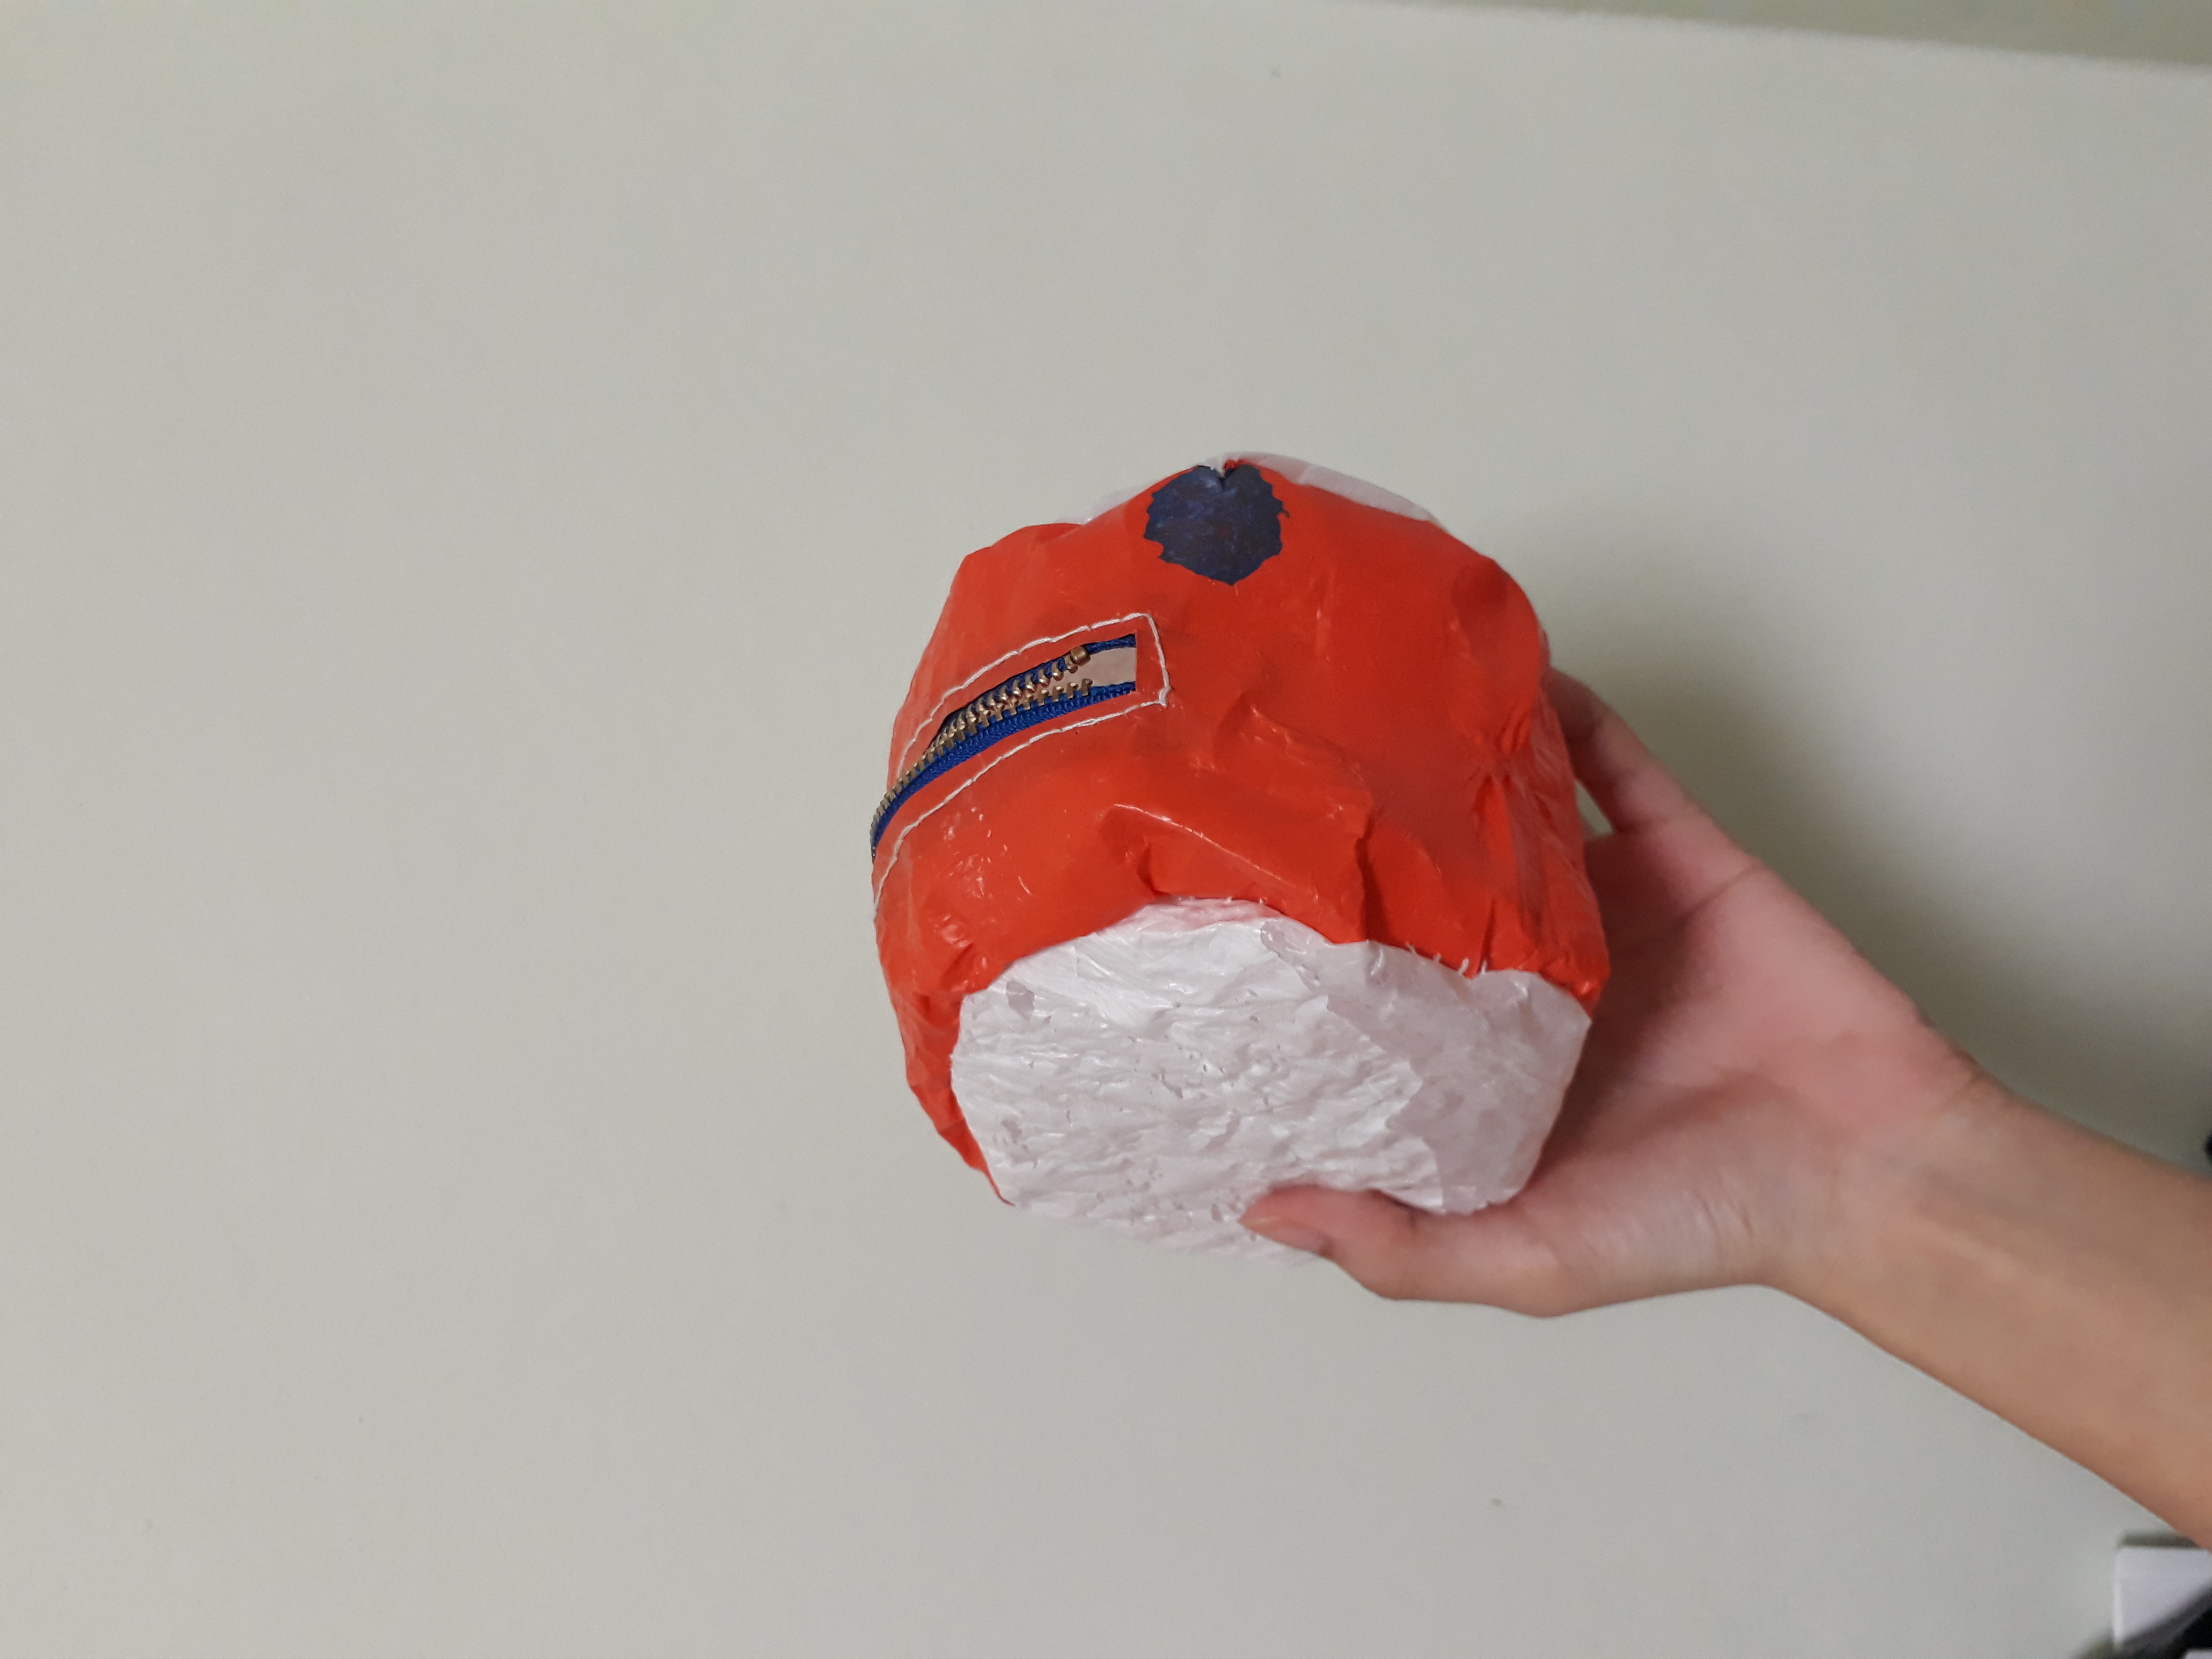
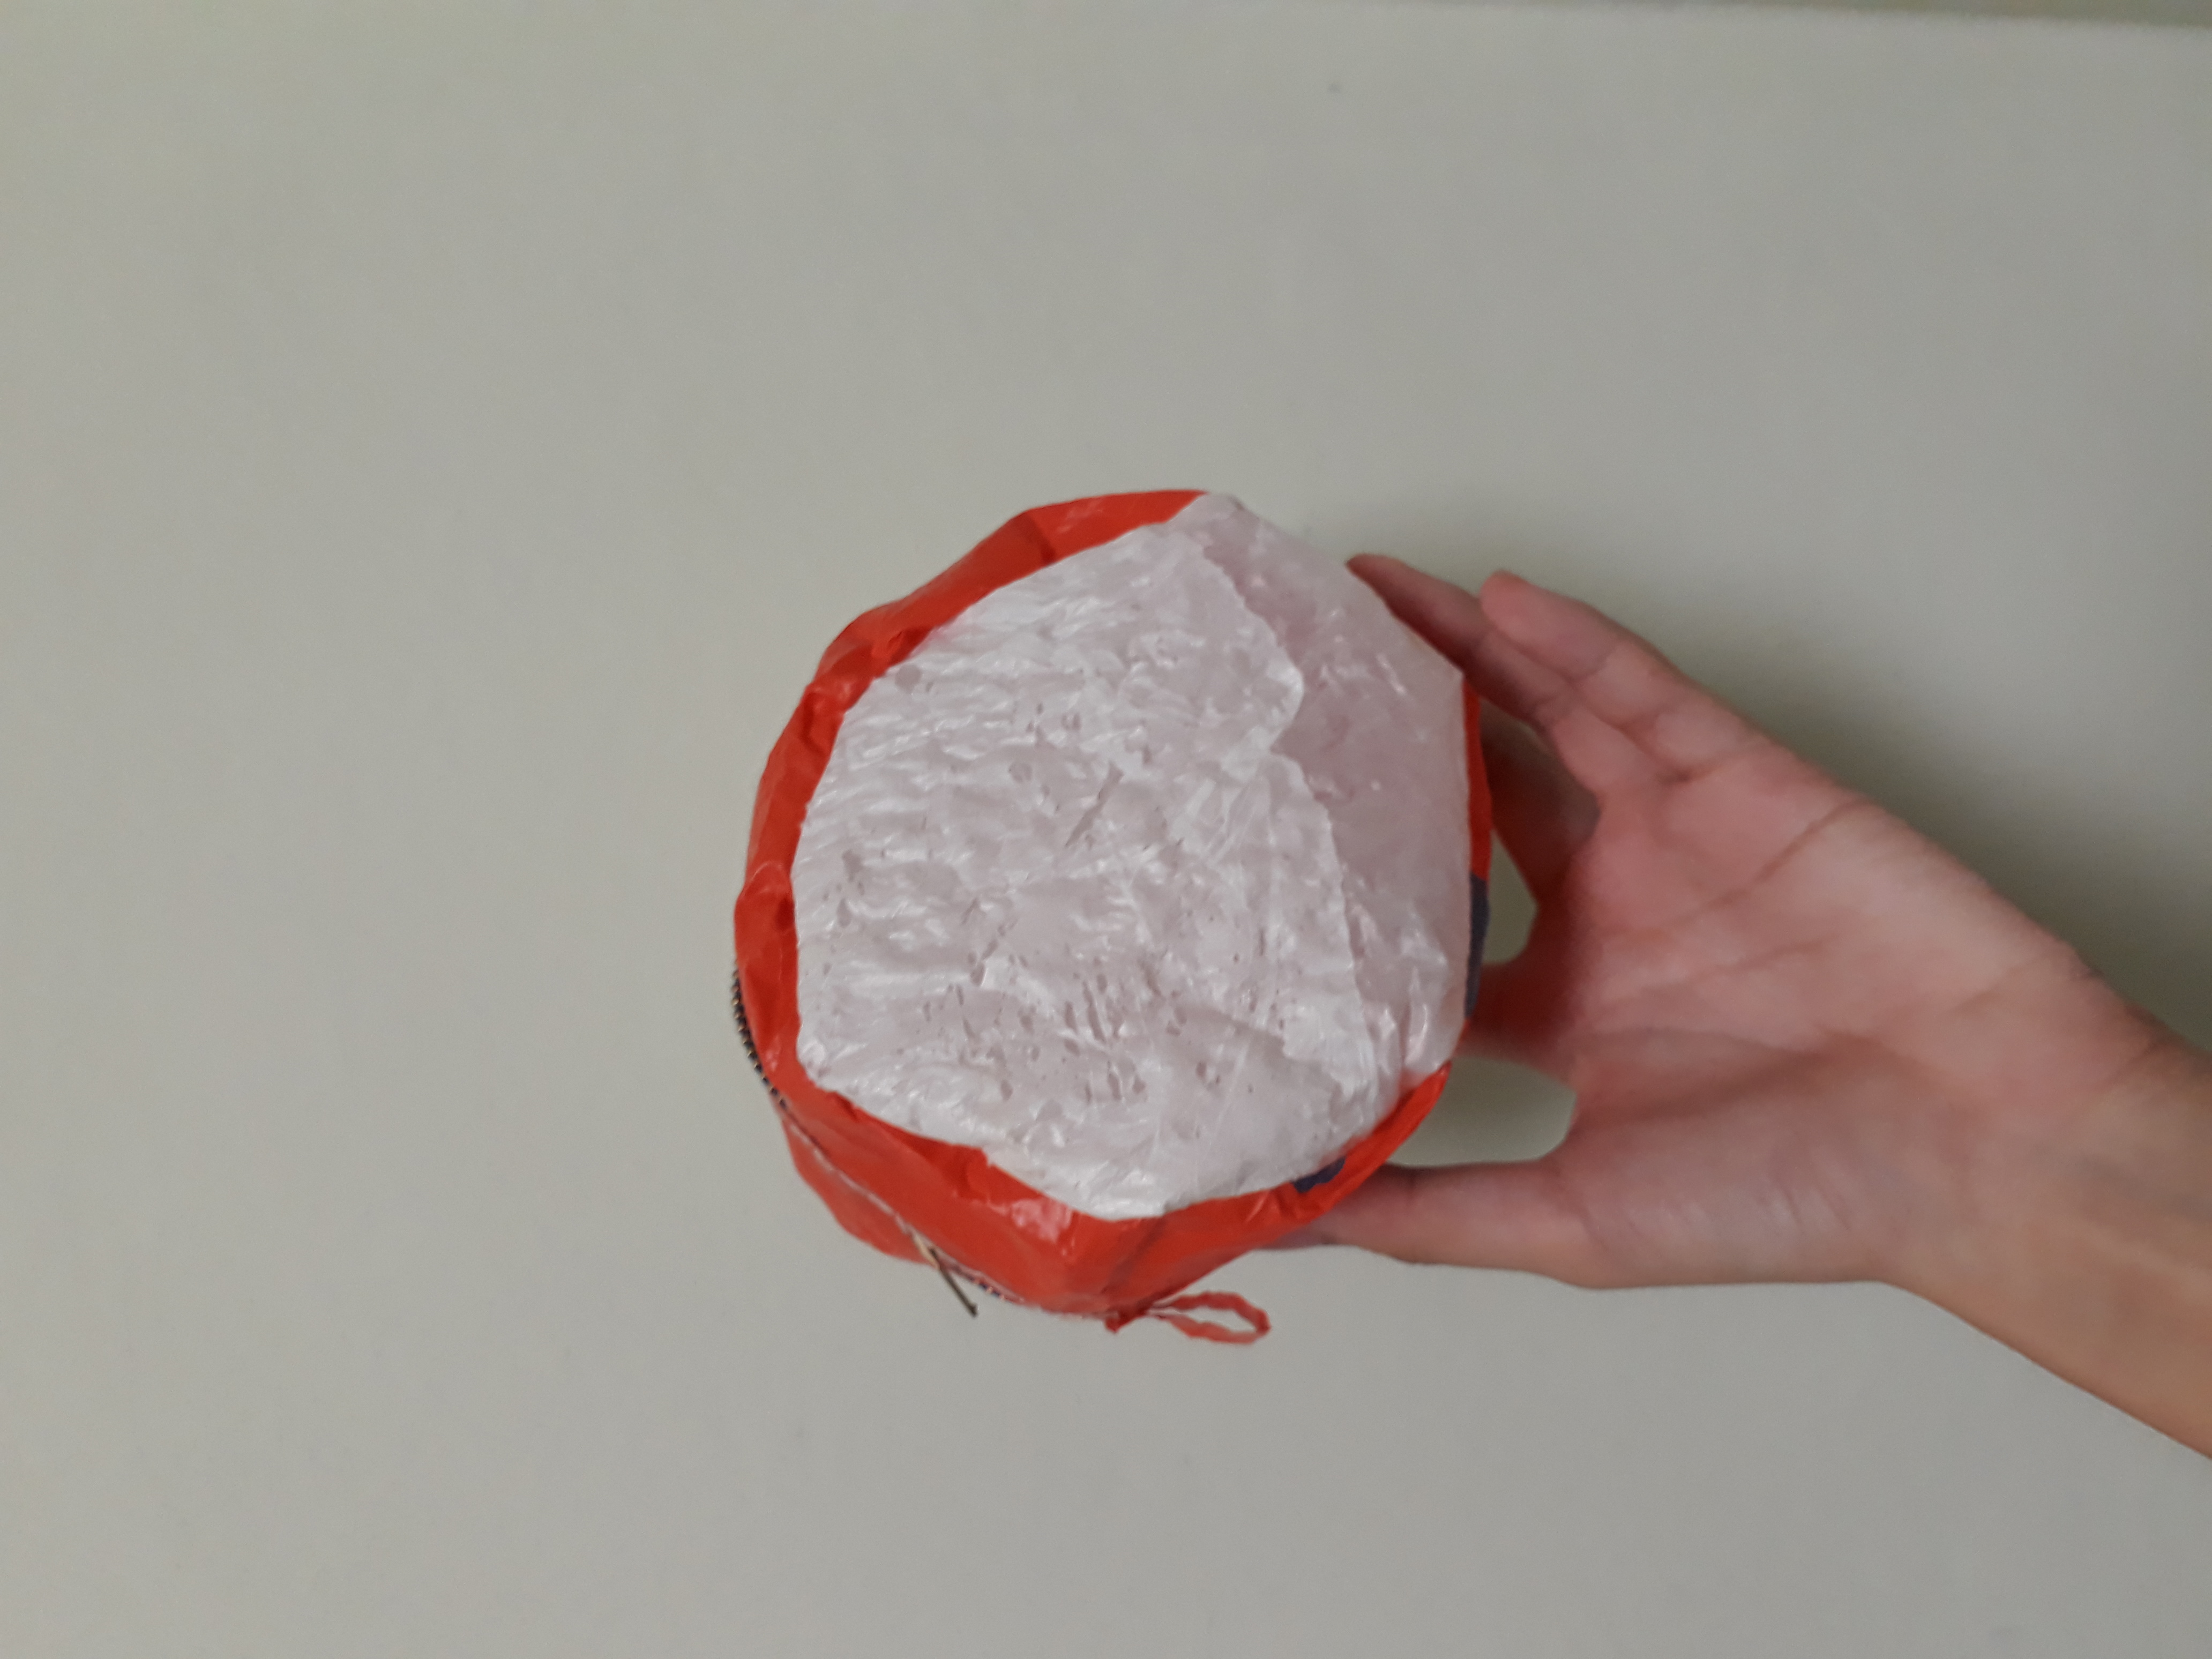
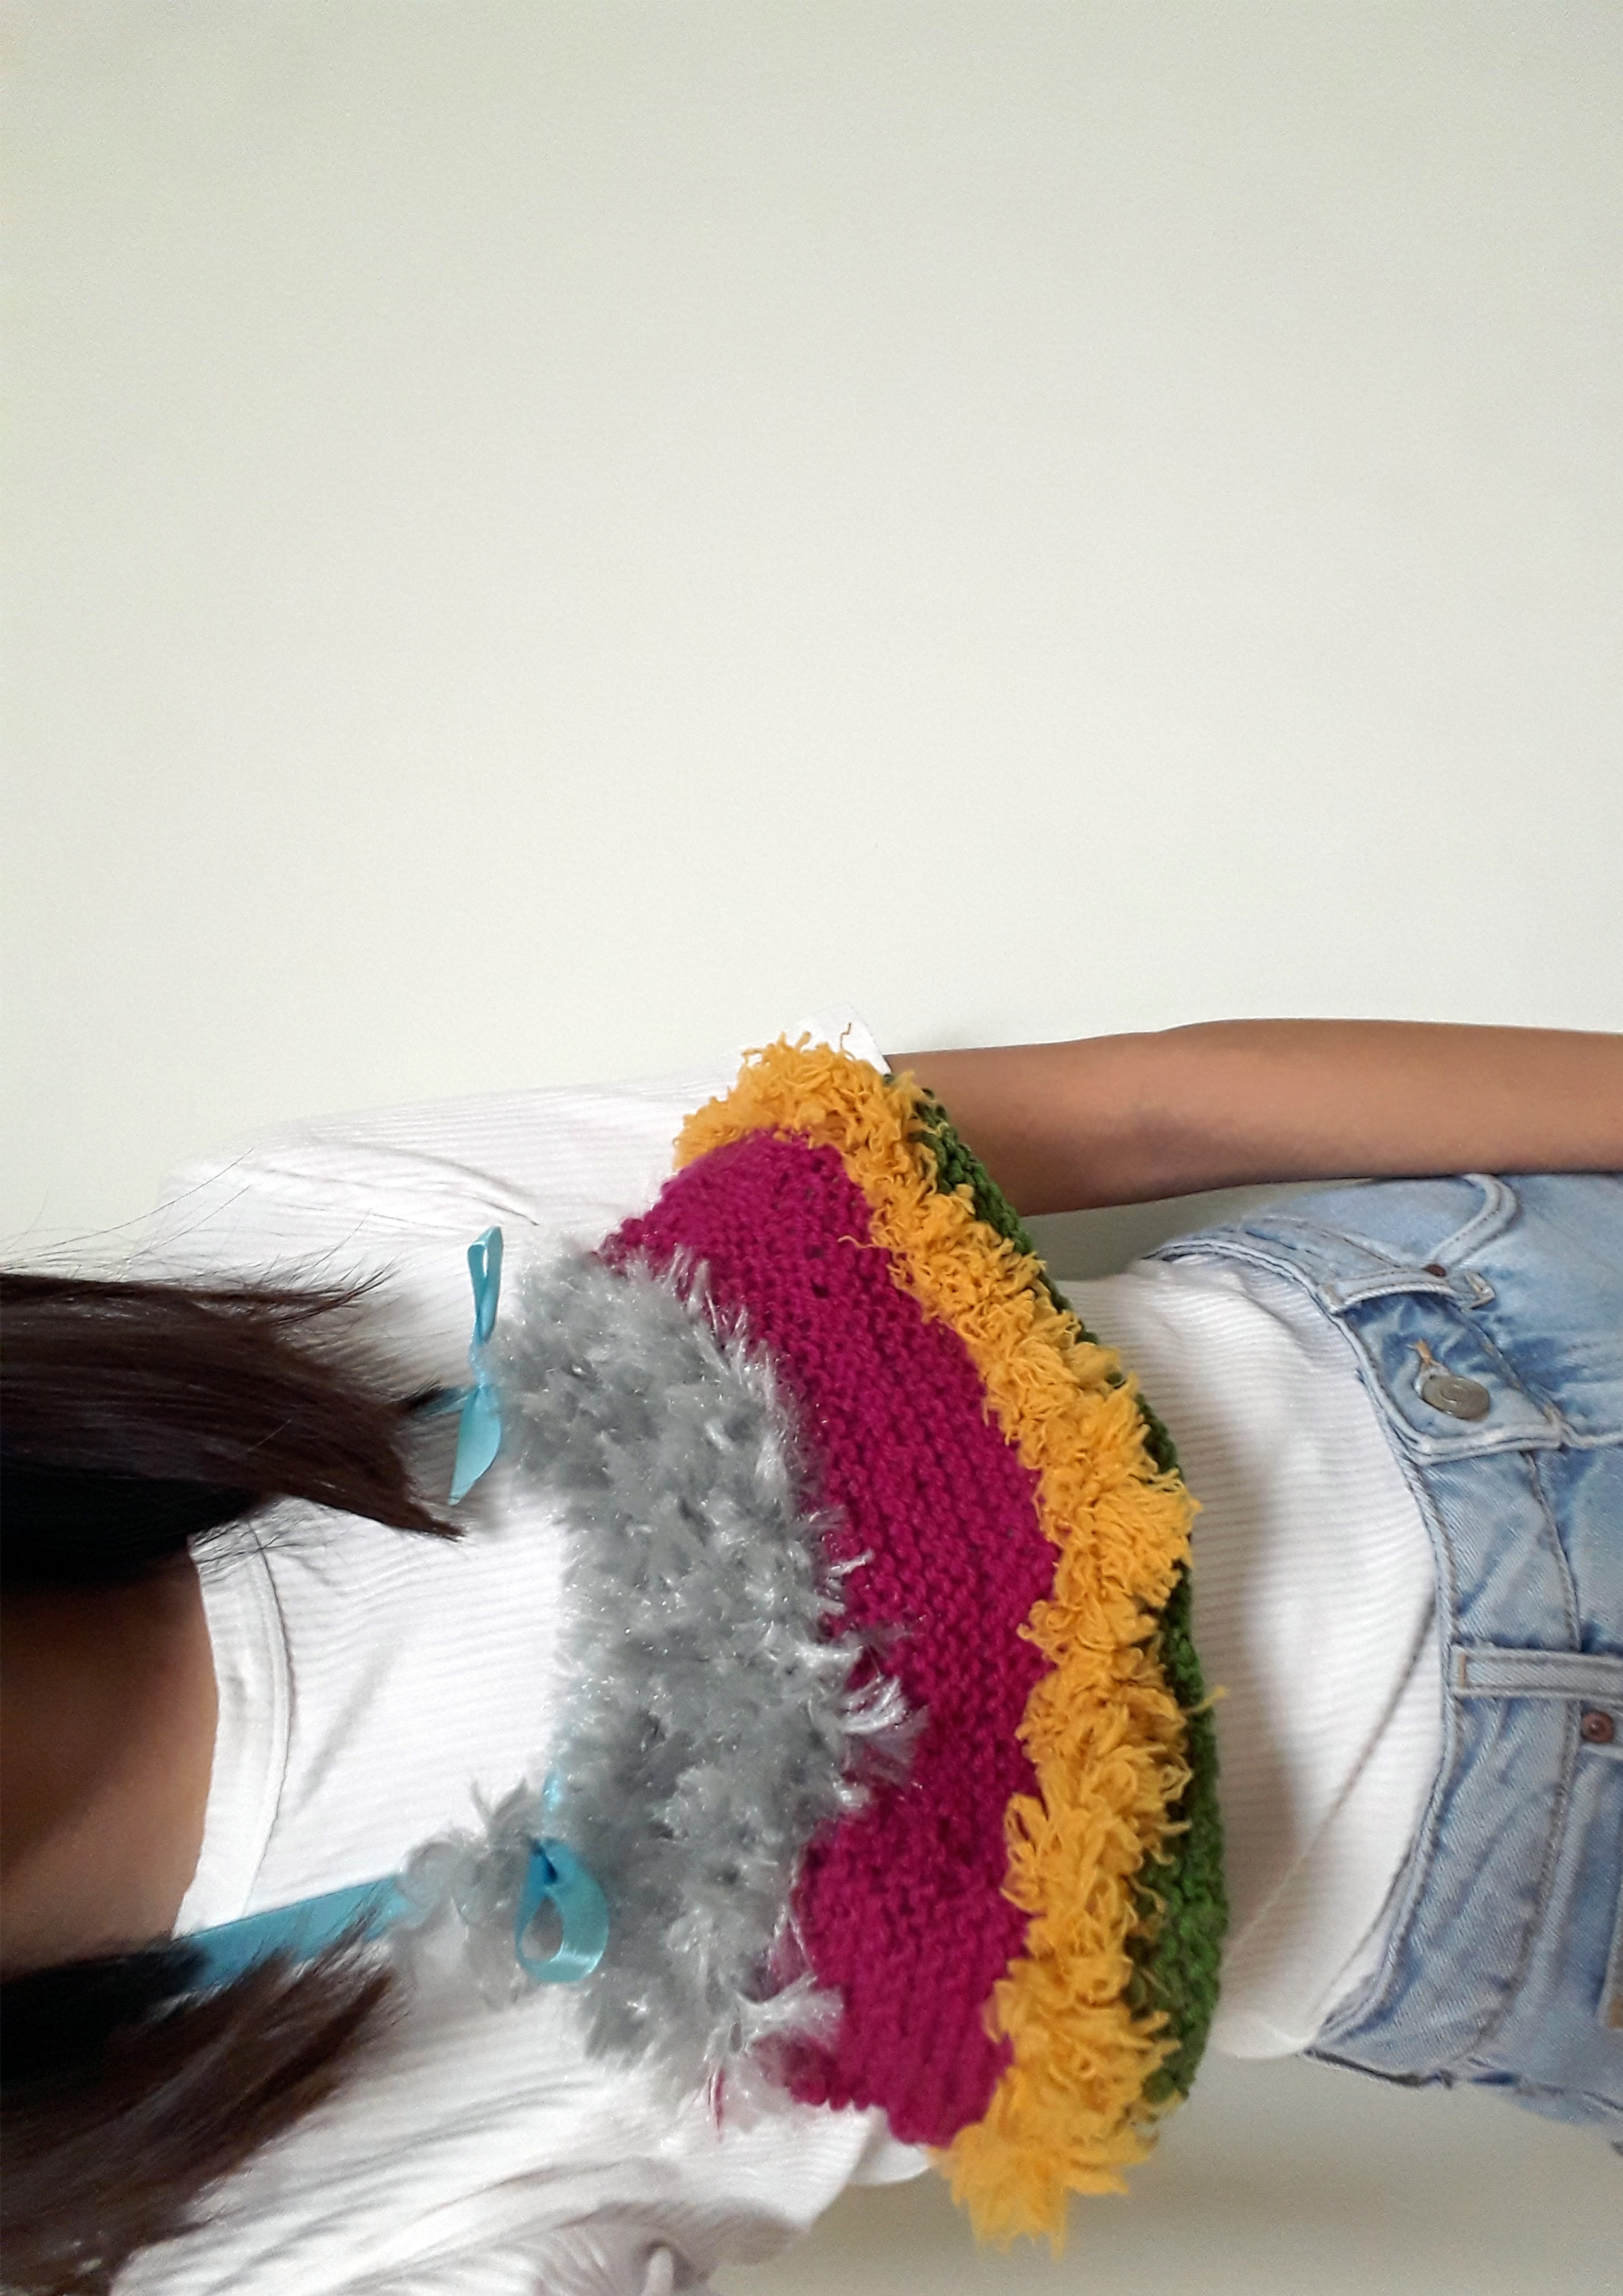
Here is my attempt at making a weird top for my monsters theme finals? It is sort of a prototype and also very unfinished…at the moment it looks like an empty bikini…

UPDATE (9/3/2017)

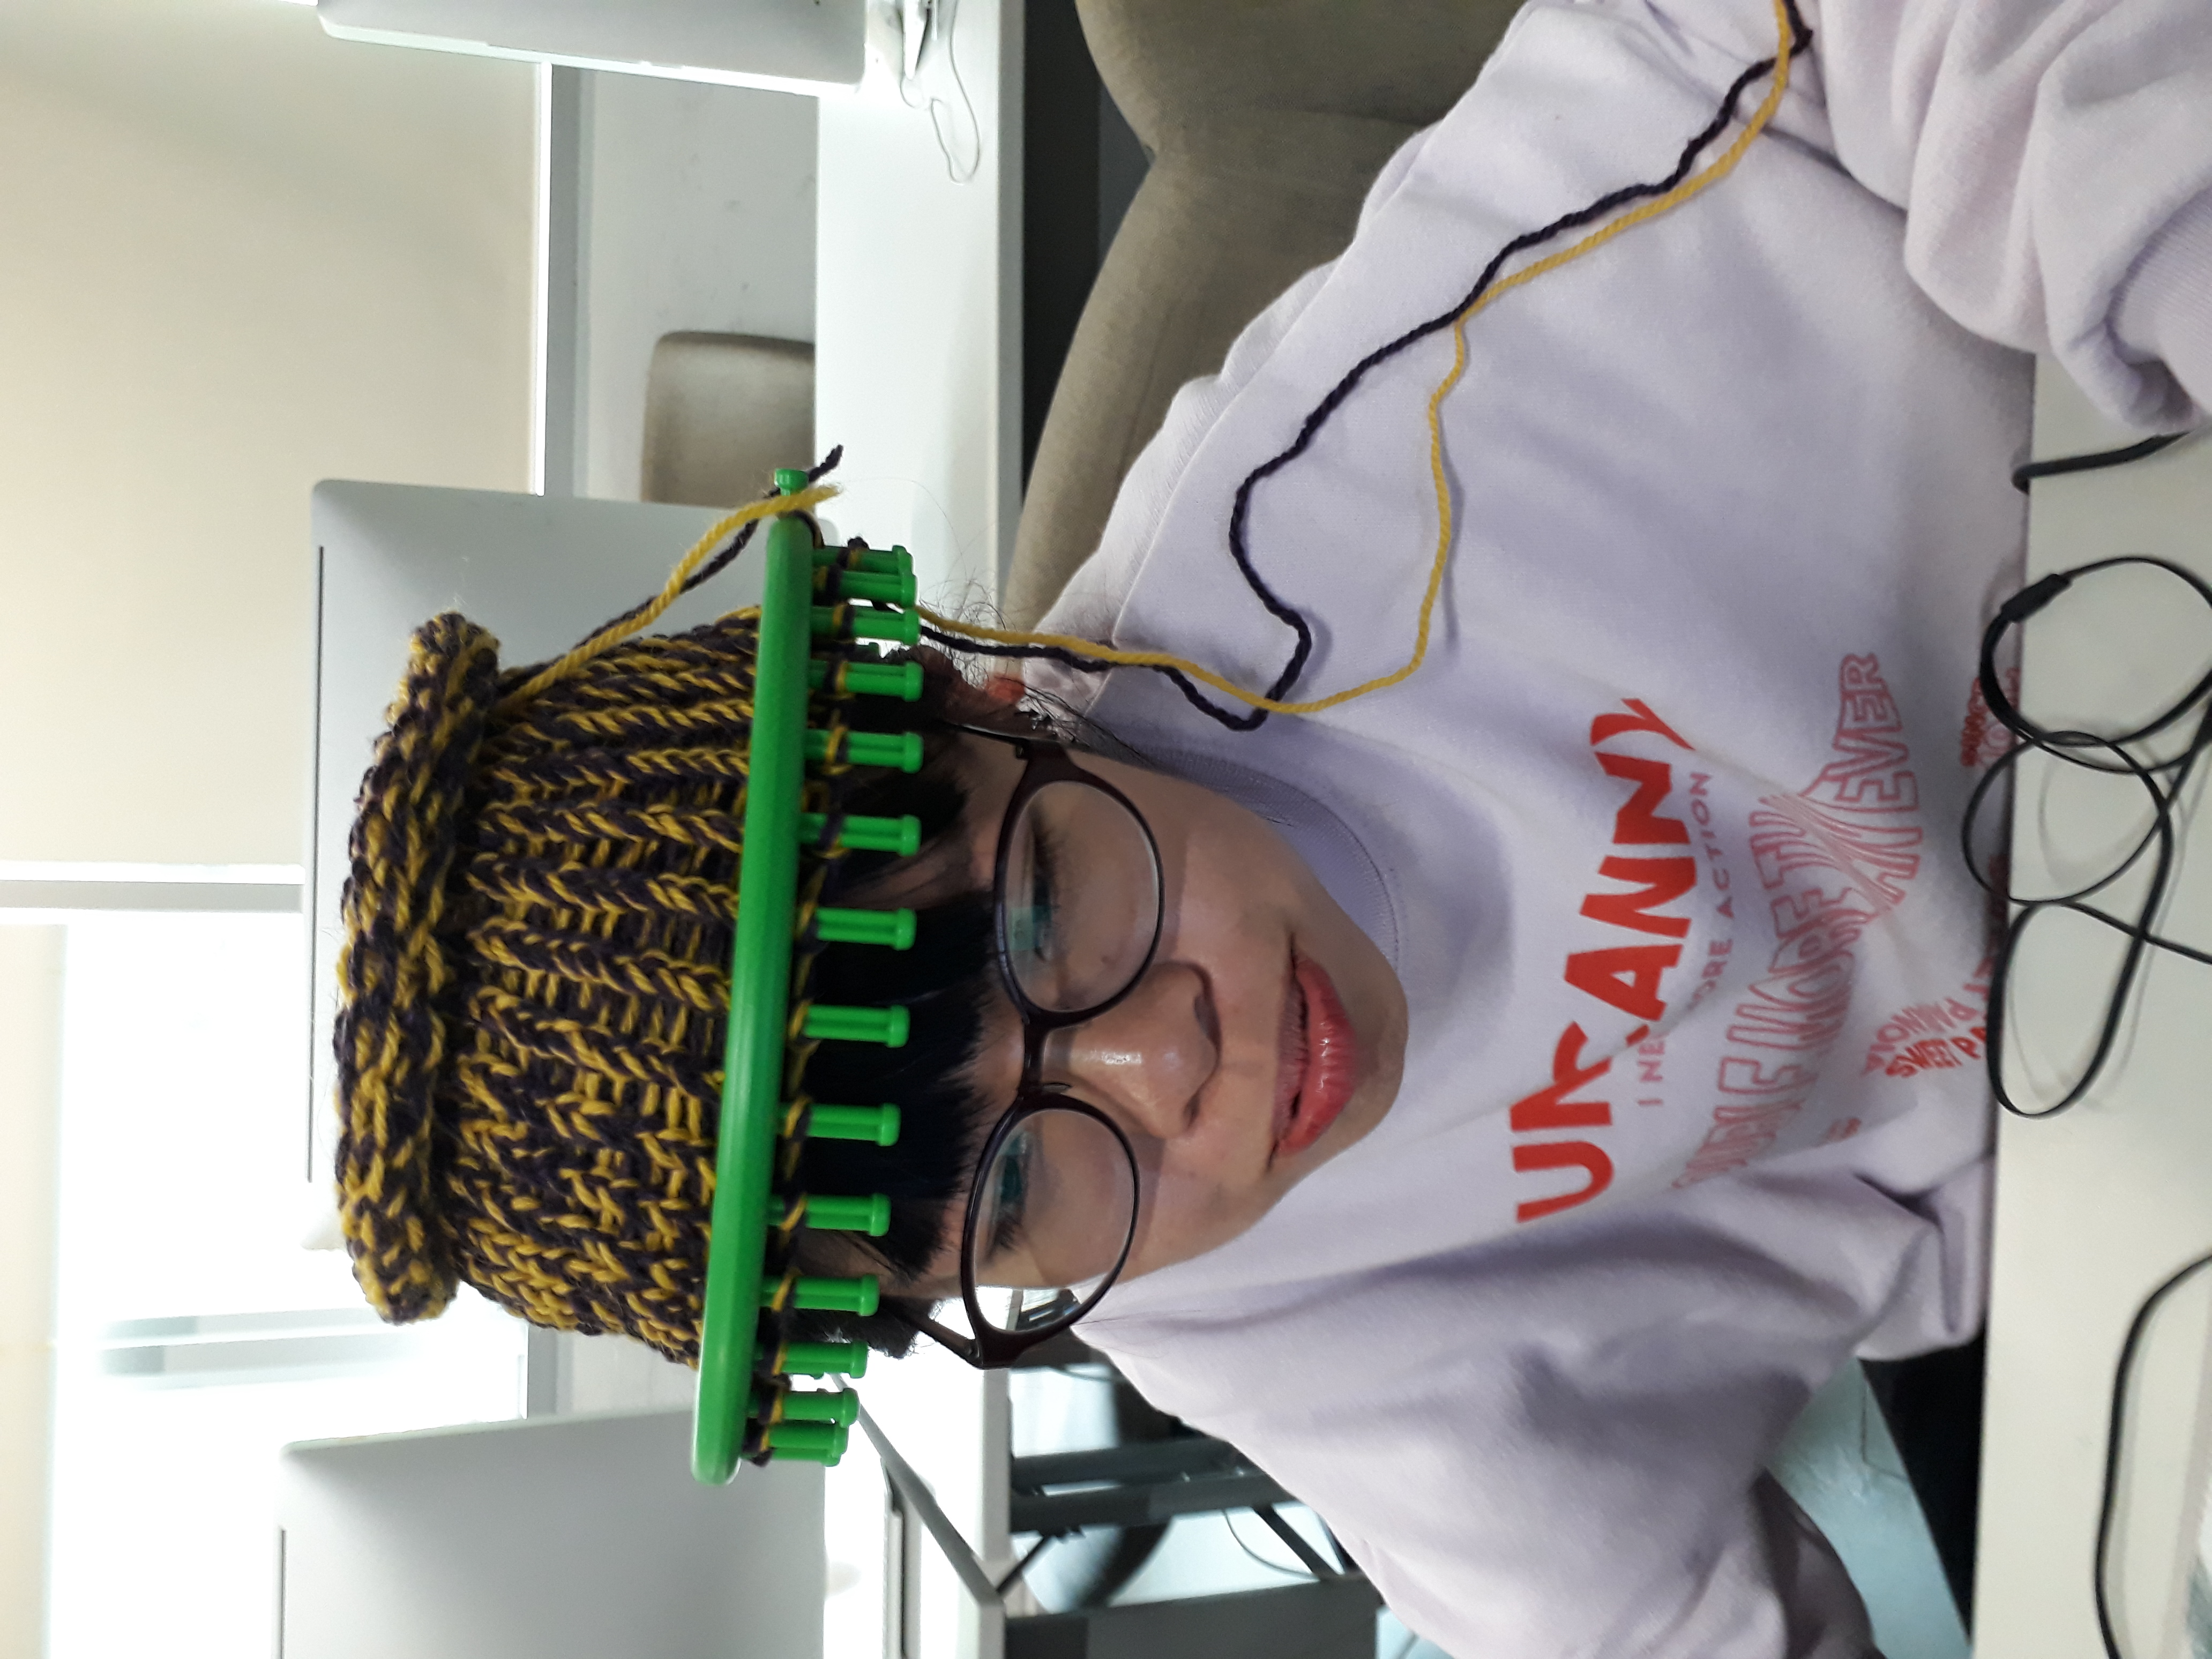
I made a beanie with this knitting loom thing I borrowed from Vanessa, I’m sorry to everyone painstakingly knitting away :’) But this is really muccccchhhhhhh faster!!

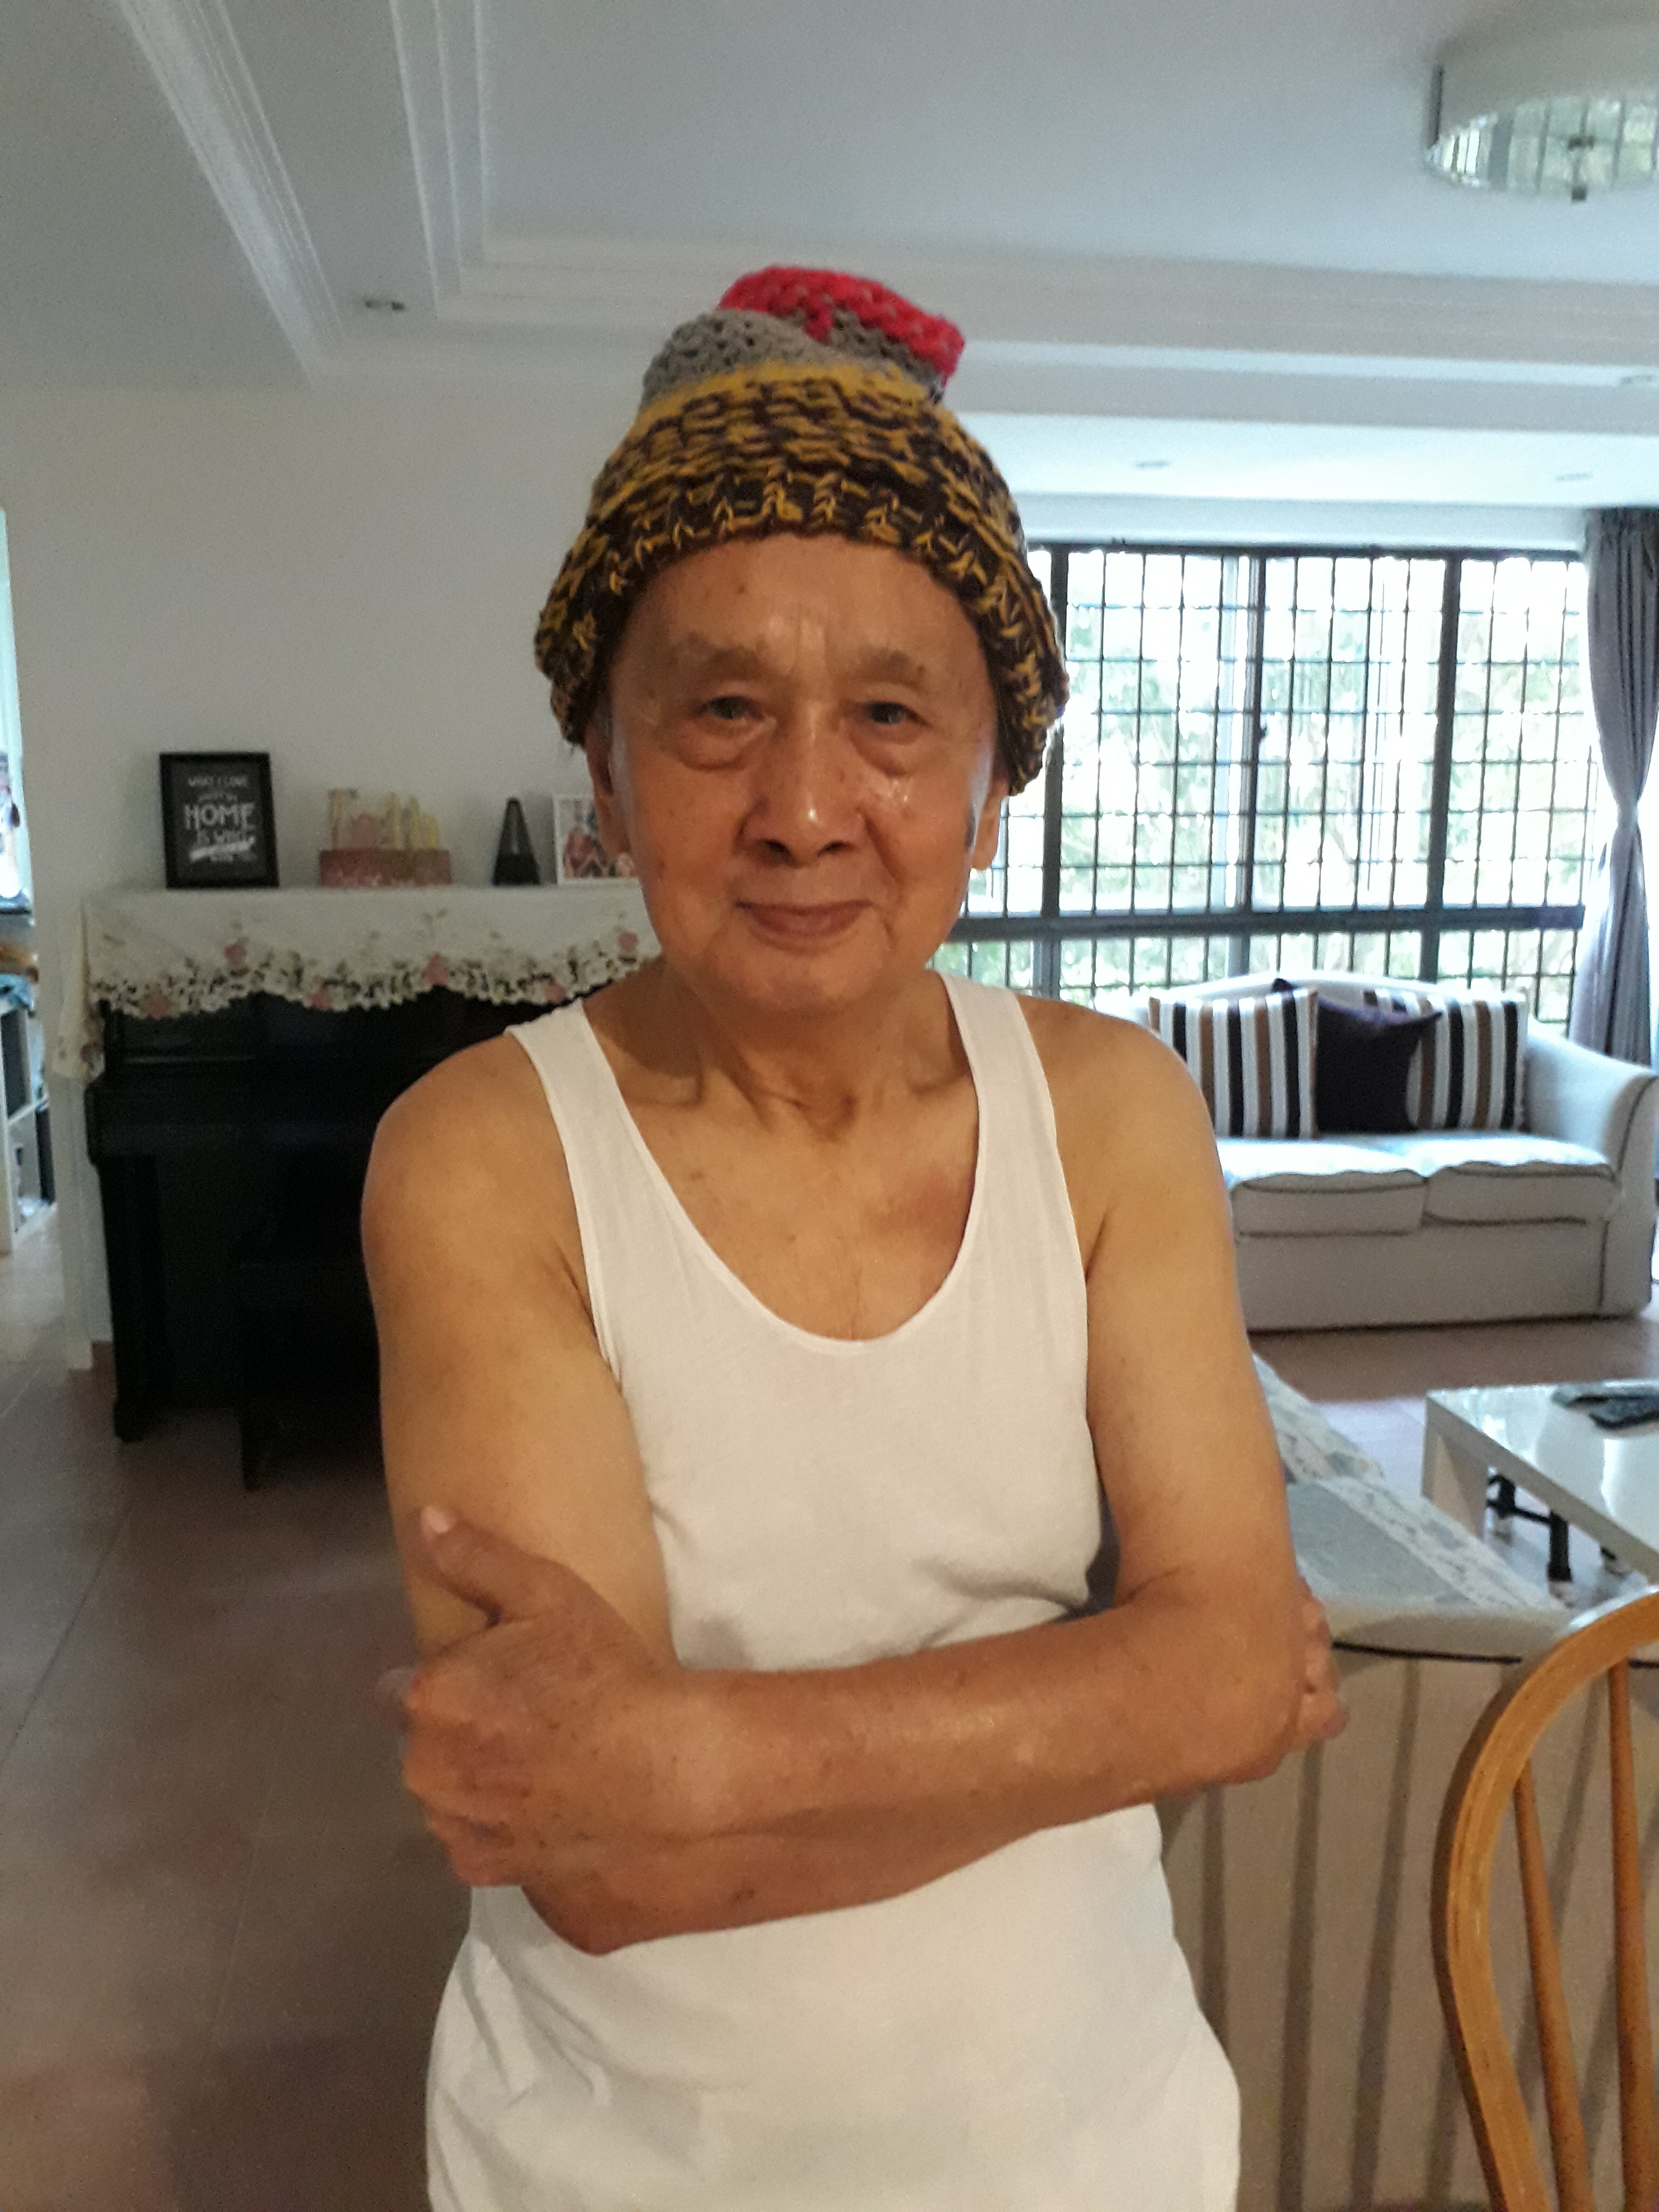
This is the final product with my grandfather modelling for me HAHA.

REFLECTION:
Knitting is just knitting. There isn’t really a lot to say. You have to understand the fundamentals and the different techniques before you can explore the wide variety of patterns out there. Until now I still cannot read the instructional guides to knitting because the numbers are hard to decipher. But that is something I will work one. One thing I like about kniting is how comforting it is to sit and meditate when knitting. Also installations made with knit are really cool.
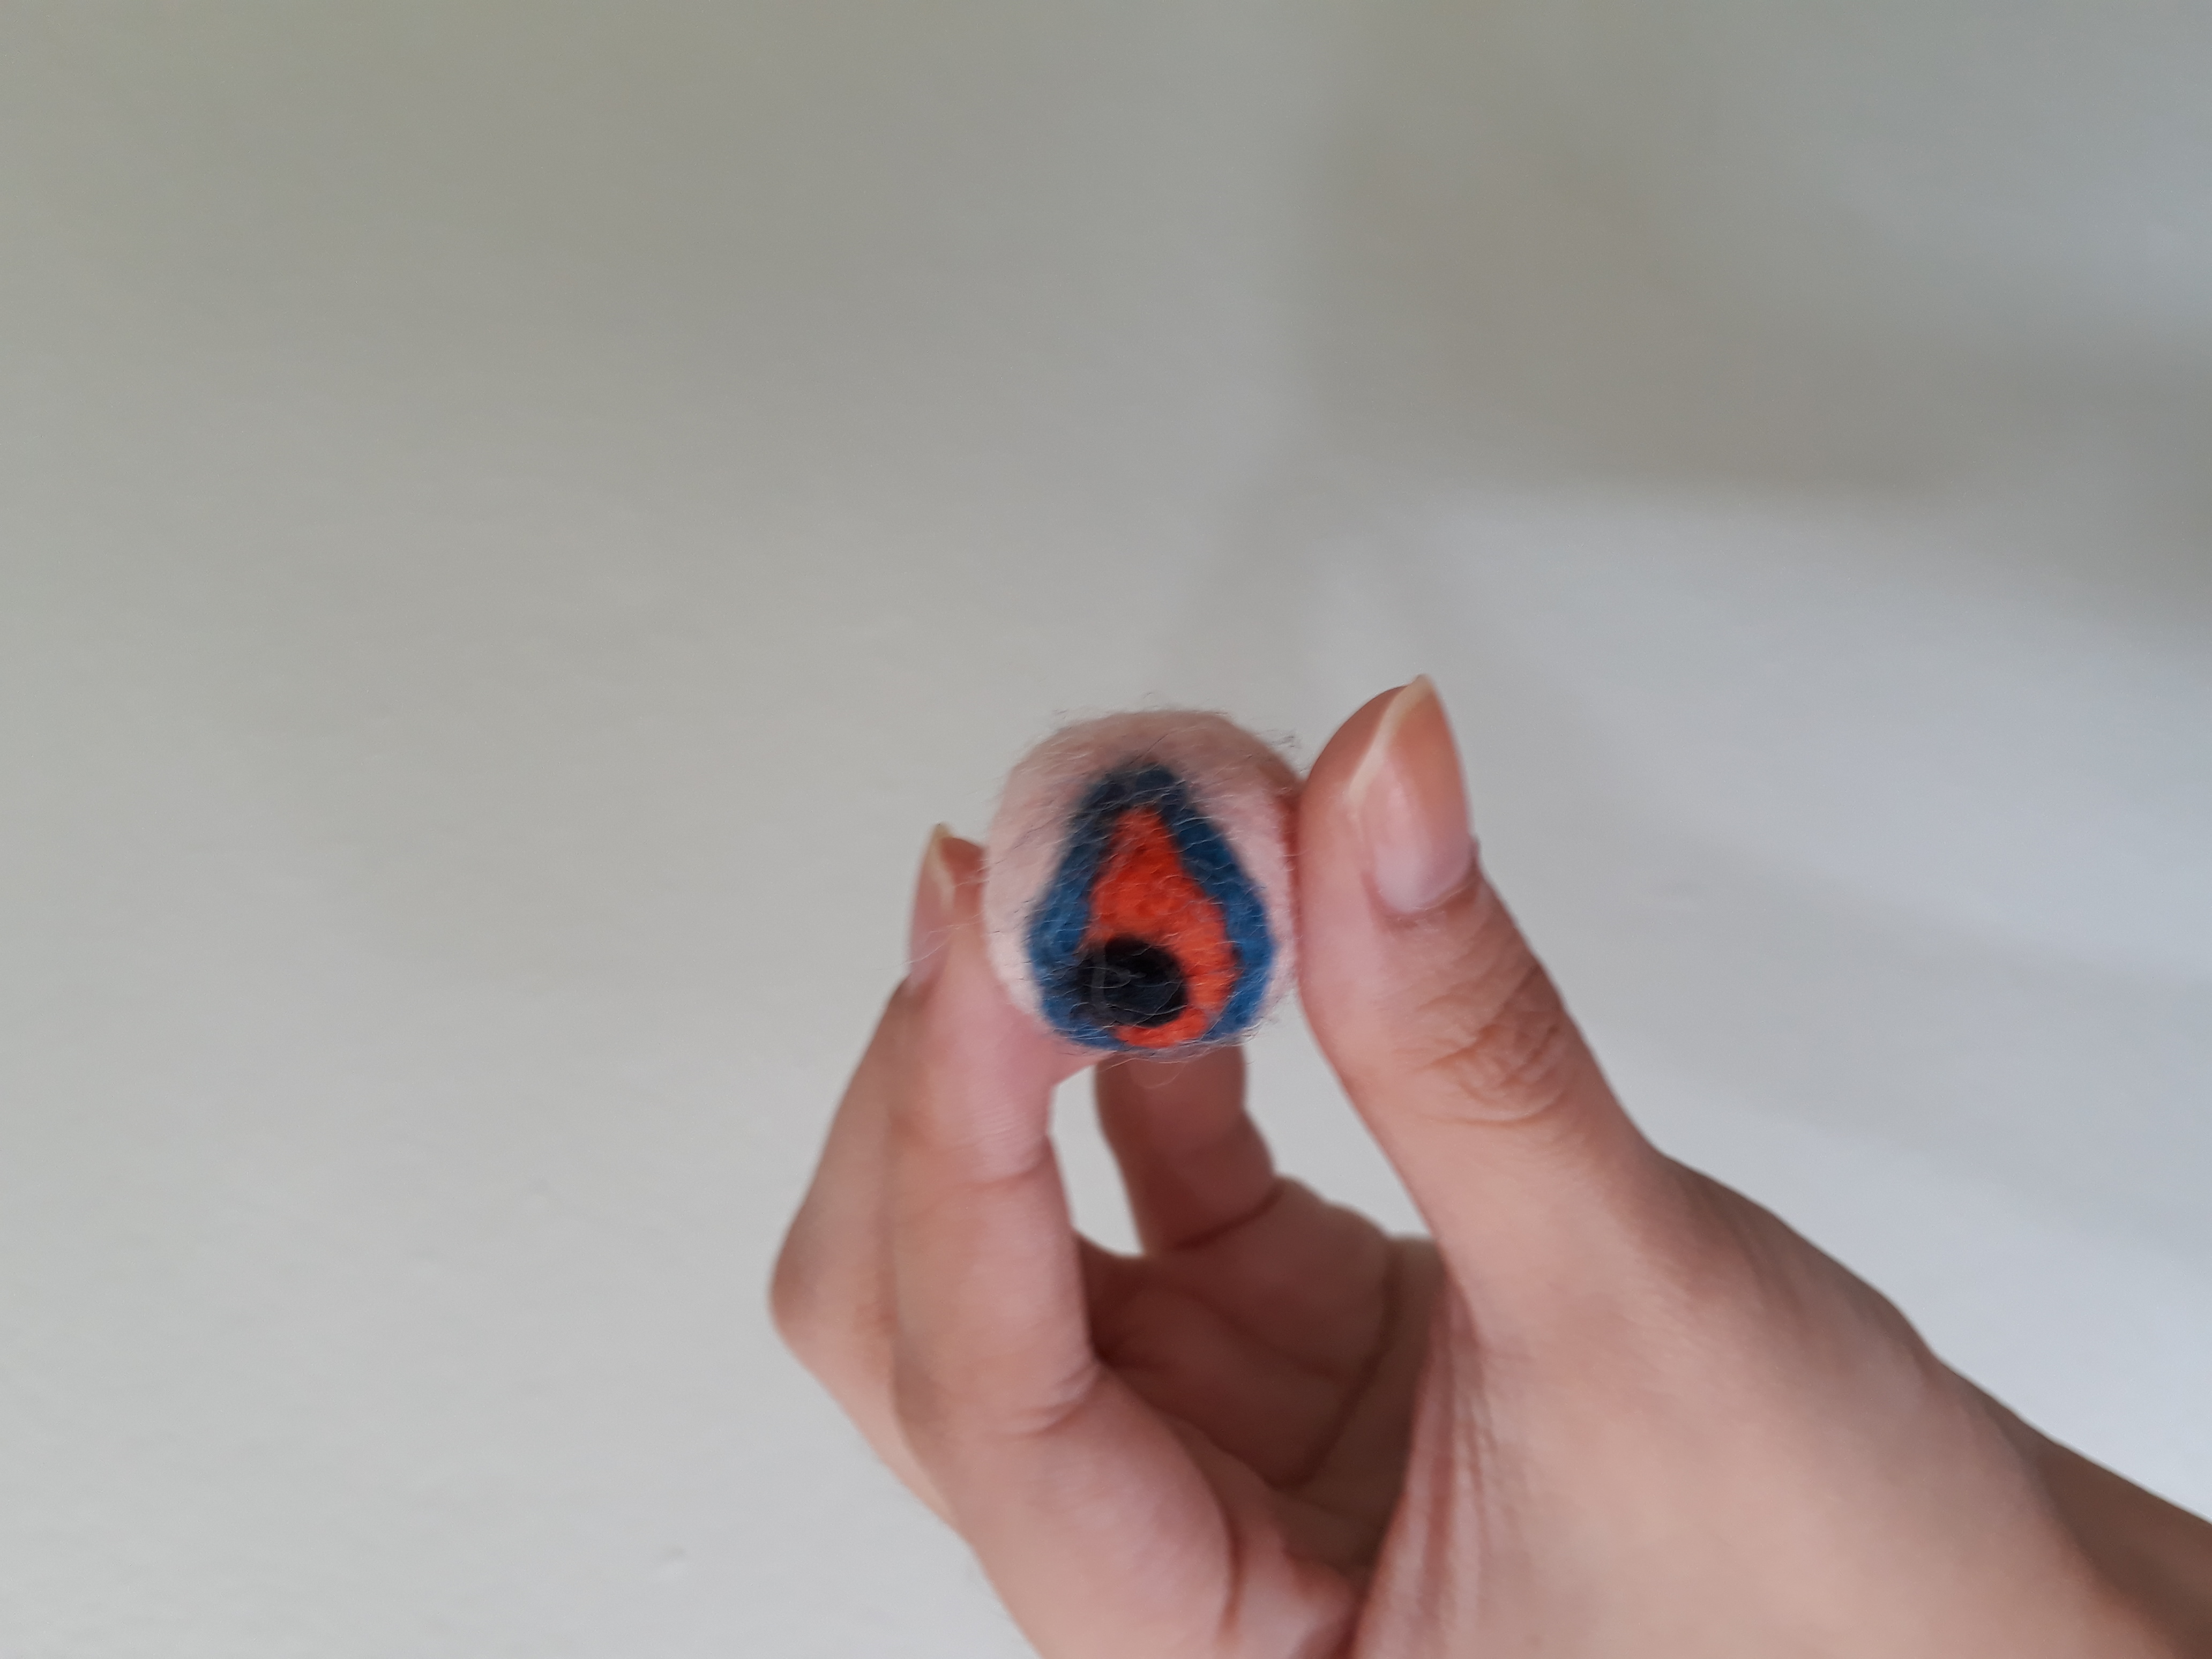
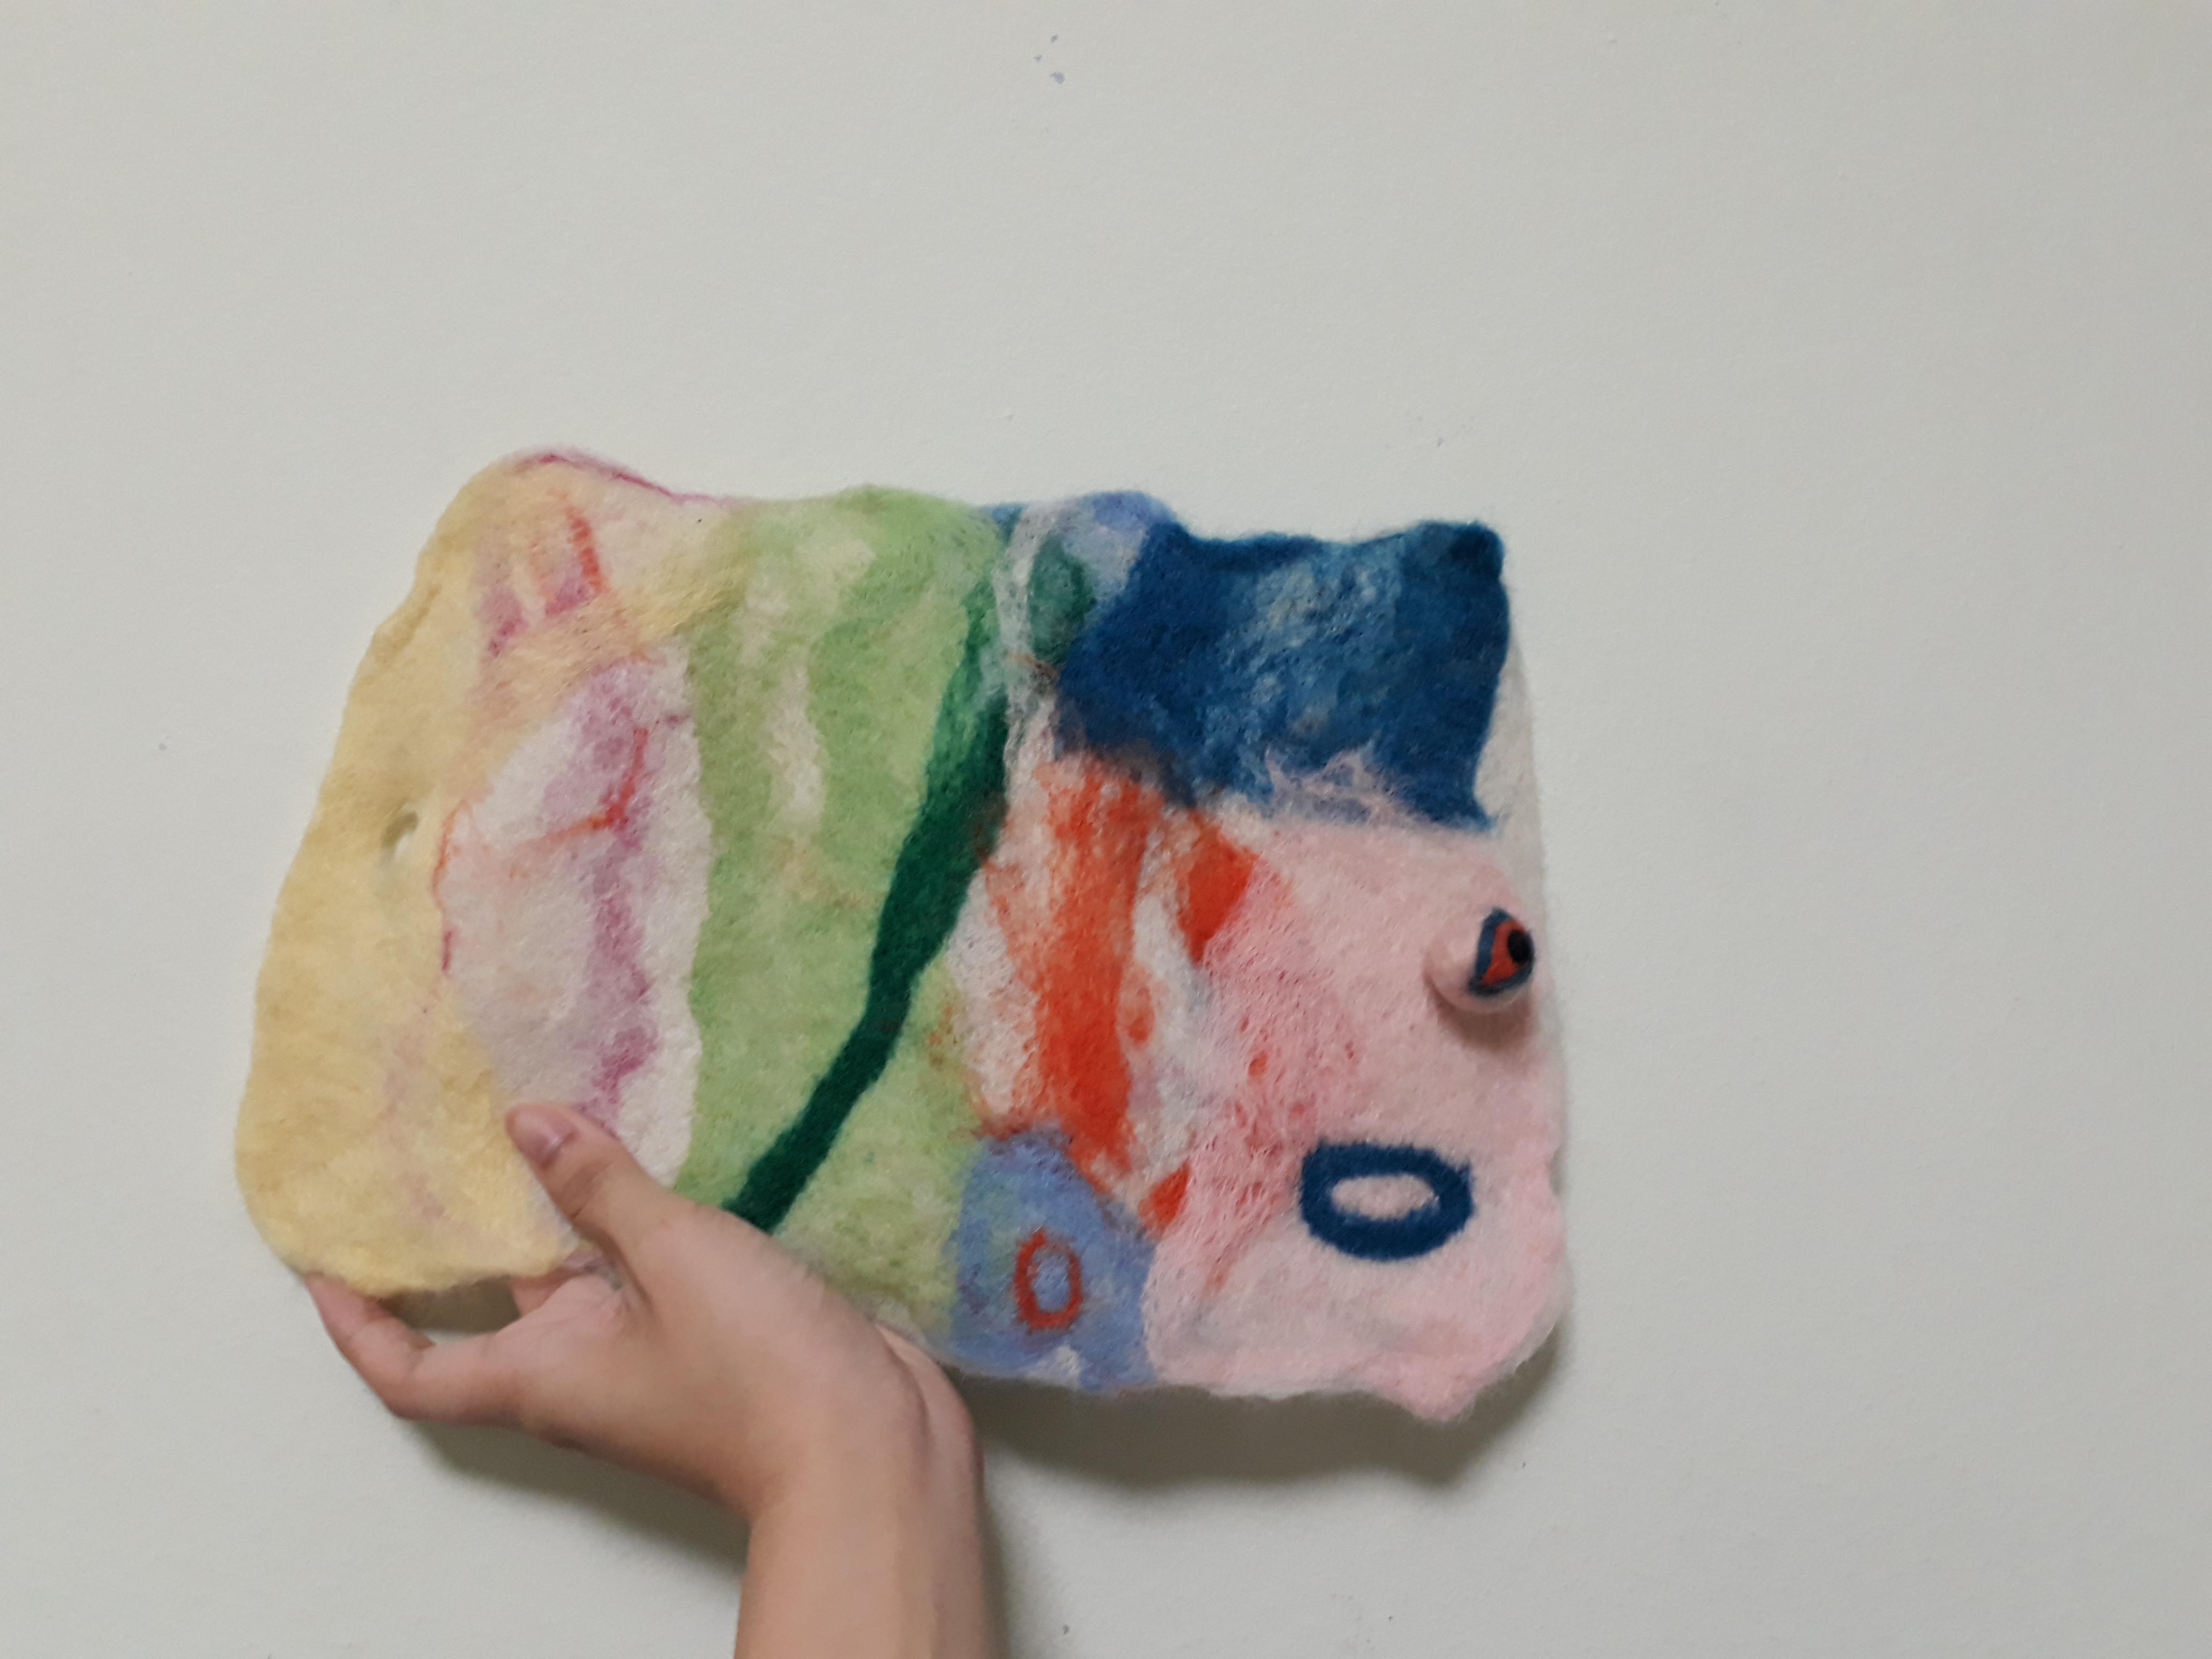
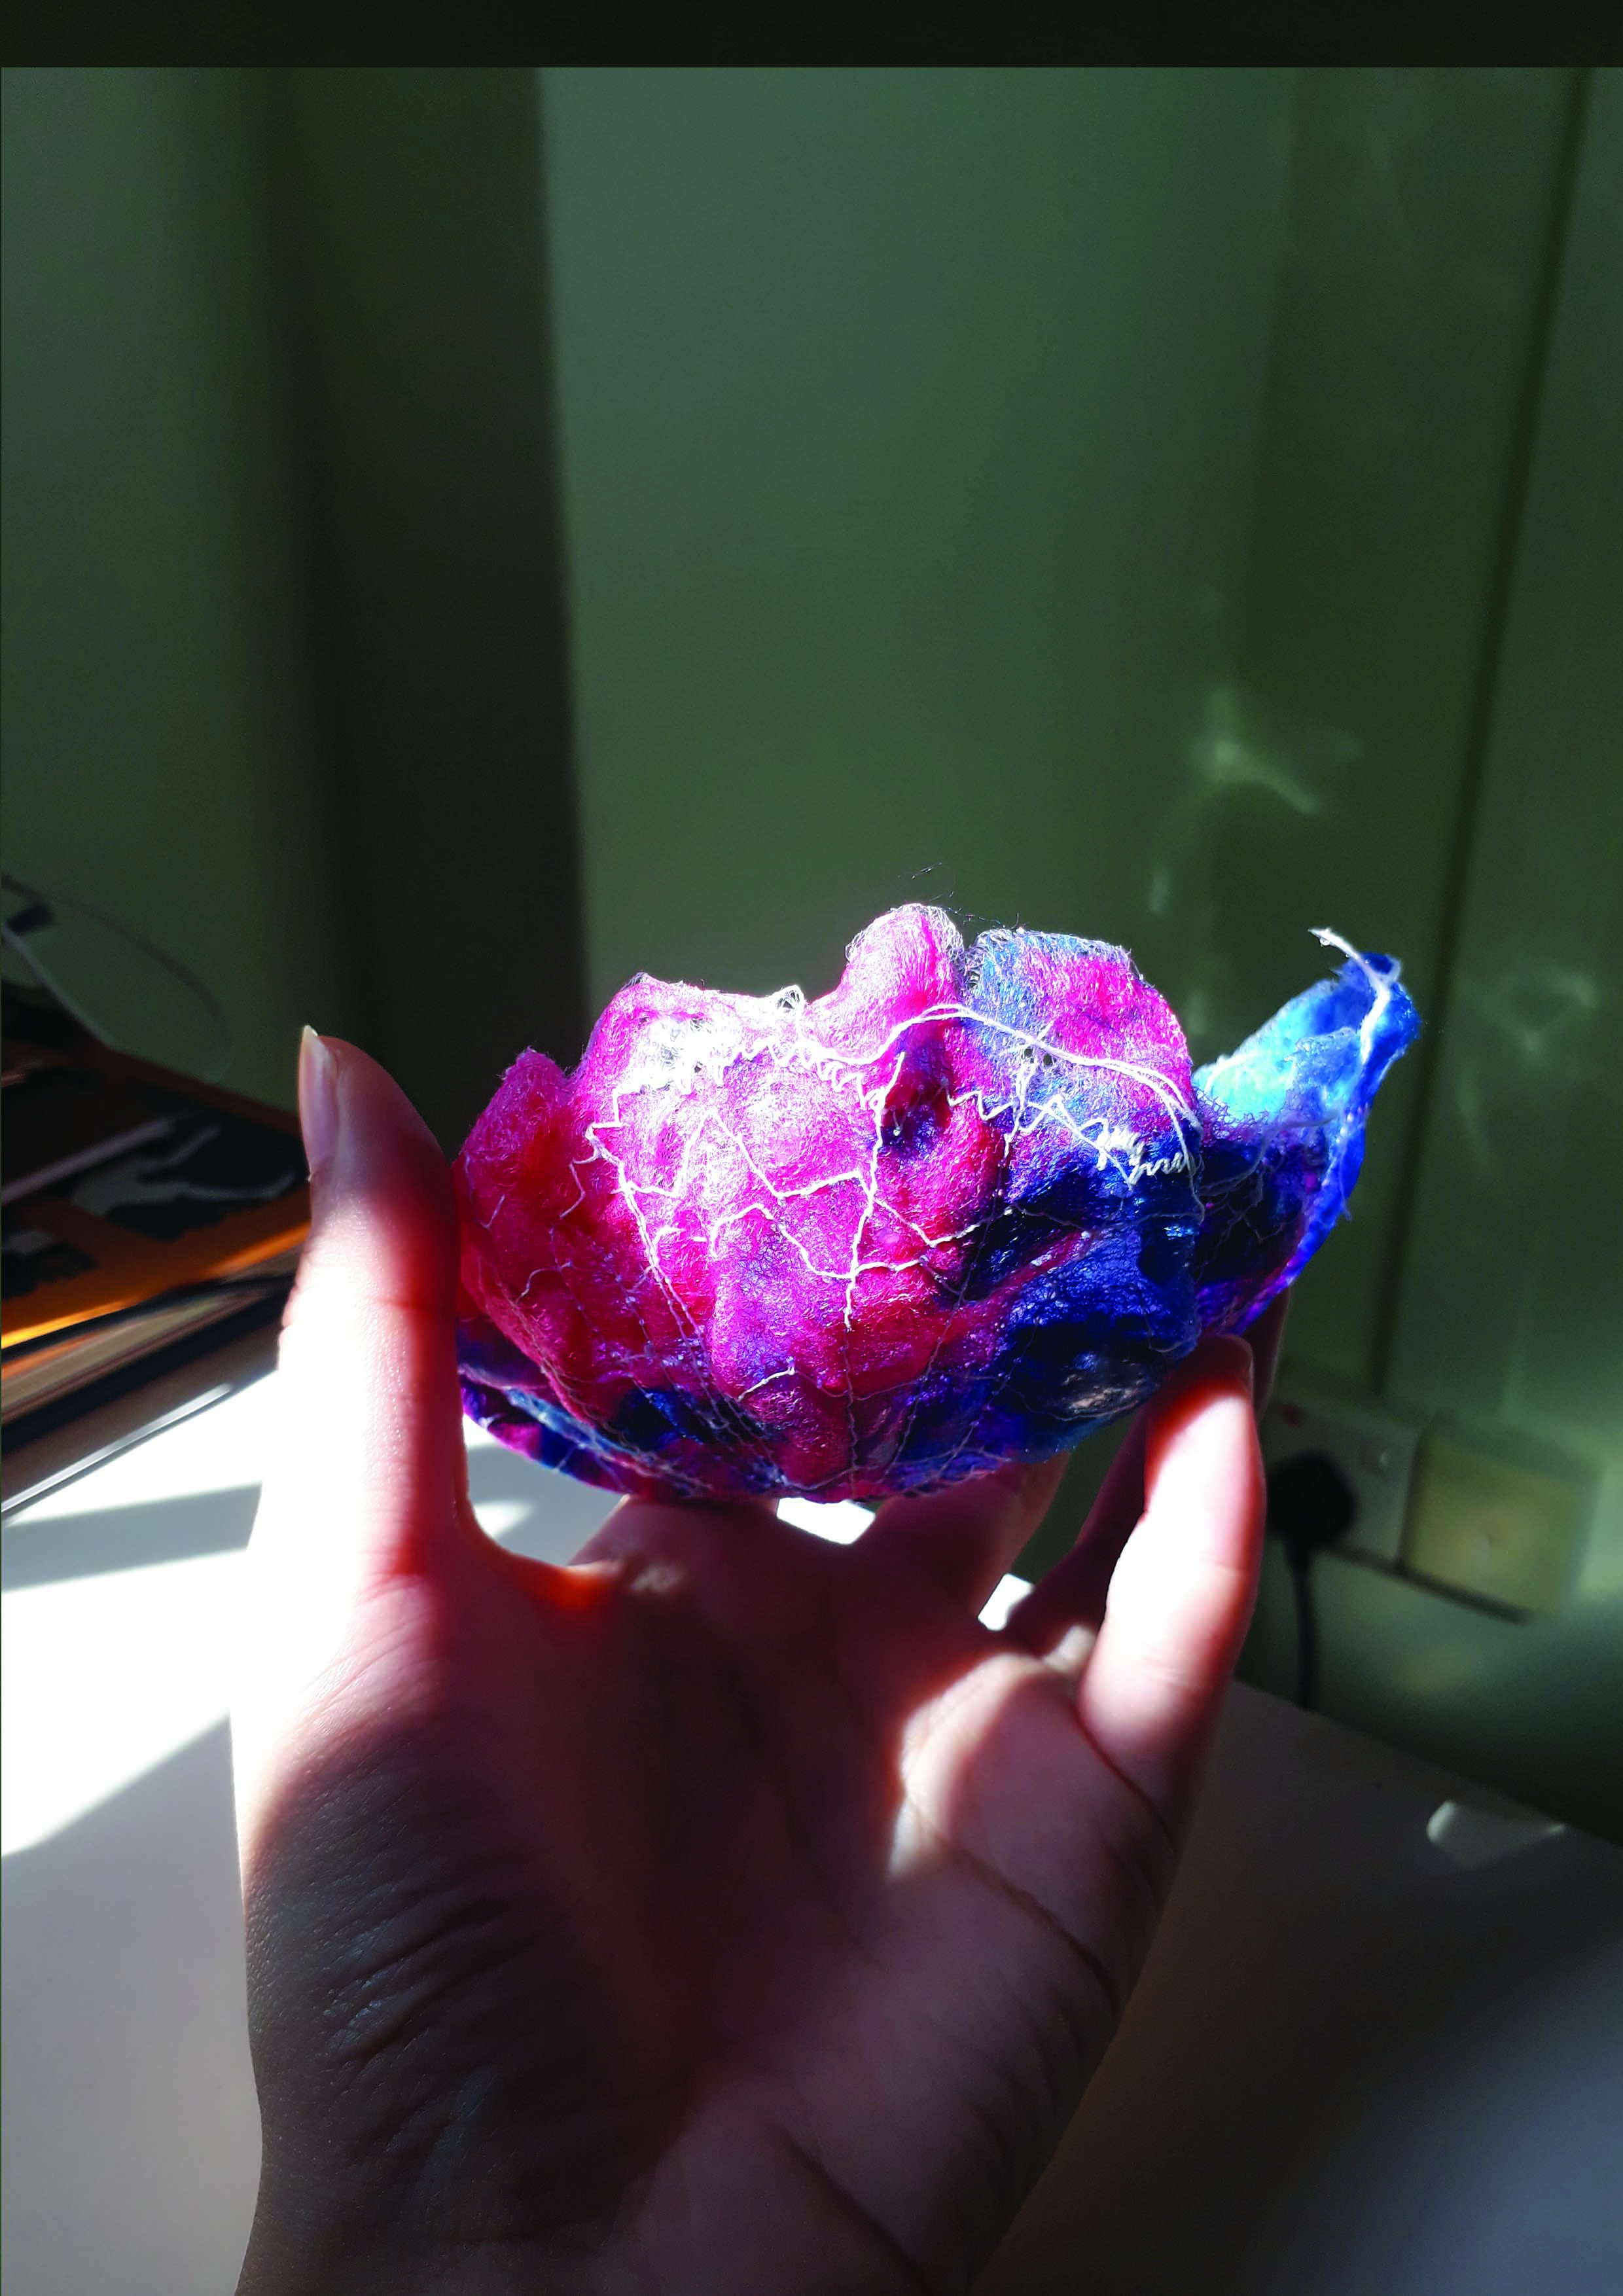
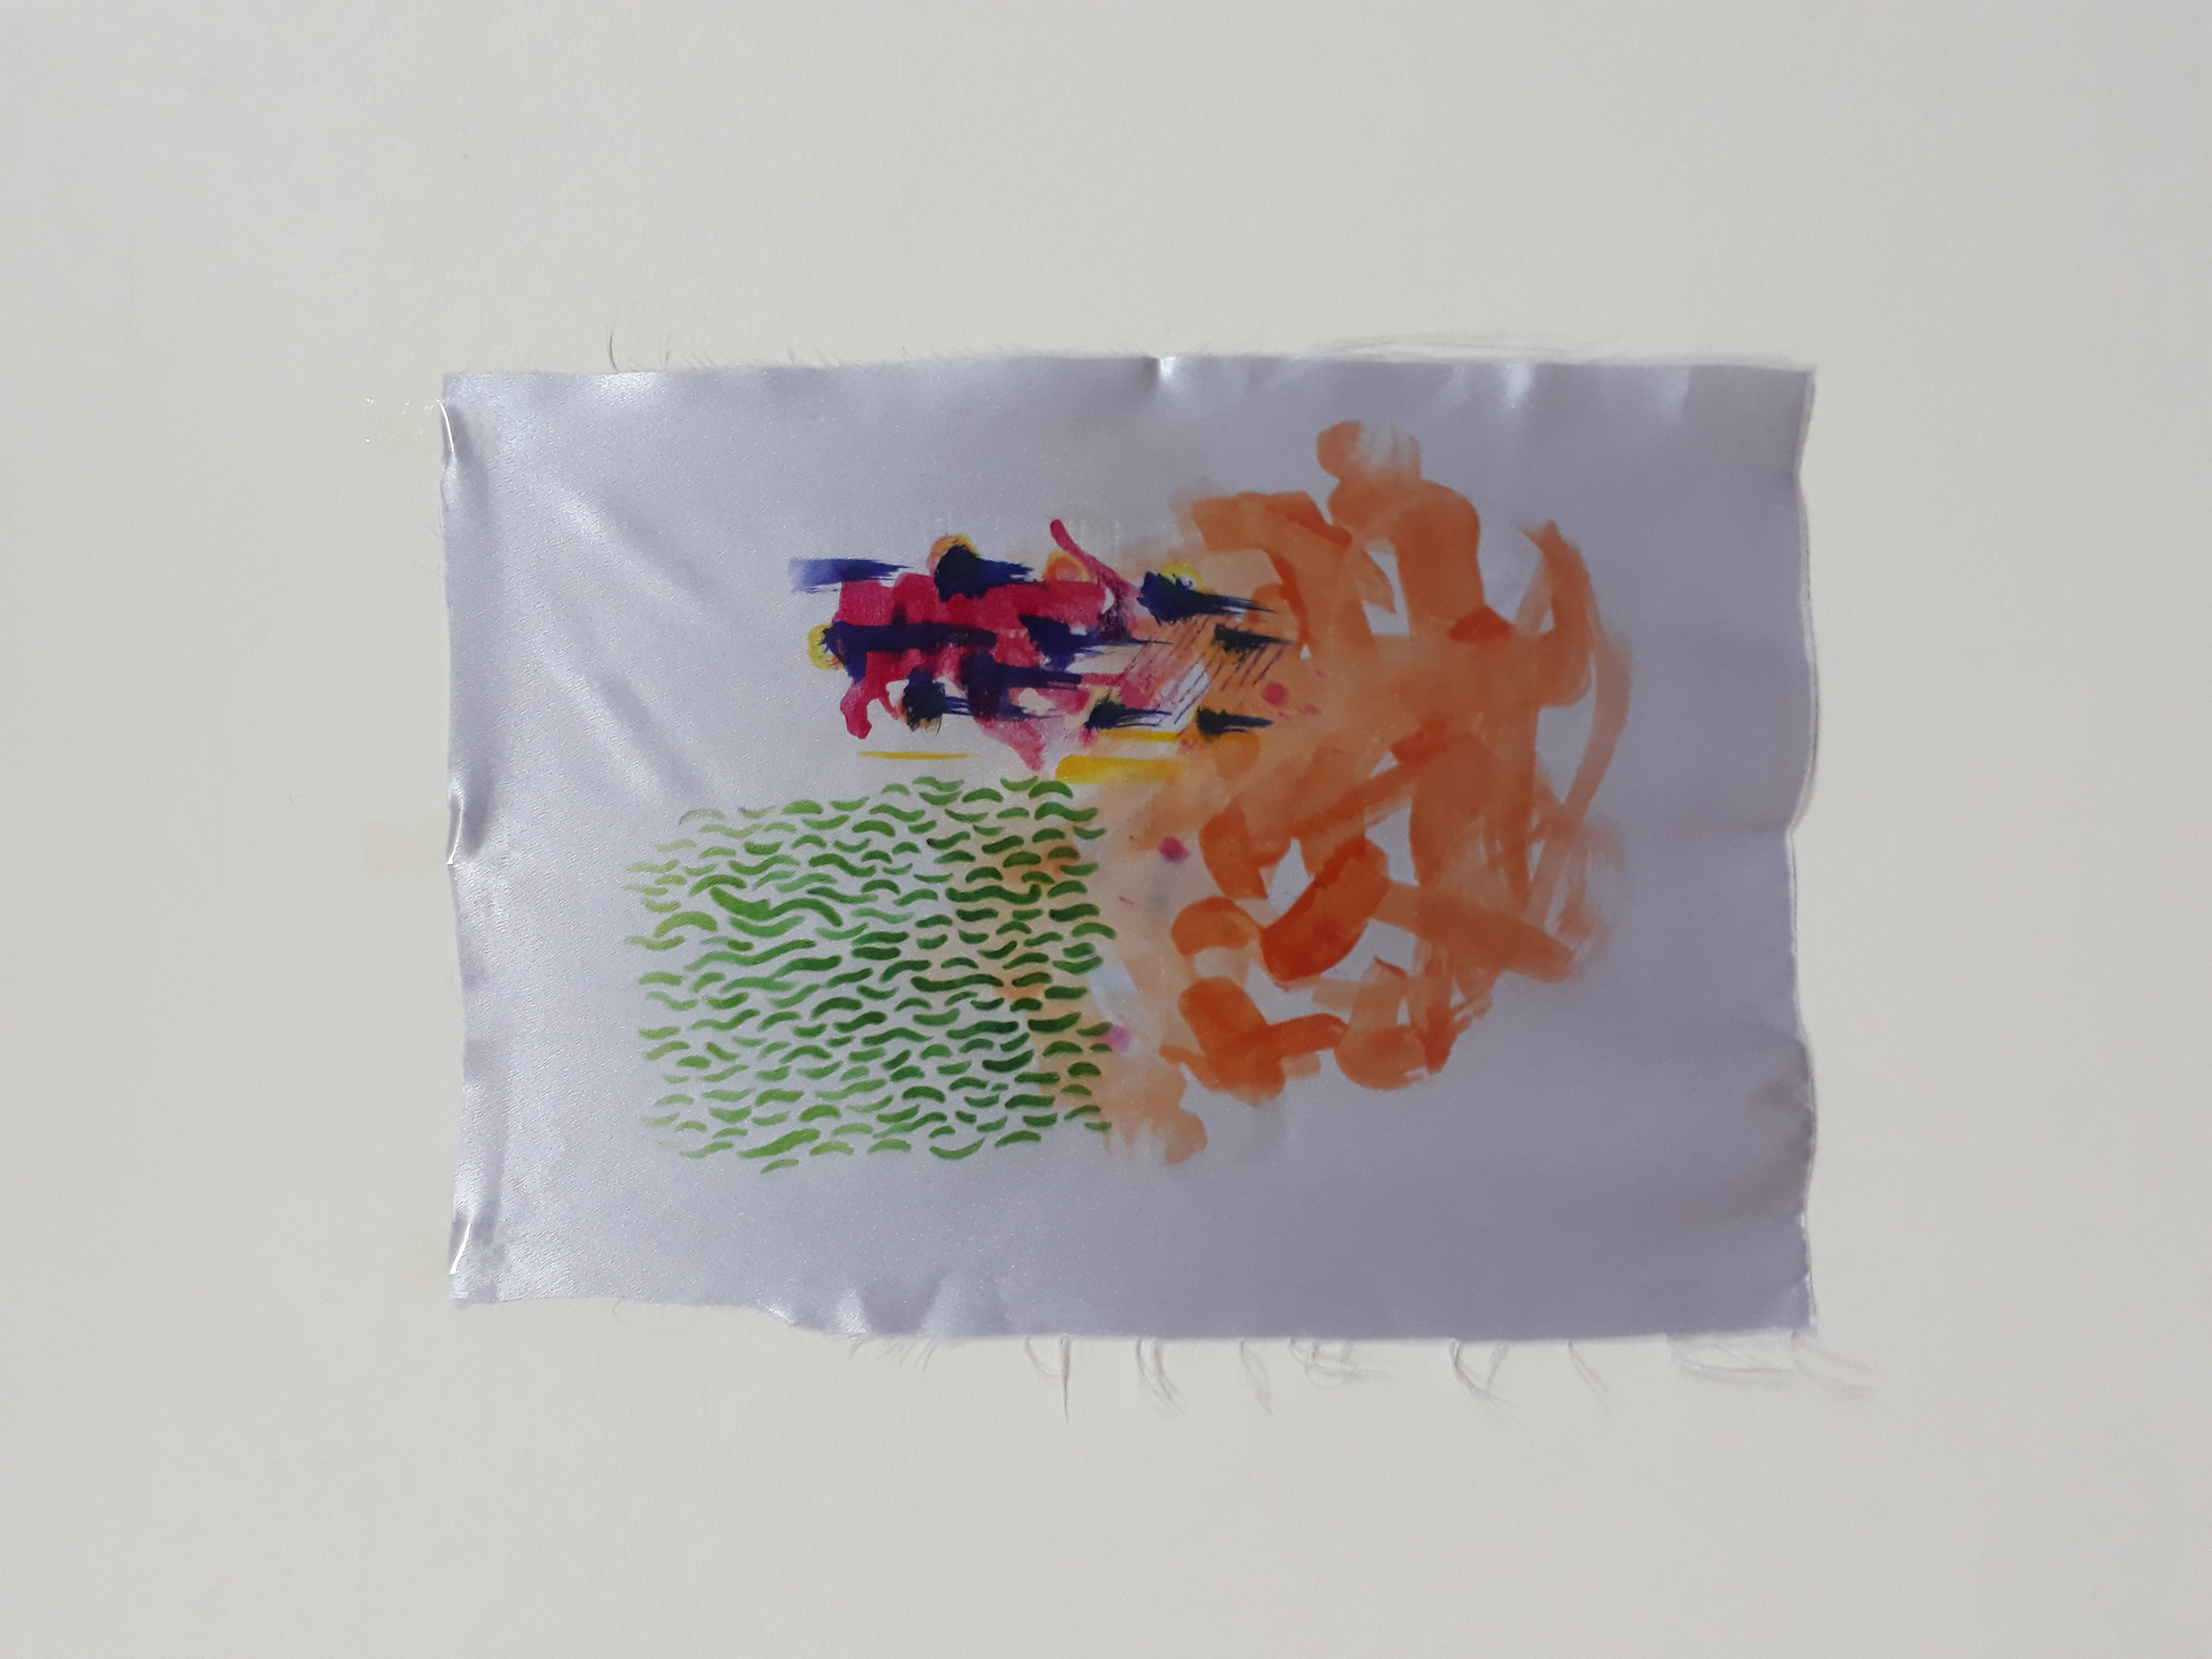
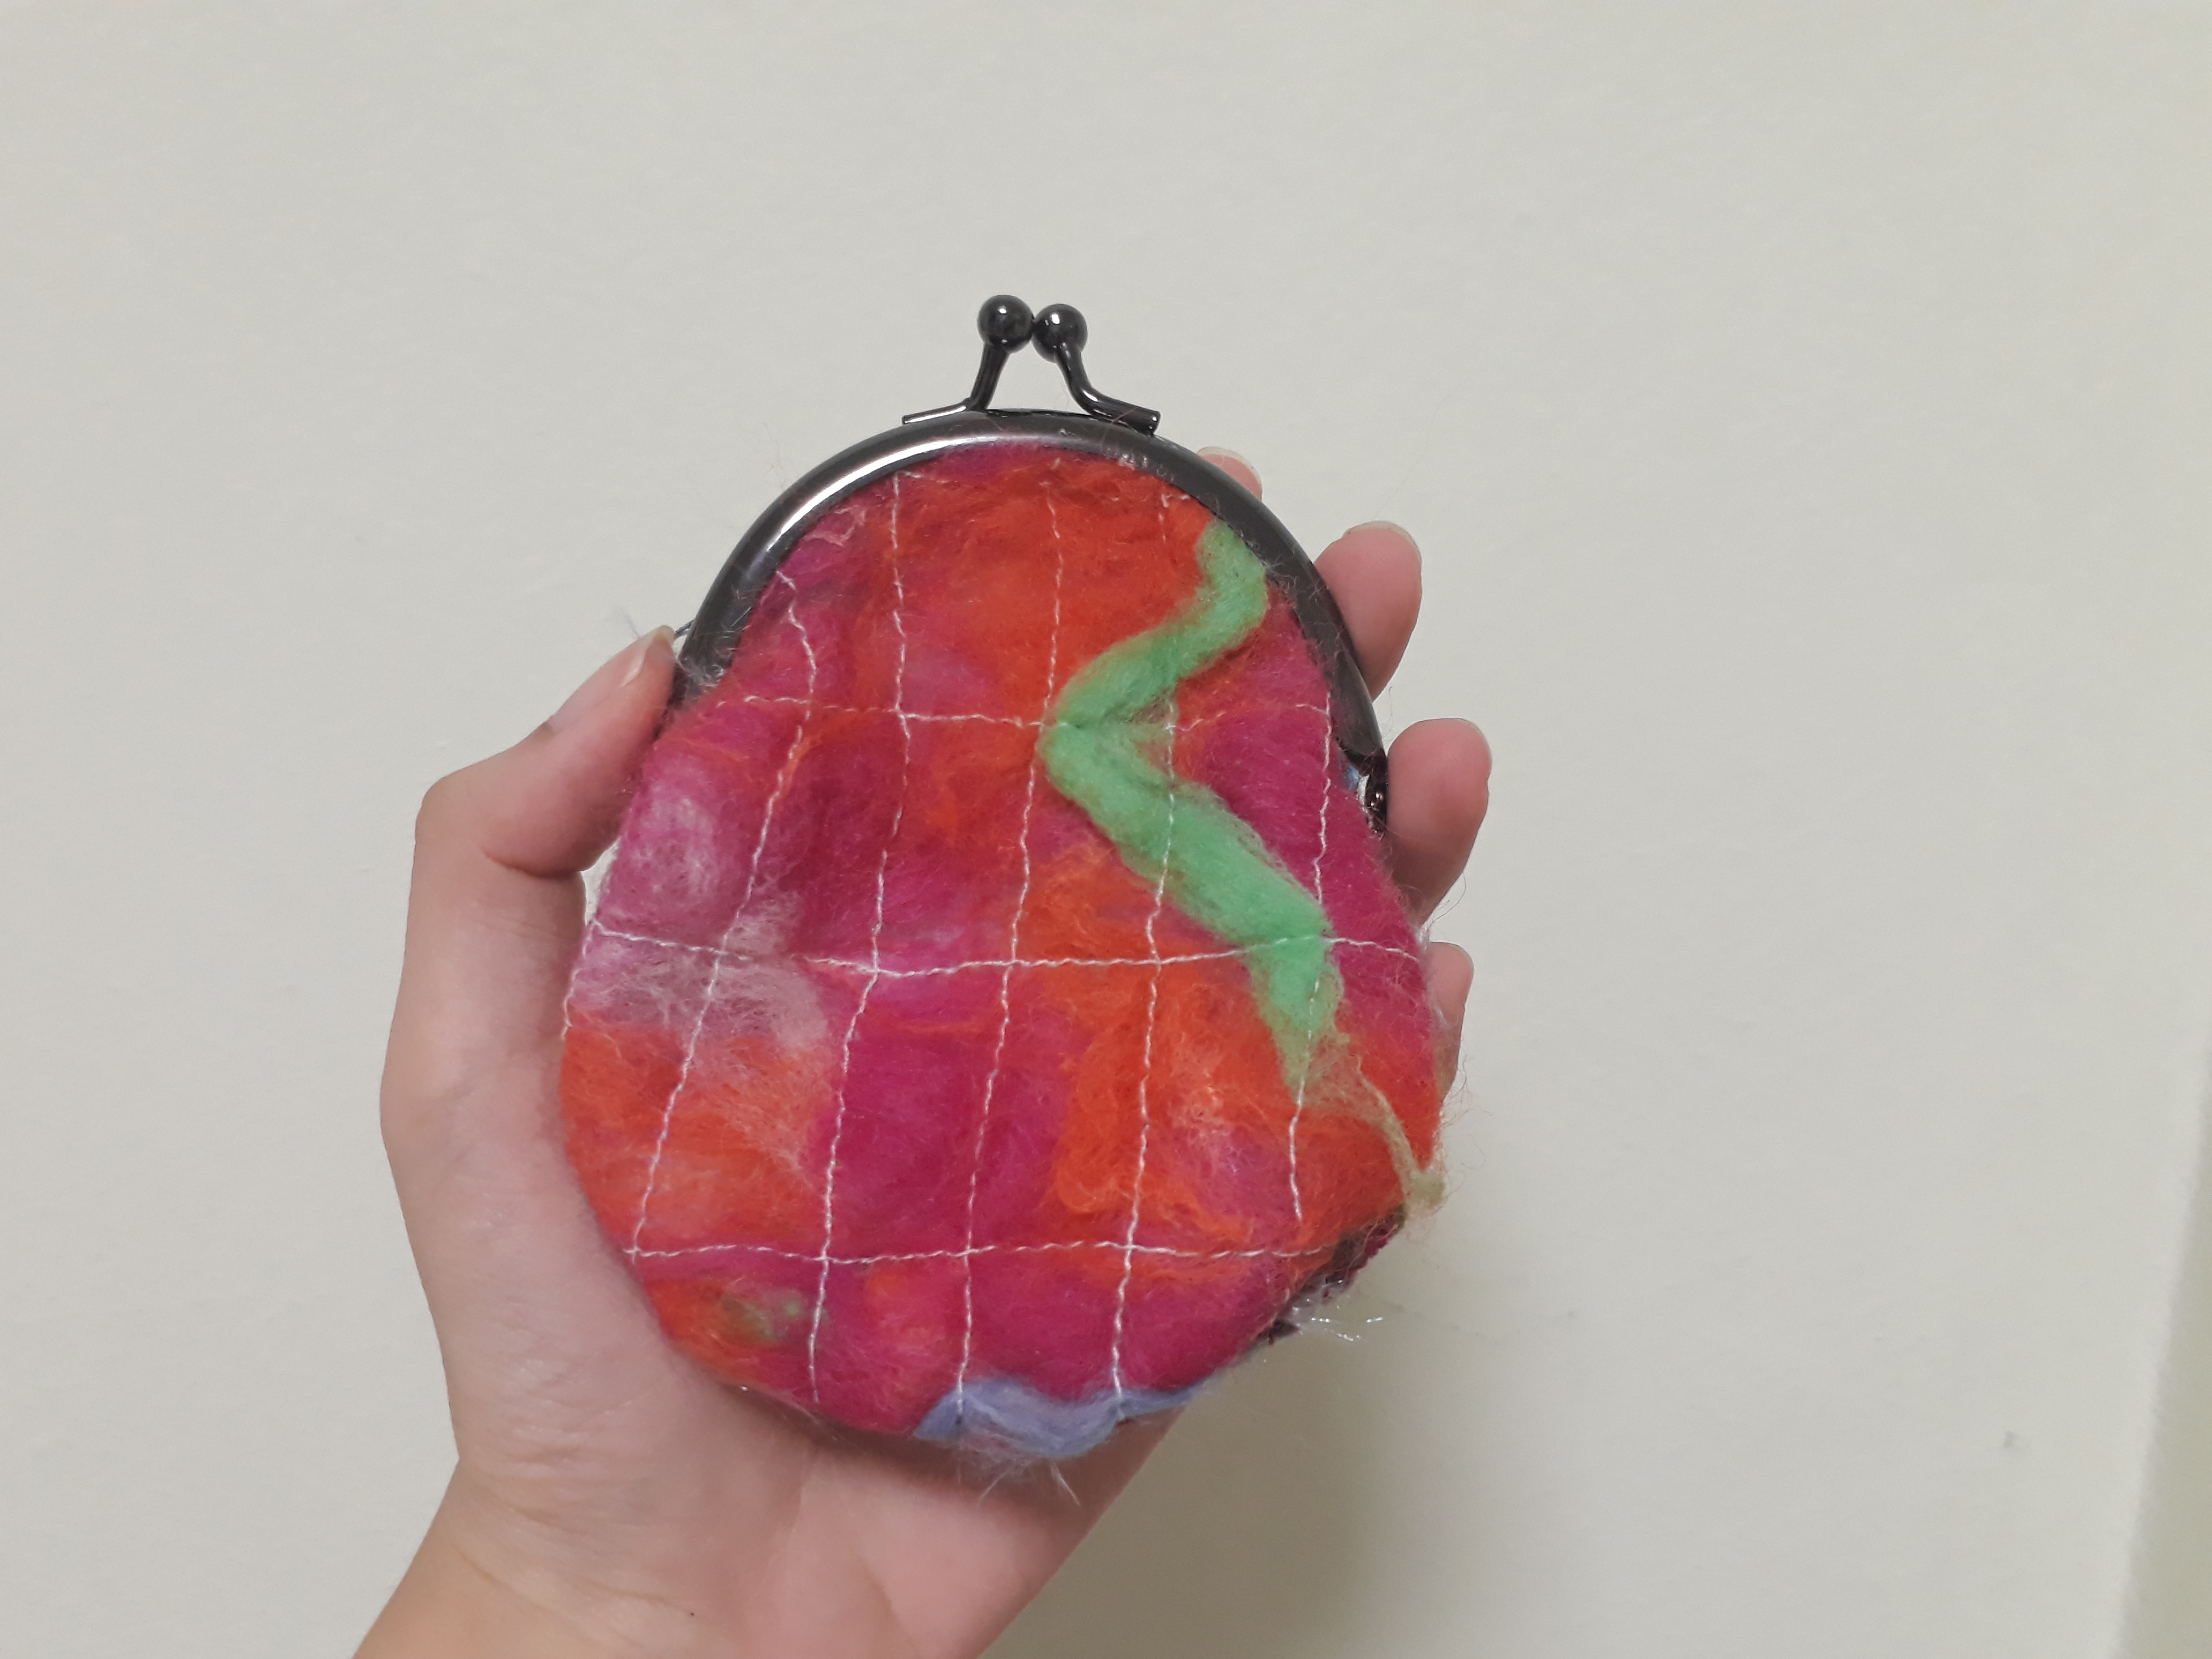
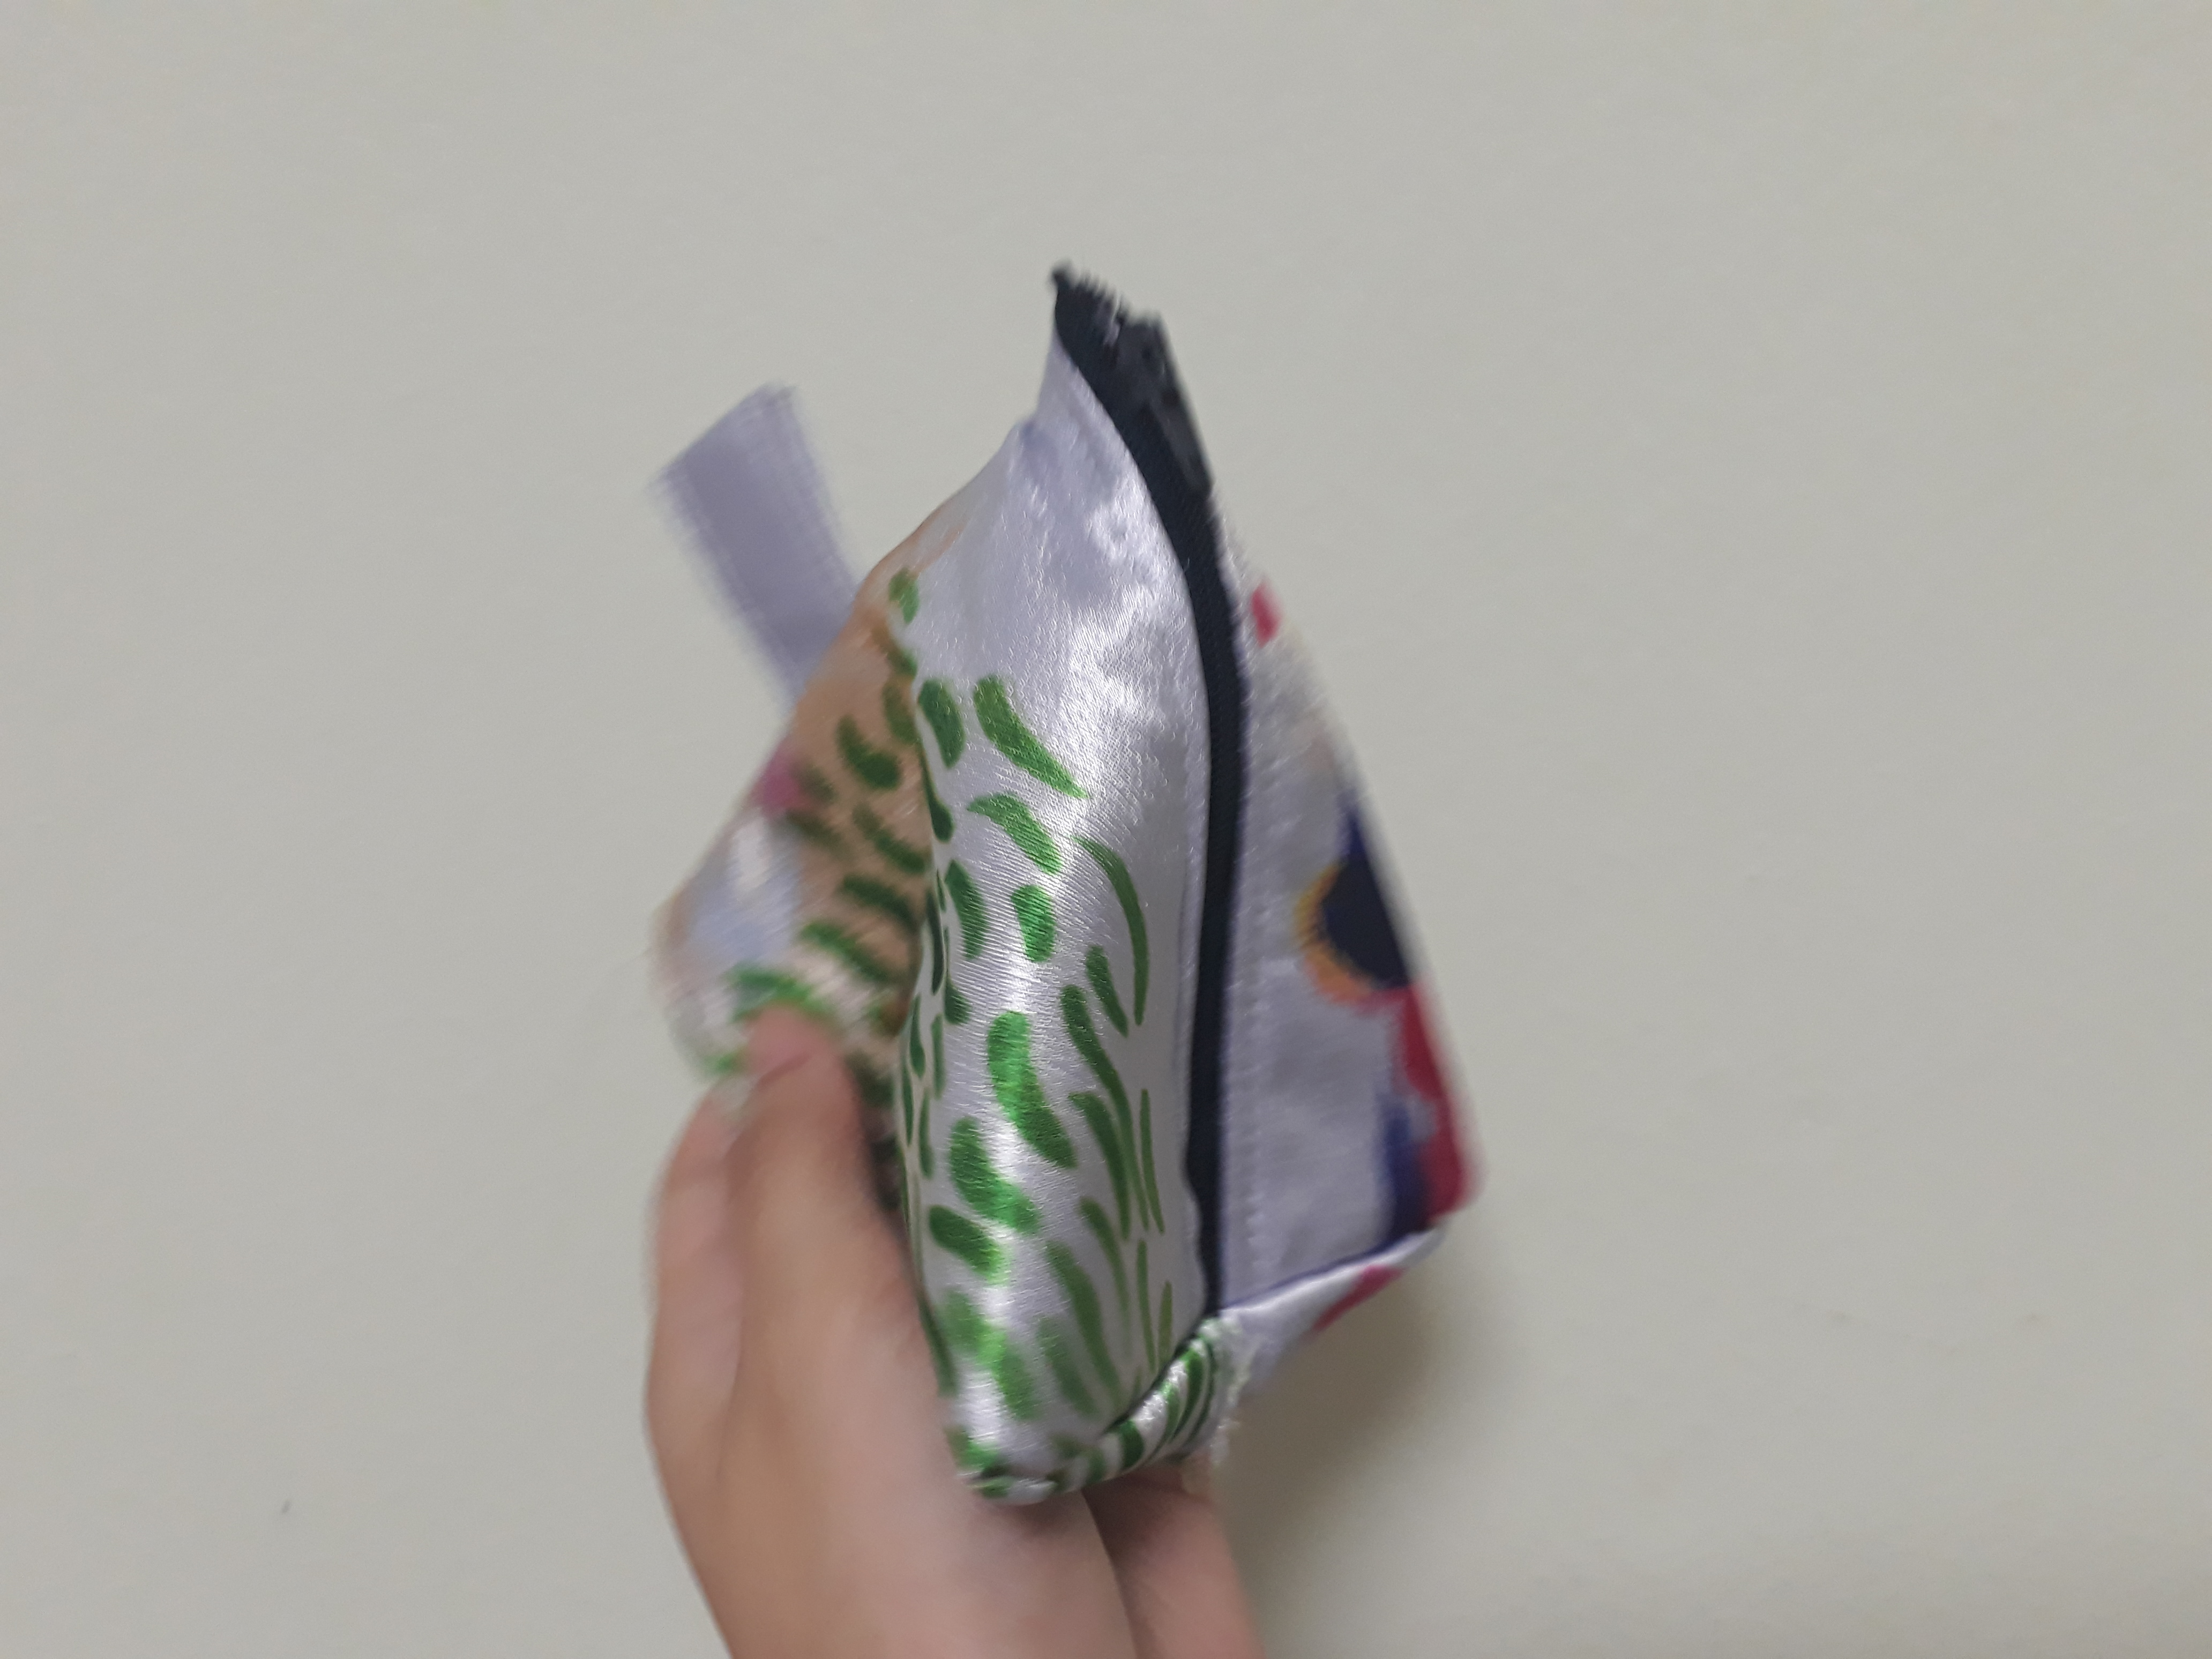
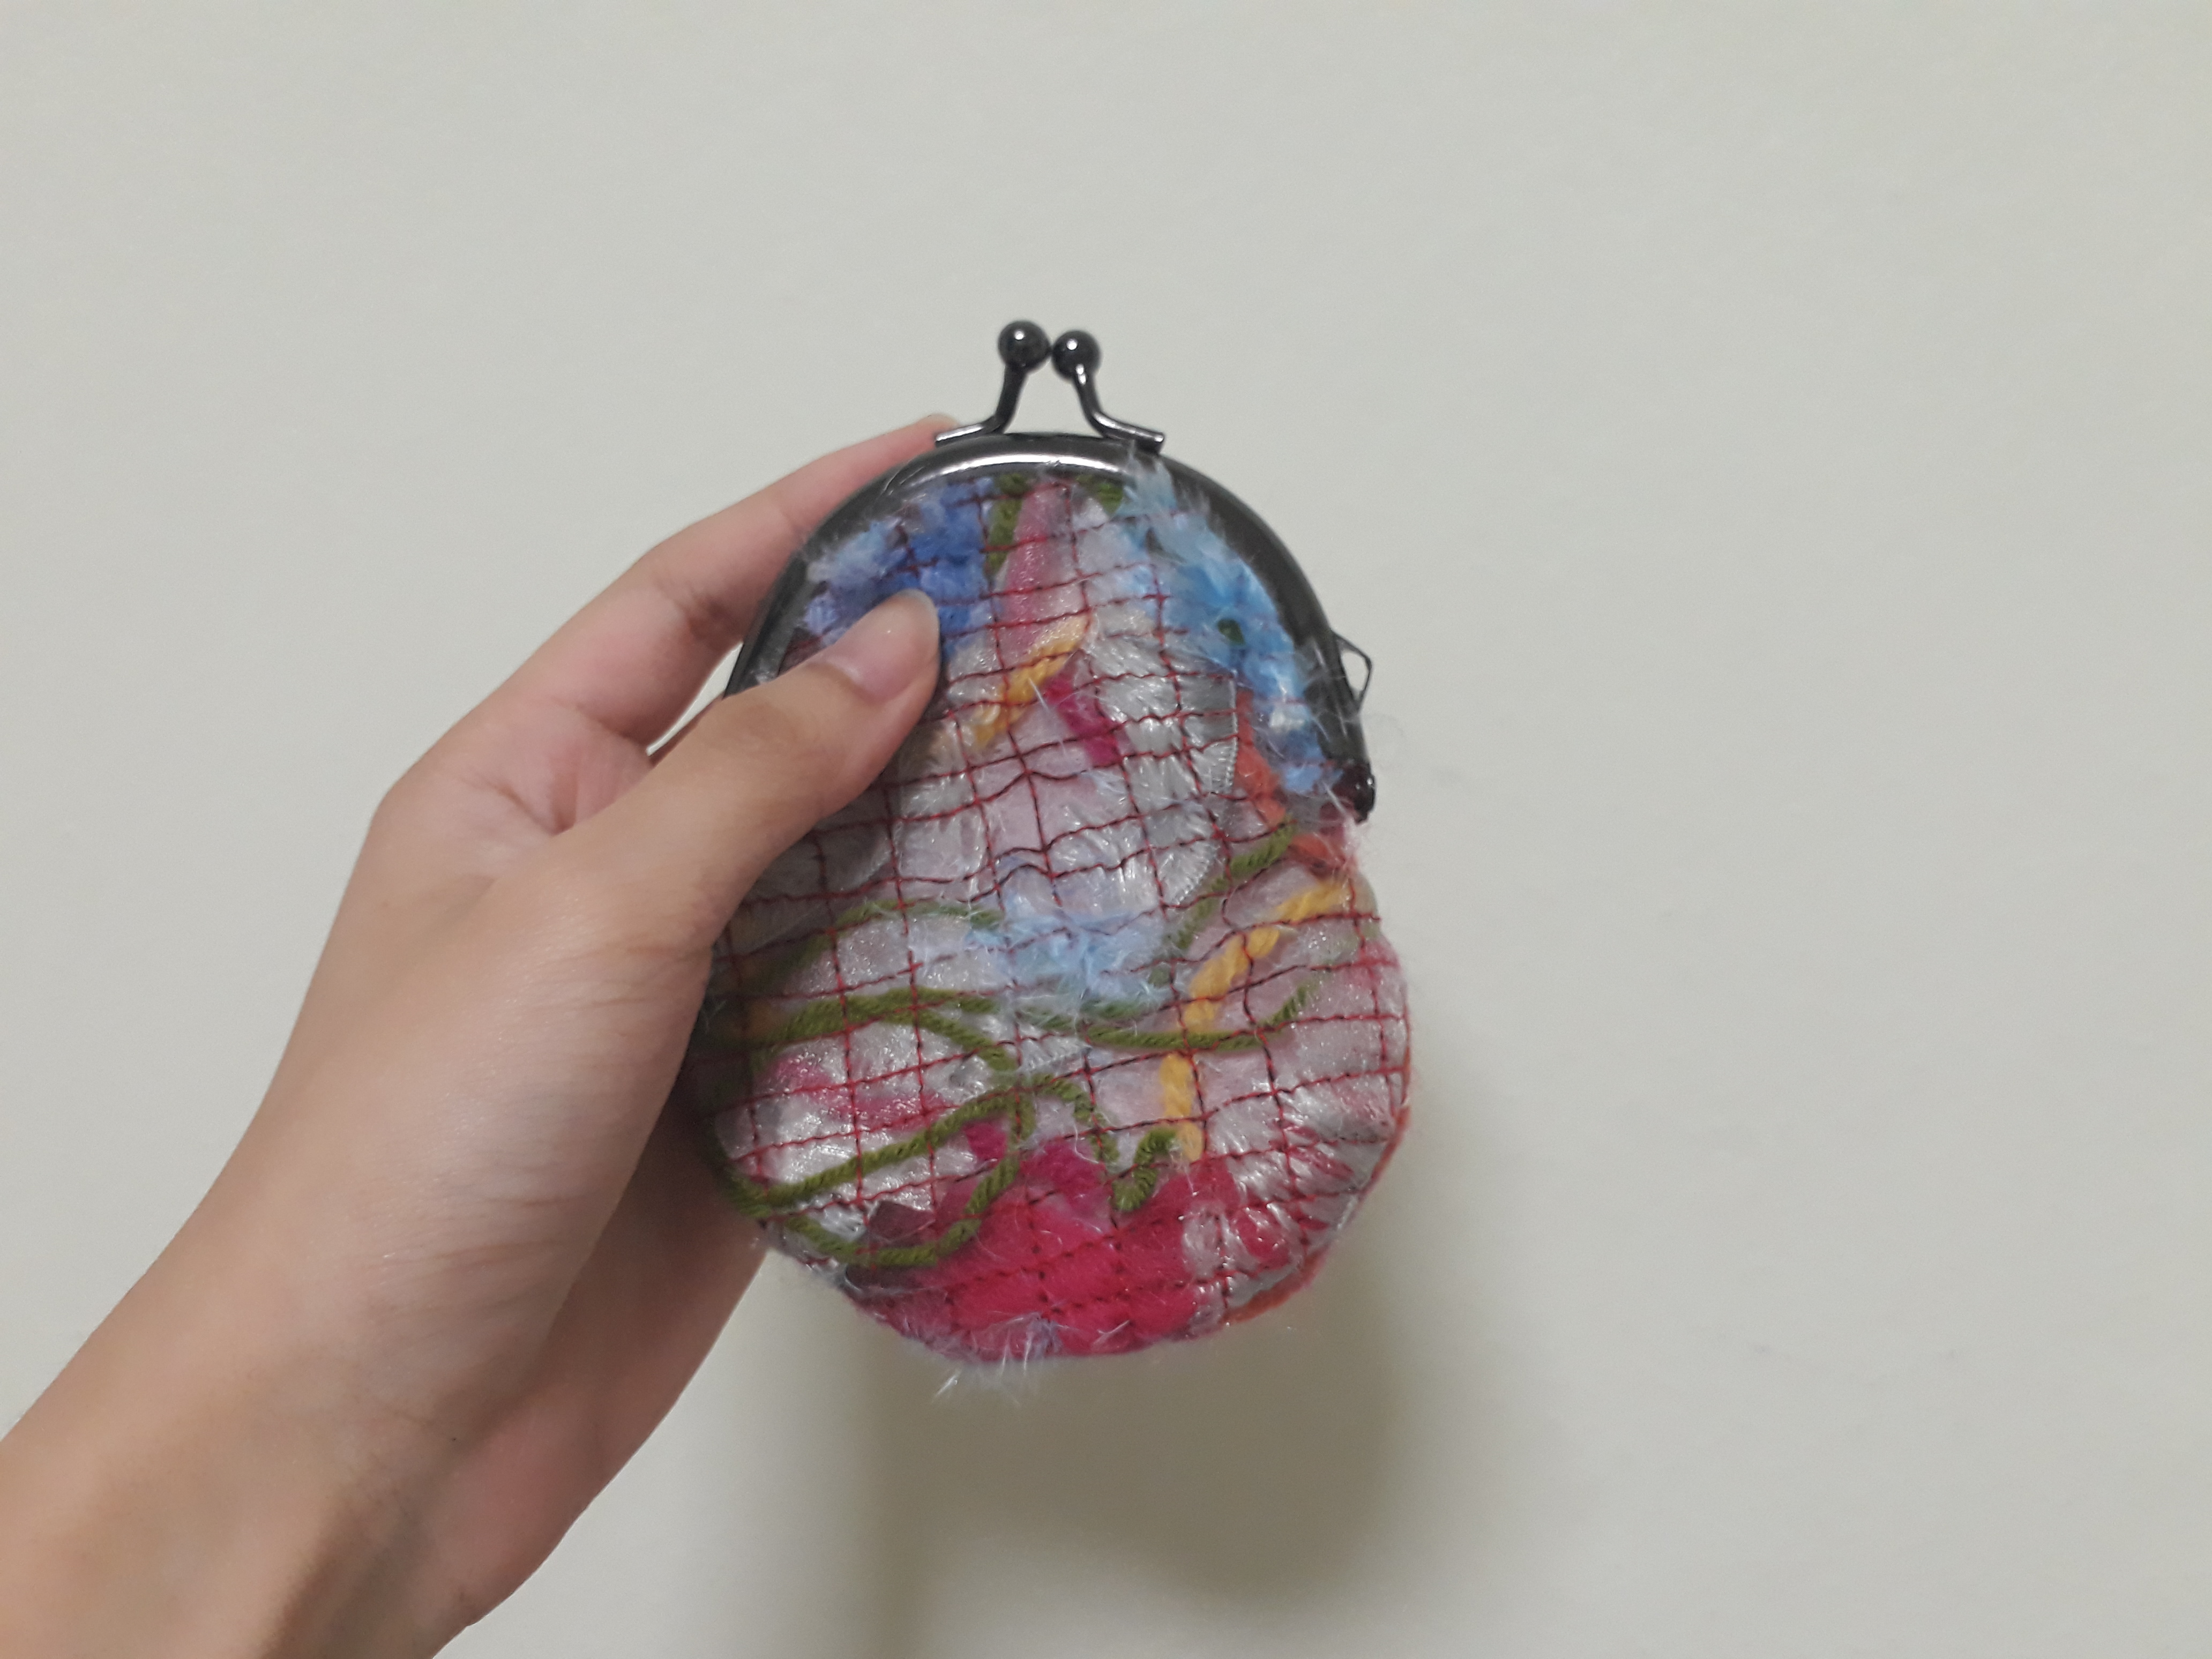
FINAL SAMPLE:

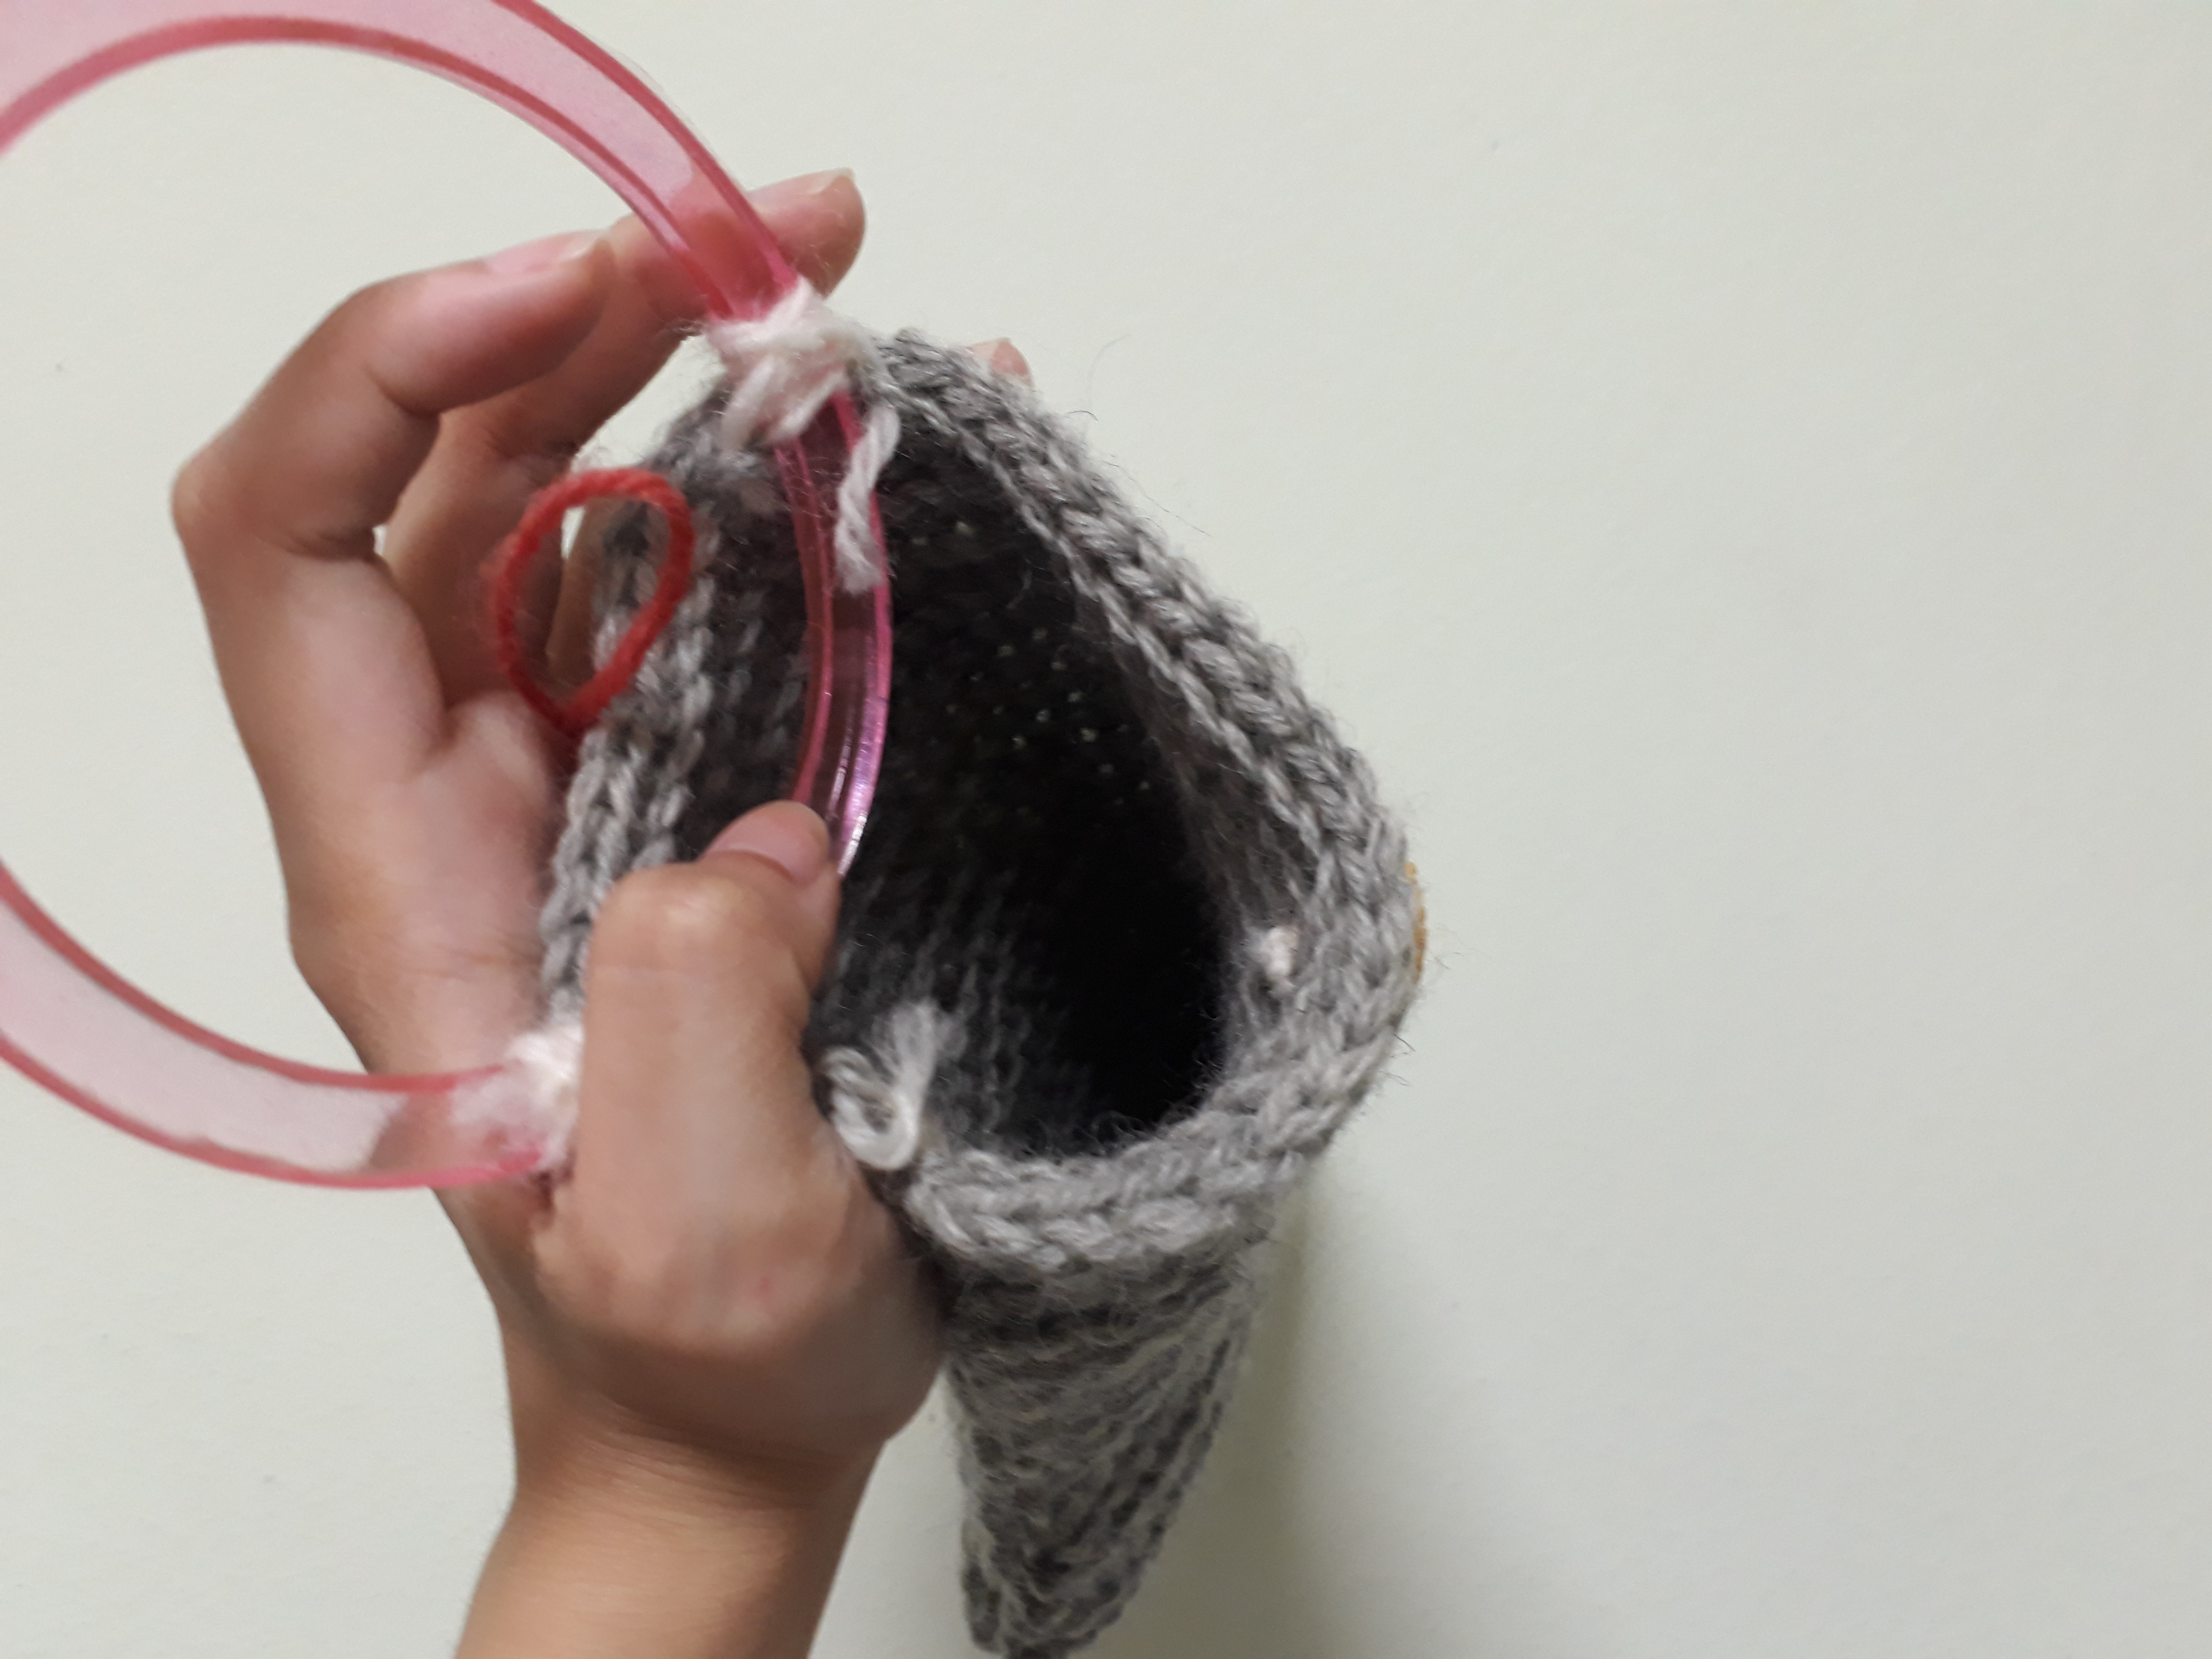
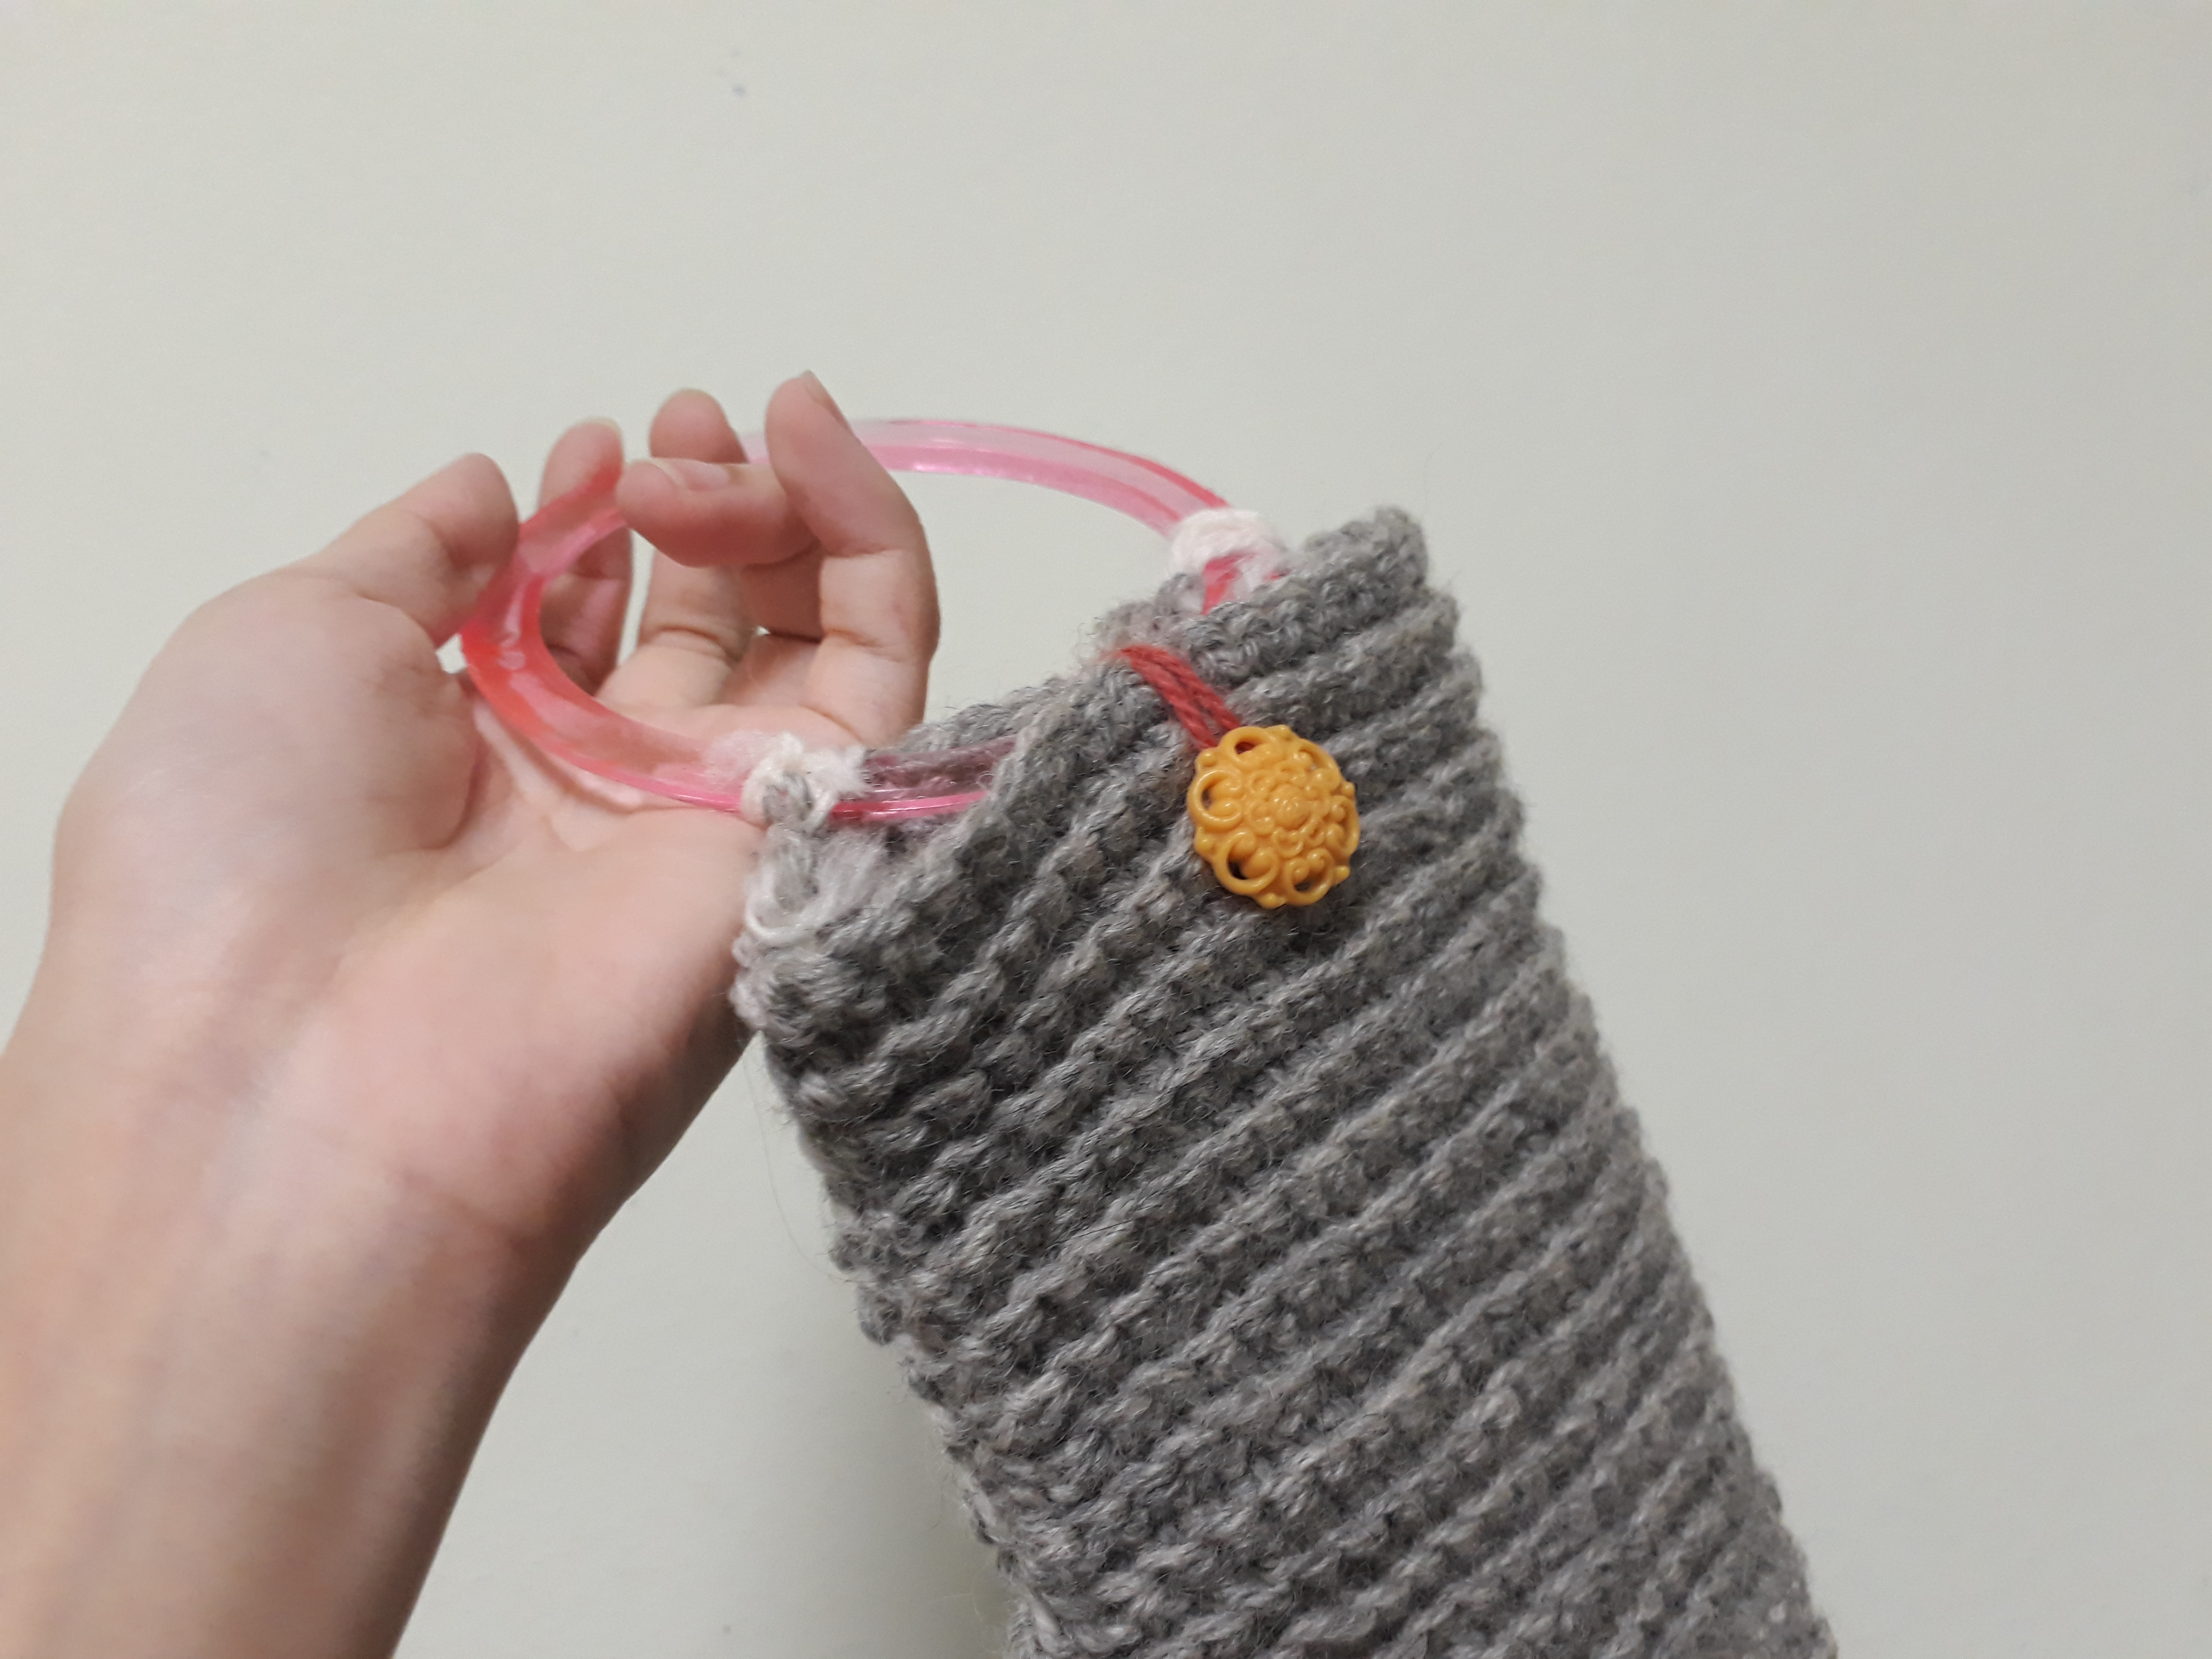
Maybe maggi knit one day??

Museum Field Trip


Ok, so we went to the museum on the reunion dinner day of CNY. LOL.

I didn’t read up on the exhibition and I just went cause I prefer to be surprised! Not because I didn’t prepare! These photos were taken by Vimal (my classmate from surface design) cause I lost all my photos when my phone spoiled a week after the trip… :'( Thank you and all the credits to him!!!

Everything in that little exhibition caught my eye. The textiles, prints brought me back to some time like my mother’s era. I found the little videos they included in the exhibition so fascinating. As they interviewed some people and talked about skirt length and bikinis, something I never thought people of the “olden days” would be open about. The prints were vibrant and the clashing colours really stand out to me. The effort on the little details is what really got to me. The tiny beads on the shoes and knitted-wear, the embroidery and the miniature combs and stuff. I was very inspired by the beading. In fact, It reminded me of one of my favourite embroidery artist Teresa Lim.

This is one of my inspiration for my surface design theme: monsters. The little details will help to add textures and colors and reflective surfaces onto my designs which will give the monsters I create more character and dimension.


Applying the Applique technique

Things you need:
1. Cloth (Base)
2. More scraps
3. Random stuff depend on what you want to sew

How to do it:
1. Sew pieces of cloth together using the zig zag function.

Reflection:
I don’t exactly have a lot of images on this one. BUT THIS HAS GOT TO BE MY FAVOURITE METHOD OUT OF ALL THAT WE’VE LEARNT SO FAR. Applique in simple words is just sewing cloths and bits together using the zig zag method?

I was initially so stuck with what to do cause I really did not want to do something simple. (AMBITIOUS ME) I wanted to straight up explore and do something crazy that at the same time will help me to gather some ideas for my final project.

8

After doing the normal “patchwork style” applique methods, I felt that the entire piece was just monotonous and lacking in depth. So I wanted to do something crazy, I looked up images of MONSTERS (my theme for the final project is monsters) and I found that the eyes of the monsters are pretty creepy. So I decided to explore with googling eyes because I thought why not make it cute! And this is a bittt far fetch but I thought my piece was a little Harajuku inspired? The wacky colours and array of textures really makes the entire pops!


Not as crazy as those Harajuku clothings but I’m getting a little crazy monster vibe from this one here! I thought the net/mesh has just enough holes to reveal the mini pom poms and googly eyes. Highlight: They make a sound everytime you shake it!

3

Which led me to this, I really wanted to make a top and instead of putting just eyes inside, I wanted to put bells. This will be something I will work on in the future, and I’m hoping on making a bolder colour scheme to make the Harajuku crazy monster image.4

Final Sample:

Felting is a love hate relationship.

Things you need:

  1. Felt (the shredded ones)
  2. Felting needles
  3. Stylofoam
  4. Hot water

How to do it:

  1. Wash the felt in hot water and soap.
  2. Massage the felt and blend the colours together. You can choose to add a bit more felt if you want.
  3. You can fold the felt to make forms at this point if you want.


I hate felting.

But the results is tooooo good for me to pass. During class, I just tried to make simple things like a ball and a tried to make a felt cloth thing.

This was the few samples Prof Galina showed us.

5 6
grr2

Basically, hot water + soap + 5000 hrs of rubbing the felt together = amazeballs felt balls

7

One thing I learnt is that you really need the patience and effort to make what you want to make. My plans for this technique in my final project is for me to felt a hat/scarf and attach bells to it. I will be starting to work on this during my recess week cause a hat might be difficult.

ok UPDATE:

I made this felting thingy thats like a chopstick holder because I thought chopstick holders are cool and unnecessary? 

I then experimented with making clothes, I tried to create textures by using marbles to weigh it down during the drying process.

I made this during class, during the ball making competition. Was thinking of making more eyeballs to make it into a headband or a brooch collection.

Yucky egg 🙂 

Here’s me working in a piece of cloth for a pouch. The design was inspired by Yayoi Kusama, the main inspiration for my final products. The circles gives off an eclectic monster vibe which is something I am realllyyyy digging. If I haven’t mention it enough Monsters is my theme 🙂

Final Sample:


Making a Material

Things you need:

  1. Sewing Machine
  2. Thread
  3. Water Soluble Paper (get this from Chinatown)
  4. Random bits and bobs to throw into the work (preferable sewable material)

How to do it:

  1. Cut a piece of water soluble paper. (it should be twice the size of the final product cause you need to fold it in half.
  2. (Optional) Cut strips of cloth, get some threads, throw onto the paper.
  3. Fold the paper in half.
  4. Pin the work together to prevent the bits from dropping everywhere.
  5. Sew in a criss-cross fashion to hold the bits and bobs.
  6. Wash the entire product in water. (Try not to wash it so much if you want to make it into a shape using a mould later on.)
  7.  Put into a mould of whatever you want to make a shape!

I made a video on how this works!

password: sew


My first time using a sewing machine. IT WAS CRAZY. The minute it went “ZBBBBBRRRRZZ” I died. But I manage to learn the bobbin thing, how to change the thread and how to sew different lines, I GOT ADDICTED.

In this method, we learnt how to make a whole new material out of scraps, water soluble cloth and sewing in a criss cross method!


I got to use the JUKI, get out VIKING. JUKI is bae.

grr3grr

This one I left it flat…


I have another one which I tried a mould.

grr4


Got tired of square designs so I tried a circular style!

20170209_212335


This is what the final look like!
( Pictures to be inserted soon 🙂 )


REFLECTIONS:
I need more of the water soluble plastics! It is a very easy and fun way to see a new material being made. I foresee this as a good technique to introduce to factories where lots of scraps are being thrown out after every design is made. We can use those scraps and combine then to make tougher material for other things like bags to lampshades.

FINAL SAMPLE:
This method was slightly harder to incorporate into my idea of making pouches because of how many holes there were due to the criss cross nature of the method. How I countered this was to iron the fusing interface at the back of the material which helps to hold the entire structure and act as a inner lining for the pouch. I bought this pouch clasp thing from DAISO which was hard to use at first but at the second try I managed to fix it onto my design.

Melting plastics IS SO FUN AND ADDICTIVE

Things you need:

  1. Plastic bags / thin plastics
  2. Baking Paper
  3. Iron

Ok. Before I get down to this project, can I just say I never knew melting plastics can be sooooo much fun!!! HAHA Here’s what I made after I gain the new skill. Oh, for those we don’t know how this is done, basically you just fuse the plastics together underneath a sheet of baking paper.

Fused to super thin tranparent plastics together and I left some strings and thingamabobs inbetween the plastics to create more textures.

Here’s where the fun begins, I made this egg pouch in collaboration with Vanessa, and we even came up with a company name called “Refuse” And I think I am going to make a backpack using just plastics for finals! 🙂

From here on, I experimented with different textures like drawing on the plastic and trying to create a shrink plastic effect…

Fusing plastic together to create patterns.

REFLECTION:

This technique was the most addictive one of them all! (still not sure if it was because of the fumes or what) I found this technique to have endless possibilities and it was very environmentally friendly, we could use the old plastic bags and give them new life. Such as this! A babies bib that the child will definitely outgrow very quickly, what is the point of spending money to buy when you can

Such as this! A babies bib that the child will definitely outgrow very quickly, what is the point of spending money to buy when you can diy it yourself at home???

FINAL SAMPLE:

What I did was to experiment with the technique to make my circle bag for finals. I wanted to use plastic fusing as a cheap alternative to be as a test piece or a guide for my final piece. It actually turned out pretty nicely!

Heat Transfer Printing

Things you need:

  1. Baking Paper
  2. Iron
  3. Cloth (I used polyester satin)
  4. Heat Transfer Print Inks

After nearly burning my entire cloth cause I got scammed with fake baking paper, I manage to come up with a very getai-ish cloth design. If you have no idea what is getai. Here’s a photo.


Here at the initial stages of my surface design life, I was sooooo intrigued by the fact that we can do crazy designs I want so bent on creating my getai inspired designs. The whole obiang (tacky) but not really design.

So, using heat transfer printing I explored various designs on one single cloth. (Apart from the annoying burnt hole, I think this looks pretty sick)

20170223_231533

This was my attempt at being obiang. I explored the filler method, painting and the crayola method, my favourite was the painting method cause it looks so crisp and machine made? So I had this sudden idea. Could I use this method to create an ARTWORK and not just a surface design piece? I wanted to explore something more compositional instead of just a pattern-like piece.

20170223_231839

So I came up with this. I really love the crazy colours and textures! Took the opportunity to do it on a coloured polyester satin too!

REFLECTION:
I am pretty fond of this technique because of how easy it is to create designs but I think it can be a little limiting in terms of making surfaces/forms.

FINAL SAMPLE:
Same goes, I made a pouch for my final sample using this video. This was my third attempt at making pouches for final submission, and I would say at this point I have more understanding of the various techniques of sewing, and some terms like top stitch, right side up and more… I even added a fusing interlace I got from DAISO (BEST THING EVER) that helps to make the soft fabric more structured.


Hello Helvetica

If I could I would post this entire post in Helvetica, but I wouldn’t want to throw off the entire look of my oss site.

What is Helvetica to me?
I know a lot of people know about Helvetica. But before I came to uni I didn’t know what Helvetica before. My life revolved around Calibri and occasional Times New Roman.
Helvetica showed me a new typeface that to me is almost perfect. I am personally drawn to san serif typefaces and Helvetica is the near perfect typeface I would use.
Helvetica to me have a serious but sort of a dark humor kind of character. It can take up a lot of roles and persona, its flexibility if what drawn me to the typeface.

Helvetica will have a long way to go.