Title of work: FLOW
Medium: Experimental film
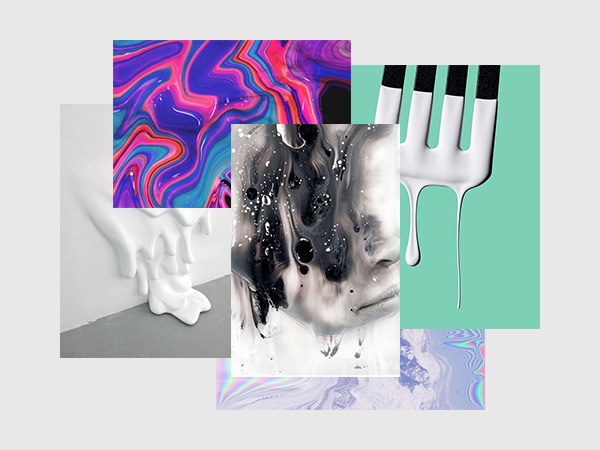
FLOW explores inevitable change in an increasingly digital and automated world through the abstract imagery of melting liquids.
We’ve all heard the (painfully cliche) phrase, “change is the only constant”. And for the evolution of human kind, that definitely rings true. We constantly reinvent ourselves, discovering new ways to do things, desiring something harder, better, faster, stronger. The result is a more complex, diverse and chaotic environment, which might not necessarily be a bad thing.
Inspiration/references
When I was thinking of what to create for the media wall, I was mildly obsessed with those oddly satisfying videos on YouTube — most of them being timelapses of things being melted.
Mmmhm look at dat.
Watching something melt in real time is really boring, but taking a video and speeding it up changes everything. And with that in mind, I scoured the interwebs for inspiration.
I started out by pinning some cool images of liquids flowing.
Ice Crystals Timelapse by Shawn Knol
This is a timelapse video of ice crystals melting, and the artist achieved the rainbow/oil slick look with with cross-polarized light. I really like that he shot in macro, as this zoomed-in view looks much more fascinating, and we can see every single detail. It gives us a completely different view than if we were just looking at the object with the naked eye.
Pills Dissolve In Macro by Macro Room
This is a pretty simple video, but the visuals look really cool. I like the interaction of colours and different textures that were produced from the melting pills.
I thought about how the imagery of melting objects can be linked to the constant changes in society. Change is not something you can prevent from happening, and although it makes for a more complex, messy and diverse world, it has its own beauty too. I tried to infuse this concept into my film, which involves melting every day items like ice, food colouring, oil and butter.
Process
I started experimenting with food colouring and ice, and also tried more unorthodox objects like eggs, butter, and nail polish. Not all of them were successful at conveying the melting look I was looking for, but it produced interesting textures. I have two previous OSS posts with more behind-the-scenes of my experimentations (here and here).
I tried capturing the visuals in photo and video timelapses, but I prefer the photos because the pixel count is much higher (5184 × 3456), compared to the capabilities of my camera in shooting video (1920 × 1080). Since the media wall is 3840 x 480, I would have to fit at least three video clips side by side to fill up the width of the wall. The dimensions of the photos leave more room to play with scale and position.
Ice + food colouring in oil
I mixed water and food colouring in an ice cube tray, and froze it. Then, I placed the ice cubes in oil. The way the melted ice flowed looked pretty interesting, but after a while, the ice cubes seemed to interact with the oil to form a weird barrier and they couldn’t melt fully.
Ice, salt and food colouring
I saw a Pinterest post about sprinkling salt over ice blocks, and seeing them melt in irregular shapes. I decided to try this out, and added food colouring to show they way the ice melted. Some of the shots look like glaciers, which left me pleasantly surprised.
Butter
Post-production
First, I imported my photos into Lightroom to do some colour correction, then imported everything into Premiere Pro as image sequences.
To work around the unique dimensions of the wall, I placed multiple clips side by side to try and avoid an extremely cropped and narrow view. I masked the clips to blend the edges, making it look like one cohesive video clip.
 before masking

after masking
I was also experimenting with glitch effects to incorporate my concept of a digital world, and realised that some of the effects worked better on After Effects.
Because I had never worked on After Effects before, it didn’t occur to me to edit the entire film using the program. I was putting individual clips into AE, applying effects, exporting the clips and putting them back on my PP project. Longfei saw that I was doing a lot of masking and told me that it’s way easier on AE… and it was! Masking on Premiere Pro was horribly laggy, but it was much faster on AE.
I abandoned my PP project and started from scratch on AE.
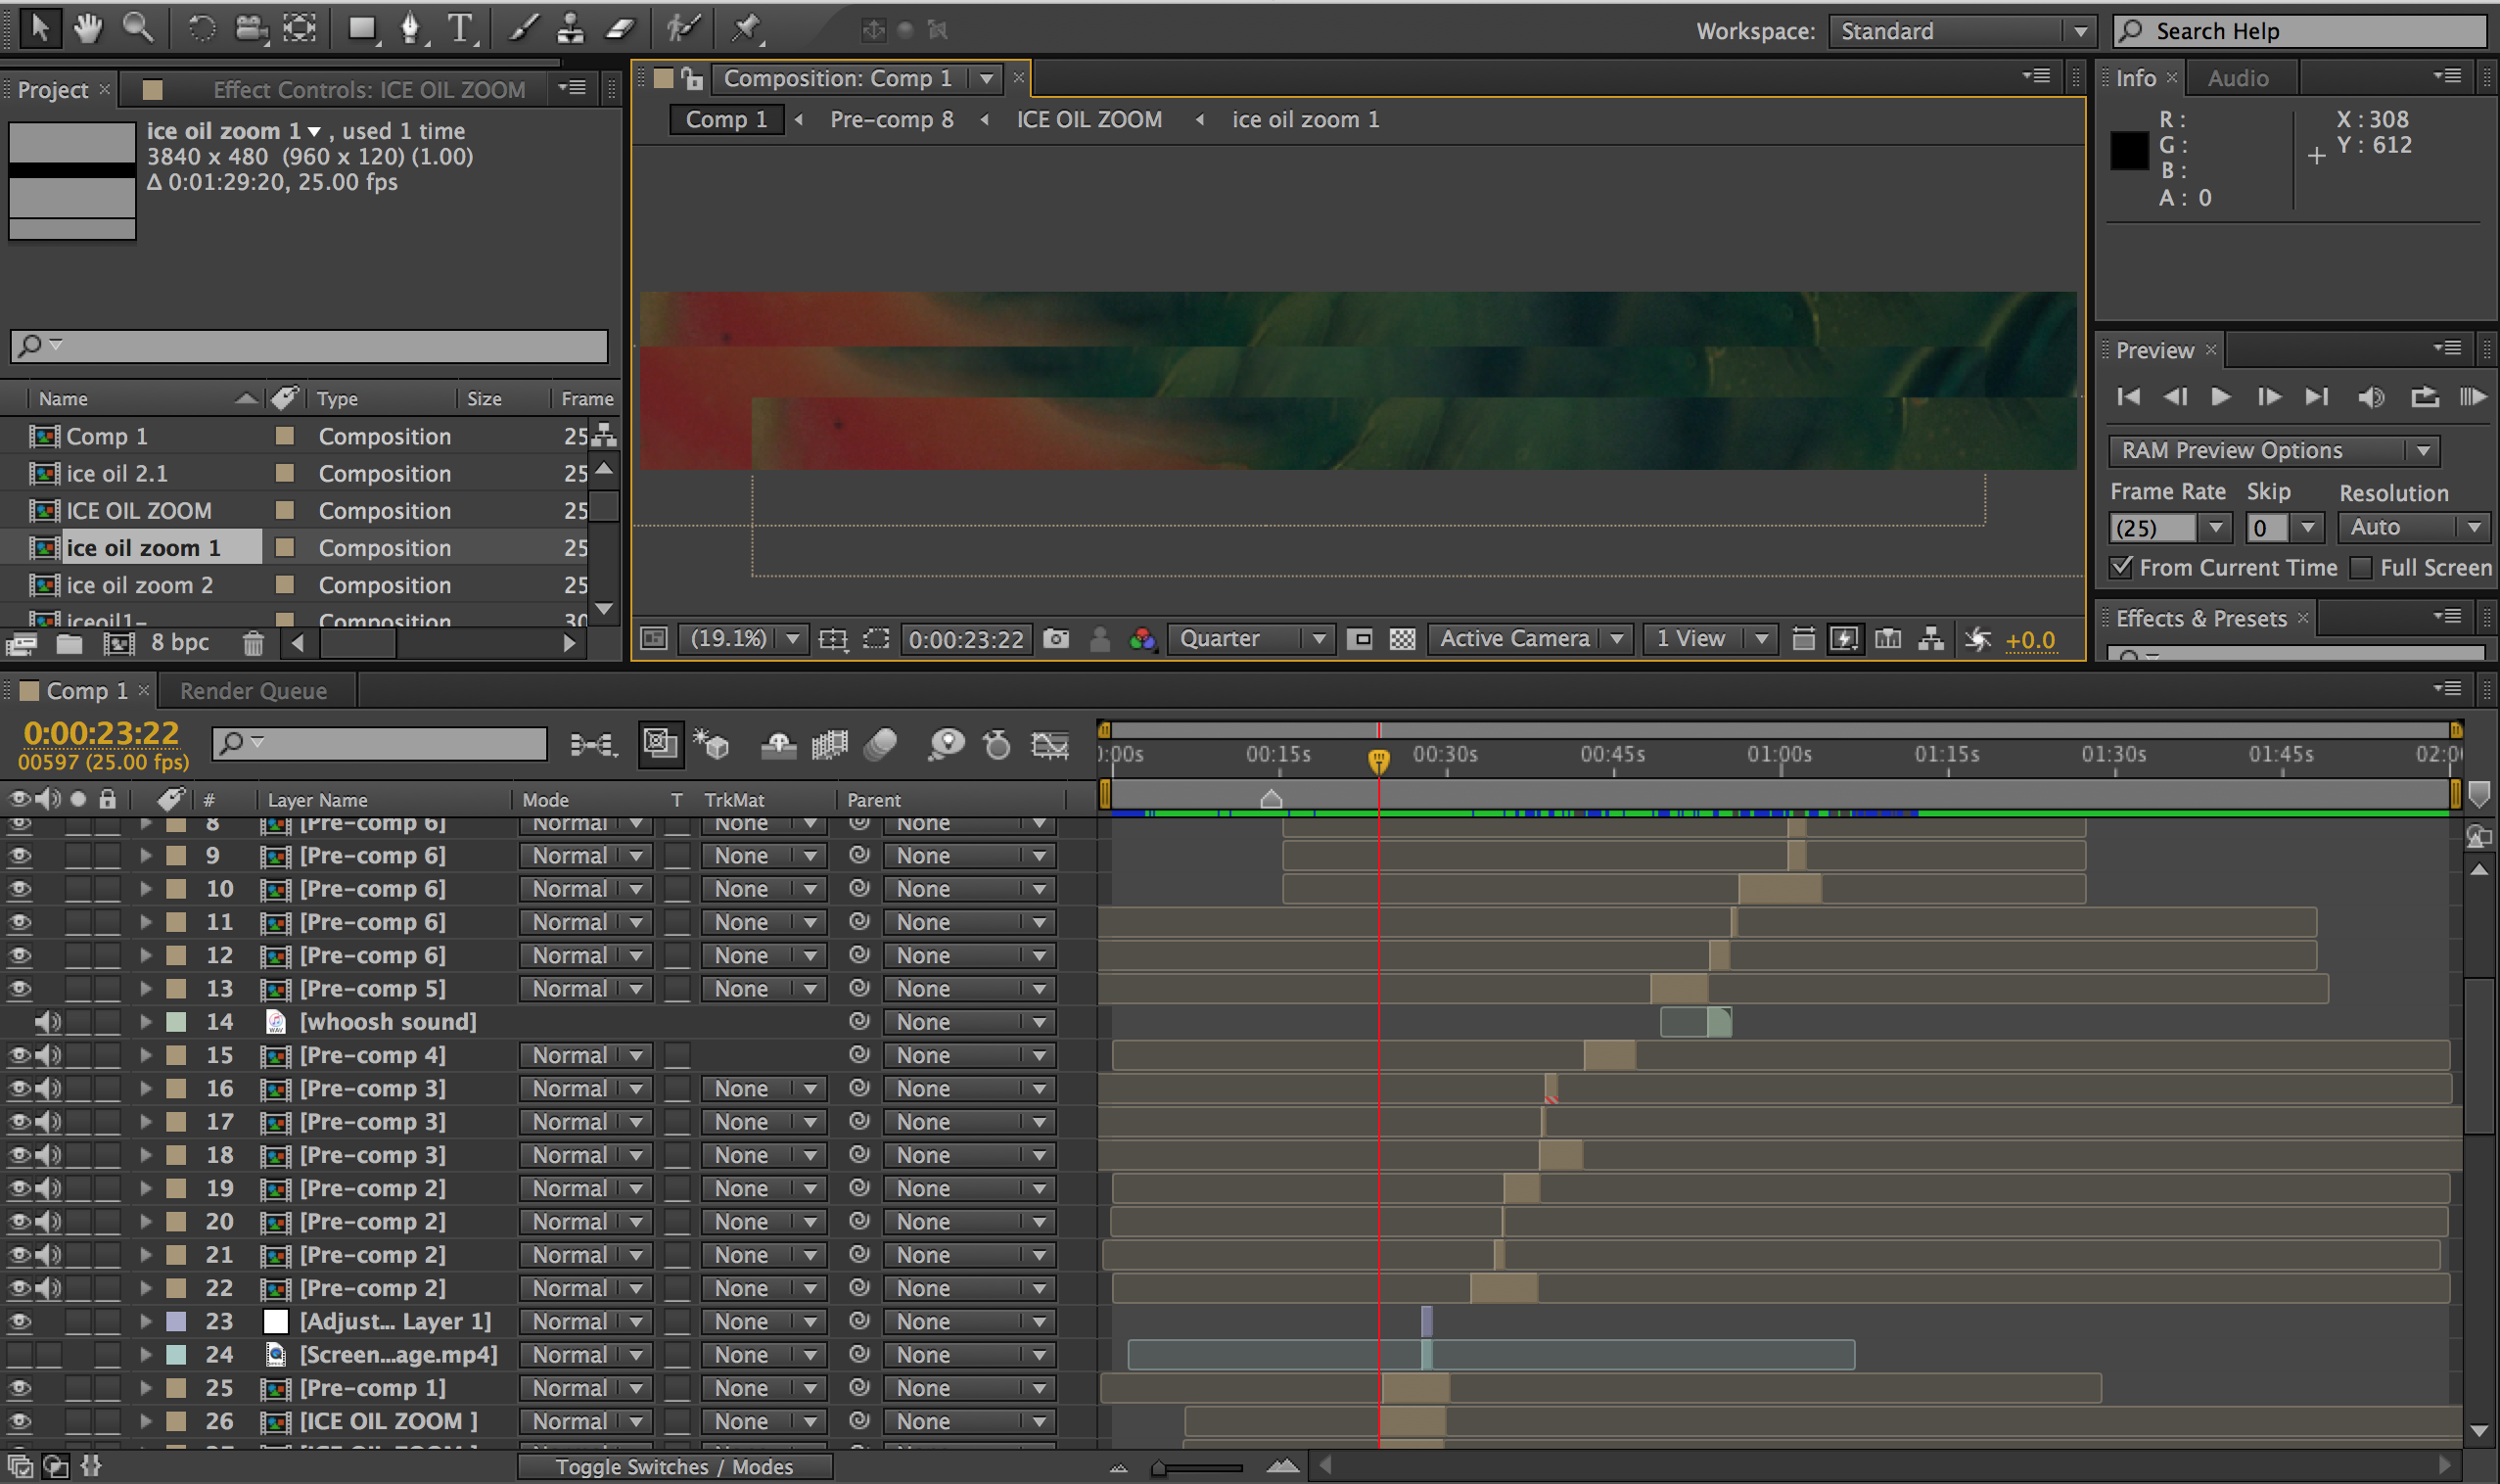
What my messy timeline looks like.


I found a plug-in for pixel sorting, which I wanted to incorporate into the film because the effect looks like a computerised, glitchy version of melting/flowing. I’ve also been experimenting with RGB split and other glitch effects. I want the glitches to come in intermittently, increasing in frequency in the middle and towards the end of the film.
The film, for now


Music: The Way She Moves by Tenru (used with permission)
Future plans
I’m aiming to finish compiling the clips by next week (week 12), and focusing on final details and minor sound effects in the lead up to presentation week.


