
Smocking Material List:
- Fabric
- Thread (elastic or not)
- Sewing Machine
Instruction for hand sewn smocking:
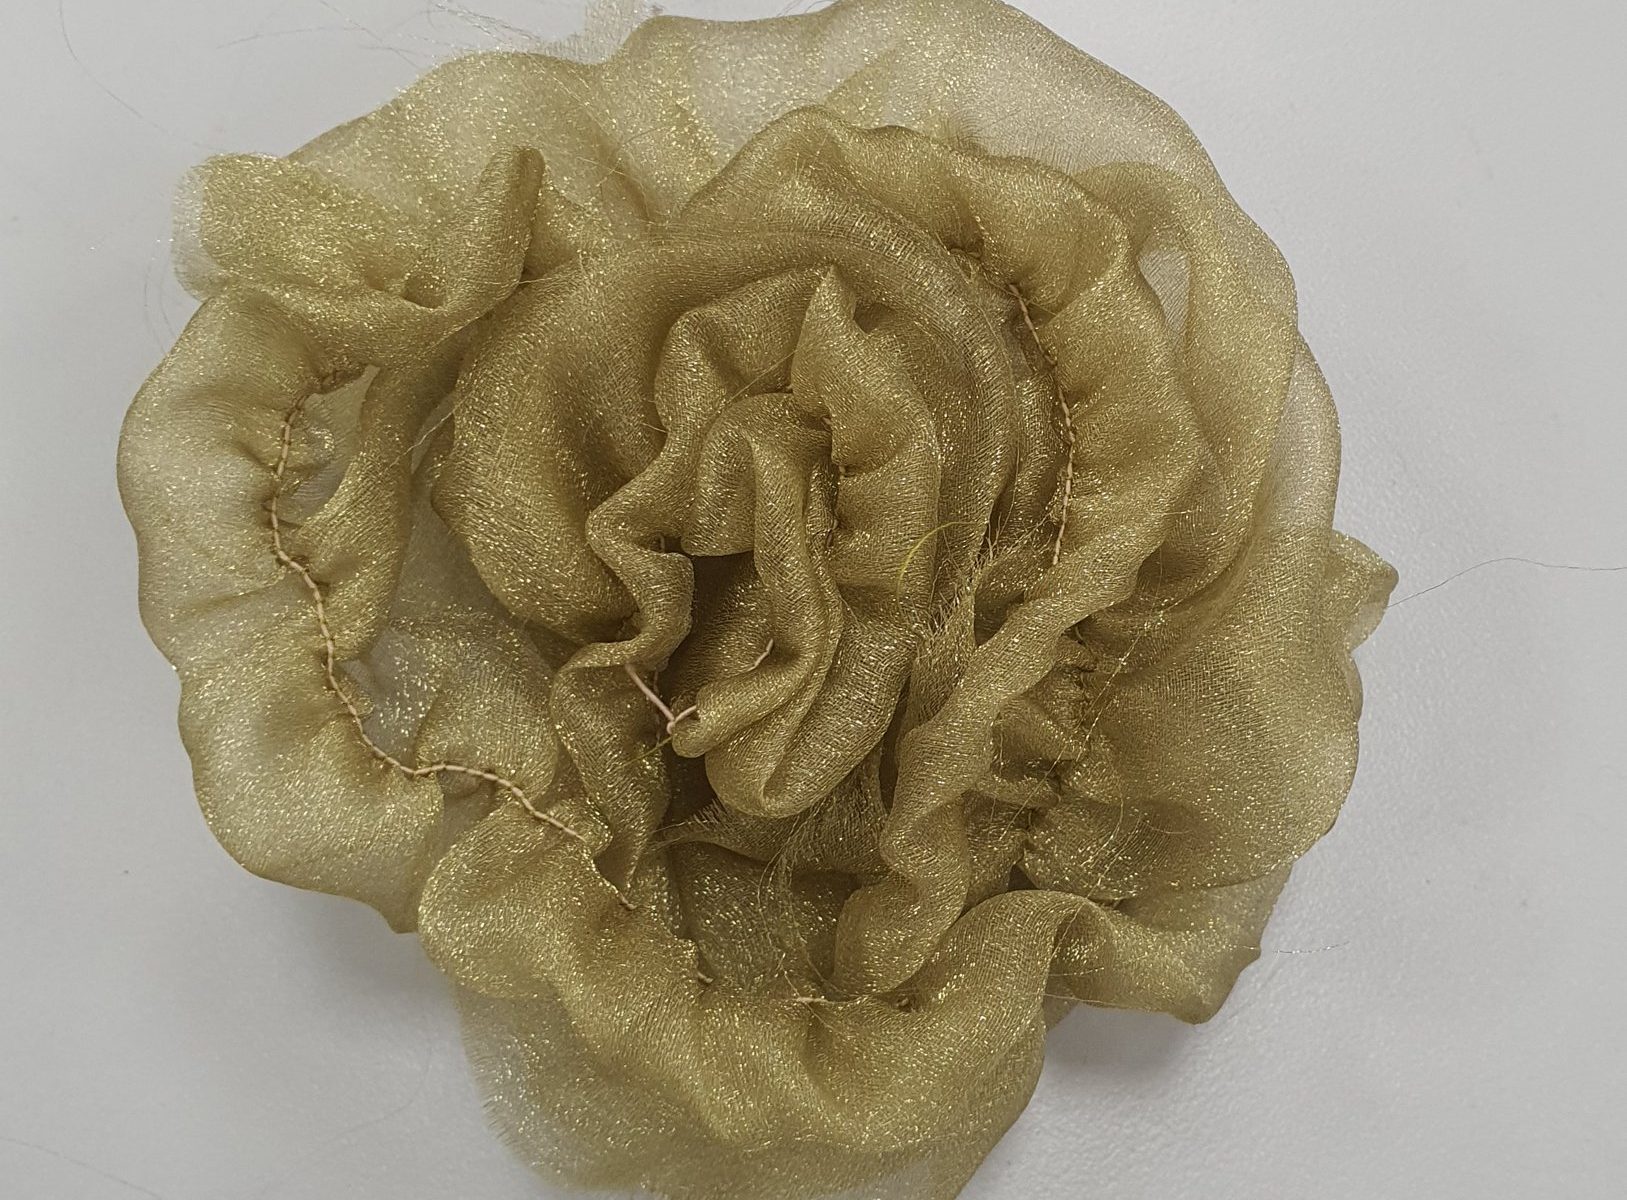
Flower Patterned Smocking:
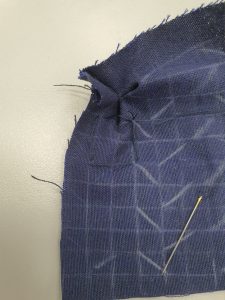
Step 1: Draw a grid on the cloth.
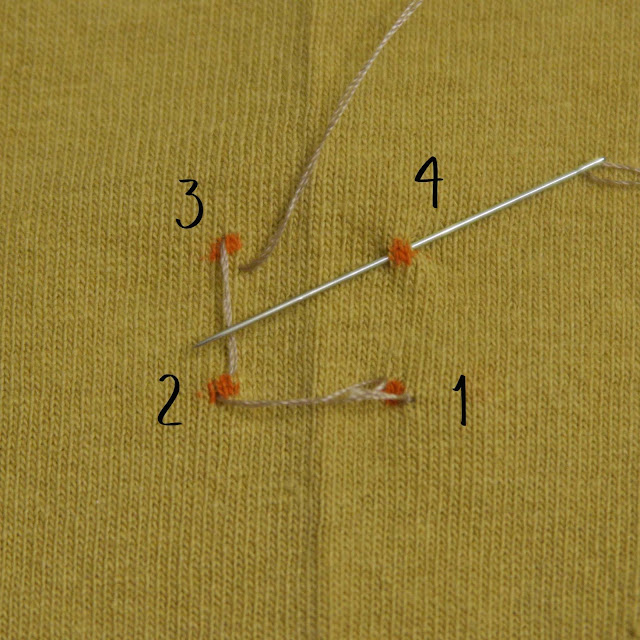
Step 2: Sew a small section of the points 1, 2, 3 and 4 to form the outline of a square

Step 3: Pull thread to gather the fabric in a cross pattern
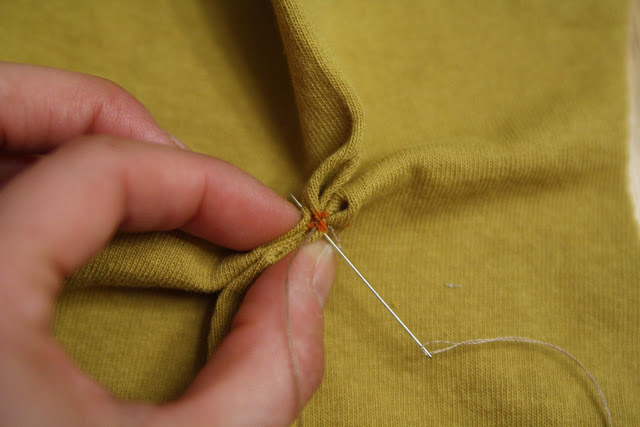
Step 4: Sew across the fabric to keep them taut

Step 5: String a bead (Optional)
Images for instructions are taken from: https://mellysews.com/smocking-tutorial/
Reflection:
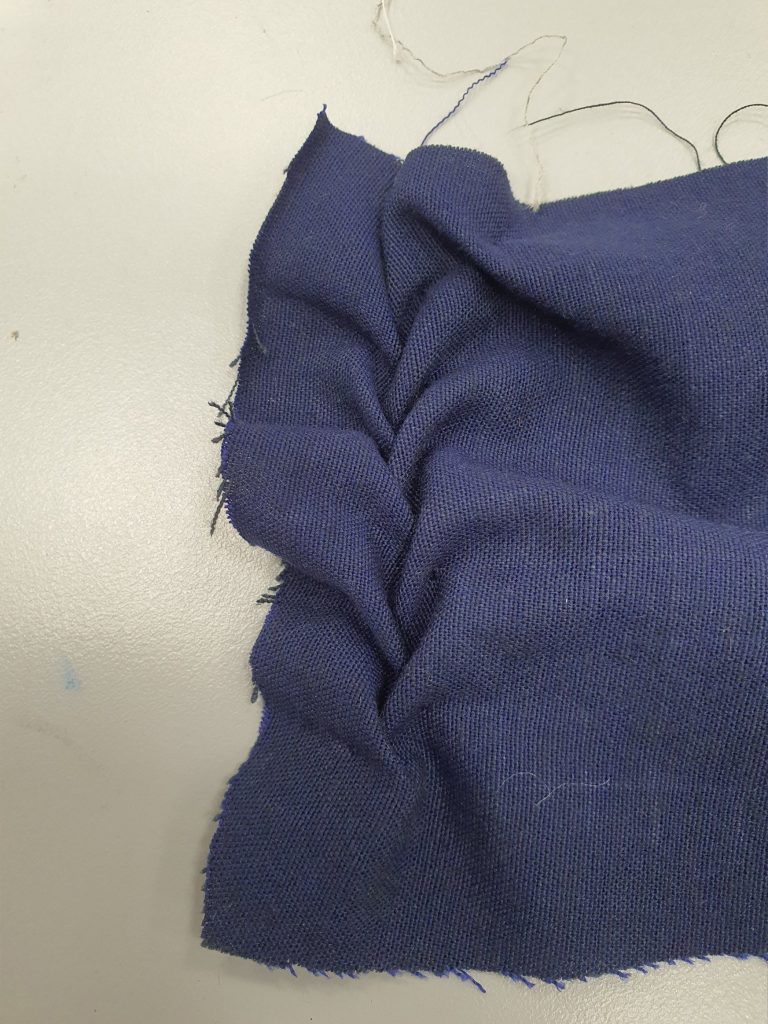
For this pattern, it is important to leave space along the border, if not the fabric will bunch and not form the petal for the flower.
We need to leave a space between the flowers, if not the petals will overlap and sink each other.
The opposite side works as a cute box pattern as well.
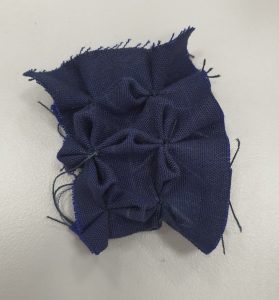
Leaf Patterned Smocking (Canadian Smocking):

Leaf Smocking pattern found online
Step 1: Draw a square grid on the cloth.
Step 2: Mark the cloth as such
Step 3: Sew the ends of every diagonal line together.
Reflection:
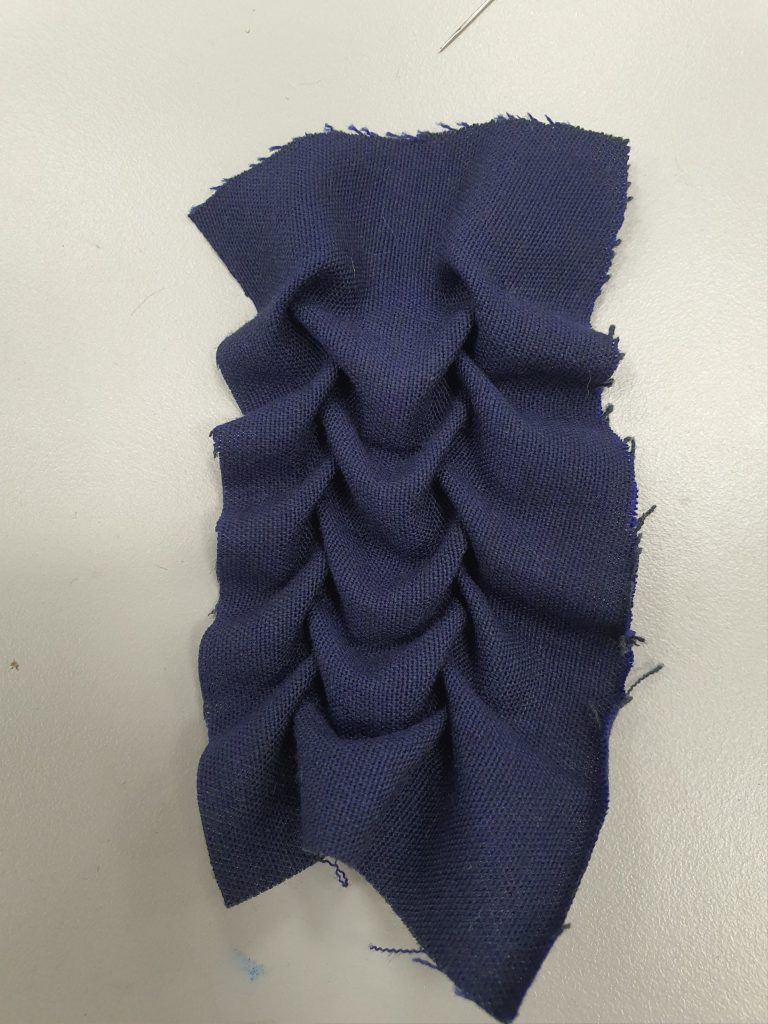
I like this pattern, it is simple.
Instructions for Sewing Machine Smocking:
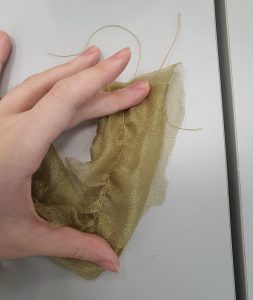
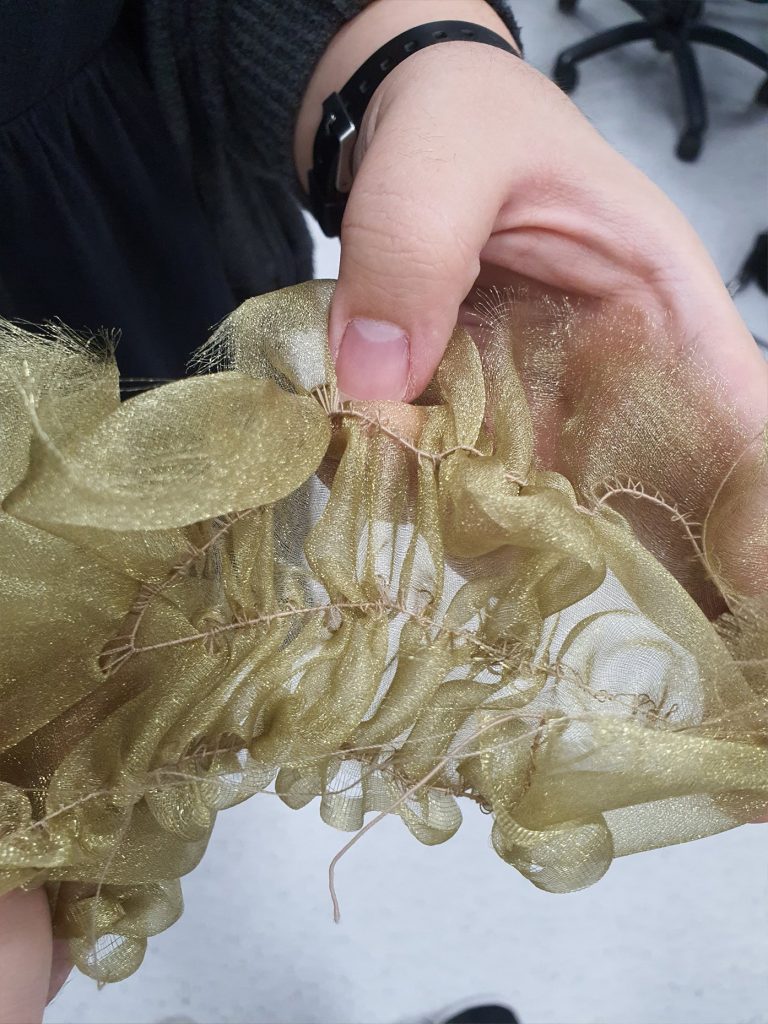
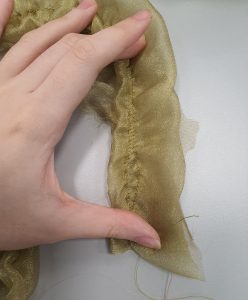
Step one: Sew your fabric, bottom thread is elastic, and the top is normal thread. Your stitch line should be straight with large intervals (setting three on the machine in school.)
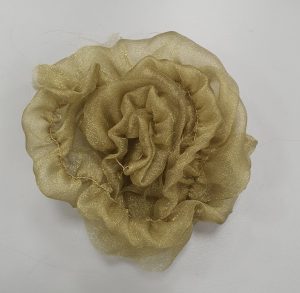
Step 2: Sew as many rows as you like, and have fun with it.
Reflection:
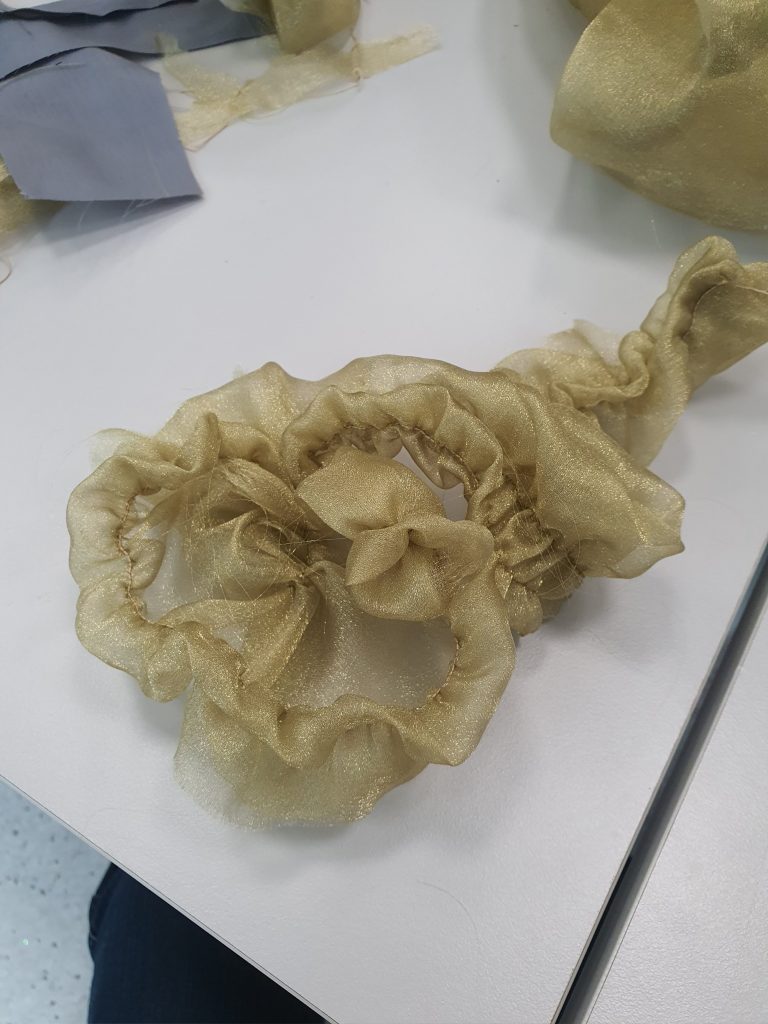
The tightness of the elastic wound in the bobbin with affect how tightly gathered the cloth is.
Remember to pull a bit more elastic to tie it off, so it would not fly into the fabric.
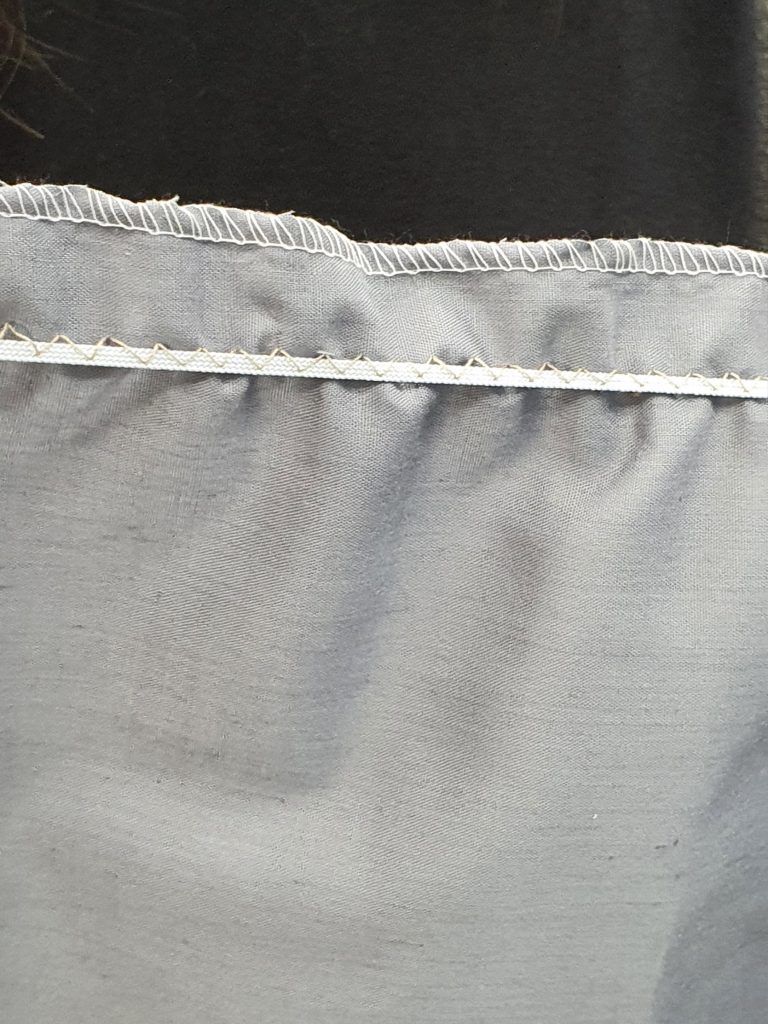
If the elastic used is thick (meaning if the fabric is thick and needs thicker elastic to hold) use the zig-zag pattern and stretch it while you sew it down. the thread should hold the elastic to the cloth like so.