Materials Needed:
- Transfer Ink for Fabric
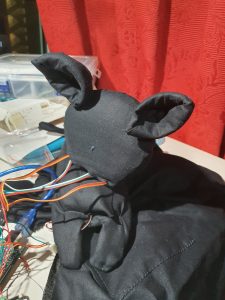
- polyester material, the silky kind
- Paper
- Fabric crayons
- wax paper
- Iron/Heat press
- Flat items (Feathers, string, lace, etc)
Instructions: Dry transfer – Direct
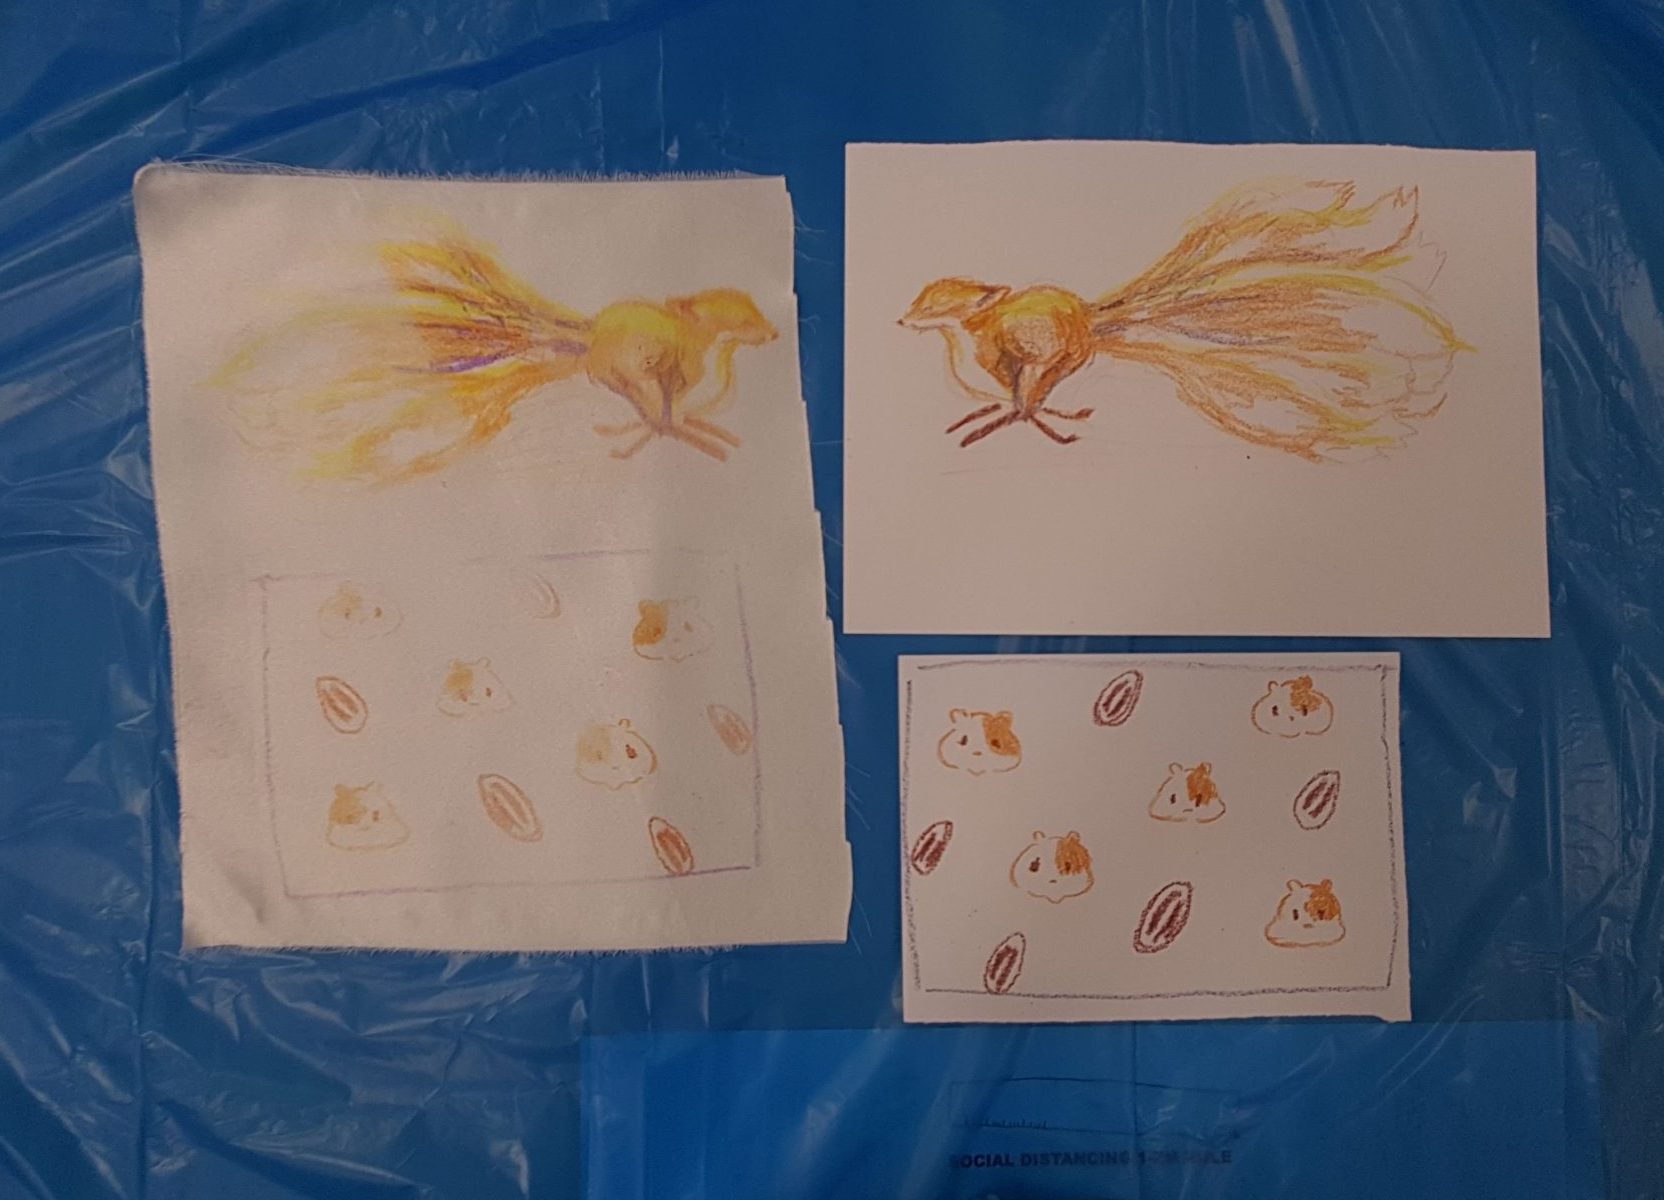
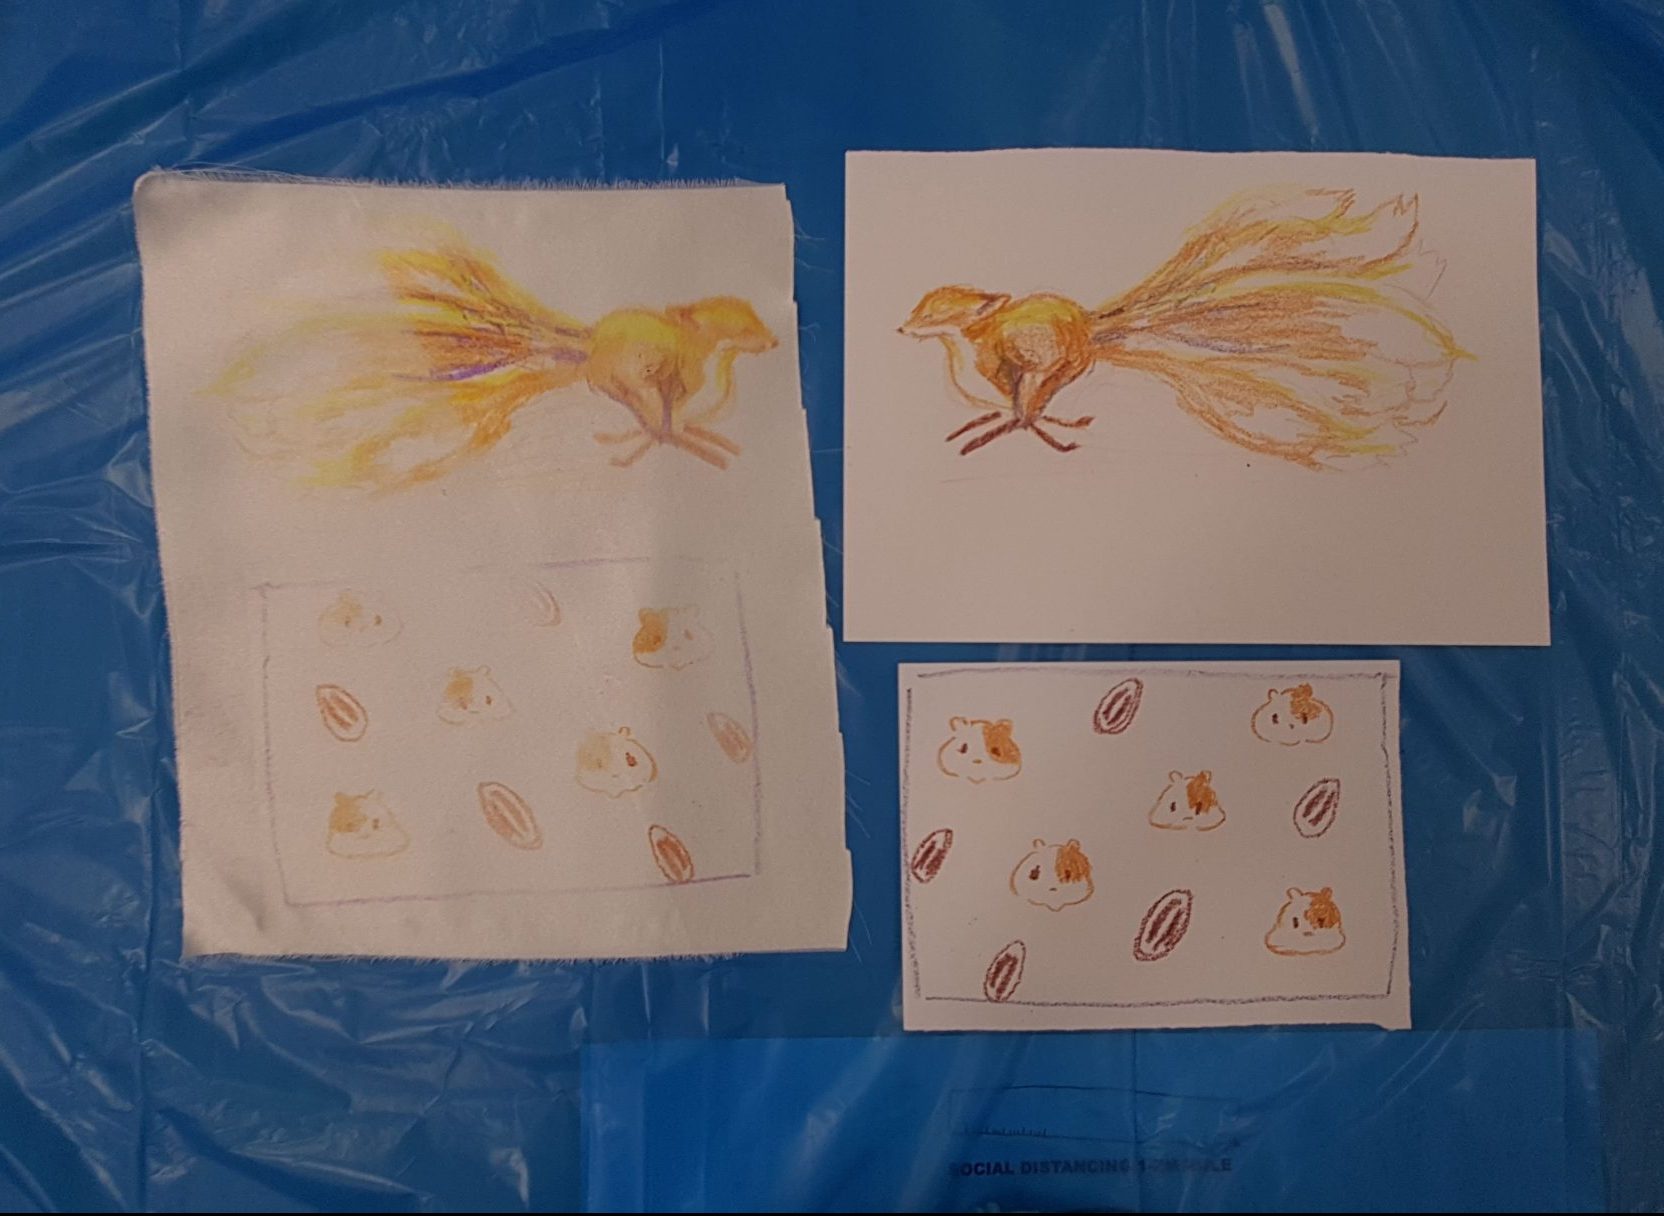
Step 1: Draw a pattern or image on paper using the fabric crayons.
Step 2: Line the paper on top of your chosen material, image side down.
Step 3: Place a sheet of wax paper to protect your cloth from direct heat from the iron. This will prevent the cloth from burning or warping.
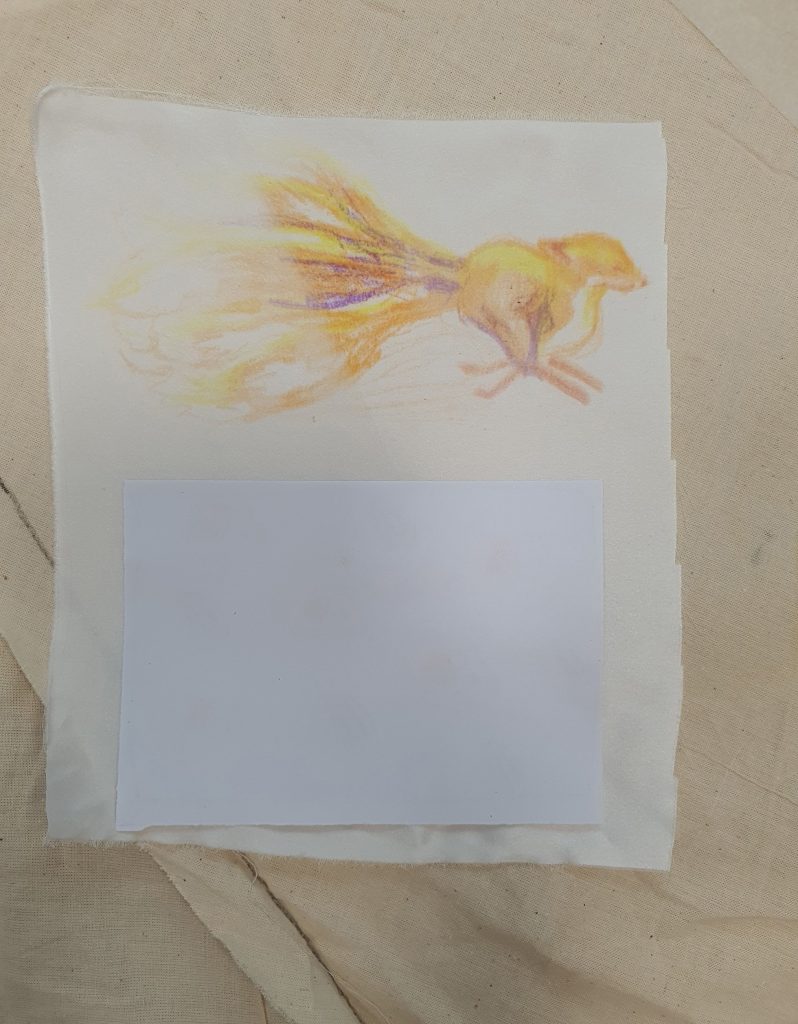
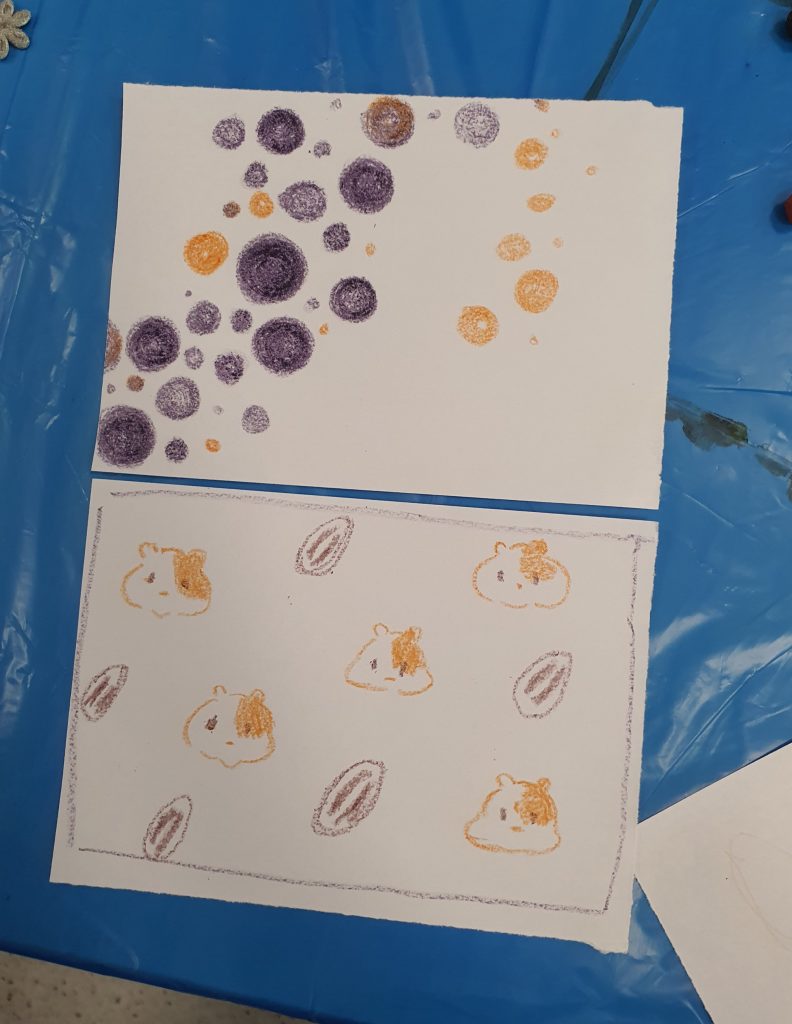
Step 4: Iron the stack. Note that the Colour will start to seep into the cloth when it is ironed properly. It also takes awhile for the image to transfer so be patient and check it constantly without moving your image.
Reflection:
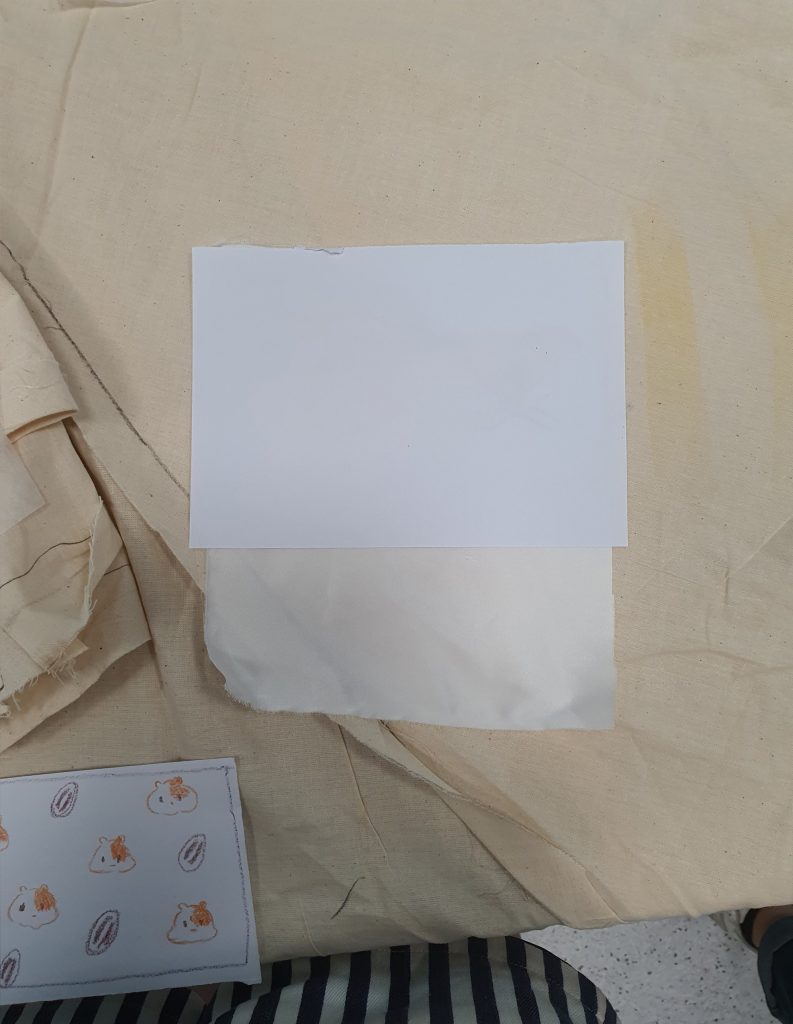
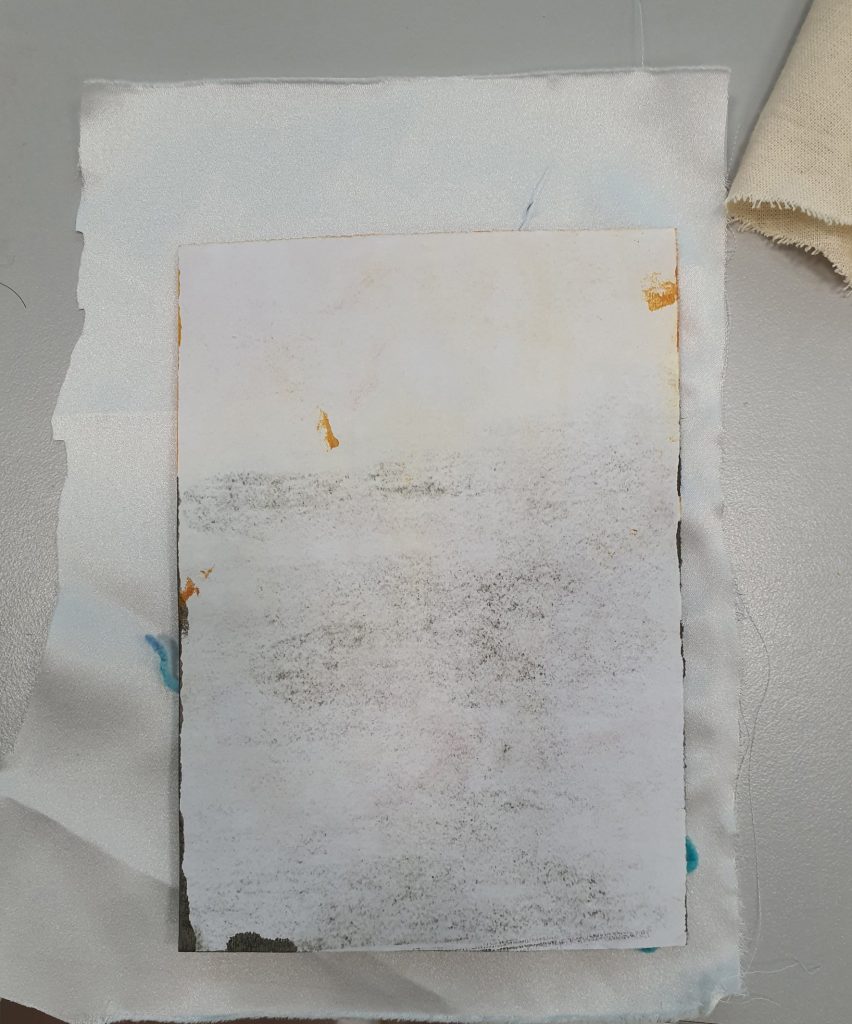
Heating with an iron is uneven and I removed the heat too early on from some parts of the fabric which results in fainter imprints.
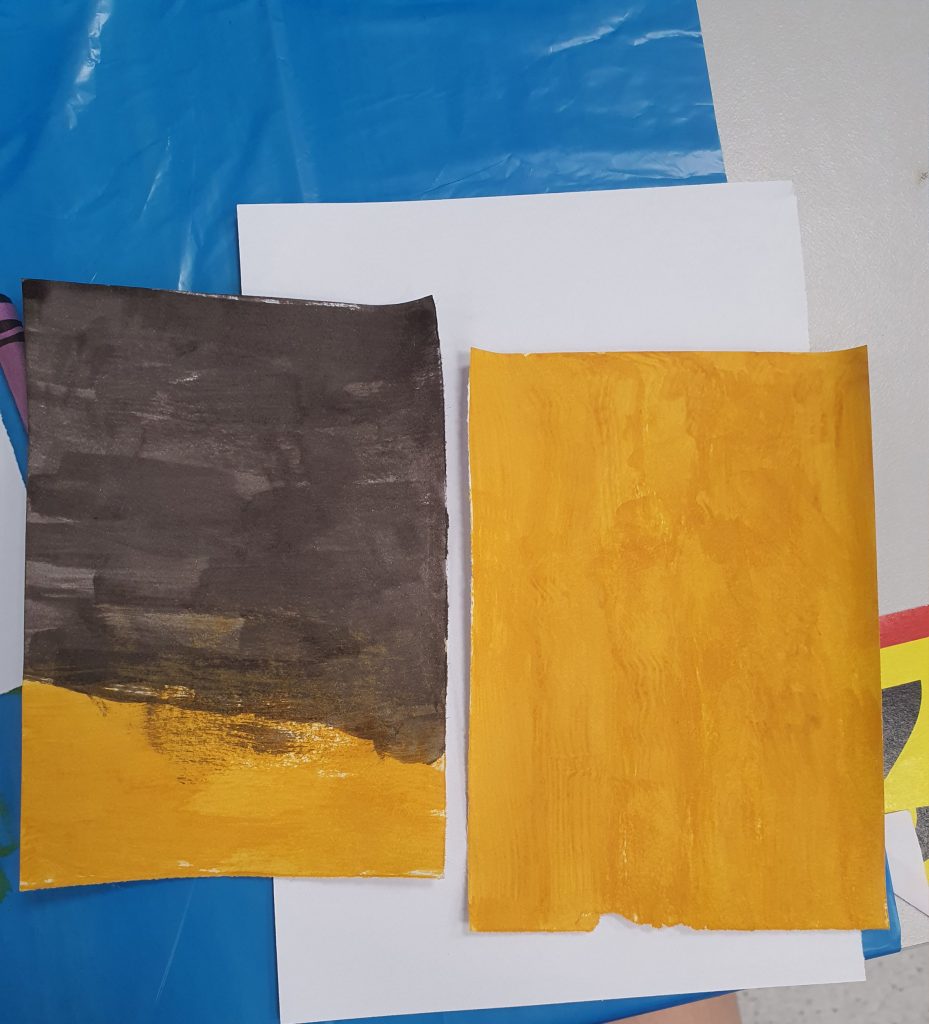
Polyester burns and shrinks under high heat. Also the silkier the fabric, the more vibrant the colours.
Yellow on paper is very bright whilst purple on paper is almost black, yet transferring over to the cloth lightens the colours.
Instructions: Wet transfer – Indirect
Step 1: Paint your paper with Transfer Ink and leave it to dry

Step 2: Arrange your flat objects on top of your chosen cloth.
Step 3: Line the dried paper with transfer ink on top of your chosen material, coloured side down.
Step 4: Place a sheet of wax paper to protect your cloth from direct heat from the iron. This will prevent the cloth from burning or warping.
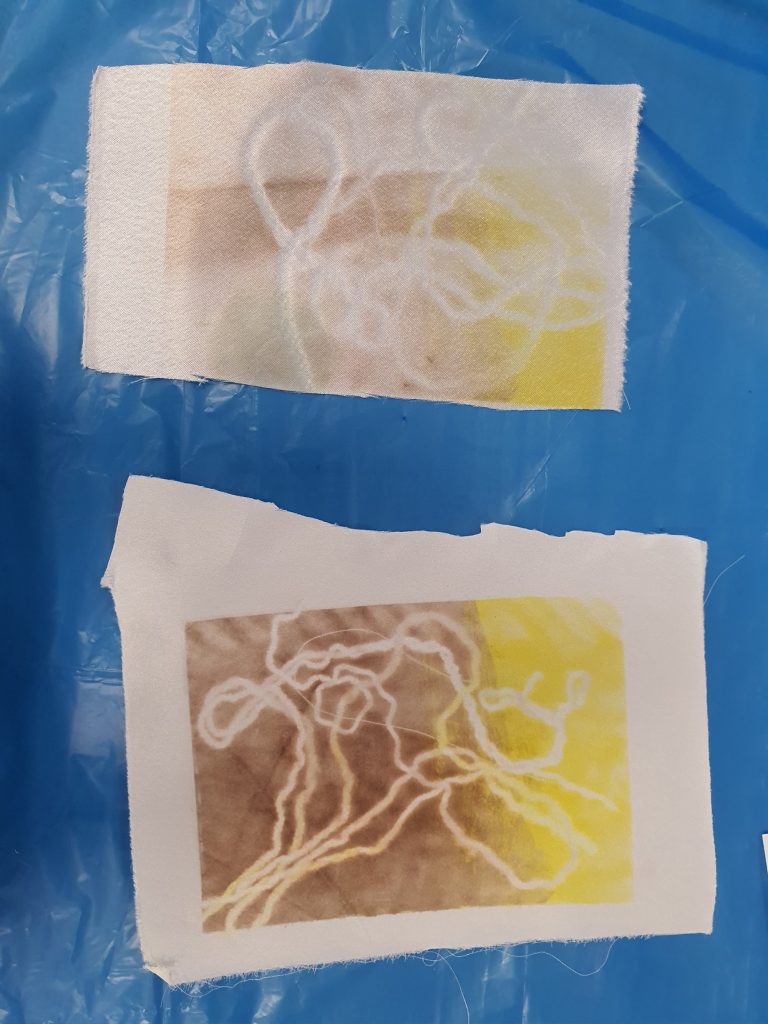
Step 5: Iron the stack. Note that the Colour will start to seep into the cloth when it is ironed properly. It also takes awhile for the image to transfer so be patient and check it constantly without moving your image.
Reflection:
The flat objects like string move around a lot when checking, be careful when lifting the sheets.
the transfer ink also takes longer then the crayons for heat transfer, be patient.
Instructions: Wet transfer – Direct
Step 1: Paint your flat objects with transfer ink.
Step 2: Arrange your flat objects on top of your chosen cloth, painted side down.
Step 3: Place a sheet of wax paper to protect your cloth from direct heat from the iron. This will prevent the cloth from burning or warping.
Step 4: Iron the stack. Note that the Colour will start to seep into the cloth when it is ironed properly. It also takes awhile for the image to transfer so be patient and check it constantly without moving your image.
Reflection:
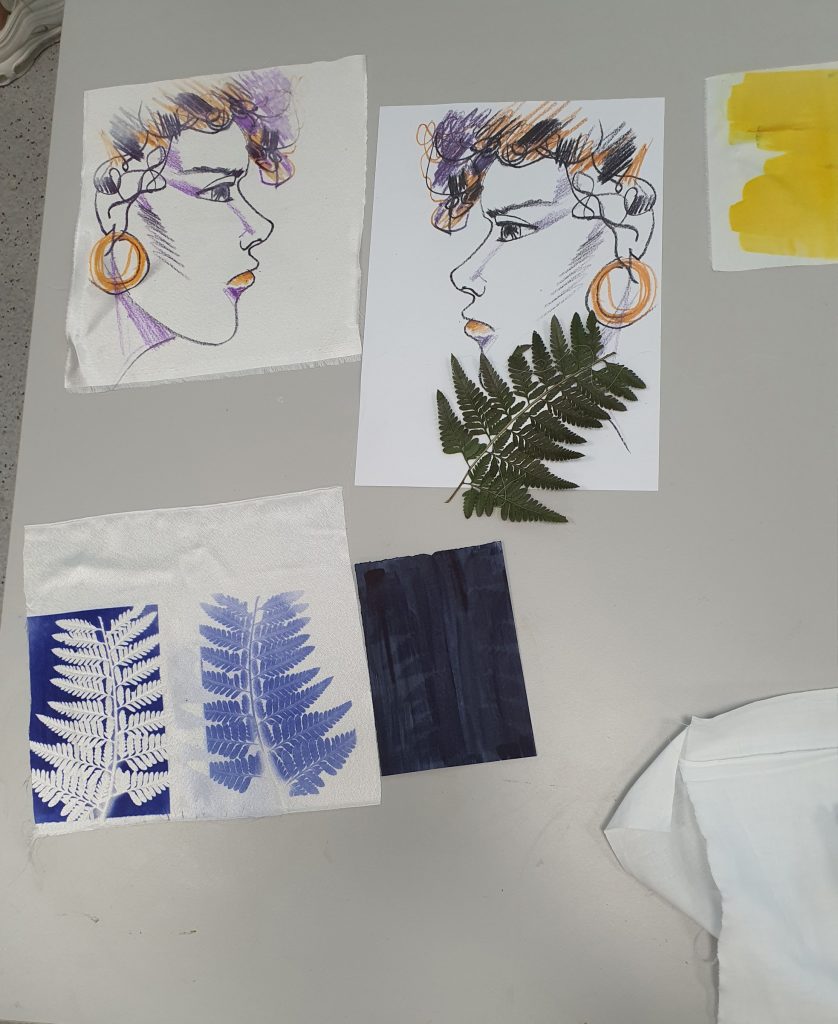
In class example done by Galina.
The positive imprint is an example of direct wet printing.
I did not have the opportunity to play with this as my string was too flimsy to make a second imprint. The ink picked up from the first wet transfer print is enough to transfer a detailed enough pattern to the cloth as witnessed in the class example.