For this project i chose the following quotes:
- “Dishonour on you! Dishonour on your cow!” — Mulan (1998)
- “He touched the butt” — Finding Nemo (2003)
- “Oh Good my dog found the chainsaw” — Lilo and Stitch (2002)
- “This is my family. I found it all on my own. Its little and broken, but still good. Yeah, still good.” — Lilo and Stitch (2002)
“Dishonour on you! Dishonour on your cow!” — Mulan (1998)
For this quote, I illustrated the picture based on the key words “Dishonour”, “You” and “Cow”
“Dishonour”, I relate to death, bad omens and things related to fortune, hence I hose black cats and skulls, and grim reapers.
“You” I relate to humans, human skulls, fingers anything somewhat accusatory.
“Cow” is literally represented with images of cows or horse or animal skulls.


I liked the design and decided to play around with the scale, half tone, threshold and came up with variations of the one composition. Though I still like the design without the colour halftone.
“He touched the butt” — Finding Nemo (2003)
For this quote I split the Illustration the into the key words “He”, “Touched” and “Butt”.
“He” refers to a male, or humans in general. Hence for “He” i thought of icons that are often associated to man like a mustache or literally the male gender symbol.
“Touched” I had wanted to use the mouse arrow symbol, the clicking symbol or the more literal sense of touch as in hands.
“Butt” there are two meanings to this word, so at first I found peaches to visually show a butt, or animal butts like cats and dogs. However the more i searched, I realised that it is easier to illustrate with images of “jerks” instead. Hence I have a chose images of Cats and Donkeys ( also known as a Jackass).

The idea was rather literal I find, and a bit to simple and symmetrical. The comments I got was it was too ‘quiet’ so it was eventually rejected.
“Oh Good my dog found the chainsaw” — Lilo and Stitch (2002)
The keywords for this illustration is “Good”, “Dog”, “Found” and “Chainsaw”.
“Good” was hard to illustrate, but i eventually decided on using elements of good luck. Examples of which are clovers, horseshoes, rabbit feet and dream catchers.
“Dogs” are literally represented as dogs for me.
“Found” I wanted to represent as sight, or magnifying glass. There was also a thought of creating a trail, to show the process of being found instead of actually being found.
“Chainsaw” was initially just a chainsaw, but then I felt that it was too literal, hence i broke the word into two, “Chain” and “saw” so images of chains and eyes.


The although I liked the idea of the first two, the comments got for them both were that they were very symmetrical and ‘quiet’. Hence I decided to expand on the piece on the left to create the one on the bottom. This one was considerably better, as it was ‘noisier’ and more chaotic.
“This is my family. I found it all on my own. Its little and broken, but still good. Yeah, still good.” — Lilo and Stitch (2002)
The key words for this quote is “My family”, “found”, “little”, “broken” and “Good”.
This was tricky as there was a lot more elements to works with and the words had held so much possibilities it was difficult to choose.
For “My Family” I wanted to branch away from the typical family of humans, and wanted to search for other symbolism, like a “family” of animals, or a “family” tree.
“Found” is similar to the above, where i wanted magnifying glasses, or a trail to show the process of finding.
“Little” I did not want to find and image, rather I wanted to play with the scale of the main ‘characters of the illustration.
“Broken” I referred to broken limbs or injuries at first. However, after, I started researching more, I had broken objects like windows an glass in mind.
“Good” once again refers to the above, idea of good omens, hence lucky items like rabbits feet, clovers, magnets, etc.
In the end, I felt this quote had abit too many elements to piece into a single coposition and chose to focus on the others
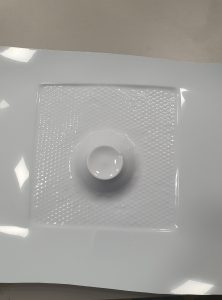
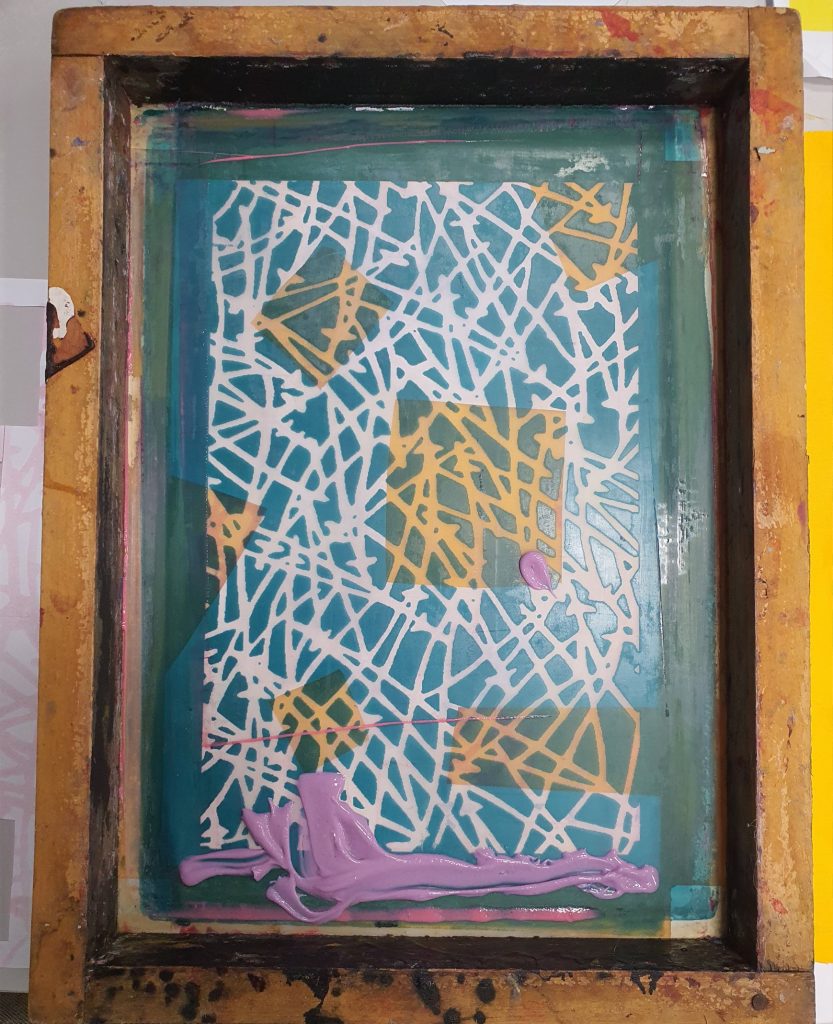
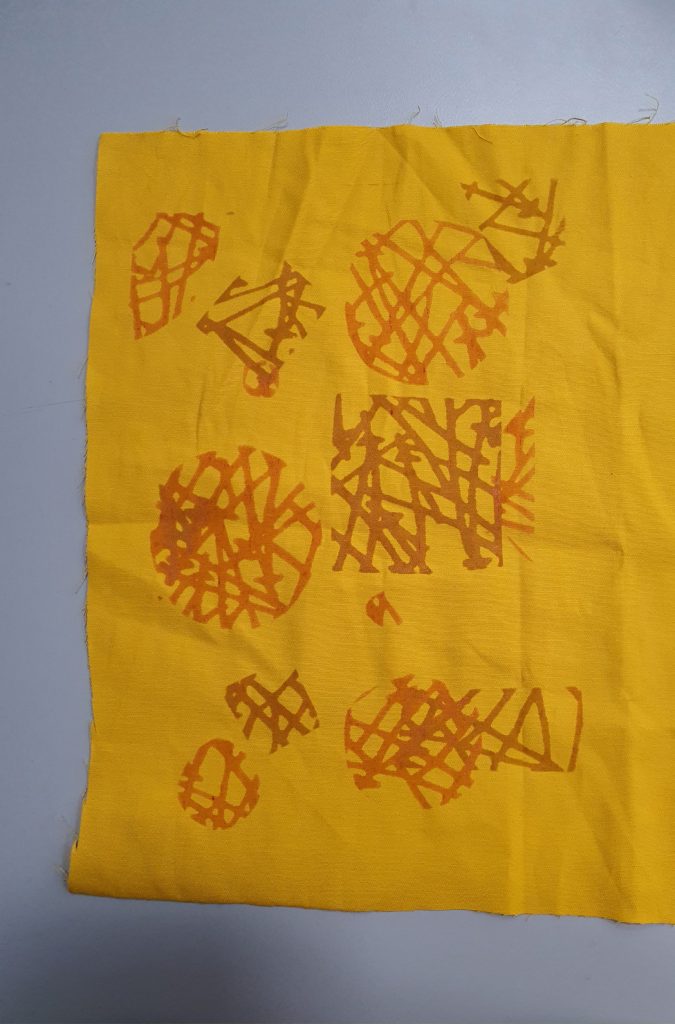
Final design:
So in the end, I chose this design to print:
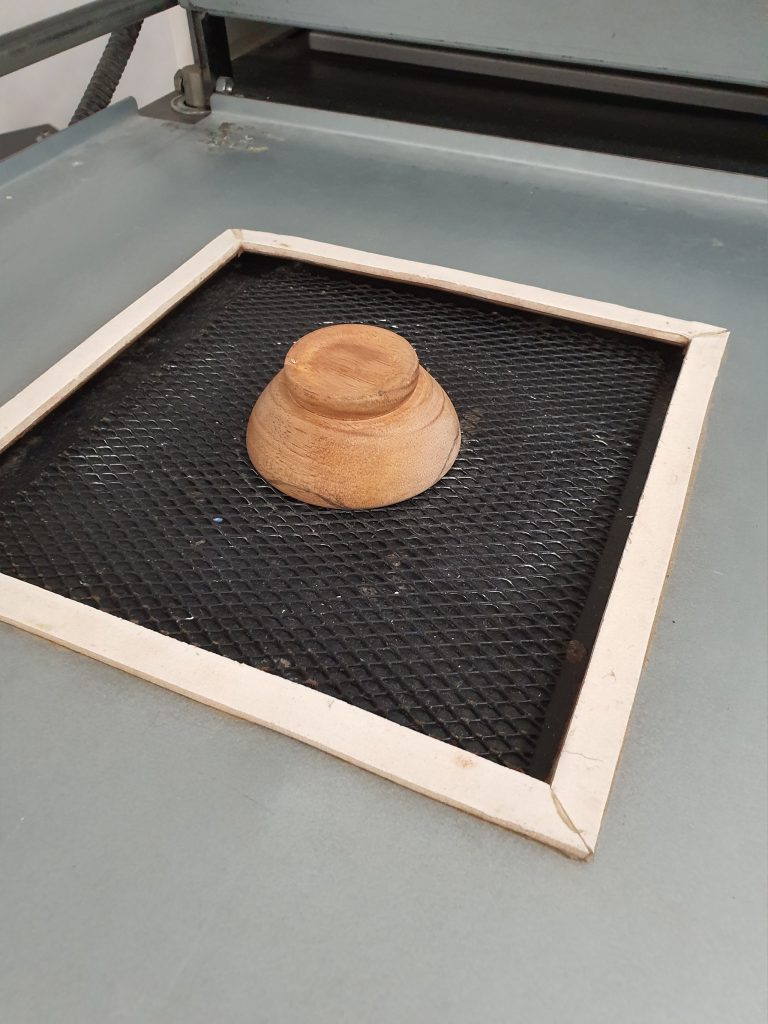
Printing the process:
Before we start the printing process, we first have to print the design on to transparent sheets
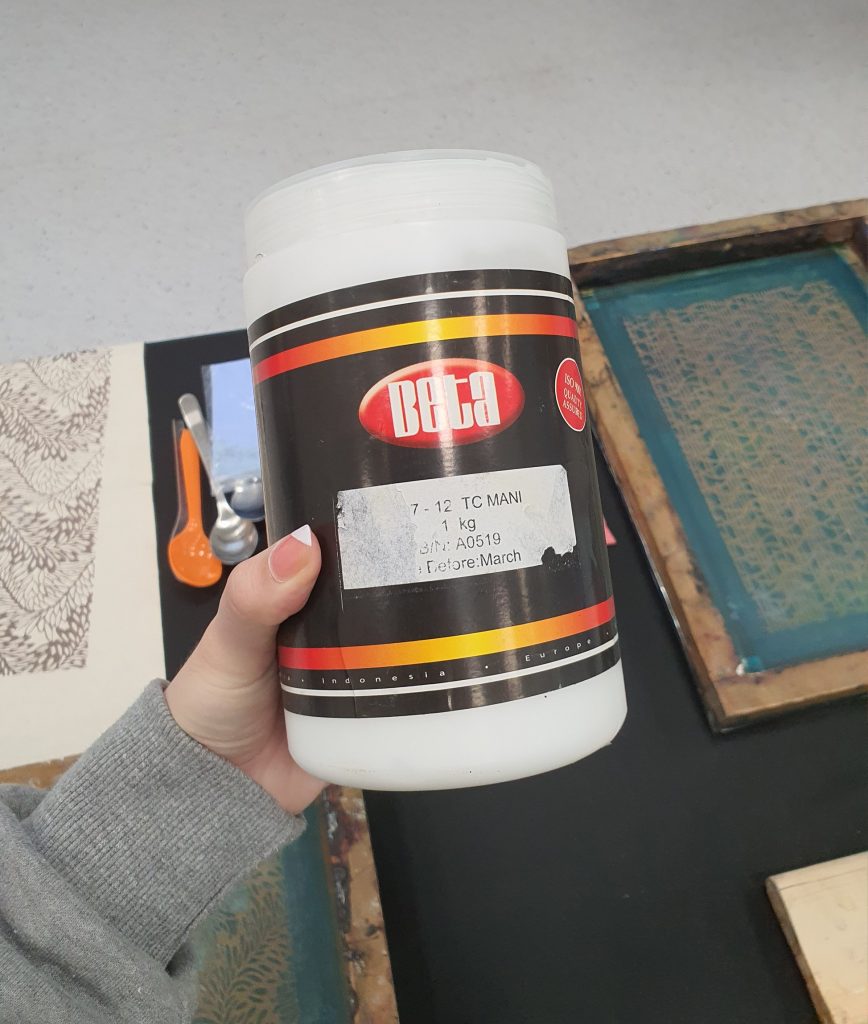
Next we need to prepare the silk screen. Spread a thin equal layer of emulsion on both sides of the screen and put it in the dryer/leave it to dry.
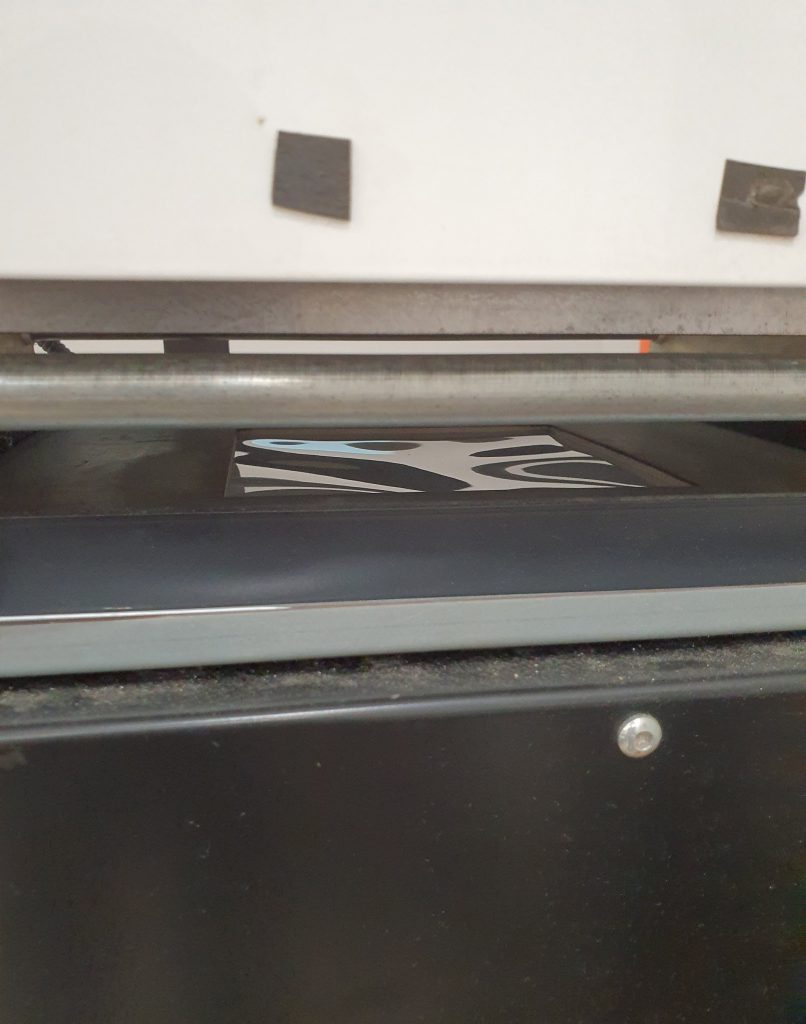
When it is dry, inverted the transparency and paste it onto surface of the frame.

This was the picture would be the mirrored image when it is printed.
When the image is secured, we put it in this machine where it is exposed to light. The machine sucks out the air from the silk screen frame, and the light sensitive emulsion would imprint the image on the transparency on it.

After it comes out of the machine, we can wash the screen with water and a sponge. The emulsion would be scrubbed away from the frame, and the parts that are left behind would be the negative space reflected in the transparency.


After the image is out, pat dry the silk screen and leave it to dry.
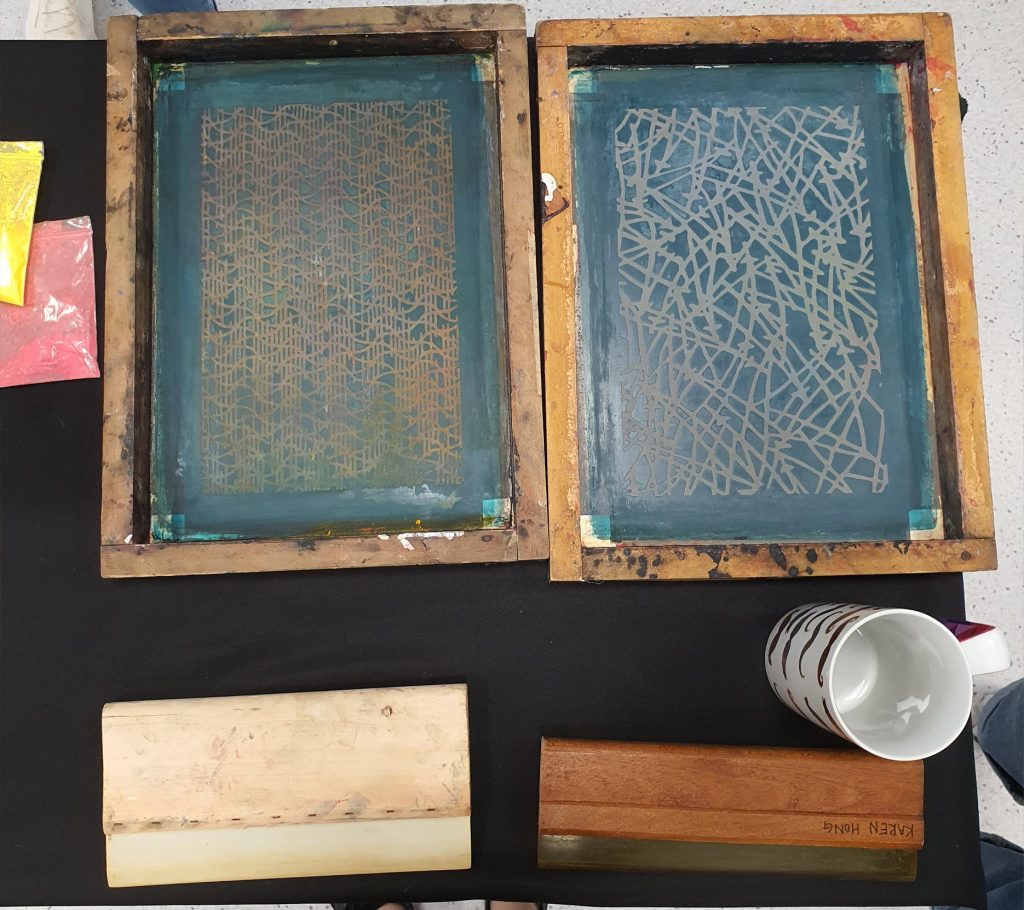
When that is done, tape the four sides of the silkscreen such that it crops the image exactly. Do so on the front and the back side of the silkscreen. By doing so we are preventing leakage of the ink.
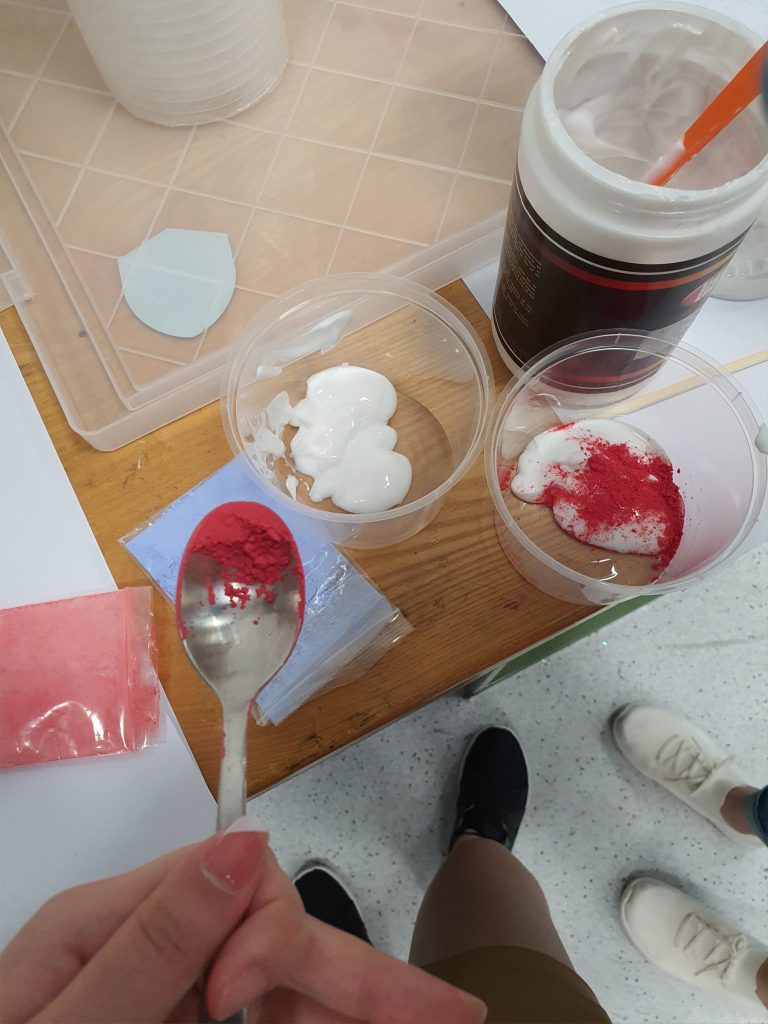
After that we lay the silkscreen onto the surface that we want to print on, with the frame side up. Since this a test run, we are using newsprint. Dab some ink horizontally on the top of the area covered in emulsion/tape and make sure it is spread equally. Get someone to help you hold down the frame, putting equal pressure on every side. Making sure you have the correct sized squeegee, pull the ink down in one stroke.


If done correctly, it would look like the picture in the above left. if there is unequal pressure or too little ink, it would turn out like the picture in the right hand side.
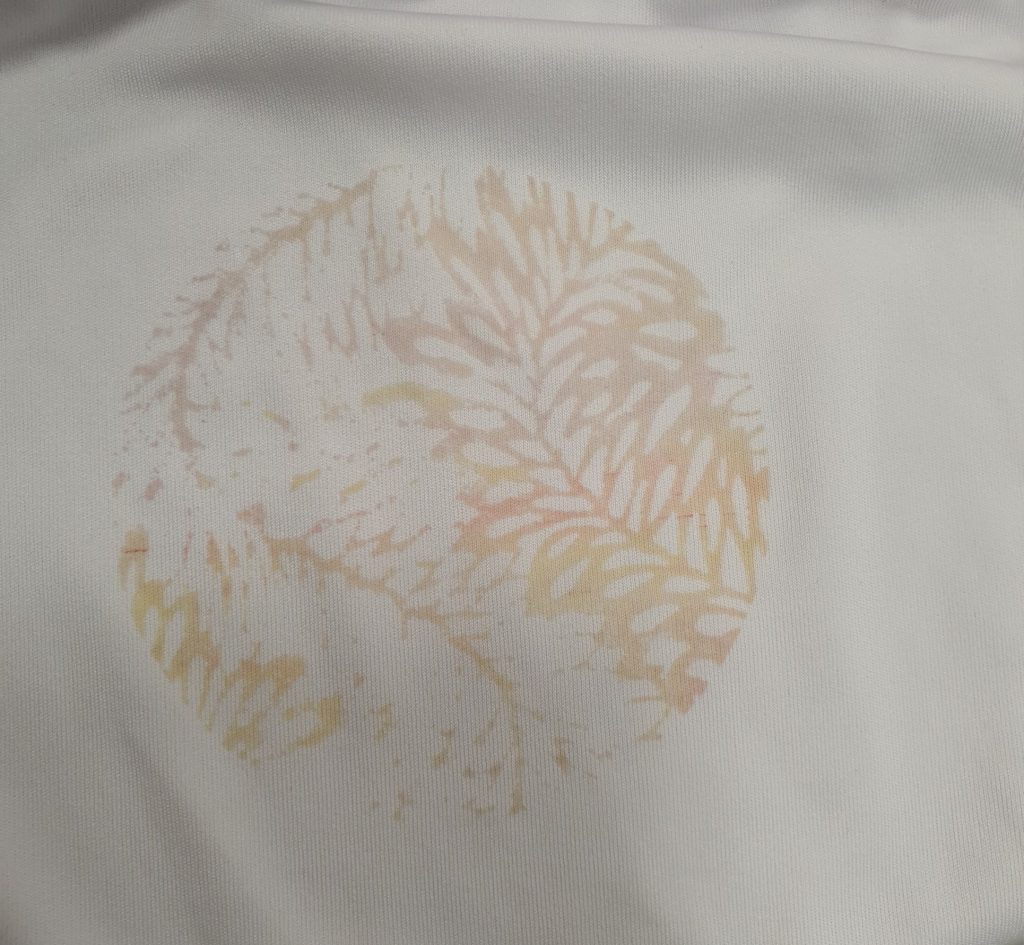
Finally, iron the tote bag flat, and stuff it with card board. This will make your printing much easier, as the surface is flat. Align your image to the bag, and print.

Viola~