Hello World,
I have returned.

I make art, and then I put it here
Hello World,
I have returned.
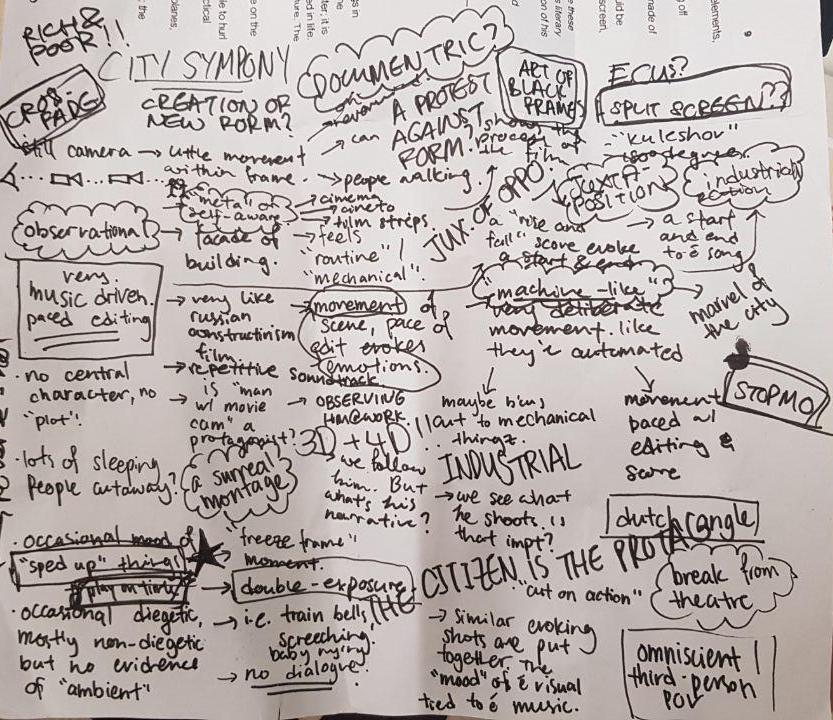
My scribbled notes on the film Man with the Movie Camera.
I noted down new techniques, conventions of films they break and thematics of the film. Interesting!
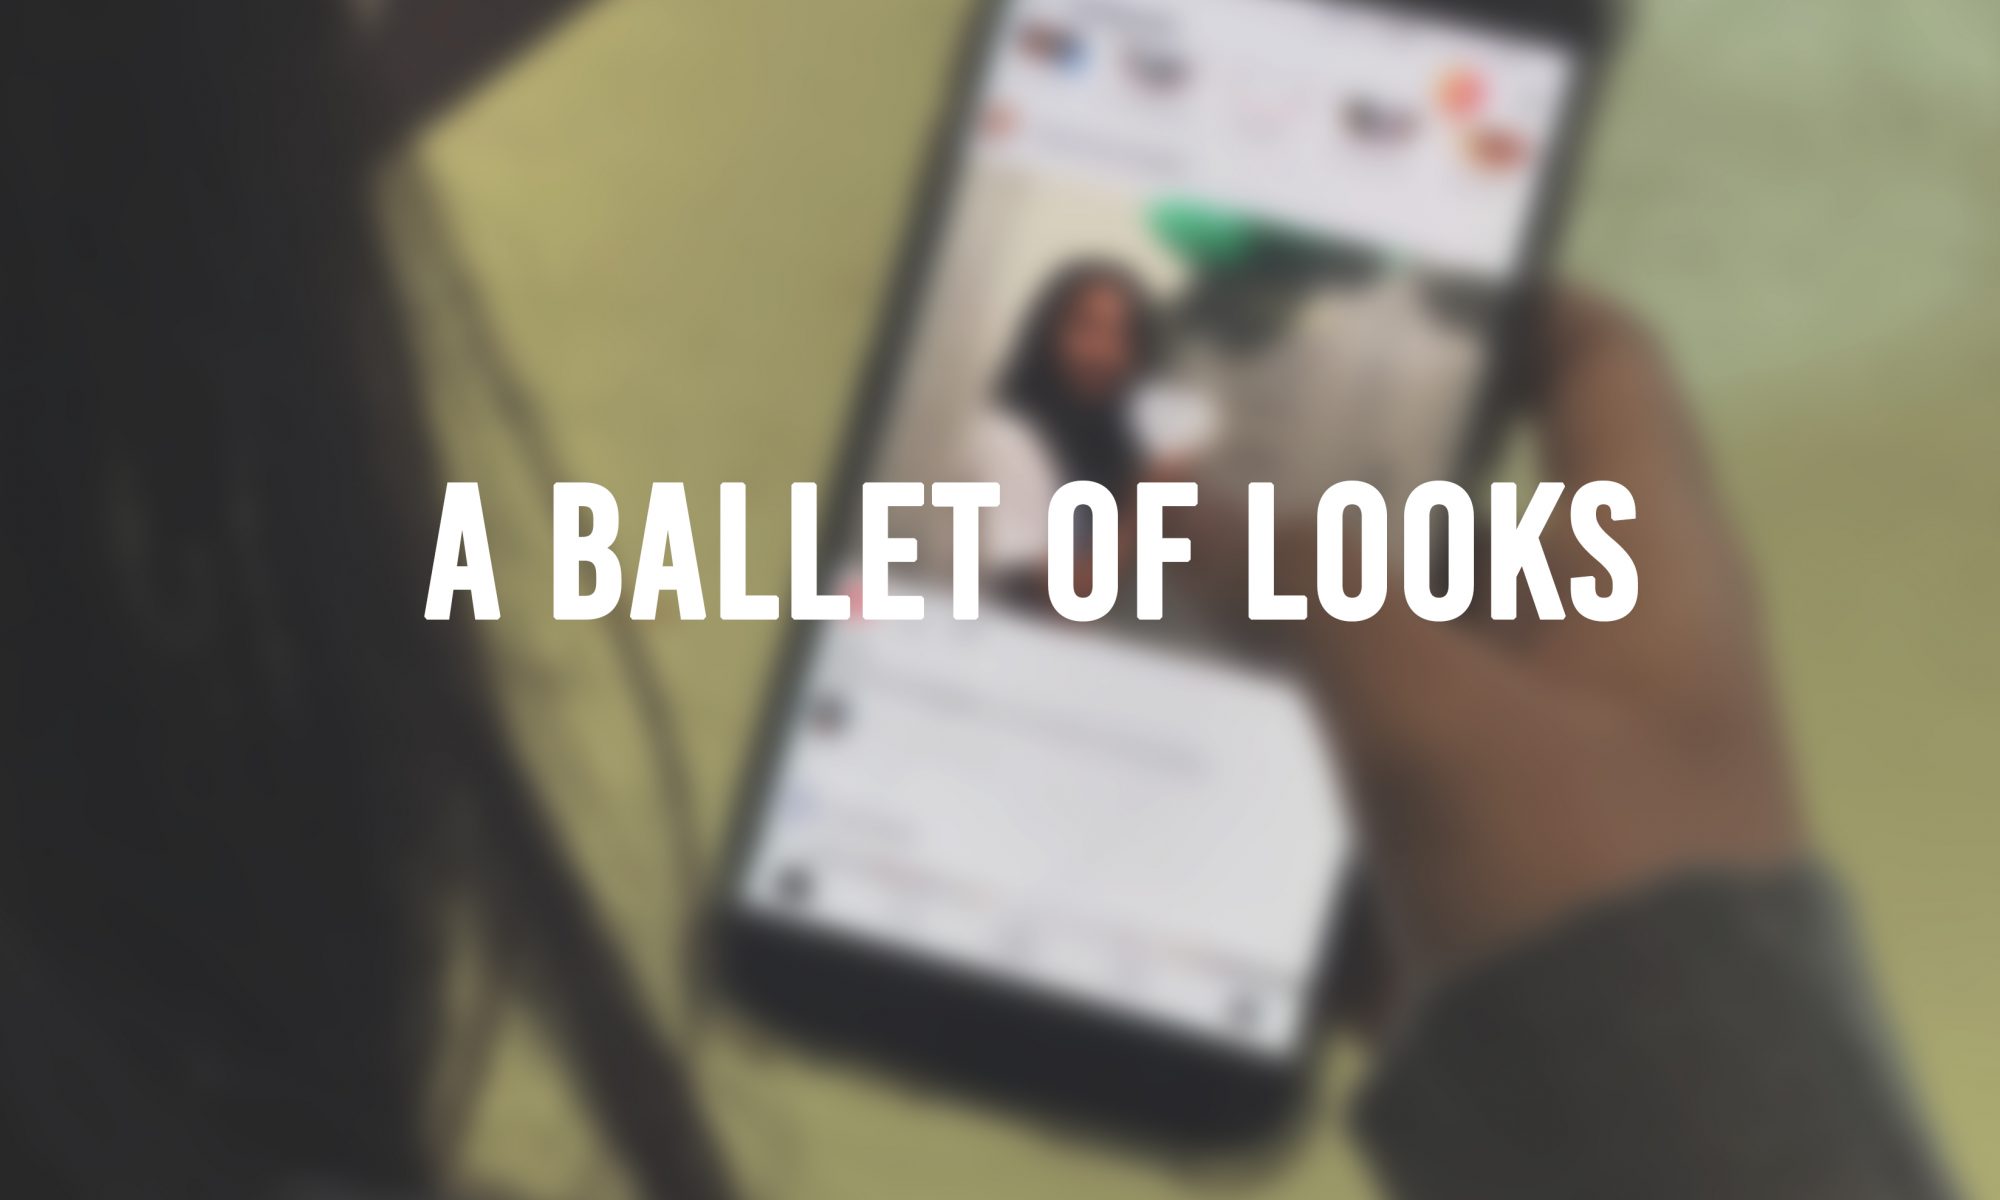
A Ballet of Looks


Film is a ballet of looks, and this film explores the concept of surveillance and observation.
We are all being watched, but how are we being watched?

Omniscient Perspective

As this was told through the eyes of a neutral party, Siri – we see how situations play out “as-is”, such as the phone conversation between Raymond and Rachel, without the interference of Siri and the list of messages with rejected grab requests. We see how Raymond is as a character and derive our understanding of who he is from a non-bias perspective.
Characterization

Here we see how Siri’s personality comes into the story. We witness how Siri’s auto-correct system contributes an air of non-violence to the situation. Also, similar to Athirah’s interpretation of Raymond, we see how his dislike of profanity comes into play this scene.
Reflection
It was a fun experience working with an unfamiliar software – aftereffects. As a film major, the first instinct of it was to pursue a main character’s POV through a short film narrative, however I took this assignment as an opportunity to explore something outside of film. It turned out to create something unusual which was exciting for me and taking this assignment as a comedic experience rather than a serious one, I had the freedom to exaggerate, make it ironic and push comedy further to create this film
All in all, it was fun!

When we decided on the story we started to think about characters apart from those involved apart from the main characters – the passanger, the driver and the other passanger. We thought about who else could we feature and we decided to choose an inanimate or a omniscient character.
We thought since the entire conversation took place over text, we decided – hey why not Siri? and thus the fourth character was born.

I thought about the tone and voice of Siri to be more neutral and omniscient. However, it was feedback that being omniscient was not enough to create a compelling character. Giving Siri no voice was a challenge as it was one less method to give character to it. I thought about how Siri could influence the story and decided on something very commonplace – the auto correct system in text messages. I gave siri a voice of non-violence and allowed audience to see Siri to have a peace-loving nature, thus that’s more character to him.
Our group set out to shoot the scene (even though it wasn’t really featured in the final edit), and we thought it’d be comedic for it to be low-production budget. So we got a friend, who looked suspiciously ahbeng, to act as Raymond.

I shot while Athirah directed and Christianne was playing Rachel. It was … interesting process but there was a lot of experimentation involved with the shoot as we had the challenge of not being allowed to move or drive the car with some camerawork.

To see the final outcome from the shoot, see Athirah’s or Christianne’s OSS!

I first created the ‘bases’ that I needed to animate; the message screen, lock screen, inbox and a all-purpose ‘base’ with photoshop. Then I imported it into aftereffects and animated the graphics. I used AE to create the typing animation as well as the speech bubbles.

I then exported from AE to Premier to work on sound design as well as fine tuning the animation. Including the voice overs, the sound effects and the background hums.

If you would like to see the final edit. Click here.

Doing the film from the perspective of Siri, I realized that the best way to show this was through the perspective of the phone and I looked into short films that utilizes the interface. So, I turned to what youtube has done before for stories and shorts done through the perspective of the phone.

And I learnt from looking at the films that they use a few interfaces.
I decided to push it further by utilizing phone calls to add more depth to the story rather than make it more like reading.

As a filmmaker and art student, I re-imagined what was most familiar to me – the software. I originally intended to do an animated self portrait but I felt that was a little ambitious with the graphics and it was not me enough that I was having fun. I thought about what defined me and thought that was similar to creating a Sim in the Sims game. So hence, I re-imagined the little tools and windows of photoshop and created this.
Defining Appearance

When I asked my friends about how they defined my appearance they said a few things – my unkempt hair, my glasses and my obsession with flannel shirts. I decided to convey this first – through using the add content tool and re-imagining the patch tool.
Defining Personality

Secondly, I defined my personality and character. When I asked my friends what defined me as a person they mentioned my strange sense of humour and my emotional levels. I thought, well – some people are annoyed by enthusiasm, so I added this humour into this segment.
Defining Knowledge

Then I looked at myself and asked “what do I know as an art student?” and noted that I had a lot of useless knowledge – like random facts about cats (did you know cats are nocturnal?) and how to take aesthetic instagram pictures. I decided to kick it up a notch and add humour by adding everything useless I knew to the extent that even the computer questioned it.
Overall, it was a fun experience doing this project – I decided I could handle this project two ways – in a conventional artistically creative way focusing on skill and craft or do it casually in an entertaining way. I picked the fun way as I felt with my restrictions, skill and time was something I could achieve and have fun doing so. No regrets to this approach as I felt this was much more fun and exciting for me.
I could have explored other capabilities of AE such as 3D camerawork, tracking, CC tools and text animation – but I felt that simplicity worked best.
To see the process, click here!
okay, bye.

I started to think about what was my art style and what was something I wanted to explore in after effects that was simple. I chose to go for a flat graphic approach as it was simple, cute and elegant.

Abode Peoplemaker_Audio Visual Script
VISUALS

I started with drawing out all my graphics I needed for the project. I studied all the windows that pop up when I worked on photoshop – from the New files to right clicks to the pop ups that ask you to save your file. I tried to make it as similar as possible to the actual thing while adding and tweaking some details to make it comedic. I just repeated this for the adjustment panel, the toolbar panel and the windows.
 Left: Actual // Right: Tweaked
I then put it in after effects and played with the composition to make it as similar to photoshop as possible.
 Left: Actual // Right: Tweaked
Then I just repeated this process for all the different parts of the video – from the warning sign, loading bars and pop ups that appear.
Then I used simple animation to create the video – simple things like adjusting scale, position, opacity and simple masking to create the animation. I felt there was no need to make exceedingly ambitious animation as this was a simple flat graphic animation – so I kept it as simple as I could with plain colors, no shadows and simple layers.

Perhaps one of the trickiest part of this assignment was the glasses segment of the short as I had to work with a few layers at a time and I occasionally got lost with the parenting, null and masking settings. But taking things a step at a time allowed me to organize myself and my thought process.

SOUND
When I edited the sounds I thought about diegetic and non-diegetic sounds as well as tried to edit them layer by layer. With after-effects being a fussy and complicated software I knew I had to be clear on what I was intending to do.
Layer 1 –
Physical Sounds: Mouse Clicks, Mouse sliding on mouse pad, keyboard.
Layer 2 –
Computer Sounds: Error beeps and Pings
Layer 3 –
Music or Soundtrack
With prioritizing my sound I had a simple workflow and I knew where each and every sound is without too much layers and sounds coming from unknown tracks.
RECORDING SOUND
I used my phone to record the audio files from the mouse clicks to the mouse slide in my room. There had to be some distortion applied to it to make it sound distant, but overall I was quite satisfied with how cleanly it worked and blended with the soundtrack.
To see the final outcome click here.

Objectivity and Subjectivity
 Objective Shots
 Subjective Shots
The film features both a mix of subjective and objective shots. I realized that the perspective of the film I tried to pursue a more objective approach similar to Sebastian Schipper‘s Victoria (2015) where the audience is following the two characters in their mischievous adventures.
But I included the occasional subjective shots to get into the mind of the character better during dramatic moments – such as when Hannah challenges Jenny, when Jenny finally feels liberated when she sticks her head out the window or the more intimate moments where Hannah and Jenny opens up.
Opening and Closing Shot
 Opening and Closing Shot
There is visual similarity between the opening and closing shot – however the change is more of what happens and is said in the frame than visual.
The opening shot features a two-shot of the characters walking next to each other, only for Hannah to walk ahead. Jenny is reluctant to follow Hannah’s rebellious ways only to be egged on to breaking the rules.
The closing shot features a two-shot of characters sitting in the car with new found friendship/closeness. Jenny is now the one to initiate her way of rule-breaking as she takes the long way back.
Confined Spaces vs Open Spaces
 Confined Spaces vs Open Spaces
Through the shots, I show how Jenny transitions from a confined/dark world, to breaking out of the confined into a vast wide open world. Once the night comes to an end, she returns back into the confined world, having new light on the world.
Two Shots
 Two-Shots
I explored with symmetry through the usage of two shots to show the relationship with the siblings. Through the two shots we see the relationship of the two siblings through how they interact with each other in the frame. Such as when Hannah talks to Jenny and tries to convince her or when Jenny leans on Hannah’s shoulder.
To see the process click here
