3D-(Final Assignment) Modular Construction-FINAL-“ZHAR BO” (2)

Final Work from Hui Min and Rachel(I)

For the final project, We created a lamp Shade called “ZHAR BO” presentation1

It is a combination of :

pptfd02-pptm-recovered

What we Pick Out From our Models:

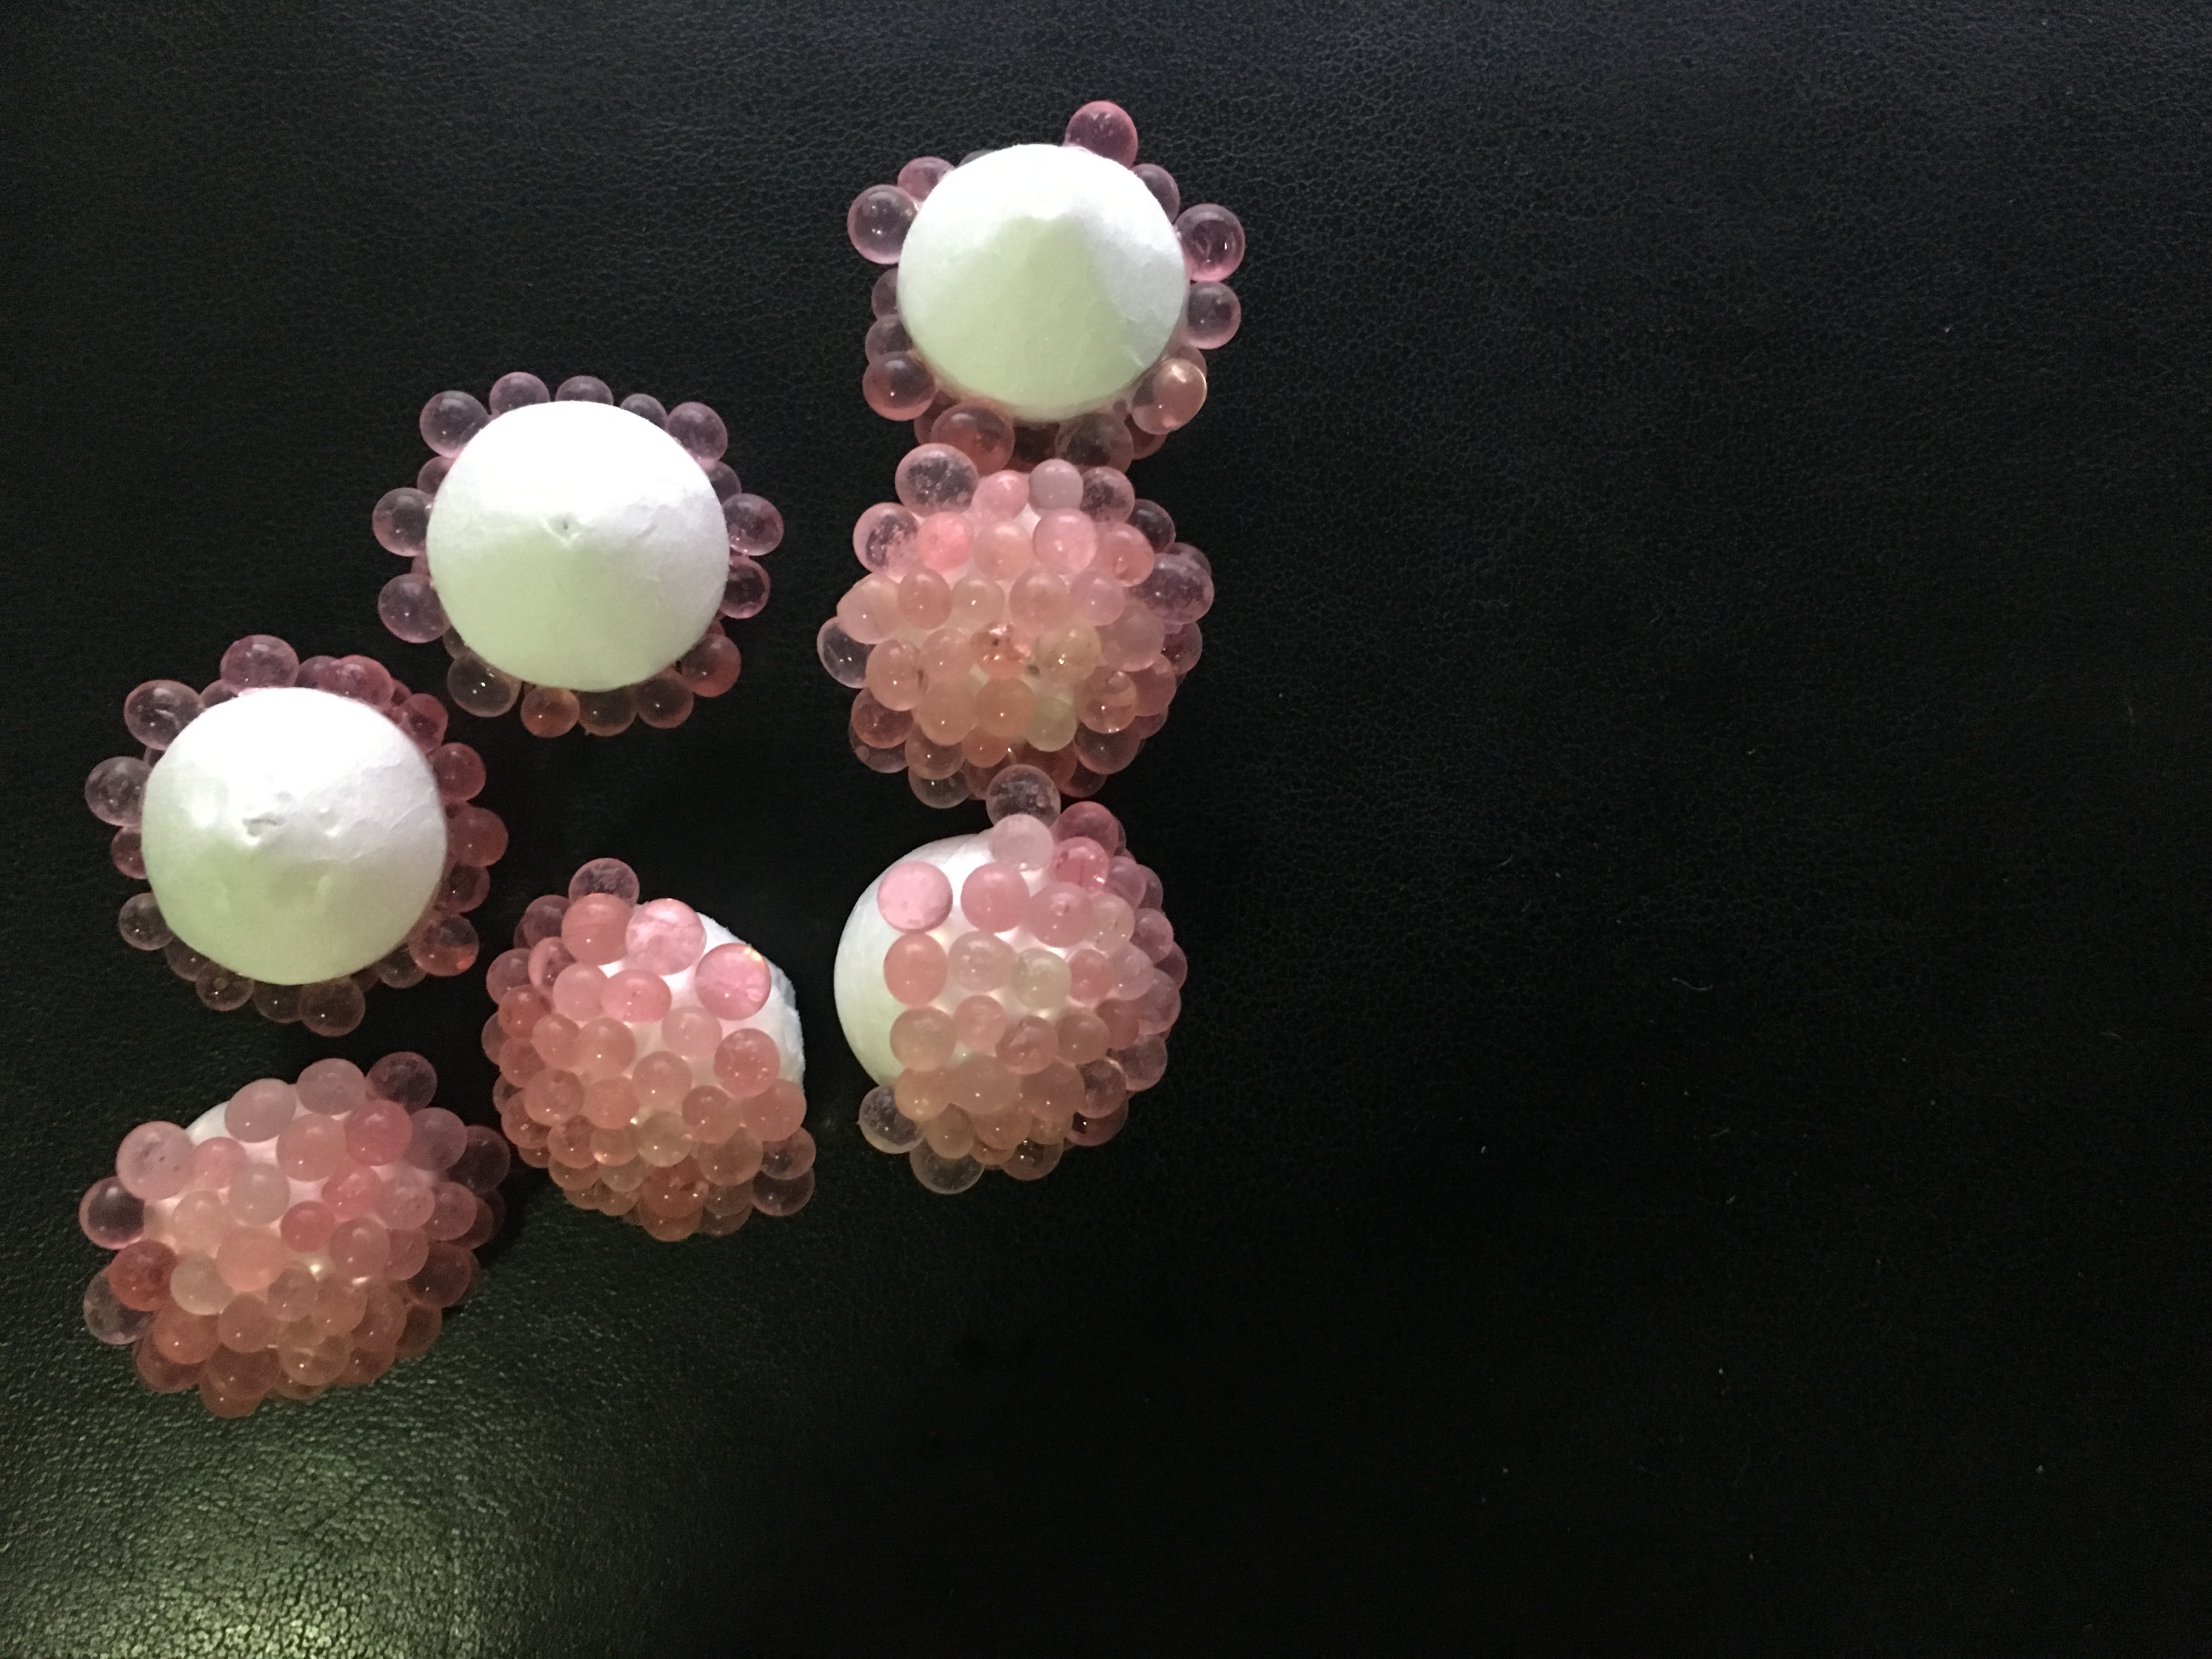
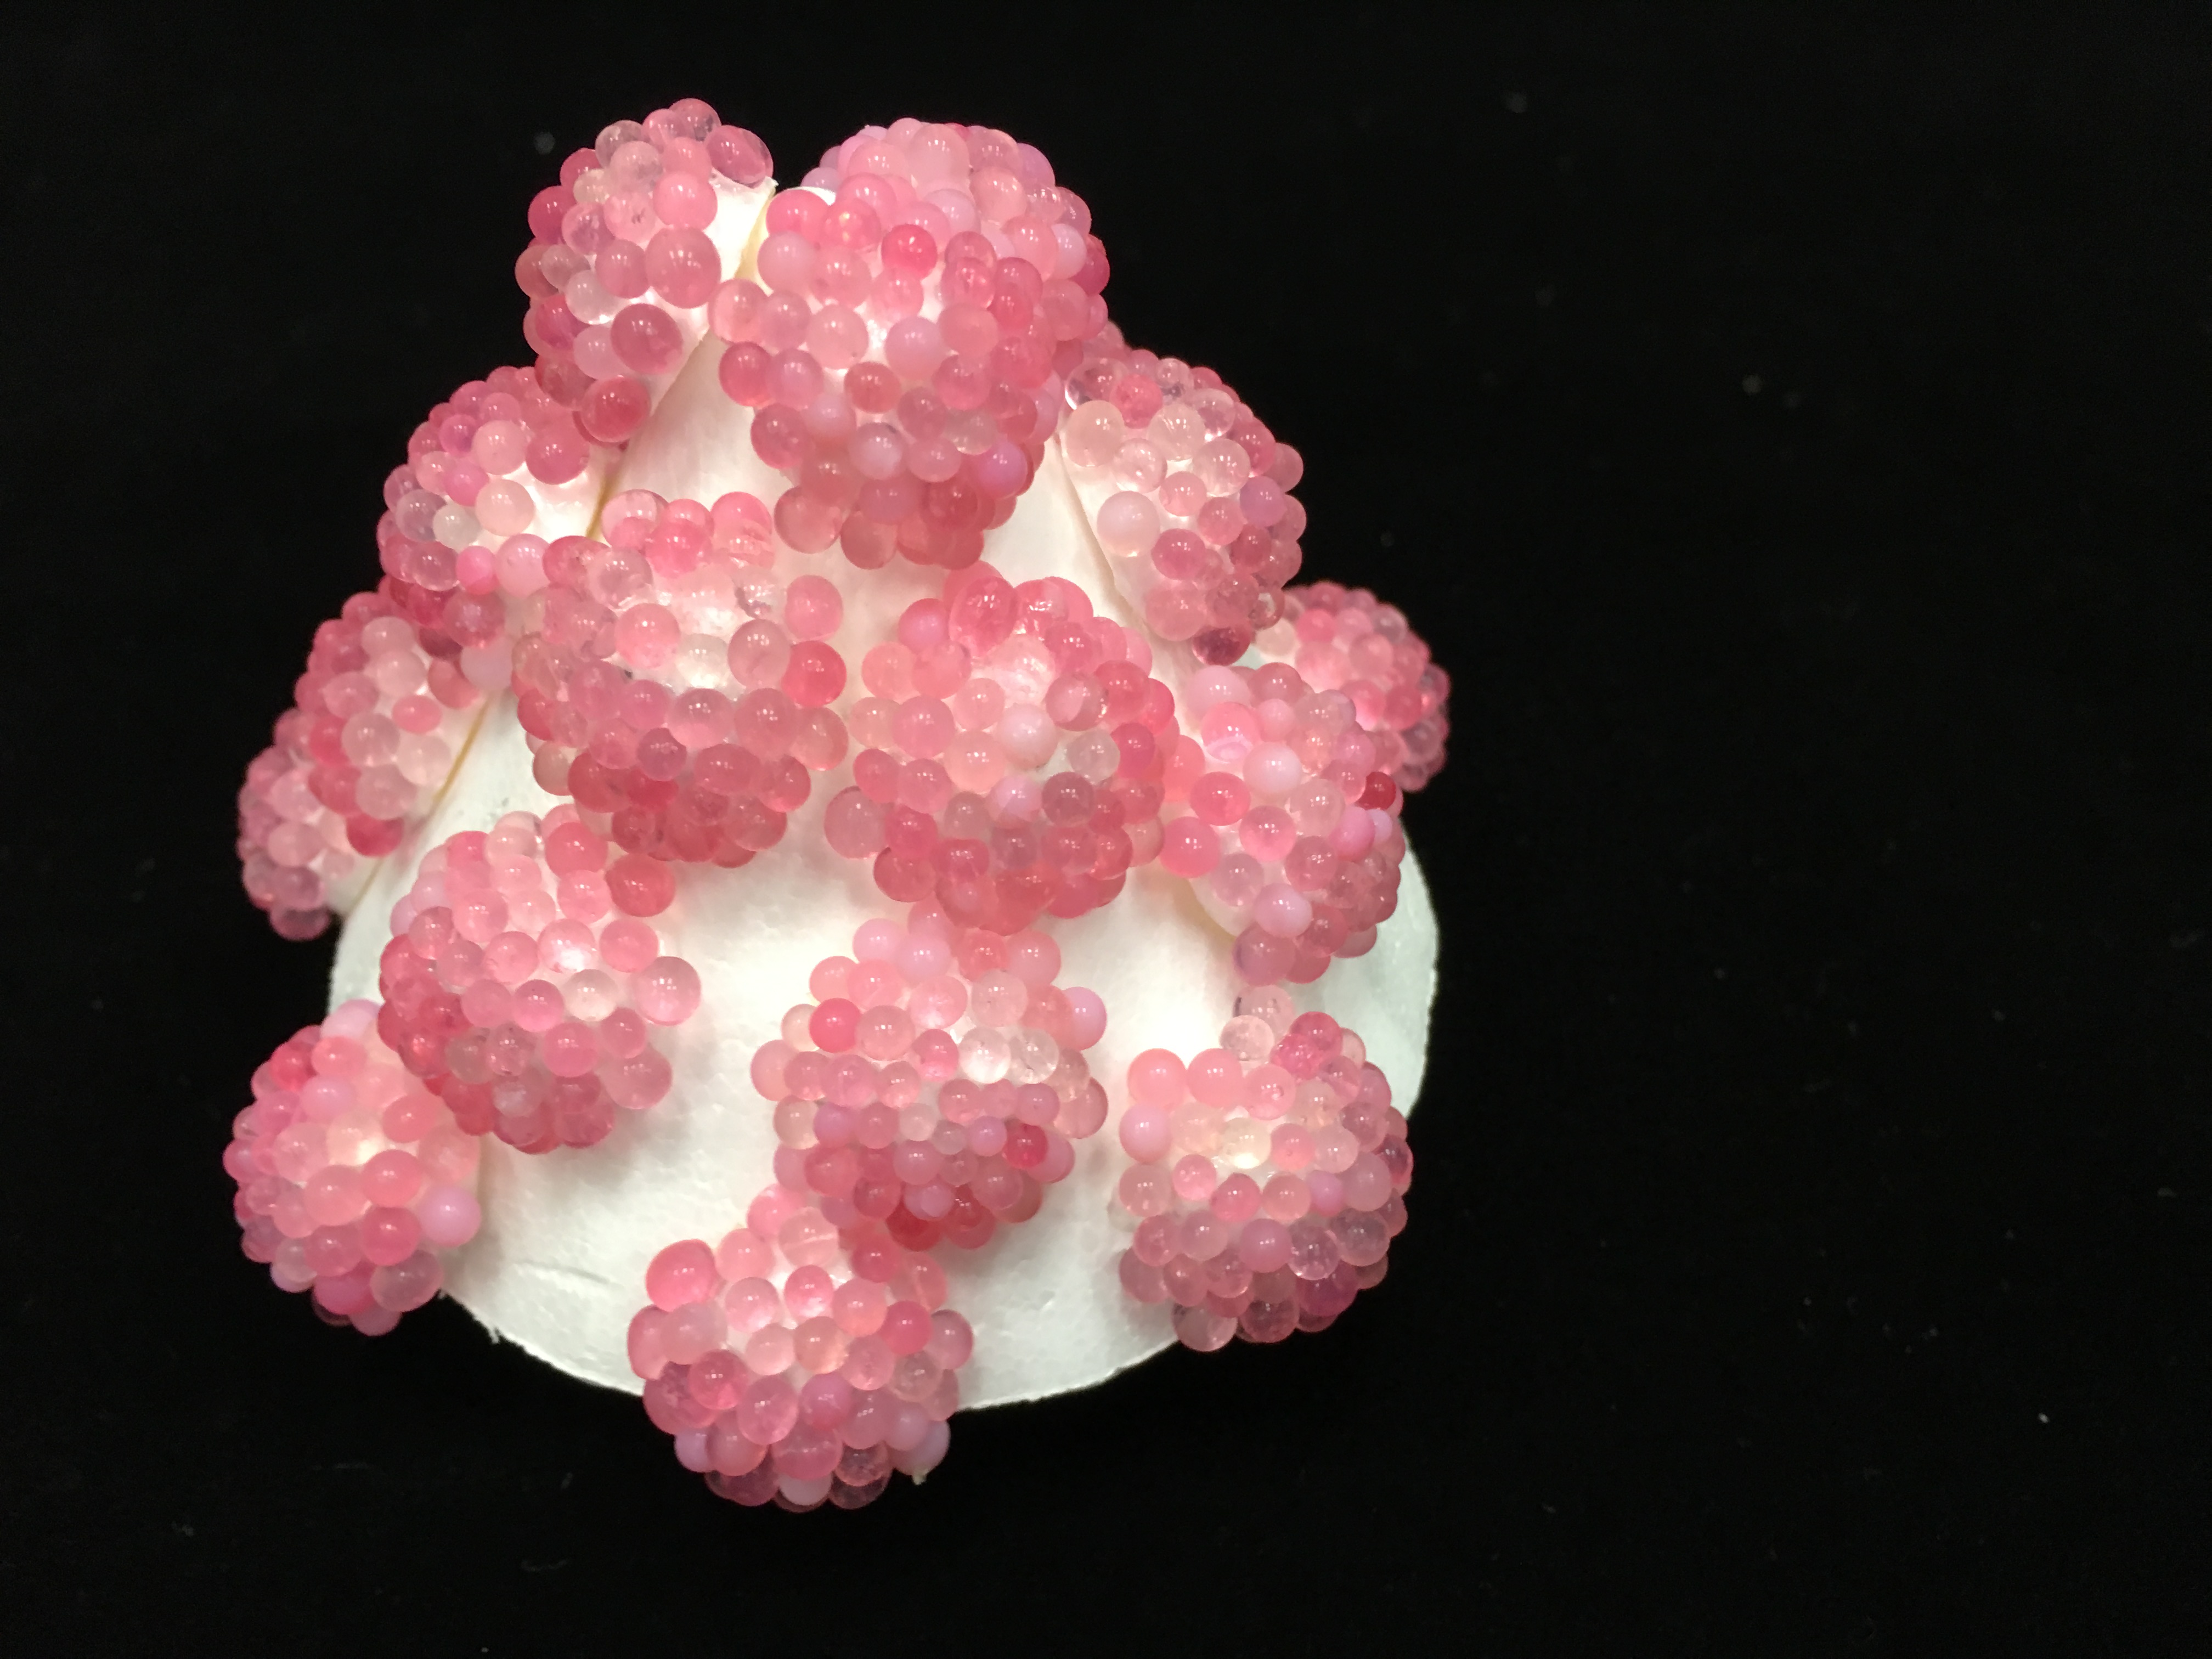
  • Materials and Softness in Hui Mins Model
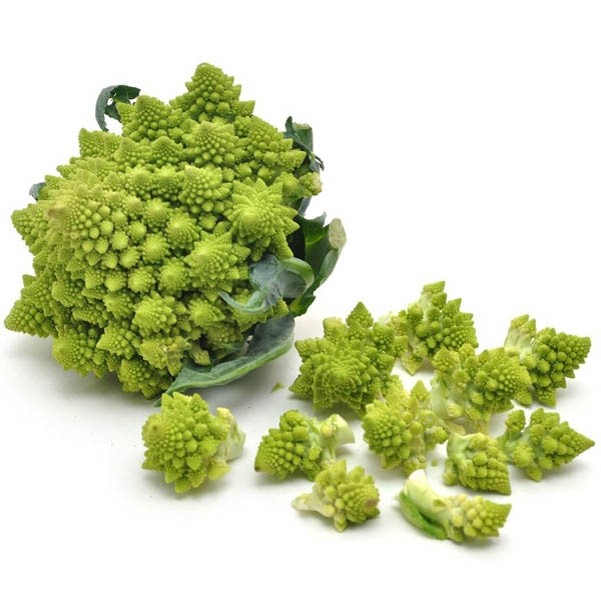
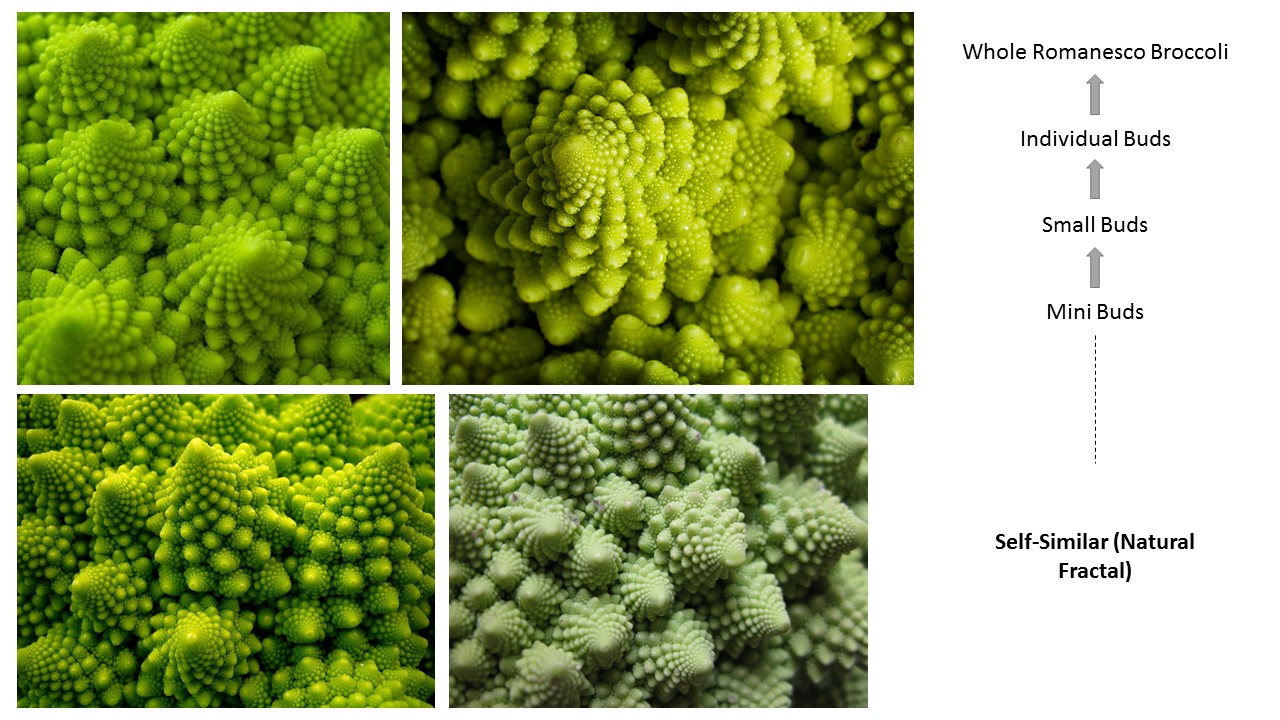
  • My Model Spiral Pattern/arrangement
  • The idea of one spiral is one whole strip
  • The idea of combining hardness(the color strips on Hui Min model) and softness(Bottom of Hui Mins Model)

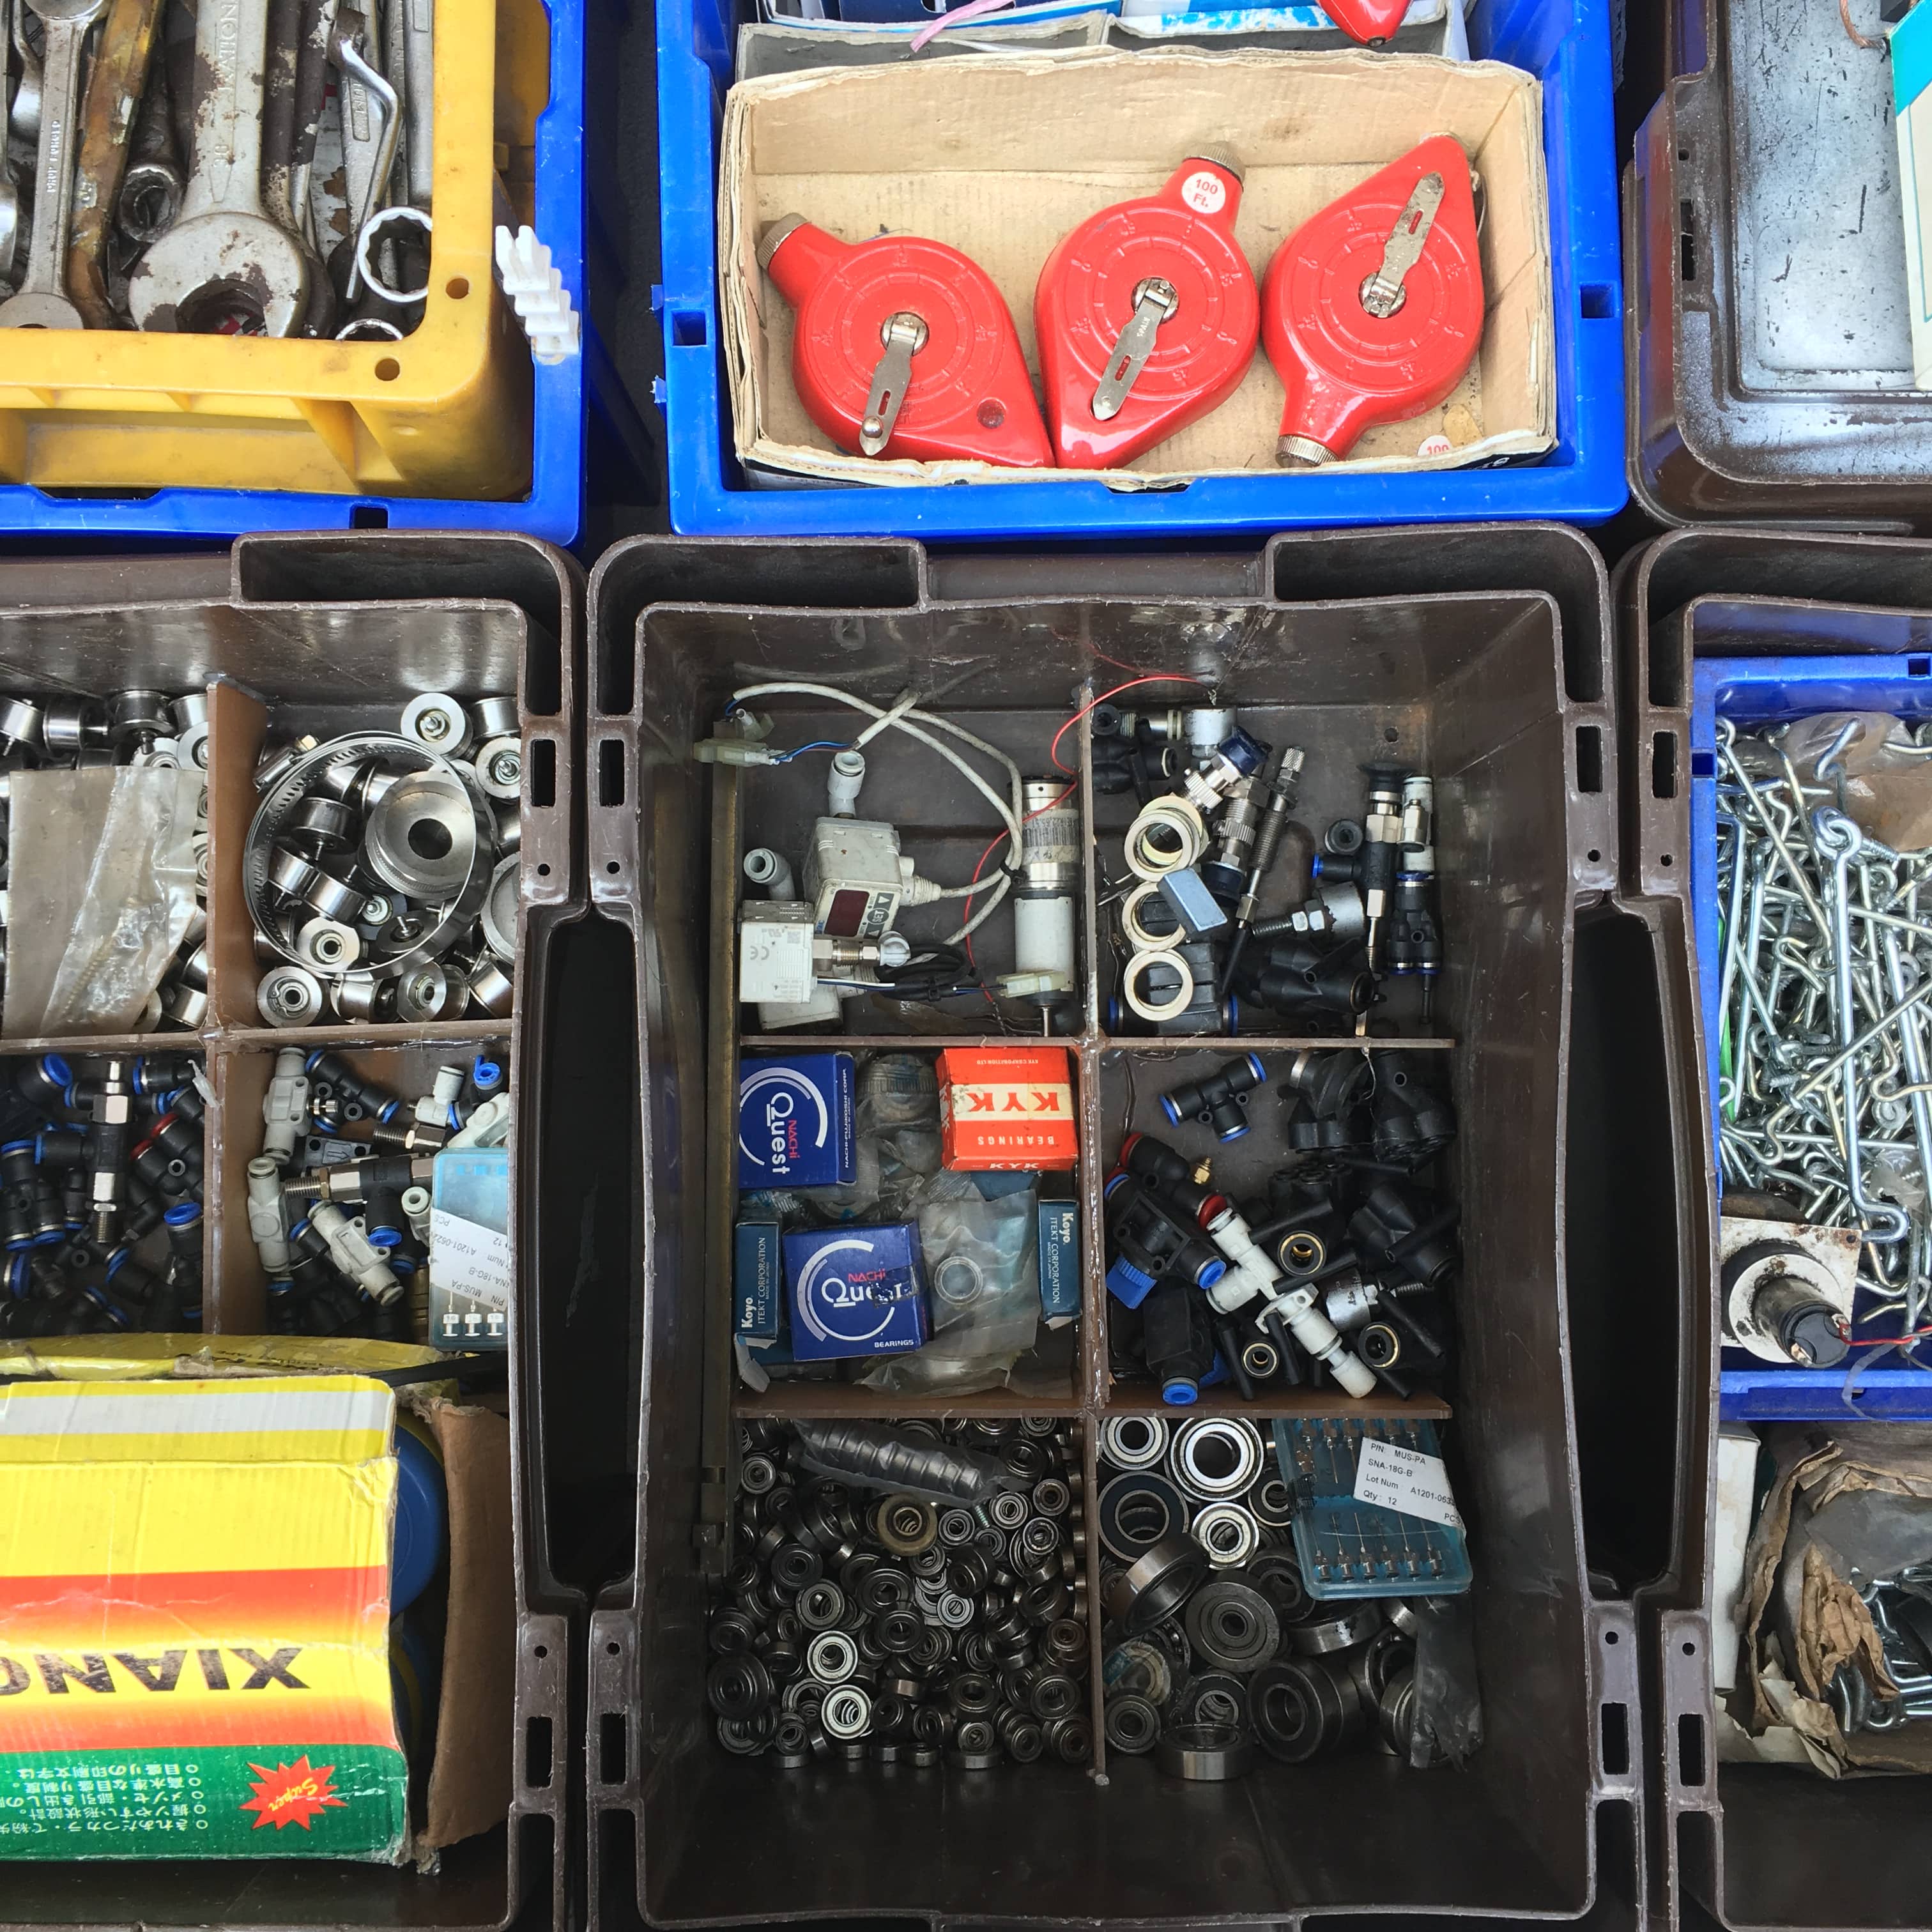
We started off with research, sketches and getting materials, followed by discovering the mystery store room inside the workshop. -.-“

And all the materials we wanted is inside the room. Anyway,

aaddd

We come into a agreement to used wire as our lamp skeleton and to just have two round rings on the top and bottom. So that we could play around with the pattern from the top to connecting to the bottom.

Our initial skeleton was a middle rod in the middle to connect the two ring, then we realized the light bulb problem, then we change to connect the two ring with three rods and the side, but we felt it being too consistence. Finally, we change it to one bigger ring on top and one smaller ring on the problem. 

When thinking about material cotton led us to the thought of gauze and the colored wire on Hui Mins model led us to Fiber Optic. As well as having a less rigid material like the wire mesh so that we could explore on the romanesco model spiral pattern.

Then, 

Work Work Work Work Work…..

kk

Test Test Test Test Test…..

img_3316img_3317-min

FINAL

PRESENTING TO YOU………………………..ZHAR BO!!

img_3435img_3440img_3462

We wanted to create a hanging lamp with a soft shadow that is not so glaring. And also both of us really love the little shadow that is instead reflected on the gauze. We uses the little flowery buds of gauze we created and align them in a spiral pattern on the metal mesh. Then attach the metal mesh in a spiral alignment onto the two ring on the top and bottom. Using the fiber optic on the side, it gives a contrast of hardness in compared to the softness the the gauze gives out:)

img_3465

LASTLY, THANK YOU PEEPO AND PETER:) !!! All the fun and laughter we have in class and all the rubbish talk we have, and the amazing field-trip and extra art History Lesson!!!! I SO GONNA MISS THIS CLASS!!!:(


3D-(Final Assignment) “Modular Construction” (1)

As part of our Final Assignment we had to find SEM (Scanning Electron Microscope) for a certain object. And for me I choose Romanesco Broccoli:)

romanesco-only

Romanesco Broccoli have 2 type of pattern in total:

romanesco

Spiral:

picture1 

The Whole:

Form by repetitive Spiral Pattern

maxresdefault

The Little Individual Buds:

Form by repetitive Spiral Pattern

Natural Fractal 

picture2

Natural Phenomenon

Repeating pattern

expanding symmetry or evolving symmetry

Natural Fractal (Self Similar)

picture3

picture4

Replica exactly the same- Self-Similar

 SEM (Scanning Electron Microscope)

e6a45e8acd3f91456f5a6ba6e579a9ba

sfsfs

This would be the two main pattern I would focus on:)

Starting our model making

Before going into model making I first started out with some research. My original idea was to make use of geometry shapes to craft out the idea of fractal. Meaning from on square, spit to two, then four and so on. So I went to do some research and test to see how people make use of geometry and the term fractal to create different model and i got some results like:

xvxv

My initial idea was also to use origami to craft out the pattern, I begin by doing some rough sketch of my idea, but the result didn’t turn out well because it is way too hard to control the size of the origami. Even if i reduce the paper size by alot. The shape come out would eventually look similar to the previous one:(

img_2865

img_2858

img_2867

img_2868

img_2869

After discussing it in class with Peter he told me that this geomery shape is too different from romanesco. Then I realized that I was probably too focus on the term fractal and forget that I have to use the fractal patter ON ROMANESCO to do my model and not fractal in general. He also told me that first you have to understand the structure and pattern carefully and understand it first so that your could craft it our base on it. Then I told him if I could use Styrofoam cone and poke pins on it? 

img_2866

img_2753

img_2761

img_2743 img_2744
img_2771

img_2811

I felt like it came out really bad, to be honest there is a limitation to the size of pins I could use. And therefore it is hard to create the little buds and intricate spiral of the romanesco:( Up till this point to be honest I was pretty worried about what more material I could used for the design. So the night before our submission while I was taking books from my sheleves I saw the bottle of silica gel! And I immediately thought Why not? It is small enough for me to create the spiral on the foam and it loos really small like the little buds!

img_2783

img_2782

img_2787

And TADA my final:) the only part i’m not really happy is that I could probably get smaller Styrofoam of cut Styrofoam into smaller pieces so that it could filled up the empty portion and also create a more variation of unit sizes to look more like the pattern on romanesco. And also even though I’ve tried using smaller silica gel for the tip of the unite so it could have a variation of buds size but when the whole unit is done the small silica gel seems to blend in and go missing:( Nonetheless, I’ve tired and was pretty happy that I manage to use silica gel as a last minute material.

img_2799 img_2804 img_2801 img_2802


3D-(Assignment 3) “Plane with Points to Lines”


img_1805

Week 1 is more of me familiarizing with the thread and how to handle the thread with the plane. How to get it’s tension and how to interact the colors. Nothing much but more of playing around to see what effect I got. So i mainly tried with straights like and interacting them.

img_1923img_1925

In week 2 of our assignment I was experimenting with the plane. Usually to get more complicated design. We would all end up getting a “C” shape out of the plane. So I wanted to try bending the planes in different direction and having the thread in both direction display a totally different thread style.

(Left) – the thread comes from different individual short line and ending up with different direction

(Right) – the thread comes from an individual long curve and ending with the another long curve.

However, Peter gave a suggestion that probably the design in the left side shows more dynamic, more things going on compared to the design on the right side. And told me that probably I could go back and experiment with more design.

img_2059

And so I went back and experiment with different types of plane bending designs and various type of starting point. E.g Straight Lines, Geometric Shapes, Curve Lines, S Lines or Zig-Zag Lines.

img_2190img_2191

img_2192img_2193

After experimenting the most annoying thing is getting the tension of the thread, I believe this is the common problem within the class. After pulling one side, the other side loose, or the thread get tangled together.

But after experimenting, I was thinking why not I try creating density and exploring direction out of simple staring line? and is there a viewing perspective that I could see the interaction of these lines?

img_2085

I drew simple lines on my A3 plastic sheet that look like this: and started connecting the thread from opposite direction going vertically and horizontally. Adjusting the distance between each thread line to create different density.

FINAL CRITIC

img_2088

img_2076img_2079

img_2078

And also I decided to bend the plane in this cylindrical way so that if we view from one corner in, we could see the interaction between these lines and the interaction of the colors.

Comments I’ve receive:

The Blue horizontally line across seems a bit out of the way, seems weird and doesn’t match with the rest of the thread lines:(

But still, THANK YOU!!!:)

Bye.

3D-(Assignment 2) “Animal, animal”

After the treasure hunting last week, these are some items i purchase. Honestly, I am pretty curious about the function for some items sold there!

WhatsApp Image 2016-08-25 at 7.55.41 PM

In class today, we were suppose to create and craft out an living organism out of these materials. You probably thought it’s pretty easy but it’s not!

After reviewing my initial ideas with Mr Peter, I decided to scrape off my initial animal design, Bye monkey…:(

After staring at the items for don’t know how long

WhatsApp Image 2016-08-25 at 7.55.41 PM
realize that this two parts actually resemble crab pincers
dd
And this part resemble the body and eyes of a crab


Hence, after cutting, gluing and combining them, I GOT A CRAB!

WhatsApp Image 2016-08-25 at 7.49.29 PM
P.S Don’t judge me, we went around looking for this Instagram worthy wall haha!

e1931ae0fa39e84de9bd940e343f5d58

WhatsApp Image 2016-08-25 at 7.50.41 PM

Overall, the lesson was fun and it teaches me to look at things at different perspective and not restrict our self to the imagination we had in mind. It was pretty hard doing this project, we had to view our items in different perspective but sometimes the animal just doesn’t come out, even if it did it’s hard to convince people what animal your item resemble.

Anyway, I have some materials left and I’m going to see if i can create a few more animal!:)


And so i went back home and ask my dad if he have unwanted tools or pieces from his tool box and he gave me this:

IMG_1653
A box full of material he wanted to throw away

After digging and and exploring i came out with two more animal! yes!

A Hedgehog! the feets and nose came in a packet inside the scrap box and the body is actually the left over scrub i used for my 2D mono-printing assignment.

IMG_1656 hedgehog-468228_960_720

A Scorpion!, at first i was worry that i uses too many parts, but then i realized i actually uses four parts and repeat using them.

For example, the metasoma (tail) is actually the same material use for the hedgehog nose i just repeatedly glued (with glue gun) a few of them together and form the curve tail. As for the pincher and stinger i use the feet use for the hedgehog, bend it and glue it. The body is then made up of a whole pieces, it’s a cable connected according to my dad.

IMG_1655

download


I had a fun time exploring these materials and feel so “enlightened” haha whenever i discover a new animal or a creature. Materials that you first pick up and thought “nah,” might be the key parts to make your animal more realistic.  Overall, this task allows me to look things in all perspective, when you happen to turn to the correct angle it would just snap you “ahhh~~ this looks like the…”. SO FUN.

3D-(Assignment 2) “Treasure Hunting”

Last Week ( Week 2) we had to visit Kelantan thieves’ market to purchase some parts needed for our assignment 2. When we reach there we were told that the market only open at 1 plus in the afternoon. NO! honestly it was quite disappointing as I’ve never been to a thieves’ market before. In the end we had to look for our materials at the shop opposite the thieves’ market.

Here’s the shop:)
IMG_1009-min

IMG_1011-min IMG_1008-min