
So I chose different material to represent different traits of me. Materials I chose are yarn, flocking powder, Chinese paper cut, stamp gin bottle, colored paper.
So here are the process of my work:)
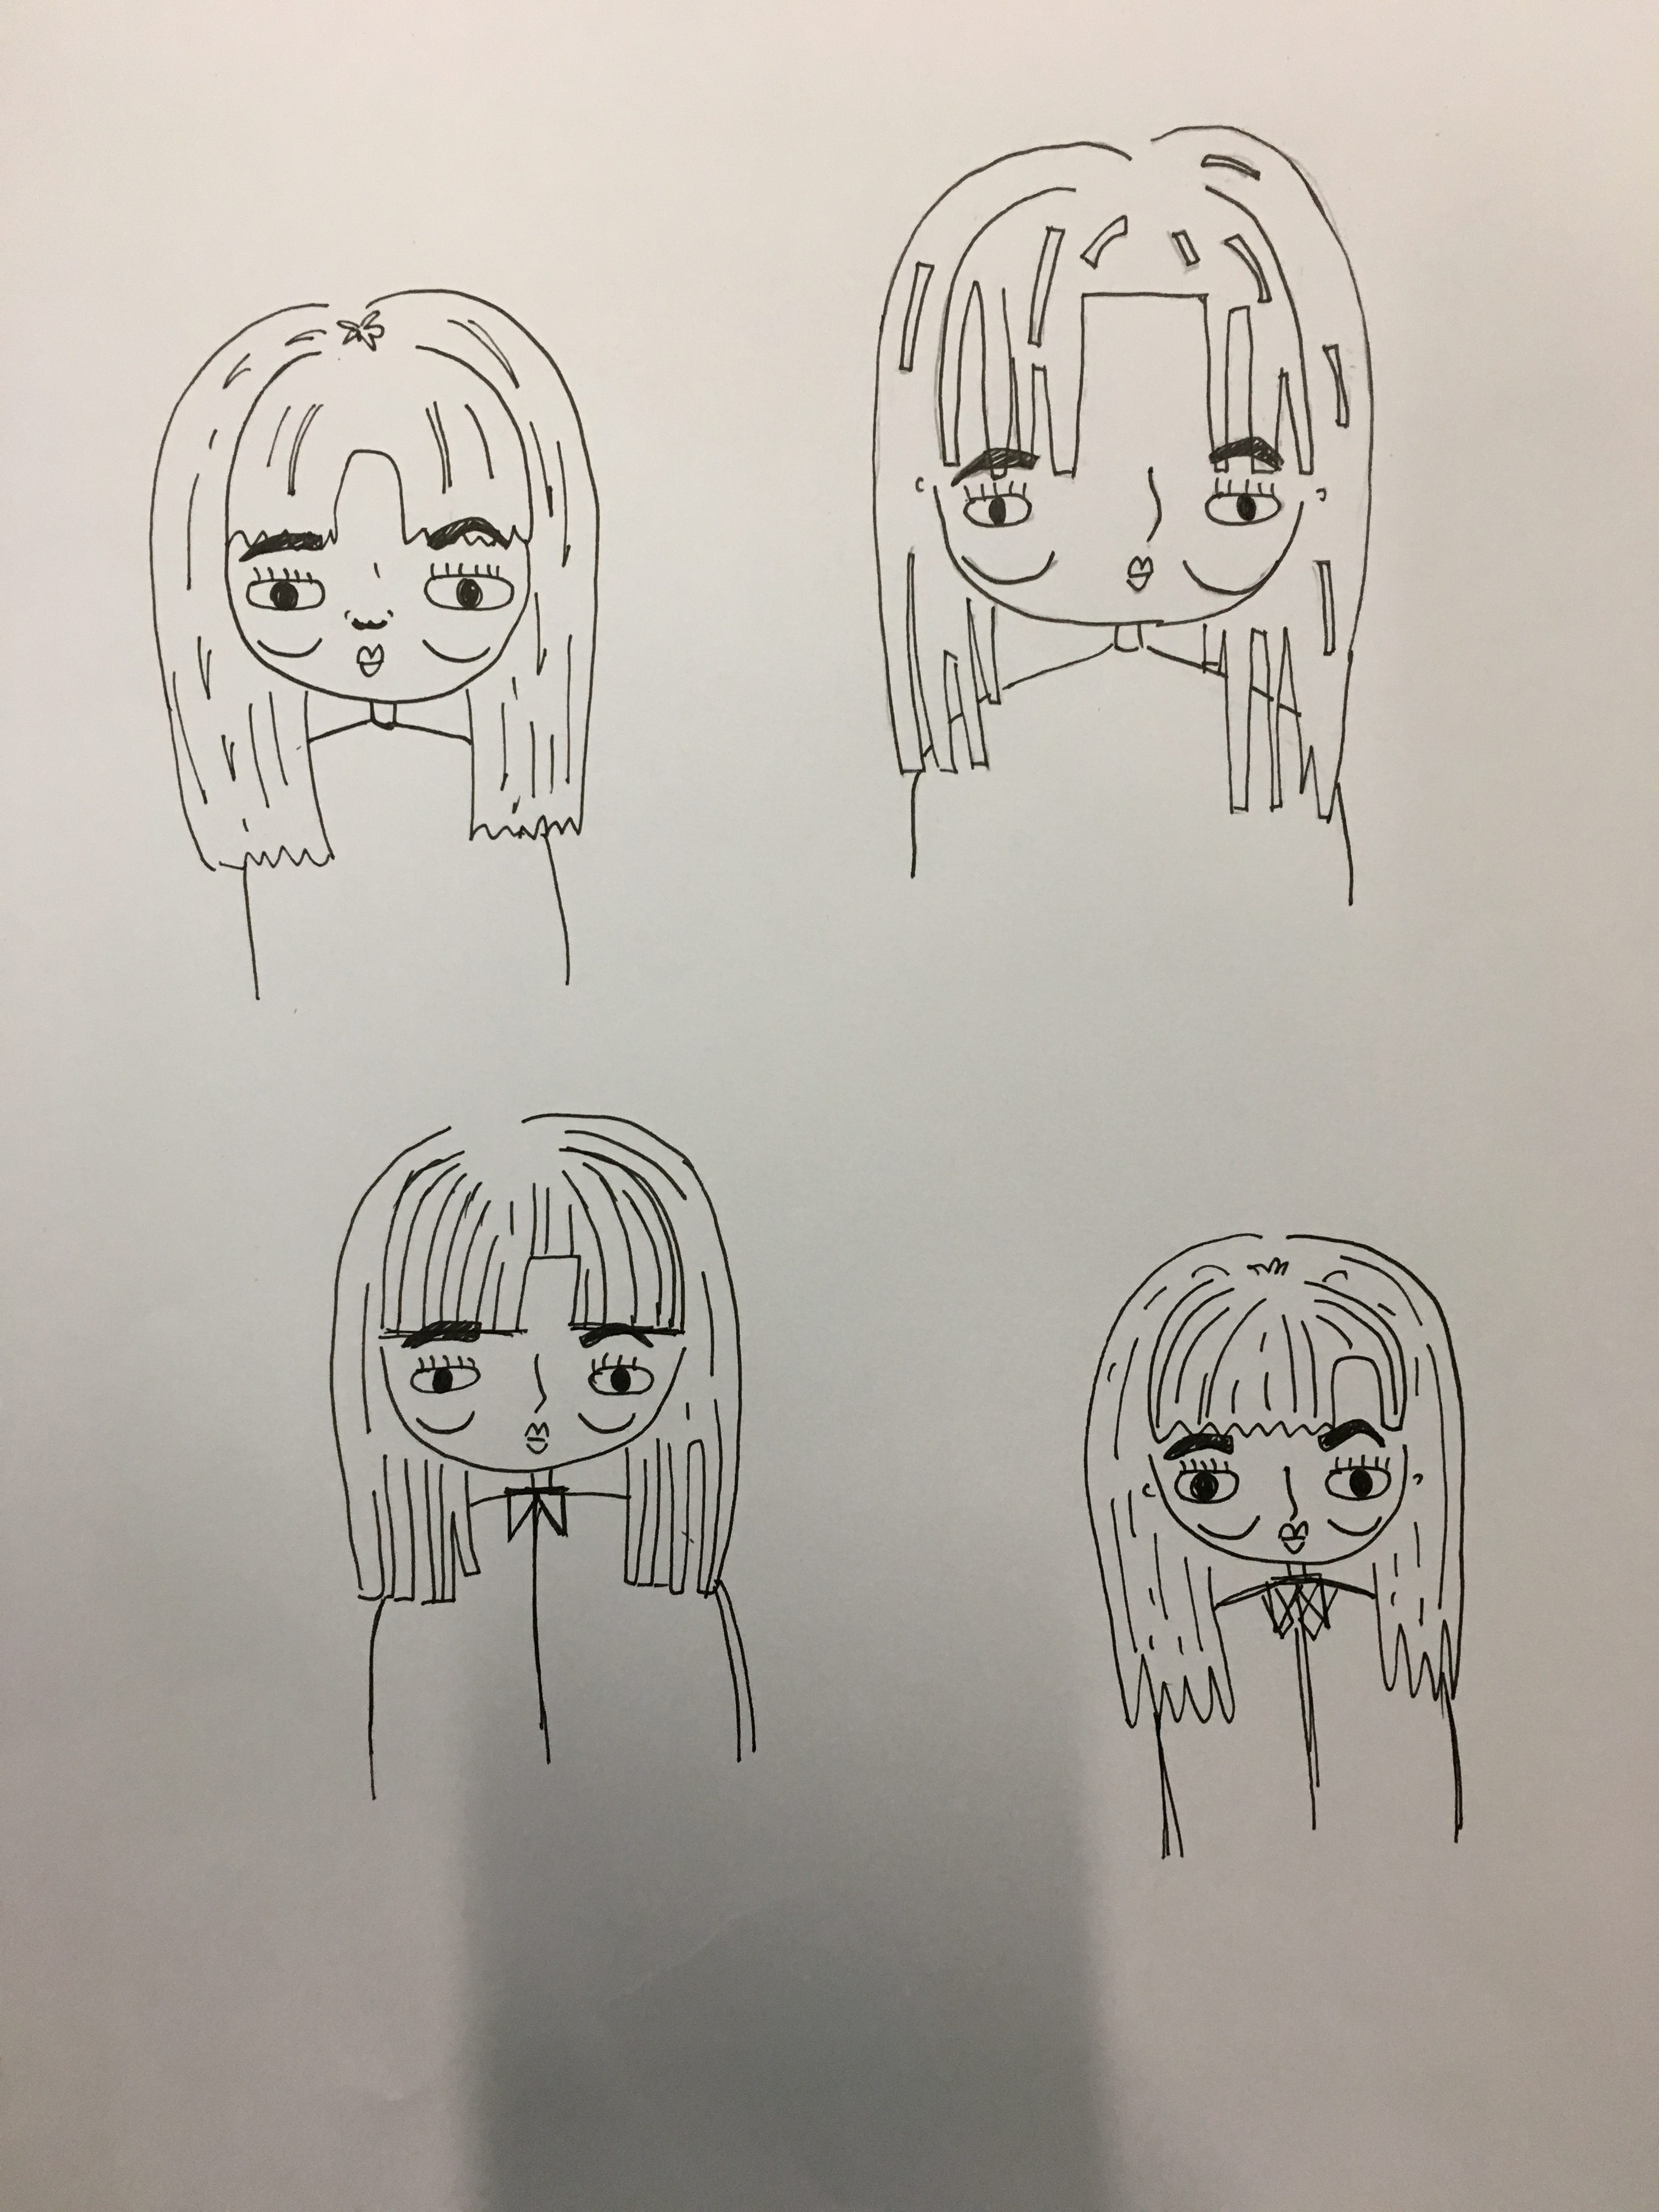
I started off by drafting out various drawing of my face in a quirky style.
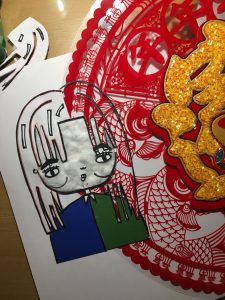
Before finalizing my concept, I did a try out of the composition to be sure that the style and material would fit well together.
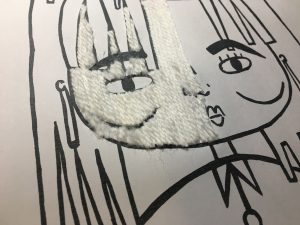
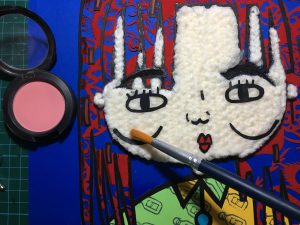
After the try out I relized that using cotton was not a really nice choice because the effect in not consistent and the it make the whole composition look cheap. As an alternative, my friend suggested that I could crochet. I think its a really good idea and i tried it out by pasting the the yarn onto the paper and add abit of make up blush onto the cheeks to bring out the soft and 3d effect.

Adding Blush!:)
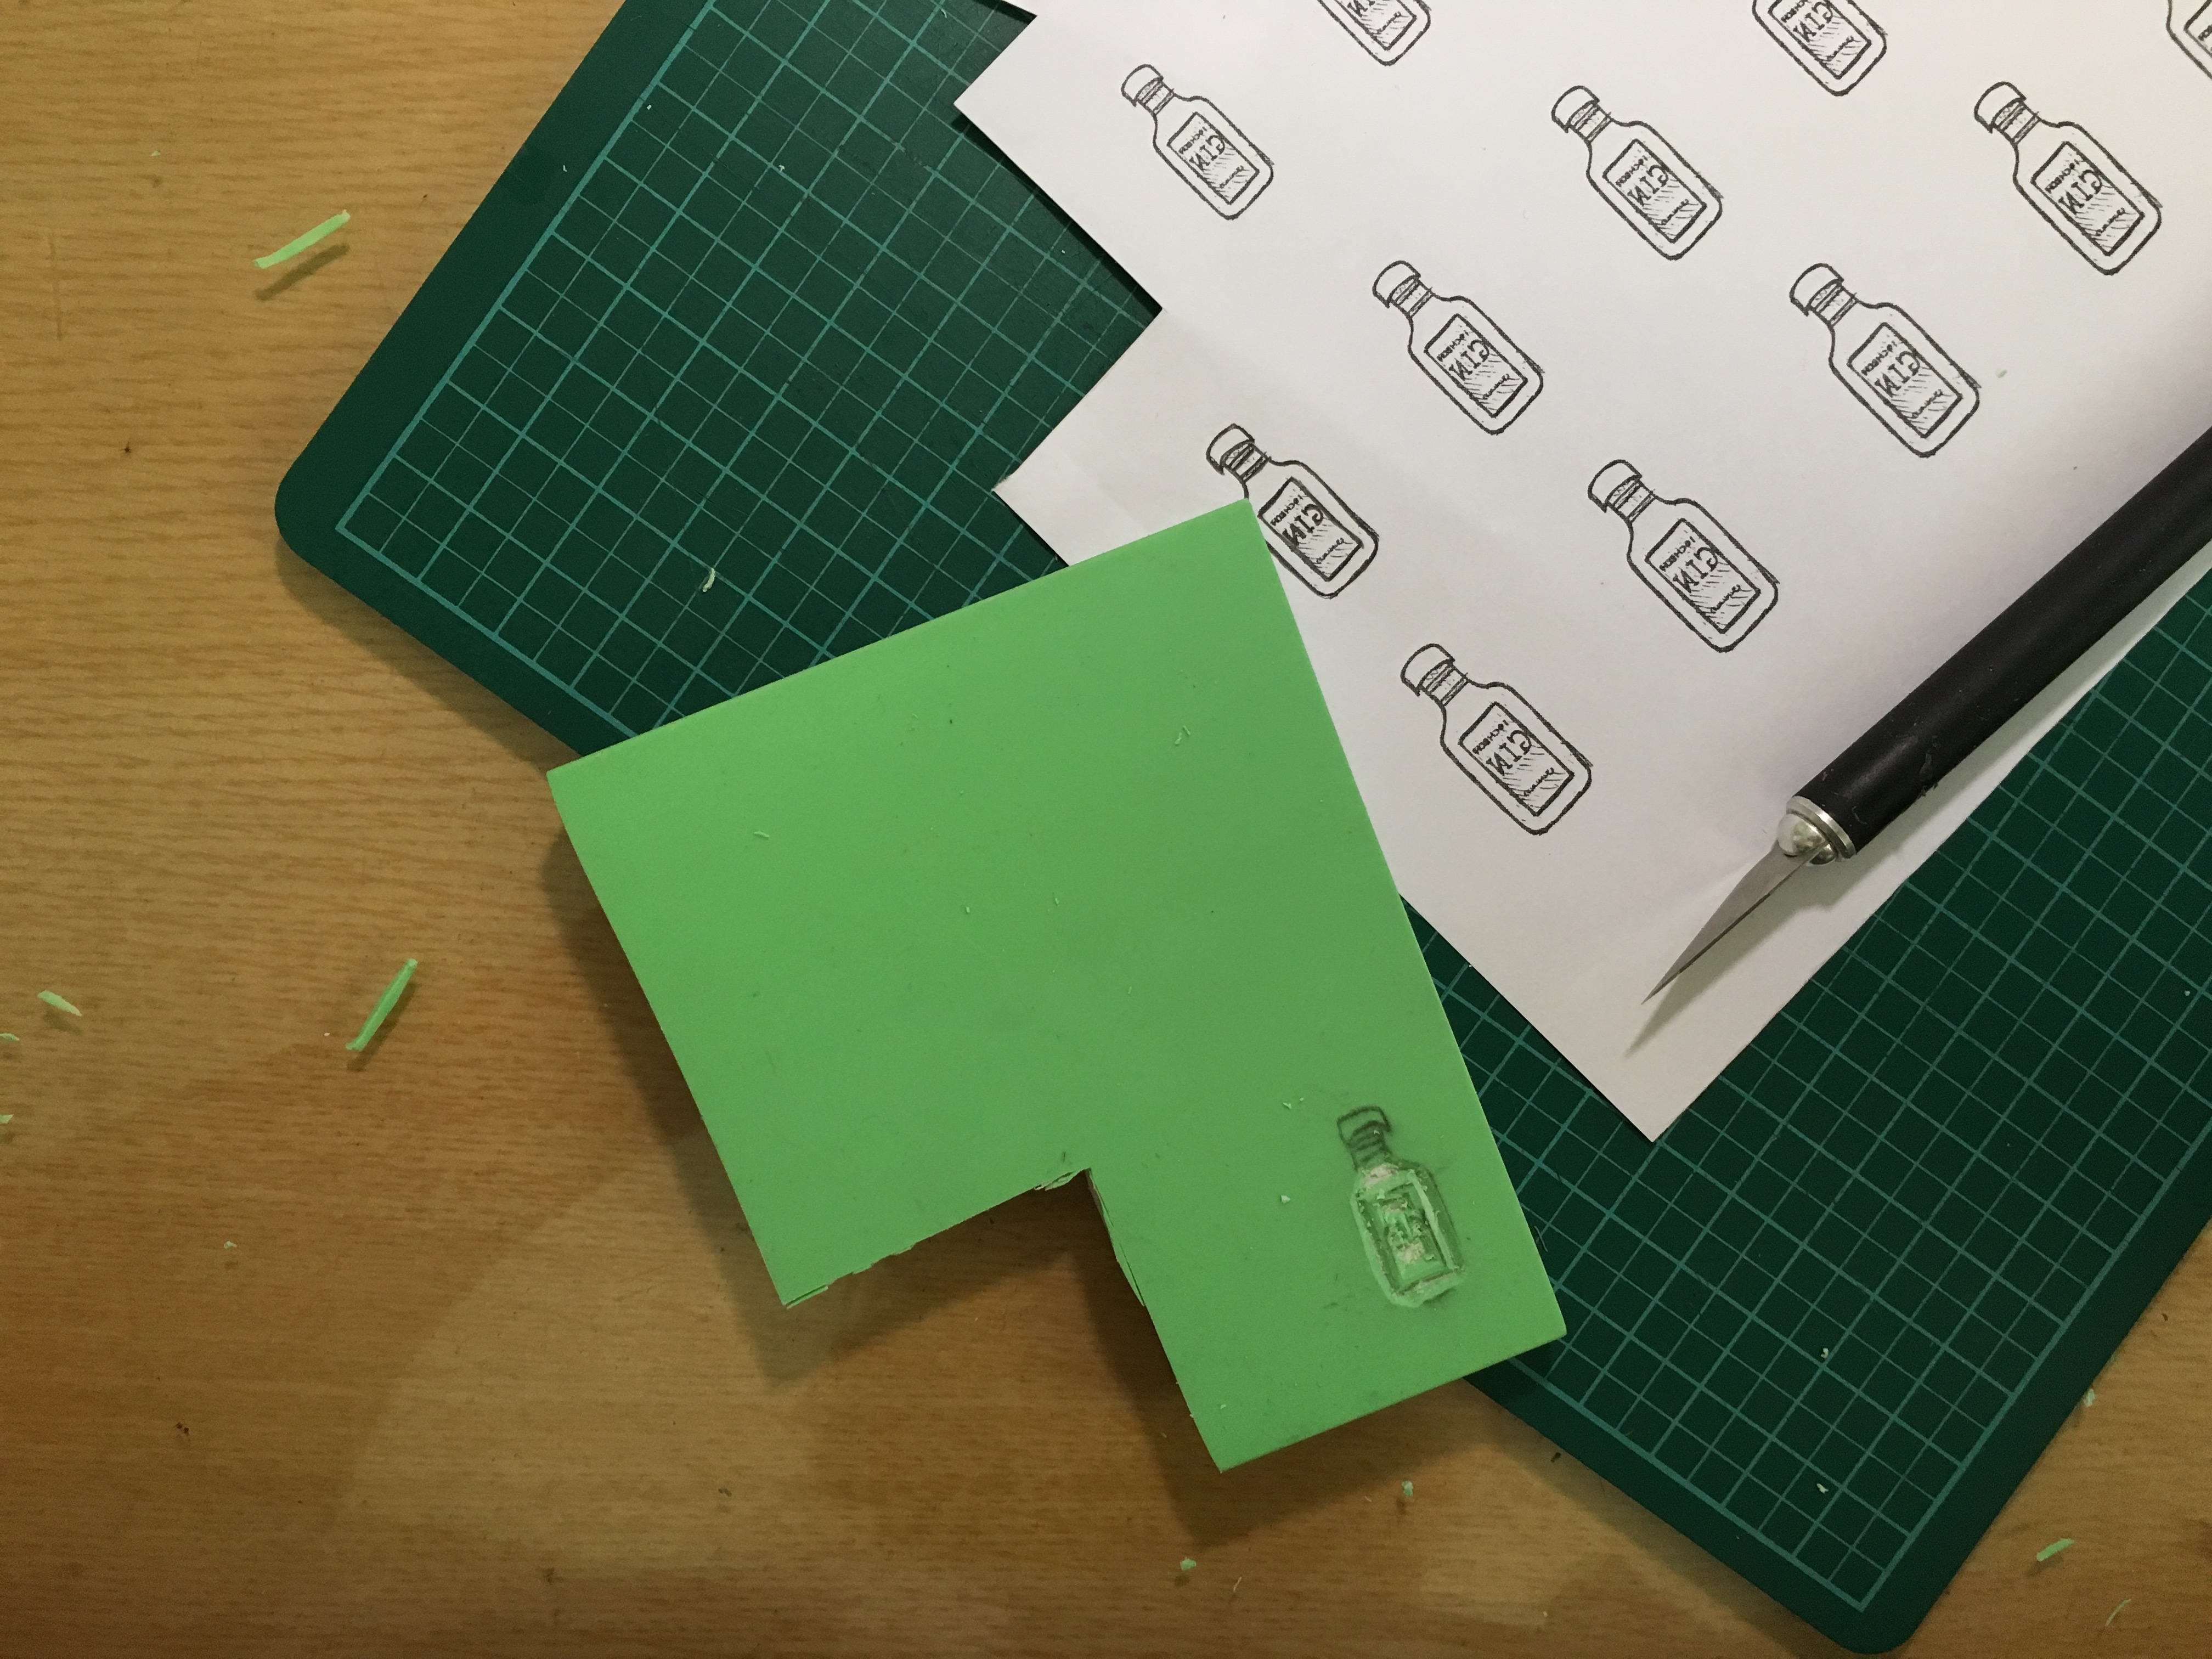
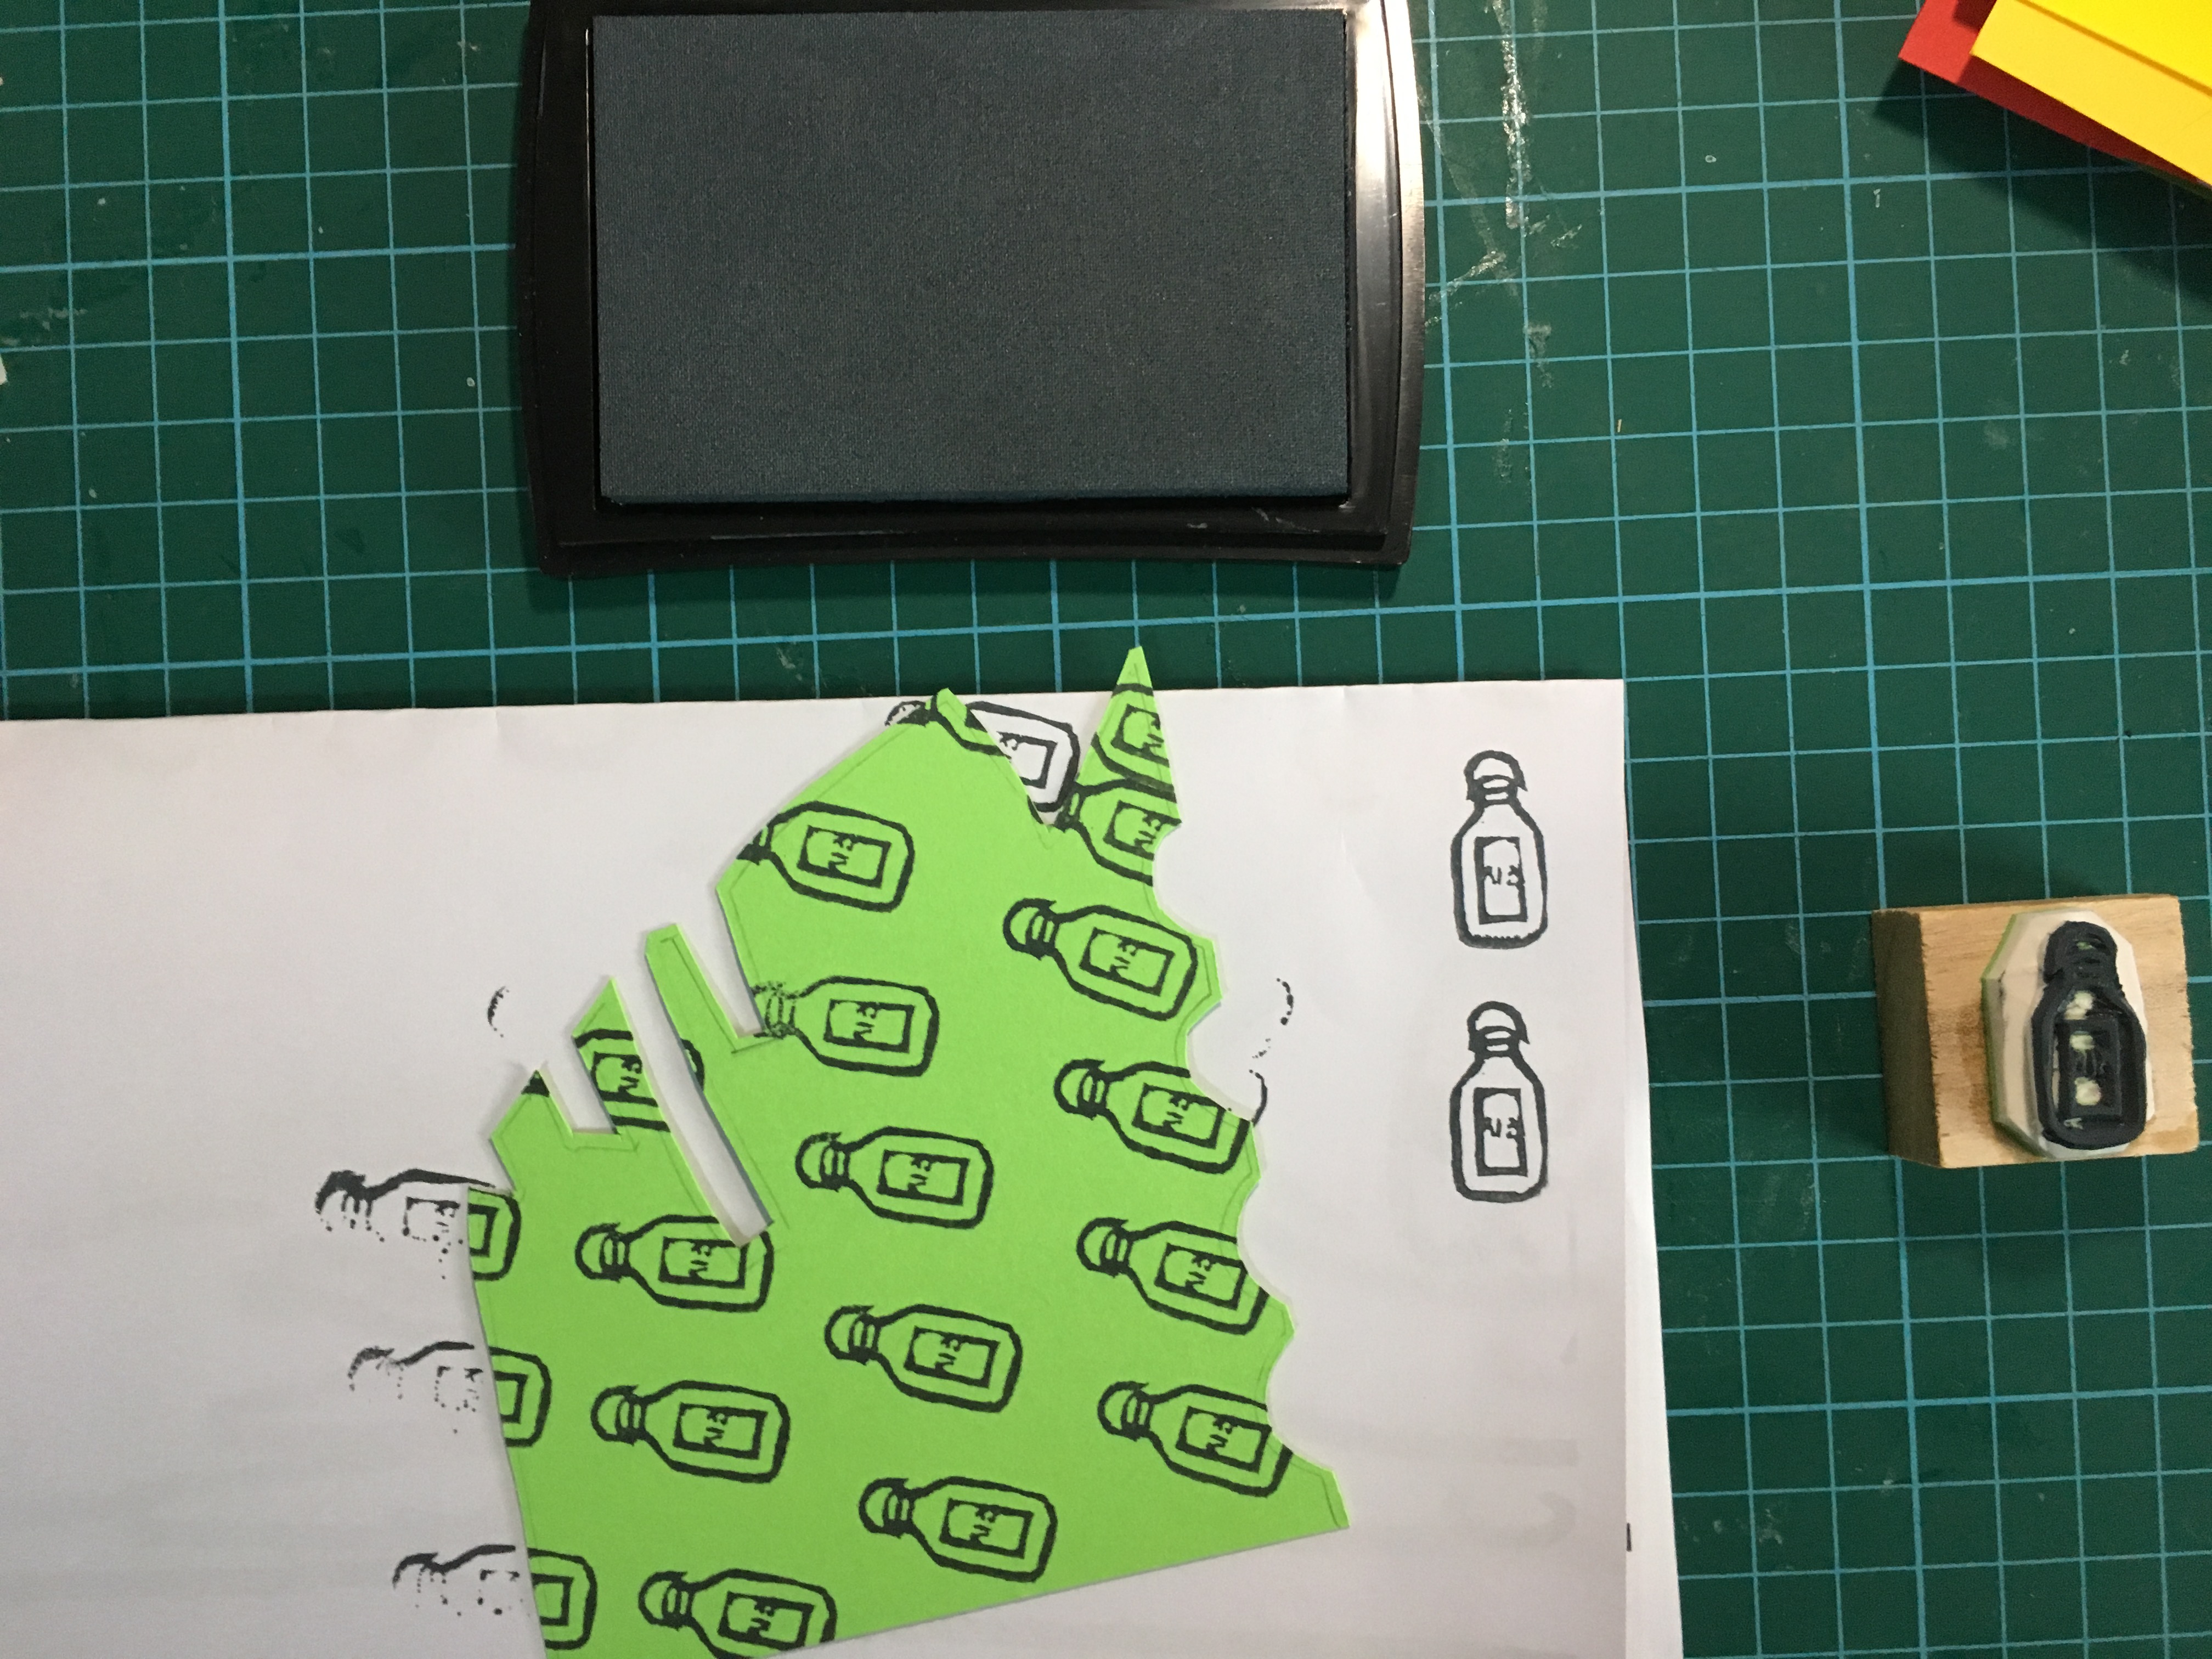
Then i was searching for a way to incorporate the gin bottle from my name into the composition, so I thought, why not make them as the print of my shirt design, I believe by doing so it could also bring out the idea that it is the same shirt with different colour. I get the design out –> scan them –> print it out –> transfer to stamping rubber –> cut out the design and stamp onto my shirt:)
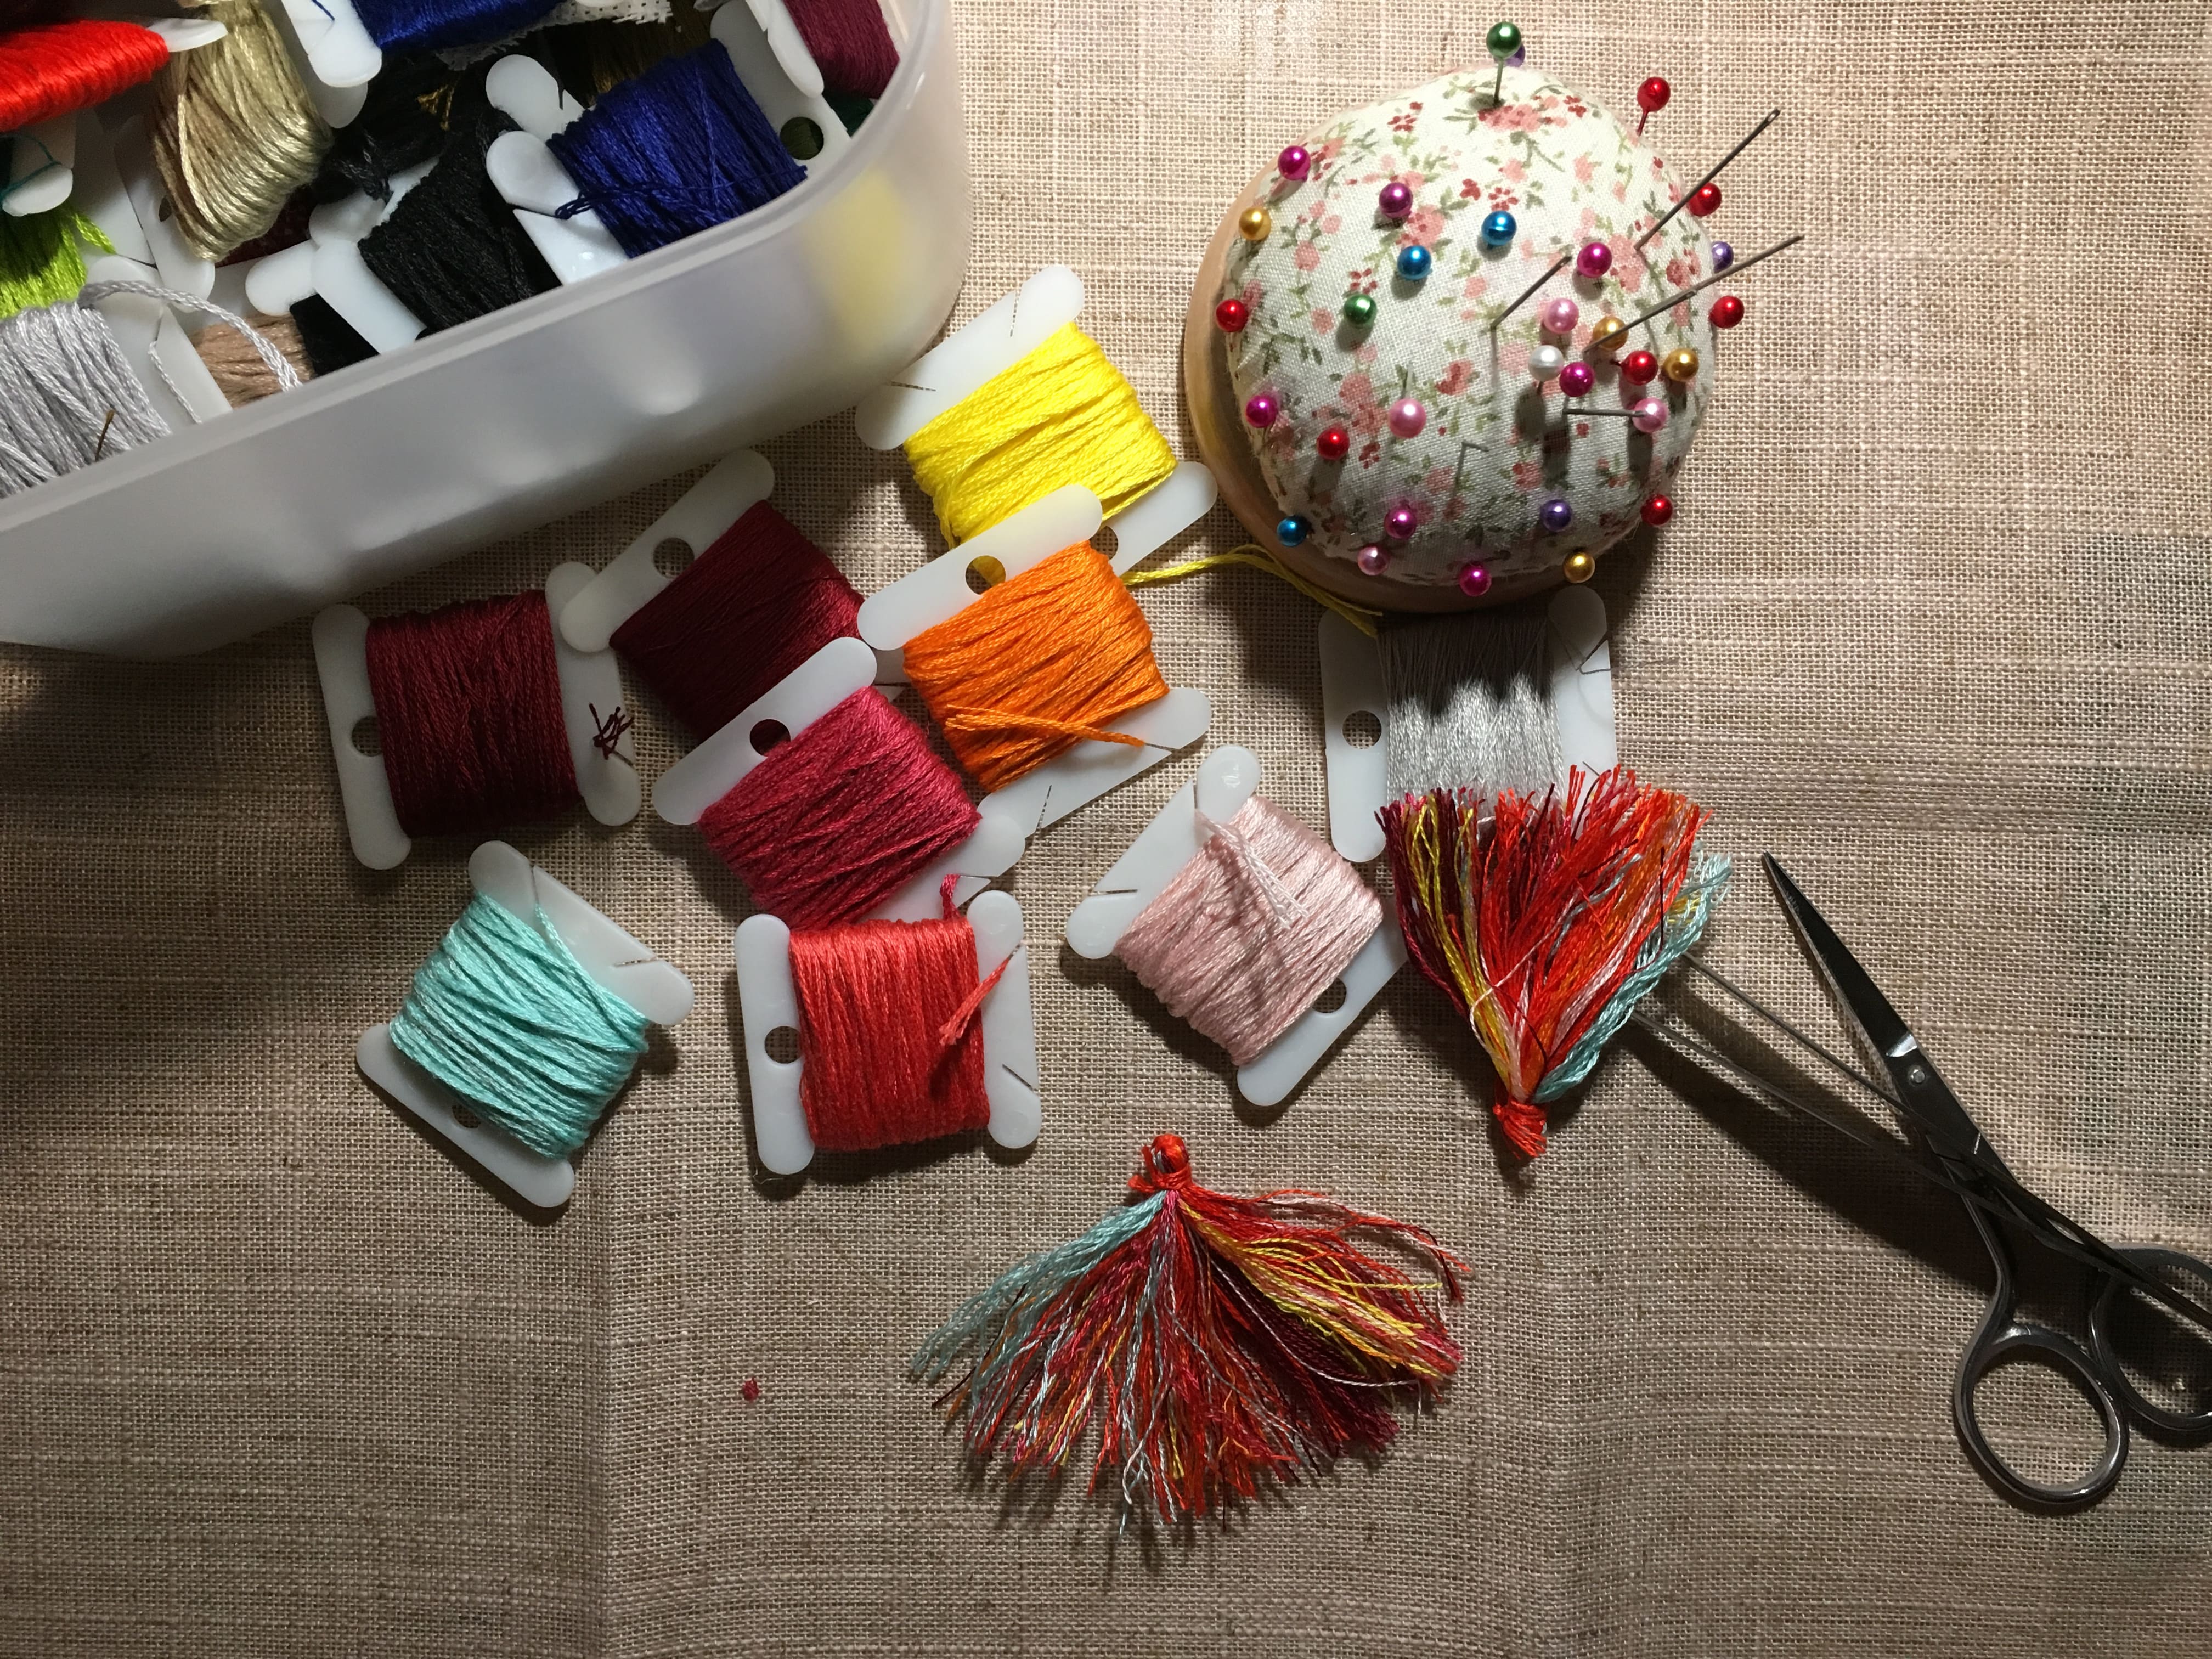
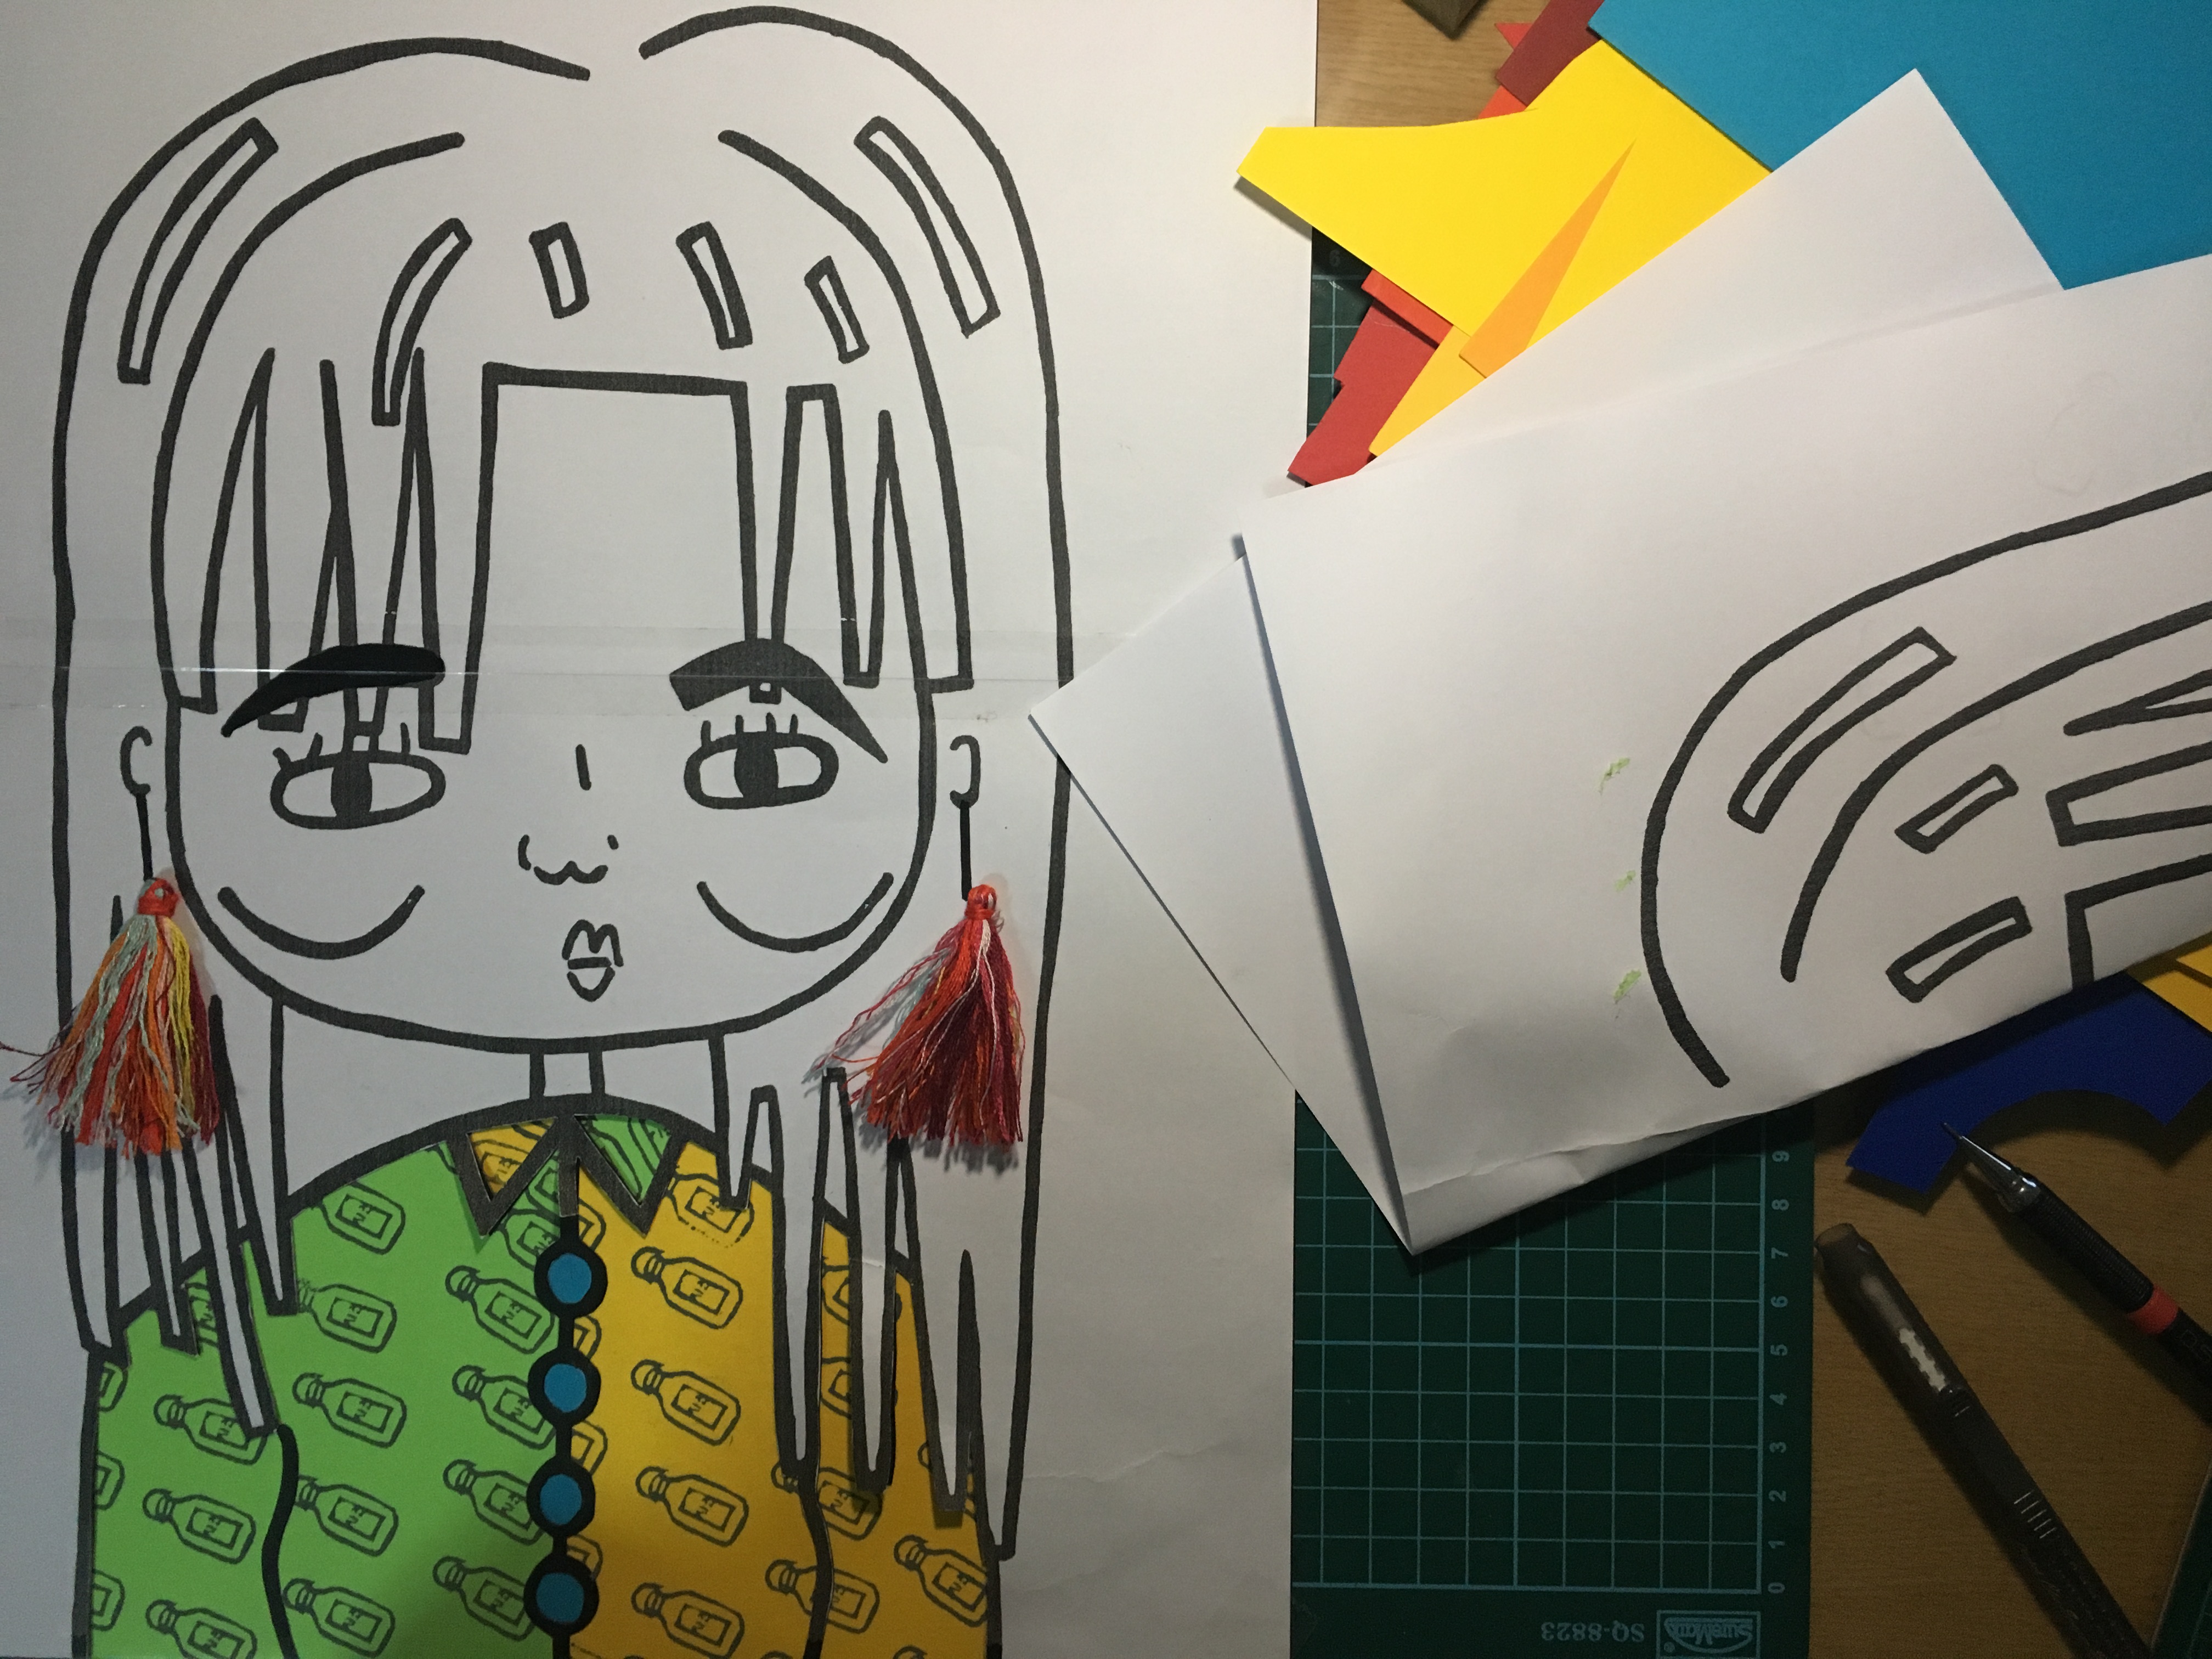
To recreate the tassel wearings who I wore, I make them out of DMC thread for stitching. As well as laying them over my composition to make sure it does not steal the attention away from the face despite it being an pop out item.
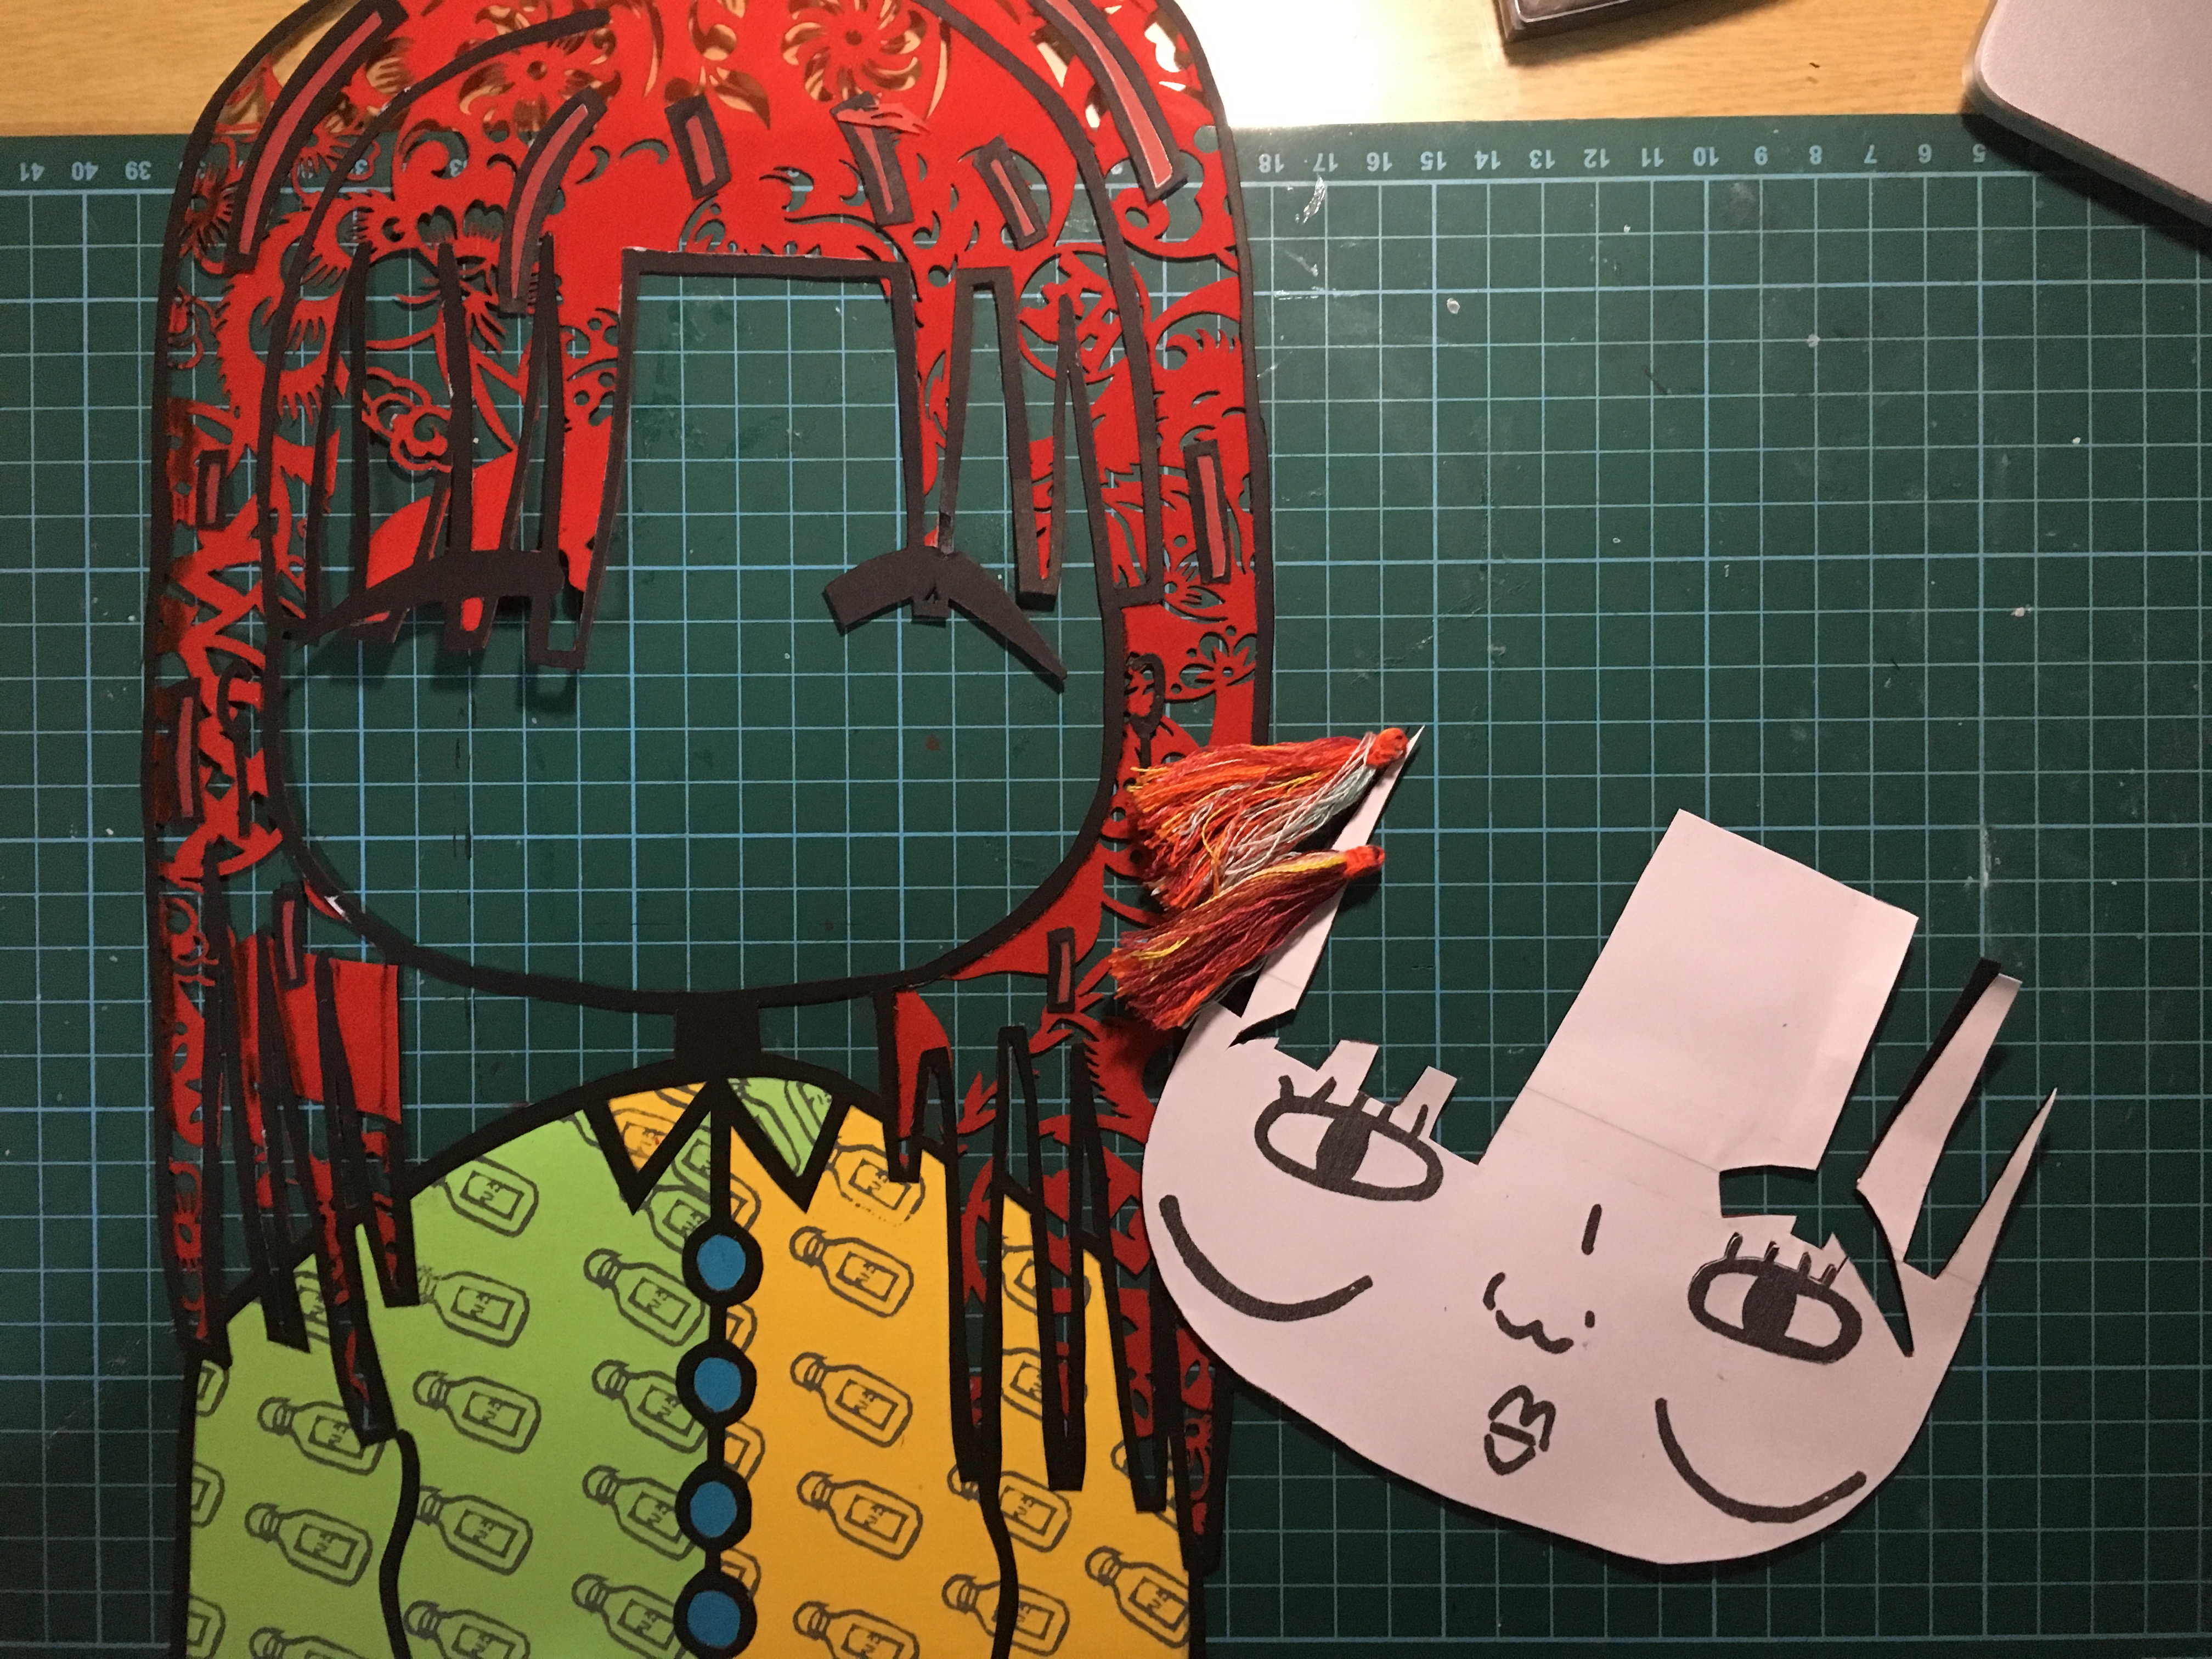
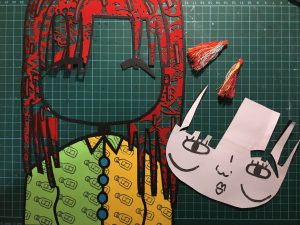
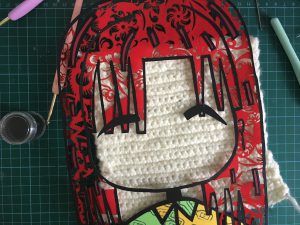
I first cut out the internal part of my face as well as my hair and I overlay the composition onto the Chinese paper cut and cut out the pattern/shape that fit into the white space of my hair.
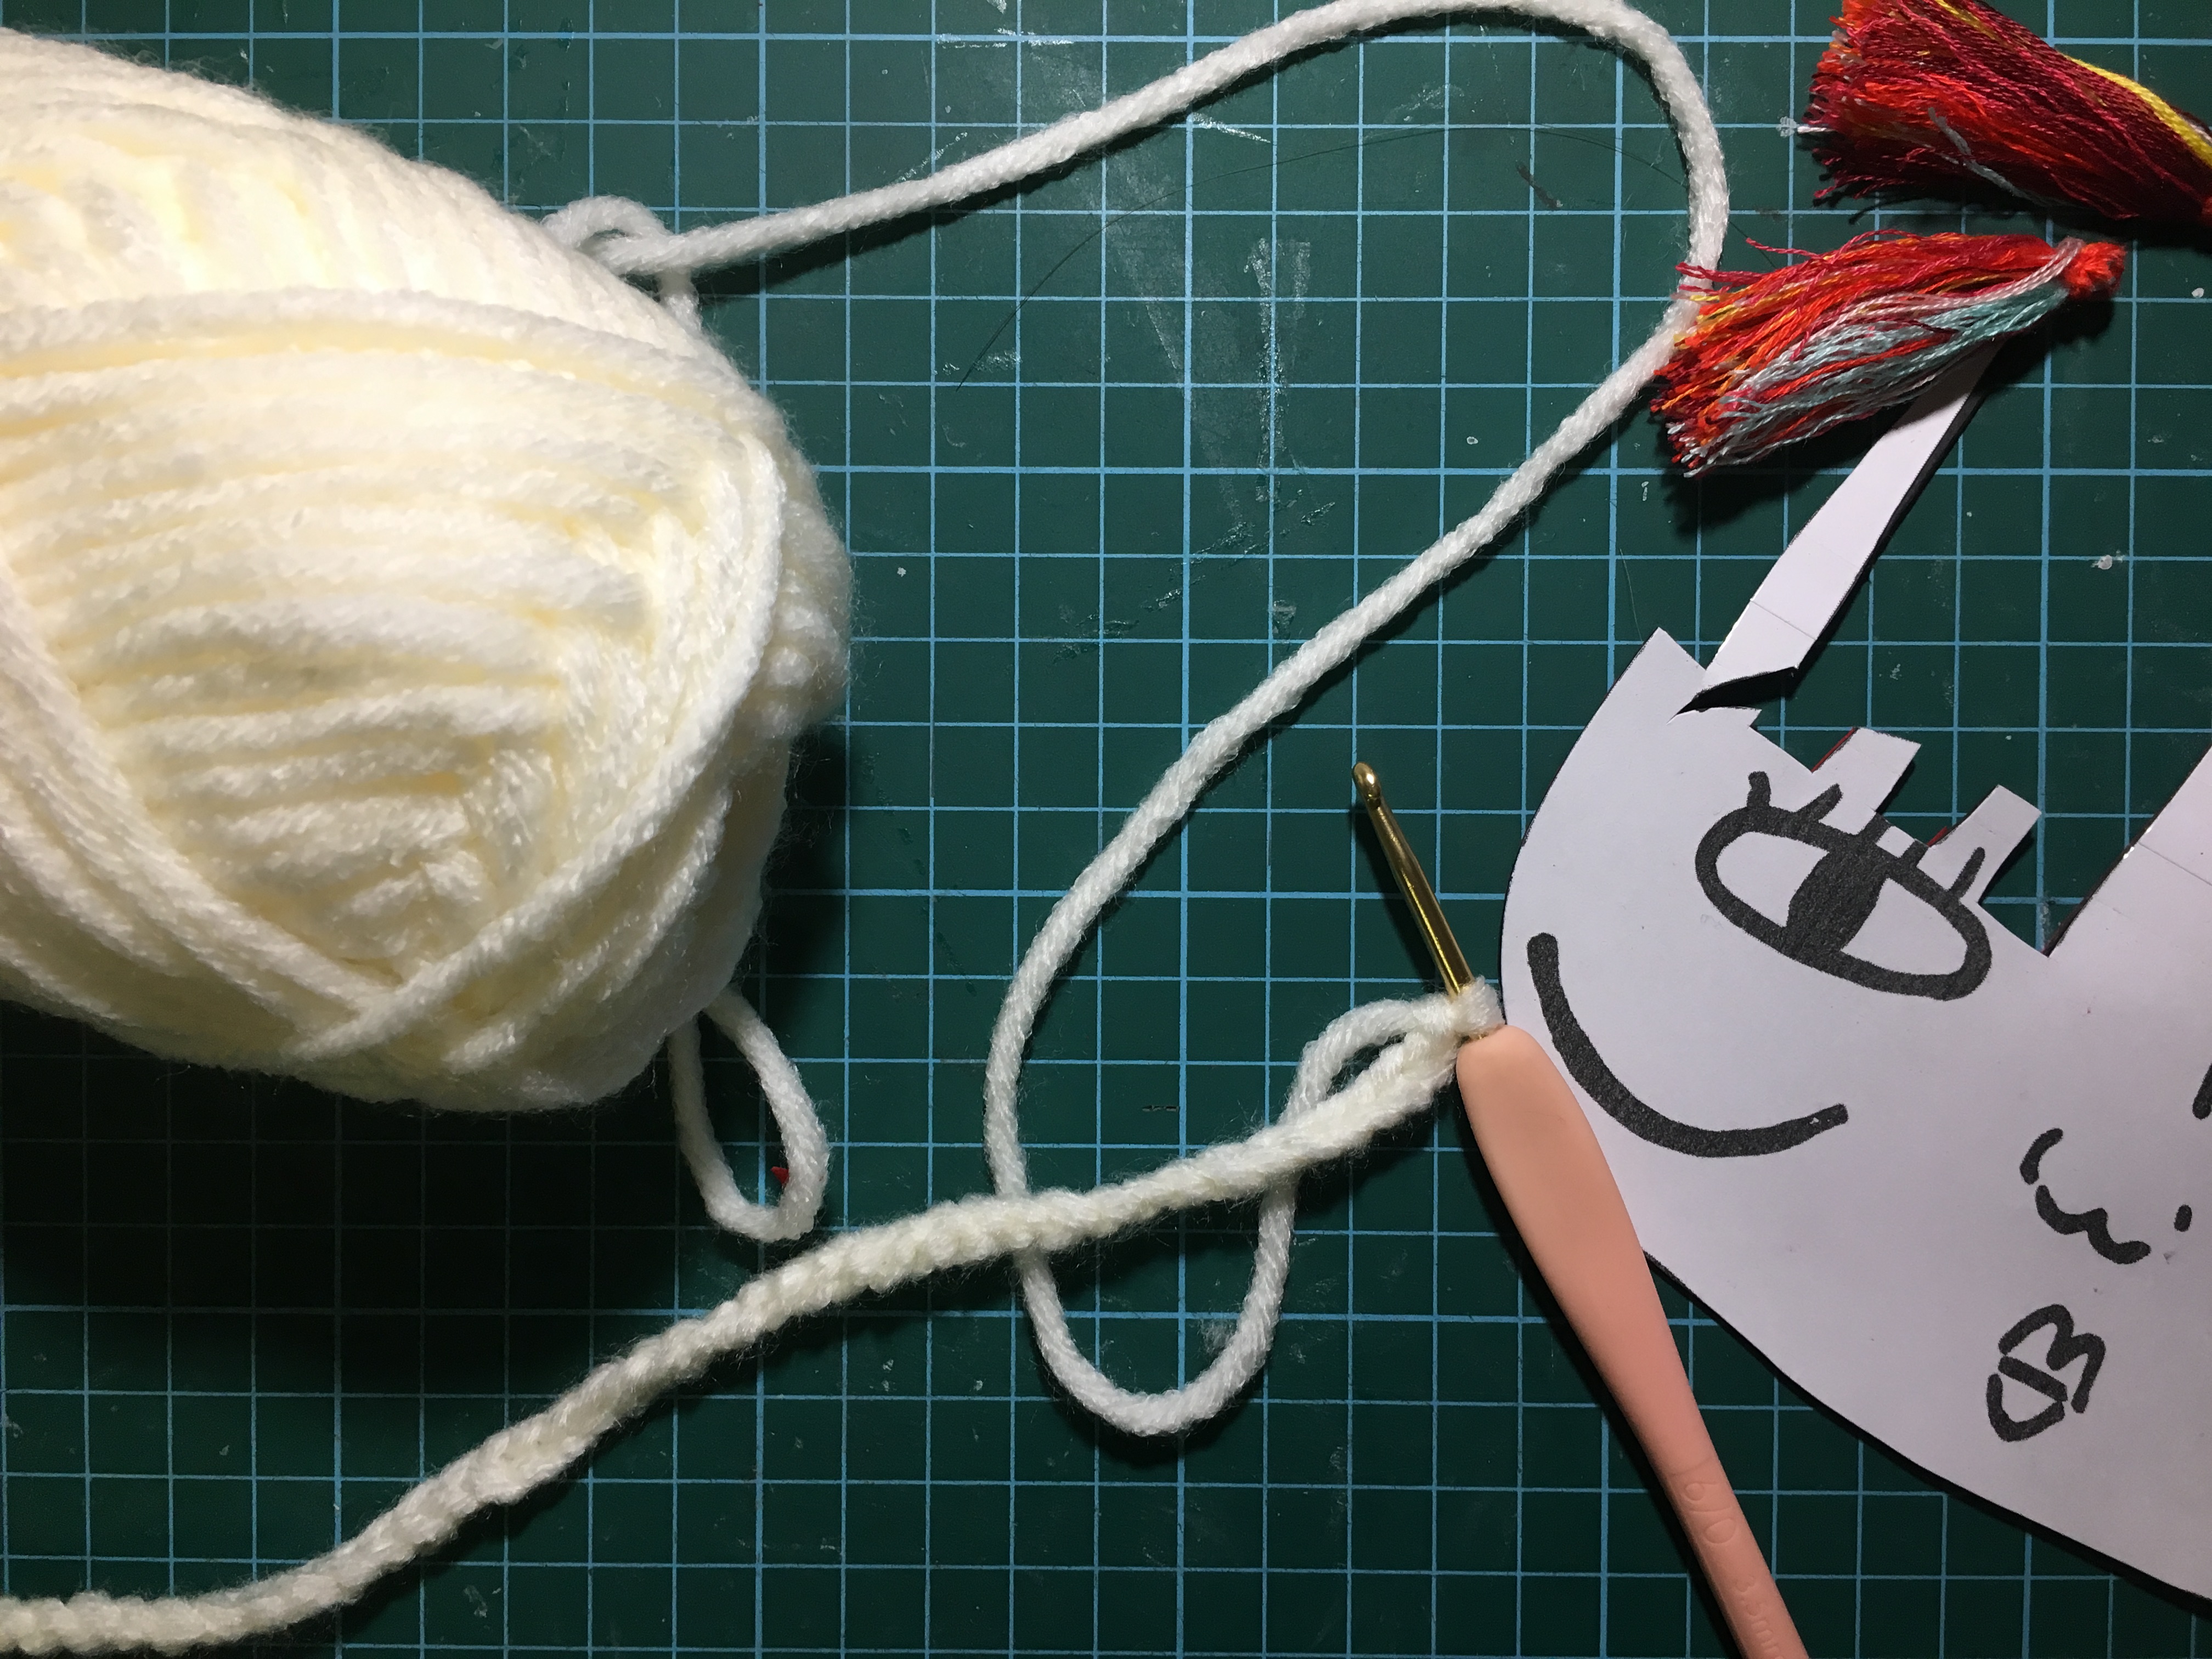
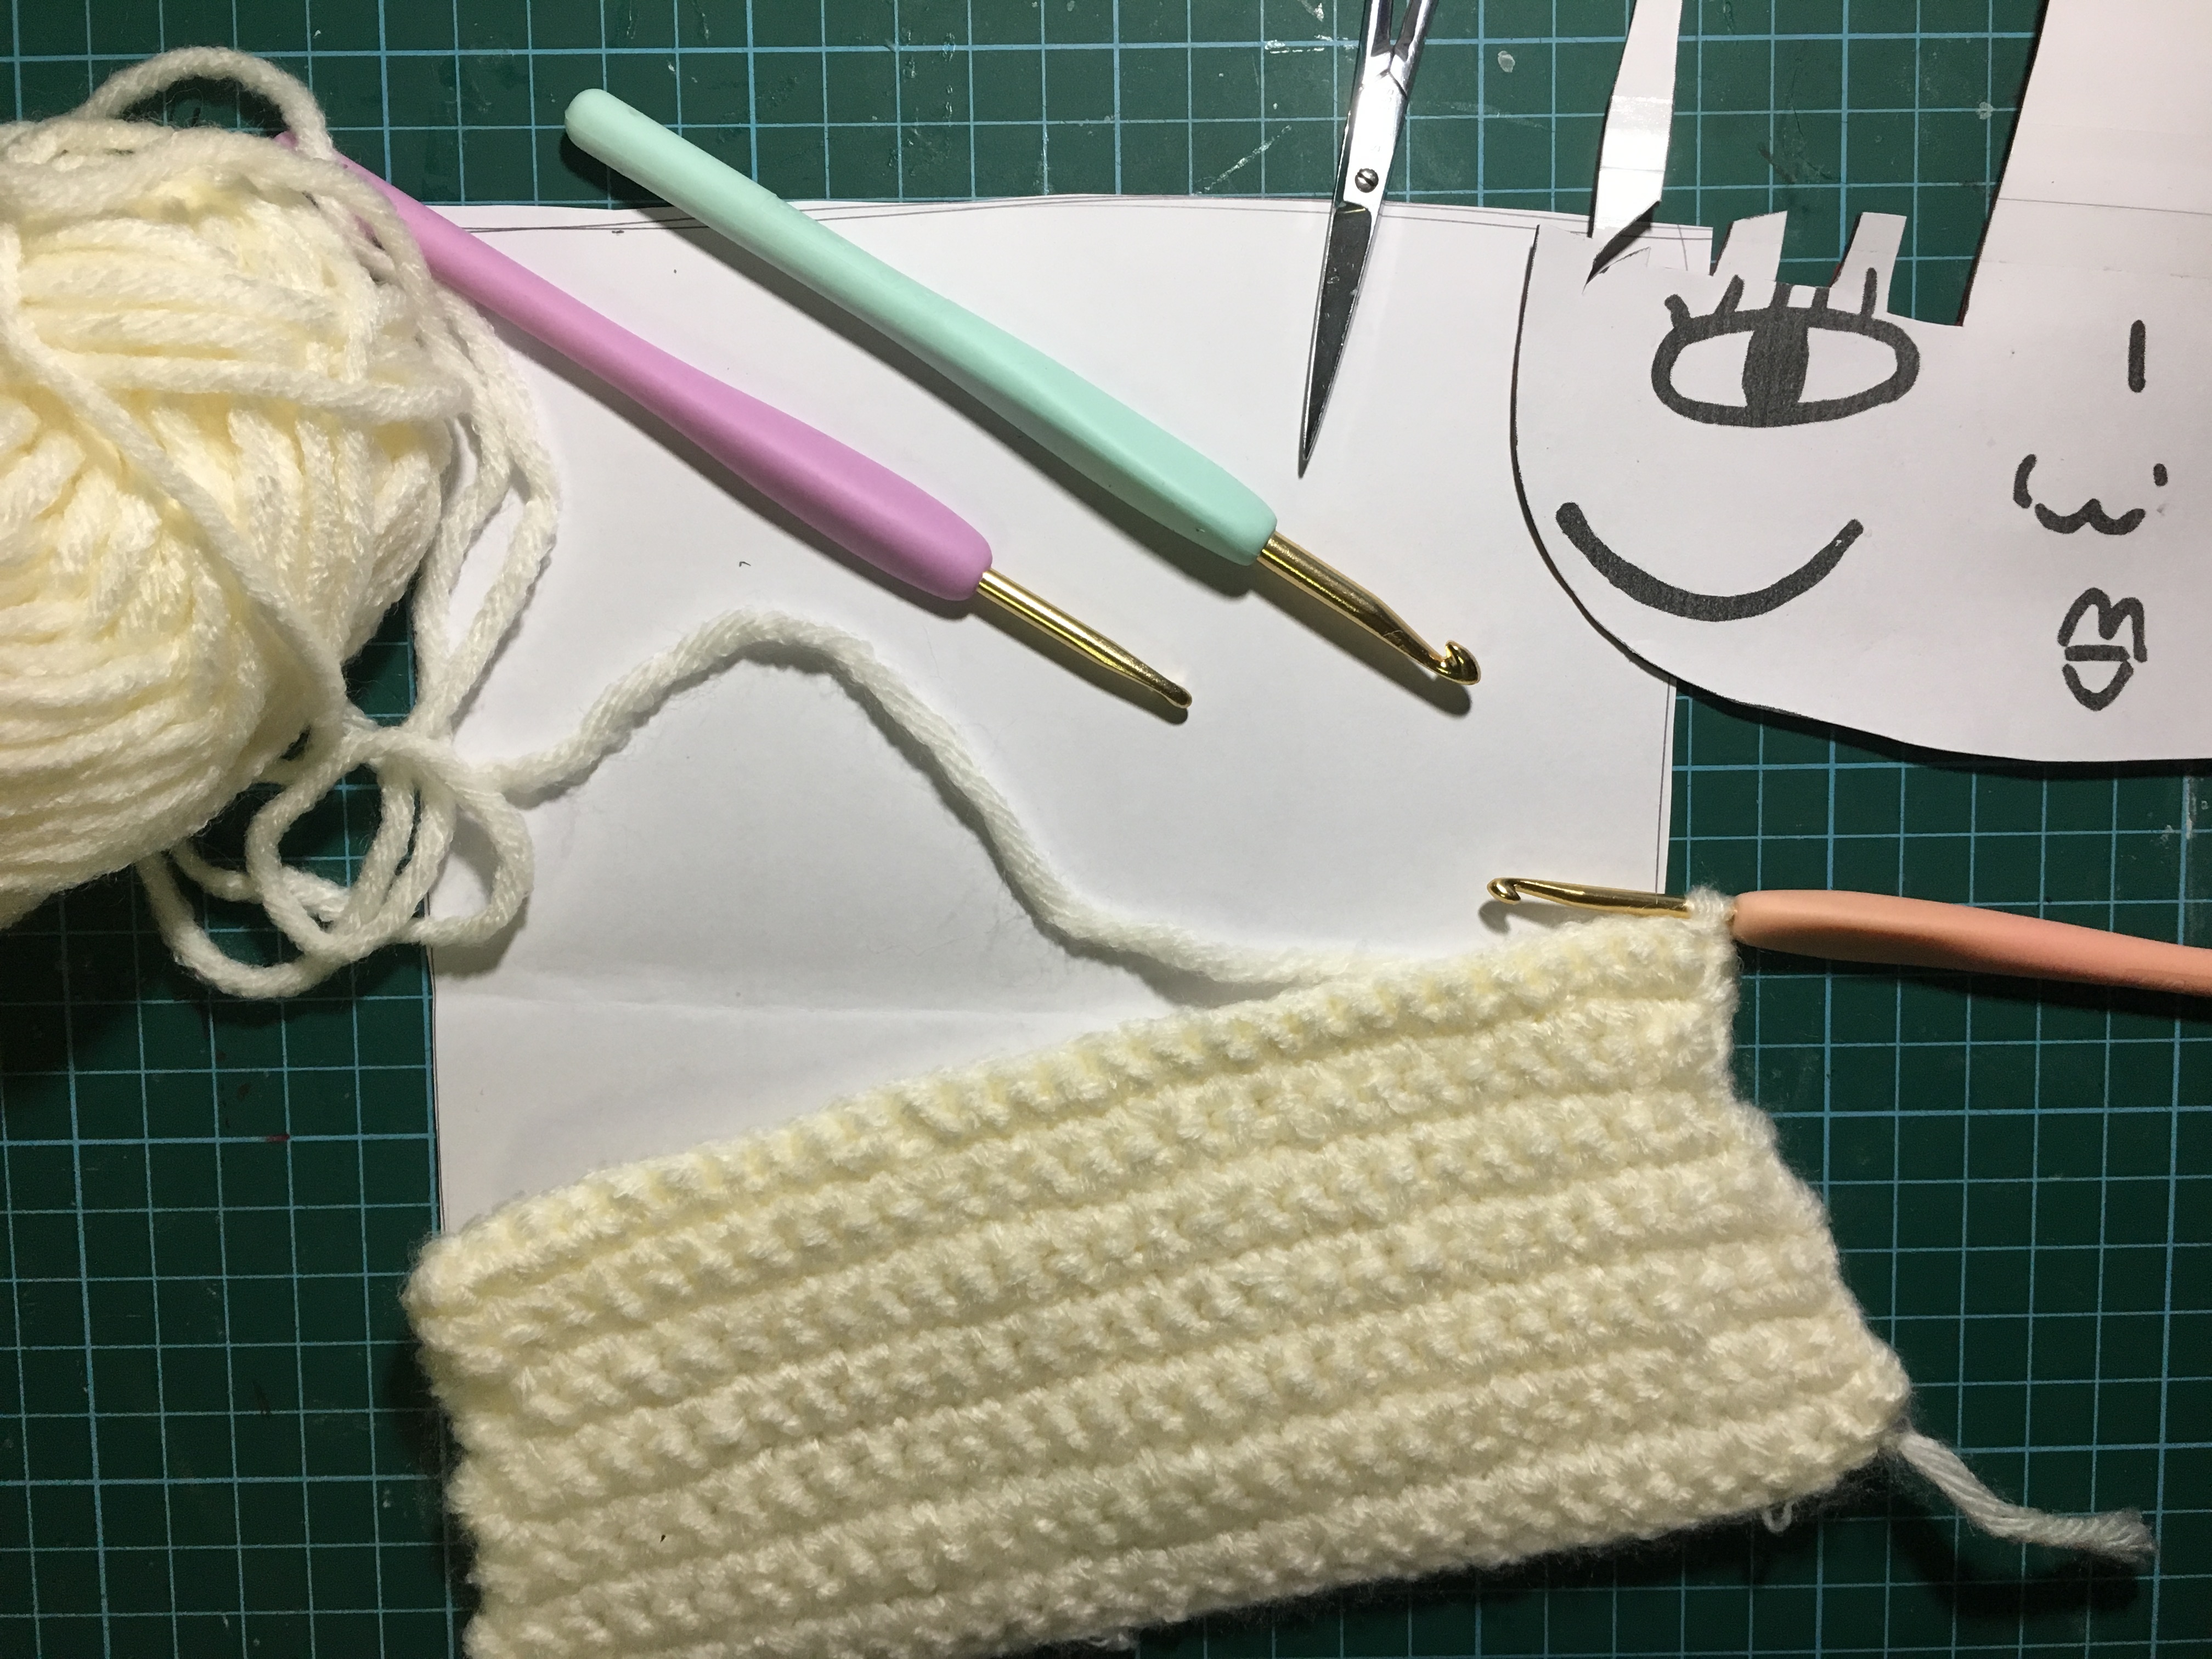
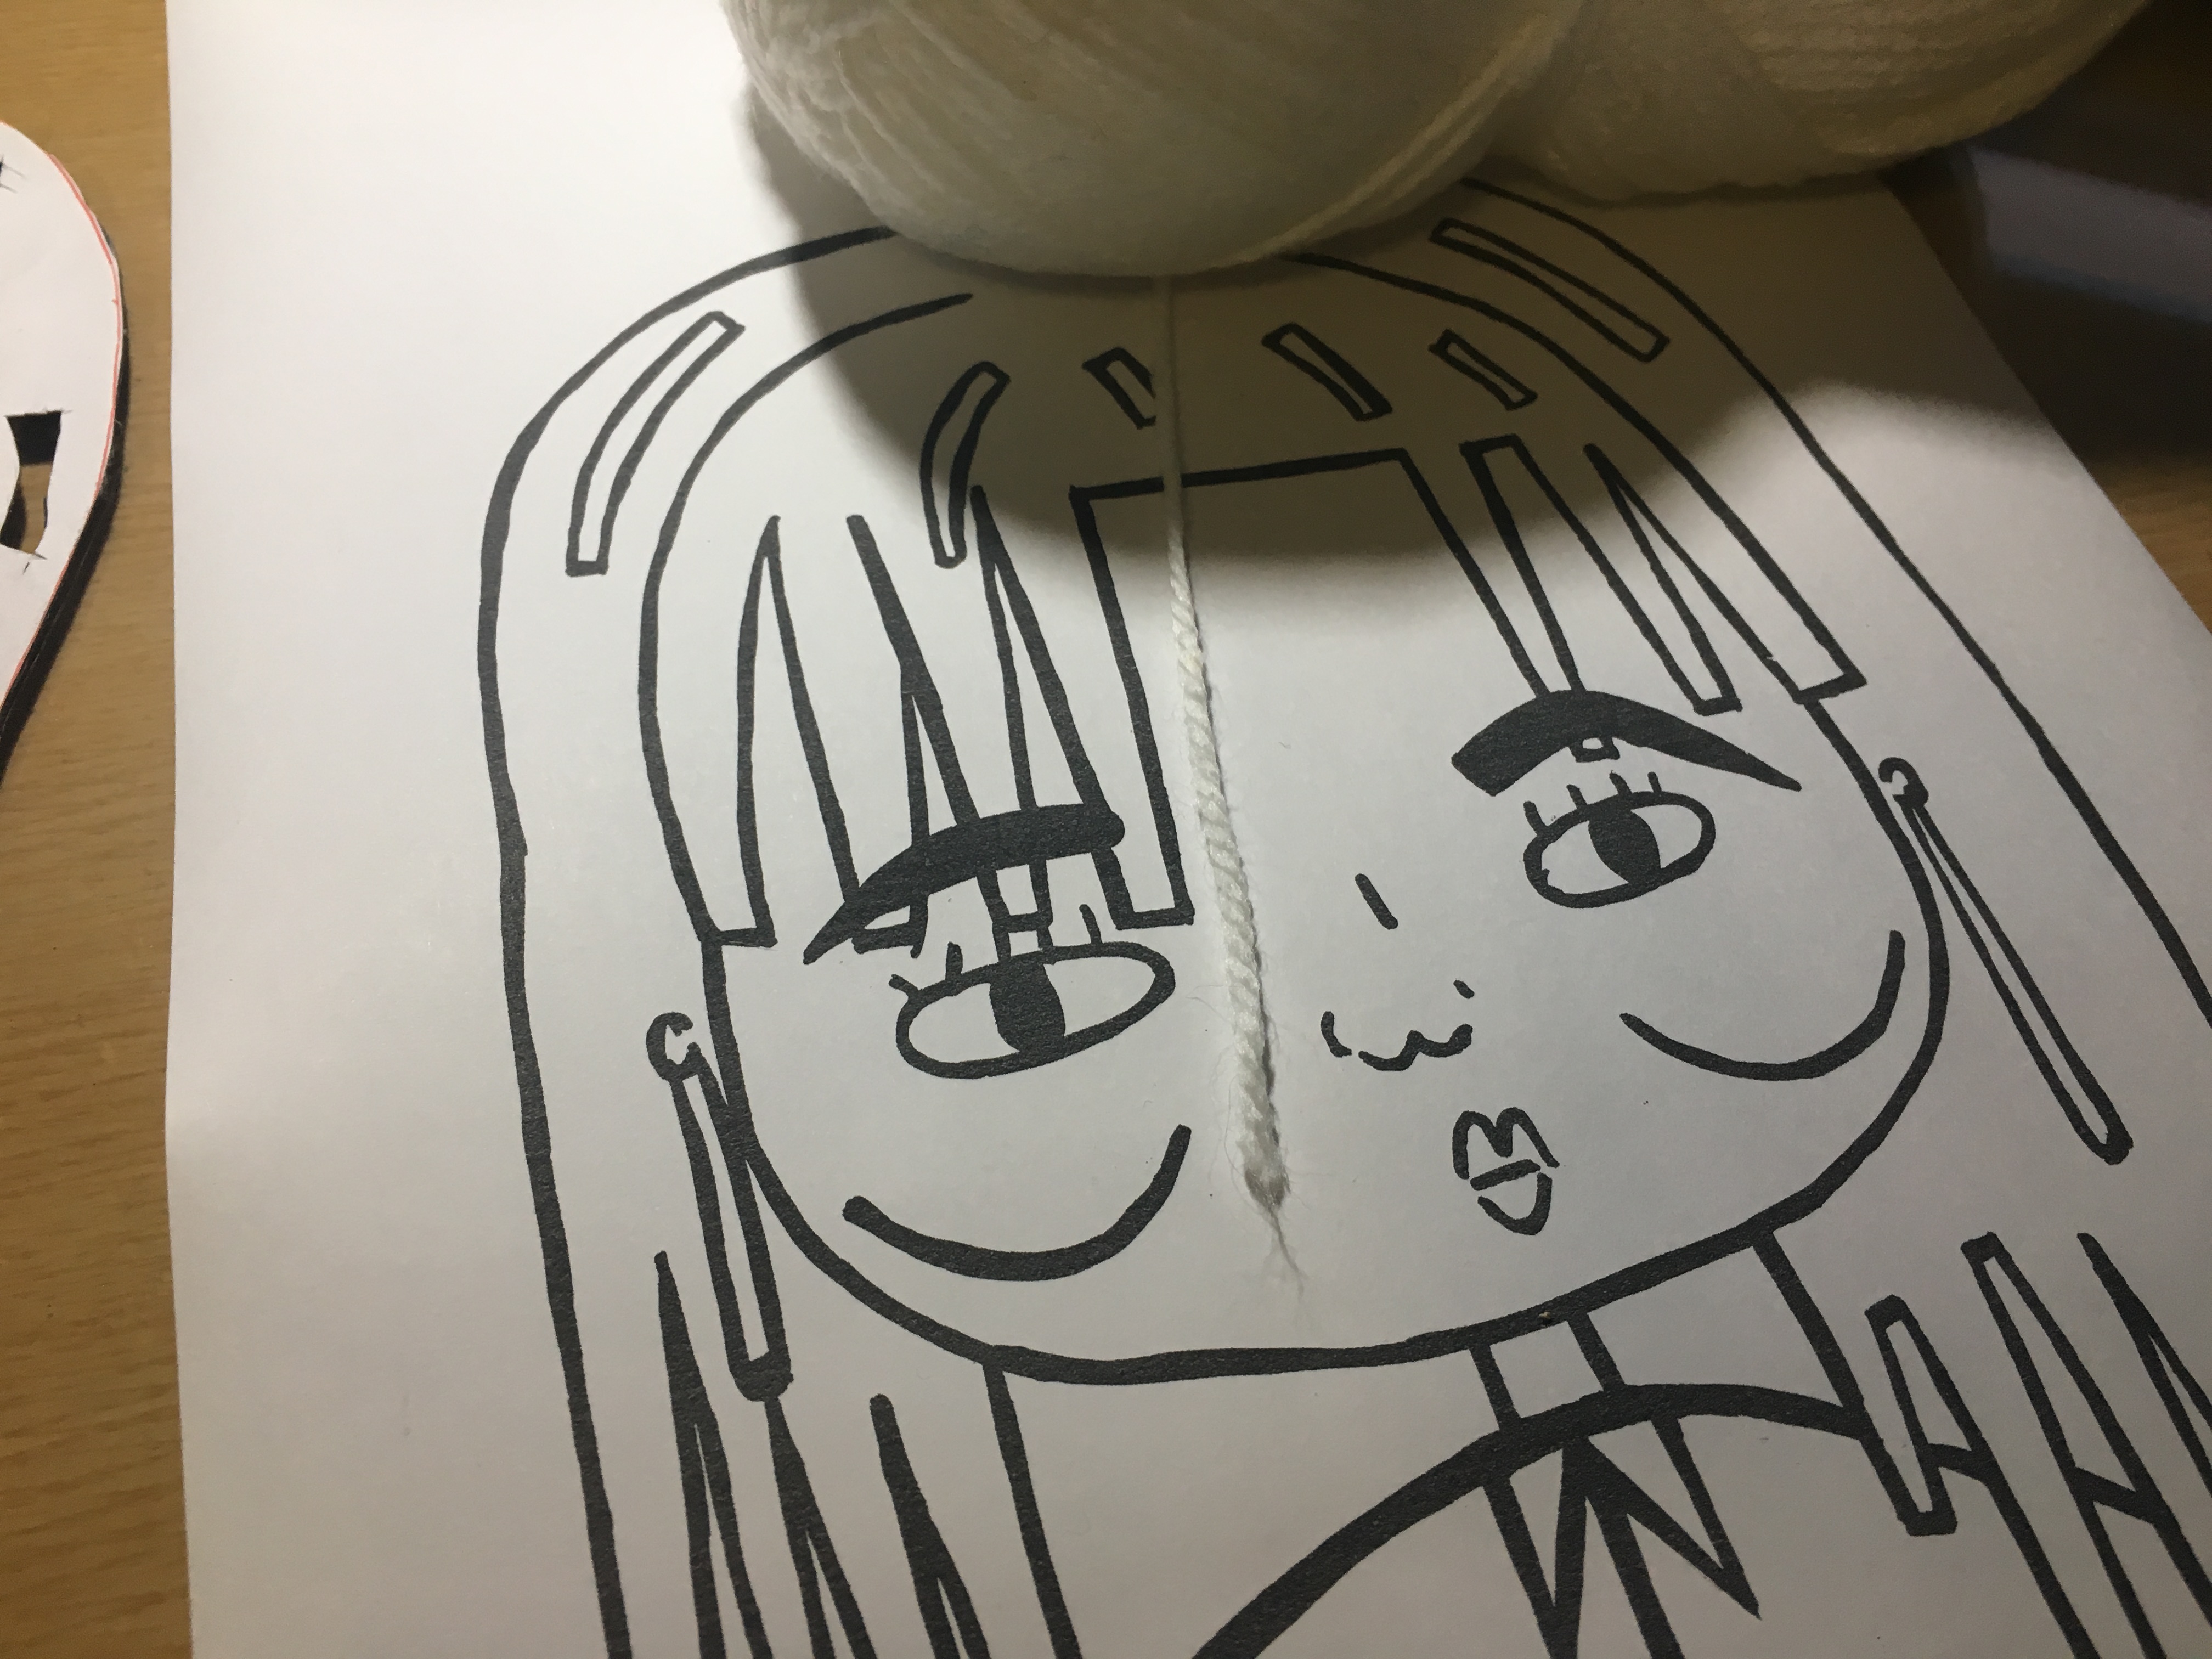
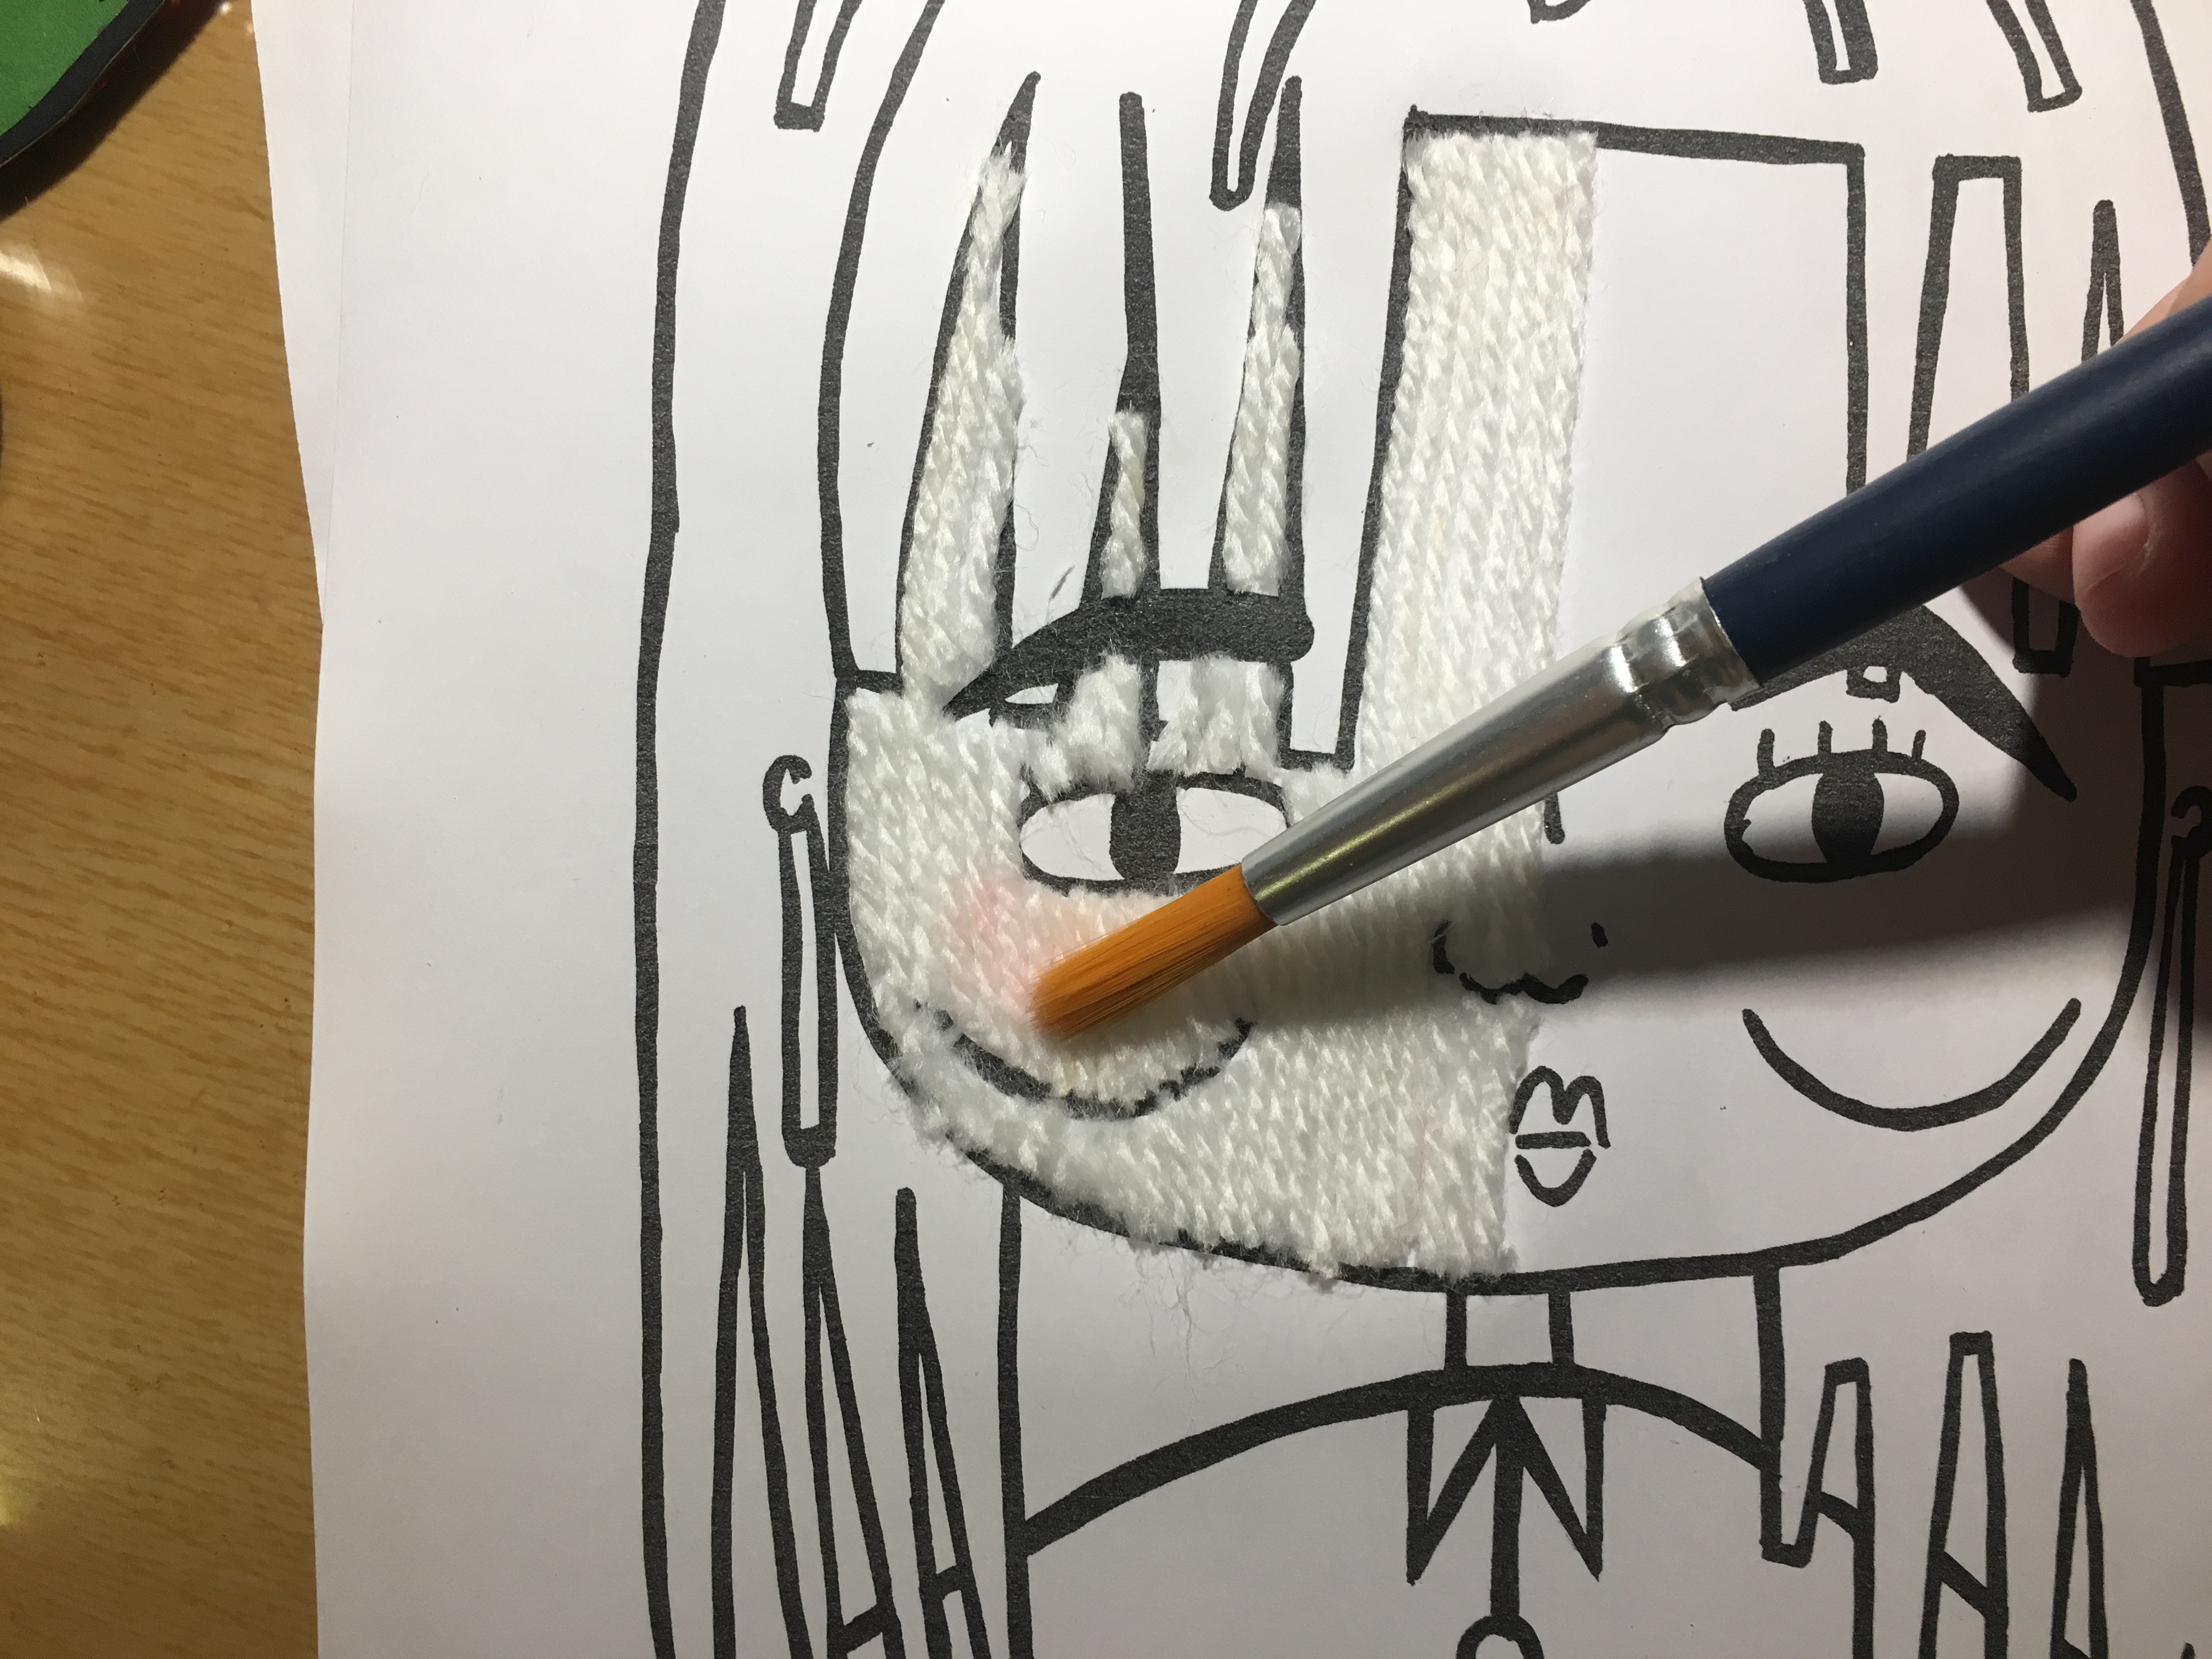
After I’m done with my hair I proceed to crochet out my face, how I did is that I first have a white piece of paper as an measurement guide to tell me how long and how wide I have to crochet so that it would be enough to cover my face.
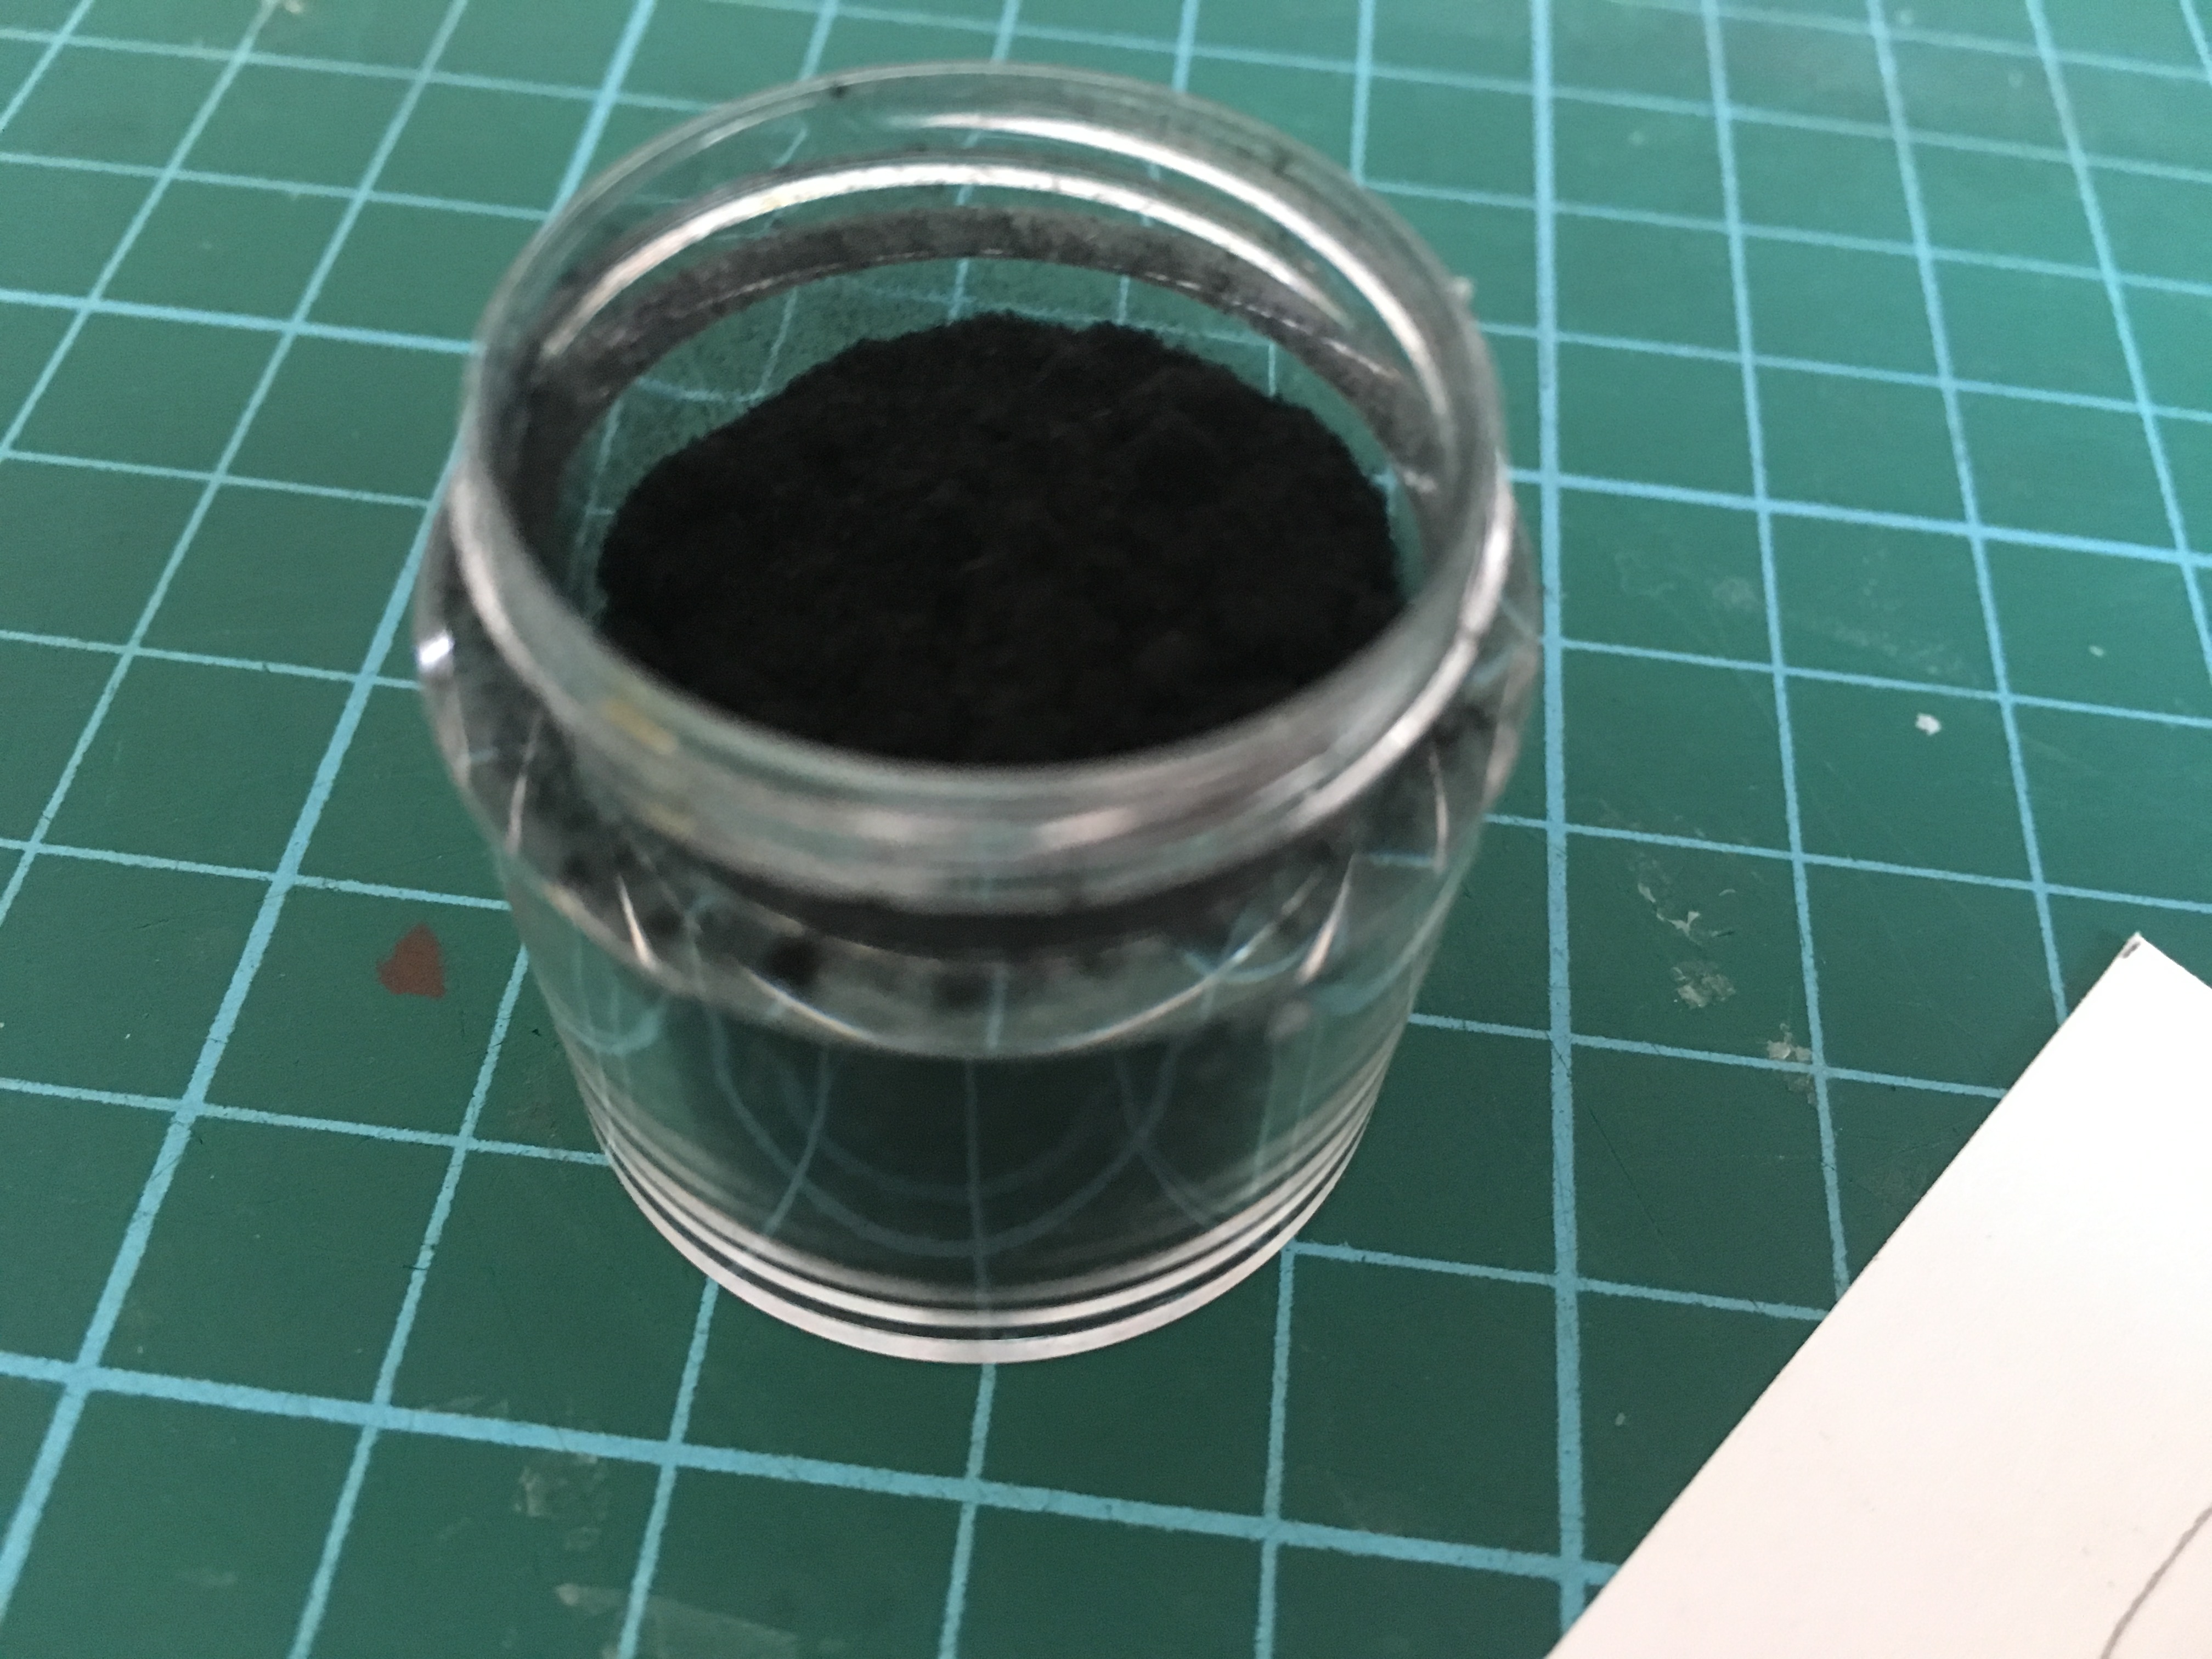
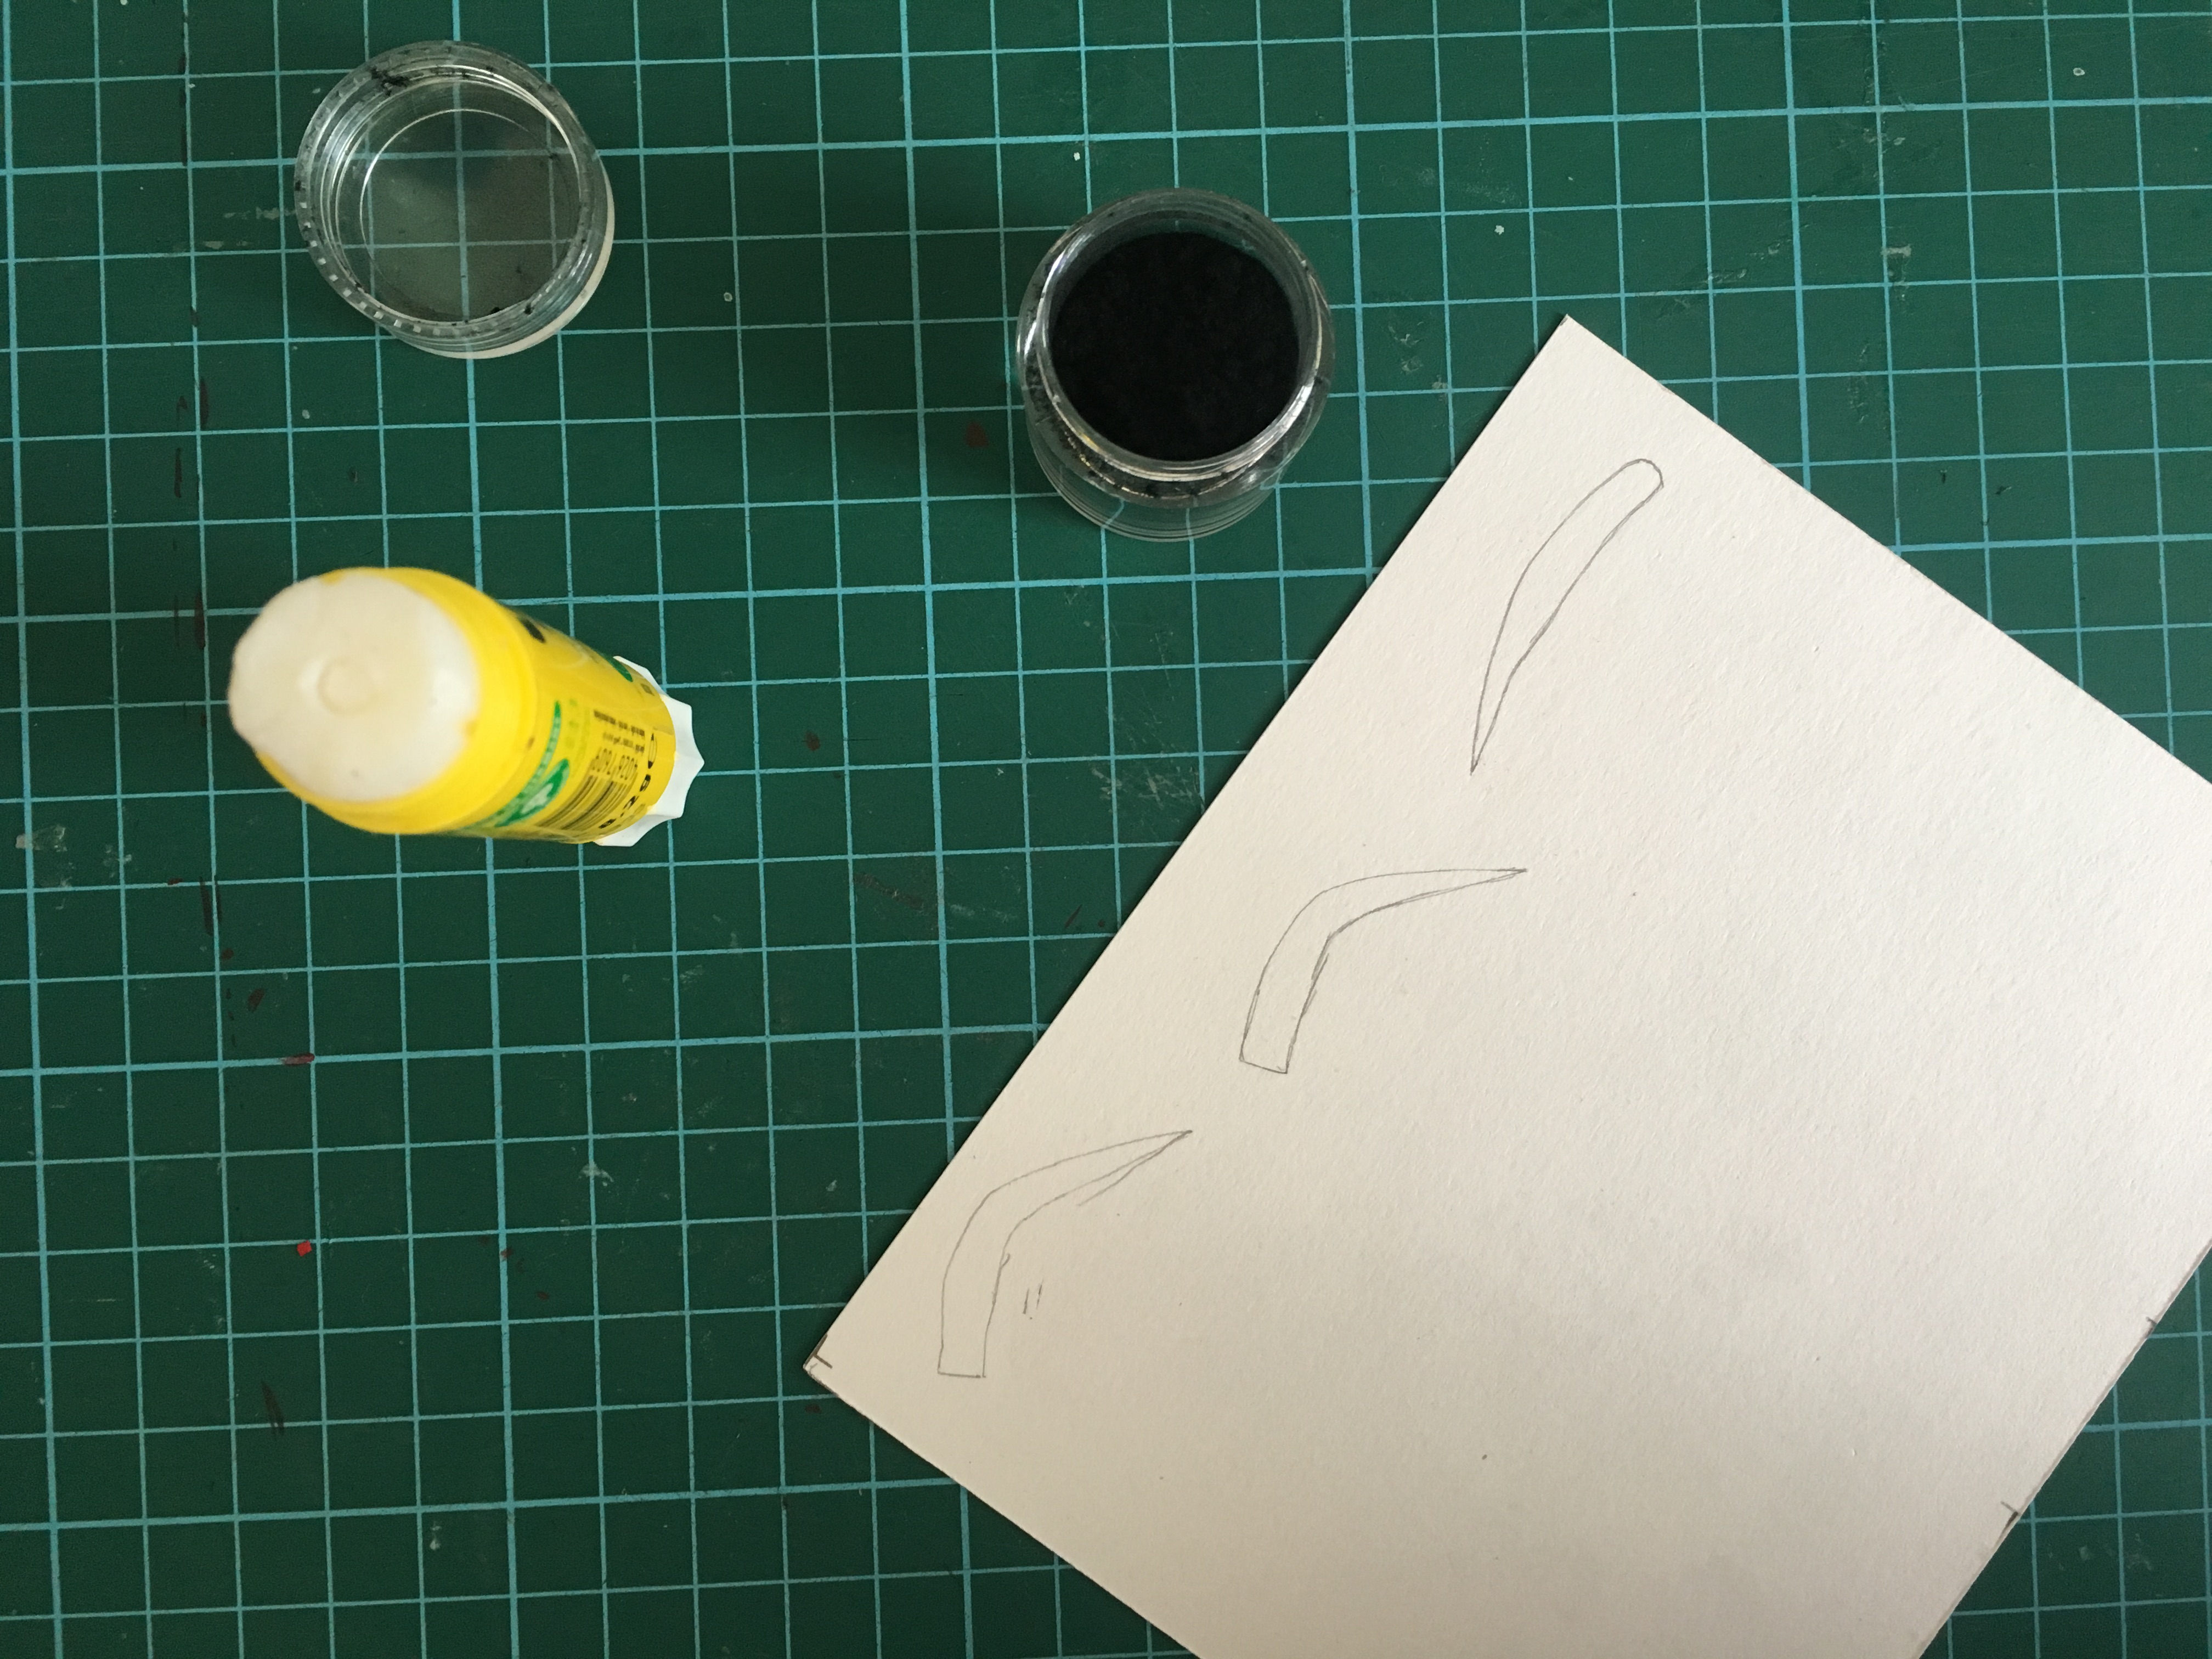

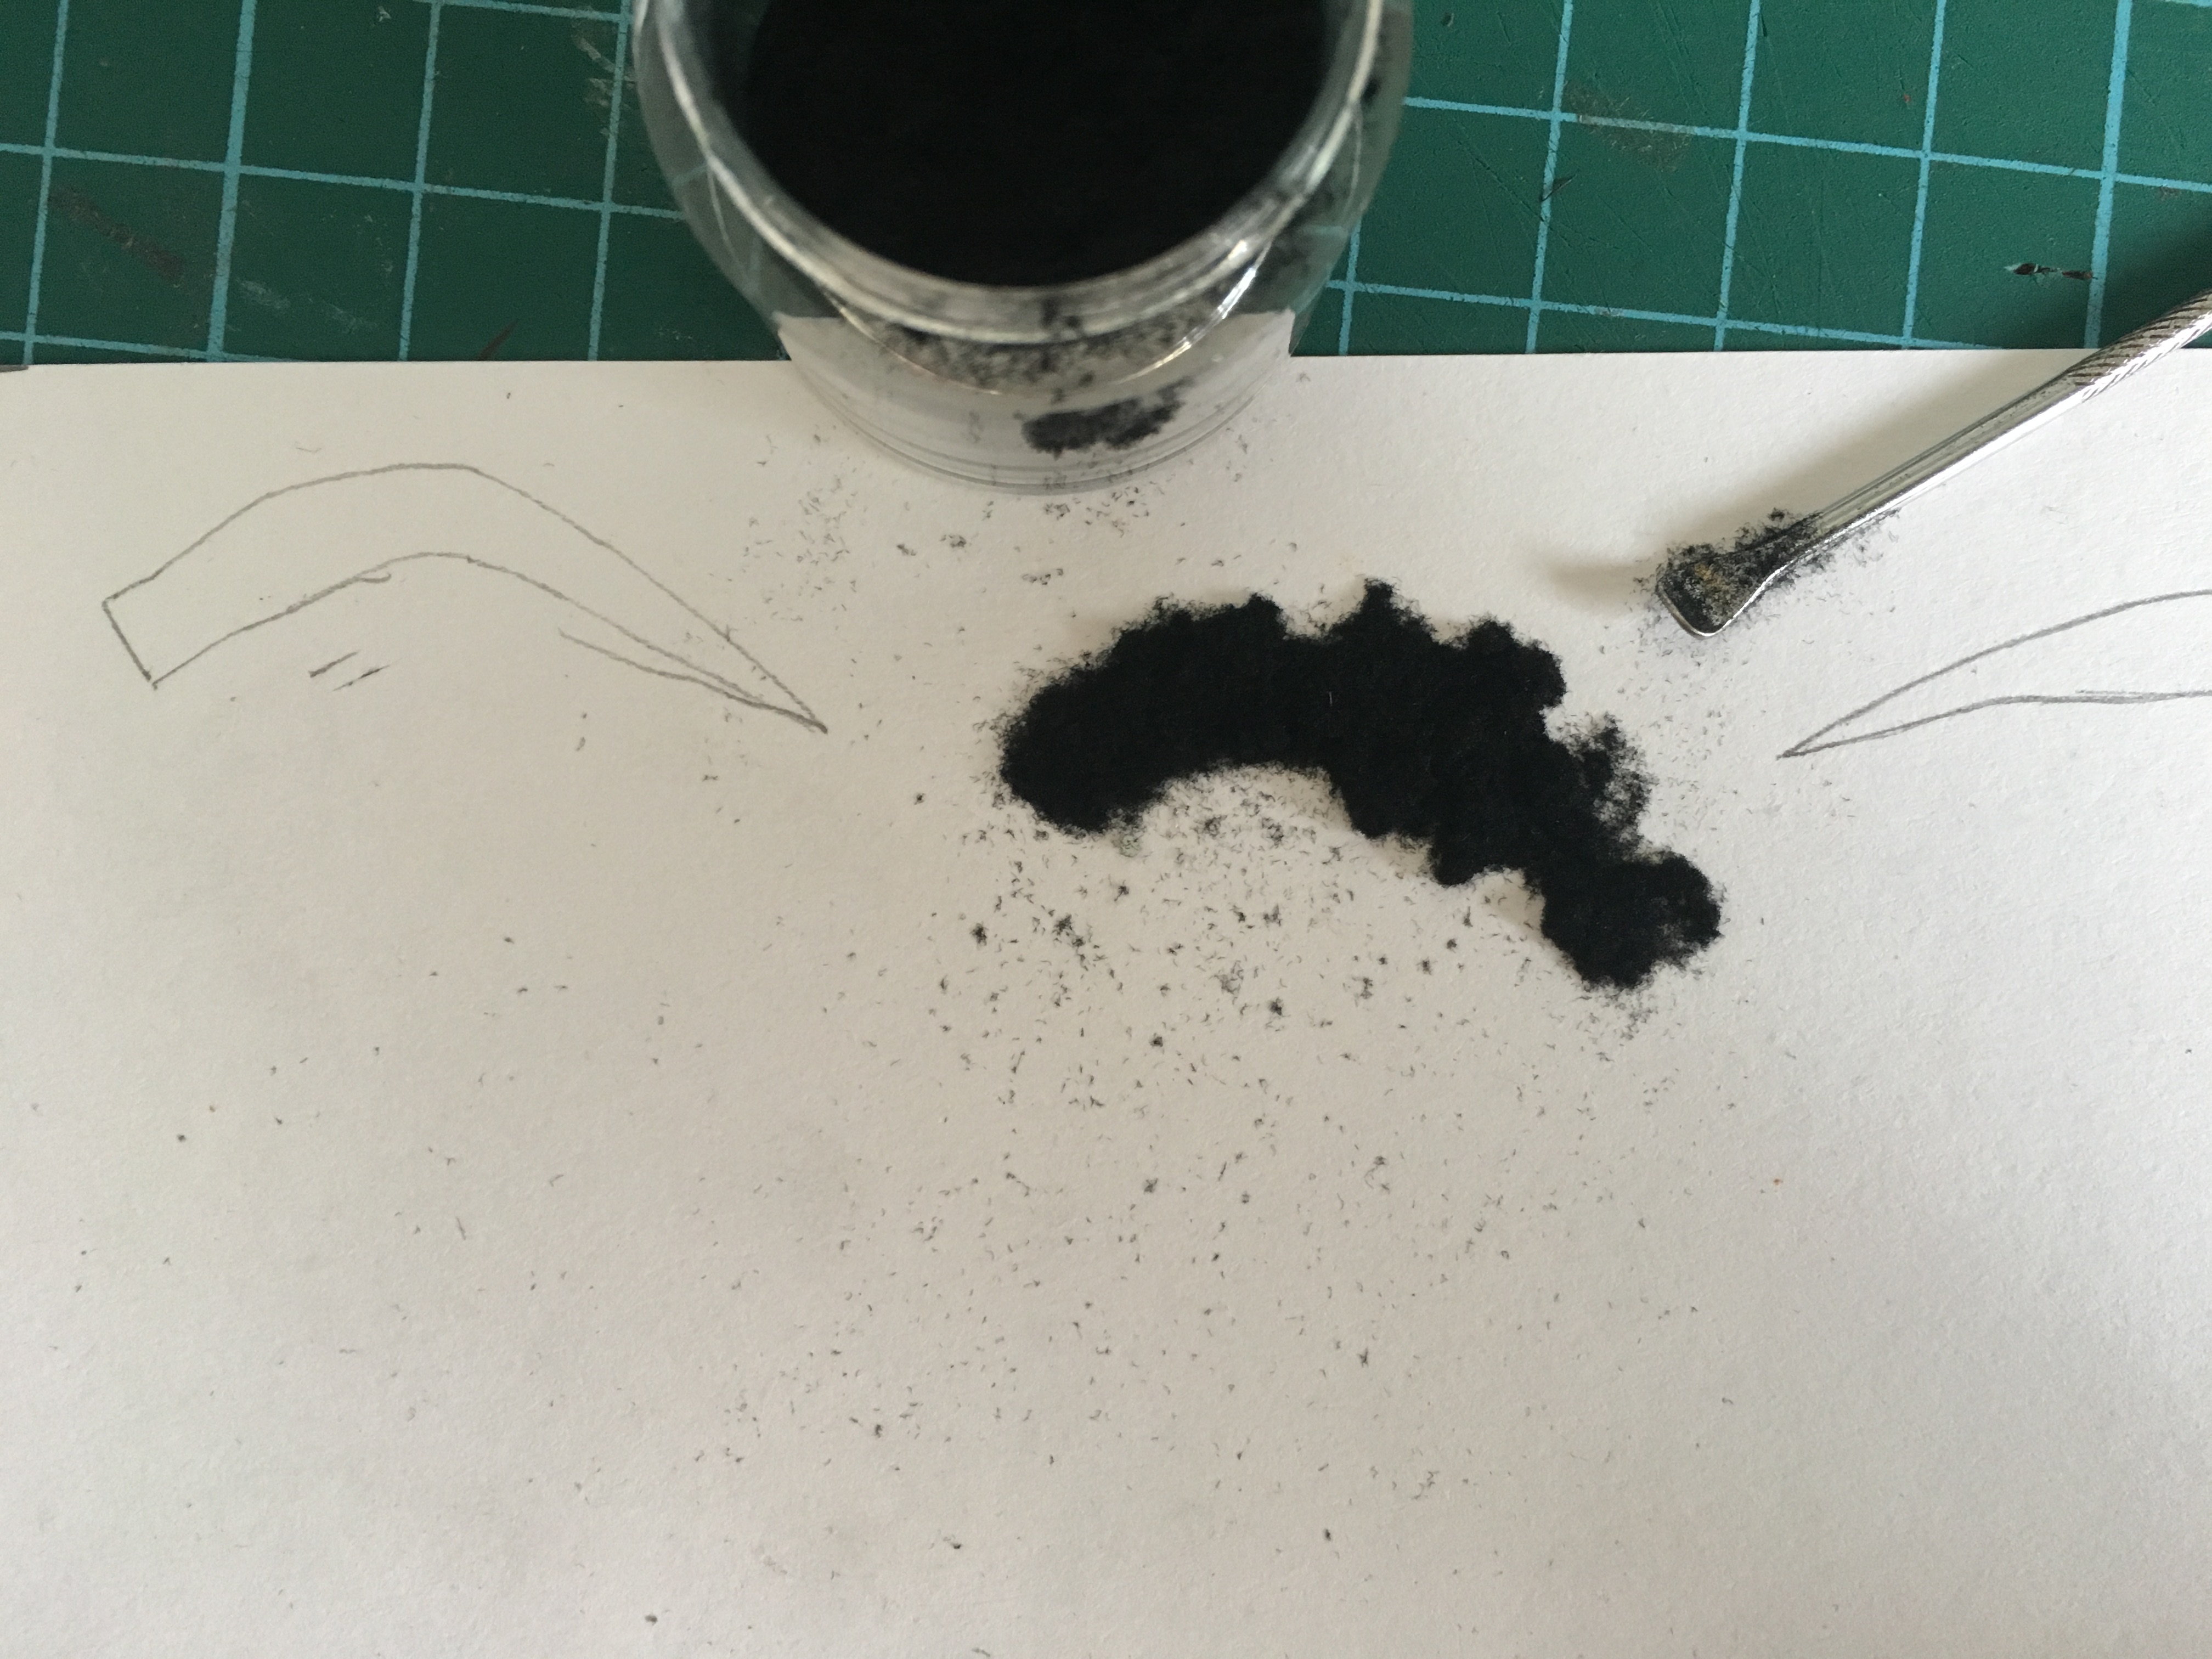
Before cutting out the crochet for the face, I went on to do the flocking powder for my uneven eyebrows. I first trace out the eyebrows shape and then proceed by applying glue onto the surface and then pouring the powder onto the glue and only the glued part would be stick on to form the shape of the eyebrows.

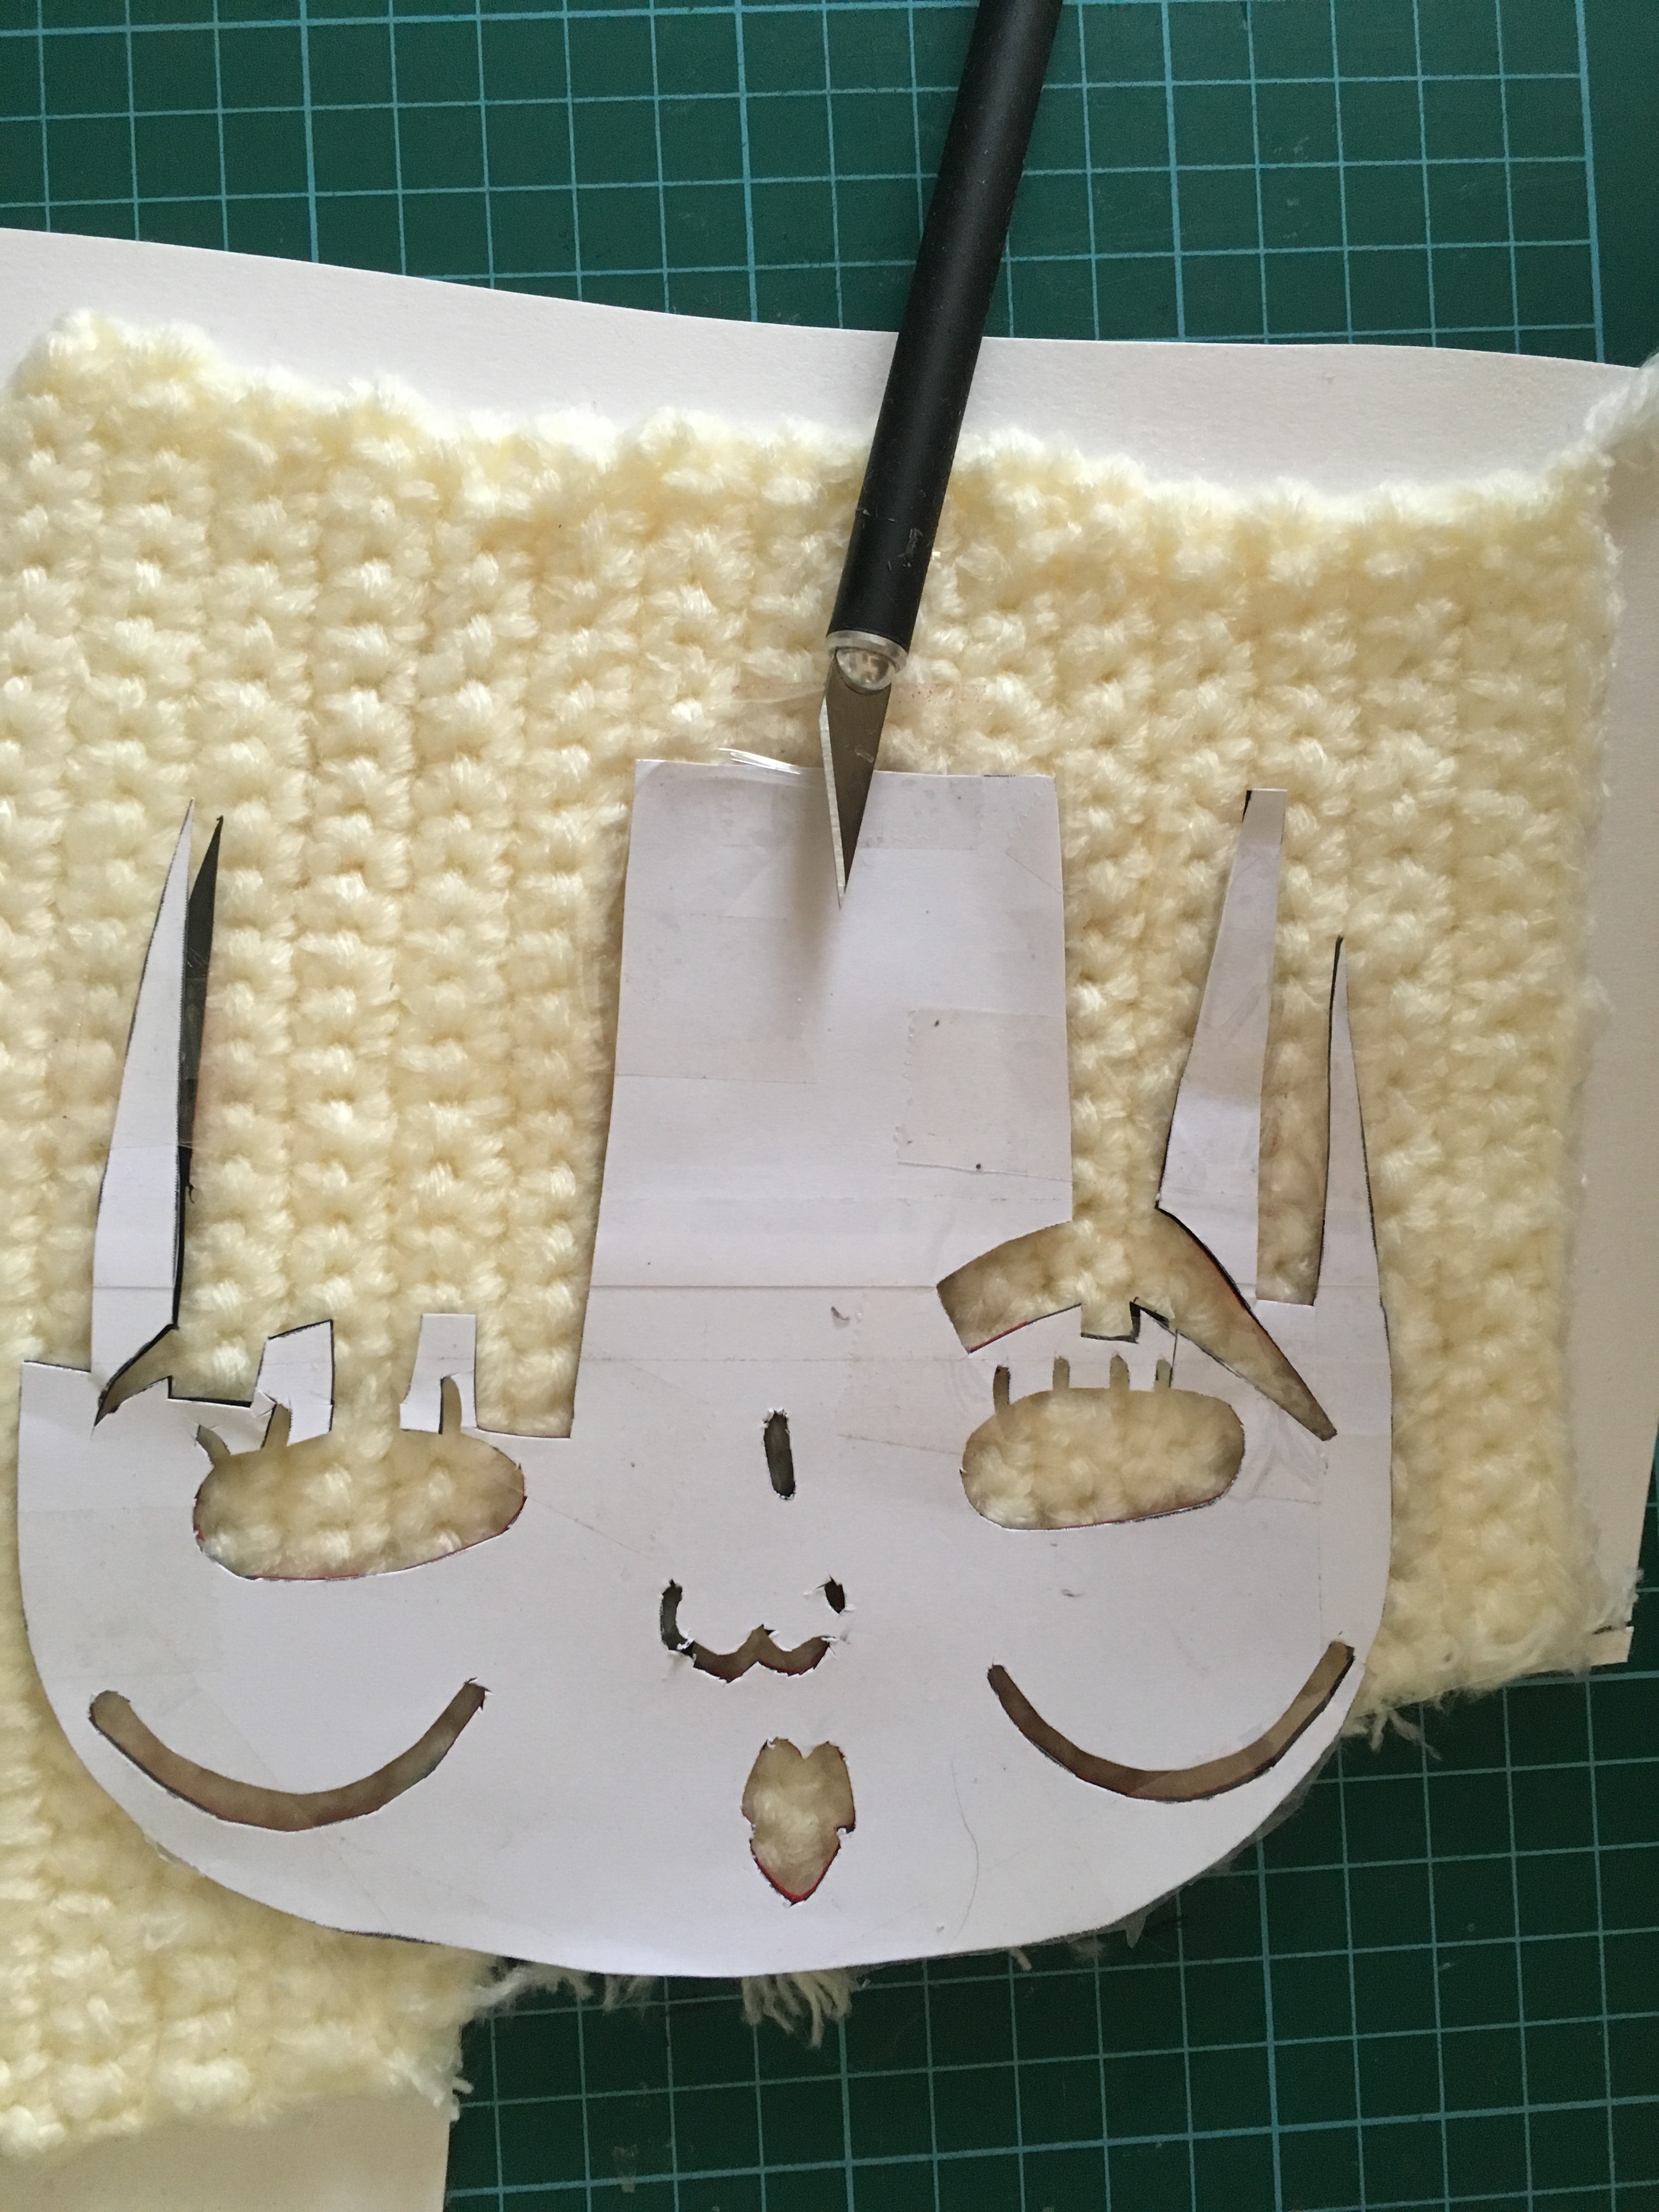
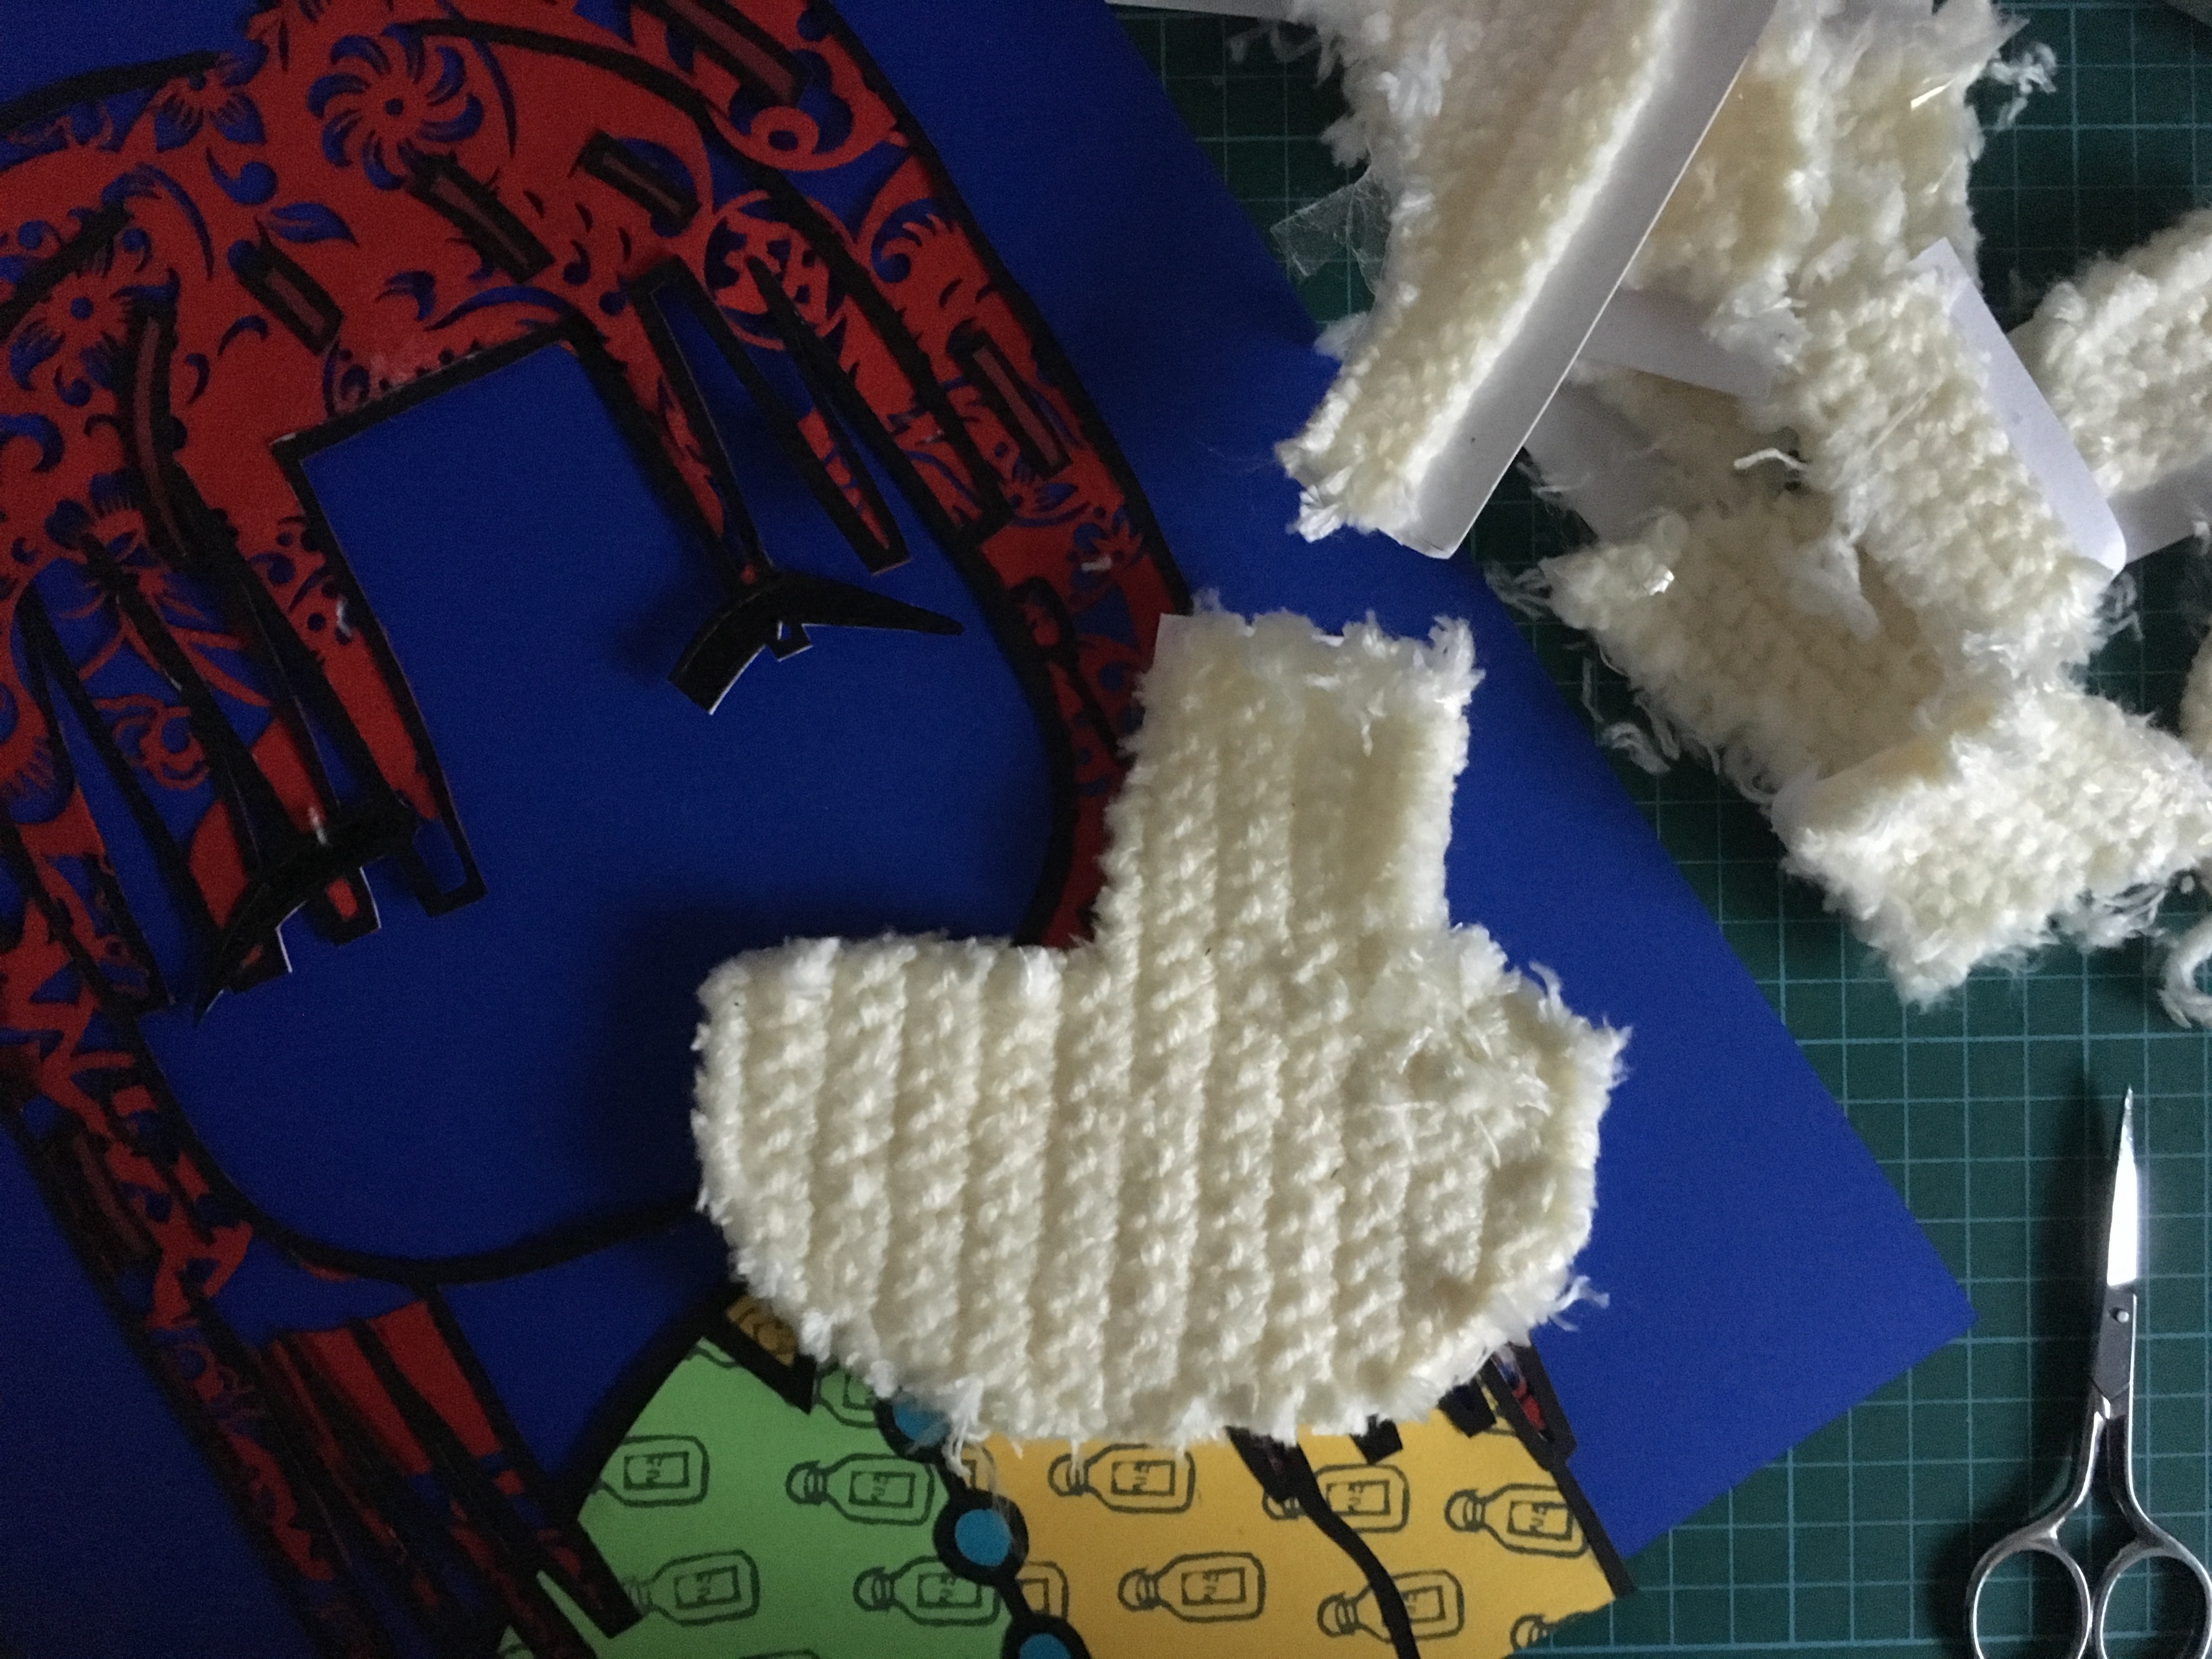
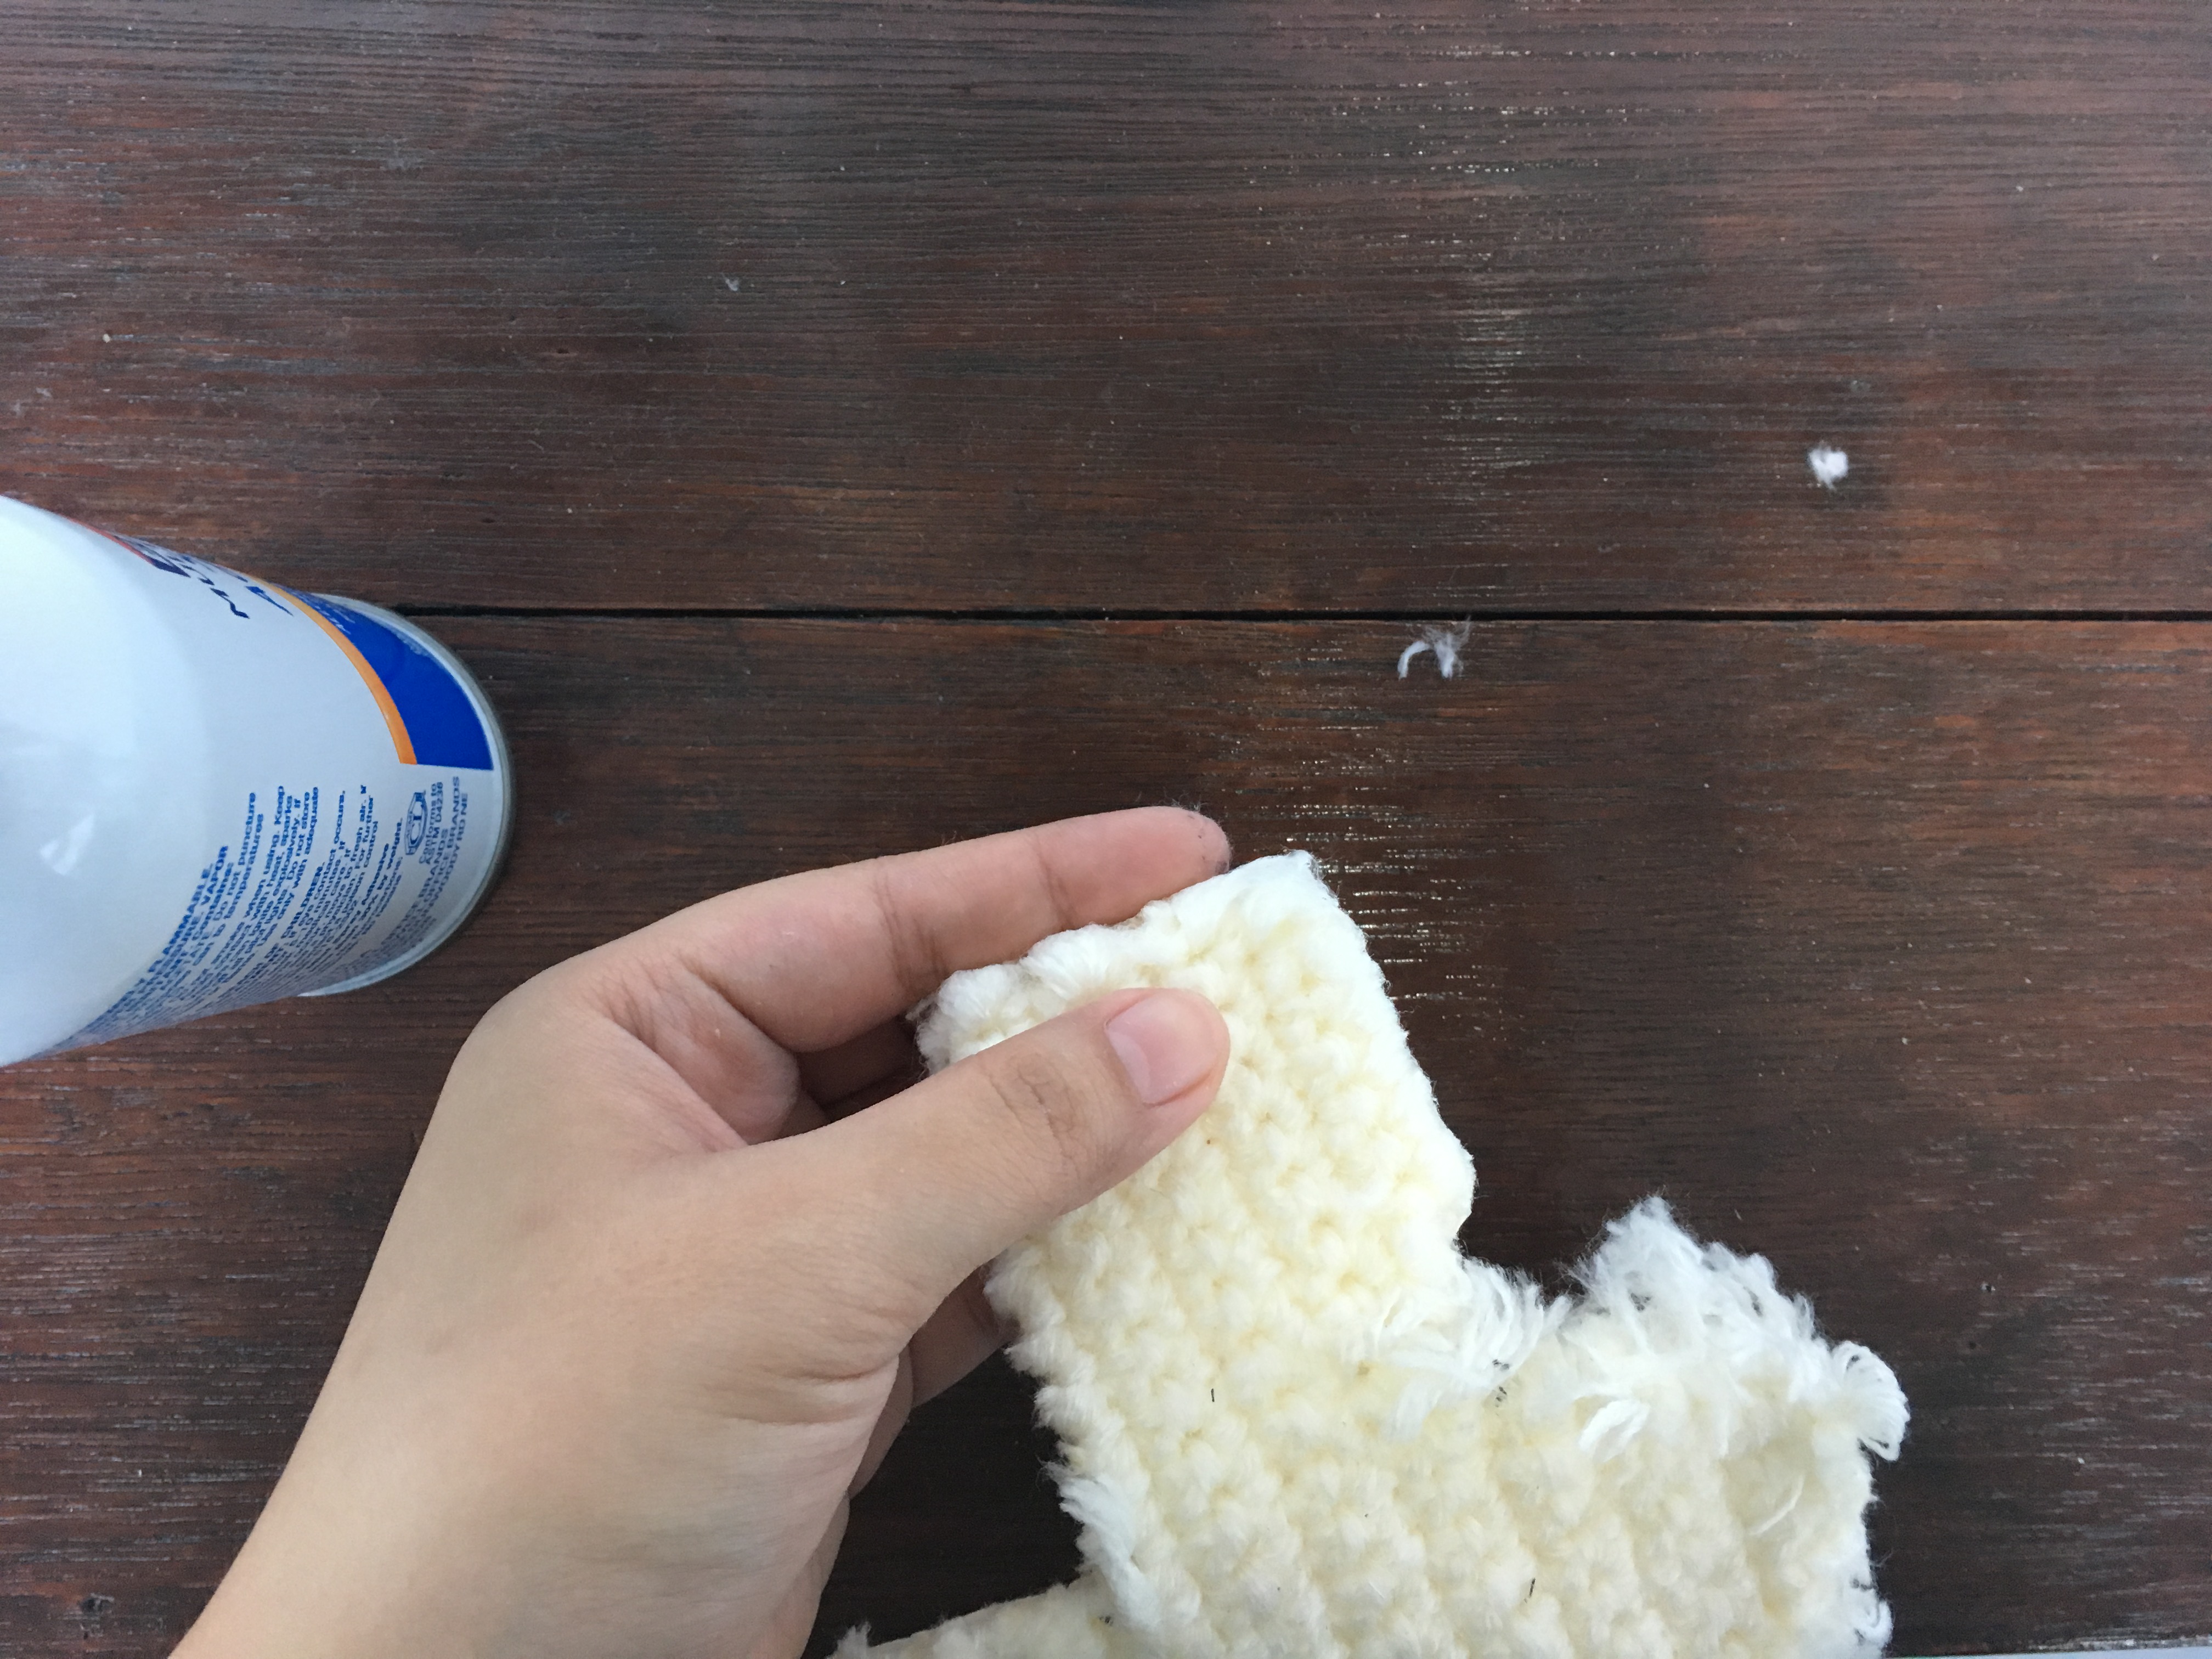
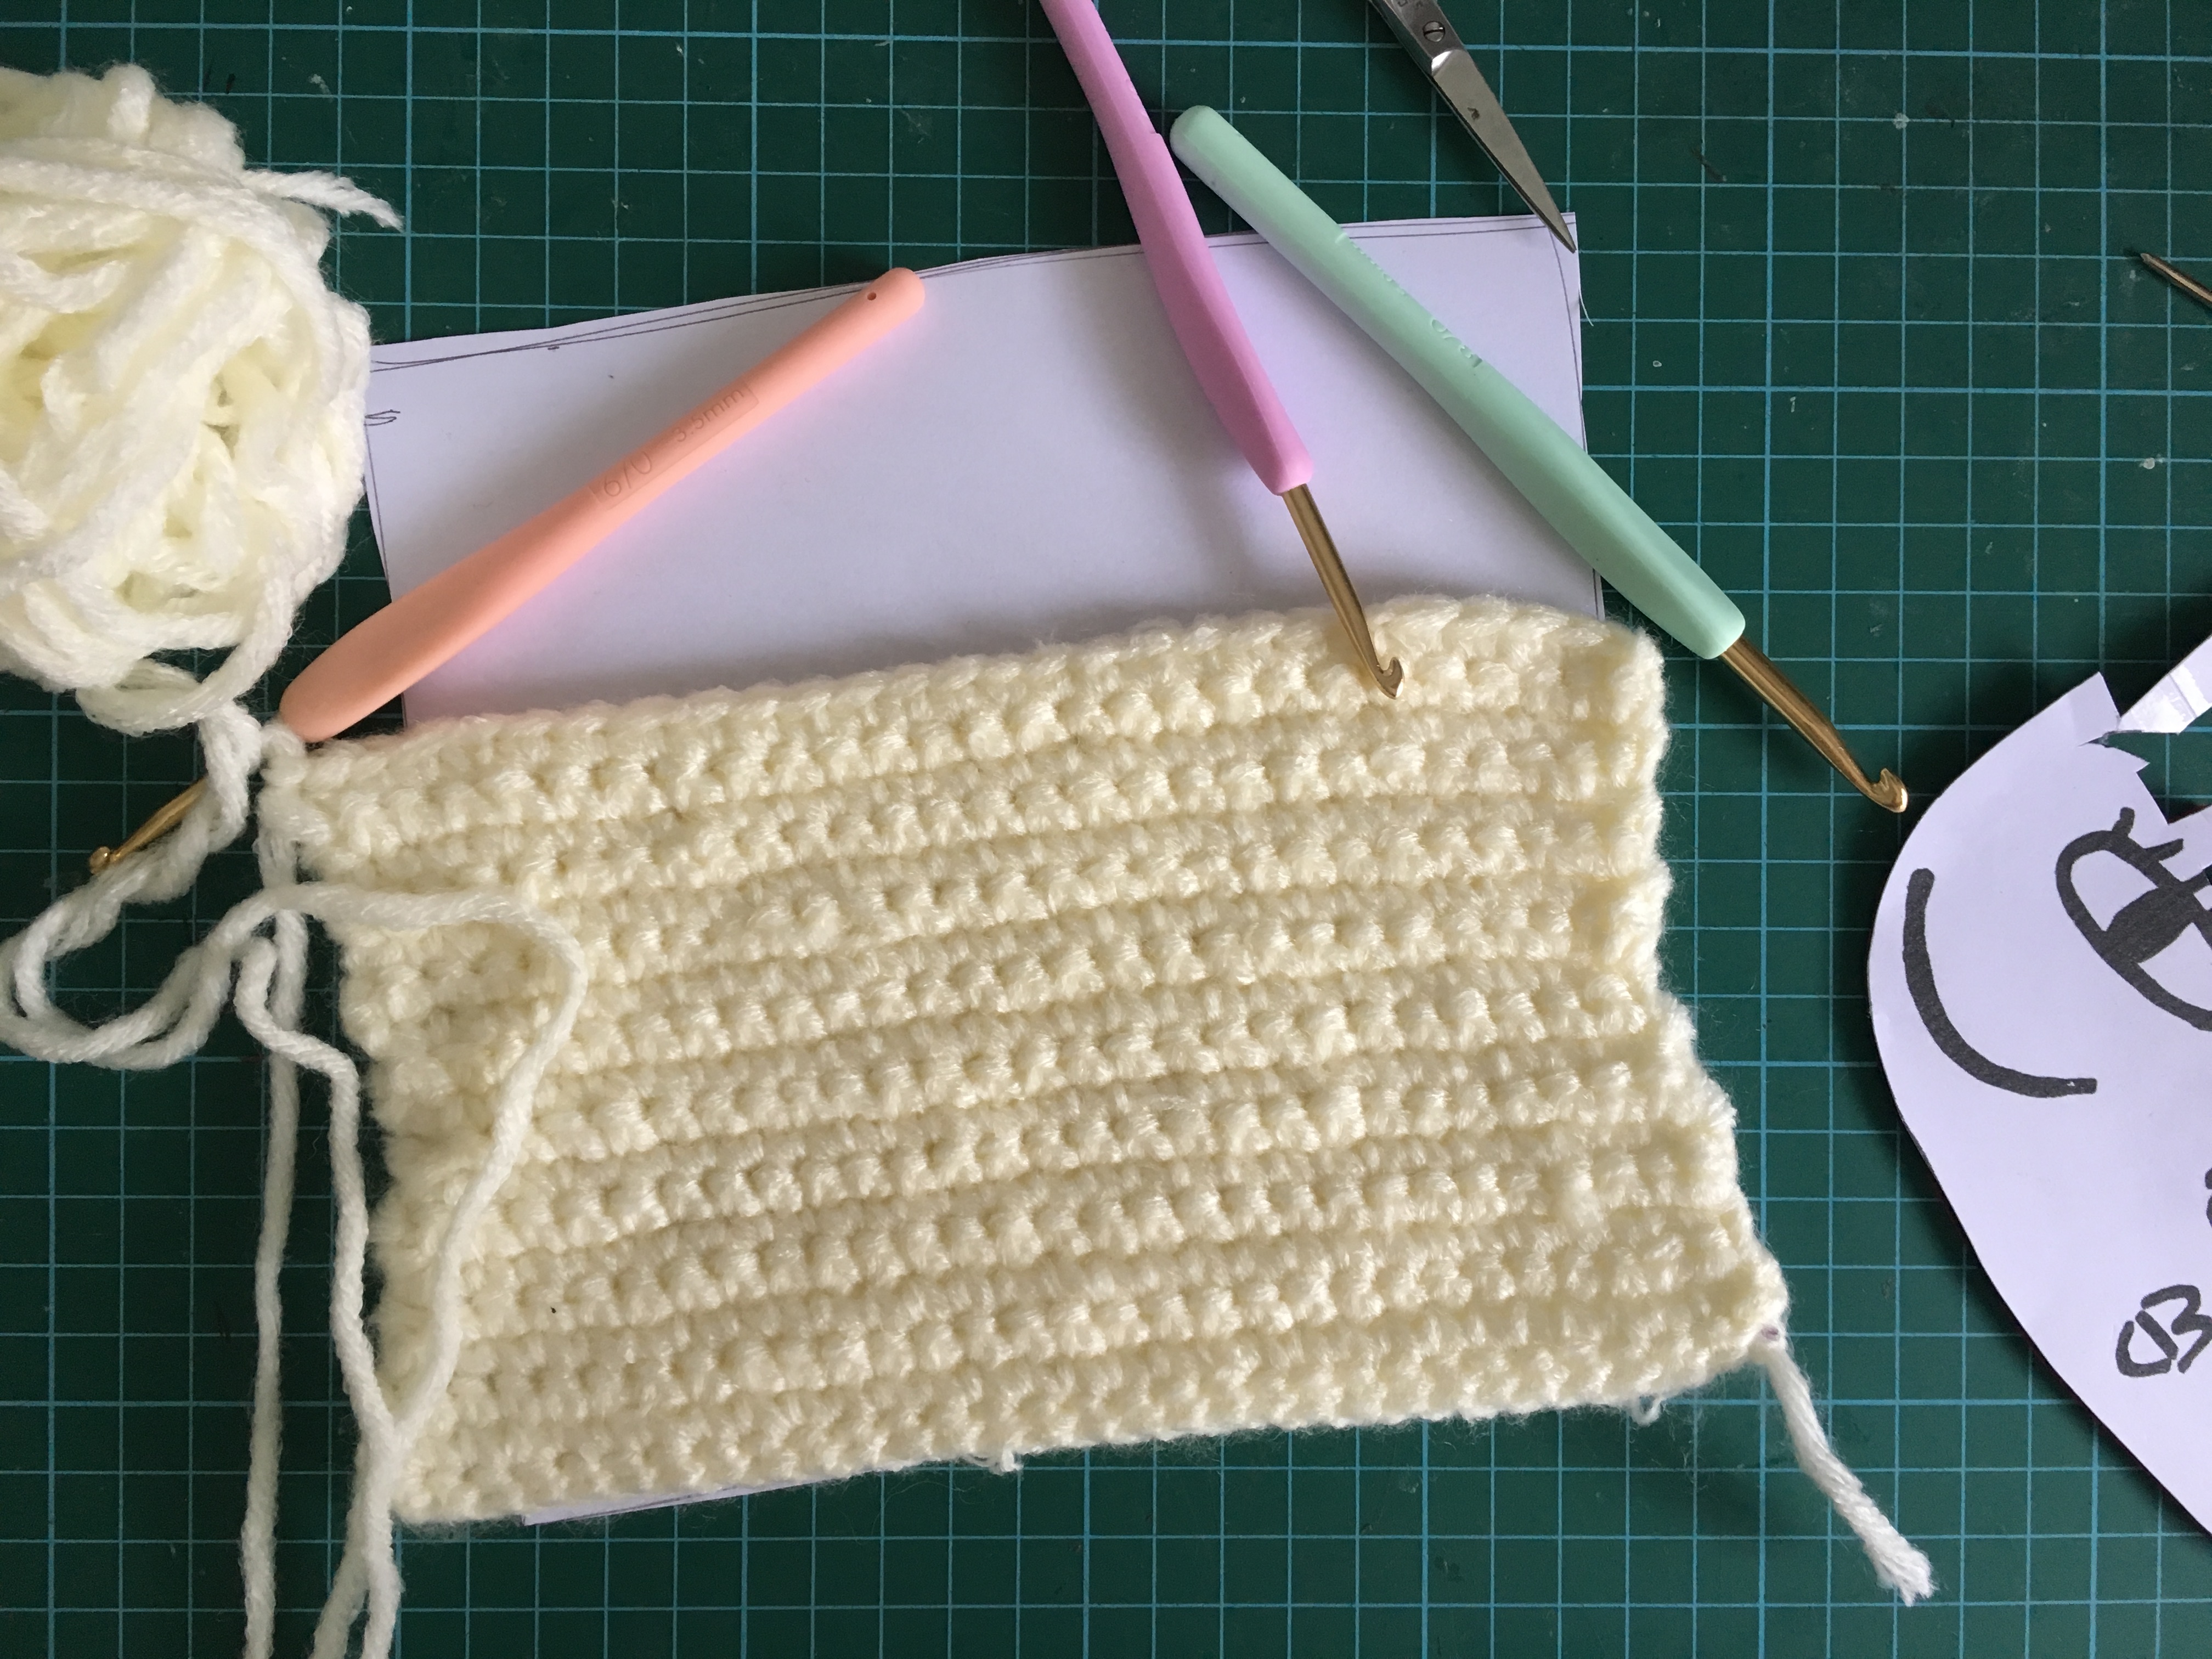
Back to the face. In order to make sure that my crochet face does not fray open after I cut them, I first stick them on to a piece of paper using spray mount. Then i tried cutting it with a xacto knife to the intended shape. BUT IT IS SOOO HARD!! Even though the knife was really really sharp, but because of the thickness and complicated shape. I had to use a scissor instead. and lastly, I trim and clean up the edges by spraying spray mount and stick them up. Out of the whole composition, I would say this was the hardest part.
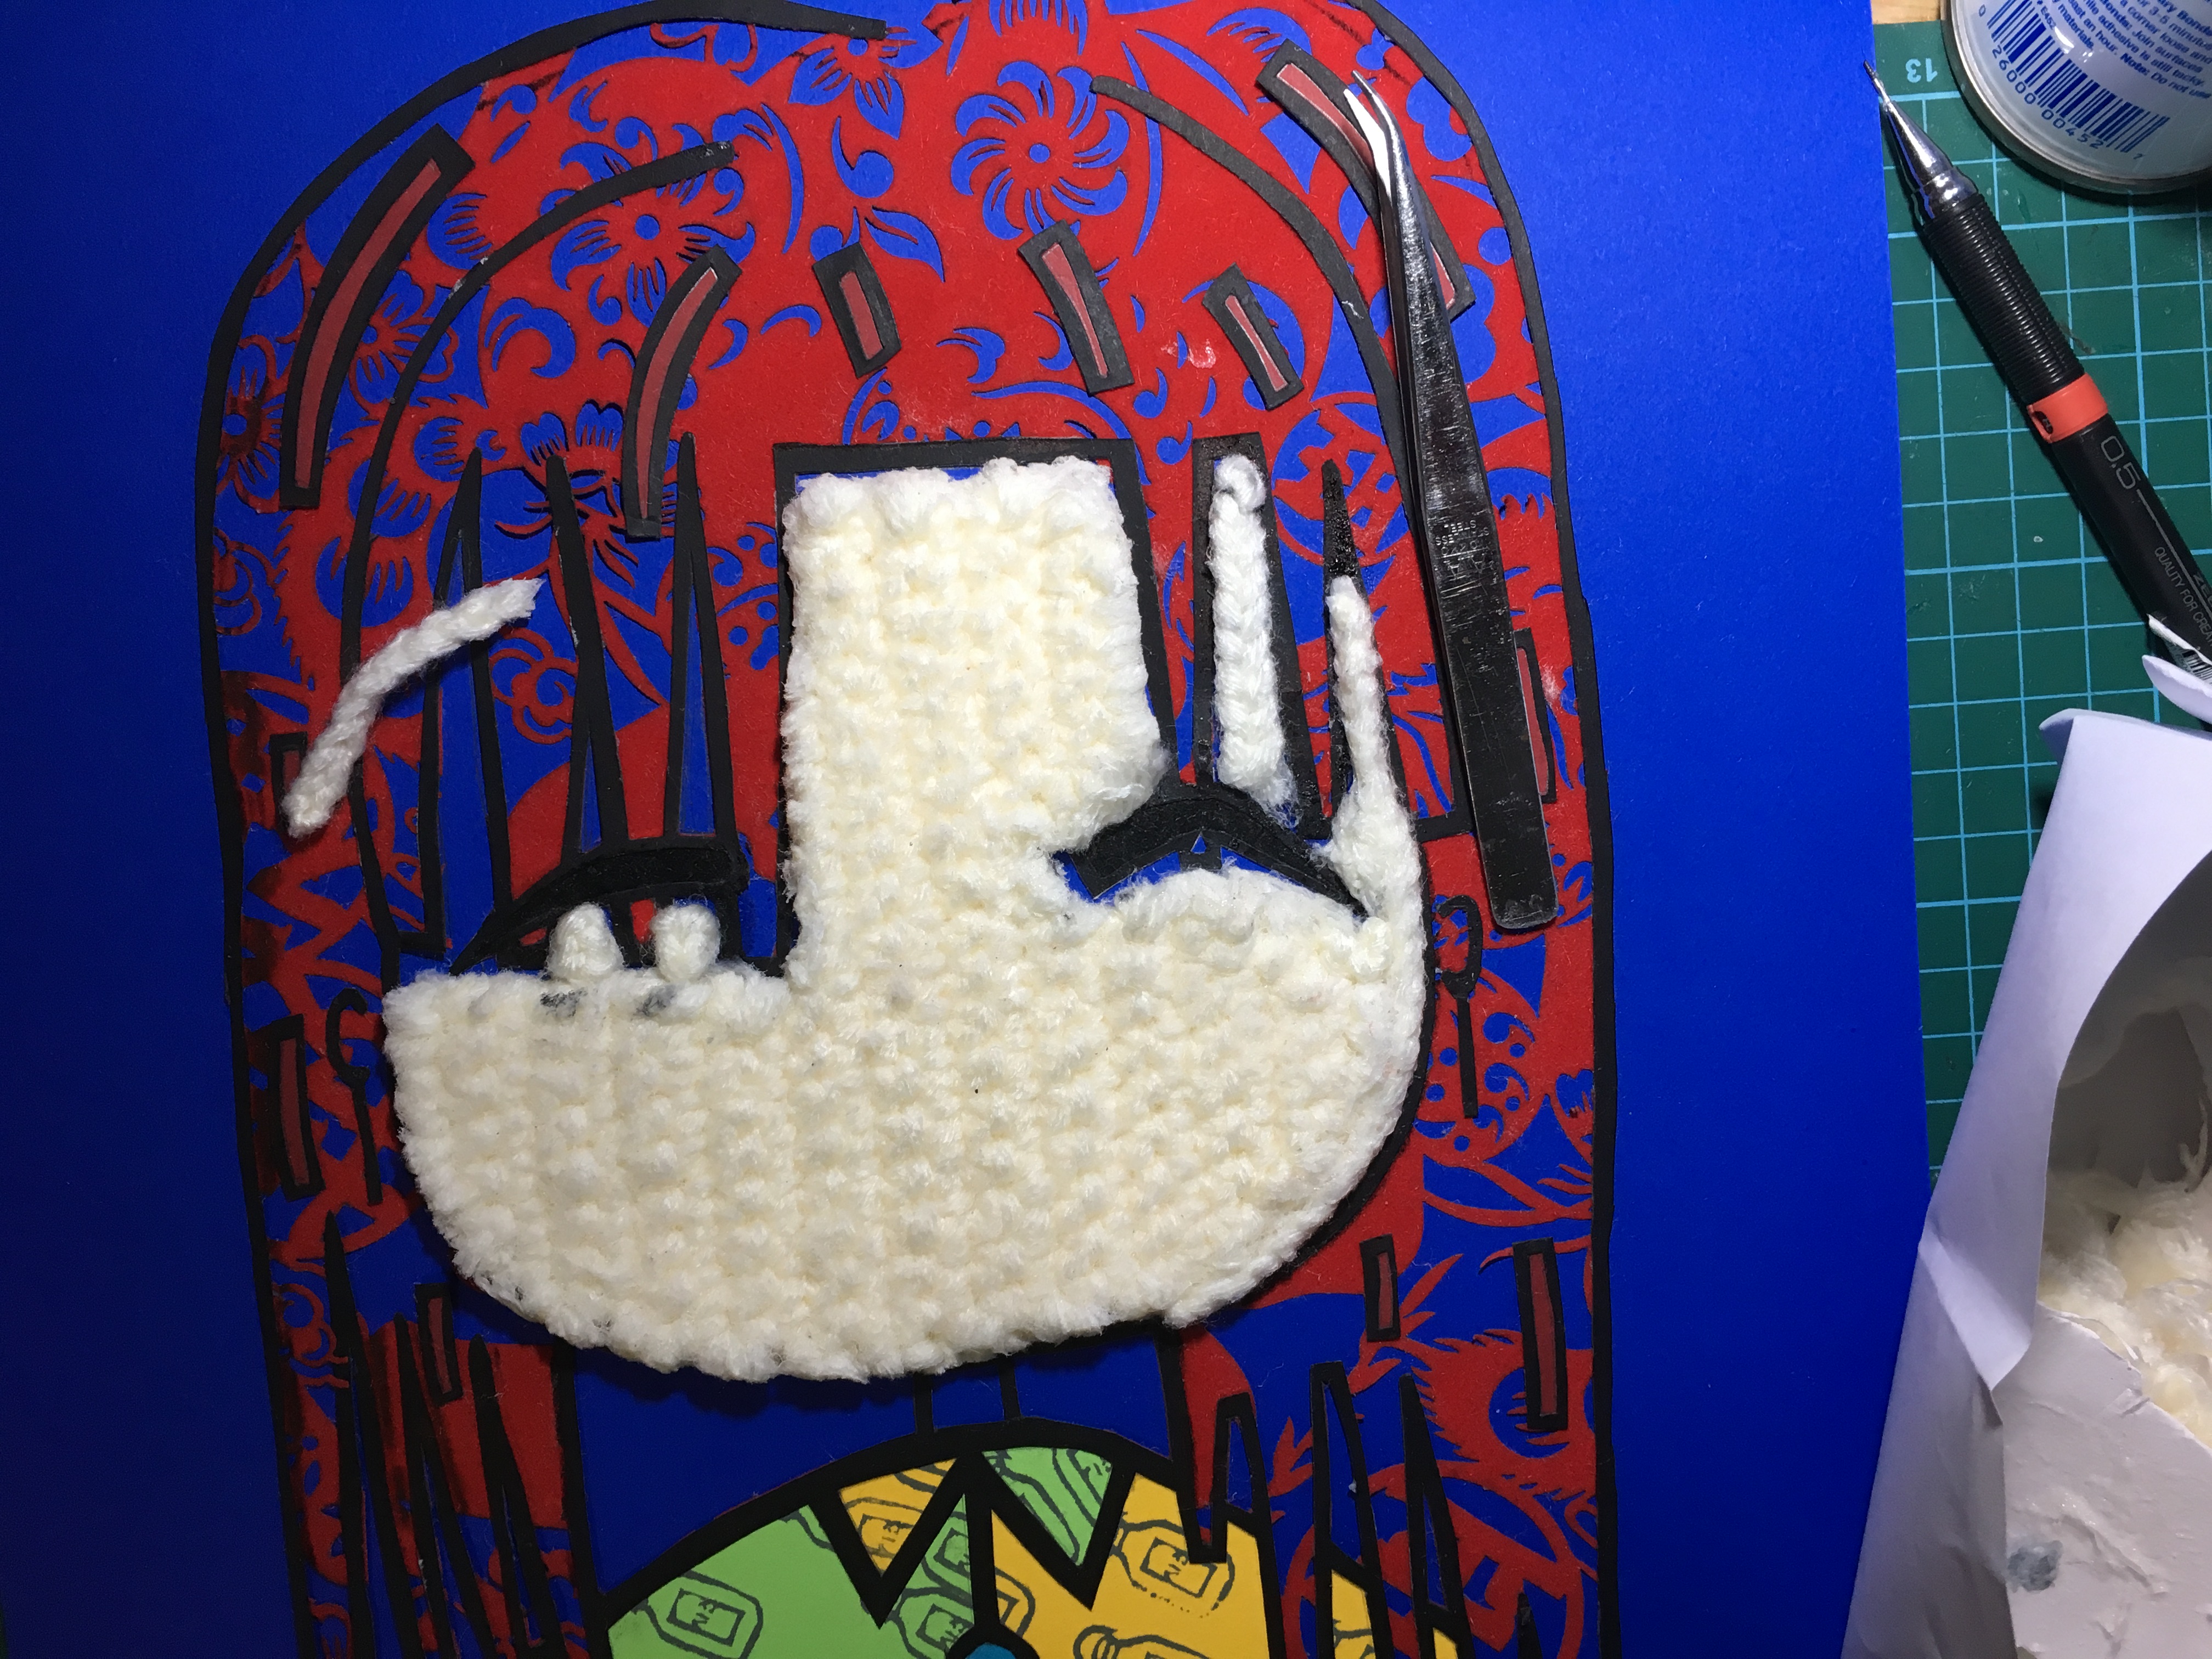
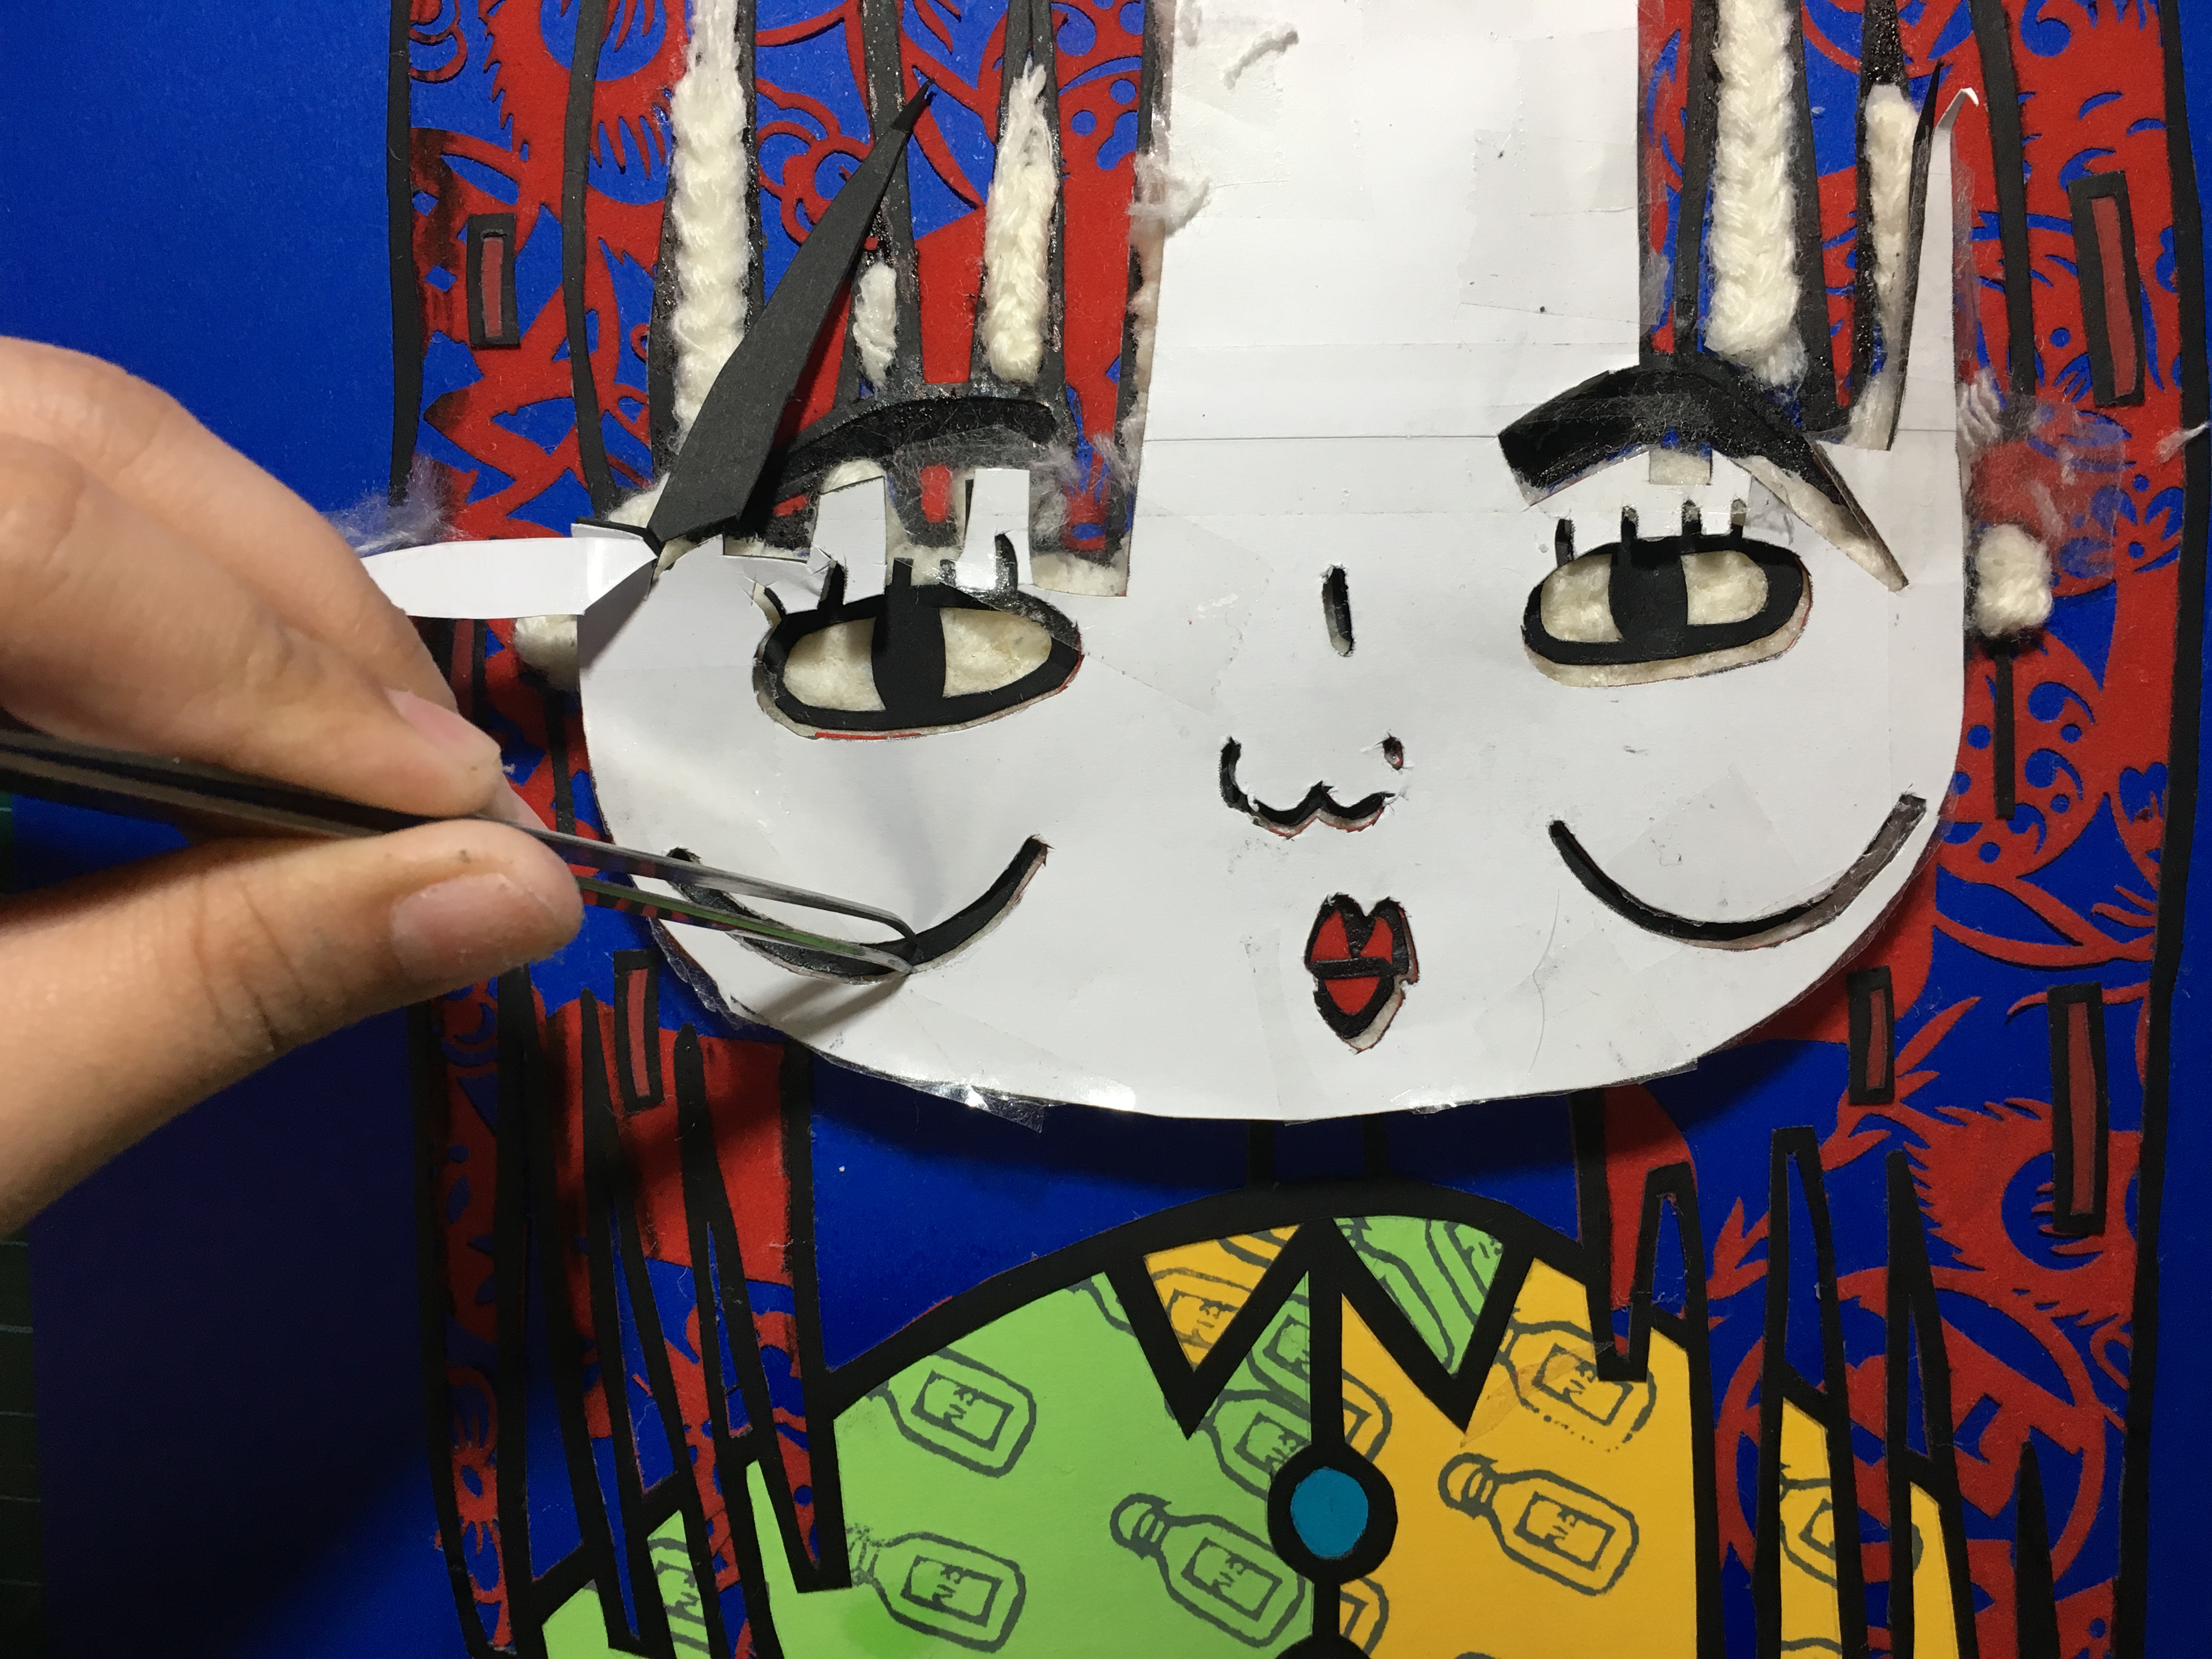
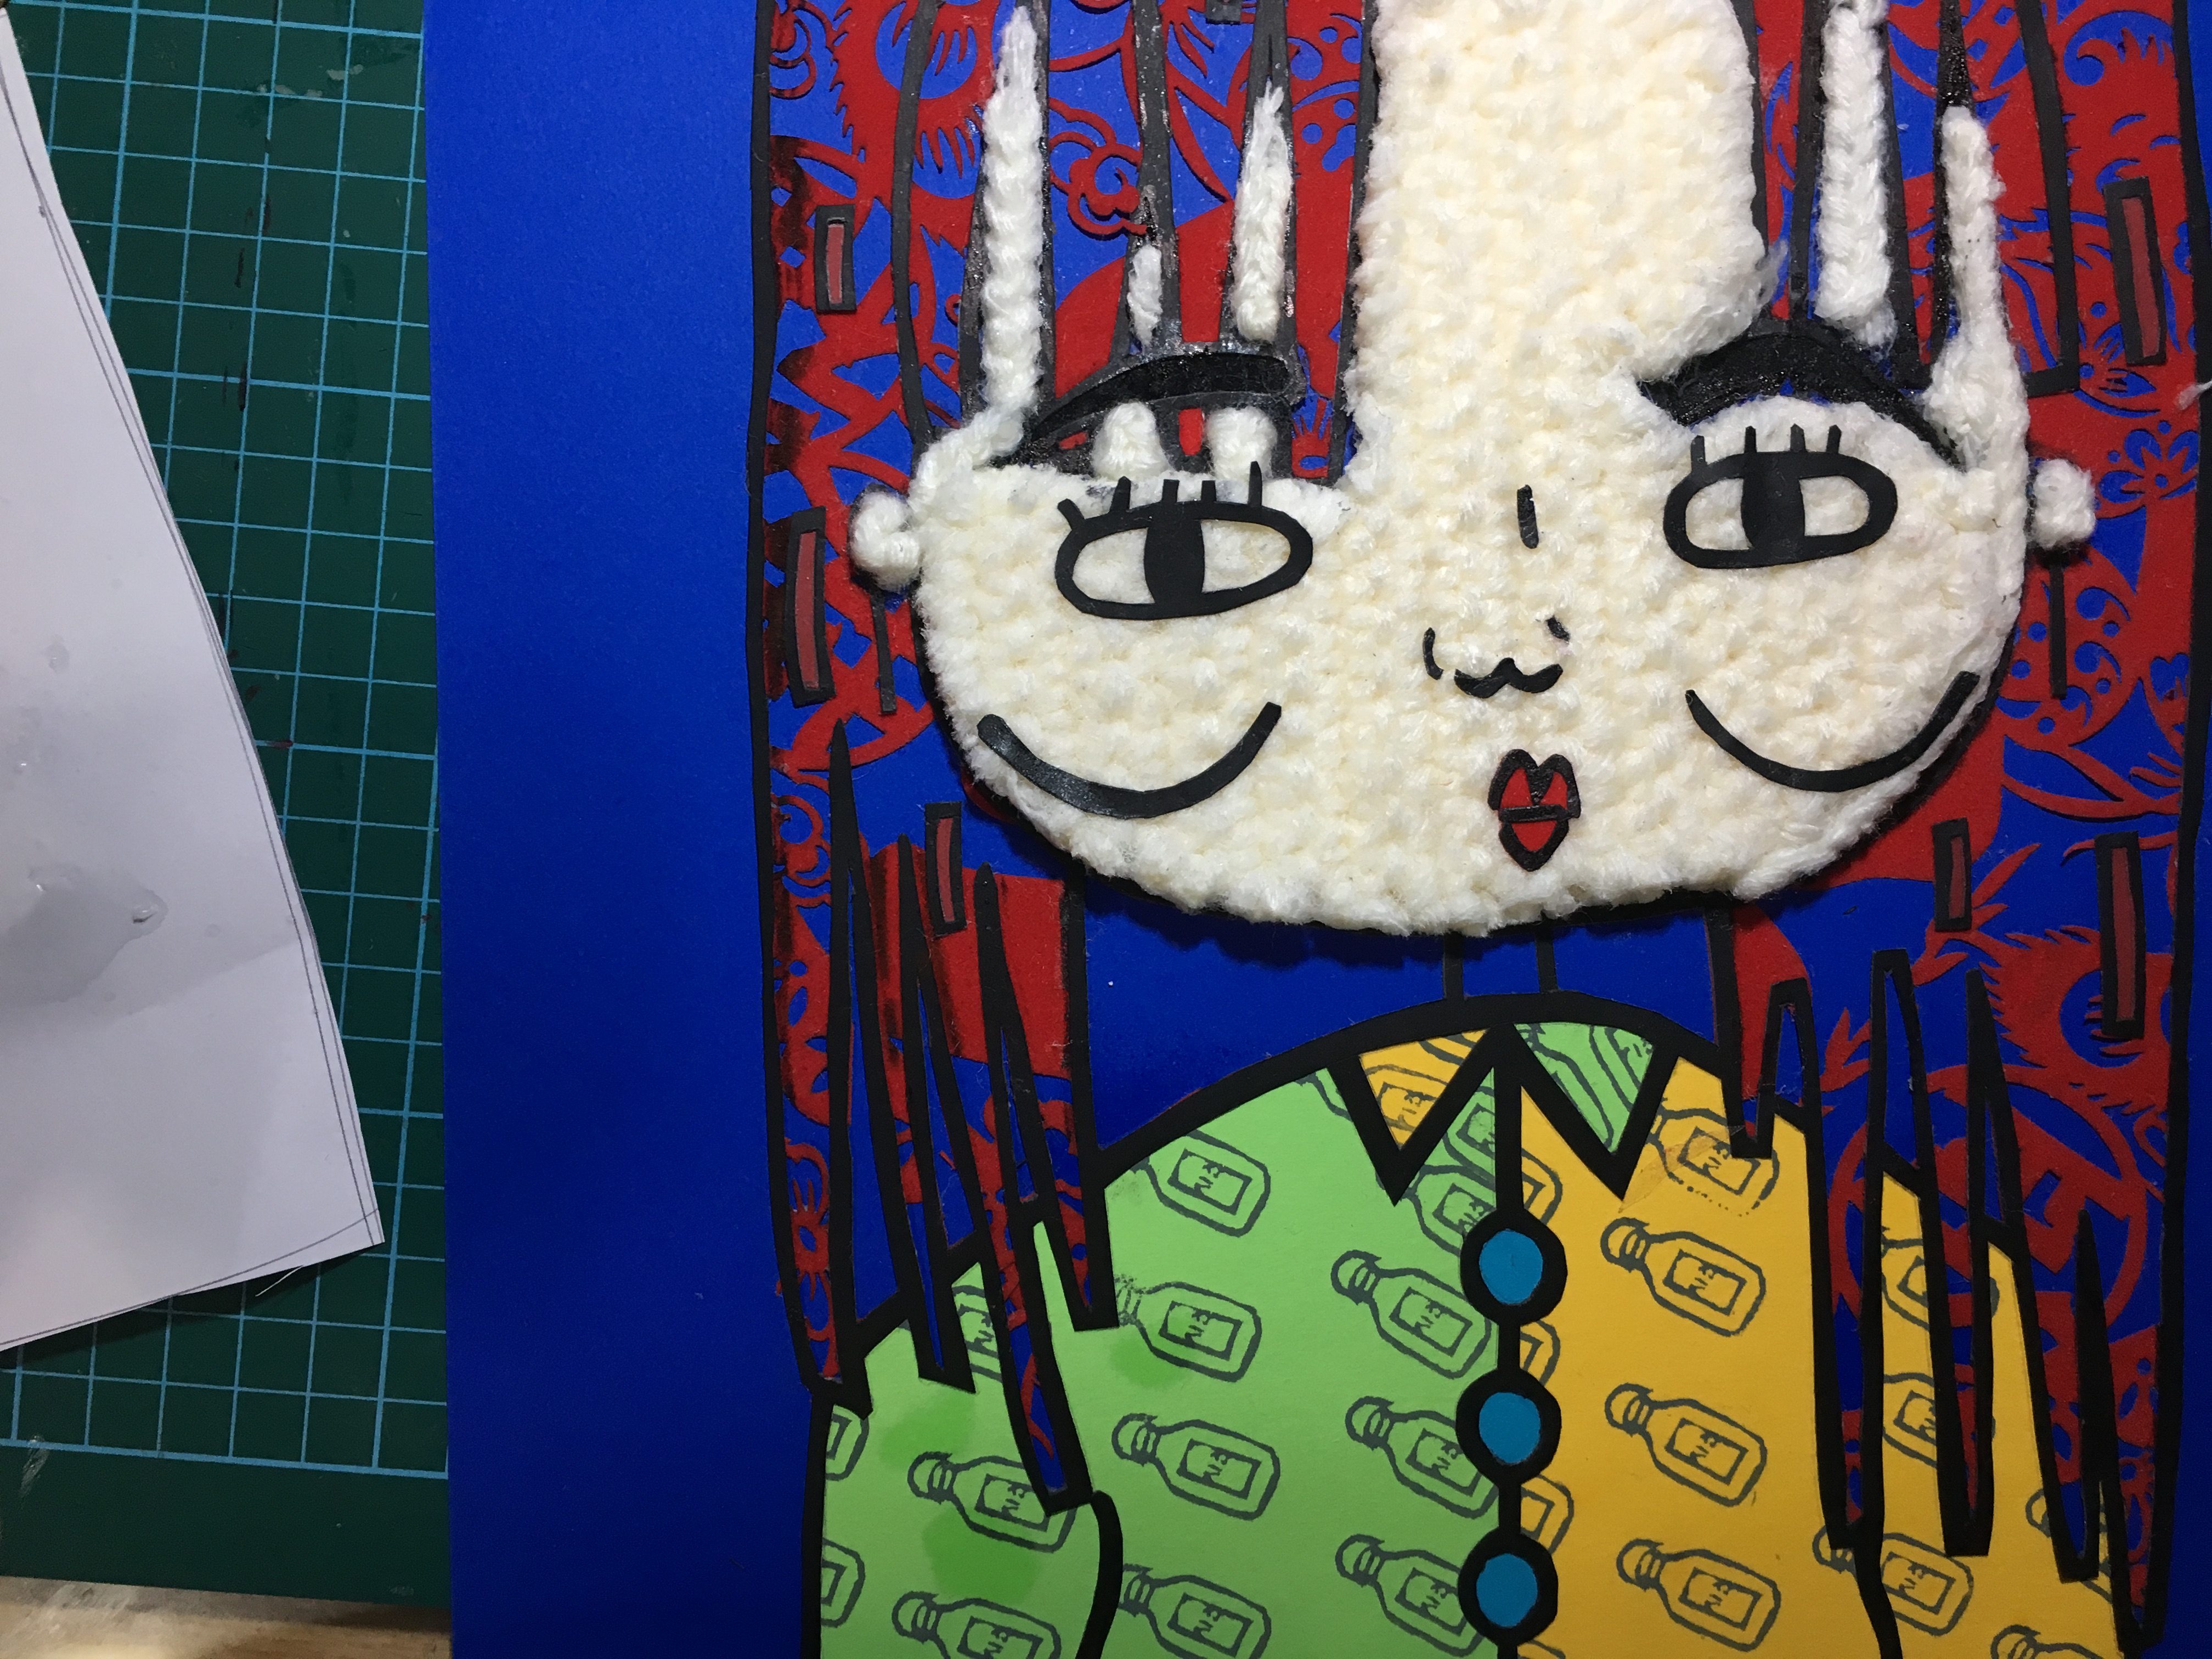
I followed by adding strips of knitted yarn to filled up the “face” in between the hair, Cutting out the cheeks, eyes, mouth and nose and stick them onto the crochet face. And lastly adding the pinkish “cheeks” to finish up the whole composition:)
VIEW NEXT POST FOR MY FINALLL!!!:)