
Thermoplastics
What is Thermoplastics?
Thermoplastic refers to the quality of a fiber whose molecular structure breaks down an becomes fluid at a certain temperature, making it possible to reshape the fabric by pleating, moulding or crushing. The fabric is ‘fixed’ on cooling and cannot be altered unless heated to a temperature greater than the one at which it was reshaped.
Types of Thermoplastic Techniques:
– Thermoplastic Fabric
– Vacuum Forming
Thermoplastic Fabric
Polyester belongs to the group of Synthetic Fibers. A synthetics fabric is thermoplastic, that is, it can be transformed through heat into new configuration, which on cooling are completely stable.
Materials Used:
– Organza (100%Polyester) “must be 100%”
– Rubber bands
– Objects as form base
– Aluminum Foil
– Boiling Water
Experiment:

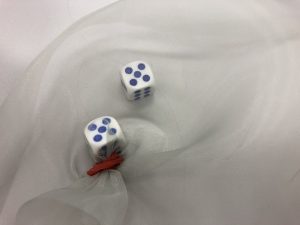
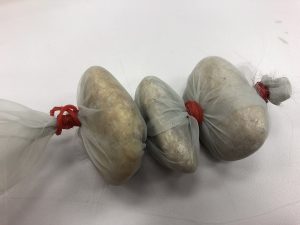
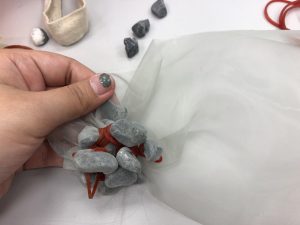
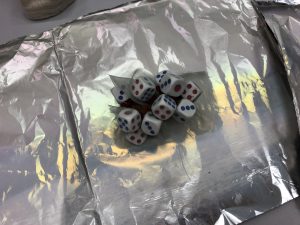
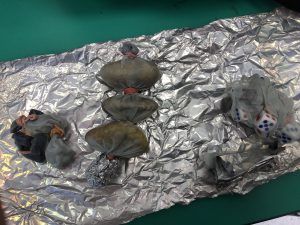
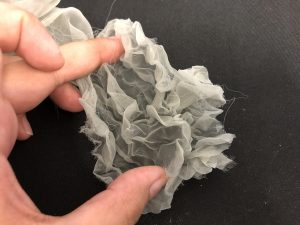
I brought objects like big pebbles, small pebbles and dice to try out the effect form. Very easy, first we simply wrap our objects inside organza and tie them up using normal rubber band to secure the objects inside. Make sure the way you tied your organza is the pattern you want your fabric to turn into after boiling.
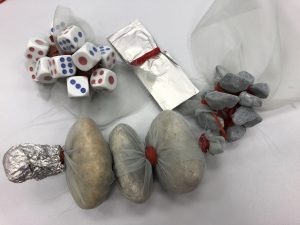
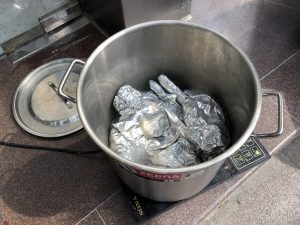
I created not only objects but I also try out folding them into like otah look. Also since there is left over organza at the end of the big pebbles I use aluminium foil and just crumple the organza up just to see its form:) After we are done wrapping the objects into the fabric, we could then wrap them up in aluminium foil and prepare for the boiling process.
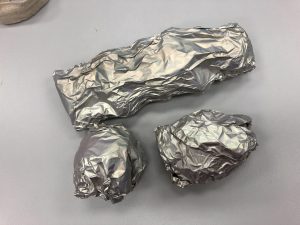
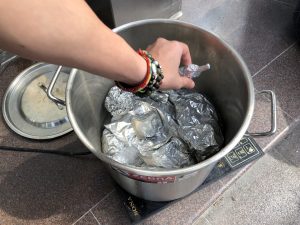
After wrapping them in foil until it look like you are bbq sweet potato you could put them into 100 degree boiling water:) try to make sure they are fully submerge into the water so that we could get a balance boil.
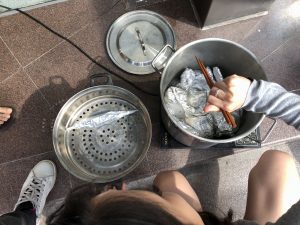
Let it boil for about 45 minute – 1 hour. Prepare a tongs or chopstick to grab out your creation as it is very very hot!
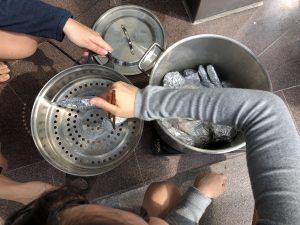
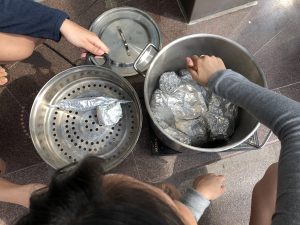
Be Carefulllll~~~
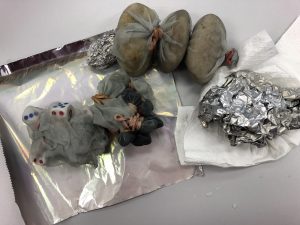
After boiling and unwrapping the aluminium foil this is what we have, slowly open up the rubber band. Do not that if we boil even longer rubber band might also melt, and objects that are made from material like plastic may also melt so be really careful about this:)
My dice design and big pebbles design:)

My small pebbles and aluminium foil crumpled design:)

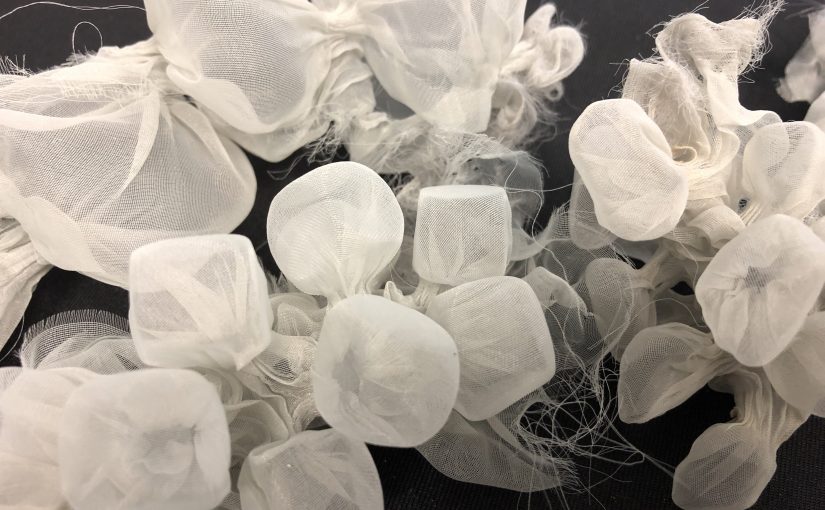
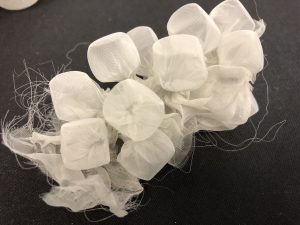
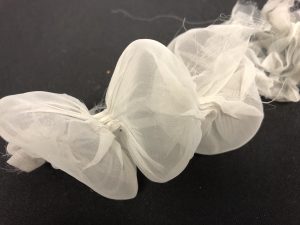
TADA!!!!
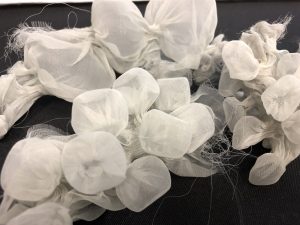
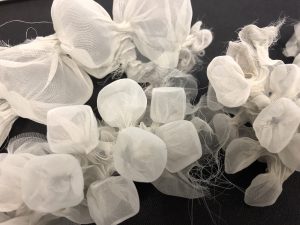
Out of all this is my favorite pieces because I really like how the dice effect created this solid hallow cube like shape inside the organza. :):)
Vacuum Forming
Vacuum forming is a simplified version of thermoforming, where a sheet of plastic is heated to a forming temperature, stretched onto a single-surface mold, and forced against the mold by a vacuum.
Materials Used:
– Vacuum form machine
– Plastic Sheet
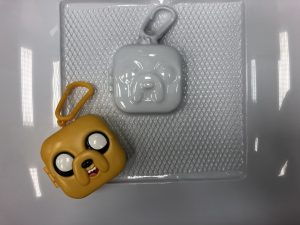
– Mold object
Experiment:

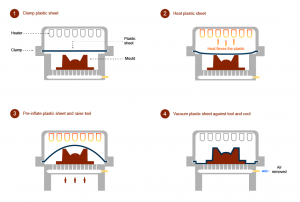
First we prepare our vacuum form machine by heating it up. It takes about 20 minute to heat up. We cut the plastic sheet base on the size of our object for me I am doing a small square object so the small size would be enough. Place you plastic sheet onto the machine and the drag out the heater. It would heat the plastic sheet and melt it till the plastic becomes soft. We would notice the crumple effect on the surface of the plastic when it is being heated. Wait until the crumple disappear and we are ready to from our mold.
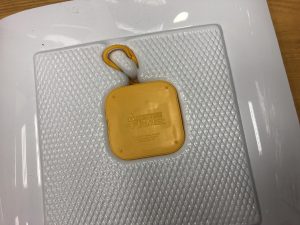
As my mold have a slight undercut it would b stuck in my vacuum form when i take out from the machine. But because the plastic sheet is rather soft I could remove the mold out from the plastic easily. But do note that if the plastic is really stiff the mold might not be able to remove out, so be careful and try to avoid as much undercut as possible.
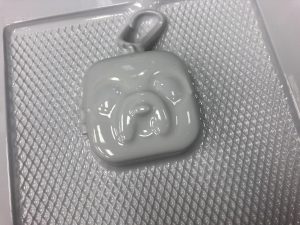
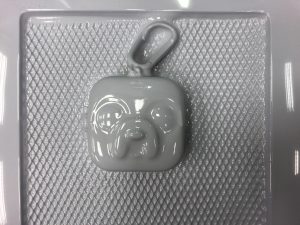
My first try (left) I didn’t try the pump effect at first, therefore the design wasn’t really molded out. After that I tried the second one with the pump effect this time where it could stretch the plastic before molding, and hence the design were better mold out:)