
Printing with special inks: Etching
What is Etching?
The technique of removing or engraving onto a material to create patterns. It can be used on various material including soft materials like fabric and paper and hard materials like Wood, acrylic or metal.
Types of Etching:
– Fiber Etch on fabric: Bleaching
– Fiber Etch on Wood/Acrylic
– Fiber Etch on Velvet: Devore
Fiber Etch on fabric: Bleaching
Bleaching is used to remove colour impurities in natural and some man-made fibers to produce a whiter substrate.
Materials Used:
– Cotton or Linen ( it would not work with synthetic fabric )
– Kitchen Bleach
Experiment:
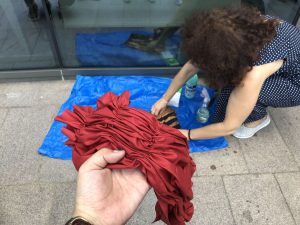
First we prepare our faric. I use 100% cotton and I choose red because I want to experiment if I could achieve the “flesh/meat” like effect:) You can twist or roll or anyway we manipulate the fabric before spraying on bleach. I use thread and sew through the fabric and pull to create the crumple:)
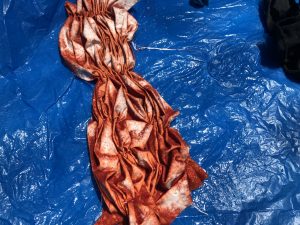
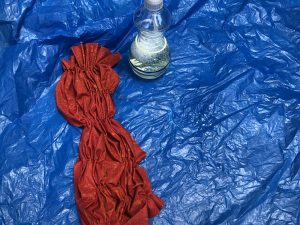
I was worried that I would accidentally bleach my whole fabric so I only spray very little bleach onto at first. But the bleach was absorb very quickly into the fabric and the bleach effect was not very obvious so I tried spray much much more:)
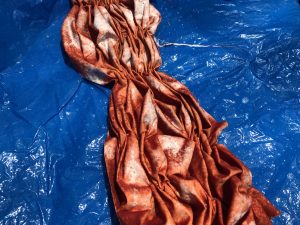
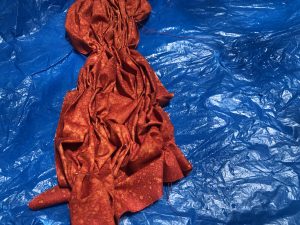
Try not to leave your piece for too lone as the bleach would dissolve through the fabric and end up bleaching the while piece. After we felt that the effect is enough just was it with normal tap water and leave your piece to dry. Remember to wash thoroughly and get the bleach all out.

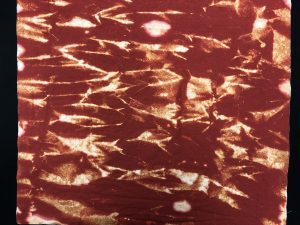
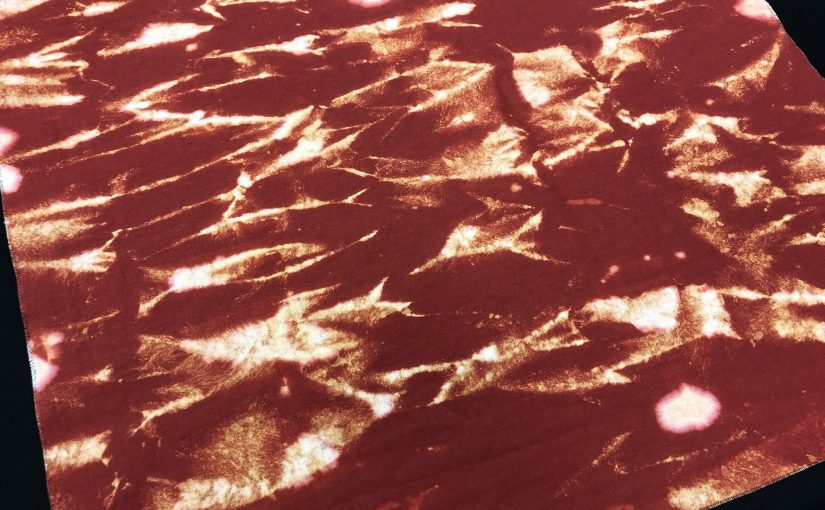
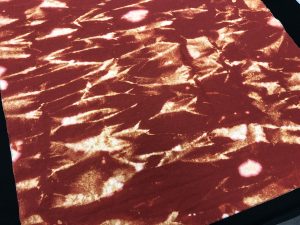
The Complete piece!! I have friends telling me it look like pepperoni, bacon sausage so I guess I succeeded in getting the meat like effect I wanted to archive!!!
Fiber Etch on Wood/Acrylic
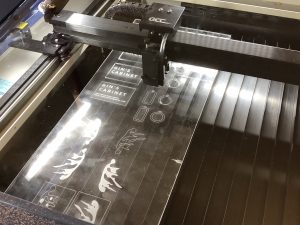
Fiber etching on wood and acrylic simply means the removal of fibers on a surface of an hard object using different technology. One technology that we tried in school would be laser cutting. Laser cutting is the process of using a powerful laser to cut and/or engrave items from flat sheets of materials like plastic, wood and many other materials. The laser cutter works by directing a high power laser beam very precisely at the chosen material to either mark of cut right through. When cutting, the laser beam burns away at the material leaving you with the cutout shape that you have specifies in your vector file. The cutting beam is very thin (0.1mm) and precise resulting in incredibly detailed and accurate cuts.
Materials Used:
– Laser Cutting machine
– Wood or Acrylic
Experiment:


First we can draw our intended design in either illustrator, Photoshop or 3d software such as Rhino. After we are done drawing we would export the file and save them as dxf format. When cutting is is recommended to do rasterising first before cutting through your pieces. This is to prevent the piece from shifting after you have cut them and affect your rasterise. In the laser cut machine. Set the line you want to cut first in black colour line, followed by the coloured one as the second you want to cut. As you can see the laser cutting machine goes really quickly depending on the speed you set. Also different method of cutting and different have different setting.
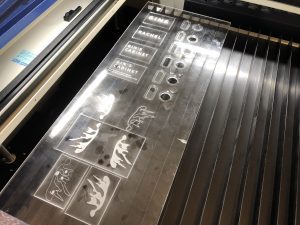
After cutting is done, wait for the machine to stop and you can take out the pieces!:)

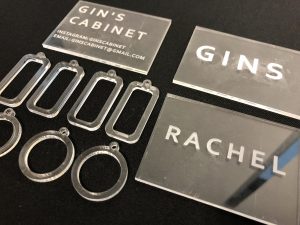
TADA!!! as we would be doing resin for next lesson, I cut some circle and ring so I thought it could be transform into earrings!:)
– Fiber Etch on Velvet: Devore
Etching is also commonly known as Devore. Devore is a fabric technique particularly used on velvets, where a mixed-fibre material undergoes a chemical process to dissolve the cellulose fibers to create a semi-transparent pattern against more solidly woven fabric.
Materials Used:
– Fiber Remover
– Silk Screen Panel with pattern
– Silk Viscose Velvet Fabric
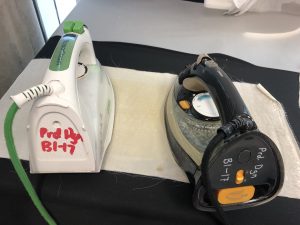
Experiment:
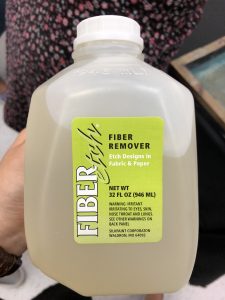
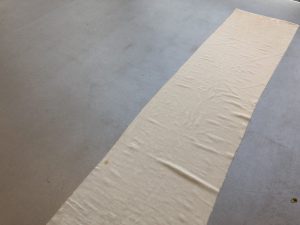
We prepare the fiber remover liquid we need and also cut our fabric into the intended shape we want.
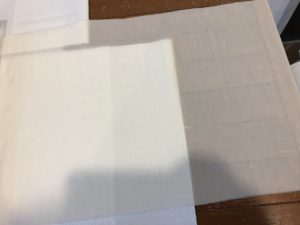

Put a layer of protector at the bottom of our fabric to prevent the the ink from passing through to the bottom. Then put our silk screen panel onto of our velvet fabric and we could silks screen!! When pushing the liquid through the silk screen panel put in more effort so that the ink can be absorb into the velvet. If not when we iron we would see that the fabric did not absorb enough ink and the pattern would not be produced.
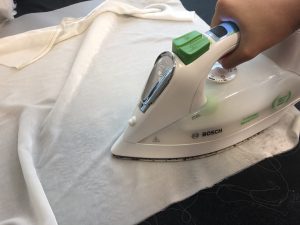
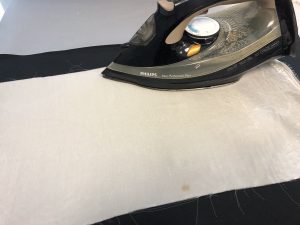
After we leave the fabric to dry for 24 hours we can start ironing them. Give it a little pressure and we can see that the pattern of the silk screen started forming.
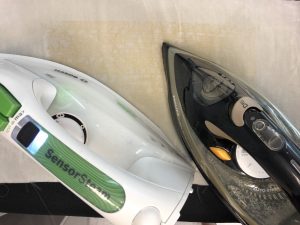
I think that I did not put enough pressure in my silk screen process, therefore not alot of ink are pass through and absorb into the fabric:( therefore I have to use maximum heat and TWO iron. Even so, the pattern out is still very light.
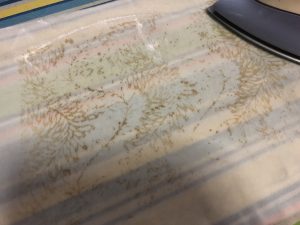
Therefore I had to go back home and iron even more praying that the pattern could form. But sadly no matter how much I iron. And how long I left it for, the pattern is still not very visible:(
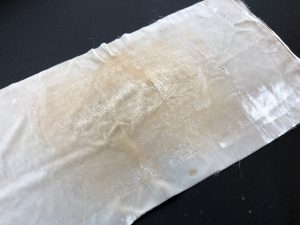
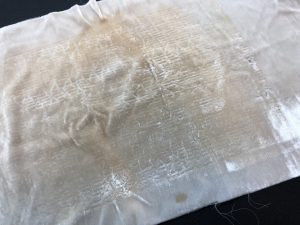
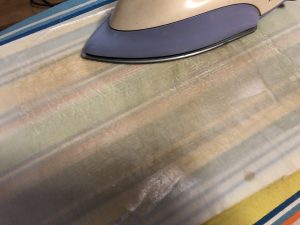
I guess it was a fail attempt for my devore as the velvet did not really come off and the fabric was burn:( but Prof Galina did mention that is was alright, we could dye the fabric to cover up the burn unless we wanted white fabric:(
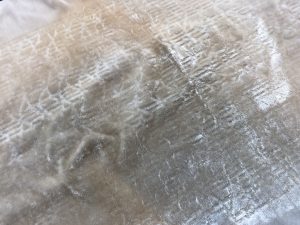
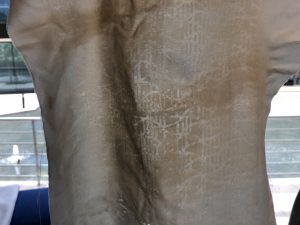
Atleast one of the pattern did have the effect which is not the best but I’m felt lucky hahaha. It was a little obvious and I had to use quite a lot of strength to scrape out the velvet:(