Drawing – Final Project Process v2

After receiving some feedback on using simplified pattern. I can first think about the images as simple overlapping patterns before developing them to complex masses.

Thus I went on and try drawing simplified figures in rooms. I used images online and tried drawing from there. I miss out some area and did not add into the drawing as I find it too overcrowding at certain area.

photo-3-11-16-12-20-56-pm

photo-3-11-16-12-21-21-pm

I also tried drawing perspective which is something I am weakest in. I can’t seem to get the point right. Still trying to figure out on the go.

photo-3-11-16-12-20-44-pm

Drawing – Final Project Process v1

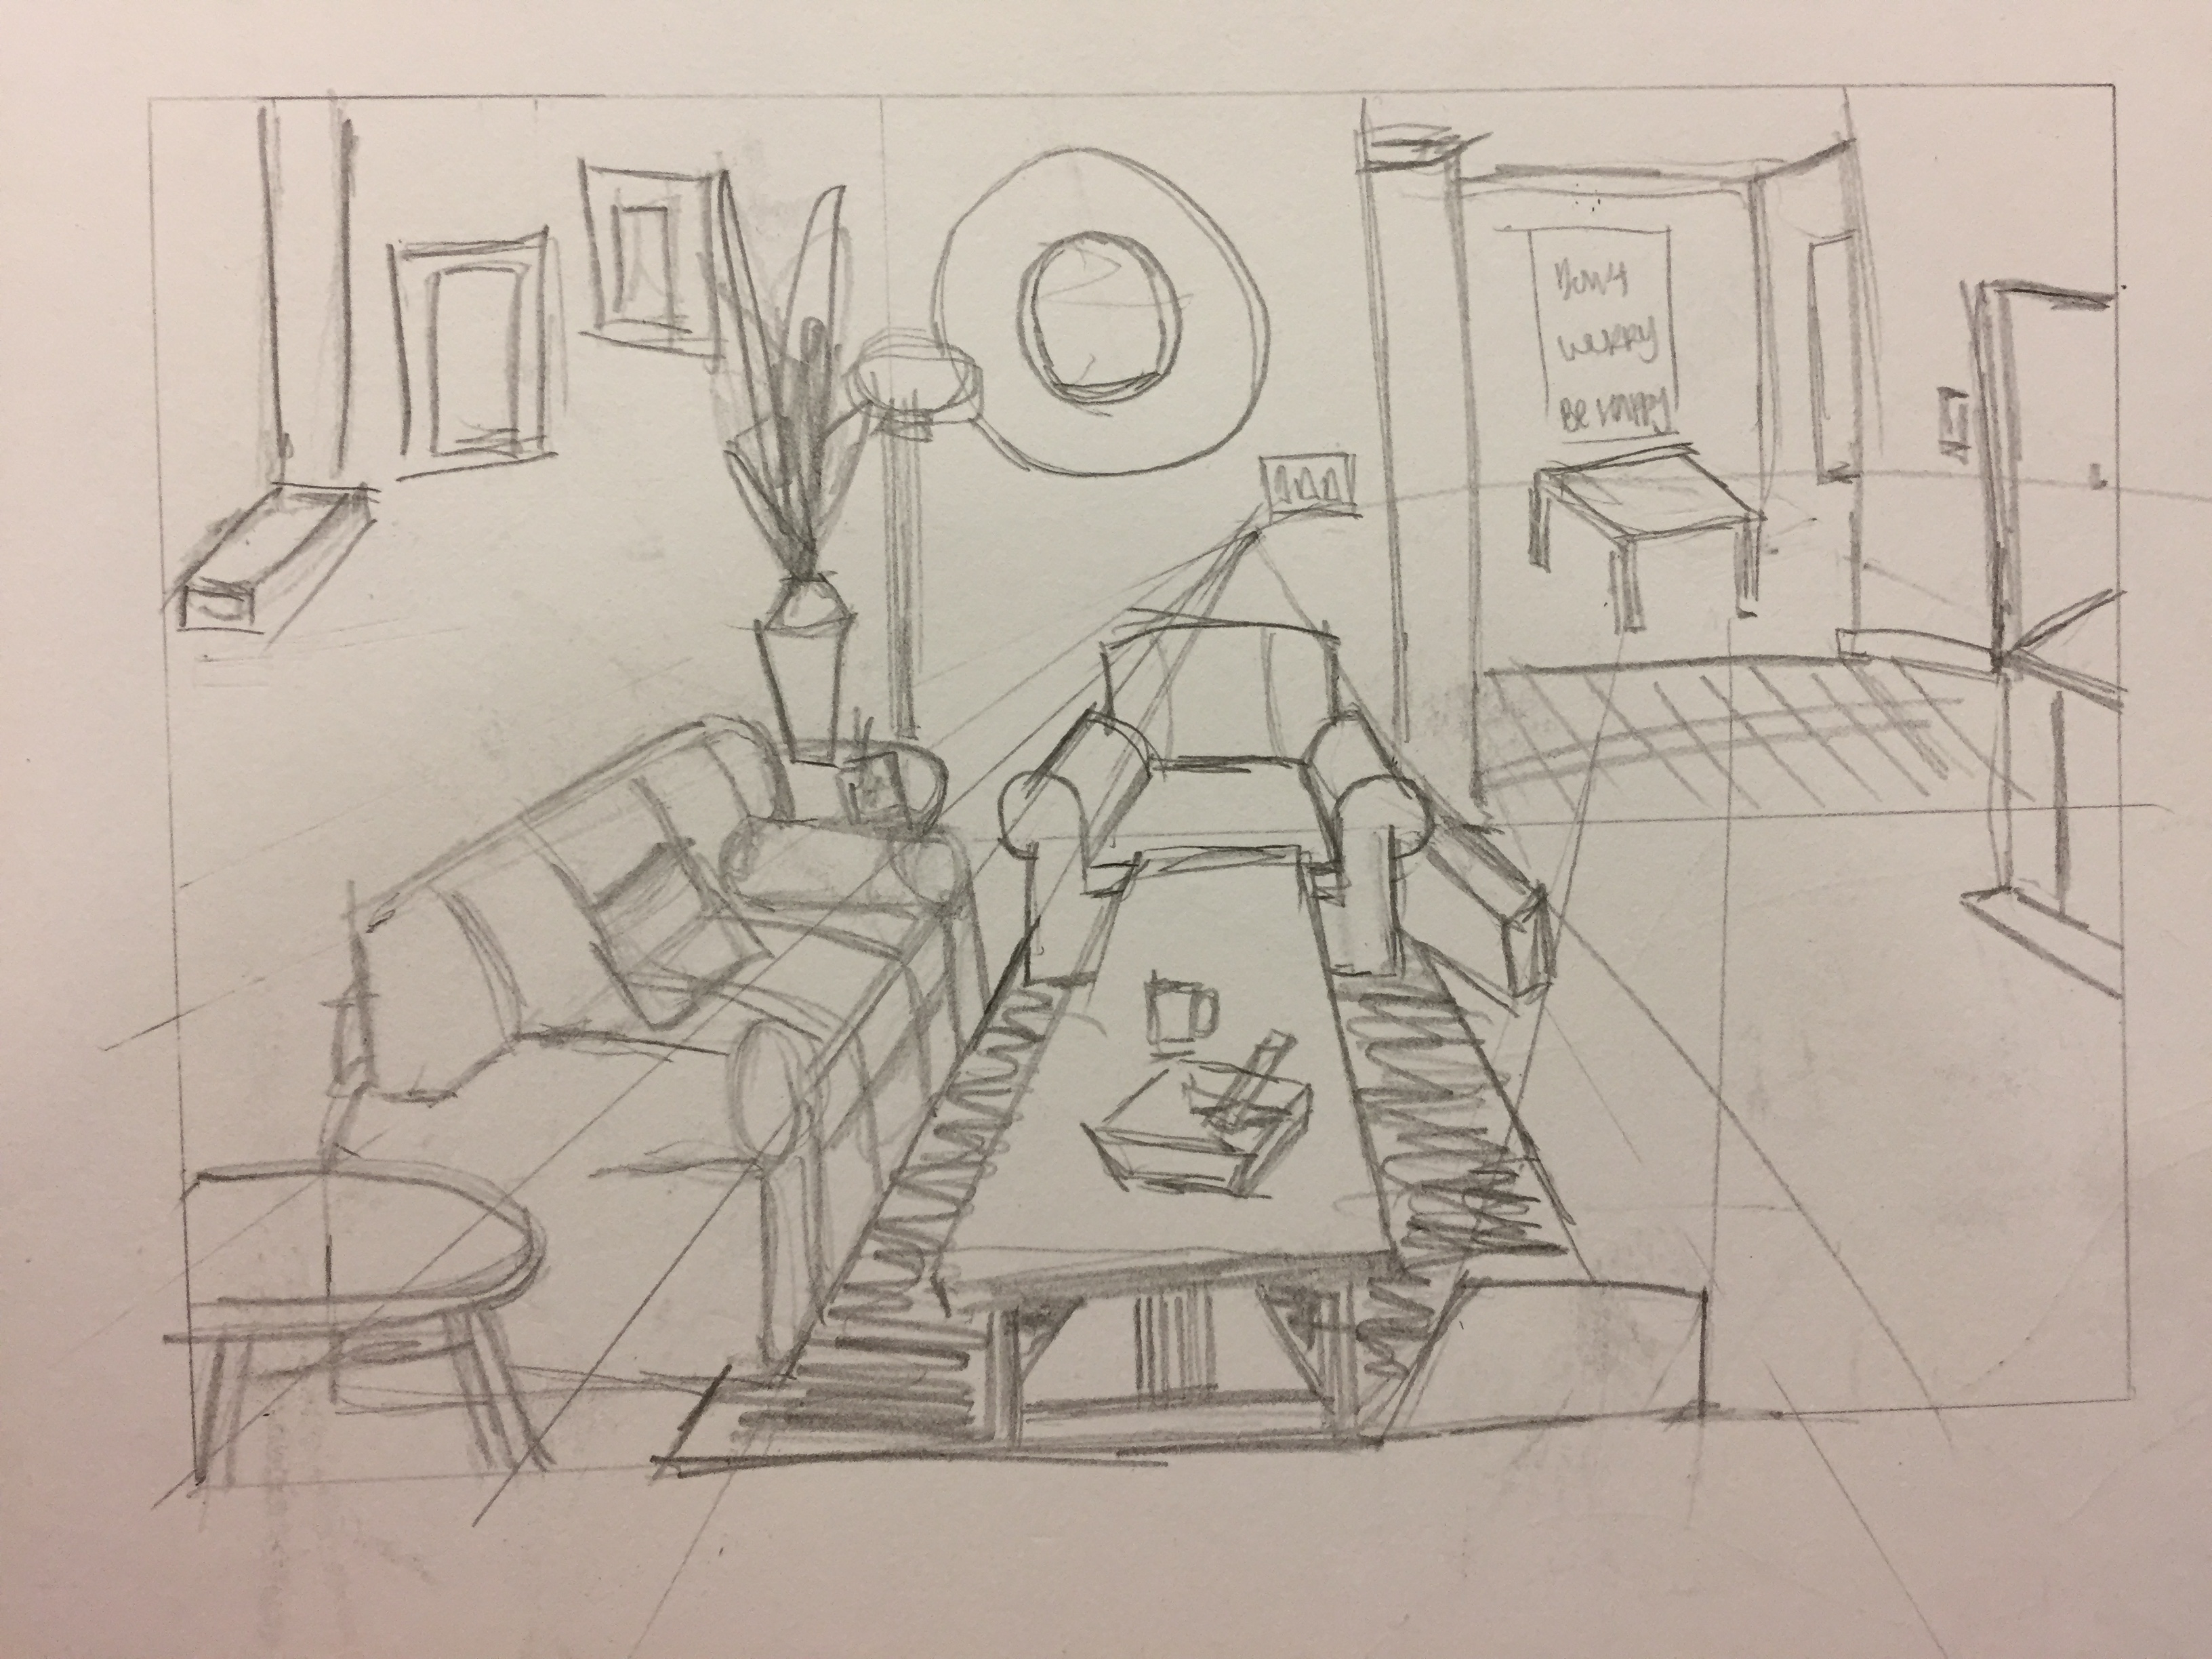
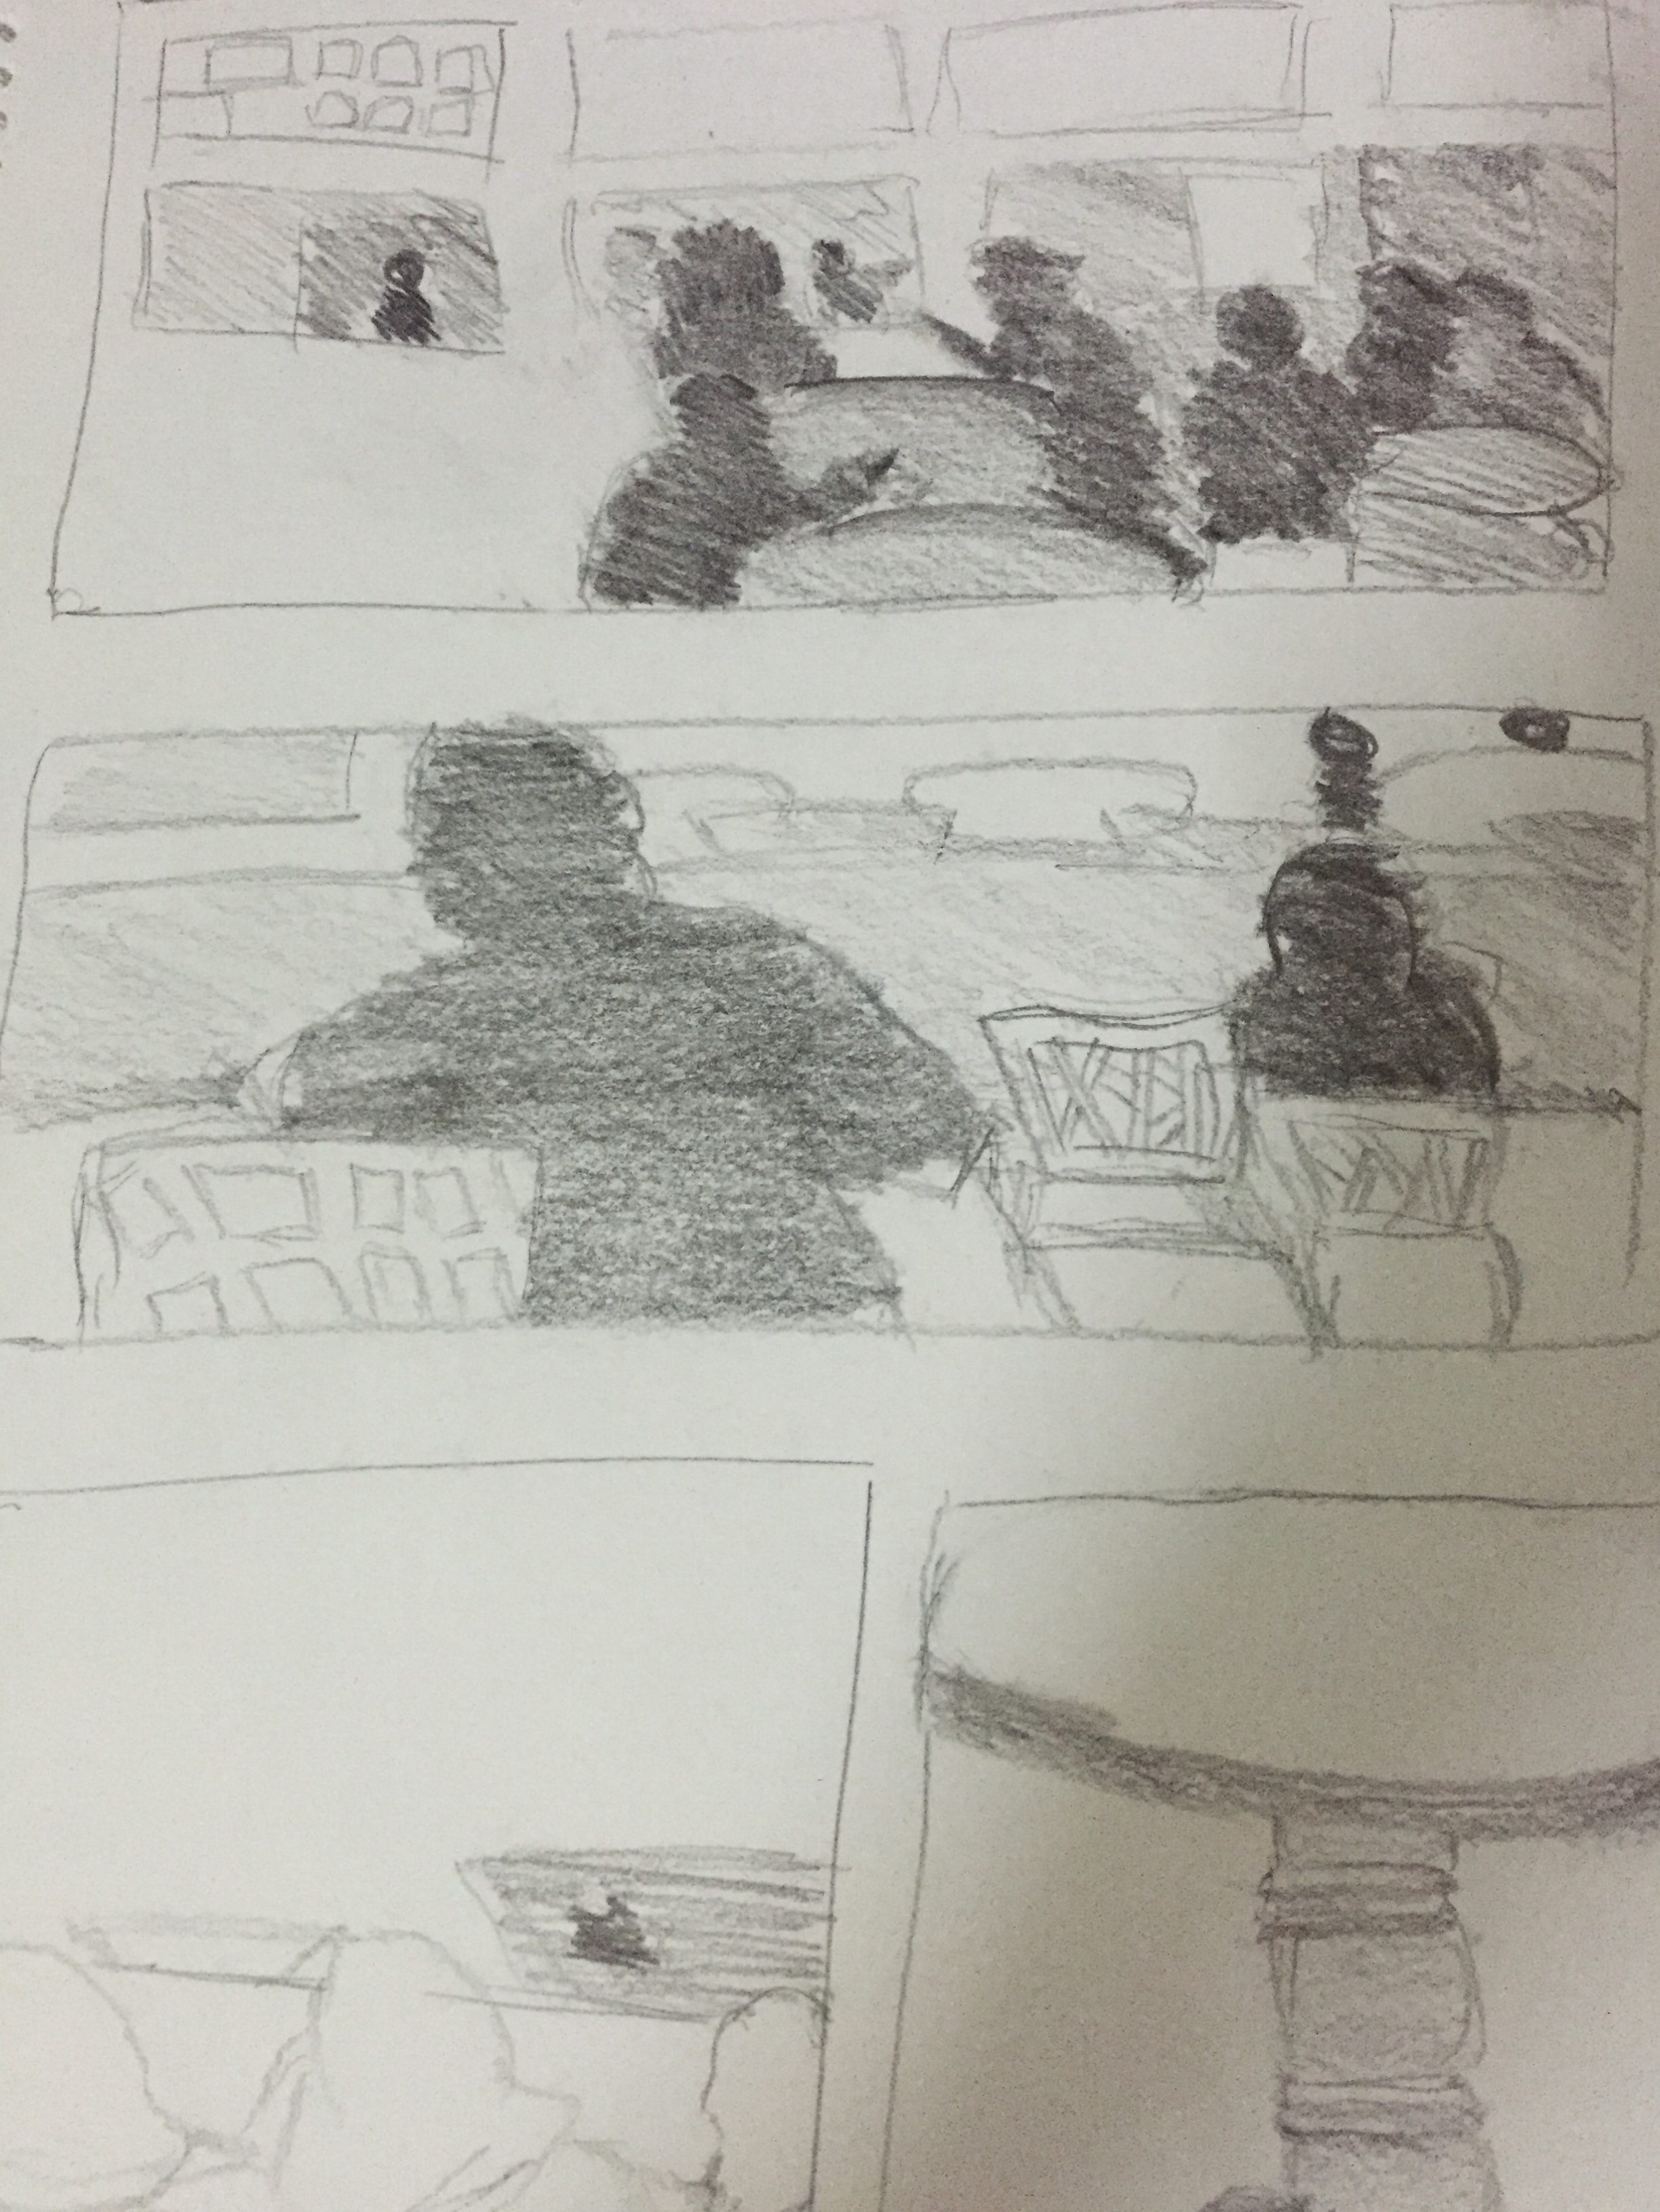
For my final project I decided to draw a scene at a living room. Why I decided to use the place living room because it’s a place at home beside dining table that my family get to gather today. Be it watching show or chit chatting. Now that I stay in school, the time we get to sit down together become lesser. However, I realize there is one time that doesn’t change is that every Friday night when I reach home, they are still sitting down at the usual spots, doing the same old thing. Thus, I want to try capturing this moment and draw it out.

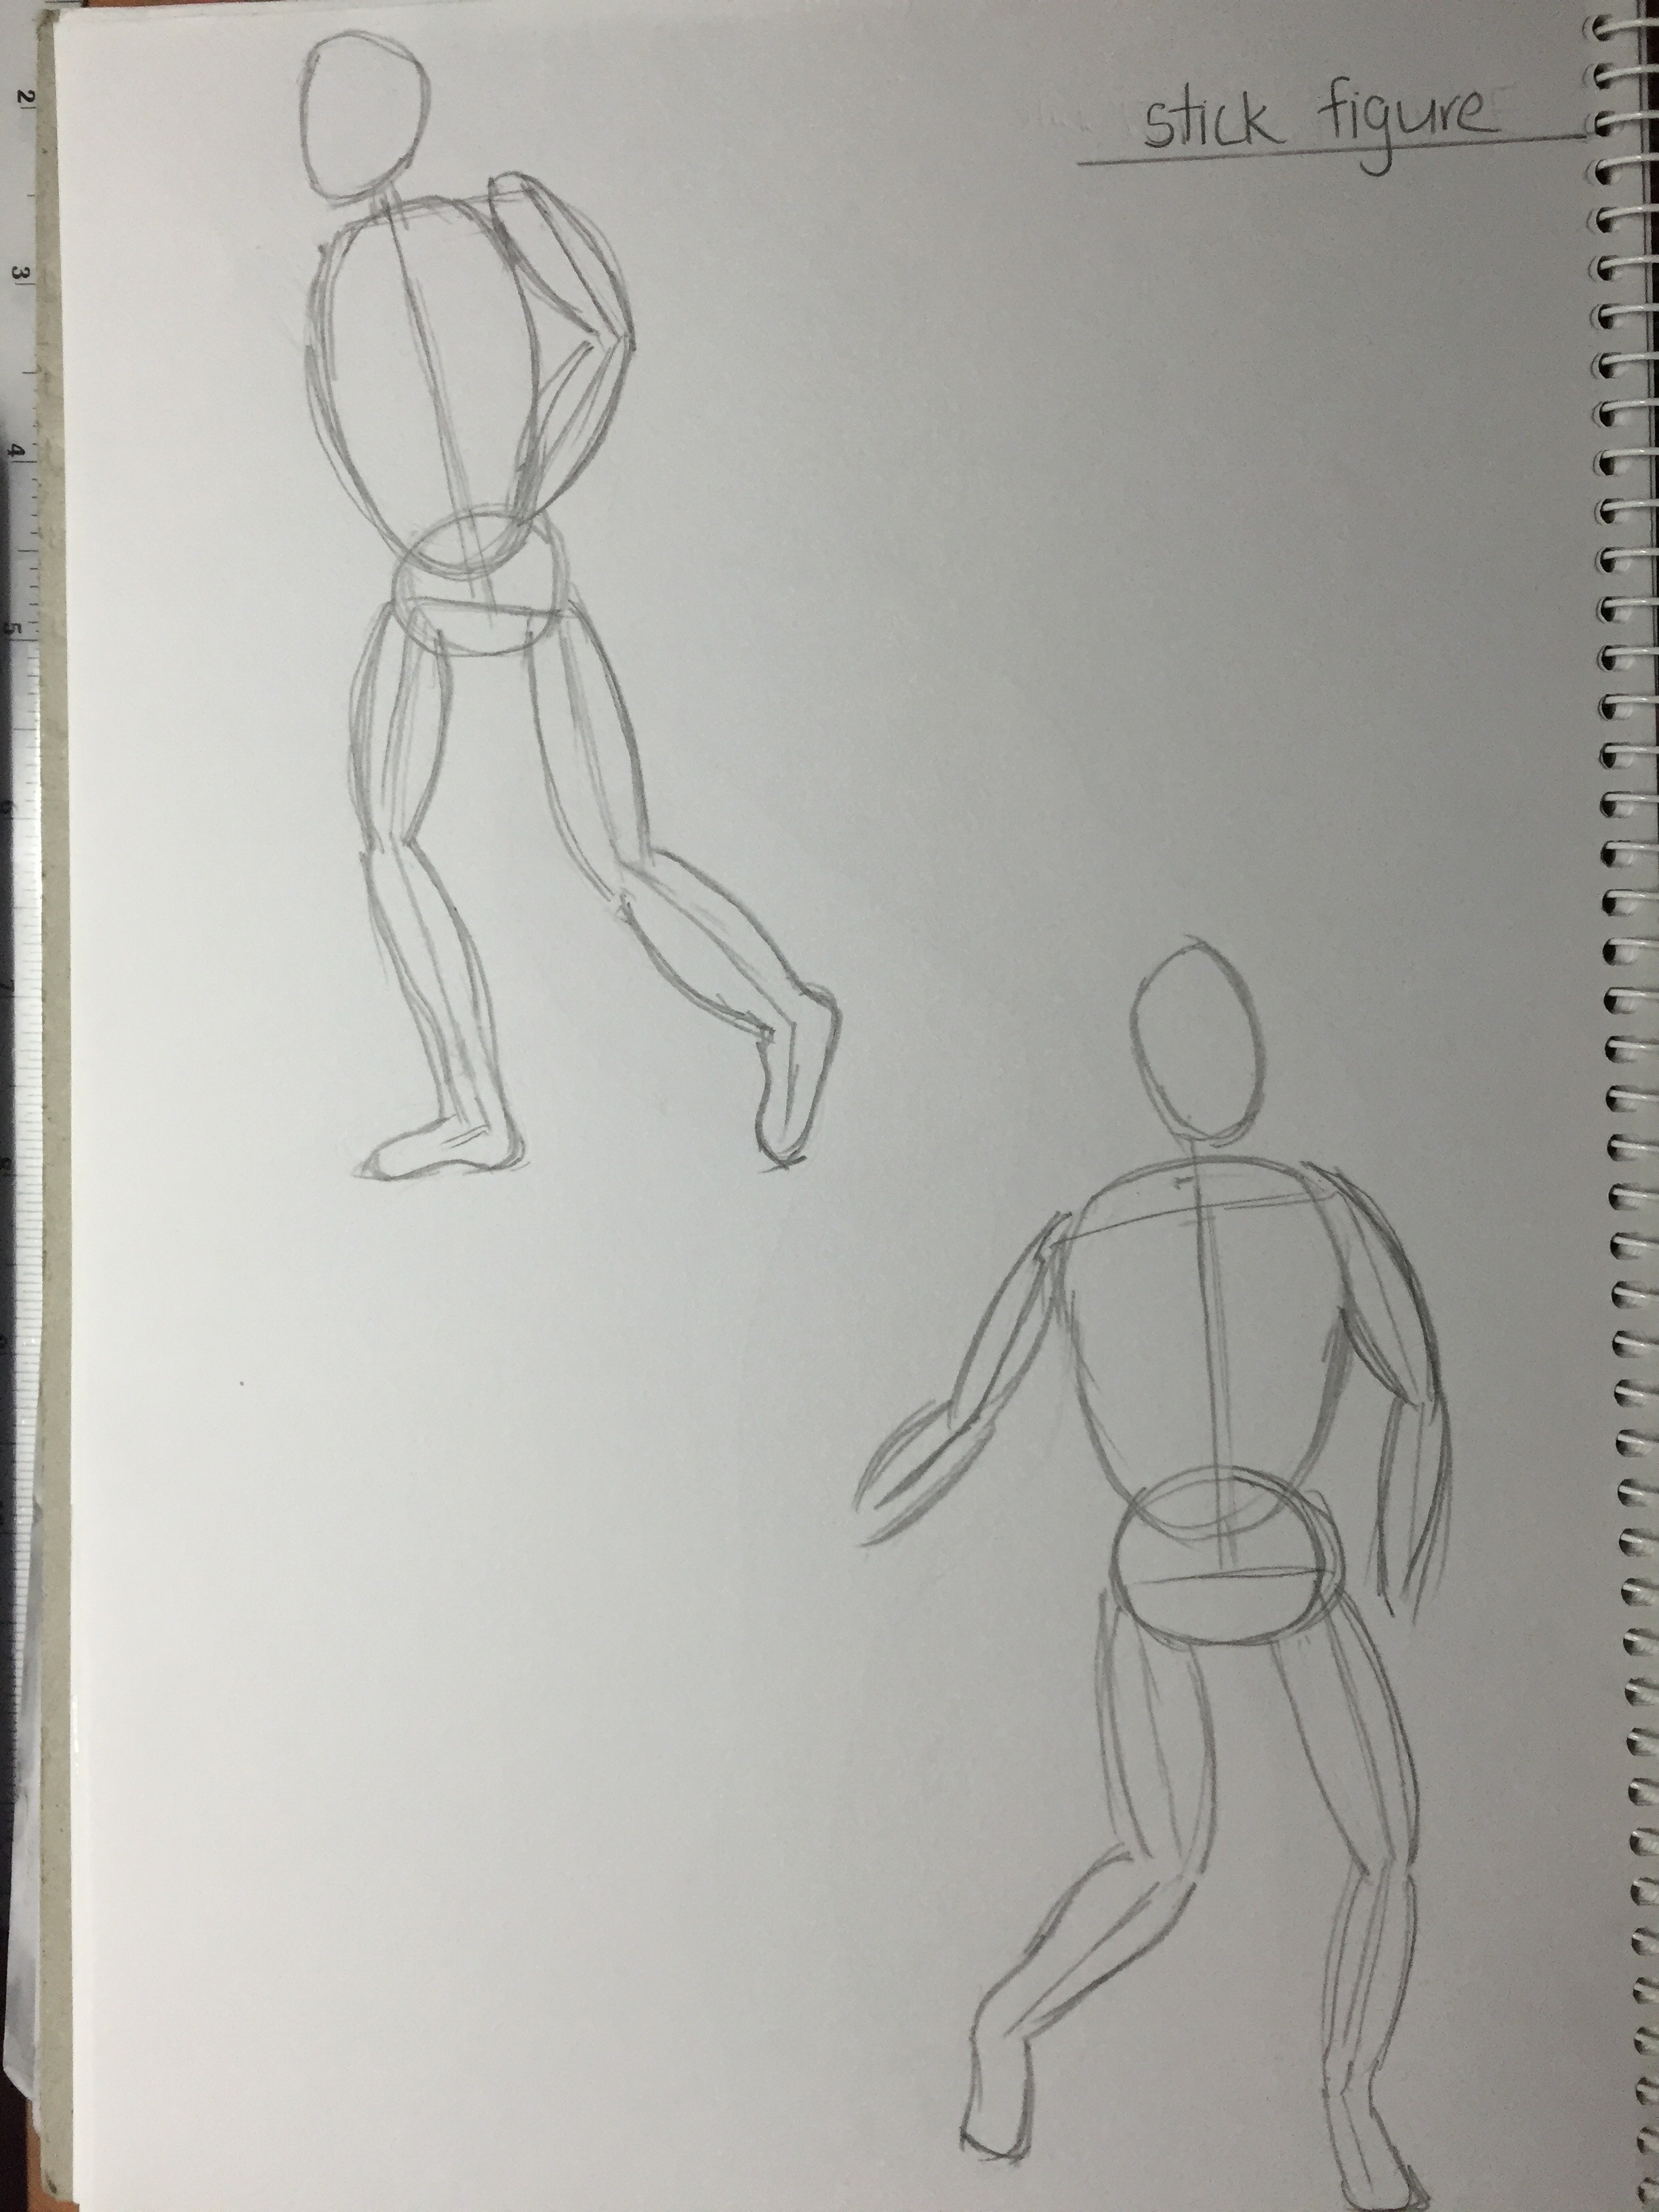
However, drawing figure is not my strength. I started out by using the block to get the position right first. I get reference from the book Figure Drawing, Design and Invention by Michael Hampton. Drawing of hands and legs is still something I am still working on.

photo-2-11-16-7-43-45-pm

photo-2-11-16-7-43-54-pm


These are drawing from life drawing class. The model did 5 mins pose(x5) for us.

photo-2-11-16-7-44-00-pm

photo-2-11-16-7-44-07-pm


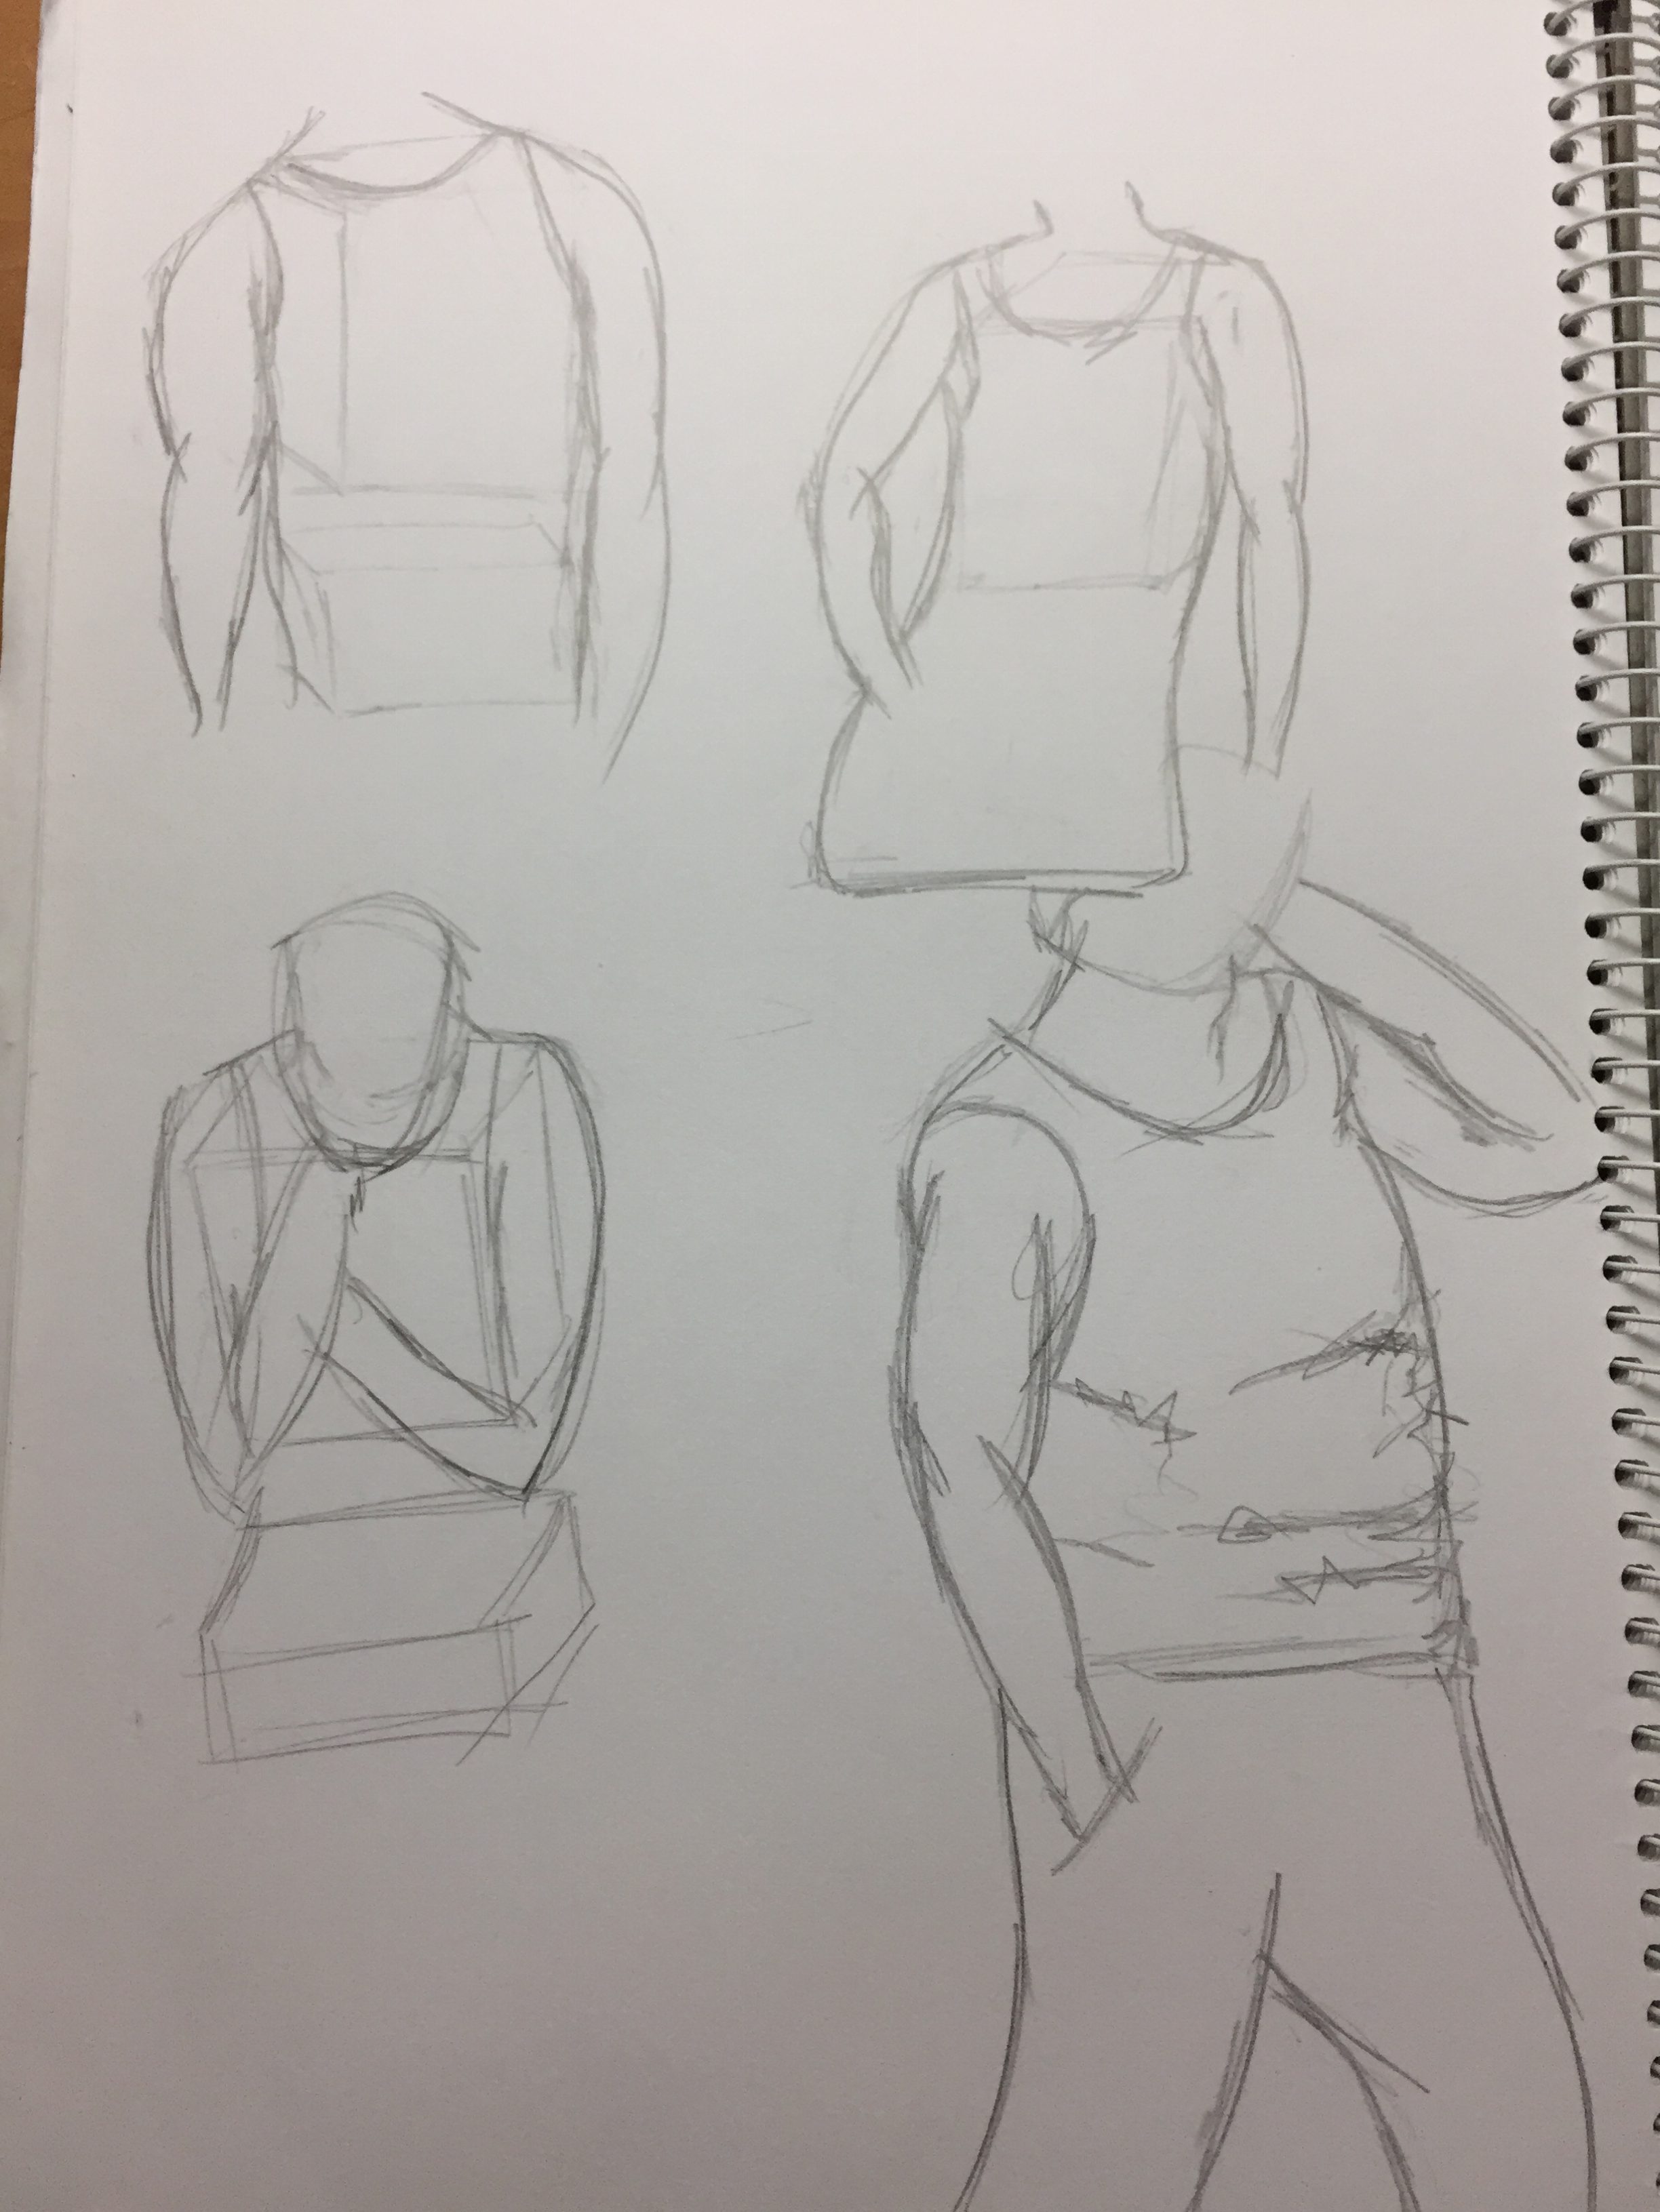
I tried drawing figures from images, however the fingers here still look a bit awkward. Facial features is also something I need to improve on.

photo-2-11-16-7-44-23-pm

photo-2-11-16-7-44-31-pm


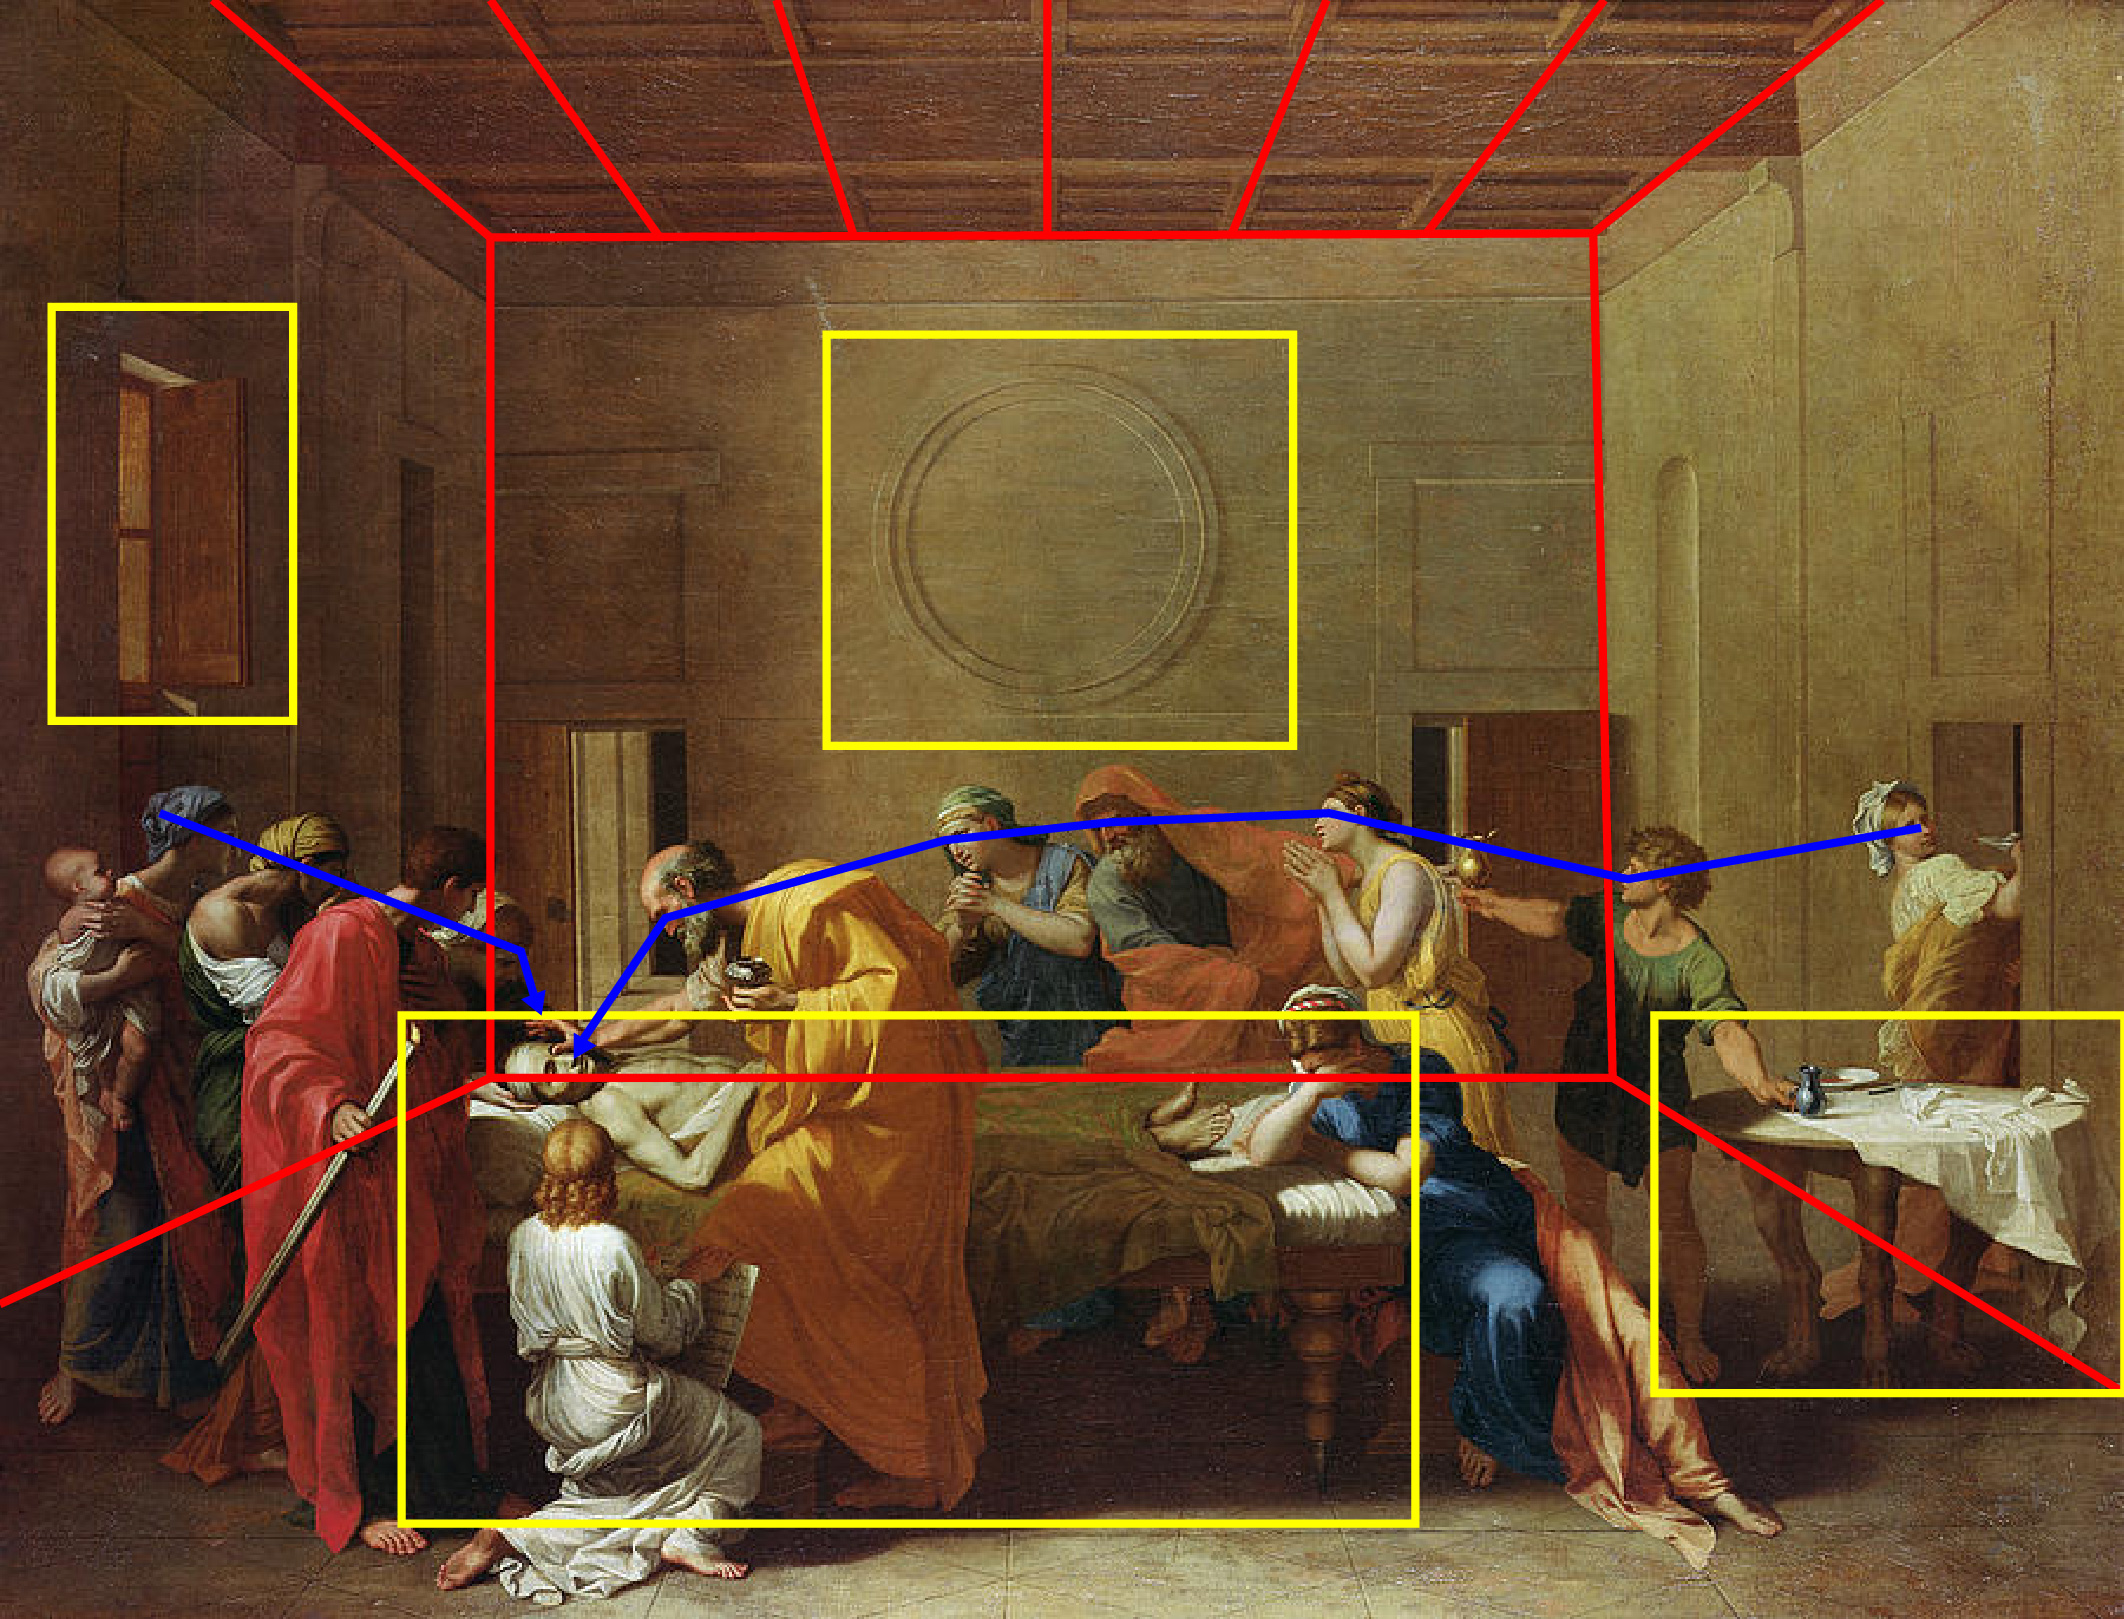
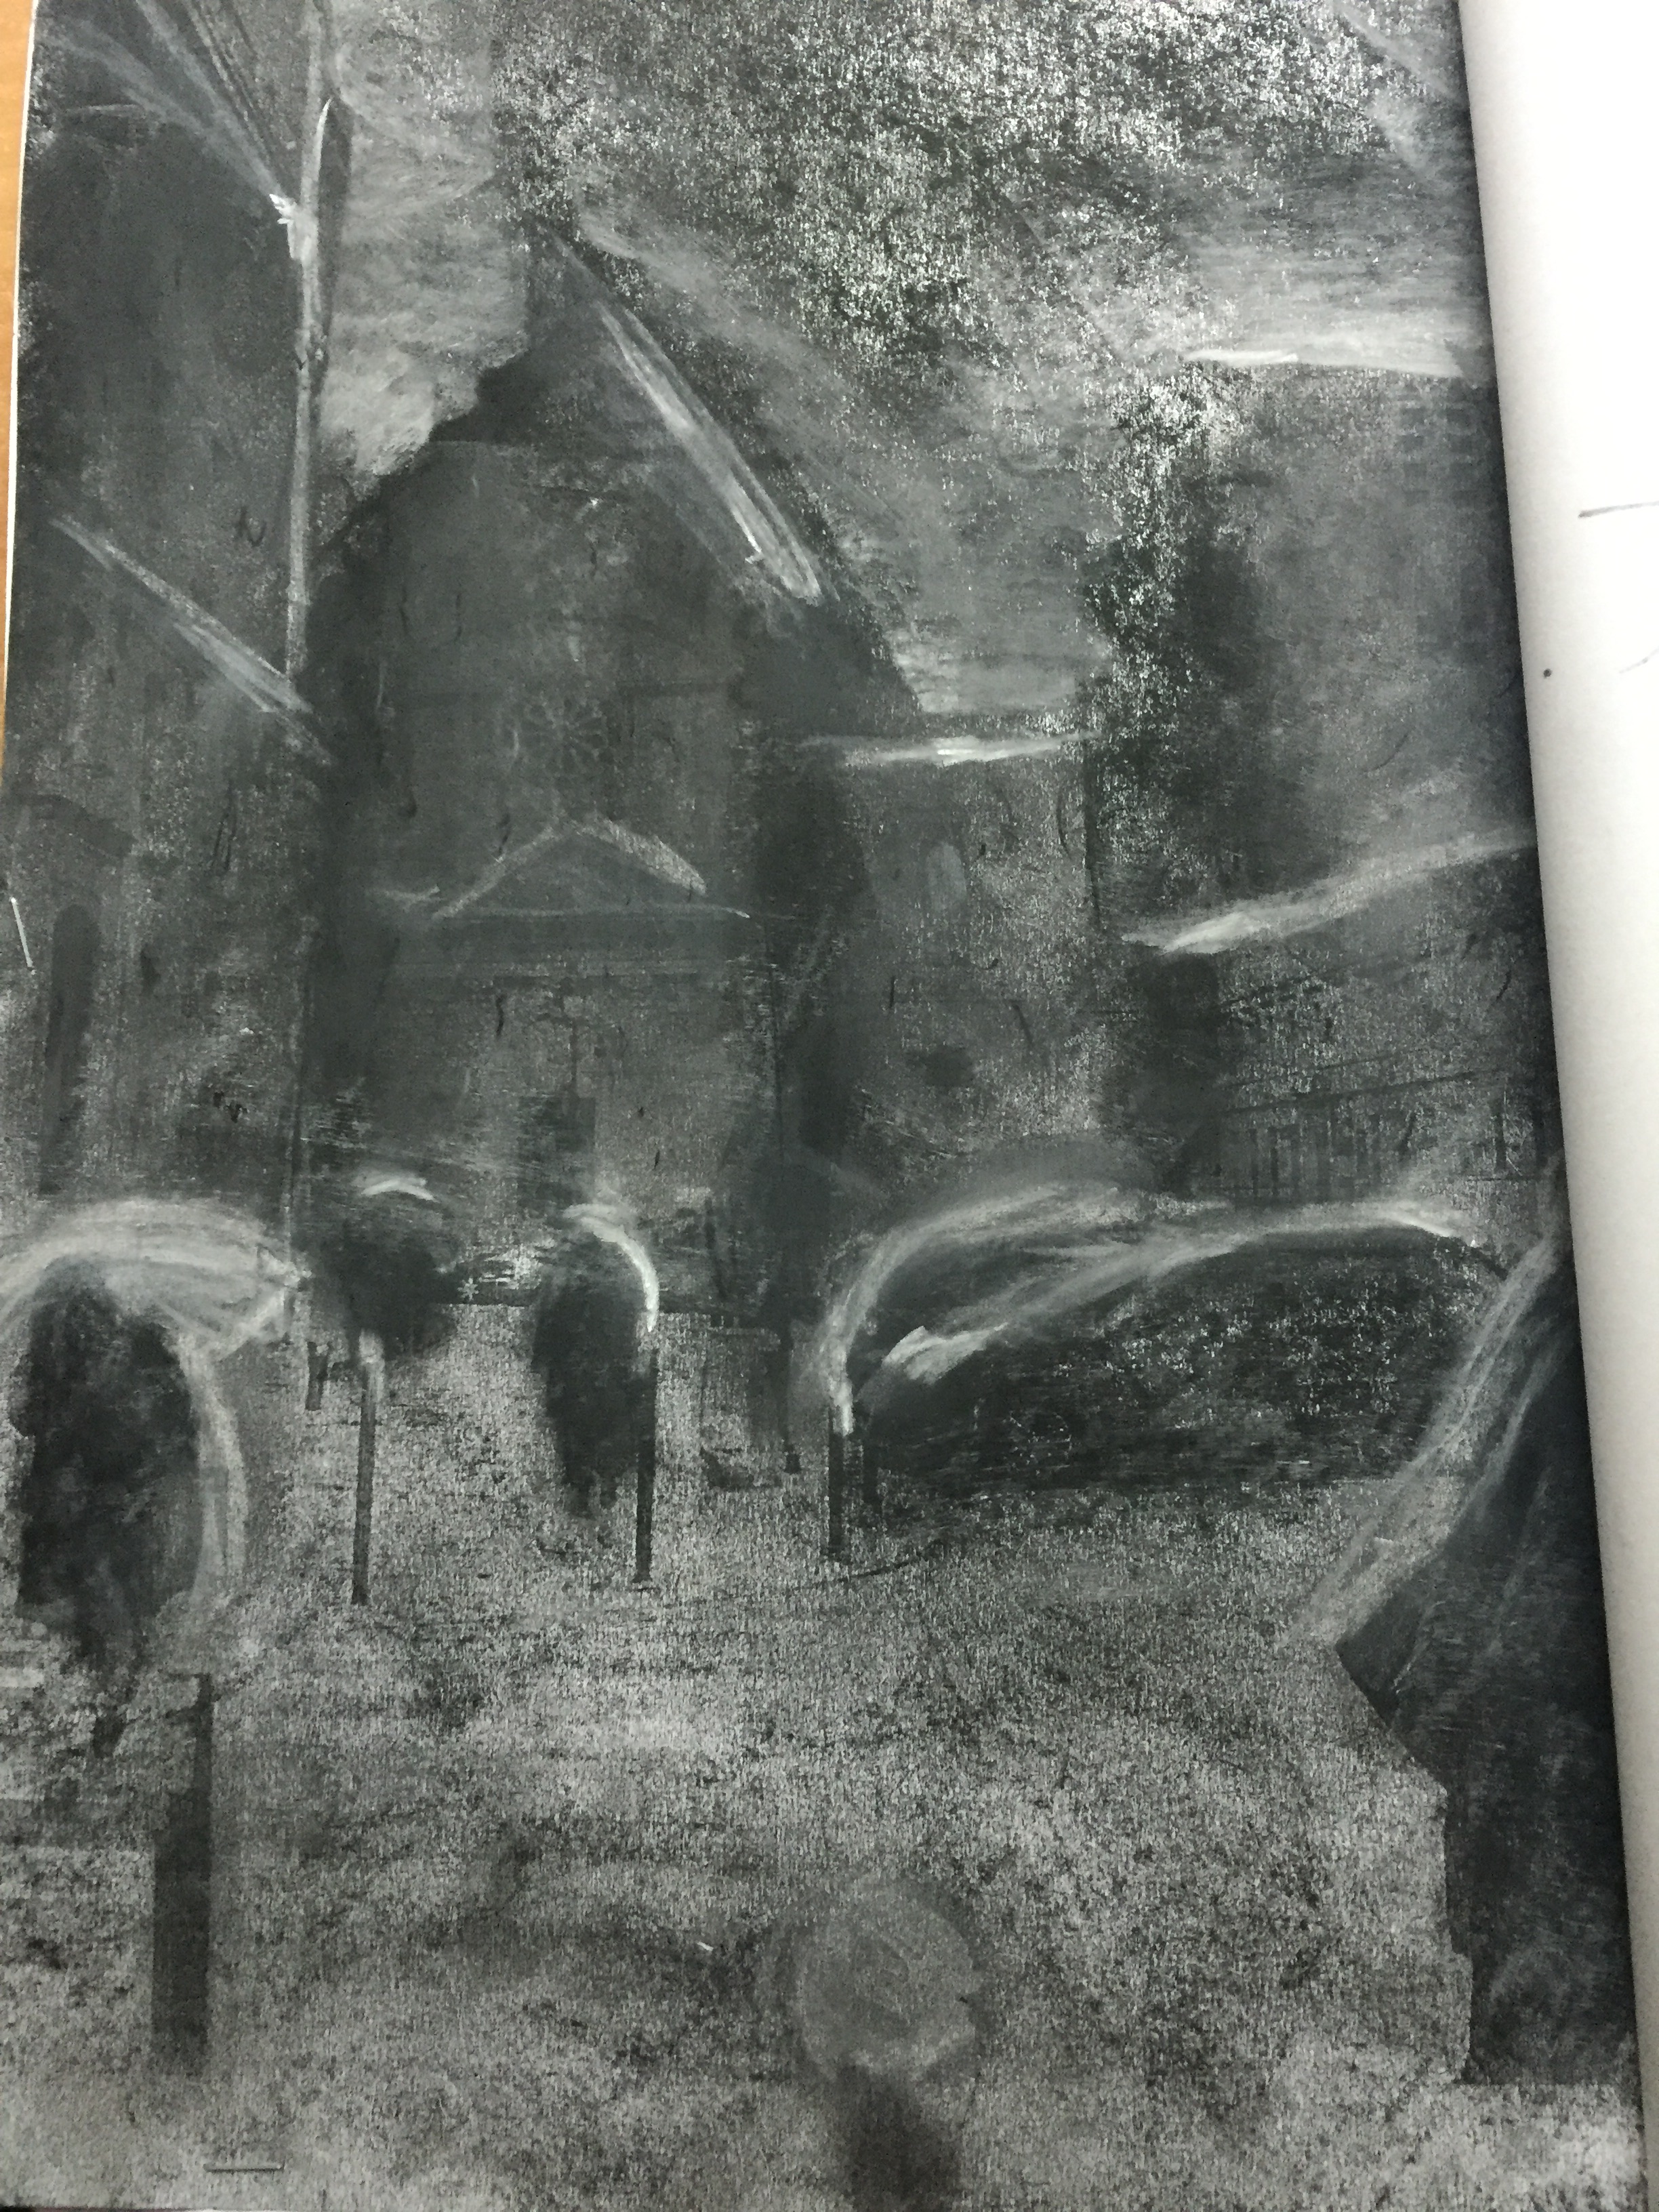
After consultation with Prof Woon Lam about drawing the interior space. He recommended me to look at Nicholas Poussin work and find out how he play around with the space. He advised me to draw out the space first, before adding in the furniture and figures.

The red part indicate the area, yellow part are the furniture and wall design while the blue arrow indicate the flow, where the human face are all looking towards the direction where it end at the figure lying there.

1-01

Drawing – Figure Drawing & Watercolor Painting

In class, we went on to learn how to draw hand and head. Like the proportion of our palm to our fingers. How each fingers have 3 joint and the ratio to each parts. During my last assignment, I left out the hand part and didn’t draw it in because my hand always turn out looking weird. Still trying to get the idea of positioning the hand so that it looks natural and nicely placed.

img_2311

Here is our prof Woon lam trying to explain to us the bone structure of a human.

img_2289

He also teaches us how to draw head using the volume. How the head is tilt in different angle, when it’s lying down or facing different direction.

img_2312


He went on to teach us on water color painting. It’s amazing how he uses one color and created so many different gradient to it by adjusting the amount of water use. This is some of the painting he does in class to show us how we can play around with water color.

whatsapp-image-2016-10-06-at-1-25-37-pm-1whatsapp-image-2016-10-06-at-1-25-37-pmwhatsapp-image-2016-10-06-at-1-25-45-pm-1whatsapp-image-2016-10-06-at-1-25-45-pm whatsapp-image-2016-10-06-at-1-25-51-pm

We went on to try out on our own. I went on to explore on some colors, however my painting is a bit too safe. I didn’t dare to add more water to create the different tone. Where my painting turn out to be too flat.

img_2314img_2313

Drawing – Figure Drawing & Tonal Different

Today, we continue exploring on the figure drawing focusing on the leg structure. Learning the knowledge of the bone structure and fill in the outer after. We did a front, back view and a sitting position of the leg structure. It was easier to find out where the leg suppose to bend at which angle.

fullsizerender-1

fullsizerender-4

fullsizerender-3

We continue by learning stick figure. How we draw the line according to the body position and fill up the details after. This was an interesting try out as how stick figure can actually allows us to find out about the body position more easily.

fullsizerender-2


After that, we went on to work on tonal different. We were given a picture of different scene and using chalk, we are able to change the mood of the entire picture. It was difficult for me to shade the picture accordingly as I always tend to focus on the details whereas we are suppose to work on the bigger picture.

img_2166

img_2167

Drawing – Space Concept

For homework last lesson, we are tasked to practice on one point and two point perspective drawing.

For one point perspective, we will be drawing our own room. At first I wasn’t so sure on where am I suppose to focus on. Thus some of the alignment is off from the actual position itself.

fullsizerender

For two point perspective, we will be drawing temples, church or any building. I drew Kwan Im Thong Hood Cho Temple in Singapore. It was not easy for me as I do not have any background of drawing architecture. It was a new learning experience for me, but it was quite a fun experience.

img_2071

During lesson, we were tasked to work with the space concept and come out with a large piece of drawing. Total of 3 piece of paper, we work with one piece of paper before joining the other to create the space in the composition. I have to take note of the scale of the object as some object are suppose to appear smaller/bigger than the rest.

img_2081

Drawing – Charcoal Drawing

IMG_2019

This lesson we used charcoal to illustrate the surrounding and the model. We are suppose to take note of where the light is hitting, where should be darker and where should be lighter. We have to take note of the tonal different as well, which also consists of the grey tone which some time can be hard to understand. Still trying to familiarize myself with charcoal drawing and it was definitely fun to work with.

Drawing – Figure Drawing

During class, we went through figure drawing using box. We are suppose to focus on a few point of the body and construct a box within it, its to guide us along on how the figure is position. However, I don’t really get the idea of constructing the box using the point. Thus, this is the first outcome that I attempt and it’s really bad.

IMG_1651

Therefore, I went to consult Prof Woon Lam about the concept of using box. This is what he have drawn while teaching on which point to focus on, the axis and all.

IMG_1650

The figure we are focusing on the the white figurine.

IMG_1563

Then I carry on to try out the method again. I roughly get the idea of what the concept about and still on the process of improving it. This is what I did after consulting prof.

IMG_1652

This is the first time I touch on figure drawing, and is still unfamiliar with it. I will try to do more practice in the future and hope to make some improvement.

Drawing – Charcoal drawing of Still-Life Object

This is my first time using charcoal and I find that the way Prof Woon Lam teaches us on charcoal is very interesting. Using charcoal give us the privilege of making mistake. It can be easily erase and we just have to give it another try! Still on the process on how to use charcoal and this is the work I have done in class.

IMG_1504

Drawing – Un-objectifying Objects

On our first lesson, we went to Canteen 2 to do some sketching. We are suppose to un-objectify objects which is to “throw away” our knowledge about that object. Some useful tips is to squint our eyes so that we could only see the outline of the object and start sketching. However, it was not easy for me. I can’t seems to get that concept. This are a few try out that I did.

IMG_1647IMG_1648