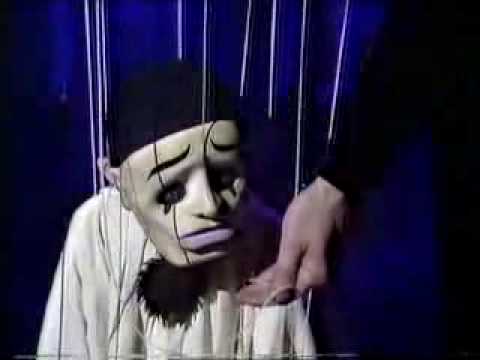
To create a puppet (metaphor of a person) which will move the limbs based on manipulative commands. It is to raise the awareness of one kind of verbal abuse, manipulation.
https://youtu.be/lV4ZnoYhwgg
Sketch:
Key challenges:
Voice detection to move the limbs (servor motors)
Specific commands to create different actions
Things to take note of:
Hiding of the mechanics which may cause overheating
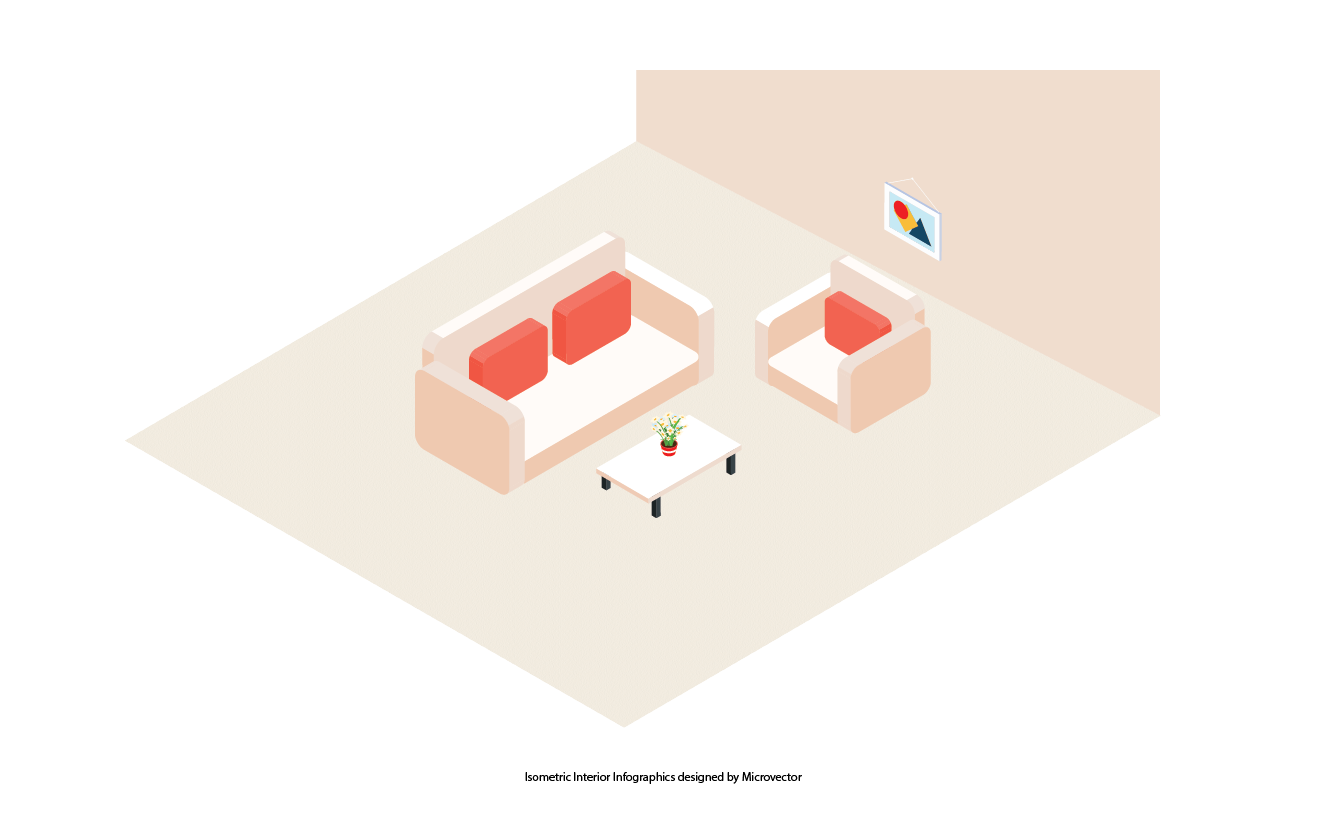
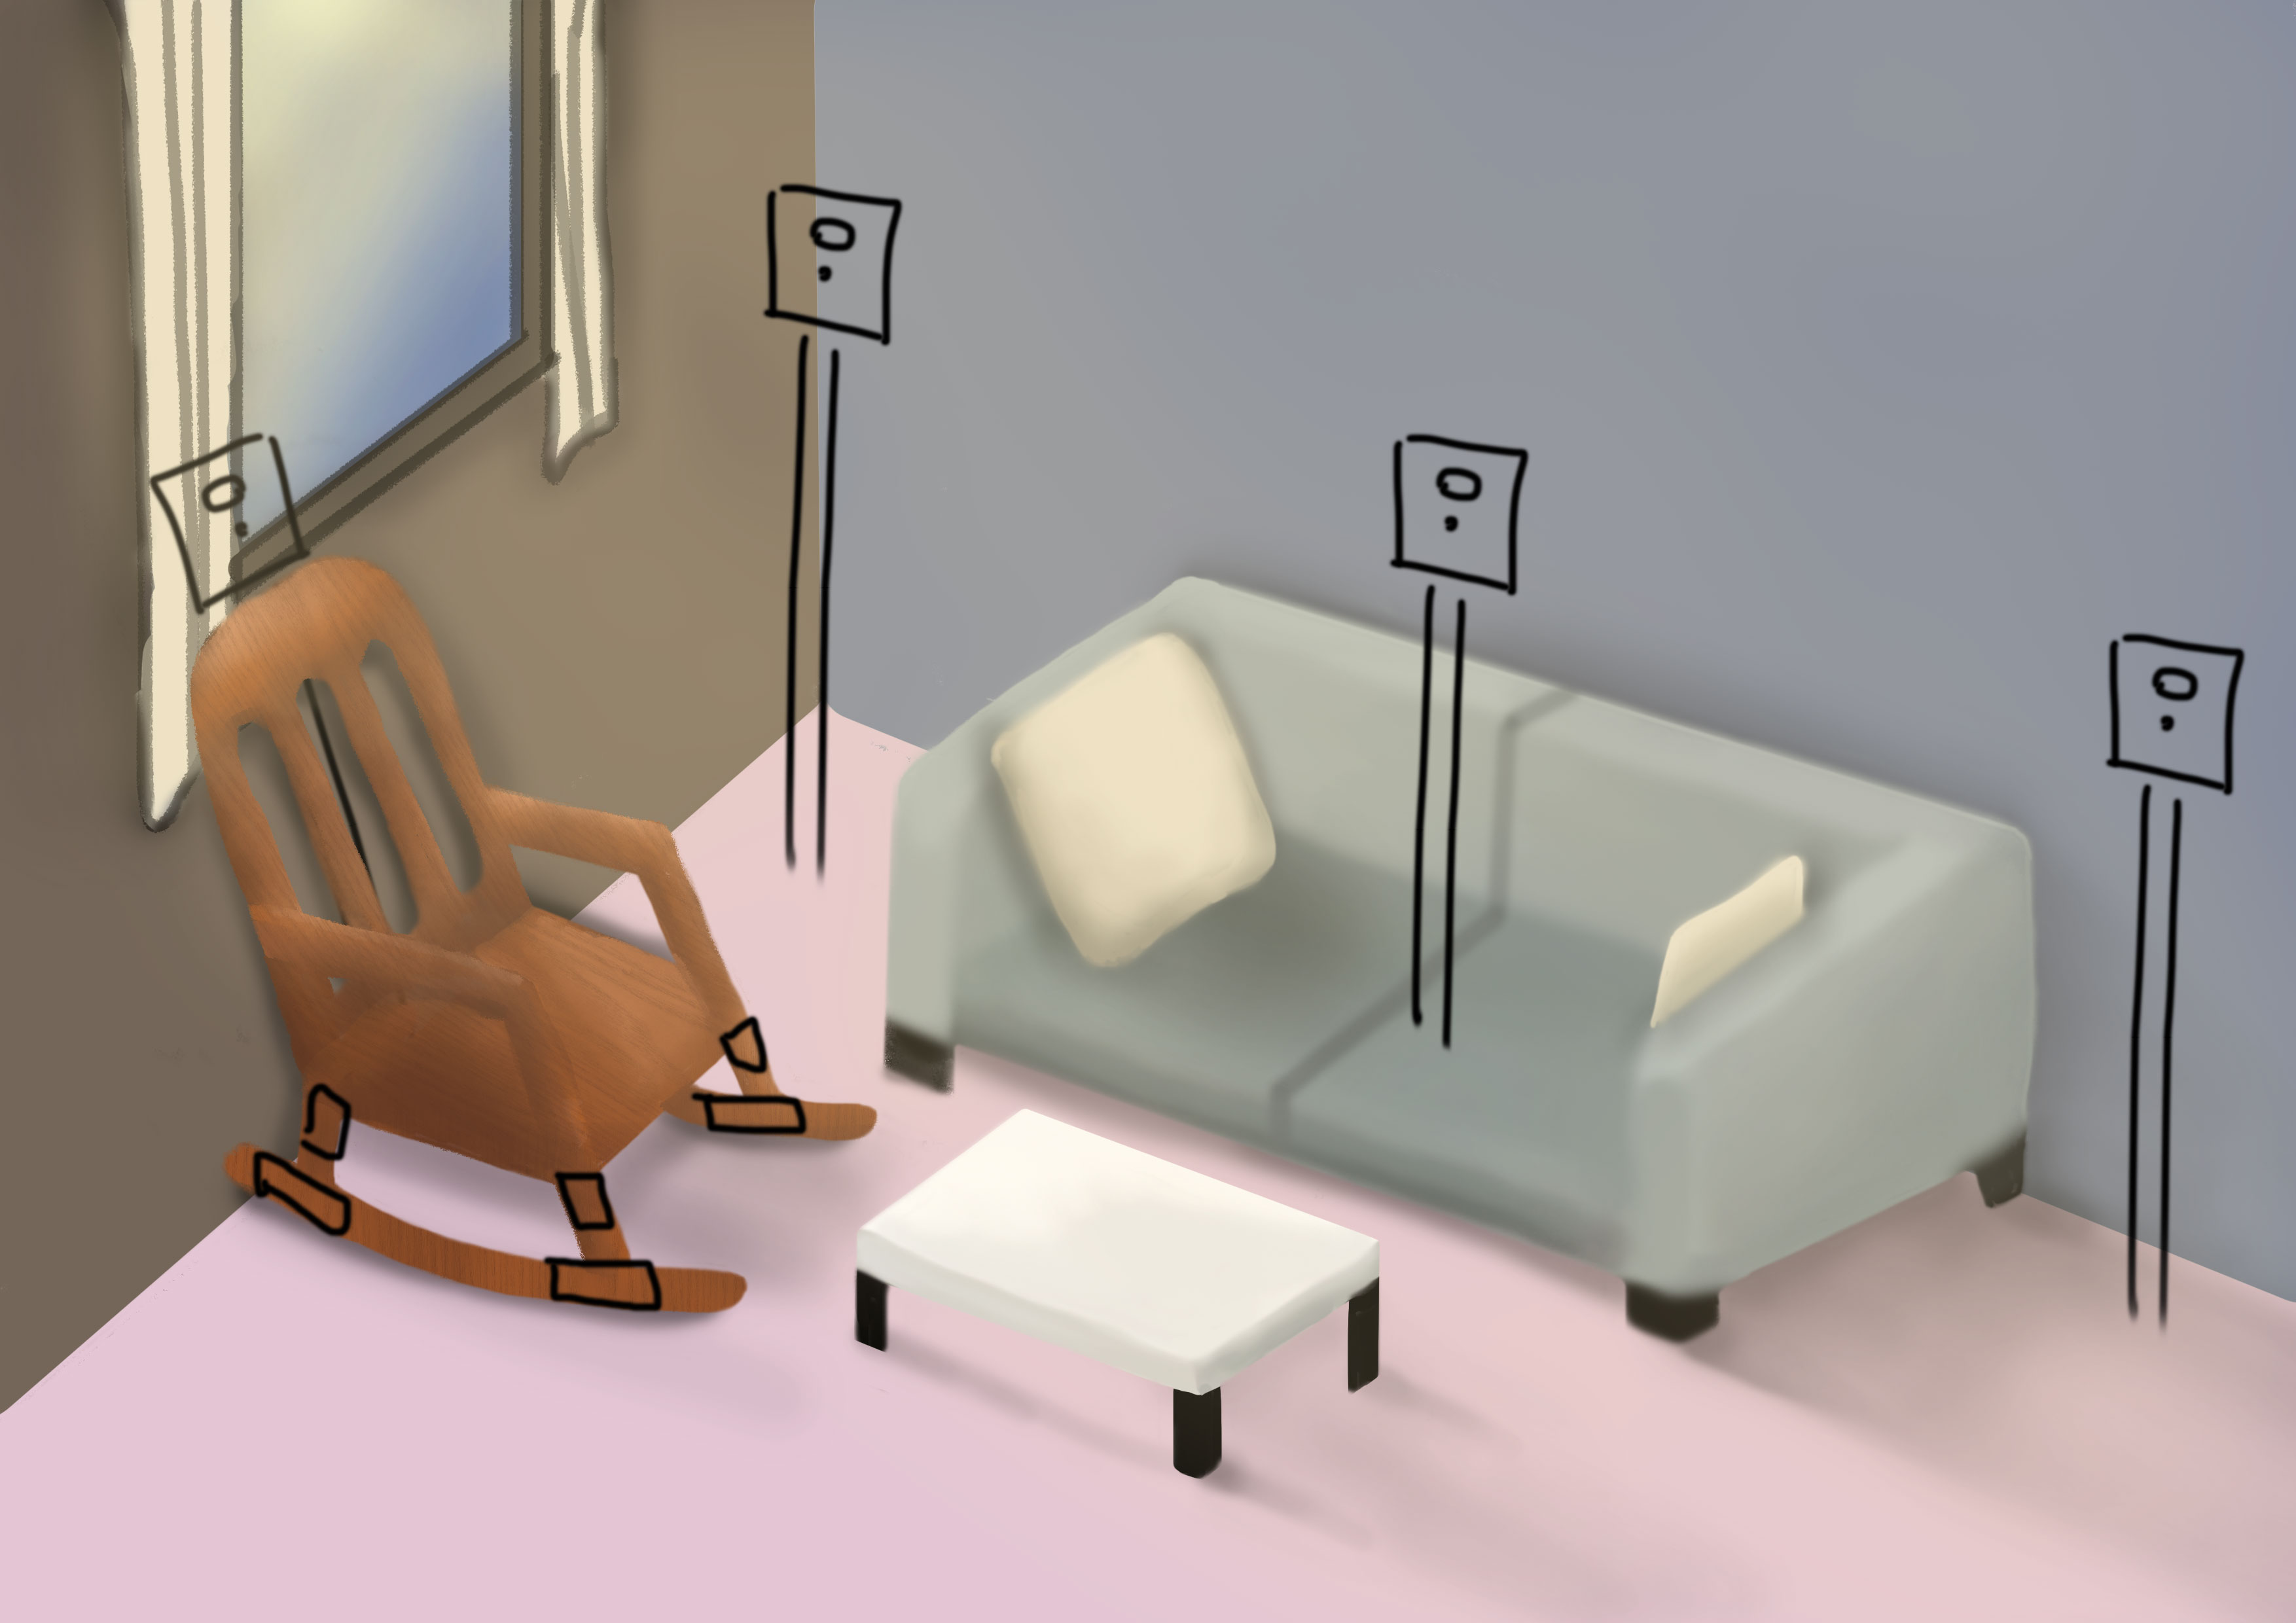
Visualising the space of FYP at an angle and trying out the colour scheme to see if it gives a comfortable, homely environment for the audiences to explore.
Adding speakers to the room layout to see where the speakers should be placed.
Next steps: Record sounds and test them out, think of the different family issues that I want to raise in the home context.
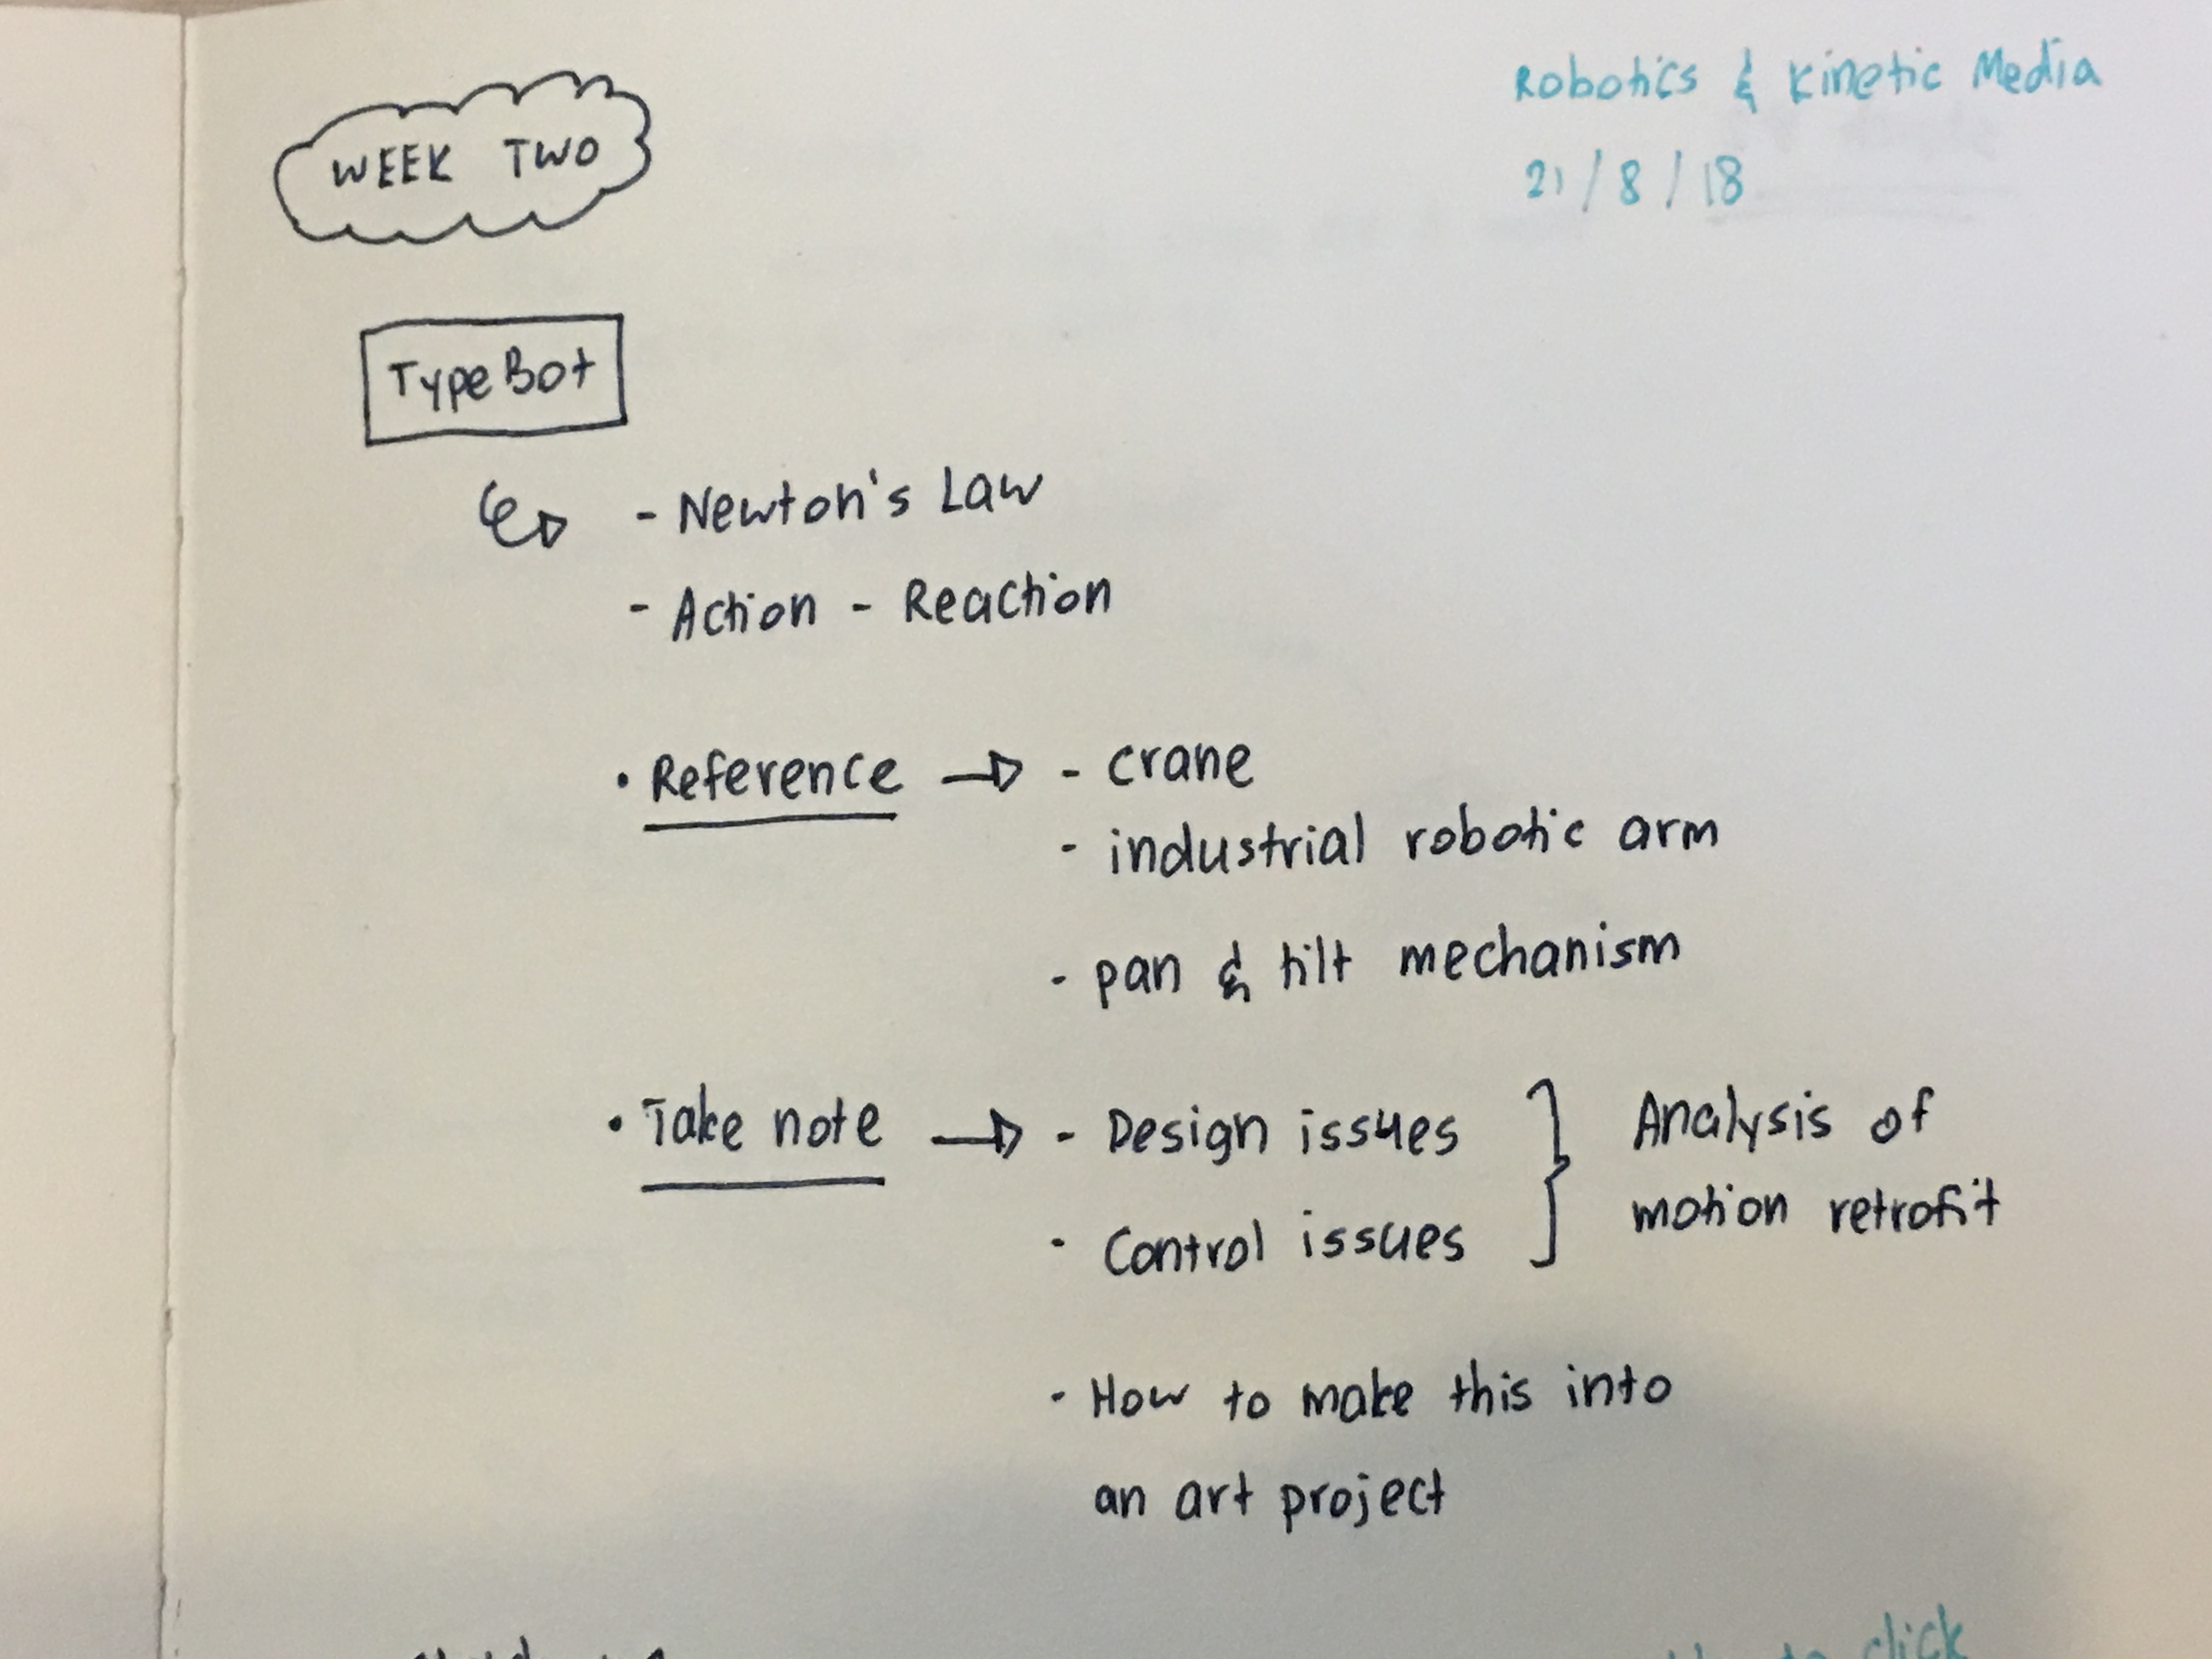
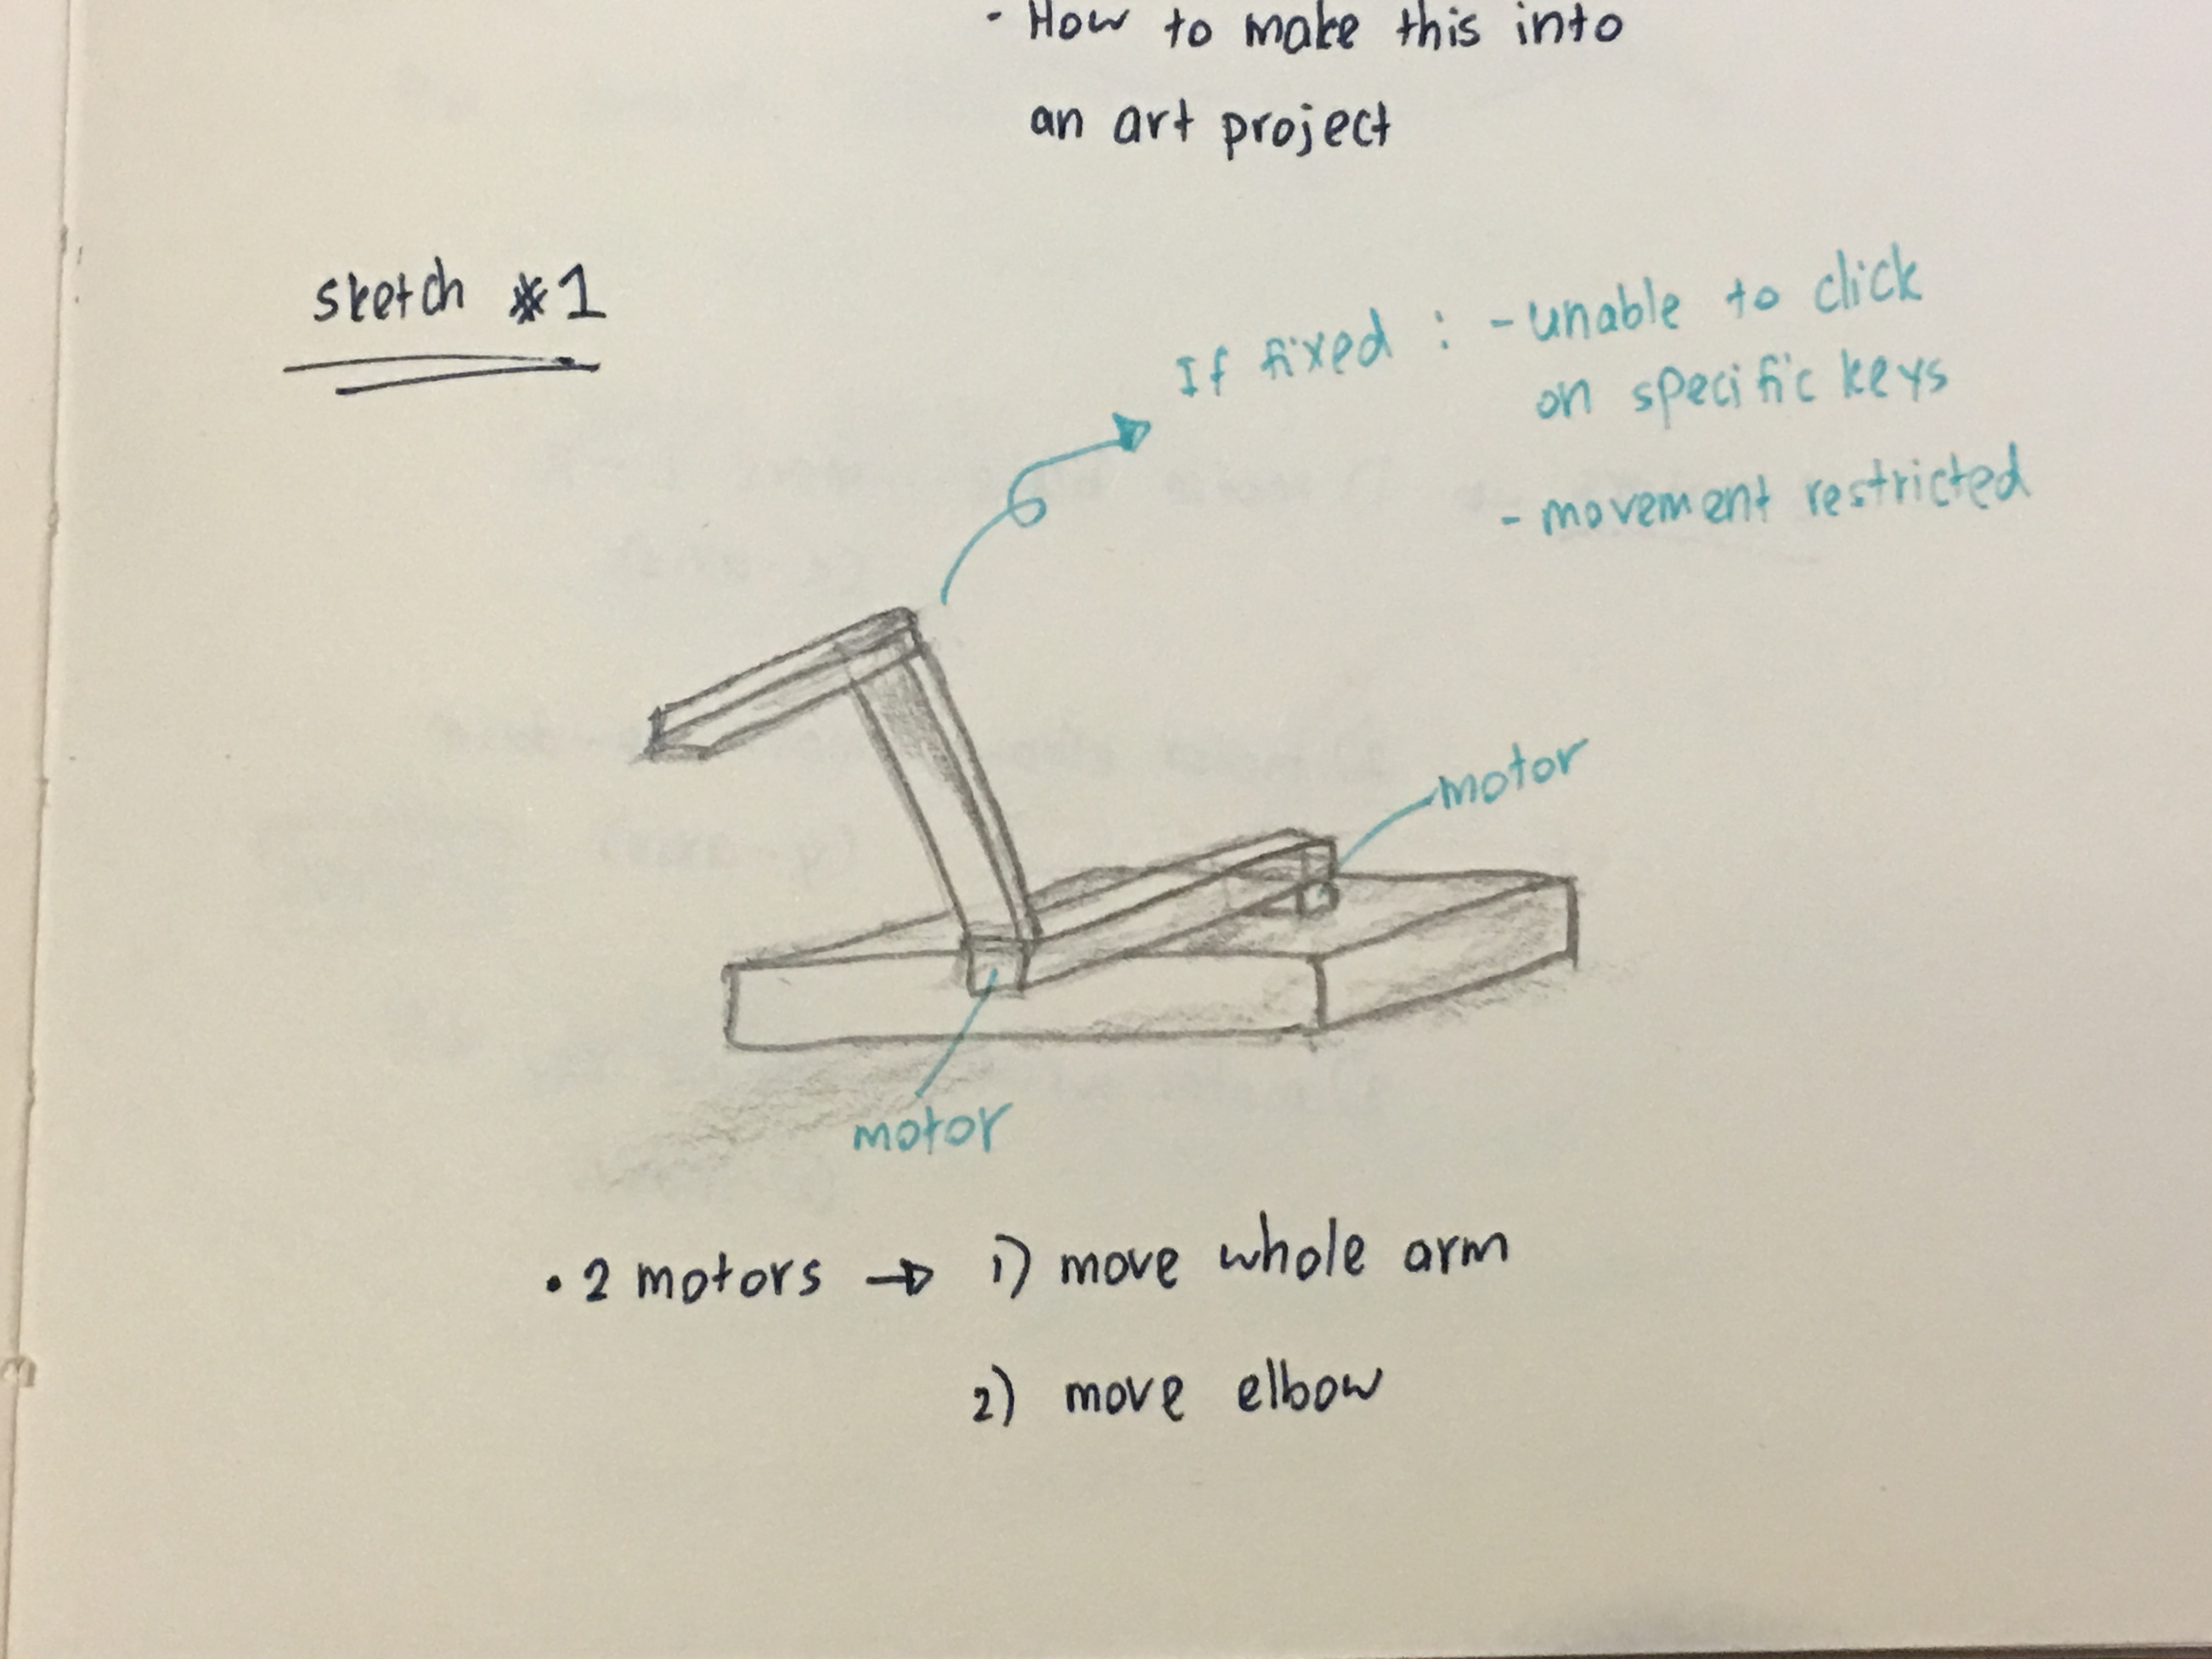
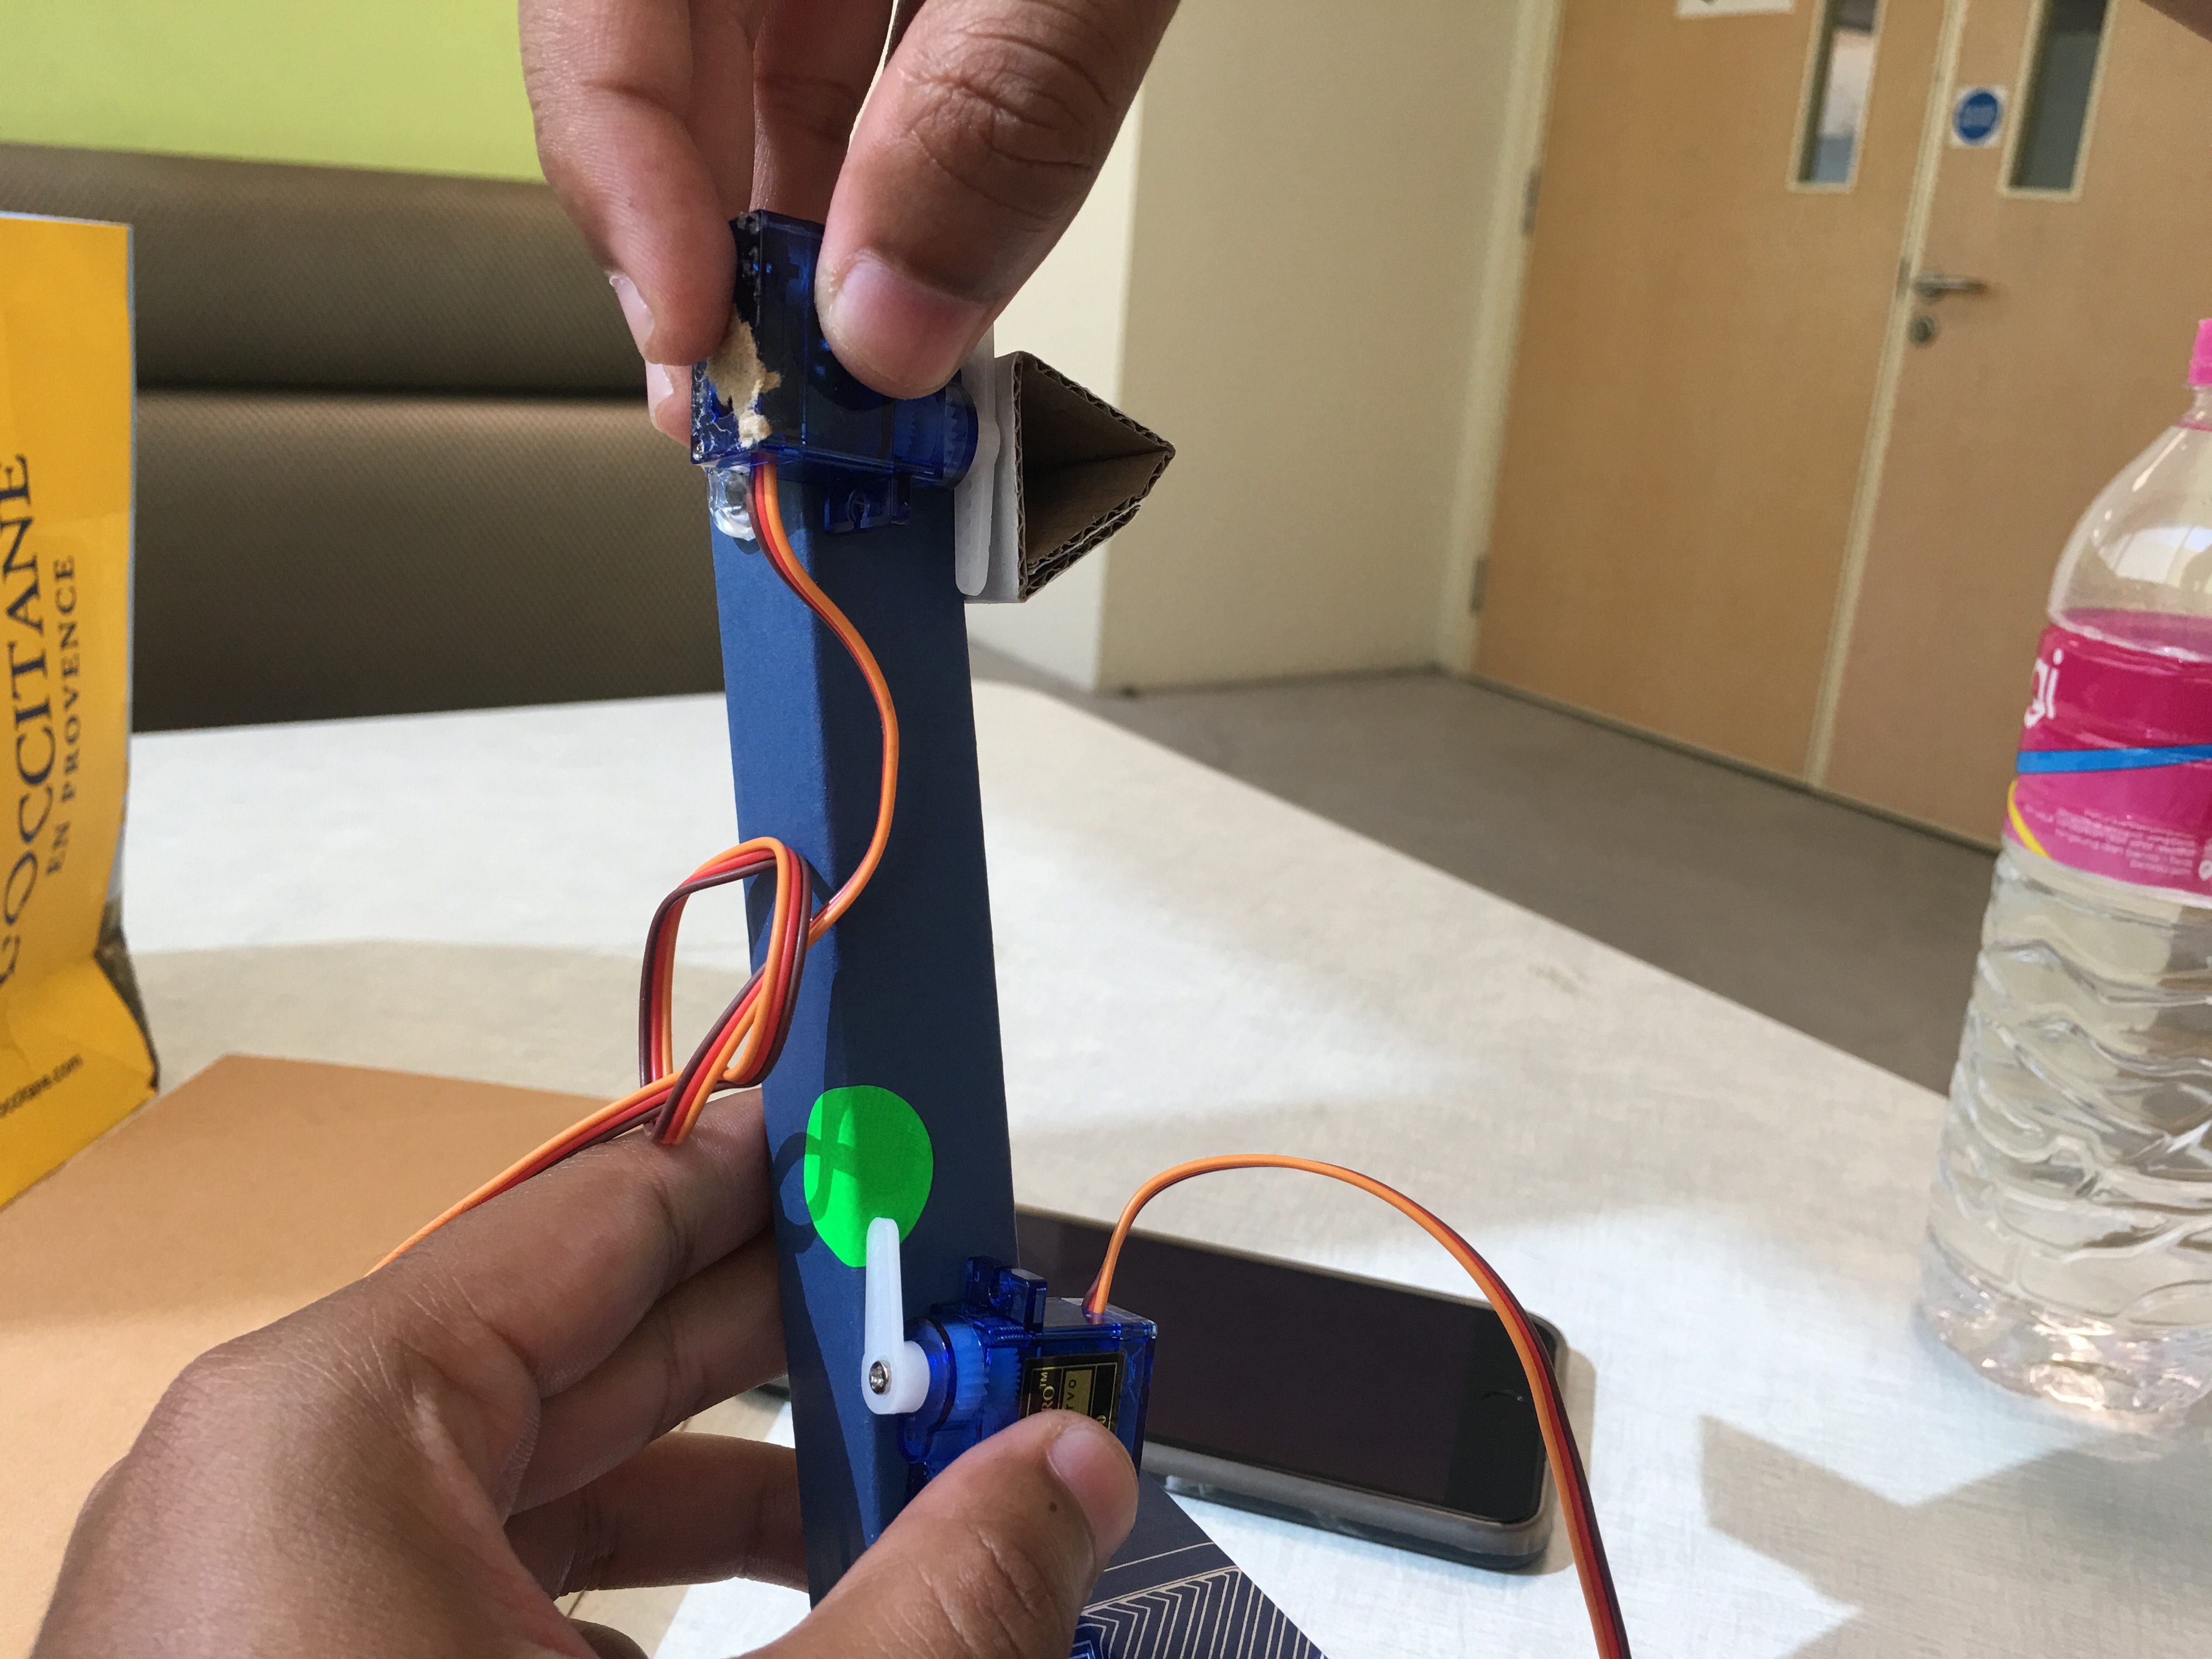
During the brainstorming process of creating a typebot, we needed to take note of design and control issues that will be faced when building it. For our first sketch, we were thinking of using 2 motors, 1 to control the left and right movement and the other for moving up and down to control the movement of the ‘wrist.’ However, we realised that if we fixed the ‘wrist’ part, the ‘finger’ will not be able to click specific keys to type the letters and the movement will be restricted.
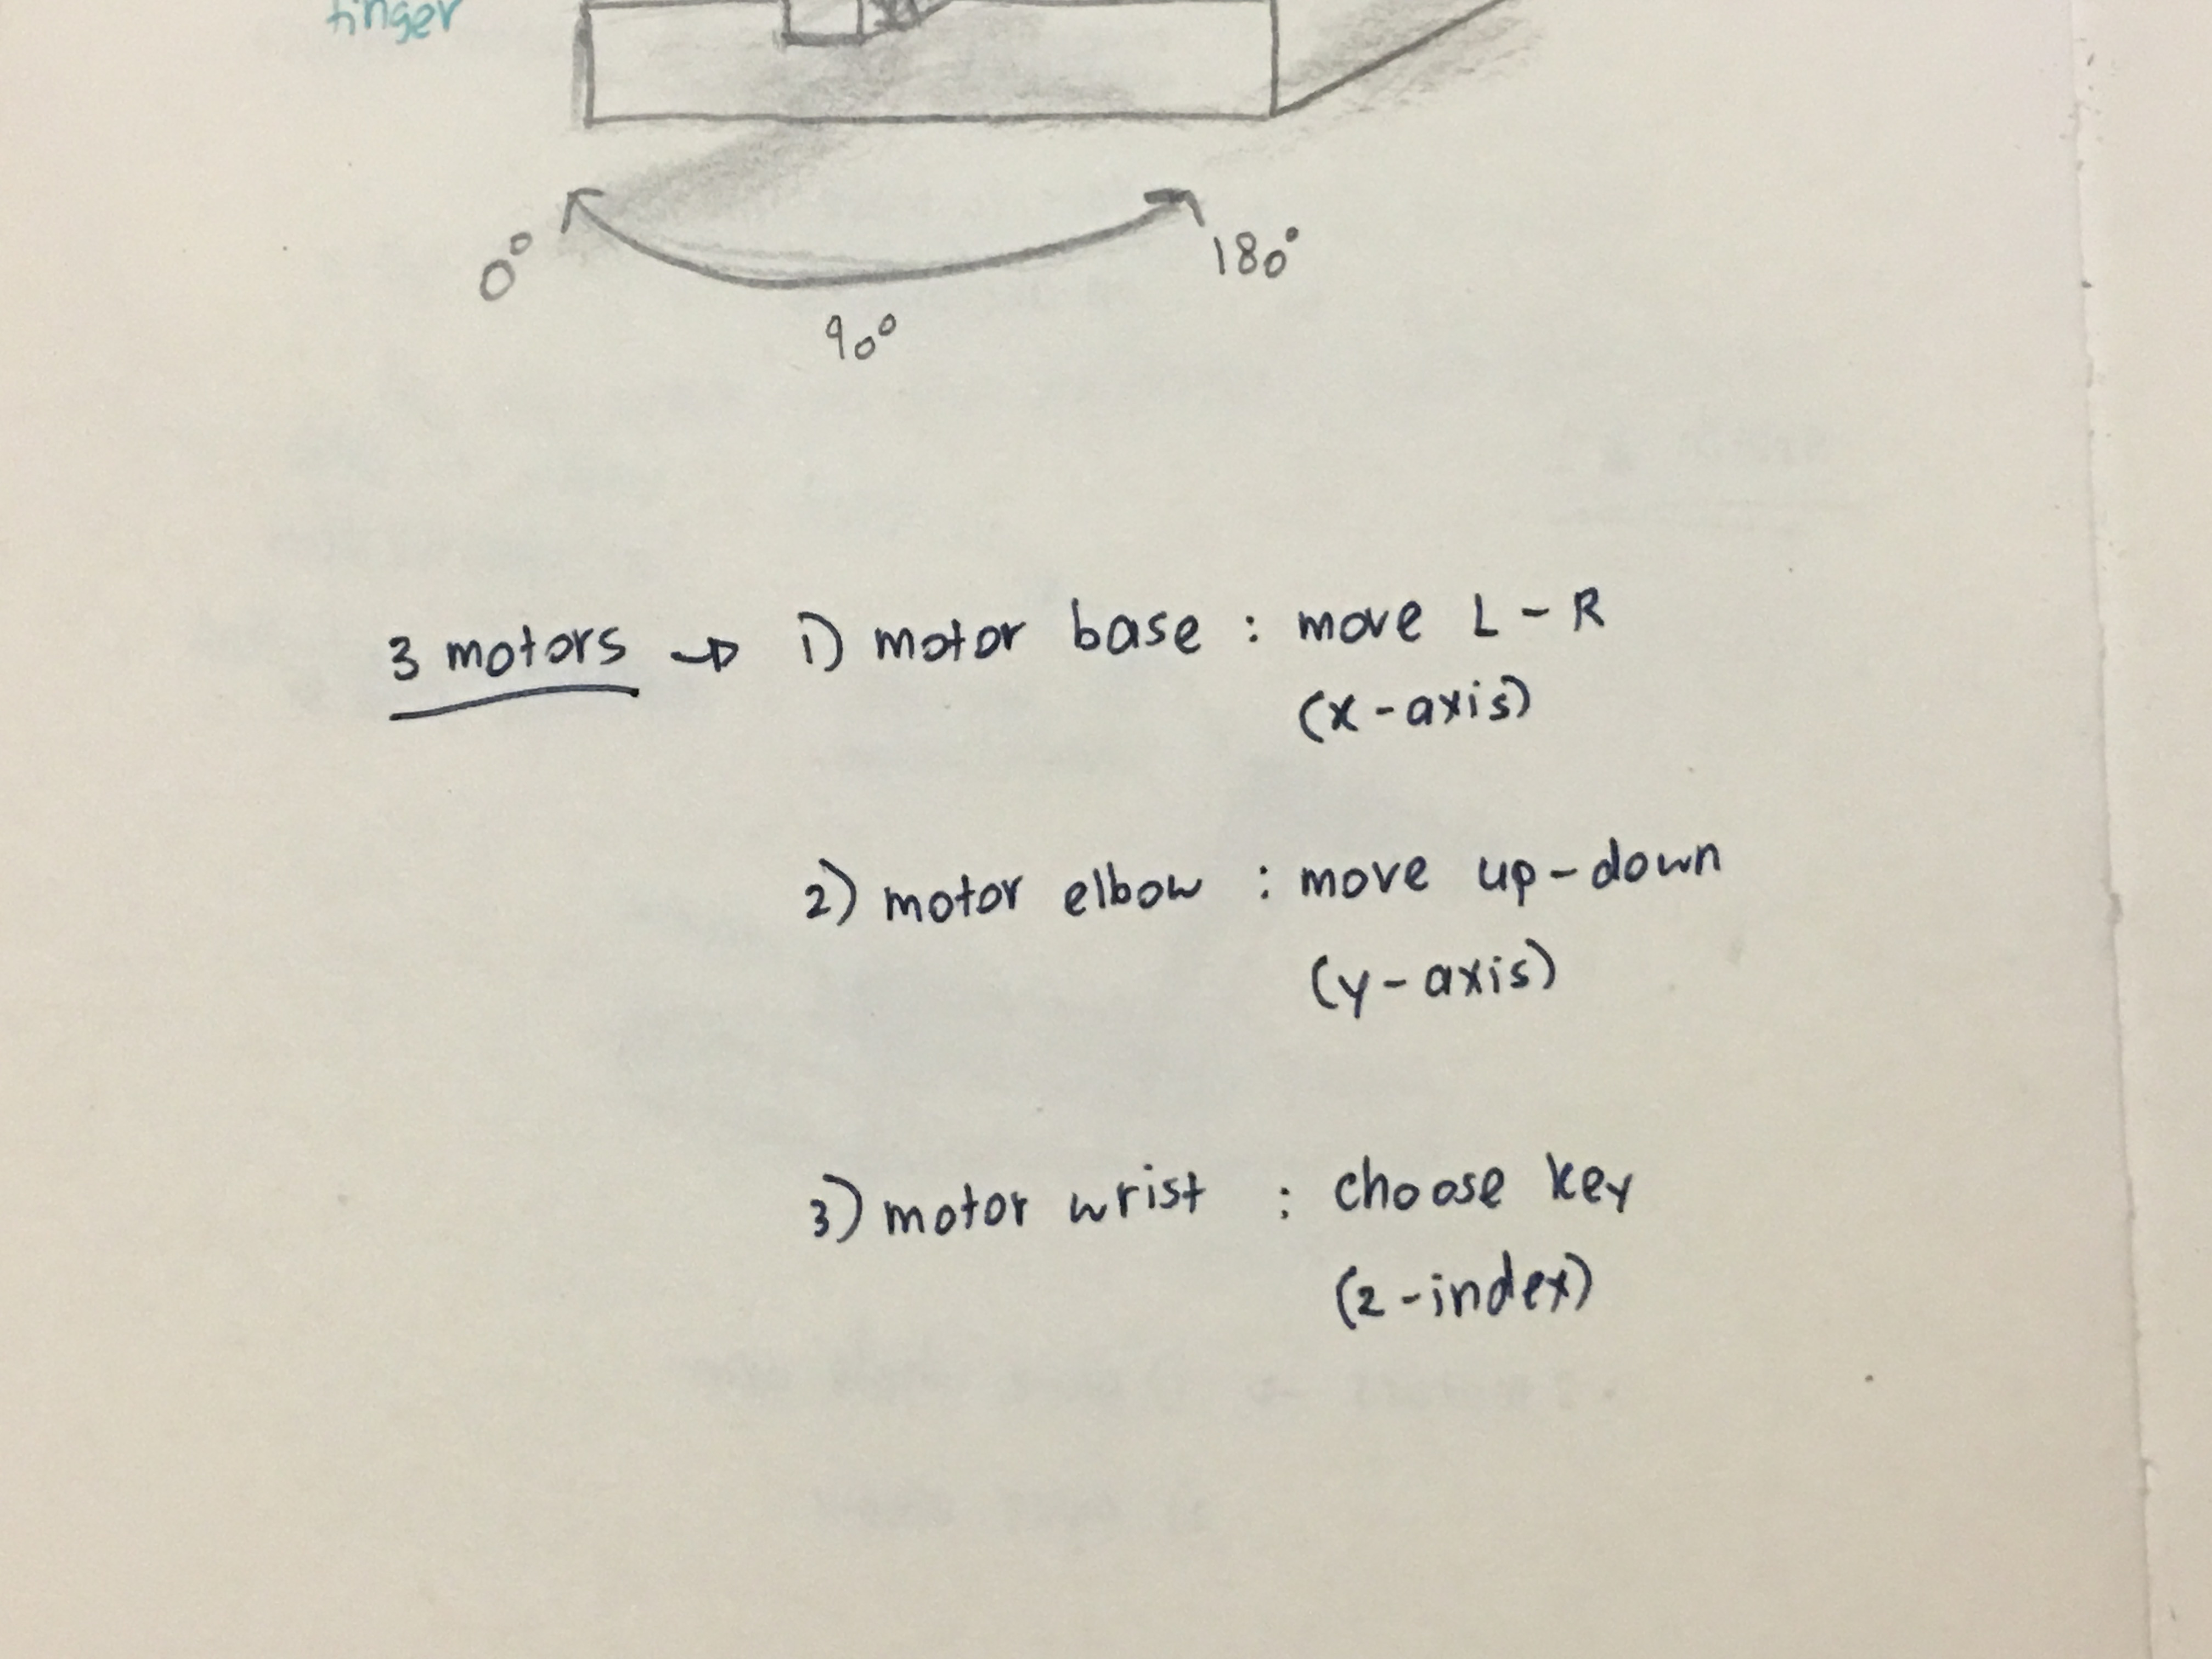
We decided to add an additional motor at the wrist part so that the ‘wrist’ will be able to move to specific keys for the ‘finger’ to type. The base motor to control the left and right movements (0 deg to 180 deg), the ‘elbow’ to move up and down while the ‘wrist’ to choose specific keys so that the ‘finger’ can type.
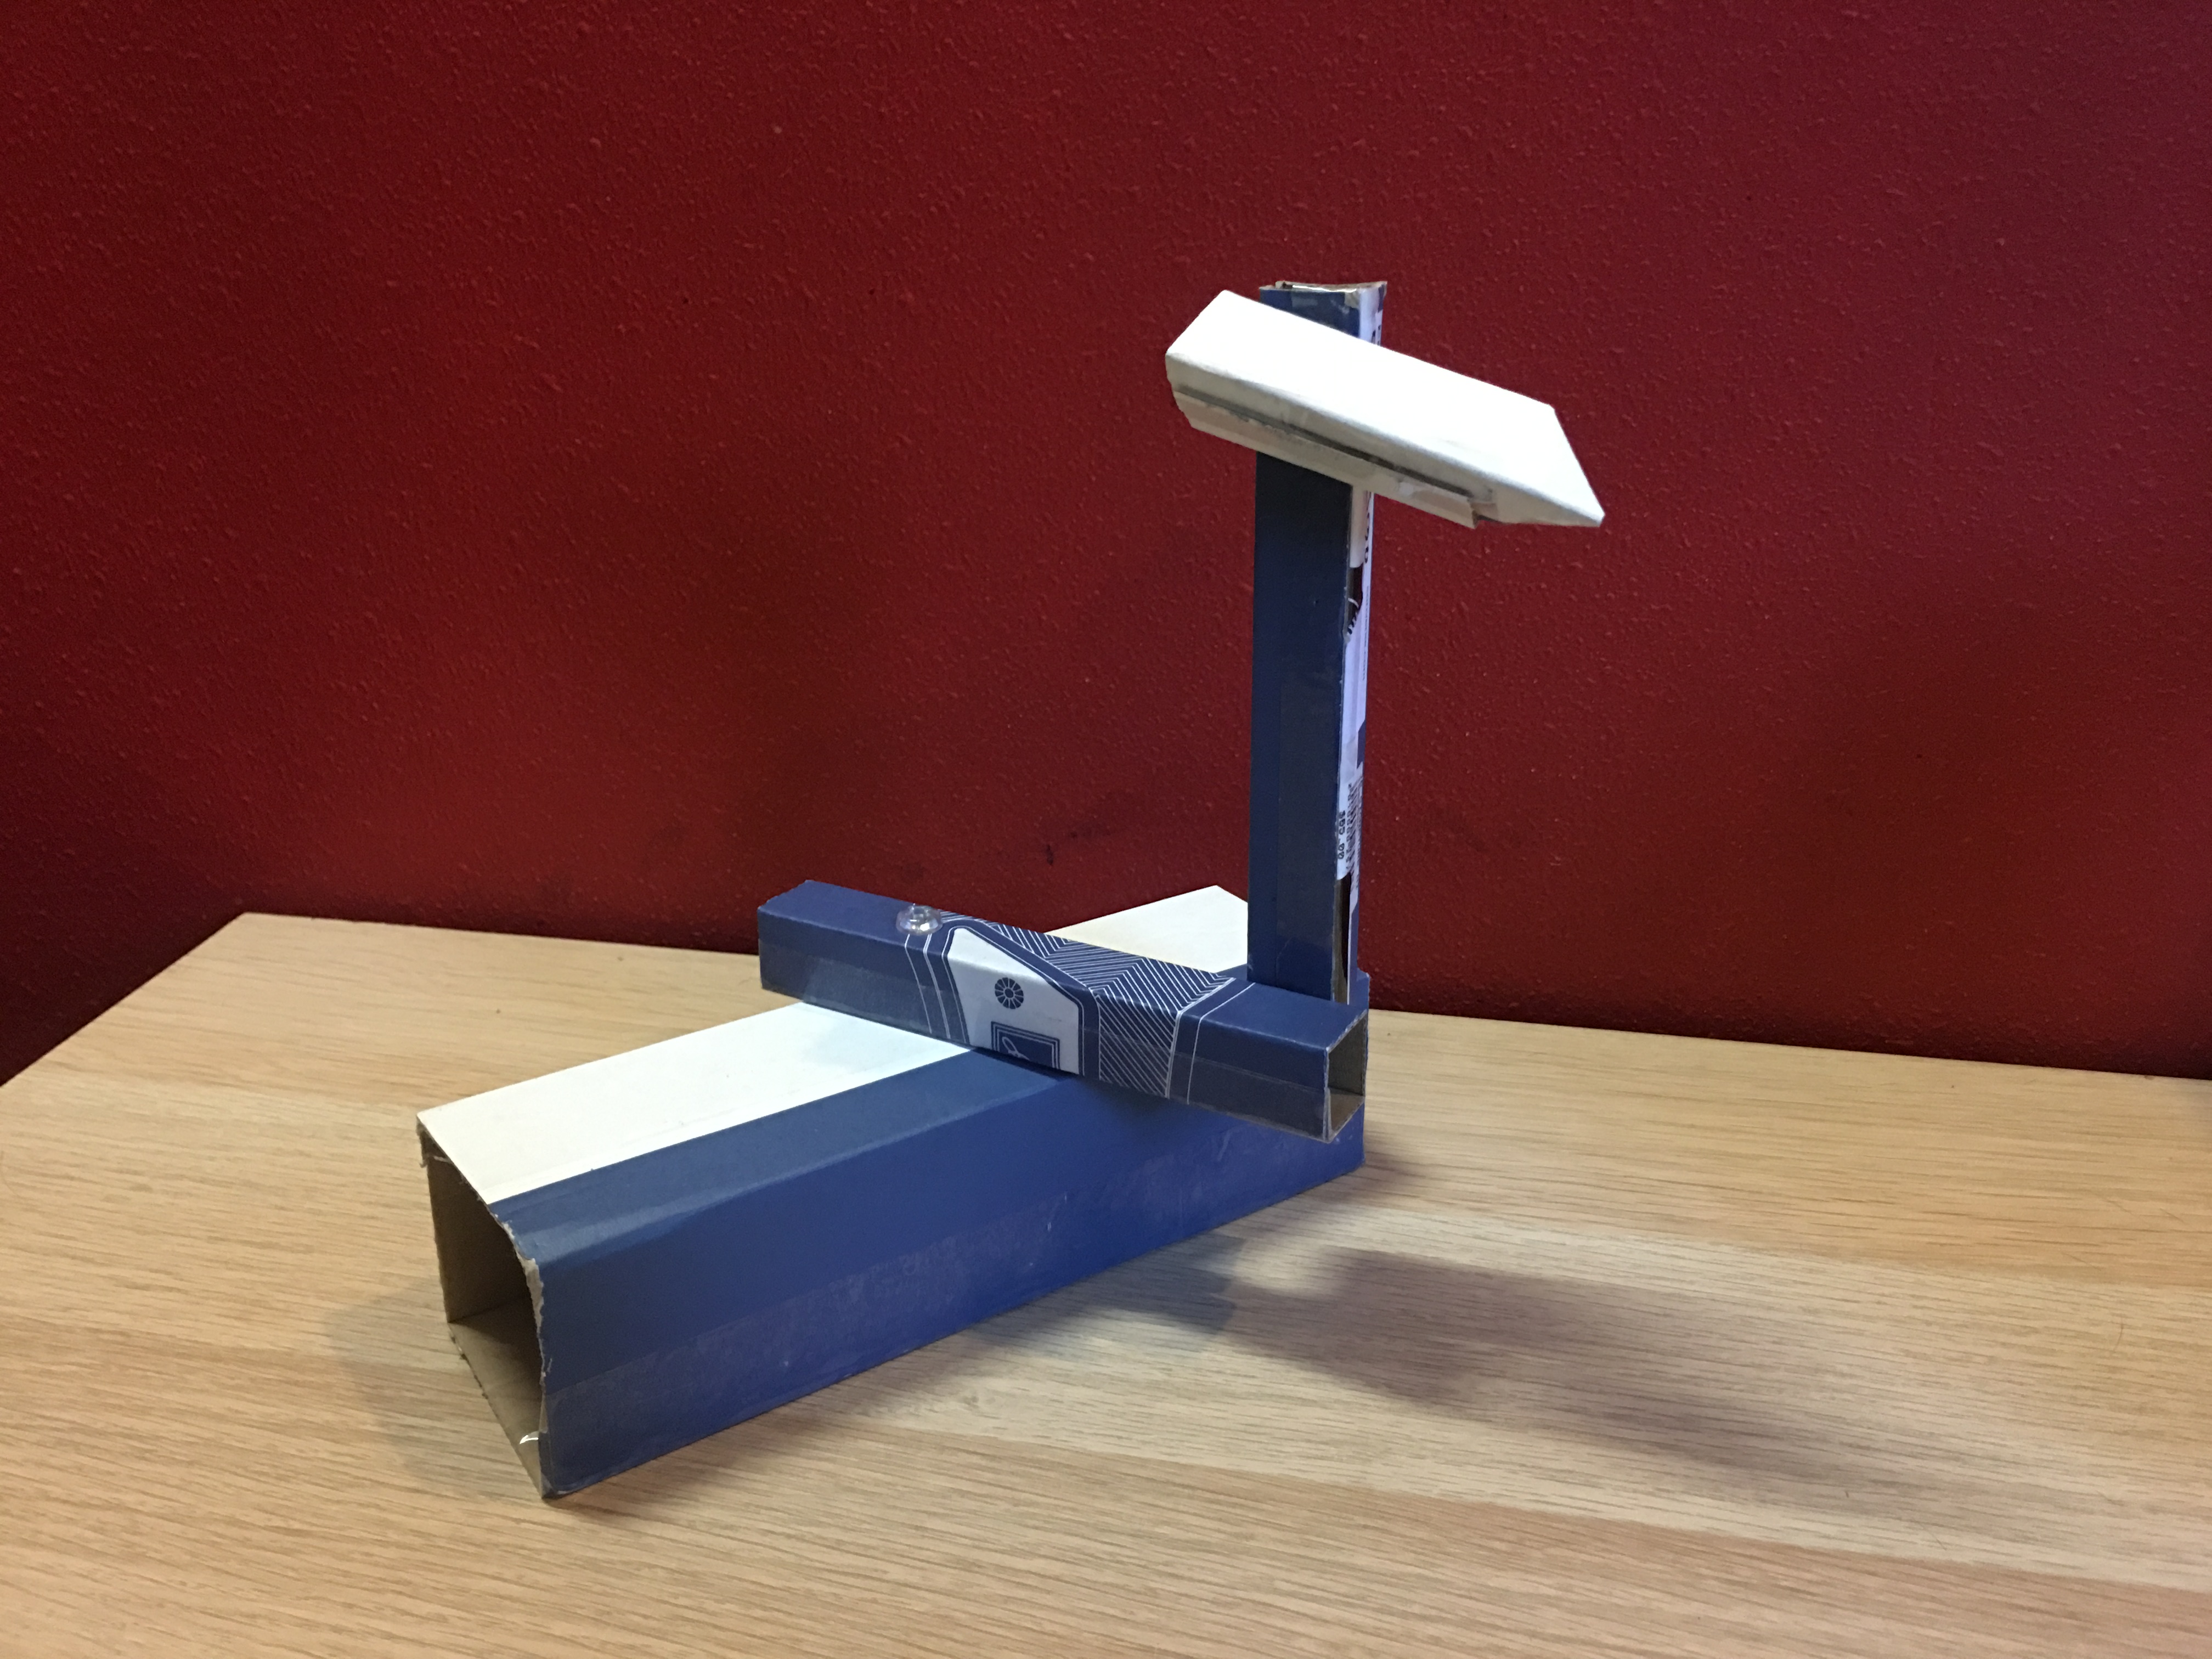
Mockup (basic mechanism):
We use cardboard and plastic screws to test out the pan and tilt mechanism and analyse any movement restrictions. We also need to consider the proportion of the typebot because the ‘elbow’ might be too heavy for the base to hold. It was necessary to visualise the placement of the motors because it would play an important role in getting the specific position to press the key.
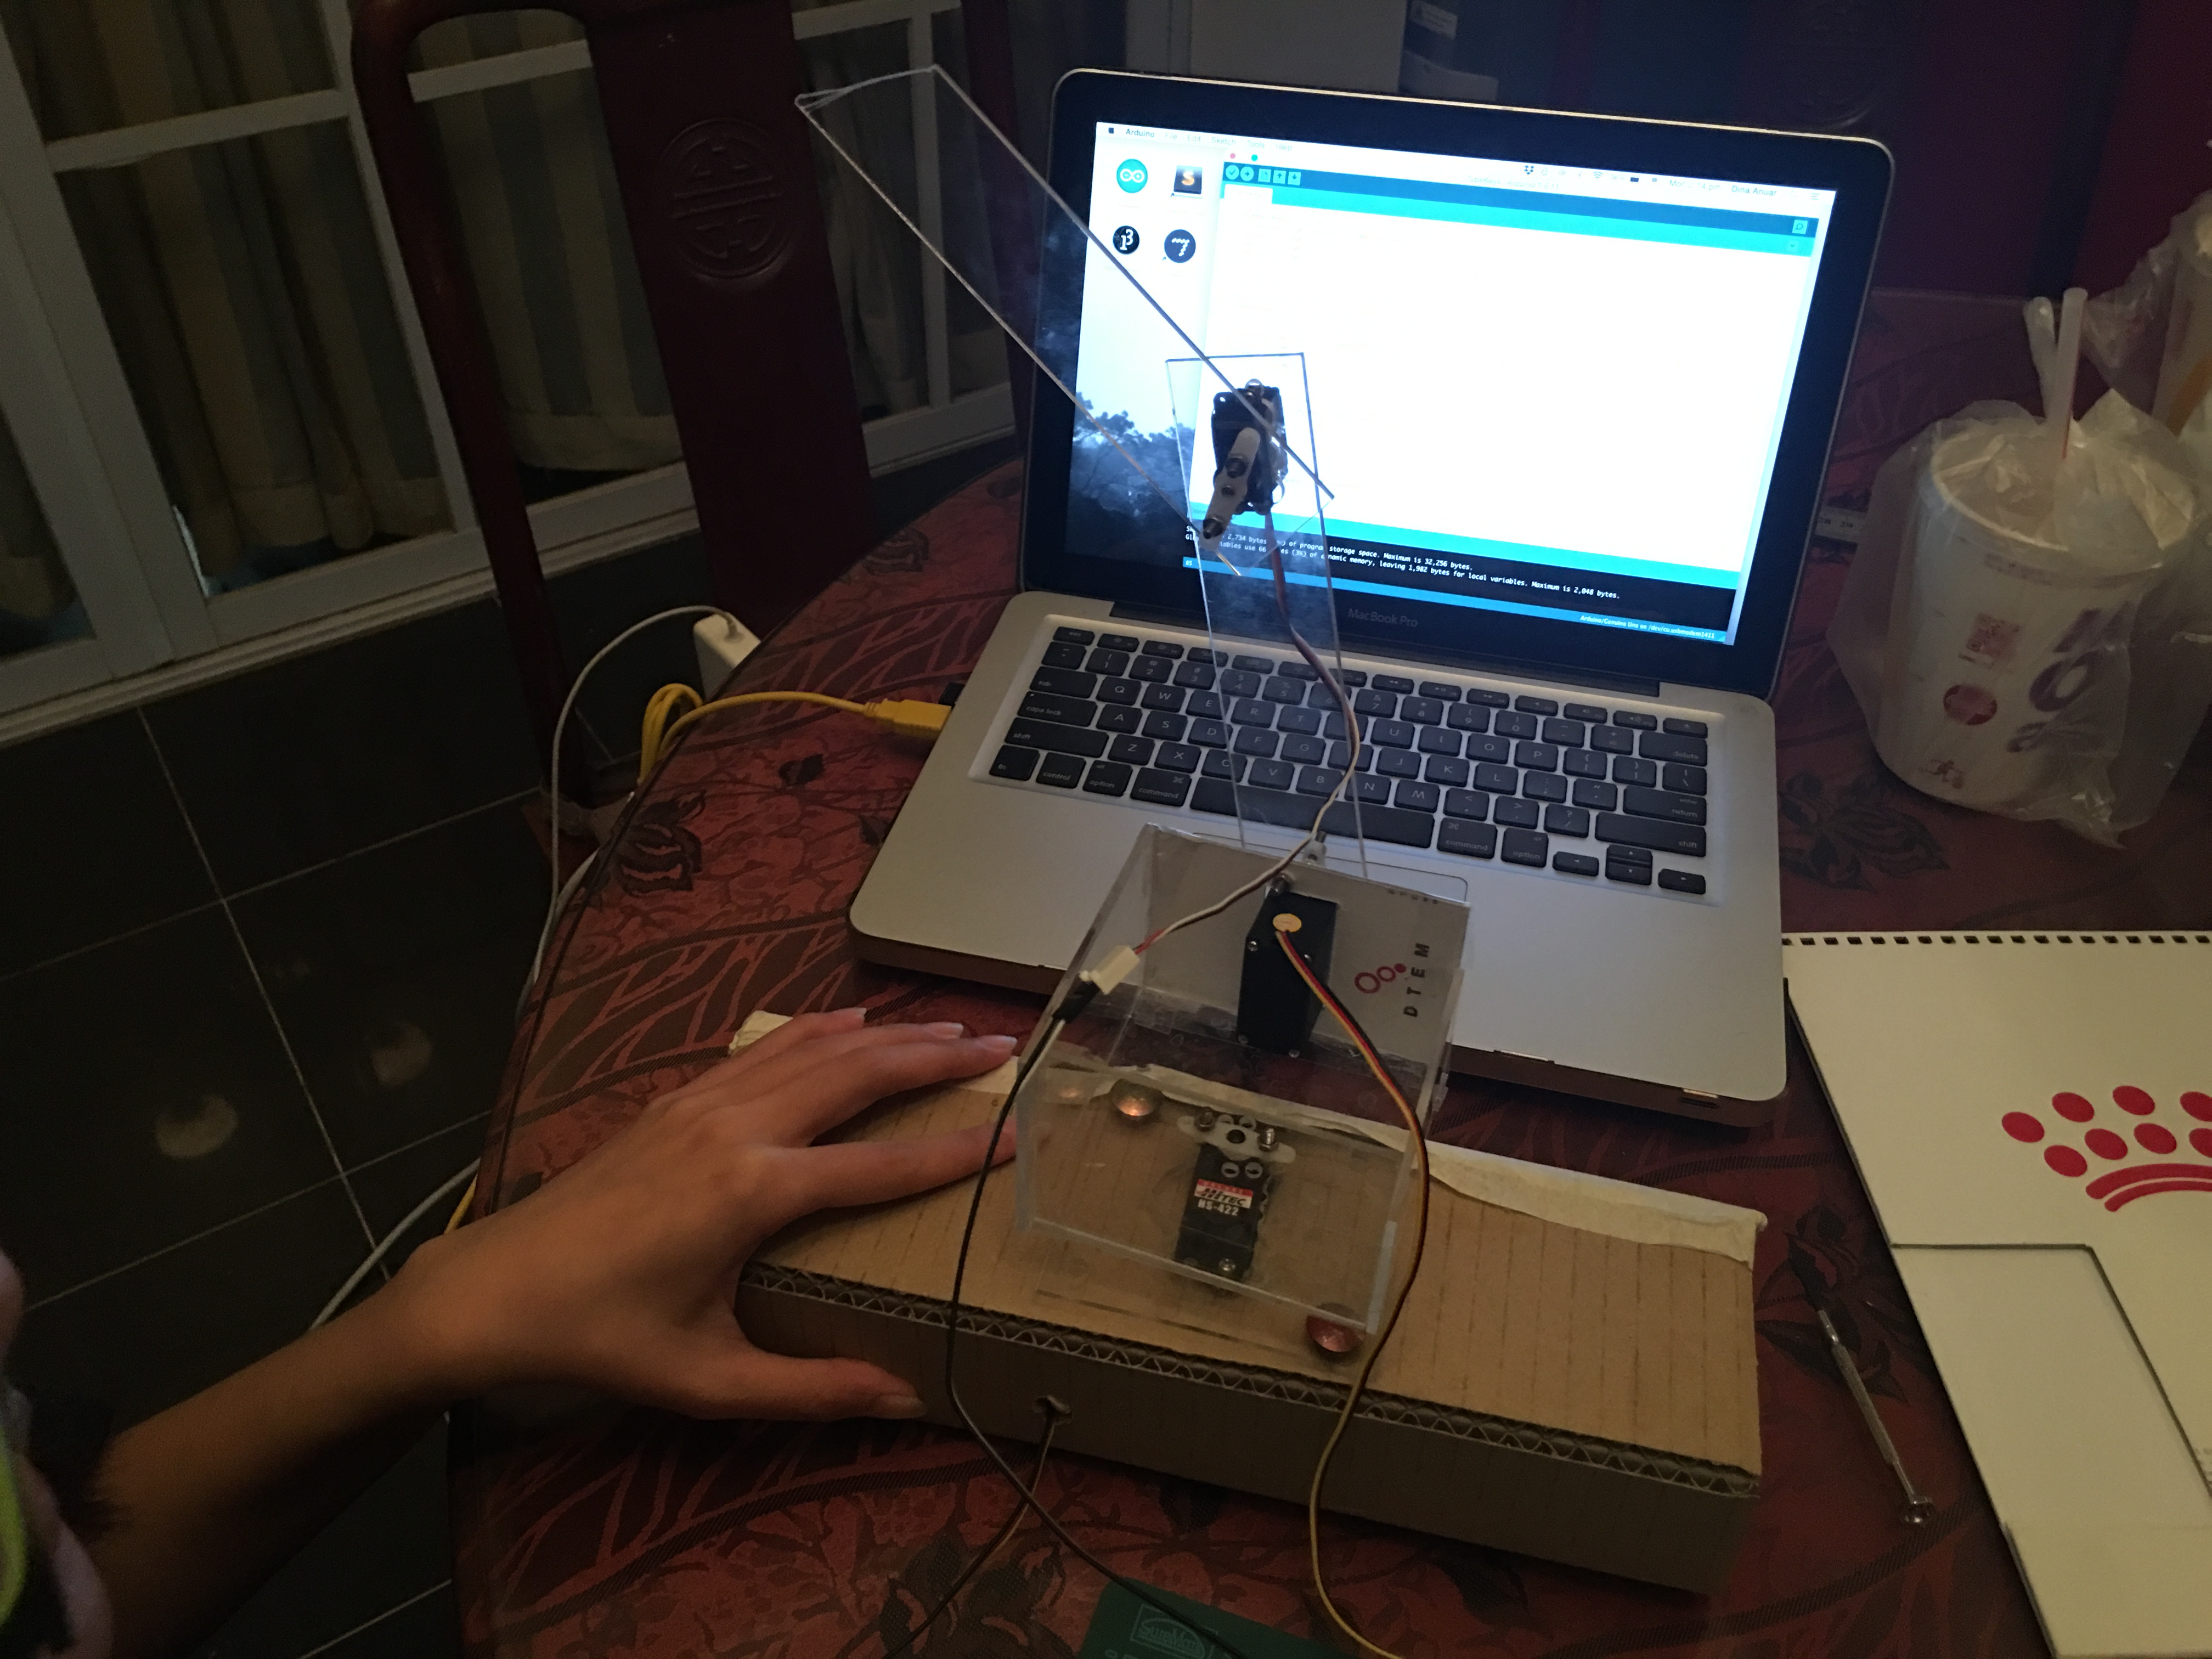
Prototype 1:
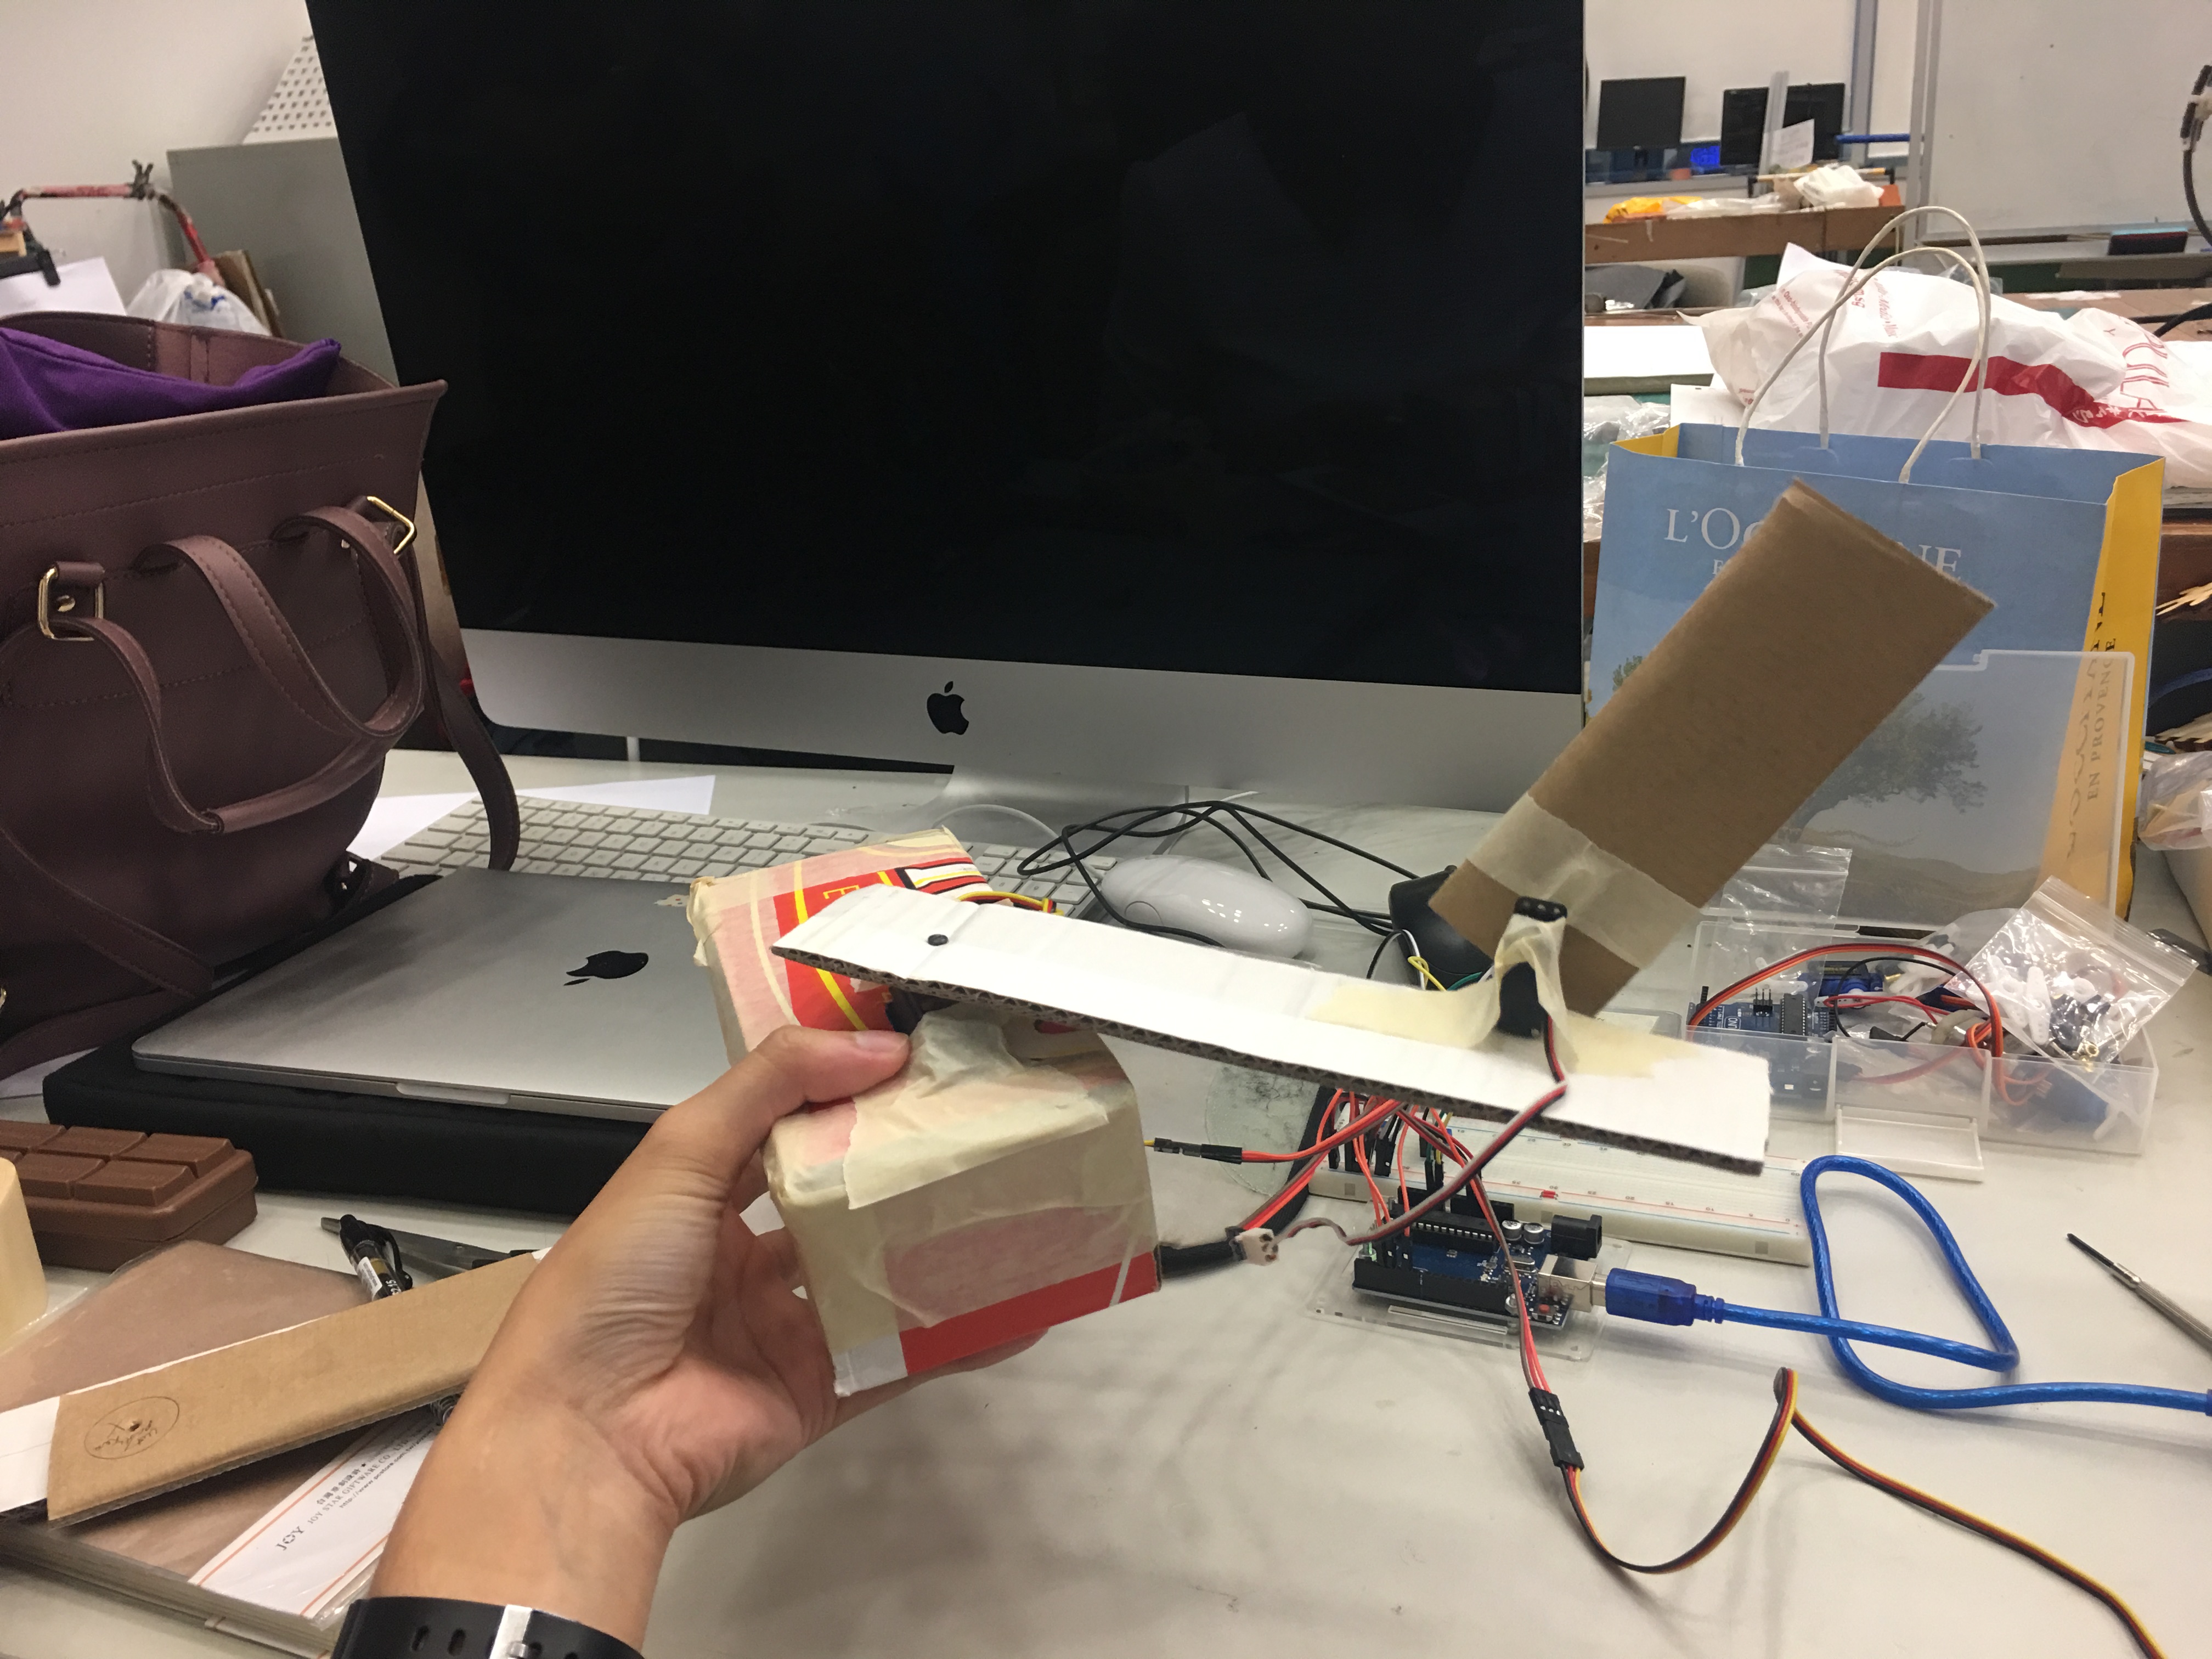
We did our first testing for the looping motors with a cardboard mockup of our sketches. We encountered some problems while testing. They was placing the 2nd motor at the end of the 1st piece was causing the cardboard to tilt down. We had to trim the cardboard planks so that it would not pose additional weight.
The mechanism was not predictable and it would be hard to control the typing if we wanted to test the keys one by one. We decided to try it with potentiometer so that we can move it accordingly.
When we changed from motors looping to controlling the motors, we found that it was much easier to know when the default movement is. Then later moving it to the different directions. Since we got the basic mechanism to work, we need to plan for the actual size of the typebot and making some adjustments to withstand the weight of the motors.
Prototype 2:
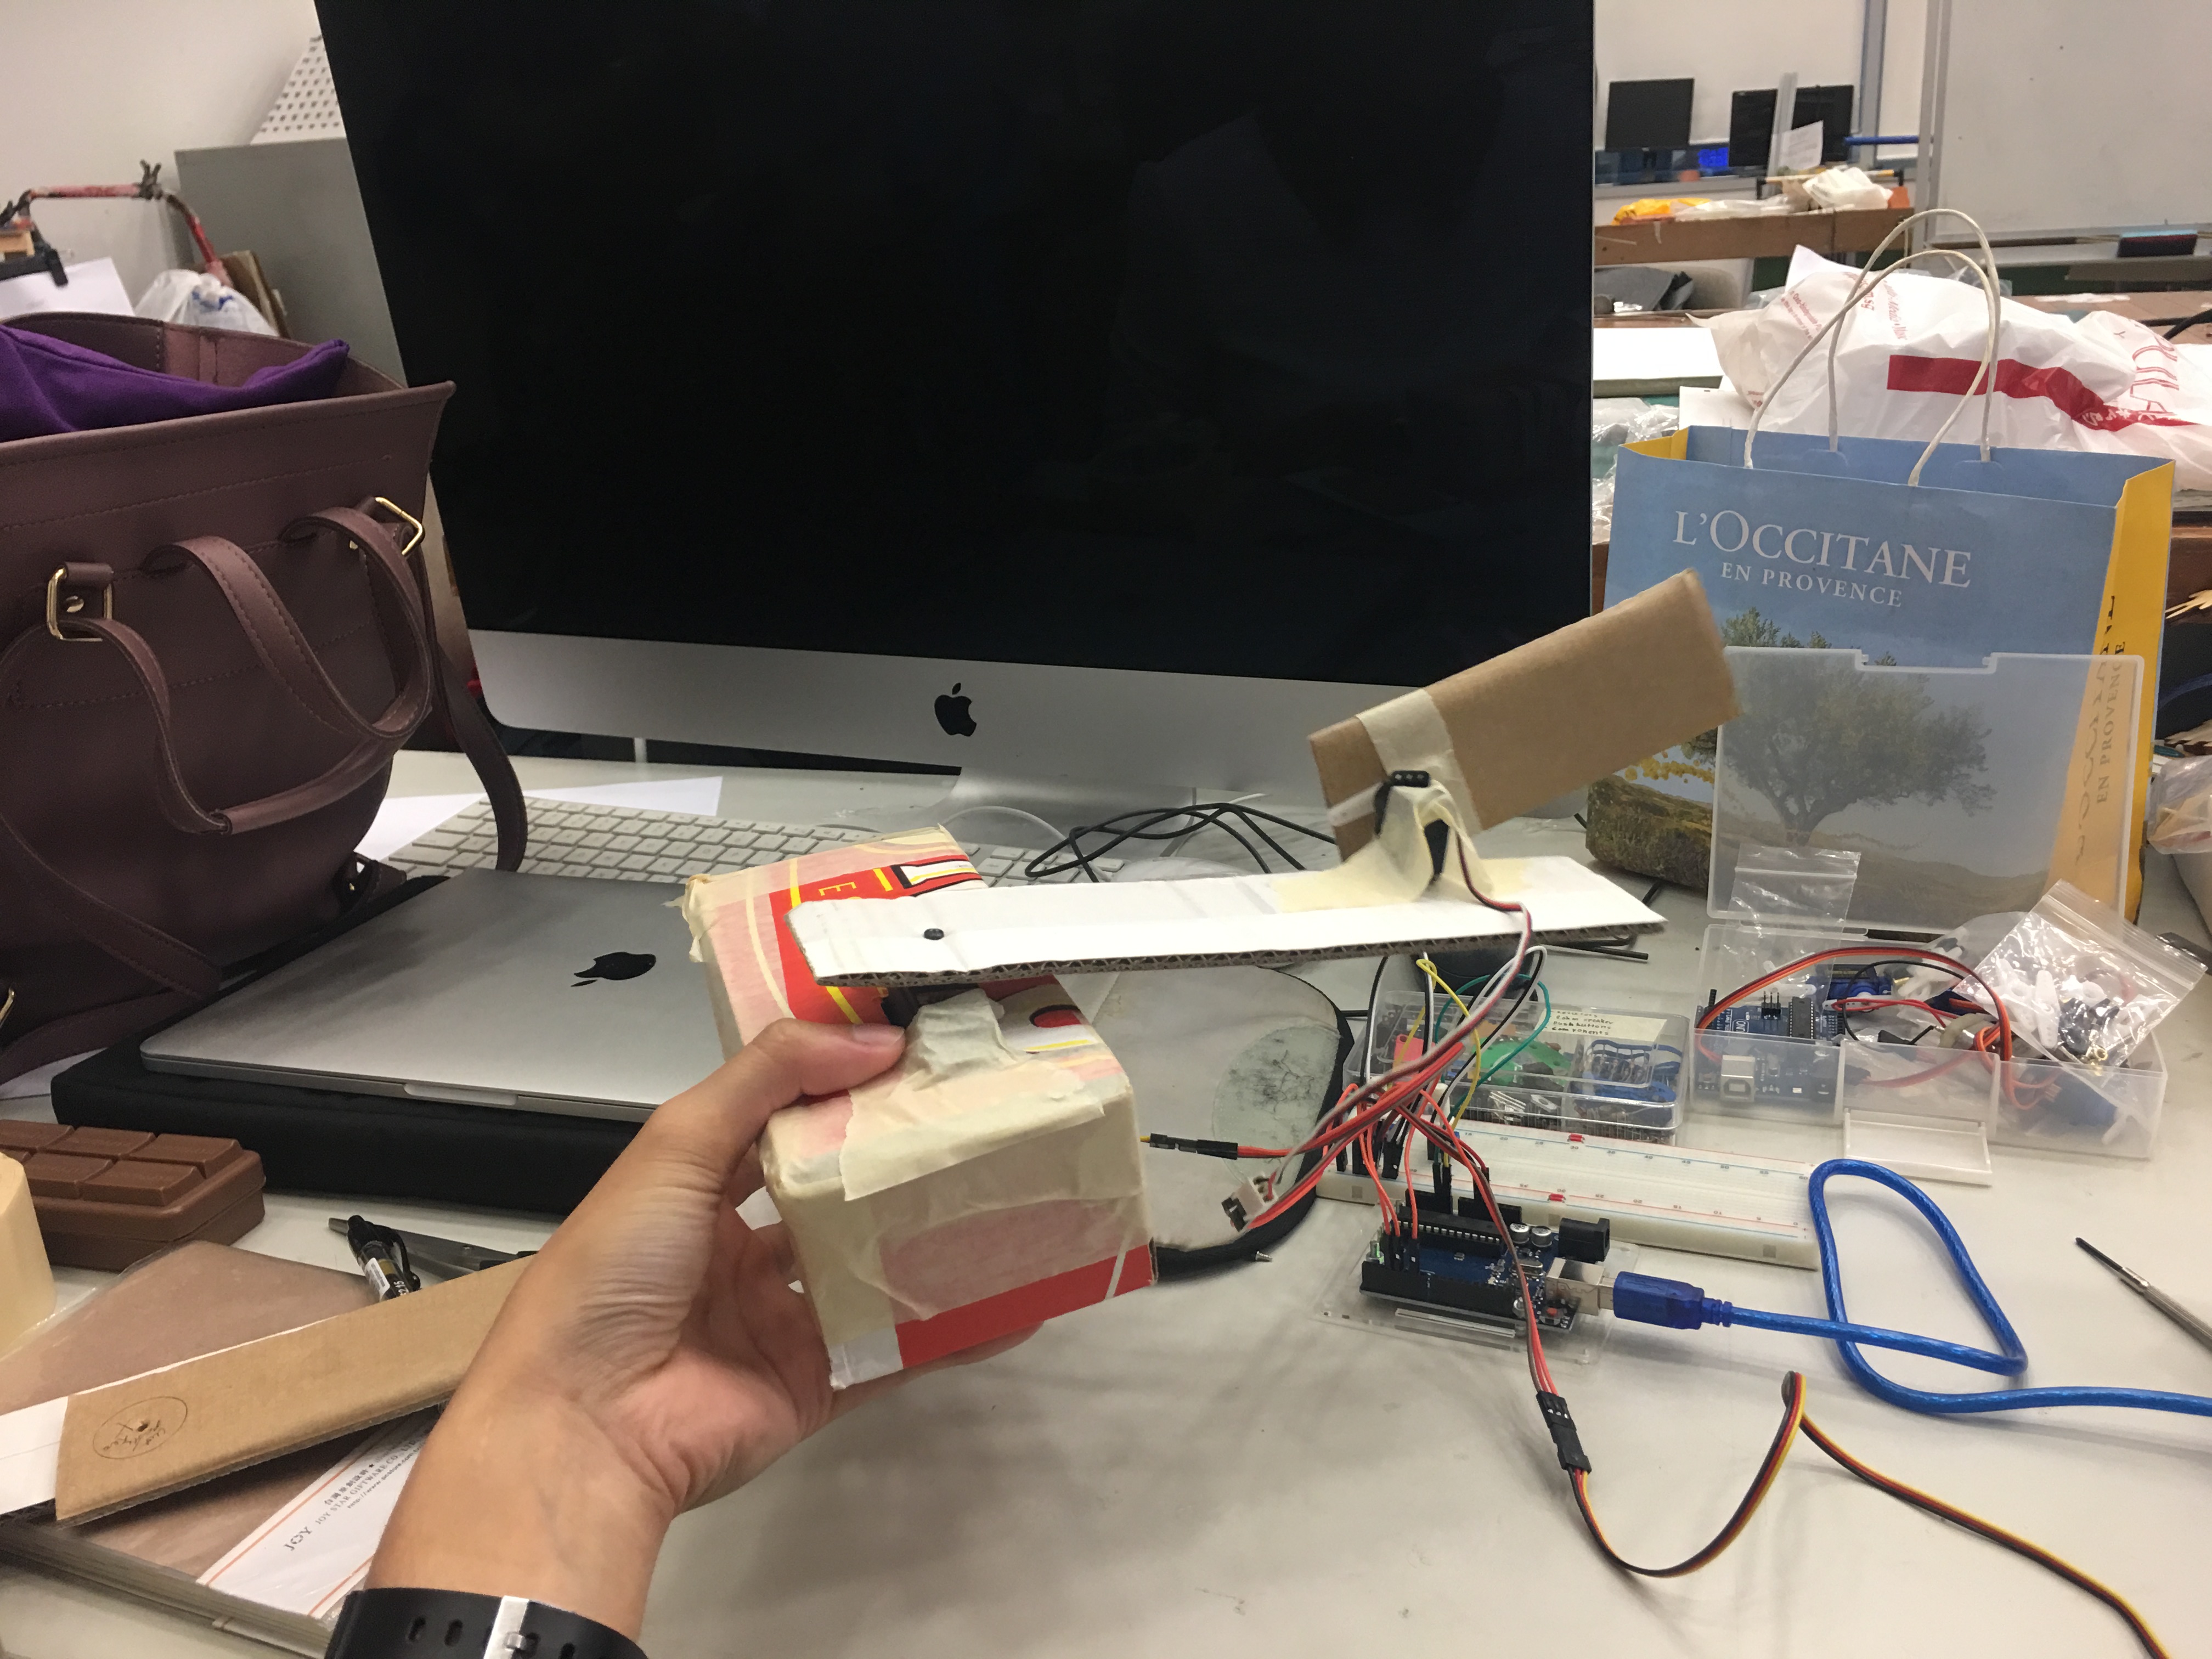
For prototype 2, we made some changes on the height and positions of the motors. The base motor needed to be at the center for stability and the big motor. For the ‘elbow’ and ‘wrist’ section, we decided that small motors would be better since it is not so heavy.
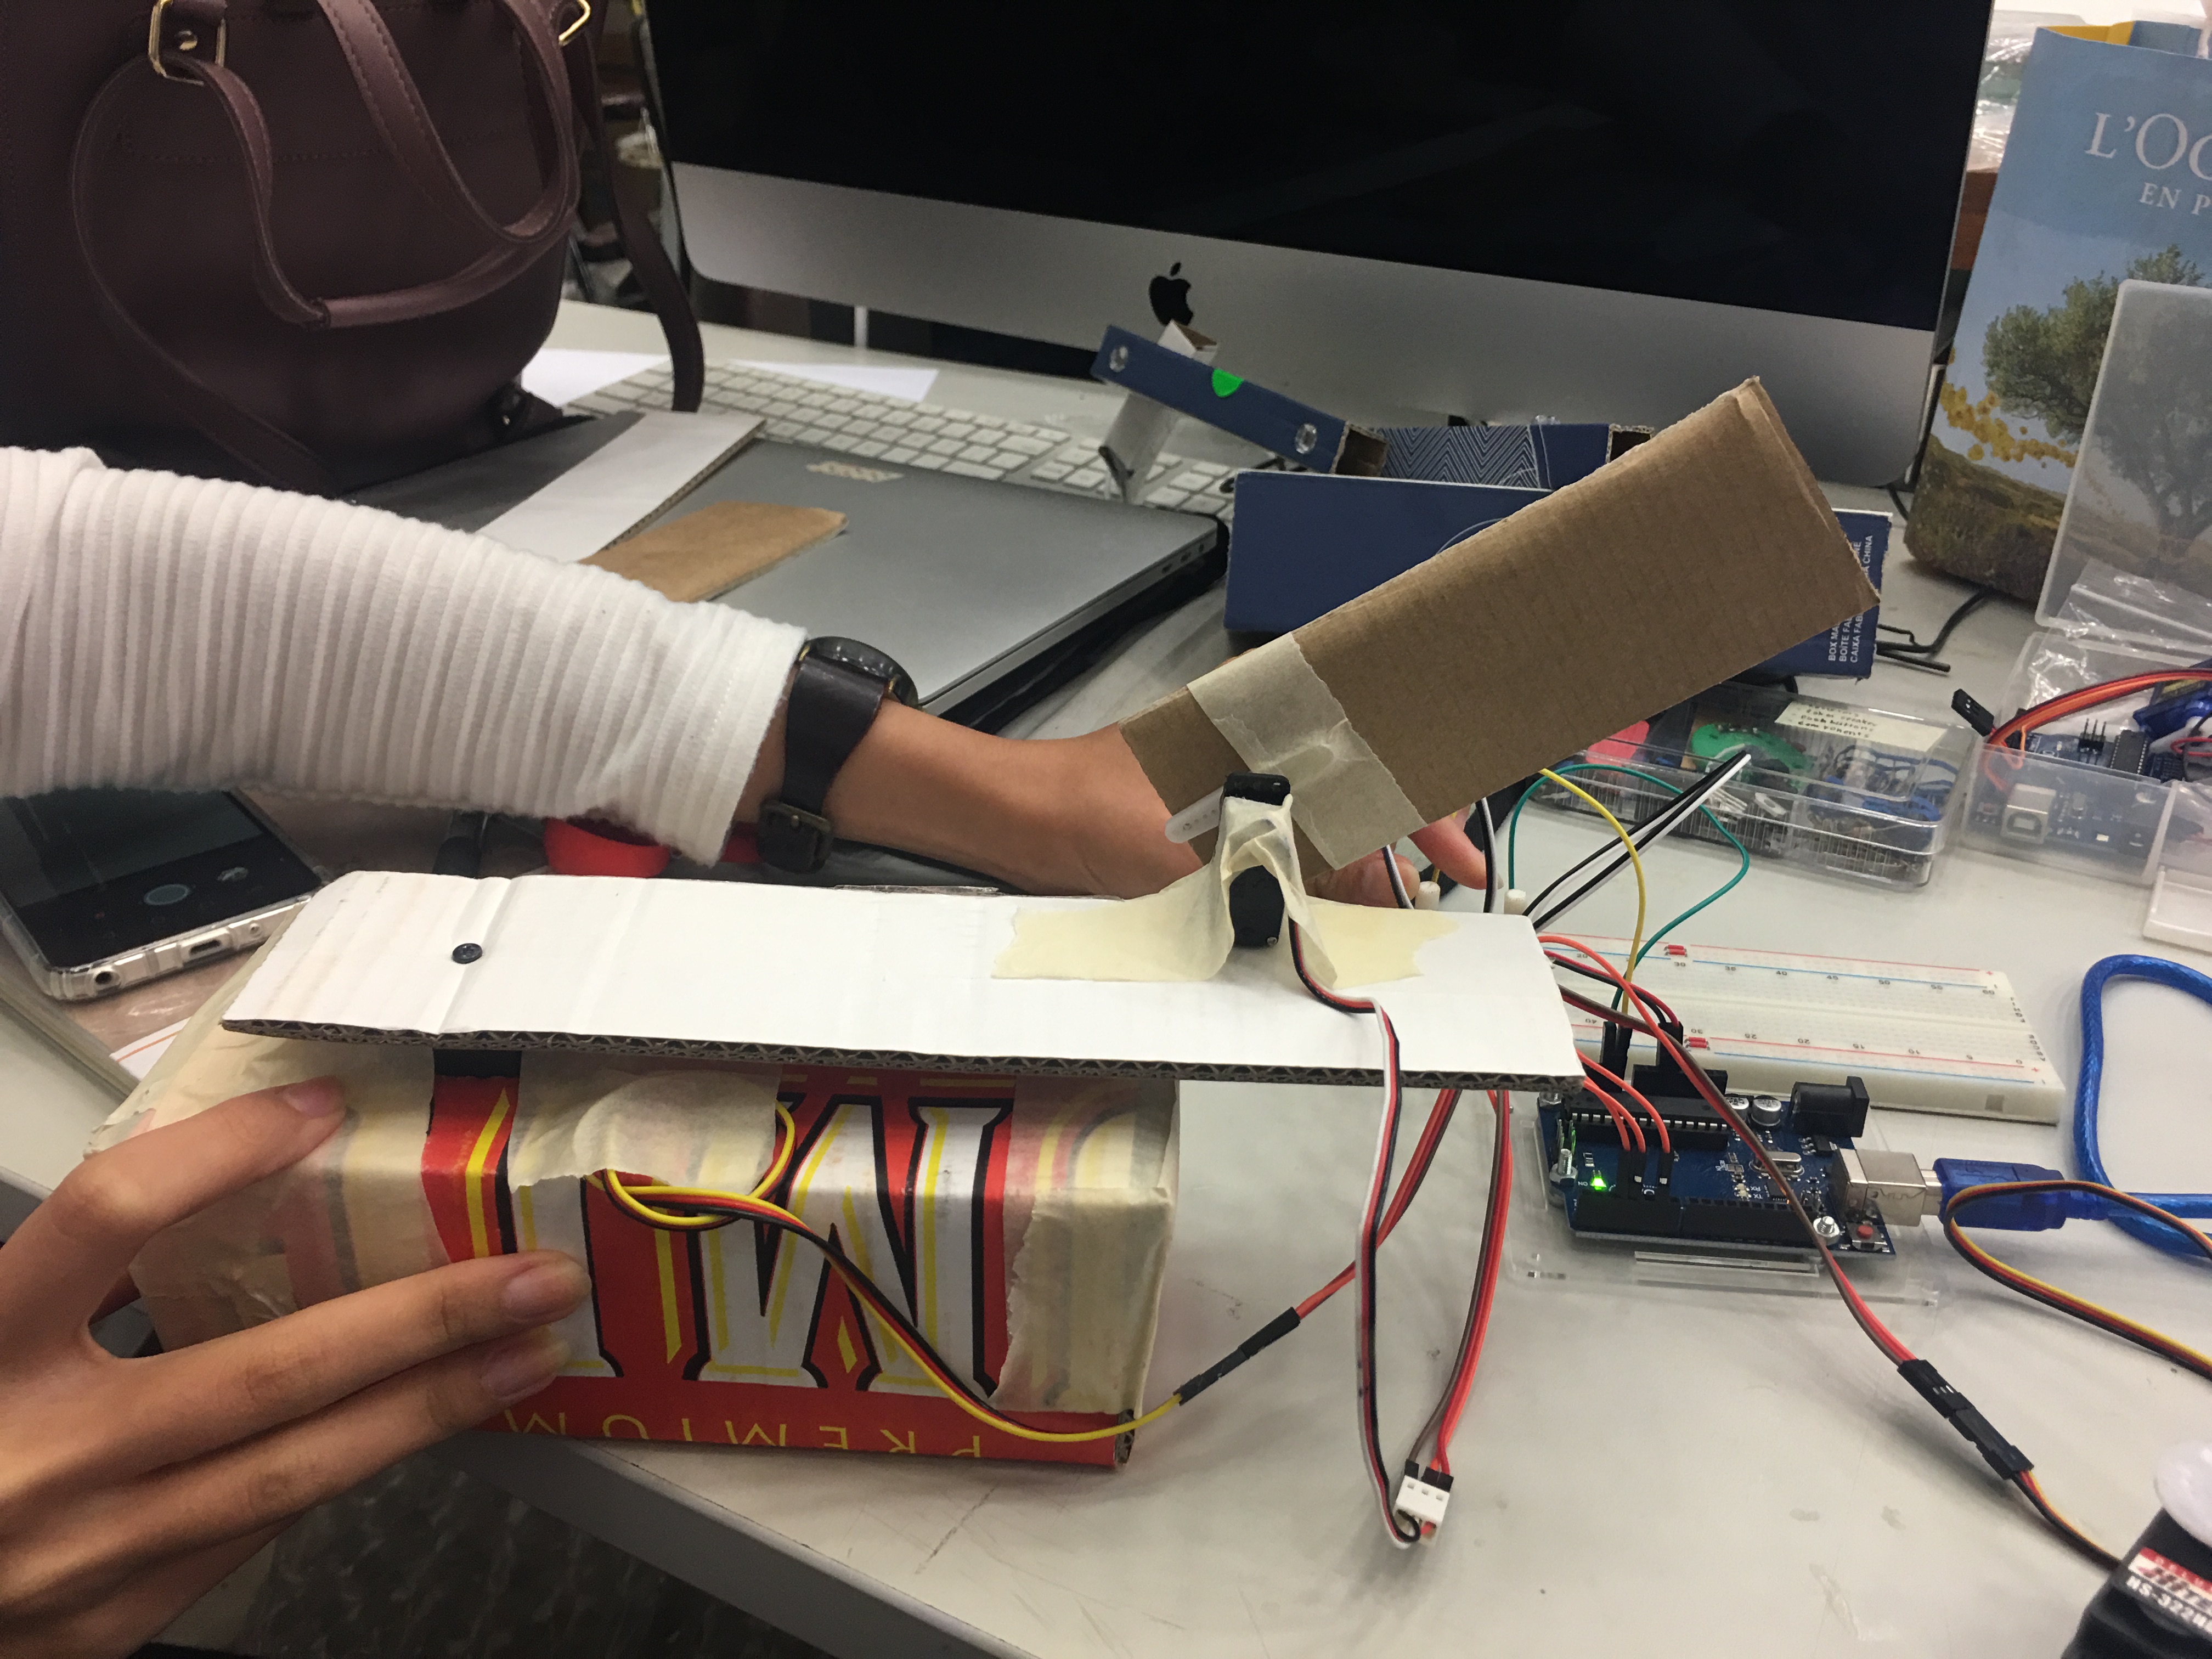
We built the 2nd prototype with cardboard to test for weight and movement. While testing the prototype, the whole structure was wobbly. We could not get an exact coordinate.
After testing prototype 2, we decided to make some more changes. We realised that cardboard as a material would become more flimsy as more and more testings are conducted. We decided to use acrylic for the ‘elbow’, ‘wrist’ and ‘finger’ so it would not be too light.
Final:
Using all the mockups we have done so far, we developed the final calculations for the typebot.
Challenges for the Final TypeBot:
Materials (acrylic + cardboard)
We could not find suitable screws to secure the first motor to the base. Also, the base material we wanted to use initially would not be heavy enough to support the weight of the whole typebot so we used part of our previous mockup (box cardboard). This is because from our previous mockups it could withstand the weight.
Coordinates
We had the most problem with getting the right angle for all 3 motors to type a single letter. Sometimes it pressed the key but when we try it the 2nd time, it did not. We had lots of try and error before it could finally type the letter we wanted.
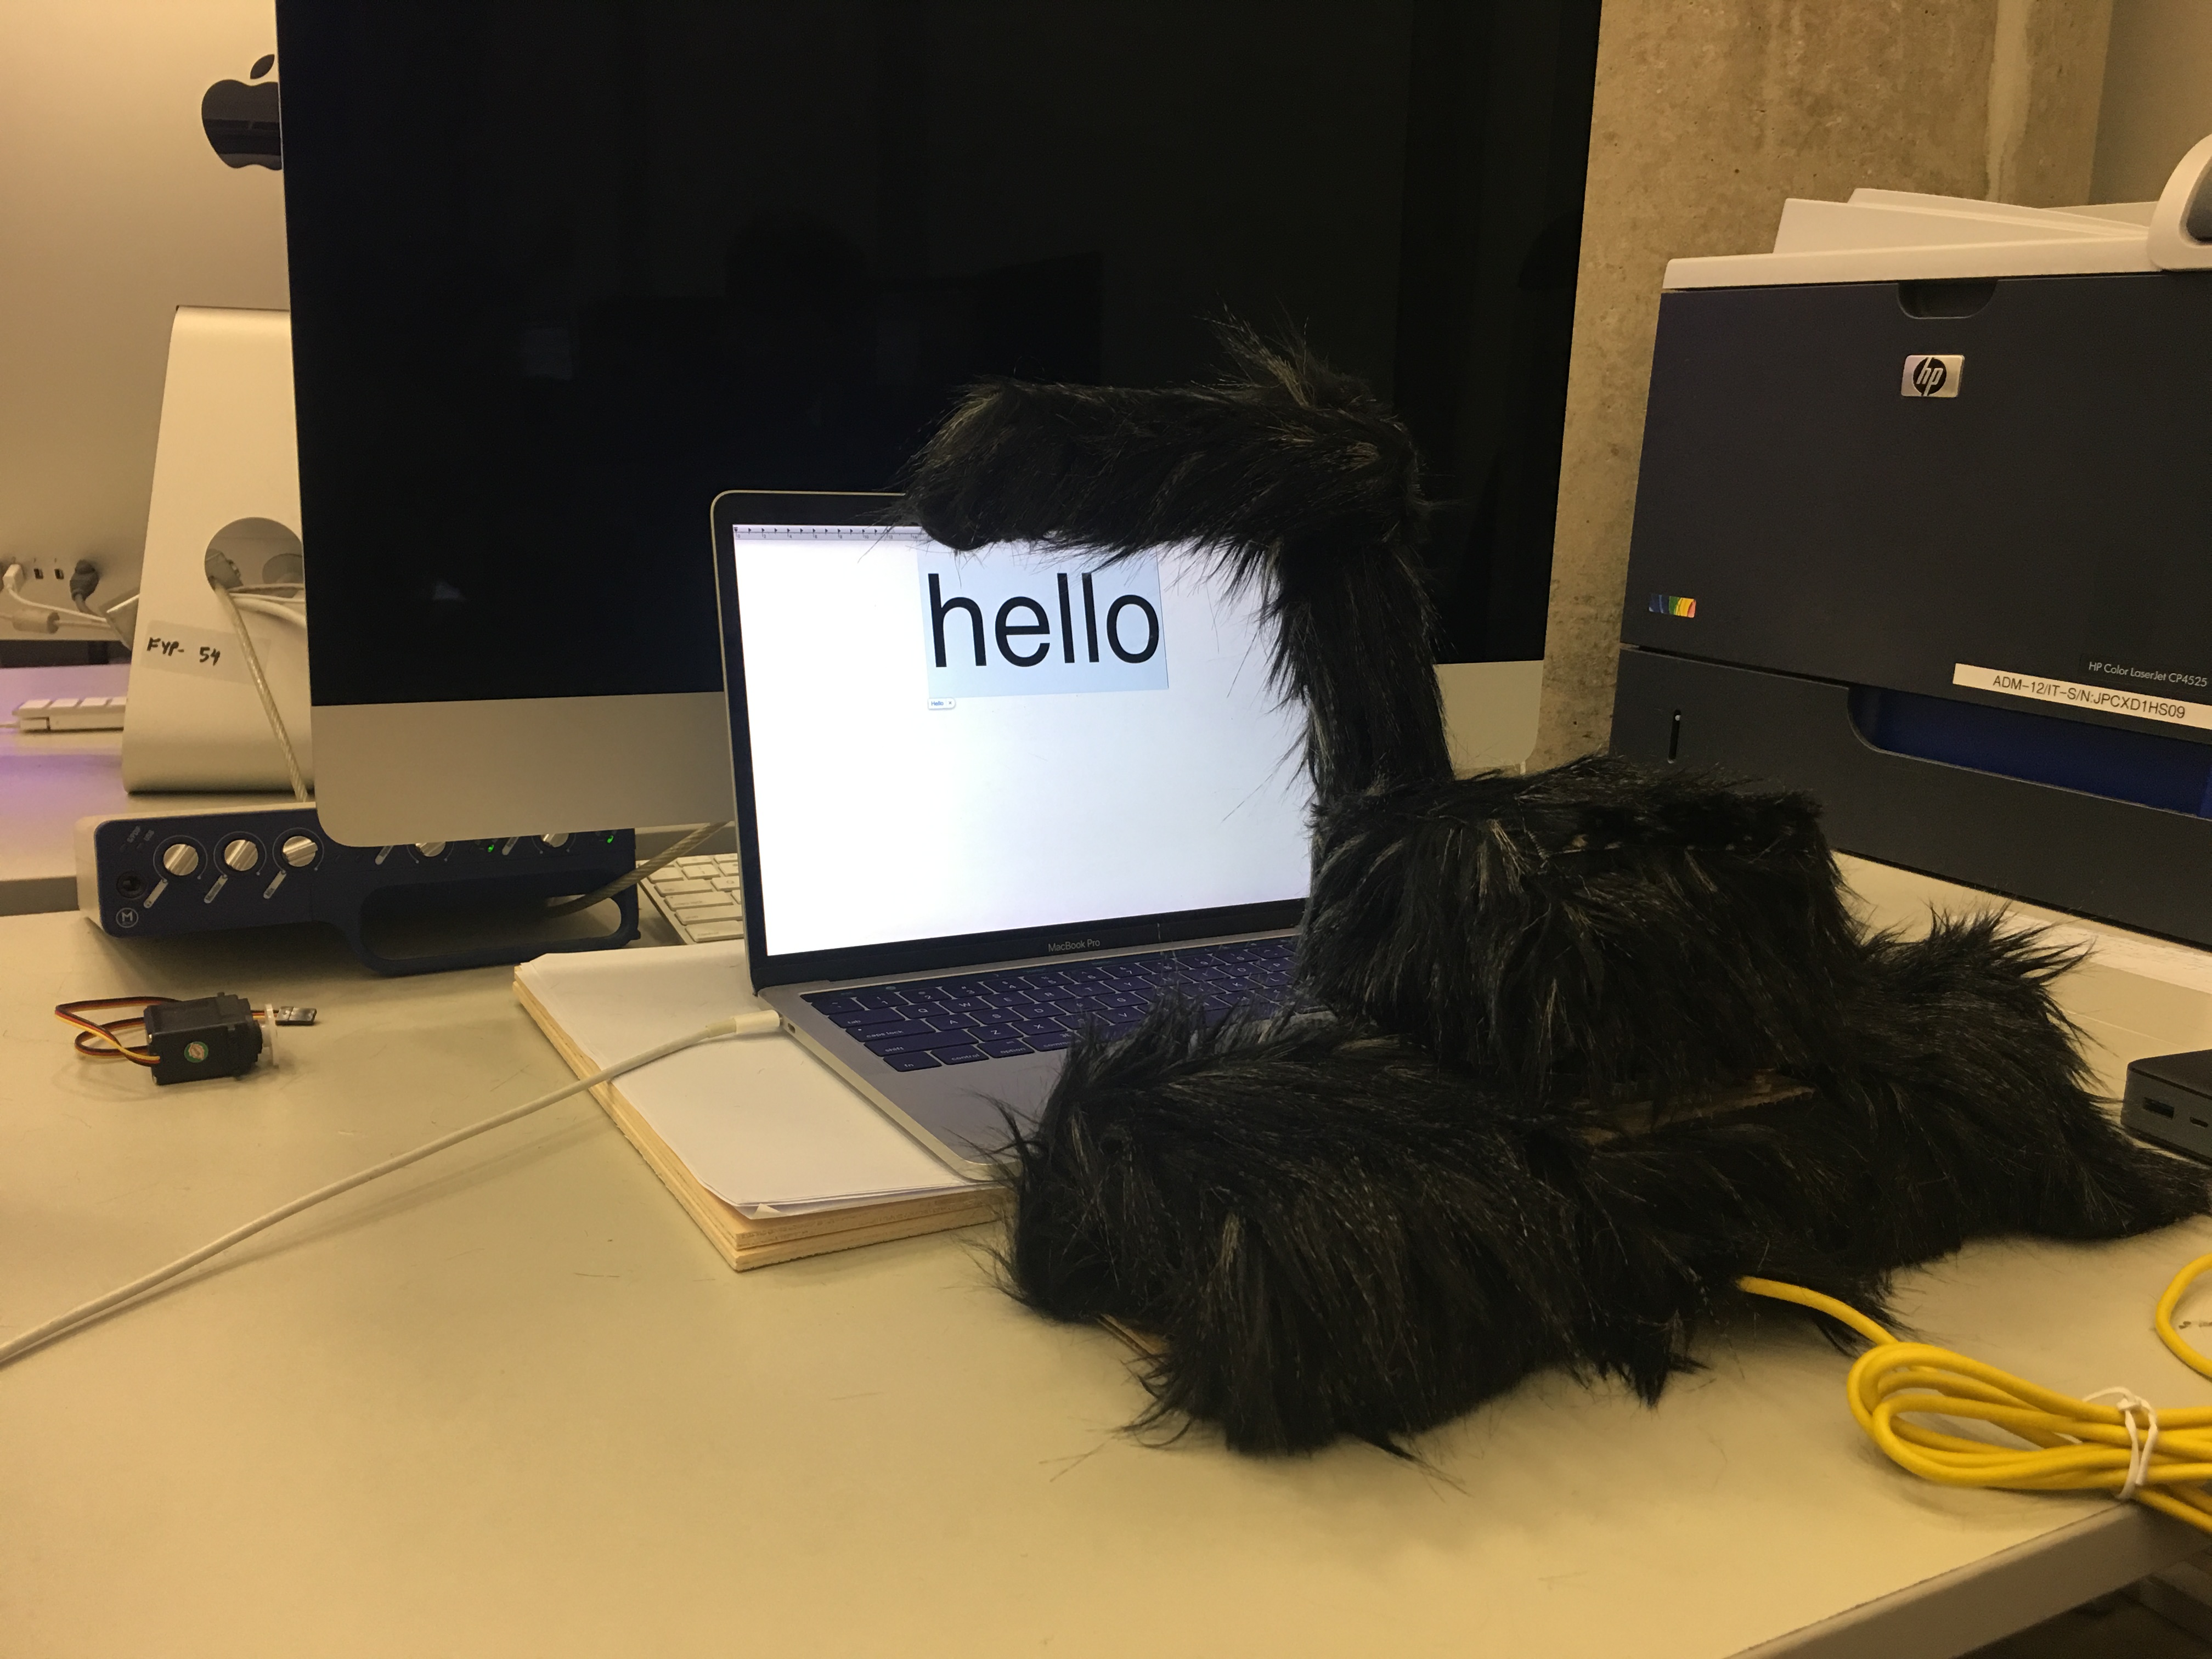
Programming/ Arduino code
We could not figure out how to type the letter on command (we could not get the Johnny-Five concept to work). So, we made a simpler version by pre-programming it through coordinates. When one pressed a pushbutton, the typebot will type the pre-programmed word “Hello”.


Recent Comments