Week 8: Fiber Etching and Bleaching

Prof. Galina cut up her velvet scarf for us to do etching (ಥ﹏ಥ) For some reason, all of us weren’t able to get our hands on the correct type of material (I tried getting velvet from Arab Street. I checked with the shopkeeper, confirming with her whether or not the fabric I was purchasing was a mixture of rayon and silk and she confirmed that it was. Then when I brought it to class, Prof. Galina said it wasn’t. *screams*) Moving on…
Devore, also known as burnout, is a technique whereby chemicals are used to remove cellulose fibres to create a translucent pattern against a solid fabric (or vice versa, where you have a solid pattern against a translucent background). Most commonly applied on velvet, this technique works best on materials with blended fabrics, which combines cellulose-based fibres with protein-based fibres.
The solution we used in class to do this burnout technique is Fiber Etch. The solution only removes plant-based fibres such as cotton or linen, leaving the protein or synthetic fibres behind. The design can be created through painting Fiber Etch directly onto the fabric using a paint brush, or through printing it on using silkscreening. Once the Fiber Etch solution has been applied, leave it to dry before ironing the fabric. The areas painted with the solution should turn brown and be easier scratched off, leaving behind a thin, translucent layer. Once done removing the areas that the solution have been applied to, rinse the fabric thoroughly to remove all traces of the Fiber Etch solution.
Obviously silkscreening would have been the easier option but for some reason, I decided I wanted to paint on my own design (why Louisa why -.-). I decided to doodle some random shapes onto the reverse of the fabric and paint around them, allowing the shapes to stand out against a translucent background. Quite a lot of Fiber Etch solution had to be painted on in order for the fabric to be soaked enough for the solution to work its magic. The painting did take quite a bit of time so I only managed to ironing portion the following week. When that part of the process finally happened, it took a pretty long while for all the bits to be scrapped off from the fabric. Also, for some reason, the areas that I did not paint with Fiber Etch dried up and fell off as well :’) I guess if I ever get the chance to experiment with Fiber Etch and Devore again, I might stick to simpler and bigger shapes. But overall, it did produce a pretty unique effect and it’ll probably look really nice used for a wide variety of things.
Moving on to bleaching! It was pretty straightforward. Prof. Galina had this plastic (?) doily that she offered for us to use to experiment in this exercise. Esther really kindly offered to share her black fabric with us and so using a piece of black fabric, we laid the plastic doily over it and just spritz some bleach over the entire fabric. This resulted in a negative of the doily pattern being “printed” onto the fabric below, with the areas coming into contact with the bleach turning a shade of reddish-orange. Other ways of creating unique patterns could include in random areas of the fabric being pinched and twisted, before applying the bleach. There are many examples online and bleaching is a pretty simple technique that could allow for some pretty interesting results. 

Woman holding reverse tie dye print napkin in front of her.
An example of what you can do. This person used a cardboard cut-out to create shapes on their fabric!
Bleaching technique
Devore technique

Week 9: Resin, Latex and Rastering

For some reason I thought that latex would not stick to a silicon mould but it did ( ̄Д ̄)
This week we got the opportunity to play around with resin and latex. Latex (as described on good ole Wiki) is an emulsion of polymer microparticles in water. Latex can be found in nature (usually in flowering plants) as this milky white fluid that is exuded after tissue injury e.g. a cut has been made into the stem of a plant. This natural latex is not be confused with plant sap. Latex can also be created synthetically and both natural and synthetic latex is used in a wide variety of objects such as gloves, balloons, glues and many more.

For this class, I’m not too sure what was the objective of us learning about latex (it was my own fault, I had ran off with Hsin Yee to North Spine to grab a smoothie as a replacement for a birthday cake for Prof. Galina, so I had no idea what we were going to be doing for this class) but I would presume it has something to do with us experiencing how to create moulds of objects using latex? Or to create a latex replica of an object? I think it is more of the former. In any case, we got to experience the panic of mixing liquid latex with hardener before pouring it into our moulds or into our casting containers. The ratio taught to us was that for every 100g of liquid latex, we should add approximately 3g of hardener. Before preparing the latex, we had to prep our moulds with mould release spray. (For some reason, my brain thought that, hey, since the mould that I am using is a silicon one, I probably will not need the release spray right? Well, you thought wrong Louisa. I’ll get to that in a bit) Once the hardener is added, mix to ensure that the liquid latex and hardener is mixed evenly, then quickly pour the mixture into the prepared mould or casting container. This step has to be done really quickly as the latex solidifies pretty quickly. Well, because I did not prep my silicon mould with the mould release spray, the latex is now forever bonded to my silicon mould. Sigh. On to the next portion of the class. 

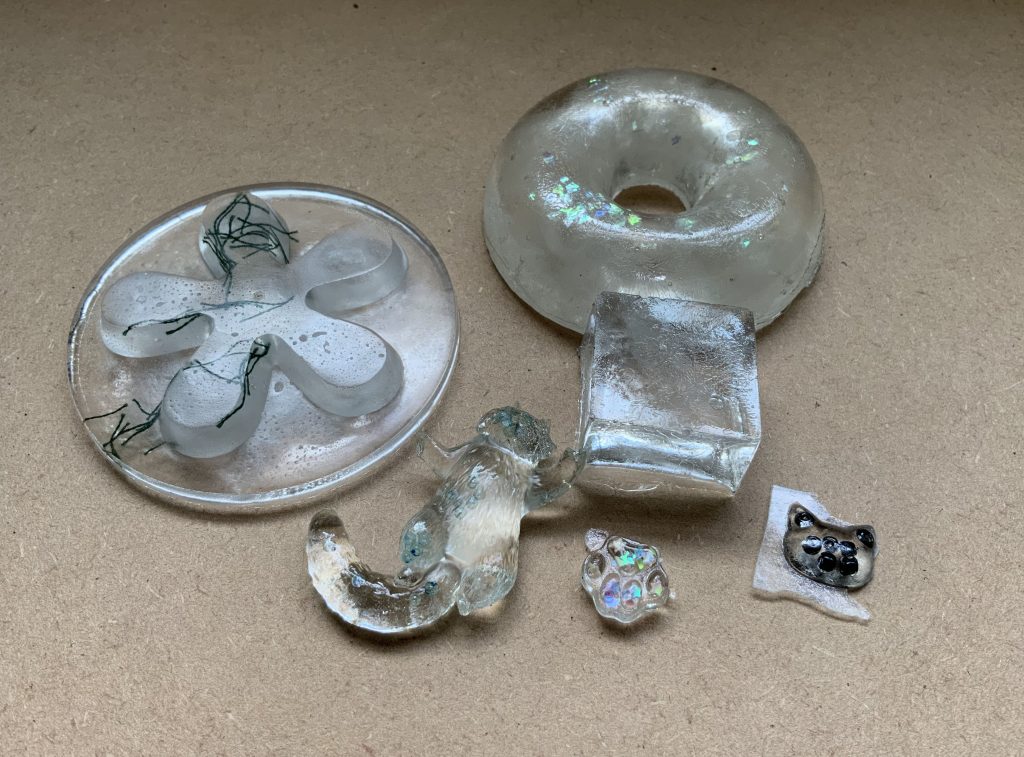
Resin. Resin is a solid or highly viscous substance of plant or synthetic origin, that is typically convertible into polymers. Resin can be used for a wide variety of things as well. The ones that I am more familiar with is like using resin and moulds to create pendants for jewellery-making. Or using resin to make custom keycaps. This is pretty in-trend now due to the sudden popularity of custom mechanical keyboards (or maybe it has been trending for a while but it was only recently I started observing my friends actually getting their own customized mechanical keyboard and then bringing them around, in addition to their laptops…)

D7 1 Jelly Key Zend Pond Keycaps923
Custom keycap made using resin

In any case, the procedure is quite similar to that for dealing with latex, just with the addition of a mask and a pair of gloves (the smell of resin is really strong). Prep your mould with mould release spray before starting to mix the epoxy resin with the hardener. The same ratio applies, for every 100g of resin, drop in 3g of hardener. Once the hardener has been added, stir to ensure that everything is mixed evenly before pouring into the prepared mould. Leave the mould in a well-ventilated area for about 24 hours to allow it to dry and fully solidify. 

Resin samples
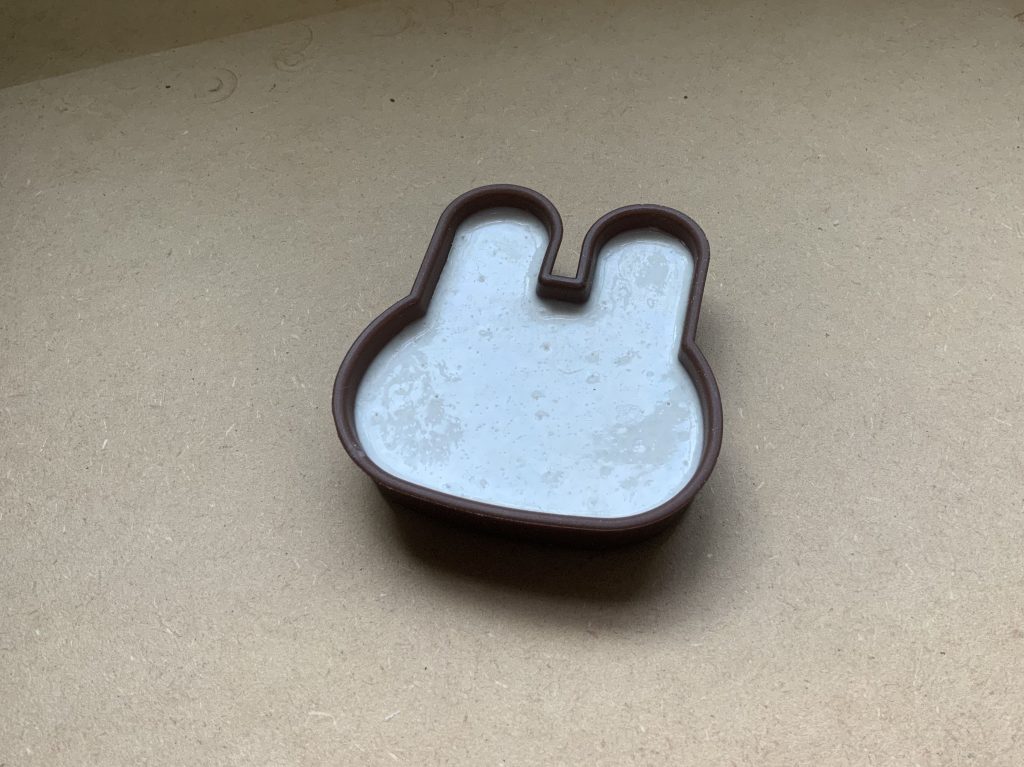
Failed latex outcome

Week 11-14: Final Project

For my final project, I was inspired by water surfaces. 

My moodboard for the project!

Several references that I took from water surfaces was the appearance of the uneven surfaces (due to the ripples), the colour (shades of blue or playing around with transparency) and colourshift. Based on these factors, I tried the following techniques: knitting, thread-based material exploration, felting and elastics.

A sample of the knitting technique that I did. The needle that I used was too thin so the stitches ended up being too tired.
Knitting sample

The bigger knitted sample. I initially used this stitch called the caterpillar stitch. But then the neatness of the stitch did not really seem to reflect the unevenness of the water surface to me. In the end, I just went with random knits, purls and the caterpillar stitch. 

Thread-based material exploration

The thread-based material exploration did not work out the way I wanted it to be. I wanted for the shape to be irregular but when I washed the threads out, the shape did not stay the way that I wanted them to be. 

Material exploration with elastics

This sample just did not turn out the way that I wanted it to be but okay. 

Felting sample

This turned out to be more like a cloud rather than… anything water-like. 

The final sample. I decided to go with this in the end as the nature of the material and the unevenness of the stitches kind of reflects the aspects of water surfaces that I wish to bring across.

As for the application, I thought that maybe this final could be used as a table mat or as a seat cover. 

Week 10: Knitting

Knitting is probably one of my favourite techniques (♥ω♥*)

I’ve tried knitting before. My friend requested for a scarf for her birthday present (because she was going away to Norway for exchange, during the winter months. Her exchange was cut short due to covid though :’)) and so I set about learning how to knit. It was pretty straightforward, though it took a while for me to actually start producing even stitches and to stop ending up with more (or less) stitches than what I had cast on in the beginning. But that was that. All I knew prior to this class was just 1 method of knitting. Or just one type of stitch. What I was not aware of was just how many types of stitches there were and how they could be used in combination to produce different patterns. In this class, Prof. Galina taught us how to purl. I had a hard time trying to catch the technique during class but somehow after class, when I went back to the VC workshop and tried figuring how exactly to do a purl, I managed to catch it within 30mins. What do you know. 

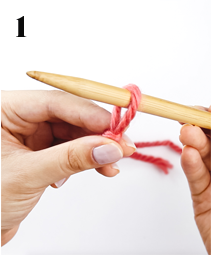
In any case, to start knitting, grab a pair of knitting needles and the appropriate yarn (or more like the yarn of choice and then the appropriate needle). Most yarns would state on the back of the label what size needle is suitable. While it is best to follow the instructions, you can try experimenting with the size of the needle as this can produce some pretty interesting results (the size of the stitches will be bigger or smaller and depending on what you’re knitting and the effect you’re going for, this could be a good or bad thing). I have no idea how to actually describe the process of knitting but thankfully, there are tutorials available.

cast on knitting photo gallery

The image above is taken from Sheep&Stitch’s post on “How to Knit for Beginners”. The instructions are pretty clear and 10/10 would recommend checking out their content when learning the basics of knitting. They have another post on how to do the purl stitch as well. Included in the post is a breakdown on the difference between the knit stitch and the purl stitch which I thought was pretty cool. 

As for the applications of knitting, well, the sky is the limit I guess. Other than the usual sweaters, scarfs, socks and baby blankets, you could also knit wires to create jewellery.

Ravelry: Crystal & Wire Spiral Necklace pattern by Suraya Rina Hossain
Crystal & Wire Spiral Necklace by Suraya Rina Hossain


Creative Industry Report | Darius Ou

Darius Ou is a Singaporean graphic designer and the founder of his own design practice, Studio Darius Ou, as well as Currency Design, together with Melvin Tan. He first rose to prominence because of his self-initiated project, Autotypography, where he created one A4 poster a day, using it as a visual diary of his day-to-day life. This project subsequently allowed Darius to experiment and further push the boundaries of what is considered “good design”, employing a lot of pop culture reference and kitsch elements in his subsequent poster designs.

Autotypography

Darius went on to form Currency Design, together with Melvin Tan (an alumni of ADM) in 2014. Their partnership lasted two years, during which they worked on several projects, including the branding for ADM’s 2016 gradshow. In 2016, Darius went on to set up his own practice, Studio Darius Ou. Since going solo, Darius has gone on to do a residency with Facebook’s Analog Research Lab, as well as working on both local and overseas branding projects. His most recent projects include branding for this year’s edition of the Hong Kong Art Book Fair as well as Resigning Mass, an artwork by Tristan Lim, which he collaborated on.

ADM Gradshow 2016 Branding
Booked: Hong Kong Art Book Fair 2020
Resigning Mass

I decided to write about Darius Ou for a couple of reasons. Firstly, I thought that it would be nice to talk about a local designer for a change. In a climate where works are so easily shared over the internet, it is very easy for us to be exposed to international design standards. However, I feel that it is probably also important to take note of what is happening in our own local design scene and to celebrate the works of our local designers. Additionally, I had actually applied to intern with Darius over the summer and while I did not manage to secure an internship with him, I did get a very encouraging email from him and that is really nice considering how some studios don’t even bother responding (which also I know is standard practice but like that’s why it makes Darius’ reply a lot more meaningful I guess).
One thing that led me to wanting to intern with Darius (and also Currency Design) was their experimental approach to design. A quote taken from an interview that he did with Justin Zhuang for AIGA resonated with me: 

“If we always follow the rules set by designers who lived in the 20th century—but we live in the 21st century—then what are we blindly following?”

After my second year, I was struggling a little with my design style and I started to wonder about all these design principles that were being taught to me. While I believe that these design principles are important, I believe that we need to learn how to experiment and to break these “rules” as well and that is something that I want to work on as I progress on (hopefully) in this career.