Week 7: Thermochromic Inks

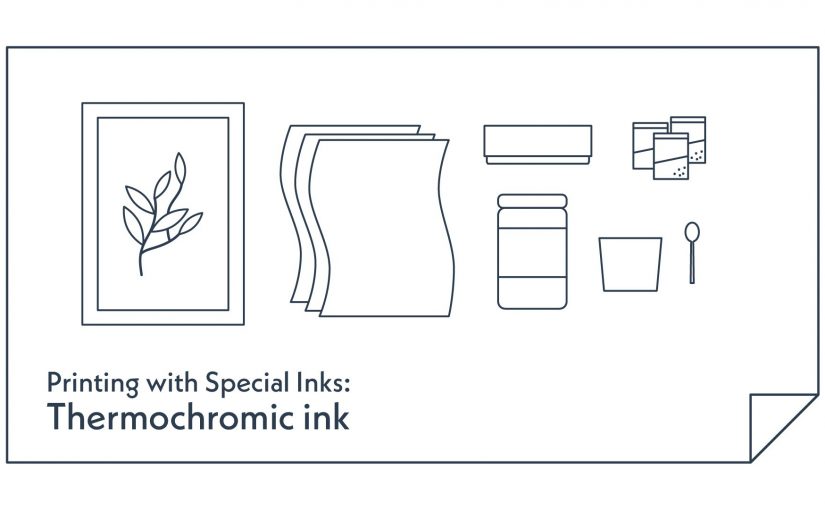
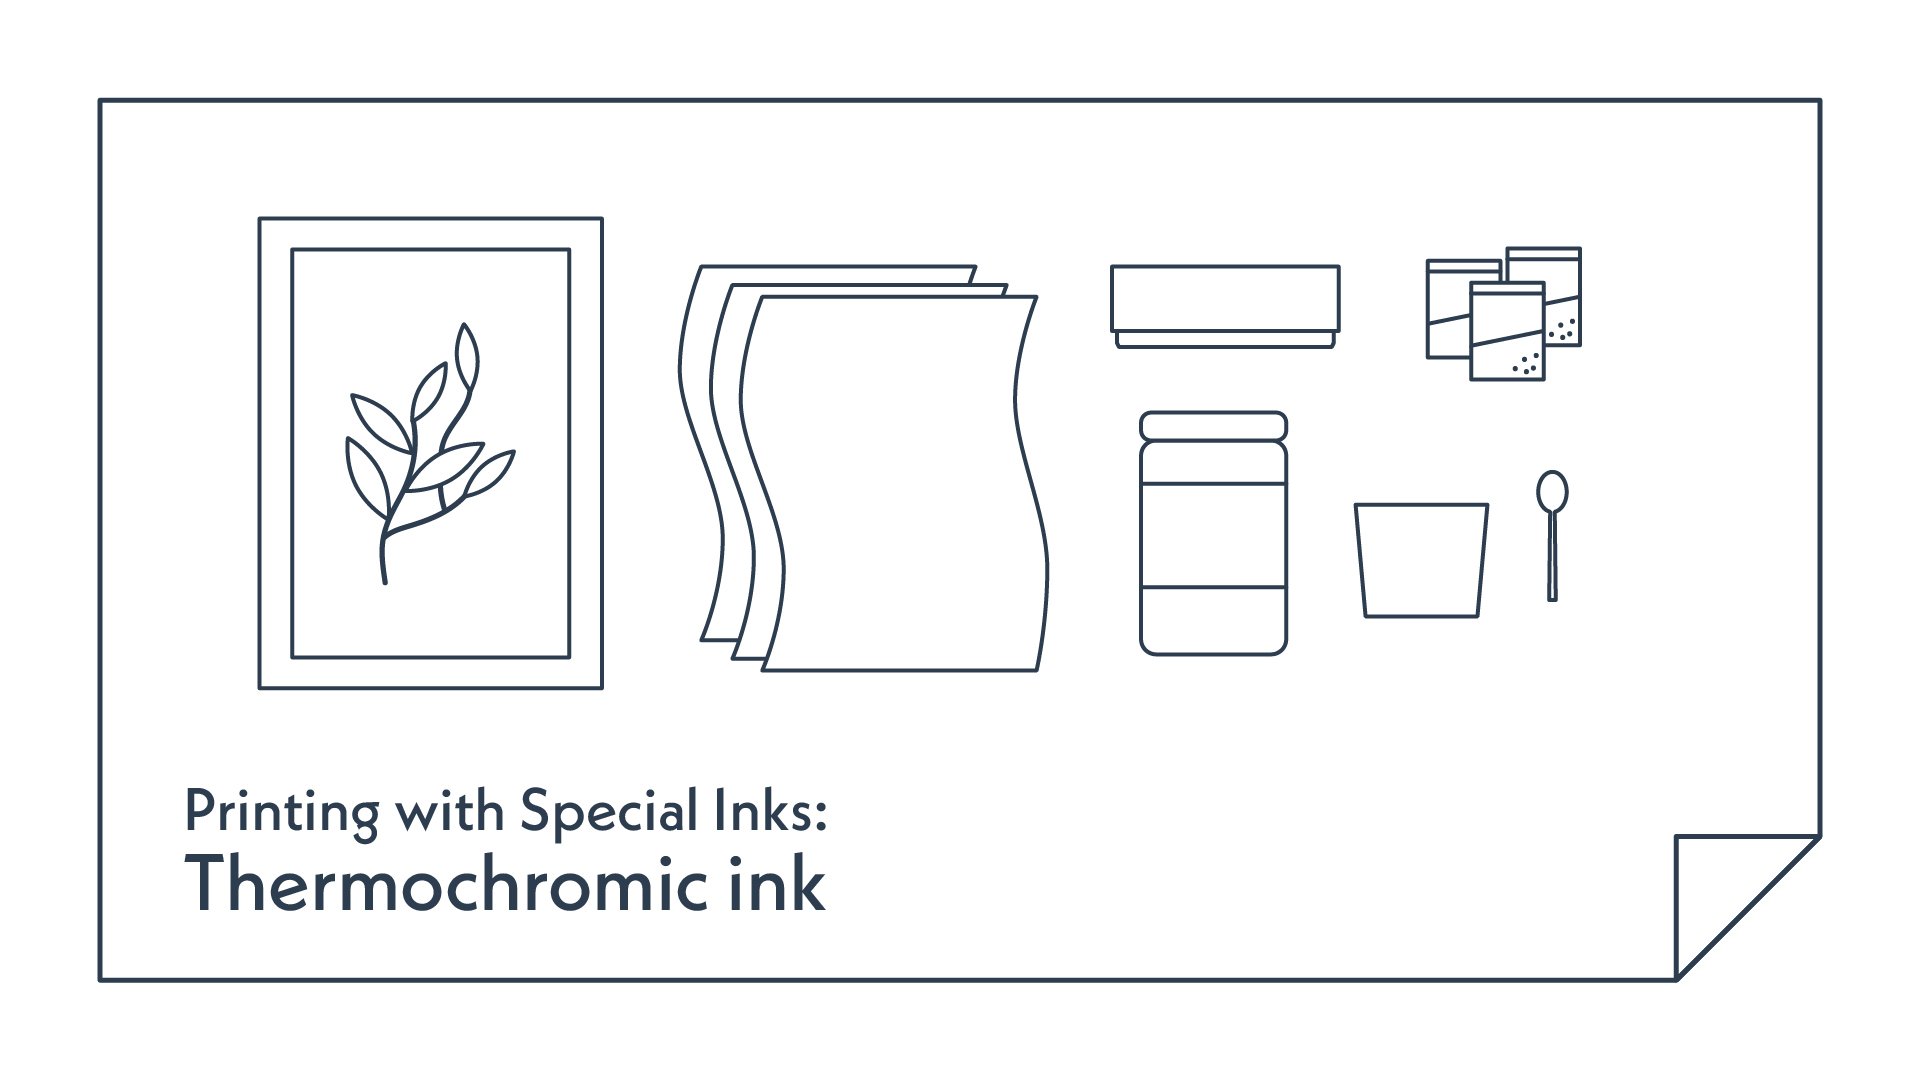
Thermochromism is the property of substances to change colour due to a change in the temperature. This can be seen in coffee mugs that reveal a change when hot water is poured into it, or mood rings. This adds a layer of interactivity to the product I suppose.
Thermochromic inks are not available in Singapore (a lot of art supplies are not available in Singapore Q.Q) and used to be only available from the States (?). However, Prof. Galina did mention that a senior did manage to find thermochromic pigment on Taobao so I guess, if I ever I want to work with thermochromic paint, future Louisa, I’ve got you covered. Go Taobao.
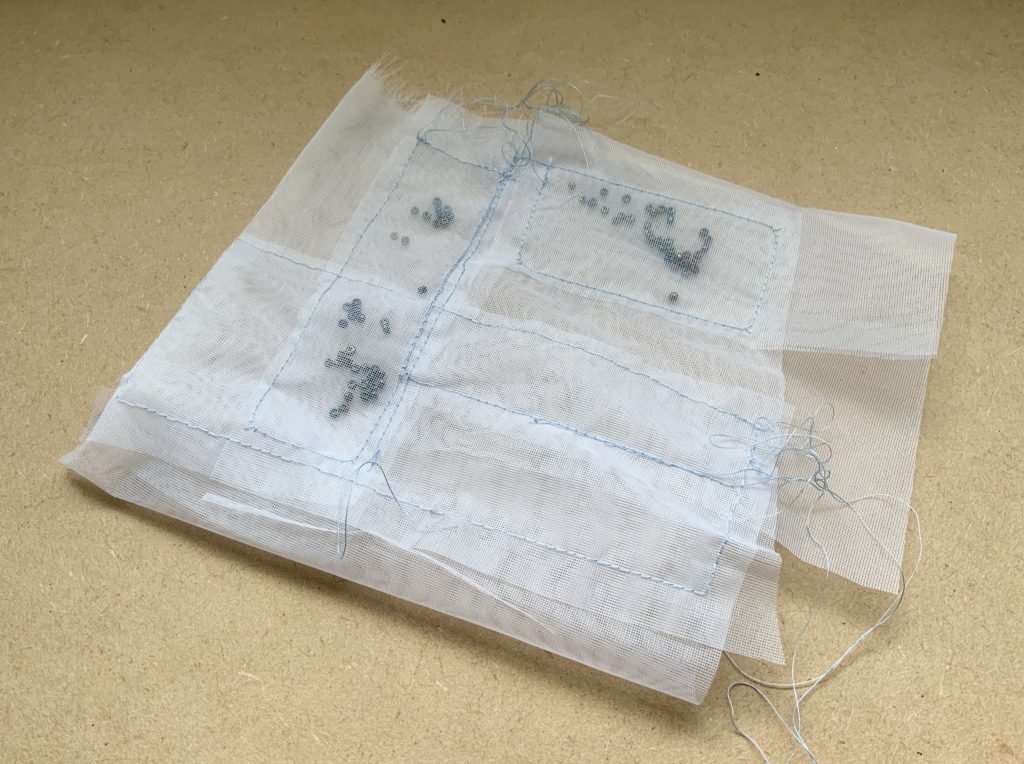
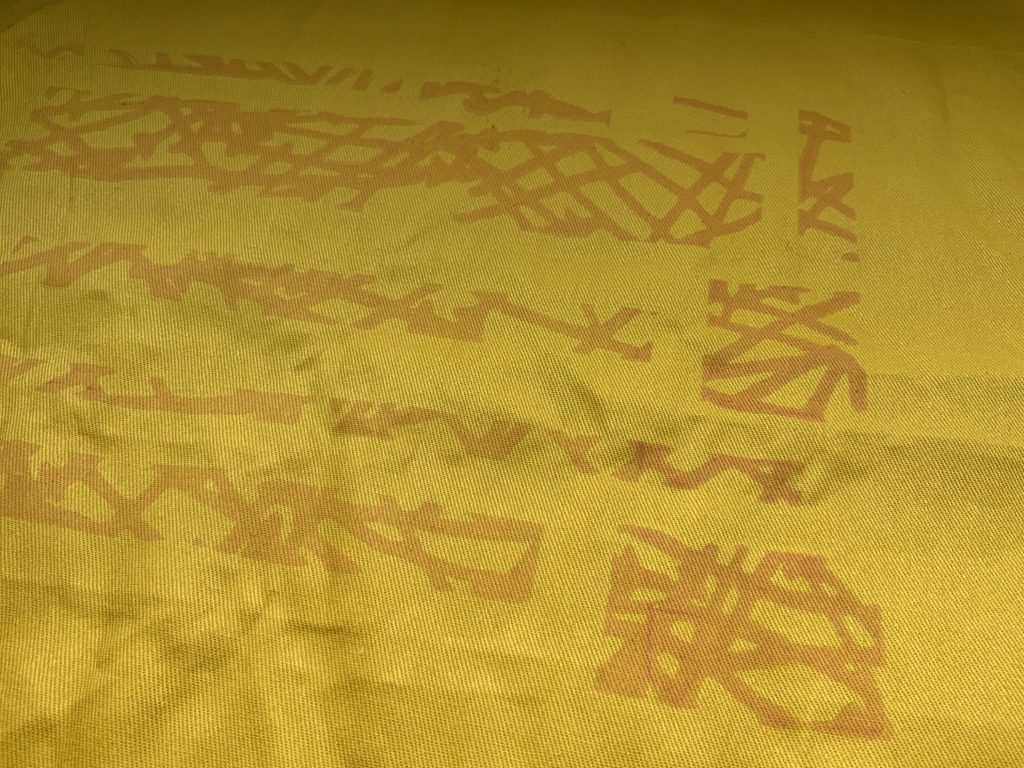
One general observation about the paints that we produced during class, for some reason they did not react as they normally would. The paint did not fade nor appear more vibrant when heat was applied (be it through the use of a hairdryer or just through touch). Not sure if this was due to the weather here in Singapore but I guess, it was cool to be able to do silkscreen printing again. Also because the paints I used were a little bit more pastel and my fabric was yellow (why did I choose yellow fabric and light paint I will never know. LOUISA WHAT HAPPENED TO YOUR COLOUR THEORY??), the colours were quite faint. 
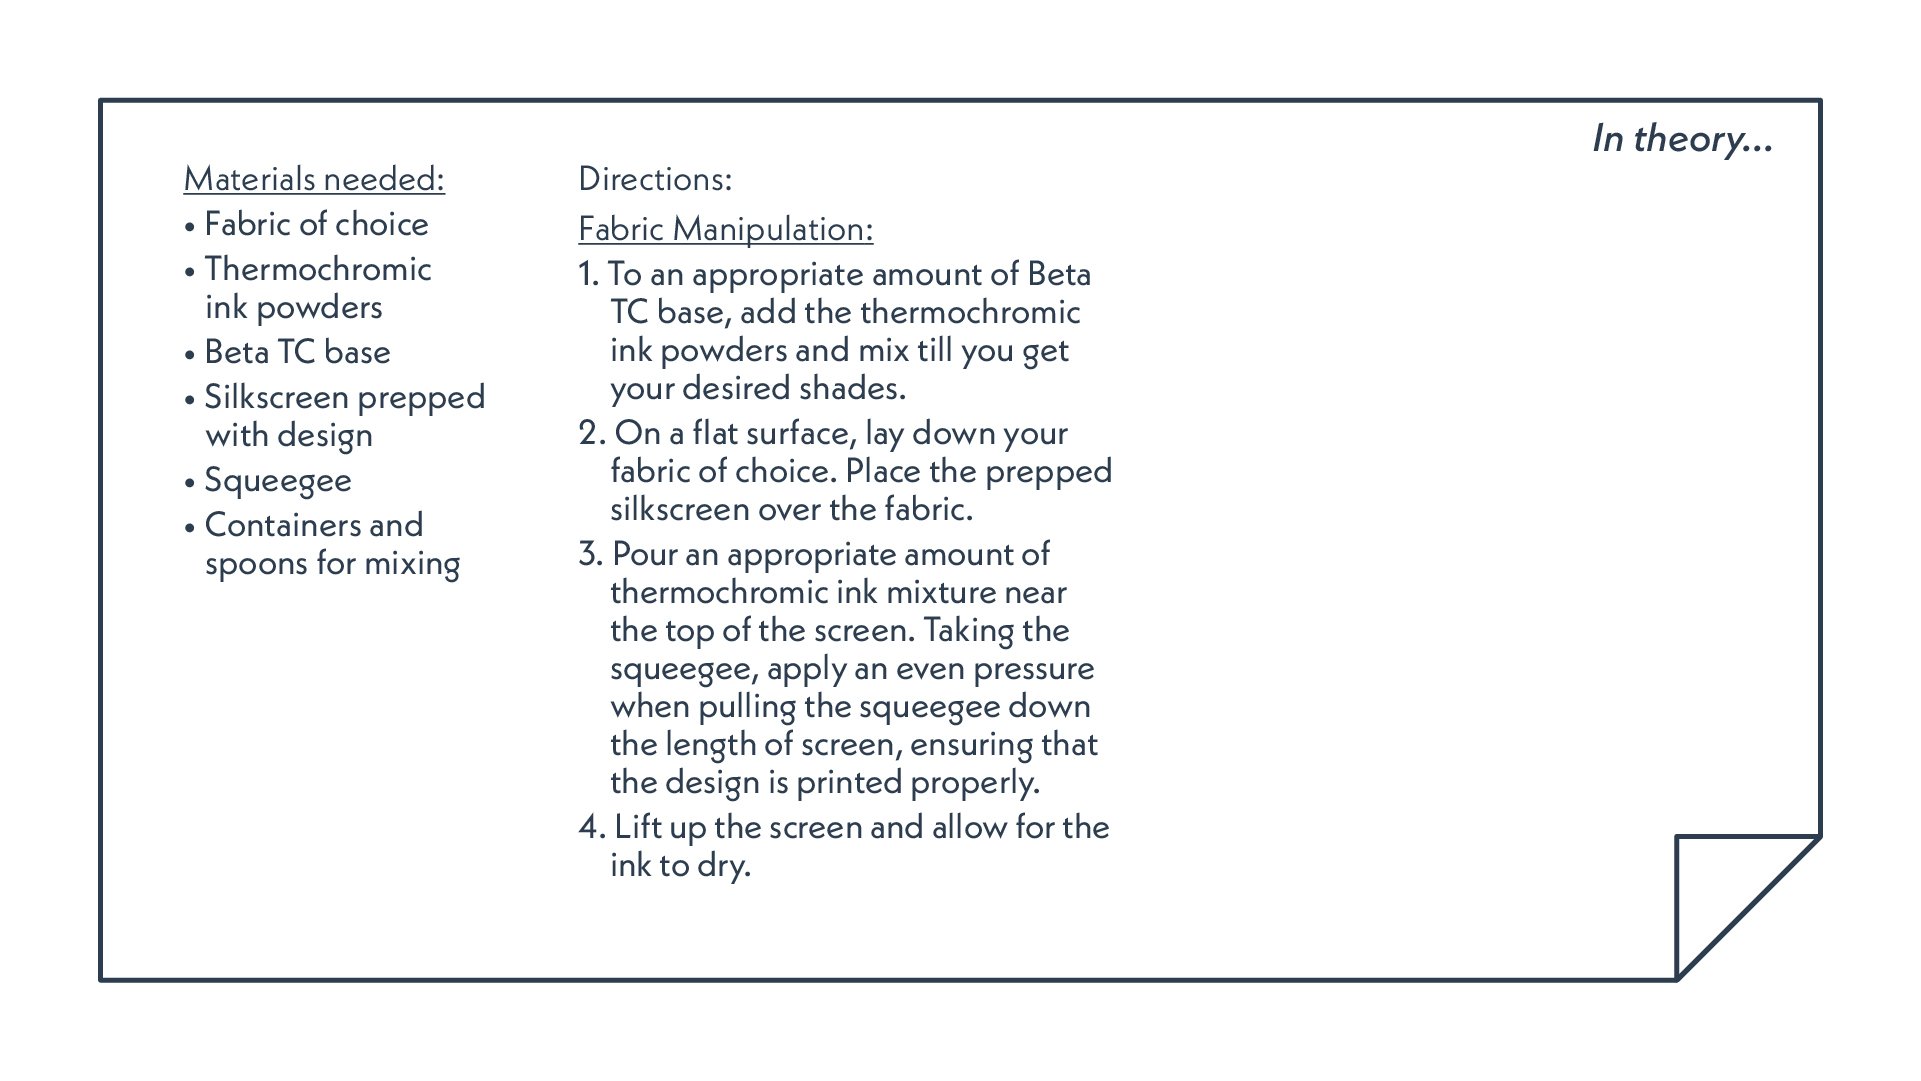
Samples:

Week 6: Thermoplastics

Note to self: TRUST YOUR INSTINCT!
I accidentally bought the wrong type of polyester fabric for this week’s class :’) And I can’t blame anyone but myself BECAUSE I HAD A GUT FEELING THAT THE FABRIC THAT THE SALESPERSON WAS PUSHING FOR ME TO BUY WAS NOT THE RIGHT ONE BUT I WENT WITH IT ANYWAY. Why am I like this. But in any case, that’s a lesson learnt. TRUST YOUR GUTS. And your professor’s fabric samples.
Thermoplastic is a pretty interesting technique that relies on the quality of the fabric. It might not be as accessible due to the fact that you have to boil this in a pot (and not be able to use the pot anymore for food and that is something that my mother is not okay with :’)) but it does produce fabric with the most interesting texture and effect. Prof. Galina shared several techniques, each with their own unique result. The result of each batch of creation might differ slightly (since this depends on the placement of the object in the fabric and you can’t possibly 100% place it back at at the same place and have the fabric fold around the object in the exact same manner) but I think that is the beauty of this technique.

Week 3: Material Exploration

I lost track of what we did for each week :’D
Plastic-based material exploration is a pretty interesting technique. The resulting material that you get is waterproof, making it ideal for bags or coats (I vote bags or pouches because I don’t think wearing plastic bags is going to be that comfortable and also I am not the biggest fan of raincoats :/). This is also a technique that is pretty accessible and low-cost, considering that the only thing people might have to purchase is the baking parchment. I imagine this could a pretty cool arts and craft project for younger kids (of course with adult supervision!!!).
As for the thread-based material exploration, I THINK IT IS BRILLIANT!!! And the results look really good (not for mine. But Prof. Galina’s dresses for the National Museum? *chef kisses*) While this technique might not be as accessible as compared to the plastic-based material exploration, I think it is still a pretty interesting technique that produces some really interesting results. And it allowed me to have more opportunities to practice using the sewing machine so that’s a plus for me. 

Thread-based material exploration
Plastic-based material exploration
Plastic-based material exploration. I tried using my favourite food wrappers to try to create this piece but it didn’t really work out.

Week 5: Fabric Manipulation

There are so many smocking techniques Q.Q but also there are also quite a few tutorials online so it all works out. One thing to note is that while traditionally, the stitches are done continuously, by breaking up the stitches and doing only one at each point, the stitches might be stronger (I don’t know if I heard this correctly) and it might be easier to repair or continue the smocking process, as when one stitch snaps, the person doing the smocking does not have to redo the entire process, but rather just go back and fix that one point. 

Smocking technique – elastic thread
Smocking technique – front (technically the back because the stitches are done in the front)
Smocking technique – back (technically the front. You can see the stitches here because I was using a darker colour thread against a bright coloured fabric)
Smocking technique – using elastic bands. This is the front of the sample.
Smocking technique – using elastic band. The back of the sample.

Week 4: Felting and Applique

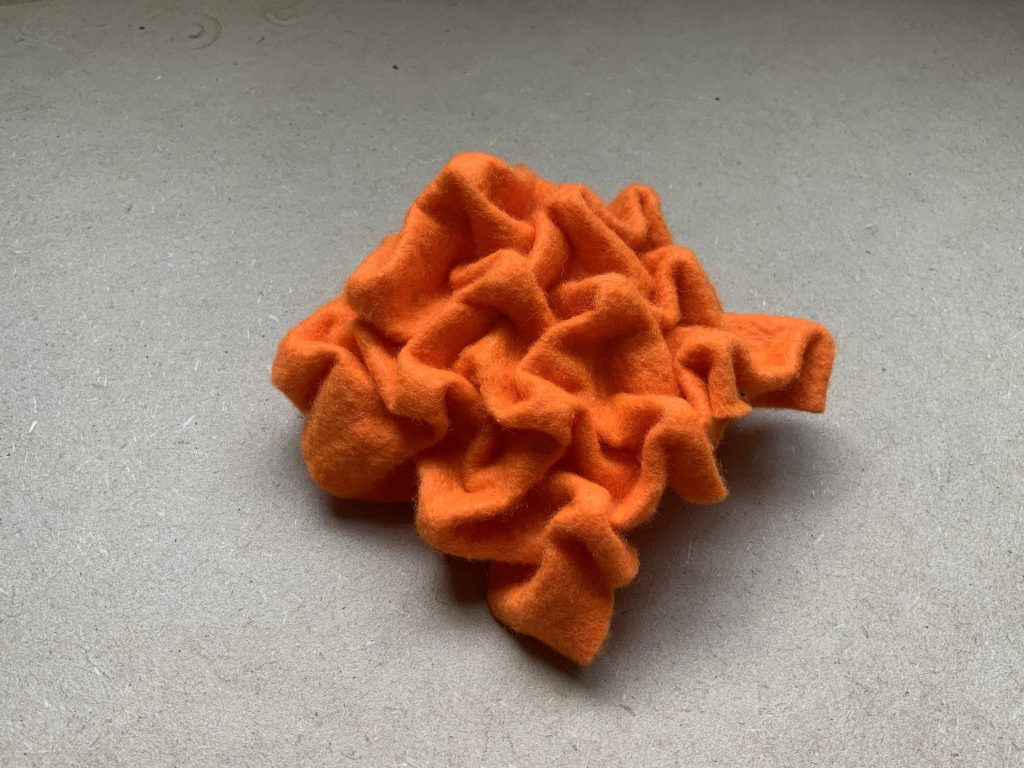
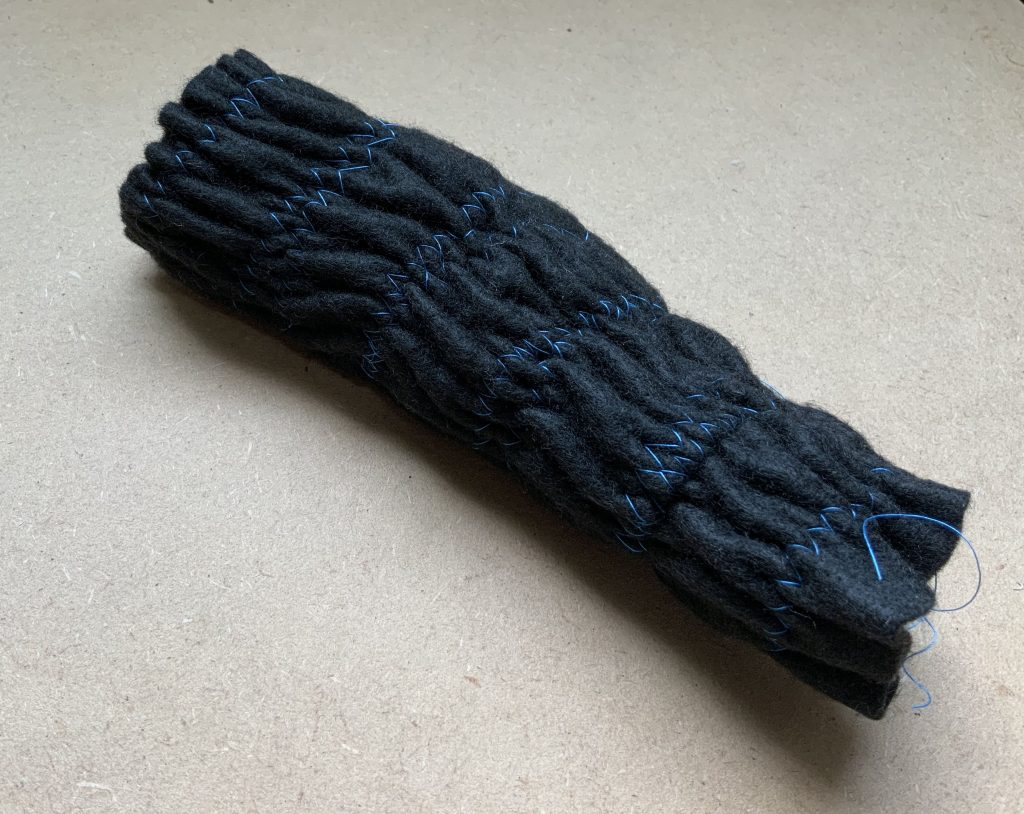
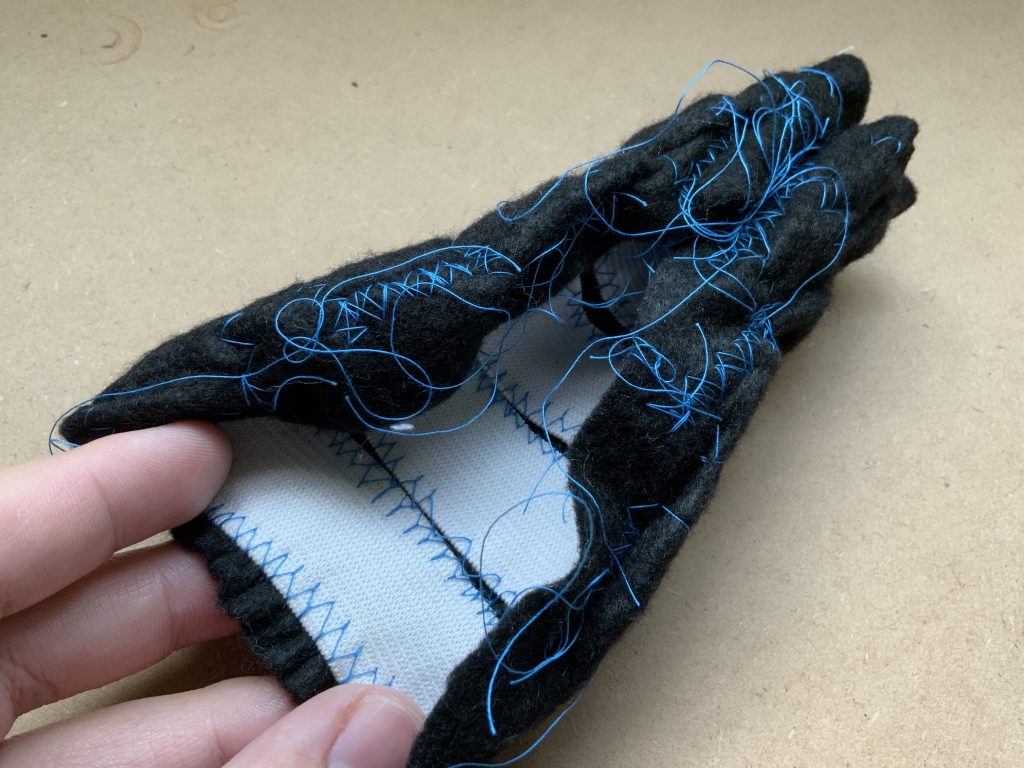
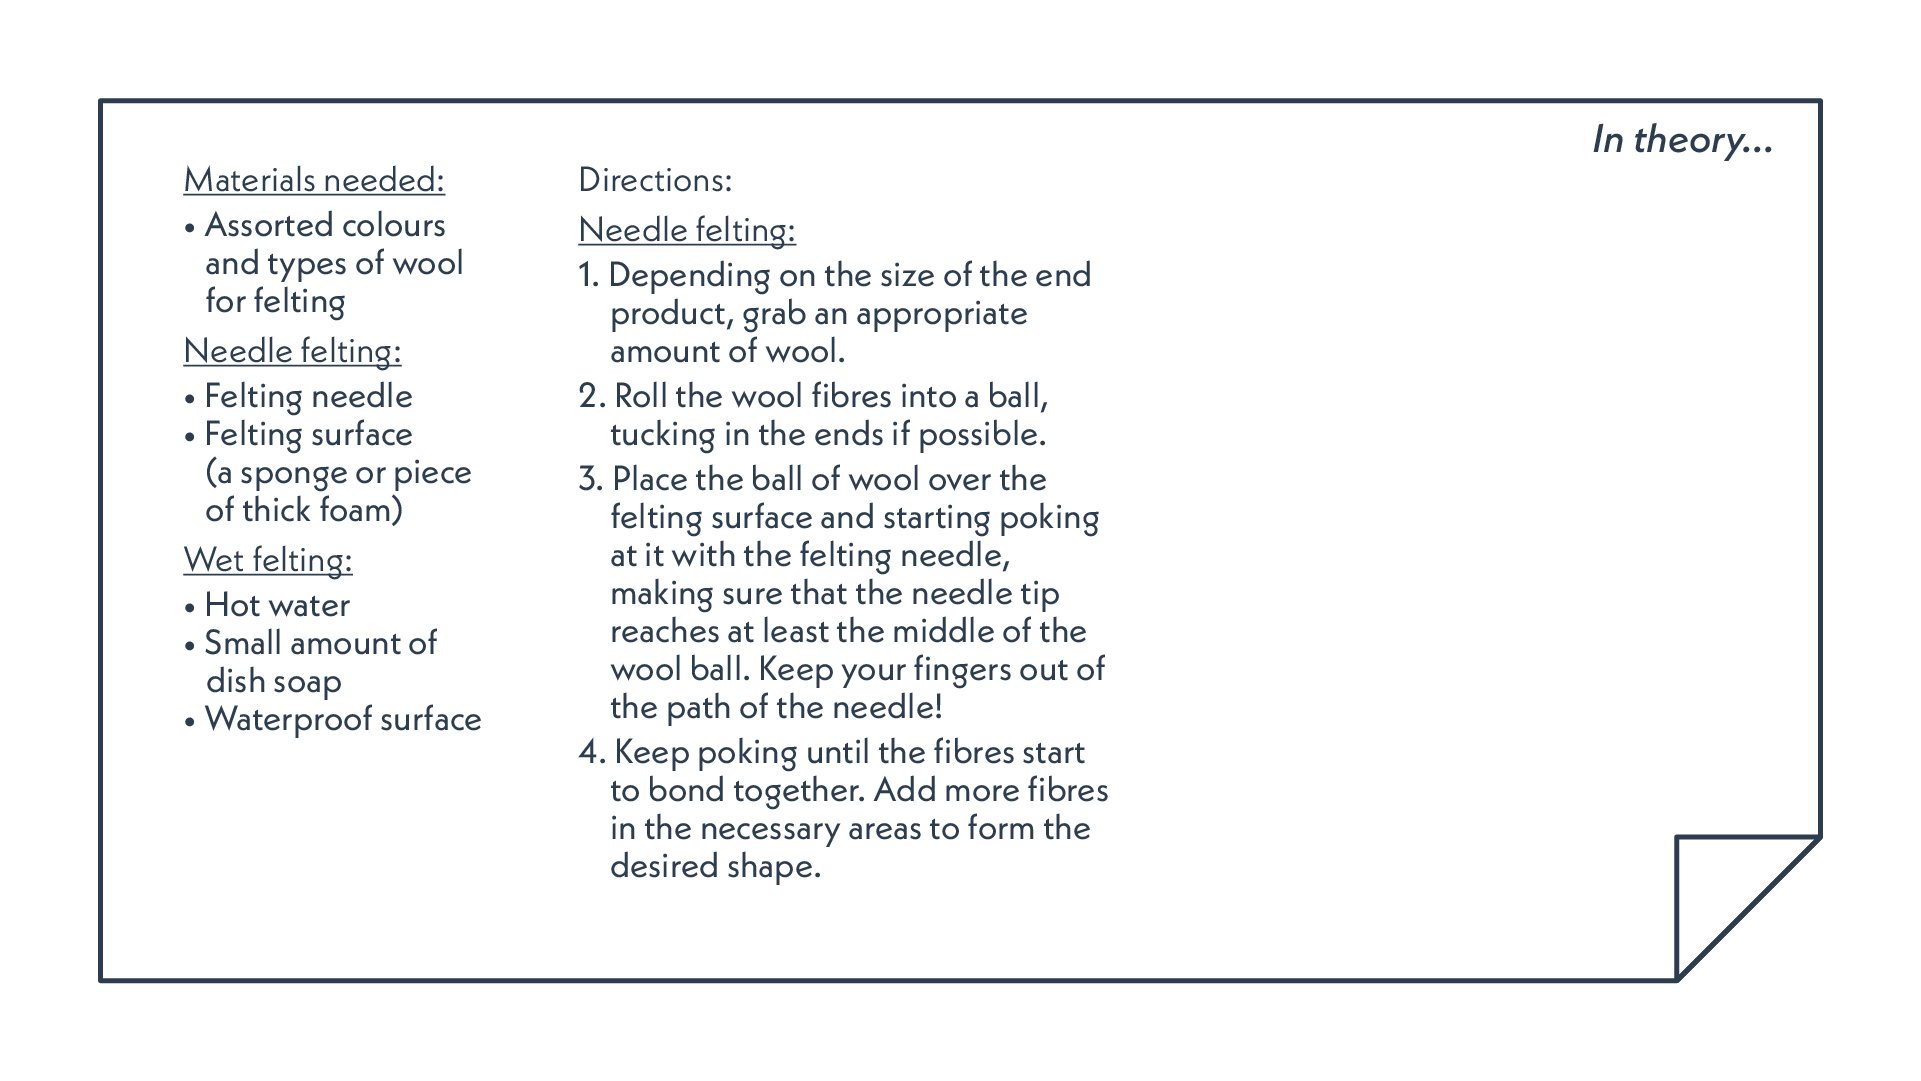
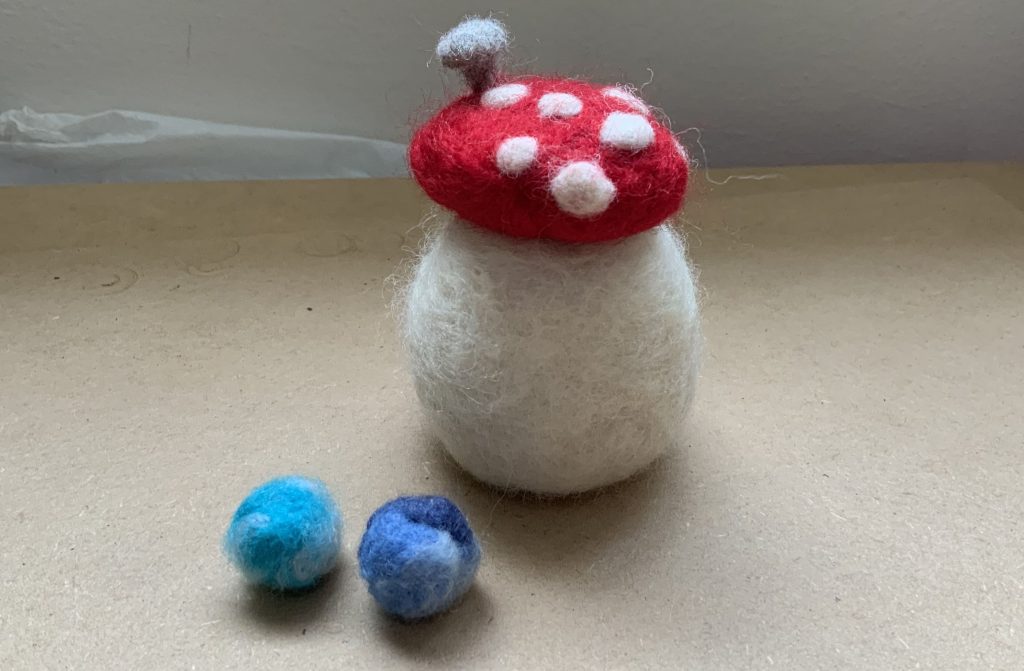
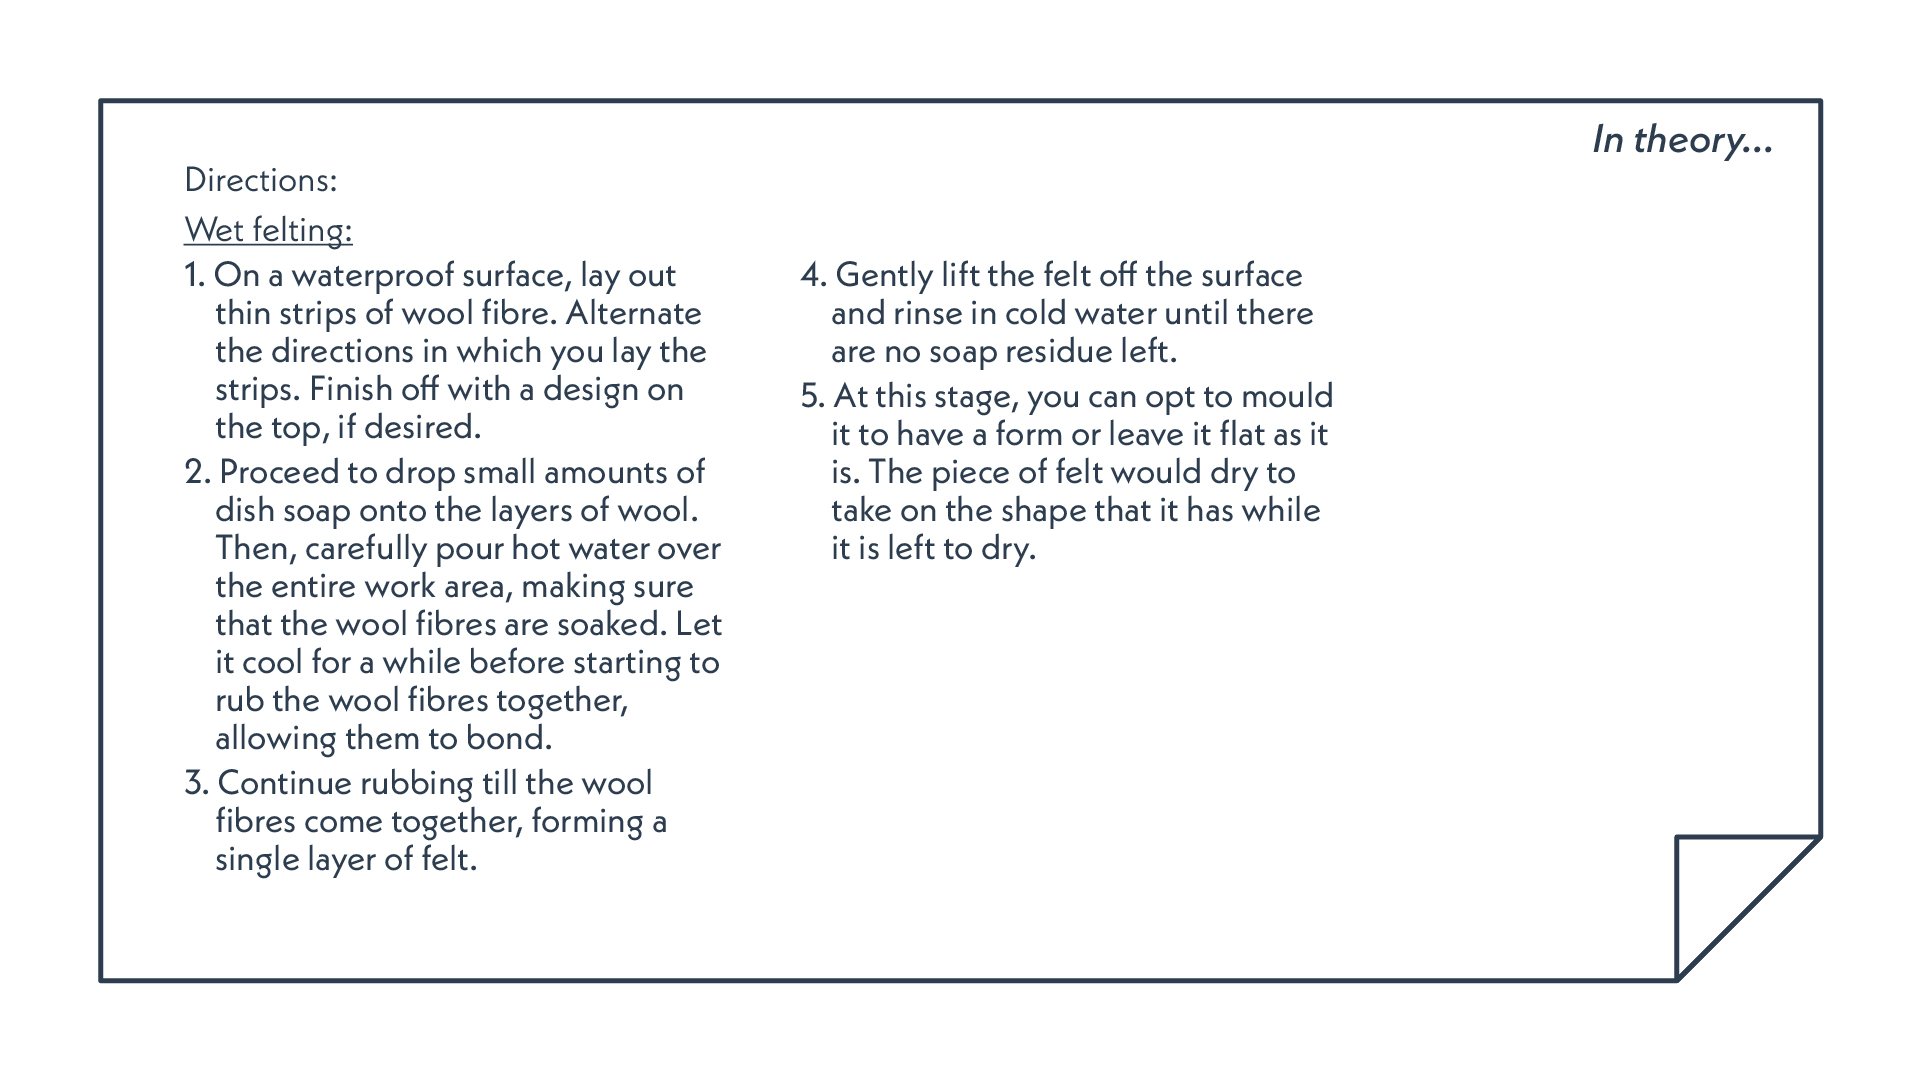
Felting is the process of turning loose wool fibers into fabric through fusing each of the individual strands of fibers. The two methods we were taught in class are needle felting and wet felting.
Needle felting is more suitable for smaller-scale projects or for detailed work. Or even for adding on additional decorative elements to an existing wool product. Wet felting on the other hand, is more suitable for more large-scale projects, as you can produce in one go. However, one thing to note is that wet felting may not allow the artist as much control, as during the rubbing process, details might get lost. However, this can allow the artist to create a more natural “gradient” in their works.

My samples from class:

My felting samples. The two balls are actually samples for my final project.
Applique

The mushroom is made using a combination of wet felting and needle felting. The body of the mushroom is actually hallow (It lives on my desk now and is home to my paper clips) and was created using wet felting technique. I later when back in with a needle to attach more wool fibers to the areas that felt like they were a little thinner. As for the cap, it was created using needle felting.